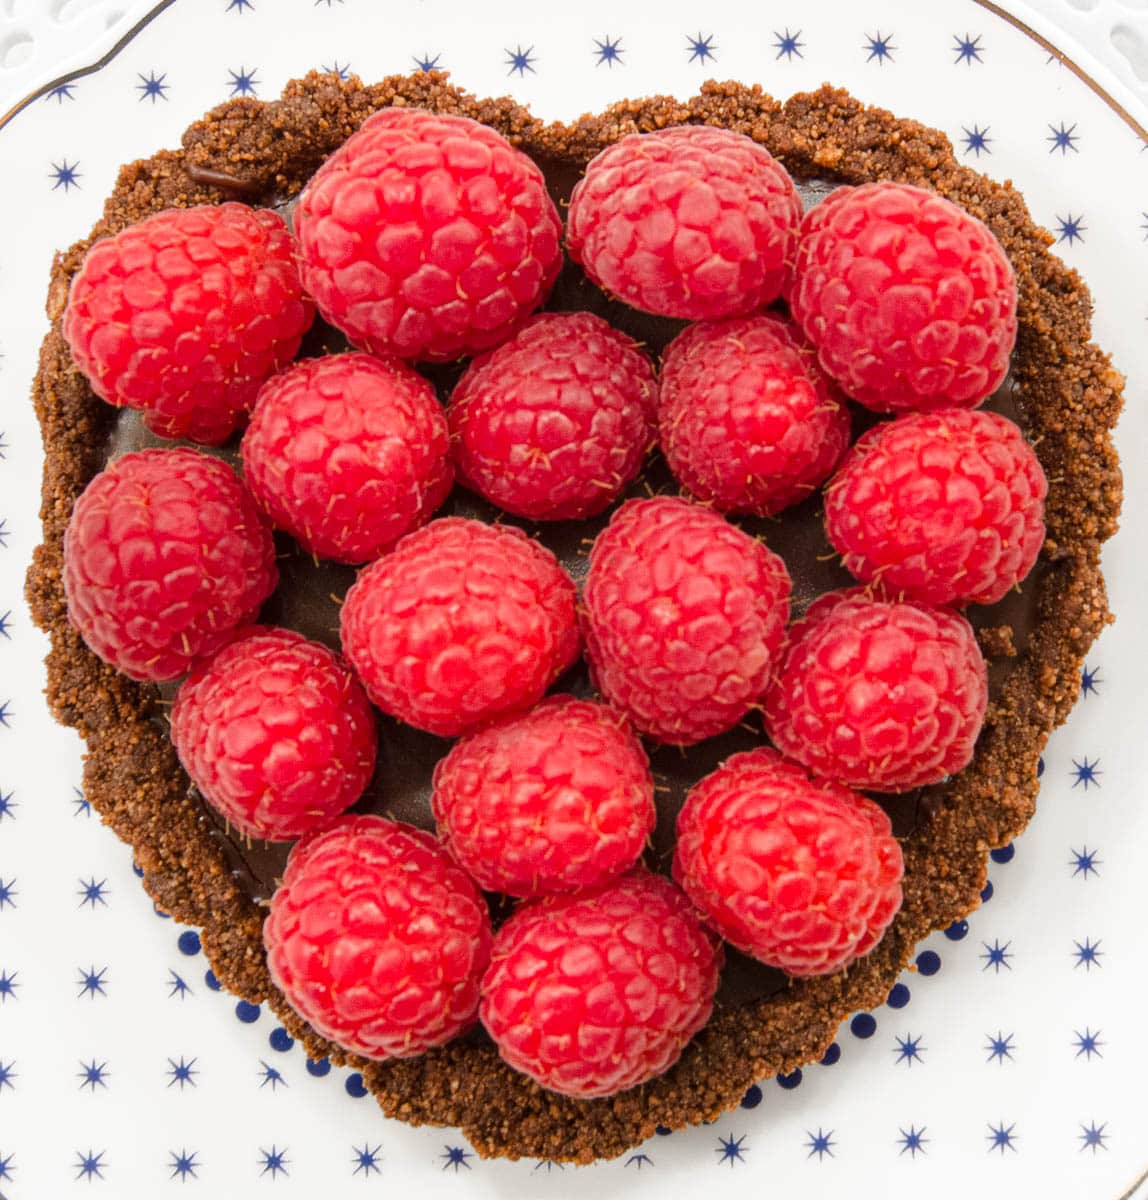
No Bake Chocolate Raspberry Truffle Tarts
If you're looking for an easy, mouthwatering dessert, these individual No Bake Chocolate Raspberry Truffle Tarts are perfect with a sophistication that will make everyone think you stopped by the best bakery in town. (Shhh! Don't tell anyone these can be made ahead!) To make them even more inviting, they can be made without the fresh raspberries and frozen for several months.
Servings: 6 tarts
Calories: 789kcal
Ingredients
Chocolate Crumb Crust
- 1 ⅓ cups graham cracker crumbs 170 grams or 6 ounces
- ¼ cup cocoa 25 grams or 1 scant ounce
- ¼ cup unsifted powdered sugar 30 grams or 1 ounces
- 10 tablespoons unsalted butter melted (140 grams or 5 ounces)
Chocolate Truffle Filling
- ¾ cup heavy cream
- 4 tablespoons unsalted butter 58 grams or 2 ounces
- ¼ cup sugar 50 grams or 1 ¾ ounce
- 10 ounces semi sweet chocolate 285 grams
- 1 teaspoon vanilla
Fresh Raspberry Topping
- 1 lb fresh raspberries
Instructions
Chocolate Crumb Crust
- Place the graham cracker crumbs in a medium size bowl.
- Sift the powdered sugar over the crumbs.
- Sift the cocoa over the powdered sugar.
- Whisk the dry ingredients together.
- Pour the melted butter over the crumbs and mix with a fork to completely coat all the crumbs.
- Spray the pans with a releasing spray. Each individual shell uses ¼ cup or 50 grams for the sides and bottom. Place ⅔ or 35 grams in the pan. Spread it evenly on the bottom and then push it against the sides of the pan, so there is an even amount of crumbs along the side. Press them firmly against the edge.
- Place ⅓ of the crumbs or 15 grams evenly on the bottom of the shell. Press in firmly. Set aside.
Chocolate Truffle Filling
- Bring the cream, butter and sugar to a simmer over medium heat. Whisk gently to make sure the butter is melted, and the sugar is dissolved. If not, reduce the heat and continue whisking until all is mixed and the mixture is steaming hot, but not boiling - about 180 degrees on a candy thermometer.
- Remove from the heat; add the chocolate and vanilla. Submerge the chocolate under the cream mixture and let sit for about 5 minutes. Whisk gently until smooth.
- Using a rubber spatula, go around the bottom edges of the pan to make sure all of the chocolate is incorporated.
- Ladle about 2 ounces of chocolate filling into each shell, making sure it stays just under the top of the shell. Chill to set, or freeze for later use.
Releasing the Tarts
- Turn the tarts upside down. Place a small, flexible, metal spatula under the rim of the tart pan. Rotate the spatula all the way around the shell. Twist the spatula up to release the rim. If it doesn't release, go around it again. Remove the rim.
- Place the spatula between the bottom of the shell and the bottom of the tart, making sure it reaches the middle. Rotate the spatula around the bottom, keeping the spatula against the tart pan bottom and not the tart. Lift the bottom off.
- Turn the tarts upside down to top with the raspberries.
Finishing the Tarts
- An hour or so before serving, remove the tarts from the refrigerator.
- Fill the tarts with fresh raspberries.
Notes
Crumbs for the tarts can be made from the crackers. Either process them in a food processor or put several in a plastic bag at once and pound them with a rolling pin or mallet until finely crushed.
For the 9" tart, follow all the directions for the individual tarts using all the crumb mixture for the shell and all the filling.
The tarts can be frozen without the fresh raspberries for a couple of months if well wrapped. Thaw them in the refrigerator overnight. Proceed as directed.
4 inch heart shaped, or round tart pans can be found on Amazon. At the restaurant, I use these 4" round tart pans and love them. They can be machine washed and stand up to a commercial dishwasher. Make sure to get tart pans with removable bottoms. They also come in 4" heart shaped pans.
Nutrition
Calories: 789kcal | Carbohydrates: 64g | Protein: 7g | Fat: 58g | Saturated Fat: 35g | Polyunsaturated Fat: 2g | Monounsaturated Fat: 16g | Trans Fat: 1g | Cholesterol: 107mg | Sodium: 141mg | Potassium: 507mg | Fiber: 11g | Sugar: 39g | Vitamin A: 1302IU | Vitamin C: 20mg | Calcium: 95mg | Iron: 5mg
