
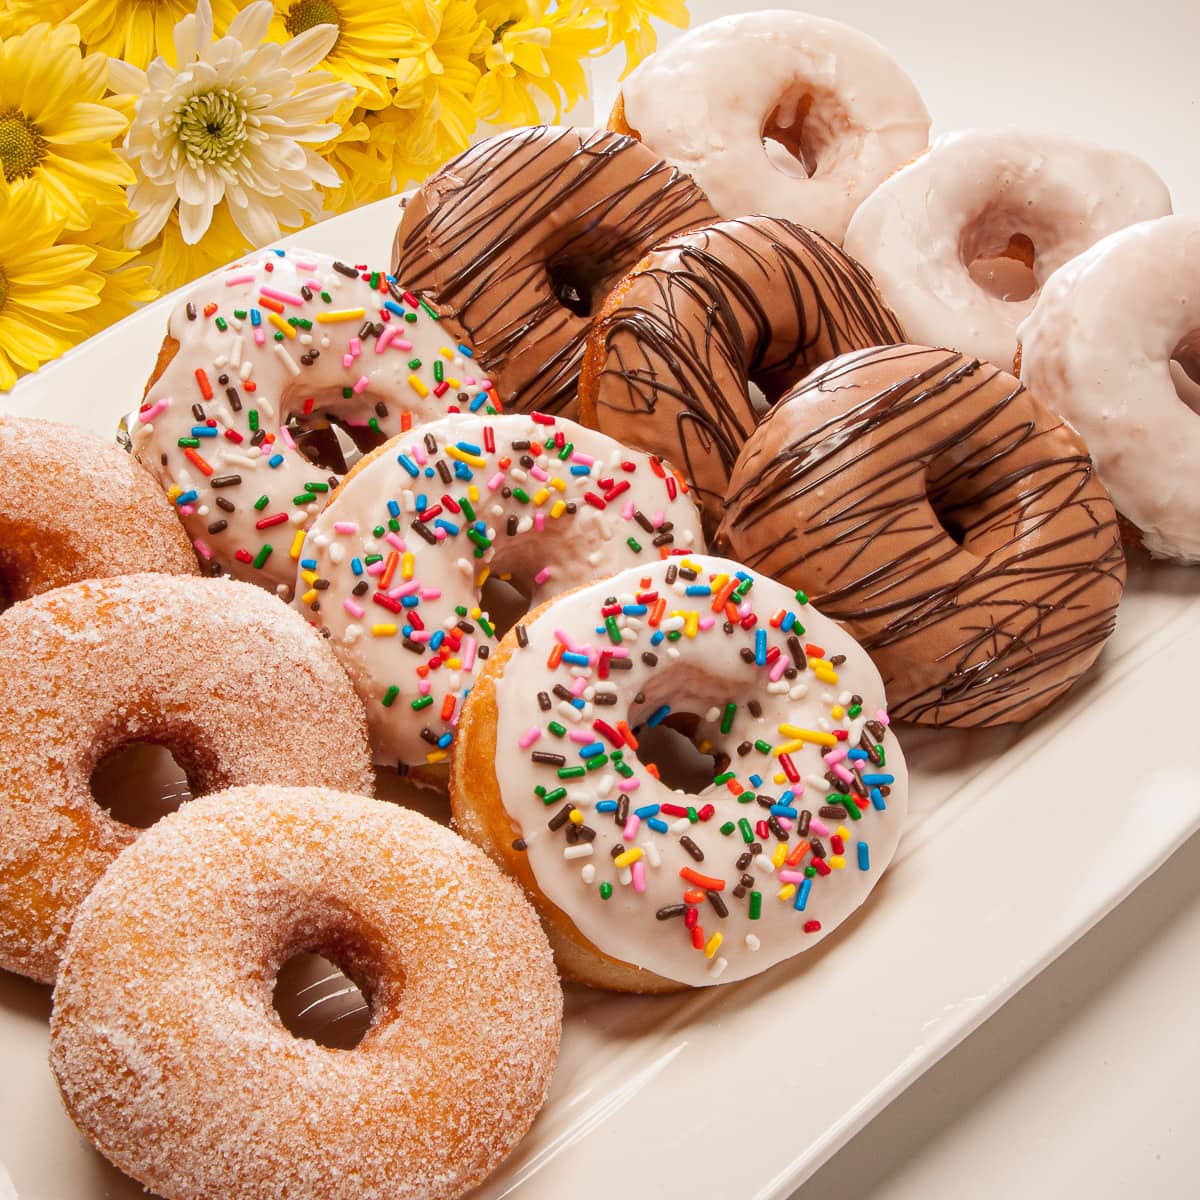
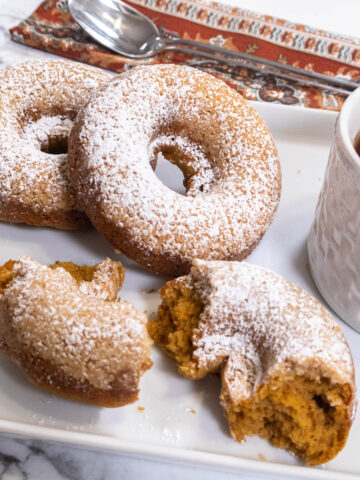
Doughnuts have always seemed to be an ethereal food – out of reach of most of us. But nothing could be further from the truth! In reality they take about 20 minutes to mix up, after which they rise, unattended and then sit contentedly in the refrigerator overnight. After a quick roll out the next day they are on their way to the last rise before being fried to a golden brown. Between the two days you have 45 minutes invested for the treat of a lifetime because if you have never had a homemade doughnut, you have not had a real doughnut. Be sure to check out my post on Fried or Baked Doughnuts.
Yeast doughs have an undeserved reputation of being difficult. I know people who will tackle the most complicated recipe but won’t go near a yeast dough. I’m not sure where that comes from. Yeast doughs are extremely forgiving. This recipe is tailored to making yeast dough easy. The mashed potato flakes give the yeast something to eat for a light, high rise and a longer shelf life. The honey adds color and flavor to the finished item also adding to their shelf life.
The dough can be shaped after it’s first rise but it is easier to do after chilling overnight or up to 2 or 3 days. Just make sure it is tightly covered. It may rise again when refrigerated, just punch it down, cover well and forget about it. These would make an ideal treat on a weekend. Start them on Friday or Saturday and have them for breakfast on Sunday.
There are several types of yeast. Little cakes of fresh yeast are very difficult to come by these days and have a short shelf life. Active Dry yeast and rapid rise both come in envelopes, three to a pack. I call for active dry yeast in this recipe. Instant yeast is yet another kind. However, i am told that instant and active dry can now be used interchangeably. The flour used is bread flour that has the strength to support a high rise. All-purpose flour will do in a pinch although bread flour is readily available in most areas and is best for yeast bread. The dough will rise the first time in about 1 ½ to 2 hours depending upon the temperature of the room.
Once the dough has risen and been shaped it needs to rise a second time. The second rise is usually about one third less time than the first one. Once the doughnuts are light and doubled in size, it is time to heat the oil. Vegetable oil is fine here.
A braising pan that has straight sides and is several inches deep is ideal for deep frying. Do not use a shallow pan. The oil should have a depth of about ½ inch so the doughnuts float in the oil. The oil should be heated to 375 degrees on a thermometer. I usually test a few doughnut holes to make sure the temperature is right. After that, add just enough doughnuts to comfortably fit in the pan. Do not crowd them. Fry until golden brown on both sides. Remove to a rack lined with paper towels.
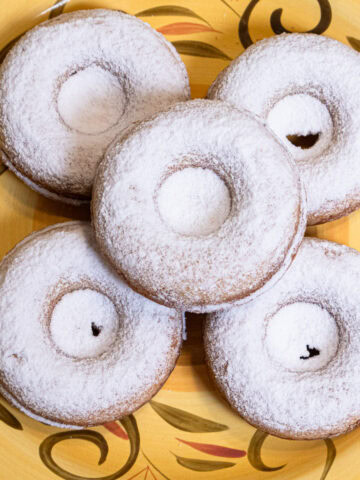
For sugar doughnuts, add them to a bowl of granulated sugar while warm. Turn them over to sugar the second side. If glazing, wait until they have cooled. Just follow the recipe and you will indeed have fresh as a daisy doughnuts to enjoy with your family and friends.
Fresh as a Daisy Doughnuts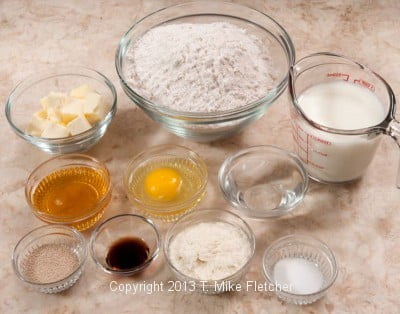 1 cup milk (can be whole or 2%)
4 tablespoons butter, cut into pieces (60 grams or 2 ounces)
¼ cup honey
¼ cup mashed potato flakes
1 egg
1 teaspoon vanilla
1 package active dry yeast (7 grams or ¼ ounce)
¼ cup water (90 to 100 degrees)
3 cups bread flour (454 grams or 1 pound)
1 teaspoon salt
Vegetable oil for deep frying
Granulated Sugar as needed
Glaze, below
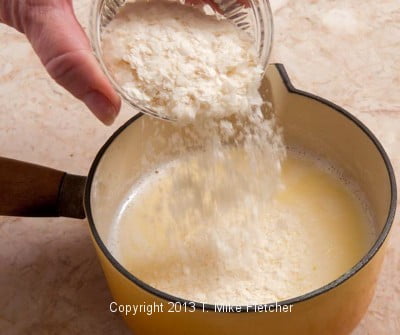
Heat milk to simmering. Remove from the heat and add the butter; stir until melted. 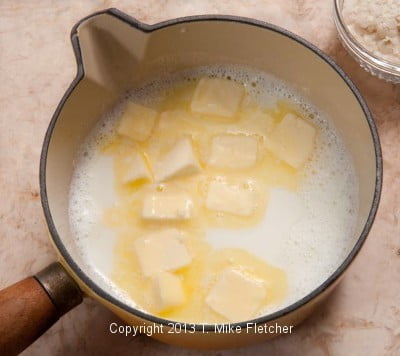 Add the honey and potato flakes.
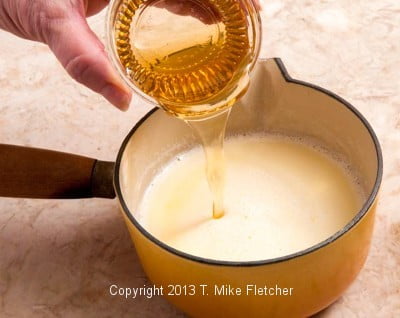
 Whisk all together.
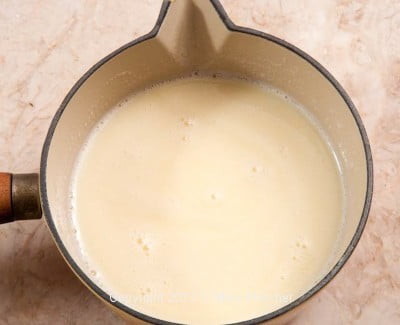 Let cool to lukewarm.
In the meantime, break the egg into the mixing bowl, add the vanilla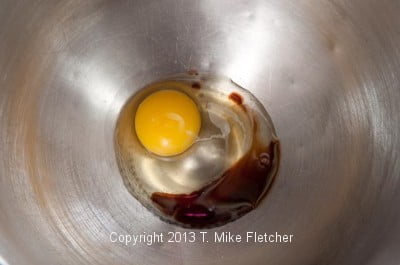 and whisk to blend completely.
 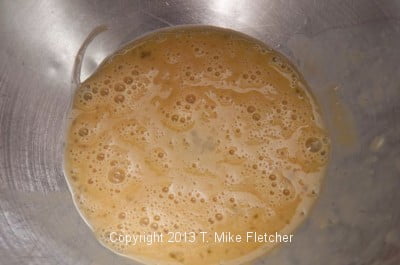 Add the milk mixture after cooling.
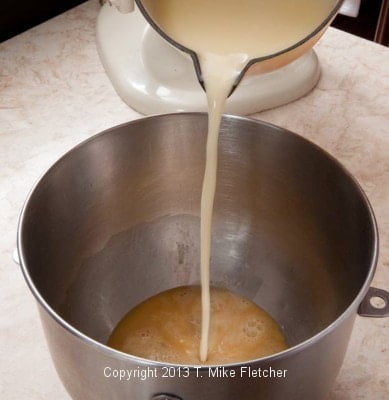 Dissolve the yeast in the water and
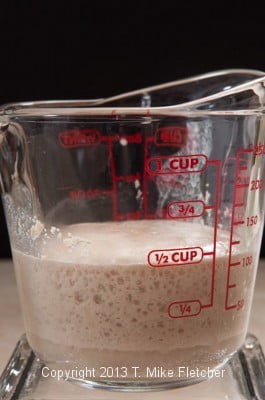 add it to the liquid in the mixing bowl
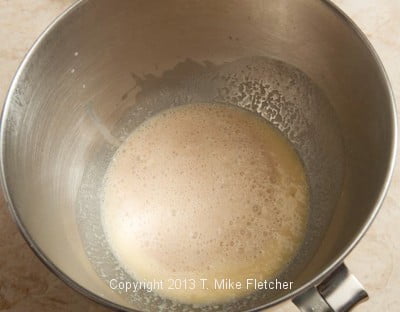 fitted with a dough hook or a paddle attachment. Add the flour and salt all at once
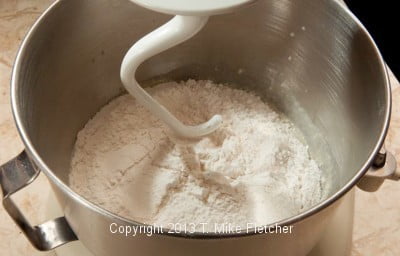 and mix on medium until it forms a dough;
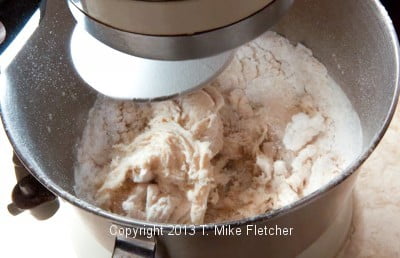 continue mixing to knead the dough for 3 more minutes. The dough should clean the side of the bowl.
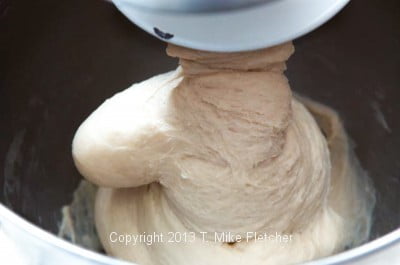
Spray a bowl at least twice the size of the batter with cooking spray. Place the dough in the bowl and spray the top lightly. 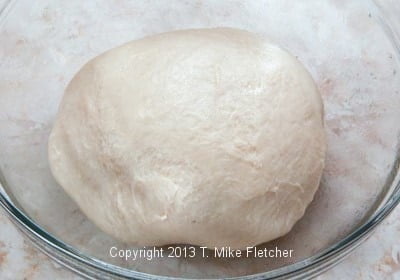 Cover the bowl with plastic wrap and mark the time on it.
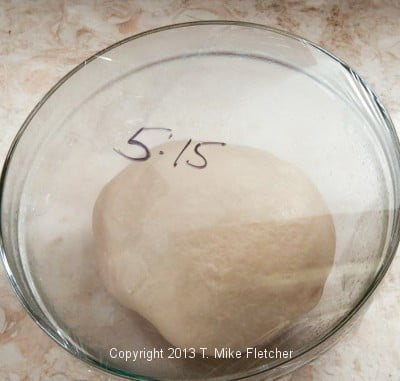 and let rise for 1 ½ to 2 hours in a warm place or until doubled in bulk.
 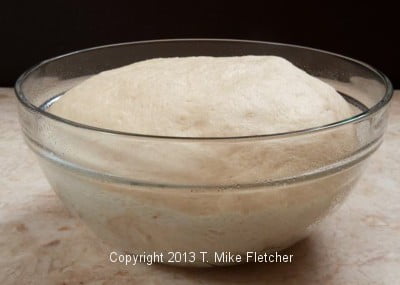 Punch the dough down and reshape into a ball. At this point the dough can be used immediately or refrigerated up to 2 days before using. The dough will probably rise again in the refrigerator; punch down, cover the surface tightly with film. Shape when cold.
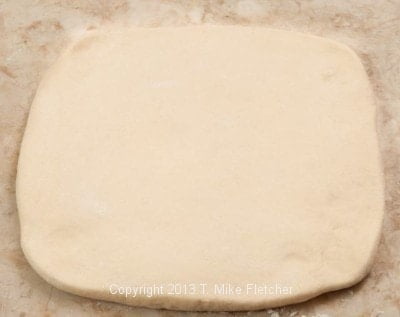
Punch the dough down. Line 2 baking sheets with parchment. Roll into a 10x10 inch square. 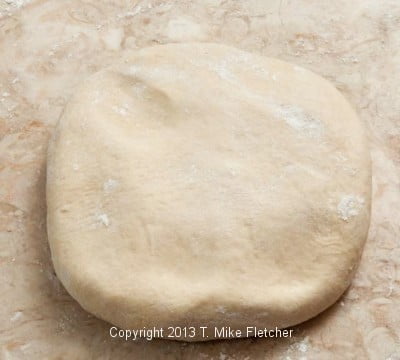
 Cut out 9 three inch rounds of dough.
 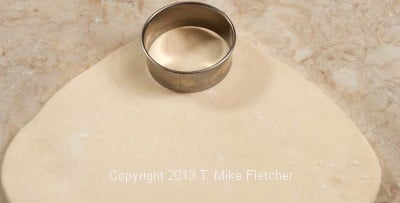 Cut small holes out of the centers.
 Place on a parchment lined baking sheet. Re-roll the scraps and cut out 3 more doughnuts and holes.
 Cover with a tea towel
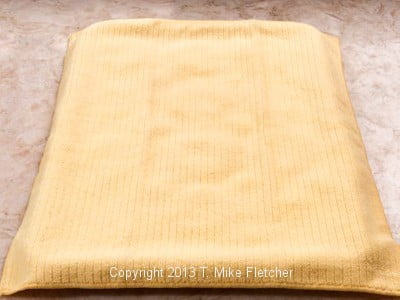 and allow to rise about 1 hour or until very light.
Pour about ½ inch oil into a straight sided pan or Dutch oven. Heat to 360 degrees.
In the meantime line a baking sheet with a double thickness of paper towels. Test a doughnut hole – it should become a golden brown within 1 ½ to 2 minutes, flip over carefully (I turn them with a narrow meat fork in the hole) and fry the other side. Place 4 to 5 doughnuts in the pan at once depending upon the size of your pan.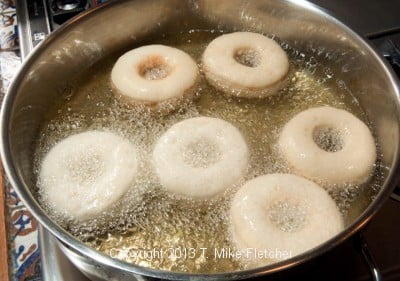 Do not crowd. Fry on one side, flip over and fry on the other.
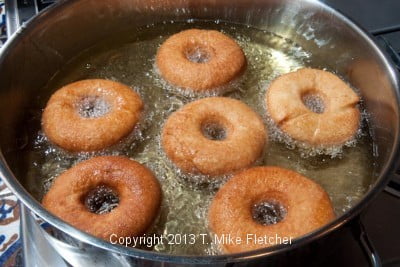 Drain on paper towels.
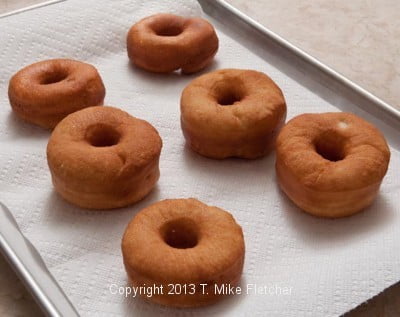 If sugaring doughnuts, place a doughnut in a bowl of sugar.
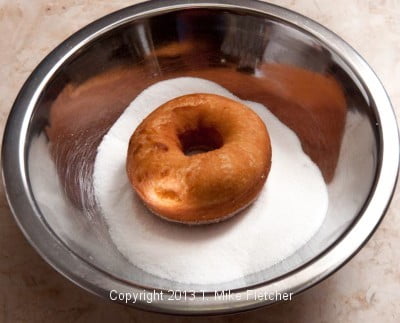 Turn over and dredge the other side.
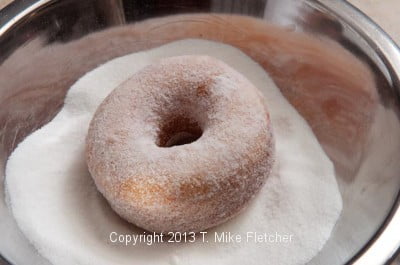
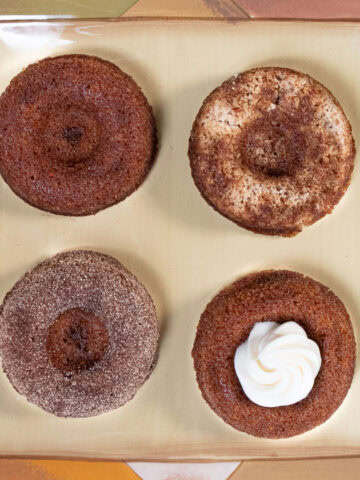
Glaze - If you wish to have both the plain and chocolate glaze, make the plain glaze, dip your doughnuts and then add the melted chocolate to the remaining plain glaze.
1 ½ cups powdered sugar (190 grams or a 6.6 ounces)
1 ½ tablespoons milk (may need more)
1 ounce semisweet chocolate,melted, optional (30 grams)
Sprinkles, optional
Sift the powdered sugar and add the milk; stir until smooth. Dip a doughnut hole in the glaze and let it sit for several minutes. If the glaze is too thin, add a bit of powdered sugar. If too thick add a bit of milk to thin it out. Dip top of doughnut in glaze,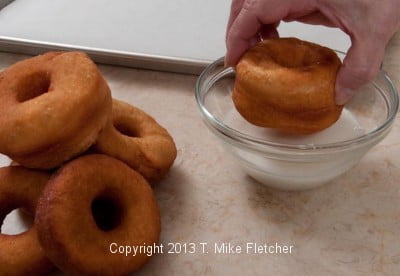 let excess drip off,
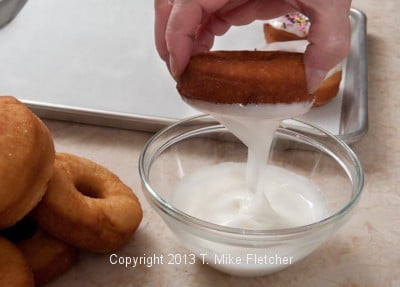 turn over
 and place on tray to dry. If using sprinkles, apply them as soon as the doughnut has been dipped.
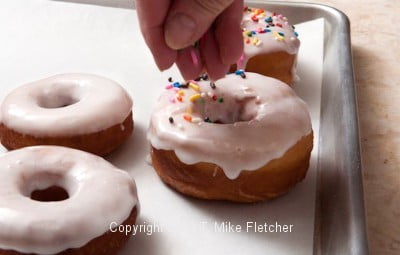 Add the chocolate if using after you have dipped the plain ones.
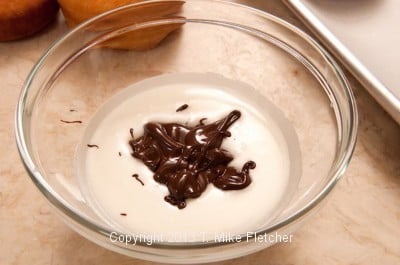
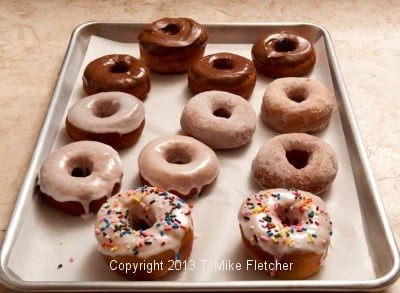 So the reason you don't see any doughnut holes is I ate them all while frying the doughnuts. See if you do any better!!!
Yield: 12 doughnuts and holes (if you don't eat them all first)
For a faster no yeast doughnut, see Crumb Baked Cake Donuts Recipe.
For another great doughnut recipe, check out A Dozen Chocolate Cake Doughnuts.

Pam says
The donuts turned out great and now my husband wants them every weekend!
I used unsalted butter since salt is in the recipe, it just doesn't specify where to add salt, if the salt is table salt or kosher, or if the butter is unsalted. So I just added it with the flour. The donuts still turned out wonderfully, regardless.
Thanks for another amazing recipe!!
Helen S Fletcher says
Hi Pam, I corrected the salt problem and the butter doesn't matter which is why which one to use isn't listed. As to salt, it's always table salt unless it is specifically listed as sea salt, etc. I generally don't get into the myriad number of salts. Thanks for pointing these out. So happy you enjoyed these.
Mikael says
I tried my best with several doughnut recipes a couple of months ago and did not find a recipe to match my skills in the kitchen(or rather lack of skills). This recipe seems very simple and explained in an easy to understand way. Do you have any idea what I could substitute the mashed potato flakes with? This is not something I can easily find in Denmark.
Regards
Helen S Fletcher says
Hi Mikael, I have not tried this but it should work. Make a roux of 1/4 cup flour (this is replacing the potatoes so it is in addition to the regular amount of flour called for in the recipe) and the butter. Whisk in the milk slowly to make a smooth paste. Bring to a boil for 1 minutes. Cool to lukewarm an add the honey. Proceed as called for in the recipe. If you do this, let me know how it worked. I know there are differences in what ingredients can be found in different parts of the world. I do hope you try this and let me know. Just email me at [email protected].
Jon says
Nice post! Someone asked if you can freeze them? I haven't done that either, but I have frozen cake doughnut dough and it worked very well. I think that you could freeze them as long as its before the second rise, so that the dough doesn't become sour or overworked and fails to rise. I also like to freeze beignets it's pretty effortless to pull a few doughnuts out of the freezer and fry them!
hfletcher says
Thanks Jon: The other alternative to freezing them before frying would be to do it after frying before glazing. I would reheat them briefly in a 350 degree oven to freshen them. If I get the chance I will remake them (Oh darn! I'll have to eat those doughnut holes again!!!)and try both ways.
Thanks for the comment. Love beignets. However, having all this stuff round when one person is diabetic (my husband) and I am trying to lose weight is maddening.
Kim says
I made the recipe per your instructions but when I tasted the fried doughnut hole it was lacking something. I think that something is salt. I must have forgotten it and boy does that make a difference! I went to all the work and waiting only to have a lack tasting donut. :( So I just added more sugar to try and make up for it!! :)........still needs salt!
hfletcher says
Oh No!!! What a shame. When I first read the read this I thought I left the salt out of the recipe. That would be huge. But I didn't. So sorry because this is a base dough that can be used for any sweet yeast dough recipe. This is the same dough used in the Cinnamon Raisin Bread. Hope you try it again.
N Fudge says
Hi, what kind of vegetable oil do you use? Is it ok to freeze the cut dough to fry for another time?
hfletcher says
I use canola oil. I have never tried freezing them so I couldn't advise you there.
Catharina Linkenbach says
...and of course that should read baker, not beaker ;)
Catharina Linkenbach says
Hi Helen, as a home beaker with years of experience turning into a professional I really love your approach: it is so common sense but not too relaxed to spoil the result. I will definitely try these donuts but suggest that you keep in mind that you have a European audience, too. Novices might put the yeast in almost boiling water, thus killing it and contributing to the dough's reputation of being difficult. Fahrenheit or Celsius after the temperature is all that needs to be added to avoid disappointment.
Keep your fantastic recipes coming!!!
Happy baking
catharina
hfletcher says
Hi Catharina: Thank you for your comment. You bring up a good point and I will certainly consider it.
manisha says
Doughnuts look delicious..I would love to try this recipe but frying is one technique that I have failed to learn. Mom tells me that it is the easiest thing to do... :) if I make them then all the credit will go to you for converting me.
hfletcher says
Hi Manisha: The biggest thing to keep in mind is the temperature of the oil. You need to maintain it at 350 degrees so a thermometer is a must. The frying takes a matter of minutes so the temperature is easy to maintain.
Kim says
thanks Helen!!
Kim says
you are tempting me again with yumminess!! Is a braising pan the same as a "dutch oven" pan? As in a small stock pot? I have a 5 qt, 9inch bottom with 3.5 inch side. Is this what I should use?
hfletcher says
Hi Kim: A braising pan is a deep, straight sided frying pan. The sides of mine are about 2 1/2 inches deep. You can see it in the photos of the doughnuts frying. That is a braising pan. A dutch oven can be used but not a stock pot. Any pan that has deep sides and is 9 to 10 inches in diameter can be used. The larger the pan the more oil you will need. Just don't crowd the doughnuts.