
While the most important aspect of any cake is the taste and texture, there are other important features regarding cakes. So we are going to address some of them.
Preparing the Cake Pans - Cake Pan Prep for Flat Layers
Splitting cake layers – As anyone knows who as been reading this blog, I like to bake the exact number of cake layers I need as opposed to splitting them. However, I realize that not everyone has as many cake pans as I do. There are many ways suggested to split cake layers. Toothpicks marking where the cake should be sliced as well as an adjustable cake slicer are a couple. However, one thing is not usually mentioned. If the layers are partially frozen, they are easier to slice cleanly. This is especially true of sponge and chiffon layers which are light and delicate. A long, sharp, serrated knife can be a big help as it can go from one side of the cake to the other.
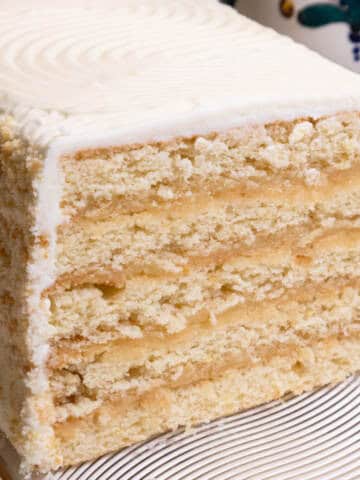
Filling cake layers to avoid trimming them – This is a method we used at the bakery for a lot of our cakes, especially if they had wiggly fillings, like ganache, pastry cream, lemon curd, etc. You will need a deep cake pan the same size as the layers. In other words, we used 9x3 inch cheesecake pans to assemble 9 inch cakes. Our pans had removable bottoms but that is not strictly necessary. Place a cake layer in the pan,
spread the filling on, top with another cake layer, more filling, etc. Continue until all the layers are filled, topping with the final cake layer. Refrigerate or freeze. Remove the cake and you won’t need to trim. Just undercoat or finish. If the assembled cake was taller than the pan, we would build a collar to extend the height by folding several layers of foil that will go from the bottom of the pan to over the top to support the cake.
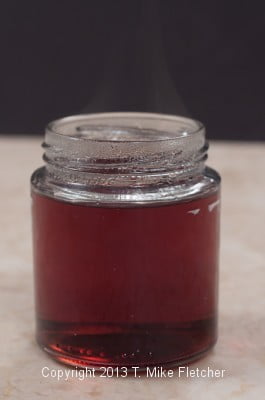
Soaking syrups are used to impart additional flavor to a cake and to keep it moist if it is dry. It consists of a light simple syrup that is usually enhanced with liqueur, fruit juice, compounds or extracts to taste. Simple syrup is a one to one ratio of water to sugar that is boiled for 1 minute. So it would be 1 cup of water to 1 cup of sugar (200 grams or 7 ounces). We generally used ¾ cup syrup to ¼ cup liqueur or a 3 to 1 ratio of syrup to liquid flavorings, except in the case of extracts and compounds which should be added to taste.
For the cake to absorb syrup, the top should be trimmed to remove any crust or the cake layer turned upside down.
The amount of syrup a layer will hold depends upon the type of cake. A sponge will hold less than a butter cake before getting soggy.
The chart below provides the approximate amounts we used, per layer on the different size layers.
Layer Size Round Cake Square Cake
6 inch layers 1 to 2 tablespoons 2 or 3 tablespoons
8 inch layers 2 to 3 tablespoons 3 to 4 tablespoons
9 inch layers 3 to 4 tablespoons 4 to 5 tablespoons
10 inch layers 4 to 5 tablespoons 5 to 6 tablespoons
12 inch layers ⅓ cup ½ cup
14 inch layers ½ ⅔ cup
16 inch layers ⅔ cup ¾ cup
18 inch layers ¾ cup ¾ cup to 1 cup
20 inch layers 1 cup 1 ¼ cups
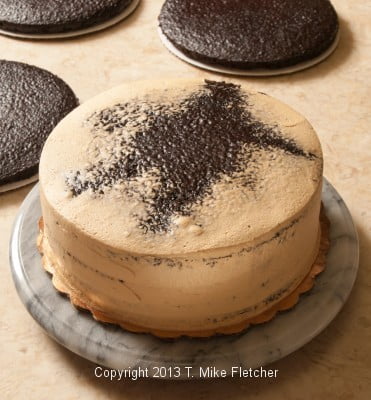
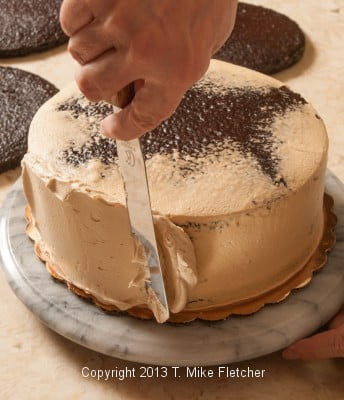
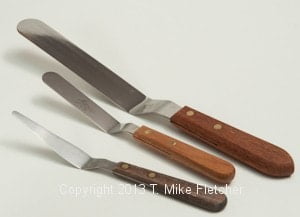
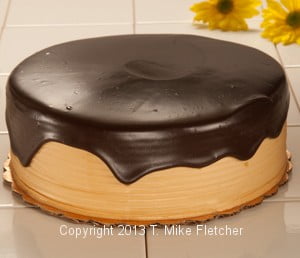
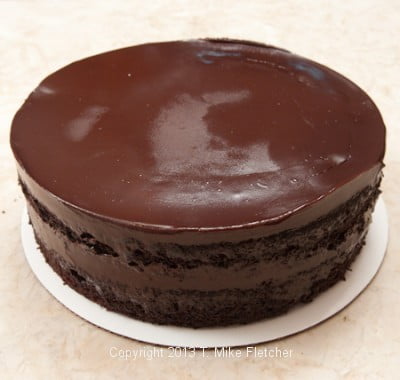
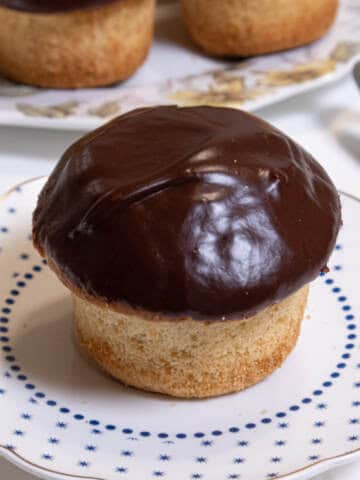
Undercoating – For the best looking cakes, undercoat them. This is also referred to as crumb coating. The purpose of undercoating is to keep the crumbs from showing on the final finish. By applying a thin coat of buttercream, the crumbs will be trapped. This Espresso Fudge cake is the featured photograph at the beginning of the blog.We would generally refrigerate the cake briefly to set the buttercream. Then a second, heavier coat of buttercream would be applied and the cake would be finished. A large offset spatula is indispensable to finish the top of the cake with no spatula marks.
Cutting cakes – Professionally cutting cakes requires clean cuts with no crumbs on top of the cake. The easiest way to do this is to have a deep container of really hot water and a pile of paper towels next to the cake. Dip a serrated knife into the hot water, quickly dry it and, while it is still very hot, melt through the frosting on the cake and cut straight down. Do not use a sawing motion.
At the bottom, pull the knife straight out toward you. Do not bring it back to the top of the cake. That is where all the crumbs come from. Repeat the heating, drying and cutting until the cake is cut. If the finish wants to pull away, lightly place your thumb and first finger on the frosting on opposite sides of the knife to hold the finish in place while you withdraw the knife.
Cutting the correct number of pieces – If a marker is not available, simply lightly mark the top of the cake in half, then crosswise into fourths. Each fourth can easily be cut into 2,3,4 or 5 pieces depending upon the cake and the number desired.

Marge Gavin says
Do you have a recipe for bread pudding. There was a restaurat in
our area for a number of years called DUFFS their bread pudding was
excellent, it seems carmelly on the bottom and their vanilla sauce
was excellent. Can you help me with this?
hfletcher says
Hi Marge: I went on line to see if there was something and there is no help there. I have no idea about there bread pudding - I never ate there. But the St. Louis Post Dispatch Food section might be able to find it in their archives. Contact them and ask the same question. Hopefully they can help you. Good luck.