
These amazing individual wedding cakes are so much easier and elegant than the smaller ones that are covered in buttercream or fondant. Most individual wedding cakes are so small, they consist mostly of buttercream and/or fondant.
I designed, and my bakery produced about 175 of these little wedding cakes for a luncheon involving the media, wedding planners, florists and others associated in producing weddings. We did this white cake filled with raspberry buttercream and a chocolate cake filled with chocolate ganache. To say they were a hit was an understatement. There are any number of combinations of these two cakes and filings that can be used.
I am including the chocolate cake layer recipe also, so you can make a chocolate version of the individual wedding cakes.
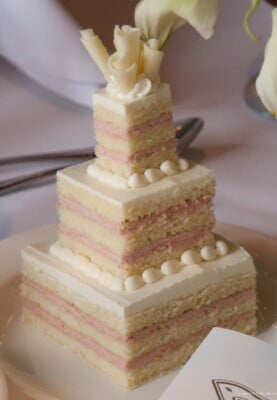
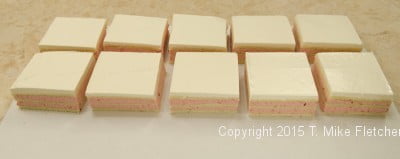
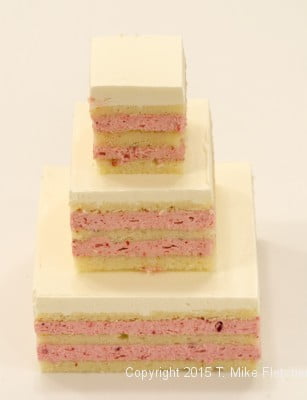
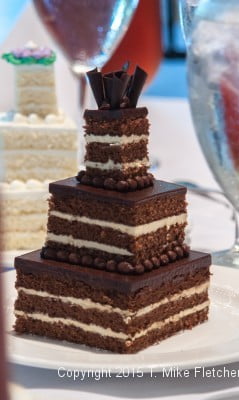
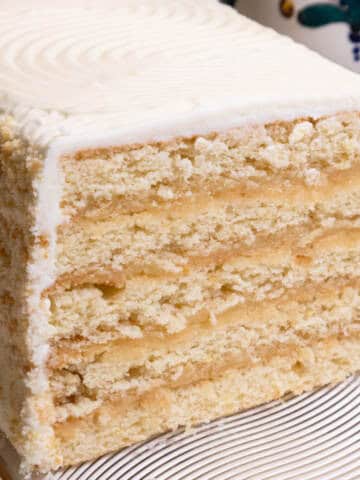
I found this petit four cake layer a very long time ago in a newsletter about chocolate. It is the perfect layer for a petit four. It stays perfectly flat and tastes wonderful. It also cuts beautifully without crumbs when cold, but should be served at room temperature. These three layer cakes are nothing more than unfinished petit fours cut in 1,2 and 3 inch squares that are stacked together. You can see at this point just how doable these miniature wedding cakes become.
While the cake layers are easy enough to make, they are extremely thin - ¼ inch at the most. Follow the instructions below, and it will be possible to release the cake layers from their pans and put them on the layer below in one fell swoop. The cake and the buttercream can be made ahead and simply assembled when needed. The entire cake can be frozen if properly protected.
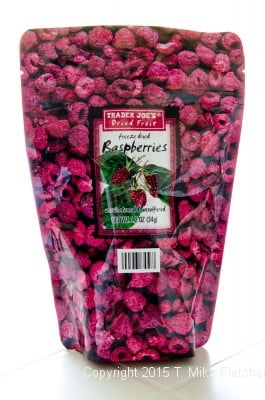
At the shop, we used 3 types of raspberry to get enough flavor into the buttercream. Because these ingredients aren't available to the consumer market, I waited until I could find the ingredients that would bring a strong raspberry flavor to the buttercream. By combining freeze dried raspberries with seedless raspberry jam, the pop of raspberry flavor really comes through. Freeze dried fruit can be found in any number of places. However, the pricing is amazingly different. The best price I found in S. Louis was Trader Joe's. The most expensive was REI - I'll never buy from them again.
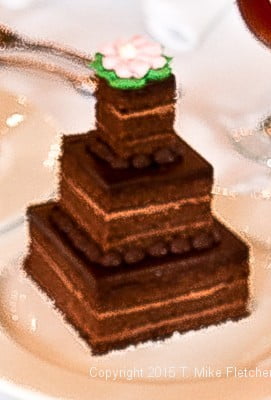
The top of each of the individual wedding cakes can be decorated as you see fit. To finish the cakes, I used miniature white chocolate curls for some and small piped flowers for others.
White Petit Four Layer - using the ingredients below, how to photographs can be seen at the Tri-Chocolate Pate.
3 cups cake flour (300 grams)
1 tablespoon baking powder
¼ teaspoon salt
¾ cup butter, softened (170 grams or 6 ounces)
2 ¼ cups sugar (450 grams or 16 ounces)
¾ teaspoon vanilla
1 ½ teaspoon almond extract
6 eggs, divided
2 cups milk
6 tablespoons sugar (75 grams or 1 ½ scant ounces)
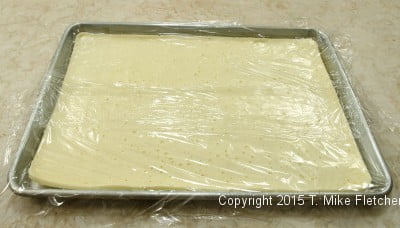
Lightly spray three ½ sheet pans (a half sheet pan is 18×13″) and line with parchment. Do not spray the parchment. Set aside.
Preheat oven to 325°F.
Combine the flour, baking powder and salt. Whisk to mix. Set aside.
Cream the butter, 2 ¼ cups sugar, vanilla and almond extracts until light. Add the egg yolks and beat until well mixed.
Add the flour mixture alternately with the milk, mixing on low. When adding the milk, the batter may curdle or be on the verge of curdling. Just continue because after you add the all flour it will come together.
In a clean mixing bowl, whip the egg whites to the soft peak stage. Slowly add the sugar and beat to medium peak stage. It is preferable to under beat rather than over beat the whites.
Fold into the batter.
Divide one third of the dough into each pan (525 grams or 18.40 ounces). Spread it evenly into the prepared pans (it will be very thin) and bake for 12 to 15 minutes until set and a cake tester comes out clean. Cool completely.
Assemble as soon as the layers are cooled or freeze the layers in their pans if possible.
Batter weights 1575 grams or 55 ¼ ounces.
Chocolate Petit Four layers
Reduce cake flour to 2 ½ cups (250 grams or 9 ounces) and add ½ cup unsifted dutched cocoa. All the rest remains the same.
Raspberry Buttercream
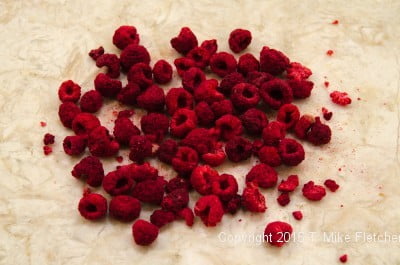
1.2 ounce package freeze dried raspberries
1 Recipe Italian Buttercream
½ cup Raspberry jam or preserves, seedless
Prepare the Italian Buttercream as called for in the Swiss Italian Buttercream omitting the vanilla and almond extracts.
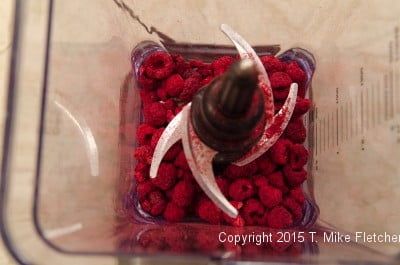
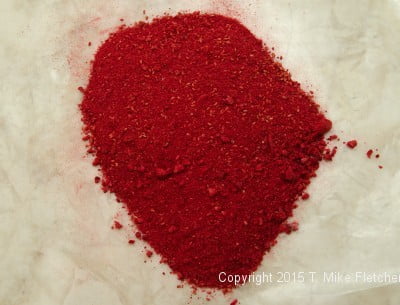
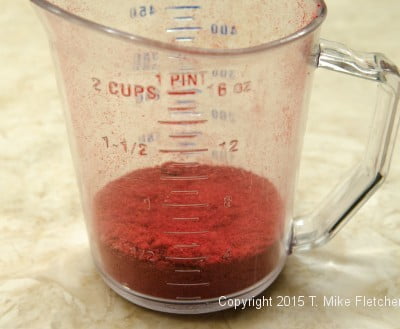
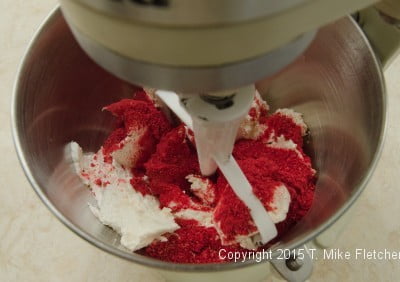
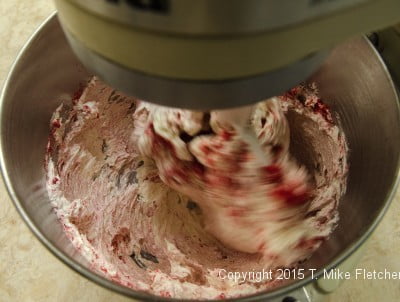
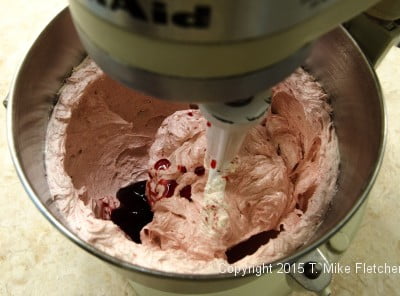
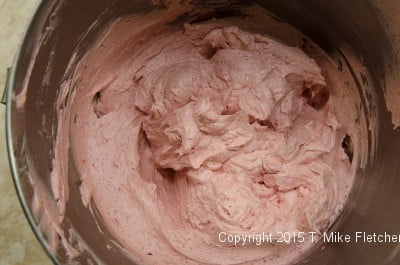
Place the raspberries in a blender and powder them. There should be about ½ cup. When the Basic Italian Buttercream is completed, add the powdered raspberries, beating well. Add the jam, mixing completely.
Yield 1125 grams or approximately 2 ½ pounds.
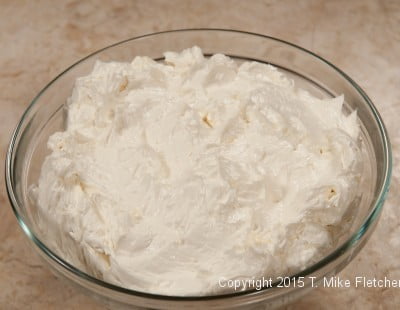
1 Recipe Italian Buttercream – Make as called for. Although one half of this recipe is to be used, it cannot be cut down any further and maintain it's quality.
Assembly
3 half sheets white cake
1 Recipe Raspberry Buttercream
I Recipe Basic Buttercream
Miniature white chocolate curls, optional
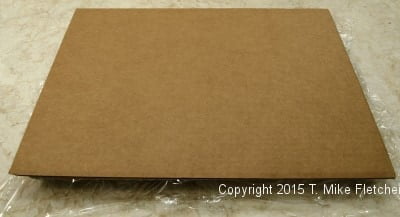

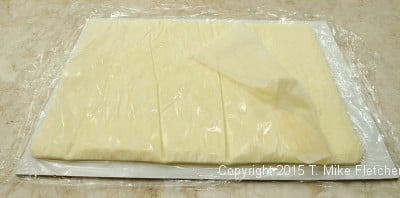
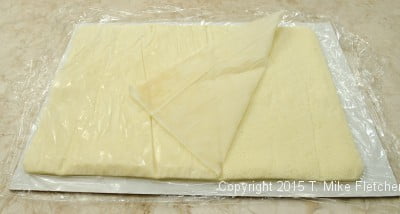

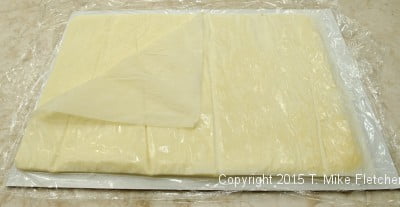
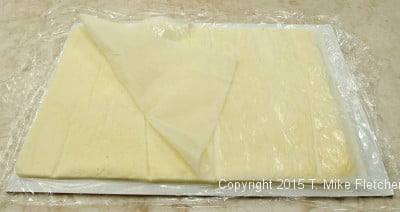
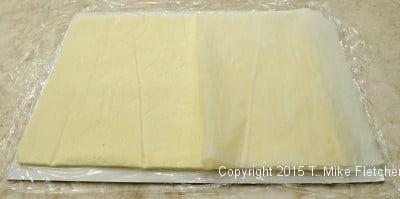

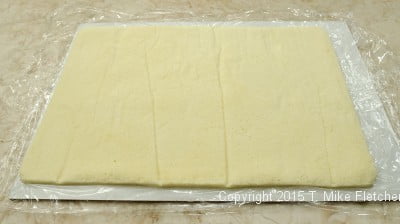

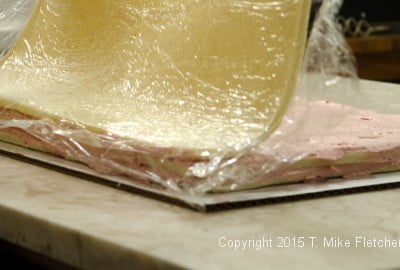
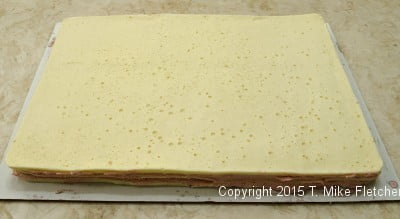
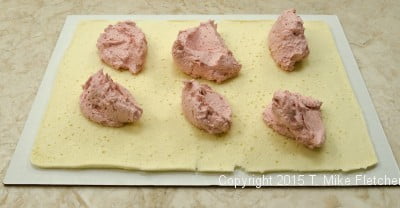
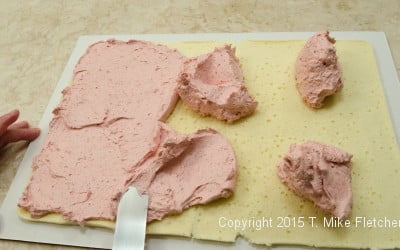
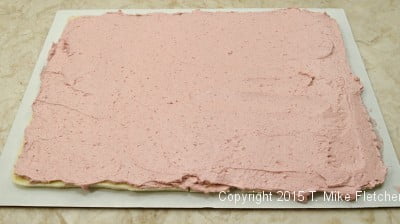
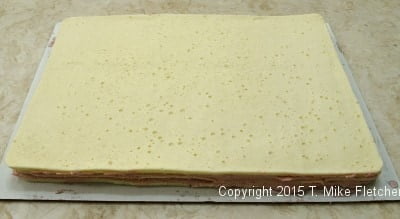
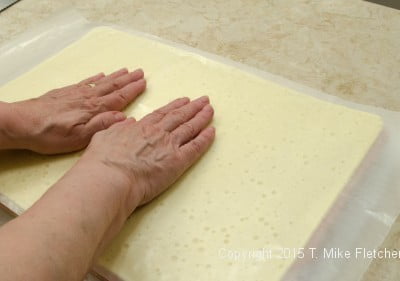
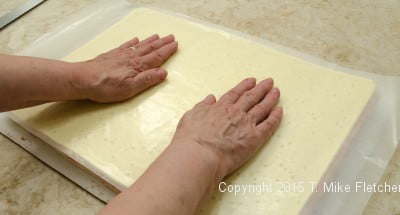
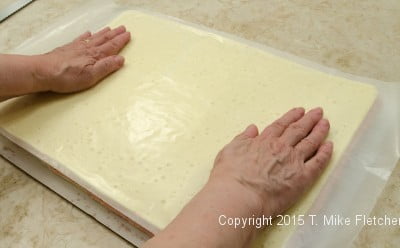
To remove the cake layer from the pan, cover the top of the layer with film. Place a cake board over the top of the pan and flip it over onto the board. The layer will be very thin, and it is important to gently remove the parchment. Carefully pick up the parchment on one corner of the short side. Keeping the paper close to the layer, pull it back slowly on the diagonal removing it only to the center of the layer. Go to the other corner on the opposite side of the layer you started on. You should have half of the parchment removed to the center. Release the other side in the same manner. Then gently remove the parchment. To move the layers, pick the cake layer up using the film on one long side. Quickly lay the layer cake side down. The cake layer will be right side up at this point. Gently remove the film. (The photos show the top layer being lowered onto the layer beneath it. However, the technique is the same for all 3 layers.) Spread half of the raspberry buttercream evenly over the first layer. Take off any excess and smooth out. Place the second layer of cake over the buttercream, using the same film technique above, lining up the long and short edges of both layers of cake before lowering it over the buttercream below. Spread with the remaining raspberry buttercream. Remove any excess.
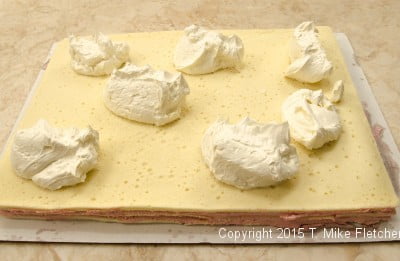
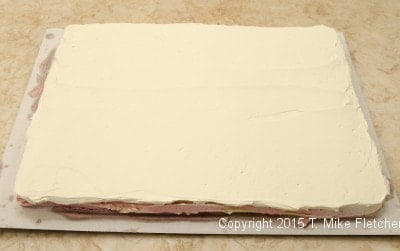
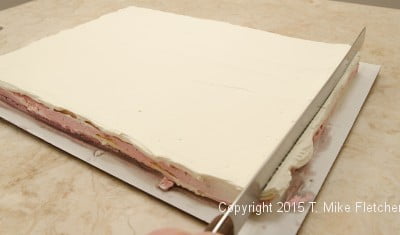
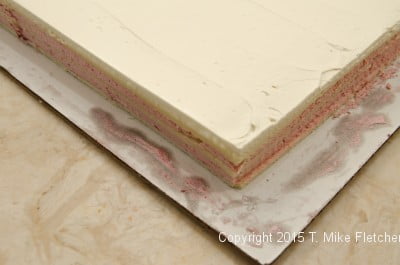
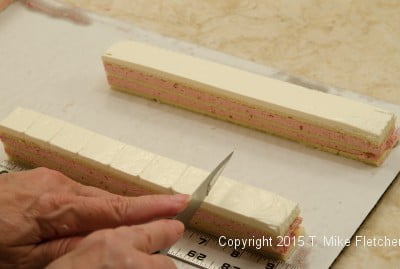
Place the last layer of cake over the buttercream. Place a piece of parchment on top and press the layers down lightly to make sure they all adhere to each other and the layer is flat. Remove the parchment and top the cake with half of the Italian buttercream, smoothing it out. Chill the cake before continuing. Let the cake layer sit at room temperature for about 20 to 25 minutes, depending upon the temperature of the room. You want the buttercream to softened a bit but still remain firm. If you try to trim the edges while the cake is cold, the buttercream on top will crack, and you will not get a clean cut as shown in the photos. Trim the barest amount of cake from all the edges. A sawing motion, will keep the cake from having a "squashed" look. You should have a 15"x11" trimmed cake.
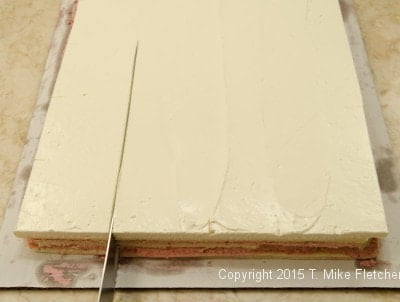
From the long side cut a 3" slice off and divide into five 3" squares. Remove them to a clean board. Cut another 3" slice off and repeat the five 3" squares for a total of ten 3" squares. Add them to the clean board.
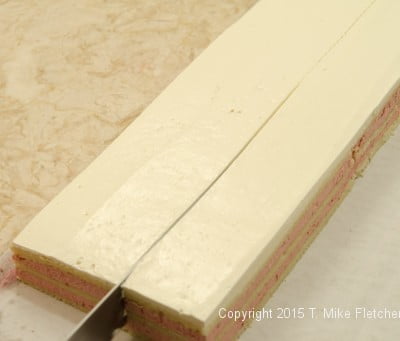
Next cut a 2" slice off and divide into seven 2" squares.
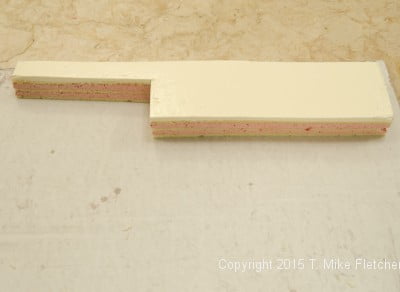
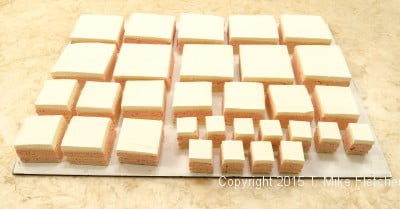
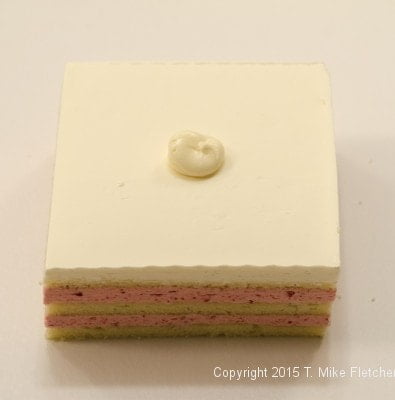
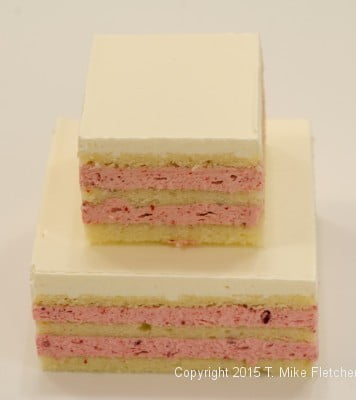
Cut three more 2" slices from the remaining cake. Add all of these to the board with the 3" squares.Cut ten 1" squares from the remaining cake. Add these to the above board. Refrigerate until firm. They must be set to work with them at this point.Place a small amount of buttercream in the middle of a 3" square. Seat a 2" square on top of the buttercream. Repeat with the 2" square and seat a 1" square on top of it.
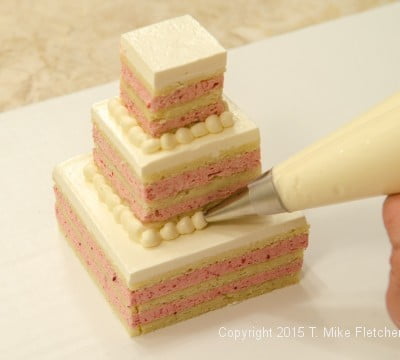
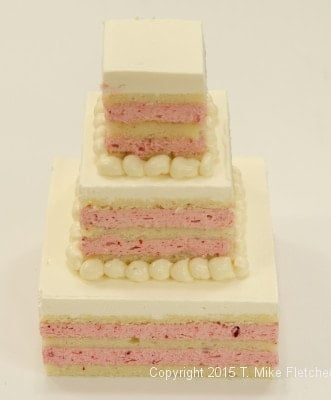
Seal the edges with basic buttercream. I used a #5 small ateco tip for these.
Finish the top with chocolate curls or piped flowers as desired. Refrigerate the cakes. The cakes can be frozen to hold them.
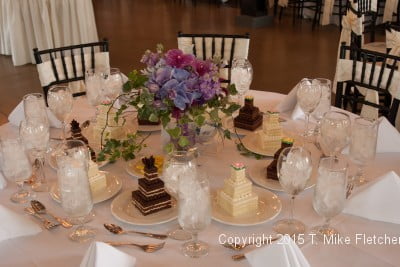
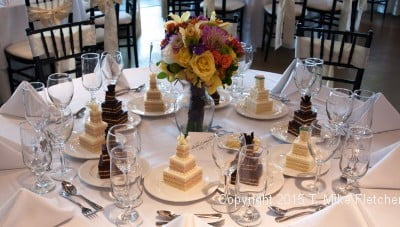
Here are additional photos of the cakes used for the function. You can see we varied the tops with chocolate curls and piped flowers.

eileen says
I have been admiring the photo on your website and waiting for the post. I cannot wait for the opportunity to try this! eileen
hfletcher says
Thank you Eileen. The cake layers are the only tricky point because they are so thin. Other than that you are a few steps away from these little lovelies.
Stephenie says
So elegant! Just wow!
hfletcher says
Thanks Stephenie - I was so proud to see them on the tables. I still love them - 7 years later!
ellen says
This is just amazing. For years I've been searching for a way of making raspberry flavour really intense, and I do have some freeze-dried powdered raspberries. I also make my own jam with much more fruit and less sugar than commercial jam. I can't wait to try this. Your technique could go for any sort of celebratory gathering, wouldn't necessarily have to be a wedding, would it?
hfletcher says
You absolutely could use this for any gathering. You could also just cut it into small squares and use as petit fours.
donte says
These are amazing Helen!
What I'd like to know:
You mention "sheet pan" and I have never understood the terminology (Full Sheet, Half Sheet, Quarter Sheet). For this recipe, the pan sort of looks 9x13'ish. Is this a Quarter Sheet pan?
Donte
hfletcher says
Thank you so much for bringing this to my attention. I have added this information to the recipe. A half sheet pan is 18x13 inches with rimmed sides. A full sheet is 26x18 and a quarter sheet is 9x13. Hope this helps.
Manisha says
Wow Helen!!!!!! I am Speechless
hfletcher says
Thanks Manisha - I have wanted to post this for a while but it was a lot of work. Took me longer than I thought. I know you will find ways to use the raspberry buttercream.
Manisha says
Helen it is difficult to find freeze dried raspberries here. Could I use frozen ones or seedless raspberry preserve in buttercream???
hfletcher says
Hi Manisha - It has to be the freeze dried to get the pop of flavor. It takes a pound of fruit to yield that small amount of powder. Go online - you will find a lot of places that that sell the freeze dried. The buttercream is fortified with seedless red raspberry jam but the freeze dried add a lot of flavor. Hope this helps.