
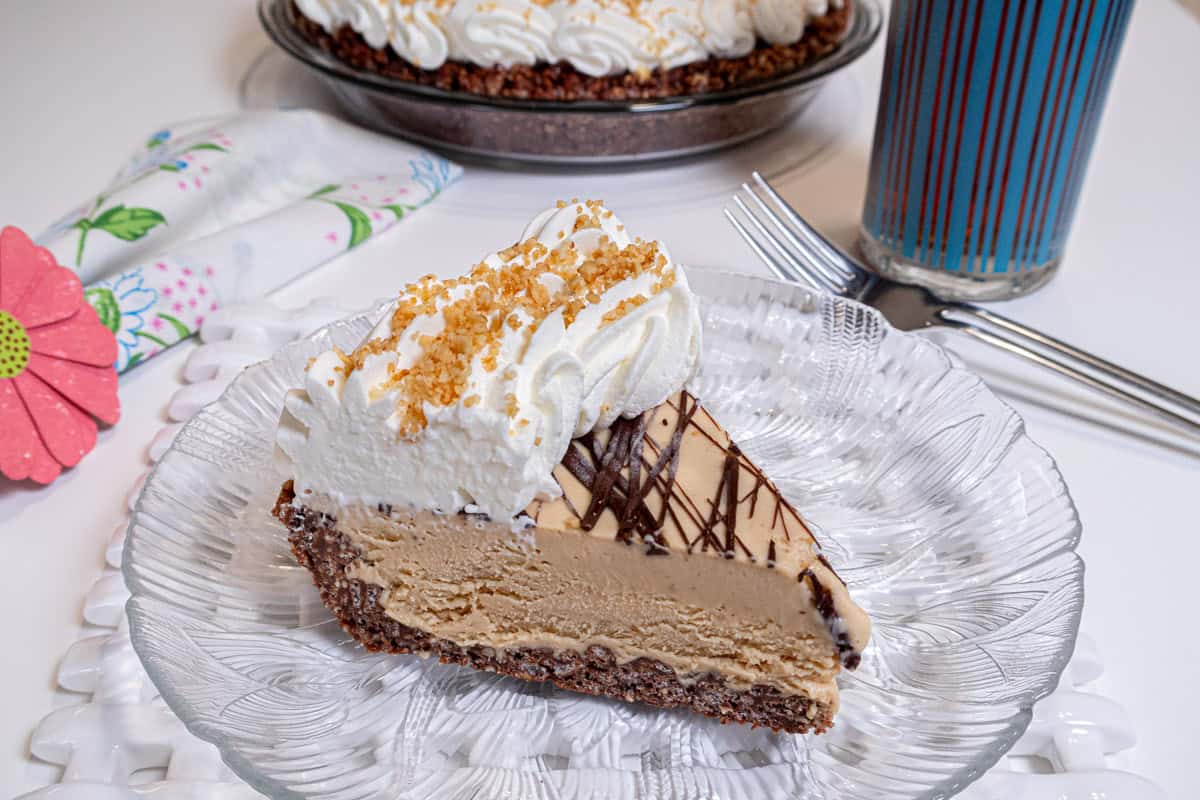
This Peanut Butter Ice Cream Pie would be perfect anytime but during the summer months it's the perfect end to a BBQ. It's a do ahead, no bake recipe that is easy as can be with a chocolate rice crispy crust that stays pliable even in the freezer.
A super smooth and easy homemade no churn peanut butter ice cream fills the chocolate crust in this extravaganza.
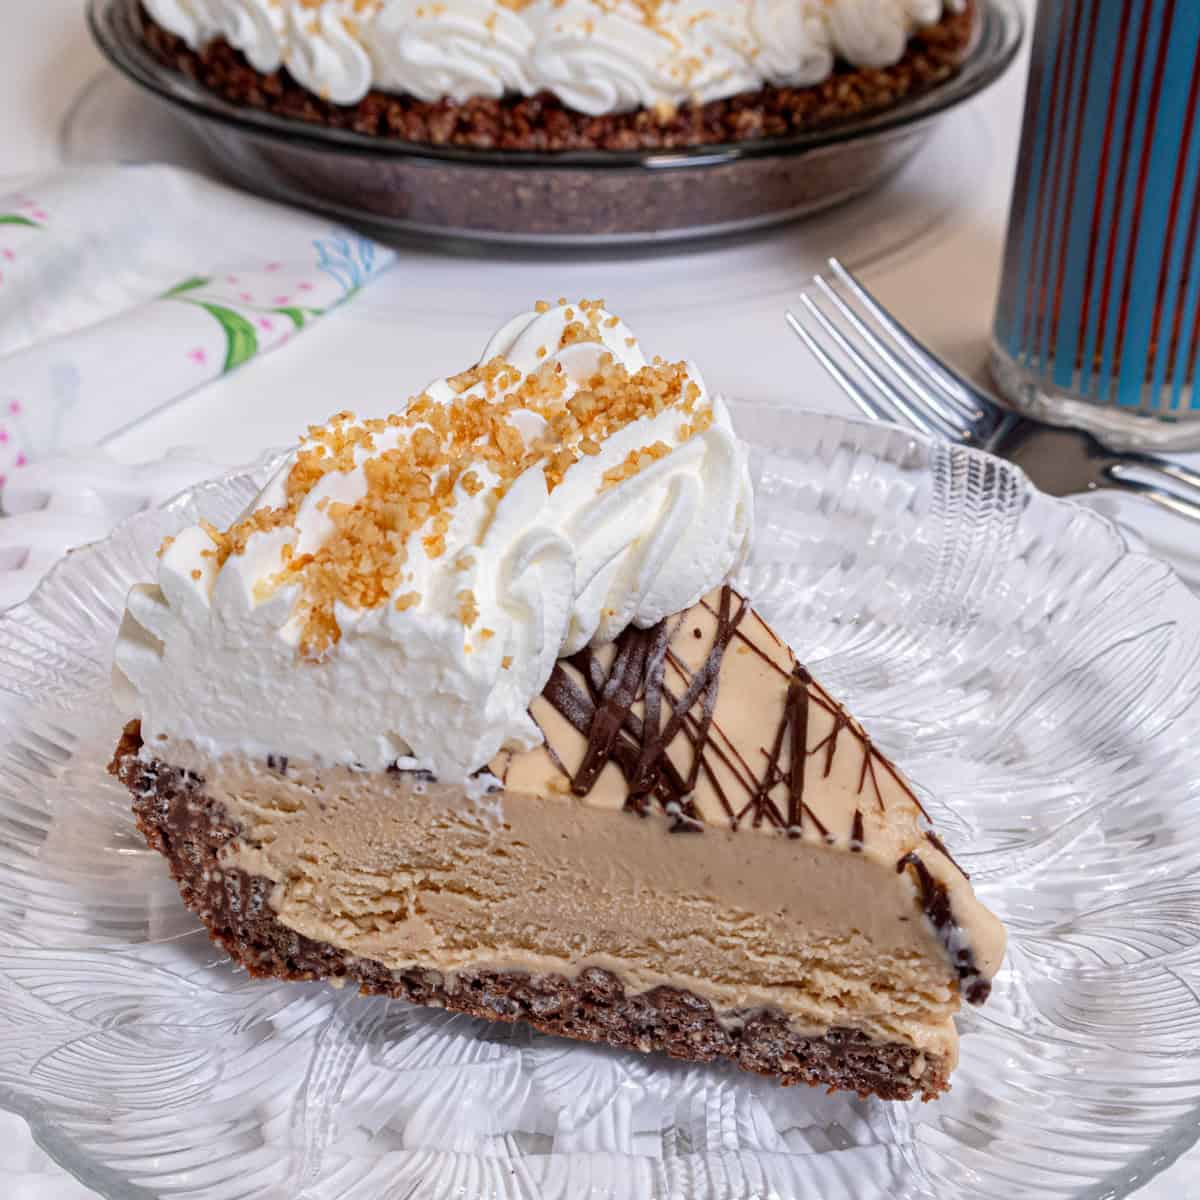
A crunchy crust is juxtaposed with the smoothest ice cream you'll ever make. And it's all so quick and easy.
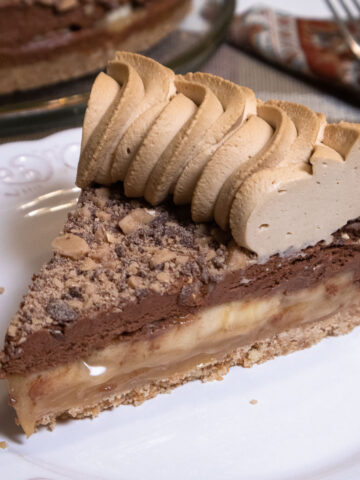
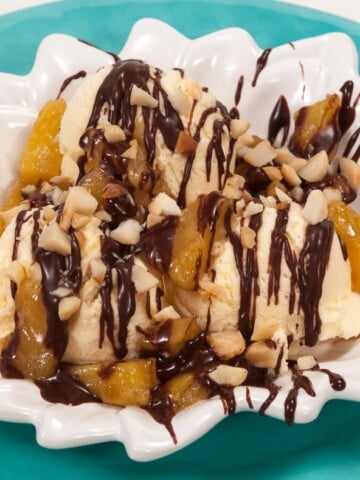
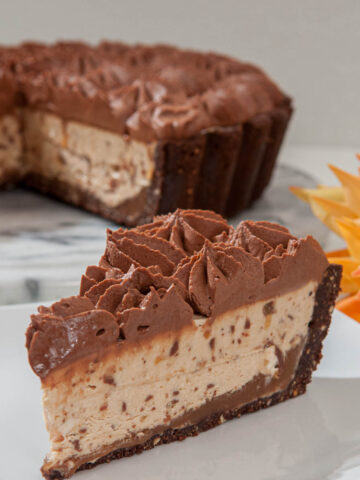
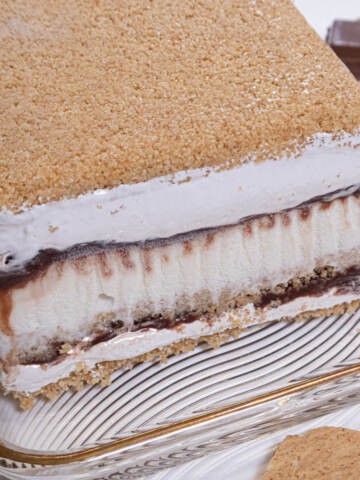
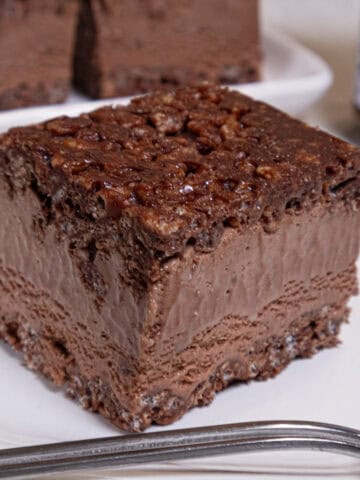
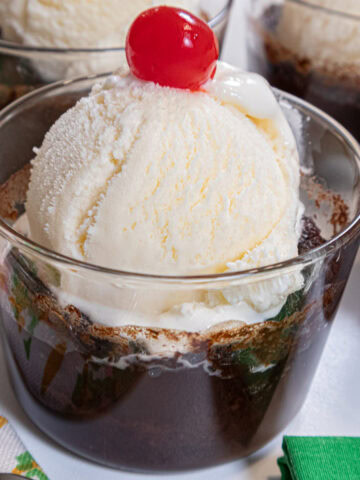
Looking for another fun frozen dessert? Try these Homemade Ice Cream Sandwiches, my Hawaiian Sundae and my Truly Amazing S'mores Ice Cream Cake.
Jump to:
Chocolate Rice Krispies crust
I've added a couple of ingredients to the chocolate crust to make it a better eating experience. By adding a bit of honey to the crust and reducing the chocolate just a little, it's more like rice krispie treats and who doesn't like those? The crust retains its crunchy texture even if completely thawed. Crushed up honey roasted peanuts adds another flavor ingredient.
When pressing it into a well sprayed pie plate, it's easiest to use nitrite or vinyl gloves. Latex gloves are not recommended as some people are allergic to them and handling the food with them can trigger a reaction. Lacking gloves, use a plastic bag as a glove. The crust is very sticky so you can use a little non-stick spray on them which helps.
No churn, no machine ice cream
This is so easy, it's like falling off a log. Truly! The key ingredients are whipped cream and condensed milk. After that, the sky's the limit. In this case we used peanut butter and vanilla extract but that's it. And a smoother, creamier ice cream you won't find. It can get a tad hard in the freezer so it's best to take it out about 10 to 15 minutes to let it soften a bit.
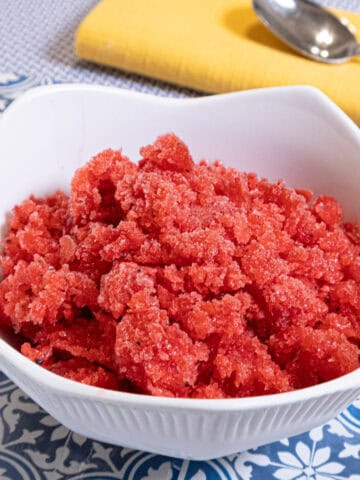
I have several more on my blog including: No Churn Caramel Brickle Ice Cream, No Churn Peach Swirl Ice Cream, No Churn Nutella Ice Cream, and Double Chocolate No Churn Ice Cream. Other cold and frosty treats are the L'Opera Ice Cream Cake and the very exciting Strawberry Balsamic Granita which is the easiest dessert ever.
Why you want to make this recipe
- It's so easy you won't believe it.
- Everyone will be impressed.
- A crunchy crust and a velvety ice cream make a great team.
- It's perfect anytime but especially during the summer heat.
- Who doesn't like peanut butter and chocolate (Don't tell me, I don't want to know!)
Recipe Ingredients
Chocolate Rice Krispie Crust
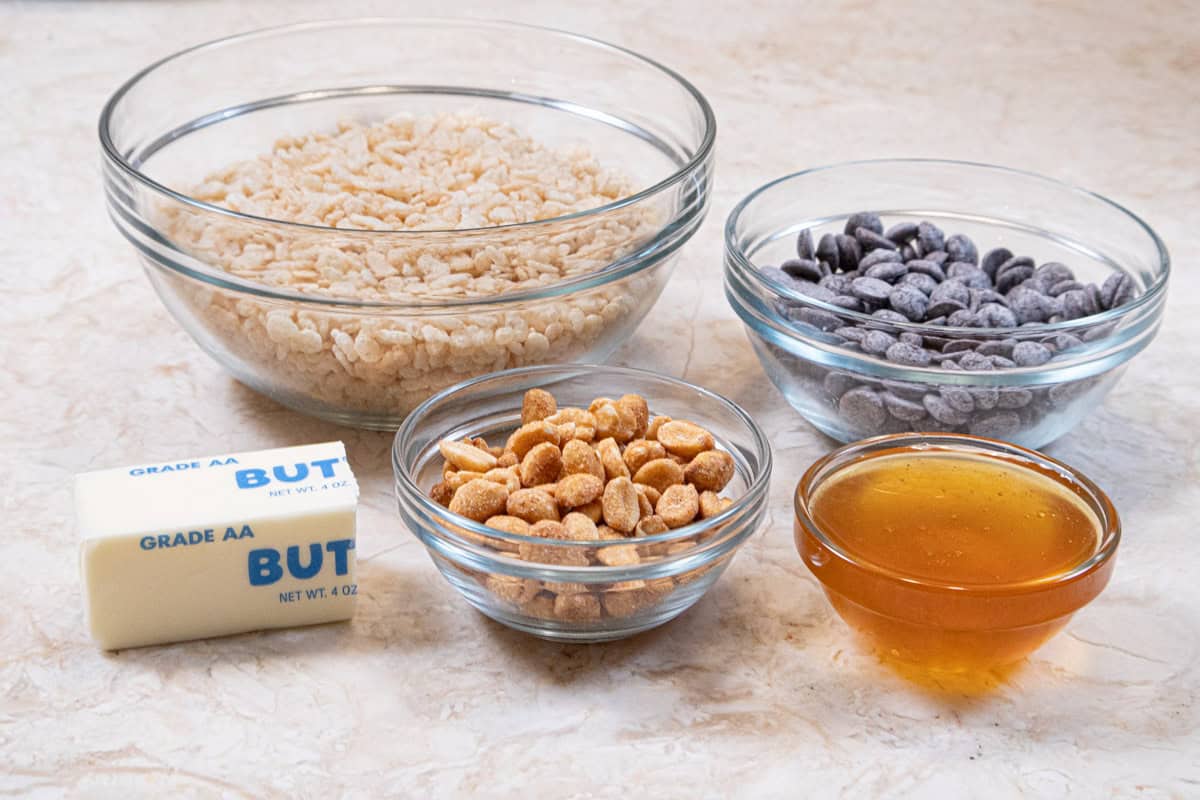
FRONT ROW: Unsalted butter, honey roasted peanuts, honey
BACK ROW: Rice Krispies, semi-sweet chocolate
Peanut Butter Ice Cream
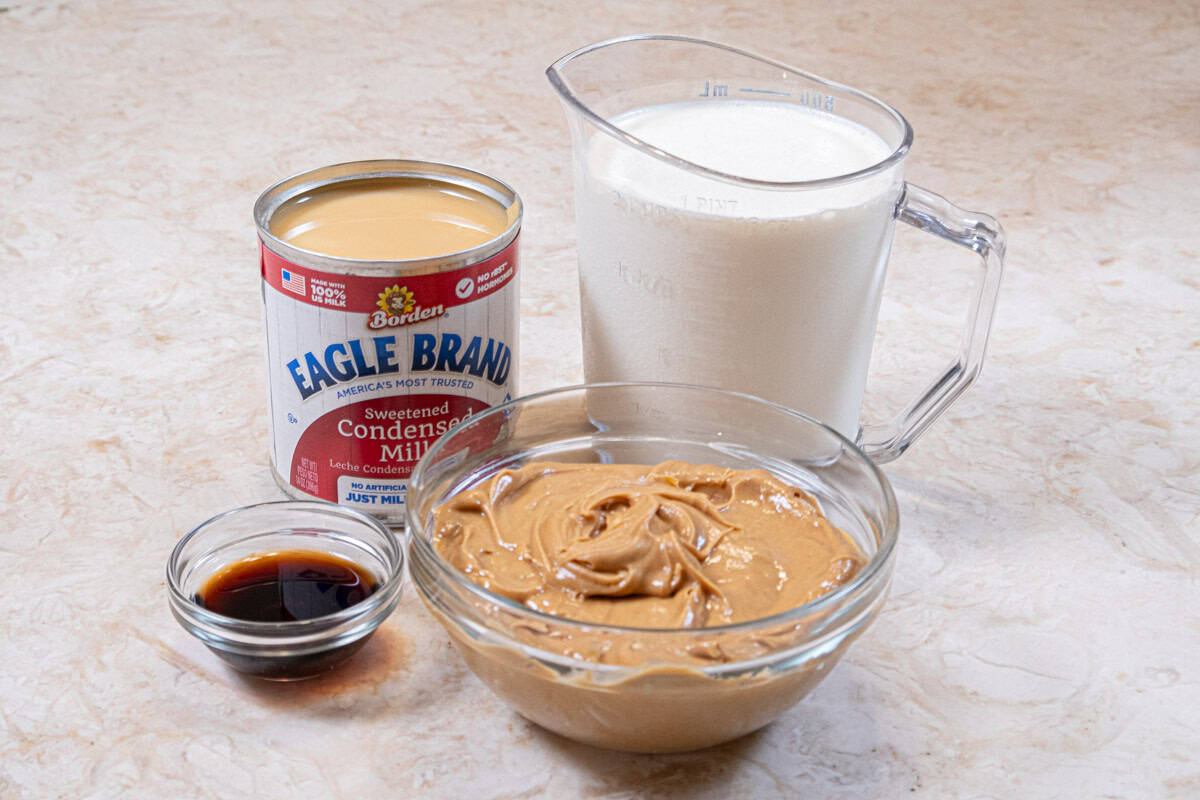
FRONT ROW: Vanilla extract, creamy peanut butter
BACK ROW: Condensed milk, heavy cream
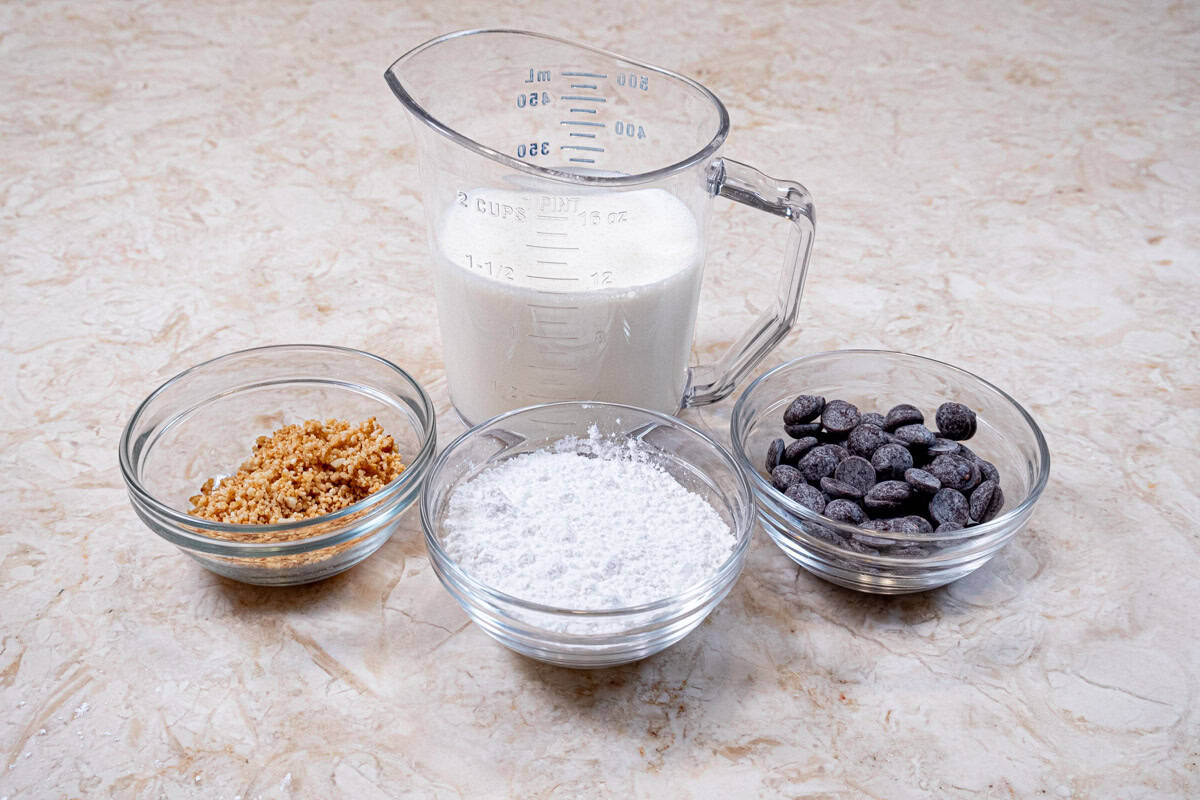
FRONT ROW: Honey roasted peanuts, powdered sugar, semisweet chocolate
BACK ROW: Heavy Cream
Key Ingredients
- Any crisped rice cereal can be subbed as long as it's like Rice Krispies
- The semisweet chocolate I used is Callebaut Callets #811. The callets look like chocolate chips but they are pure chocolate. However, any good chocolate is fine.
- A basic raw honey is best here.
- Be sure to use sweetened condensed milk and not evaporated milk which is a different product.
- A commercial brand of peanut butter butter is better than natural for the smoothest ice cream
- Heavy cream or 40% cream should be used due to its viscosity.
Be sure to see the recipe card below for the full ingredients & instructions.
Step by Step Instructions

Step 1. Place the peanuts in a processor and process fairly finely. Reserve 2 tablespoons. Step 2. Add them to the bowl of rice krispies. Step 3. Combine the chocolate, butter and honey in a small saucepan. Step 4. Place over low heat to melt the chocolate and butter, stirring frequently. This can also be done in a microwave at half power to prevent the chocolate from burning.

Step 5. Pour the chocolate over the rice krispie mixture. Step 6. Stir the mixture together until everything is evenly coated. Step 7. Spray the pie pan well with a non-stick baking spray. The mixture is very sticky. It is best to use nitrite or vinyl gloves to press the crust in or simply use a plastic bag as a glove. Spraying them lightly with a non-stick baking release will help keep the crust from sticking to the gloves. Use a table knife to press the sides securely around the rim of the pan. Step 8 Place in the freezer while preparing the ice cream.

Step 9. Stir together the condensed milk and the peanut butter until smooth. Step 10. Fit the mixer with the whisk attachment. Whip the cream to fairly stiff peaks. Don't get it too stiff or it will be difficult to mix in the thick peanut butter mixture. Step 11. Add half of peanut butter mixture and beat it in on low. Step 12. Add the remaining peanut butter mixture in and beat in on low. If it is still lumpy, raise the speed and beat until smooth.

Step 13. Pour the ice cream into the crust and freeze. Step 14. Melt the chocolate at half power in the microwave and drizzle it over the top of the frozen pie. Step 15. Whip the cream stiffly. Step 16. Fit a pastry bag with a #4 open star and pipe the cream to around the edge of the pie. Pipe a second ruffle inside of that one. Sprinkle the reserved ground peanuts on top of the cream. Store in the freezer.
NOTE: To release the pie, leave it at room temperature for about 15 minutes. Go between the pie and the pie plate with a small metal spatula. You probably can't go all the way to the bottom of the pie plate but just loose the top edge. At this point the entire pie should be able to be removed and placed on a cake board by simply placing a cake server under the bottom crust where it can be lifted out. This will make cutting it much easier. Cut into small slices as this is extremely rich.
Recipe FAQS
Depending upon what the other ingredients are, if the cream is not whipped quite so stiff, that helps when it freezes. However ingredients such as chocolate and peanut butter will make it harder. The other option is to add a couple of tablespoons of alcohol such as vodka, rum or a liqueur to the recipe. The alcohol will prevent it from freezing hard.
Both evaporated and condensed milk start with cow's milk and are made by removing about sixty percent of the water to form a concentrated, shelf-safe form of milk. Evaporate milk is unsweetened but condensed milk has about 55% sugar added which acts as a natural preservative. All condensed milk is sweetened.
On the contrary they are one of the easiest desserts to make. A simple graham cracker crust can be filled with a purchased ice cream and voila - ice cream pie!
Expert Tips
- Make sure to use sweetened condensed milk.
- There will be some peanut butter ice cream left over for a treat another day.
- Serve this in small pieces as it is very rich.
More glorious no bake desserts
A lot of work goes into each of my recipes and my only ask is that if you like the recipe or even the looks of it, please leave me a star rating to help me rank better. It’s important.

Peanut Butter Ice Cream Pie Recipe
Equipment
- 9" Pie plate
Ingredients
Chocolate Rice Krispie Crust
- ½ cup honey roasted peanuts
- 5 ounces semisweet chocolate (140 grams)
- ⅓ cup honey
- 4 tablespoons unsalted butter (58 grams)
- 2 ½ cups rice krispies (62 grams)
Peanut Butter Ice Cream
- 2 cups heavy cream
- 1 tablespoon vanilla
- 1 14 oz can sweetened condensed milk
- 1 cup creamy peanut butter
Finishing the Ice Cream Pie
- 1 cup heavy cream
- ¼ cup powdered sugar (30 grams)
- 1 ounce semisweet chocolate (28 grams)
- ¼ teaspoon vegetable oil
- 2 tablespoons reserved chopped honey roasted peanutss
Instructions
Chocolate Rice Krispies Crust
- Spray a 9" pie pan with non-stick baking release. Set aside.
- Place the peanuts in the bowl of a food processor and process until finely ground. Set aside 2 tablespoons to use with the finish.
- Combine the rice krispies and ground peanuts in a medium size bowl.
- Place the semisweet chocolate, honey and butter in a small saucepan. Heat over low, stirring frequently until smooth and the chocolate and butter are melted. Cool if hot.
- Pour the chocolate over the rice krispie mix and stir until everything is completely coated.
- Using a nitrite, vinyl glove or just a plastic bag as a glove press the crust evenly on the bottom and up the sides of the pie pan. Use a table knife to press the crumbs against the side of the plate. Lightly spraying you gloves with a non-stick release will help keep the crust from sticking.
- Place in the freezer while you make the ice cream.
Peanut Butter Ice Cream
- Mix the condensed milk and peanut butter completely.
- Whip the heavy cream and vanilla to medium peaks. Add half the peanut butter mixture and beat on low to combine.
- Add the remaining peanut butter and beat on medium to mix. If it is not smooth, raise the speed to high and beat briefly to smooth out. All lumps should be gone.
- Pour into the chocolate pie crust and freeze until hard.
Finishing the Ice Cream Pie
- Whip the cream and powdered sugar to firm peaks.
- Melt the chocolate and oil together at half power in the microwave. Stir together.
- Drizzle the top of the frozen pie in several directions with the chocolate.
- Fit a piping bag with a #4 open star. Pipe a ruffle around the outer edge. Pipe a second ruffle next to the first on the inside. Sprinkle the reserved peanuts over the whipped cream.
- Store in the freezer.
- NOTE: To release the pie, leave it at room temperature for about 15 minutes. Go between the pie and the pie plate with a small metal spatula. You probably can't go all the way to the bottom of the pie plate but just loosen the top edge. At this point the entire pie should be able to be removed and placed on a cake board by simply placing a cake server under the bottom crust where it can be lifted out. This will make cutting it much easier. Cut into small slices as this is extremely rich.
Notes
Nutrition

Nikki says
I thought I had given this a 5 star rating, but app that part didn't save.
Making this for the second time already!
Helen S Fletcher says
Hi Nikki - Glad to hear it's such a success.
elaine daminski says
look forward to and pin many of your recipes! need more hours in the day to make them. recently made a non ice cream peanut butter pie, very rich as your recipe but looking forward to making your peanut butter pie recipe for my son - law who loves ice cream & peanut butter pie! thanx for such amazing & delicious recipes!!
Helen S Fletcher says
And thank you elaine for such kind words. You have a fortunate son-in-law.
Nikki says
I did make substitutions to make this dairy free (allergy), but it was delicious.
10/10, will definitely make again!
(And possibly with other ice cream flavors!)
Helen S Fletcher says
Hi Nikki - isn't that the wonderful thing about baking. A change here or there and a special need can be accomplished. Do me a favor and leave a star rating. They help with my ranking.
Wanda says
Looks delicious & definitely going to try it.
Heather says
Like the looks of it.
Helen S Fletcher says
Hi Heather - you'll like the taste of it even more!