
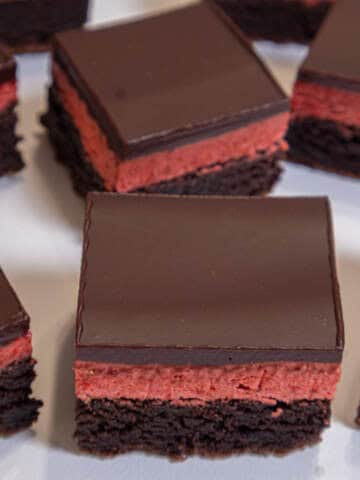
Santa Fe Brownies come from Maida Heatter's "Best Dessert Book Ever" and I have to say they are one of the finest brownies I have ever made. The original recipe came from the Plaza Bakery in Santa Fe New Mexico. As far as I can see, they don't make this anymore.
A few changes were made to the original recipe, and we swirl ours while Maida layered hers.
I can't tell you how many Santa Fe Brownies we sold from the bakery. We could only make 12 pans at a time and that took about 2 hours or more depending upon who was doing them. We used to see if we could beat the best time. Not only that, but we had so many orders when we took on a large grocery chain that we often had to make them twice in a day. I remember one day Demarco Howard, my best baker, told me after completing the second 12 brownies, "Boy you sure know how to make a person quit." But back he was the following morning for the next 24.
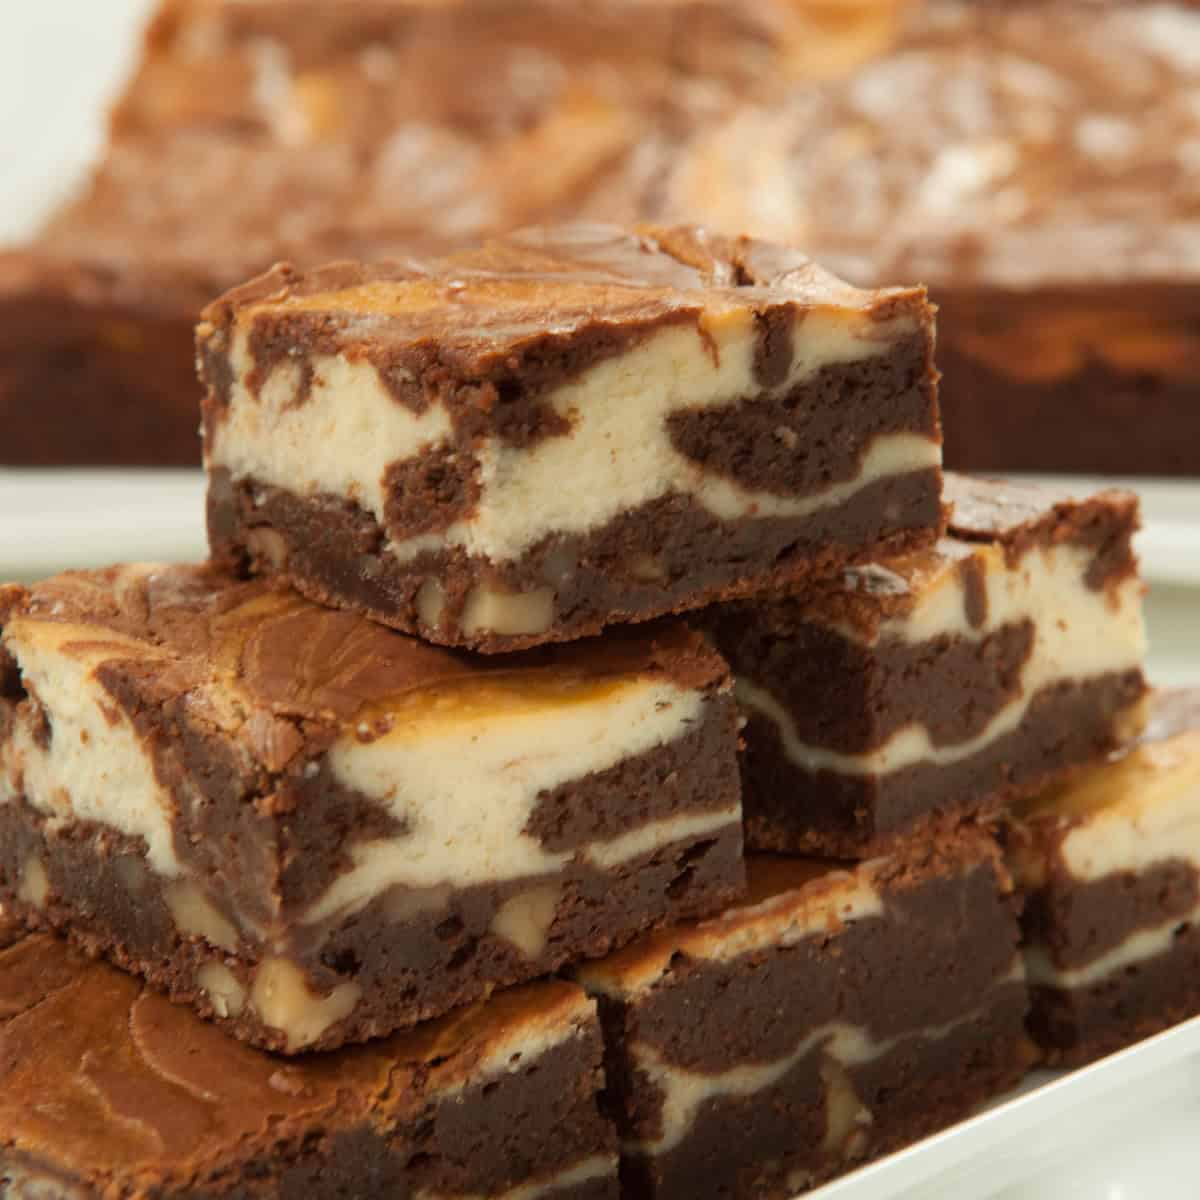
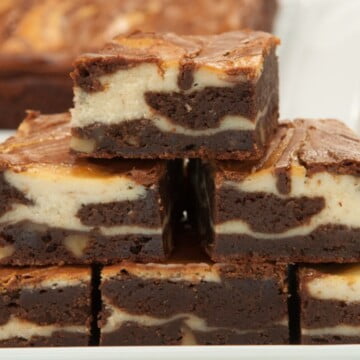
Basically, there is a cream cheese layer and brownie layer which is divided in half. One half has nuts added and that is the bottom layer. The cream cheese layer is poured on top, then the other half of the chocolate batter is added and swirled in for a marbleized top.
These are so simple to make - one at a time. Twelve at a time is something else! So get your 9x13x2 inch baking pan out, assemble your ingredients and get ready for one of the best brownies ever.
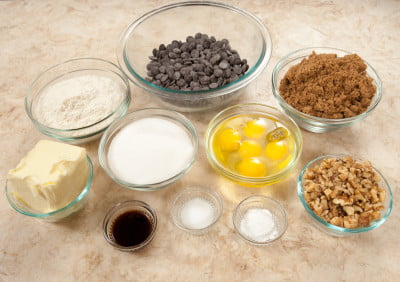
Ingredients
Cream Cheese Layer
12 ounces cream cheese, room temperature (or 340 grams)
6 tablespoons butter, softened (90 grams or 3 ounces)
¾ cup granulated sugar (150 grams or 5 ¼ ounces)
1 ½ teaspoon vanilla
3 eggs
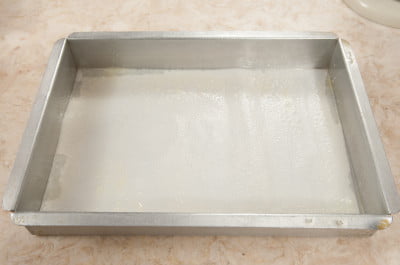
Preheat oven to 350 degrees. Line the bottom of a 9x13x2 inch pan with parchment. Spray paper and sides of pan with cooking spray. Set aside.
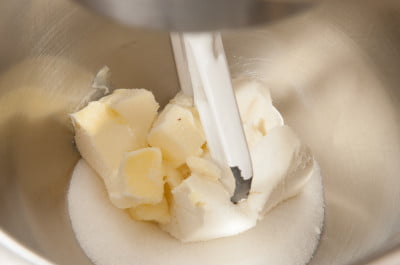
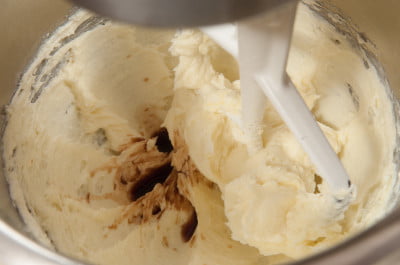
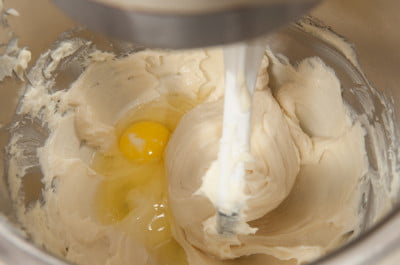
Cream Cheese Layer Mixer Method: In a mixing bowl, combine the cream cheese, butter, and sugar and beat until smooth, scraping often. If the mixture is not completely smooth, it will be lumpy after you add the liquid. Add the vanilla and eggs one at a time, beating until completely incorporated before adding the next. Scrape often. Set aside.
Cream Cheese Layer Processor Method: Place the cream cheese, butter, and sugar in the processor bowl. Process until smooth. Add all the eggs and vanilla; processing until completely mixed, scraping down as necessary. Set aside.
Brownie Layer
1 ½ cups all purpose flour (210 grams or 7 ounces)
1 ½ teaspoon baking powder
¾ teaspoon salt
1 cup unsalted butter (225 grams, 8 ounces or 2 sticks)
12 ounces semisweet chocolate (340 grams)
5 eggs
1 tablespoon vanilla
1 ½ cups brown sugar, packed (300 grams or 10 ½ ounces)
1 cup + 2 tablespoons granulated sugar (225 grams or 8 ounces)
1 cup coarsely chopped walnuts (114 grams or 4 ounces)
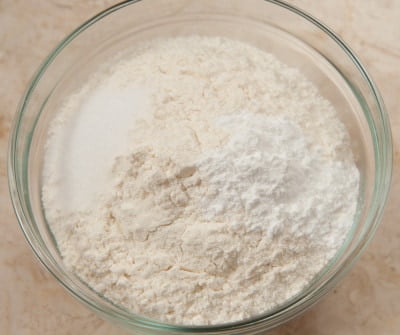
Combine flour, baking powder and salt. Set aside.
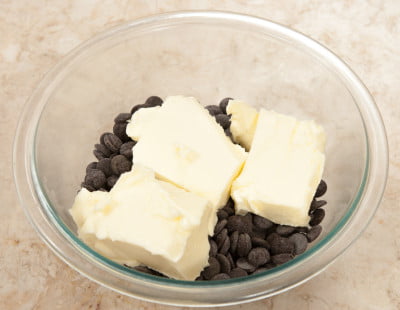
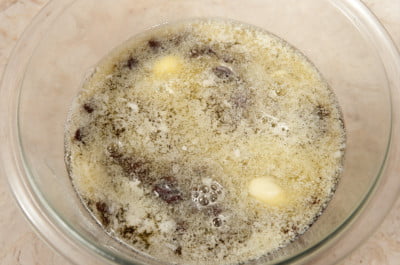
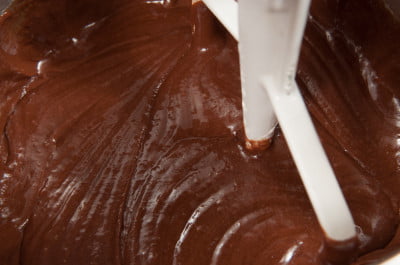
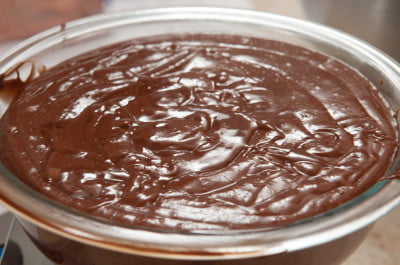
Place the butter and chocolate in the top of a double boiler. Heat until the chocolate and butter have melted, stirring frequently. Alternately, microwave them at half power for several minutes until melted. Whisk to smooth. Set aside. Cool to lukewarm if hot.
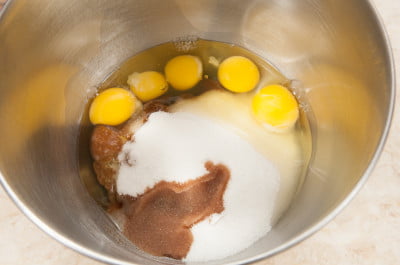
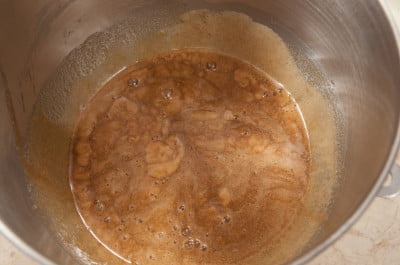
Place the eggs, both sugars and vanilla in a mixing bowl and mix on low speed.
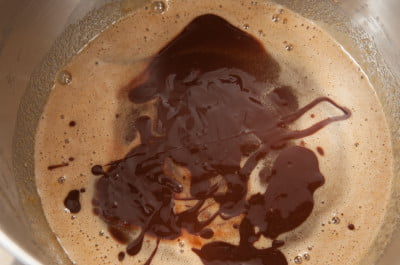
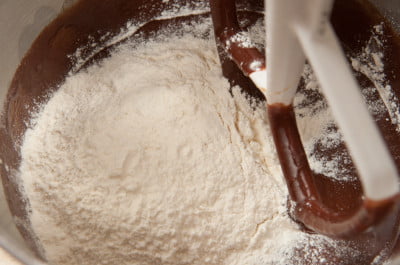
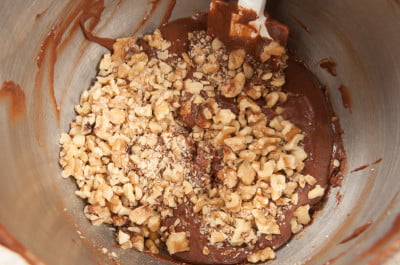
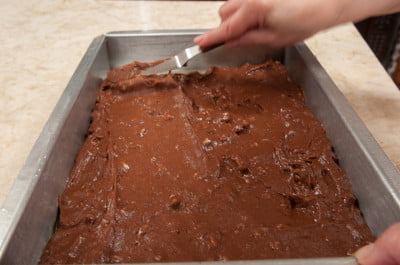
Add the melted chocolate and butter and mix well. Add the flour mixture, mix on low, (I put this photo in because I love it!)scraping often to make sure the flour is completely incorporated. Divide evenly between 2 bowls (750 grams each or 26 ⅓ ounces). Stir the walnuts into one bowl and spread evenly in the bottom of the prepared pan. Set aside.
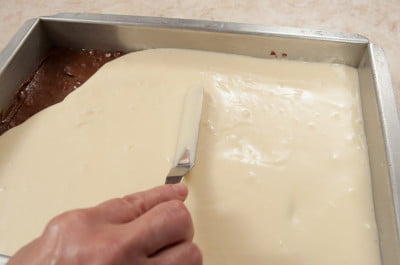
Spread the cream cheese mixture over the chocolate-walnut base layer.

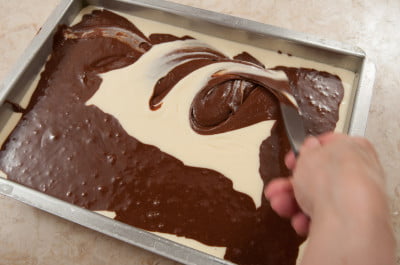
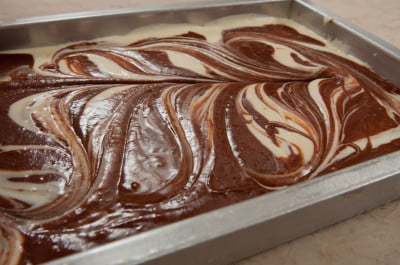
If the second bowl has stiffened, place it over a double boiler and heat over simmering water, stirring often until it can be poured but is not runny. Alternately, it can be microwaved. Pour the heated chocolate mixture over the cream cheese mixture around the edges only, leaving the center of the cream cheese layer exposed. The chocolate layer should be thick enough to sit on top of the cream cheese mixture and not sink to the bottom. If you have doubts, try it in a small section. If it sinks, let it cool a bit to thicken. With a spatula, lift the cheese layer up and over the chocolate to create a marbleized pattern. After marbleizing in this manner, I usually run the spatula through the pattern in the opposite direction. Rap the pan once on the table.
Bake for 40 to 50 minutes, turning halfway through if necessary. The top will be lightly browned. Do not overbake. Cool to room temperature. Go around the edges of the pan with a spatula to loosen; turn out of the pan. Remove parchment, turn right side up and chill for at least four hours or overnight. This will make it easier to cut into the desired number of pieces. We cut these 4 across the 9 inch side (2 ⅛ inches each) and 5 down the 13 inch side (2 ½ inches each) for 20 pieces.
These freeze very well.
Santa Fe Brownies
Equipment
- 1 9x13 inch pan
Ingredients
Cream Cheese Layer
- 12 ounces cream cheese room temperature (or 340 grams)
- 6 tablespoons butter softened (90 grams or 3 ounces)
- ¾ cup granulated sugar (150 grams or 5 ¼ ounces)
- 1 ½ teaspoon vanilla
- 3 eggs
Brownie Layer
- 1 ½ cups all purpose flour (210 grams or 7 ounces)
- 1 ½ teaspoon baking powder
- ¾ teaspoon salt
- 1 cup unsalted butter (225 grams, 8 ounces or 2 sticks)
- 12 ounces semisweet chocolate (340 grams)
- 5 eggs
- 1 tablespoon vanilla
- 1 ½ cups brown sugar, packed (300 grams or 10 ½ ounces)
- 1 cup + 2 tablespoons granulated sugar (225 grams or 8 ounces)
- 1 cup coarsely chopped walnuts (114 grams or 4 ounces)
Instructions
Cream Cheese Layer
- Preheat oven to 350 degrees. Line the bottom of a 9x13x2 inch pan with parchment. Spray paper and sides of pan with cooking spray. Set aside.
Cream Cheese Layer Mixer Method:
- In a mixing bowl, combine the cream cheese, butter, and sugar and beat until smooth, scraping often. If the mixture is not completely smooth, it will be lumpy after you add the liquid.
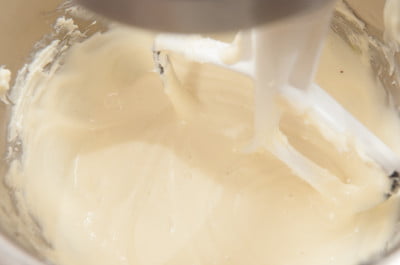
- Butter, cream cheese and sugar in mixing bowl. Add the vanilla, Butter, cream cheese, sugar and vanilla, and eggs one at a time, beating until completely incorporated before adding the next. Scrape often. Cheesecake layer mixed. Set aside.
Cream Cheese Layer Processor Method:
- Place the cream cheese, butter, and sugar in the processor bowl. Process until smooth. Add all the eggs and vanilla; processing until completely mixed, scraping down as necessary. Set aside.
Brownie Layer
- Combine flour, baking powder and salt. Set aside.
- Place the butter and chocolate in the top of a double boiler.
- Heat until the chocolate and butter have melted, stirring frequently. Alternately, microwave them at half power for several minutes until melted.
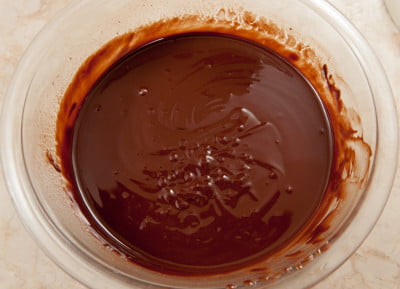
- Whisk to smooth. Set aside. Cool to lukewarm if hot.
- Place the eggs, both sugars and vanilla in a mixing bowl and mix on low speed. Add the melted chocolate and butter and mix well.
- Add the flour mixture, mix on low, (I put this photo in because I love it!) scraping often to make sure the flour is completely incorporated. Divide evenly between 2 bowls (750 grams each or 26 ⅓ ounces).
- Stir the walnuts into one bowl and spread evenly in the bottom of the prepared pan. Set aside. Spread the cream cheese mixture over the chocolate-walnut base layer.
- If the second bowl has stiffened, place it over a double boiler and heat over simmering water, stirring often until it can be poured but is not runny. Alternately, it can be microwaved. Pour the heated chocolate mixture over the cream cheese mixture around the edges only, leaving the center of the cream cheese layer exposed.
- The chocolate layer should be thick enough to sit on top of the cream cheese mixture and not sink to the bottom. If you have doubts, try it in a small section. If it sinks, let it cool a bit to thicken.
- With a spatula, lift the cheese layer up and over the chocolate to create a marbleized pattern.
- After marbleizing in this manner, I usually run the spatula through the pattern in the opposite direction. Rap the pan once on the table.
- Bake for 40 to 50 minutes, turning halfway through if necessary. The top will be lightly browned. Do not overbake. Cool to room temperature. Go around the edges of the pan with a spatula to loosen; turn out of the pan.
- Remove parchment, turn right side up and chill for at least four hours or overnight. This will make it easier to cut into the desired number of pieces. We cut these 4 across the 9 inch side (2 ⅛ inches each) and 5 down the 13 inch side (2 ½ inches each) for 20 pieces. These freeze very well.
Nutrition


Elaine says
I could enjoy these every day! Sooo good!
Helen S Fletcher says
Hi Elaine, So glad you like them. They were a huge seller at the bakery where we made them 12 pans at a time.
hfletcher says
You're very welcome Carole.