 Individual tarts are the quintessential dessert. What's more flattering than getting your own dessert? Almost any full size tart can be turned into an individual tart by making individual tart shells. Wherein lies the problem. Most shells are one half to three fourths inch tall. By the time you get a regular pie or tart pastry in them, they shrink when baked and there is almost no side left to hold the filling.
I ran into this problem when I had my bakery. We did a lot of European Tarts, the name I gave to the shorter tart to distinguish it from a deep dish tart, which we also did. It was important the crust did not have to be blind baked. When producing a bunch of tarts, it is simply too time consuming to line them with foil, fill them with beans, bake them, take out the beans and finish baking them if it is a fully baked crust. Just writing about it is too time consuming!
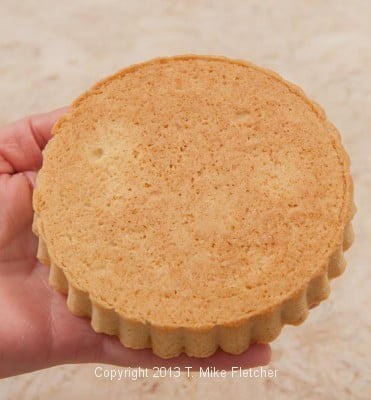
I found the answer in a cookie dough crust which would hold its shape without shrinking when partially or fully baked, but it took a lot of trial and error to come to this shell. I also found that not spraying the sides of the pans helped prevent the shells from sliding down. This individual tart shell is sturdy enough to hold a moist filling without becoming soggy and while somewhat sweet it doesn't overwhelm the filling or finish of the tart itself. We referred to these as "press in shells" as they were not rolled out but pressed into the molds. We always used these either partially or fully baked due to the short time the fillings would have to bake.
Baking gets better when you subscribe to receive this PDF on getting the most out of baking including information on equipment, ingredients and baking equipment.
It is most important with these individual tart shells to join the side and the bottom together really well, or they will separate when baked. It is not difficult, you just have to press the two edges together really well, so you can't see where they join and you will be fine.
The one thing to be aware of is that after these are baked, they have to be filled within a few hours, or they will often, but not always, crack. So if you want to make them ahead of time, which we always did, simply press them into the shells and freeze them unbaked in the tart pans. Then, when you need them, pull the number you need and bake them off either partially or fully, depending upon what you are going to make with them.
I am including directions for making the dough in a food processor or in a mixer. Because of the large number we made, we always used a mixer. However, for a small number such as these, I prefer the food processor as it is faster. The recipe for these individual tart shells can be doubled in most normal size food processors.
Individual Pastry Shells
 1 ¼ cups sifted all purpose flour (170 grams or 6 ounces)
½ cup sifted cake flour (50 grams or 1 ¾ ounces)
½ teaspoon baking powder
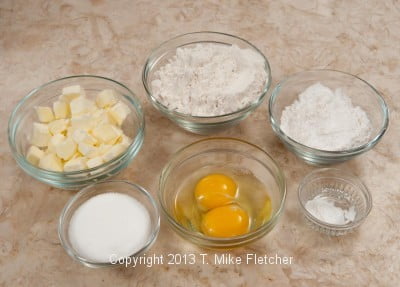
1 stick unsalted butter, (114 grams or 4 ounces)*
¼ cup sugar (50 grams or 1 ¾ ounces)
1 egg
1 egg yolk
Six 4 ¼ x ½ inch tart shells with removable bottoms.
*If making the dough in the processor, the butter needs to be cold and cut into small pieces before being added to the processor.
*If making the dough in the mixer, the butter needs to be softened so it will cream with the sugar.
Preheat oven to 350 degrees if baking immediately.
Mixer Method: Combine the flours and baking powder. Set aside.
Cream the butter and sugar. Add the egg, the yolk and the vanilla. Beat to combine. The mixture may curdle but that is fine. Add the flour mixture and beat until it comes together.
Food Processor Method: Place the flours and baking powder in the food processor. 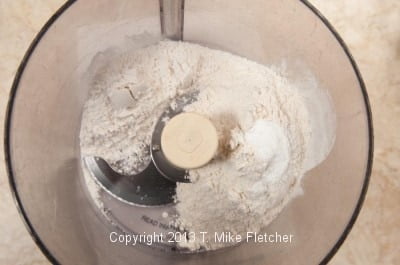 Process to mix briefly.
 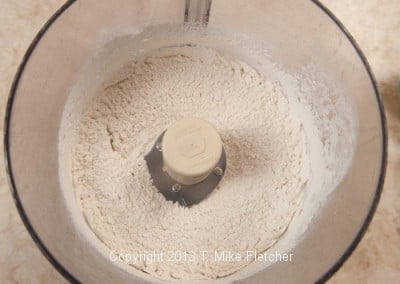 Place the cold butter in a circle over the flours.
 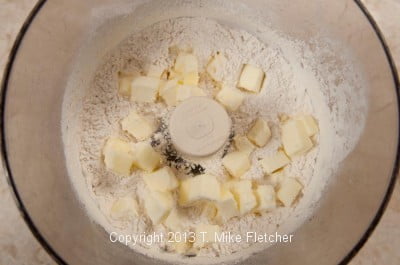 Process until finely cut in.
 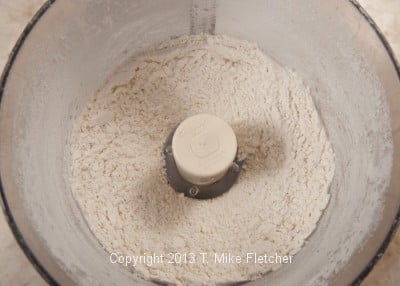 Add the sugar;
 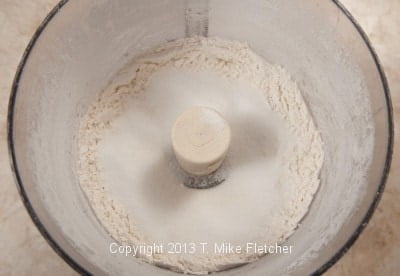 process briefly.
 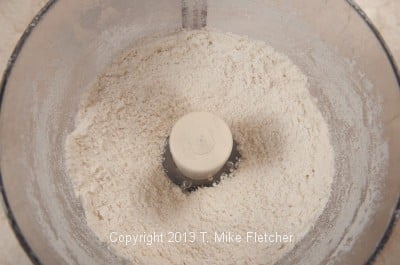 Add the egg and yolk and
 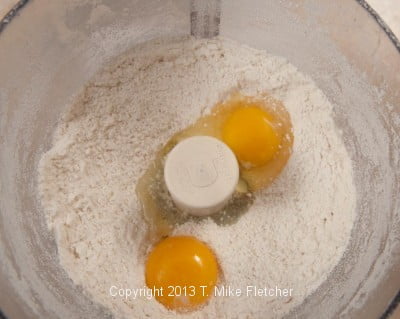 process until a ball forms.
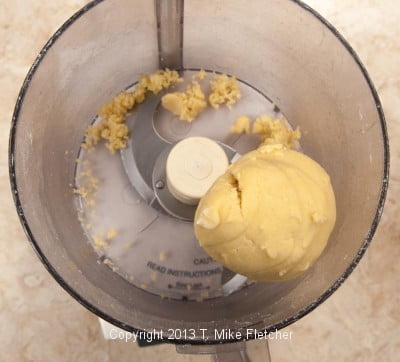
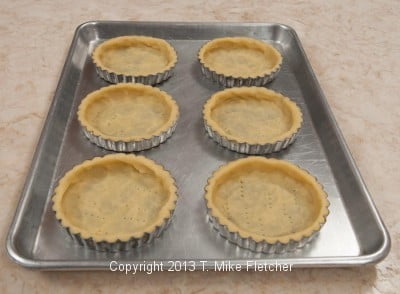
Preheat the oven to 350 degrees. Place the tartlet pans on a rimmed baking sheet. Spray the center of the pans only. Do not spray the sides.
Divide into 9 equal sized balls (50 grams or 1 ½ ounces each)  Divide 3 of the balls in half (25 grams or scant 1 ounce). So there are now 6 large and 6 small balls.
 Roll one large piece into a rope about 12 ½ inches long.
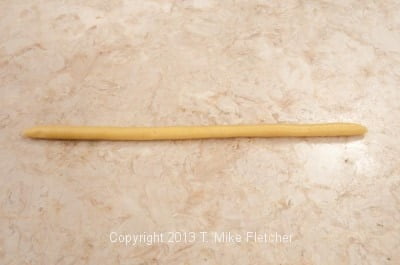
Fit into the side of the pan, making sure the ends overlap.
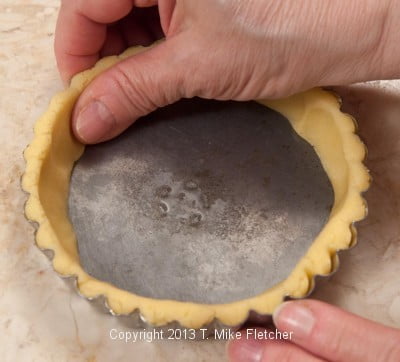
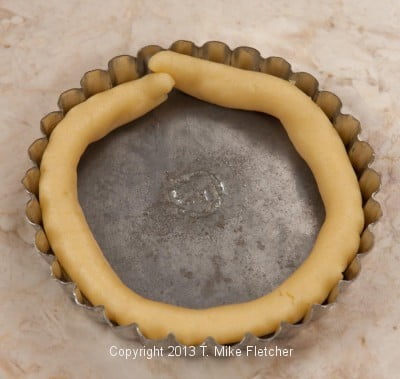 Press into the side of the tart shell, overlapping the two ends.
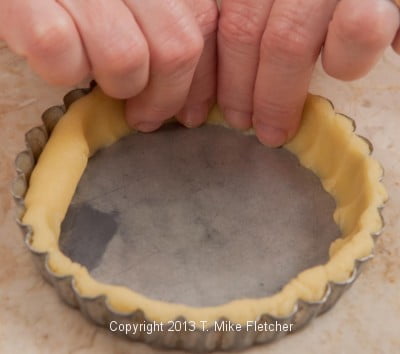
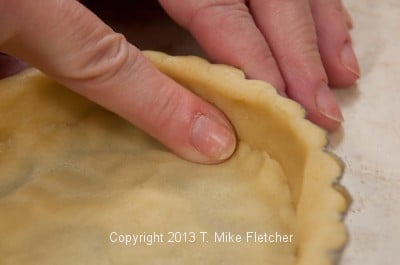
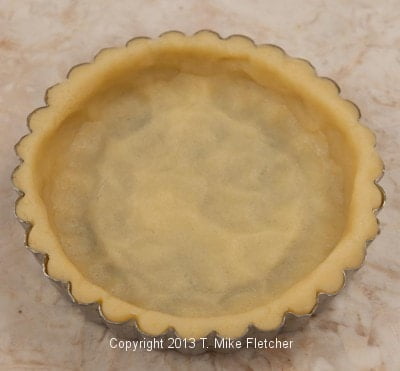
 Flatten one small piece and place it in the bottom of the shell
 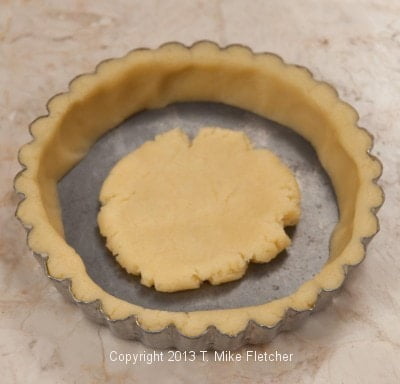 making sure the edges are well sealed together.
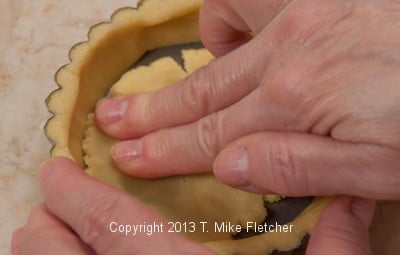
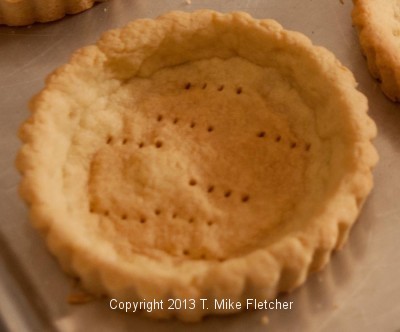
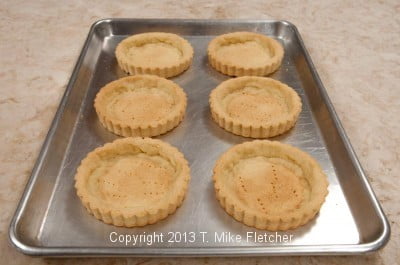
 Prick with a fork.
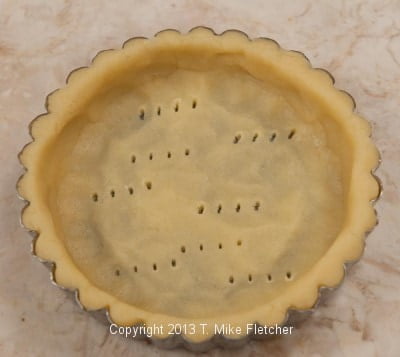
 Bake 18 to 22 minutes until golden brown for fully baked shells or about 12 minutes for a partially baked shell.
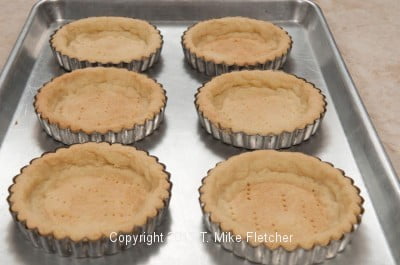 Cool completely. Remove the sides of the pans.
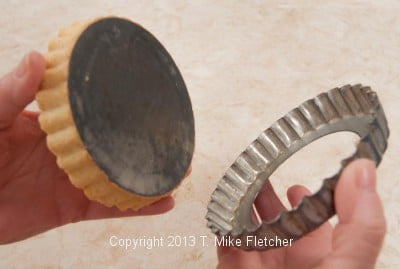
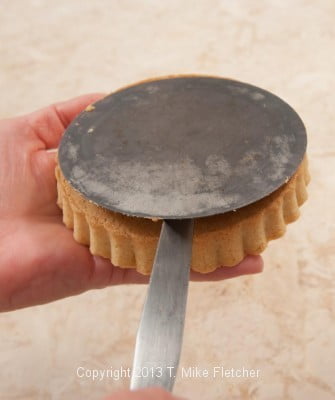
Remove the bottom.
 Yield: Six tart shells 4/14 inch x ½ inch.
Note: For 3 ¾ x ½ inch shells use: 25 grams or 1 scant ounce for the sides and 15 grams or ½ ounce for the bottom.


Laurie says
Hi Helen, I just came across this site by mistake, boy am I glad! I’m to bake 40 - 4” pie tarts for my daughter’s baby shower this Sunday, March 30,2025!
I’m having terrible trouble trying to figure out how much (ingredients) I need for crust and the fillers!
I need to make the crust 2 days in advance (3/28/25) and fill 1next day (which is 1 day before shower)
I’m worried that the crust will get soggy overnight!
Question: can you help with the recipe and ingredient amounts for the crust?
Do you know about how much filling you used per tart (lemon curd, custard)?
Any assistance you can provide would be greatly appreciated! Hope you receive this message and can respond ASAP! Thank you!
Laurie
Helen S Fletcher says
Hi Laurie - You can generally get at least 10 individual servings out of a 9" pie or 8 out of a 9" tart. You will need to keep the tarts refrigerated if using lemon curd or custard. You can brush the inside of the crusts with beaten egg white prior to baking to help keep them from getting soggy or you can melt white chocolate with a bit of crisco or coconut oil (the solid type) after baking. Hope this helps.
manisha says
Hi Helen. Can i use this dough for making baked pies like a classic apple pie???
regards
manisha
hfletcher says
No that is a different dough. See
manisha says
Thanx. Will email youn the pictures of baby tarts shells :) I am making using your recipe.
Linda C. says
Thanks so much for this recipe, I must try it. I've been looking for a really good tart dough. I wanted to make a mini tart with a coconut cream pie filling. Do you think this crust would hold up to that amount of moisture?
hfletcher says
Hi Linda: That should be fine. They are a sturdy shell. How long do you want to hold them?
Linda C. says
The bottom layer is a coconut pastry cream and the top layer would be whipping cream, so I'm guessing the maximum holding period would be 2 days? I usually serve right away or the next day.