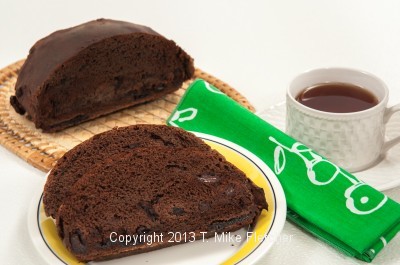
 Chocolate Cherry Bread combines two foods I love – chocolate and bread. So combining them seemed a natural. I can't remember when I first tasted Chocolate Cherry Bread but it is among my favorite breads. Besides how can cocoa, melted chocolate and chocolate chunks all in one bread be anything by super.
Cocoa is a natural and here I have combined it with melted chocolate and chocolate chunks for the greatet depth of chocolate flavor.
This Chocolate Cherry Bread freezes well and is great as a hostess gift. This bread, because of the chocolate in it, can be a slow riser and I often use my proofer to help it along. Try this once and I can assure you fear of bread baking will be in the past – at least I hope so.
Baking gets better when you subscribe to receive this PDF on getting the most out of baking including information on equipment, ingredients and baking equipment.
Chocolate Cherry Bread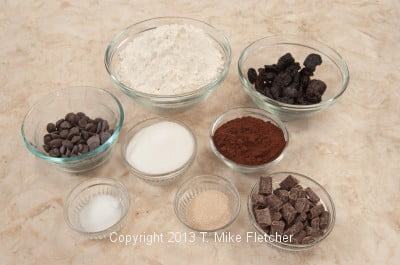 3 ounces of dried bing cherries (85 grams)2 cups bread flour (280 grams or 10 ounces)
1 ½ teaspoon instant yeast or 1 packet active dry yeast (2 ¼ teaspoons)
⅓ cup sugar (70 grams or 2 ⅓ ounces)
⅓ cup cocoa (30 grams or 1 ounce)
½ teaspoon salt
2 ounces semisweet chocolate, melted (60 grams)
⅞ cup warm water (1 cup less 2 tablespoons)
2 ounces chocolate chunks (60 grams)
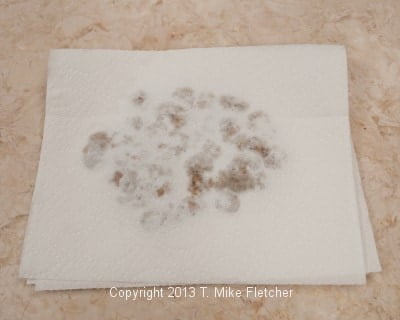
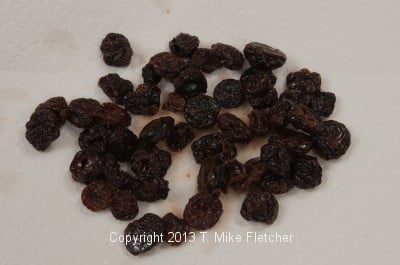
Cut the cherries in half if they are large. Place them in a bowl and pour really hot water over them. 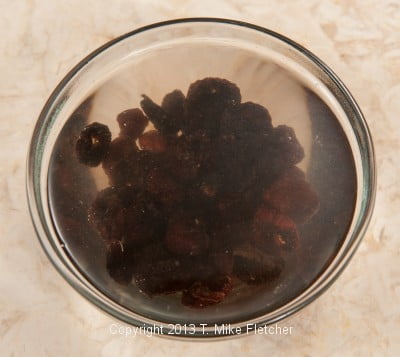 Let them sit while the rest of the bread is prepared. When ready to add them to the dough, pat them between paper towels to dry them off.
In the meantime, combine the flour, yeast, sugar, cocoa and salt in a mixing bowl. 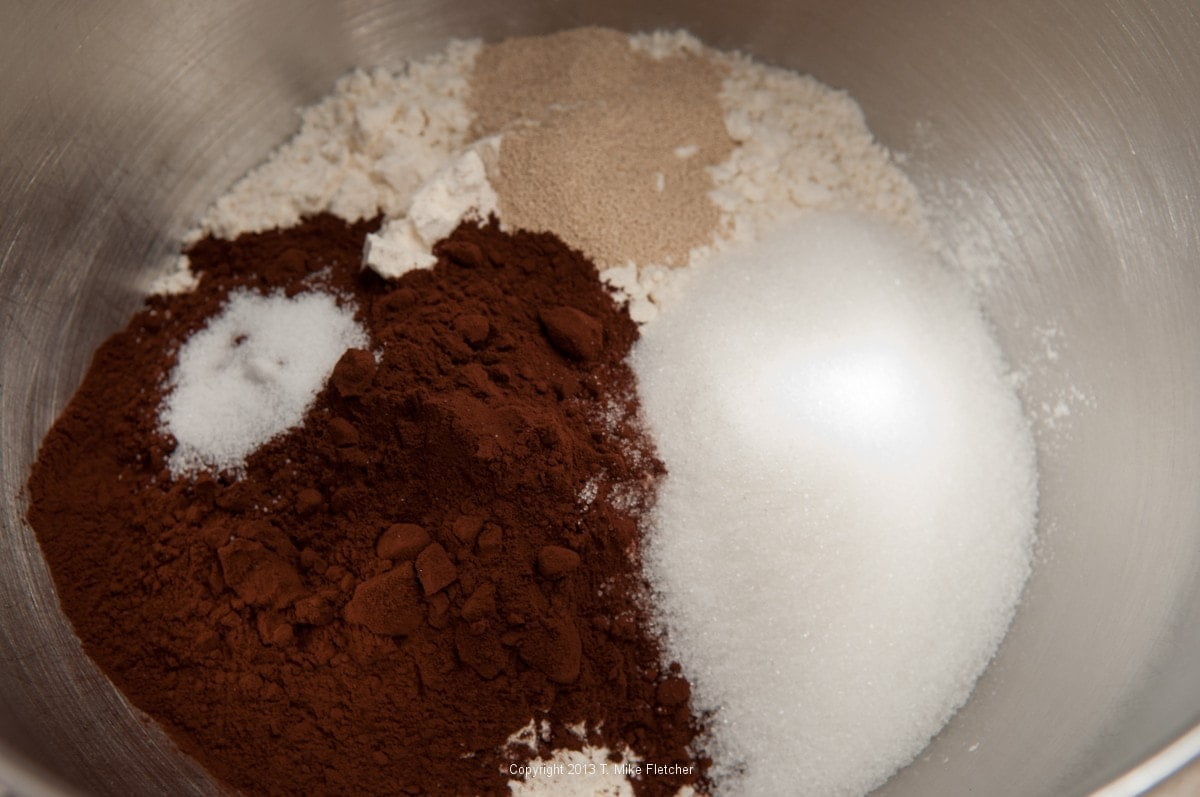 Whisk ingredients to mix them.
 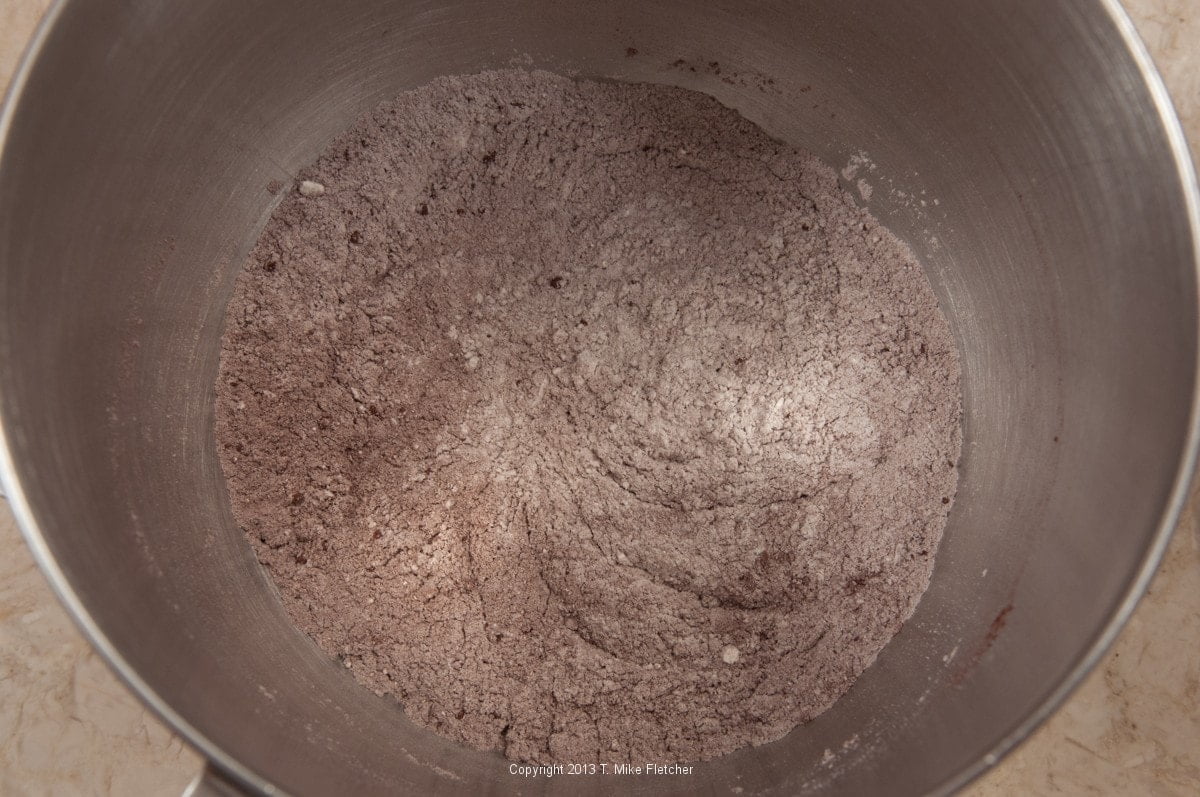 Whisk together the chocolate and water.
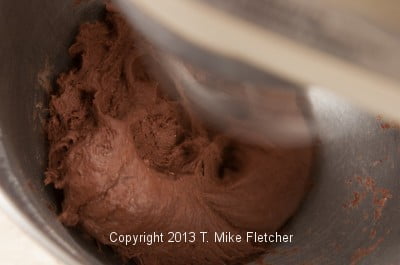
 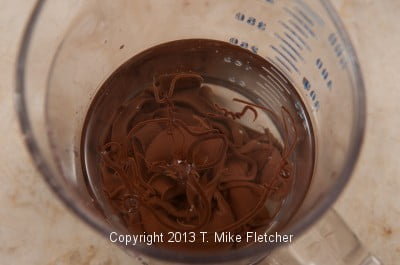 Add to the dry ingredients in the bowl
 and mix with a dough hook until it comes together.
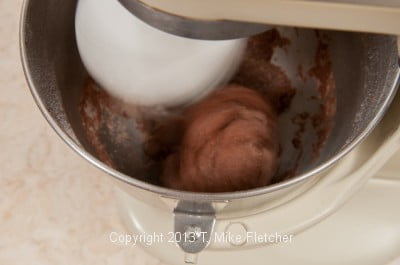
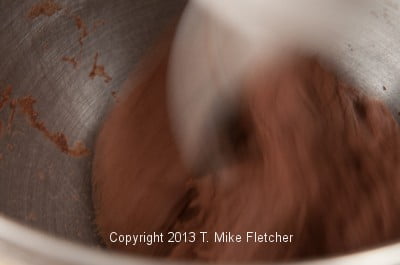
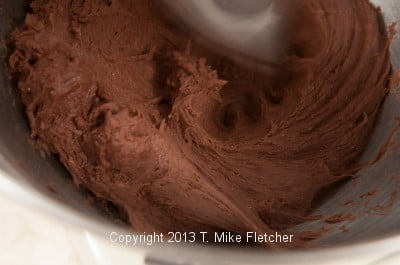 Knead it in the mixer on medium for 4 minutes. Change to the paddle attachment and add the chocolate chunks and cherries.
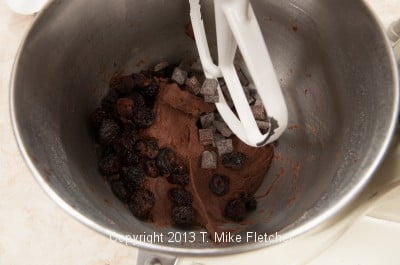
 Remove the dough from the bowl
 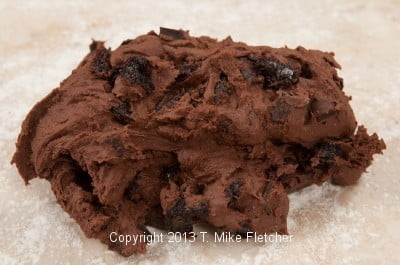 and knead it several times by hand to bring it together.
  Place in a greased bowl,
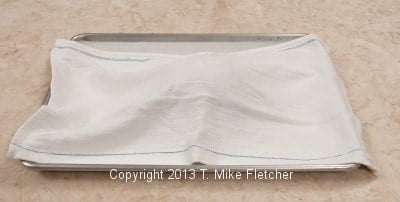
 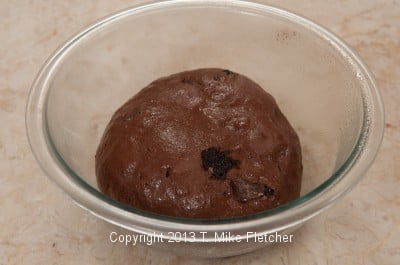 cover with plastic wrap, mark the time
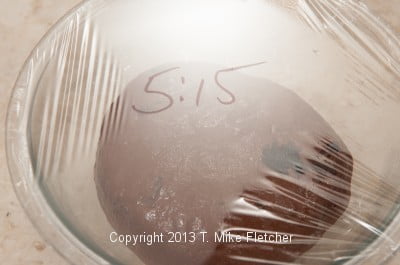 and set in a warm place to rise. Let rise until doubled in bulk, about 2 ½ to 3 hours.
If your kitchen is cold, put the bowl with your dough in the oven. Place a bread loaf pan on the same shelf. Fill it half way with very, very hot or boiling water. Close the door. Leave hot water in the oven for about 30 minutes then remove it. The combination of heat and moisture most closely imitates professional proofers that are humidity and temperature controlled.
Punch the dough down and shape into a ball. 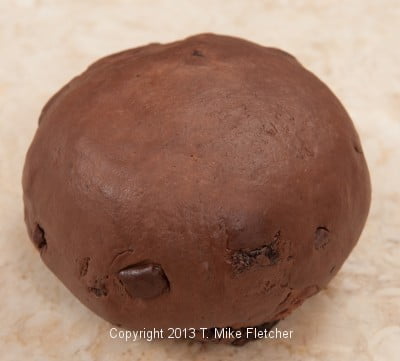 Place on a parchment lined baking pan.
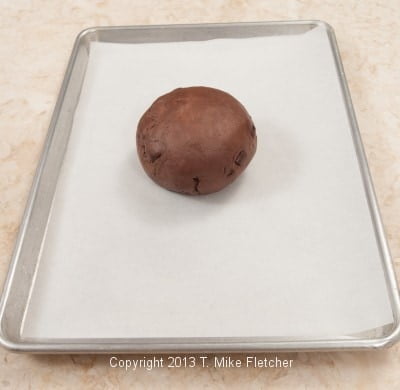
 Double pan the bread. To double pan, simply put one baking pan on top of another. This will slow the heat to the bottom of the bread helping to prevent it being burned. This works for any item prone to burning such as cookies with brown sugar, honey, molasses, etc. Allow the dough to rise until doubled, about 1 ½ hours.
Preheat the oven to 375 degrees. Bake, double panned, for 35 to 40 minutes until deeply browned.
Try to wait until it is cooled to eat (the hot chocolate will burn your mouth - ask me how I know this!).

Sondra says
I never thought to write the time on the plastic wrap covering the rising dough. What a great idea. I always learn something from your posts. Thanks!
hfletcher says
Hi Sondra: Thanks so much for reading and letting me know you enjoy the posts. I came up with the time trick because I always have more than one thing going and who can remember. It also gives me the time for the posts.
Mari gold says
Two of my favorites too. I can't remember the fresh cherries being any better than they are this year. Do you make anything with them? I always pit and freeze some, if I don't eat them all first. What if you could use fresh cherries for this bread and not go through dehydrating the dried ones? I think I will try next week if ican wait that long.m
hfletcher says
I can't imagine why you couldn't use fresh cherries. I love bing cherries and could pass the time just eating them. I don't bake with bings because I just don't think their flavor translate when baked. I could be wrong - just a personal opinion. Let me know how the fresh cherries work.
Kim says
Thanks for the tip on yeast doughs and a cold kitchen. I've never tried the warm water trick but I will this winter! The bread looks good too.
hfletcher says
Hi Kim: You're welcome. This method most closely approximates a professional proofer. They are temperature and humidity controlled. This method gets the humidity up in the oven.