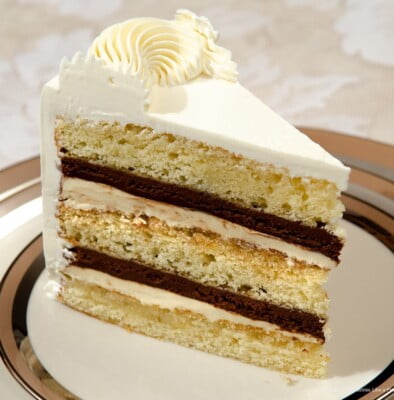
This Pave d'Amour or Cake of Love is truly a celebration cake made for all the highlights of life. It is one of those recipes that looks daunting but actually isn't. It just requires a schedule and can be done over a number of days or even weeks as desired. While not as fast as some cakes, its complexity is what makes it so special. Since May and June are such celebration months, I'm reintroducing this cake as one of my all time favorites because I think everyone should know about it.
The original recipe for Pave d'Amour came from Alice Medrich's first book "Cocolat". Her version is a square cake and is incredible as are all her recipes. While her cake called for a sponge cake, I used the yellow cake which adds to the stability of the cake and also to its taste. We used the Pave d'Amour as one of our wedding cakes, and it is the best celebration cake I know of to this day. When cut, the layering is impressive and never fails to receive accolades. When eaten, it never fails to receive well deserved praise.
We used the whipped ganache in multiple other recipes besides the Pave d'Amour at the bakery. It has a mind of its own and must be made a day or more ahead or it won't whip. We tried making it in the morning and whipping it in the afternoon, and it simply wouldn't whip. So we just scheduled it days ahead of time, and we were good to go. It can be tricky to whip so take it slow and test it before over beating if you are unsure. If it is over beaten, it cannot be used because it granulates. However, this is perfect when a heavy chocolate ganache would be overpowering. As with many things in baking and pastry, it just takes getting used to.
While I usually don't recommend turning cake layers upside down for assembly, anytime a soaking syrup is used it must be brushed on the underside of the layer to be absorbed.
To make the Pave d"Amour the following recipes will be needed. However, I have given you a time table for making these in a week or a month ahead of assembly. Any of the component parts that have been frozen need to be thawed before assembly. The buttercreams, if frozen, can be reconstituted using this method for buttercream.
Pave d'Amour means cake of love and this is truly a loving gesture.
To make this cake you will need the following:
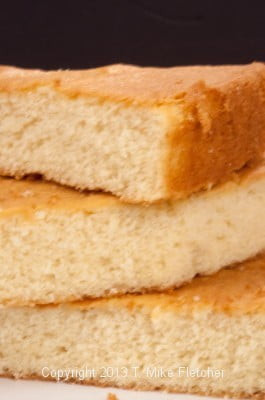
- 1 recipe Yellow Cake baked in 3 layers- this can be made up to a month ahead and frozen.
- 1 recipe French Buttercream Coffee flavored - using the ingredients listed below. This can be made up to a month ahead and frozen.
- 1 recipe Italian Buttercream - this can be made up to a month ahead and frozen
- 1 recipe Whipped Ganache, recipe below - this can be made a week ahead
- 1 recipe Orange Liqueur Syrup, recipe below - this can be made a week ahead
- 1 recipe Chocolate Souffle Layer, recipe below - this must be made the day of assembly
Yellow Cake 
Coffee Buttercream for the Pave d'Amour
For how to photos and in-depth information for buttercream.
2 whole eggs
1 egg yolk
¼ cup water
¾ cup sugar (150 grams or 5 ⅓ ounces)
¼ teaspoon cream of tarter
½ pound unsalted butter, softened but not runny (225 grams or 8 ounces)
½ teaspoon instant coffee
2 teaspoons vanilla
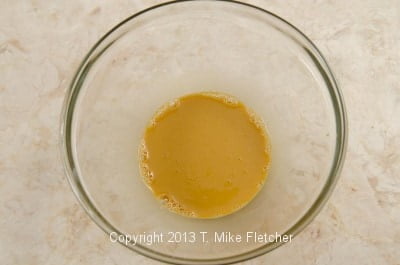
Place the eggs and yolk in the bowl of a 5 quart mixer fitted with the whisk attachment. Beat on medium high until very light, very pale in color and foamy. Continue beating until the syrup is ready.
This small amount of syrup comes to temperature very quickly after it reaches 220 degrees so watch it so it does not go over 242 degrees on a candy thermometer.
Place the water in a small saucepan. Add the sugar and cream of tarter. Stir to combine.
Bring to a boil. Wash down the sides of the pan with a brush dipped in cold water to prevent crystallization. Boil to 242 degrees.
Pour the syrup in slowly trying to stay between the whisk and the side of the bowl. Do not pour in too quickly or it will sink to the bottom of the bowl where it cannot be incorporated. Beat until completely cool.
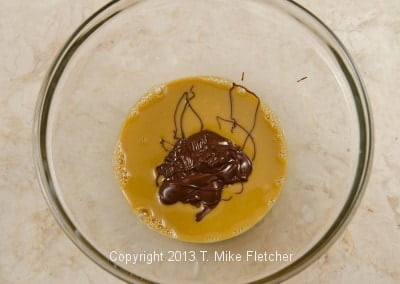
When the base is cooled, add the butter a tablespoon or two at a time. Beat until incorporated. Do not add additional butter until the previous amount is completely mixed in. When all of the butter is incorporated, add the vanilla with coffee and continue beating to achieve a light texture.
Yields: 2 ¼ cups, 400 grams or 14 grams.
Italian Buttercream
For how to photos and in depth information for Italian Buttercream.
6 tablespoons water
1 cup sugar (200 grams or 7 ounces)
¾ cup egg whites (about 6 whites from large eggs)
¾ teaspoon cream of tarter
¼ cup sugar (50 grams or 1 ¾ ounces)
1 tablespoon vanilla
1 tablespoon almond extract
1 ¼ pounds unsalted butter (5 sticks or 570 grams), softened but not runny
This small amount of sugar syrup comes to temperature very fast after it reaches 220 degrees. Watch is carefully to prevent it from going too high. Place the water in a small saucepan. Add the sugar and stir; bring to a boil. Wash down the sides of the pan with a brush dipped in cold water to prevent crystallization. Boil to 250 degrees on a candy thermometer.
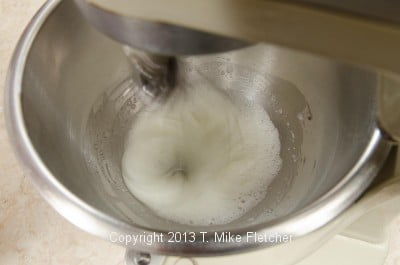
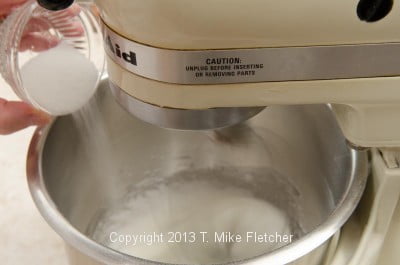
Simultaneously, place the egg whites and cream of tarter in a 5 quart mixing bowl fitted with the whisk attachment. Beat until soft peaks form. Gradually add the ¼ cup sugar. Beat until stiff on high, then immediately turn them down to low or #1 to hold them. When the sugar syrup is ready, raise the mixer to medium and slowly pour it over the whites. Aim for between the whisk and the side of the bowl. Do not pour it over the whisk as it will not incorporate into the egg whites. Also, make sure it is poured in slowly to prevent the syrup from sinking to the bottom of the bowl, from where it cannot be incorporated. Beat until completely cool.
Add the butter a couple of tablespoons at a time. Do not add more butter until the preceding butter is incorporated. When all the butter is in, add the extracts and beat to incorporate. Continue beating until very light in texture.
Yield: Approximately 2 pounds (910 grams) or 6 cups
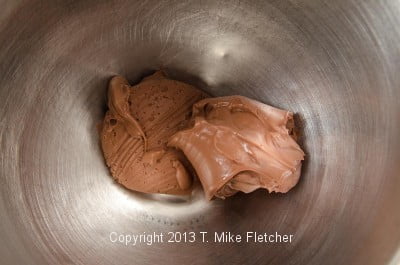
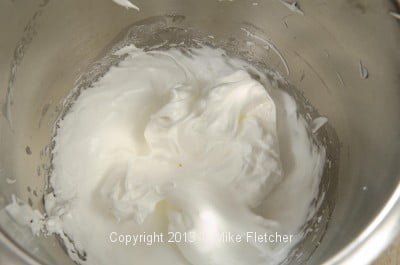
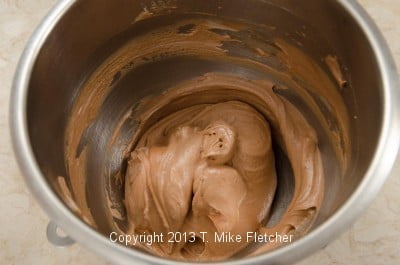
Whipped Ganache for the Pave d'Amour
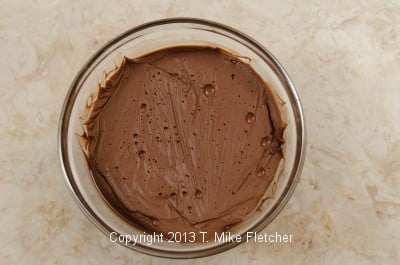
This must be made at least one day ahead and refrigerated.1 cup 40% cream
4 ounces semisweet chocolate (114 grams)
Heat cream until steamy and very hot but not boiling. Submerge chocolate in cream and let sit for 3 to 5 minutes. Whisk until chocolate is completely melted. Cover directly with film and refrigerate until needed. This can be made a week ahead of assembly.
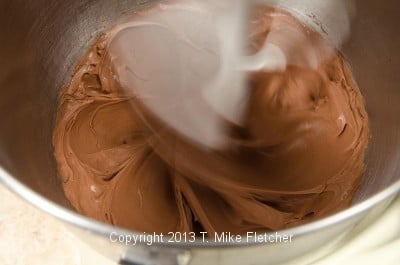
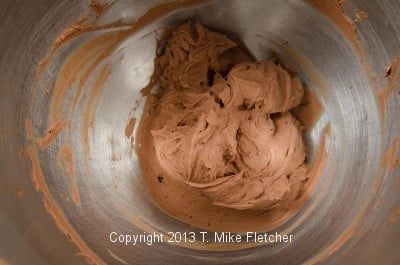
When ready to use, place in a mixer bowl and beat on medium until spreadable. Do not overbeat as it will granulate and cannot be recovered. If in doubt, stop beating and try spreading it on a plate. It should spread easily but have the firm consistency of buttercream. If it is too soft, return to the mixer and beat on low.
Orange Liqueur Soaking Syrup
For how to photos see the Orange Cranberry Cake
½ cup water
½ cup sugar (100 grams or 3 ½ ounces)
¼ cup orange liqueur (Curacoa, Grand Marnier, Triple Sec)
Place water in a small saucepan. Add the sugar and stir. Bring to a boil; brush sides of pan with cold water and boil for 1 minute. Remove from heat and cool completely. Add the orange liqueur. Store in the refrigerator. This can be made several days ahead.
I find it easiest to pour the syrup into a 1 cup measure so you can keep track of how much you are brushing on each layer.
Chocolate Souffle Layer
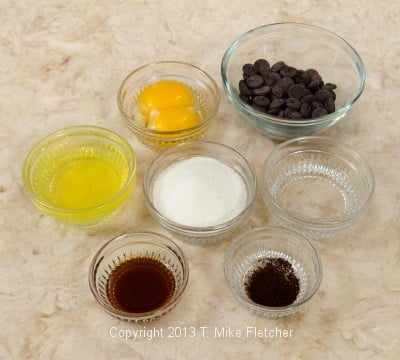
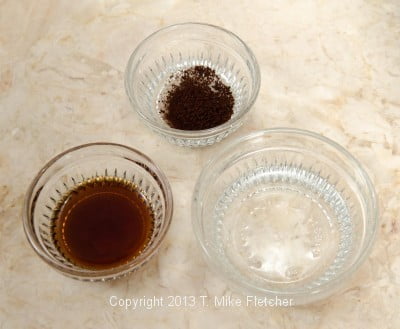
Make this the day the Pave d'Amour is assembled3 ounces semi sweet chocolate (85 grams)
¼ teaspoon instant coffee (not expresso)
1 ½ tablespoons water
1 teaspoon vanilla
2 egg yolks
2 egg whites
¼ cup sugar (50 grams or 1 ¾ ounces)
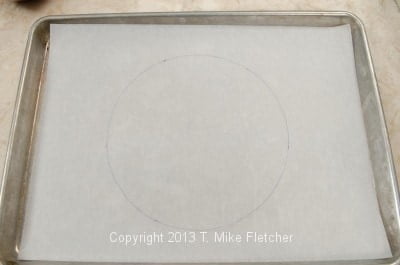
Preheat oven to 350°F. Draw two 9 inch circles on parchment paper.
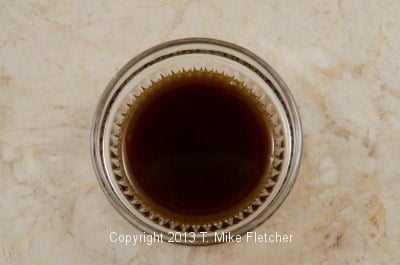
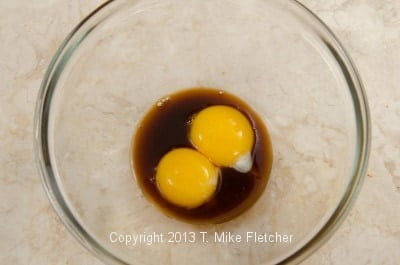

Melt the chocolate over hot water in a double boiler or at half power in the microwave. Remove from the heat. Dissolve the coffee in the water and vanilla mixed together. Whisk this into the egg yolks and then stir in the chocolate. Set aside.
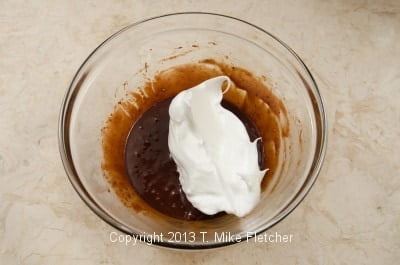
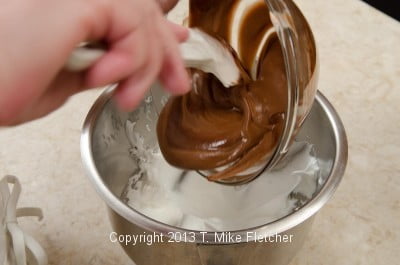
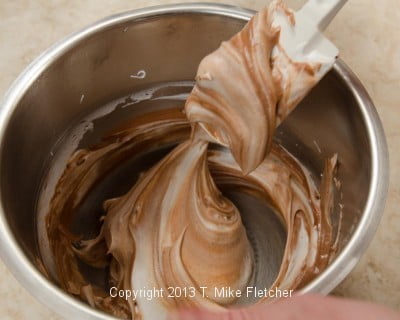
Beat the whites until soft peaks form; gradually add the sugar and beat until stiff. Stir about ¼ of the whites into the chocolate to loosen it. Pour the chocolate over the whites and fold together.
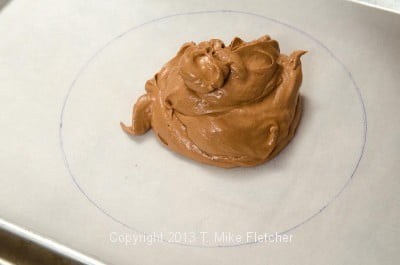
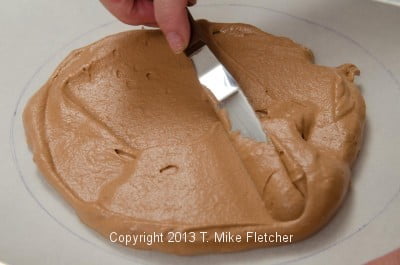
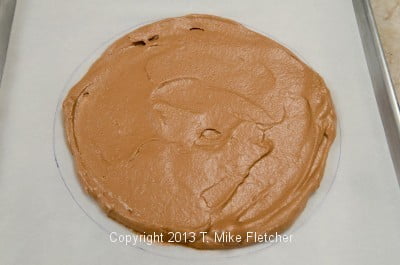
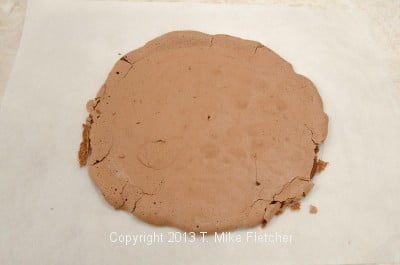
Spread ½ (125 grams or 4 ⅓ ounces each) evenly over each circle to within about ¼ inch of the edge. Bake 7 to 10 minutes until baked through but not dried out. Cool on paper.Just before assembling the cake, trim the soufflé layers into 9 inch rounds by turning the parchment upside down and cutting along the original 9 inch lines if necessary.
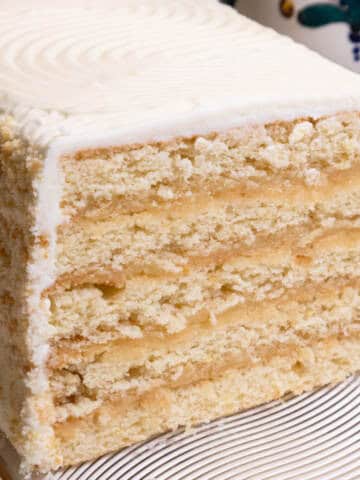
Assembly of the Pave d'Amour
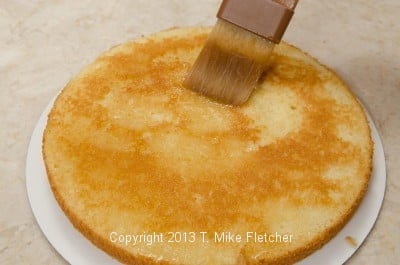
Place 1 layer of cake on a 10” cake board upside down. Brush ⅓ cup orange liqueur syrup on the layer evenly.
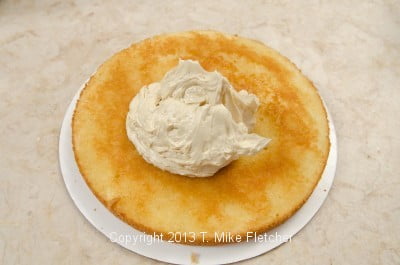
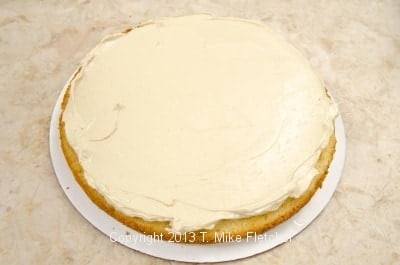
Spread about ½ of the French Buttercream over the layer.
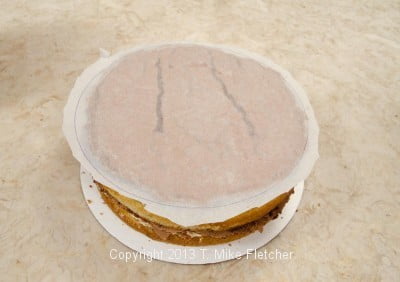

Place the soufflé layer on top of the buttercream by turning the parchment upside down. Carefully remove the parchment.
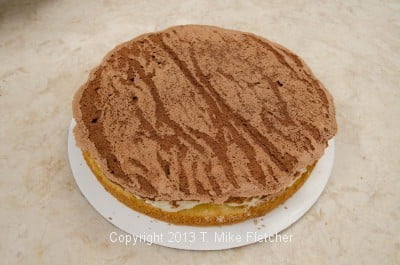
Spread ½ of the whipped ganache over the soufflé layer.
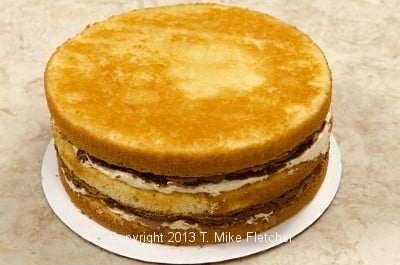
Top with a second layer of cake and repeat this layering, finishing with the third layer of cake soaked in syrup.
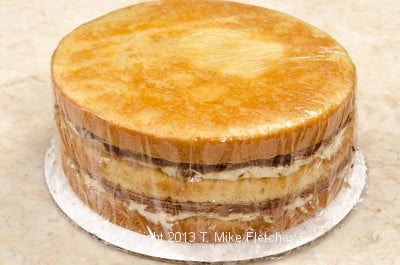
Wrap the cake in film and refrigerate cake to firm up before undercoating and finishing. It may also be frozen at this point. Thaw completely in the refrigerator before finishing.
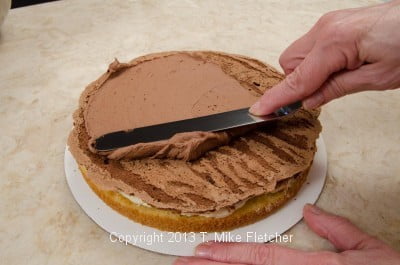
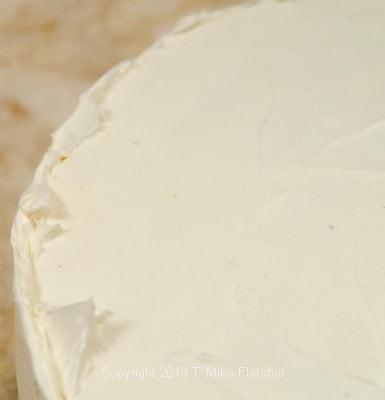
Trim the sides evenly if necessary.
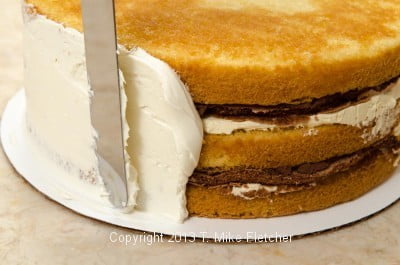
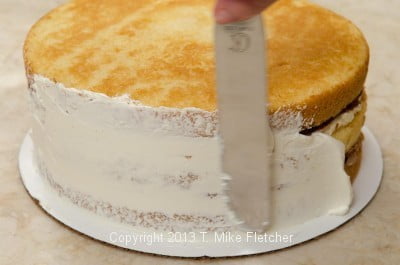
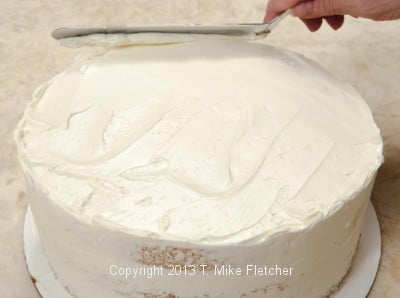
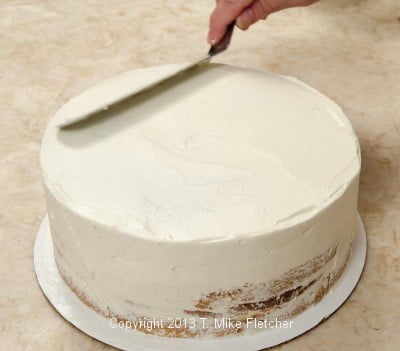
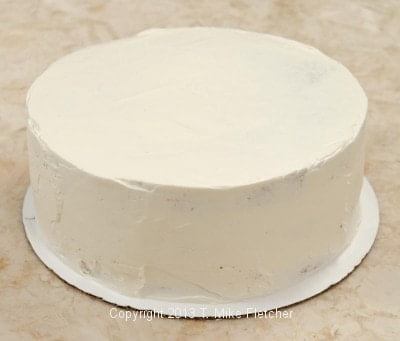
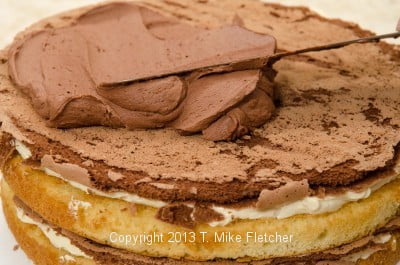
Undercoat the Pave d'Amour with Italian Buttercream. This is also referred to as the crumb coat. Put as much buttercream as you think you will need to undercoat in a separate bowl so if any crumbs get into it, they won't transfer to the finish layer.Place a large dollop of buttercream on the top. Push it out to the edges making sure it overhangs the top at the side of the cake. Using a bench scraper, smooth out the side of the cake. The buttercream that overhung the sides is now above the top edge. Smooth it out by placing your spatula at the edge of the cake and very lightly bring it in towards the center lifting it slightly as you approach the center. Continue in this manner until all the edges are feathered in. Refrigerate to set.
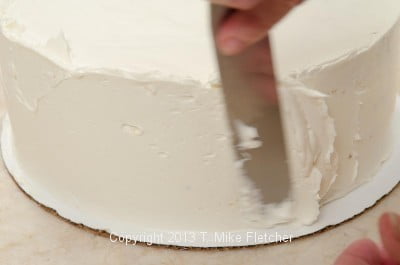
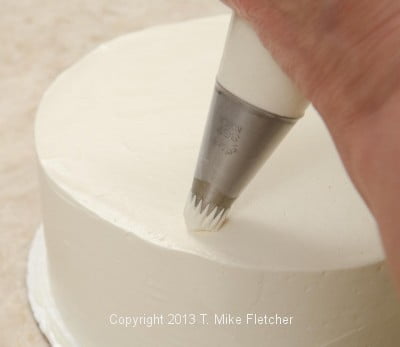

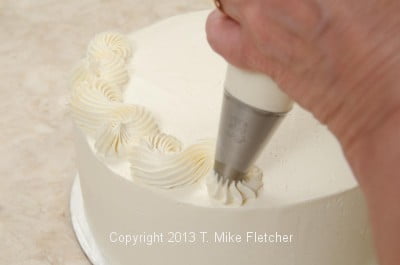
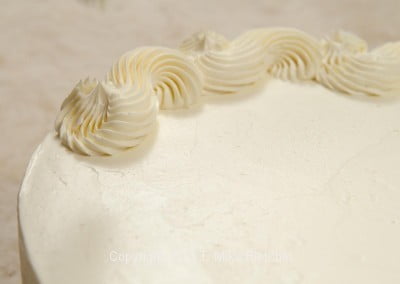
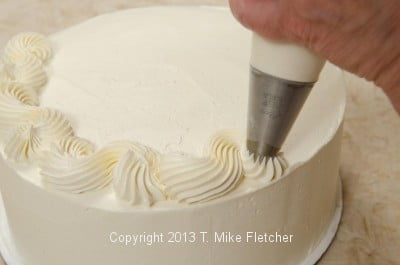
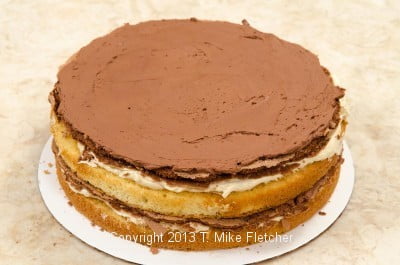
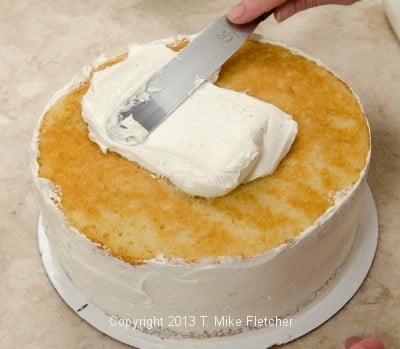
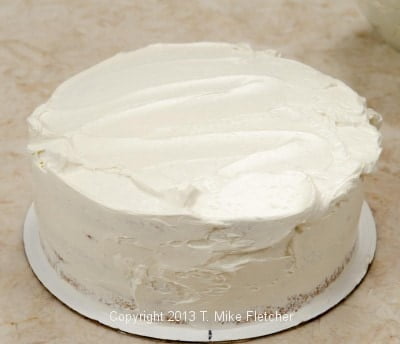
Apply a finish coat of buttercream as you did the crumb coat to the Pave d'Amour Smooth out the top and decorate as desired. I used a #7B tip to pipe this S design.
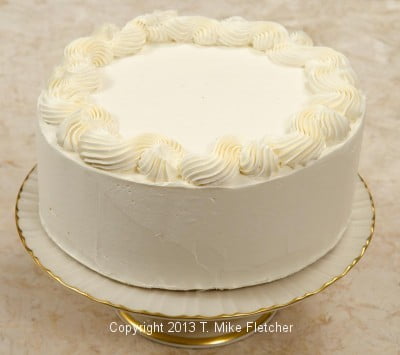
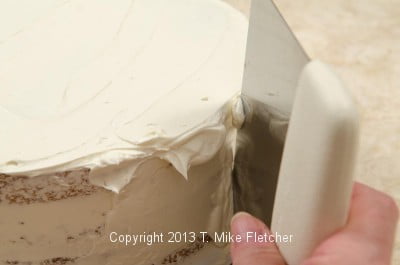
I normally pipe a bottom edge. I have no idea why I forgot it. Actually I do have an idea - we were moving out of the house we lived in for 47 years into a marvelous apartment and I think my head was not fully engaged in finishing the Pave d'Amour.
So pipe an edging around the bottom and you will have the Pave d'Amour . However, no matter how good it looks it can't compare to the extraordinary taste.
The cake should be enjoyed at room temperature.

Kathy Parathyras says
Hi Helen, I hope you don't mind if I ask a question that does NOT pertain to this recipe. I have been having great success achieving flat cake layers ever since I read about it on your blog. I have been baking for nearly 60 years and I had never known about that technique. My question is this: is there a way to get a flat 9x13 cake layer? Do you think your technique would work for a rectangular layer? Thank you!
Kathy
hfletcher says
Hi Kathy. Happy to hear you're using that techniques. Absolutely it will work with any pan - that's the beauty of it. We used it all the time at the bakery.
Kathy A Parathyras says
Thanks so much for your quick reply. Will be trying it out tonite!!!
sallybr says
how cool to see this cake again, and see my old comment still here.... it is a masterpiece!
and yes, overwhipping ganache is one mistake a person NEVER forgets - I did not do it in ganache that was going to cover a cake, it was for a macaron filling, and I confess I just used it like that, but ..... it does ruin the experience....
ellen graves says
I am so excited to discover your excellent blog, it seems like something I have been waiting for, a pro who has a keen sense of how to translate recipes for domestic use! I can hardly wait to try your version of 'cronut'.
The 'pave d'amour' seems essentially to be a version of Medrich's recipe which appeared in 'Bon Appetit' sometime in the 80s, for a coffee and chocolate flavoured wedding cake. I actually have a pdf of that recipe if you are interested to see it. I have used a version of it for 4 wedding cakes now, plus a birthday cake, and every time people have marvelled at it, so rich, so chocolate-y, but so light. For 'my' version I use a traditional UK fatless sponge recipe, where warmed whole eggs and caster sugar are beaten together in a stand mixer until quite solid. But I sub some of the flour with finely ground toasted hazelnuts and cocoa powder. And I don't use the mocha flavouring of the original recipe - people here in the UK often drink tea rather than coffee with cakes. I must confess I have cheated and used the ganache as frosting/icing also, it's so much more straightforward to make than the frosting in the original recipe. But I agree the original is the best! It's the combination that's magical, isn't it. The soufflé layer is what clinches it I think!
I have thought about using regular butter cake as the base, as in your recipe. I take your point it is sturdier, but fatless sponge is so light and delicate, and the soaking syrup ensures it isn't dry, and it has so much tensile strength, I think it is actually great for the relatively small cakes I've made (I mean relative to what a professional baker might have to do) . Let me know what you think. I guess genoise would be a good compromise.
hfletcher says
Hello Ellen - Your version sounds great. I like the hazelnuts in the cake layer. As I mentioned in the header of the article, this is an adaptation of Alice Medrich's recipe. At the bakery, we used this as a wedding and celebration cake. I have used the buttenrcake for years and truth to tell, I am not a huge fan of sponge or genoise cakes and I think the buttenrcake is so much more moist. I use the soaking syrup only for flavor, the cake doesn't need moisture. I think you might also like this one https://pastrieslikeapro.com/2013/12/orange-cranberry-cake-holiday-specialty/#.VMIUEsYaCEM. Thanks for your lovely email.
Irene says
Love your blog; the featured cake looks gorgeous. Did I miss it or did you accidentally leave out when to add the liqueur when making the Orange Liqueur Soaking Syrup? I imagine you don't want to boil the liqueur, is that right? Thanks for helping me out.
hfletcher says
Hi Irene - thank you for the catch. I corrected it - you add the liqueur after the syrup is cooled. Then store in the refrigerator until needing it if you are making it ahead of time.
manisha says
Helen i am definitely making this for Valentine's. Cannot wait to start planning it now itself. Thanx sooo much
hfletcher says
Hi Manisha - Alind will love this! It is most unusual and sophisticated. Hope all is going well for you and your family. What are you studying now?
Kinga says
Ok. I just tried to pin and every pic. I click on to pin another pic then the one I chose shows up. Not sure why that is happening.
hfletcher says
I am woefully ignorant about any of this stuff. I know I pin to my boards and evidently others pin to theirs but can't be much help on this. Sorry.
kkinga says
Gorgeous. Definitely on my to do list :) Would love to pin it but you are not on pinterest?
hfletcher says
Thank you for your comment. I am definitely on Pintrest - go to Pastries Like a Pro or Helen Fletcher. There is also a Pintrest button to the upper right hand corner of the blog. How were you looking for me?
kkinga says
Sorry, Helen, I see the icon now. Thanks.
hfletcher says
You're very welcome and thank you for sharing.
sallybr says
Helen, you outdid yourself again... this is SUCH a gorgeous cake, I showed it to my husband and he asked "when are you making it?"
I would need you to be here holding my hand, this is out of my league for the moment... but maybe one day ;-)
hfletcher says
You can do this Sally - just do one thing a day or even two or three days between and you will have it made. I believe in you.
Thanks for the comment.
Hilda says
I have eaten Helen's Pave d'Amour and I have made it and it is truly the best cake I have ever experienced! It is a daunting number of steps but not hard to produce and so totally worth the effort and the calories. What smart and lucky brides who selected this as their wedding cake from Truffes.
hfletcher says
Hi Hilda: Thank you so much for your generous comment. I love this cake above all others and am so happy others did also. Hope all is going well for you. Miss you.
Judy Garden says
A small correction. Alice Medrich's book is called Cocolat, not Chocolat. I bought the book when it first came out in 1990, and I've baked every recipe in it. It truly is an amazing book.
hfletcher says
Thanks Judy. I am glad you brought this to my attention. I made the correction.