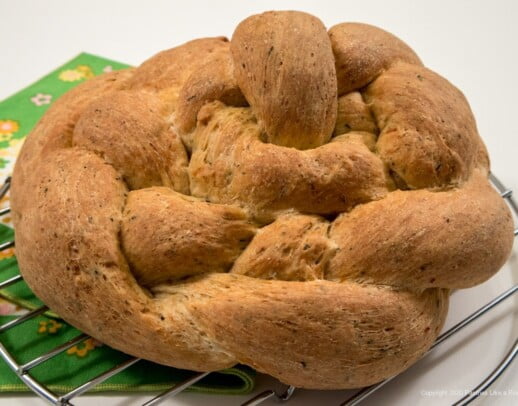
 This Herbed Cheese Bread is a great example of why I love to bake bread. Baking bread is infinitely variable and always interesting.
Starters when baking bread
While sourdough starters and sourdough breads have caught everyone’s attention of late, there is definitely something to be said for the yeast raised breads that can be made in a few hours start to finished baking. Artisan bread bakers who use a variety of starters including sourdough, biga, levains and some just labeled “starter” have schedules that can take up to days to make a loaf of bread.
Did I hop on the sourdough wagon earlier this year? Sure did and I made a great starter. I journaled my trip through sourdough land and may turn it into a book at some point. I feed mine every Monday and keep a fairly large container of cast off to use with yeast reinforcement or other recipes as I think of or convert them.
Yeast used in Bread Baking
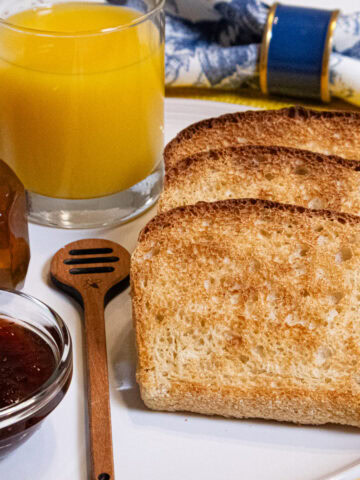
Some people think it’s either the long road around bread baking or nothing. I believe in all of them – long, medium or short, with yeast or without yeast. Bread is my comfort food. This Herbed Cheese Bread is great for sandwiches and soups or just to eat as a snack, which I am doing now as I write this.
There are several different kinds of yeast used for home bakers. The two most prevelant are active dry yeast or instant yeast. When it was first introduced, instant yeast was a finer ground yeast. However, today the active dry yeast is also ground finer and some people use them interchangeable.
Currently, I just use the instant yeast. I generally use the same amount of either one. The active dry yeast may take a bit longer to rise. The instant yeast may also give just a wee bit higher rise but really not noticeable unless they are side by side.
Variables Within the Herb Cheese Bread
While I used both bread flour and a bit of whole wheat, all bread flour can be used. The cheese can also be varied to your taste or to what you have on hand. Even the oil can be changed out
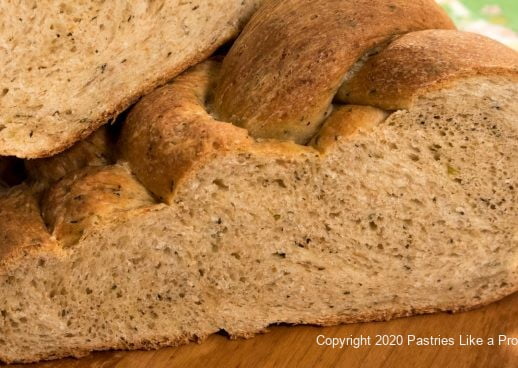
I love that this Herbed Cheese Bread leaves a welcome tingle of warmth when eaten and also that the taste lingers a bit when finished. This is a very straight forward, easy loaf of bread with an unusual twist to the shaping.
I trust you will enjoy it as I do.
Herbed Cheese Bread
2 cups bread flour (280 grams or 10 ounces)
½ cup whole wheat flour* (70 grams or about 2 ½ ounces)
1 ¼ teaspoons salt
4 ounces pepper jack cheese or what every cheese you wish (114 grams)
1 teaspoon dried basil
1 teaspoon dried oregano
1 teaspoon dried thyme
2 teaspoons instant yeast
½ cup milk
⅓ cup water
3 tablespoons zippy garlic oil, plain olive oil or canola oil
1 large egg
*All bread flour can be used if necessary but the whole wheat bumps up the flavor.
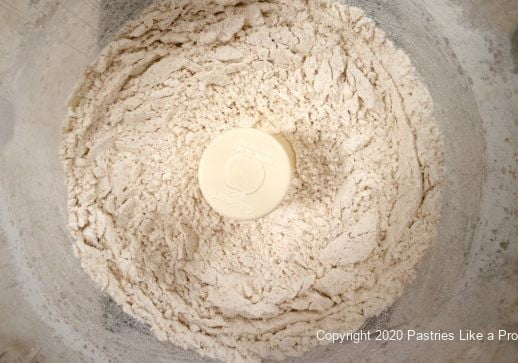
In the bowl of a food processor, place both flours, salt, and the cheese. 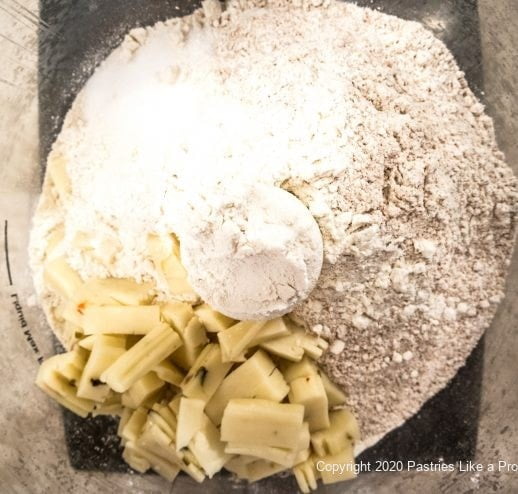
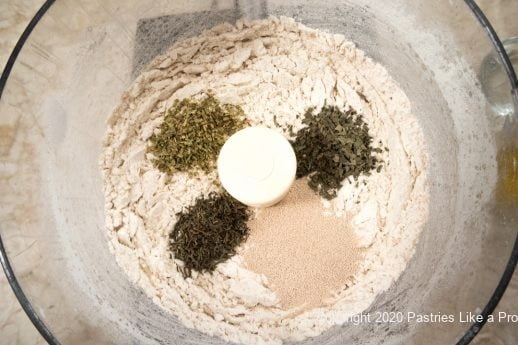
Add the herbs and instant yeast. Pulse several times to mix well.
Combine the milk, water, oil, and egg. 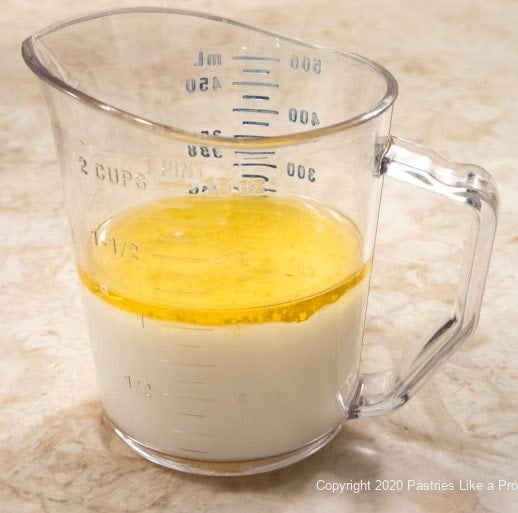
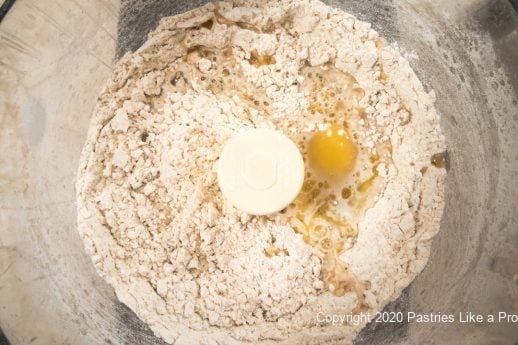
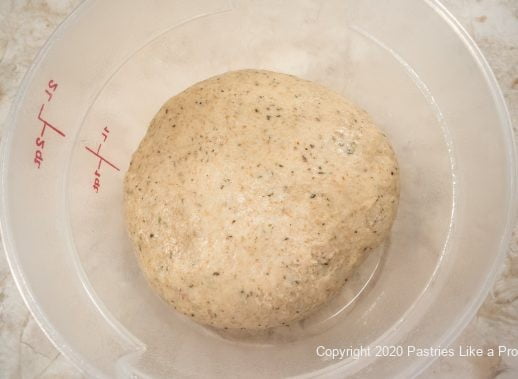
Pour the dough out and 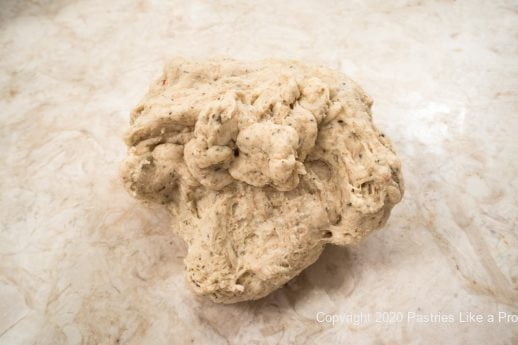
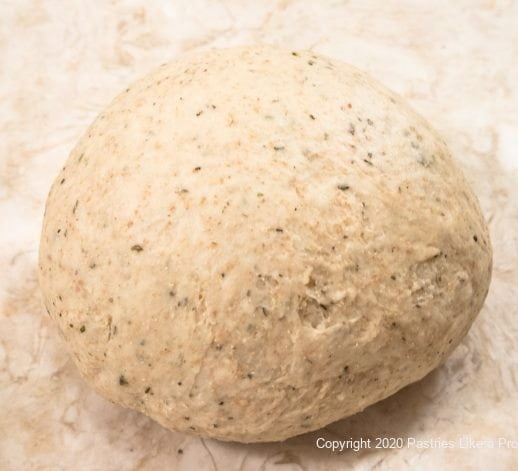
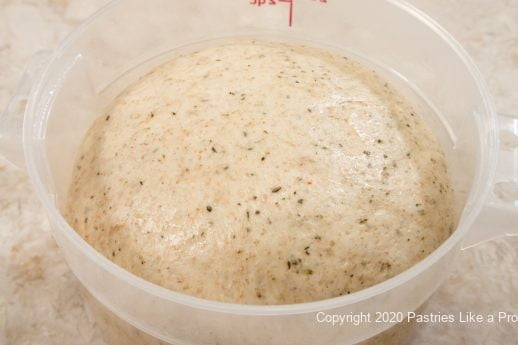
Let rise for about 2 hours. This is a slow riser so I usually put it in the oven with only the light turned on.
At this point it can be refrigerated overnight or for a couple of days if that fits your schedule better.
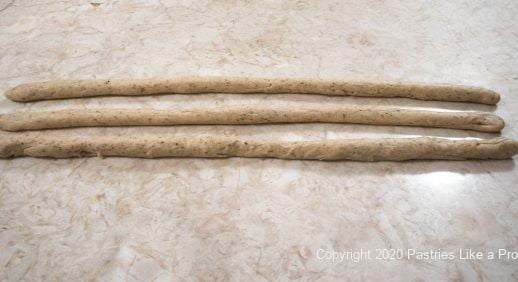
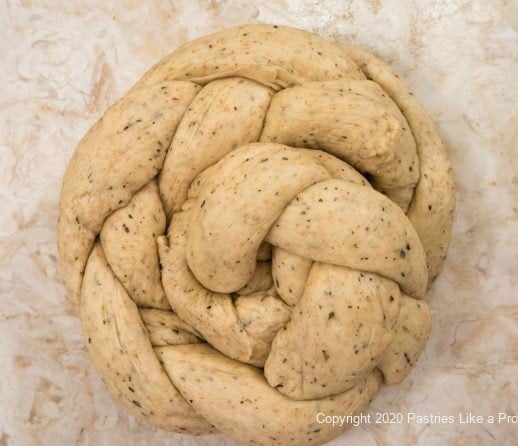
When ready to use, divide the dough into 3 pieces about 240 grams or 8 ½ ounces each. Roll each piece into a rope about 26” long.
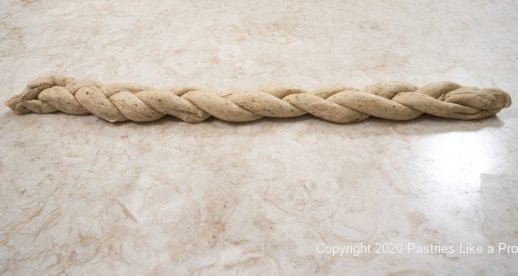
Place the pieces next to each other and pinch the top together. 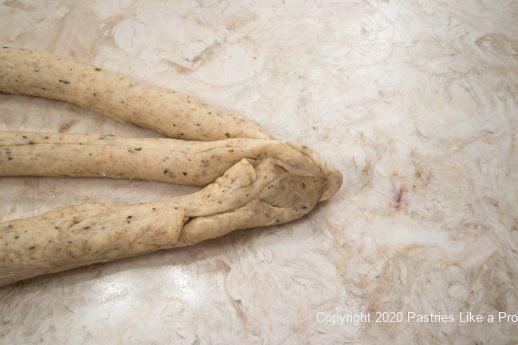
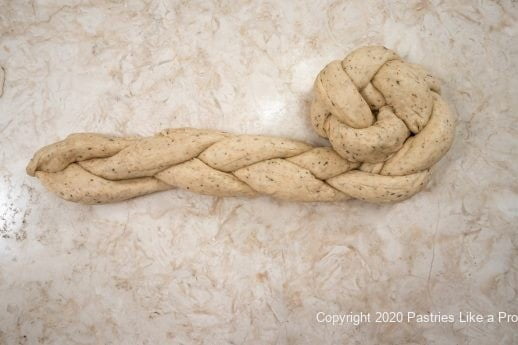
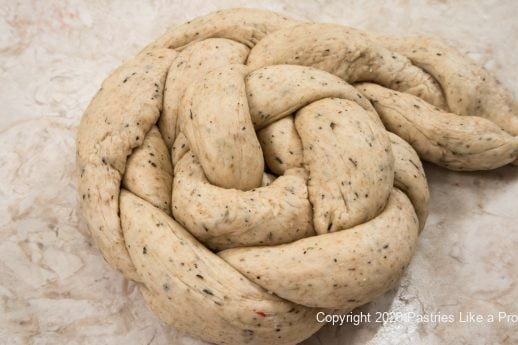
Coil the braid, tucking the end piece underneath.
Let rise for 45 to 60 minutes until about doubled. I put my loaf in my oven with just the oven light on. If you have a gas oven with a pilot light, you may need to prop the door open. The temperature should not exceed 85°F.
Preheat the oven to 350°F. Brush with zippy garlic oil. If you prefer a really crisp crust, throw a handful of ice cubes on the bottom of the oven to create steam. In any case, bake for 30 to 35 minutes or until it registers about 200°F.
Cool.
Makes 1 large loaf – 640 grams or almost 1 ½ pounds





Diane says
Helen, I so enjoy your blog and your recipes. I don't make bread often and when I do it is usually gluten free for my DIL who is gluten intolerant. This recipe sounds amazing. However, being on the lazy side, I have to ask: can this bread just be put in a bread pan or formed into a large ball and baked without braiding? I don't see why not, but thought I would ask. Thanks so much for your help and please keep sending us your recipes!
vivien says
Helen,
I found your website about a year ago.
This is just to say "thanks" for the pleasure and knowledge you have provided.
Your instructions and photos are superb.
vivien
hfletcher says
Thank you Vivien. It's people like you that I blog for and your comment brings me pleasure knowing I am of help.
Elizabeth Bell-Perkins says
Just added this beautiful bread to my to-do list for this week. I SO appreciate the consistent success I have with your recipes. I am a not only a hobby baker but also a past owner of a small cookies & sweets business so I am highly critical on online recipes- yours never dissapoint!. I hope that you know that you have been, and will continue to be, a source of comfort in this ragged pandemic world. Pax, Elizabeth
Living in the wilds of Western Massachusetts.
hfletcher says
Hi Elizabeth - Thank you so much for the very kind thoughts. It is wonderful to know that what I love doing is helping others or just giving them pleasure. I don't blog anything that I haven't tested, sometimes more than once, until I know almost everyone will be able to make it. I'm grateful I have lots to do during this darkest of times. I love your last line! Take care.
T. says
This looks delicious and easy to bake! A request: would you please comment in future how to make these recipes with a large stand mixer instead of a food processor? I've read that generally there is a different process. Thanks & be well!
hfletcher says
Hello - Actually in a simple bread such as this, there is no difference. Just put the dry ingredients in the mixer. Mix to combine as you do with the processor. Mix the liqud ingredients and add them to the dry ingredients. Mix to bring all togehter and then knead in the mixer for 3 to 4 minutes until smooth. Use a dough hook if you have one. This is basically how I mix all my breads unless they are enriched with eggs and milk or extra ingredients.
Fern Shinbaum says
Two questions: Should the water and milk be warmed before adding them to the dry ingredients? Also, I only have AP flour. Will this work?
hfletcher says
Hi Fern - if you are making the bread in a processor, do not warm anything. The blade goes around at 30 mmiles an hour and heats everything up while doing so. Yes AP will work. It may not rise as high but I don't think there will be a huge difference. This is a simple, uncomplicated bread.
Barb says
Love the simplicity and definitely going to try!
Thanks, Helen!! I started watching you on Great Day and really enjoyed you and still enjoy your recipes!
Thanks!!
Barb
hfletcher says
Hi Barb - That was a fun time for sure. So happy you're still with me. Take care.