
 Zuccotto has everything going for it so I'm not sure why it isn't up there in the ranks of famous Italian desserts. But I have rarely come across it. Not exactly a cake, although it includes sponge cake, not exactly not a cake so we'll settle on dessert.
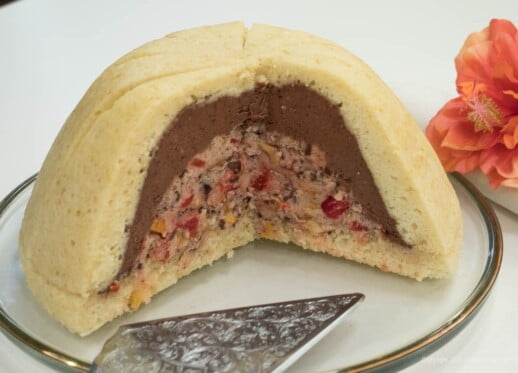
My first attempt at Zuccotto left me unimpressed. Perhaps because I am not a fan of ricotta cheese. Adding whipped cream and mascarpone simply made three neutral flavors predominant. So I went about using the flavors of Italy - amaretto, hazelnuts, cherries, candied orange, cinnamon, and chocolate to amp up the flavor and give it a lot of character. As with many European desserts, this is not overly sweet.
The next change was to introduce orange zest into the butter sponge that encapsulates all of the other ingredients and it worked so no part of this dessert is left without enhancing the flavor of the whole.
Don't be put off by the shaping. While it looks complicated, It is actually very easy and soaking the sponge in amaretto makes it even easier.
While I have seen recipes that sift cocoa, and/or powdered sugar over the finished Zuccotto, I prefer the simplicity of nothing so the beautiful triangles enclosing the filling can be readily seen. Speaking of the triangles, I made the first one with fewer and it didn't work as well as this version which has more. In any case, do as you please. There is no right or wrong.
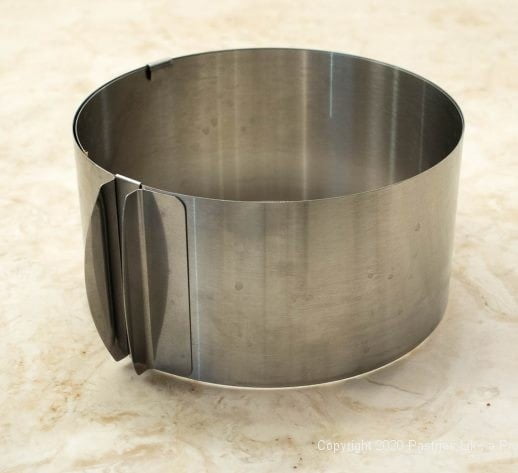
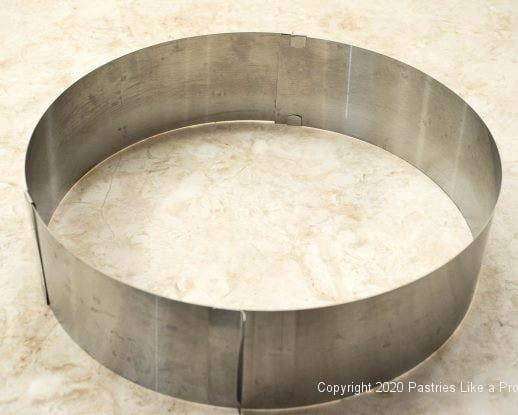
To digress for a moment, I found this cake ring on the internet and was fascinated by it. I'm not big on adding equipment because I have limited storage space, but I ordered this anyway. It truly is amazing. It expands from 6" to 12" and works as advertised. I think it was originally designed for mousses but worked as well for cakes if the batter isn't loose and runny.
So if an impressive looking and tasting dessert is in your future, Zuccotto fits the bill in both categories. Don't have a lot of time? It can be done a little at a time and then assembled.
If you've gotten this far, do me a favor and let me know if you like the larger photos in this post. Just post a yes or no in the comments if you would. Thanks.
This page contains affiliate links. If you purchase a product through one of them, I will receive a commission (at no additional cost to you). Please be assured I only endorse products that I approve of and recommend. If you decide to buy the product, I would appreciate it if you would purchase it through the link on this page. Thank you.
Orange Butter Sponge Cake
For how-to photos for the sponge cake and also, use these ingredients. The sponge can be made ahead and frozen for up to a month.
1 cup +2 tablespoons sugar (225 grams or 8 ounces)
9 eggs, separated
1 ½ teaspoons vanilla
Zest of 1 medium orange
1 ¼ cup cake flour (155 grams or about 5 ½ ounces)
6 tablespoons unsalted butter, melted and cooled (90 grams or 3 ounces)
Preheat the oven to 350°F. Line a cookie sheet at least 12" wide with parchment paper.
Either draw a 12-inch circle on the paper and flip it over so the ink is on the bottom or use a cake ring expanded to 12" and place it on the paper.
Line a 9"x2" round cake pan with parchment. Spray the middle of both with a nonstick spray.
Combine ¾ cup sugar (150 grams or 5 ⅓ ounces), vanilla, orange zest, and egg yolks in the bowl of a mixer. Beat until very thick and very pale, almost white about 7 minutes. Do not under beat.
In a clean bowl, with a clean whisk or beater, beat the whites until the beater leaves tracks that are barely visible. Gradually add the remaining sugar. Beat until medium peaks form. Pour the egg yolk batter over the whites and sift in half the flour; fold gently with a rubber spatula. Sift the remaining flour over and fold in.
To incorporate the butter, place about 1 cup of sponge batter in a medium-size bowl. Add the melted and cooled butter whisking until completely amalgamated. Return to the bulk of the batter and fold in.
Scoop ⅔ of the batter (about 560 grams or 19 ⅔ ounces) in the 12" form. Place the remainder of the batter (about 280 grams or 10 ounces) in the 9" pan. If both don't fit on the middle shelf of the oven, bake the 12" pan first and then the 9". Both will bake for 12 to 14 minutes. They will barely color and that is as it should be. They will bounce back when lightly touched and a tester will come out clean. Place on racks to cool completely. Both layers will shrink slightly.
When they are cool, cover a 9" and 12' cake boards with plastic wrap. Turn the cakes out onto the boards and leave them bottom side up.
Cover the 12" round with plastic wrap and using another cake board, press down evenly and firmly to flatten it slightly and return it to 12". Place this, along with the 9" layer in the freezer until hard.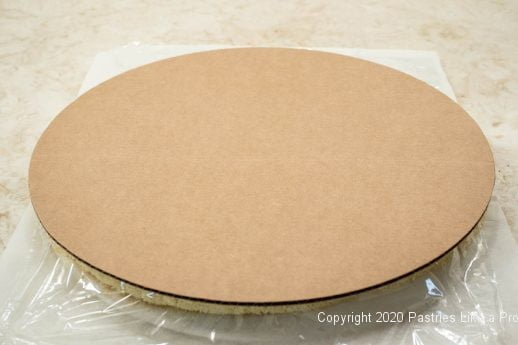
If the 12" layer is free form, trim to 12". Flatten and freeze as above..
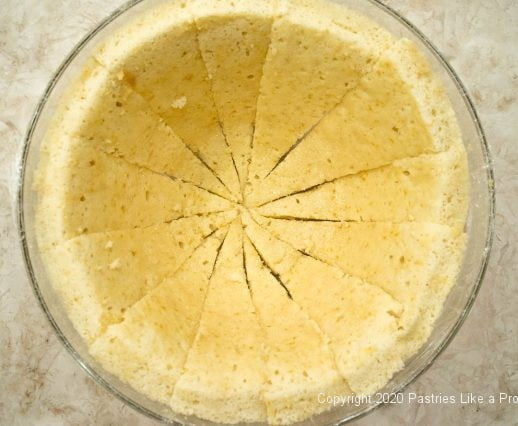
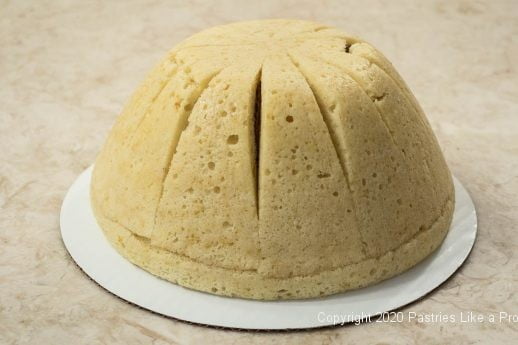
When the sponges are frozen, mark the center of the 12" layer and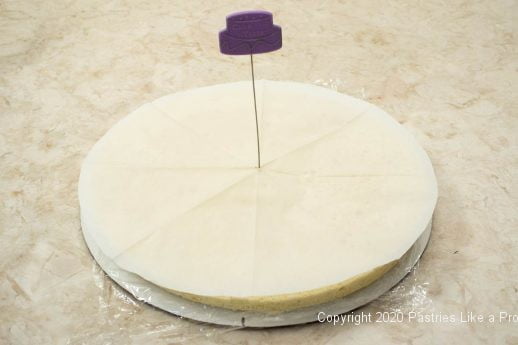 then mark 4 sides equally.
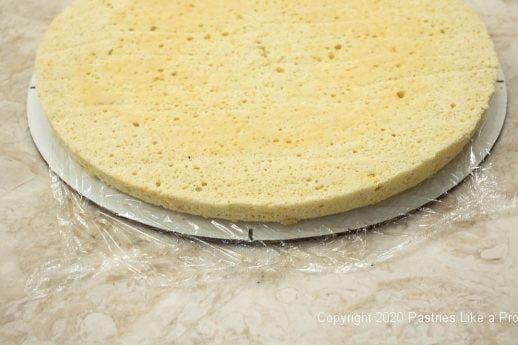 I am completely inept when it comes to judging the middle, so I cut out a 12" round of parchment and fold it up into a triangle. I open it up, place it over the frozen cake and proceed to mark it as above.
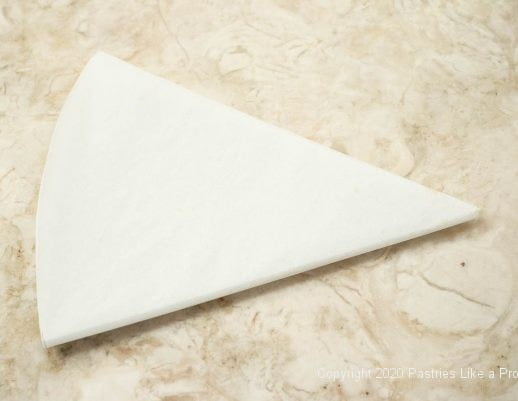
Cut each quarter into 4 pieces.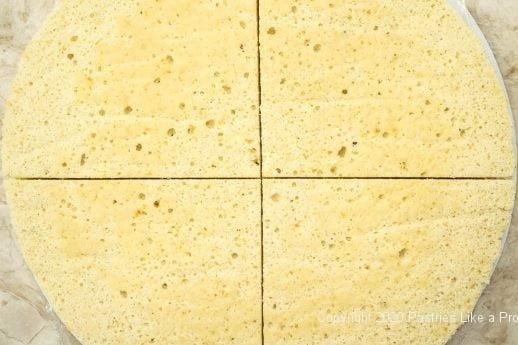 Then cut into 8 and
 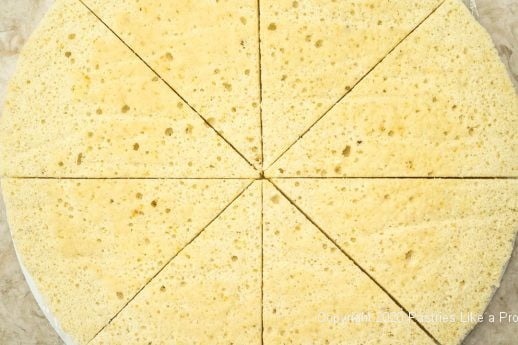 finally into 16 pieces. Don't obsess if they aren't exactly even.
 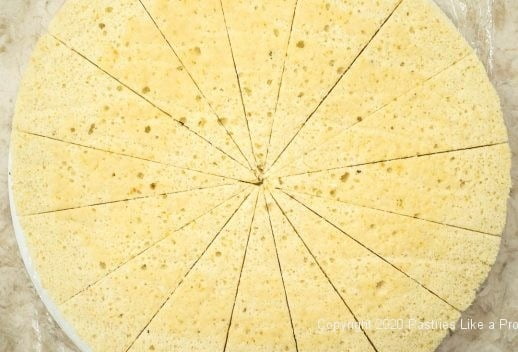 Allow both the 12" and 9" sponges to thaw completely to use.
Soaking Syrup
¼ cup water
¼ cup sugar (50 grams or 1 ¾ ounces)
½ cup amaretto
Bring the water and sugar to a boil in a small saucepan. Boil for 1 minute. Remove from the heat and add the amaretto. Set aside to cool.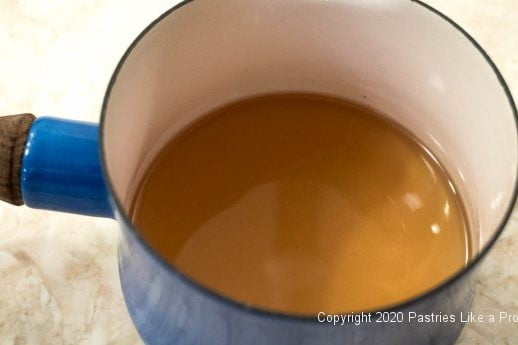
Assembly of Zuccotto
Glass bowl 9" x 4 ½" deep across. Line in plastic wrap making sure it follows the contour of the bowl. Piece it together if need be. Let the excess hang over the side. 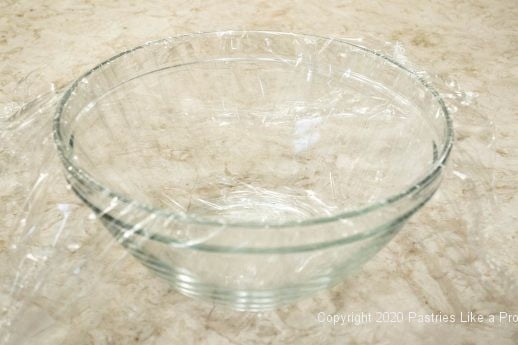 Brush the bottom side of the triangles liberally with the soaking syrup. Line the bowl with the triangles, soaked side to the side of the bowl pointed end at the bottom of the bowl.
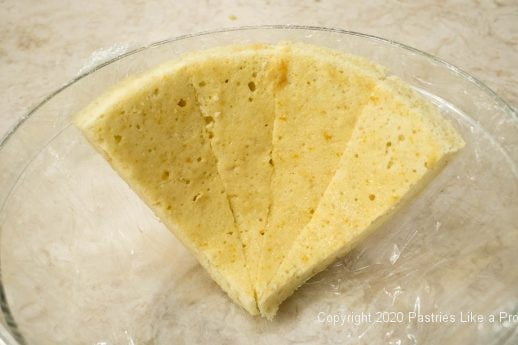
If there are any open areas, fill in with additional sponge from the leftovers. You will not need all the pieces that you have cut. Set aside.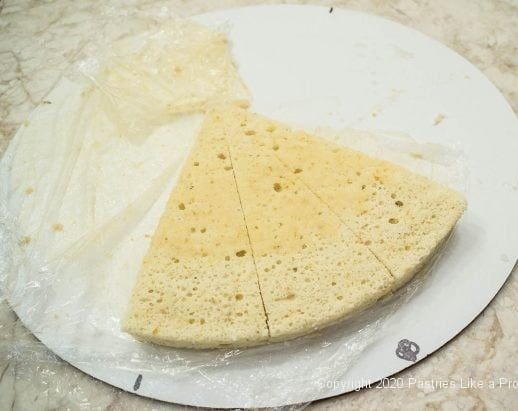
Zuccotto Filling
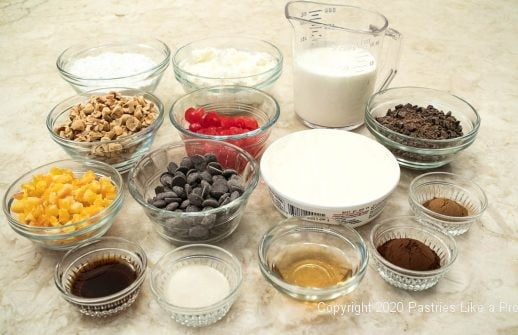
I have given a range for the hazelnuts, diced orange zest, and cherries. I used ½ cup of each of the ingredients and it is chock full. If you want more of the ricotta filling use the lesser amount of each of the add-ins.
A note about the diced candied orange. After the holiday season, it can be difficult to find candied orange. You can choose to make my candied orange peel or Trader Joe's usually has candied orange slices that can be diced.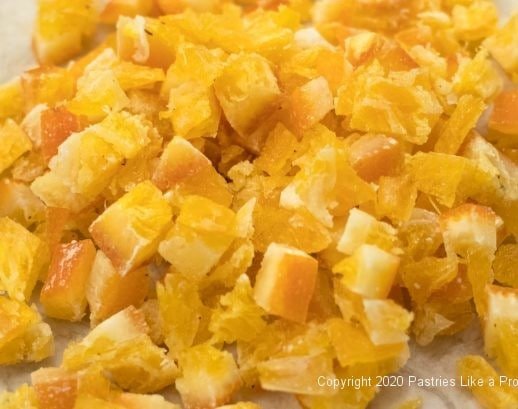
2 teaspoon gelatin
1 tablespoon amaretto
1 ¼ cup heavy cream
1 cup mascarpone (225 grams or 8 ounces
1 cup whole milk ricotta cheese (225 grams or 8 ounces)
¾ cup powdered sugar (100 grams or 3 ½ ounces)
2 teaspoons vanilla
1 teaspoon cinnamon
1 /3 to ½ cup coarsely chopped blanched hazelnuts
⅓ to ½ cup diced candied orange zest
⅓ to ½ cup maraschino cherries
5 ounces semisweet chocolate, finely chopped, divided (140 grams)
1 tablespoon of cocoa
Mix together the gelatin and amaretto in a small bowl. Set aside.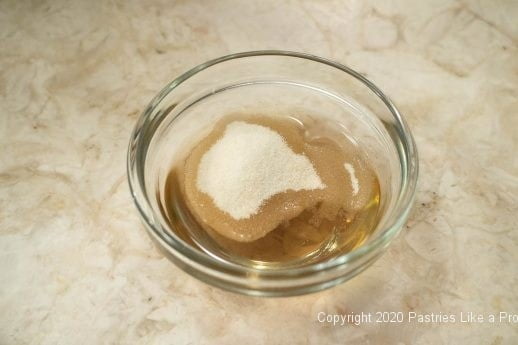
Whip cream to soft peaks. Set aside.
Place the mascarpone, ricotta, powdered sugar, vanilla, and cinnamon in the bowl of a food processor. 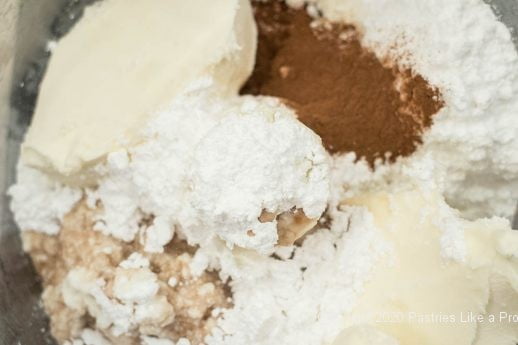 Process until smooth.
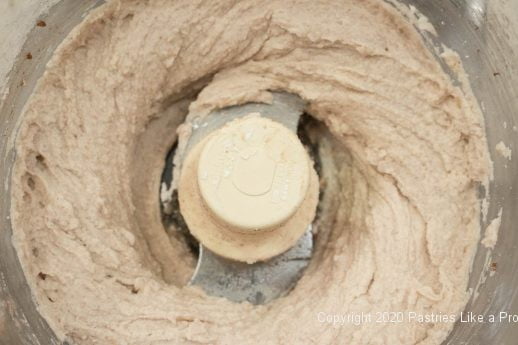
Melt 3 ounces of the chopped chocolate on half power in the microwave or over hot water. Cool slightly,
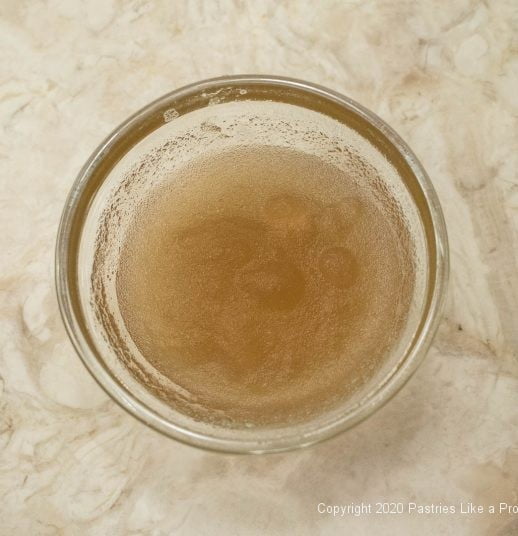
Liquify the gelatin in the microwave or over low heat.
Combine the whipped cream and mascarpone mixture. incorporate the gelatin.
Remove ½ of the mascarpone mixture to another bowl. Add the remaining 2 ounces of chopped chocolate, hazelnuts, diced candied orange, and cherries.
Stir in the melted chocolate and cocoa to the second half of the mascarpone mixture.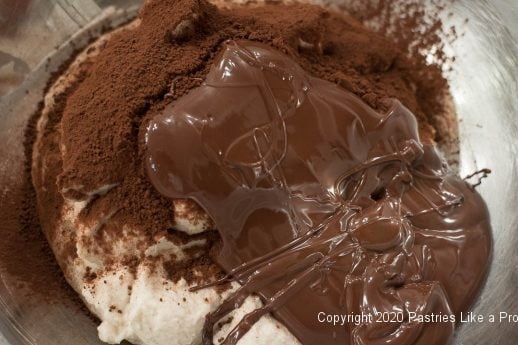
Spread the chocolate ricotta mixture along the inside edge and bottom of the sponge, leaving a deep well in the middle.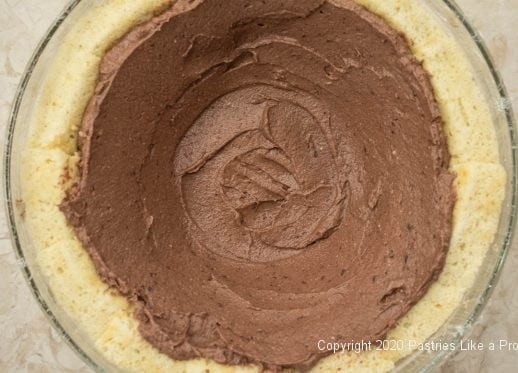
Fill the well with the fruit and nut mascarpone mixture.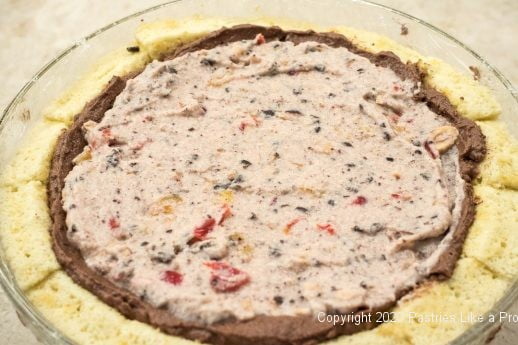
Brush the bottom of the 9" sponge with the remaining amaretto soaking syrup. Place the sponge, soaked side down over the filled Zuccotto.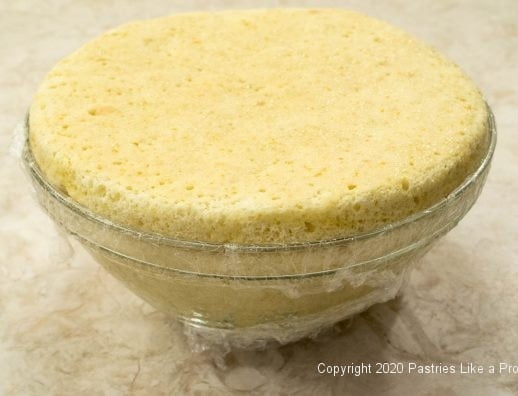
Fold the overhanging plastic wrap over the sponge. If it doesn't cover, add more. and place a 9" cake pan filled with pie weights or beans on top. Chill overnight.
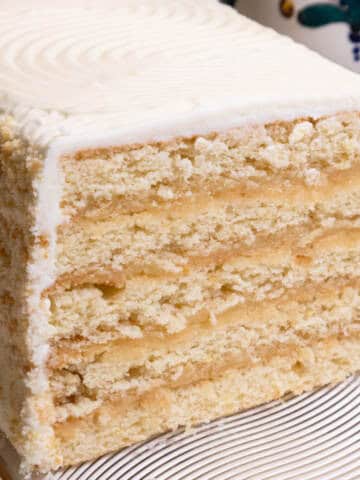
When ready to serve, remove the weights and the plastic wrap. Place a cake board or serving plate over the sponge and turn the Zuccotto out. Remove the plastic wrap.
Zuccotto Unmolded
If you wish it can be sprinkled with cocoa or powdered sugar before serving.
This page contains affiliate links. If you purchase a product through one of them, I will receive a commission (at no additional cost to you). Please be assured I only endorse products that I approve of and recommend. If you decide to buy the product, I would appreciate it if you would purchase it through the link on this page. Thank you.
If you love Italian desserts, you'll also enjoy these: Individual Italian Tiramisu, Italian Neapolitan Cookies, Apricot Pistachio Italian Biscotti Recipe

Suzi Parks says
Like the larger photos. Also going to check out the cake ring; I have just downsized (gave away hundreds of cookbooks, baking and decorating equipment.) But, this might just be a 'qualified' addition to my kitchen.
hfletcher says
Hi Suzi - We moved into a large apartment several years ago, but nothing like our large house with a very large basement. I ended up putting about 3/4 of my equipment and at least 3/4 of my books into the estate sale. I haven't bought much since I've been here but, like you, just the qualified things. This piece of equipment really is interesting.
hfletcher says
Thanks to everyone who took the time to let me know you like the larger photos so that is what I will be posting from now on.
Judy says
Yes! Also, what is the metal bowl that is above the picture of the ring? Thanks!
hfletcher says
Hi Judy - that is the ring at its smallest 6", then the larger 12" ring at its largest measurement. It will spread out between 6 to 12 inches. Really is a neat little thing.
Kimberly says
Hi Helen, Regarding the larger photos: Sometimes the larger photos don’t provide the context of scale. I feel like I can “see” better when I can see the whole bowl, rather than just the ingredients inside the bowl. Plus, I can always zoom in on a photo if I need more detail on texture. My pet peeve with many cooking shows on TV is the the camera is so close to the food that I don’t get the big picture of what’s going on with it. By the way, your posts provide amazing detail and clarity - you are so helpful!! Thank you so much for all the work that goes into this blog! It is much appreciated.
hfletcher says
Hi Kim - Thanks for letting me know. It is often difficult to show the ingredients in mixing bowls because all you end up seeing is the bowl and a few ingredients in the bottom and then there truly is no context. Hopefully, I can satisfy both of us.
zorich2014 says
Yes!
Suzanne Knapp says
Love the pictures and the links to good tools. I also love that I can print out the recipe without the pictures if I want. I love your recipes. It's ideas no one else is doing.
Stephanie Blanc says
Yes on the larger photos. I always look forward to your posts.
Marianne Ward says
Yes. Love your posts. Thank you.
Becky Chase says
I ALWAYS appreciate your step-by-step photos, large or small, but the large photos are definitely nice! I love your blog, any way you post it!
Lynda says
Yes, fascinating dessert. Appreciate all your work and expertise. A gluten free dessert similar to this would be great!
Lynn Fiorante says
I made one 30 years ago. It truly is a forgotten but impressive dessert. Thanks for the reminder to remake it
Pam Hopp says
Yes
Lynette Pruett says
Sounds amazing, and terrific tutorial explaining how to make it. Yes, the larger pictures are helpful. Thanks, Helen!
Karen says
Yes, the larger photos are great!
Judy says
Yes. Bigger is better. This looks interesting.
Kathy Parathyras says
Yes, I like the larger pictures. Thank you.
J says
Love the LARGER photos! Thank you.
Deborah Anderson says
Yes, This sounds delicious.