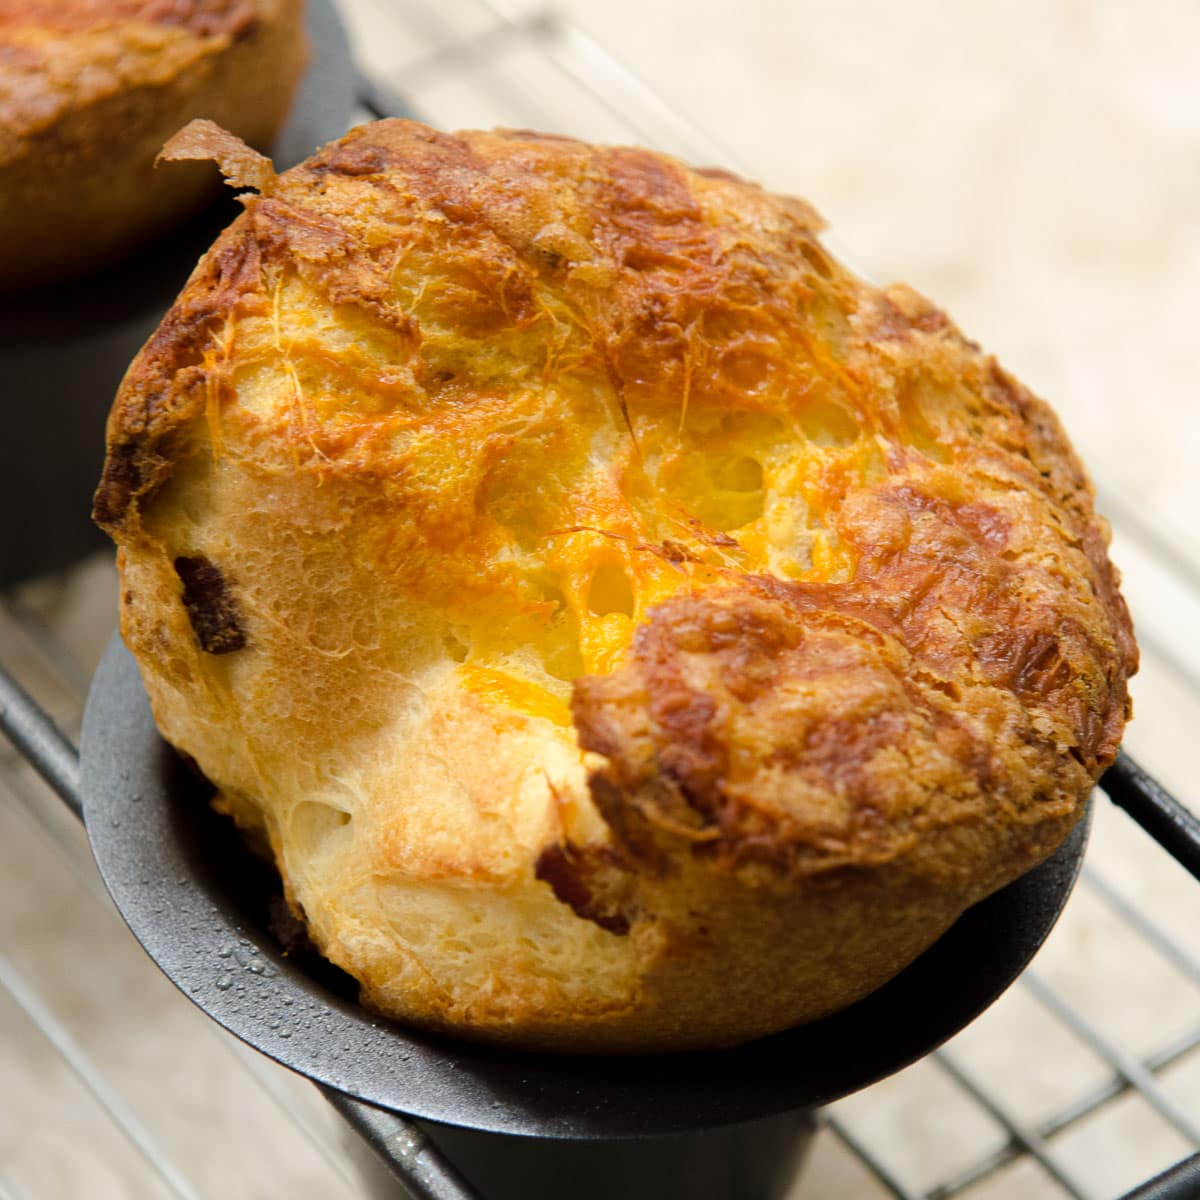
Popovers are a light, hollow roll made from an egg batter similar to that of Yorkshire pudding, typically baked in muffin tins or dedicated popover pans, which have straight-walled sides rather than angle". Wikipedia
Popovers are deceptive to make. Certainly easy enough. Five ingredients blended in an instant - how hard can that be. Not much.
A rest at room temperature or in the refrigerator overnight and a bake in the oven - that's it! Tall, light and crisp Popovers. The bake in the oven is where things can go wrong. So let's get to it.
This recipe is a compilation of several from the net as well as what I already knew. The batter for Popovers can also be used for crepes or Yorkshire pudding. These are also reminiscent of chou paste used for cream puffs and eclairs as they, along with popovers, depend upon steam to lift them and baking long enough to set them. Recipes for Popovers vary considerably mainly in the amount of eggs used. This recipe is fairly standard though. The main difference with this one is the use of bread flour and low fat milk. These two things make a very crisp popover without much dough (if any) inside.
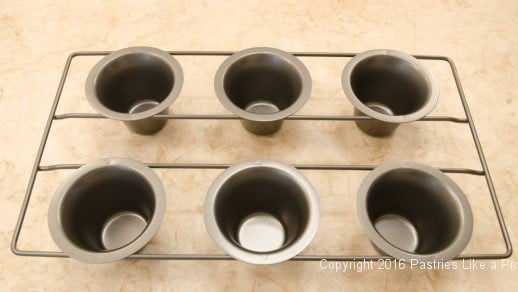
One of the things I noticed in reading other recipes is no one talks about light pans vs. dark pans. I purchased a new popover pan since my was very old, small and dented. As you can see this new one is dark.
Many of them are of lighter aluminum. I have given baking instructions for both pans as the dark ones will burn the popovers if the oven is as high as it is for the light aluminum pans. The only reason I bring this up is that I burned the first batch because I forgot to lower the temperature to start with. Some recipes call for heating the empty pans, then spraying and filling them. A couple of observations here. One that is a bit dangerous. I don't want to, and suggest you shouldn't, be trying to spray a piping hot popover pan then adding the bacon, filling it and topping it with the cheese. By now the pan has lost it's heat anyway.
It will only take a few minutes for the pan to become really hot in the oven so this is a useless, albeit dangerous, instruction. I also put my popover pan on a tray as I think it is more stable and easier to get in and out of the oven. This is especially true since the pan should be put on the bottom rung of the oven. While this keeps the bottom and sides of the popovers golden and crisp, it won't let them become overly browned, it does add a bit of extra time in the oven.
If you don't have a popover pan, you can use regular or Texas muffin cups. Just spray them well, fill them about ½ way and continue as you would with the popover pan, reducing the time as necessary.
While it is true you shouldn't open the door for the first 30 minutes or so, it is a myth that you must never-ever-ever open the door while they are baking. After the initial 30 minutes, they are as high as they are going to puff and are set. Opening the door to look at them will not deflate them unless the oven temperature was too low. That is one thing that is very important - make sure the oven temperature is heated as called for in the recipe.
Popovers depend upon steam coming from the baking process to lift them. A quick burst of extreme heat, hence the high temperature of the oven initially, is necessary to create that steam for the maximum height.
Once the steam has lifted the popovers, the next thing is to bake them long enough to dry out the interior so it is not doughy. Several recipes on line refer to the custardy inside. That also reads as unbaked dough. So this recipe has been geared to as little unbaked dough as possible left inside. And what there is, isn't wet. Basically, you are looking for a hole with crisply baked dough around it.
When properly baked, the popovers should be a deep golden brown with a crisp exterior and a hole inside. The beauty of these popovers is that they don't deflate as so many do. The main reason is they are baked long enough to bake the inside The bread flour gives them the strength to stay up even when cooled. So, while they should be served warm, it is no longer necessary to rush them to the table for fear of falling.
I froze some and reheated them in a 350°F oven for 5 to 10 minutes. They were as crisp as when freshly baked and tasted just as good.
While I have chosen to make these with bacon and cheese, there are a many ways of changing these up. One of my favorite is to make plain ones (omit the bacon and cheese) and serve the with honey butter.
Bacon and Cheddar Cheese Popovers
4 eggs
1 ½ cups 2% or skimmed milk*
3 tablespoons melted butter
1 ½ cups bread flour** (210 grams or 7 ⅓ ounces)
½ teaspoons salt
⅓ cup crumbled, crisply cooked bacon
⅓ cup grated cheddar cheese
* If using whole milk, substitute 1 ¼ milk plus ¼ cup water
**All purpose flour can be used but bread flour yields a crisper popover and is better baked inside.
Place the eggs, milk and butter in a blender or whisk vigorously by hand. Add the flour and salt. Blend to mix. If mixing by hand, whisk until the batter is smooth with no lumps.
Let rest for an hour or up to 3 days in the refrigerator. Return to room temperature if the batter has been refrigerated.
Preheat the oven to 450°F if using light colored pans or 425°F if using dark pans. Position a baking rack on the lowest rung. Position another rack on the very top rung. Make sure the oven is at temperature before adding the popovers.
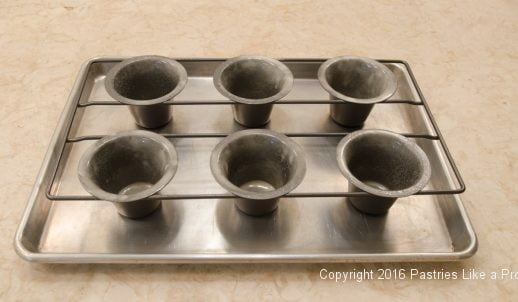
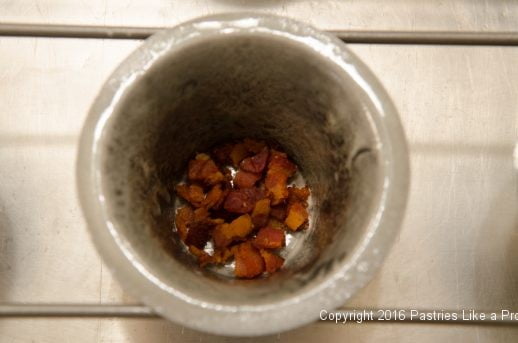
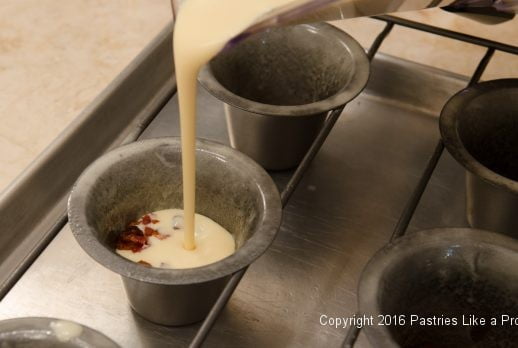
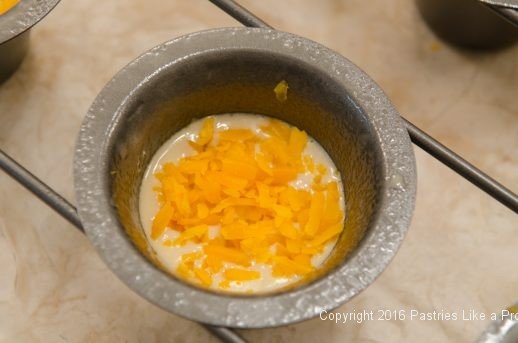
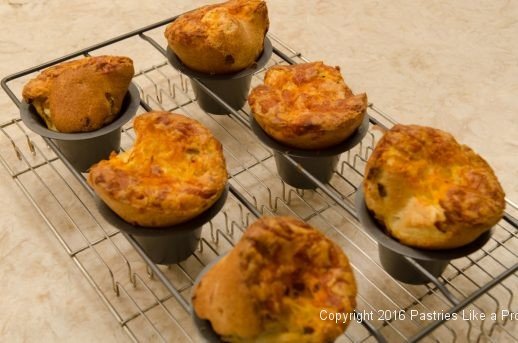
Spray the popover cups well or grease them with a solid shortening like Crisco. Butter should not be used here.Divide the bacon between the popover cups. Fill the cups ½ full with the batter. Sprinkle the cheese on top. Bake the popovers for 20 minutes. Lower the heat to 350°F for both pans. Bake for an additional 10 to 15 minutes if they are not on a pan for 20 to 25 minutes if they are until they are a deep golden brown.
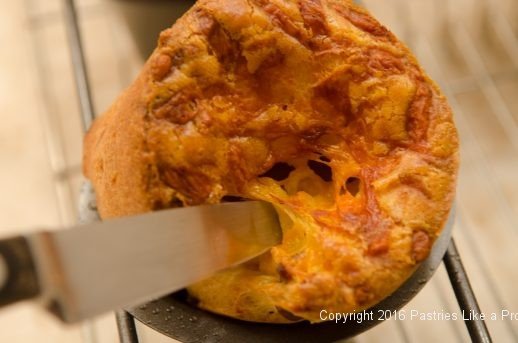
Immediately upon removing the popovers from the oven, release the steam inside by sticking the tip of a knife in the top side of the popover. Remove them from their pans immediately. Serve warm or cool and freeze.
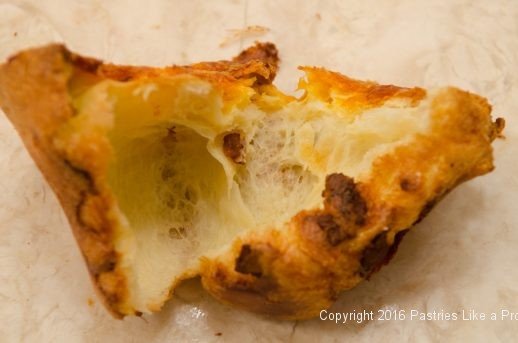
When opened, there should be little or no dough inside.To reheat: Preheat the oven to 350°F. Place the frozen popovers on a baking sheet and heat 10 to 15 minutes until warmed through.
Yield: 8 to 9 in Popover Pans or about twice that in regular sized muffin tins.
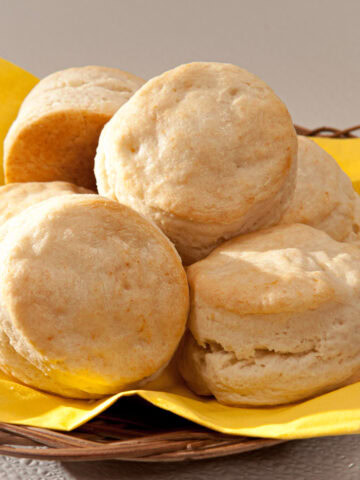
Be sure to check out the Cream Biscuits for another easy bread.




Denise says
You have demystified another intimidating task. Can’t wait to give this recipe a try. Thanks
Helen S Fletcher says
Hi Denise - Popovers are the easiest and one of the best as well as quickest breads to make. You'll see.
Faseela says
Hi Helen. ..
First of all am telling sorry for asking this question lately. Recently I came across ur site and I fell in love with it. Wanted to try each recipe. Started with white chiffon cake. But it failed for me. Don't know wats the reason. It rises beautifully.but wen come out of the oven it sinks in the middle. Wen I cut it ..The bottom part is dense. I followed ur recipe exactly. Only thing I did a bit different is beating the egg yolk flour mixture with a electric whisk. Not paddle attachment. Wanted to try again. How long to beat yolk mixture. Also after adding last 2/3 cup batter , the mixture is very runny. Egg white meringue is glossy soft peak perfect as u shown in ur picture. After folding egg white ,the mixture is not in the ribbon stage....batter didn't stay on the top for a while. Pls advice
mybobba1 says
Did you get the recipe I sent?
mybobba1 says
Wonderful for Passover, minus the bacon and potato flour instead of bread flour.
Faseela says
Sorry Helen. ...A mistake in above question. "After adding last 2/3 cup water to batter, mixture is very runny".
Regards
Faseela
hfletcher says
Dear Faseela - I am sorry to hear you had a problem with the white chiffon cake. The only thing I can think of is that you beat the flour mixture too long and incorporated too much air. I cannot tell, without being there, what you did that made the difference. The first part of the egg yolk flour mixture is beaten for 2 minutes as it states in the reiope.The last part of the egg yolk flour mixture is beaten just until it is combined as you can see from the photo. The photos show you what each step should look like. Perhaps the meringue was not beaten enough - it should be to the stiff peak stage, not the soft peak stage. That would cause it to separate in the oven and have a dense layer on the bottom.
It tells you in the beginning of the article that the batter is very loose. That is as it should be. The only other thing I can think of is you over folded the egg yolk batter into the egg whites. Did you do this by hand or with the mixer? It has to be done by hand and very lightly. Also, it is important to use cake flour with this recipe.
Faseela says
Thanks Helen for ur reply. My meringue is perfect like u show in the pic. I folded meringue with yolk flour mixture using spatula. Used to make genoise cakes...so thinking it is also correct. Going to make it again..any technique to know whether meringue is over folded. .
Regards
Faseels shmeeer
hfletcher says
Hi Marilyn: The potato flour doesn't have gluten. Have you subbed it successfully for bread products before? The flour has to have gluten to hold these up. That is why I use bread flour rather than all purpose. Let me know how it works if you try it. Hope I did't rain on your parade.
Marilyn says
I will send my recipe as soon as I am able. They work, been doing them for 30 plus years.