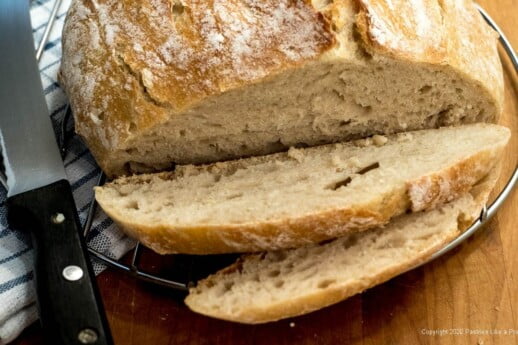
 No-Knead Bread took the bread baking world by storm when Jim Lahey introduced a truly revolutionary method of making bread at home in his 2008 book My Bread which made it easy for anyone to make bread.
Ahhh, so why am I just writing about this you ask. Well, truth to tell, when I first made it back then, it burned my dutch oven and I was really hacked about it. So I forgot all about it. Fast forward to just a few days ago when I saw the recipe on YouTube. Someone figured out that by using really warm water, not cold as specified in the recipe, you could speed up the process and make it in 8 hours or less, The original recipe calls for 12 to 18 hours. Further research found a 2-hour version.
Lest you rush to find these, let me remind you that for the 12 to 18 hours it just sits in a bowl, rising – period. No work, no attention, go do something else. While sitting in the bowl for all this time the No-Knead Bread is developing flavor which is why you shouldn't go to a speedier method. If you want no flavor (2-hour method) or some flavor (8-hour method) that's fine. But if you want a marvelous loaf full of holes with a chewy texture and tons of flavor, stick with the 18 hours.
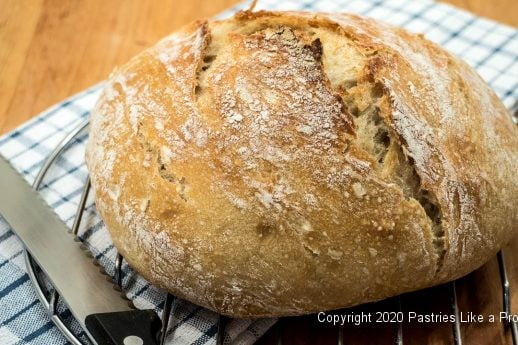
Having said all of this, I did make a few minor changes to the original recipe. I cannot eat the heavily crusted artisanal bread due to an overbite. I look like a dog with a bone trying to manage it. I also don't like my bread baked almost black. I like a definite, crisp, but light crust and a golden loaf of bread which I achieved.
This No-Knead Bread definitely needs a schedule or you will be getting up in the middle of the night to attend to it. I don't think anyone wants to do that. I go for the entire 18 hour recommendation so here is my schedule based on that. I like to start my dough around 4 in the afternoon. Around 10:00 the next morning I can shape it, let it rise, and bake it off. By noon it is done. Actual attention to the dough is about 20 minutes between making it initially and then shaping it.
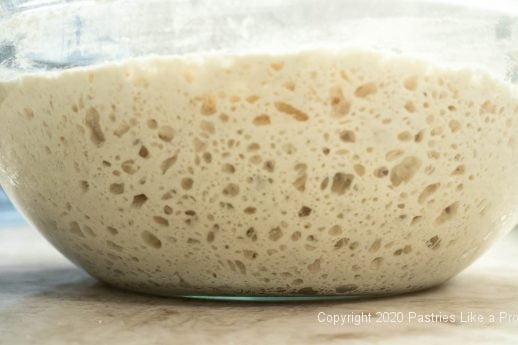
The original recipe puts everything in a bowl, stirs it around, covers it, and lets it sit at 75°F for the 18 hours. I ran into a couple of problems the first time I made this for this blog. My stirring must have been inadequate because it never rose with lots of bubbles on top as I was told it would. So the next time (the loaf in the photos) I put everything in the mixer, mixed it briefly with a dough hook, and it transferred it to a large bowl.
The 75°F temperature was a problem. The apartment itself does not stay at 75° and in the evening we turn it down to sleep. To solve this, I initially put it in the oven after preheating it a minute at 350°F and left the light on. After about an hour, I checked the temperature and it was about 103° - way too warm. Remember, you don't want this to rise quickly. It should go very slowly. So I cooled the oven down, then left only the light on which was still too hot so I cracked the door by putting a wooden spoon in the door to keep it slightly ajar. Voila – very close to 75°.
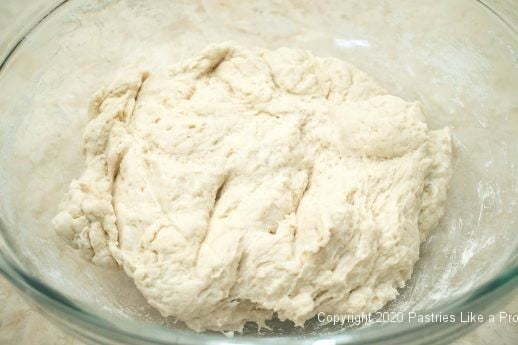
I was super excited the next morning, when I looked at the dough and it had risen immensely and was full of bubbles everywhere, top, sides, and bottom. You won't believe what ¼ teaspoon yeast can do!
After the18 hours, I shaped it and then changed the instructions again. The original recipe heats the dutch oven for 30 minutes so it too can get to about 450°F. I did this for the first
go-around but the final product had a near burned bottom with a really thick crust we couldn't chew. Actually, I could hardly cut through it.
The No-Knead Bread is ideally placed in a Dutch oven with the lid on for the majority of time so the steam released by the baking bread forms that crisp crust. Without steam, it will not be as crusty.
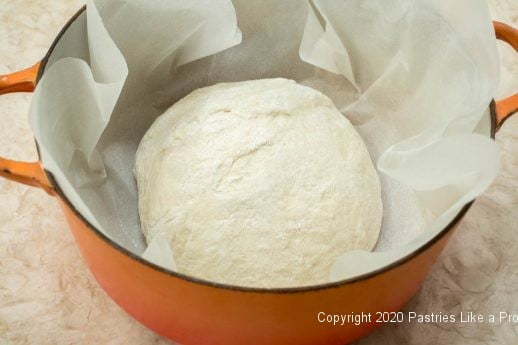
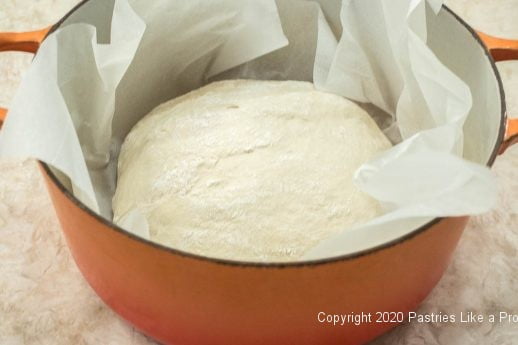
To achieve a light, crisp crust I did not heat the dutch oven. I shaped the dough on a heavily floured board. I then placed a half sheet piece of parchment in the Dutch oven and put the dough to rise in that. When it had risen, I put the top on the dutch oven and followed the baking instructions. It worked perfectly.
No Dutch Oven?
This bread can be made without the Dutch oven. Line a cookie sheet with parchment. Shape the dough and place it on the cookie sheet to rise, covering it. Preheat the oven as called for. Place a small pan on the bottom rack of the oven and place abut ½" water in it. Double pan the cookie sheet and the bread in the oven and bake for 45 minutes, tenting the bread with foil if it browns too much.
In the near future, I will be sharing a recipe or two that will be based on this No-Knead Bread but provide a variation or two. As you can see, I have become a huge fan. I love baking bread and this recipe which uses only 4 ingredients makes it oh so easy!
No-Knead Bread
3 cups bread or all-purpose flour (420 grams or 14 ¾ ounces)
1 ½ teaspoons salt
¼ teaspoon instant yeast (this is not a mistake – it only takes this much)
1 ½ cups cool water (about 75°F)*
*I used bread flour but all-purpose will work also but it may not rise quite as much. However, reduce the water to 1 ⅓ cups if using all-purpose as it will not absorb as much water.
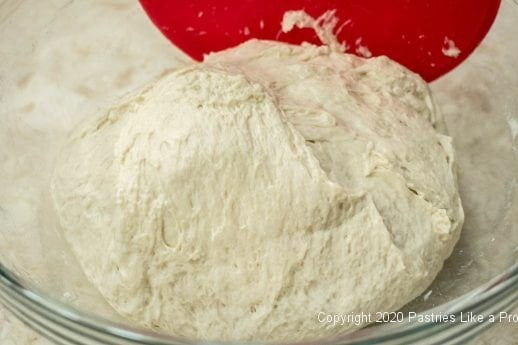
Fit the mixer with a dough hook if possible and place the flour, salt, and instant yeast in the bowl of a mixer. Whisk it to distribute the salt and yeast. Add the water and beat on low just to bring it together. It should not look like a well mixed bread and may be a bit shaggy. You can also do this by hand if preferred. Transfer to a bowl about 3 times as large as the dough.
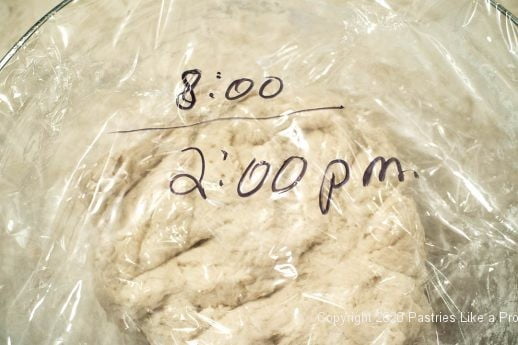
I spray a piece of plastic wrap and place that, sprayed side down, directly on top of the dough to keep it from drying out during the long rise as it did the first time I made it for this post. Then cover the entire bowl with another piece of plastic wrap, mark the starting time and ending time on it.
If your dwelling isn't 75°, follow the instructions above and place the covered dough in the oven with the light on and the door cracked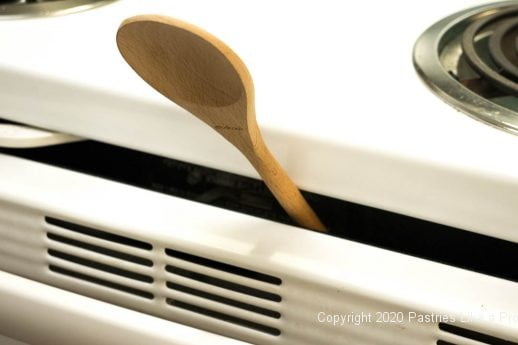
Shaping the No-Knead Bread
After the dough has risen for the 18 hours, place a large piece of parchment in the dutch oven. Using a bowl scraper, fold the edges of the dough into the center all around the bowl. It should now be a ball of dough about the same size it was before rising.
Heavily flour a work surface. Using a bowl scraper, transfer the dough in one fell swoop onto the flour. 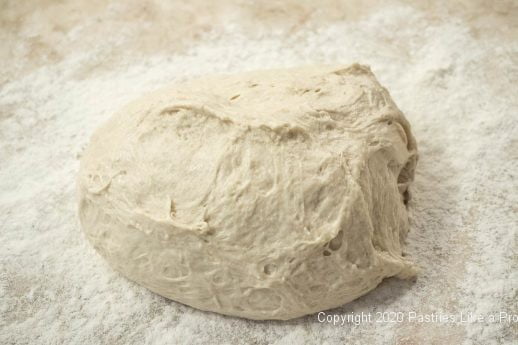
Baking the Bread
Cover it loosely with a towel and let it rise again at room temperature for about an hour or until it is almost double.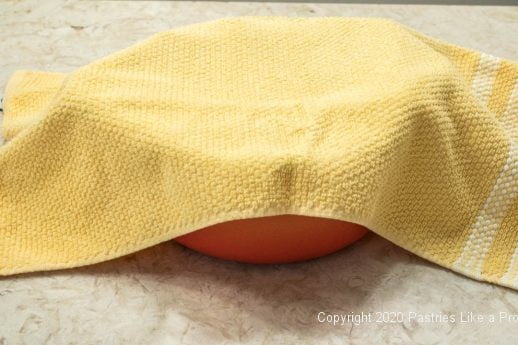
About 15 to 20 minutes before it is ready to bake, preheat the oven to 450°F. When ready to bake, place the lid on the Dutch oven and put it in the oven. 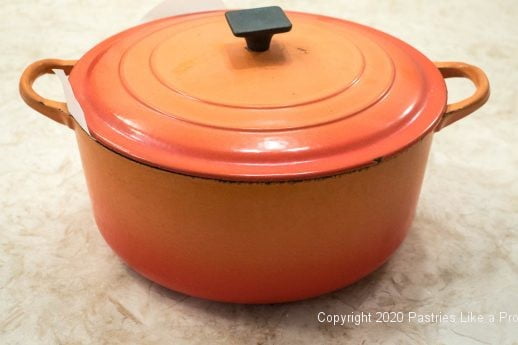
The bread should be removed immediately from the pan so it doesn't continue baking. To do this safely, since the pan will be extremely hot, I use a pancake turner and get under the bread. Stand it on its side and then pick it up with a pot-holder. Place it on a cooling rack.
Wait at least 30 minutes before cutting.
When it's cut it should be full of holes have a very chewy texture and a taste that will make you want to skip dinner and just eat this marvelous, easy No-Knead Bread.
Other bread you might enjoy are:





RobL says
Been doin' this for a number of years now. When I go to dinner parties, along with a dessert, I am always asked to bring 'the bread'. I often roast a head or two of garlic with olive oil, drop the whole cloves in while mixing, ooooh myyyyy. Another favorite is to switch out half of the bread flour with WW bread flour, and add another quarter cup of water and a cup of chopped walnuts. And when I bring the kalamata olive loaf (just add a cup of the olives, cut in half) to go with a pasta dinner, people race to get a slice.
hfletcher says
You have been making this a lot. Thanks for sharing all the variations.
May says
I love this recipe, and you're so right, Helen - don't rush it if you want tasty bread. I didn't have problems with it burning (yet!), but there's such a large amount of dough I split it in two and squished one half out into a suitable shallow roasting pan, slathered in olive oil above and below, with some salt on the top (none of the fancy floral decorations for me quite yet!), and it made a delicious focaccia as well as a smaller loaf of bread in a smaller Dutch oven.
hfletcher says
Good idea May - this does make a large loaf. Mike and I are still at it. But it's a winner.
elvira jane baker says
I've been making no knead bread for several years now, and recently it's been very difficult to slice, almost spongy in the center with a somewhat soggy crust after proper cooling. I use bread flour. I tried letting it cool in the oven with the door propped open as the oven cools, and that helped the crust, but the center is still spongy. My new, excellent, wonderful bread knife just rips it apart. Any ideas?
hfletcher says
Is it baked all the way through? Are you using the same recipe as I am which is the original? How long do you let it initially rise? I haven't made a lot yet but as you can see from the photo, the center is completely cooked. Those are the only things I can think of. It almost sounds like you have too much water in the initial mix. Email me at [email protected].
Cheryl Cabral says
I like the idea of not heating the Dutch oven. I found it to be a problem, so I never tried it again. Your technique is doable for me. I will give this another try.
hfletcher says
Hi Cheryl - I wasn't wild about heating the Dutch oven either so I think you will be more comfortable. I love that it has so few ingredients but makes a really wonderful bread.