
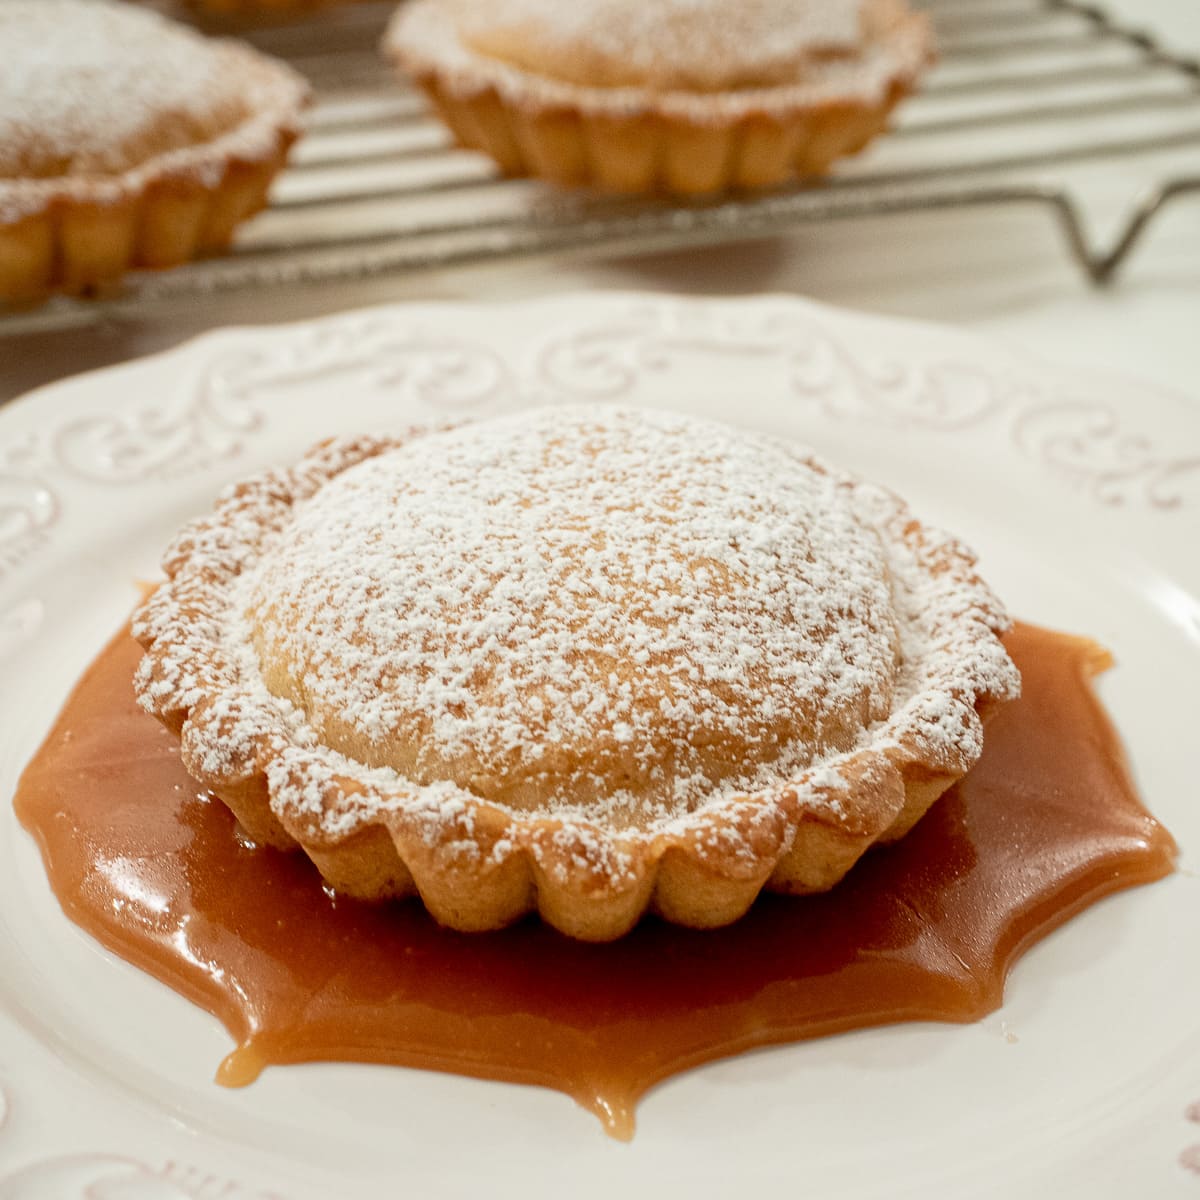
Brown Butter Tarts are the most sold desserts at the restaurant. They are not at all difficult but making as many as we sell, can be daunting. I make these using 3 ¾ x ½ inch tart shells with removable bottoms. However, at home, for my shells do not have the removable bottom and they work fine for these Brown Butter Tarts.
This recipe features an updated version of the individual press in crusts that were used for the Banana Caramel Rum Tart. It eliminates the need for two pieces of dough to make one shell lessening the possibility of the two pieces separating where they meet. The shells can be pressed in and frozen months ahead of time if well wrapped. These tart shells require no rolling out. They are simply pressed into the shell.
Brown butter adds a depth of flavor that simply melting butter can’t. There is a fine line between brown butter and burned butter. When butter is browned, the milk solids in the butter are the browning element. By heating the butter to the boiling point, lowering the heat and gently heating the milk solids the butter will become a nut colored brown. Remove it immediately from the heat and pour it into another container to keep the butter from burning or pour it into the filling.
Butter brickle is added to partially baked pastry shells, the filling is poured in and they are baked.
Butter brickle which is the inside of the Heath Bars can be purchased at grocery stores in bags where it is already chopped up.
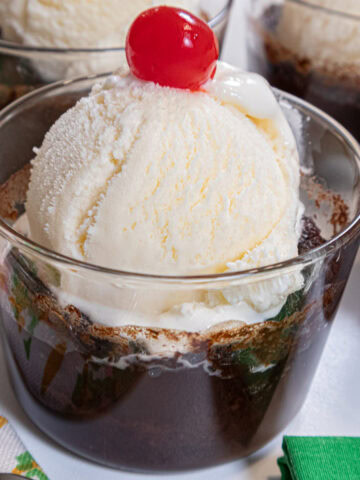
At the restaurant, the Brown Butter Tarts are served with Salted Caramel Ice Cream. I chose to serve these with the Salted Caramel Sauce from the best Apple Pie ala Mode you’ll find. I have a pet peeve when it comes to sauced desserts in most restaurants. The plates are drizzled with so little sauce it is hardly noticeable. As you can see, I make a puddle of sauce and plunk the Brown Butter Tart in the middle so each bite has salted caramel with it.
Press In Tart Shells – for how to photos go here.
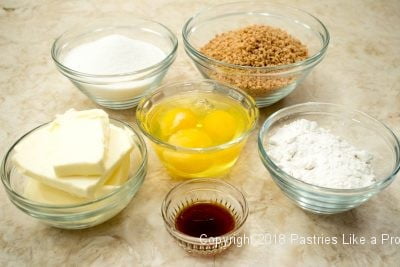
1 ¼ cups all purpose flour (170 grams or 6 ounces)
½ cup cake flour (60 grams or 2 ounces)
½ teaspoon baking powder
½ cup unsalted butter (114 grams, 4 ounces or 1 stick)*
¼ cup sugar (50 grams or 1 ¾ ounces)
1 egg
1 egg yolk
*If making the dough in the processor, the butter needs to be cold and cut into small pieces before being added to the processor.
If making the dough in the mixer, but butter needs to be softened so it can be creamed with the sugar.
Preheat oven to 350°F.
Food Processor Method (preferred): Place the flours and baking powder in the food processor.
Processor to mix briefly. Place the cold butter in a circle over the flours. Process until indistinguishable. Add the sugar and process briefly. Add the egg and yolk and process until a ball forms. Divide the dough into 4 pieces, place back in the processor and process to bring it back to a ball. This is done because the top of the dough hits the top of the processor cover and is not as well mixed. Re-mixing ensures the dough is completely combined.
Mixer Method: Combine the flours and baking powder. Set aside. Cream the butter and sugar. Add the egg, the yolk, and the vanilla. Beat to combine. The mixture may curdle but that is fine. Add the flour mixture and beat until it comes together.
Place the tart pans on a rimmed baking sheet and spray the centers of the pans only. Do not spray the sides.
If using the smaller tart pans, divide the dough into ten portions of 45 grams or 1 ½ ounce each.
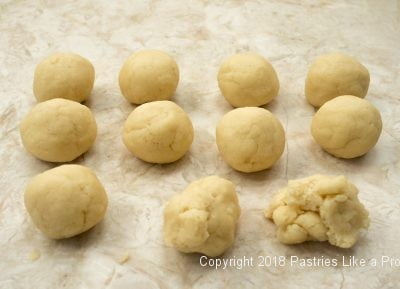
Roll into balls.If using the larger tart pans, divide the dough into six portions of 75 grams or 2 ⅔ ounces each.
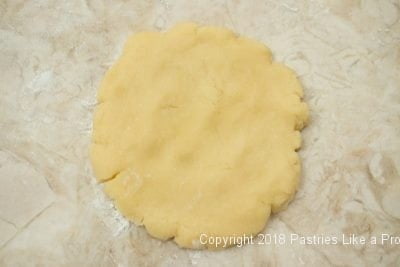
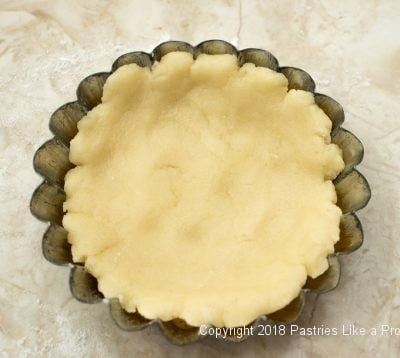
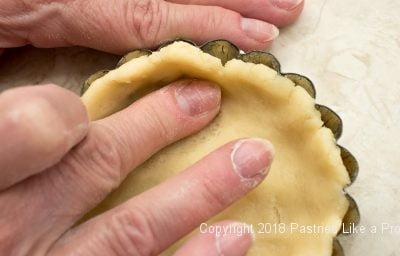
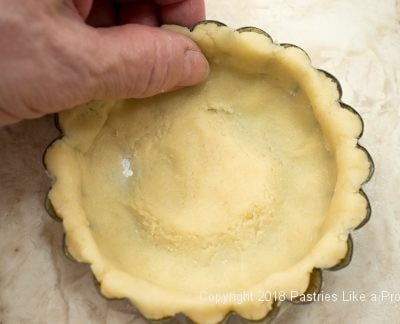
Lightly flour your work surface. Flatten a small ball into a 4 inch round with the palm of your hand. Place it evenly into the shell. Press the dough up the sides of the shells. Using your thumb, press the dough firmly into the sides. Flatten the pastry on the bottom of the pan. Prick with a fork.
For the larger shell, flatten the large ball into an approximately 5 inch round. Follow the instructions above.
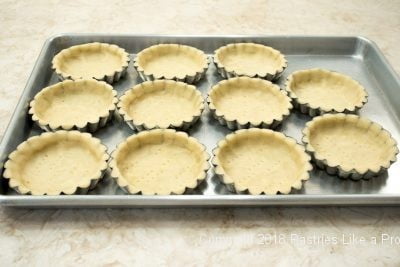
Repeat for the remaining tart pans.
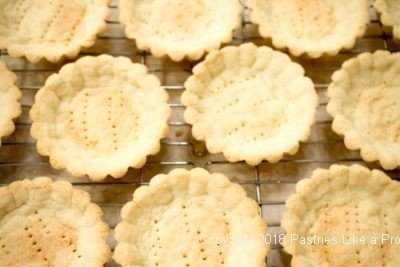
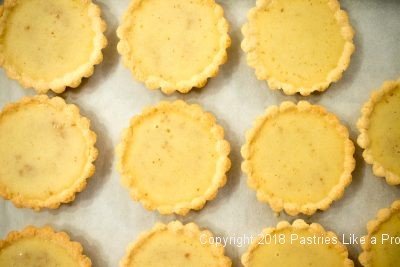
Freeze the tart shells for about 10 minutes. Bake for 10 minutes, turn the pan and bake several more minutes until lightly browned. The shells will be partially baked.
Cool the shells until they can be easily handled. Remove the shells from the pans and place them on a parchment lined rimmed baking pan.
Leave the oven on.
Filling for Brown Butter TartsButter
Brickle as needed
6 tablespoons butter (90 grams or 3 ounces)
¼ cup flour (35 grams or about 1 ¼ ounces)
½ cup sugar (100 grams or 3 ½ ounces)
1 egg
1 egg yolk
2 teaspoons vanilla
Butter Brickle as needed
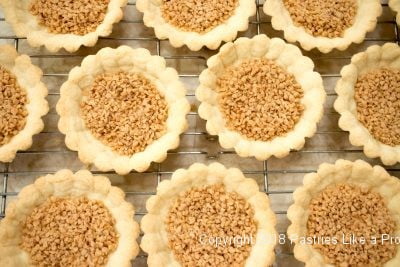
For the small shells, place 1 rounded tablespoon brickle in the bottom of each pastry shell. Set aside.
For the large shells use 1 ½ rounded tablespoon brickle per shell.
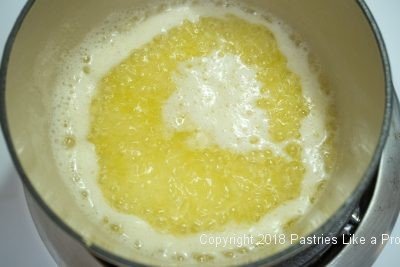
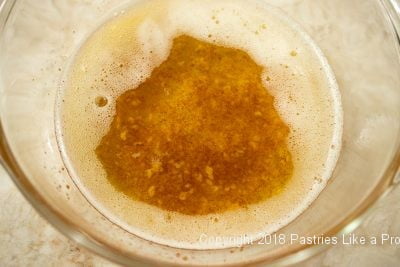
Brown the butter over medium heat until it comes to a boil. Reduce the heat and continue cooking until the butter browns to a medium brown on the bottom.
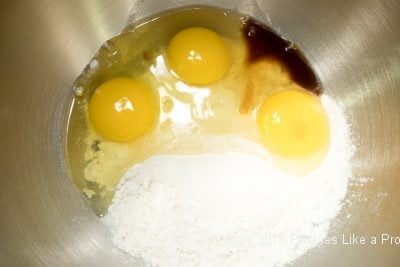
In the meantime, place the flour, sugar, egg, egg yolk and vanilla in the bowl of a mixer. Beat to combine all the ingredients. Pour the hot, browned butter in and mix well.
Fill the shells to the top.

Bake for 15 to 20 minutes until the filling is a golden brown and set.
The Brown Butter Tarts are best served slightly warm.
Yield: Larger tart shells maks 6 tarts. Smaller tart shells make 9 to10 tarts.
These tarts freeze extremely well so they can be made ahead. Well wrapped they will last at least a month in the freezer. Thaw them on a rack. Heat in a 350°F oven for about 5 minutes or until warmed through. They should not be hot.
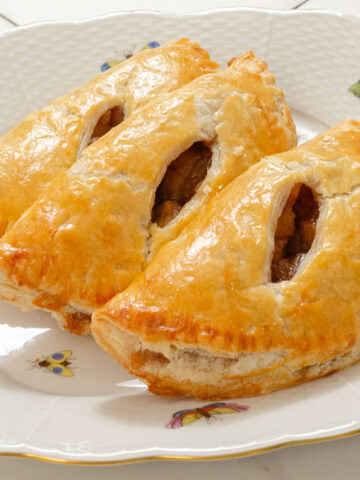
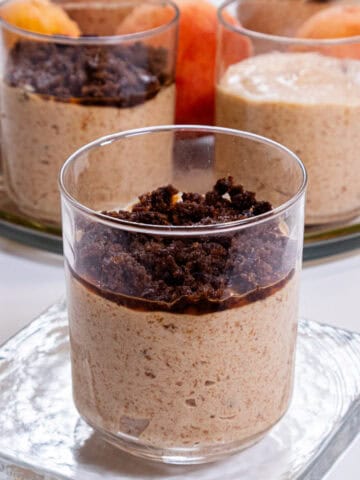
Looking for another individual tart? The No Bake Chocolate Raspberry Tarts may be just the answer. Or how about the Individual Italian Tiramisu?

Barb Petrillo says
I was just wondering, you mentioned that you could freeze these tarts after baked. You also mentioned that the tarts are better served warm. What do you suggest, should the tarts be taken from freezer and put in oven to warm up? If so how long and what temp?
I would love to bake these!
hfletcher says
Hi Barb - I just added this to the post. It should help. "Thaw them on a rack. Heat in a 350°F oven for about 5 minutes or until warmed through. They should not be hot."
Barb Petrillo says
Thanks so much for the information. I can't wait to try these.
I also want to say how much I love your site! You have taught me so much in baking, thank you!
hfletcher says
Thank you, Barb. It makes my day to know that I am achieving my goal of sharing and helping.
sallybr says
Oh, I adore these tarts... as usual, your posts are like a private lesson on baking
thank you so much for your detailed instructions!
hfletcher says
Hi Sally - Thank you for your kind comments. I hope you get a chance to make these - easy and special.
Nikki says
Thanks for pointing me to that Cranberry Curd tart ...again...I read something else you wrote that brought me to that recipe and I said to myself, "self you have to make that real soon". So it is fate that I was drawn to it again. I am planning on a dinner next week with friends and making stuffed pork chops and the cranberry curd tart will go perfectly. Thank you for rounding out my meal.
hfletcher says
Oh, Nikki - that dinner sounds marvelous. Love pork and you are right, the cranberry curd tart will be the perfect end to your meal. Thanks for taking your time to let me know.
Nikki says
Would this work as a single 9 inch tart? If so I am guessing the bake time would be about the same correct?
If it is not suggested to do a single tart I guess I have to go shopping ;)
hfletcher says
Hi Nikki - According to the crusts in my book, "European Tarts - Divinely Doable Desserts with Little or No Baking" the 9" tart requires a bit less dough. Also, due to it's size, you have to execute the crust as I do in this blog - https://pastrieslikeapro.com/2014/11/chocolate-cranberry-curd-tart-2/#.W5p8US2ZORs. But it should work. Just cover the bottom with about an 1/8" of brickle
Judy Graden says
Good morning Helen. I know you can freeze the crusts, but can you freeze the completed tarts? And is the brickle the same thing as Skor bits?
hfletcher says
Hi Judy, Yes the baked tarts can be frozen. So happy you asked. I meant to put that in but was deciding where to put it and forgot. I'll update now. Not sure about the Skor bits - I don't know what those are? If they are brickle I assume so.
Laurie says
Hi Judy:
Yes Skor piece will work just fine.
rocky says
hi helen!
these look amazing.
why do you put dough back in food processor after it formed ball? twice?
rocky
hfletcher says
Hi Rocky - because the very top of the dough is not as well mixed as is the rest. You'll see it when you make it. A second run through ensures all is mixes well. If you have this questions others may also, so thanks for bringing it to my attention, I'll update the blog.