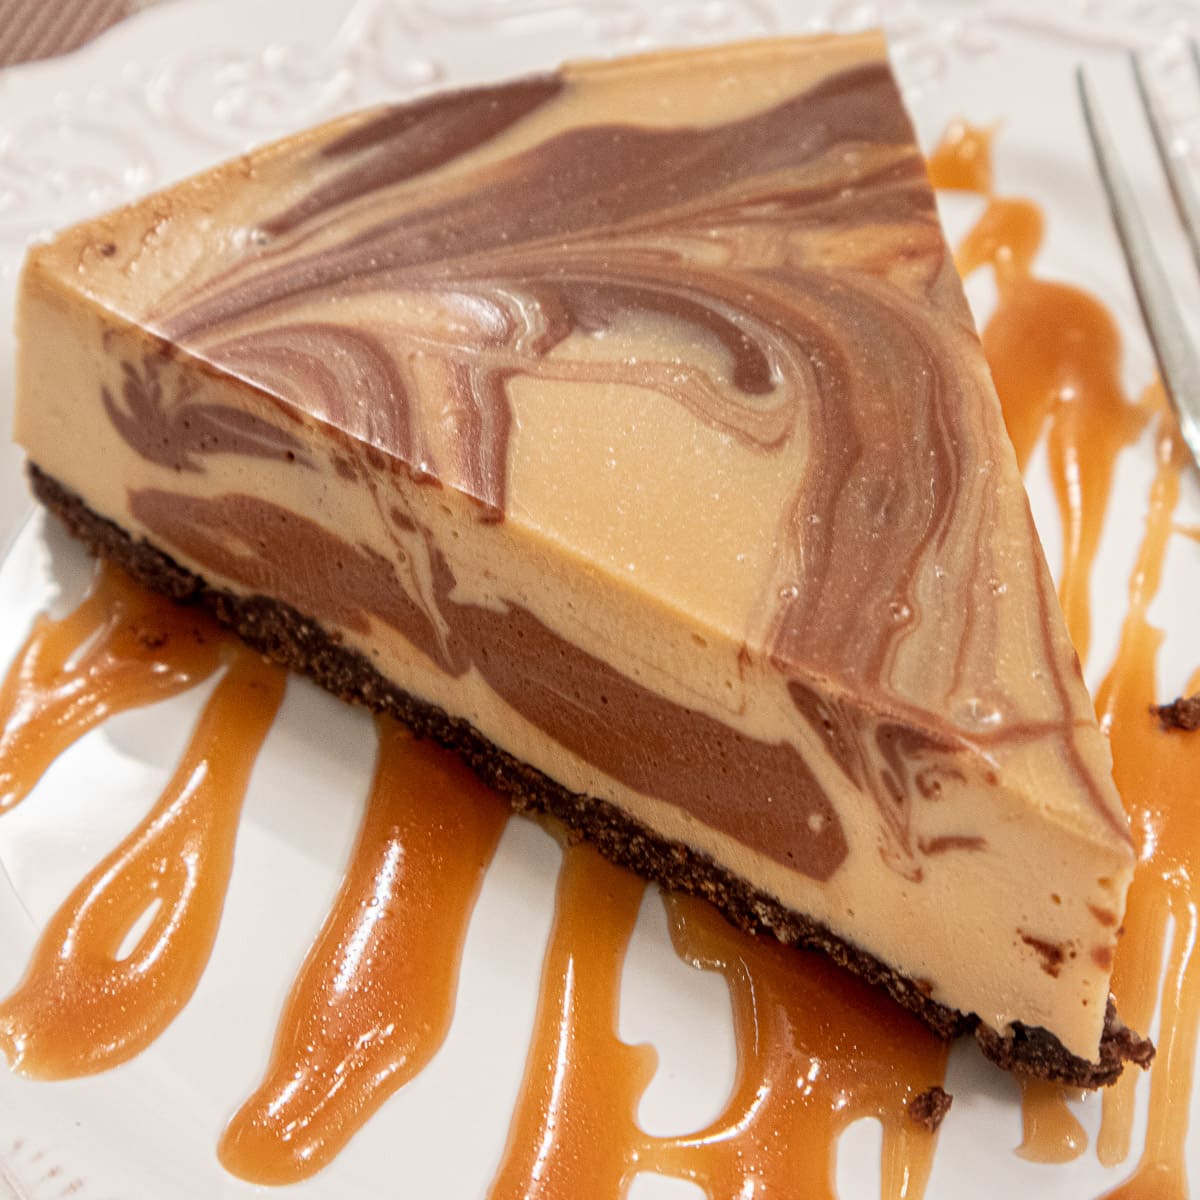
This Chocolate Coffee No-Bake Cheesecake is perfect for the last days of summer as children start returning to school, activities pick up, time is even important and the lazy days of summer are gone. Nothing could be easier than this no-bake cheesecake.
You will notice there are no eggs and no sugar in this recipe. Since eggs need to be cooked or baked, they are omitted. The sweetening is provided by the condensed milk.
I served this with my Salted Caramel Sauce which turned out to be the perfect finish.
Chocolate Crumb Crust
How to Photos for Chocolate Cheesecake
1 cup graham cracker crumbs (114 grams r 4 ounces)
3 tablespoons cocoa (18 grams or ⅔ ounce)
⅓ cup powdered sugar (35 grams or a bit more than 1 ounce)
6 tablespoons unsalted butter, melted (80 grams or a scant 3 ounces
*Buy these as crumbs or place broken graham crackers in the processor and process.
Spray a 9x3” cheesecake or springform pan with a non-stick baking release. Set aside.
Place crumbs in a bowl. Sift the cocoa and powdered sugar over them to remove any lumps. Add the melted butter and toss with a fork until the crumbs are completely coated.
Press the crumbs into the bottom of the pan and set aside.
Chocolate Coffee No Bake Cheesecake Filling
4 ounces semisweet chocolate
¼ cup cold water
¼ cup coffee flavored liqueur*
2 teaspoons vanilla
2 teaspoons instant coffee or 1 ½ teaspoons espresso
1 packet of gelatin (7 grams or ¼ ounce)
12 ounces cream cheese (340 grams or 1 ½ packages)
1 ¼ cups sweetened condensed milk (396 grams or 14 ounce can)
⅞ cup sour cream (200 grams or 7 ounces)
*If you don’t want to use the liqueur, substitute water.
Melt the chocolate on half power in the microwave or place it over simmering water to melt. Set aside.
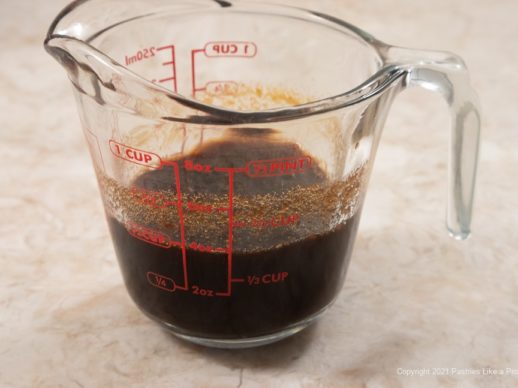
Combine the water, coffee liqueur, vanilla and instant coffee. Stir to dissolve the coffee. Whisk in the gelatin. Set aside.
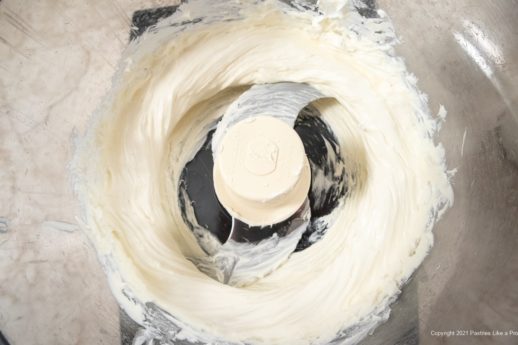
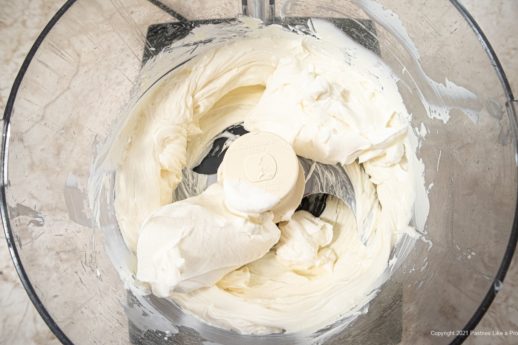
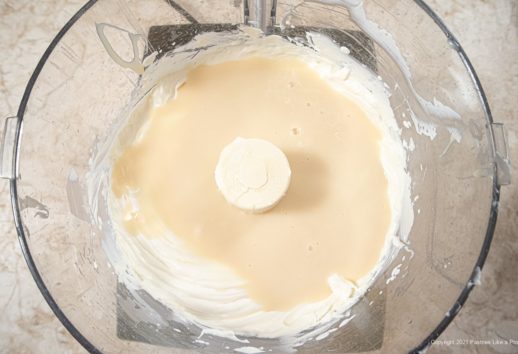
Place the cream cheese in the processor. Process to soften. Add the sour cream and process to mix. Scrape down and add the condensed milk.
Process to mix.
Liquify the gelatin mixture in the microwave or place it over boiling water. Make sure the gelatin is completely liquified but do not get it too hot.
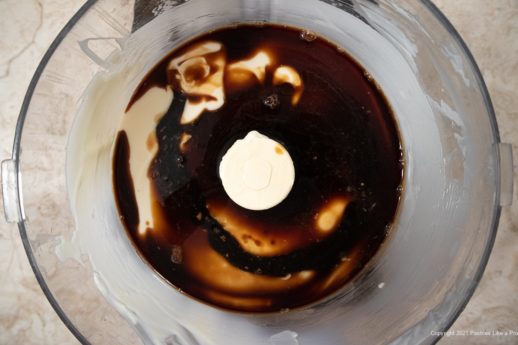
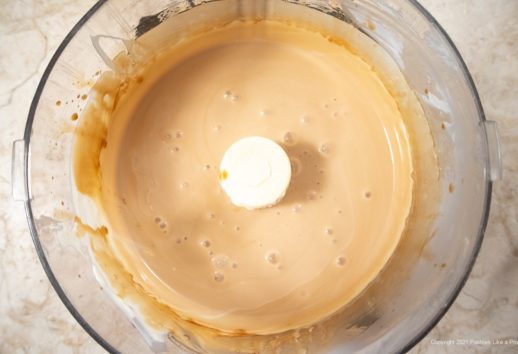
Scrape down the processor and add the gelatin. Process until smooth.
Remove 2 cups and set aside.
Add the chocolate to the remaining cheesecake filling in the processor and process to combine completely.
Assembly
Because the coffee filling is more liquid than the chocolate filling, it is difficult to show this. Go to the Spirited Marble Cake post for how to photos.
Place 4 dollops of the coffee cheesecake filling over the crust in a north, south, east and west pattern. Fill in the holes with dollops of the chocolate cheesecake. Don’t forget to add filling to the center hole.
For the next row, place dollops of the chocolate filling on top of the coffee cheesecake filling and the coffee on top of the chocolate.
Continue in this manner, alternating the fillings on top of each other and in the middle, until all of both fillings are used.
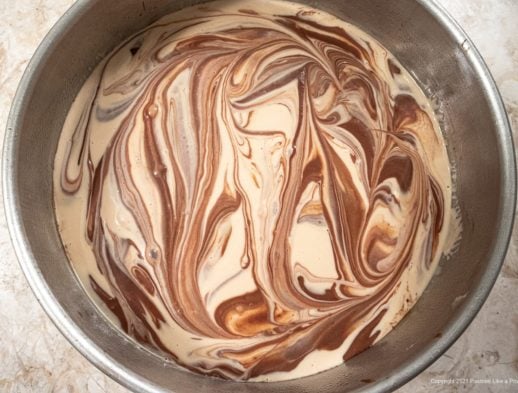
Swirl through the fillings to create the marbleized look. Lift the filling from the bottom with our spatula if you need to bring the chocolate filling up to the top. Do not smooth the top for the best look.
Refrigerate for 6 hour or overnight. This is best eaten in two days. After that gelatin set items tend to start getting rubbery.
If you like this recipe, you might want to take a look at these:



Leave a Reply