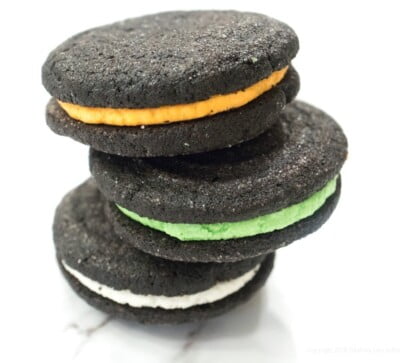
I have been aware of Black Onyx Cocoa for a while, but my interest was peaked when I saw a recipe on King Arthur’s blog using it for Faux-Reos. The cookies were indeed as black as a moonless night far away from the city lights. To say I was intrigued was an understatement.
I went online and ordered a 1 pound container of Black Onyx Cocoa from Jellybean Foods. There are several suppliers selling different amounts. Black cocoa has been dutched to the extreme. According to Savory Spice, “This cocoa powder has been alkalized to the extreme, producing a dark, purplish black cocoa that makes for an impressive black-as-coal baked good. This extreme alkalization neutralizes the natural bitterness, removing some of its chocolate flavor and a lot of its butterfat(10-12%).
We recommend replacing 25-50% of the standard “Dutch“ cocoa in a recipe with black onyx cocoa. Using this ratio will produce darker, rich tasting baked goods without losing the moisture. If still too dry, you can increase the fat content by adding more shortening, butter, egg yolk or changing to a heavier milk; whichever applies to your particular recipe. The fat content of Black Onyx Cocoa Powder is 10-12%.”
Many of the recipes I found online did indeed replace some of the black cocoa in varying amounts, but the King Arthur recipe did not….so I decided to try that one. While I have my differences with King Arthur when it comes to weighing flour, I often peruse their site. They have a lot of recipes, and they are usually well done. This one was an aberration. It seemed to be a combination of a recipe they wrote previously and then updated. However, the update kept referring to the old recipe and to make things worse, they kept calling for a one teaspoon disher/scooper when there is no such thing as far as I know. Then they would refer to it a one tablespoon disher/scooper which is a #60.
They also used all shortening in the filling, was not very appealing. Having noticed this, I plowed on anyway, determined to see if the cookies would come out as crisp as an Oreo. However, there was no way I was going with the shortening filling.
Even though shortening is advertised as free of trans fats, the current labeling laws make it difficult to tell if a food still contains trans fats. That's because if a food contains less than 0.5 grams of trans fats per serving, it can be listed as 0 grams. The only way to determine if the shortening contains trans fats is to read the label. To find out if your shortening contains trans fats, read the ingredients list. If it contains partially hydrogenated vegetable oil, then it contains trans fats.
Those of you who read my blog will see that I do use shortening with chocolate to quick temper it. Butter, oil and even coconut oil will not work. They do not allow the chocolate to harden. However, the very, very minuscule amount eaten won’t come anywhere near a serving size.
I have altered the recipe for the Almost Oreos with Black Onyx Cocoa slightly and the directions pretty much. One of my favorite things about their recipe was how they embossed the cookies using the plunger of a food processor.
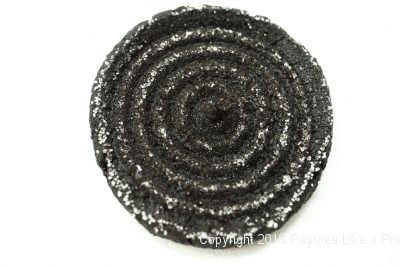
The plain chocolate cookies are almost addictive in their crispiness and flavor. I did not find the cookies bitter as some said, using all black cocoa. In fact, I thought they tasted just like the Oreo chocolate cookie.
I think these are absolutely perfect for Halloween. The filling is an American buttercream made with butter which I have colored orange, green and left one portion white. The orange can be flavored with orange rind and the green with peppermint extract or not – your choice. Add whatever flavoring to your taste.
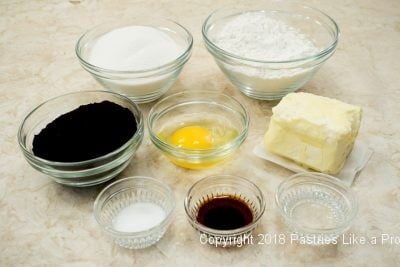
Chocolate Cookies
1 ¼ cup flour (175 grams or about 6 ounces)
¾ cup black cocoa* (64 grams or 2 ¼ ounces)
½ teaspoon salt
1 cup + 2 tablespoons sugar (225 grams or 8 ounces)
¾ cup butter, softened (170 grams, 6 ounces or 1 ½ sticks)
1 egg
1 teaspoon vanilla
Granulated sugar as necessary
*Regular dutched cocoa can be used if necessary. The color will not be as dark.
Preheat the oven to 325°F. Line several half sheet pans with parchment. Make sure you leave one pan free, as the cookies need to be double panned to prevent burning.
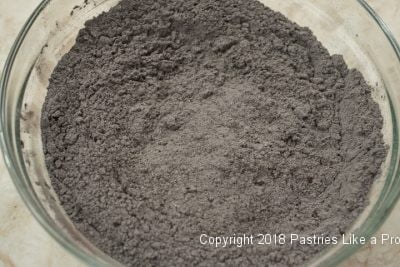
Whisk together the flour, cocoa, and salt. Set aside.
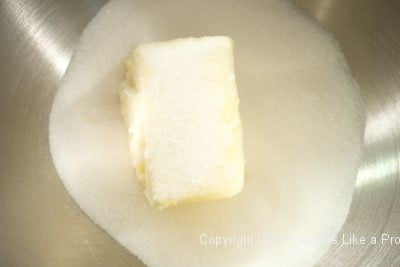
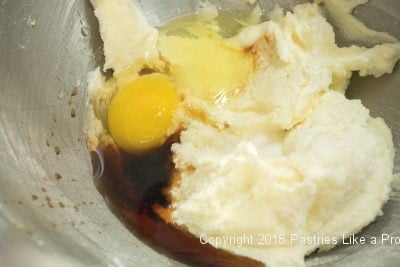
Beat the butter and sugar together. Add the egg and vanilla and beat to combine all. If it curdles, raise the speed of the mixer and continue beating. If it still remains curdled, don’t worry about it.
Add the flour/cocoa mixture and mix it in, stirring down several times. Place the dough in the refrigerator for about 1 ½ hours before scooping with a #60 disher/scooper or use a tablespoon per cookie. The dough can also remain in the refrigerator for several days.
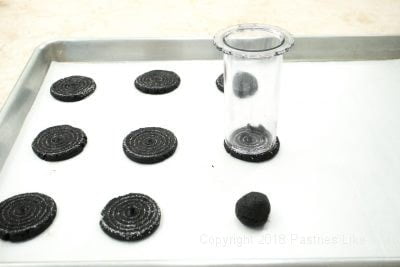
I dropped 3 cookies at a time. Roll them between your hands into balls and place them, 3 across on the baking sheet. Do not shape too many balls at once or they will soften to the point they can’t be embossed. If embossing them, dip the end of the plunger of the food processor into sugar and flatten the balls to about ⅛ or a bit more each. The first couple of cookies may stick to the plunger. Just carefully peel them away. As the plunger gets a bit sticky, the sugar will adhere to it and not to the cookie.
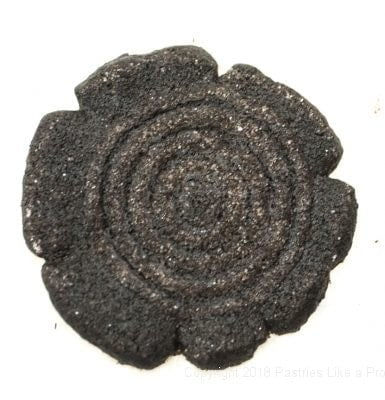
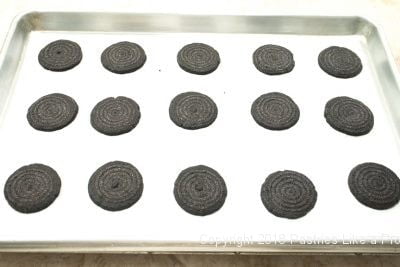
If the balls are too cold they will splay at the edges. Let them sit for a minute or so and they will be fine. It doesn’t matter if they do, they taste just as good.Place the cookies 3 across and 5 down on the baking sheet.
DOUBLE PAN them and bake for 20 to 22 minutes until completely set with no soft spots. It is important to double pan or the cookies will burn.
Yield: Approximately 60 single chocolate cookies.
Filling - For double stuffed cookies, double the filling and use 2 scoops or 2 tablespoons for each cookie.
2 ½ cups powdered sugar (285 grams or 10 ounces)
½ cup butter, softened (114 grams, 4 ounces or 1 stick)
1 teaspoon vanilla
Orange food coloring (or yellow and red to make orange)
Green food coloring
Place the sugar, butter, and vanilla in the bowl of a mixer. Beat until combined, then beat a bit more to increase the volume and make it fluffy.
If coloring, divide it into 3 bowls about 110 grams each or about 3 ¾ ounces each. Color one bowl orange, one bowl green and leave the last one white.
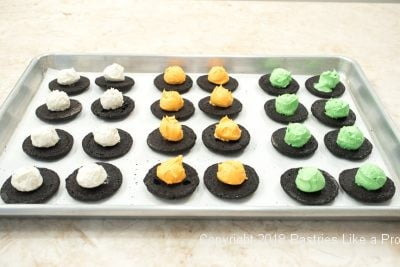
Turn 30 cookies upside down. Using the #60 disher/scooper or 1 tablespoon each, drop a ball of buttercream in the middle of 30 of the cookies dividing the colors equally. (Here’s a hint, put your less attractive cookies on the bottom upside down. Save the prettiest ones for the top.)
Place another cookie, right side up, on top and gently press down to bring the buttercream to the edge of the cookies.
Let them sit at room temperature so the buttercream can set up a bit.
Store in an airtight container.
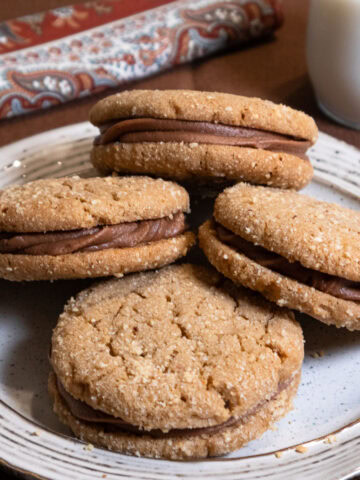
There you have it – the perfect cookie for Halloween! Almost Oreos with Black Onyx Cocoa.
Yield: 30 sandwiched cookies
Looking for more sandwich cookies? You're sure to find one or two here: Peanut Butter Sandwich Cookies, or Dulce de Leche Your Way.



Ginny says
I made these a few days ago. The recipe is pretty straight forward, and I had no difficulty making the dough. I had some leftover strawberry buttercream, so I used that instead of the filling recipe included above. I did have a heck of a time stamping the cookies. I used a stamp from King Arthur Flour and once I figured out how to keep them from sticking, it all turned out well. (My tip for stamping is: mix some granulated sugar and cocoa powder together; roll the cookie dough ball in that, apply more sugar to 'stamp face' and have at it. All other methods I tried did not work. YMMV) I baked mine for 20 minutes. They are quite crispy, which is fine. Are they supposed to be crispy? I'm a little concerned about the filling oozing out when someone takes a bite.
Helen S Fletcher says
Hi Ginny - were the dough balls cold when you stamped them? I only used the plunger from my cuisinart and it worked well. They are not crispy normally. Perhaps they were a bit thin when they went in. They will be good no matter what.
Paula says
I made this recipe for a birthday party, and they were such a hit! The cookies themselves are so delicious. The filling takes them to the next level. I love how they are pressed out from a dough ball. I had a cookie stamp in a honeycomb pattern that worked perfectly! Thank you for a wonderful recipe!
Helen S Fletcher says
Hi Paula, These were some of my favs. Like you I was so impressed with how easy it was to make the beautiful. i appreciate you letting me know.
Janet Laudenslager says
Helen,
Really coincidental that I saw this cocoa yesterday at Sur La Table, on the way back from Animal Medical Center, and wondered what I would do with it. These do look very appealing, and I think will be a super treat for all the folks on the Garden staff who helped me slog through the last week. Making them when I get back into a kitchen bigger than a postage stamp. Maybe tonight.
hfletcher says
Hi Janet - Glad you're going to make them. The staff will love them. Let me know what they say.