
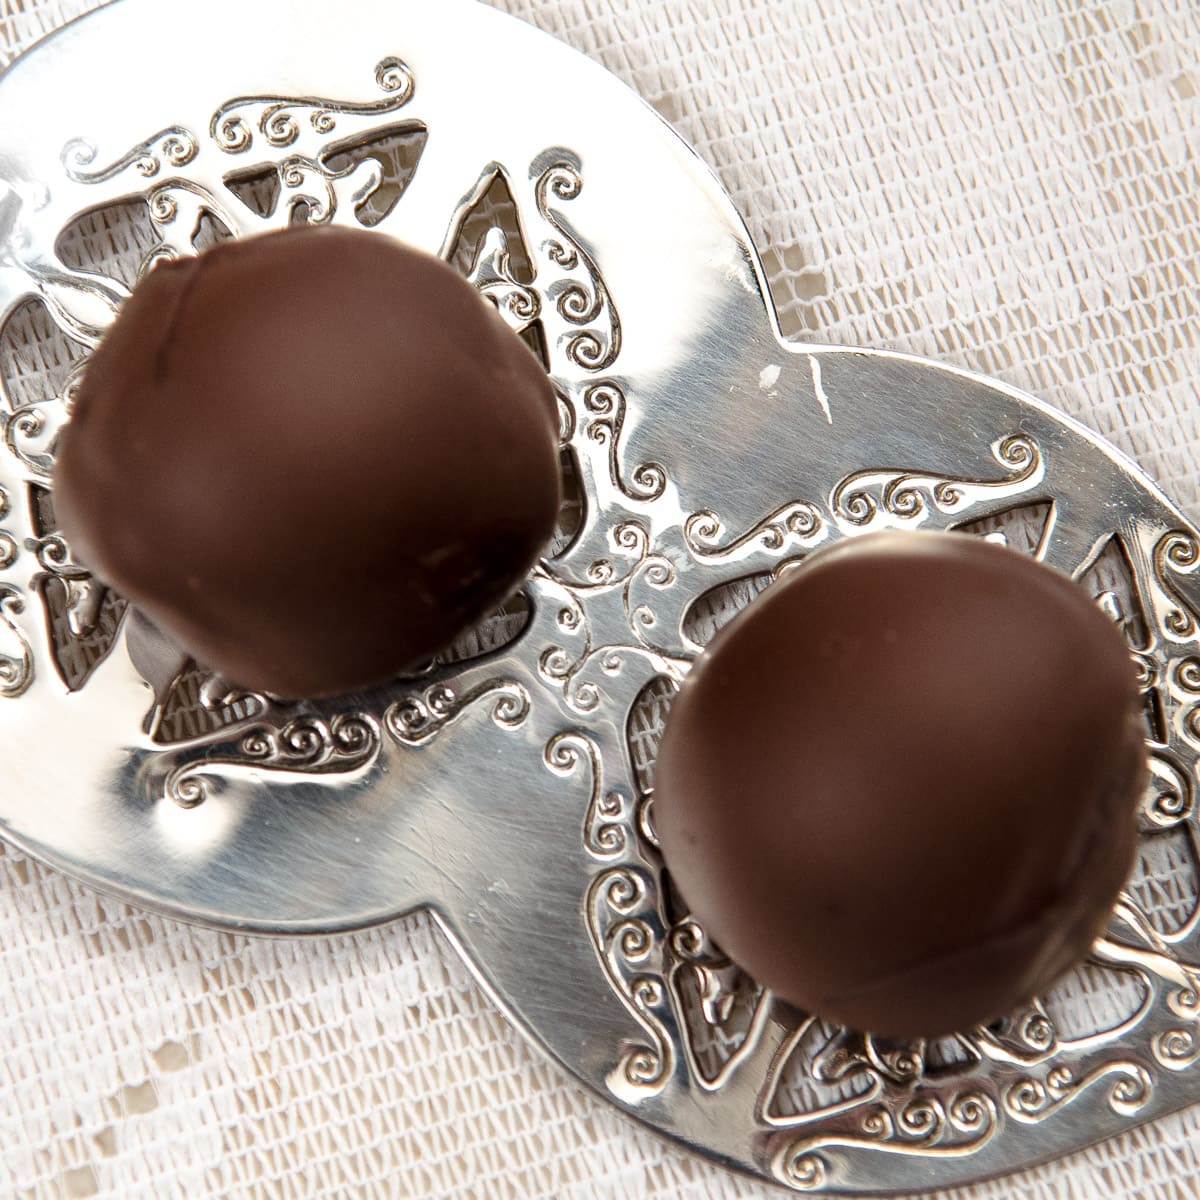
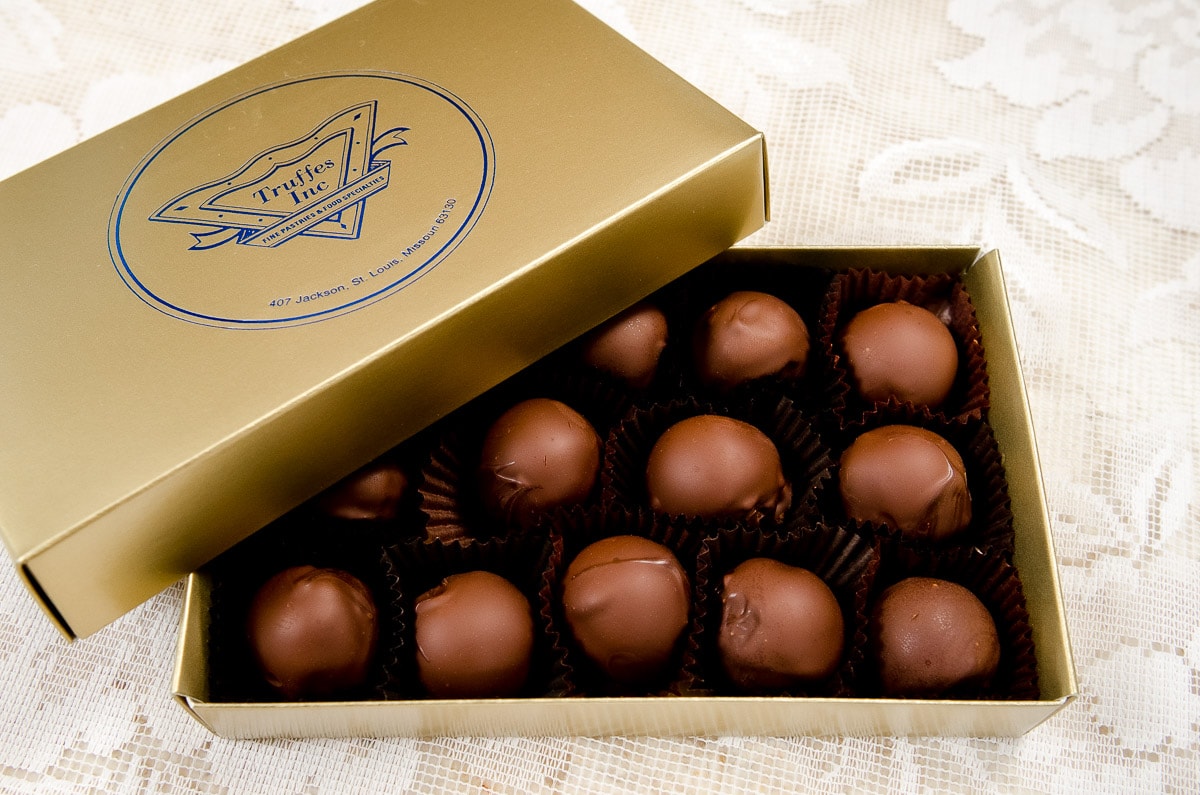
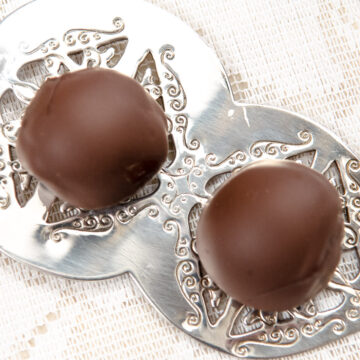
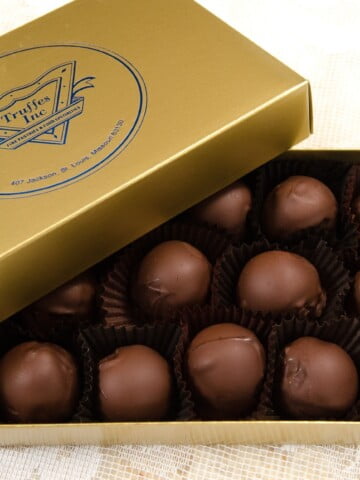
At the bakery we were known for our chocolate. These Chocolate Chocolate Truffles were the same ones we made - hundreds and hundreds that were hand dipped. The secret is to freeze the fillings first making coating them so much easier to initially coat.
The second secret is to dip them twice making balls of super smooth, melt-in-your-mouth chocolate truffle filling in a crisp chocolate coating.
At the bakery, we had a chocolate coating machine that kept the chocolate in temper. While I don't have one at home, there is a simple method to temper the chocolate at home.
Be sure to check out these other easy to make candies:
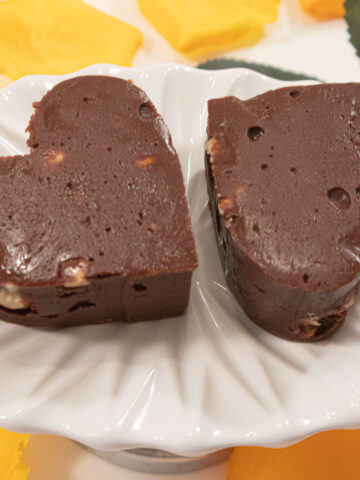
Nutella Fudge Hearts are made with 5 ingredients and 20 minutes. Don't want hearts?Cut them into squares.
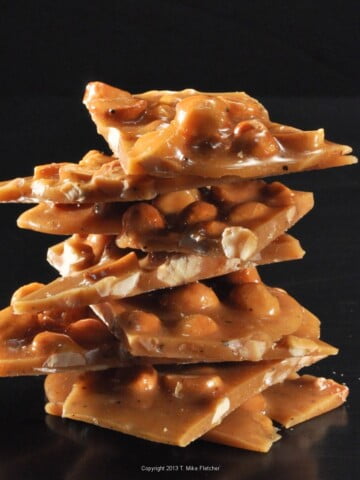
TJ's Cowboy Bark - It hard to go wrong with this easiest of candies. Melt some chocolate and pile on oreo's, pretzels, peanuts, almonds and toffee bits.
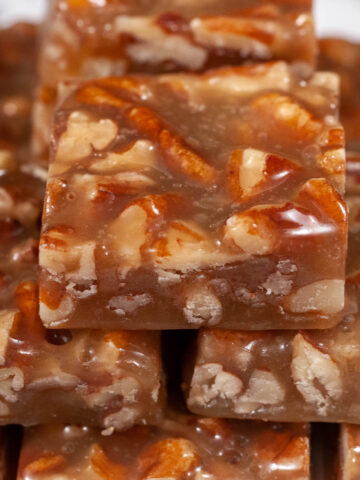
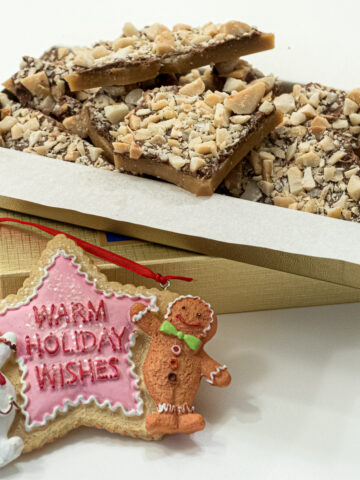
Salted Macadamia Rum Toffee is one of my finest. Take a look and see for yourself.
For a whole collection of candy recipes, check out Candy For Your Valentine.
Jump to:
Why This Recipe Works
- The ingredients are readily available.
- The execution of the truffles is very easy.
- The centers can be made and frozen months ahead of time.
- Life is much better with an occasional truffle or two
Recipe Ingredients
Chocolate Centers
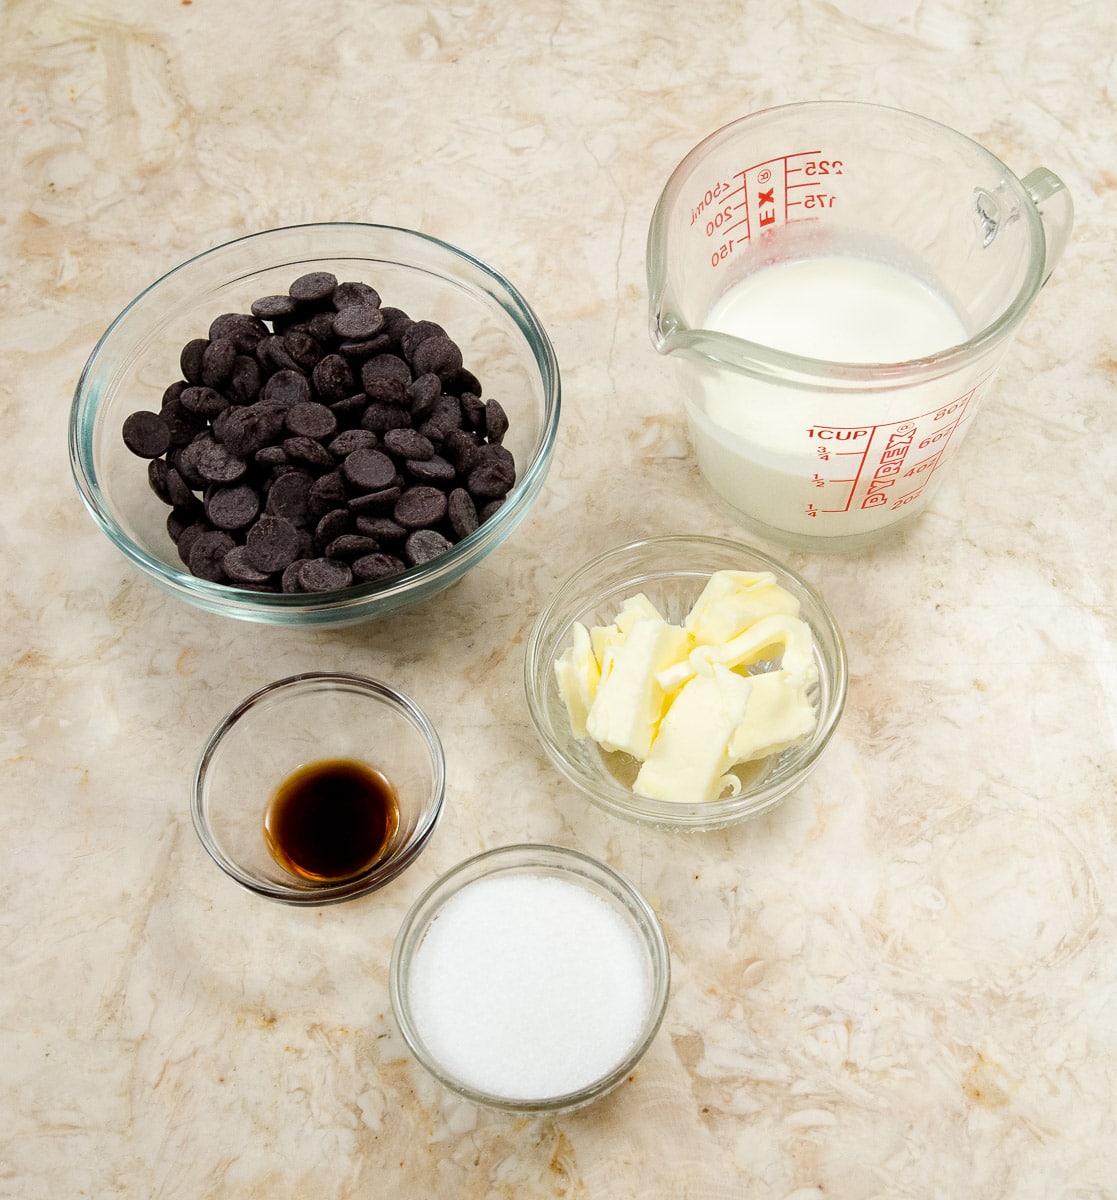
Left to right.
BACK ROW: Chocolate, heavy cream
MIDDLE ROW: Vanilla, unsalted butter
FRONT ROW: Granulated Sugar
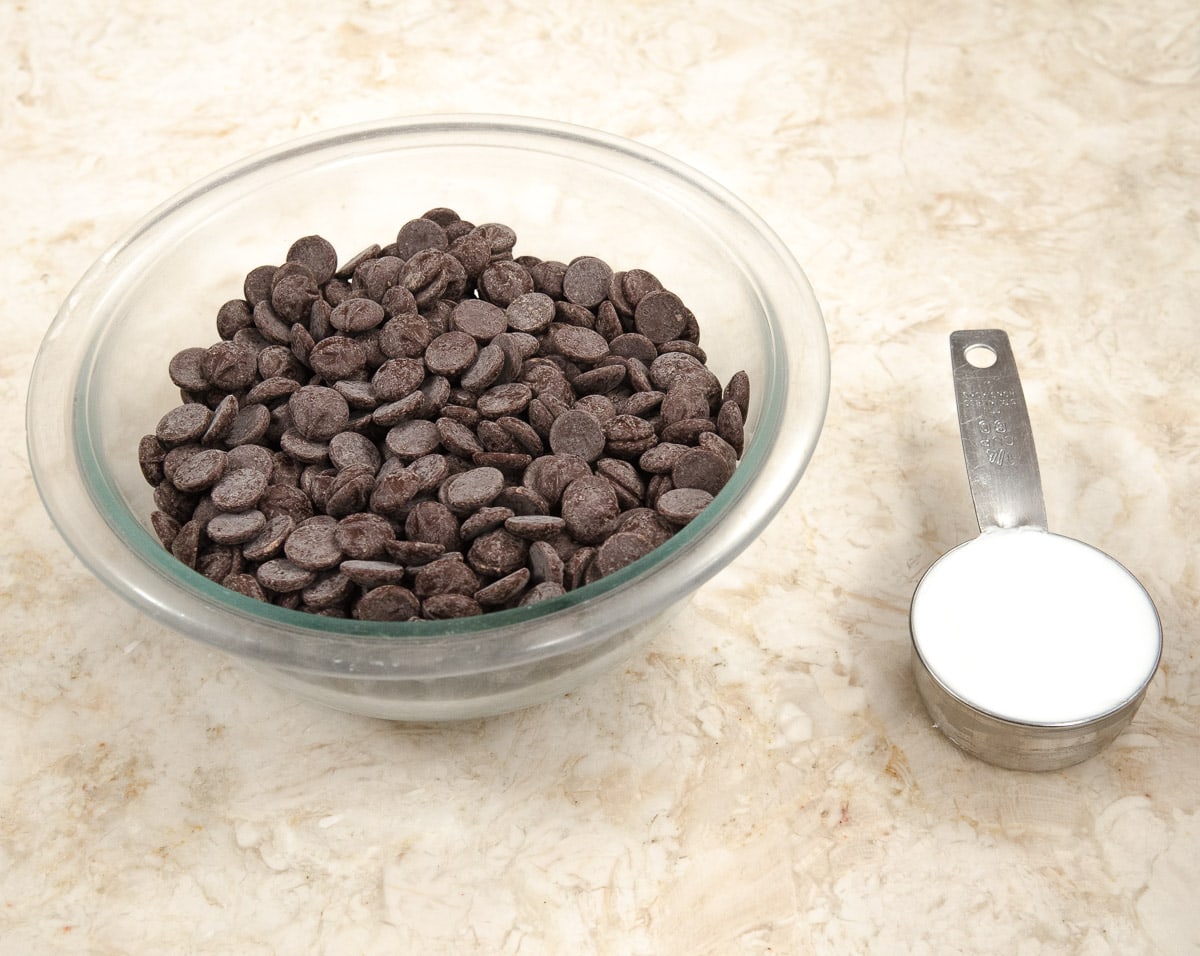
Left to Right: Chocolate, shortening (or food grade cocoa butter or coconut oil.
Chocolate should be a high quality. Although the chocolate looks like chocolate chips is is not. It is Callebaut SemiSweet Chocolate Callets #811. It is easily found online in various sizes.
Heavy Cream with its extra butterfat is preferred.
Variations
- Boozy Truffles - Add 1-½ tablespoons of any liqueur or liquor to the truffle mixture.
- Chocolate Orange Truffles - Add 2 to 3 teaspoons orange zest and, optionally 1 ½ tablespoons orange liqueur.
- Chocolate Caramel Truffles - Cut purchased caramels in ¾"squares and wrap the truffle mixture around it. Werther's soft caramels are good here.
- Viennese Coffee Truffles - Add 2 teaspoons instant coffee or 1 teaspoon espresso and ¾ teaspoon cinnamon.
- Chocolate Raspberry Truffles - Add 3 tablespoons seedless red raspberry jam.
Be sure to see the recipe card for the full ingredients list and instructions.
Step by Step Instructions
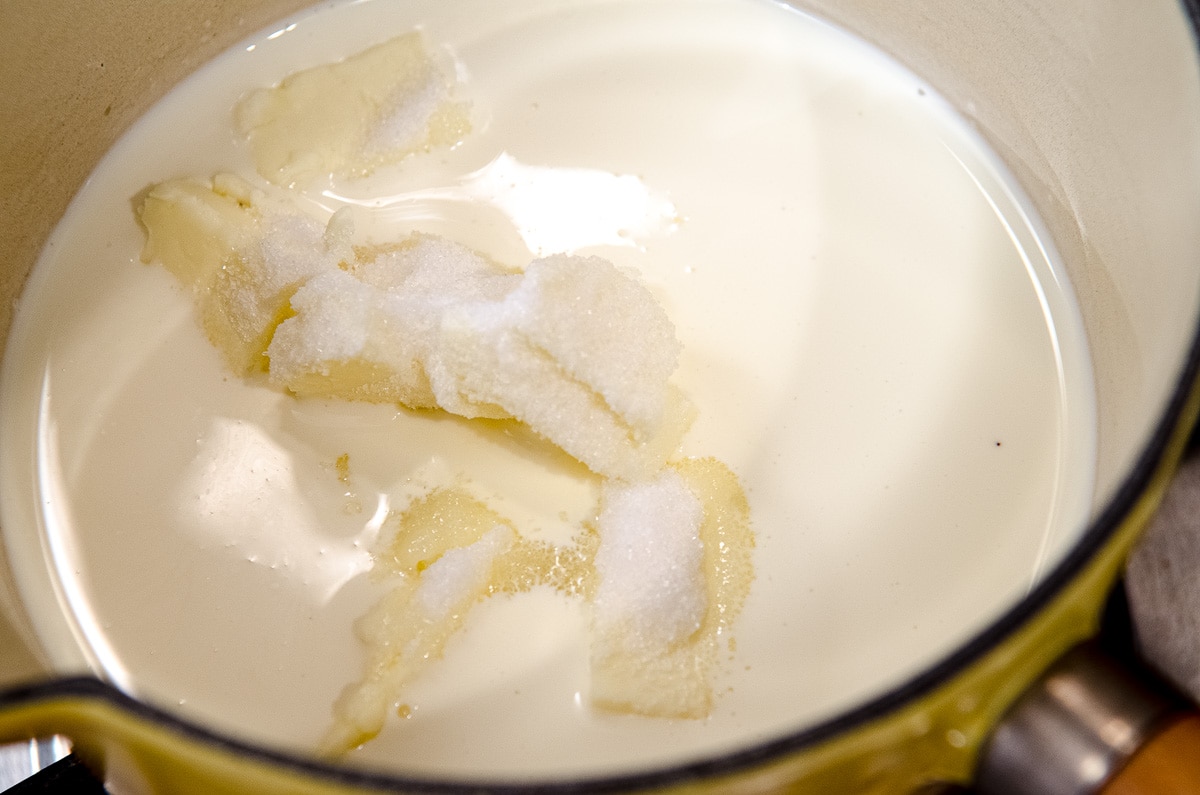
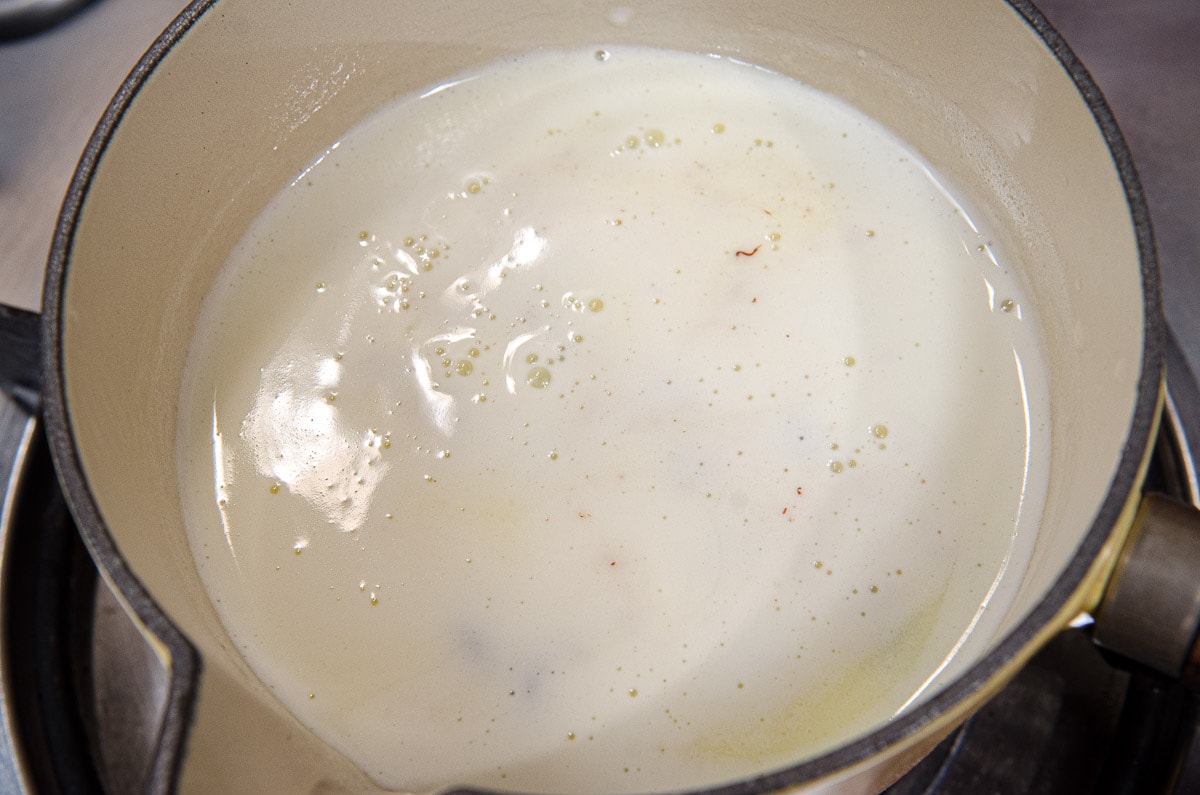
Step 1. Place the cream, butter and sugar in a smallish saucepan over medium heat until steamy but not boiling.
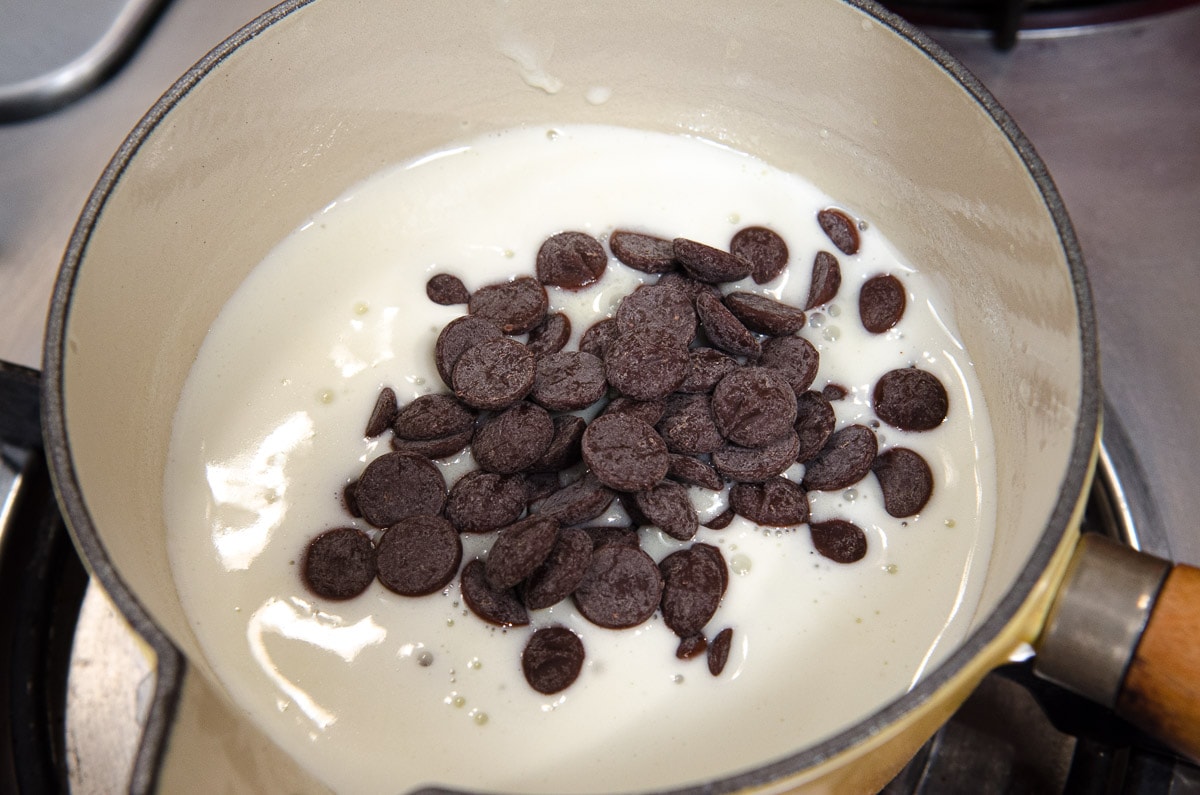
Step 2. Add the chocolate to the pan.
Step 3. Submerge the chocolate under the cream for several minutes until melted.
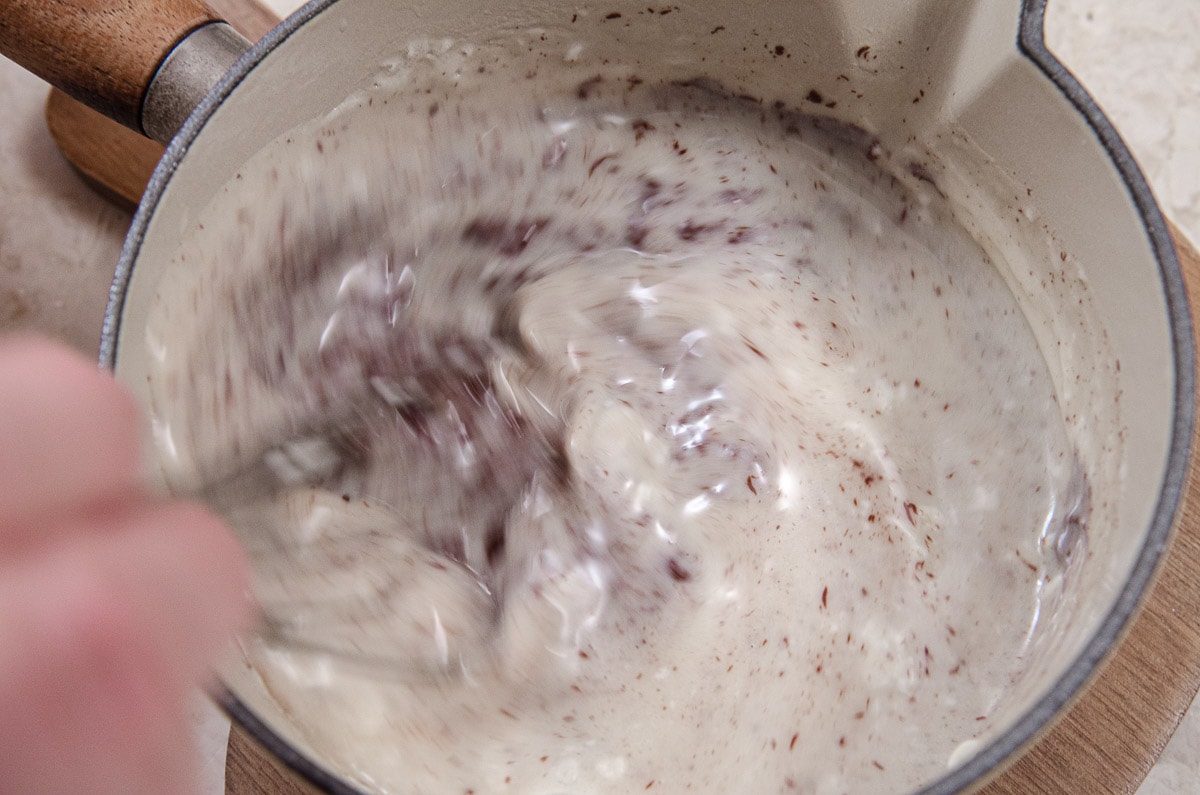
Step 4. Add the vanilla and whisk the mixture until smooth and no lumps remain.
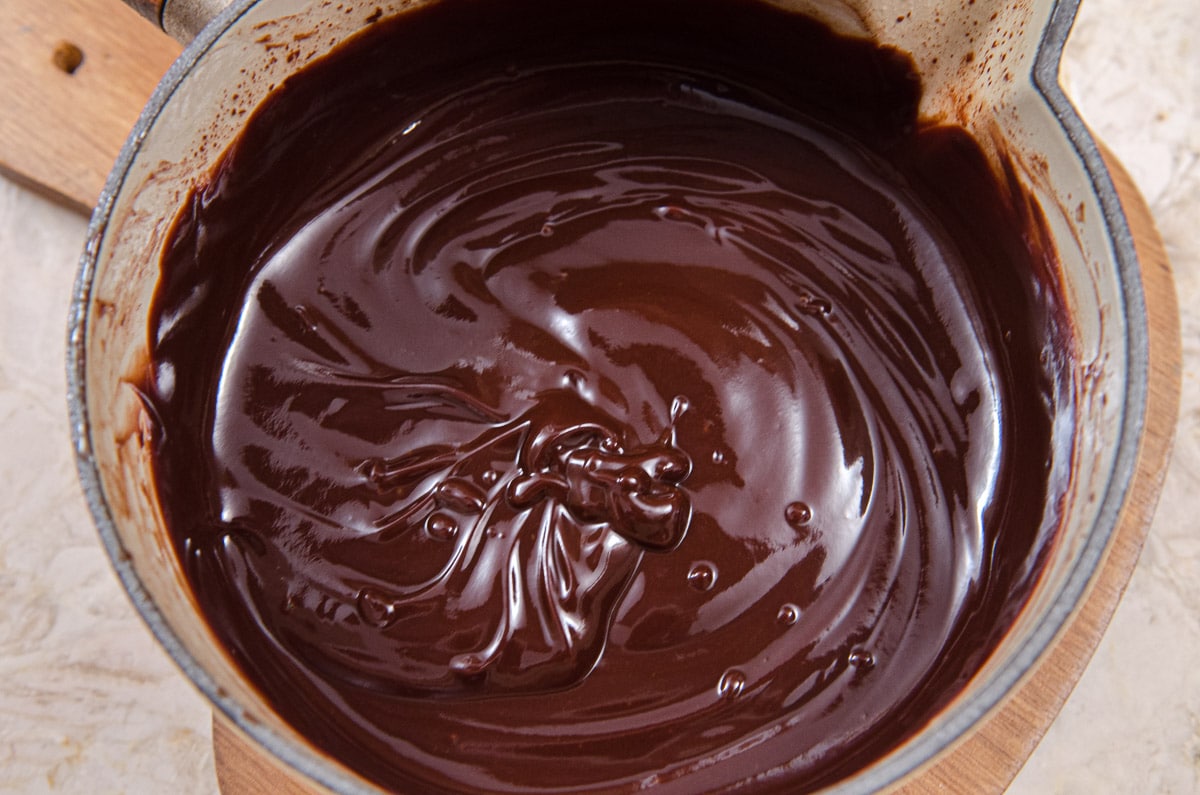
Setp 5. After the chocolate is completely whisked in it will the dark and smooth.
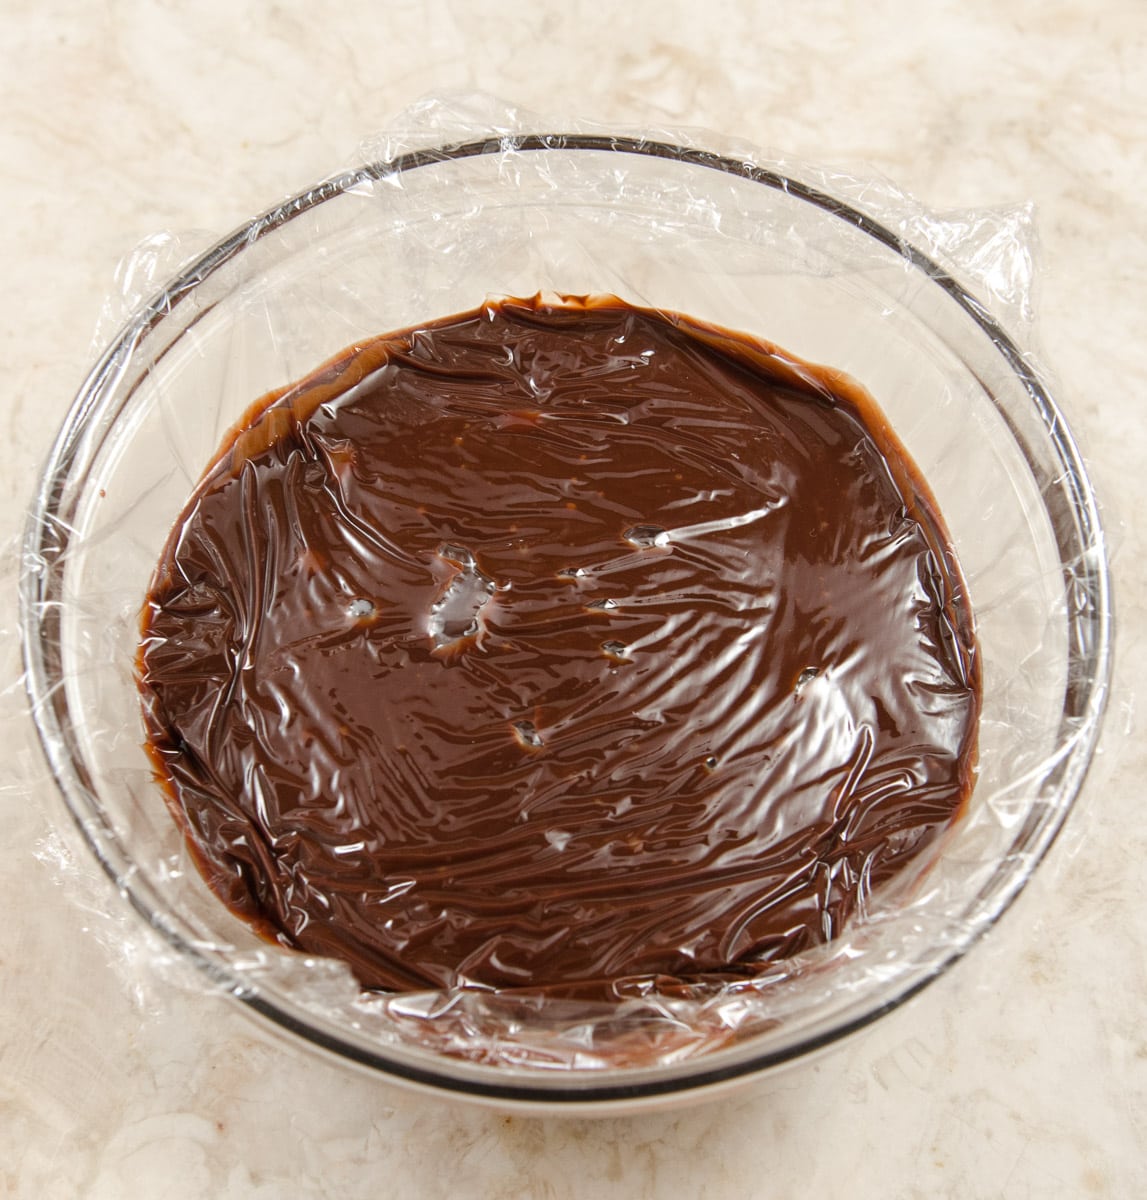
Step 6. Transfer the chocolate to a small bowl and place plastic wrap directly on top of the chocolate. Place in the refrigerator until firm.
Shaping and Dipping the Truffles
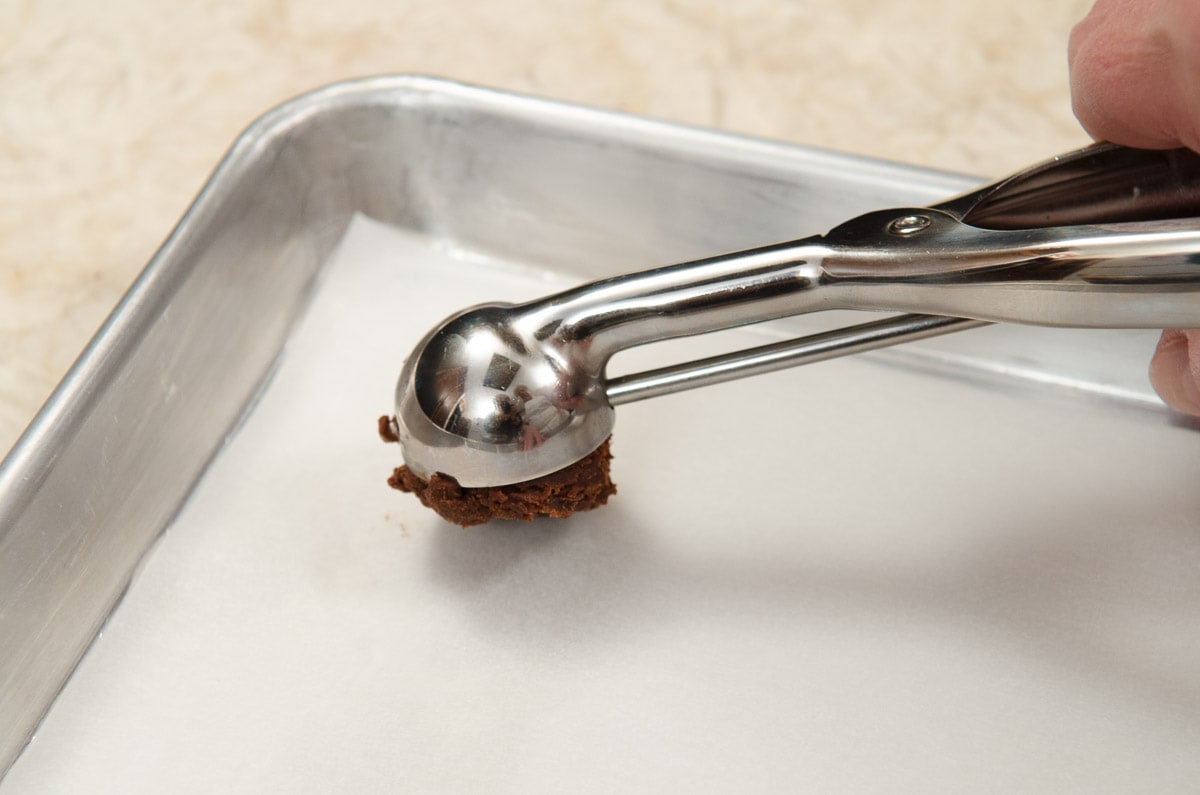
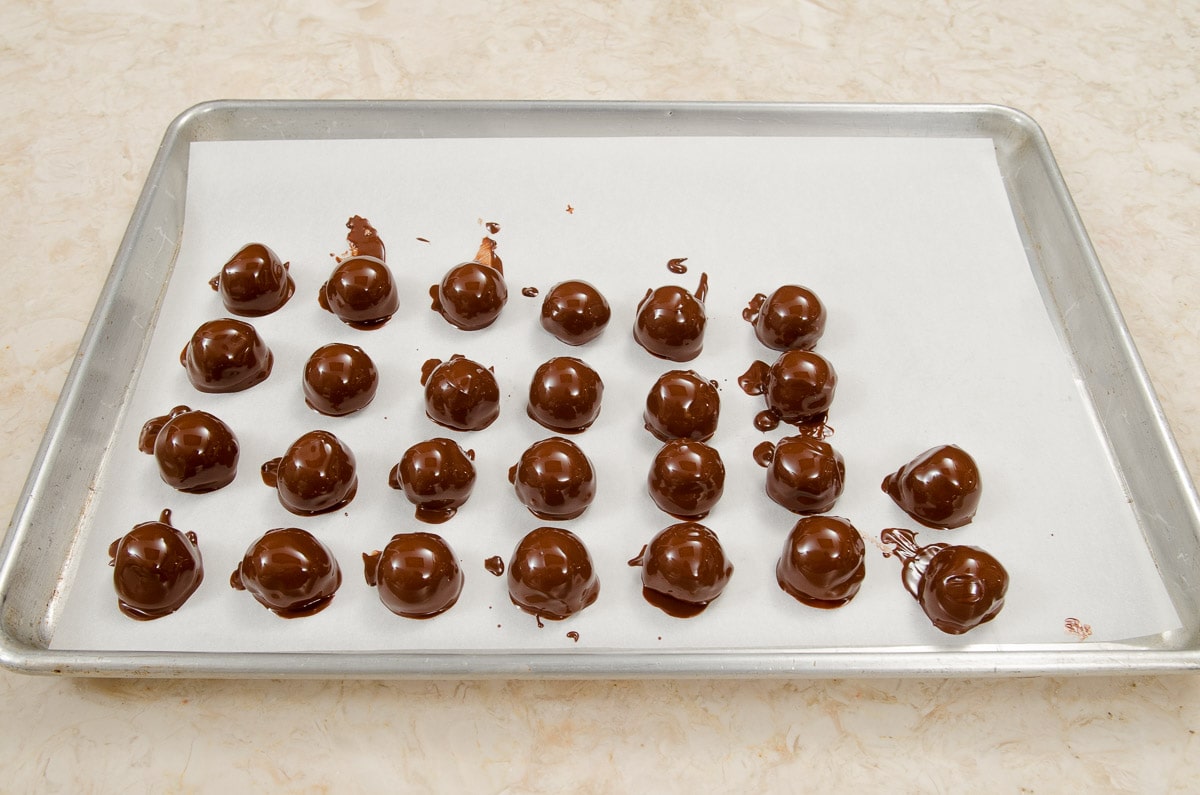
Step 1. After the chocolate has set up, scoop the truffles out with a #100 disher/scooper. Alternatively, use about 2 teaspoons per truffle and roll them between our hands to form balls.
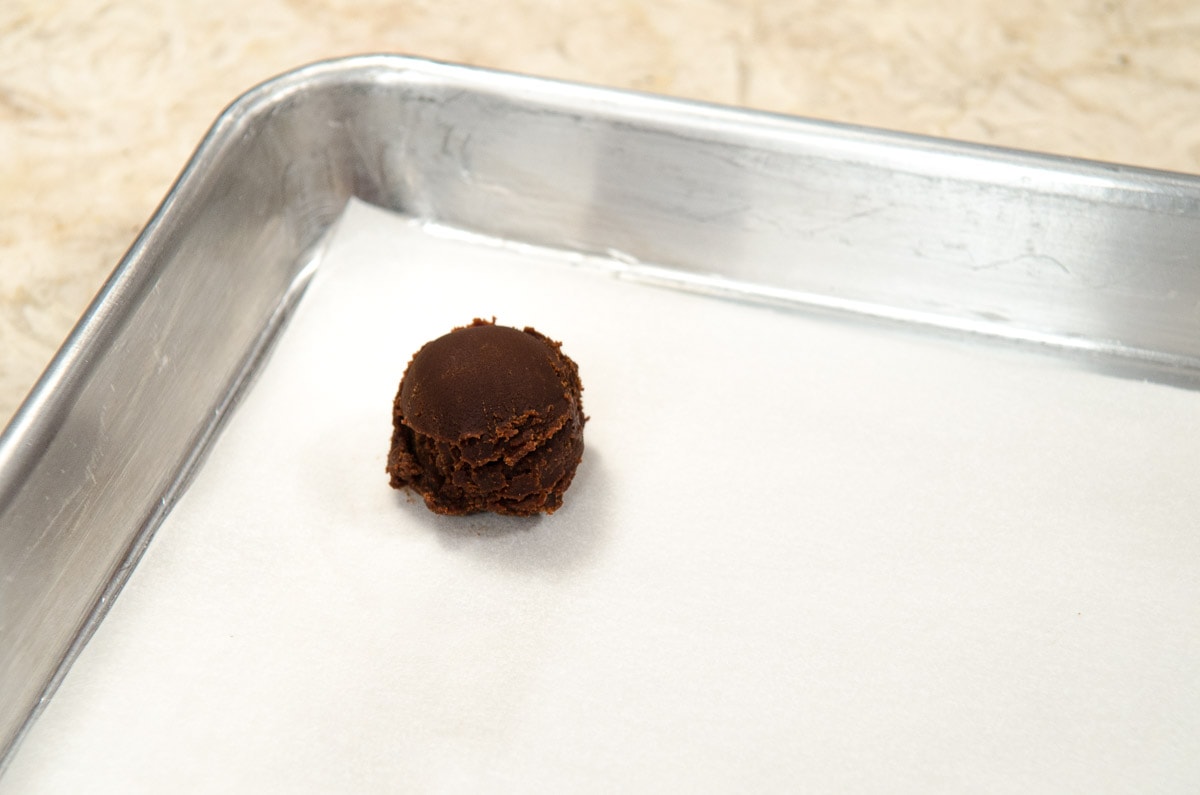
Step 2. After all of the centers have been scooped. Place the tray in the freezer and freeze until hard.

Step 3. Combine the chocolate and shortening, cocoa butter or coconut oil in a small bowl. Heat over simmering water or in the microwave.Stir it just until it is completely smooth and can coat a spatula as above.
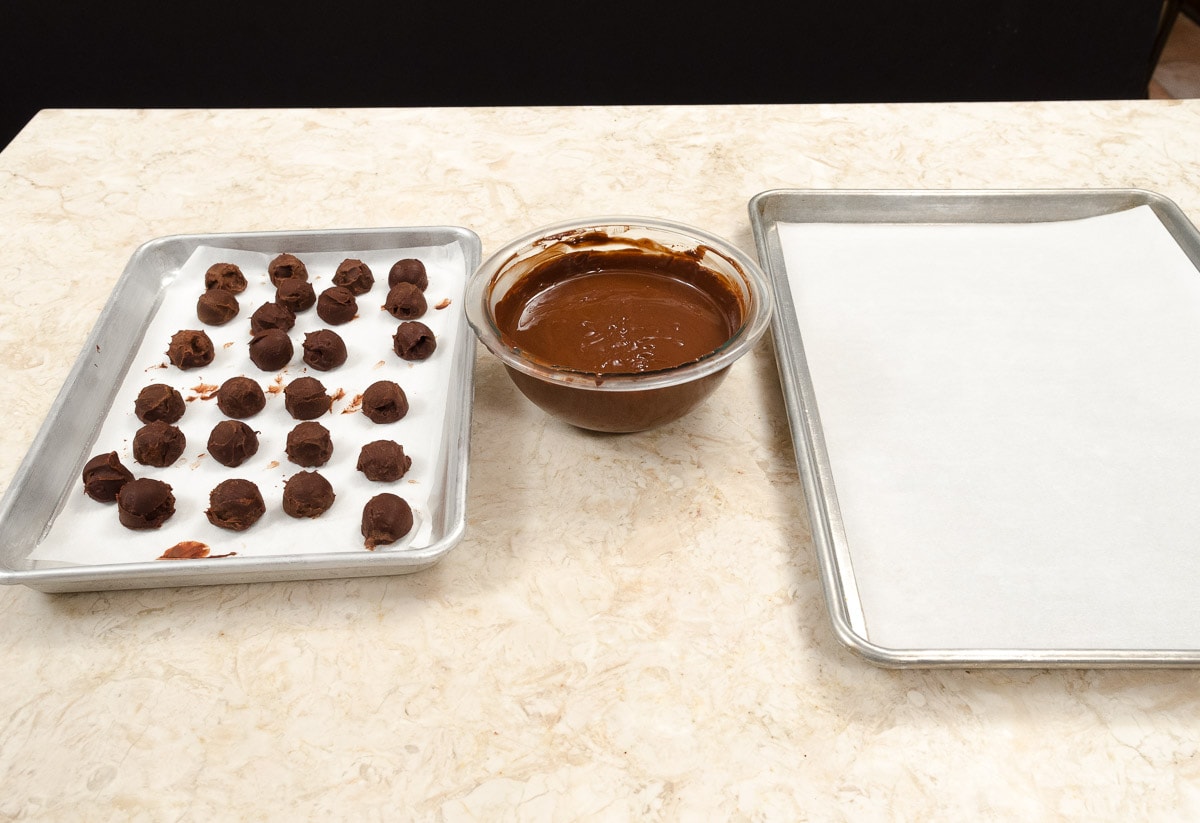
Step 4. Set up the chocolate coating station as follows, left to right: Frozen truffle centers, chocolate coating, tray lined with parchment paper.
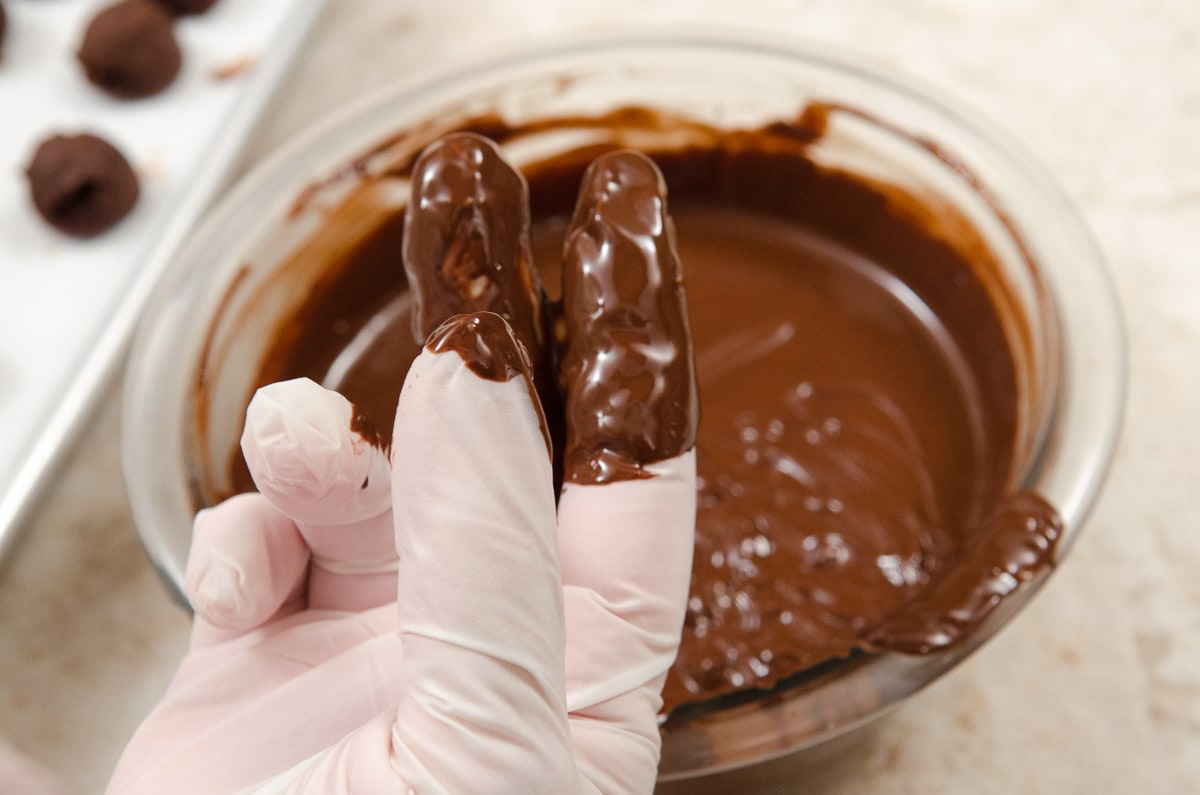
Step 5. It is best to wear a well fitting food trade vinyl or latex glove to dip the chocolate. Dip two fingers in the chocolate.
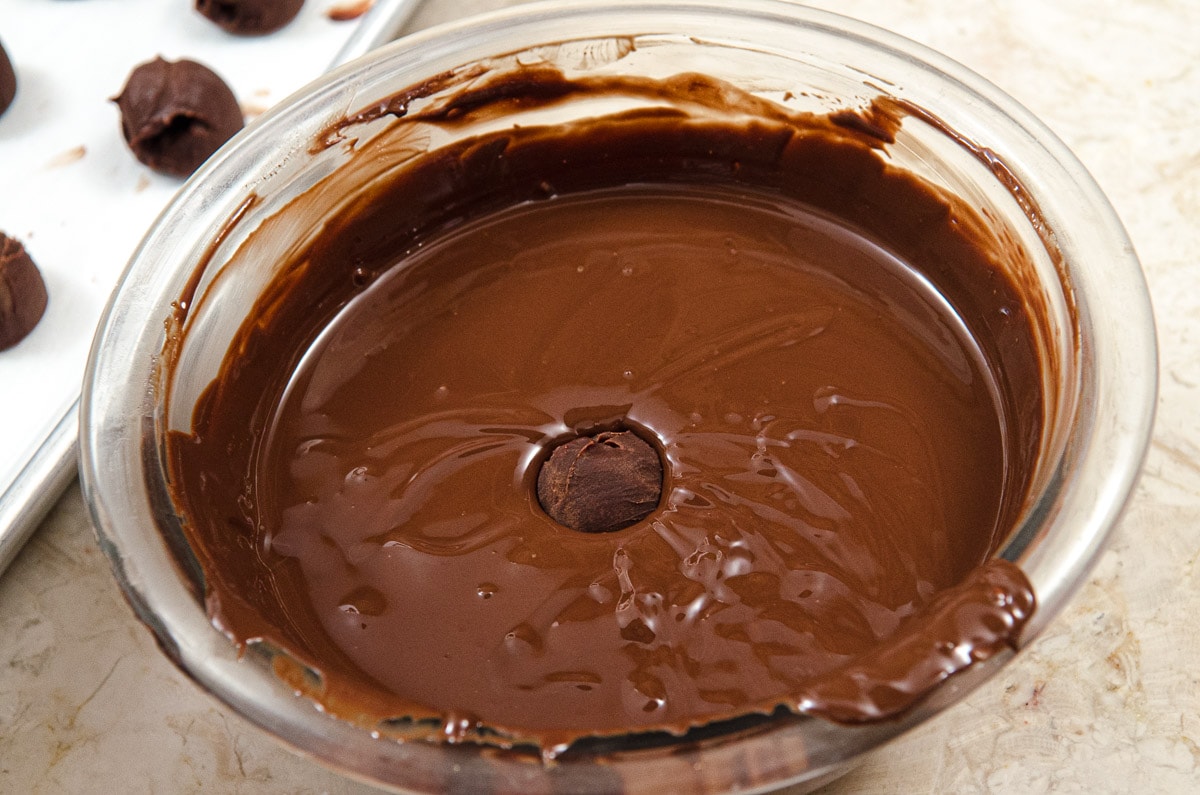
Step 6. Drop a frozen truffle center into the bowl of chocolate coating.
Step 7. Swirl the center around in the chocolate to cover it completely. Let the excess chocolate drip back into the bowl then wipe the chocolate off your fingers by scraping them on the side of the bowl.
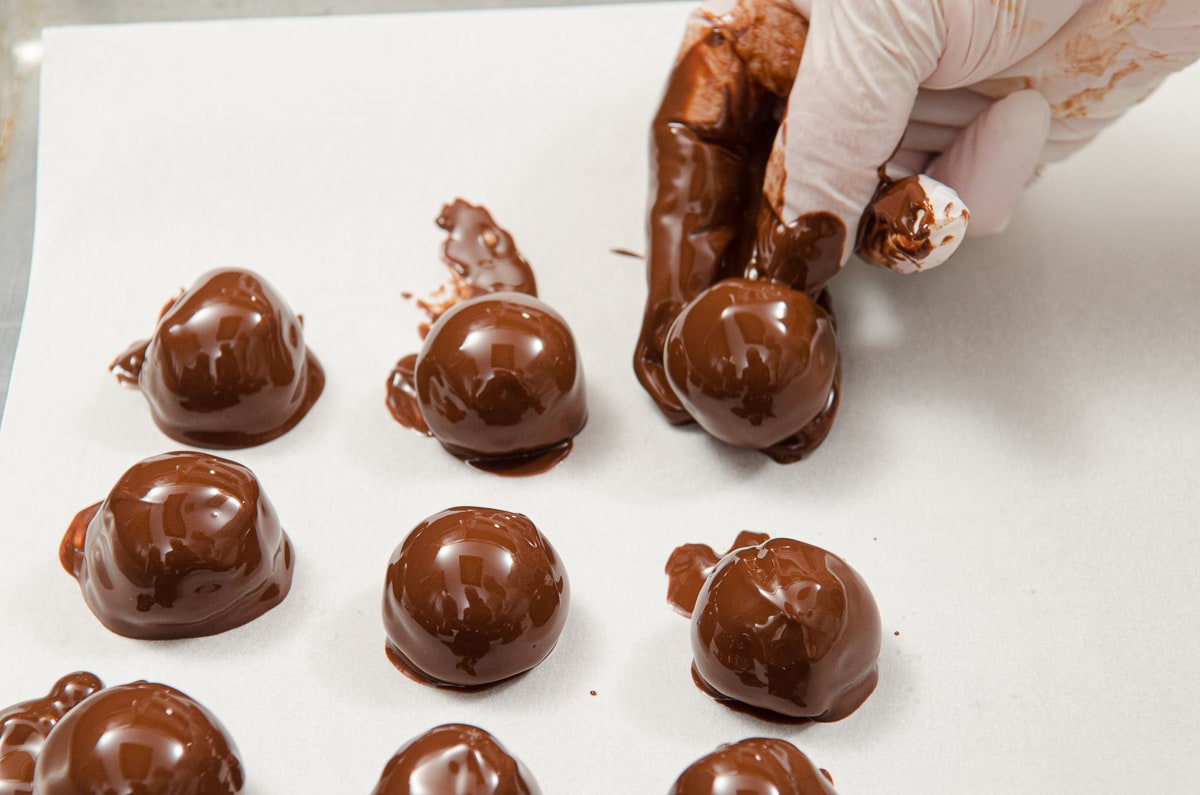
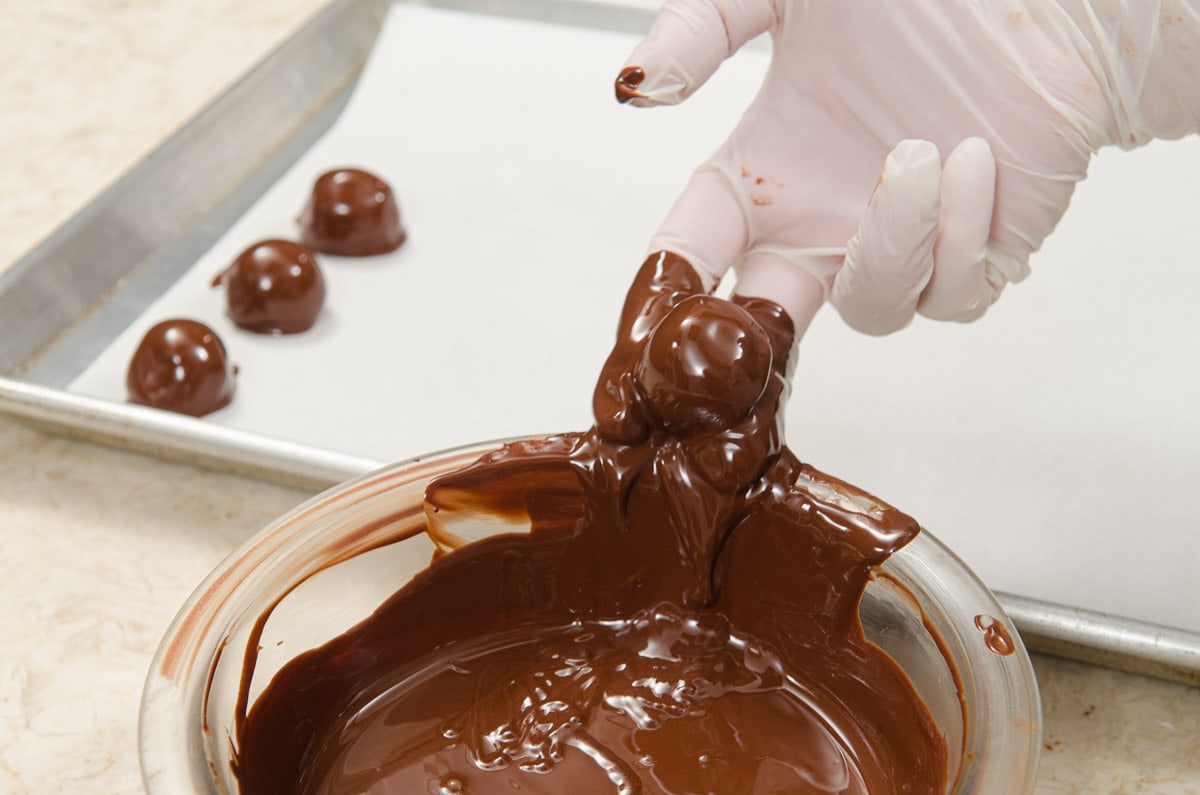
Step 8. Push the center off of your fingers with your thumb onto the parchment paper.

Step 8. After all of the centers have been dipped for the first time, allow them to come to room temperature.
Step 9. Very gently reheat the chocolate to coating consistency. Re-dip each center for a second time. Allow to come to room temperature before storing.
The name “truffle” comes from their resemblance to mushroom-like fungus, considered a delicacy of the same name.
A chocolate truffle's basic components are tempered chocolate on the outside and chocolate ganache within. The ganache is made of heavy cream and chocolate, bittersweet, semisweet, milk or white. The can be flavored with extracts, liqueurs, spices, etc. They are then twice dipped in chocolate to give them a smooth, chocolate exterior.
They are actually quite easy with little work but waiting time in between the steps.
Storage
The truffles can be kept at room temperature for a couple of days. For longer storage refrigerate for a week or 10 days. Bring to room temperature to serve.
Expert Tips
- The chocolate centers can be made a week ahead and kept refrigerated or scooped and frozen.
- Because the centers of these truffles are very creamy at room temperature, the centers must be refrigerated to scoop and frozen to coat them the first time. If they begin to soften, refreeze them.
- The additional fat added to the chocolate helps keep it in temper while coating the centers. However, keeping it around 88° to 90° F will give the best results.
- When re-heating the chocolate for the second coat, make sure to place it over very low heat, stirring constantly and heat to temperature above.
- It is difficult to dip these without having feet on the bottom of the dipped truffle. The feet refers to puddled chocolate at the bottom of the truffles. Following the instructions above will help keep them to a minimum. But if they are large, just trim them with a knife.
Here's Some Other Easy Candies to Enjoy
Love this recipe or any other on my site? Please leave a 5-star 🌟🌟🌟🌟🌟rating in the recipe card & consider leaving a review in the comments further down, thanks!
Chocolate Chocolate Truffles
Ingredients
Chocolate Centers
- ½ cup cream
- 2 tablespoons unsalted butter (28 grams or 1 ounce)
- 2 tablespoons granulated sugar (25 grams or 1 scant ounce)
- 140 grams semisweet or bittersweet chocolate (5 ounces)
- ½ teaspoons vanilla
Chocolate Coating
- ¾ pound semisweet chocolate (340 grams)
- 3 tablespoons shortening, cocoa butter or coconut oil
Instructions
Chocolate Centers
- Line a baking sheet with parchment paper.
- Heat the cream, butter and sugar until the butter is melted and the sugar dissolved. The mixture should be very hot, but not boiling.
- Submerge the chocolate under the cream and let sit for 4 or 5 minutes. Whisk until smooth.
- Whisk in the vanilla. Pour into a container, cover the surface with plastic wrap and chill until cold.
- Scoop with a #100 disher, dropping them on the parchment paper. Alternatively, roll about 2 teaspoons of the chocolate centers in balls. Freeze until hard.
Dipping the Centers
- Combine the chocolate and shortening, cocoa butter or coconut oil over low heat, until melted. Try to keep the temperature around 88° to 90° F. Alternatively, it can be microwaved on 50% power briefly just to melt.
- Using a food grade latex or vinyl glove, dip your first two fingers into the chocolate to make it easier to scoot the chocolate off your fingers.
- Place a chocolate center into the chocolate. Swirl it around to coat it completely. Pick it up with your two fingers, spread slightly apart. Let the excess chocolate drip back into the bowl.
- Scrape, the chocolate off your glove onto the side of the bowl and place the dipped center onto the parchment by scooting it off with your thumb.
- Repeat with the remaining centers.
- Let set up at room temperature.
- Scrap the chocolate together and reheat to 88° to 90° F. Dip the truffles again.
Notes
- The chocolate centers can be made a week ahead and refrigerated, or scooped and frozen.
- In order to scoop the centers, the chocolate center mixture should be chilled throughout.
- To easily coat the centers, it is important to initially freeze the centers after scooping them.
- Be careful not to overheat the chocolate, or it will be dull or streaked when set. This won't affect the taste, just the looks. Just heat it or microwave it until it can be melted together.
- If a lot of chocolate puddles around the base of the truffle (this is referred to as feet) it can be trimmed off with a knife.
- The room in which the truffles are made should be cool - 68° to 70°F. Do not try to make these in a warm room.
Nutrition

Eileen Murphy says
My grandson, on a video call if I knew how to make truffles. I asked if he meant the mushroom or chocolate kind. He said chocolate. So, since he was coming for his 6th birthday I surprised him with truffles. A big hit. Thank you again Helen, whenever I am doing something new I check to see if you have the recipe and teaching behind it.
Helen S Fletcher says
Hi Eileen - what a special birthday surprise for him. These are the things grandchildren remember far, far into our lives. I havw a grandson with whom I started baking when he was 5 or 6. He still loves baking today. It was a gift for both of us.
Claire says
Hello Helen
Could you please tell me when is the best time to add alcohol flavourings to the truffles without causing chocolate to seize?
Helen S Fletcher says
It isn't a matter of when, it is a matter of how much. It also depends upon the recipe. If you are using just chocolate and cream, it is more important than if you use a recipe like mine that has other ingredients in it. Without seeing the recipe, I don't know. There needs to be 1/4 cup liquid per 6 ounces of chocolate to prevent seizing. The liquid can be a combination of cream and liquor. Hope this helps.
david stong says
Excellent recipe, Helen; thanks! Just in time.
Helen S Fletcher says
Hi David - I can't tell you how many of these I dipped in my bakery life. Happy to share them.
ellen says
Thanks so very much for these extremely useful tips. Especially the one about overheating the chocolate. You have confirmed my impression that it's actually better to use the lower-percentage chocolate, certainly no more than 70%. I have already tried omitting the butter but sometimes this has happened even then, so over-heating may well be the culprit now.
I don't subtract the amount of booze from the cream. It doesn't seem to make any difference one way or the other but maybe I should be more systematic and try it, just in case.
I am going to print your comment out and keep it with my ancient copy of bon appetit, can you believe I still use that...! Time to get it all on the computer really.
hfletcher says
Your welcome Ellen. I have another reader who has saved her copy of Bon Appetit with my Brioche recipe and the 13 recipes using it. She still uses the magazine also. Hope the tips help.
Manisha says
Hi Helen,
If we freeze the truffles before dipping them in melted chocolate then wouldn't the coating of the chocolate crack as it will dry up? Just speaking from my experience of making cake pops. initially all their outer chocolate coating used to have cracks. Now I only put them in fridge for 10 mins or so.
Loved your technique of coating truffles in chocolate. Will try it today itself as I am working on strawberry chocolate truffle cake.
Thanx and love
hfletcher says
Hi Manisha - No the chocolate has never cracked. These truffles have a very creamy center and can't be dipped unless frozen as they are too soft. I have made them for 30 years and the chocolate has never cracked. Cake and chocolates are two different things - one having nothing to do with the other.
manisha says
Thanx for the reply. I can approach this recipe confidently now
ellen says
I totally agree with you about cocoa-coated truffles. I reckon this is probably what 'home' recipes say quite often because it's a lot less work than dipping. But every year at Christmas I make truffles and I always dip them. Sometimes I have to confess I don't do the 2d dipping. But of course it is a much better result if you do.
I'm pleased to see that your professional technique is almost exactly the same as what I've evolved over the years. The best result using 'tools' that I've found is a couple of toothpicks. But I'm sure you are so right, just using your hands is a much better solution. I have done that in fact but for some reason it never occurred to me to don gloves. What a great idea and how great that you spell out exactly HOW to dip using your hands, with your wonderful pictures. That will be such a help to me, come Christmas.
A couple of questions. Over the years I've found chocolate has gotten more and more intense. When I first started doing these truffles I used Lindt which was 50% cocoa mass - which was a lot back then! Now I can regularly buy chocolate that is 70%, 85%, 90%. I've discovered that when I use the really high-cocoa mass chocolate, I end up with excess fat on top of the chilled mix.. I'm wondering also if using double cream, which is 40-50% butterfat over here (UK), could do this, and maybe should I use whipping cream instead? What do you think? I use a recipe v similar to yours which appeared in the 1980s in Bon Appetit, a Belgian recipe. The only change I make is to add a lot of booze, especially high-proof rum (more kick per spoonful!). Or alternatively seedless raspberry jam.
hfletcher says
Dear Ellen - Thank you so much for you comment. At the bakery we used Guittard French Vanilla chocolate. It was 58%. I especially liked the flavor but it also had the advantage of being able to be used in everything to do with dark semisweet chocolate. I never used the higher percentages of chocolate because they would require retooling of the recipes. Also in the states the highest % of cream we can get is 40% which is what I always use. I know for sure that excess fat can occur when the mixture is made if the chocolate is initially too hot. The cocoa butter has a tendency to separate and rise to the top. That is why there is a note to get the cream steamy but not boiling. When you add the booze do you subtract that amount from the cream?
Also, do you just heat the cream just until steamy and submerge the chocolate? That helps keep the chocolate from getting too hot and causing the separation.
One final thought - try omitting the butter if you use it. You may not need the additional fat from the butter if you are using the high mass chocolates.