
Light, tender and airy puff pastry has often intimated the most avid pastry cook, amateur or professional. Forewarned in many recipes of the great amount of time and effort involved, even adventurous bakers have found other ways to spend their time. However, with the use of the food processor, the pastry can be made in a fraction of the time. In fact, it is ready to use in about 3 ½ hours – a long way from the 36 hours it traditionally takes.
In my blog American Butter vs. European Butter I talked about the difference between these butters when making laminated doughs. The experiment has convinced me to use bread flour and European Butter in my laminated doughs.
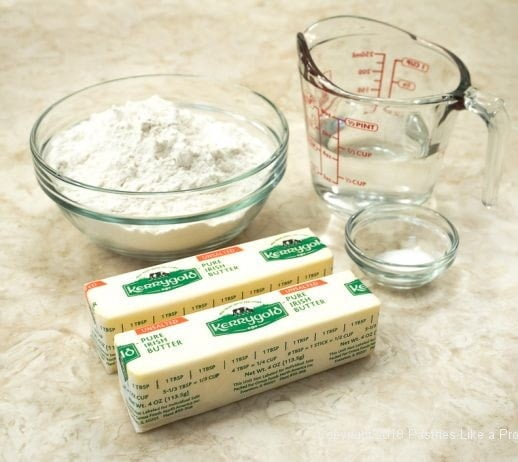
The butter and flour measurements should be the same by weight. Obtaining the perfect weight using volume measurements (think measuring cups) is a bit tricky why it is so much better to use a scale.
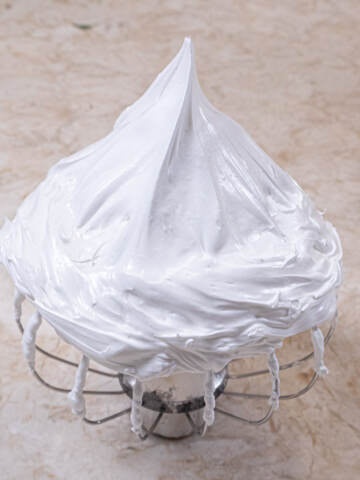
Another important factor in the ability of the dough to rise is the consistency of the detrempe or dough ball. It should be very soft coming from the processor.
The butter for puff pastry, on the other hand, should be very hard when frozen. So, unsalted butter is used for both the taste and the fact it gets harder when frozen than does salted butter.
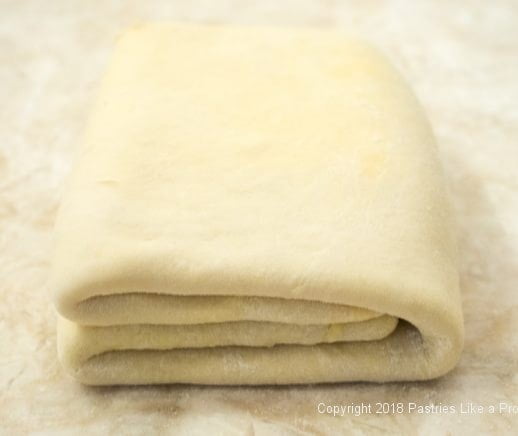
Keeping everything very cold is essential to the outcome of the final puff pastry. After the detrempe and the butter are cut together the pastry is rolled out and folded in what are called turns. To speed the process, I use double turns as opposed to single turns. Two double turns are made before the pastry is rested in the refrigerator for 30 minutes to ensure it stays cold and to relax the gluten formed during the rolling. After chilling the pastry is rolled for two more turns and then rested for an hour. After that, it's ready to use as desired or it can be frozen for later use.
The edges of the puff pastry are always trimmed to ensure an even rise when baked. After shaping, the pastry must be chilled or frozen to minimize shrinkage during baking.
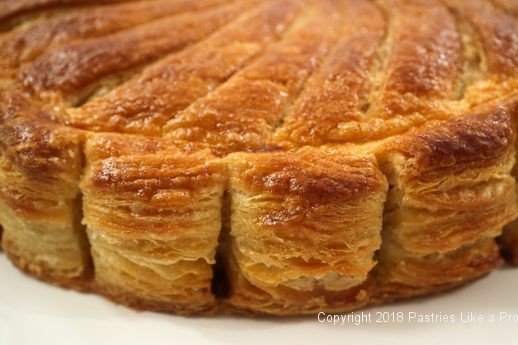
High heat, at least initially, is essential to obtain the proper lift. Steam is produced by the moisture in the pastry and the utter and pushes the many layers apart, resulting in an ethereal pastry.
Because of the high amount of butter and the high heat of the oven, the pastry is double panned so the bottom doesn't burn before the pastry is finished baking.
The rule for cutting puff pastry is the opposite of cutting most other pastries. In this instance always use a serrated knife in an up-and-down sawing motion. Never cut straight down as it will squash the layers.
Puff pastry trimmings should not be discarded. But don't wad them up. Place them side by side and push them together into a rectangle. Roll the pastry out and make a double turn. Turn the dough a quarter to the right, roll out and make another double turn.
Chill for 20 to 30 minutes before using as you wish. It will not rise as much as the original but is fantastic for tart shells or other shapes that will expand sideways.
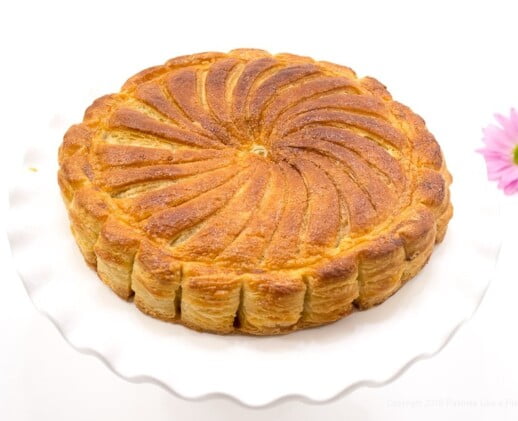
The filling for the Pithiviers, named for a town in France, is a cousin to Frangipane which is often used. The French filling includes egg and flour. However, it is looser and sometimes leaks out. My almond filling won't leak as long as the two layers of pastry are sealed as in the directions. The filling needs to be made ahead so it is frozen when combined with the puff pastry.
To keep puff pastry crisp several things will help. First, don't underbake. Especially if the pastry is filled, the pastry must be baked through.
Storage of the pastry is also important. At no point should it be wrapped tightly if it is filled. Just cover the cut edge with foil. Covering tightly can definitely cause a problem, even if it is baked well. Just leave the pastry at room temperature.
If making ahead, it is best to freeze it unbaked. Since it goes into the oven frozen or partially frozen anyway, just pop it in the oven and bake it as called for.
Lastly, items made with puff pastry are best eaten the same day. Pamiers and Cheese Straws can be baked crisp and kept in a tin for several days but there is no filling other than sugar or cheese. But even with these, it is best to shape them, freeze them and bake the day they are to be eaten. Consequently, without a moist filling, there is no way for them to become soft unless underbaked.
Basic Puff Pastry
1 ⅔ cups less 1 Tablespoon bread flour (225 grams or 8 ounces) – now you see why I weigh
½ teaspoon salt
½ cup + 1 tablespoon cold water (more may be necessary)
½ pound unsalted butter, frozen (2 sticks or 225 grams)
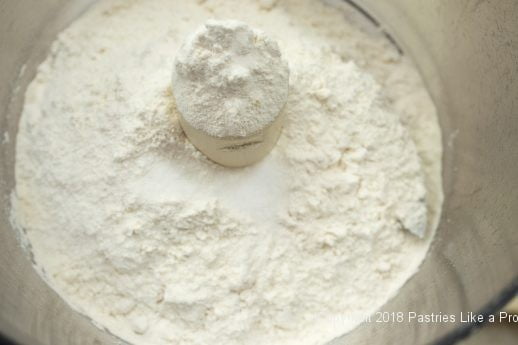
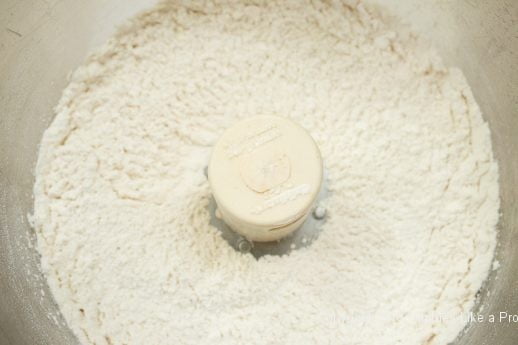
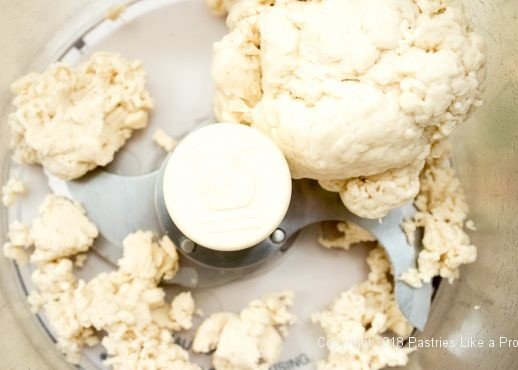
Fit the processor with the steel blade and add the flours and salt to the bowl. Process 5 seconds to mix. With the machine running, pour the water down the feed tube in a steady stream and process until a mass of dough forms and cleans the side of the bowl. Process for 30 to 45 seconds to knead. The dough should be very soft. If it is not, add water by the ½ teaspoon and process for at least 15 seconds more. Remove the dough and flatten it into a ½ inch thick rectangle. Wrap it in plastic wrap and place in the freezer for a about 90 minutes. The dough should be very cold and hard about ¾ inch in from the edges. If it not return it to the freezer until it is.
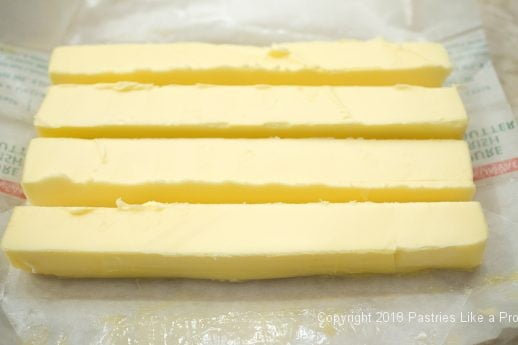
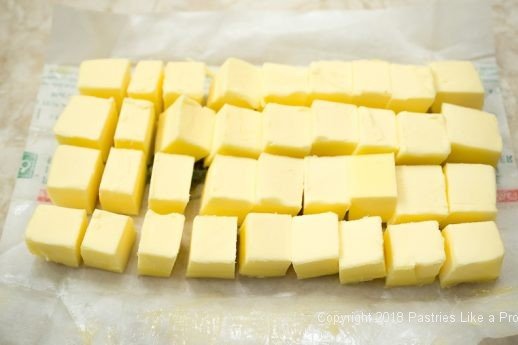
In the meantime, cut each stick of frozen butter lengthwise into 2 pieces. (The photo depicts both sticks of butter cut.)then crosswise into eighths, making 16 pieces each and return them to the freezer.
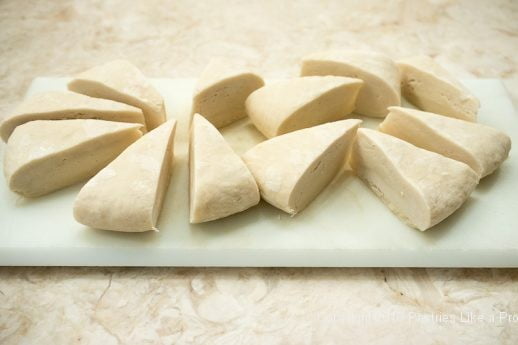
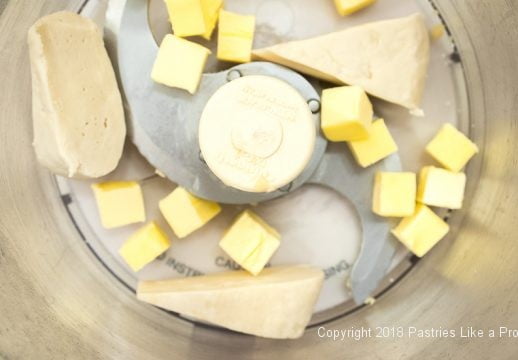
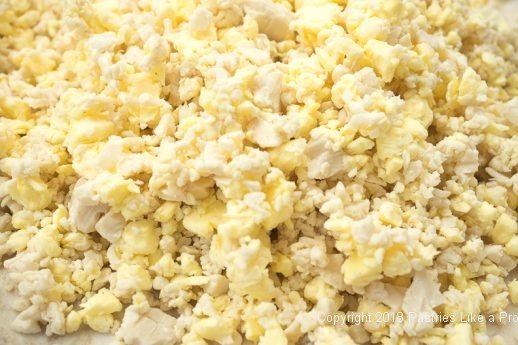
Divide the chilled dough into 4 even portions. Divide each portion into 3 pieces.Place 3 pieces, evenly spaced, in the processor bowl. Distribute one fourth of the cut butter evenly over the dough. Return the remaining dough and butter to the freezer. Pulse the dough and butter about 25 to 30 times until they are cut into bits of varying sizes. They should remain individual pieces. Turn the dough out onto a work area. Repeat with the remaining dough and butter in three more batches. Pile the dough up on top of each other.
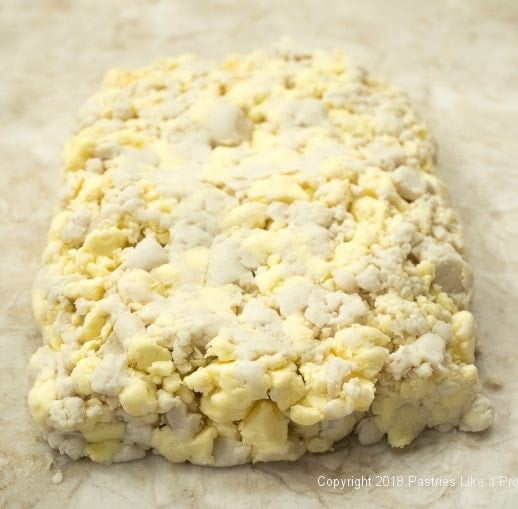
Push all the bits of dough and butter into a rectangle about 8x5 inches.
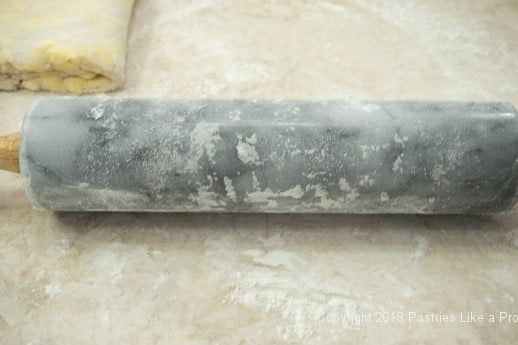
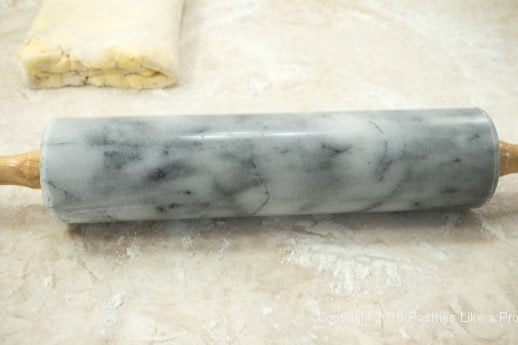
A quick note about rolling out the puff pastry. To keep the rolling pin from sticking to the pastry or the butter, It is very important to keep the rolling pin clean. A quick wipe with a paper towel keeps mine in good rolling condition.
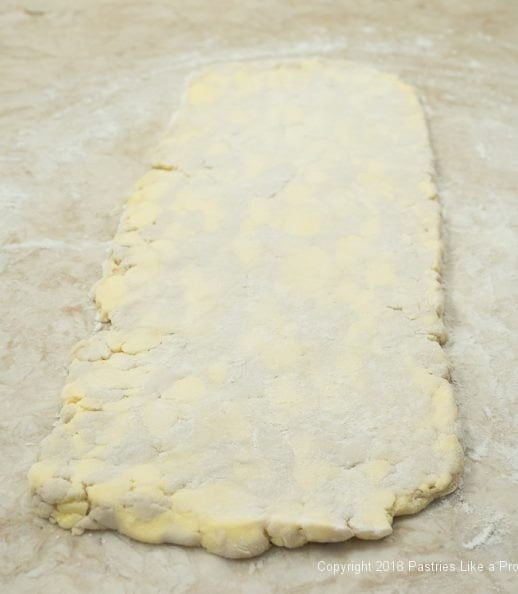
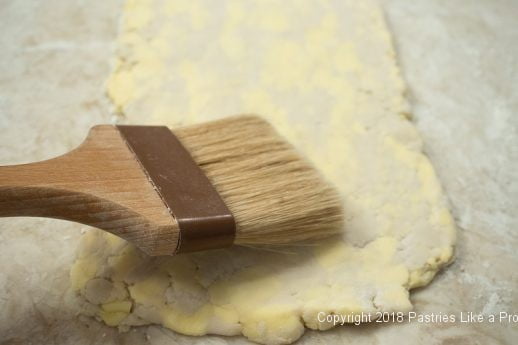
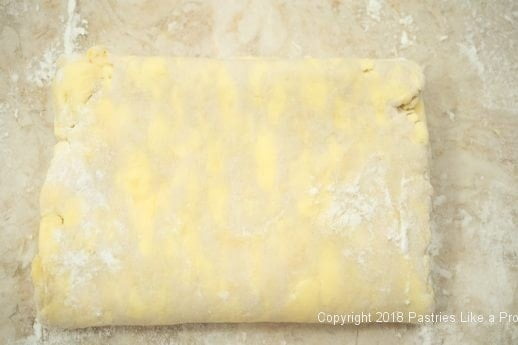
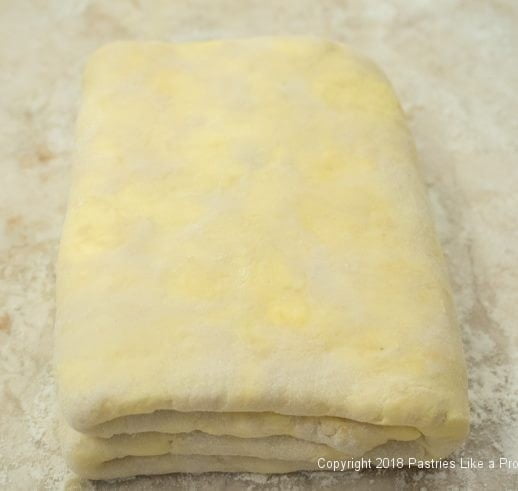
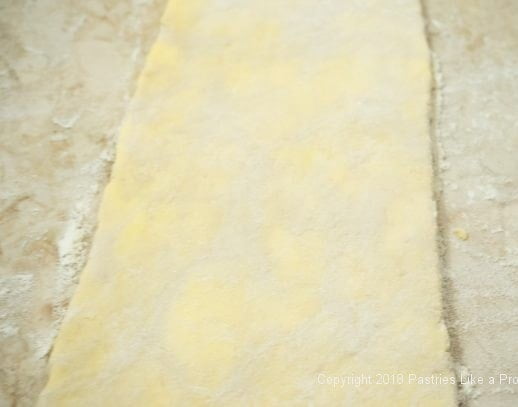
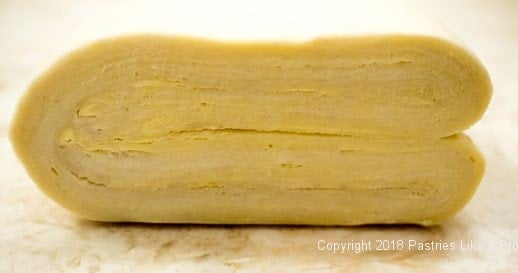
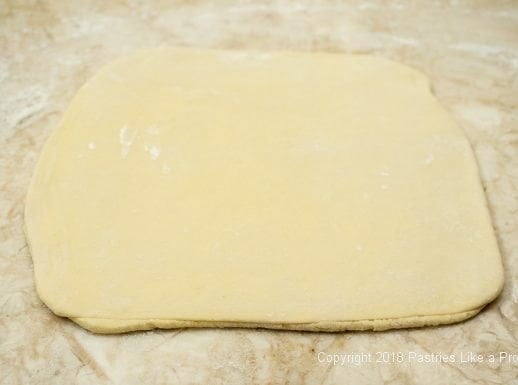
Lightly flour under and on top of the dough and roll into a 18x6 inch rectangle. With a long spatula, clean underneath the dough from time to time and re-flour. Lightly re-flour the top of the dough as necessary. When rolling, keep the top and bottom ends squared off. If the butter starts sticking while rolling out, either on the top or bottom, sprinkle a little flour on it and continue rolling, scraping underneath regularly. The edges will look raggy and that is how it should be. Using a soft brush remove any remaining flour from the top of the dough. Fold the ends to meet in the center and again brush the flour from the top surface. Fold in half again, there will be four layers of dough. Brush the excess flour from the dough and scrape the work surface clean. Turn the dough so the final fold is on your left. This completes one double turn. Repeat his procedure once more. Remove any excess flour, place the pastry in a plastic bag and refrigerate for 30 minutes. After the pastry has rested, repeat rolling and folding twice more, making a total of four double turns. Place the completed pastry in the plastic bag and allow to rest 1 hour before shaping.
After the fourth double turn, the pastry may be refrigerated for up to 3 days or frozen for 6 months. Defrost 24 hours in the refrigerator if frozen.
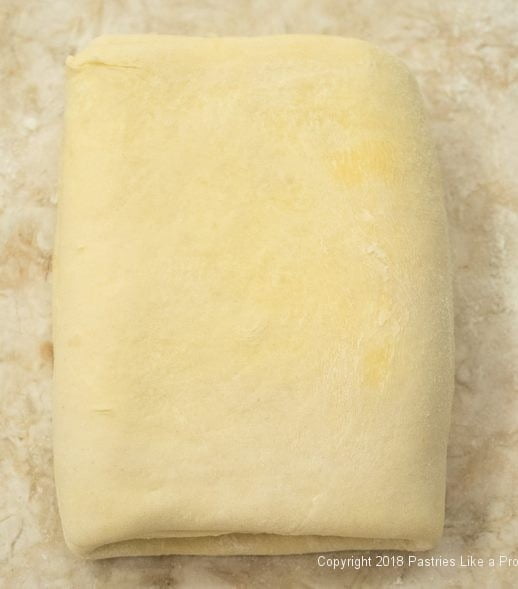
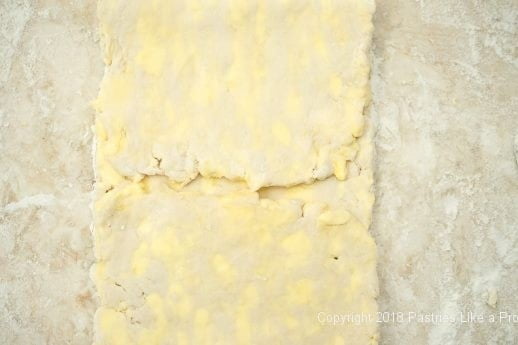
Notice how smooth the dough is and how the edges are now enclosed. The butter chunks are less noticeable as they have become encased in the dough.
Note: If using a large processor, process the dough and butter in 3 instead of 4 batches. Use 4 pieces of dough and one-third of the butter.
Finished dough weighs 565 grams or 19 ¾ ounces
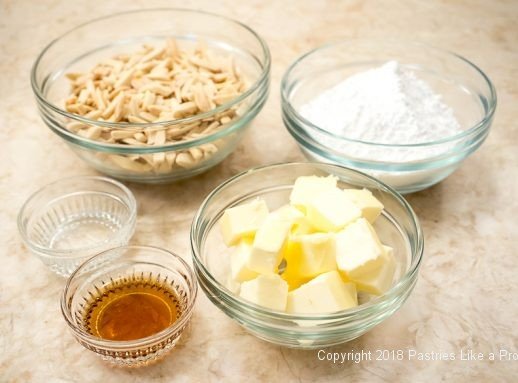
Almond Filling for Pithiviers - I'm not sure what happened between the ingredient picture and the assembly, but I forgot to photograph the filling. It's really easy, just follow the directions and be sure to freeze it in the plastic film lined bowl.
½ cup slivered almonds 114 grams or 4 ounces*
½ cup powdered sugar (70 grams or 2 ½ ounces)
4 tablespoons butter
1 tablespoons dark rum
2 teaspoons almond extract
*Any almond may be used but they need to weigh 170 grams or 6 ounces. Whole nuts and sliced nuts do not weigh the same as slivered nuts which why a scale is so important. Also, hazelnuts or a combination of almonds and hazelnuts may be used.
Preheat the oven to 350°F. Spread the almonds or hazelnuts in a single layer on a baking sheet. Toast for 7 to 12 minutes depending upon which size is used. Cool completely before proceeding.
Place the nuts and powdered sugar in the bowl of a food processor. Process until very finely ground. Add the remaining ingredients and process until a paste forms.
Line the bottom and sides of a 6 to 6 ½ inch bowl with plastic wrap. Place the almond filling in the bowl and smooth the top. Cover with plastic wrap and place in the freezer.
This should be made ahead and it needs to be frozen when used in the Pithiviers. It can be made days or weeks ahead if well wrapped.
Assembly
Puff pastry
Almond Filling
Egg, well beaten with a fork

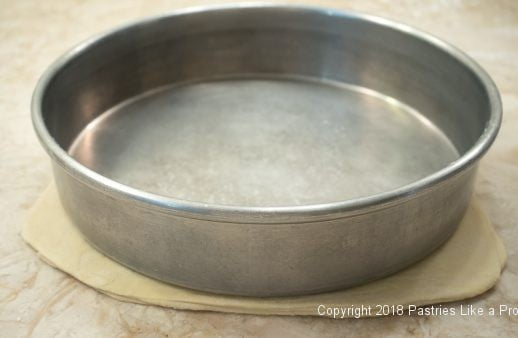
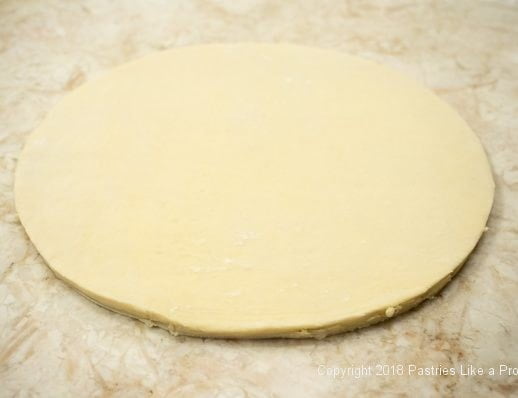
Divide the puff pastry in half. Refrigerate one half. Roll the other half into a 9 ½" square. Place on a piece of parchment, then on a baking sheet and freeze until very firm but not hard. Place a 9" round cake pan on top of the pastry when firm. With a very sharp knife, cut around the pan to make a 9" circle of dough.
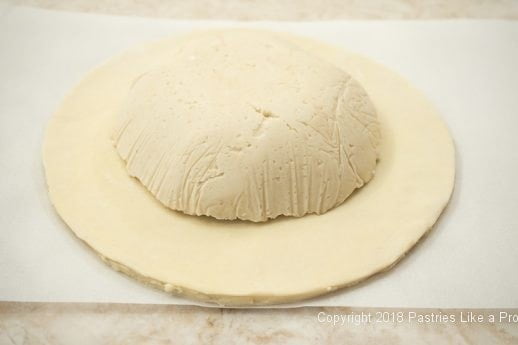
Remove the frozen filling and place it in the center of the pastry. Remove any film. Place back in the freezer.
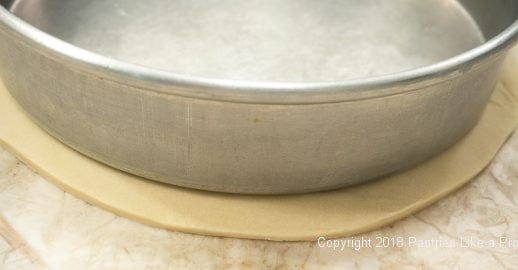
Roll the second piece of dough to a 9 ½" square and freezer until firm. Place the cake pan on the pastry and cut ¼" out from the edge of the pan so you have a 9 ¼" round. Place it back in the freezer briefly to firm it up slightly.
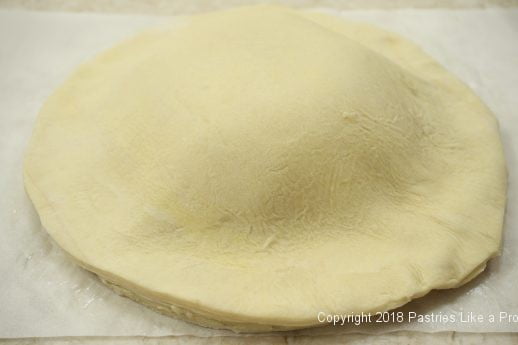
Remove the base with the filling from the freezer. Brush the exposed edges of the pastry with water and drape the top pastry over the filling. Line the edges up evenly and press them together firmly without smooshing them.
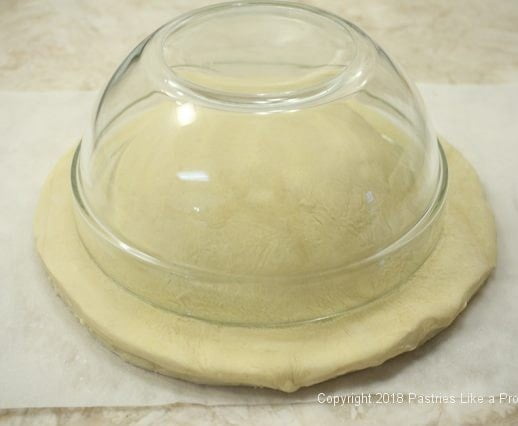

Invert a bowl on top of the pastry directly over the filling encasing it and leaving the edges exposed. With the dull side of a table knife, pull the edges of the pastry in to meet the bowl at about 1 ½ inch intervals all around the bowl. Place the pastry in the freezer for about 30 minutes.
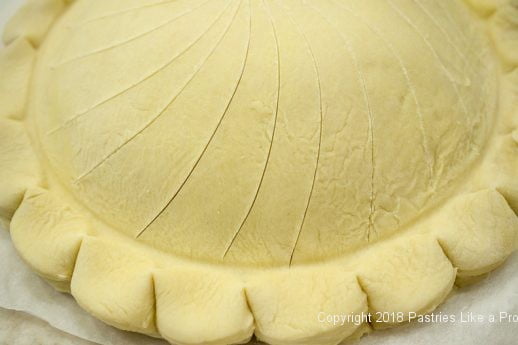
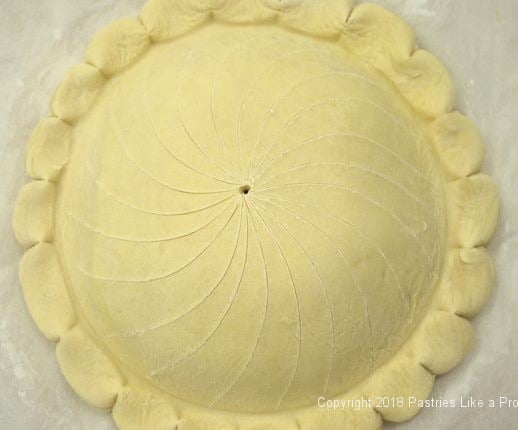
Remove the pastry from the freezer and make a small hole in the center of the pastry with a cake tester or toothpick. With a sharp knife, make curved cuts no more than 1 ⅙" deep to the outer edge. Return the pastry to the freezer until frozen. At this point, it can be wrapped and frozen for several months. Bake from the frozen state.
Preheat the oven to 400°F. Line a baking sheet or pan with parchment. Double pan.
Being careful not to let any egg run over the side of the pastry, brush the Pithiviers with the beaten egg. Wait a few minutes and brush again. Bake for 30 minutes. Reduce the heat to 350°F. If the pastry is really browning, cover loosely with foil and bake for 15 to 20 minutes longer to ensure it is crisp and firm.
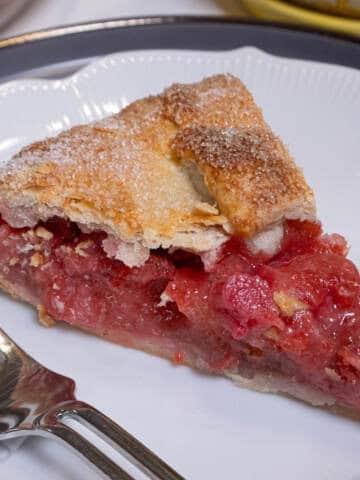
Cool completely before cutting with a serrated knife in a sawing motion.
Note: Be sure to wet the edge of the pastry circle well with water to seal the pithiviers. If the water drips over the side somewhat it doesn't matter as it will evaporate in the oven. However, never let the egg drip over the side as it can prevent the pastry from rising.
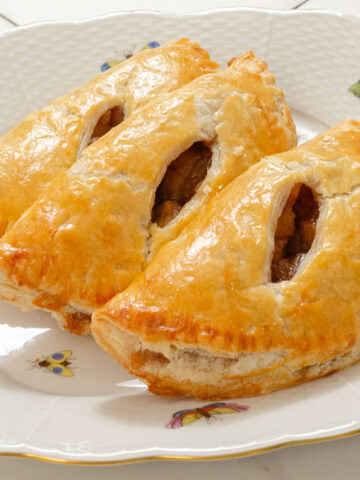
Additional laminated doughs include: A Better Kouign Amann, Croissant-Queen of Breads, Sunny Side Up Apricot Pastries and Mille-Feuille (Napoleon Pastry).


Molly F.C. says
Hello. A subscriber but first time commenting here.
Questions:
What is your opinion of using Plugra butter? Unsalted Plugra can be found for a very reasonable price in my area. Ditto for Kerrygold but in the salted variety. Of these two butters, unsalted Plugra or salted KG, which one would you choose for a laminated dough?
Also, I've been researching food processors. Do you have any tips for size or manufacturer?
Thank you very much. I really enjoy your blog. It is very interesting.
hfletcher says
Hi Molly - Plugra is fine. I just can't find it easily or less expensively than Kerry Gold. It is the fat content that is important, not the name. They are both in the European butter category.
I am going through the same thing with processors. I need a new one also. I have always used Cuisinart but the Breville processor can't be beat according to my professional friends. For my workspace, however, I think it is too big and heavy. But I still keep considering it. I also try to consider what my readers would most likely be using since my instructions, in many cases, depend upon that information.
I just read a review of processors which recommends the Cuisinart DFP-14BCNY 14-Cup Food Processor, Brushed Stainless Steel. They agree the
Breville BFP800XL Sous Chef Food Processor is the best but also mention the size and weight.I would not suggest some of the really inexpensive ones as I don't feel they have the power to handle heavier tasks without dancing all over the counter.
I just went online and the best price I can find is on Amazon.
Hope this helps.
Molly F.C. says
Thanks! Appreciate your opinions on both butter and food processors. I think I'm going to finally put that kitchen workhorse in my Amazon cart. I avoided buying a waffle maker for years but since I bought one in March, it has been used a lot. A food processor will likely end up getting much love in my kitchen. :)
hfletcher says
You will love it Molly. I promise.
Franklin Orosco says
What I really admire about your blog is your careful planning and execution so your instructions and photos show clearly the methods, textures and outcome. Sometimes, my friends say I should do the same, but since I can`t do it better than what you show here, I think it`s best to just include your link and suggest they subscribe. It`s super to bake professionally, but it`s even better when you can share that skill and knowledge with others. My hat`s off to you.
hfletcher says
Dear Franklin - What a wonderfully kind comment to wake up to. You have encapsulated everything I have tried to do. Of it all, sharing is the most important. Even when I had the bakery, I would help my competition, especially the new ones who reached out looking for assistance.
I very much appreciate your support and sharing my blog. Thank you so much.