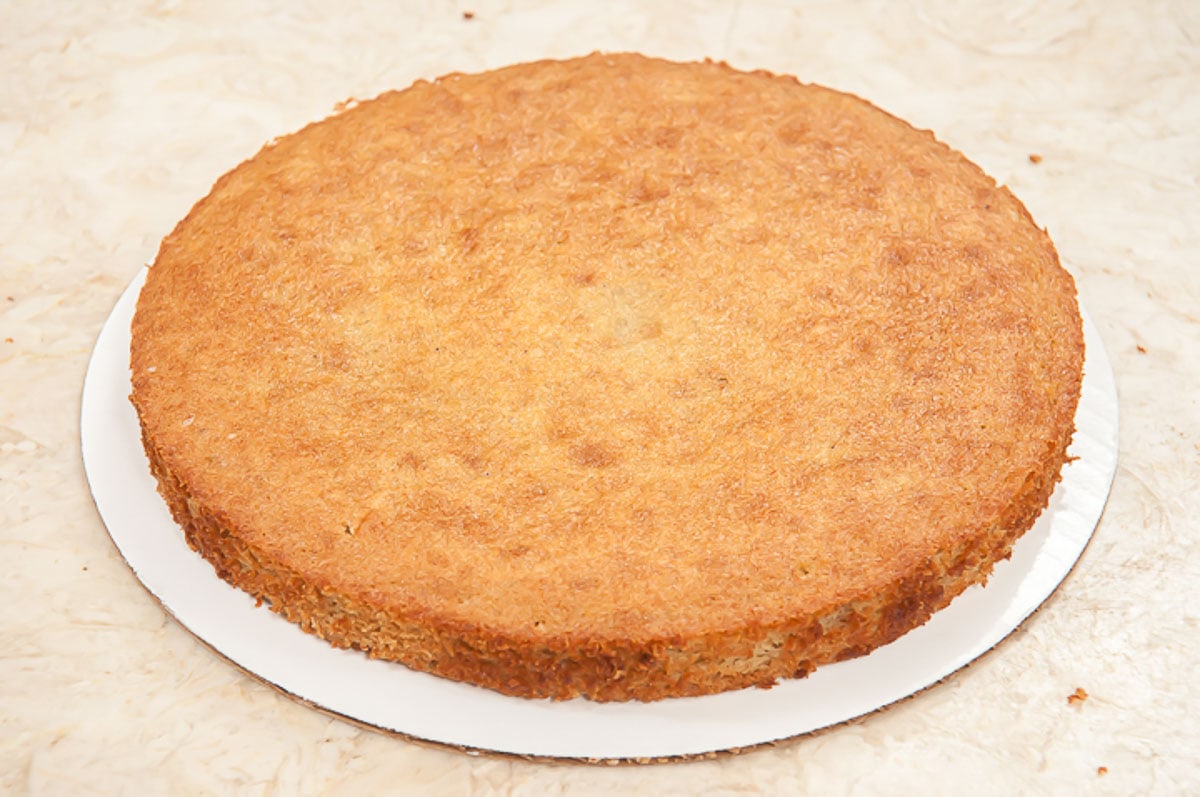
How to Bake a Flat Cake Layer is totally dependent on how the cake pans are prepped. Years ago when I had my bakery we made a lot of wedding cakes. It became imperative to find a way to bake flat layers so they didn't have to be trimmed. This is the method we used for all of our cakes and it worked very well.
This method does not depend up baking strips or other methods often suggested. It is simplicity itself.
Why This Method Works
- The reason cakes dome or get humpy in the middle is when baking the heat travels from the outside to the middle of the pan.
- Traditionally, cake pans have been greased and floured or sprayed with a releasing agent. When the cake pans are prepared in this manner, the edges rise, and because the rest of the cake isn't baked yet it can't support the edges, so they slide back down the greased pan resulting in a humpy or domed cake. This assumes the recipe or formula being used is balanced.
- By preparing the pans without greasing them, the cake edge will rise and then stick to the pan because they can't slide down. They wait there while the center catches up, resulting in a flat cake layer.
- This method works with all different types of cakes.
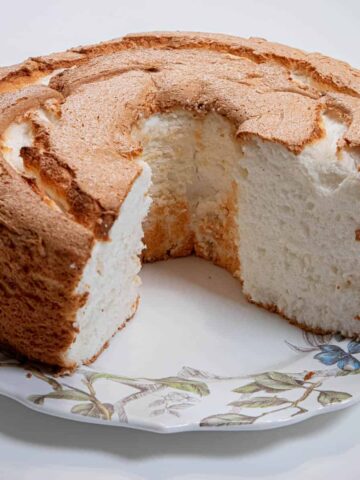
- When I discovered this, we prepared all of the layers this way including the largest layers of a wedding cake. It saved us an enormous amount of time and we didn't waste cake that had to be removed. Think Angel Food Cakes.
Instructions
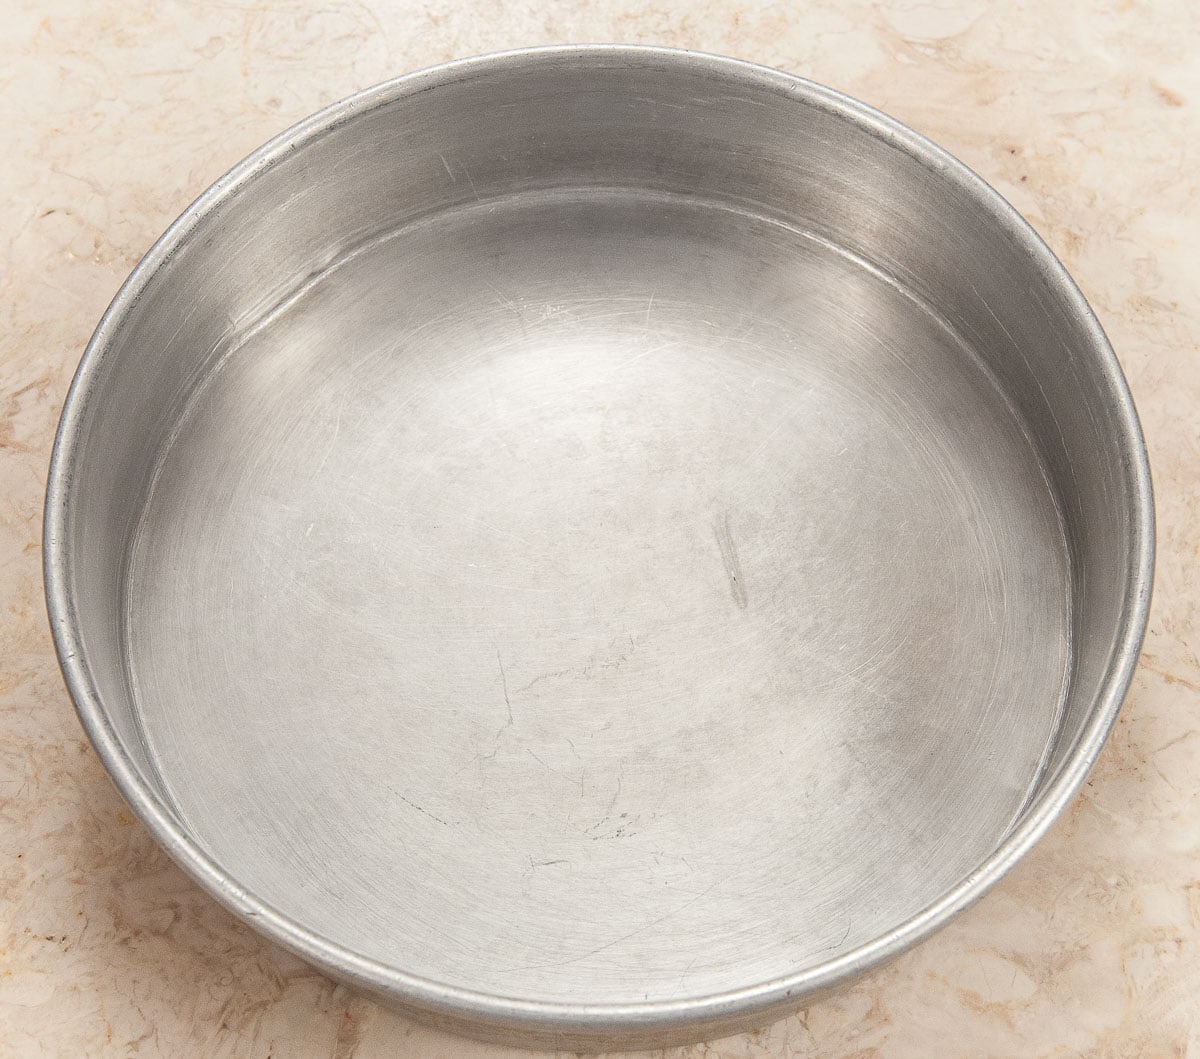
Step 1. Make sure your pan is unprepared in any way.
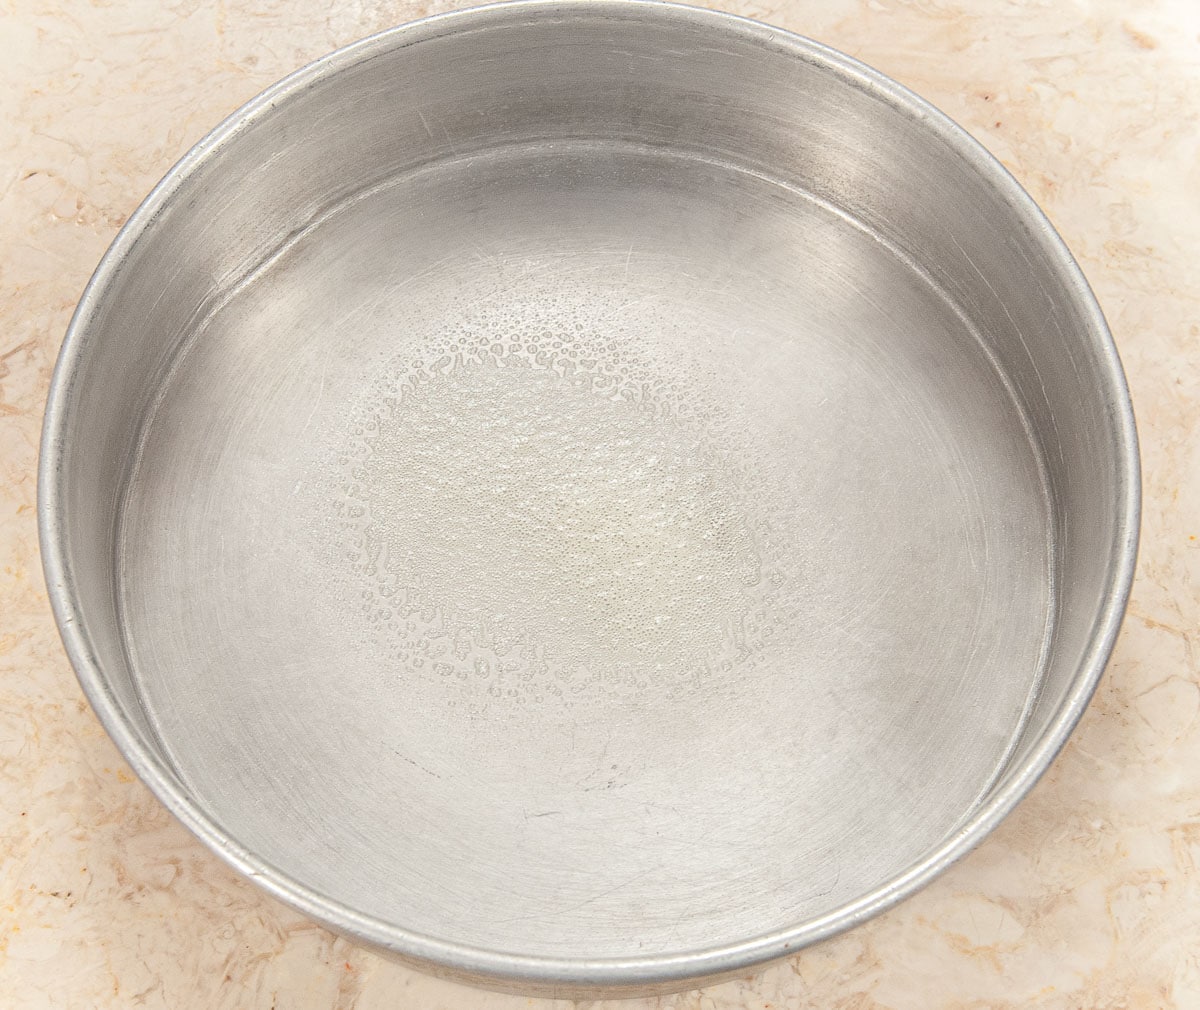
Step 2. Spray the center only of the pan with a non-stick baking spray. This helps keep the parchment from wrinkling when the cake batter is added.
Baking gets better when you subscribe to receive this PDF on getting the most out of baking including information on equipment, ingredients and baking equipment.
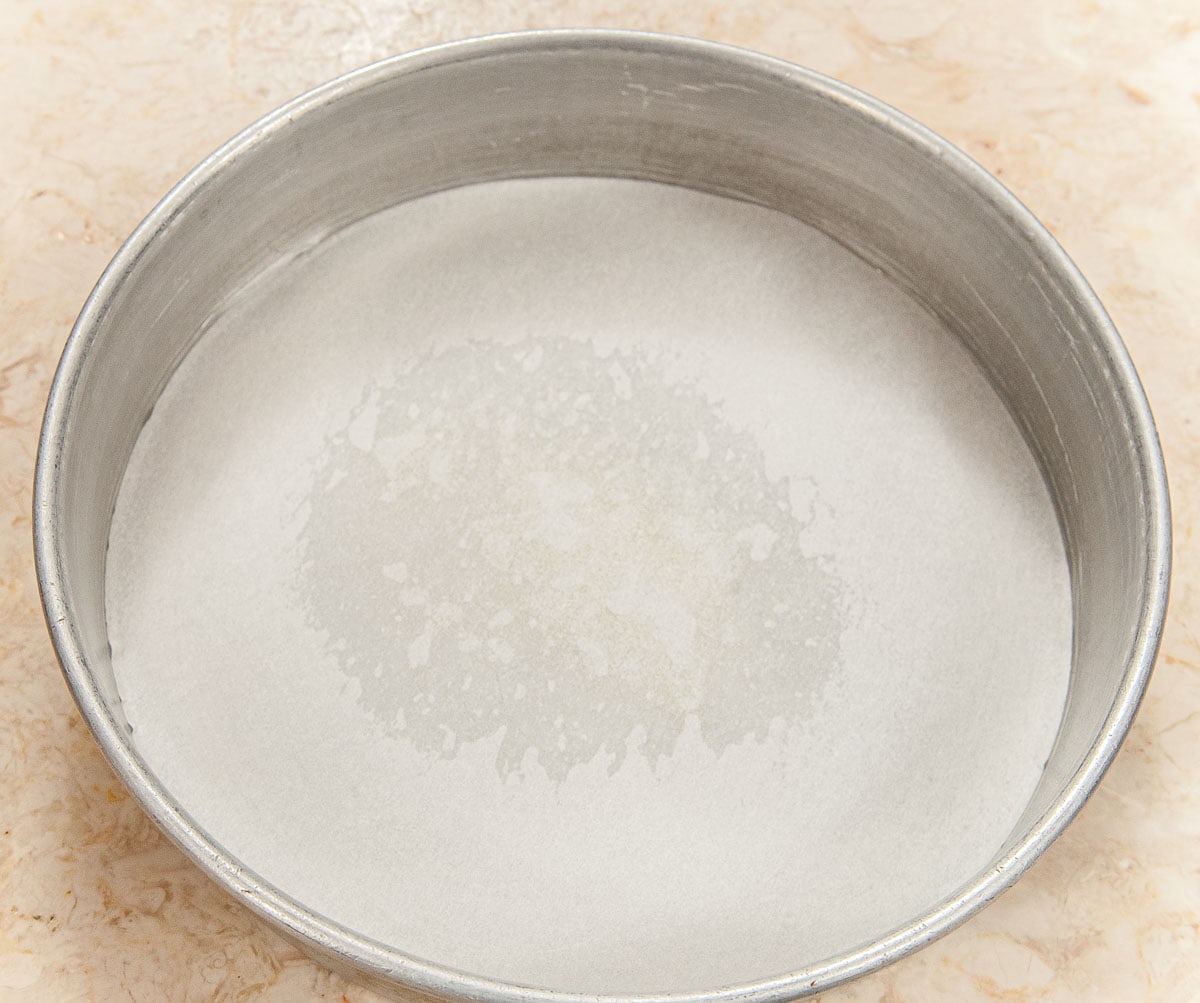
Step 3. Line the pan with parchment paper.
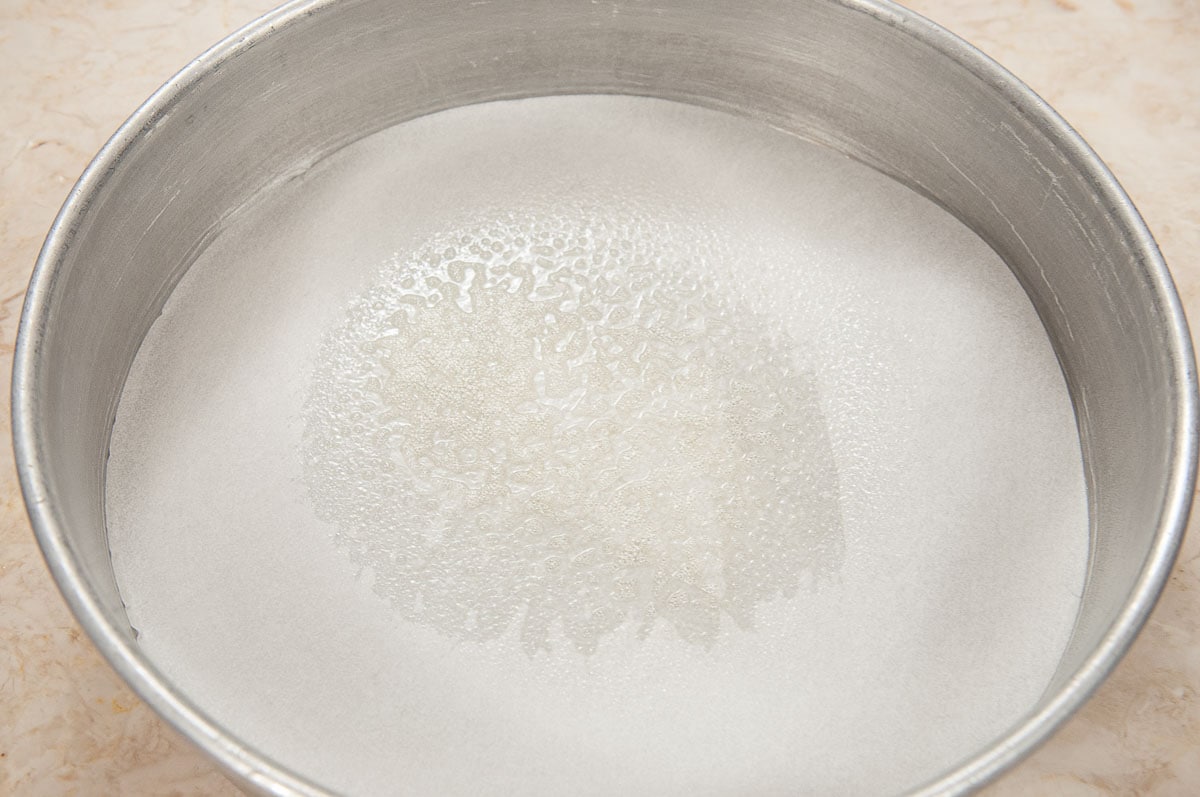
Step 4. Spray the center only of the parchment paper. This ensures the center will release will no problem.
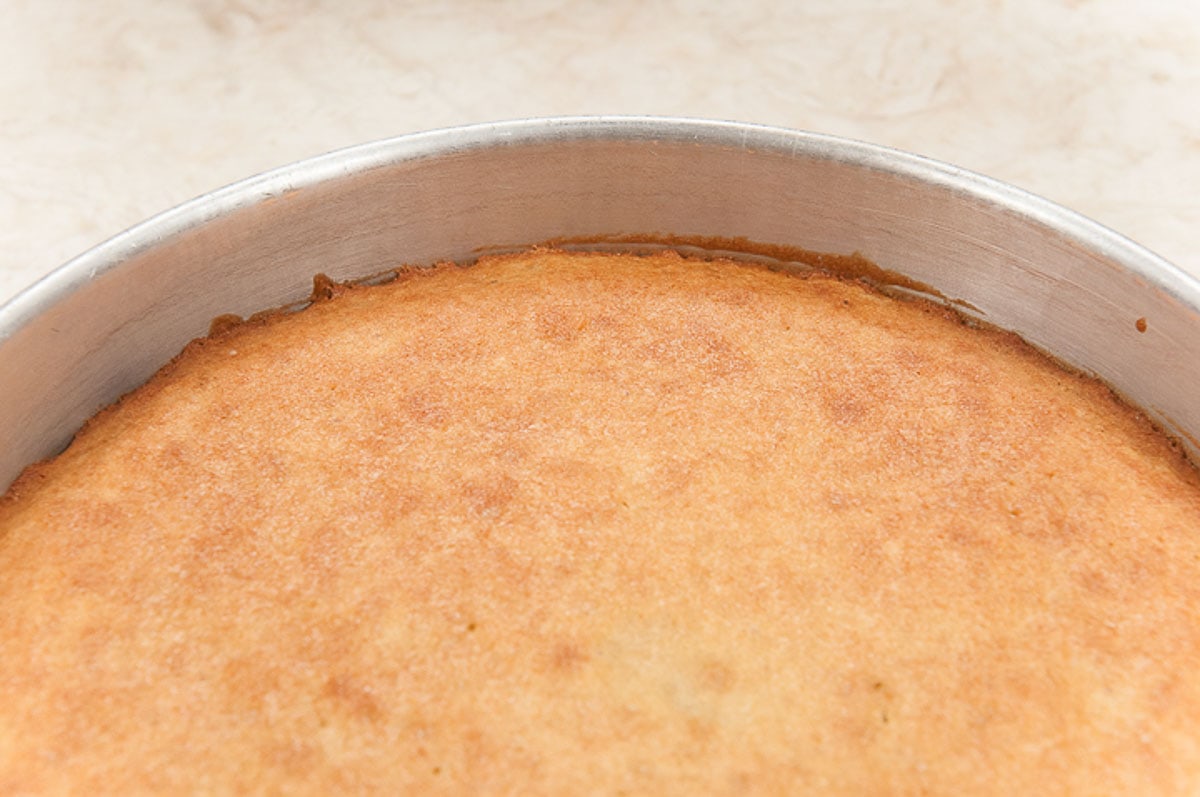
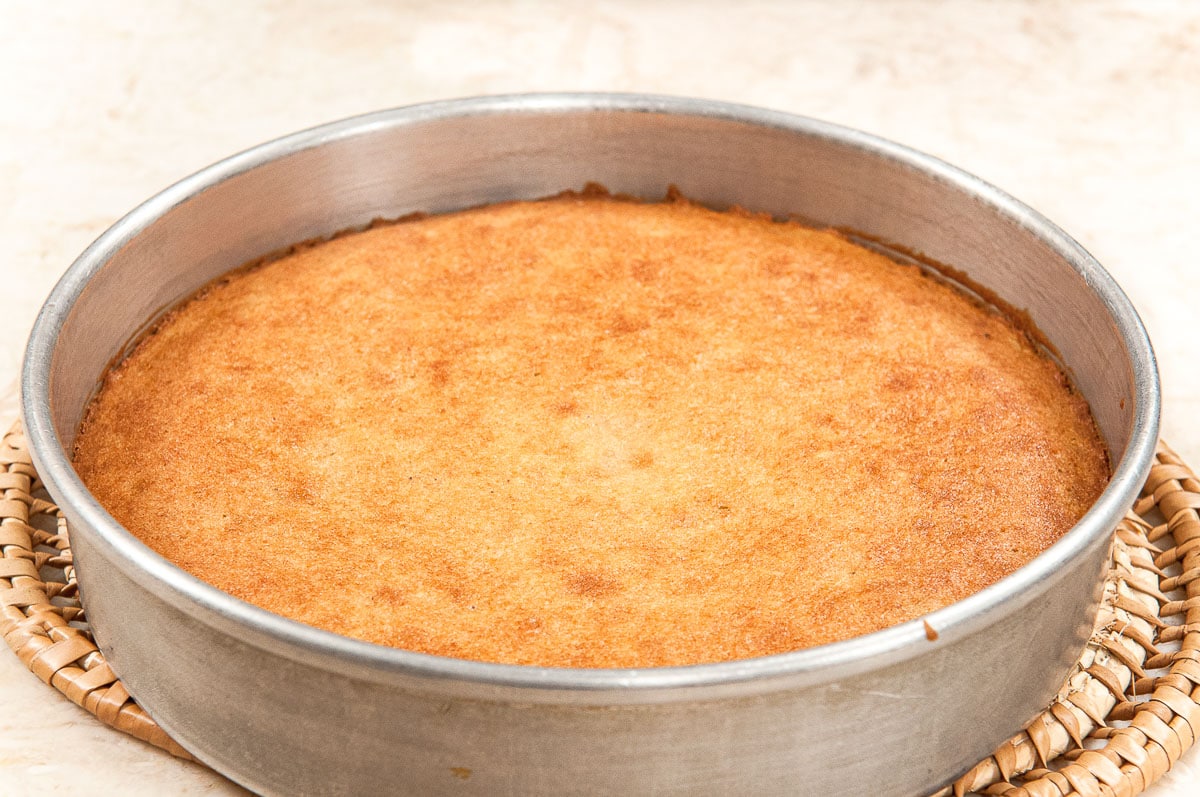
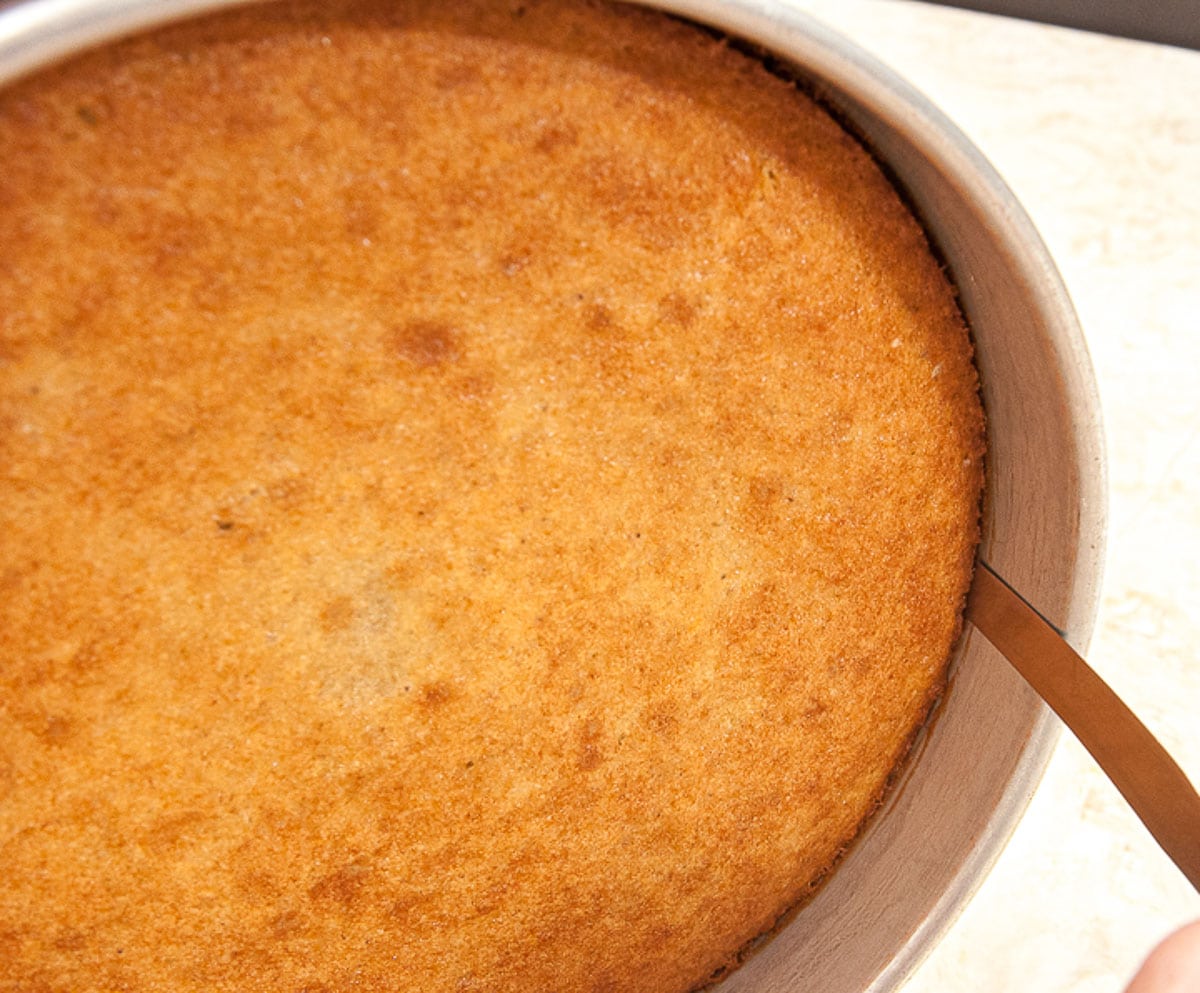
Step 5. The baked layer is stuck to the side of the pan. This is exactly how it should be.
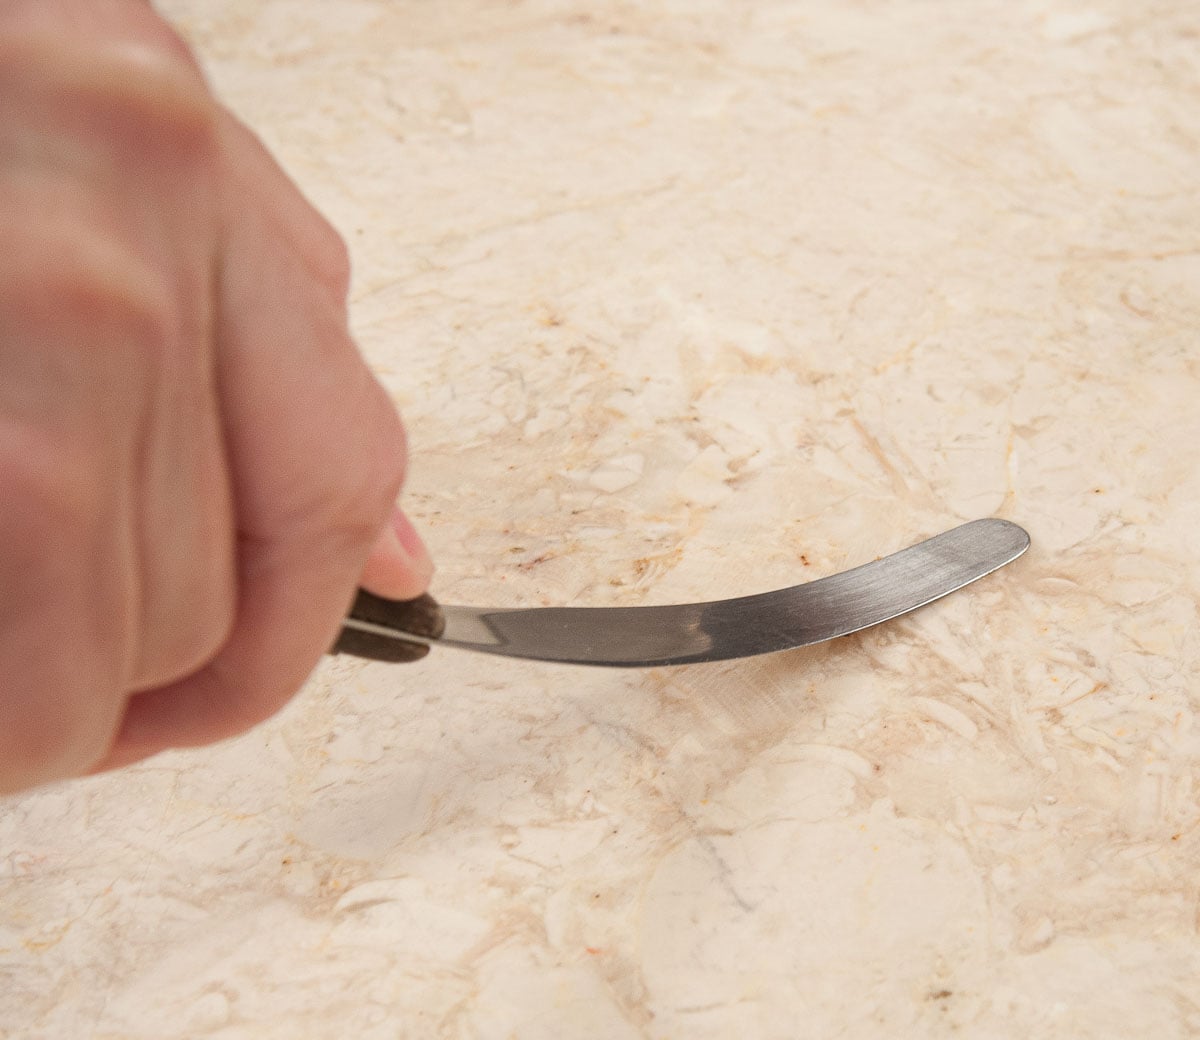
Step 6. It is best to use a small, metal, flexible spatula to release the cake.
Step 7. After the layer has cooled, place the spatula between the edge of the pan and the edge of the cake. Carefully go around the pan, keeping the spatula to the edge of the pan.
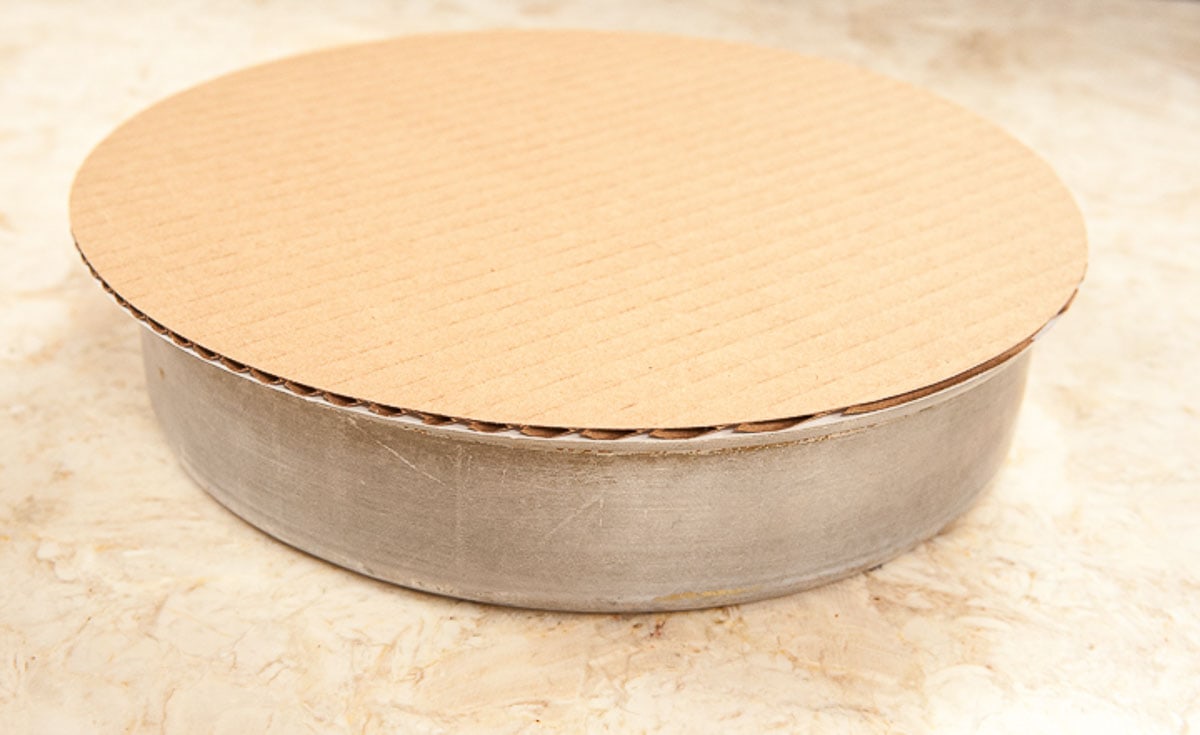
Step 8. Place a cake board or flat dish on top of the cake pan.
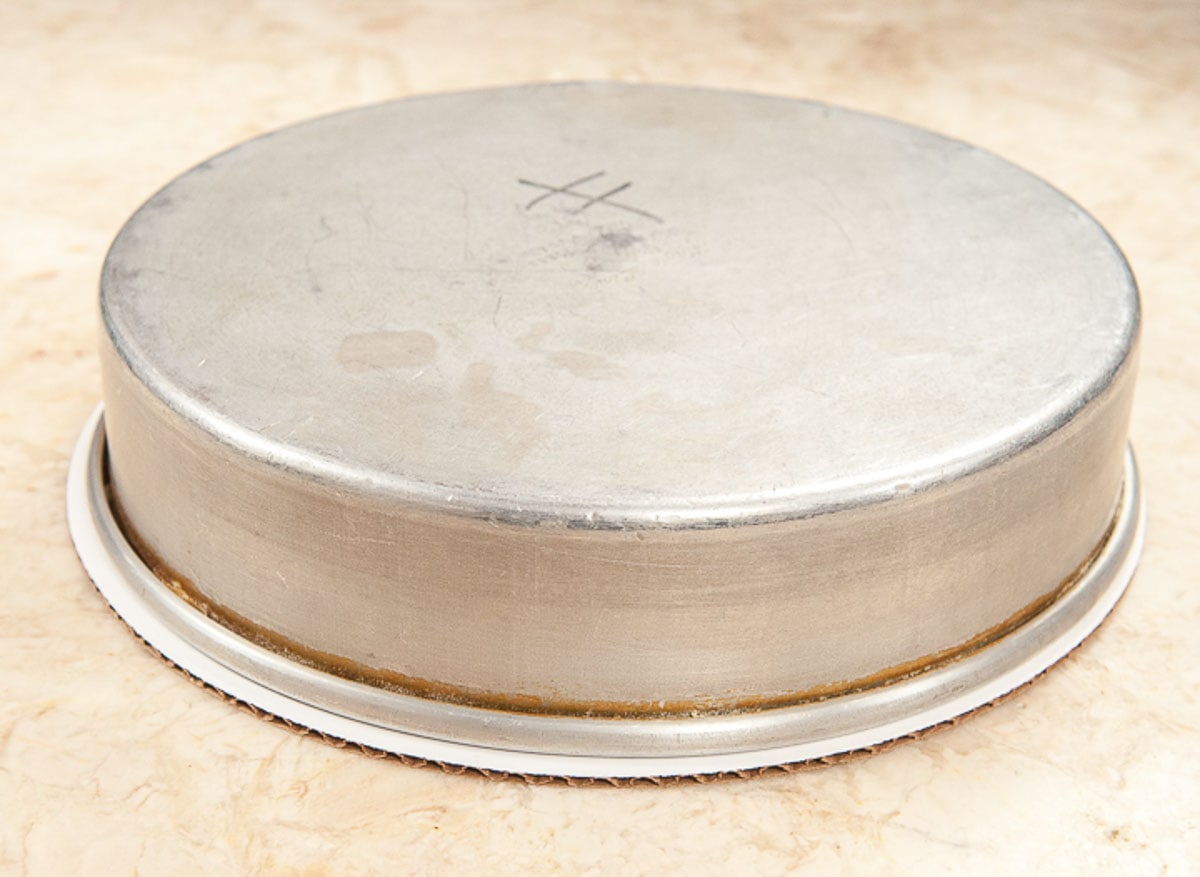
Step 9. Turn the pan upside down onto the cake board.
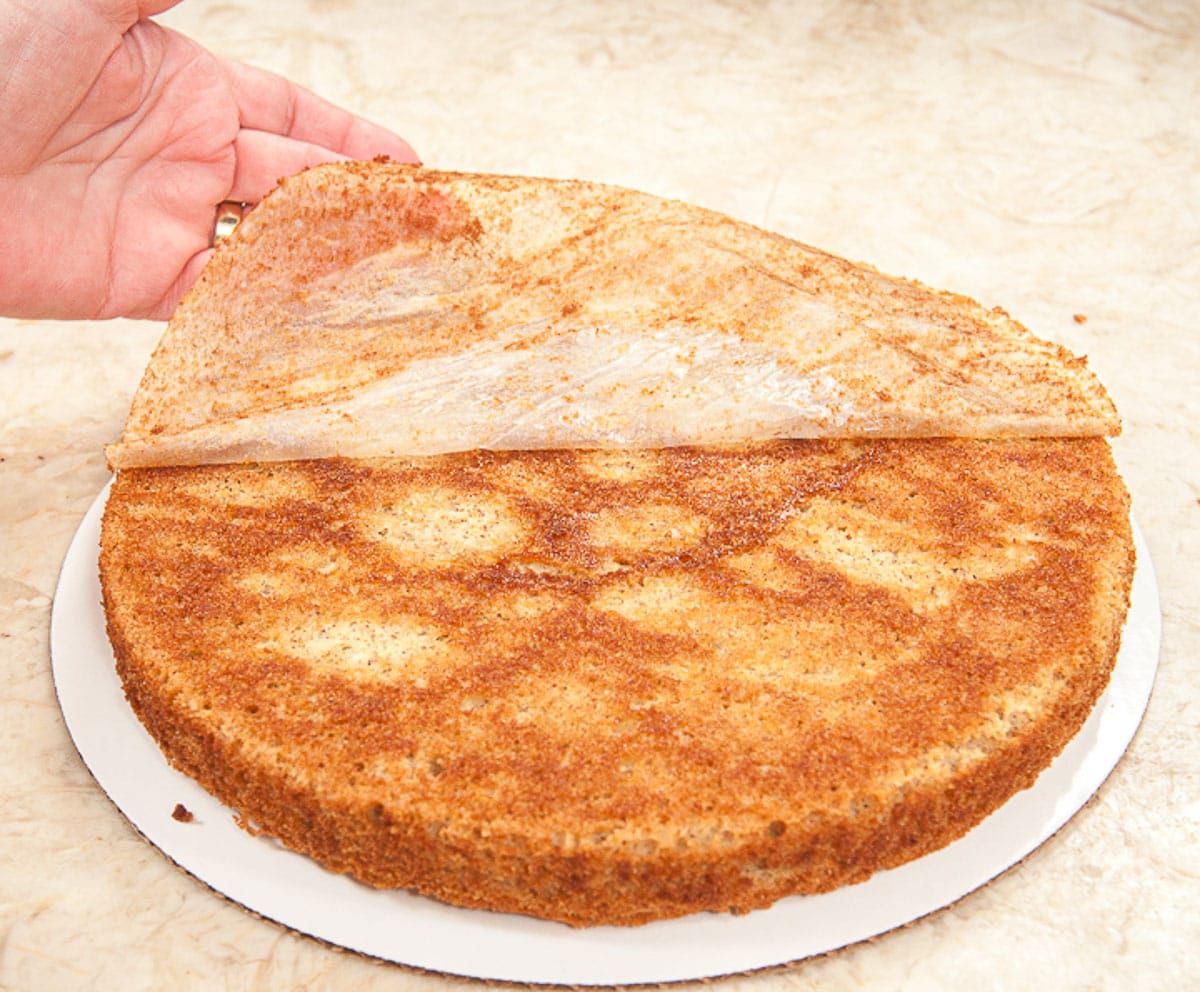
Step 10. Remove the parchment paper from the cake.

Love this recipe or any other on my site? Please leave a 5-star 🌟🌟🌟🌟🌟rating in the recipe card & consider leaving a review in the comments further down, thanks! Star ratings help people discover my recipes online. Thank you for reading and being a part of my community.

Kim says
Helen, you are full of information! So thankful you are sharing it with us. I am putting this to the test soon. I do have a question about cakes from scratch. It seems like mine do not have a tender crumb but are too coarse for my liking. Should I be using cake flour or it there something else I'm doing wrong?
hfletcher says
Hi Kim: Gosh, there are so many things that can cause the coarse texture. It would help to see the recipe. How are you measuring the flour. Does the recipe specify a weight to the flour? Also, over beating could cause the problem. Is the cake made by the creaming method, dump (basically you just keep adding ingredients like the quick bread)or is it a foam cake (egg whites beaten and folded in (sponge, chiffon and some butter cakes). It could be the recipe - it might be out of balance. Does this happen with all your cakes? Are you using more modern recipes or older ones?
I will be including cake recipes as we go along. Tomorrow is an Angel Food Cake that is ultra easy.
Get back to me with some answers and we can try to narrow it down.
Kim says
Helen,
Thanks for responding. here is the recipe i used and yes, I do measure flour by spooning flour into the cup and leveling off with a knife (my high school teacher taught me that 25 years ago!) This cake calls for sprinkles in the batter but I didn't use them.
Homemade Funfetti Cake
1 and 2/3 cup all-purpose flour
1/2 teaspoon baking powder
1/4 teaspoon baking soda
1/2 teaspoon salt
3/4 cup sugar
1/4 light brown sugar
1/2 cup (1 stick) unsalted butter, melted
1 large egg
1/4 cup yogurt (plain greek yogurt)
3/4 cup milk
1 Tablespoon vanilla extract
SOME OF THE DIRECTIONS.....THE IMPORTANT ONES!
.....mix together flour, baking powder, baking soda, and salt. Set aside. In a large microwave-safe bowl, melt butter in the microwave. Whisk in the sugars vigorously getting out any brown sugar lumps - mixture will be gritty. Whisk in egg, yogurt, milk, and vanilla extract until combined. Slowly mix in dry ingredients until no lumps remain......
Read more from the source: http://sallysbakingaddiction.com/2013/03/19/easy-homemade-funfetti-cake/#ixzz2YkE02Oit
MAYBE I OVERMIXED AS YOU SUGGESTED. I DID USE MY KITCHENAID AND NOT A WHISK.
hfletcher says
Hi Kim:
Looking at this quickly, it seems to lack enough leavening. The usual amount is 1 teaspoon baking powder per cup of flour. This has 3/4 teaspoon total between the baking powder and baking soda. Also, anytime you use oil or butter melted, the cake is going to have a heavier texture than if it is creamed. Whisking by hand may help.
I just went on and looked a the photos of the cake. I am assuming, by her comments that this is how she likes her cake. Did yours come out differently than hers? It looked fine to me as it was a single layer cake.
My suggestion for a lighter cake is to find a different cake as this cake is not intended to be a really light, fluffy cake.
Whatever you decide to do, do not change from all purpose to cake flour. If you do, you have to increase the cake flour to get th same volume which is easier to do if you weigh the ingredients. Also, if you read her "correct way" of measuring, she is a little under the norm. 1 cup of spooned and measure flour weighs 140 grams or 5 ounces. She is about 12 grams under per cup. Try sifting the flour into the measuring cup until it overflows, then sweeping it off. You may be closer to her measurement.
Helen
Kim says
Great tips Helen. I will use your suggestions on my next attempt at making a cake. Thank you for your help.
hfletcher says
Great - and let me know how it comes out.
Debbie Wise says
This is an AMAZING revelation to me. I have been baking for over 40 yrs and had NEVER heard of this. I am going to do this w/ the next layer cake that I make. Thank you so VERY much for sharing this.
hfletcher says
Debbie - thanks so much. I did this for over 20 years and teach it. Please let me know how it went for you. Excited to be able to help. All best - Helen