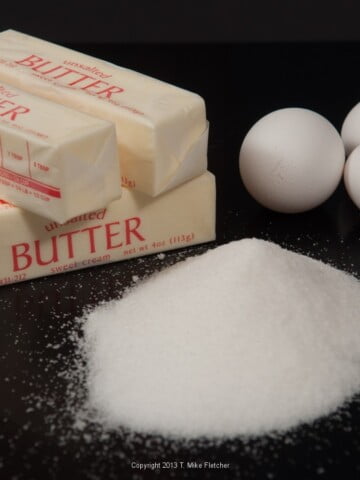
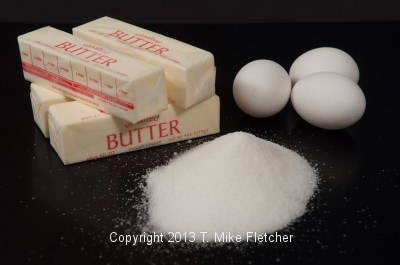
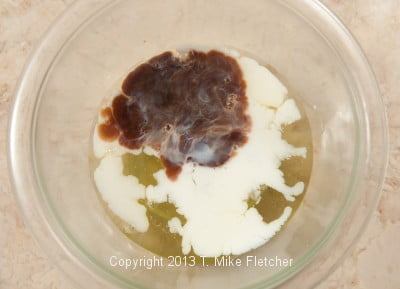
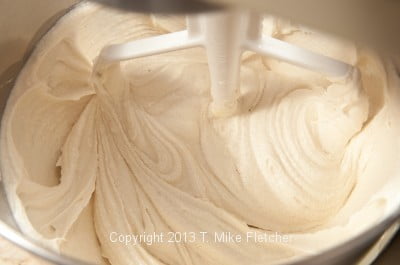
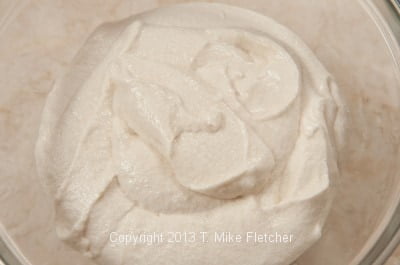
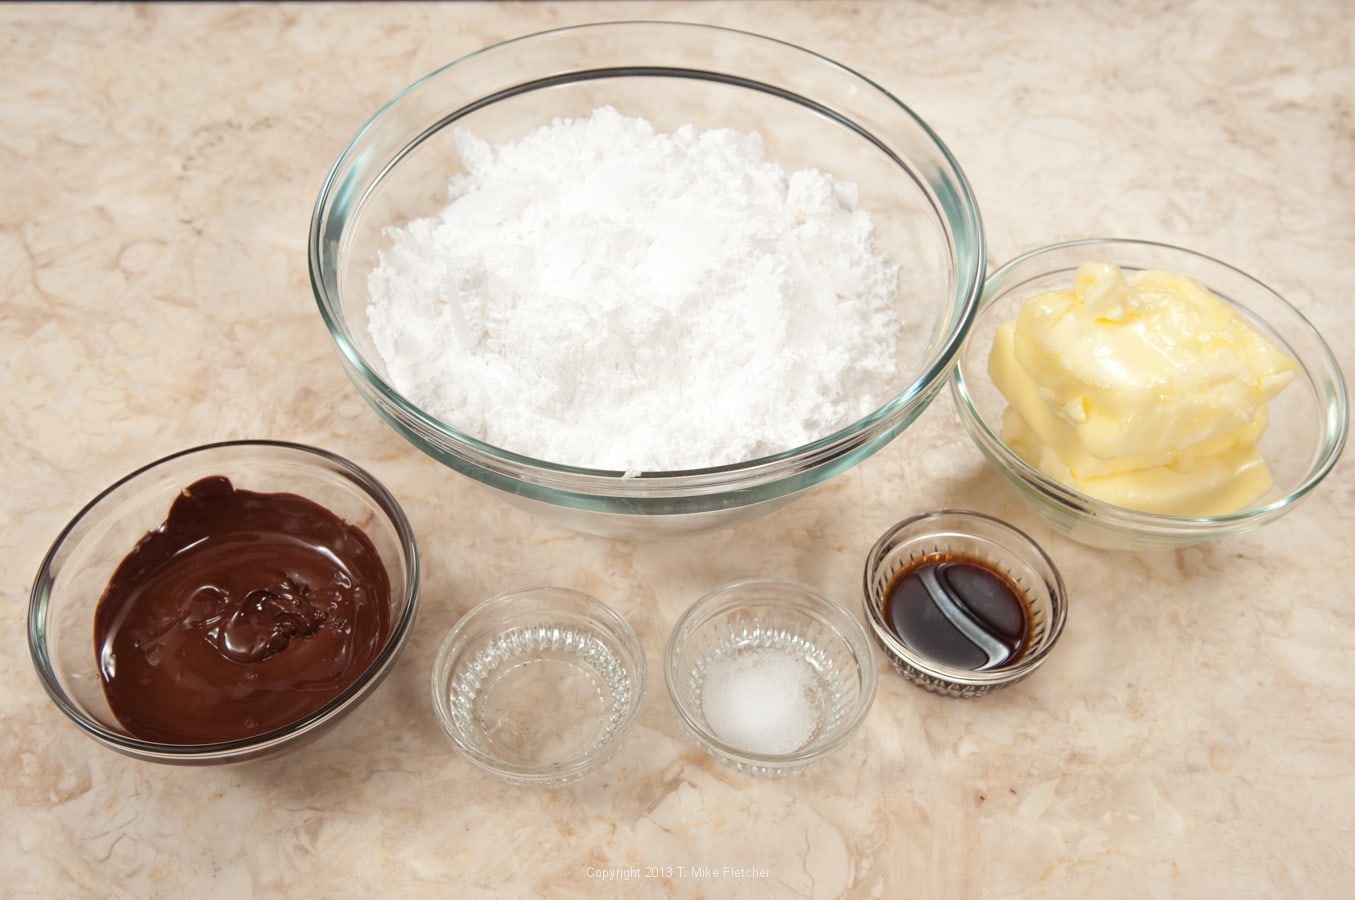
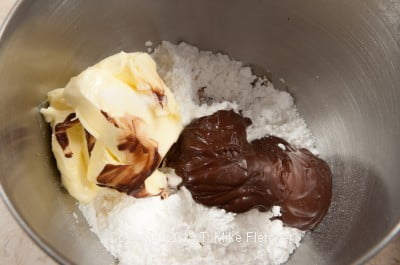
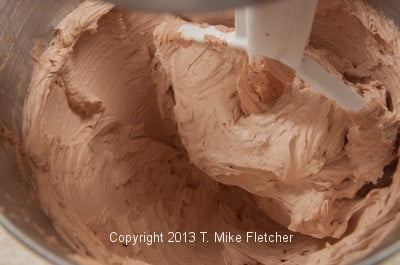
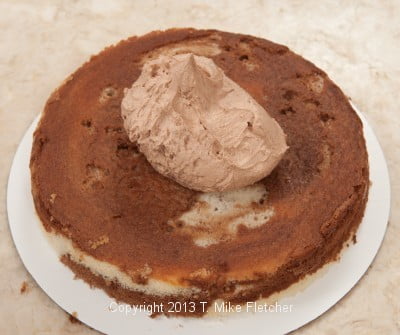
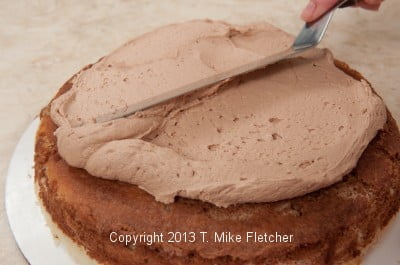
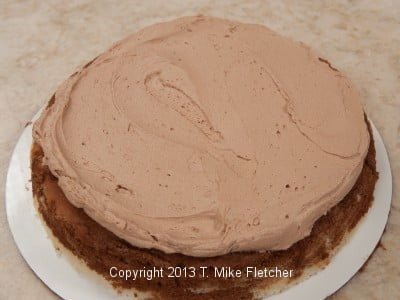
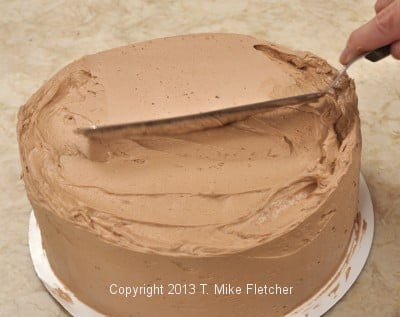
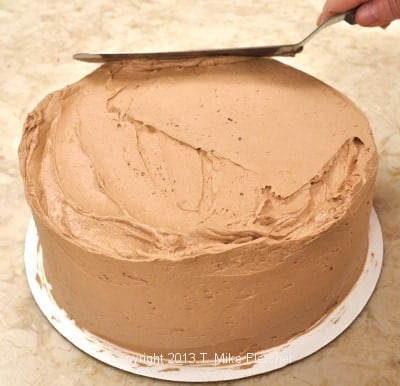
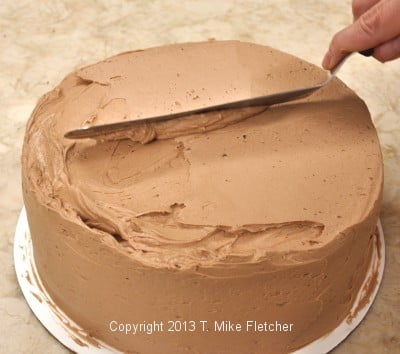
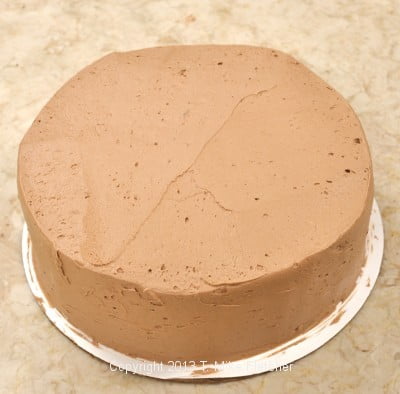
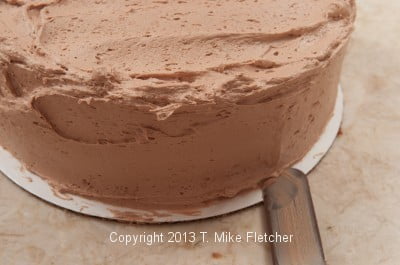
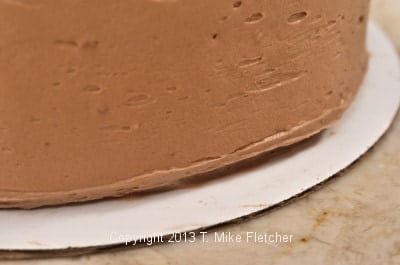
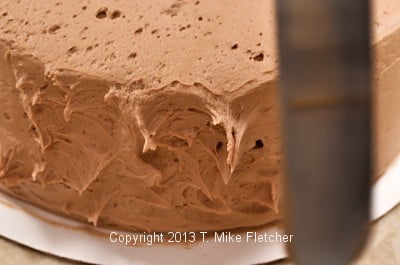
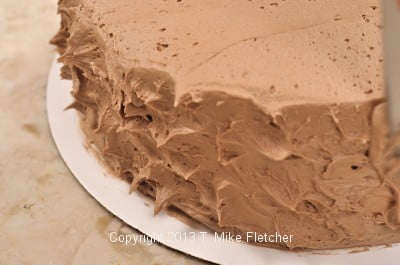
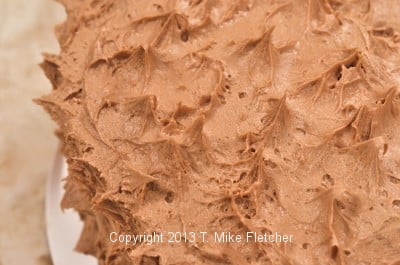
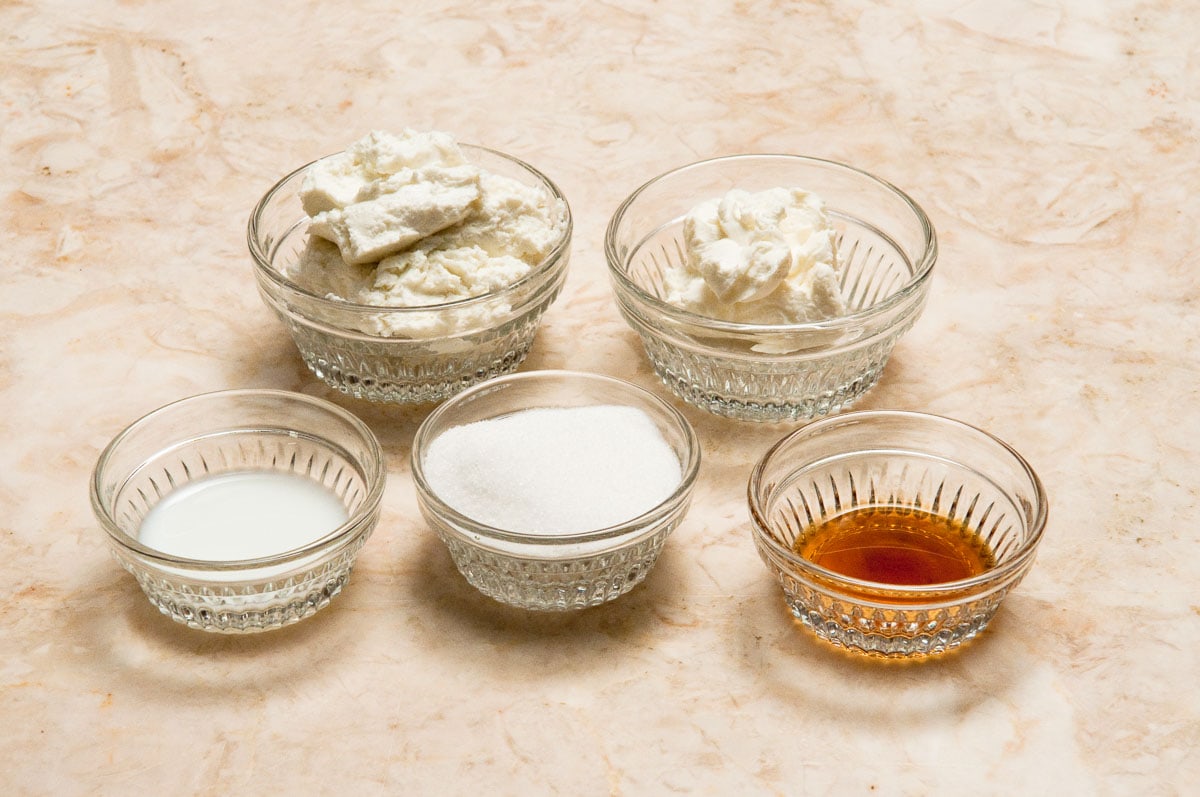
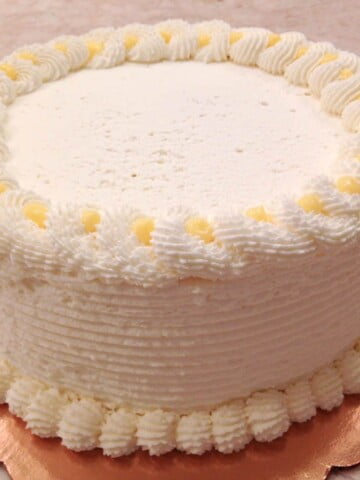
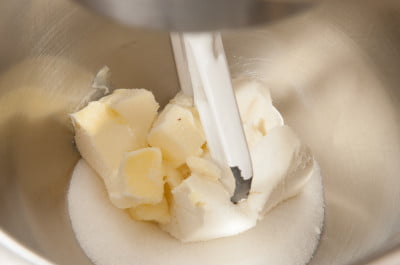
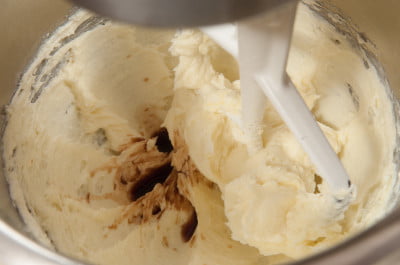
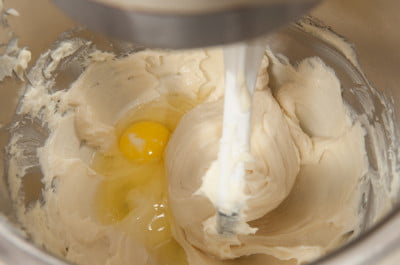
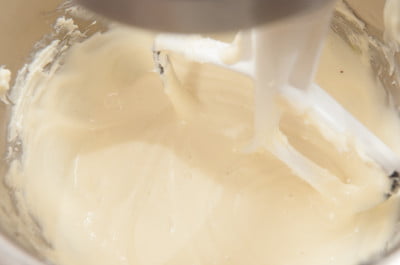
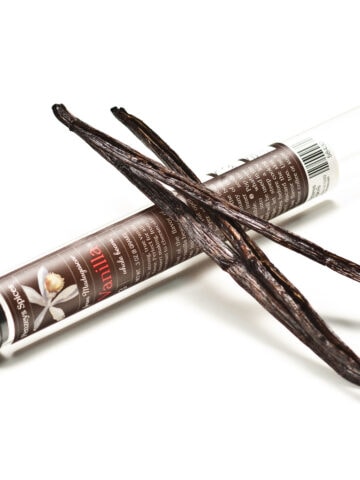
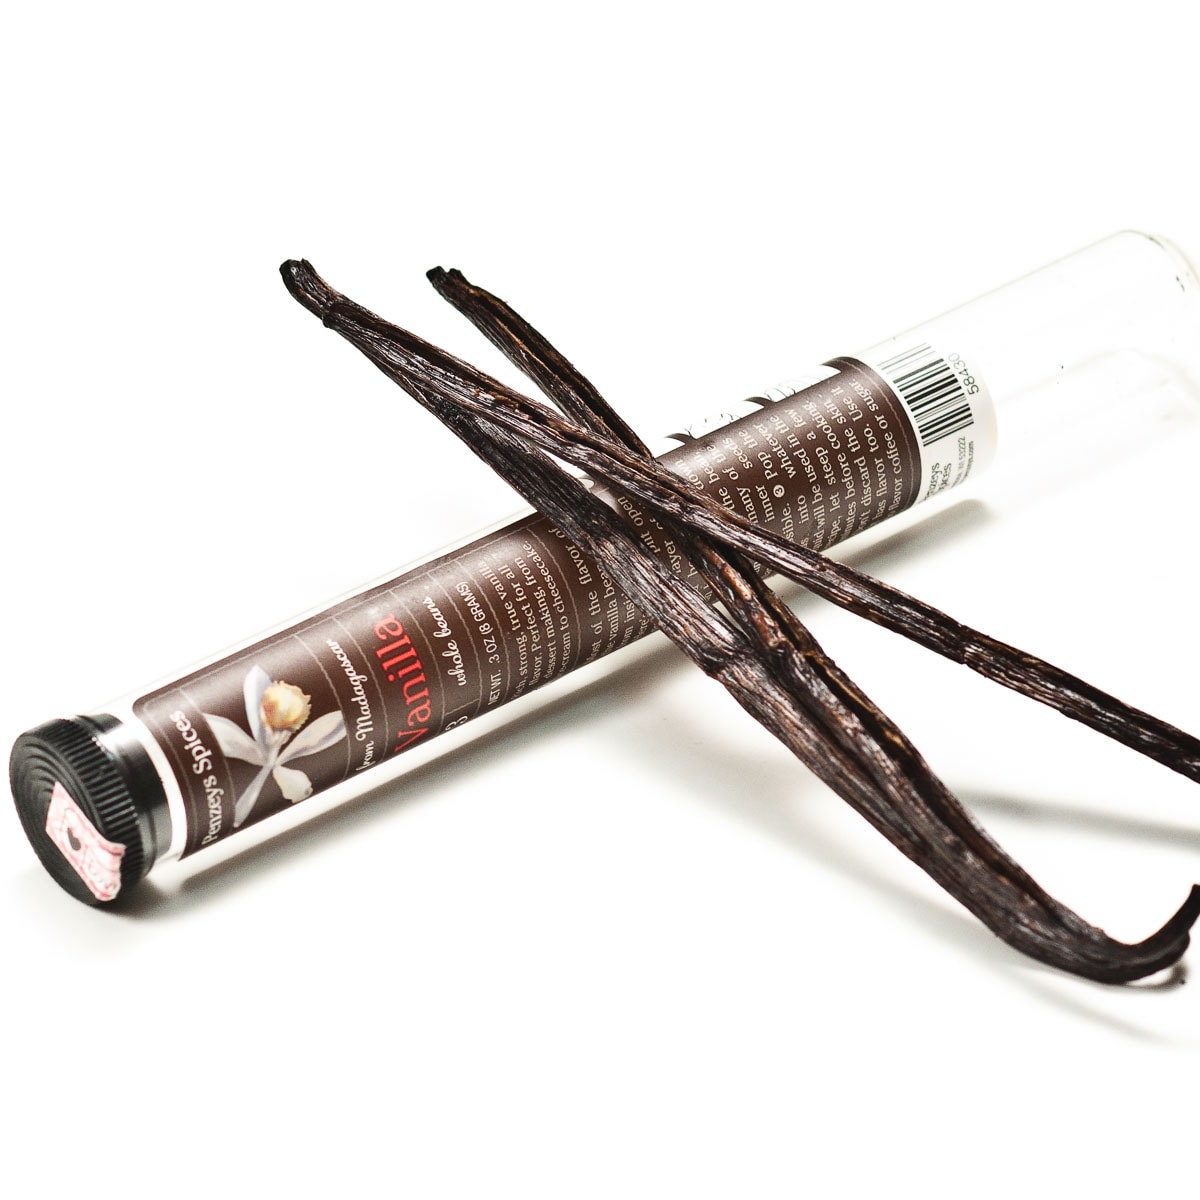
French buttercream is distinguished by the use of egg yolks as well as whites. A sugar syrup is used, and it is flavored with vanilla or other flavors of your choice. The combination of egg yolks and egg whites will whip into a foam that does not need to be stabilized, as do egg whites alone.
This buttercream is the last of the European buttercreams based on an emulsion. This is considered to be the most stable of all of them as it uses whole eggs and yolks, not a meringue, as do the Swiss and Italian. Although this is not as light as the Swiss and Italian, it is by no means heavy. We are talking degrees here. I think this buttercream has a richer, deeper taste due to the added richness of the yolks.
If you research this along with the other two, you will find varying amounts of the eggs, yolks, and whites (for the Swiss and Italian), along with varying amounts of sugar and butter. There doesn't seem to be a definitive recipe as long as the proportions are correct. The French buttercream requires a hot sugar syrup, as does the Italian. However, because whole eggs and yolks are being used, they do not need to be stabilized as do egg whites alone. Just beating them will obtain the desired effect.
[Read more...]
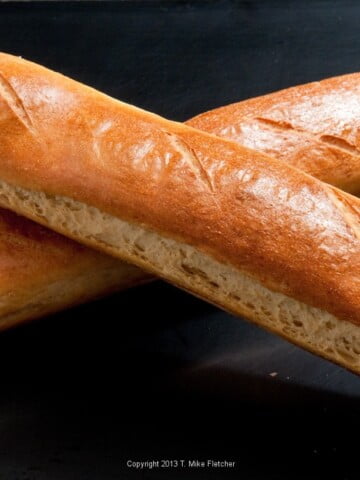
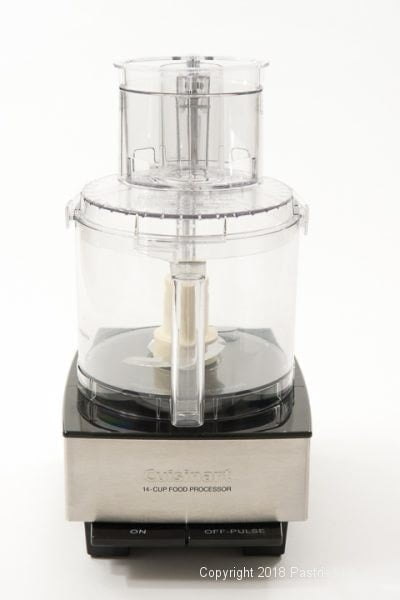
 Wine and Cheese Baguettes are one of my all-time favorite breads. This bread couldn't be easier to make with the help of a food processor. However, alternate instructions are given for the mixer.
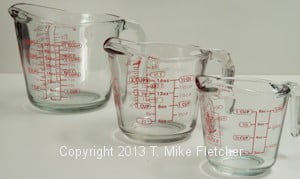
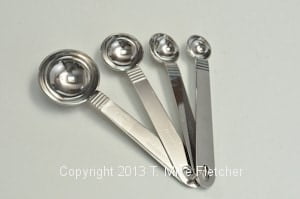 TABLESPOON TO FLUID OUNCE and METRIC CONVERSION

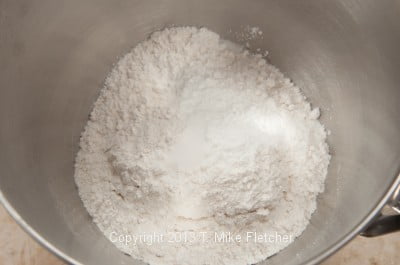
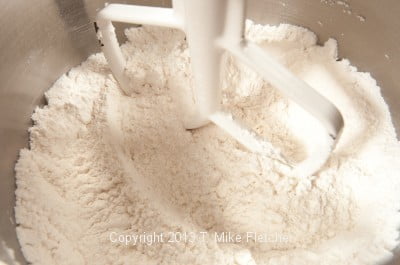


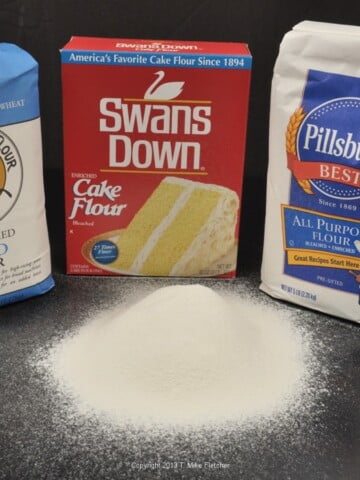
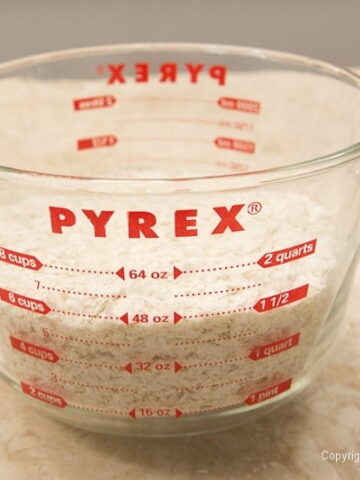
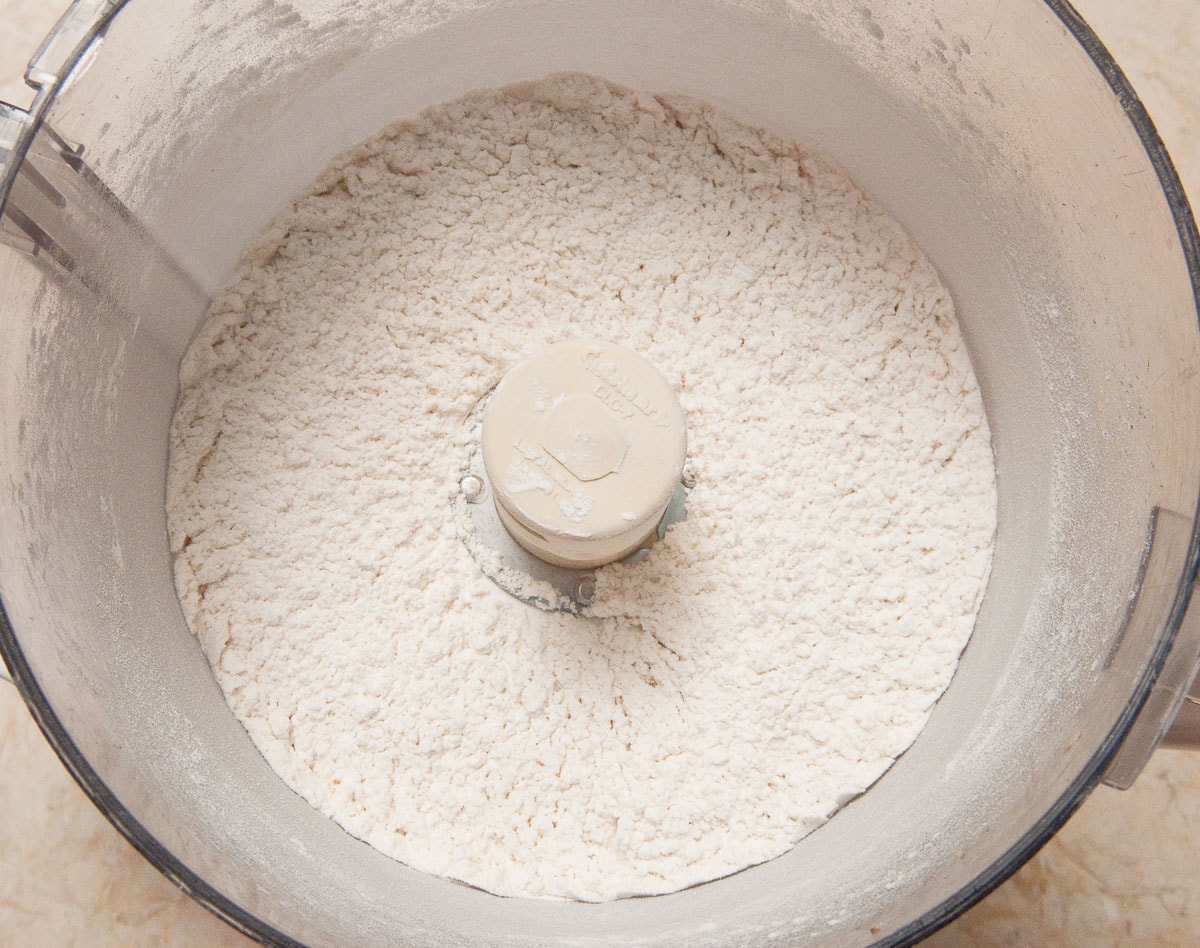
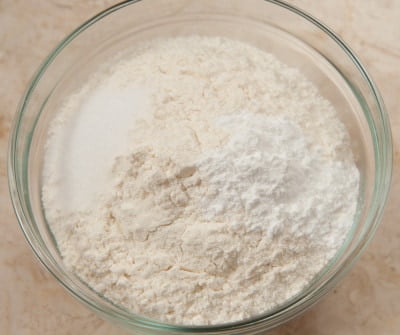
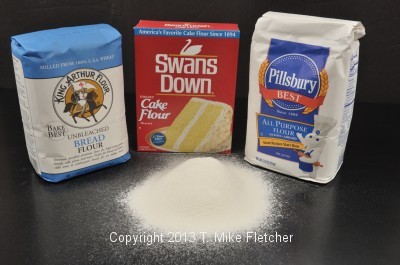 Flour is usually the key ingredient in baking and much of pastry. It is important to use the right flour for the desired outcome. While flour can be made from various edible grains, for the purposes of this discussion I am going to stick with four types of wheat flour; all purpose, cake , bread and pastry flour. While bread baking can employ myriad other flours, these four are the basis of cakes and pastry.
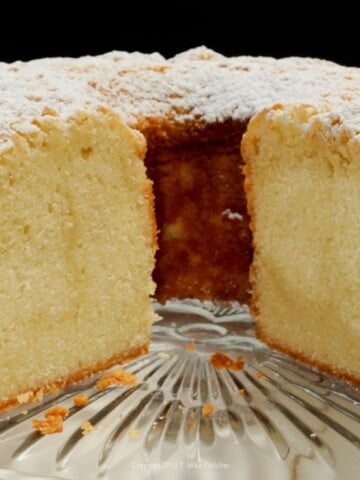
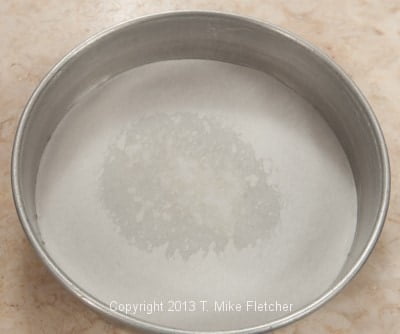
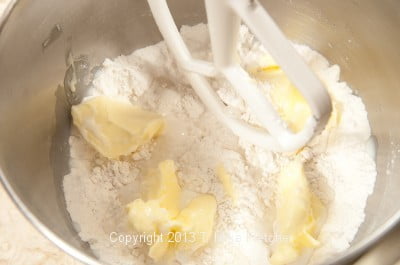
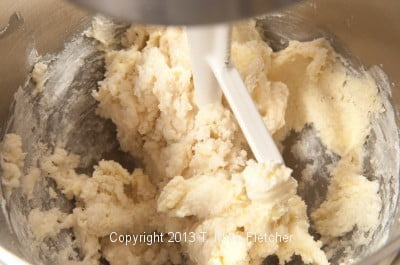
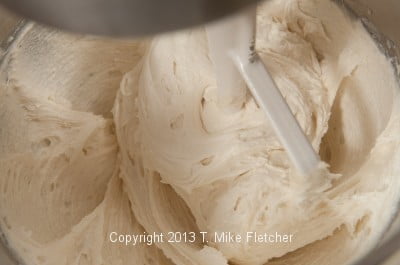
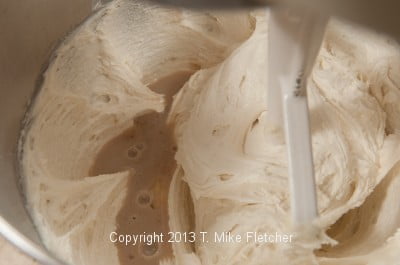
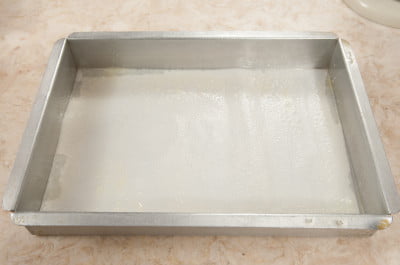
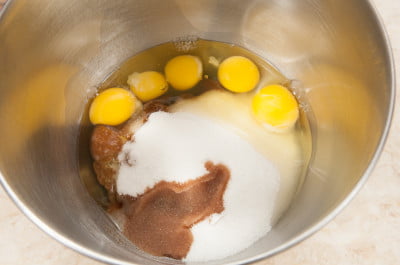
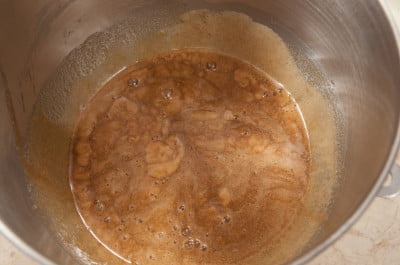
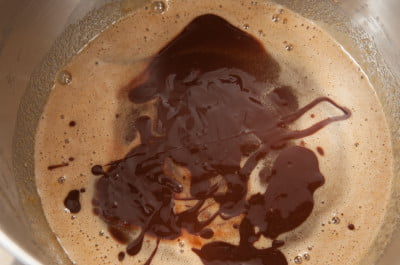
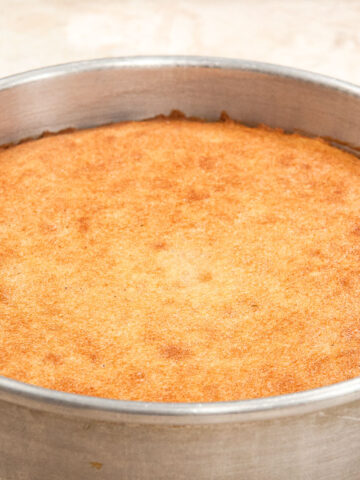
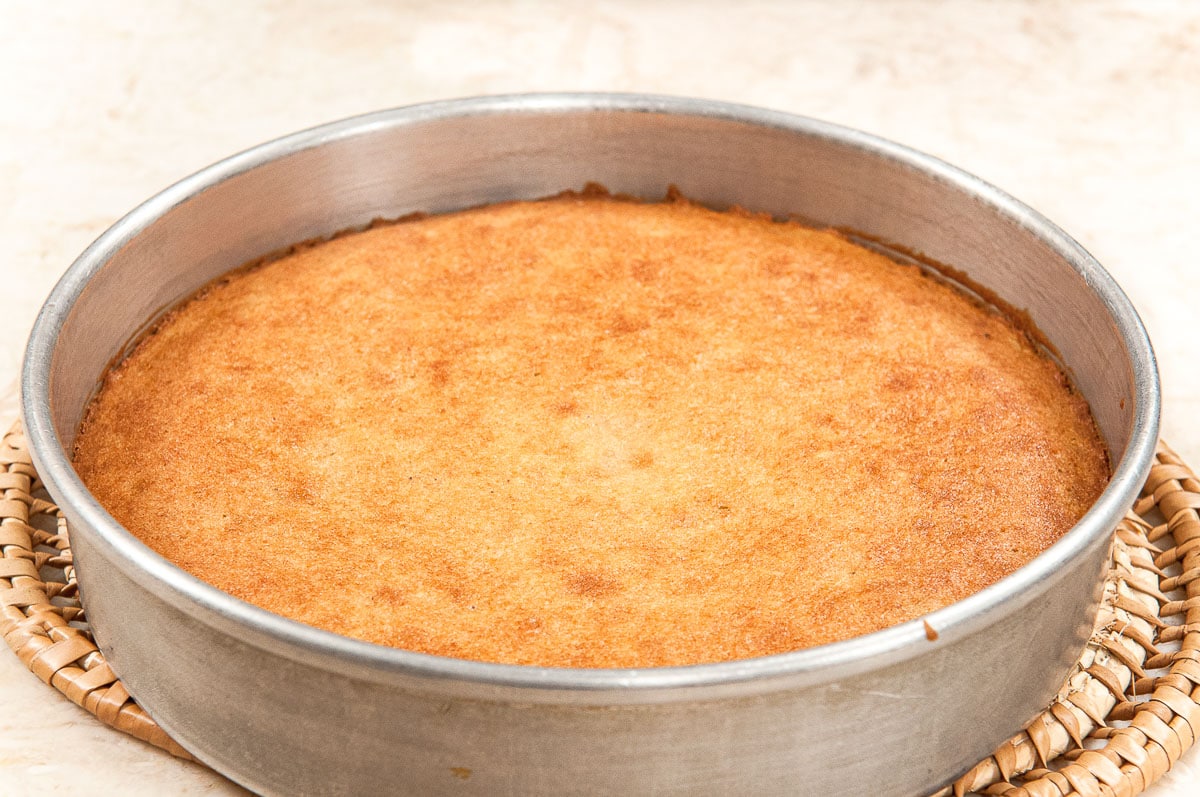
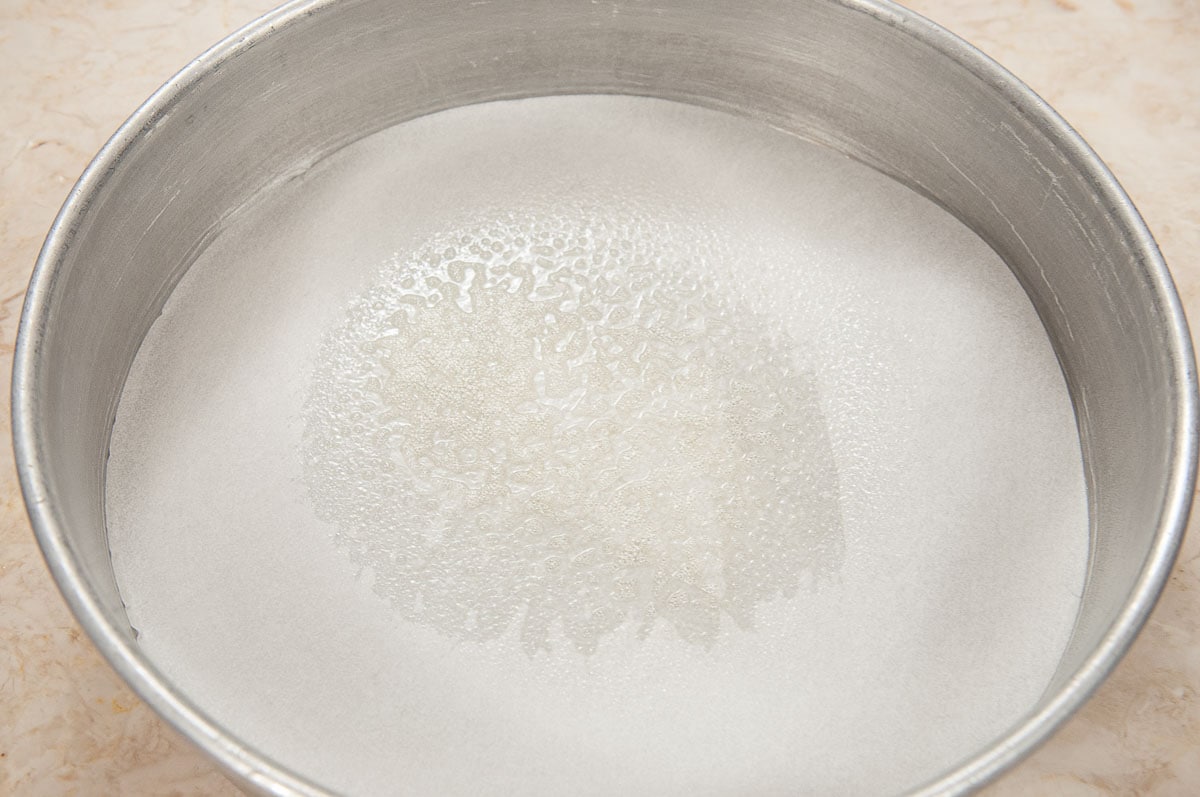
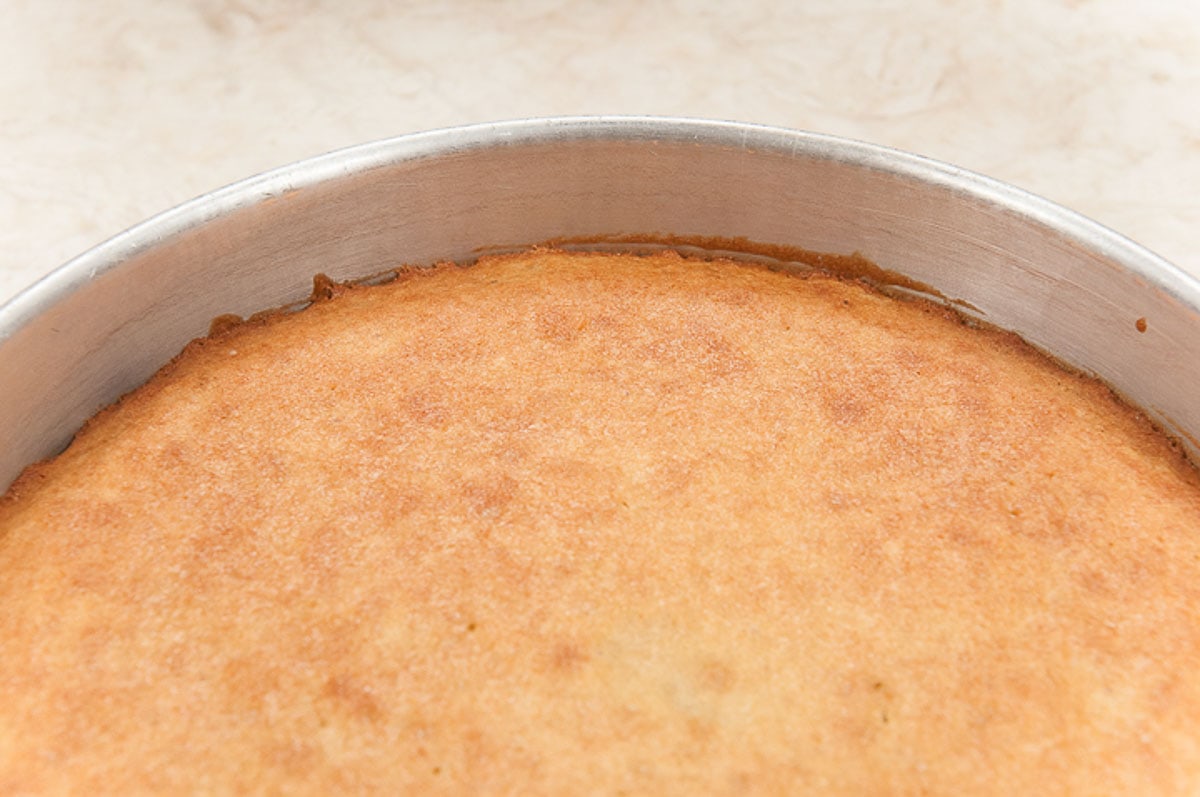
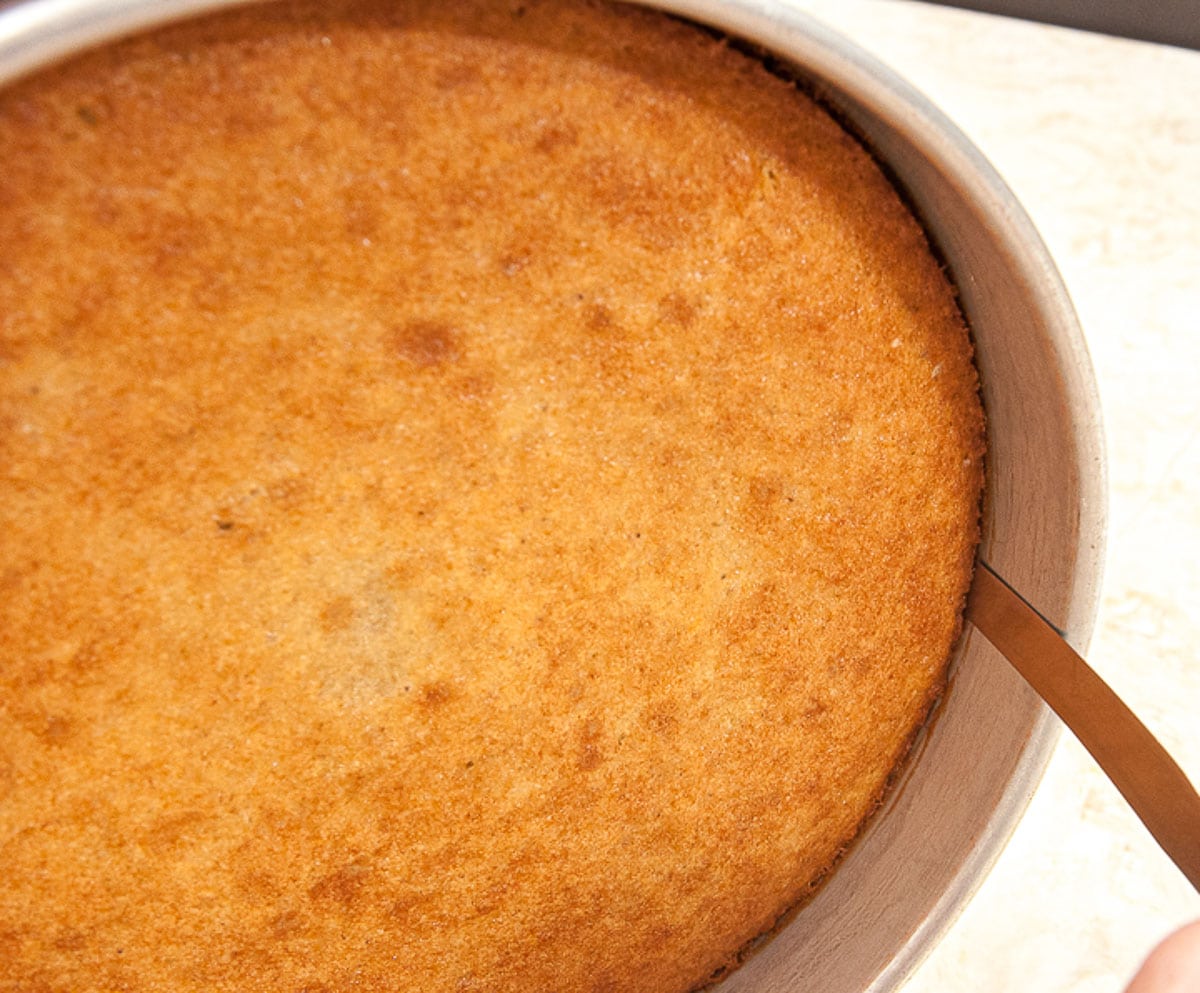
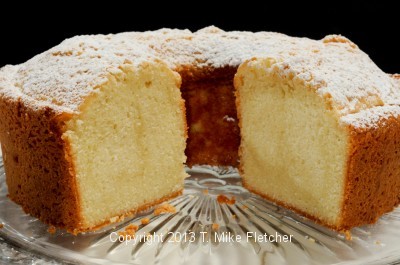 Many years ago a friend of mine gave me the recipe for this Creamy Pound Cake. I remember thinking this couldn't possibly work - as bakers we have been trained to preheat the oven. This started in a cold oven. But because she was such a good cook I decided to give it a try exactly as it was given to me. Wow! was I wrong! This is a fantastic, easy pound cake. The only caveat is to make sure the butter is really soft or it won't blend together with the large amount of sugar. I find it fascinating that is rises as it does without the benefit of any kind of leavening which is why it is important beat a lot of air into the butter/sugar. It is a dense cake, as pound cakes are, but it has a moistness and flavor that is incomparable. It literally lasts for days under a cake cover and freezes well.


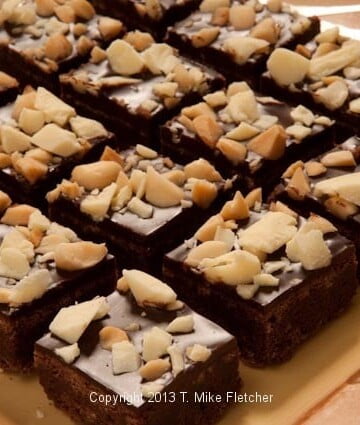
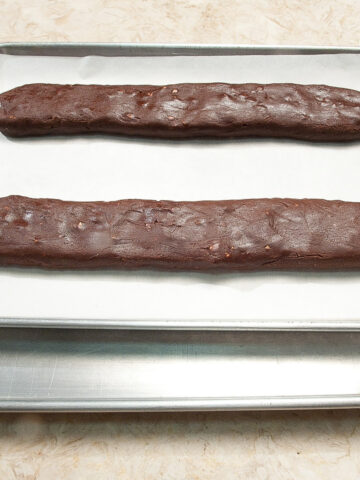
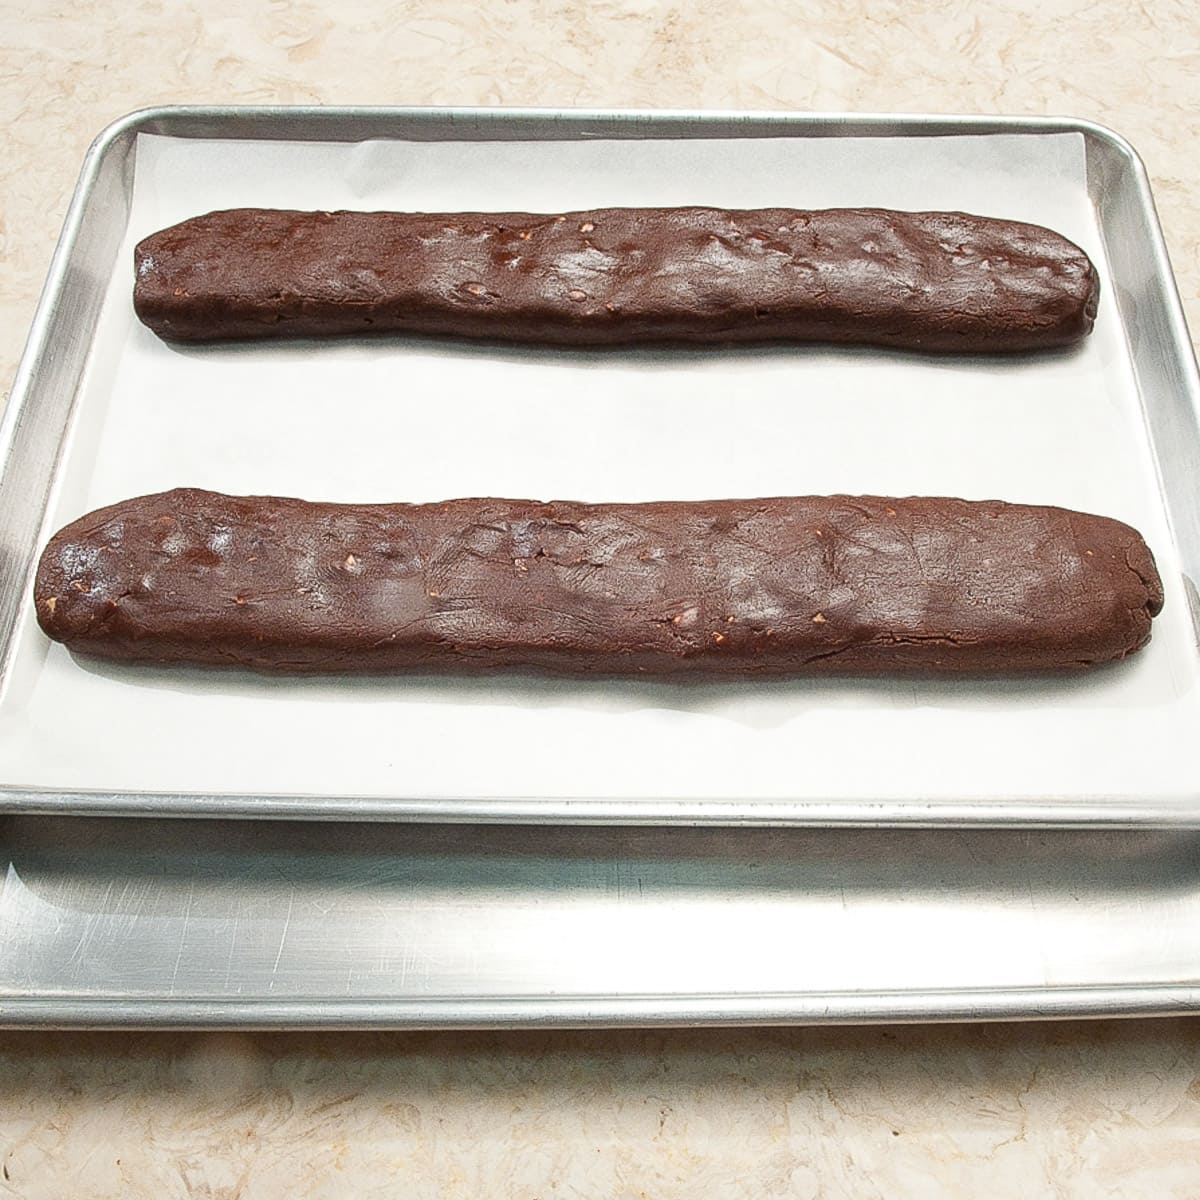
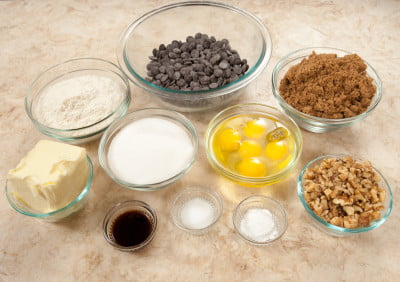
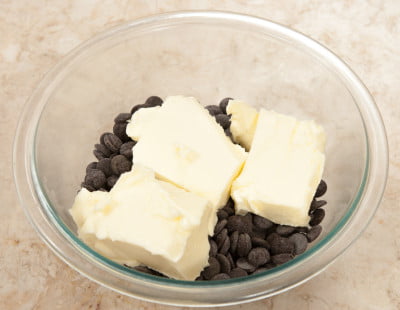
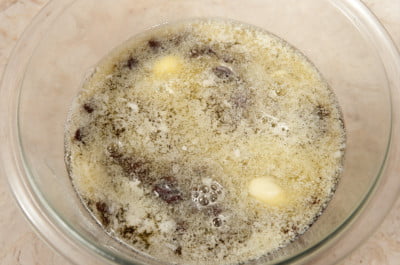
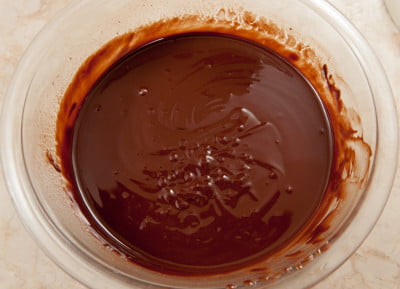
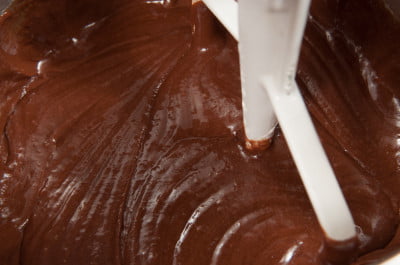
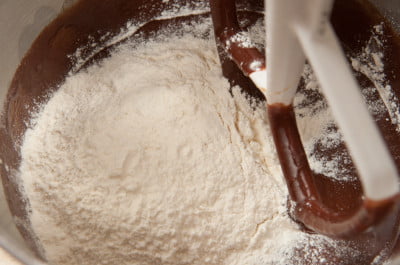
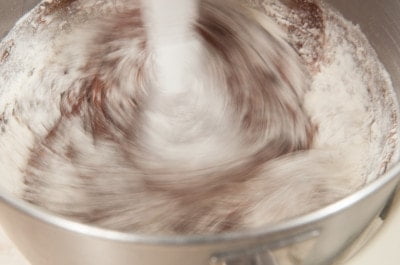
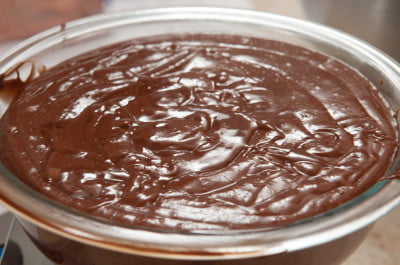
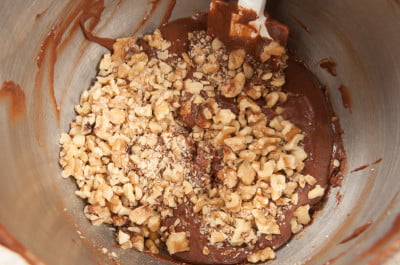
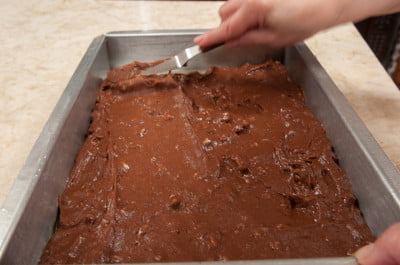
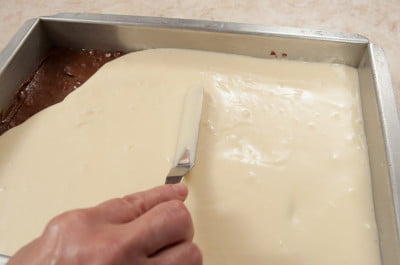
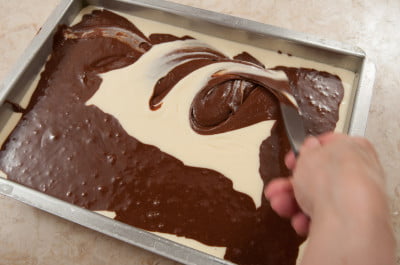
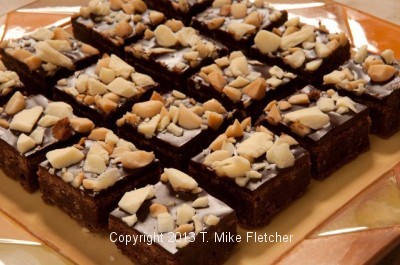 Honestly, these Quick Macadamia and White Chocolate Brownies come under the category of embarrassingly easy to make.


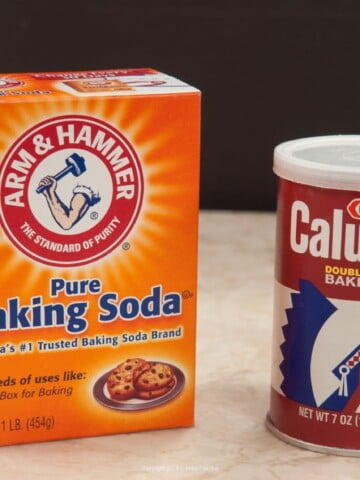
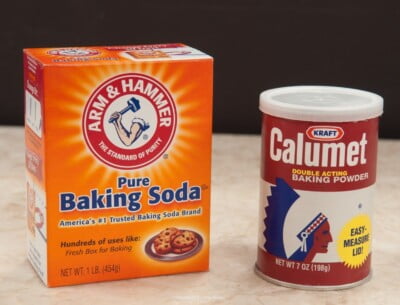 I didn't become interested in baking or cooking until after I was married. Baking Powder vs. Baking Soda, Where and When to Use Which didn't begin to occur to me.