While Tiramasu was all the rage a few years ago, it has since been relegated to the "not hot" list of desserts for many restaurants and you don't see it on menus as much.
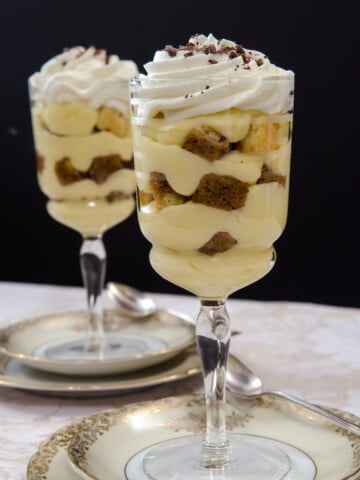
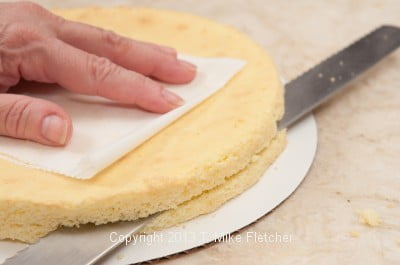
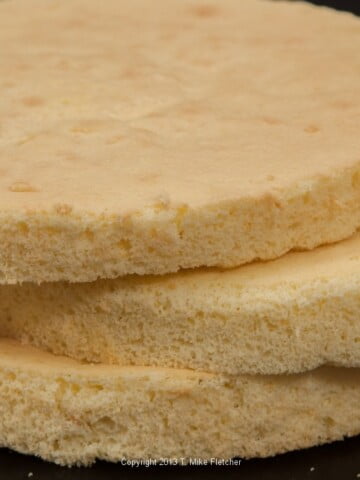
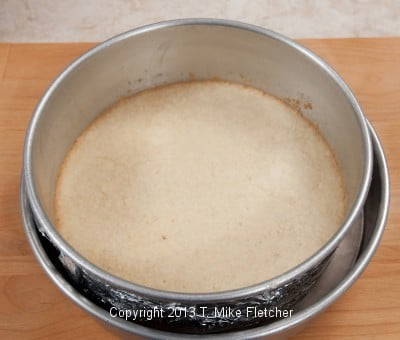
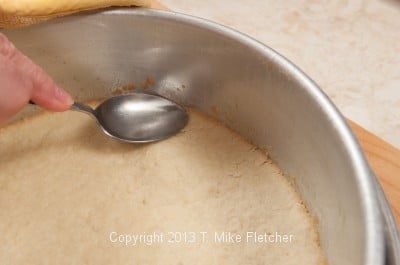
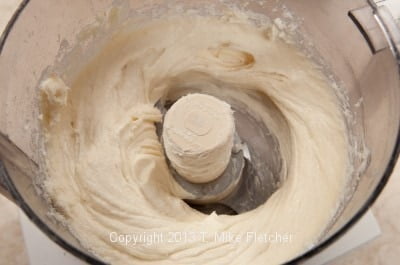
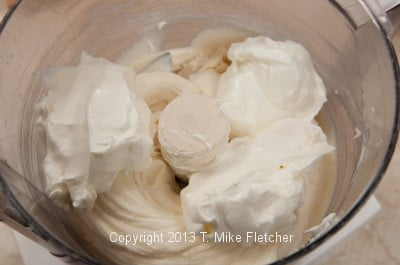
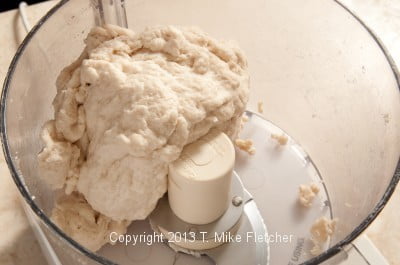
However, Tiramasu is a classic Italian dessert and one that is really easily executed once you have made the sponge - which can be done a month ahead if desired and stored in the freezer well wrapped. Simply thaw it for use. This amount of sponge is more than you will need but it can't be cut down any further and have a quality product.
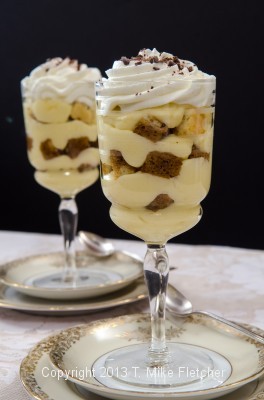
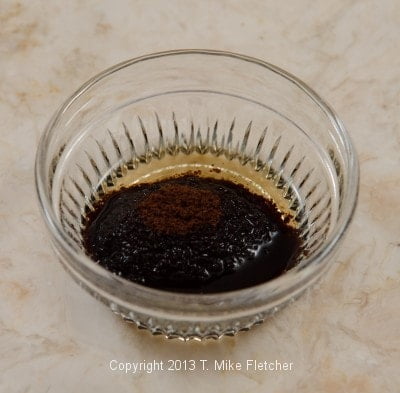
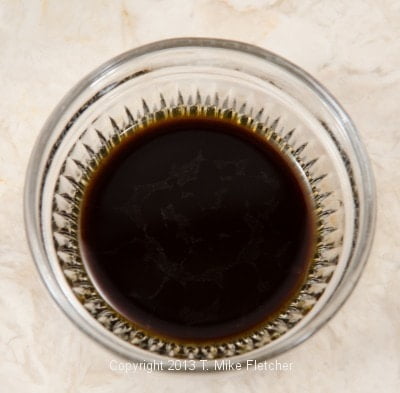
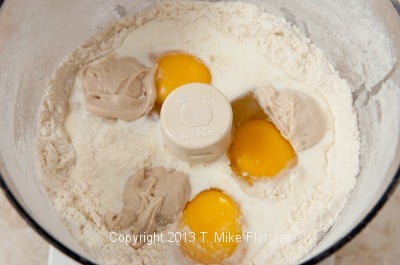
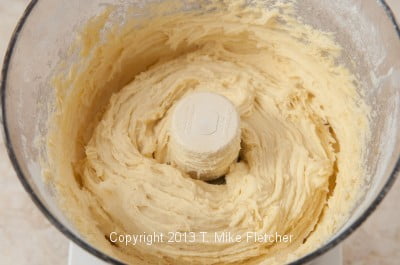
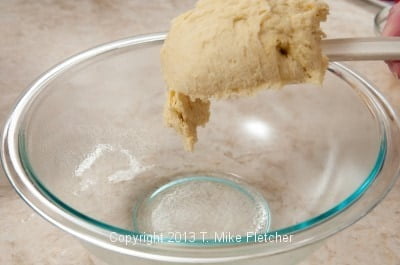
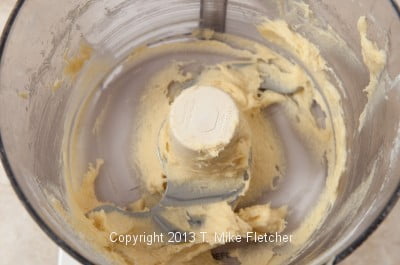
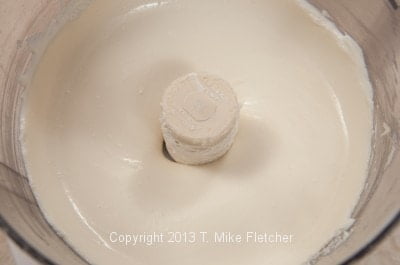
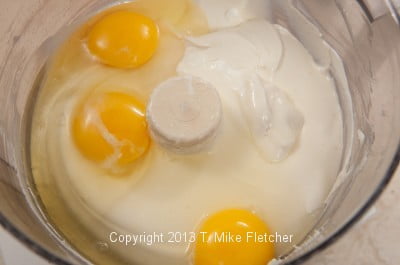
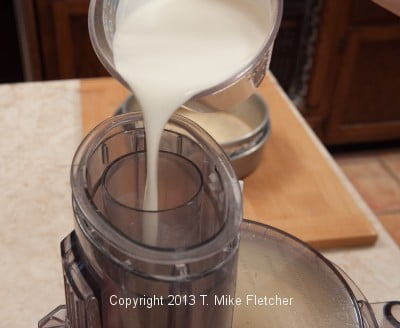
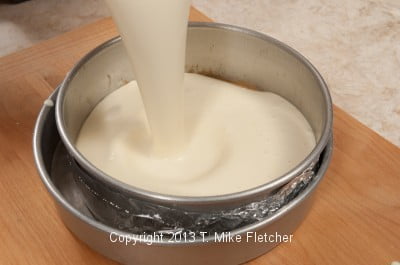
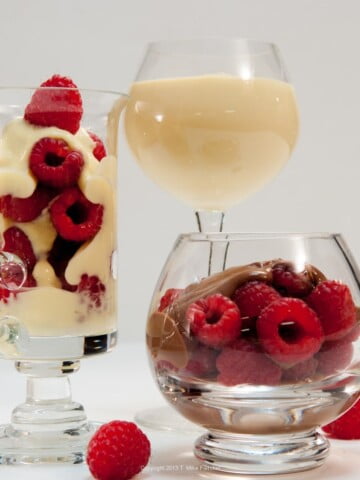
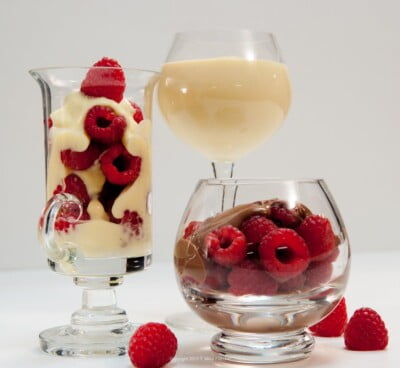
While many recipes for Tiramasu use the premade Italian ladyfinger sponge cookies, Savoiardi, we made our own sponge and it worked perfectly for us. This was a version I made for Tony's, the restaurant at which I preform my pastry chef duties. I made it in wine glasses for a beautiful presentation.
[Read more...]

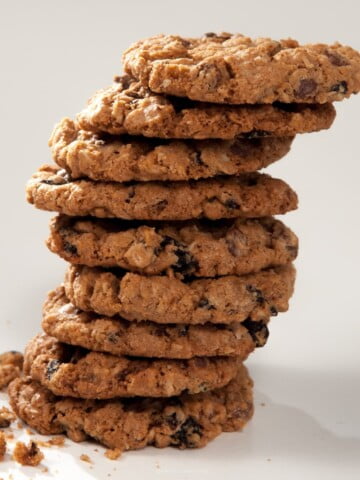
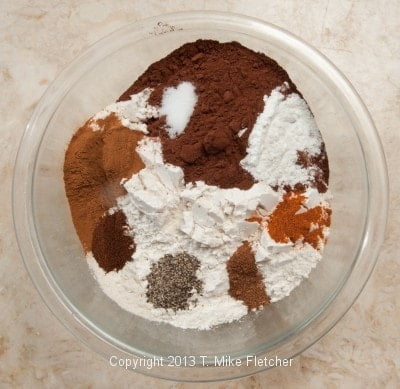
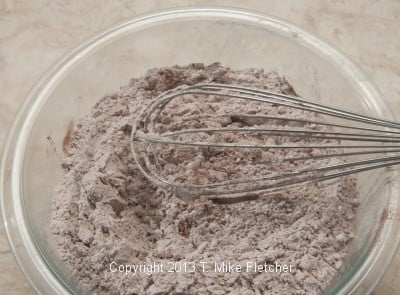
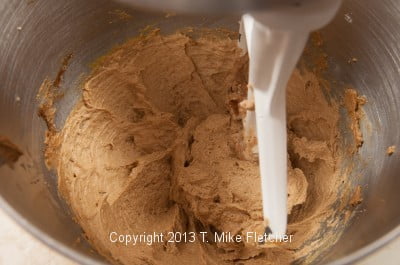
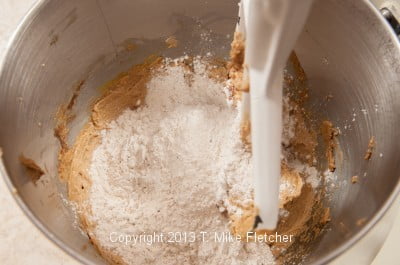
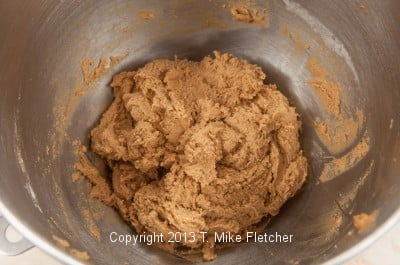
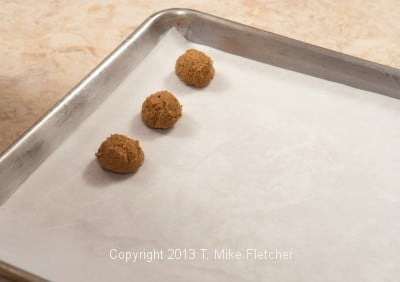
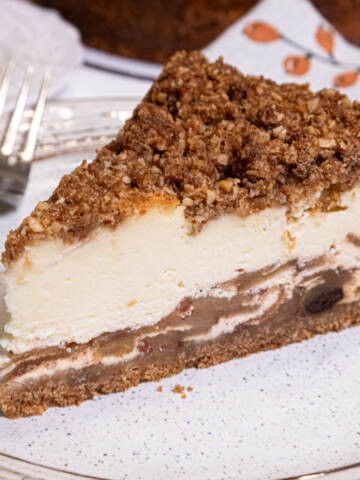
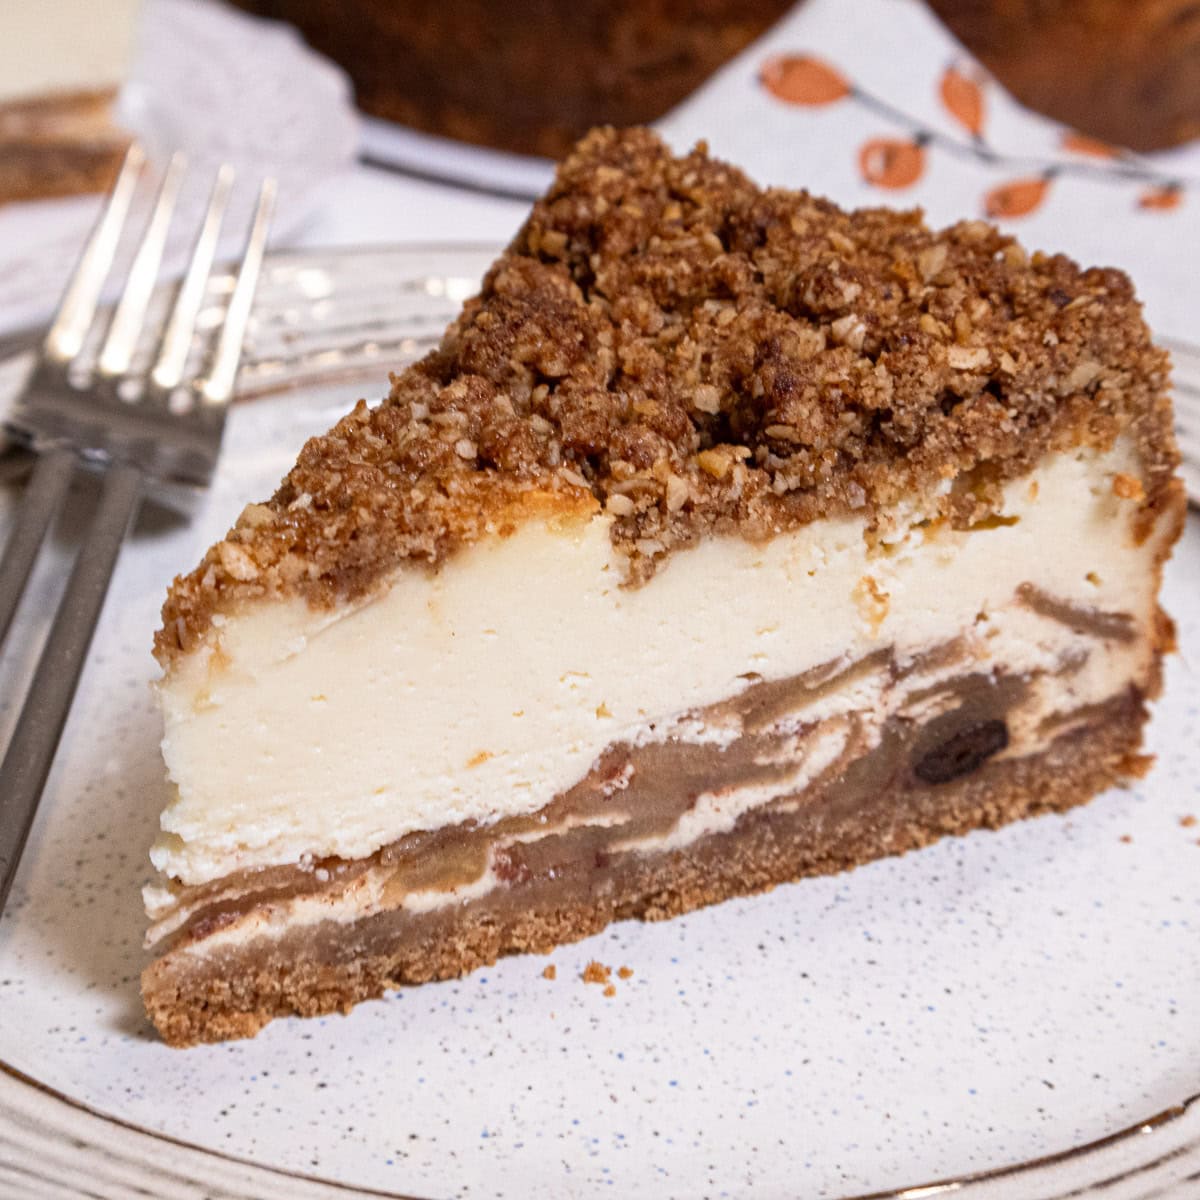
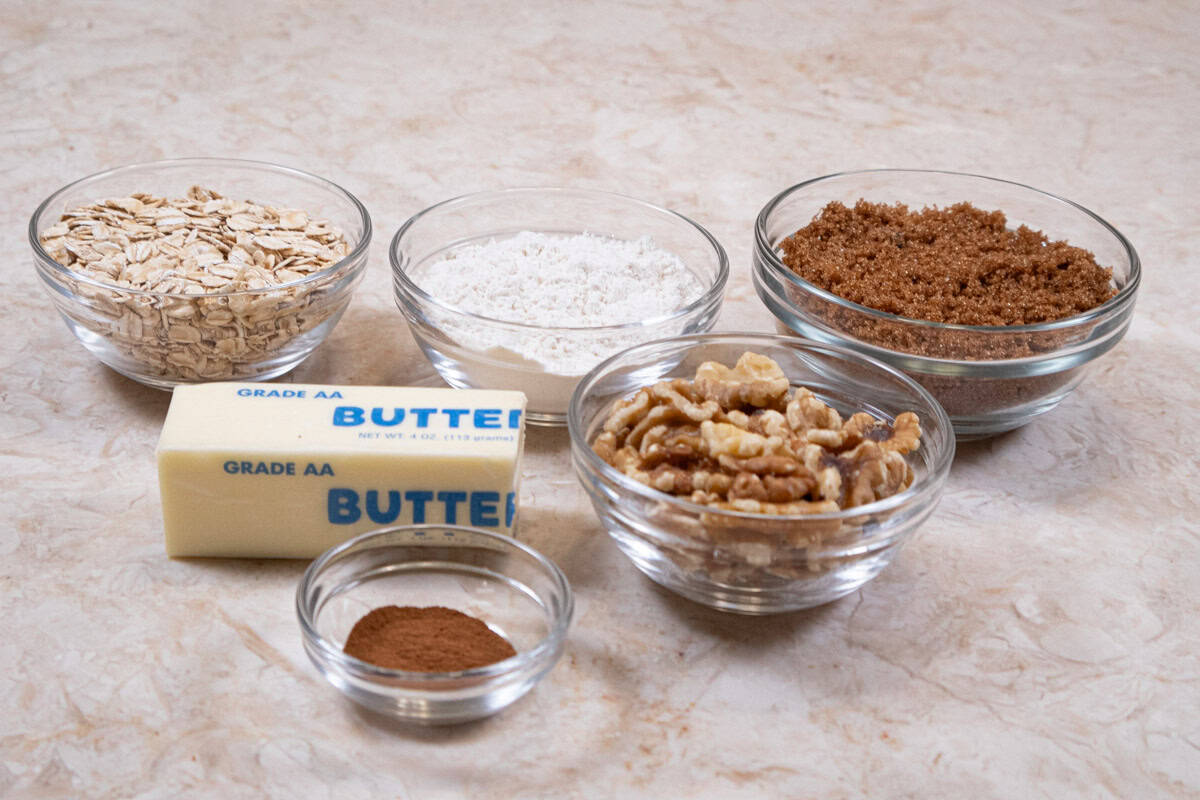
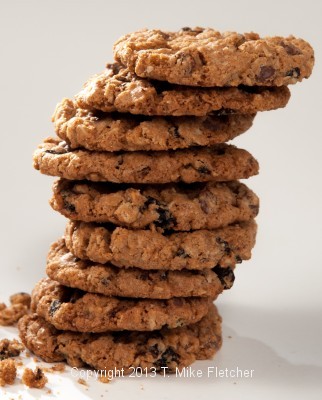 Oatmeal cookies have always been my favorite. It's something about the spices and texture of this oatmeal cookie. It's particularly difficult to describe. It's crispy on the outside with a center that is loaded with the add ins of your choice. It almost has a lacey quality to it. I wish I had a nickel for every time someone told me how much they loved this oatmeal cookie. It is not your usual oatmeal cookie which probably explains the response. This is a
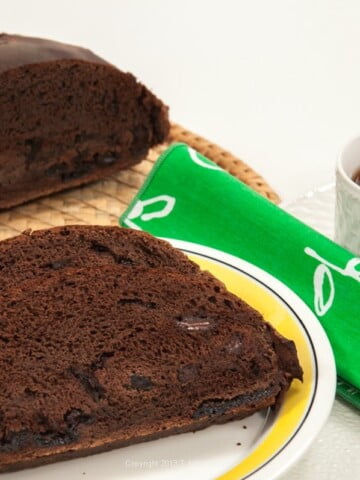
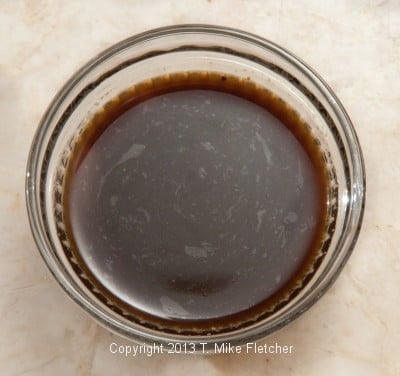
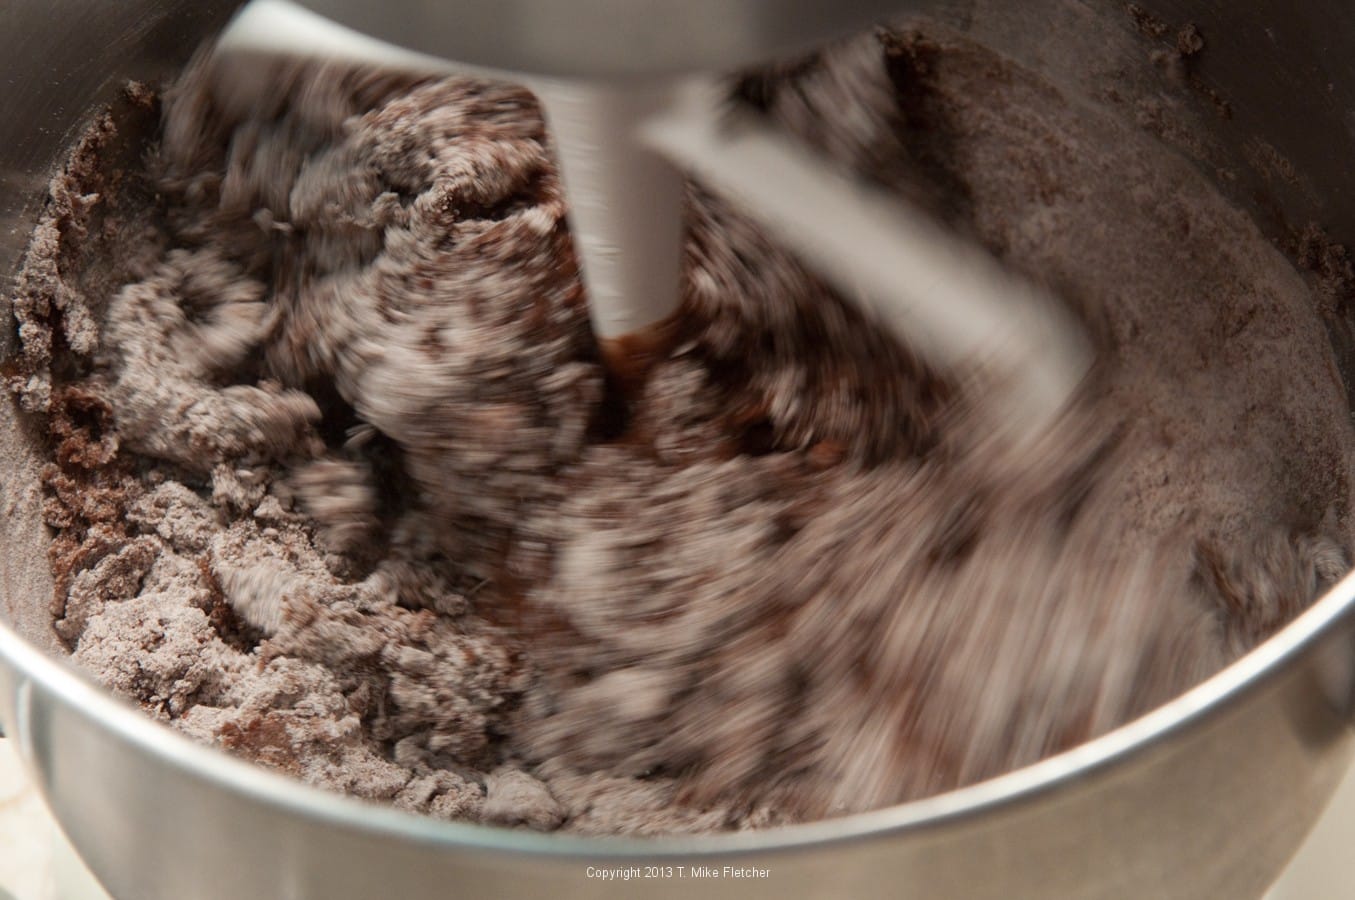
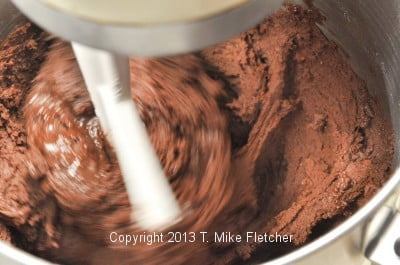
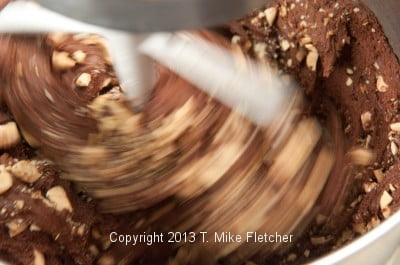
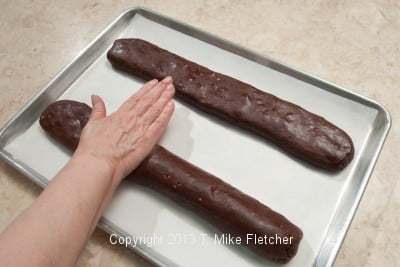
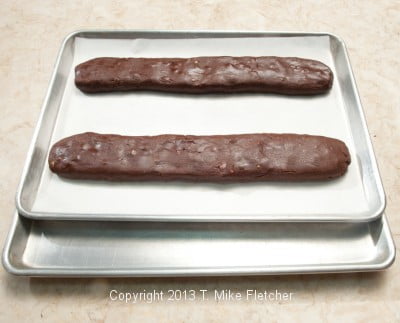
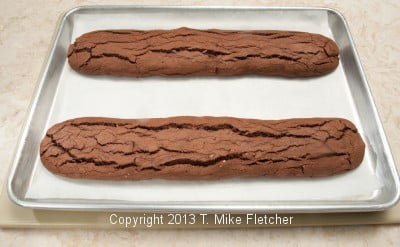
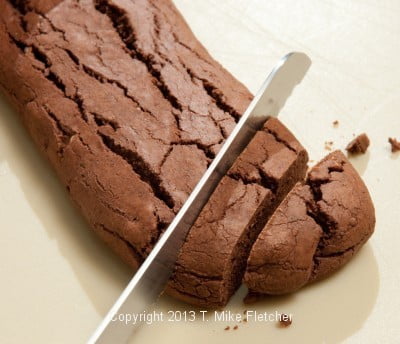
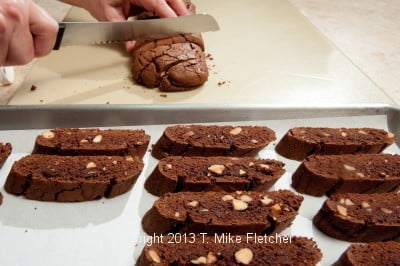
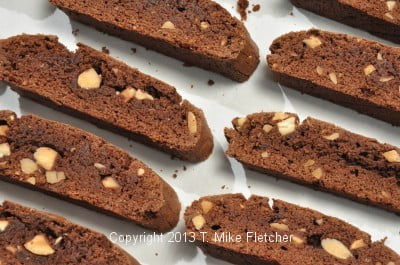
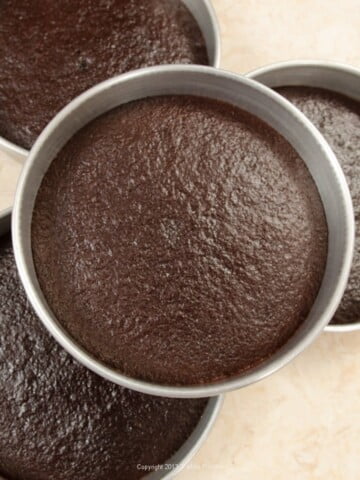
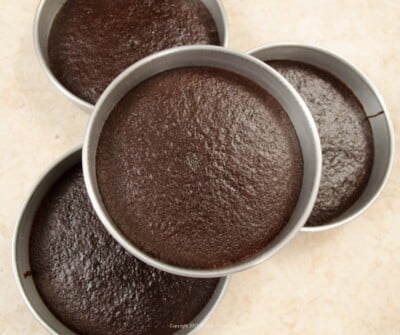
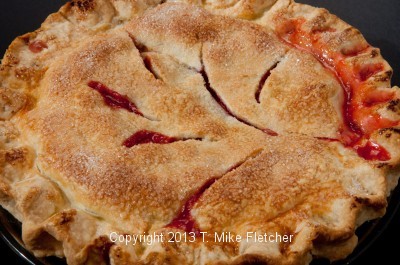
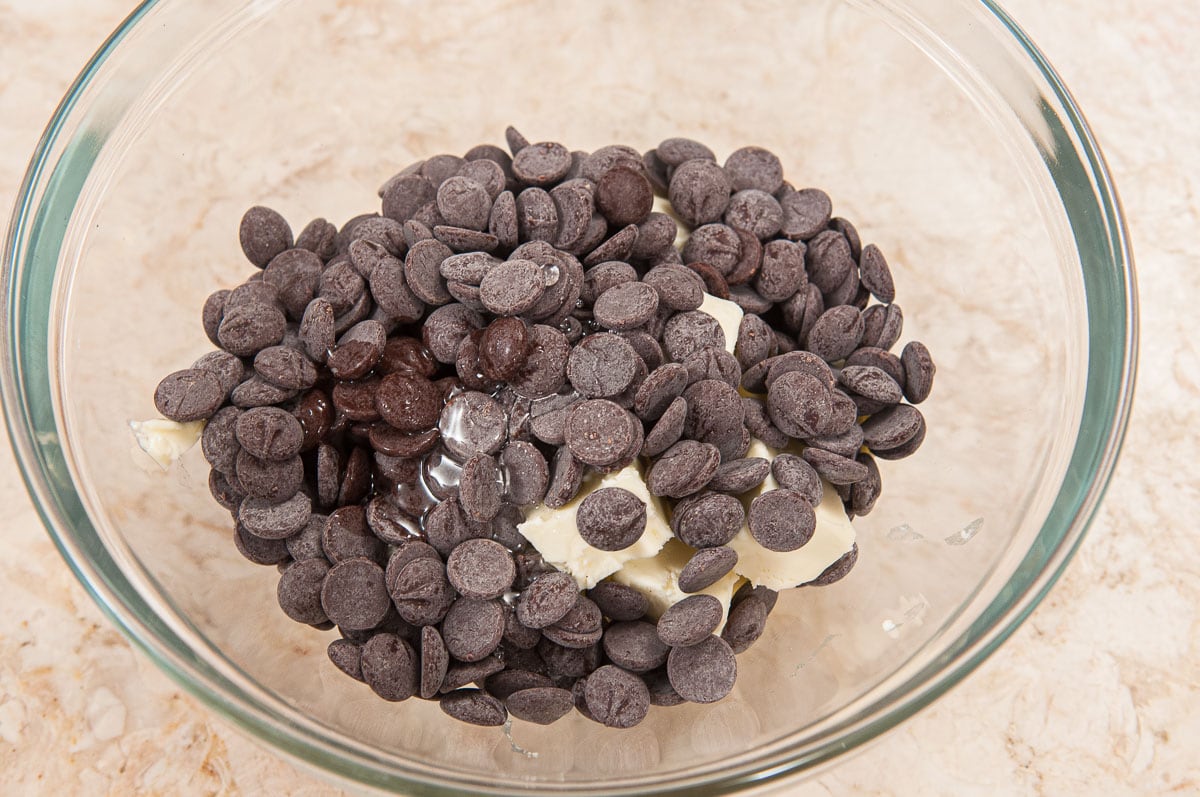
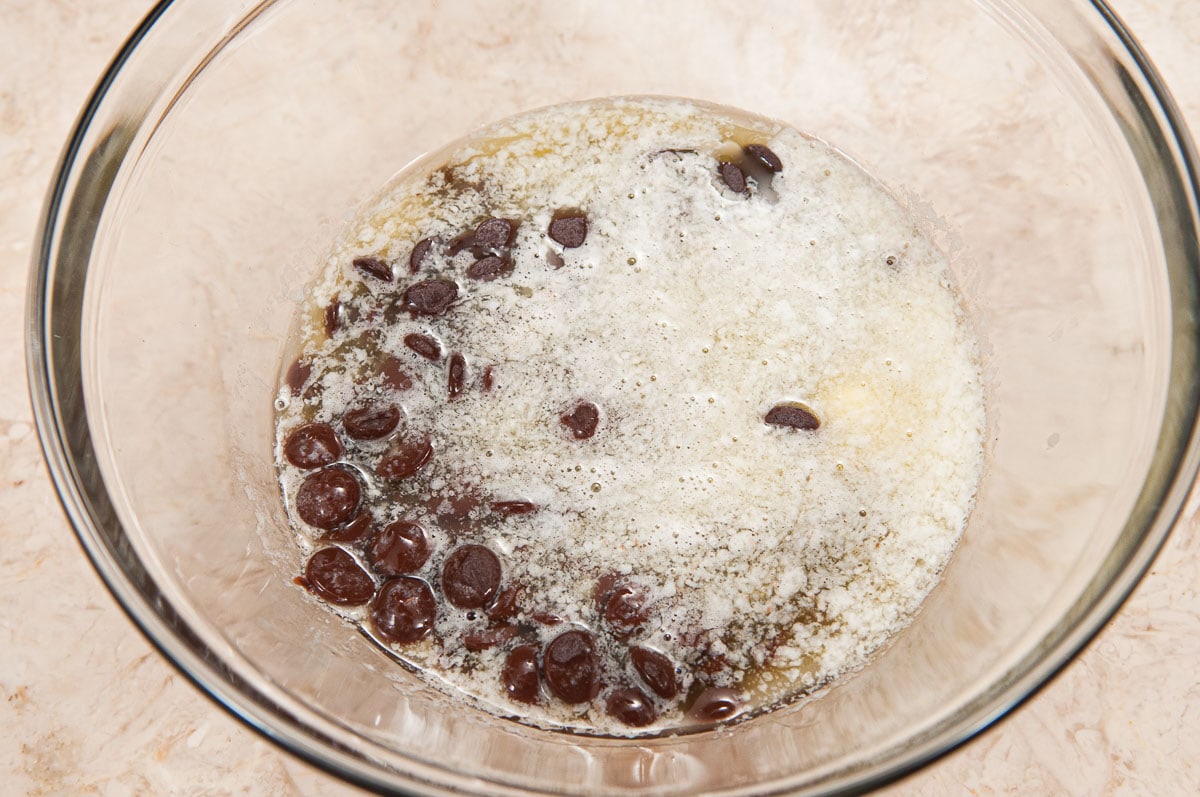
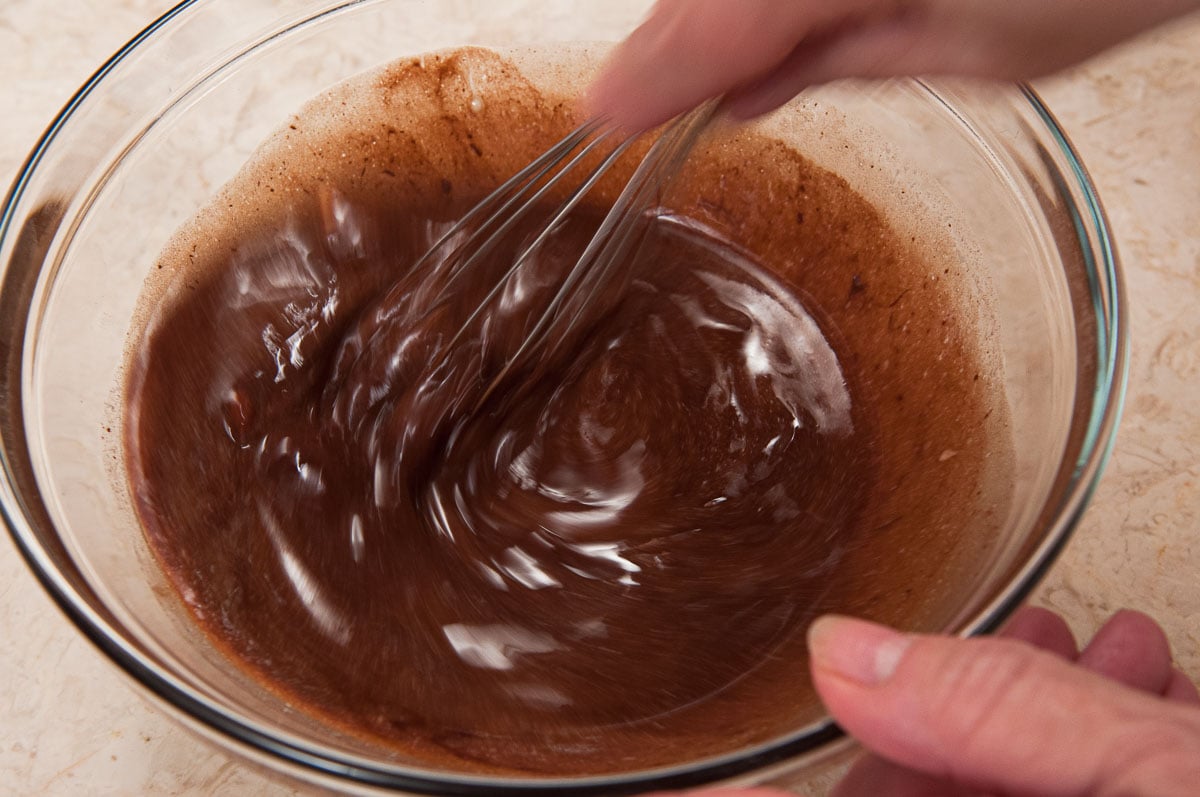
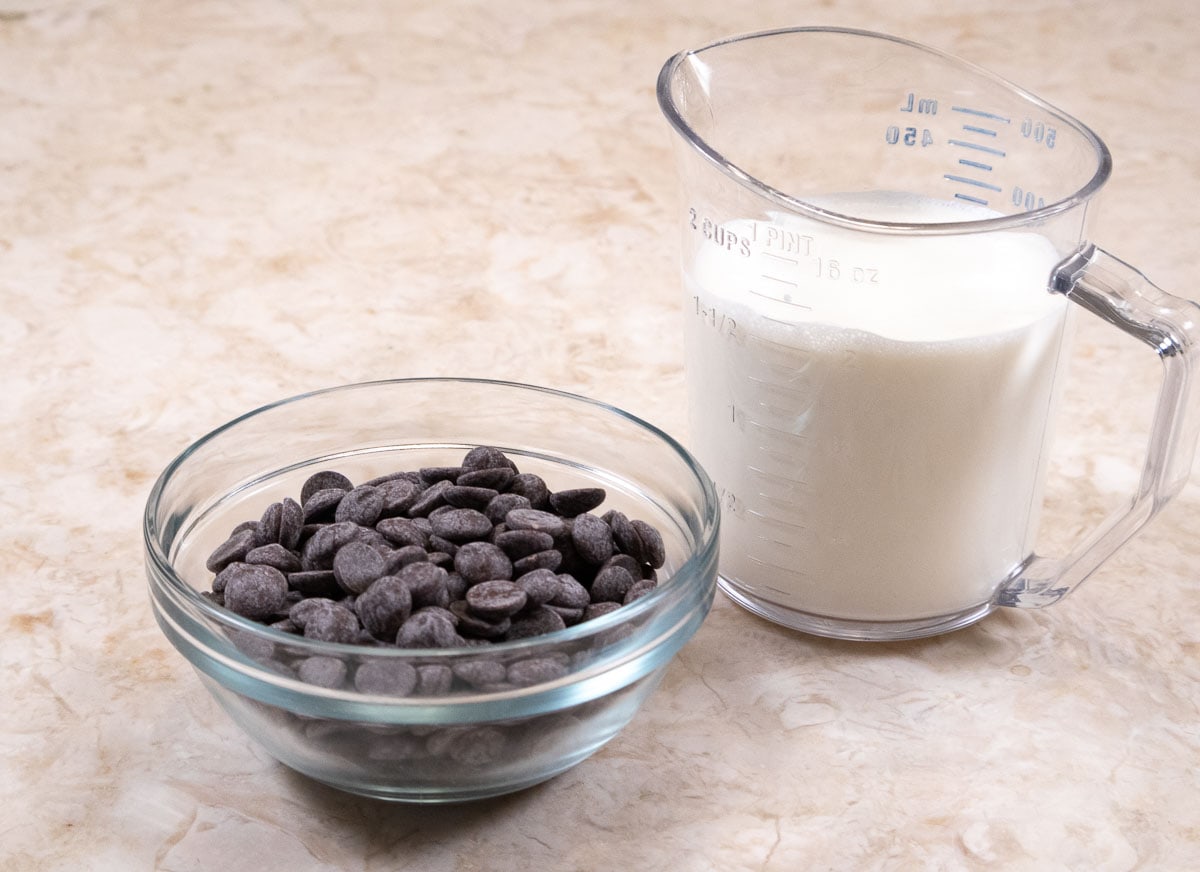
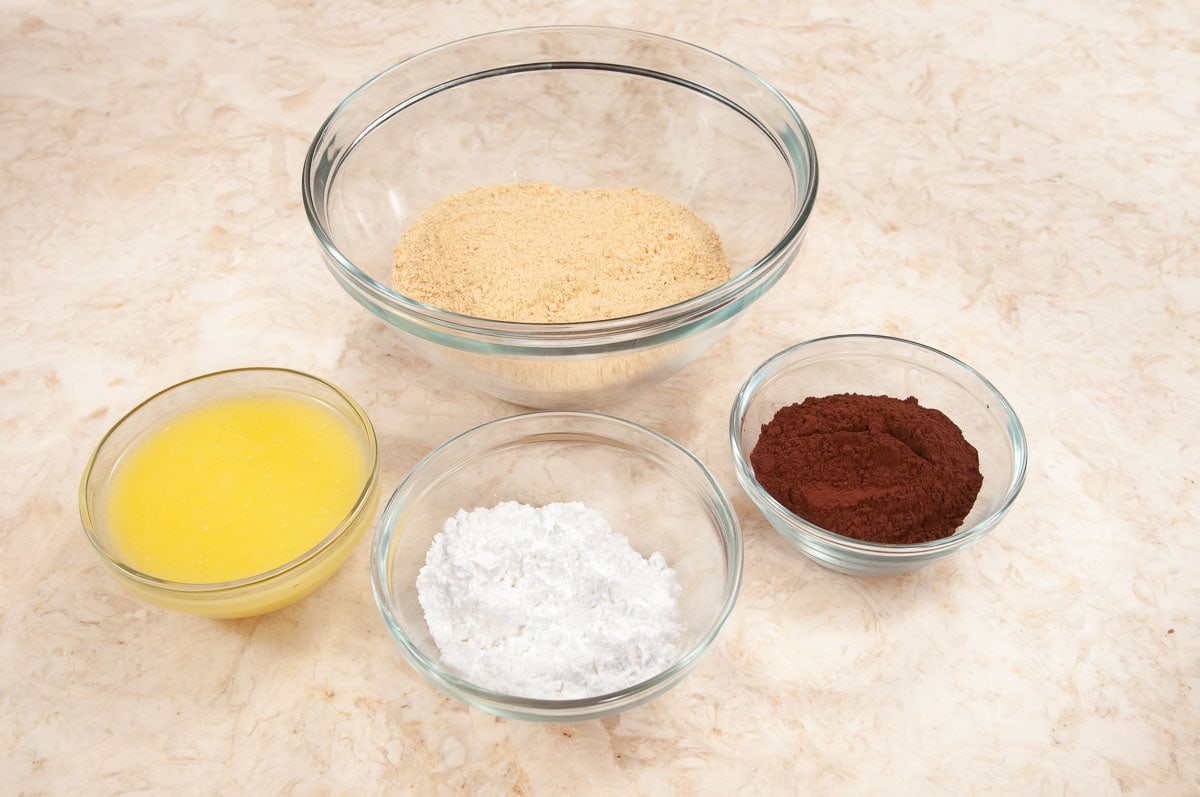
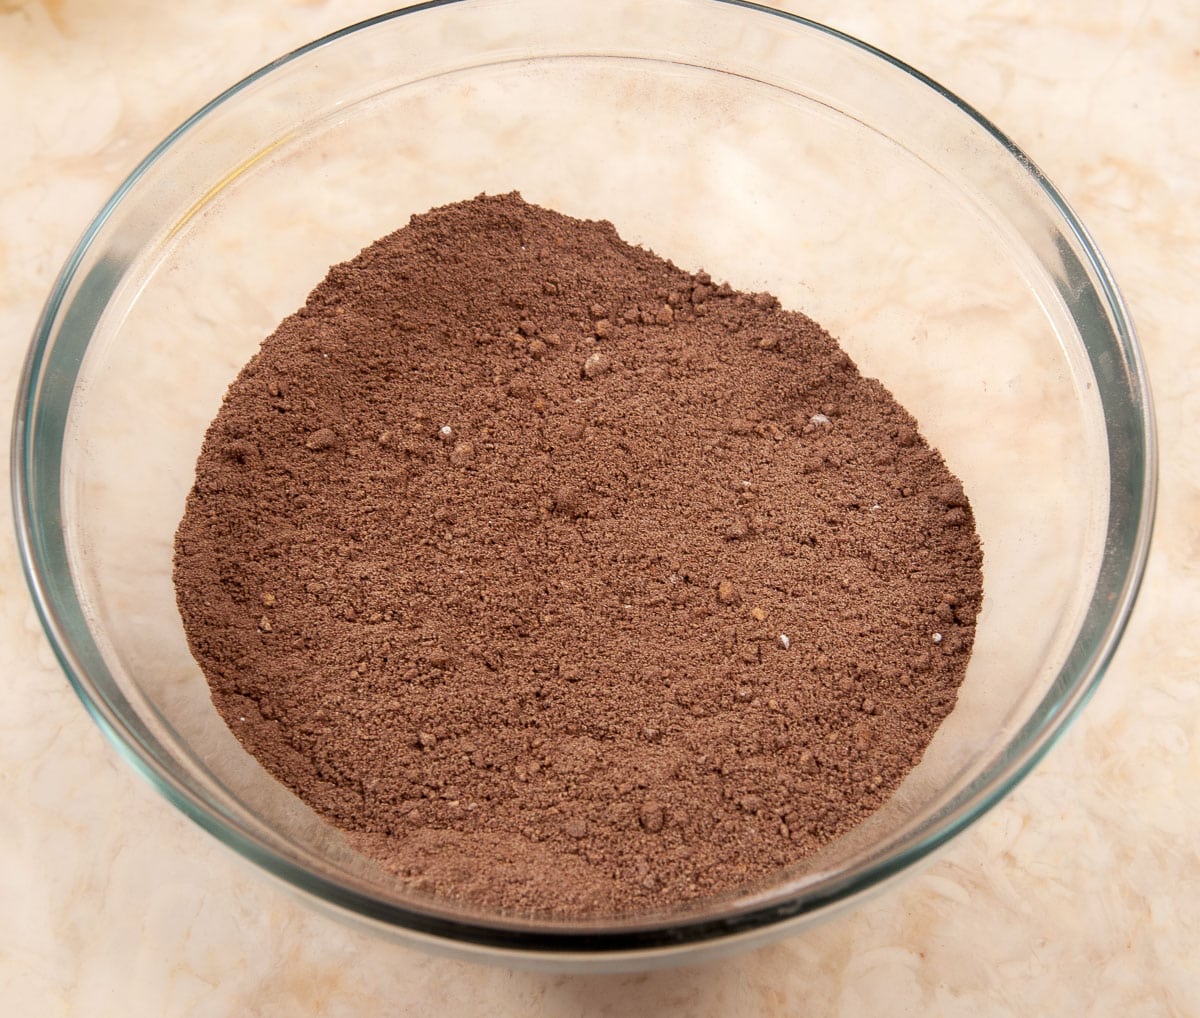
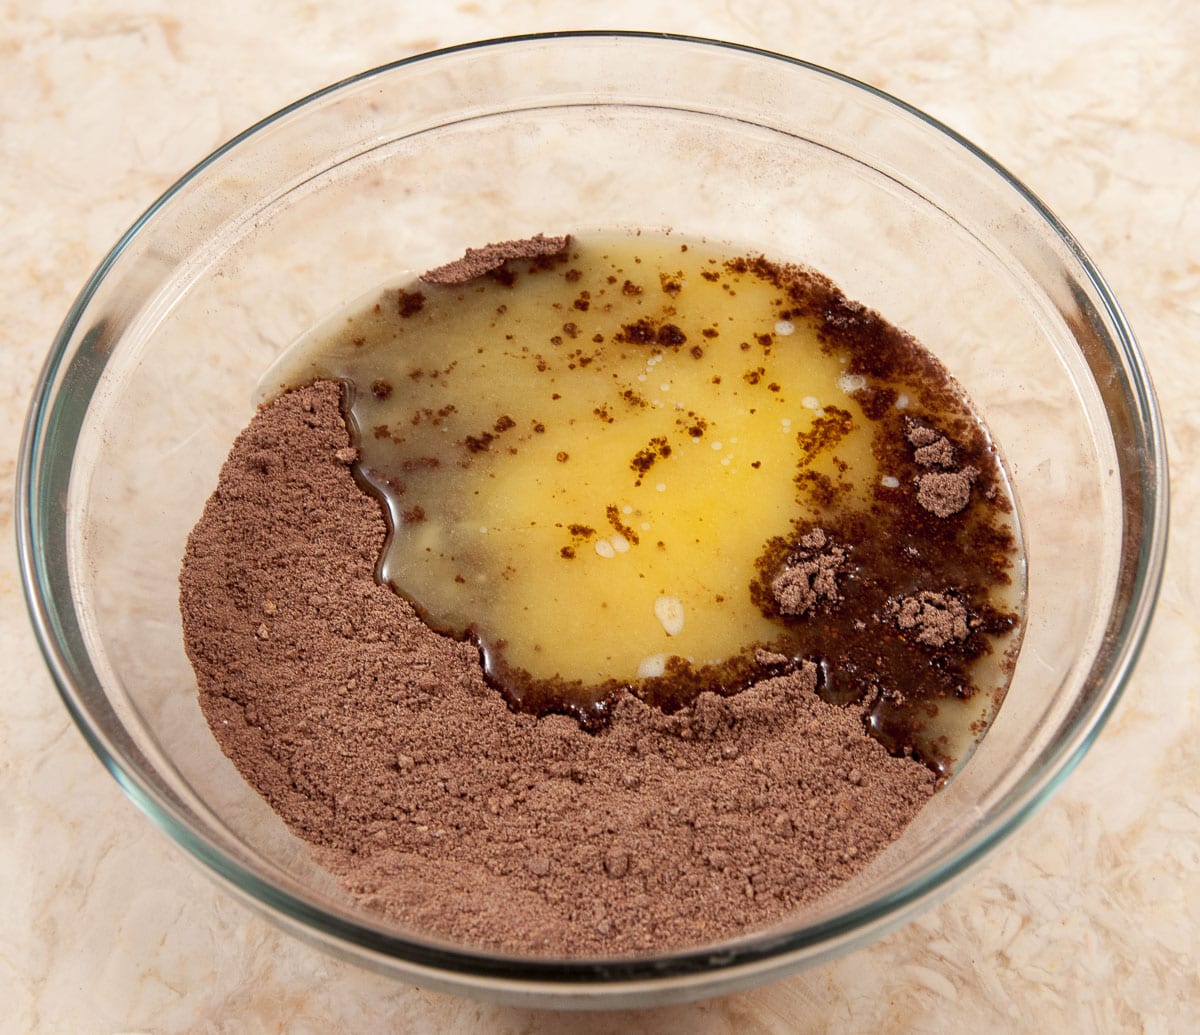
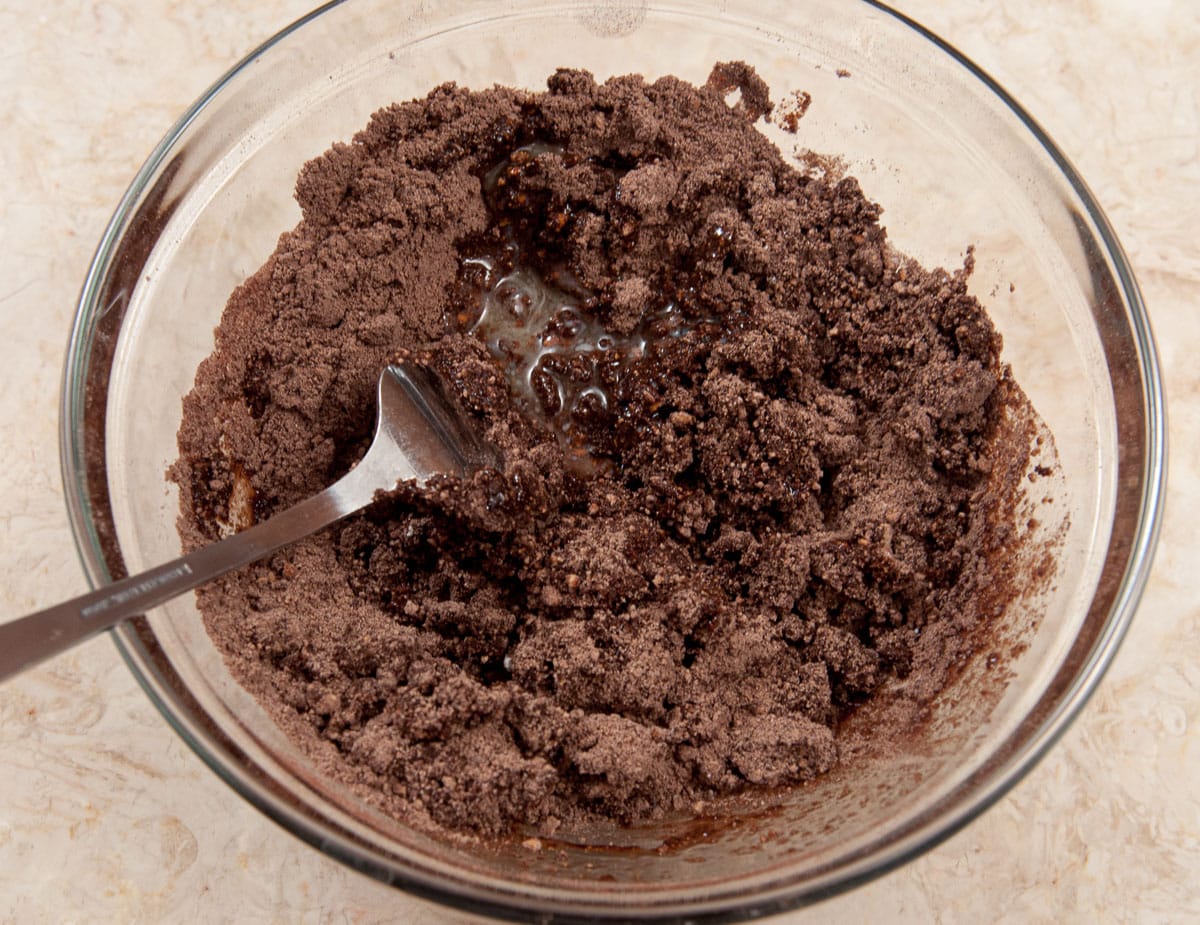
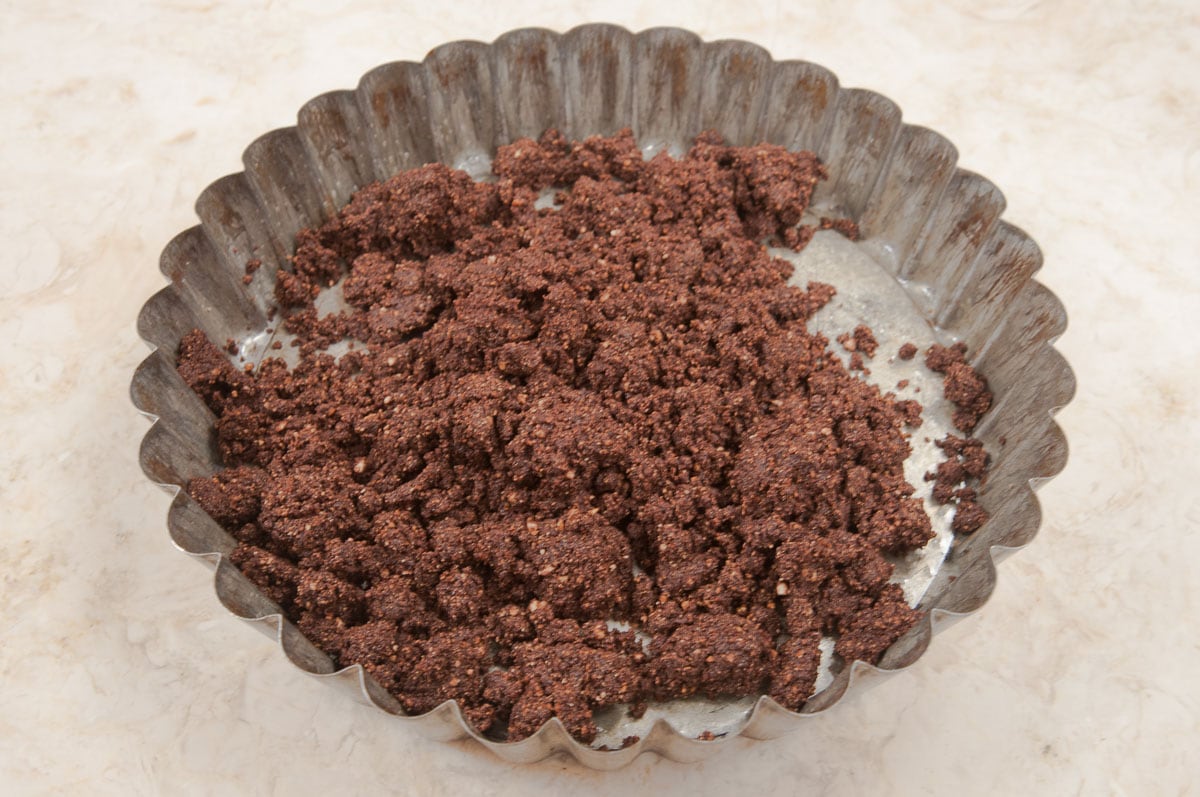
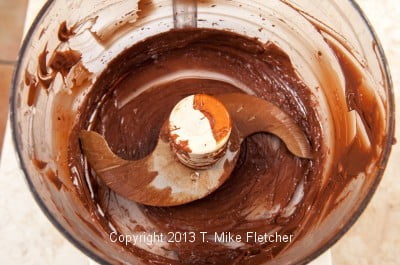
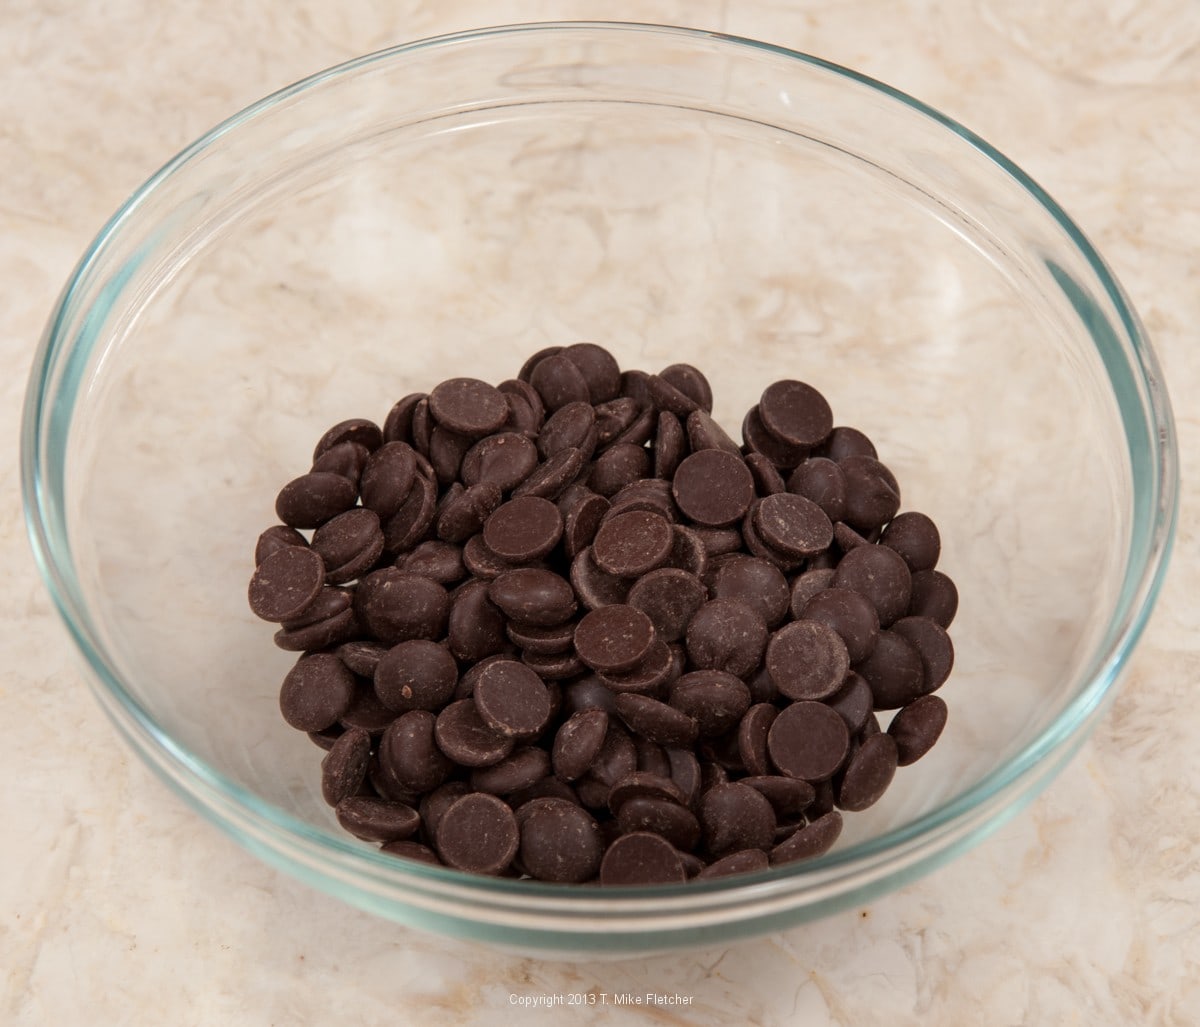
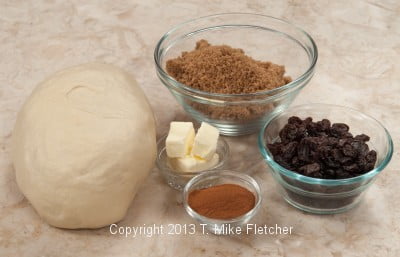
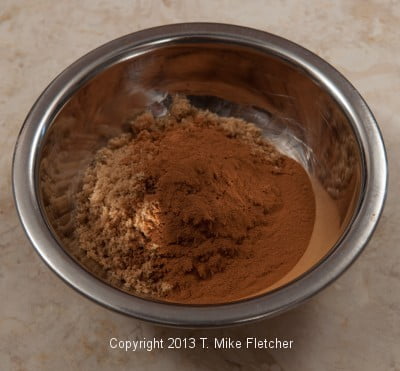
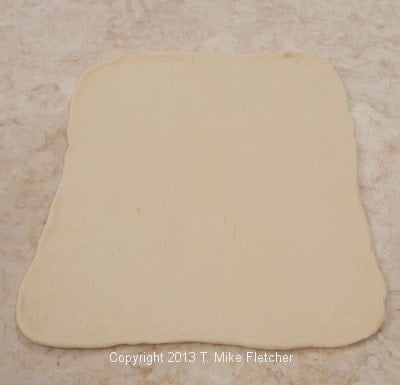
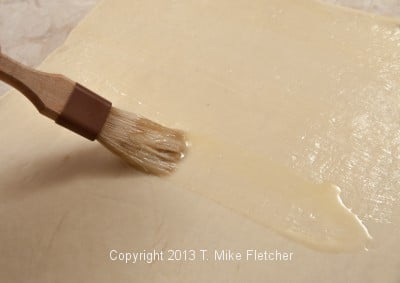
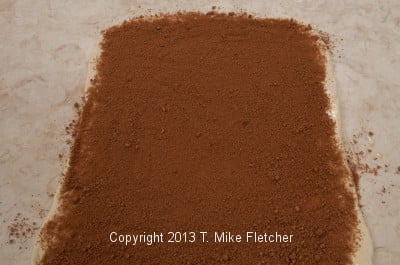
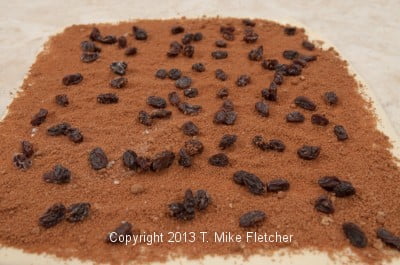
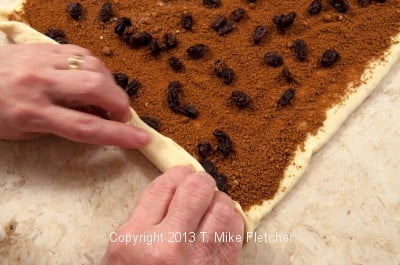
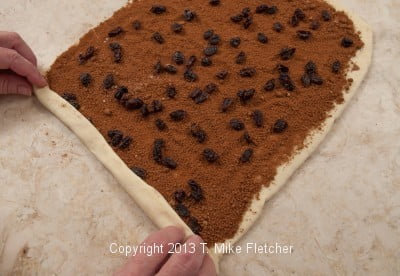
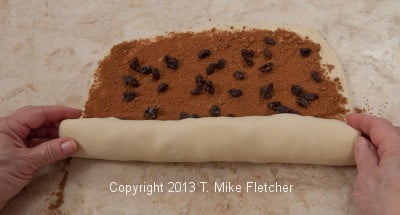
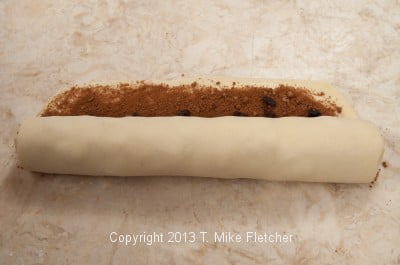
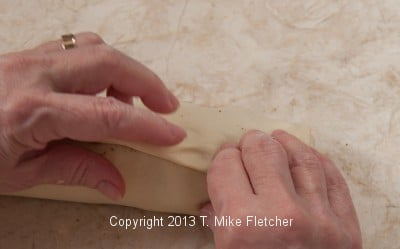
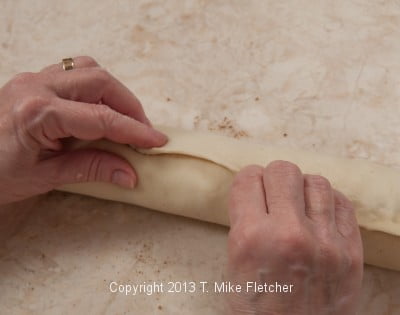
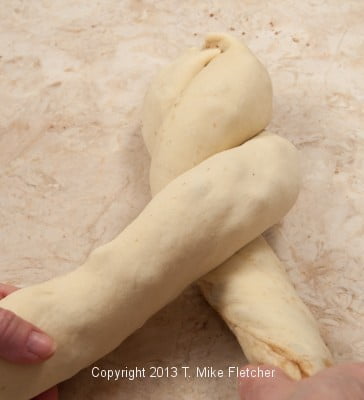
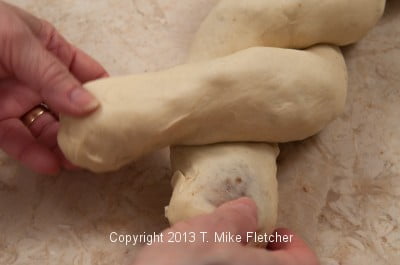
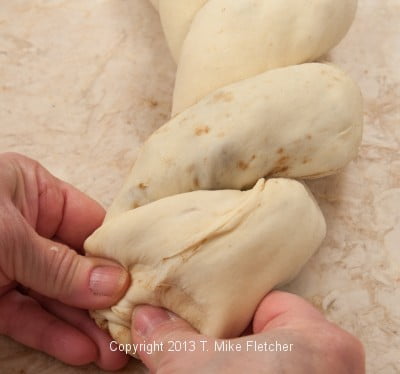
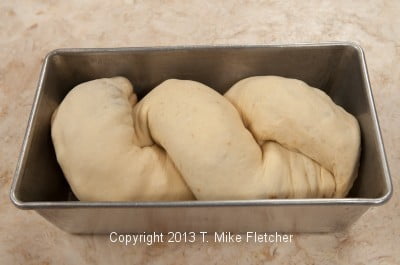
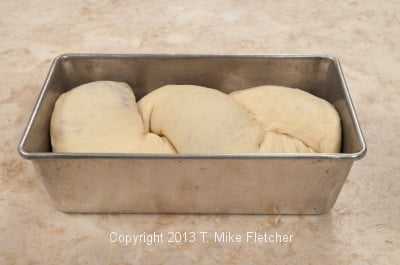
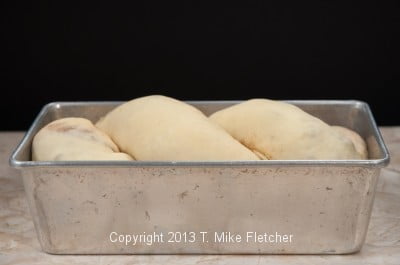
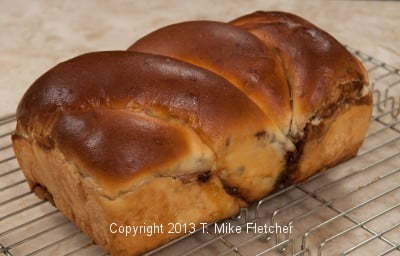
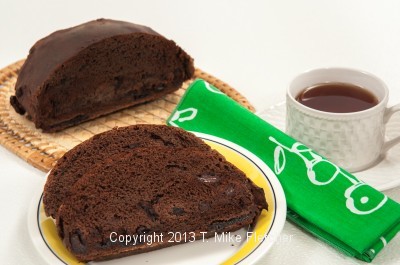 Chocolate Cherry Bread combines two foods I love – chocolate and bread. So combining them seemed a natural. I can't remember when I first tasted Chocolate Cherry Bread but it is among my favorite breads. Besides how can cocoa, melted chocolate and chocolate chunks all in one bread be anything by super.
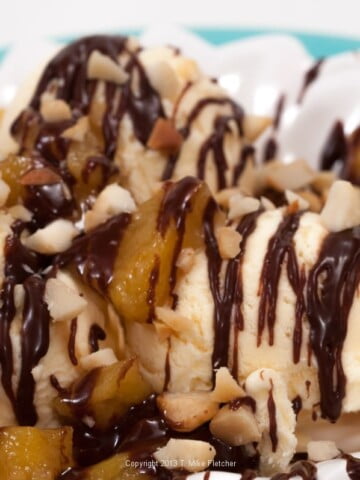
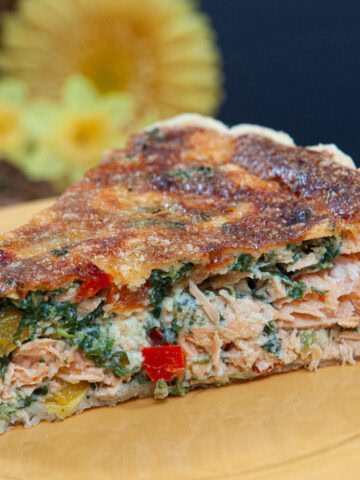
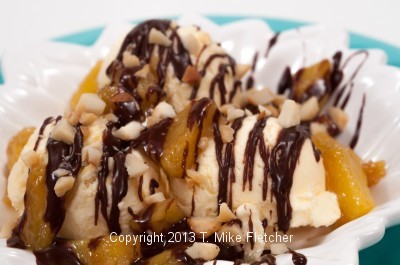 This Hawaiian Sundae is perfect for the end of a grilled dinner, this unusual sundae of caramelized pineapple with a chocolate coconut sauce has all the flavors from Hawaii. Fresh pineapple and a chocolate sauce flavored with coconut cream is topped with salted, toasted macadamia nuts. I found these in the snack aisle of grocery stores.
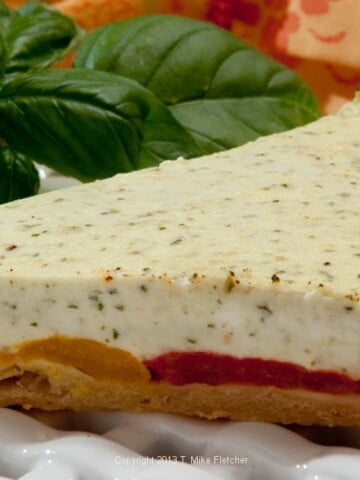


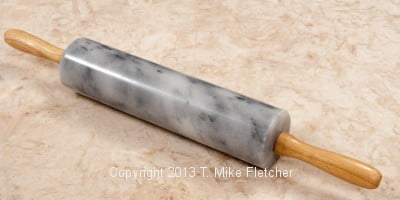
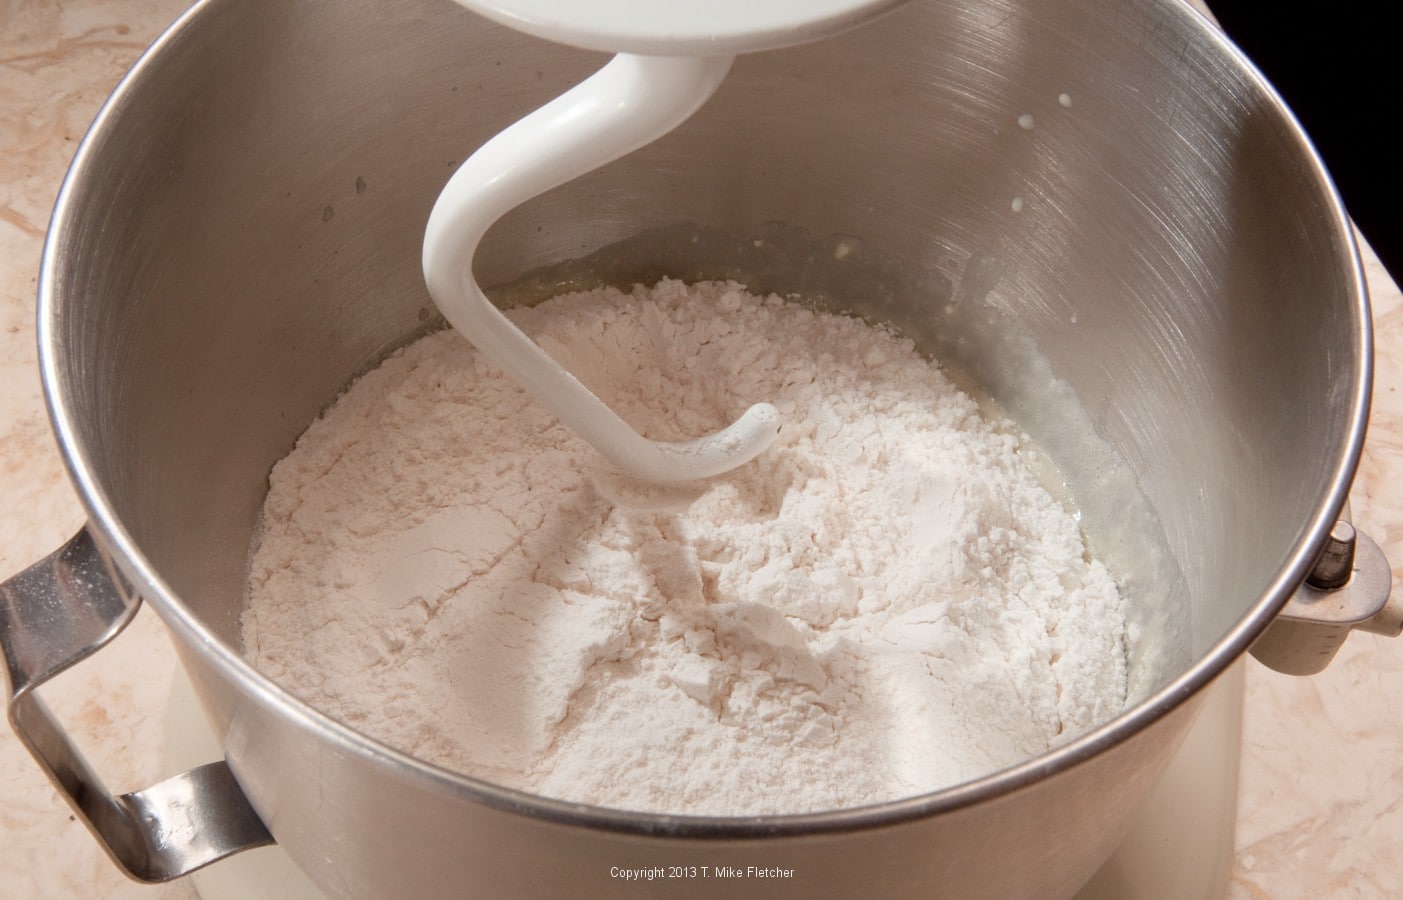
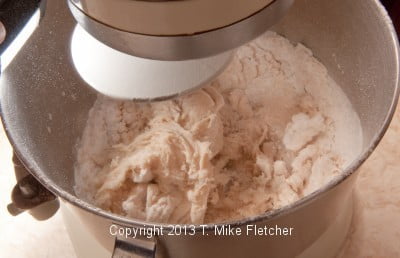
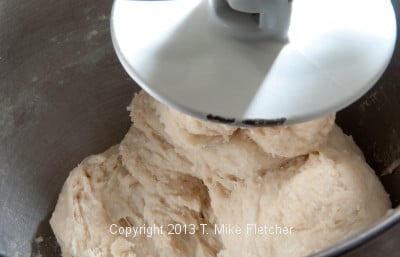
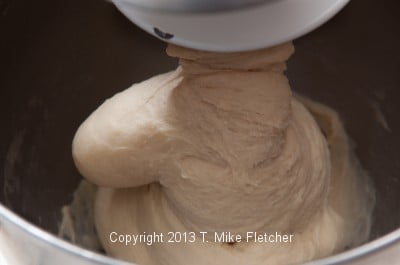
 Becoming a better baker is a matter of patience and repetition, but there are practices that will help speed the process. Here I have listed some that I hope will help you - even if it is just one thing you may need to work on to become the baker you always wanted to be.


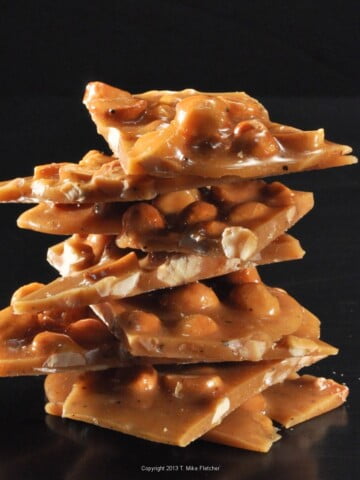
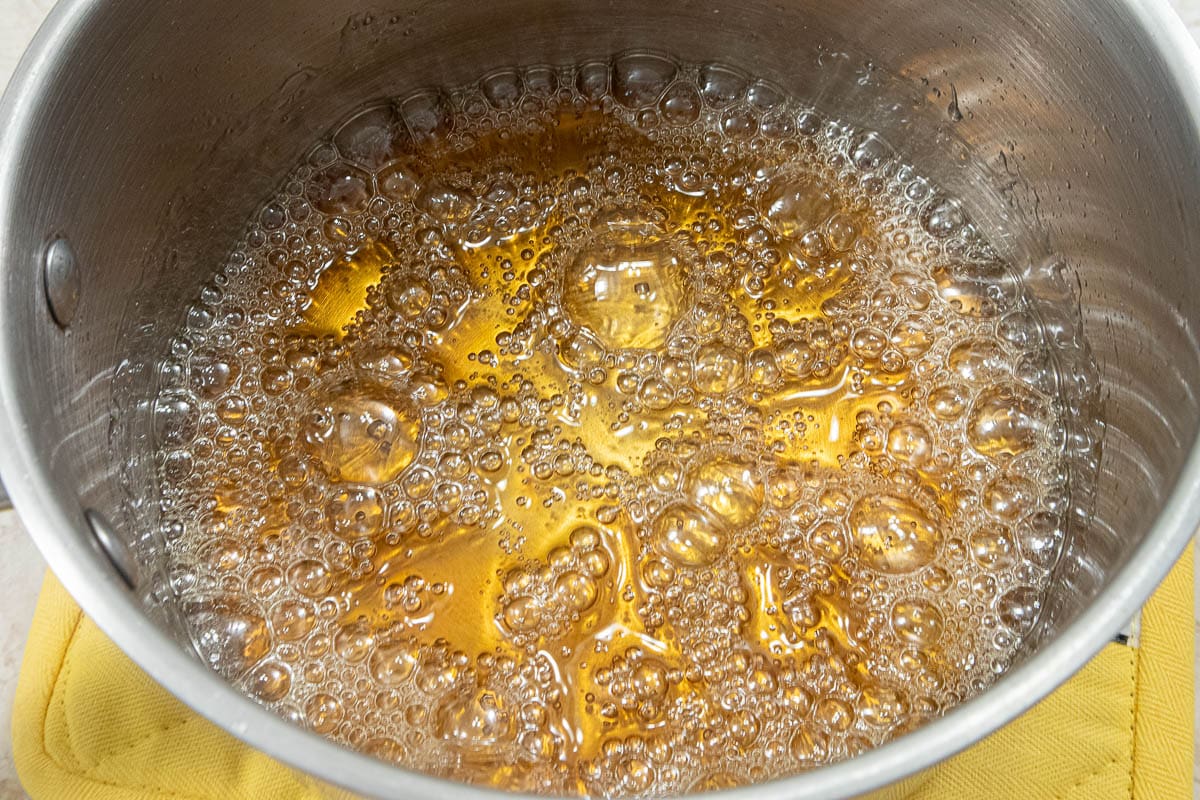
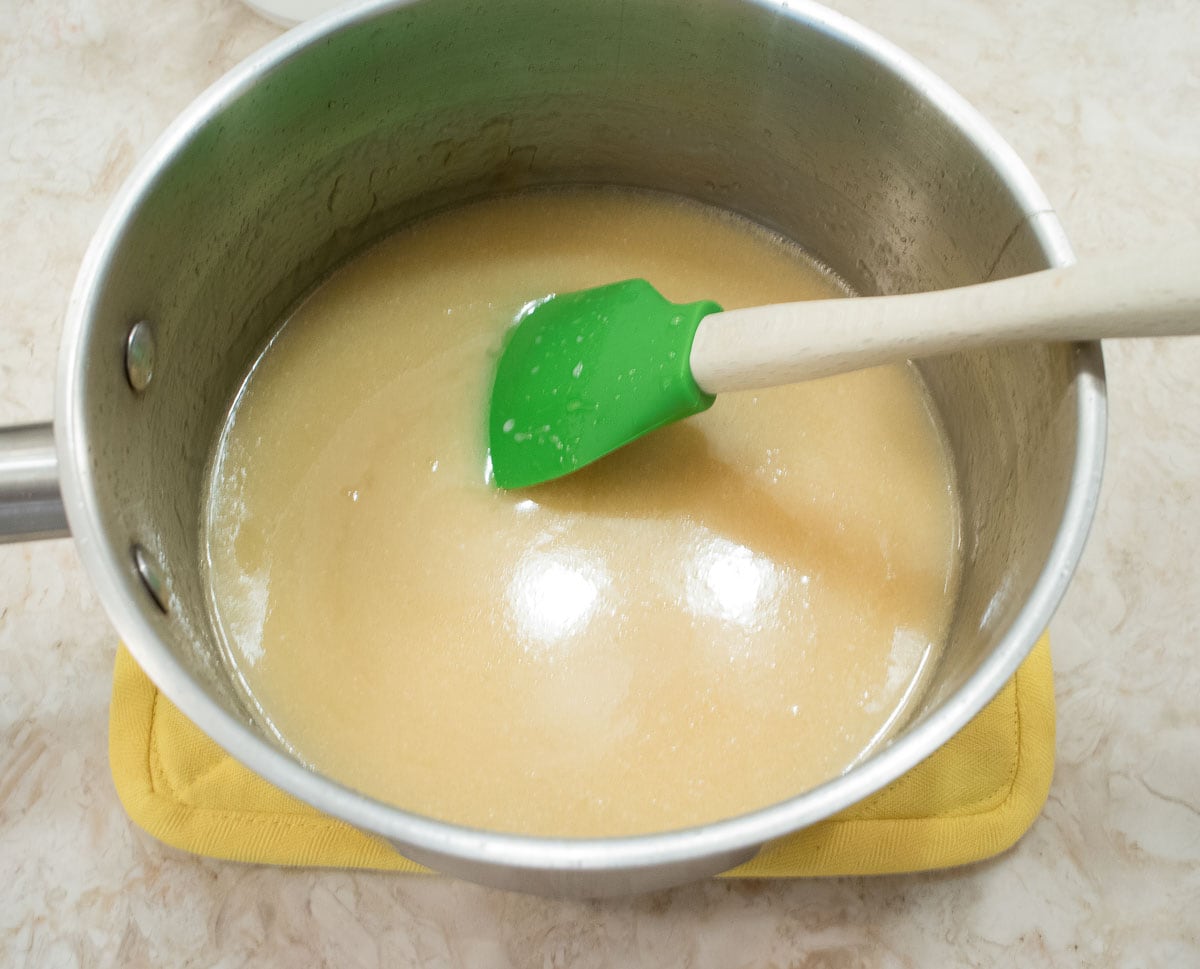
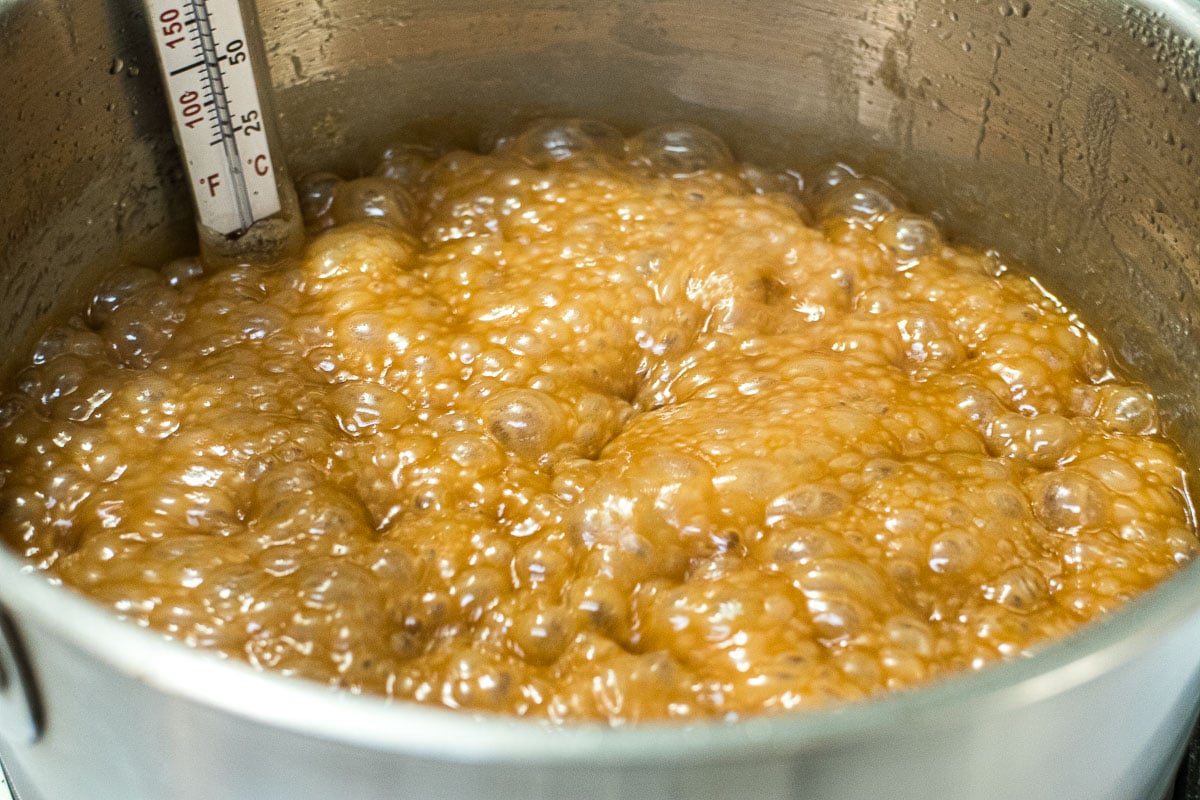
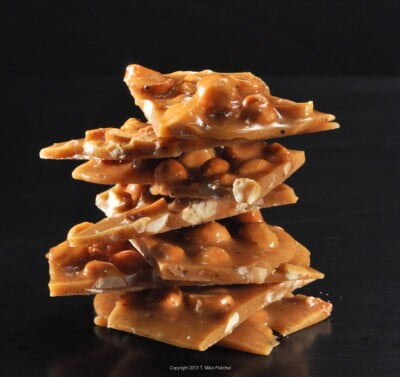 Macadamia brittle is a treat anytime, but add a bit of heat and it becomes Sweet and Hot Macadamia brittle, a candy not to be forgotten.
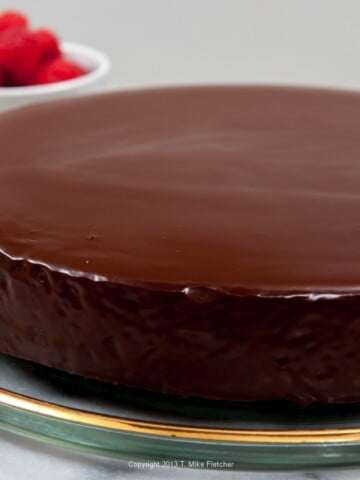
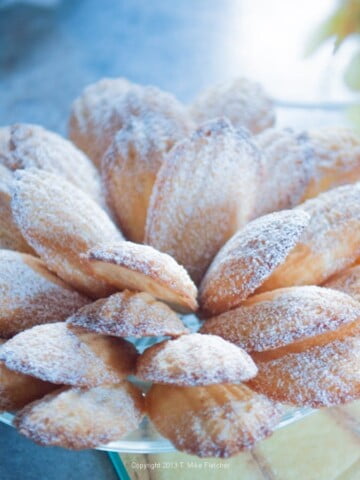
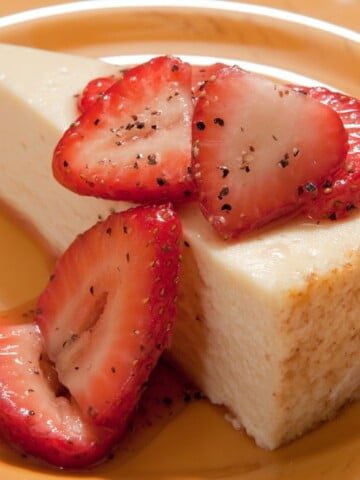
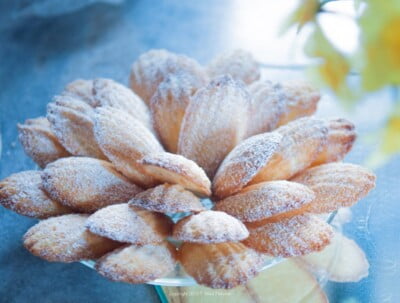 Madeleines were said to be the favorite of Proust. These shell shaped petit fours were originally made of sponge cake and to me, rather tasteless. They dried out quickly while sitting on display and lacked any definitive flavor.
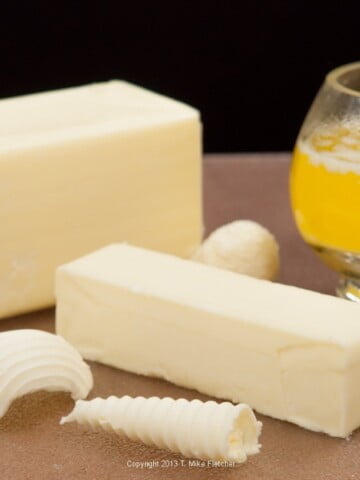
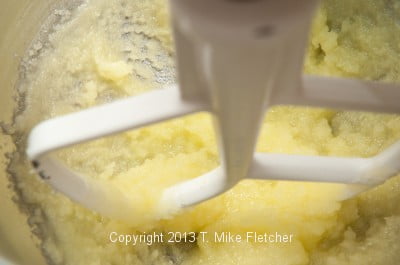
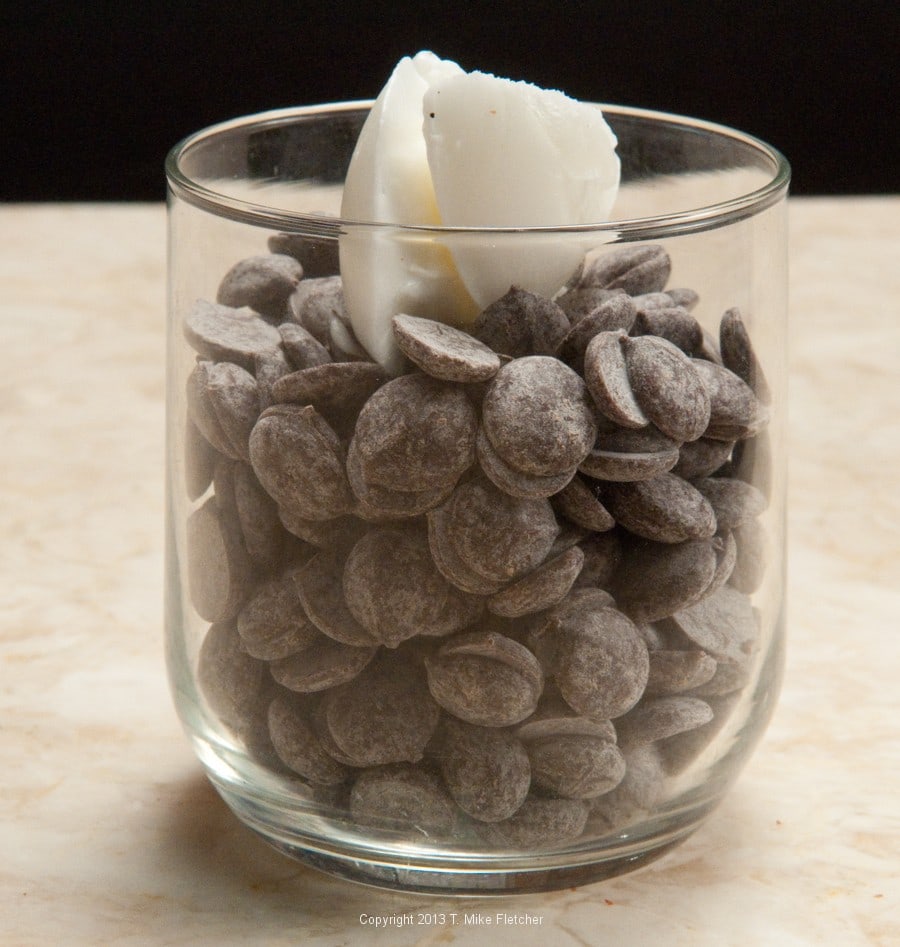
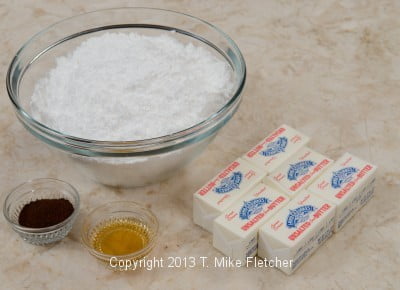
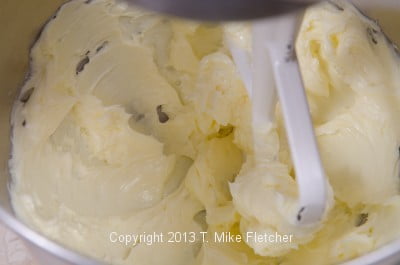
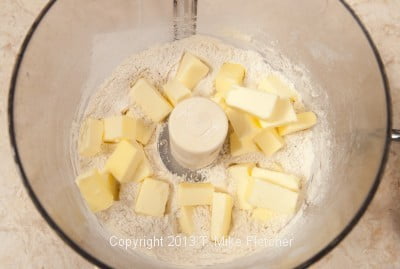
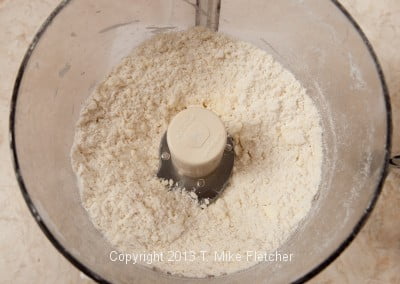
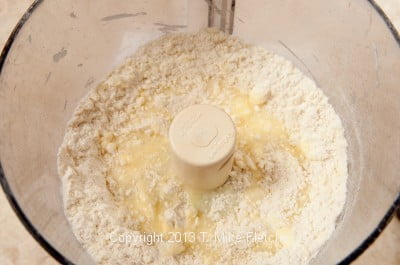
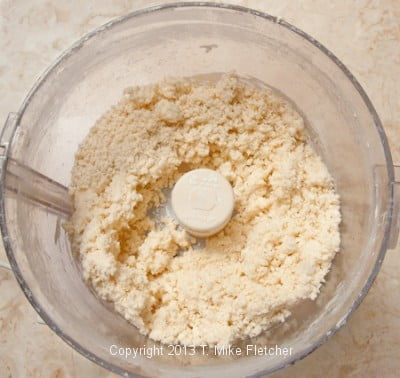
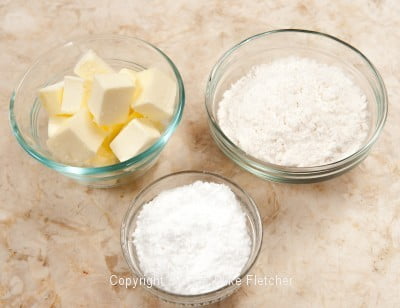
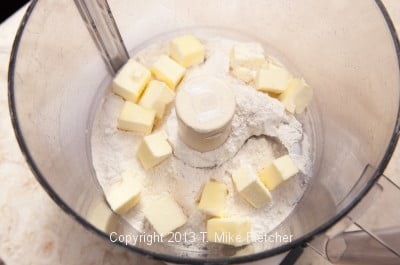
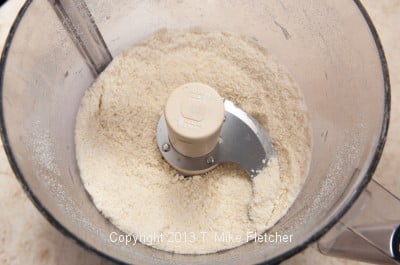
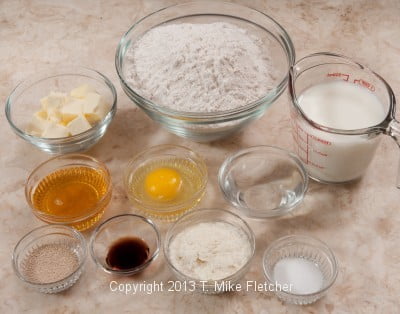
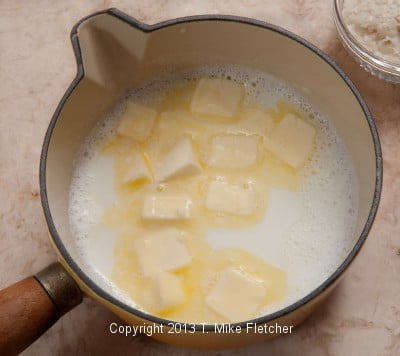
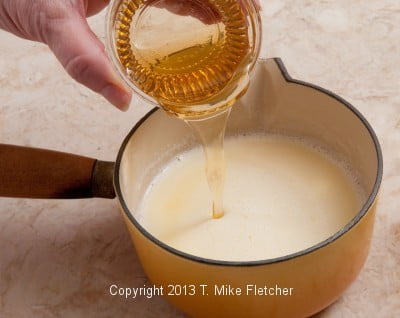
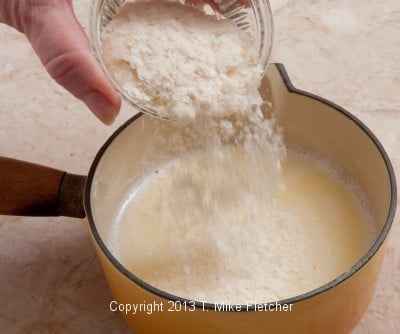
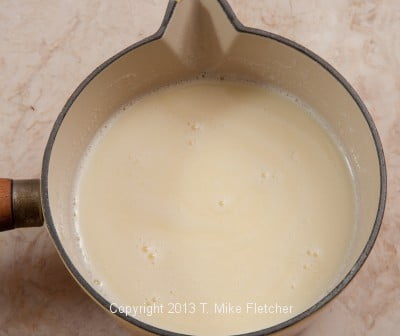
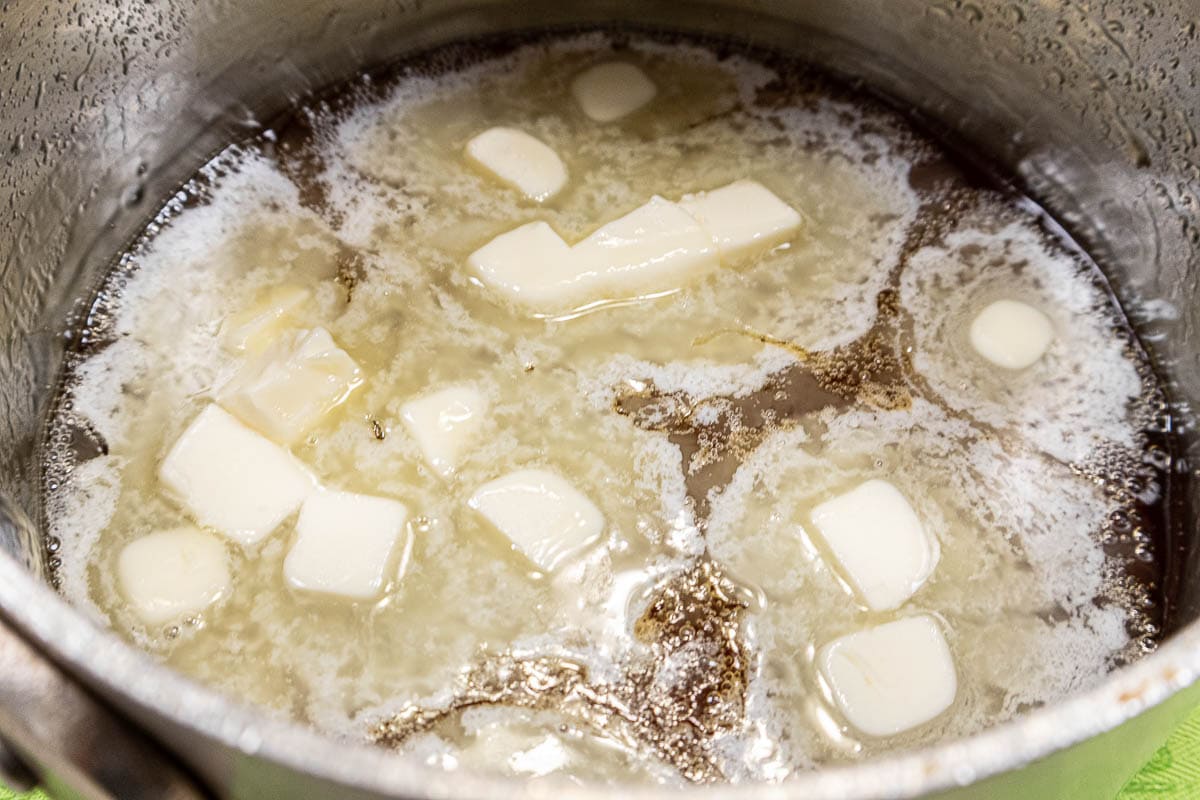
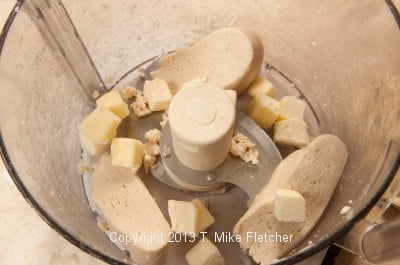
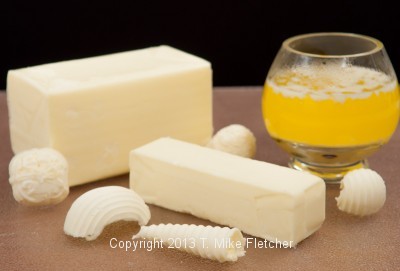 Butter has long been known for its qualities in baking. When it comes to baking, there is no fat as flavorful, rich and satisfying. There is no other fat that can duplicate its properties when baking.
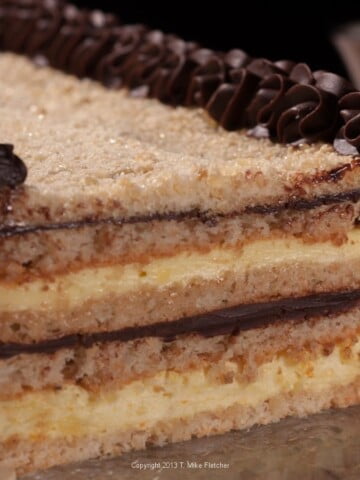
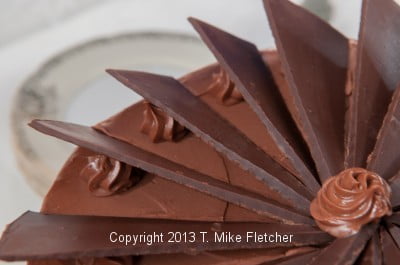
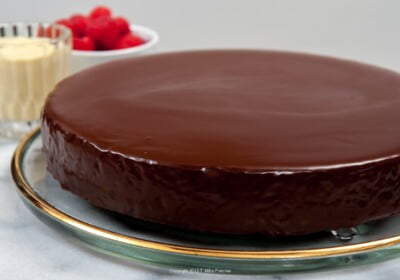
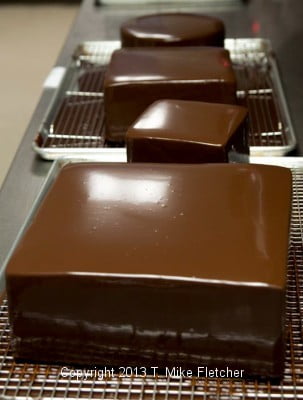
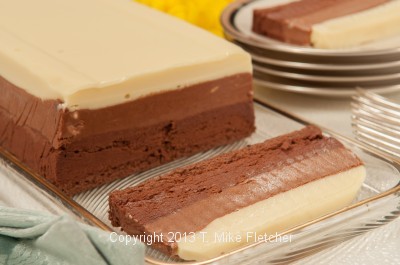
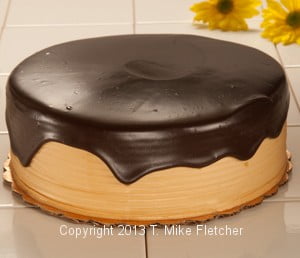
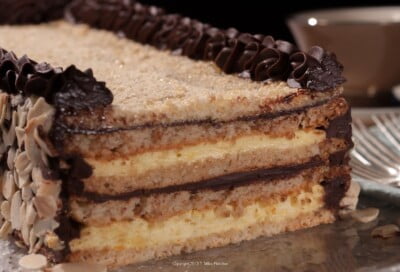 Ahhh, Marjolaine (pronounced mar zjoh lenn). This naturally flourless cake is perfect to celebrate graduations, wedding rehearsals or showers and is a knock out for birthdays.
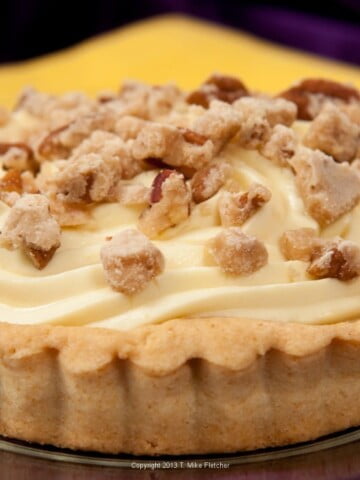
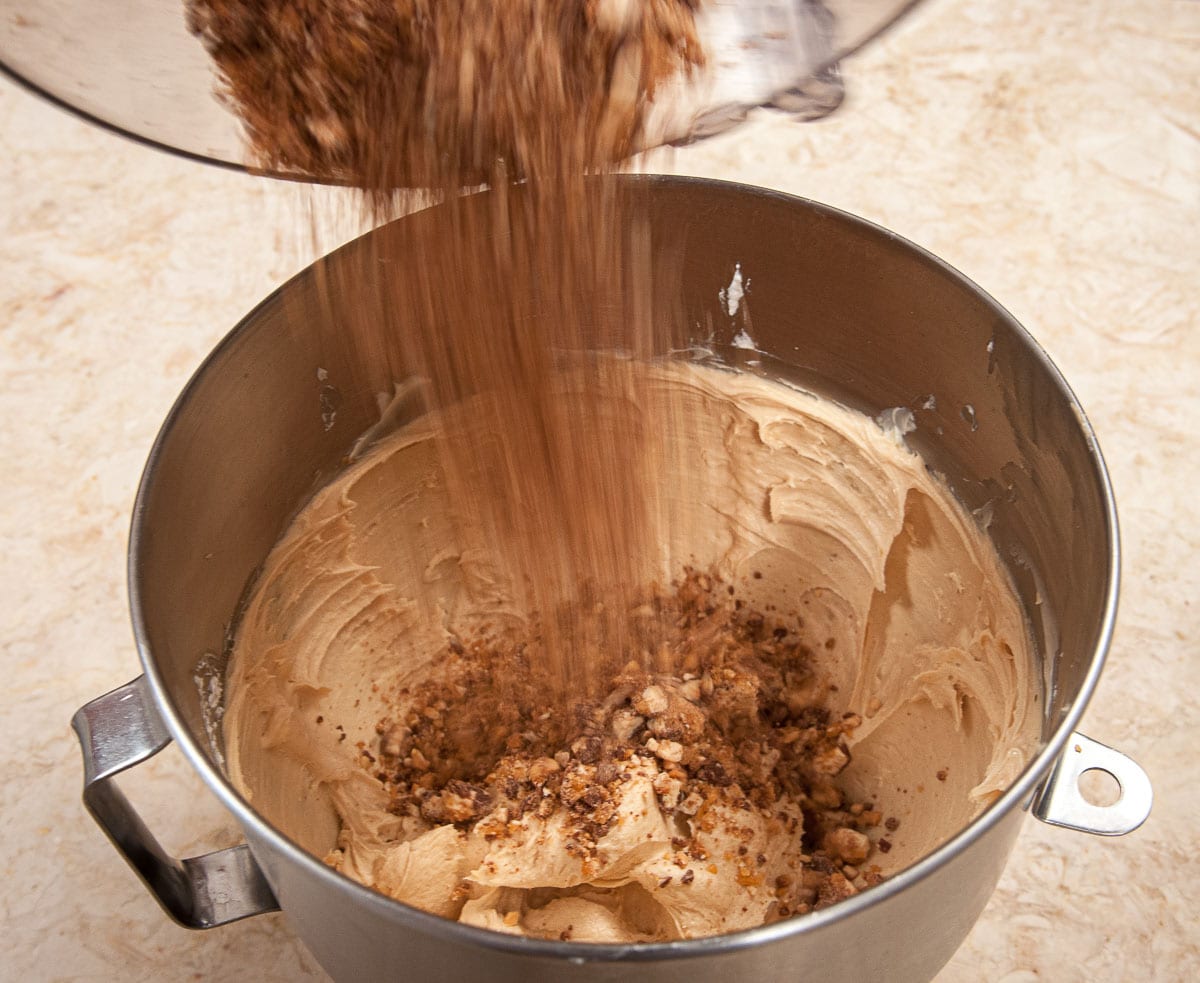
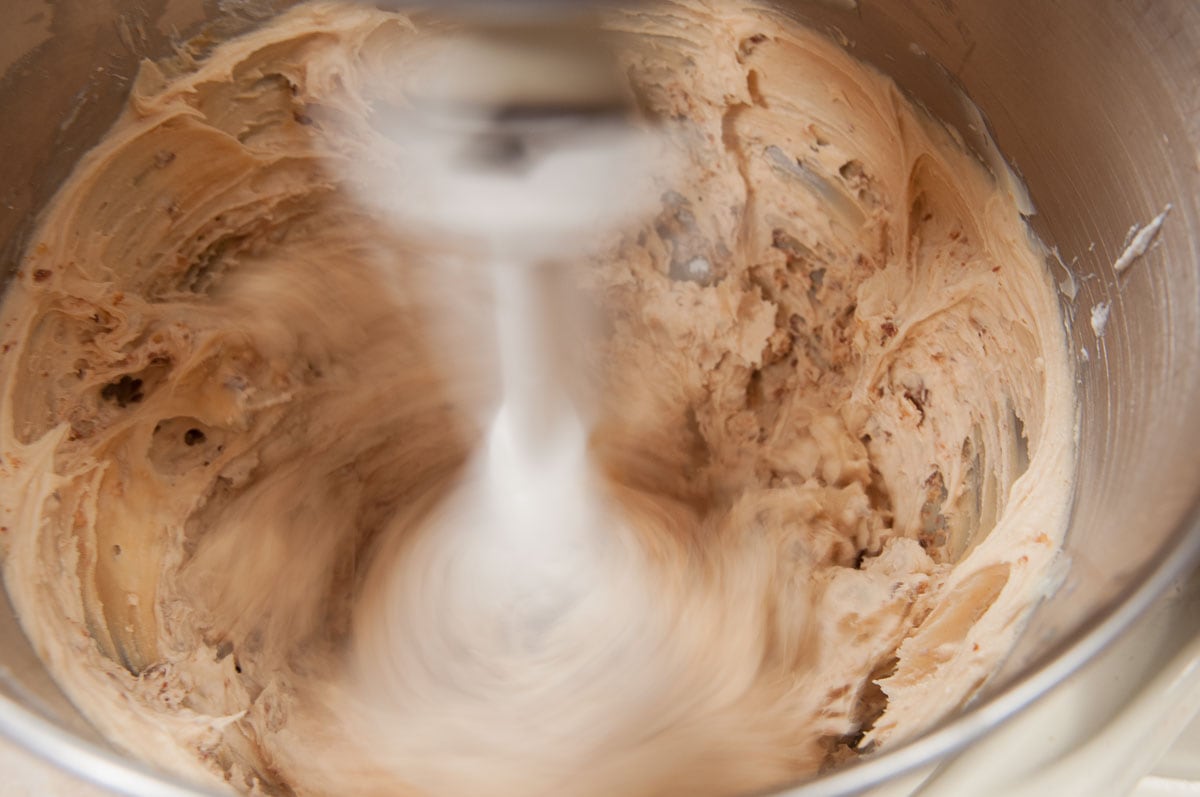
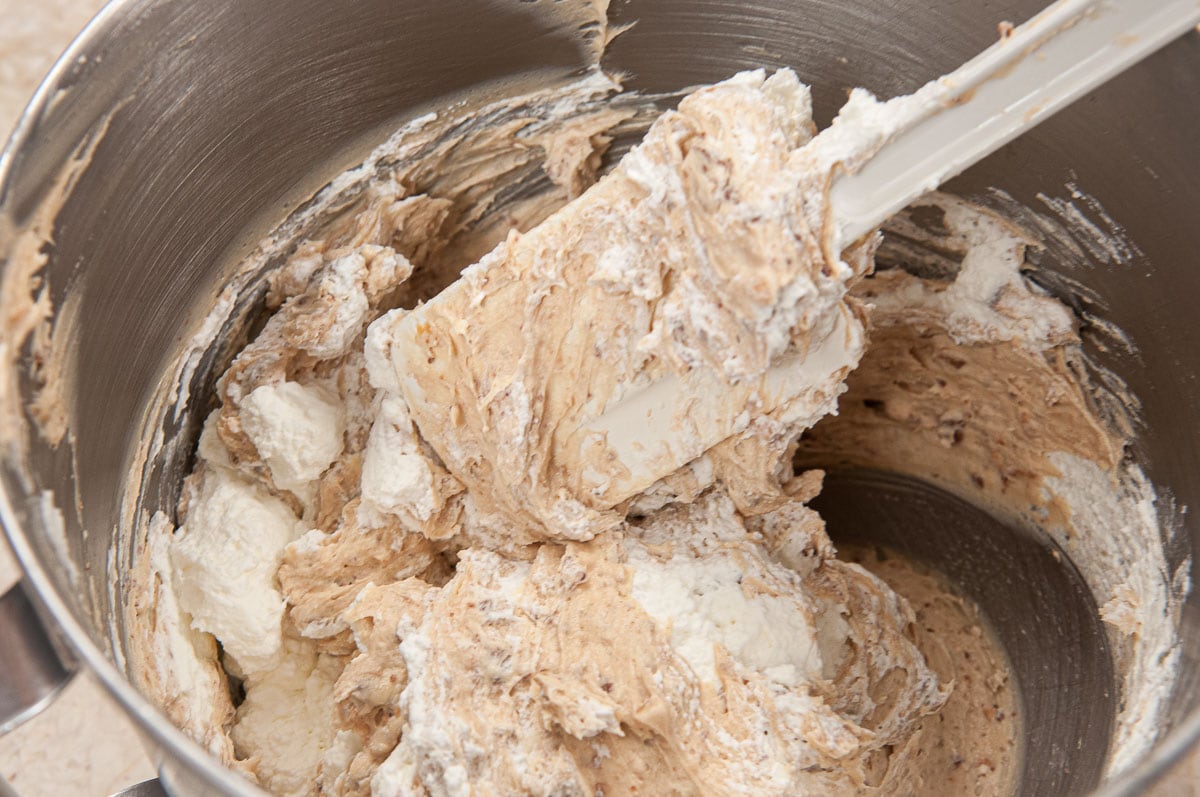
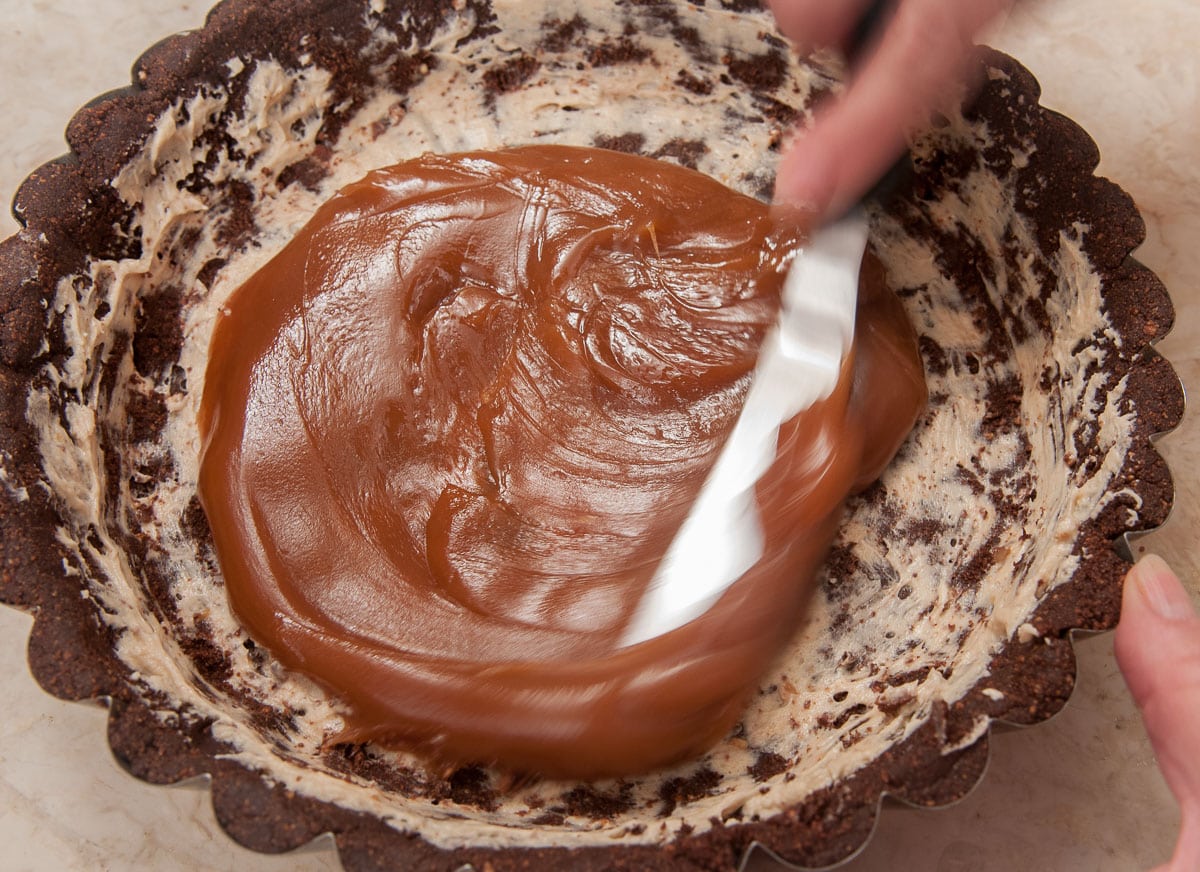
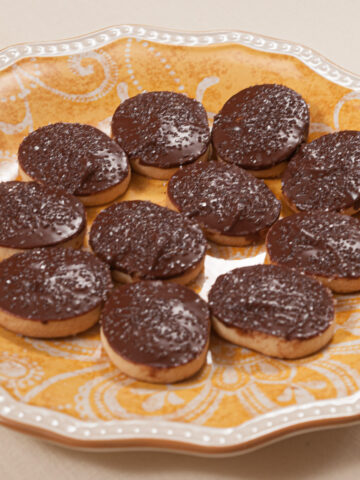
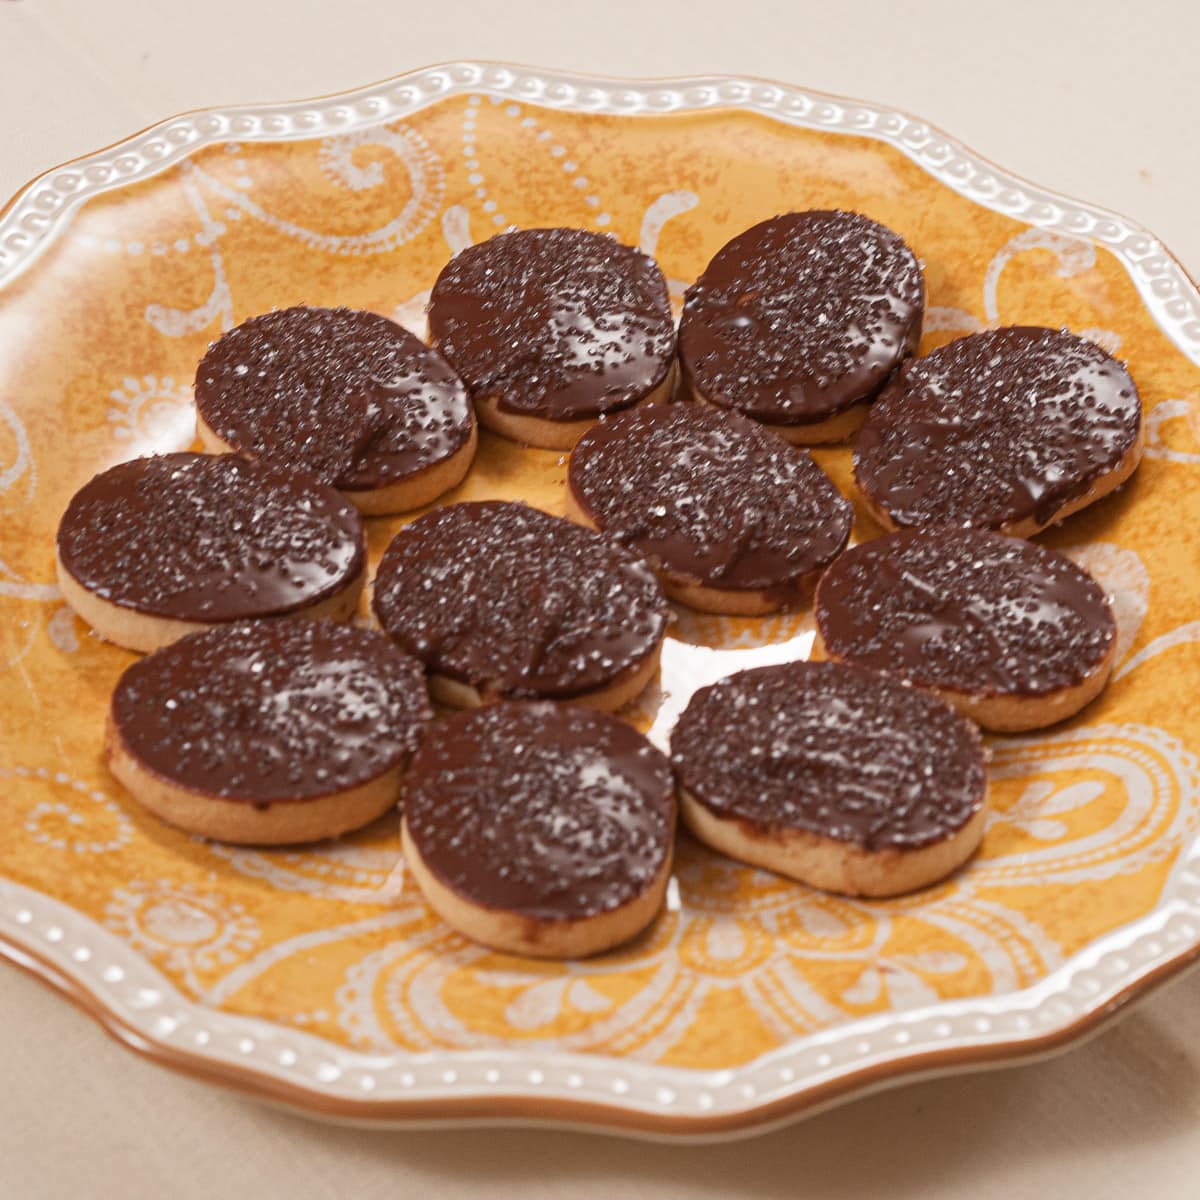
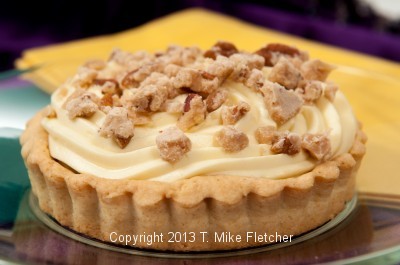 I was recently asked for a “New Orleans type dessert” at the restaurant. I was excited to come up with these Banana Caramel Tarts with Rum Pastry Cream and Pralines. The first bite will take you to Mardi Gras.
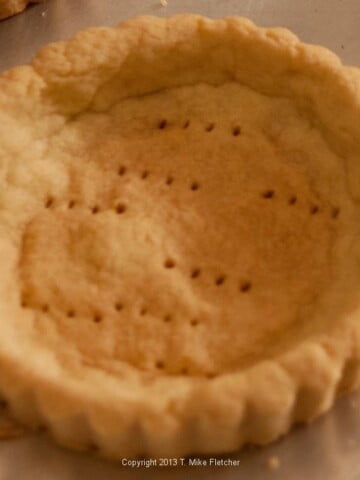
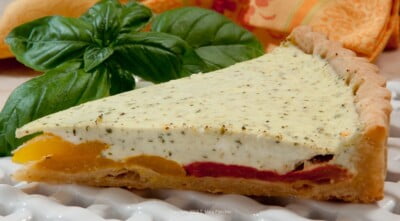
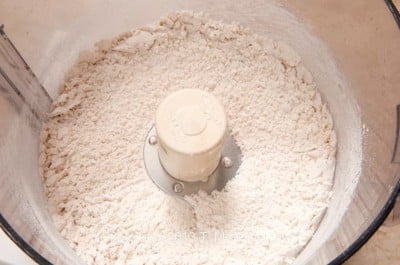
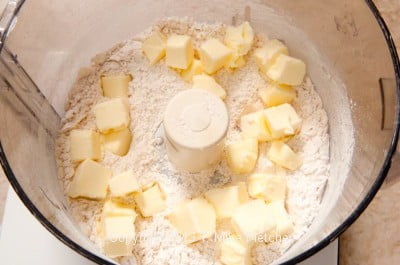
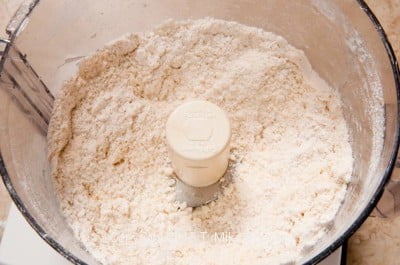
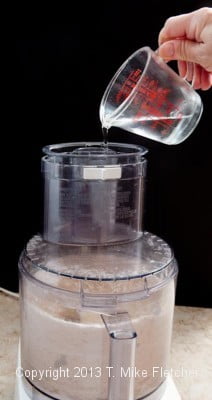
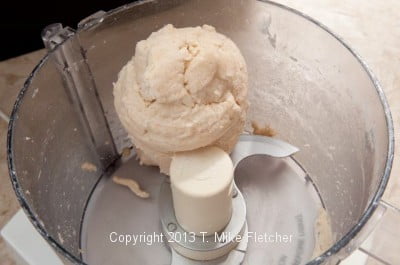
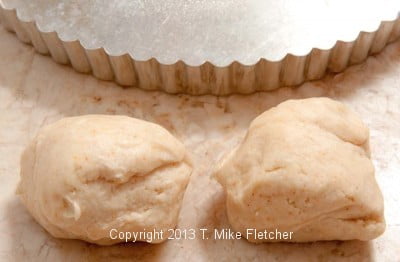
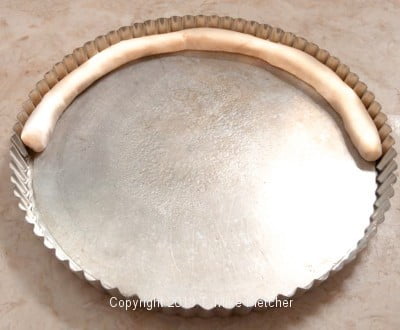
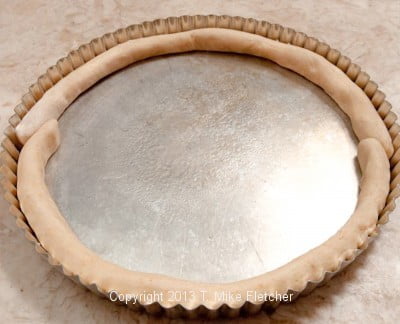
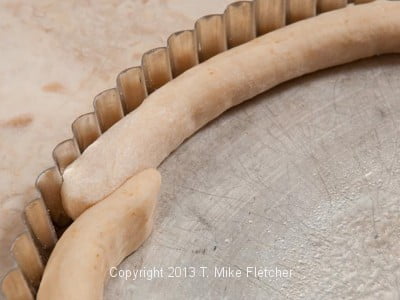
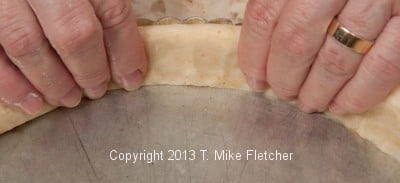
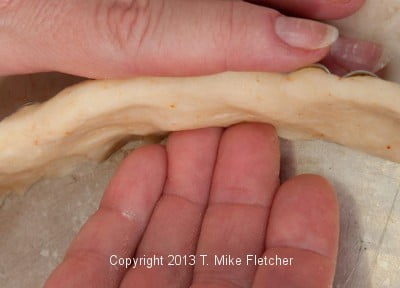
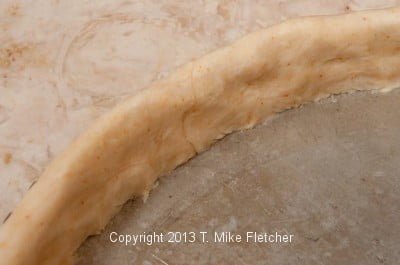
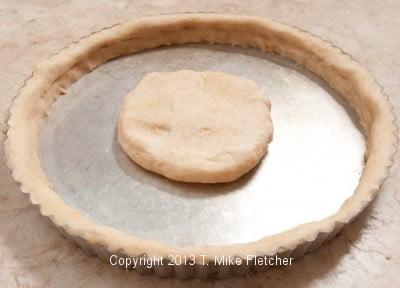
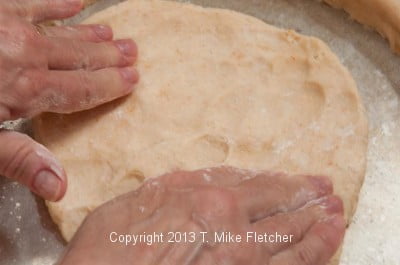
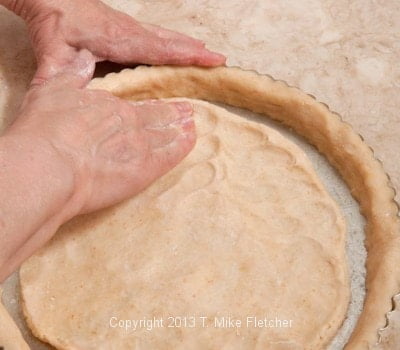
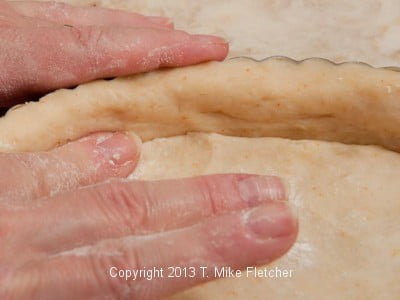
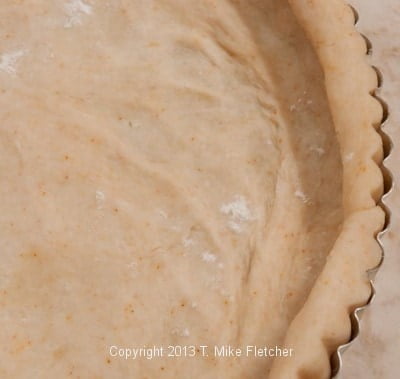
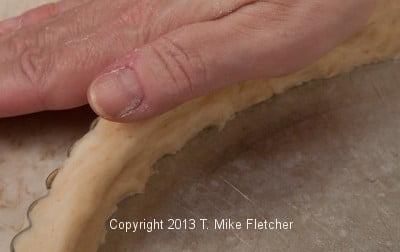
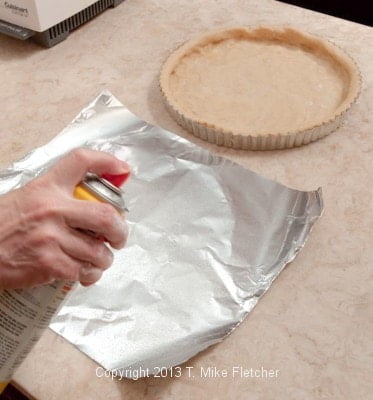
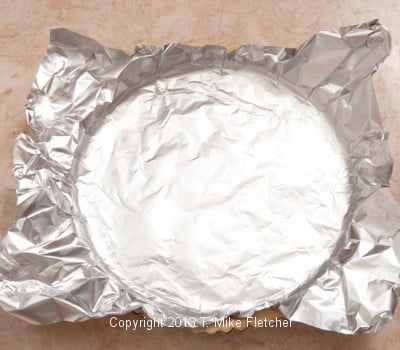
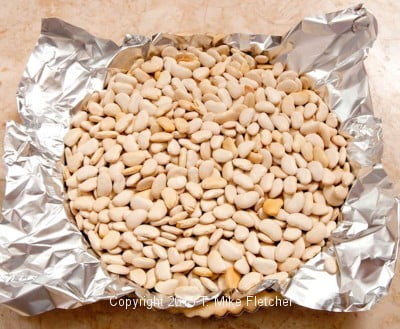
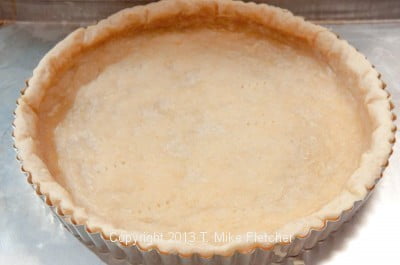
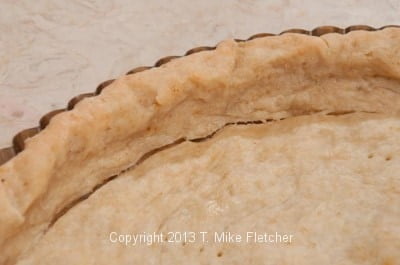
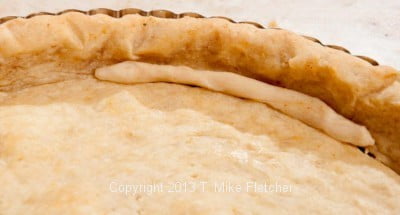
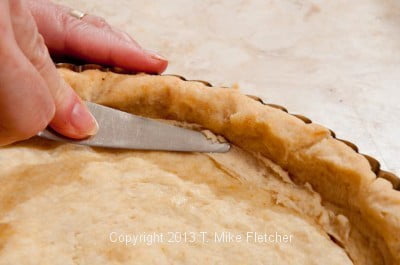
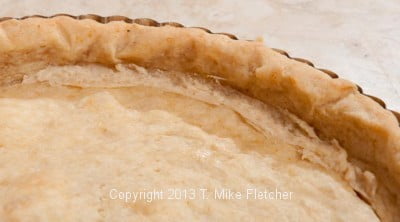
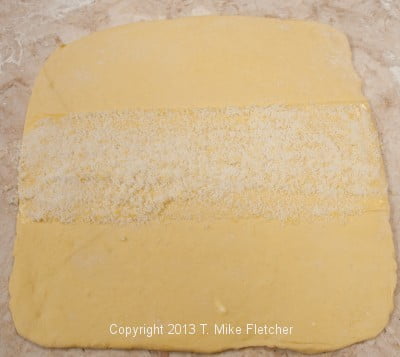
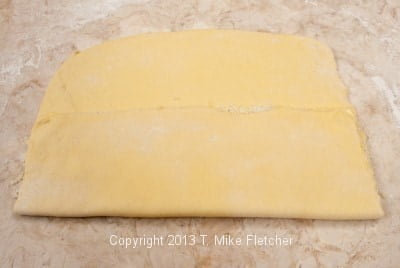
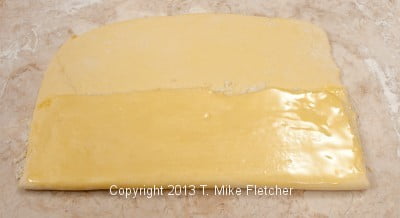
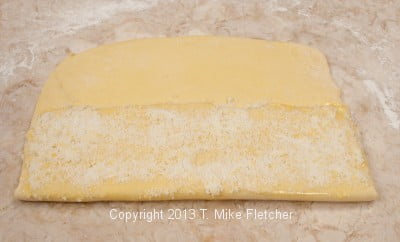
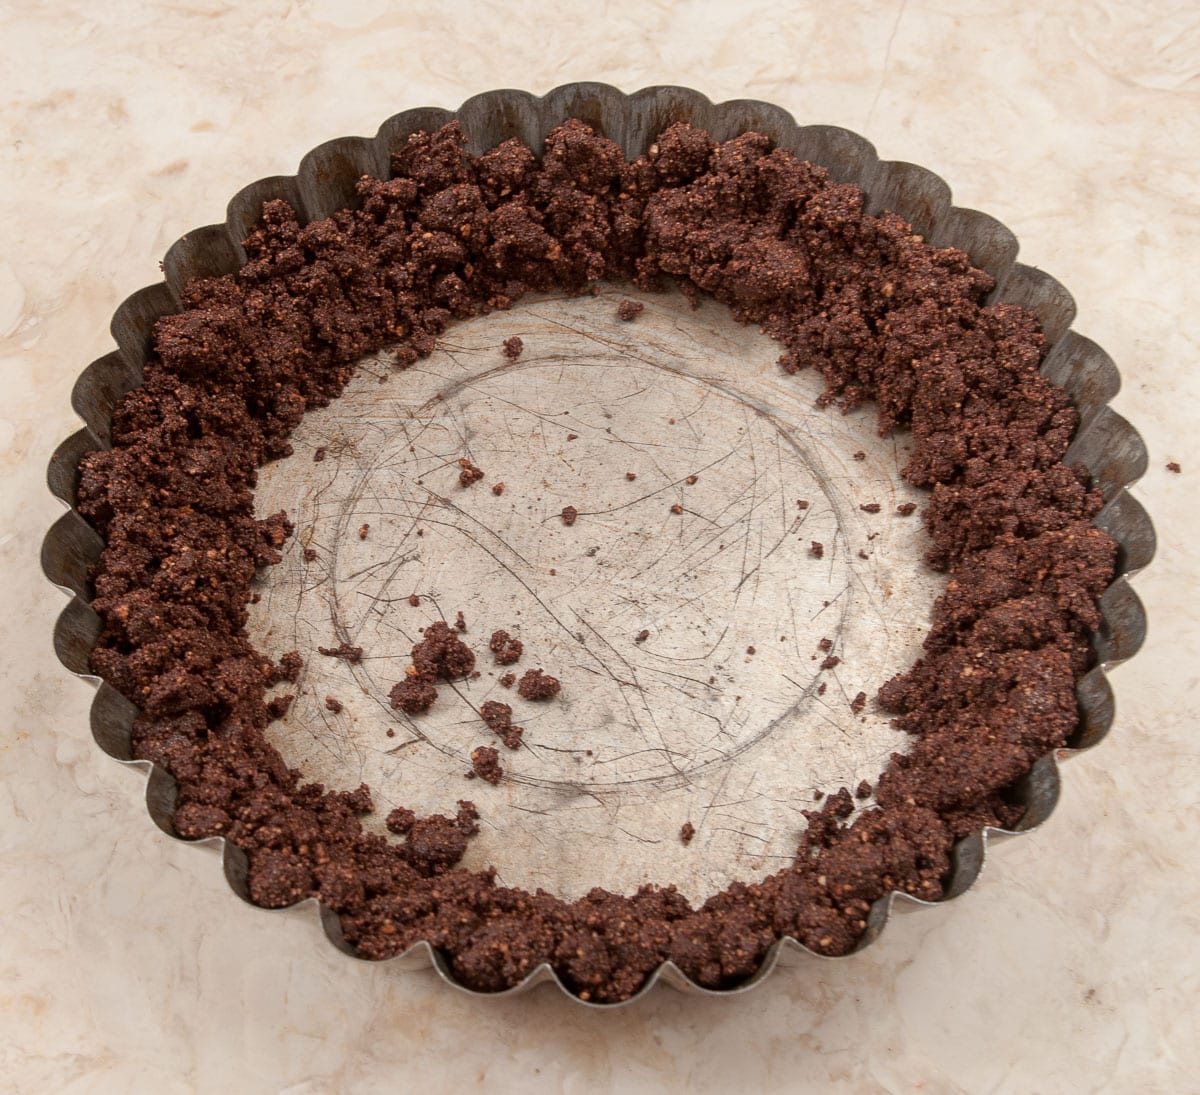
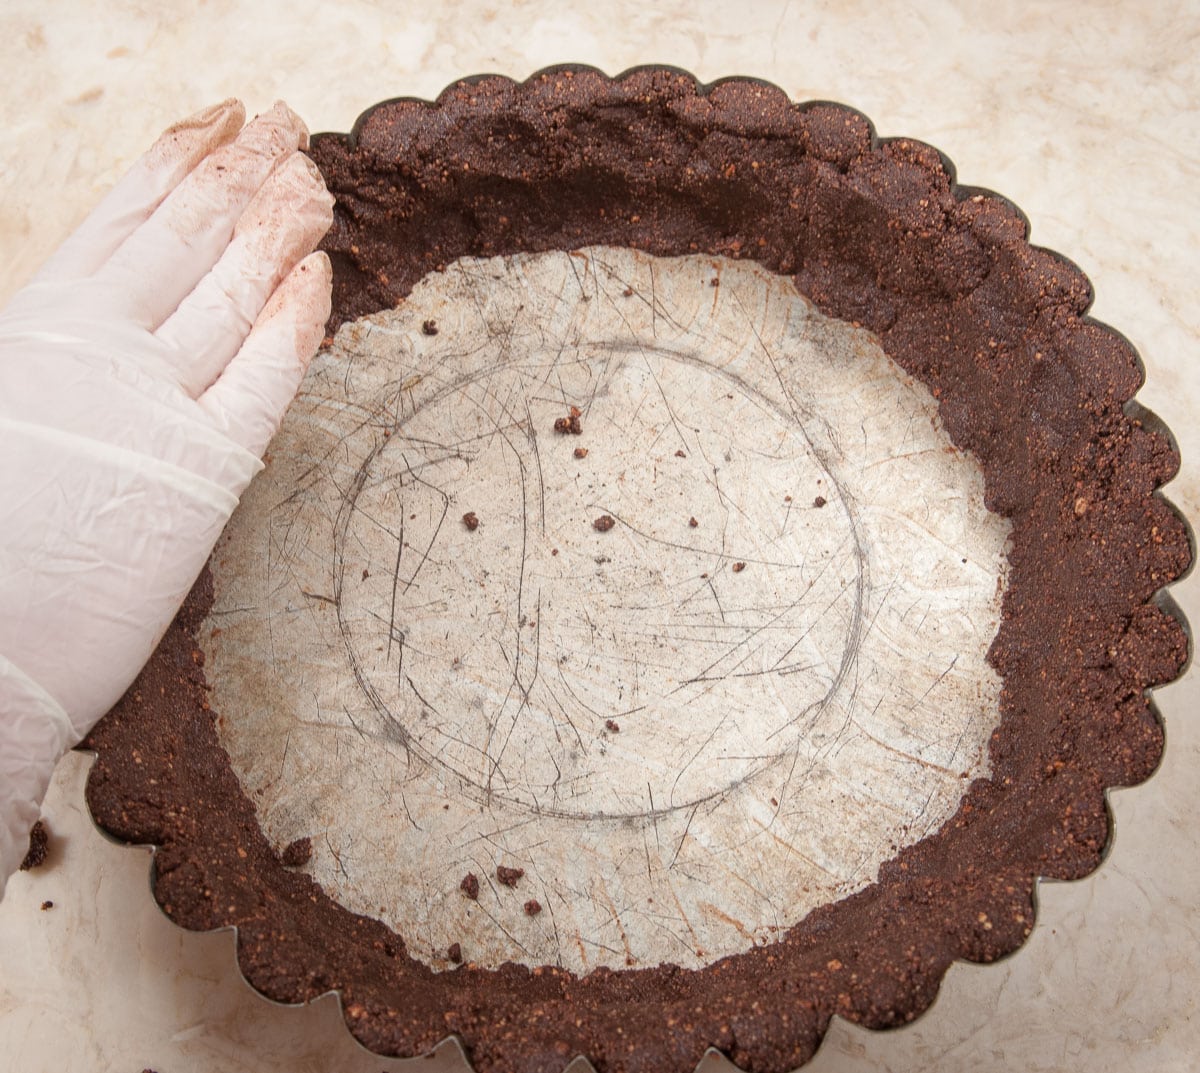
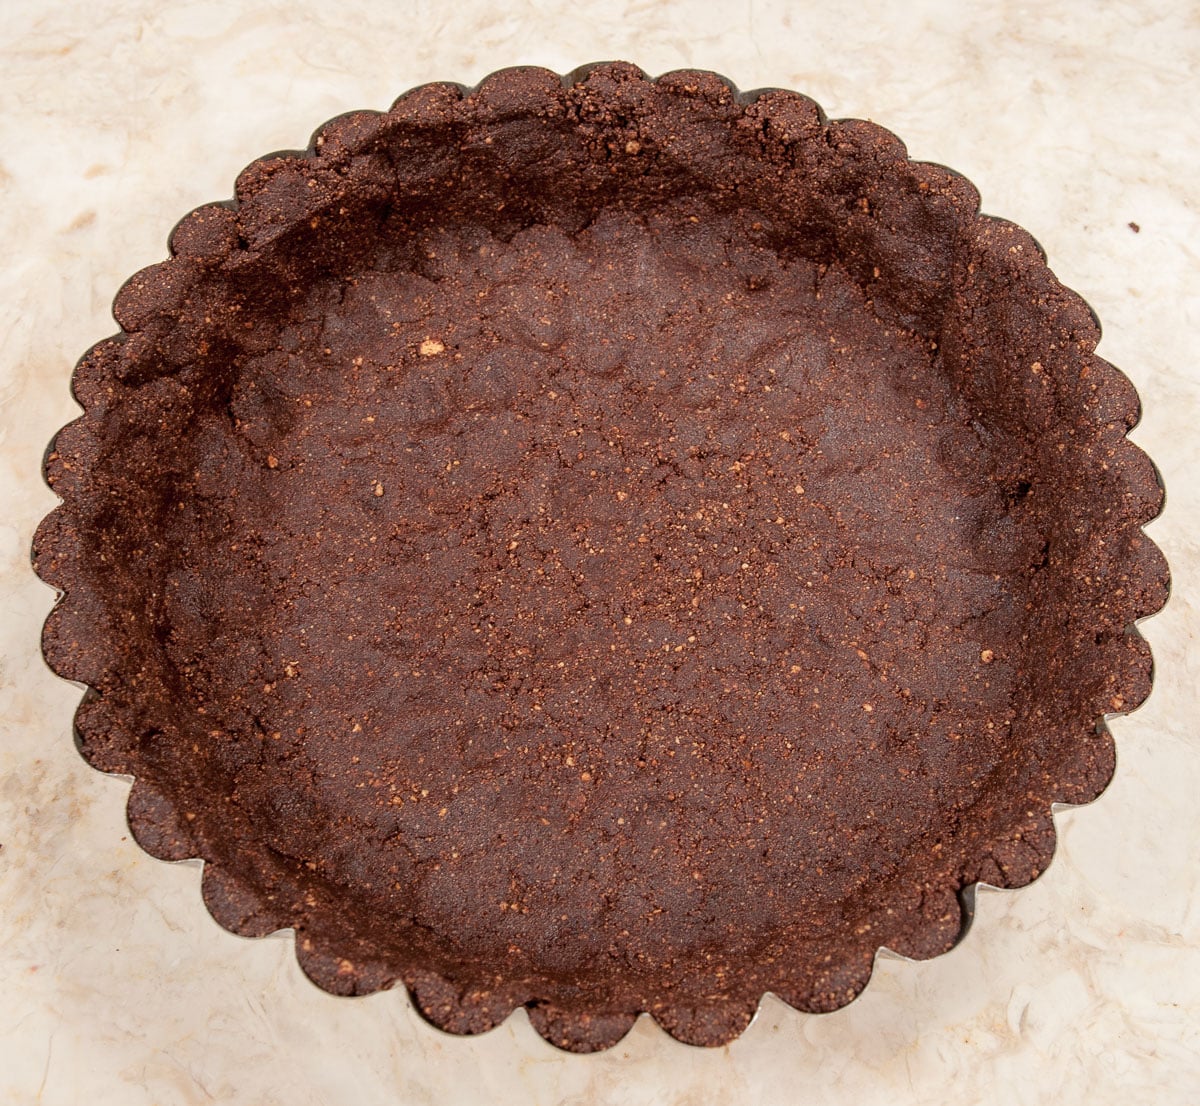
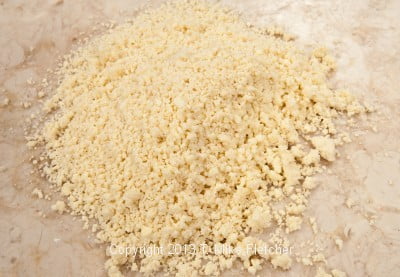
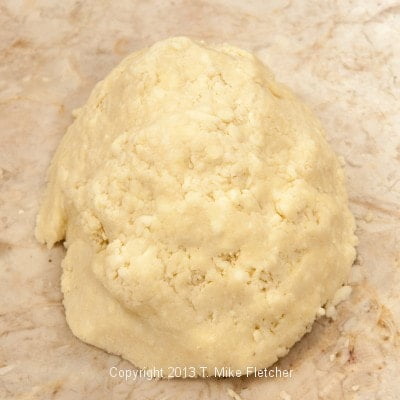
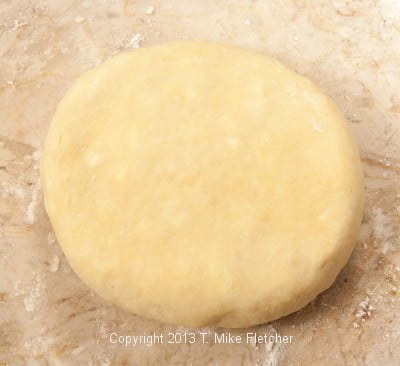
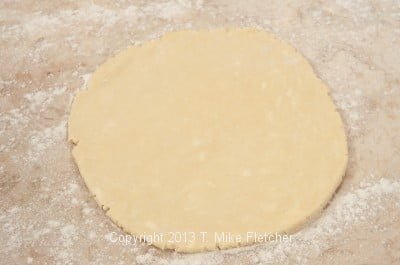
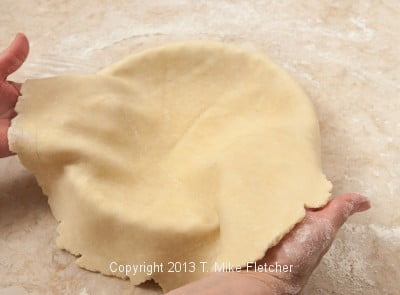
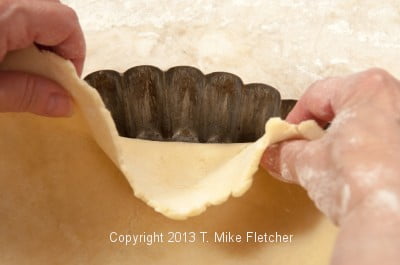
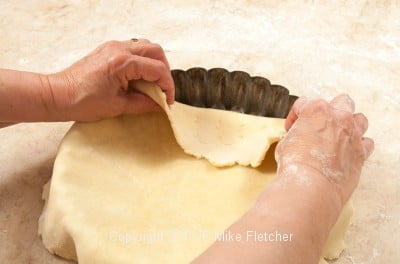
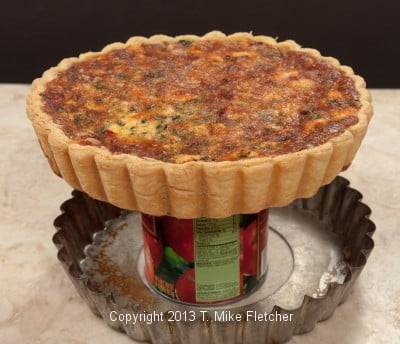
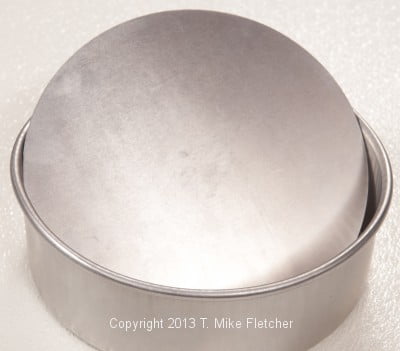
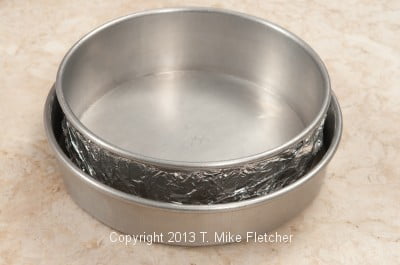
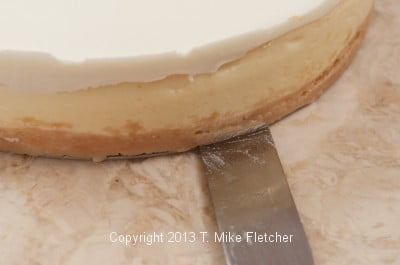
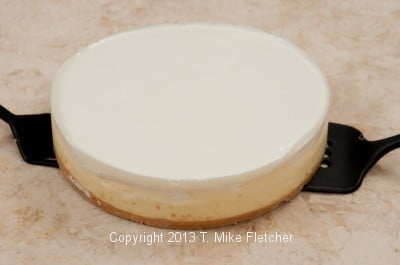
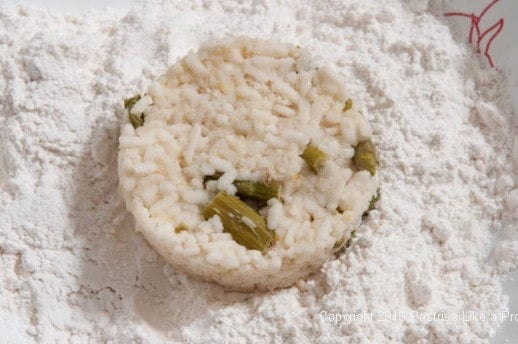
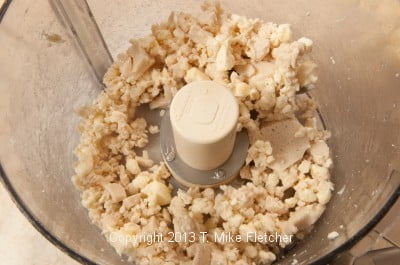
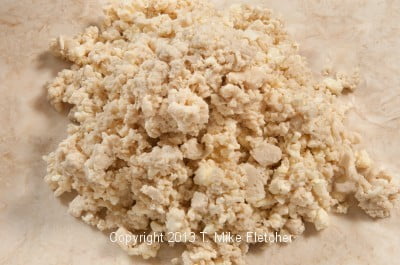
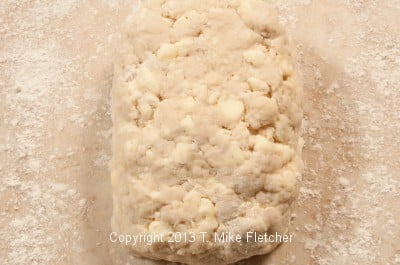
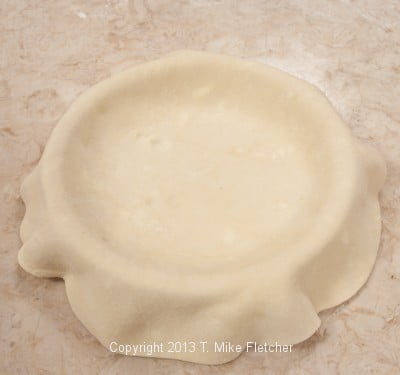
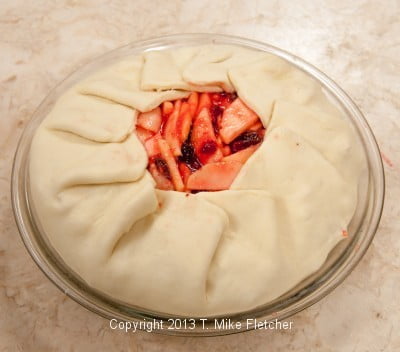
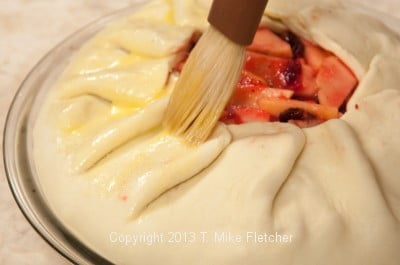
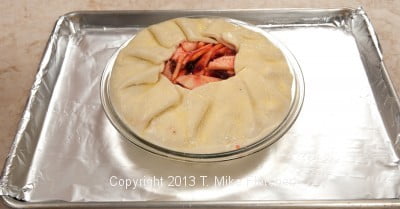
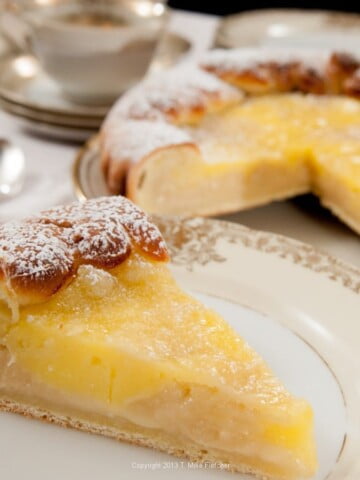
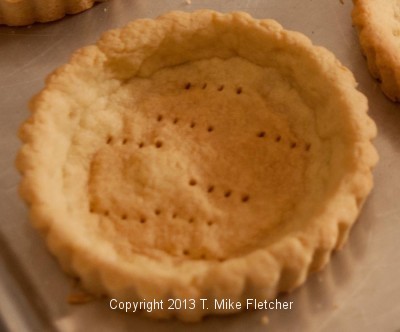 Individual tarts are the quintessential dessert. What's more flattering than getting your own dessert? Almost any full size tart can be turned into an individual tart by making individual tart shells. Wherein lies the problem. Most shells are one half to three fourths inch tall. By the time you get a regular pie or tart pastry in them, they shrink when baked and there is almost no side left to hold the filling.


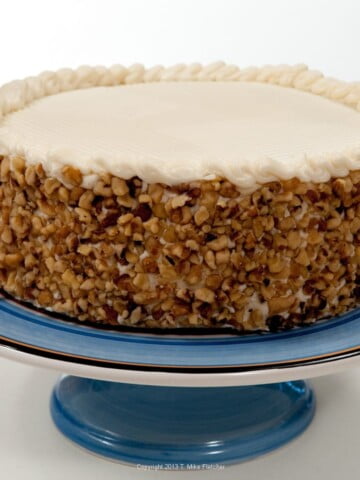
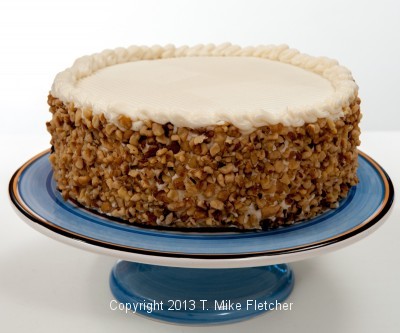
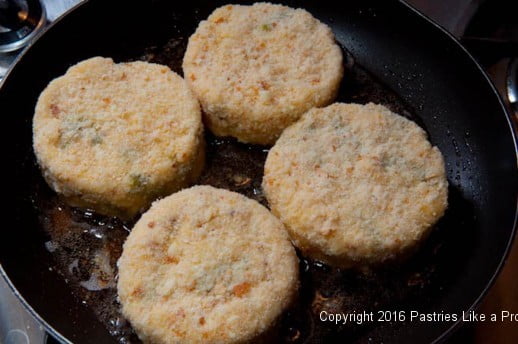
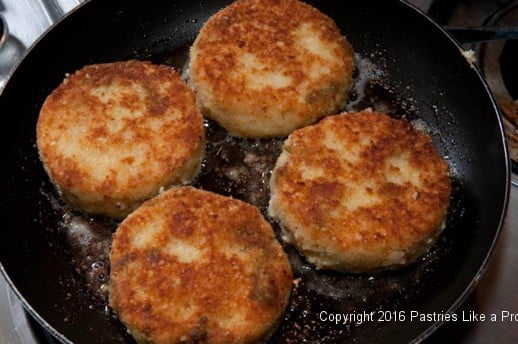
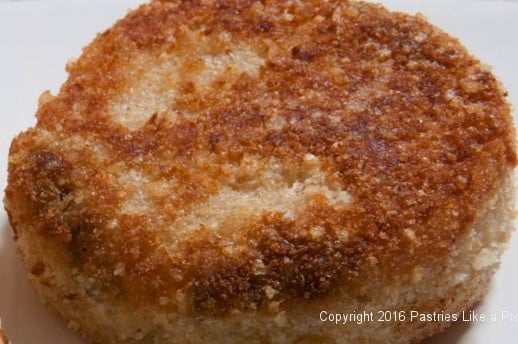
 My mother was a fantastic baker and cook. She could take nothing and make something wonderful from it. Unfortunately, I didn't appreciate it when I was growing up. They practically had to force feed me like those poor geese for foie gras. But what I did love, was anything my mother baked and is why, in hindsight, I went into the baking business.


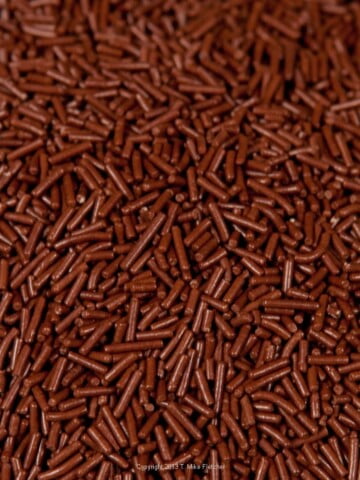
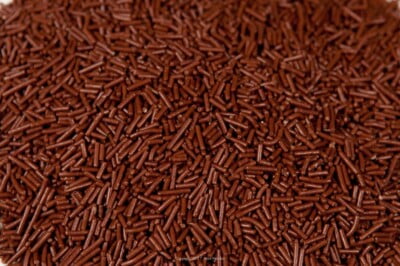
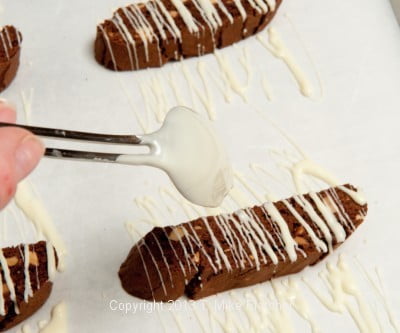
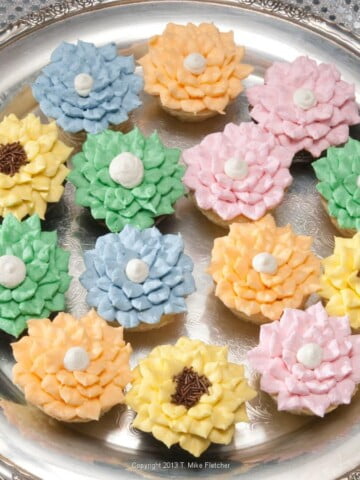
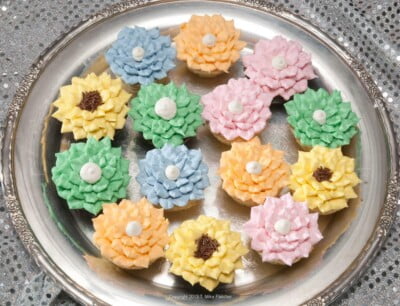
 Sprinkles, Jimmies, Decoratifs or Vermicelli - whatever you call them these little chocolate decorations can make or break a cupcake or cake!
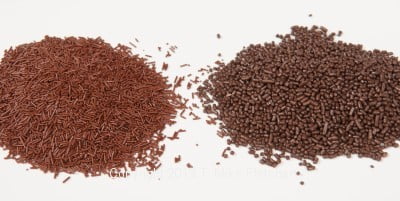
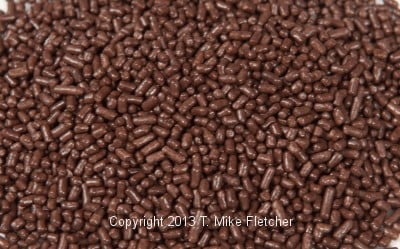 The Decoratifs by Guittard and Vermicelli by Cocoa Barry are made with real chocolate, are delicate and shiny. They can add an elegant touch when it comes to finishing. Looks-wise, they appear to be made by the same company and just packaged differently.