

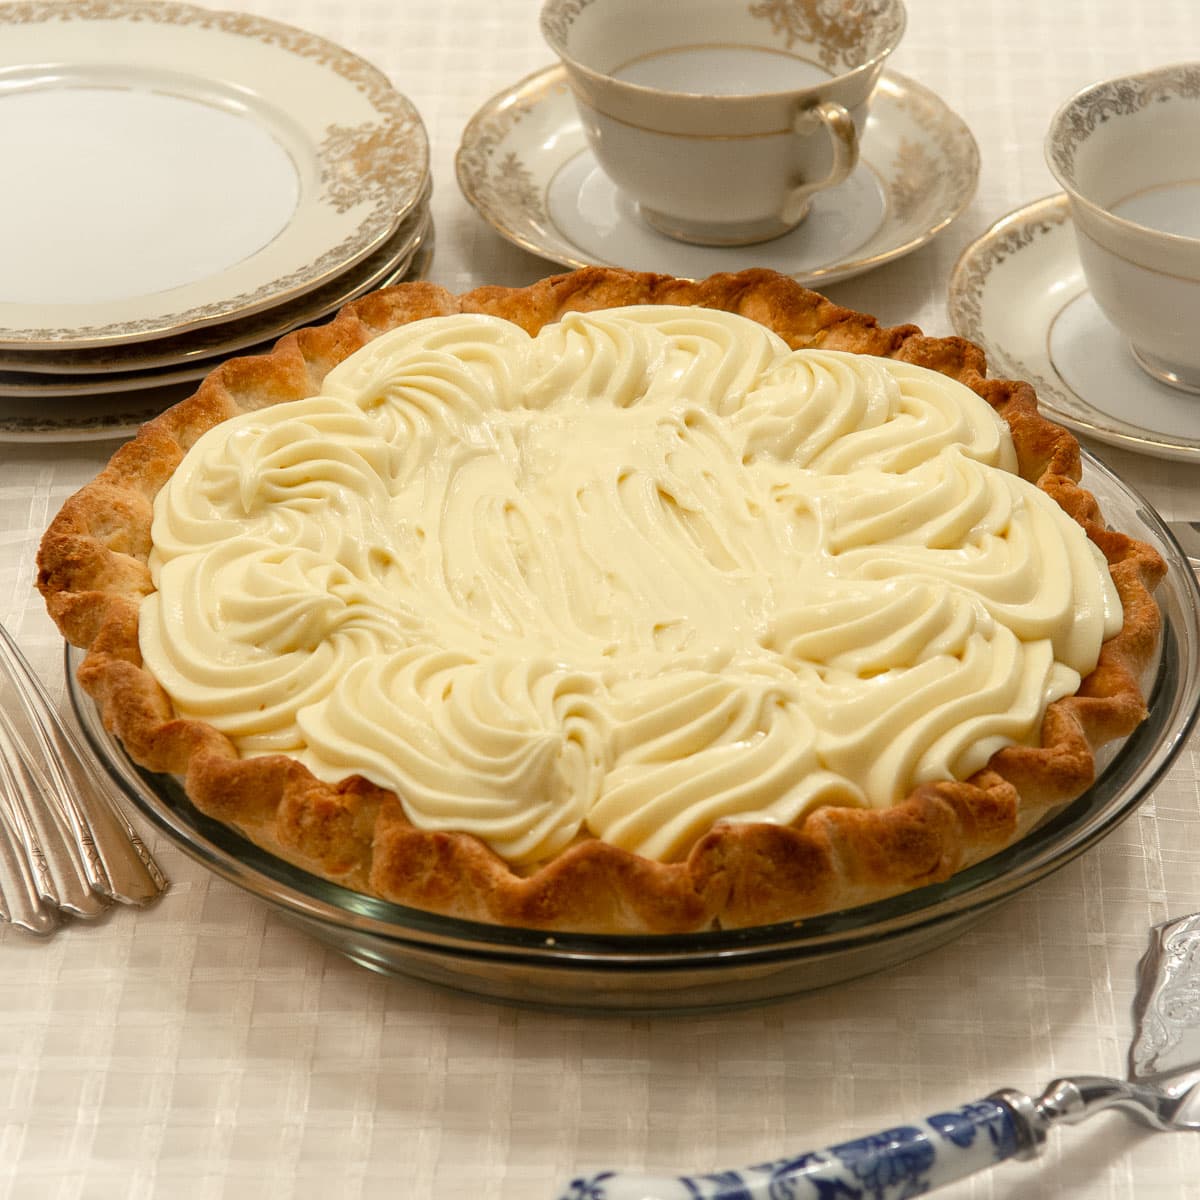
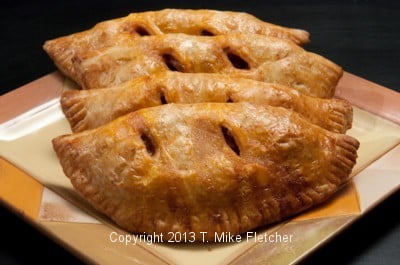
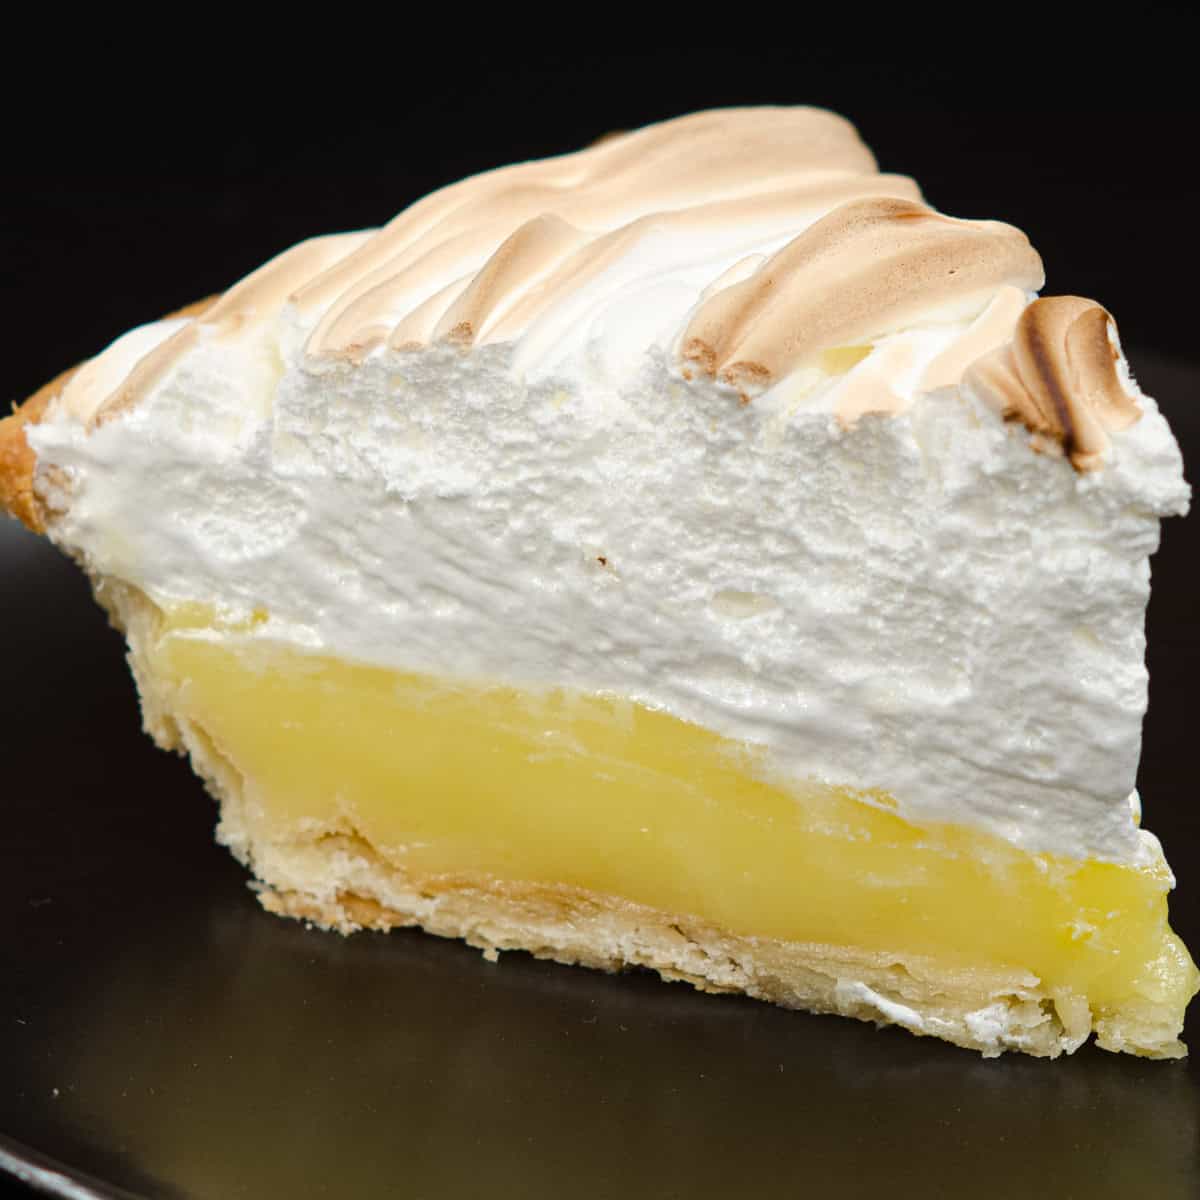
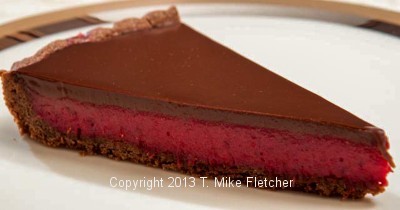
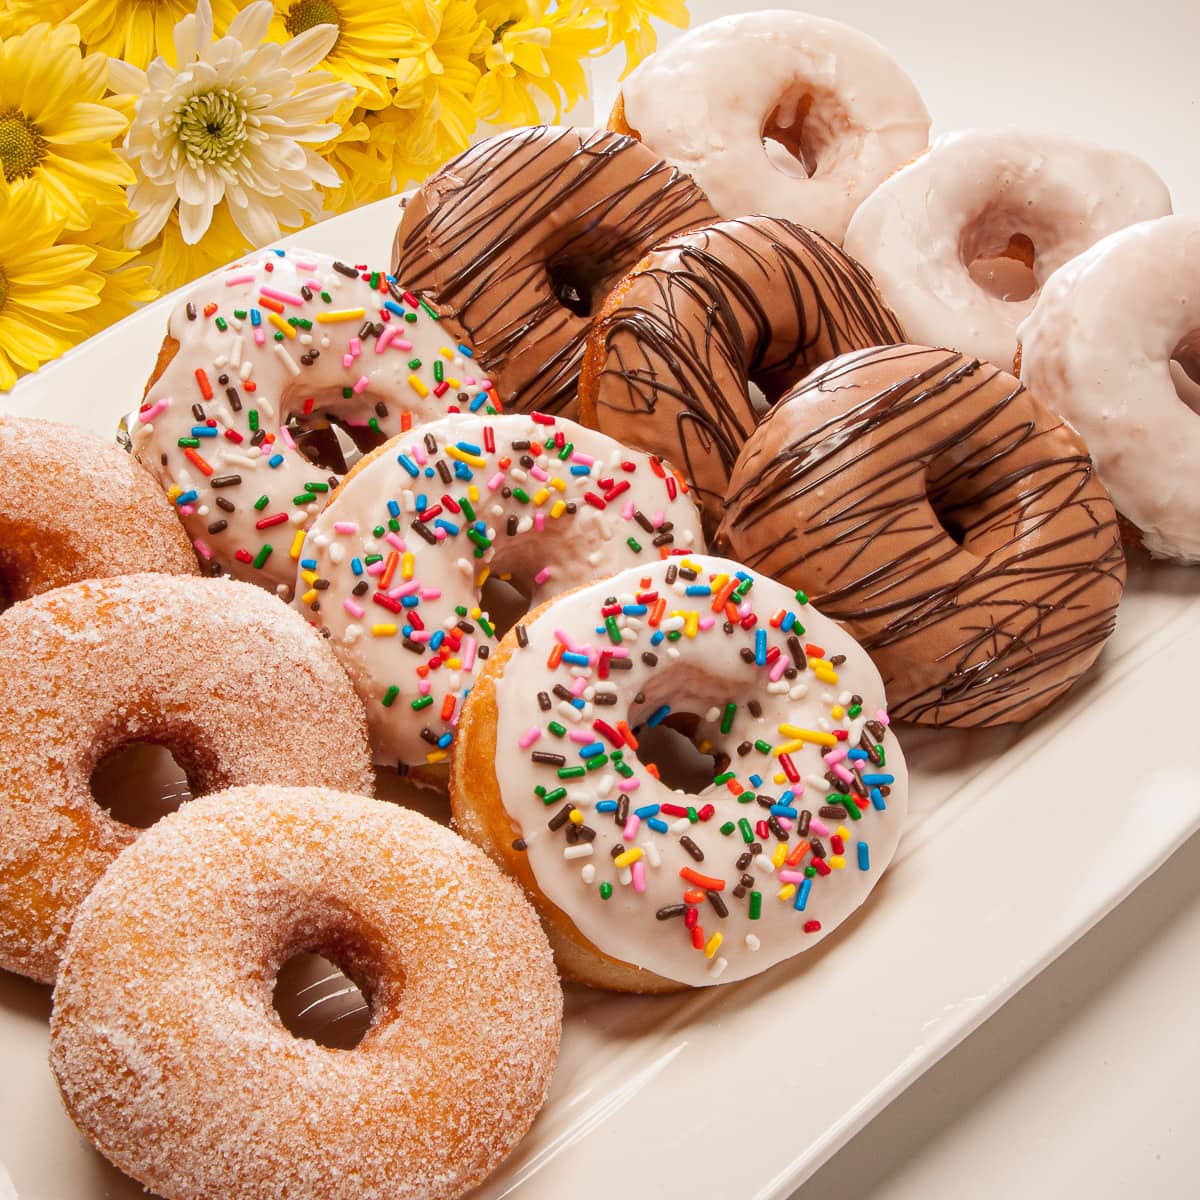
With all the hustle and bustle around the holidays, here are some Baking Tips for the Holidays to make things faster and easier. Homemade cookies and desserts are front and center and here's some help to ensure success.
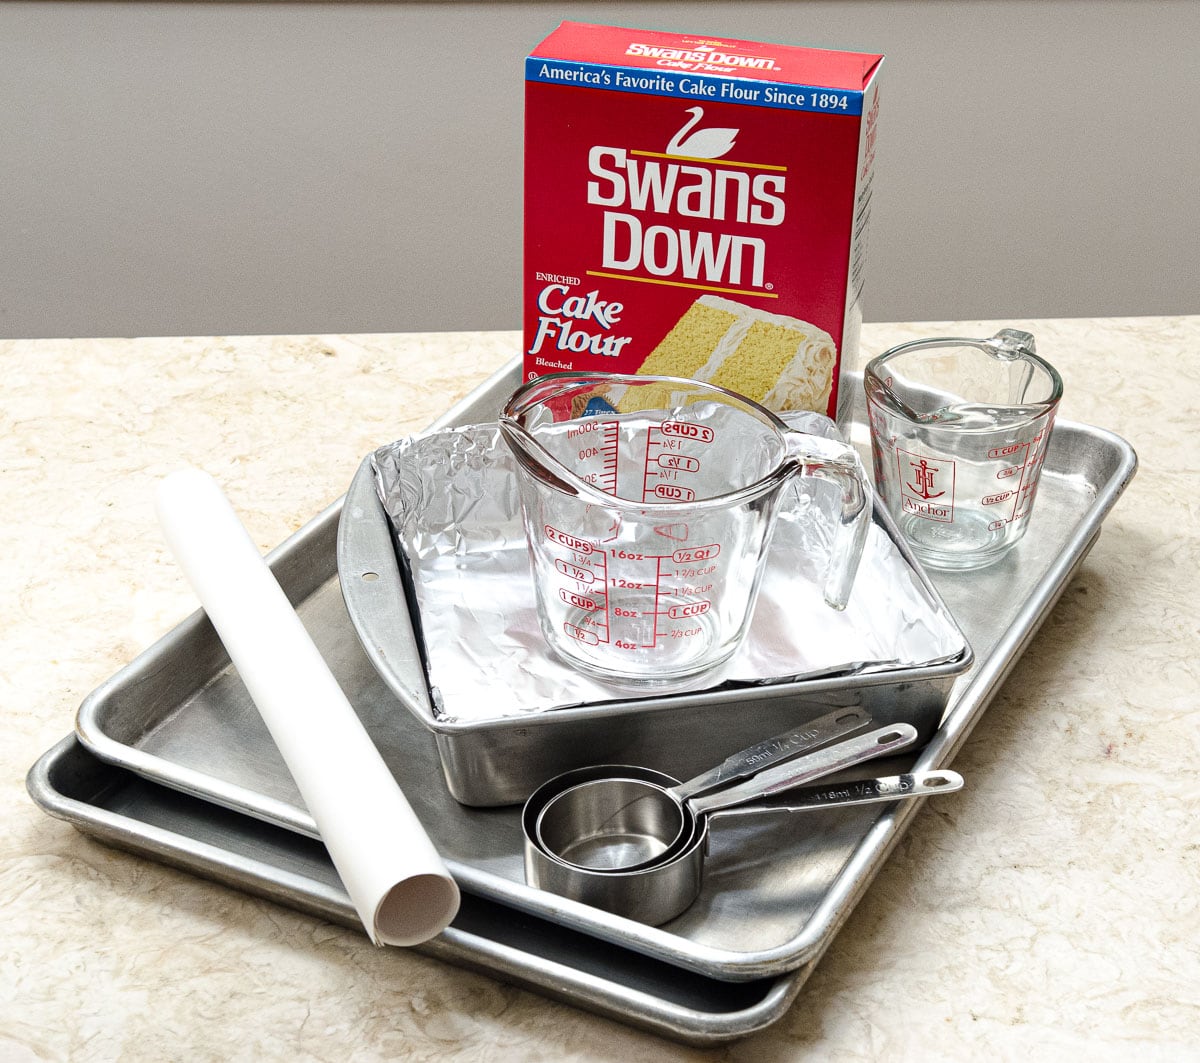
To Make Cake Flour –When cake flour is called for in a recipe and none is to be found in the pantry, remove 2 tablespoons of all purpose flour per cup and substitute 2 tablespoons cornstarch. Whisk together to combine completely. Use as called for.
To Make Self Rising Flour – Sometimes a recipe calls for self rising flour. I don’t stock it in my kitchen and I bake a lot. It can easily be made by combining 1 cup all purpose flour, 1 ½ teaspoon baking powder and ¼ teaspoon salt. Whisk together completely and use in the amount called for.
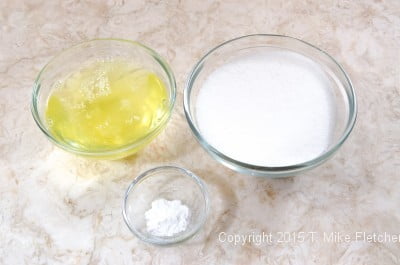
Measuring Flour - There are dry measures and liquid measures. Dry measures are meant to be filled to the very top for the correct amount. Liquid measures usually have a lip on them and they are marked with measurements. They are not usually filled to the top. The lip aids in pouring. Unfortunately, there are many ways to measure flour. In a professional bakery scales are used as the only true measure. Four ounces is always four ounces. However, many households don’t have kitchen scales so another method has to be found. However, with scales costing as little as $20.00 everyone should have one. If you get a new baking book, check their index for the method they use. The most frequently accepted method is to stir the flour in its canister or bag, dip the dry measure cup in overfilling it and with the flat side of a knife or spatula, sweep off the excess. Whatever you do, do not tap the cup to level it or tamp it down. Too much flour will make for a heavy, leaden outcome at best, a failure at worst.
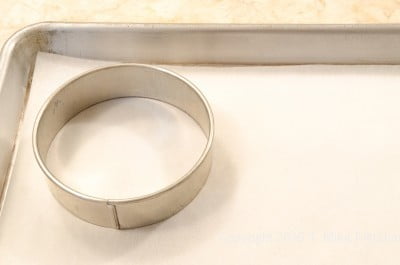
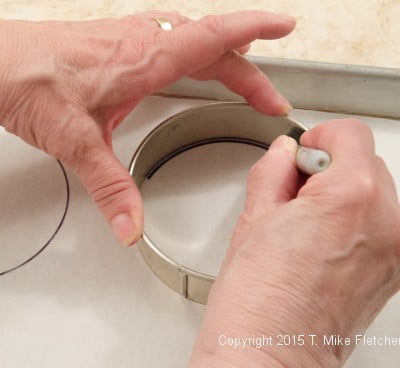
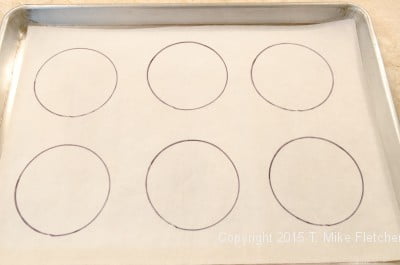
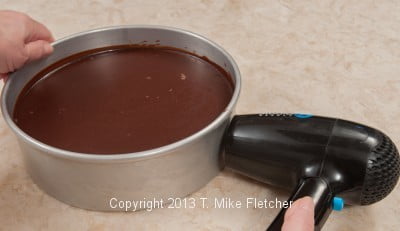
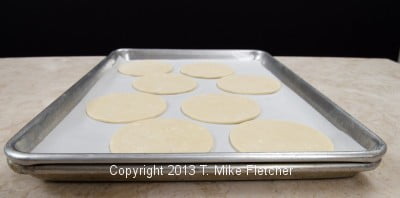
Parchment Paper – As a professional baker for over 25 years, I was very happy when I finally saw parchment paper on grocery the shelf. It is indispensable in a bakery. We used it to line all the pans so there is no need to grease and butter the baking sheets or cake pans. Simply tear off enough to cover a cookie sheet. If lining cake pans, no matter what shape, draw around the bottom of the pan on the parchment paper and cut out. Line the inside of the pan. It makes a world of difference in baking.
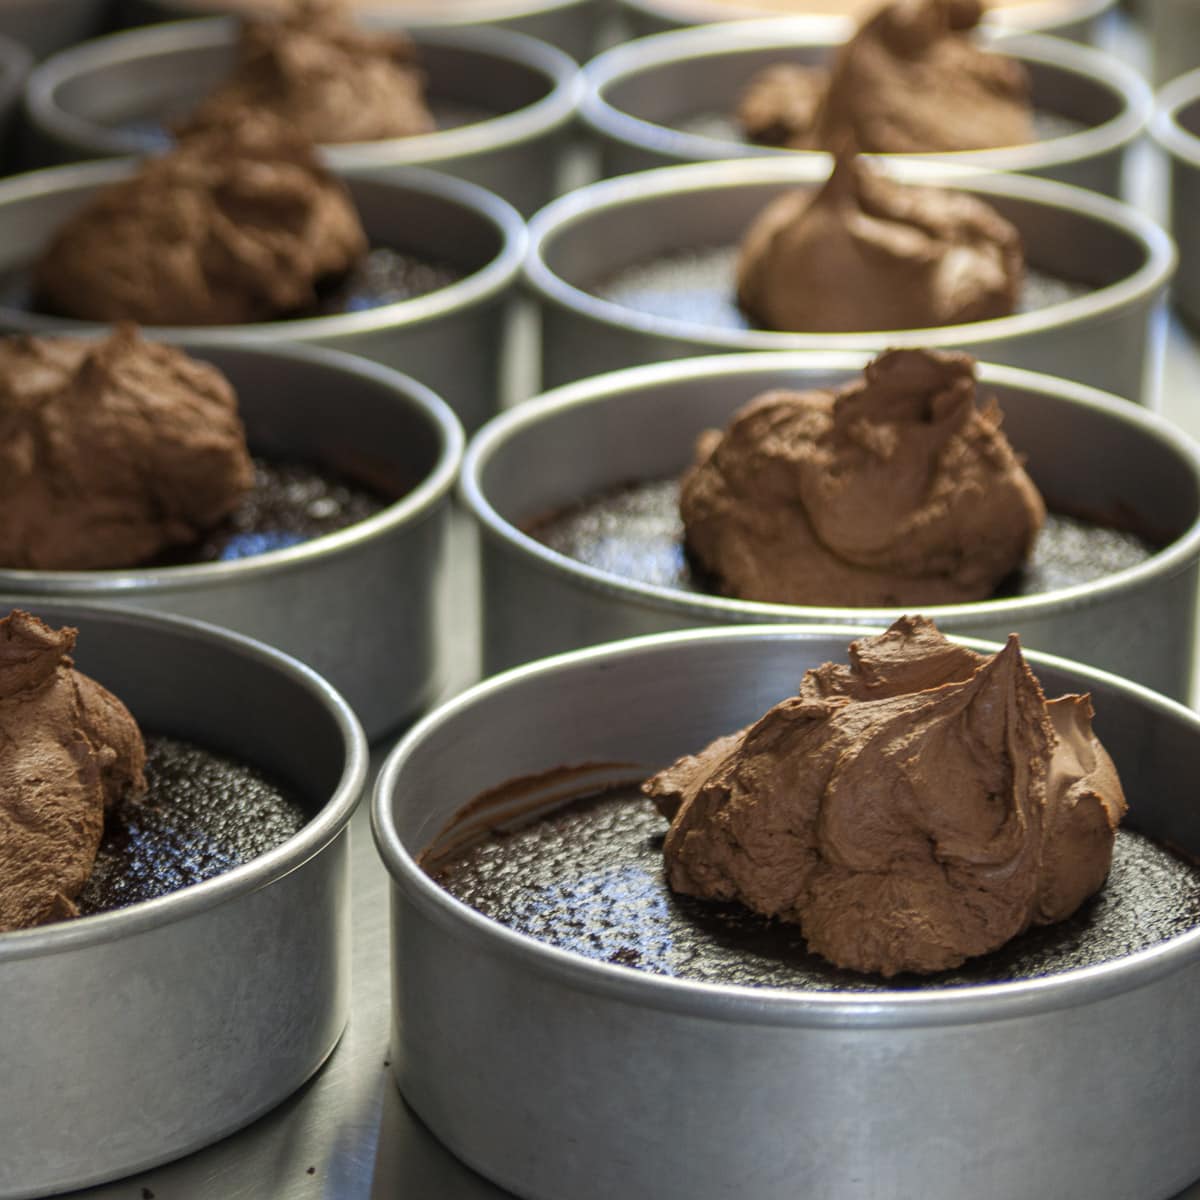
To Prevent Over browning of Cookies: Items made with brown sugar, honey, molasses or cornsyrup brown very quickly in the oven. Cookies, because they are small and relatively thin, can over brown or burn before they are finished. To prevent this, double pan each baking sheet. Simply put one cookie sheet on top of another and bake according to the directions. The double panning slows the heat to the bottom and although they usually take a few minutes longer to bake, they will be perfect when finished.
To Make Buttermilk or Sour Milk – To make a substitute for buttermilk or sour milk called for in a recipe, remove 1 tablespoon milk and add 1 tablespoon lemon juice or vinegar to a cup of whole or 2% milk. It will probably curdle but that is fine.
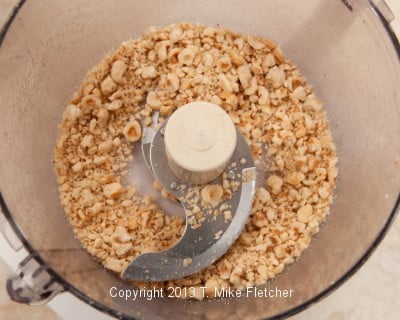
Toasted Nuts – A great flavor boost when using nuts is to toast them. Preheat the oven to 350 degrees, spread the nuts out in a single layer on a rimmed baking sheet and toast for 7 to 12 minutes depending upon the nut. Be careful not to burn them. Toasted nuts make a world of difference in a baked product especially.
Cookie Add Ins - When making chocolate chip cookies, or any cookie with add ins, save about ⅓ cup chips out of the batter. When you get to the bottom of the bowl where there aren’t so many chips, stir them in.
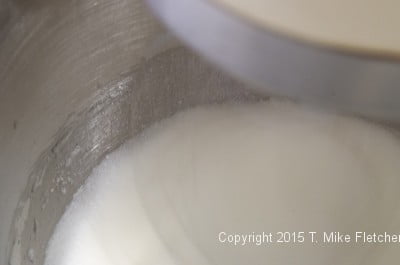
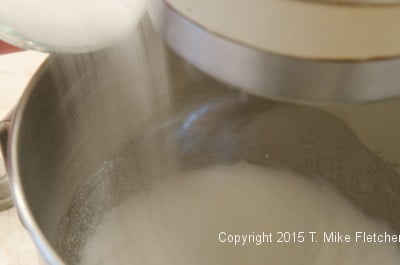
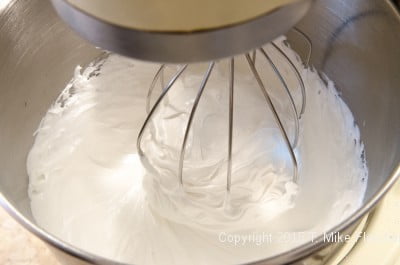
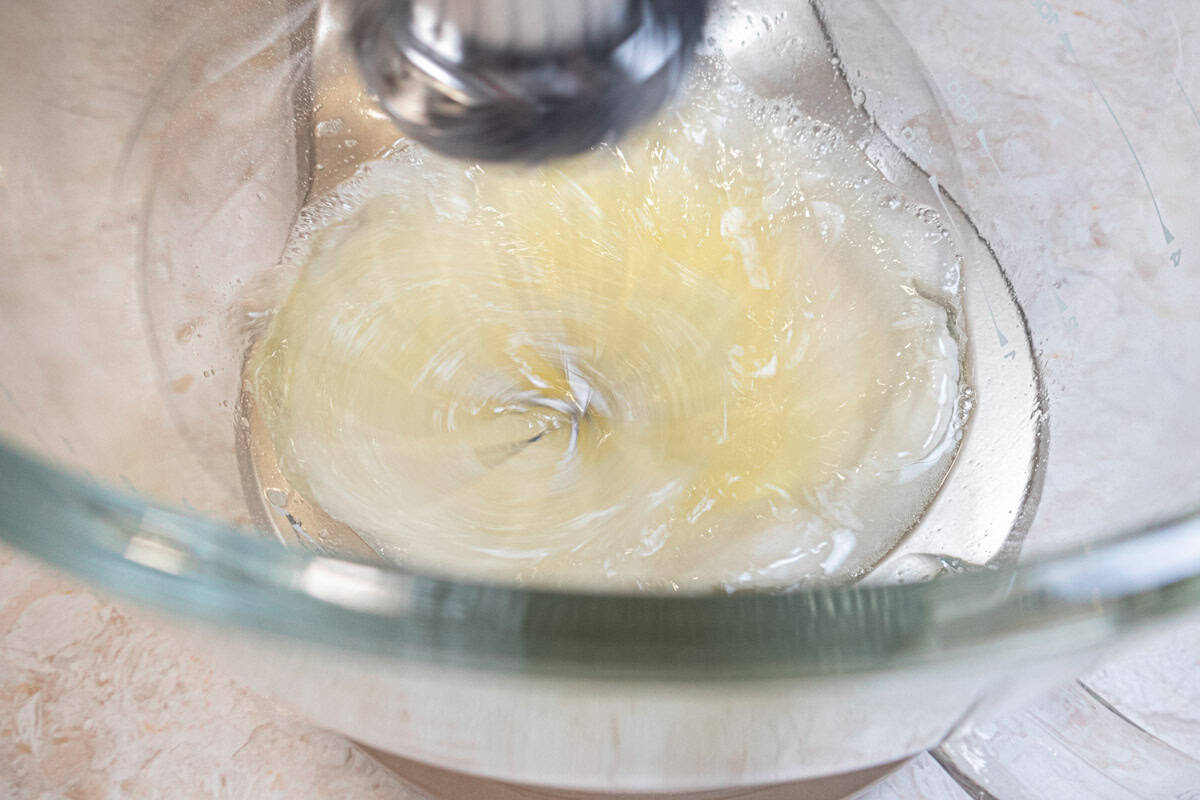
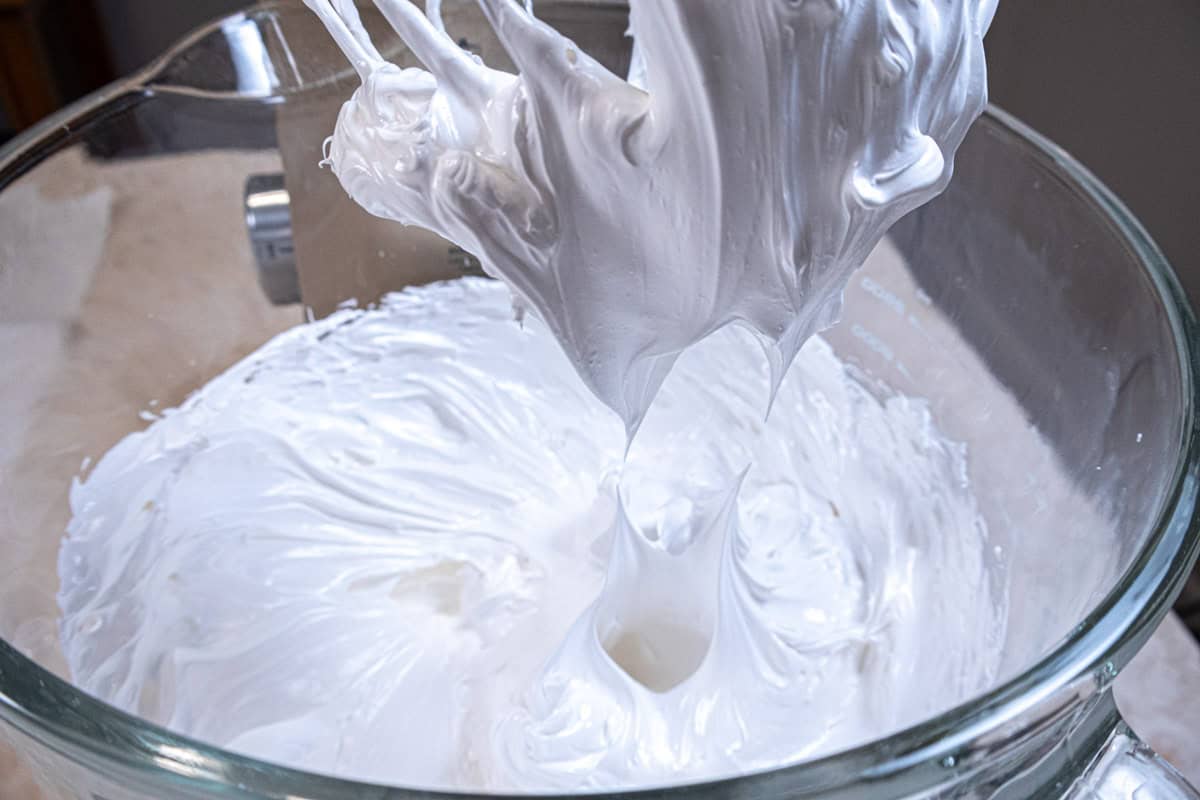
Overwhipped Cream - If you overwhip your cream, you can bring it back by stopping the machine as soon as you notice the cream is overwhipped and adding a bit more cream. Ok, so what is ”a bit”. It depends upon how much you started with and how overwhipped it is. Add the cream, mix on low. If you have turned it into butter, nothing will bring it back.
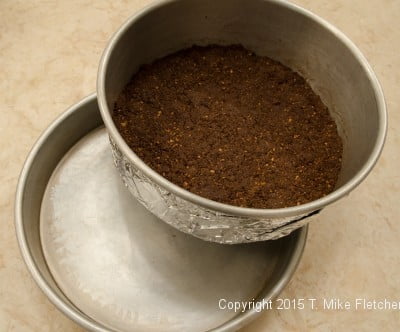
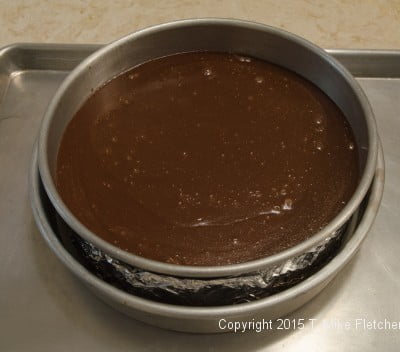
Lining a Pan with Foil – Turn the pan upside down and form the foil over the upside down pan. Remove the foil gently in order to preserve the shape, turn the pan right side up and place the foil liner in the pan.
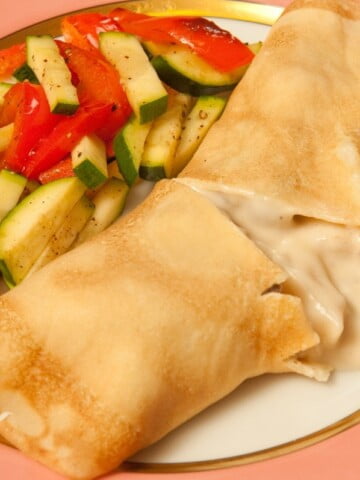
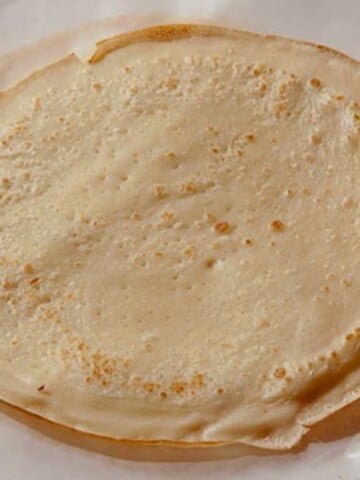
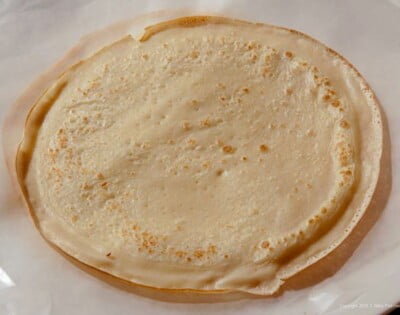
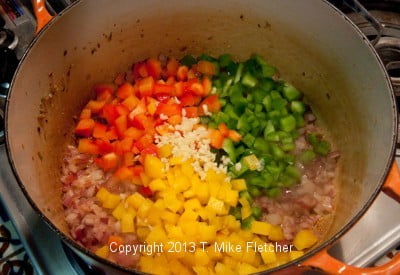
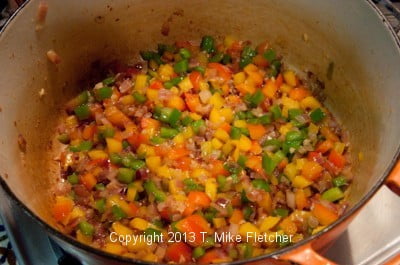
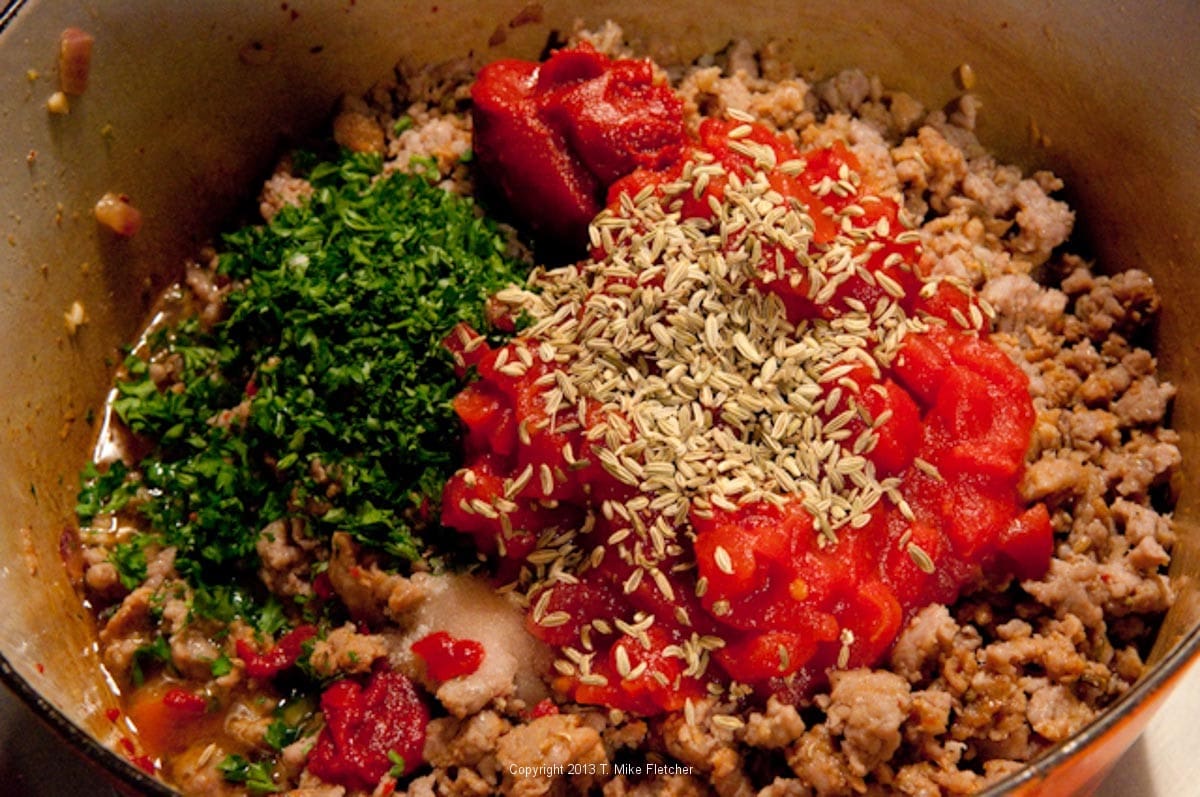
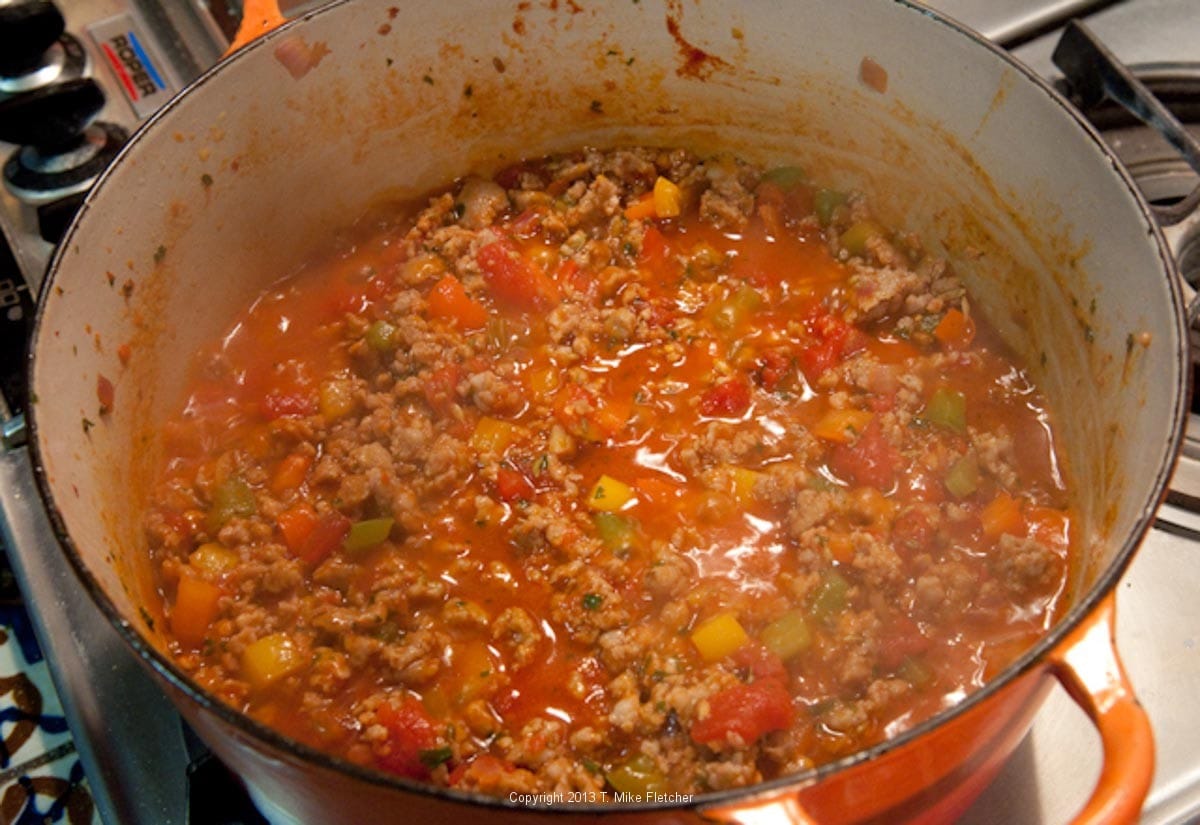
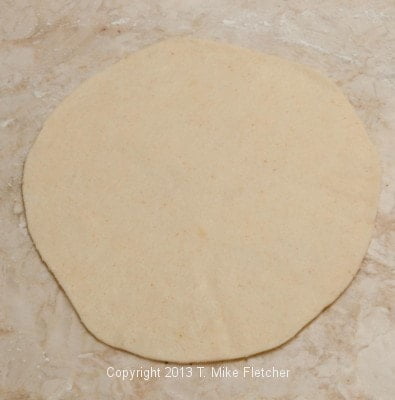
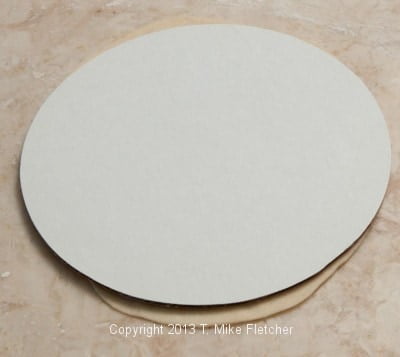
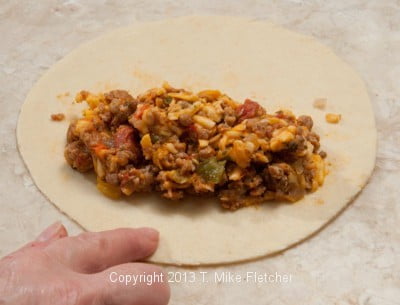
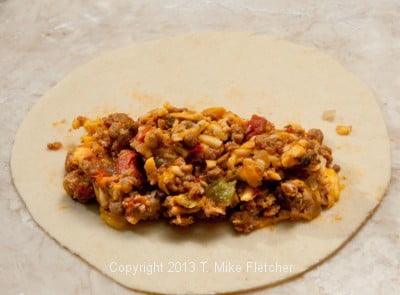
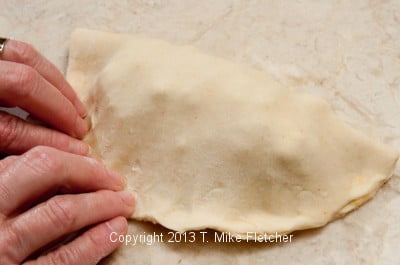
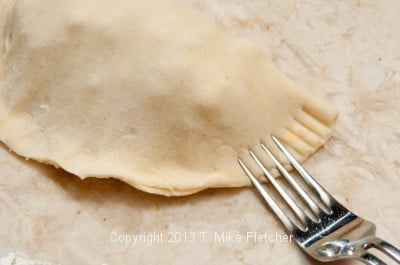
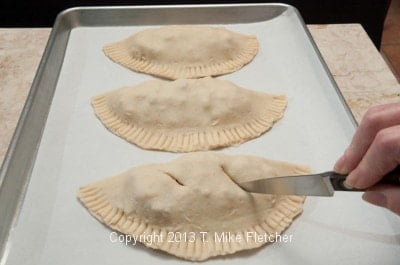
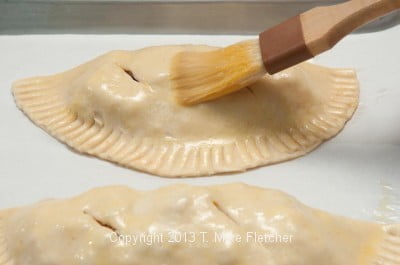
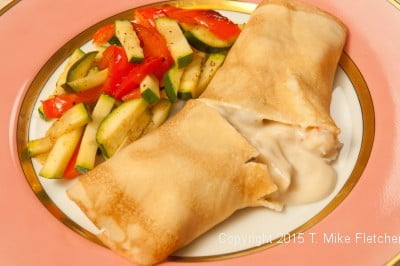 Last week when I posted All Purpose Crepes I mentioned Seafood Crepes. Seafood Crepes is a classic dish especially suited to celebrations or holidays. At the take out shop we served these on Valentine's Day for two and we always had more orders than we could fill.

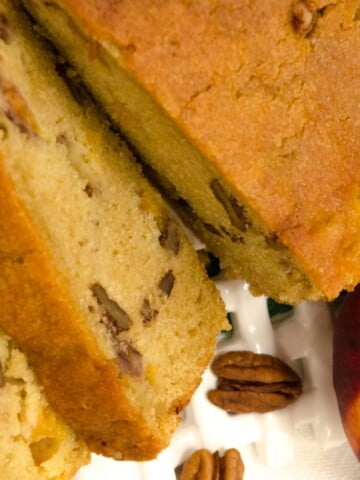
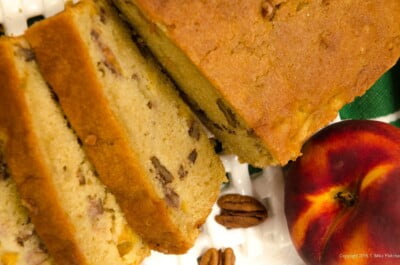 It's amazing how quickly the time is going by. It's TV time again (Tuesday, the 4th, Great Day St. Louis on KMOV) and this recipe takes advantage of the amazing peaches we have had this year by using them in this really easy Peach Pecan Quick Bread.
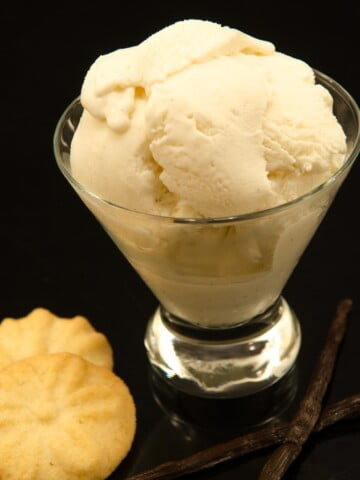


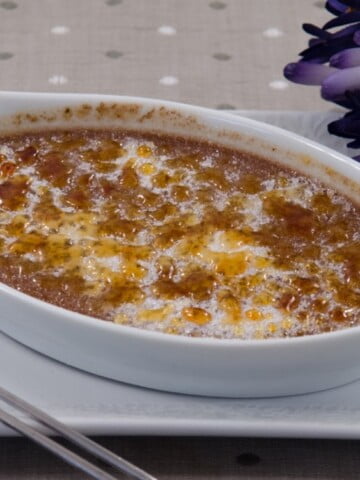
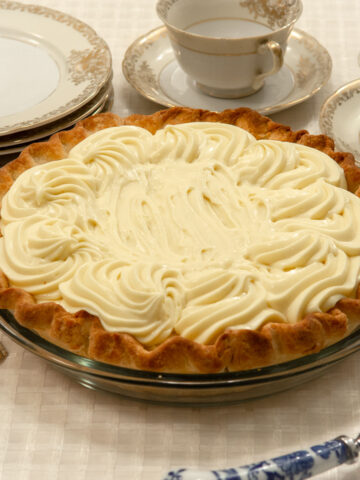
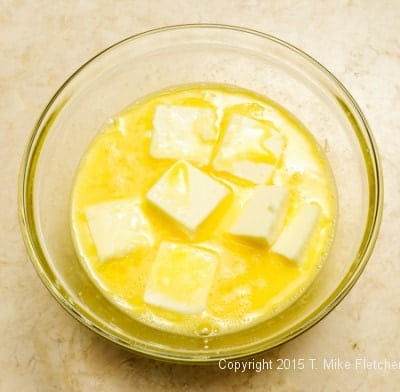
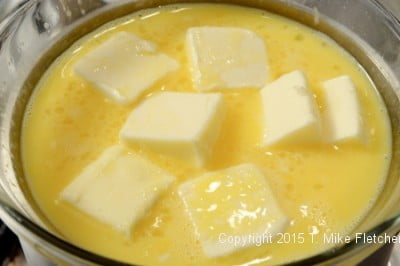
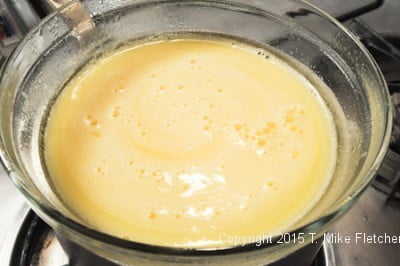
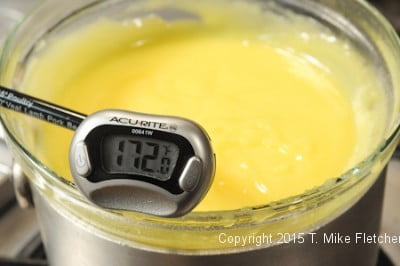
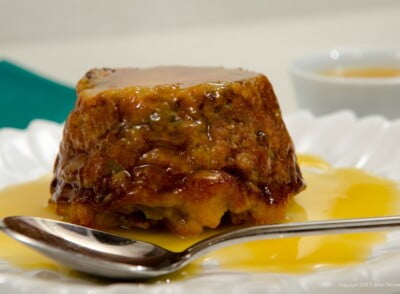
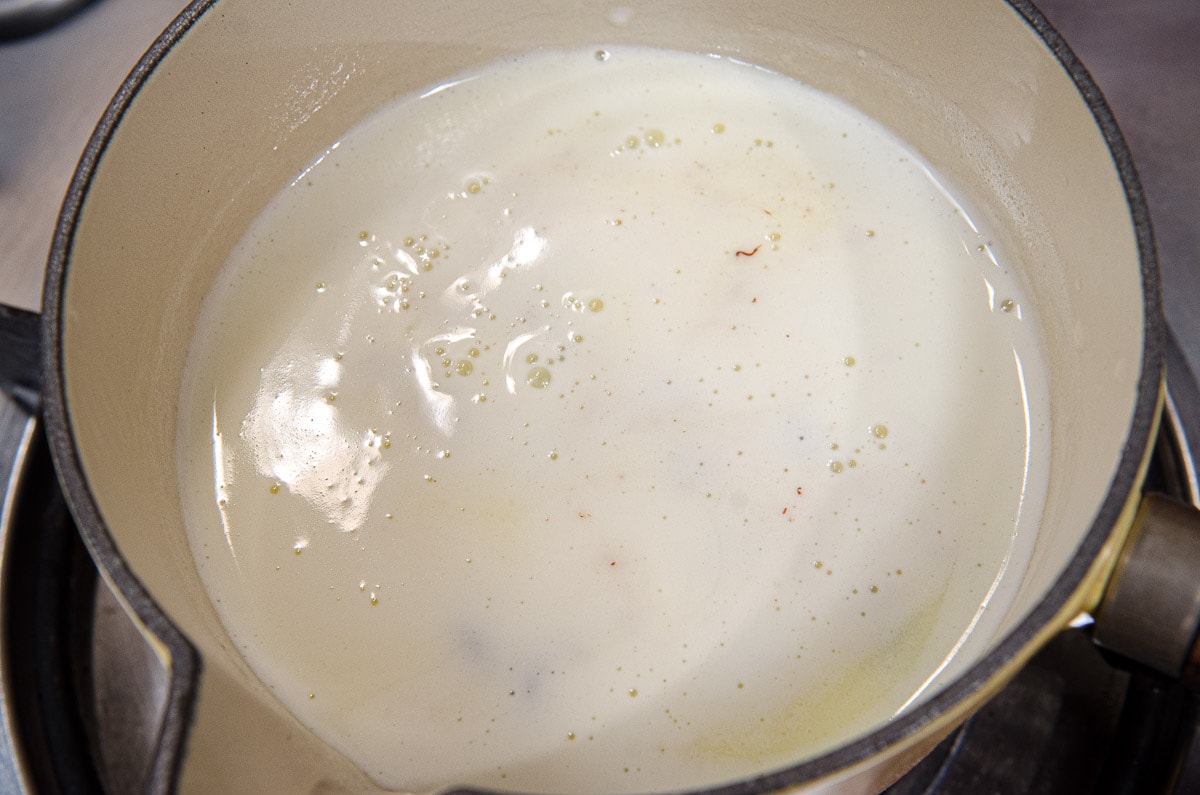
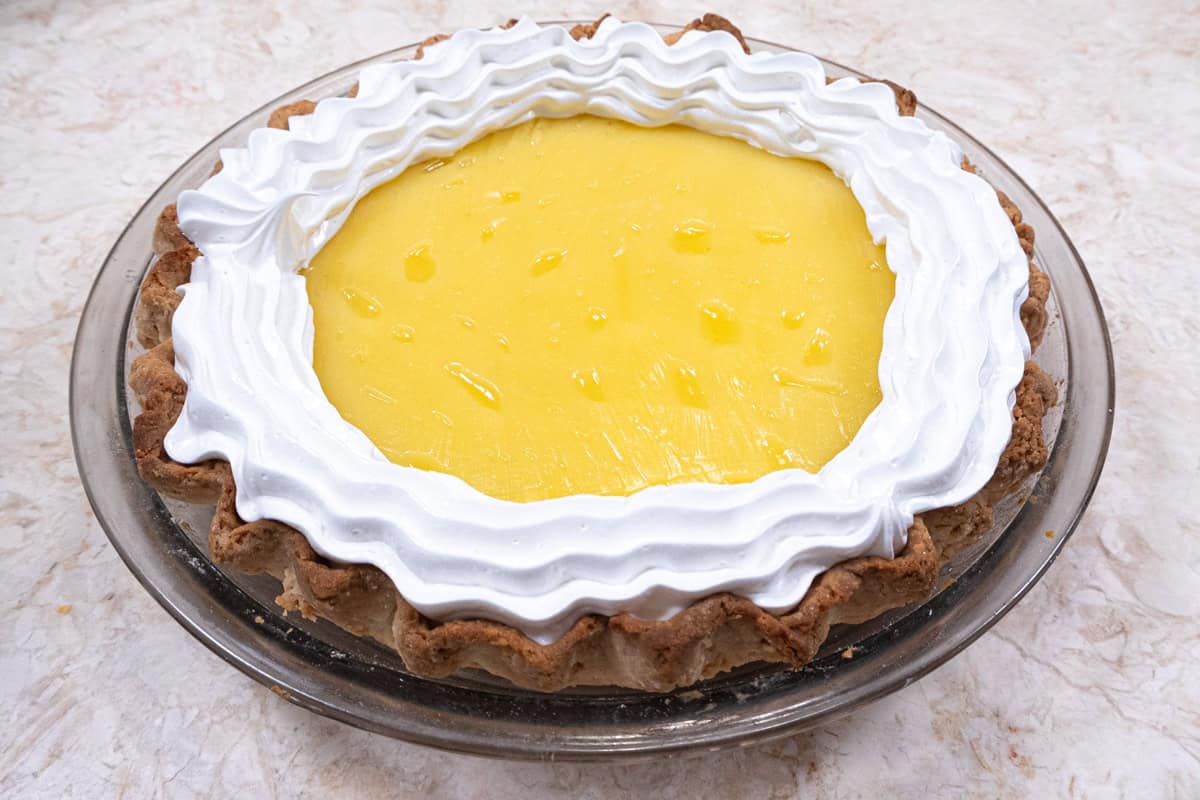
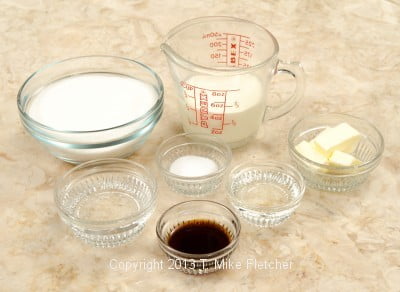
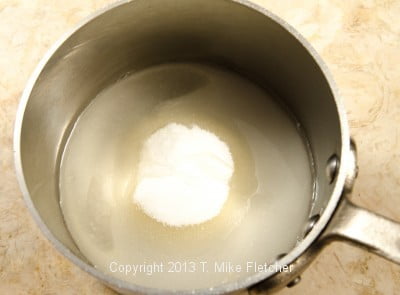
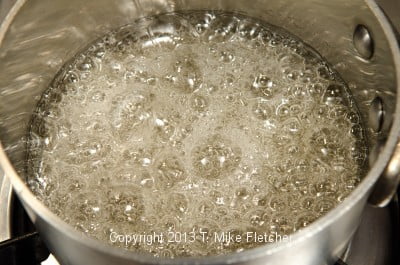
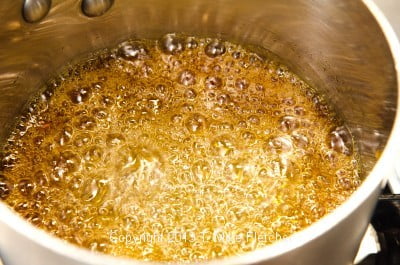
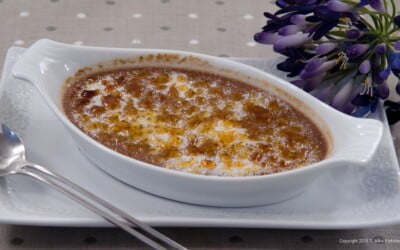 Creme Brûlée has almost become a national dessert. There is scarcely a restaurant that doesn't have some version of this French favorite.
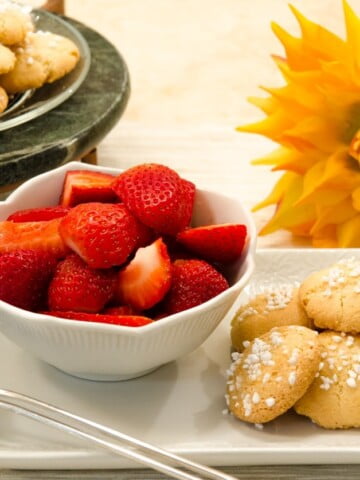
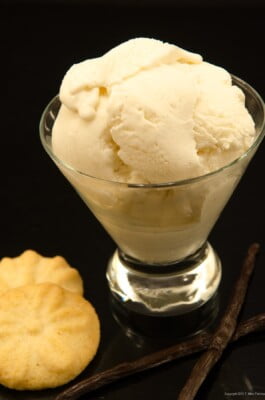
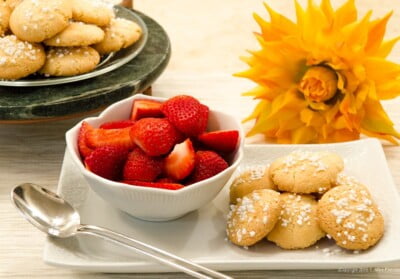 I haven't found anything to date made with almond extract that I don't love. These Amaretti cookies which are Italy's version of a macaroon are a perfect example. Crunchy, gluten free and low in fat, these are the perfect accompaniment to lightly sweetened or macerated fresh fruit or ice cream.


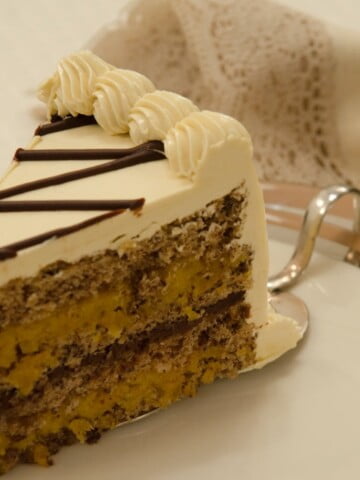
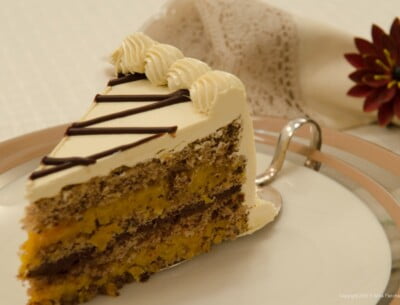
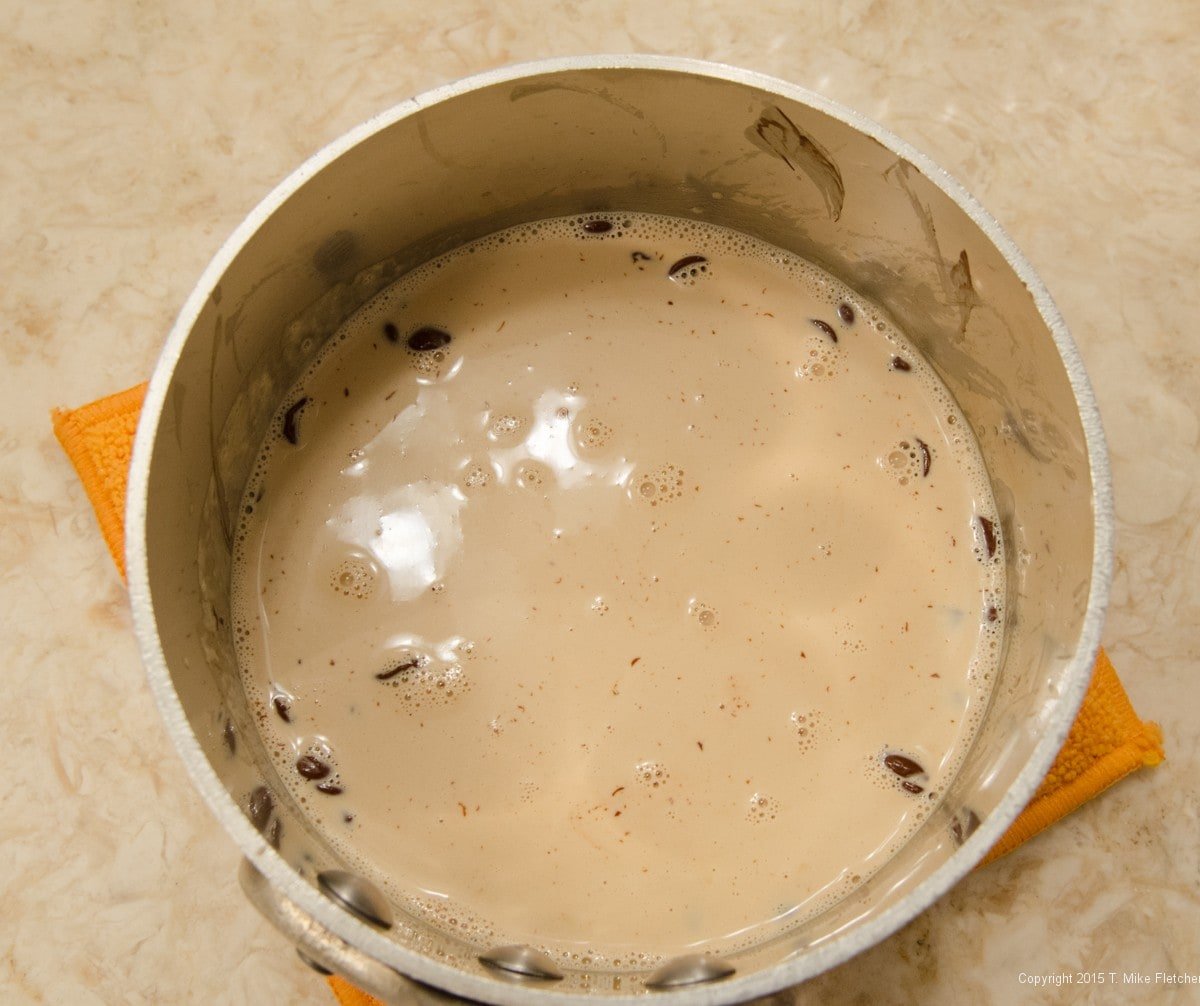
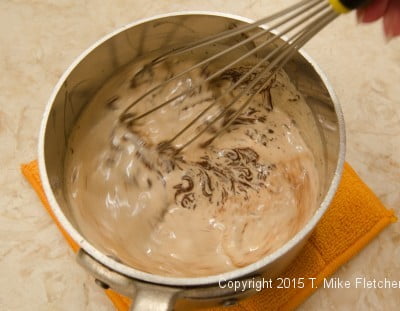
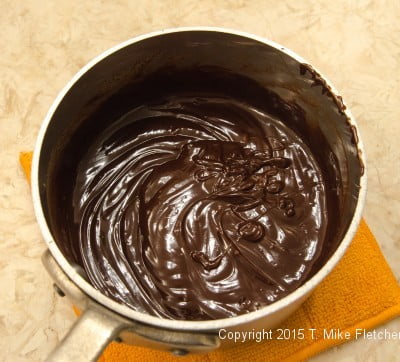
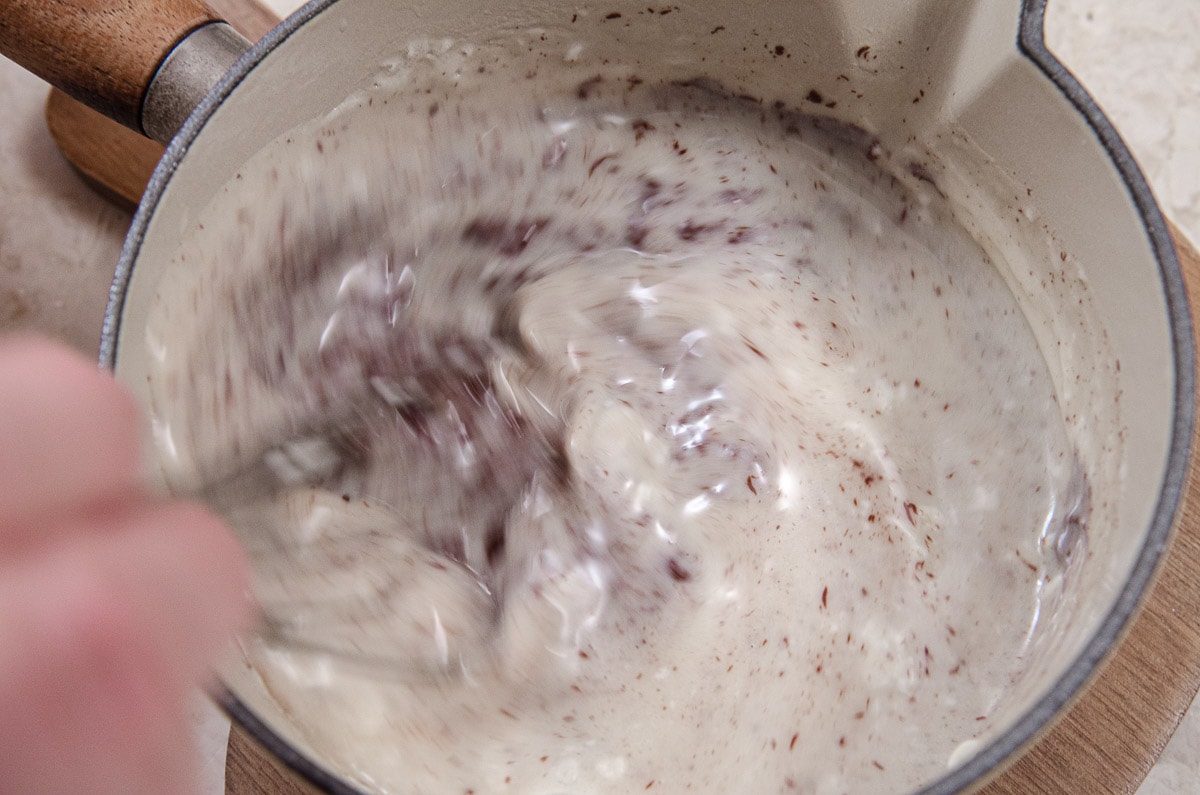
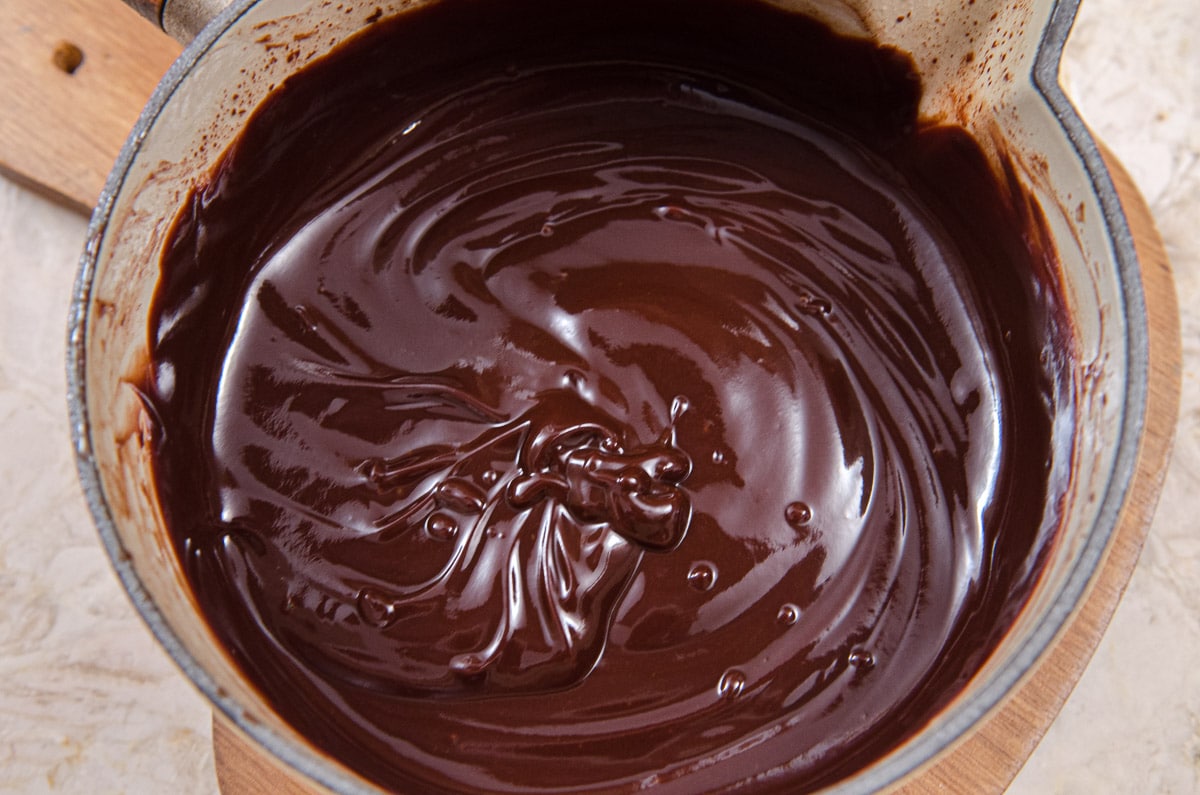
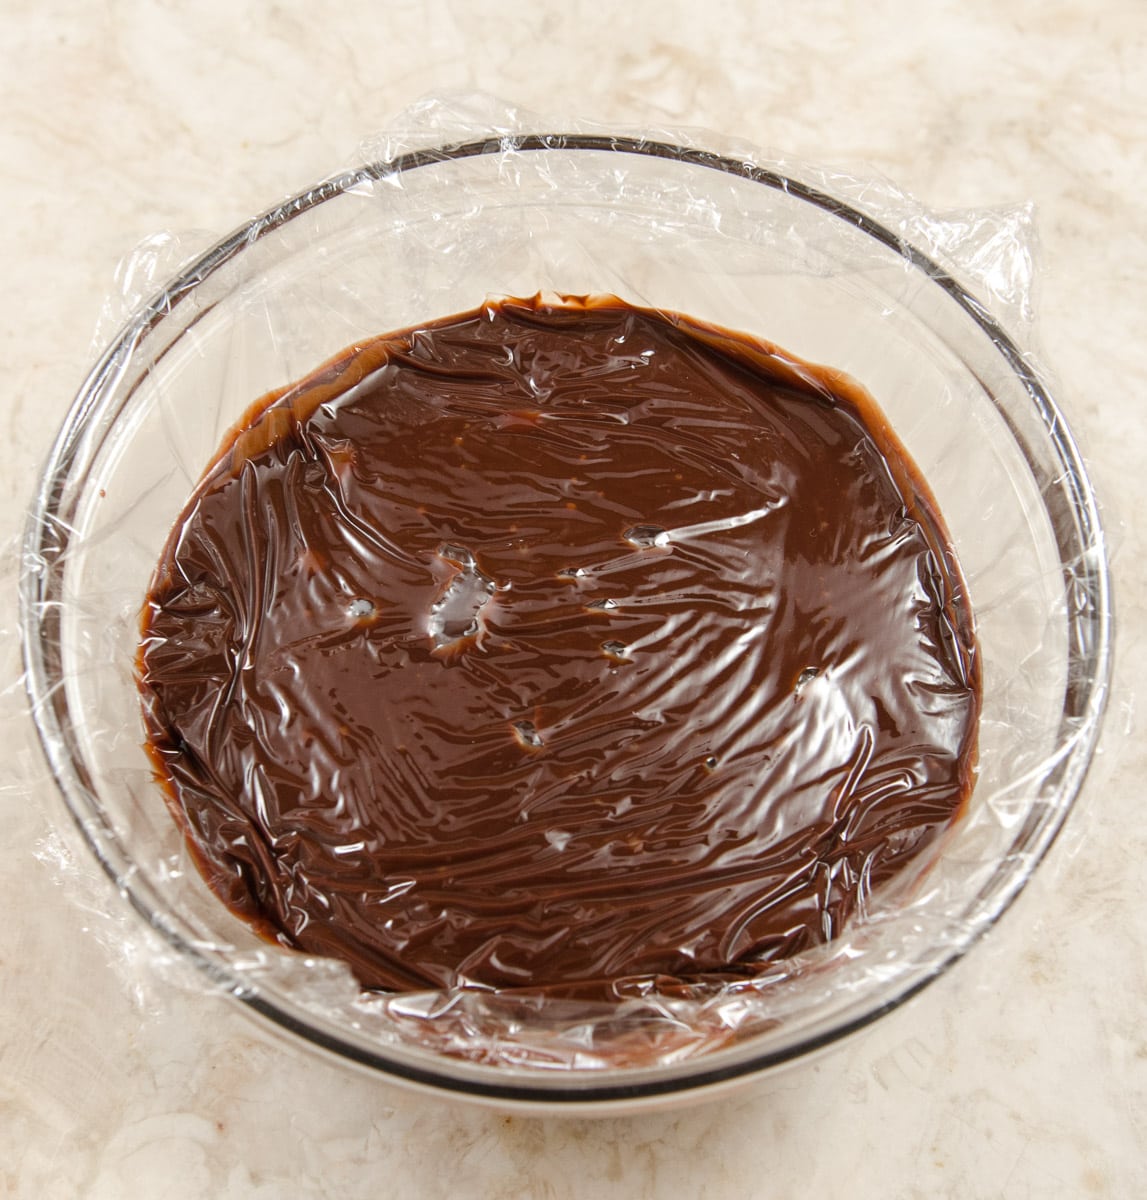
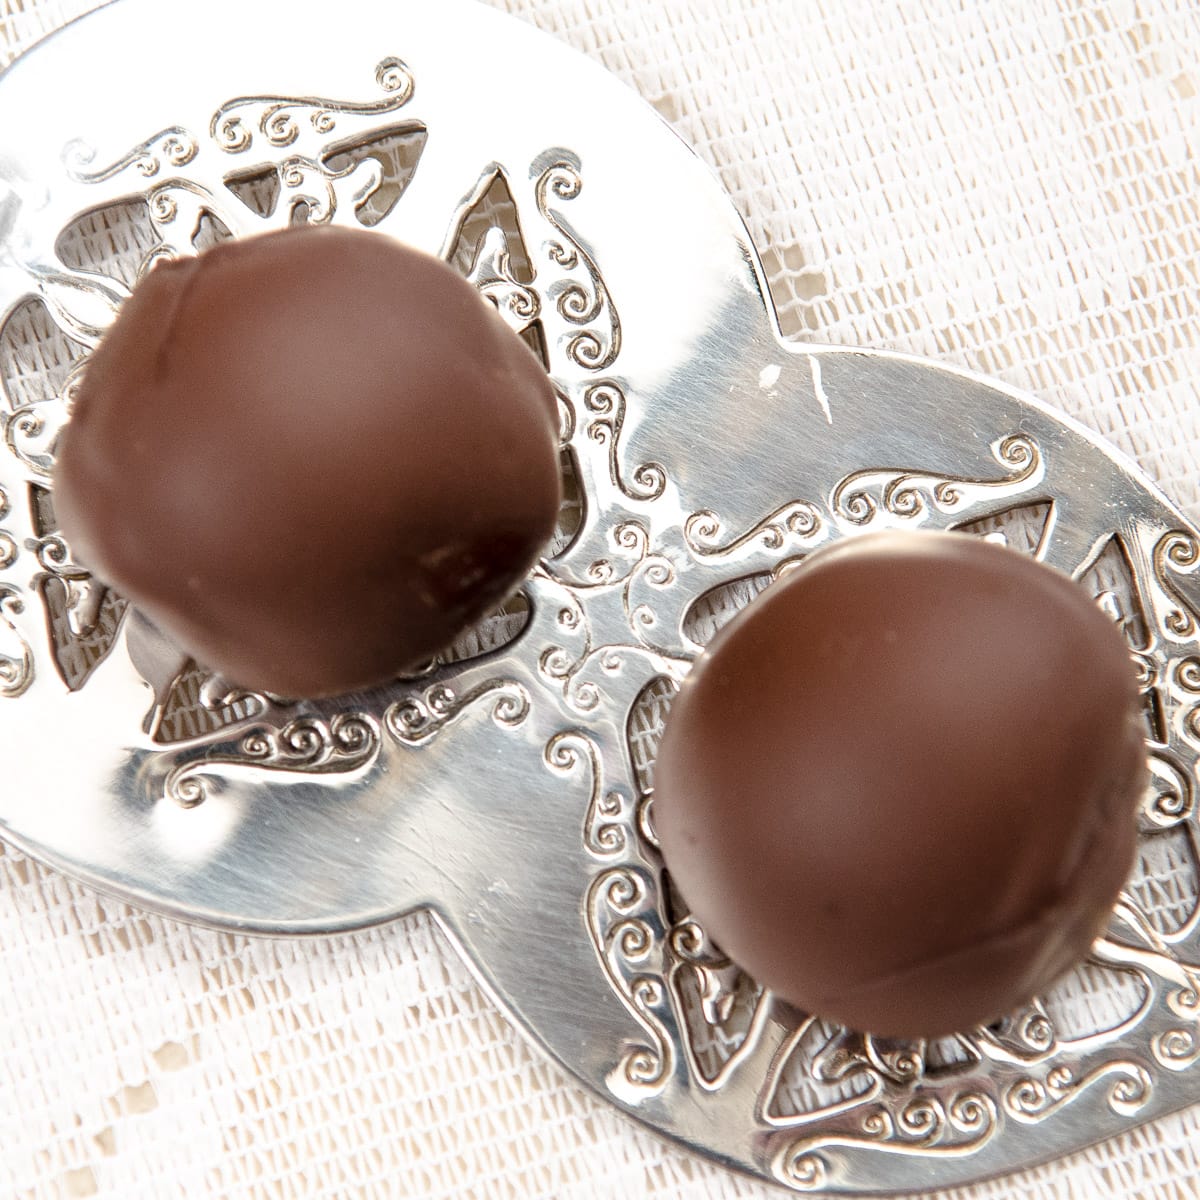
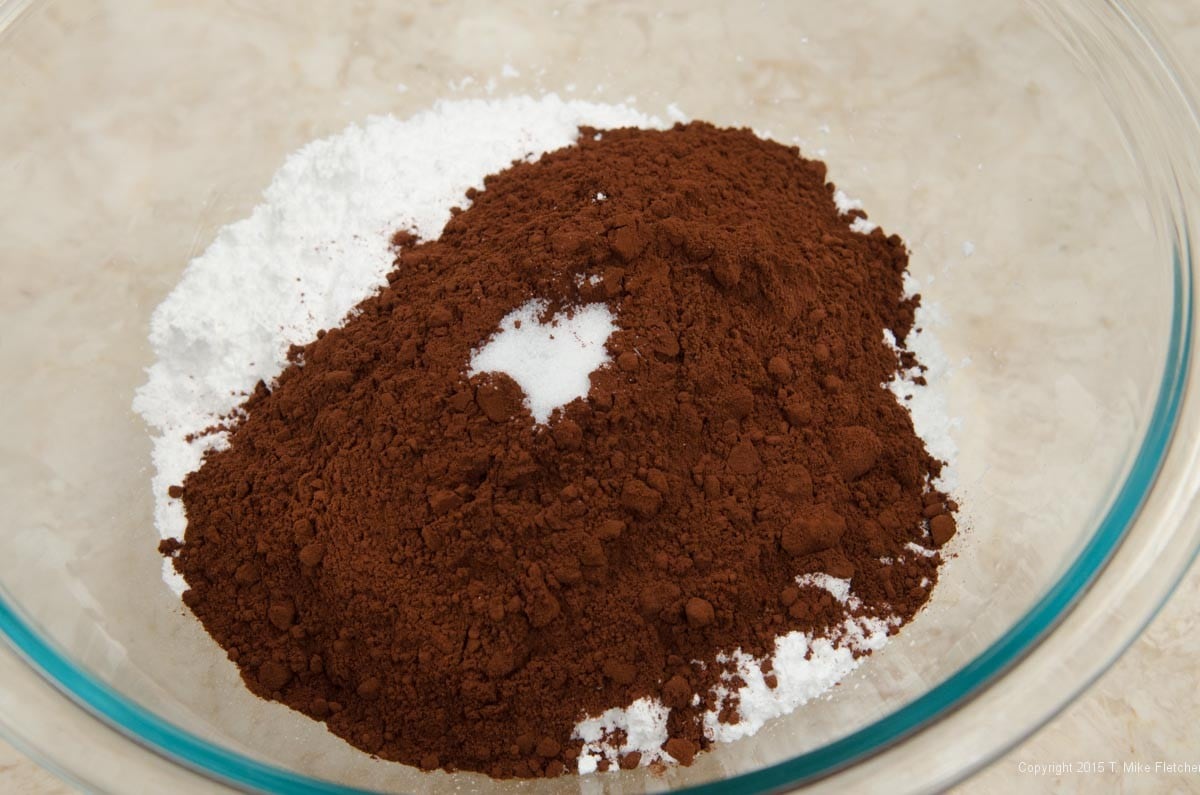
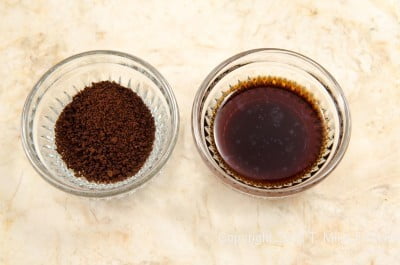
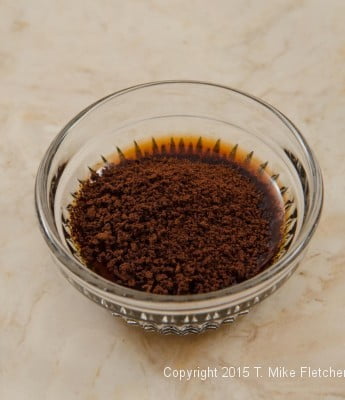
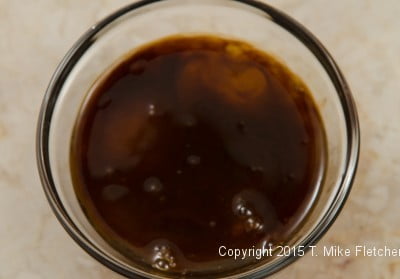
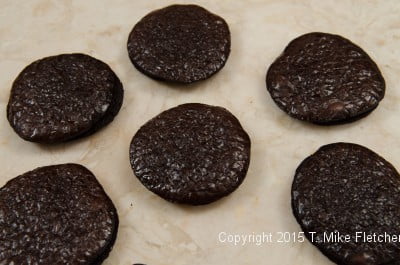
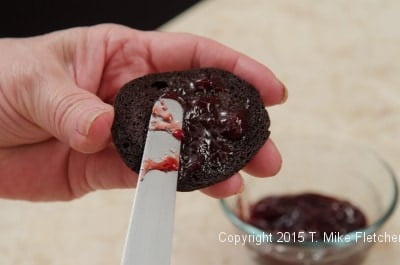
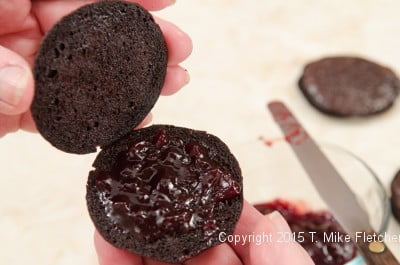
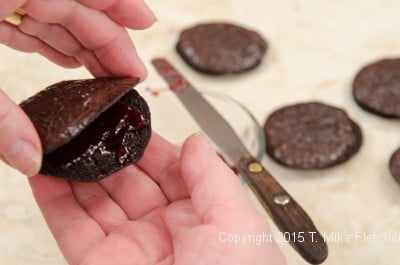
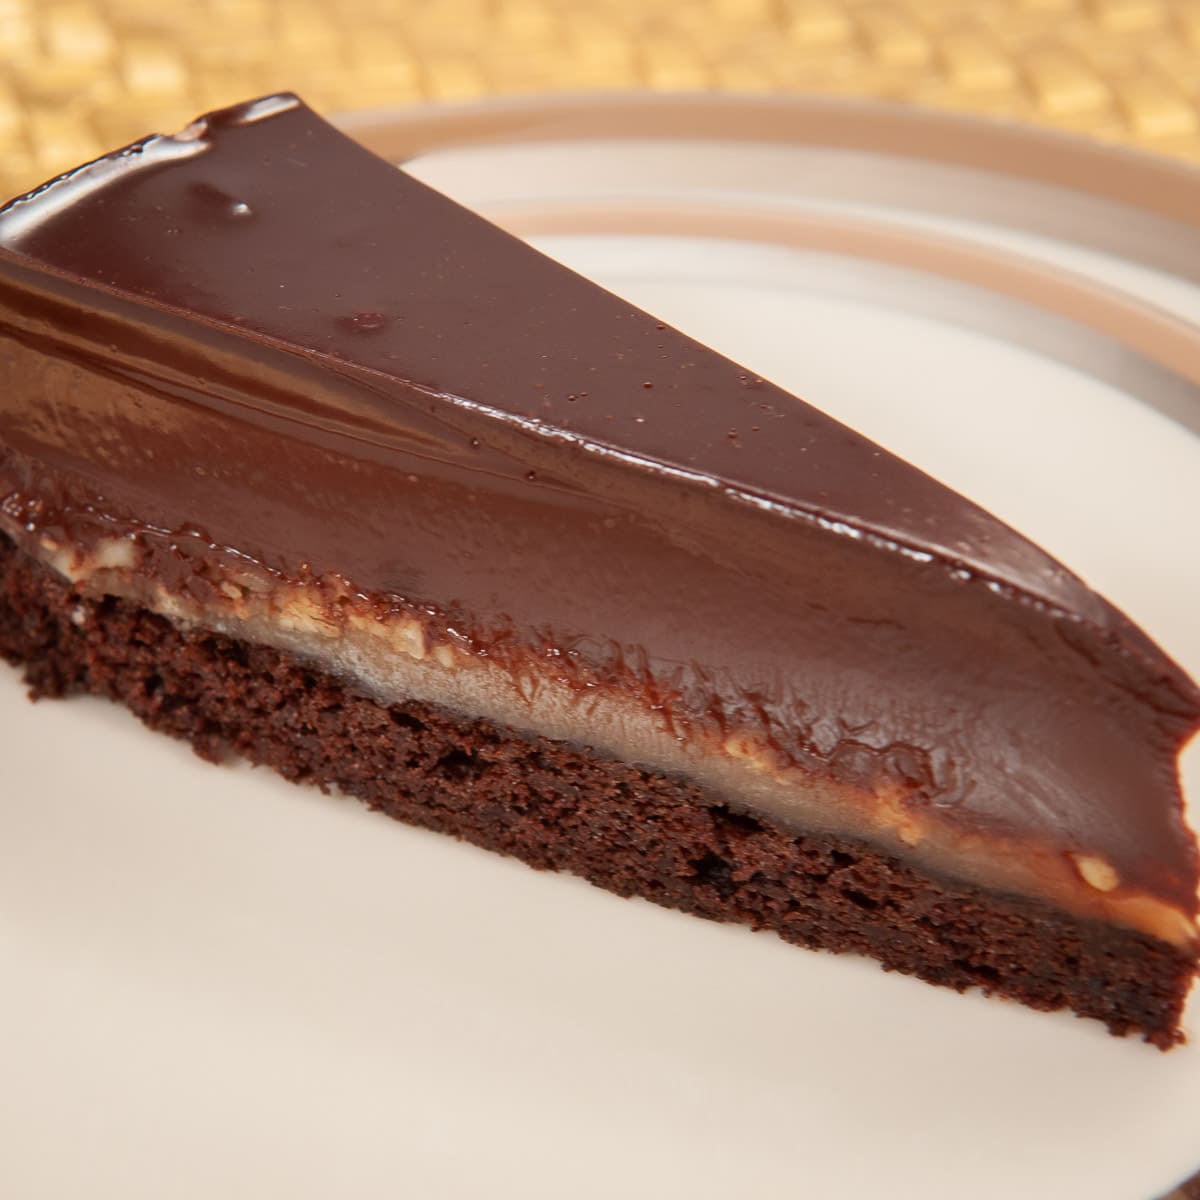
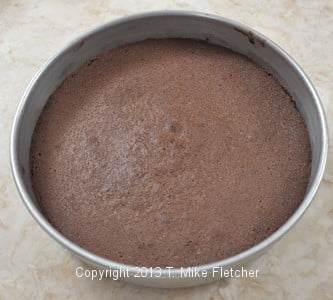
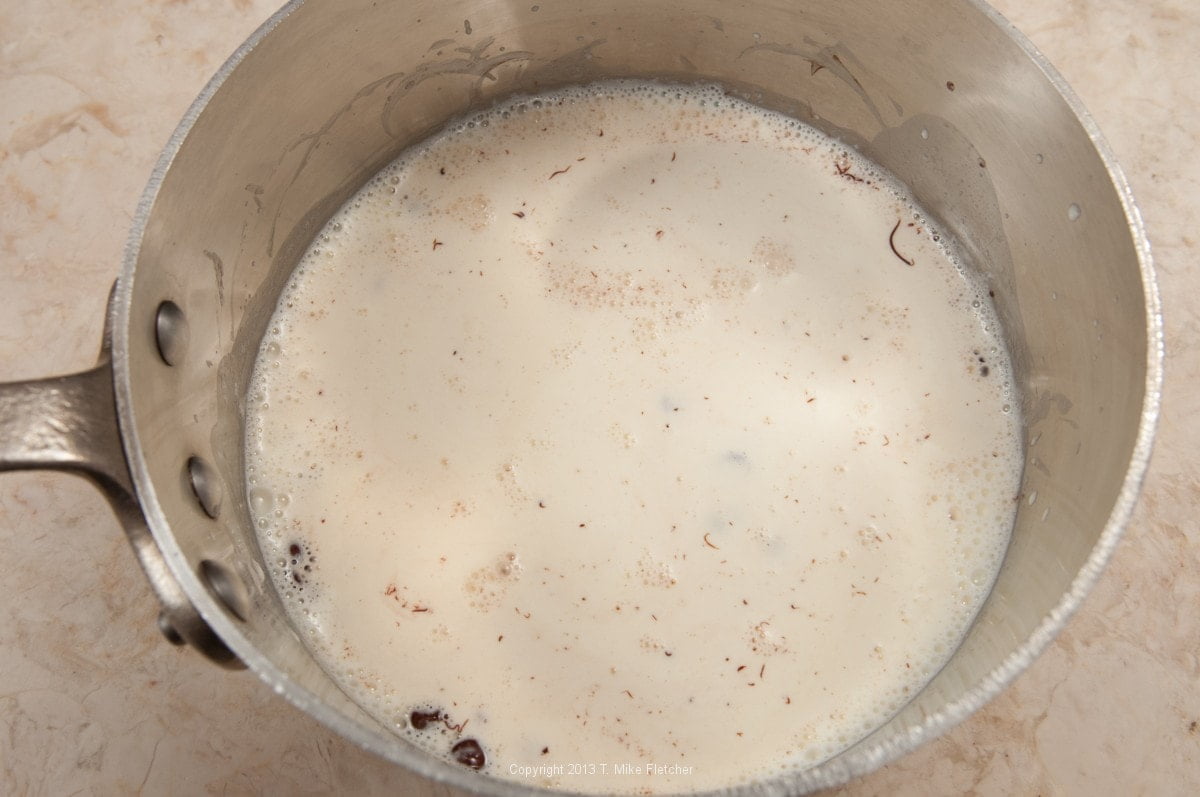
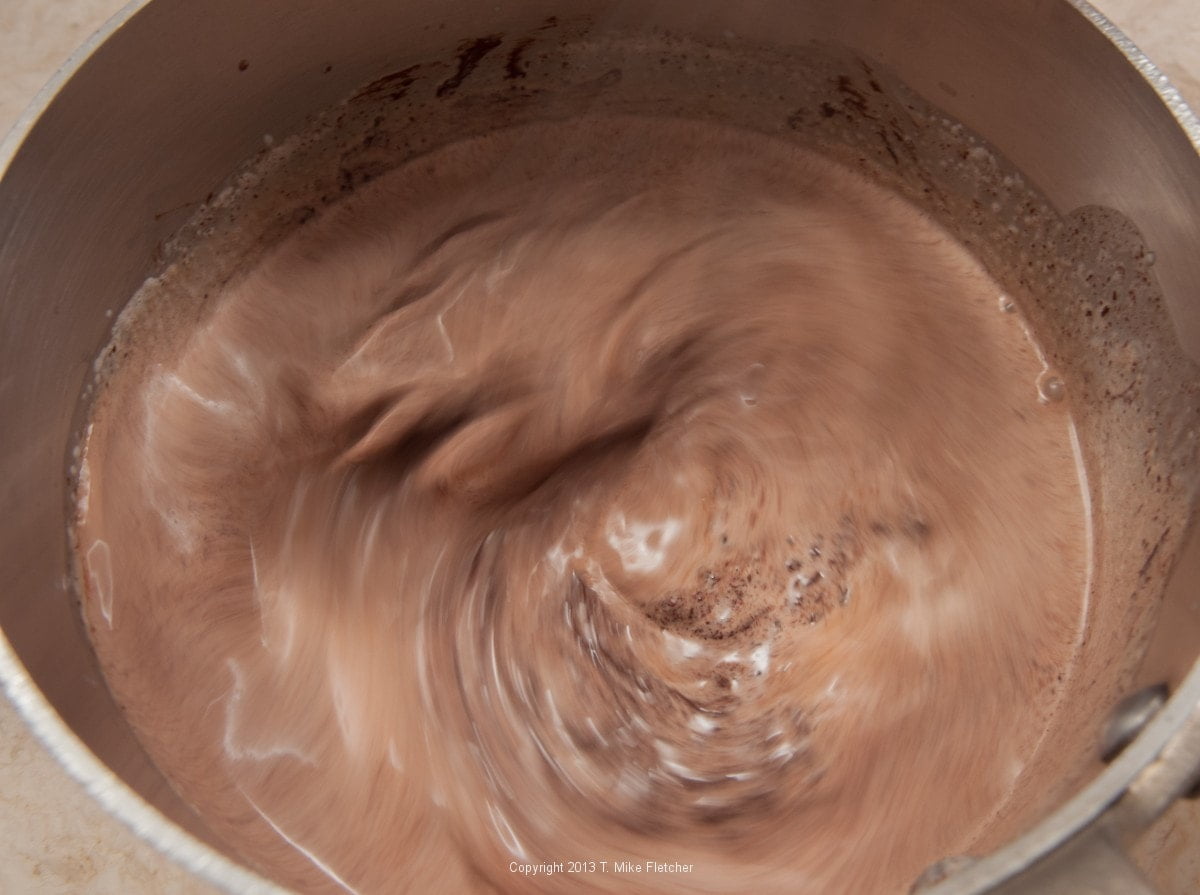
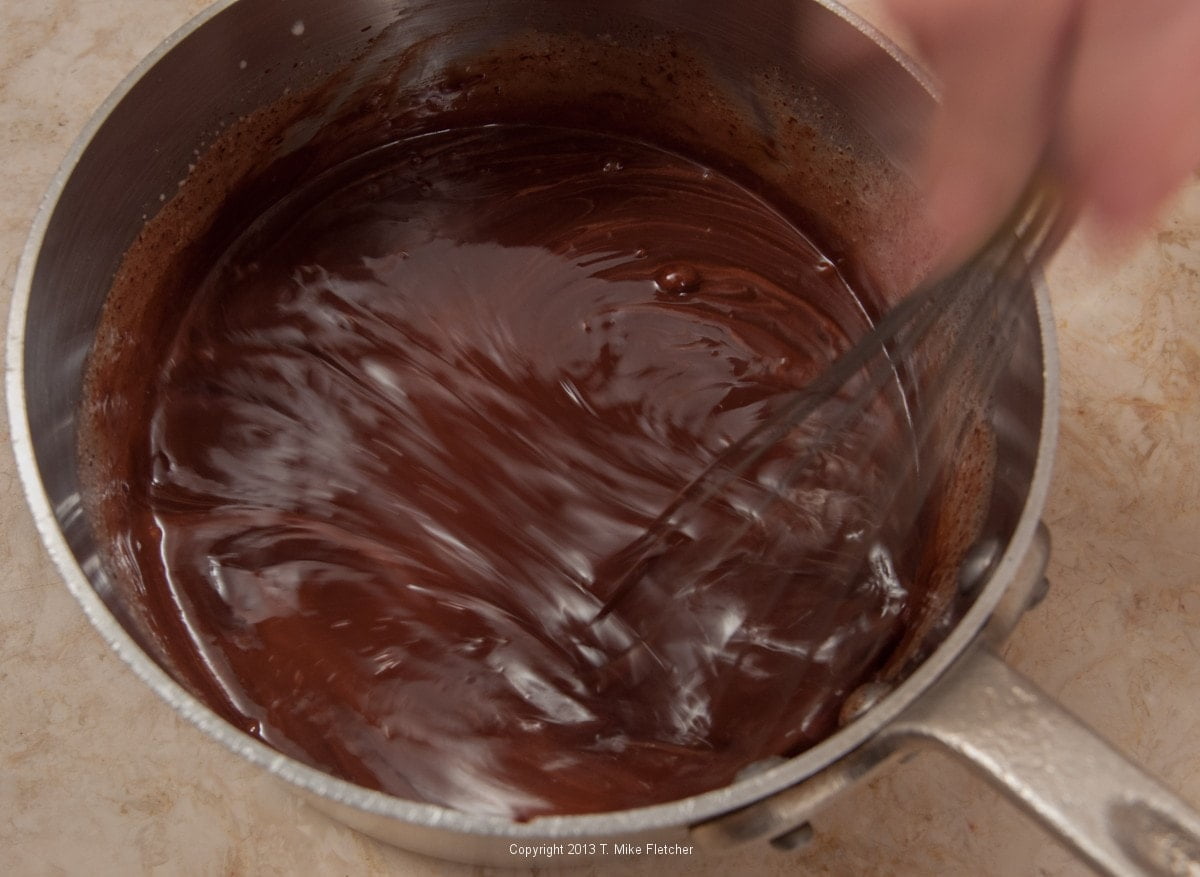
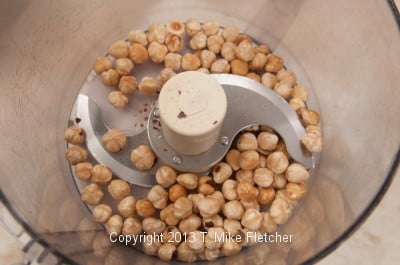
 L'Opéra Petit Fours, a combination of chocolate and coffee flavors, are very much a lesson in component parts. Many pastries consist of several recipes combined to make the whole. Rearranging which and how the component parts are combined, endless pastries can be made.
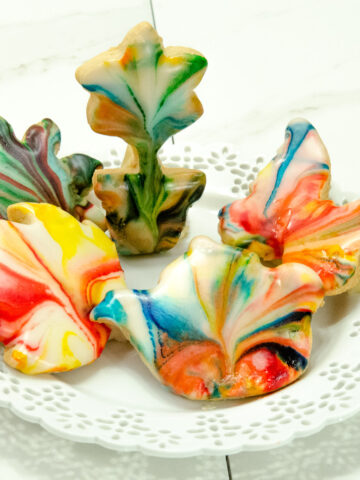


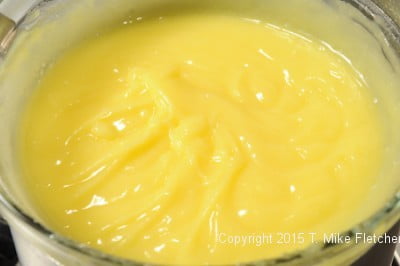
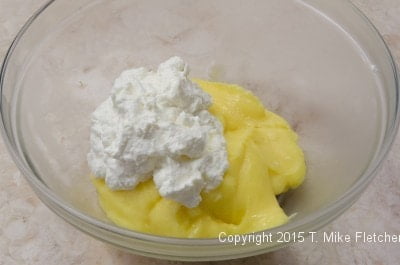
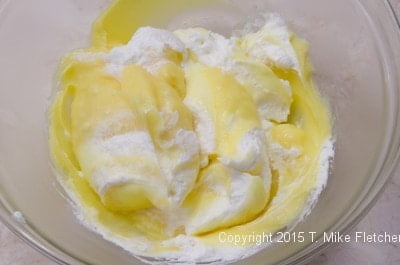
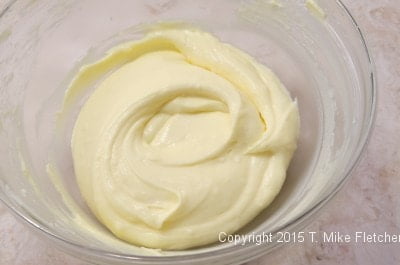

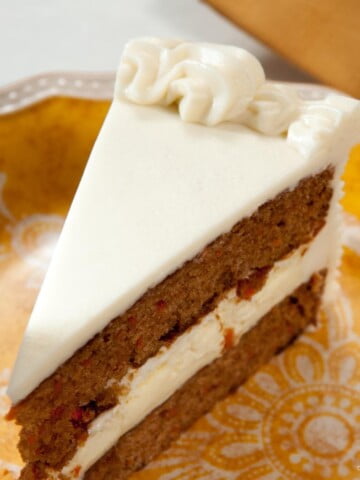
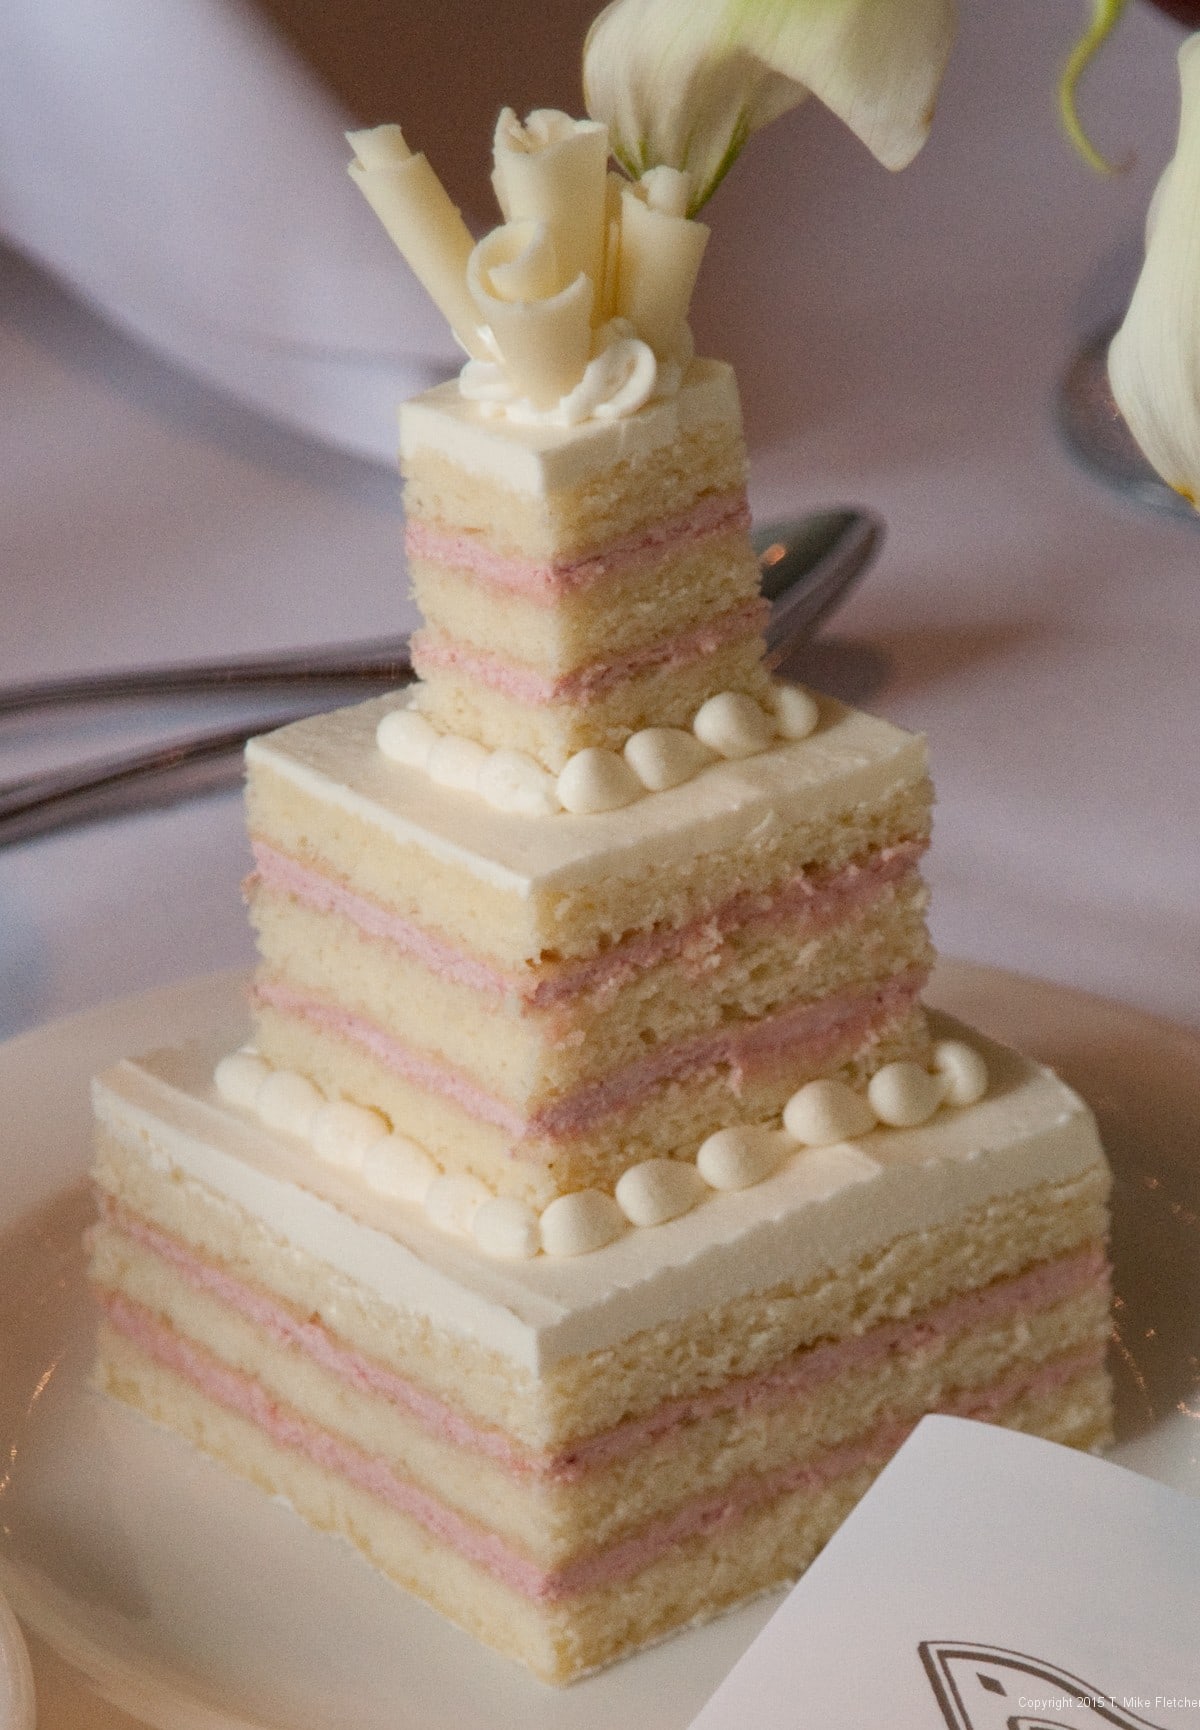
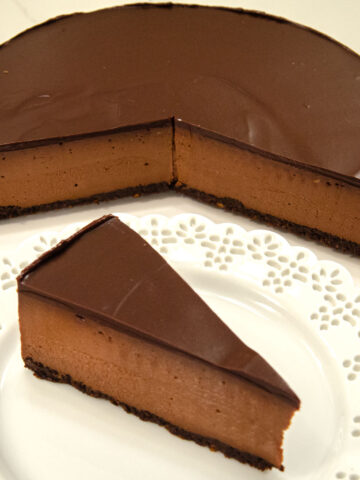
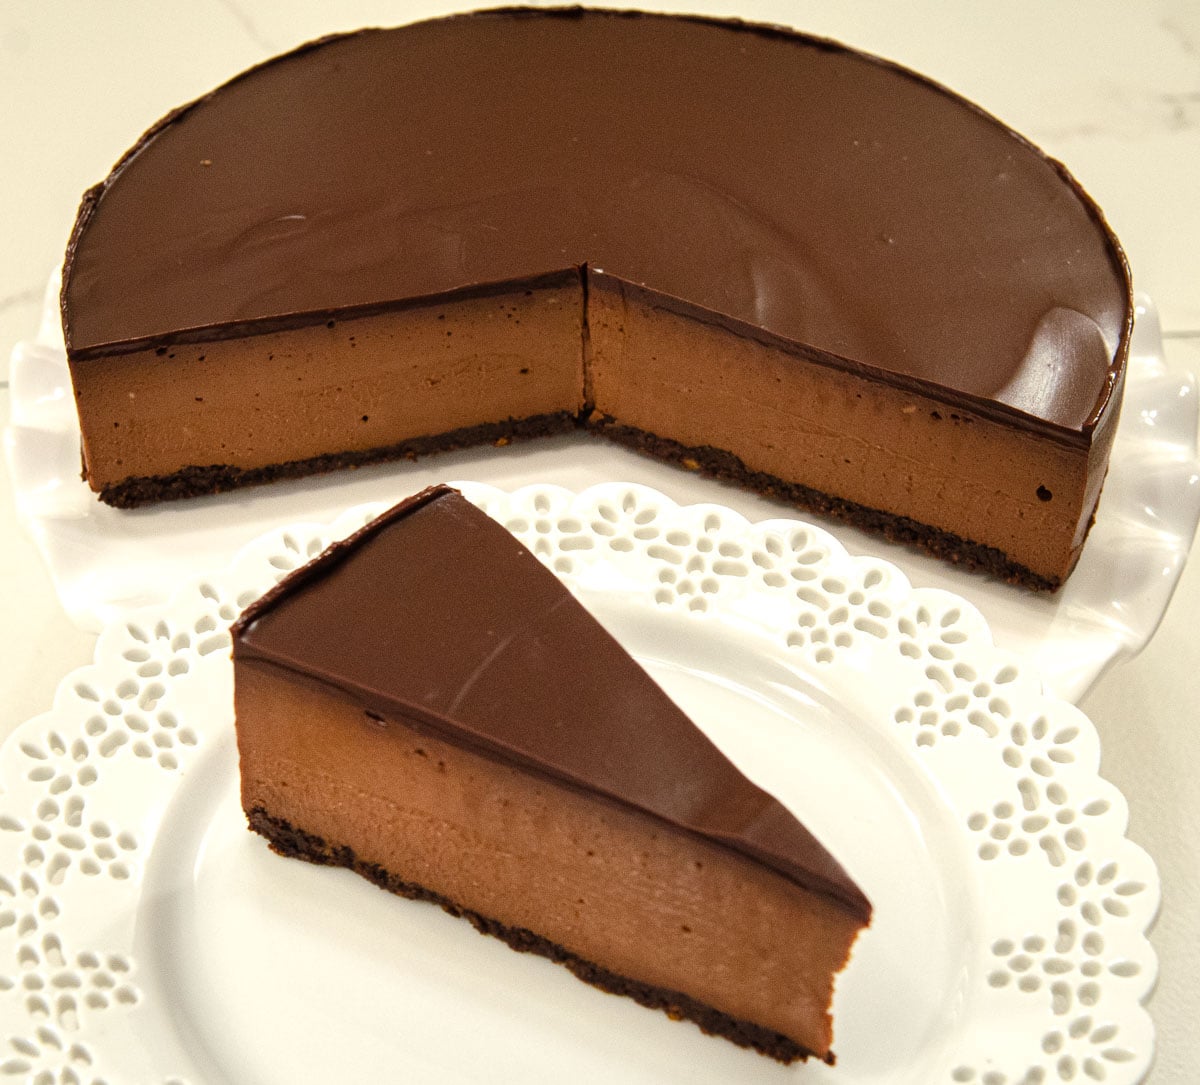
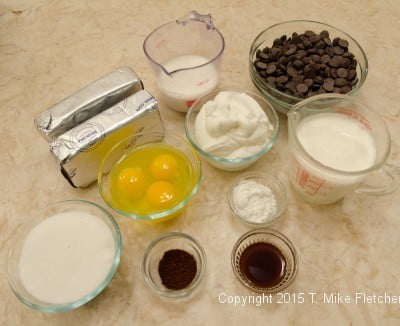
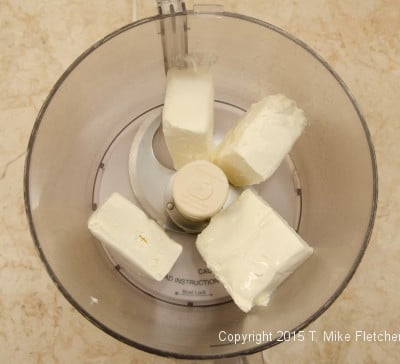
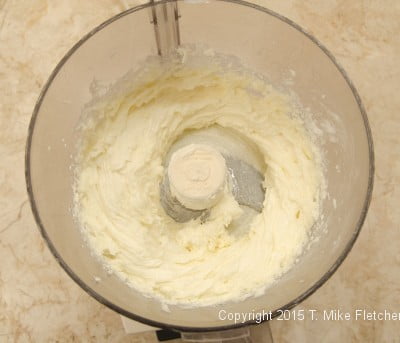
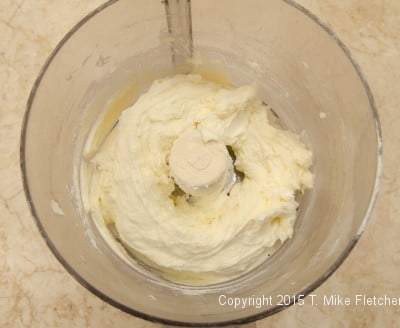
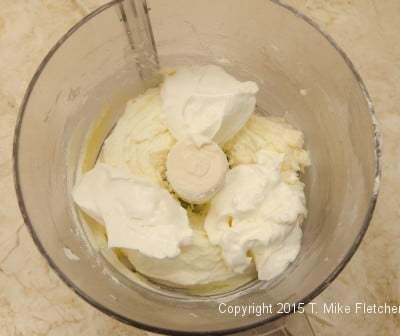
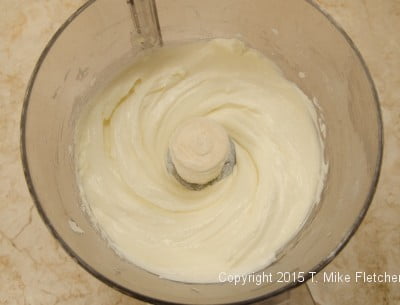
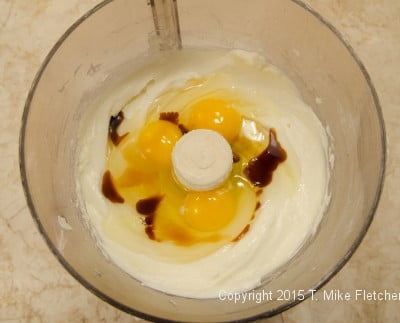
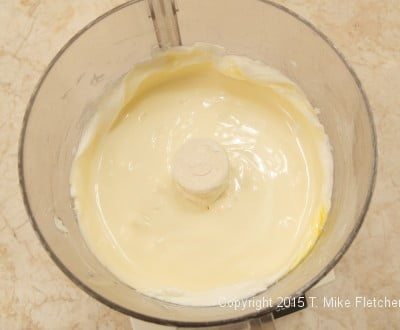
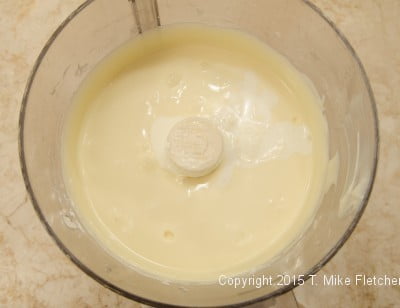
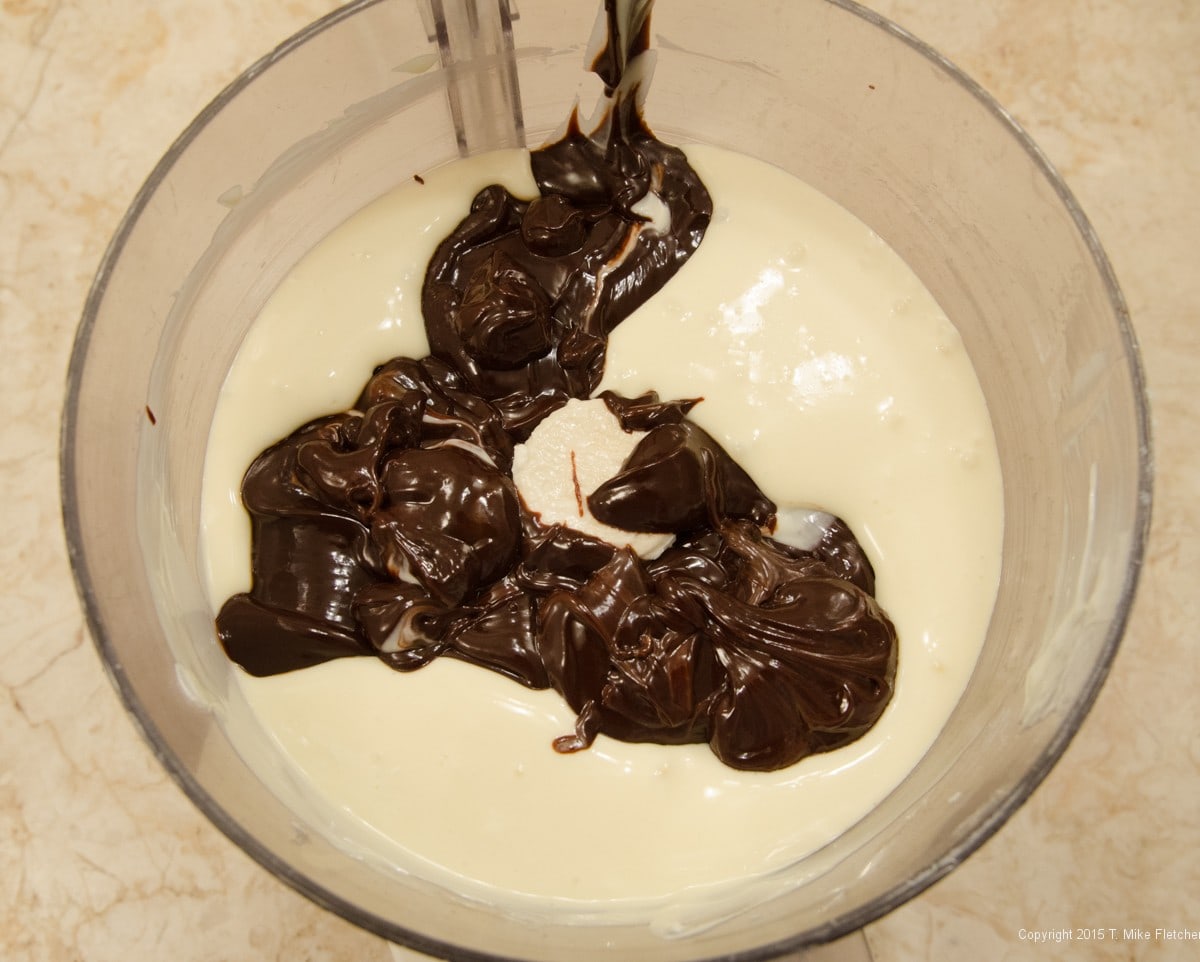
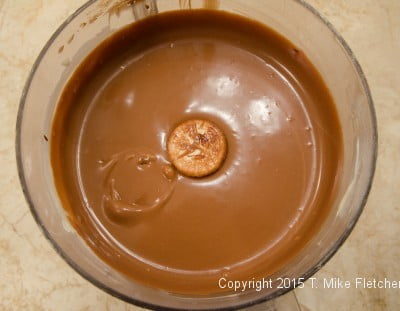
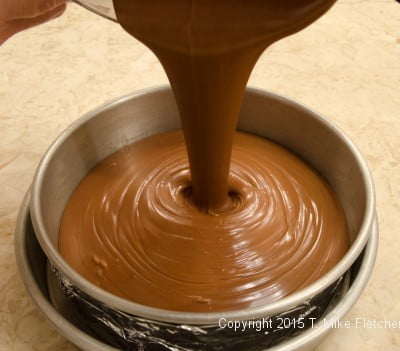
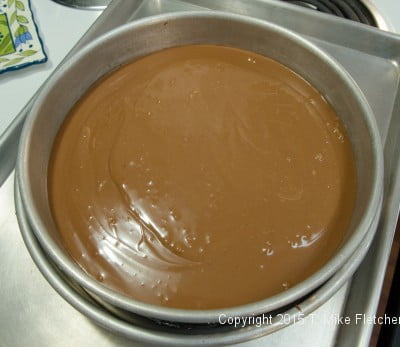
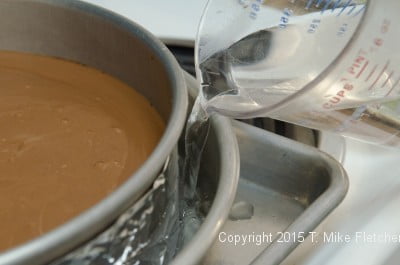
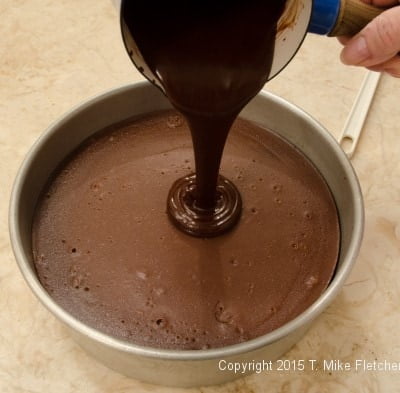
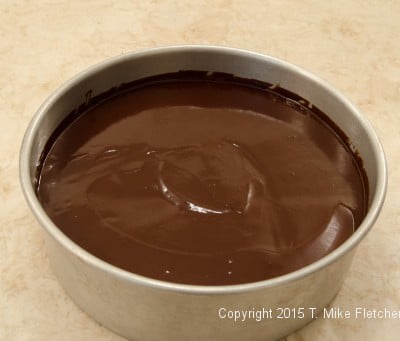
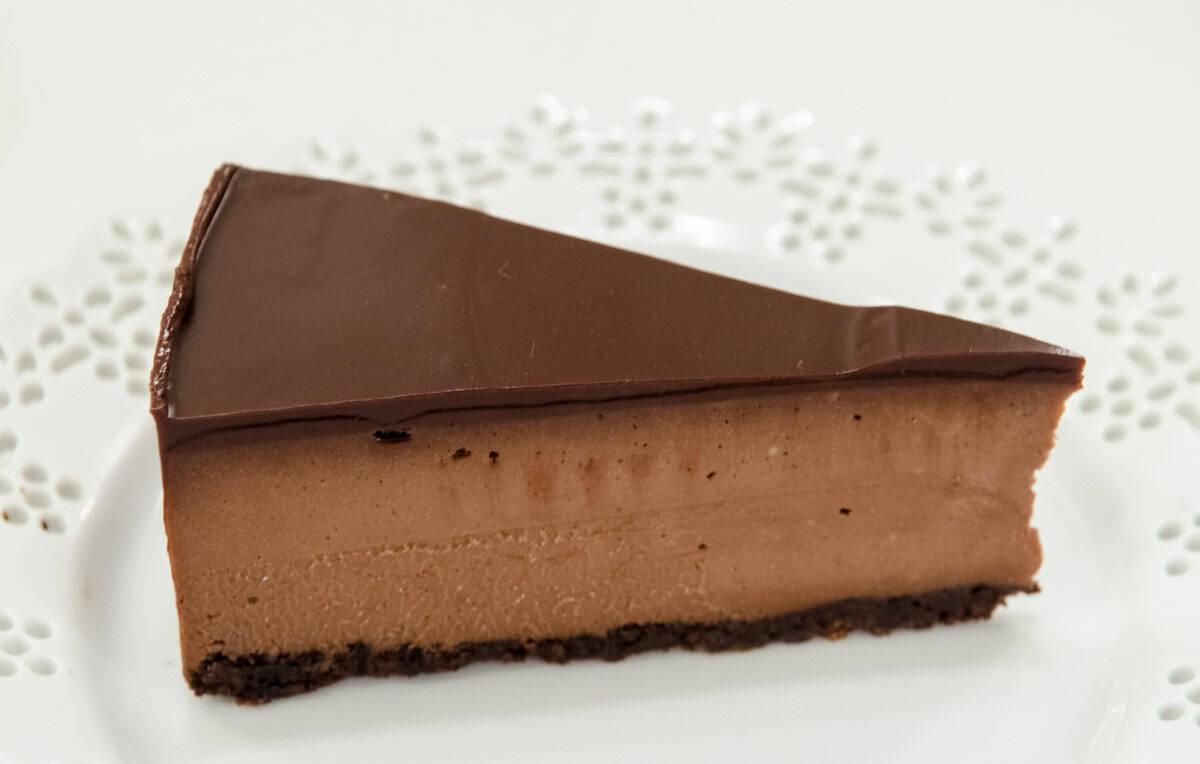
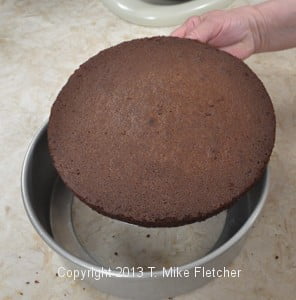
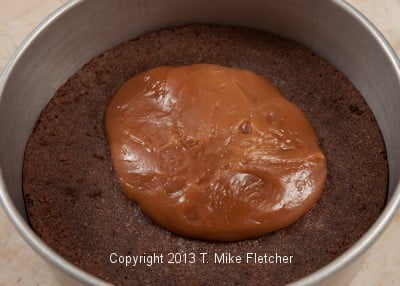
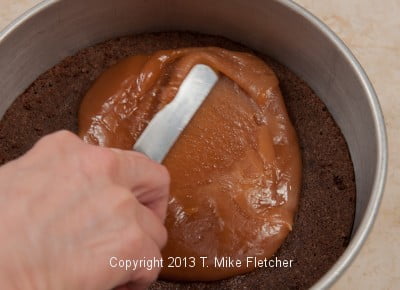
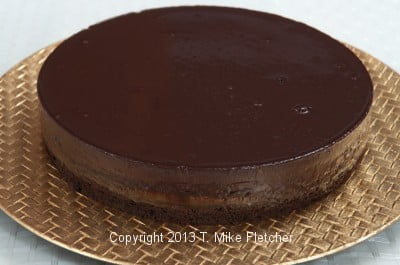
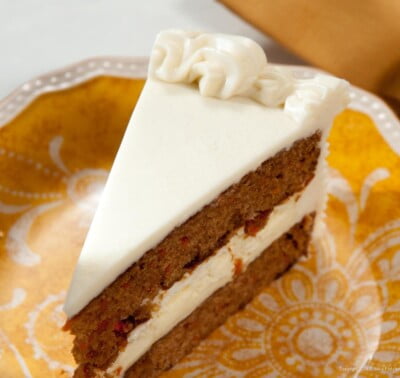 One of the constant challenges of owning a bakery is coming up with new items to entice the clientele. This Carrot Cake Cheesecake was one of the more unusual cakes we featured from time to time.
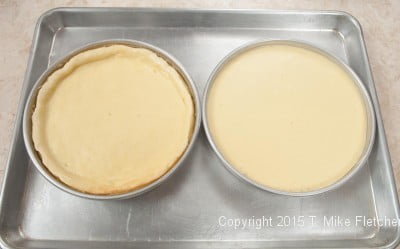 I also found that making the cheesecake layer in a processor yielded a firmer cheesecake than if it is made in a mixer. However, both ways work.


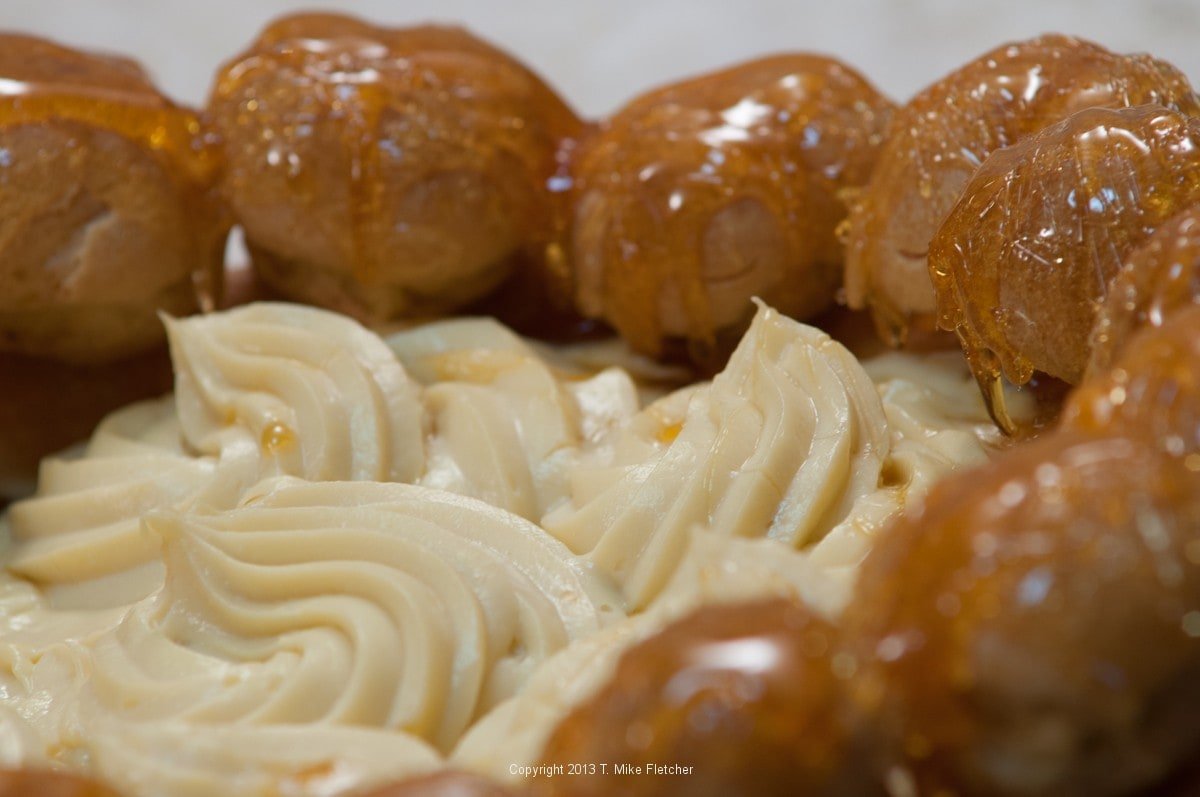
 When I first heard about Cronuts, quite frankly, I thought they were obscene. Having made several batches of them, I can tell you they are!!


 Toast the New Year's celebration with a Peach Melba Royale - a different take on champagne! Fresh raspberries float in a sea of peach schnapps and champagne to bring in the new year in style.


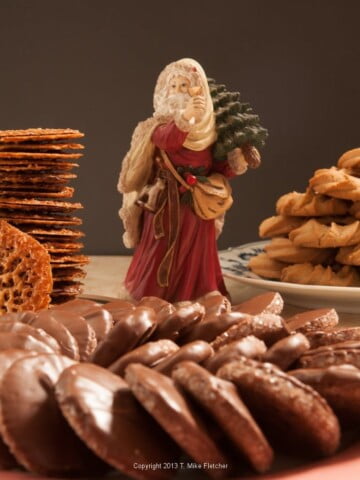
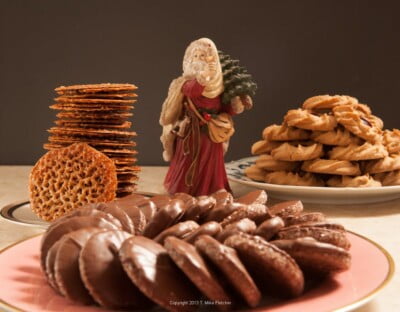
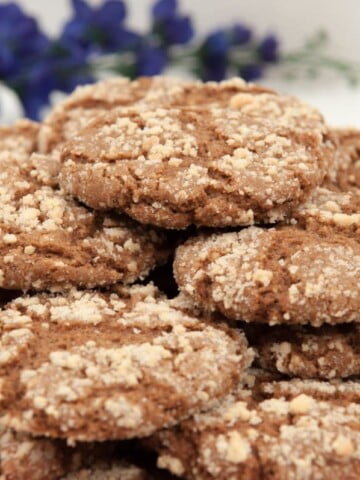
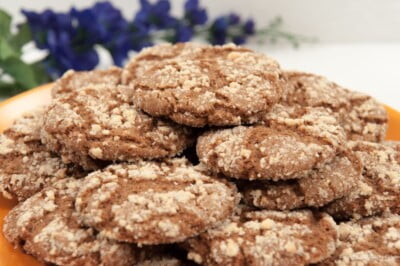
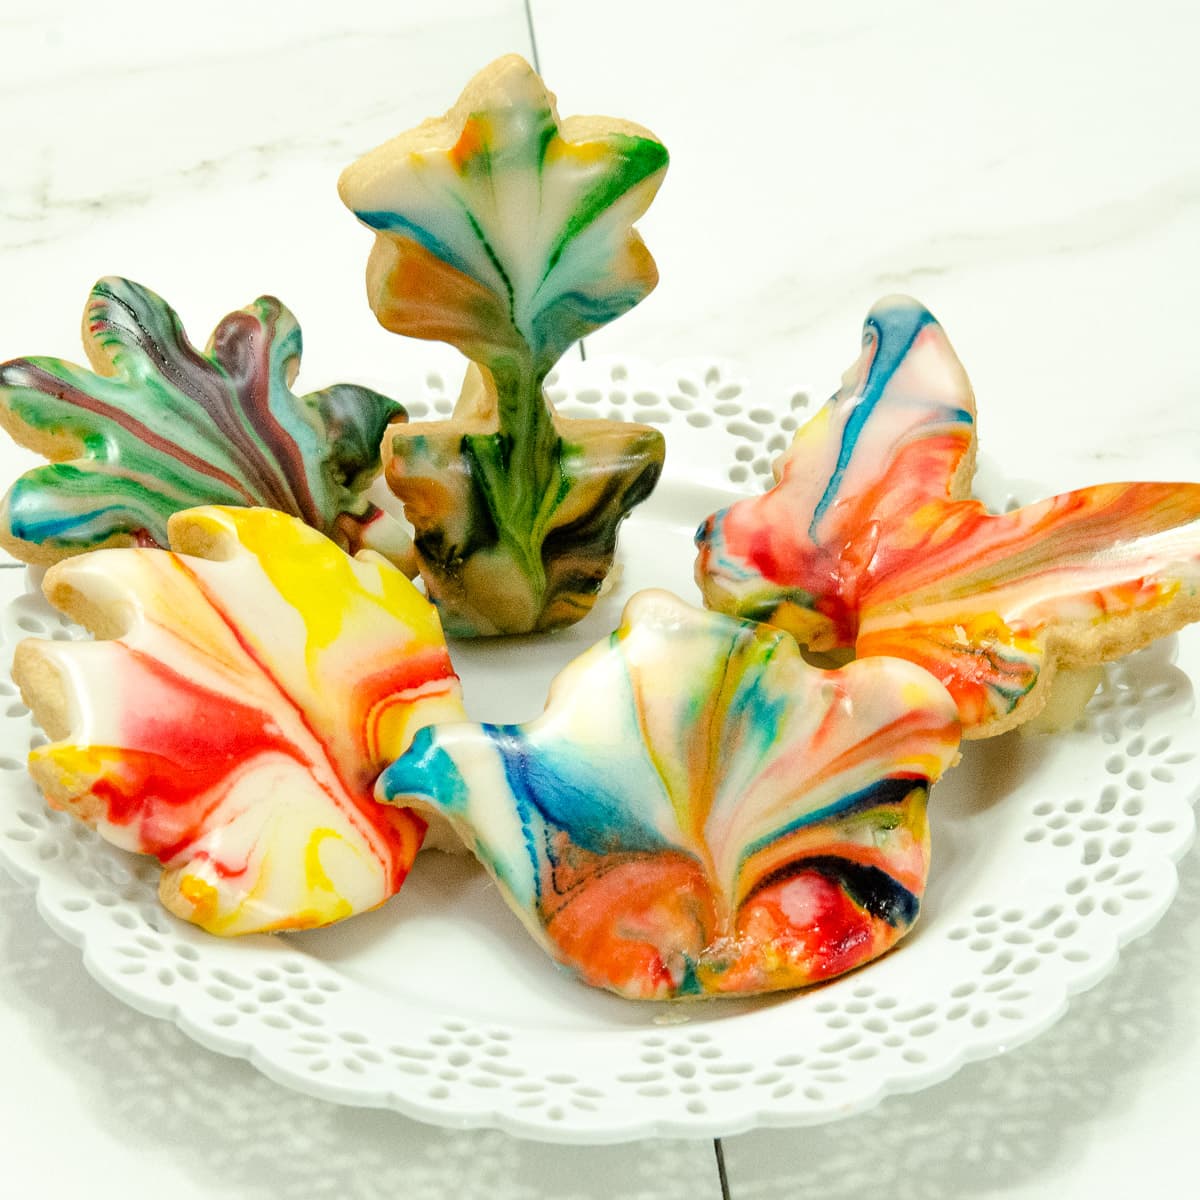
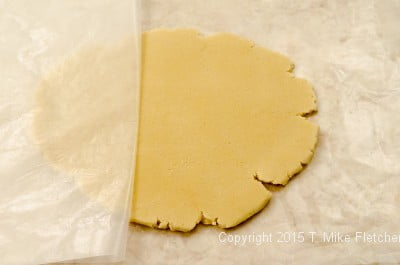
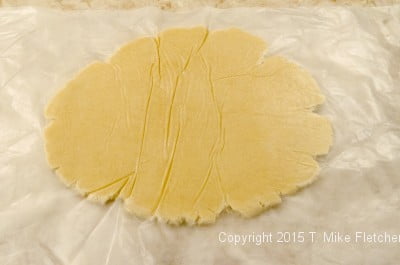
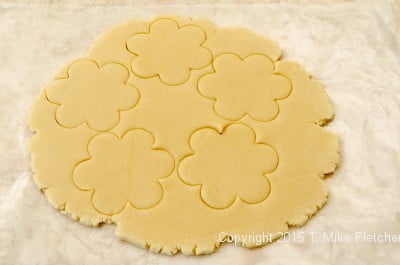
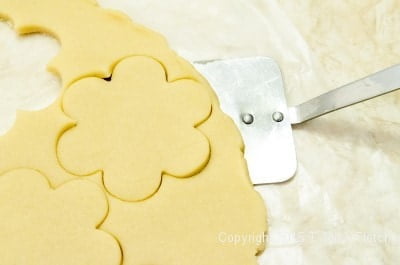
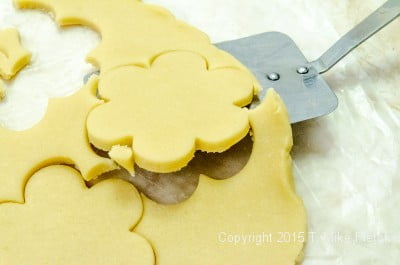
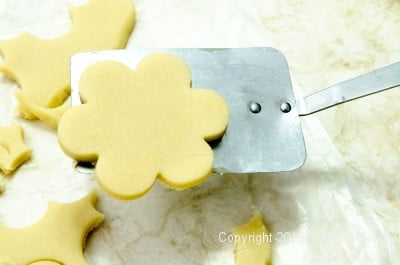
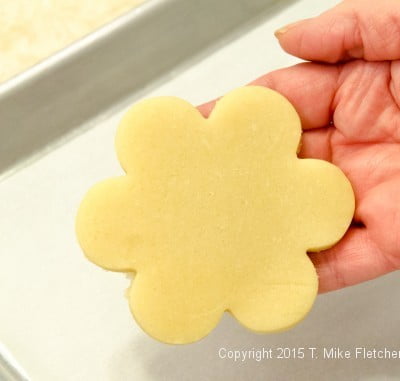
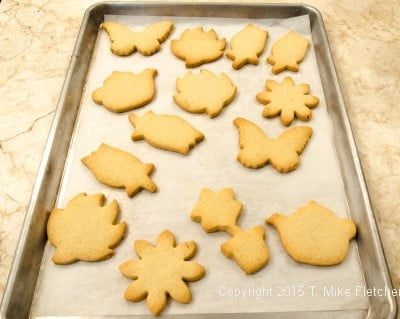
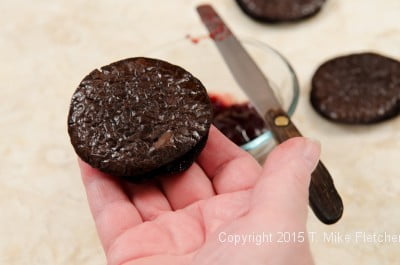
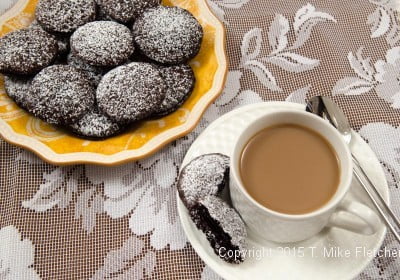
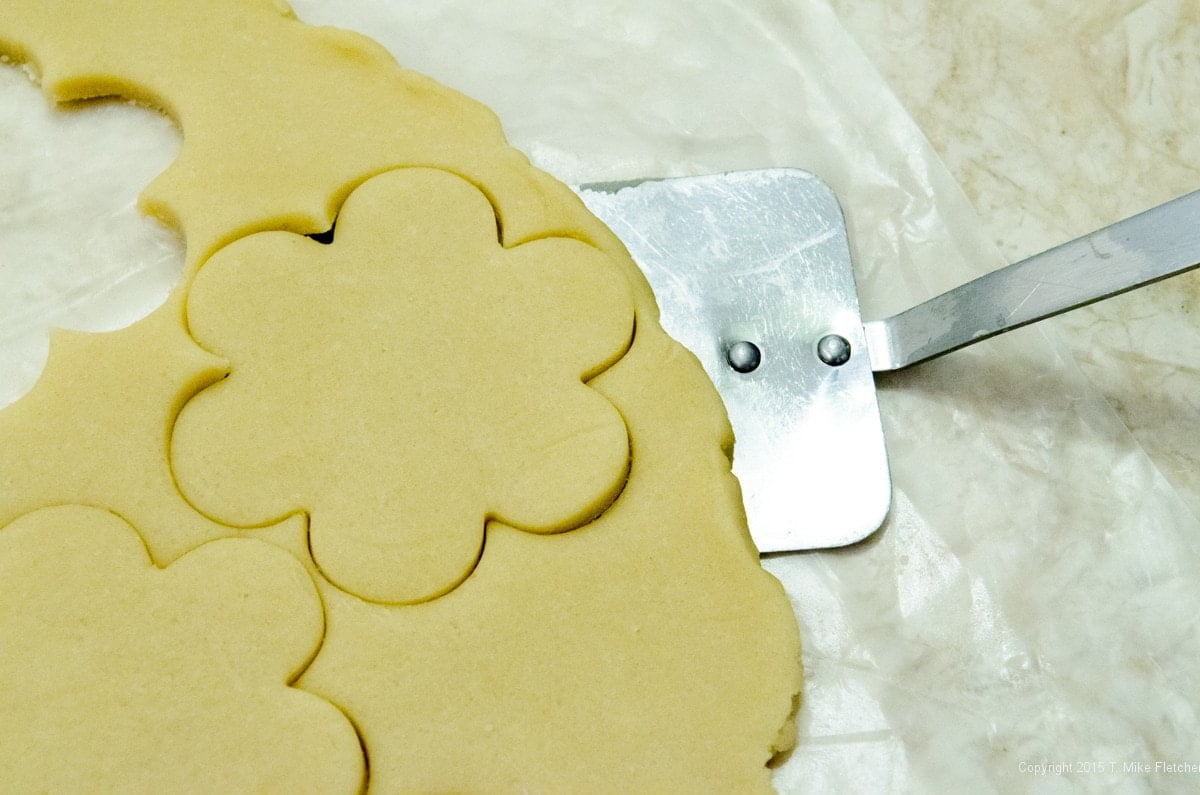
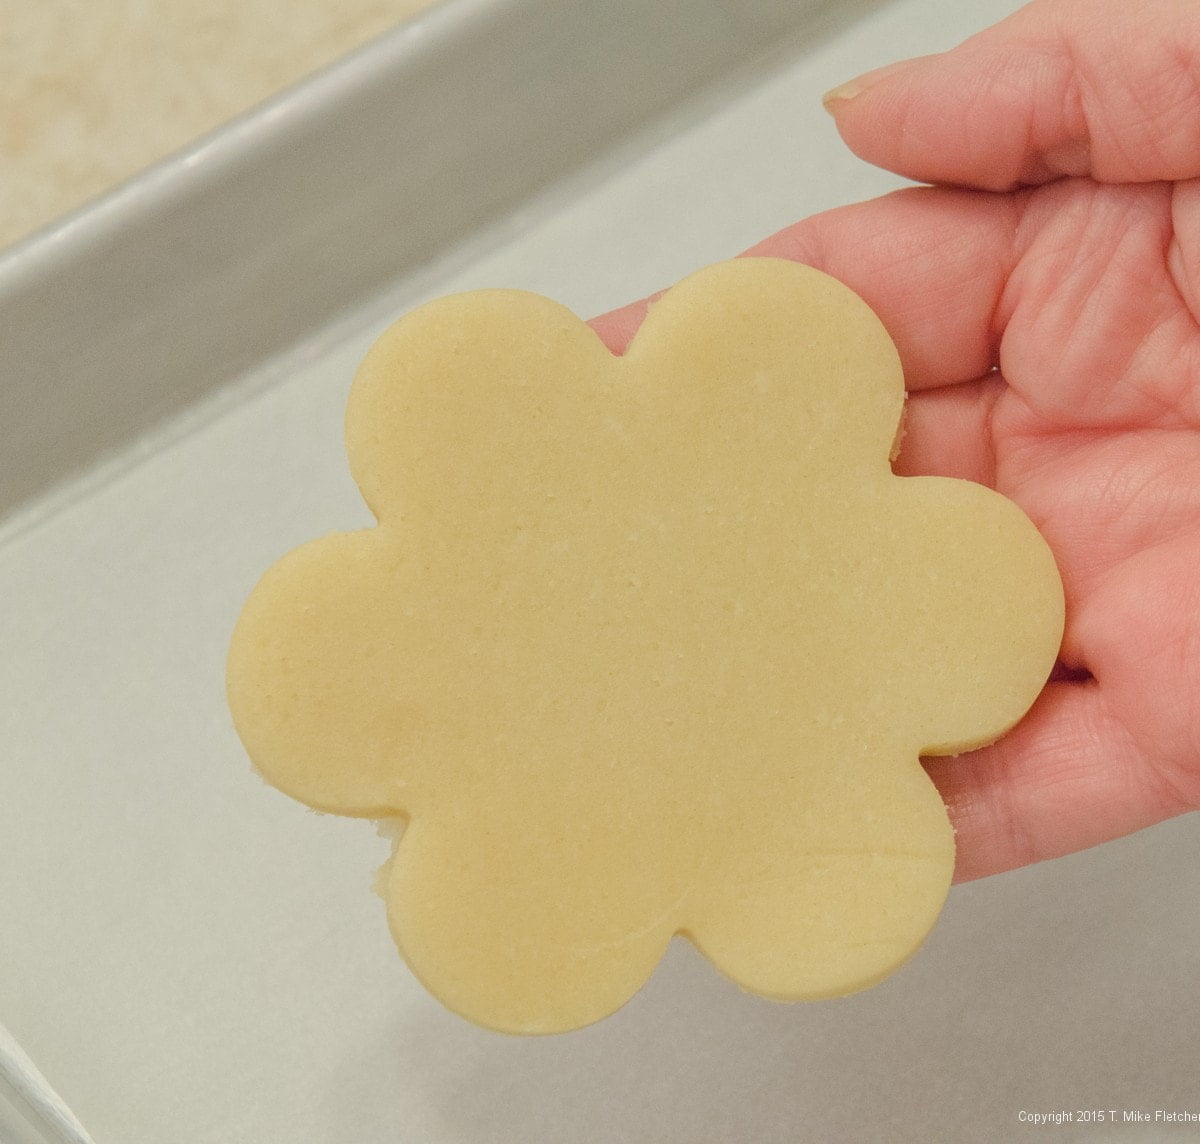
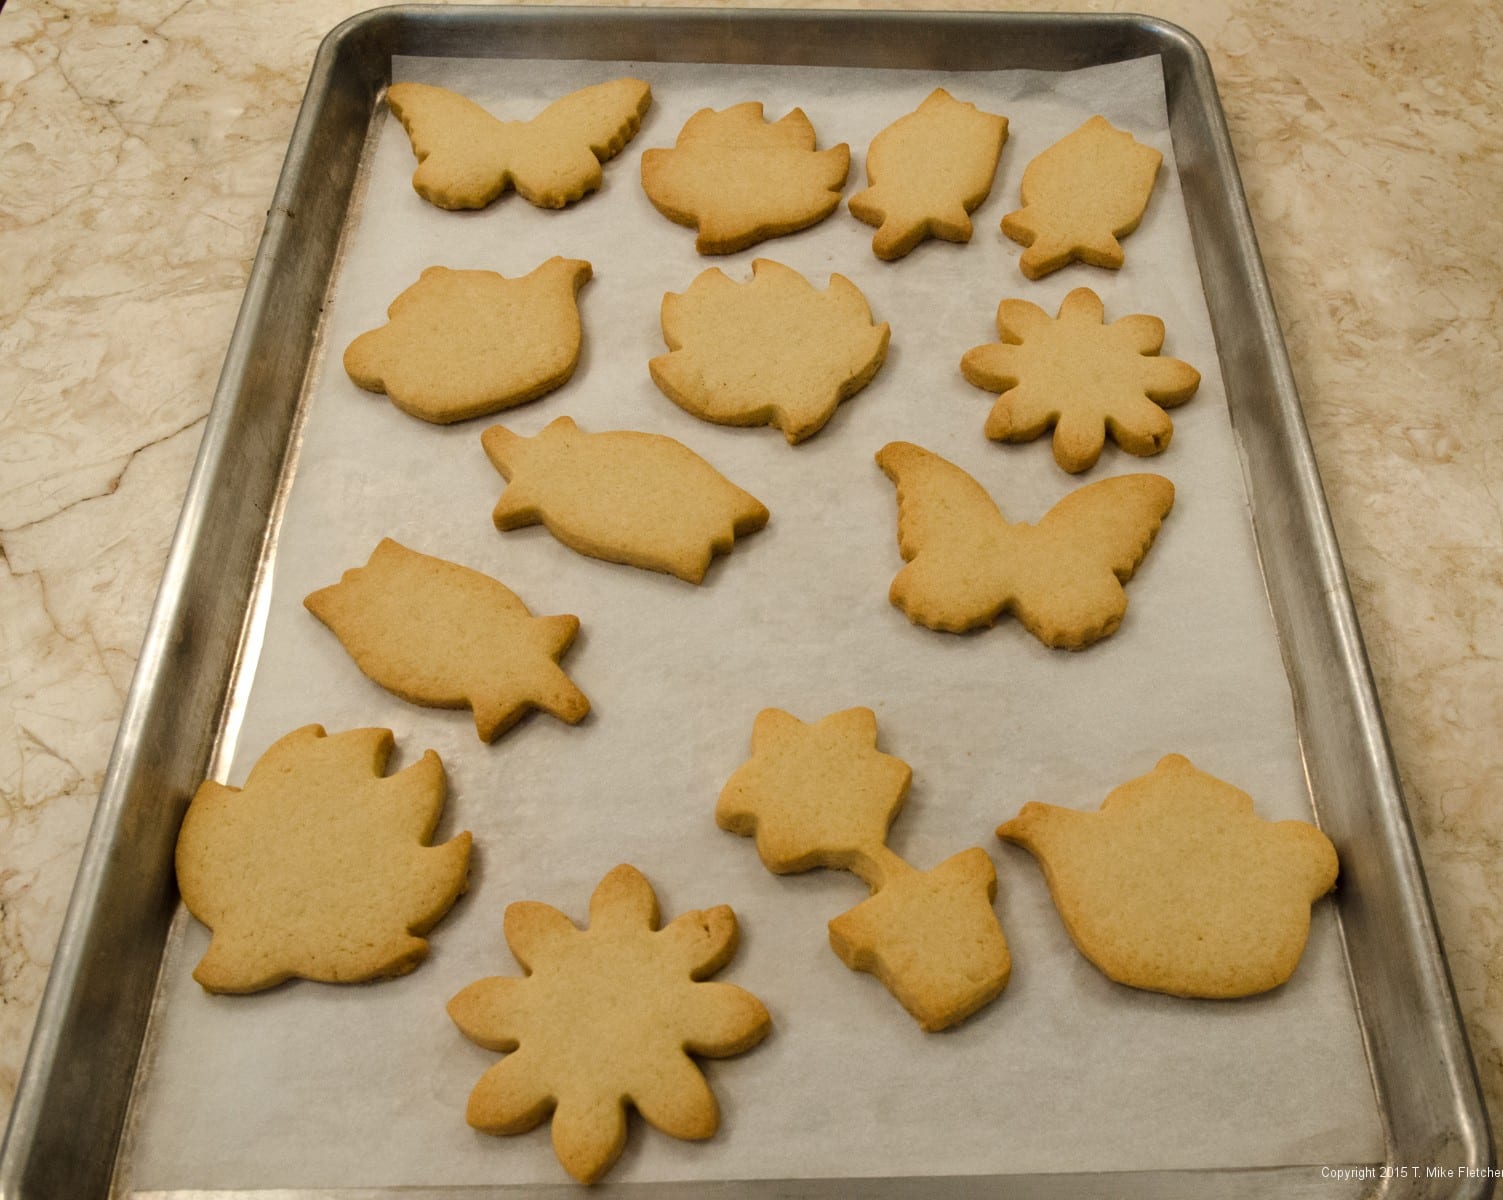
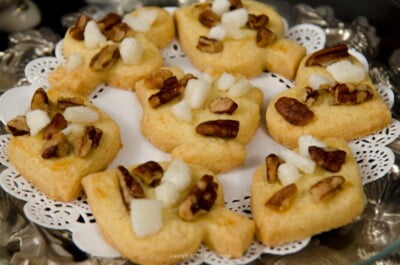 Murbteig cookies were one of my favorite Christmas cookies made by my mother. The basic pastry is German or Viennese depending upon what book you are reading. It is extremely easy to put together. Mother made this in a mixer but I find it easier in the food processor. Both versions are included.
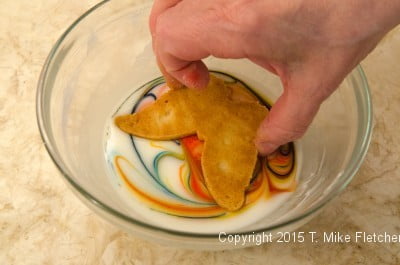
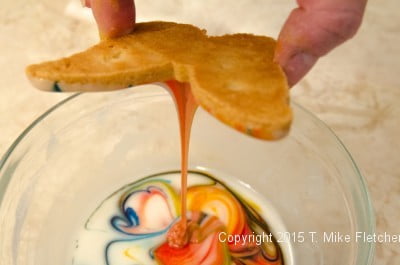
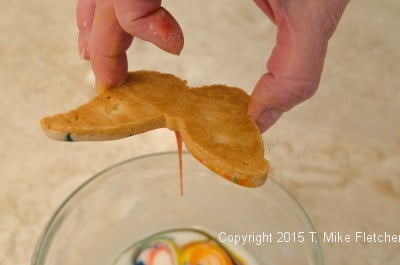
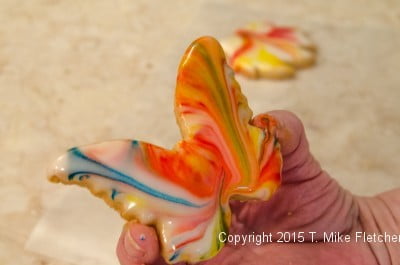
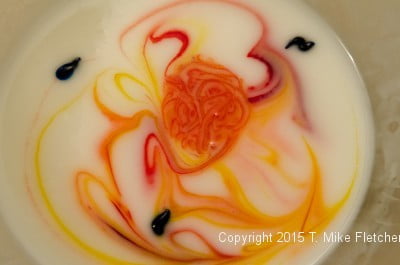
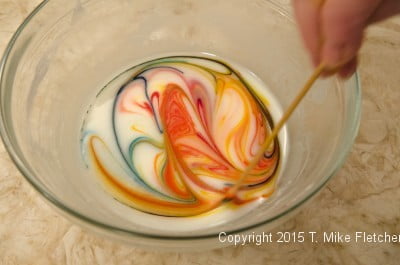
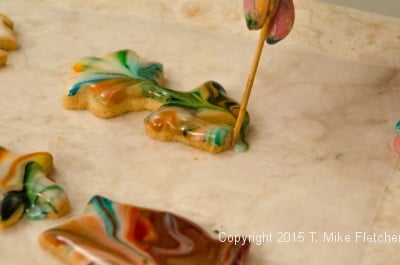
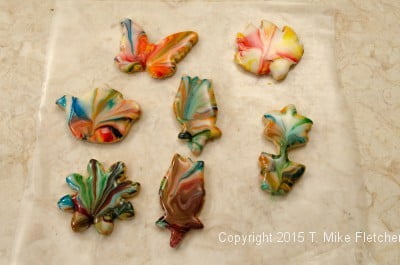
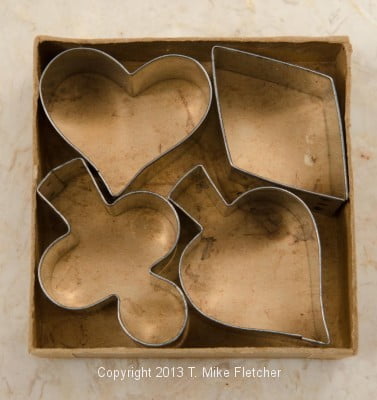 She also included a small little chicken. I have no idea why the chicken or the card cutters but they are a dainty cookie and look just beautiful on a cookie tray.
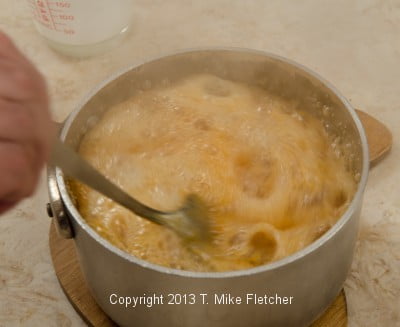
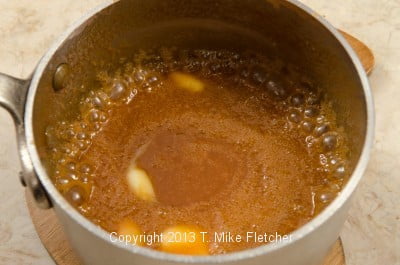
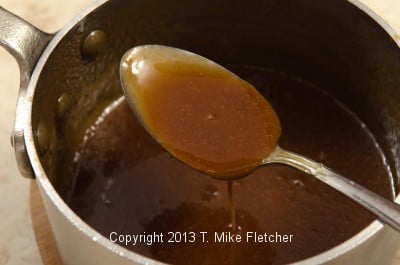
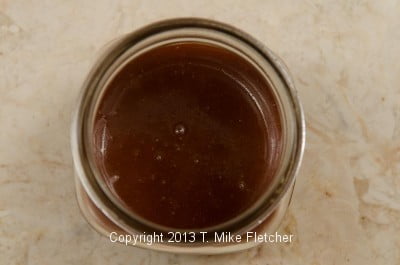
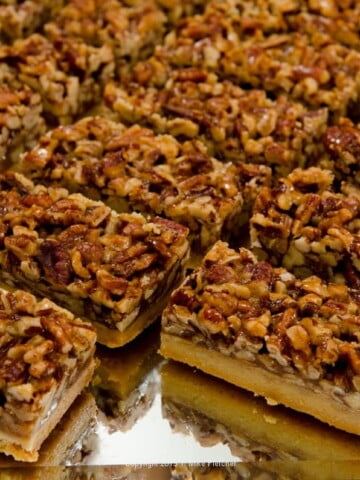
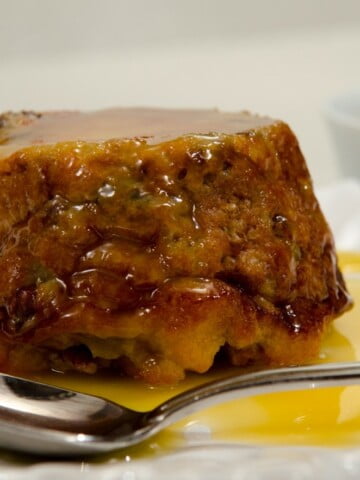
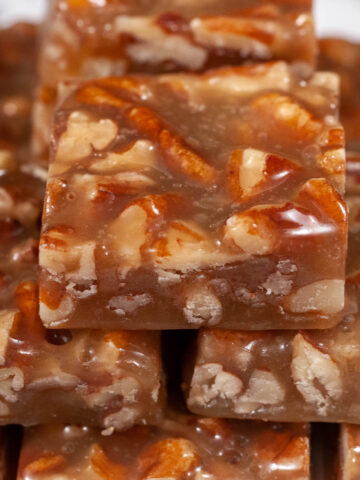
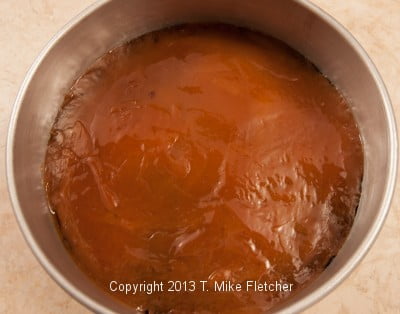
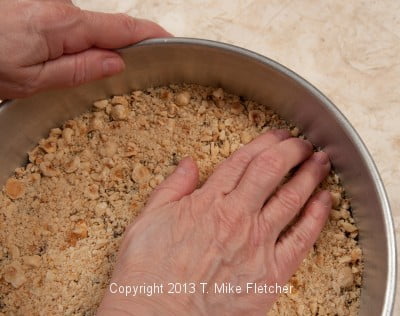
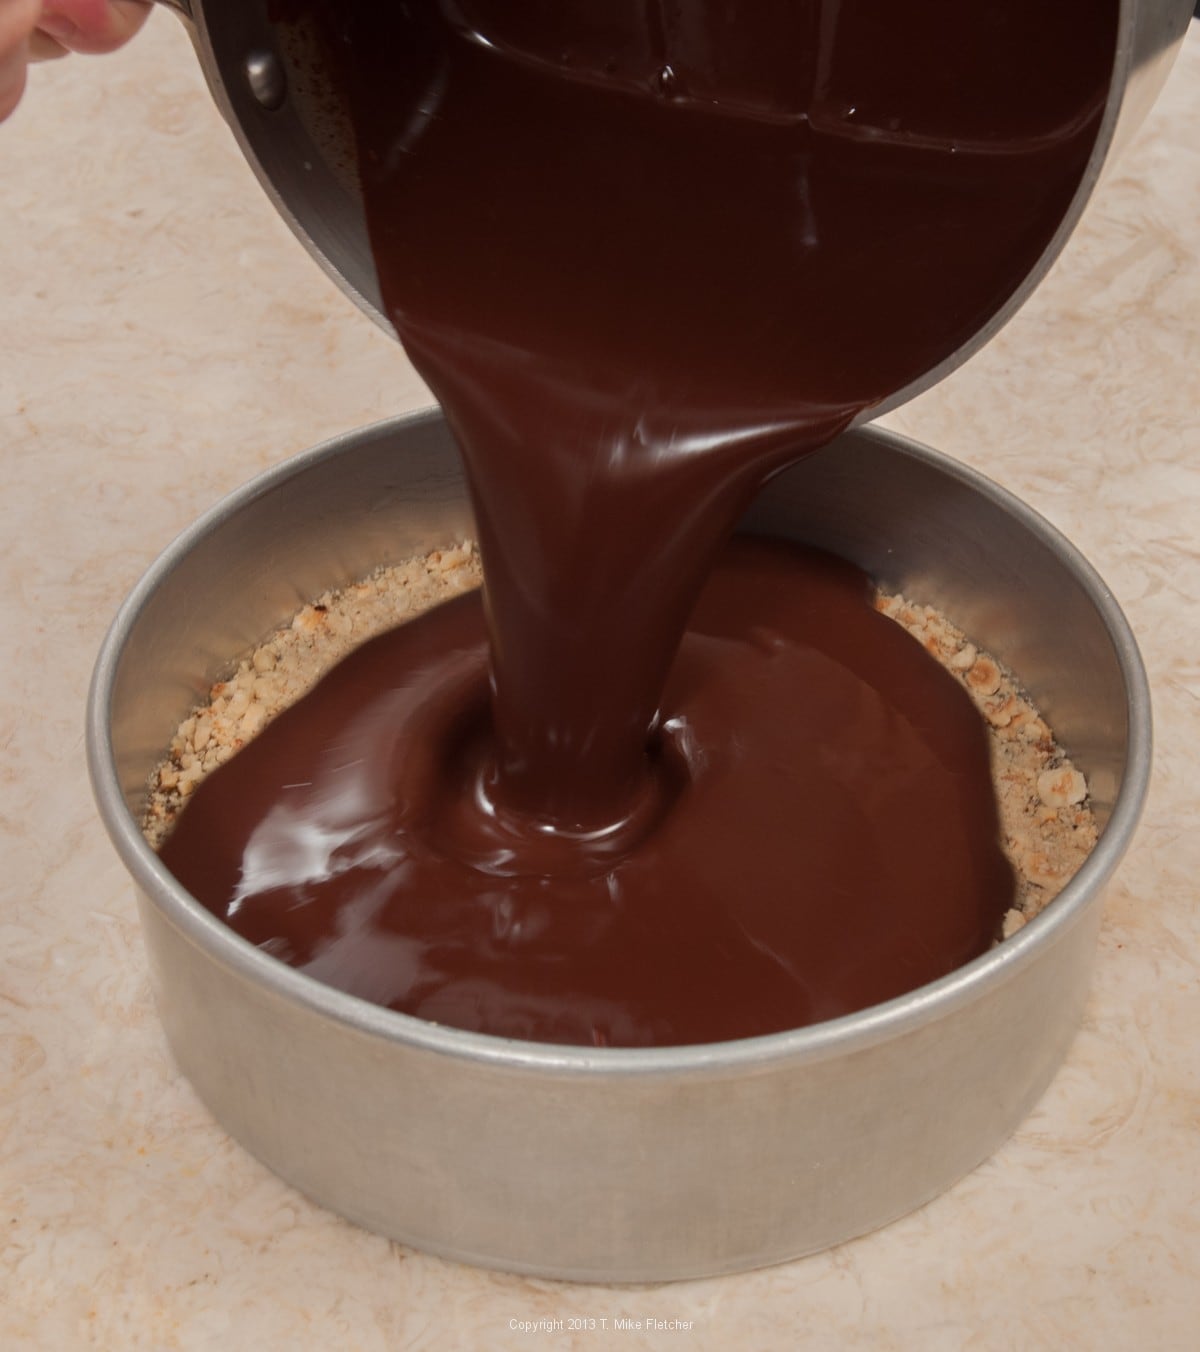
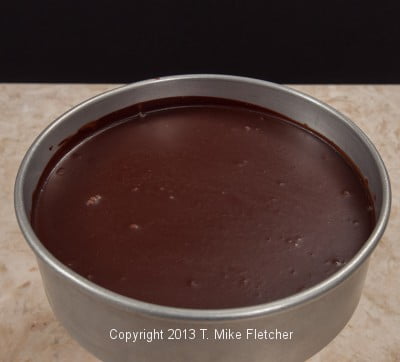
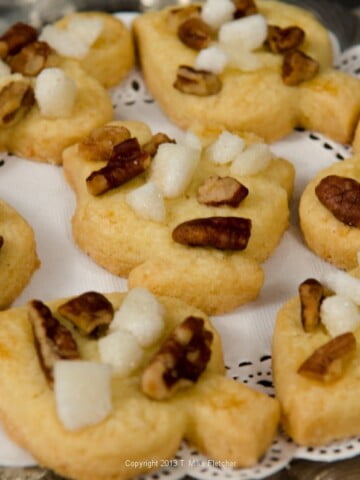
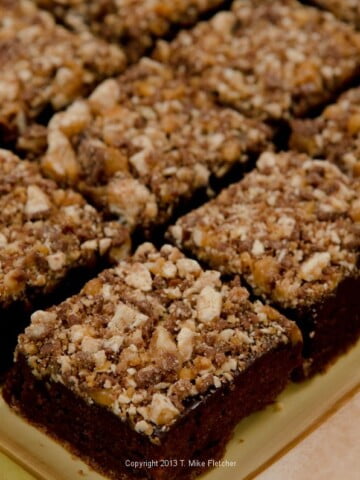
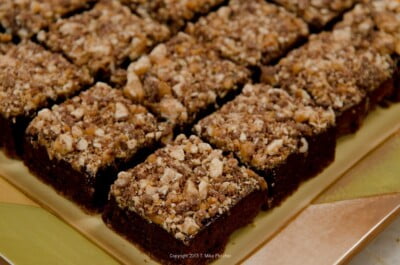
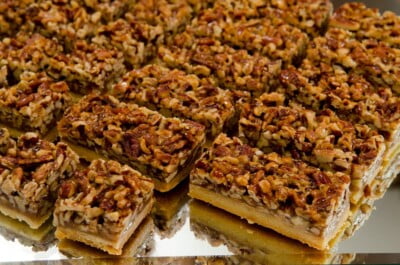 These Pecan Bars are one of the most used recipes from the Culinary Institute of America. I have seen various versions of these Pecan Bars but this one is the one we used in the bakery. The key is to boil the filling to 240 degrees or the filling will sag when it is cut. Otherwise this is the easiest of recipes to make.
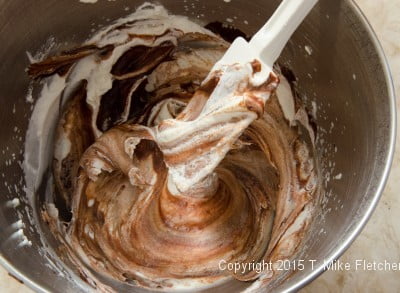
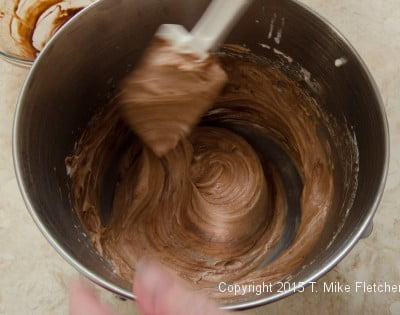
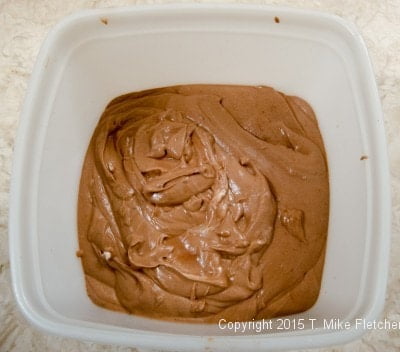
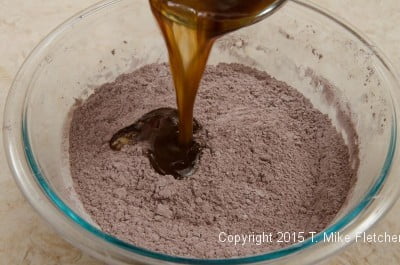
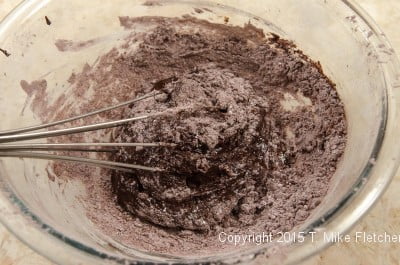
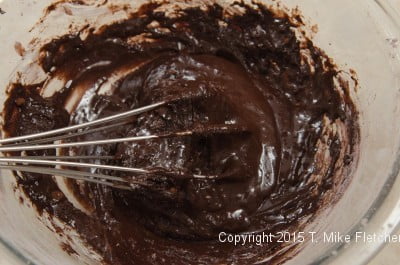
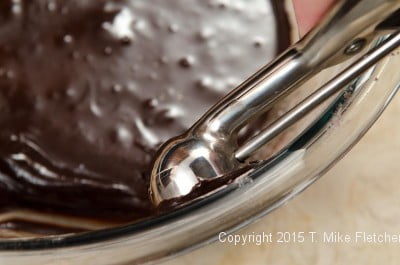
 Although really easy, these fudgy Snickers Brownies, are sure to become a favorite. They are great for getting kids into the kitchen. When my grandson was five he made these and still does. After all a whisk, a bowl, a few measuring utensils yields a bonanza of brownies. If you don't have a food processor, don't freeze the candy, just chop the snicker bars by hand. Make these Snickers Brownies once and see if they don't become an instant favorite.
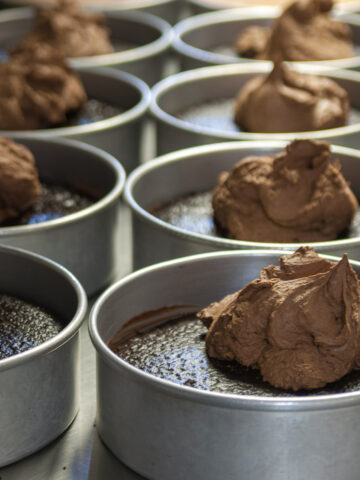
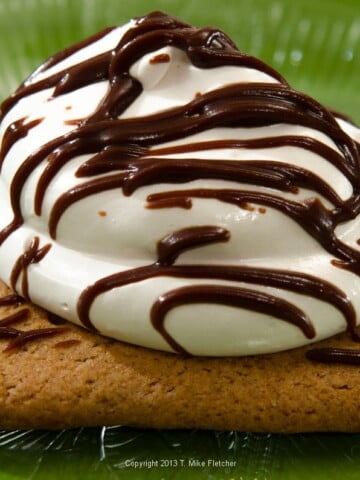
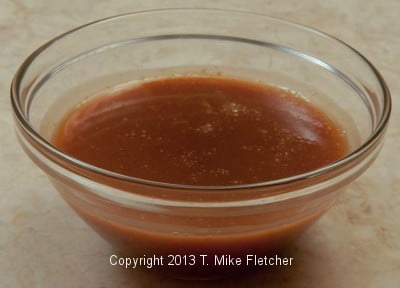
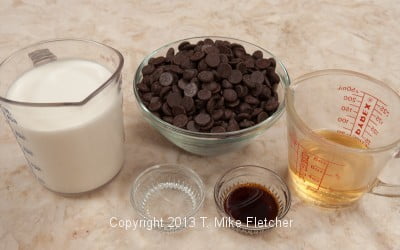
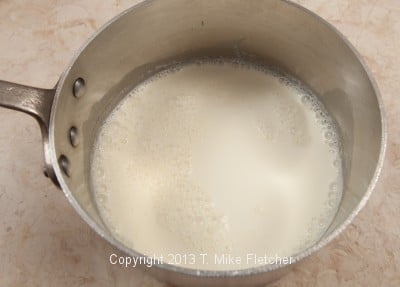
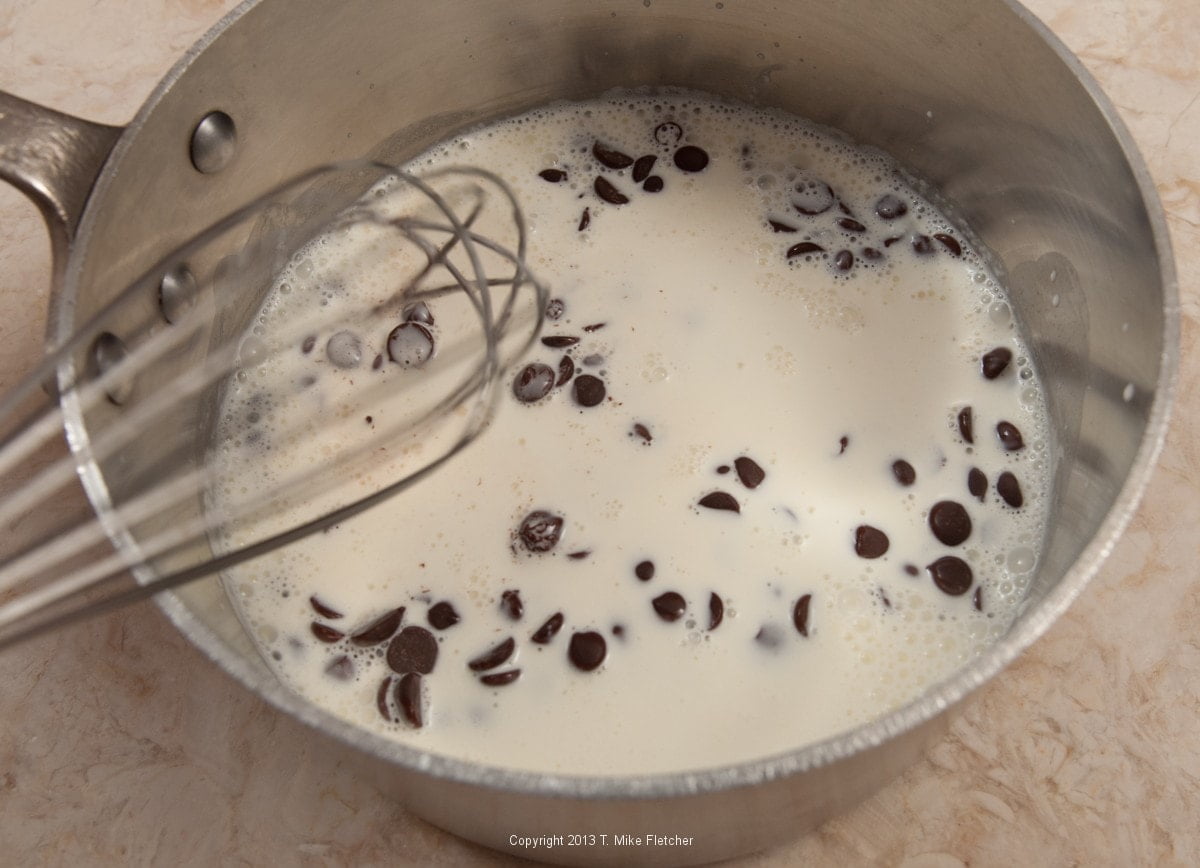
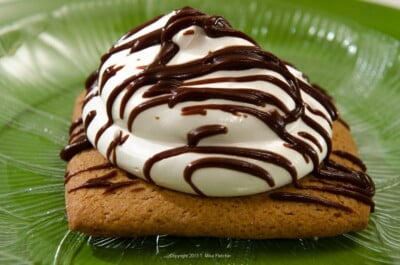 Reinterpreting S'Mores is one of the fun things about being a pastry chef. This version of S'mores is a perfect example as it keeps the classic components but changes them up a bit.