Ummmmm no bake desserts! After more than 25 years running a wholesale bakery, supplying hotels, caterers, and restaurants with desserts that had to be absolutely perfect every single time, I can tell you this: some of the most spectacular things ever to come out of my kitchen never saw the inside of an oven. Not once. The refrigerator and the food processor are wildly underestimated tools, and these recipes prove it.
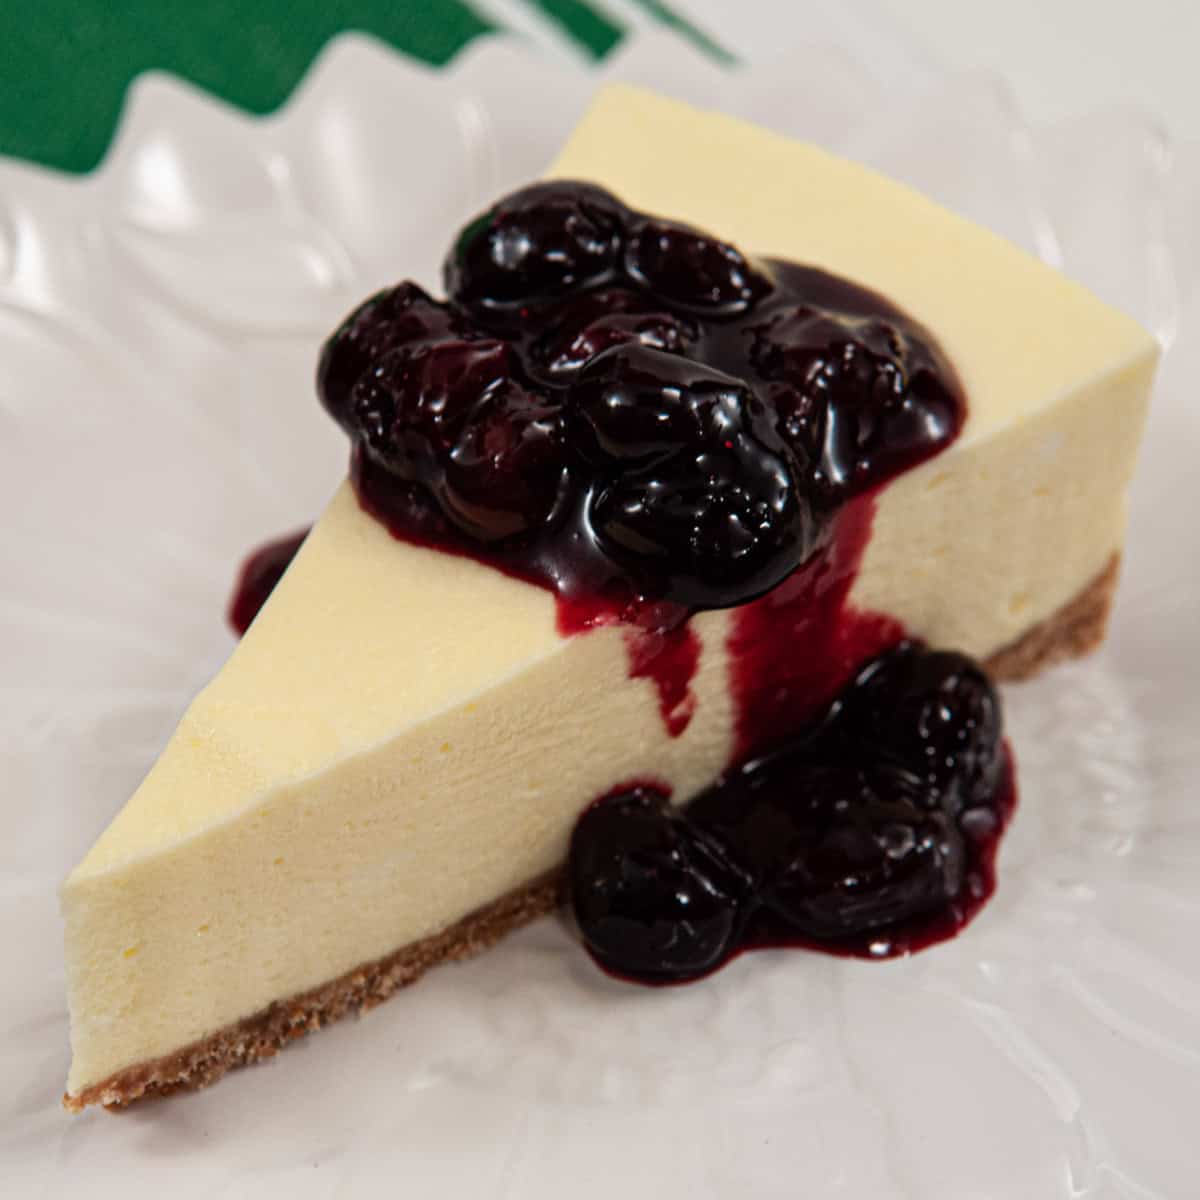
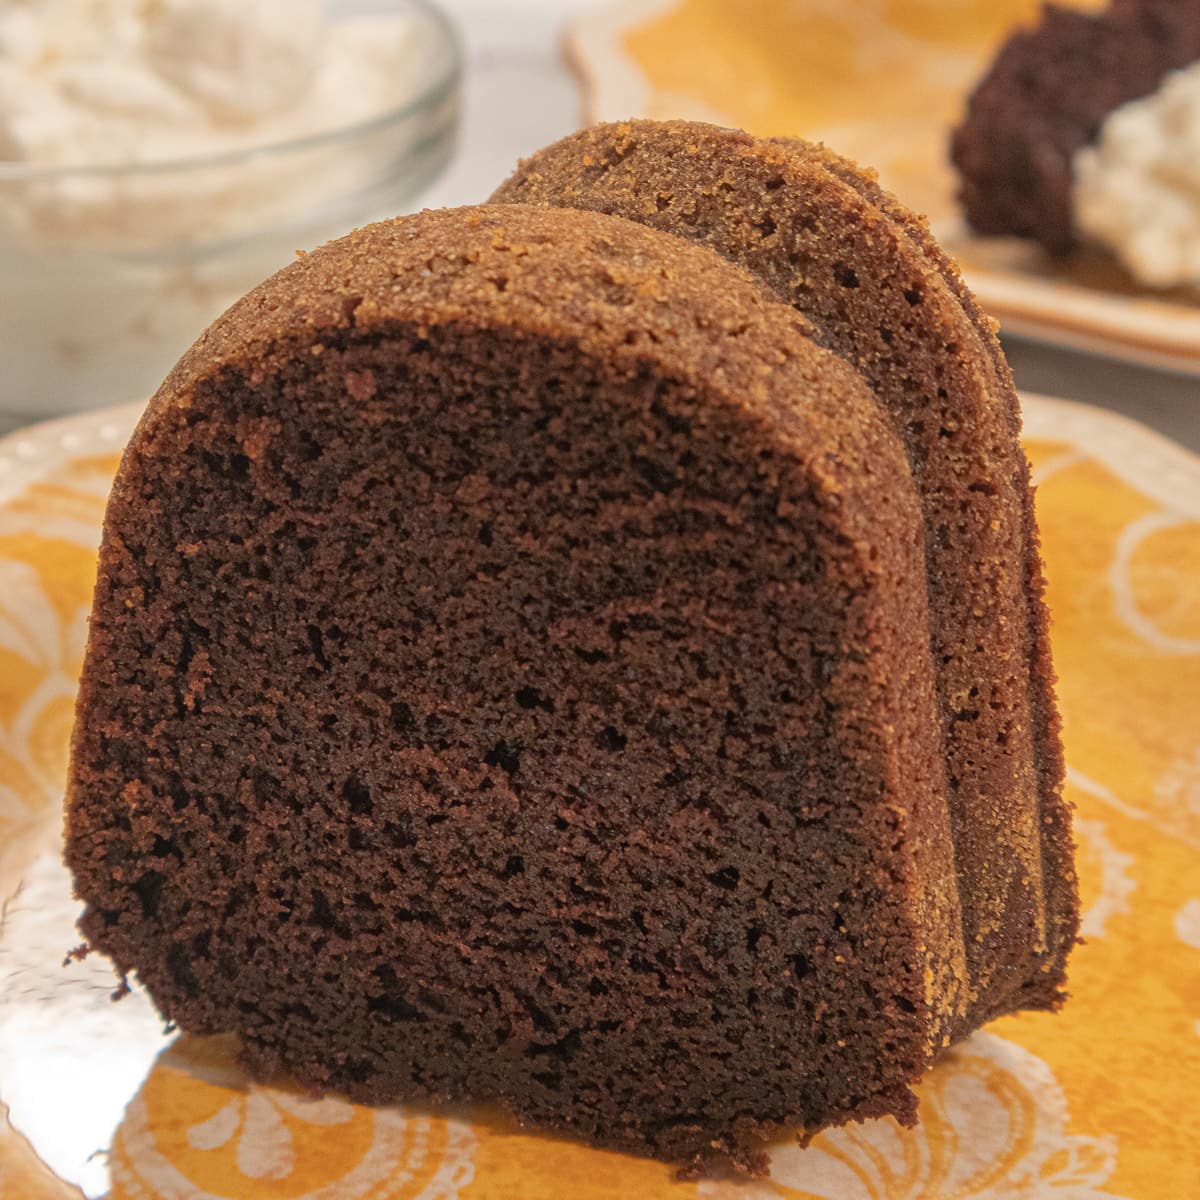
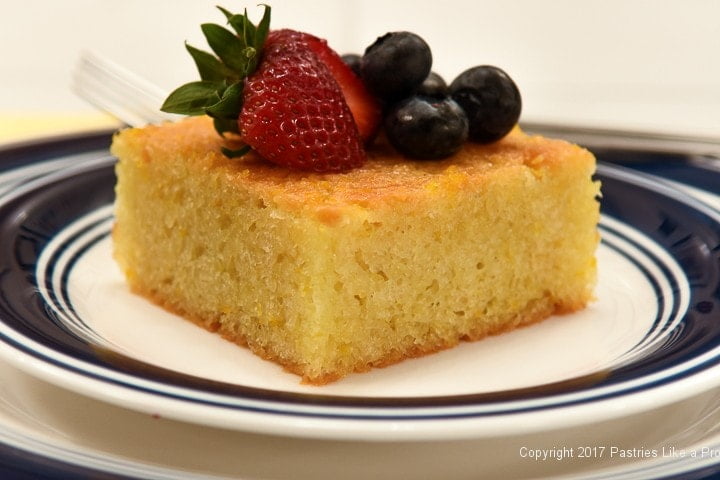
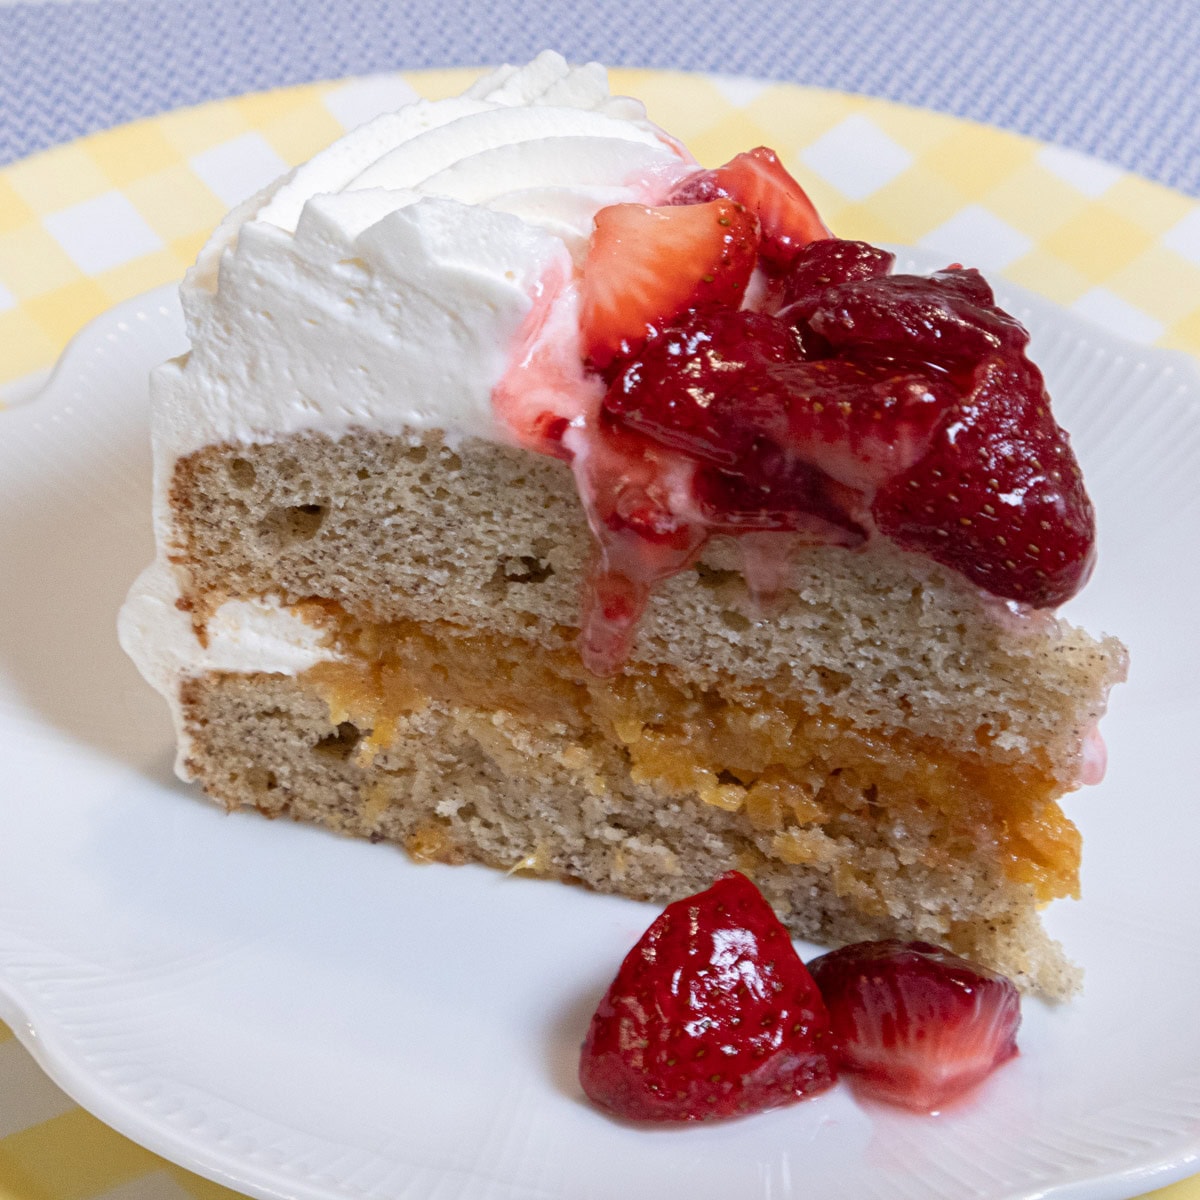
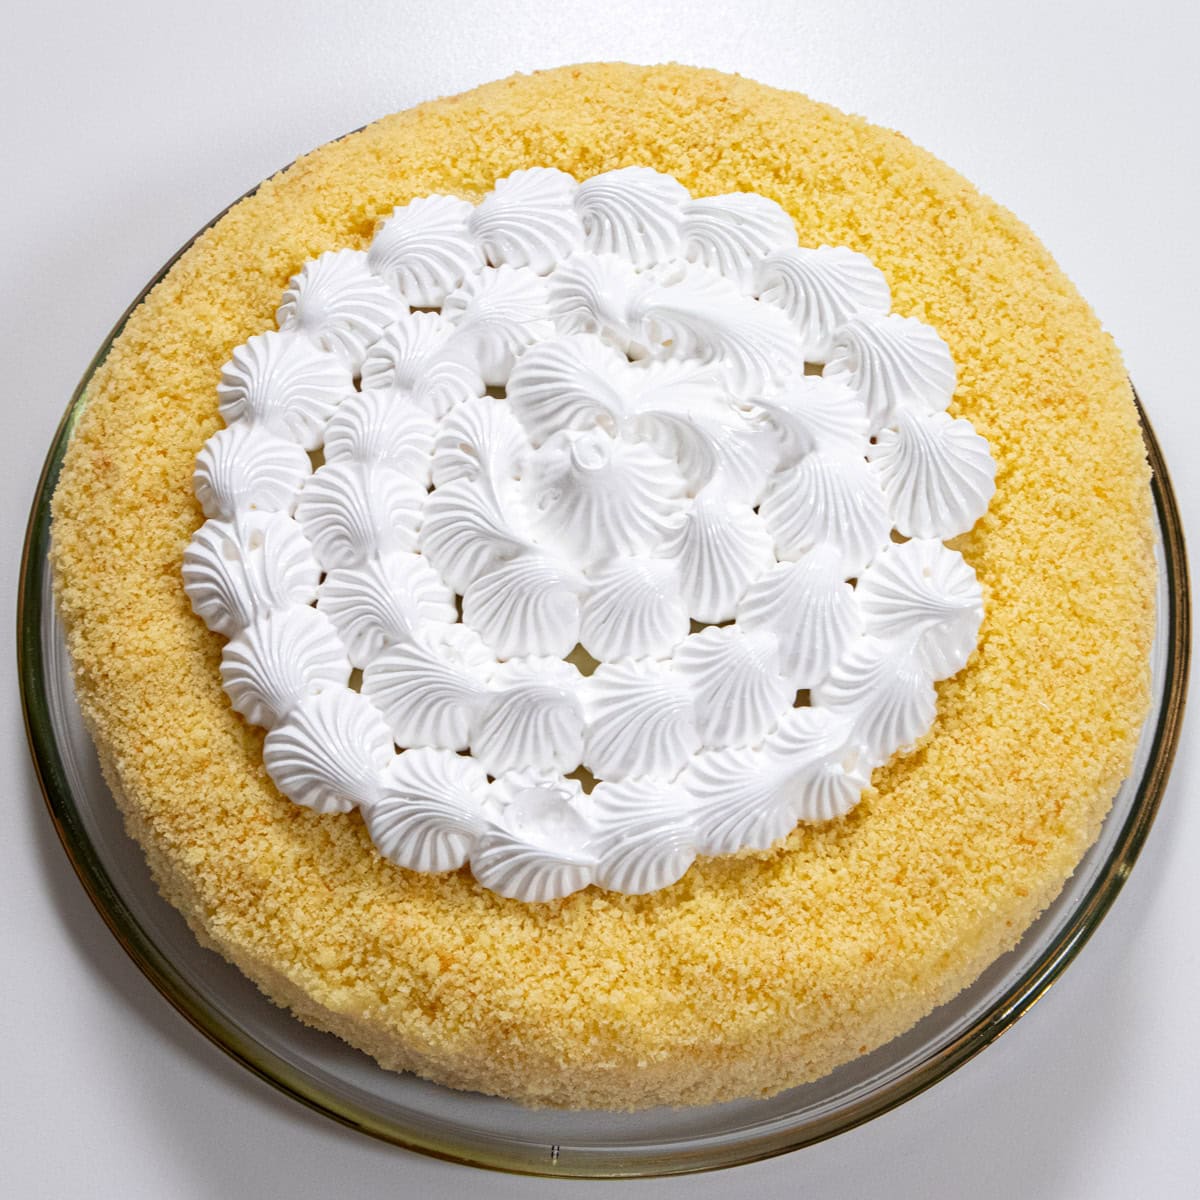
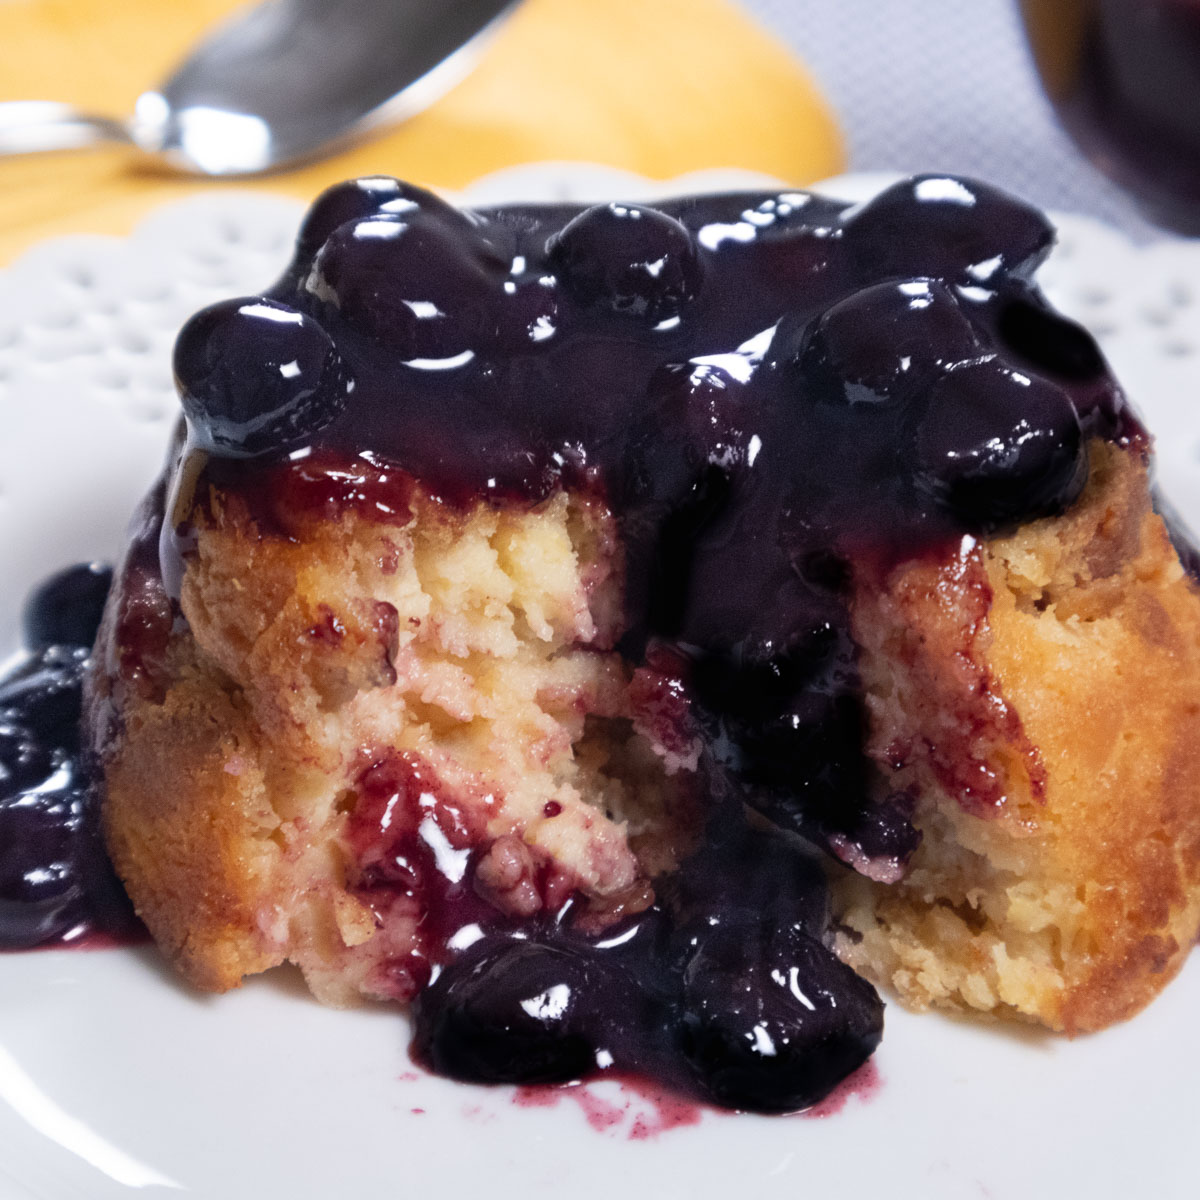
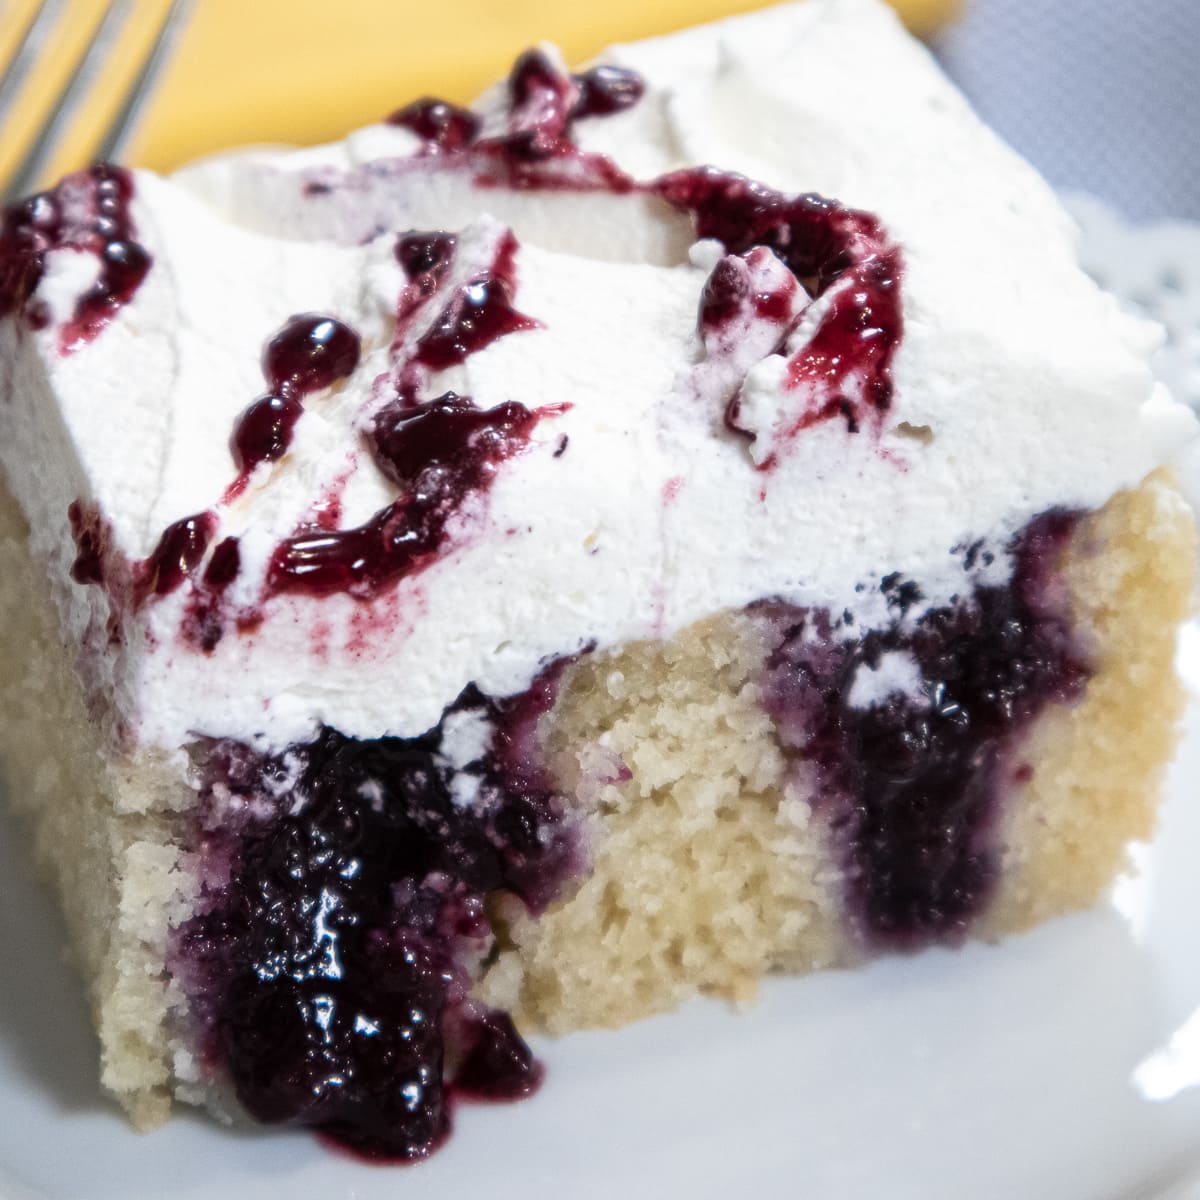
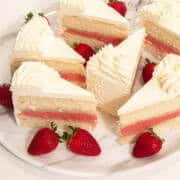
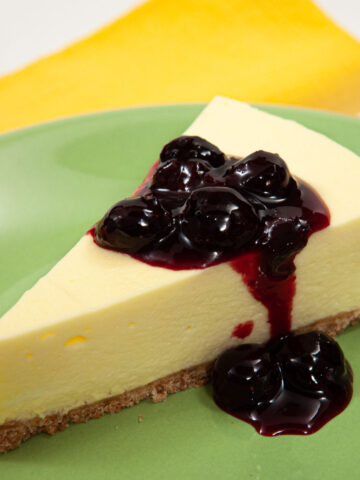
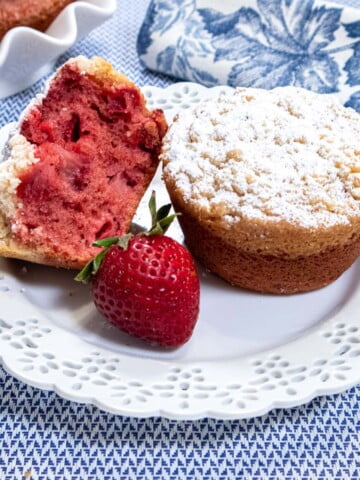
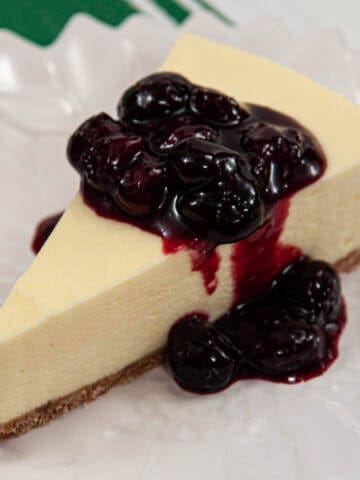
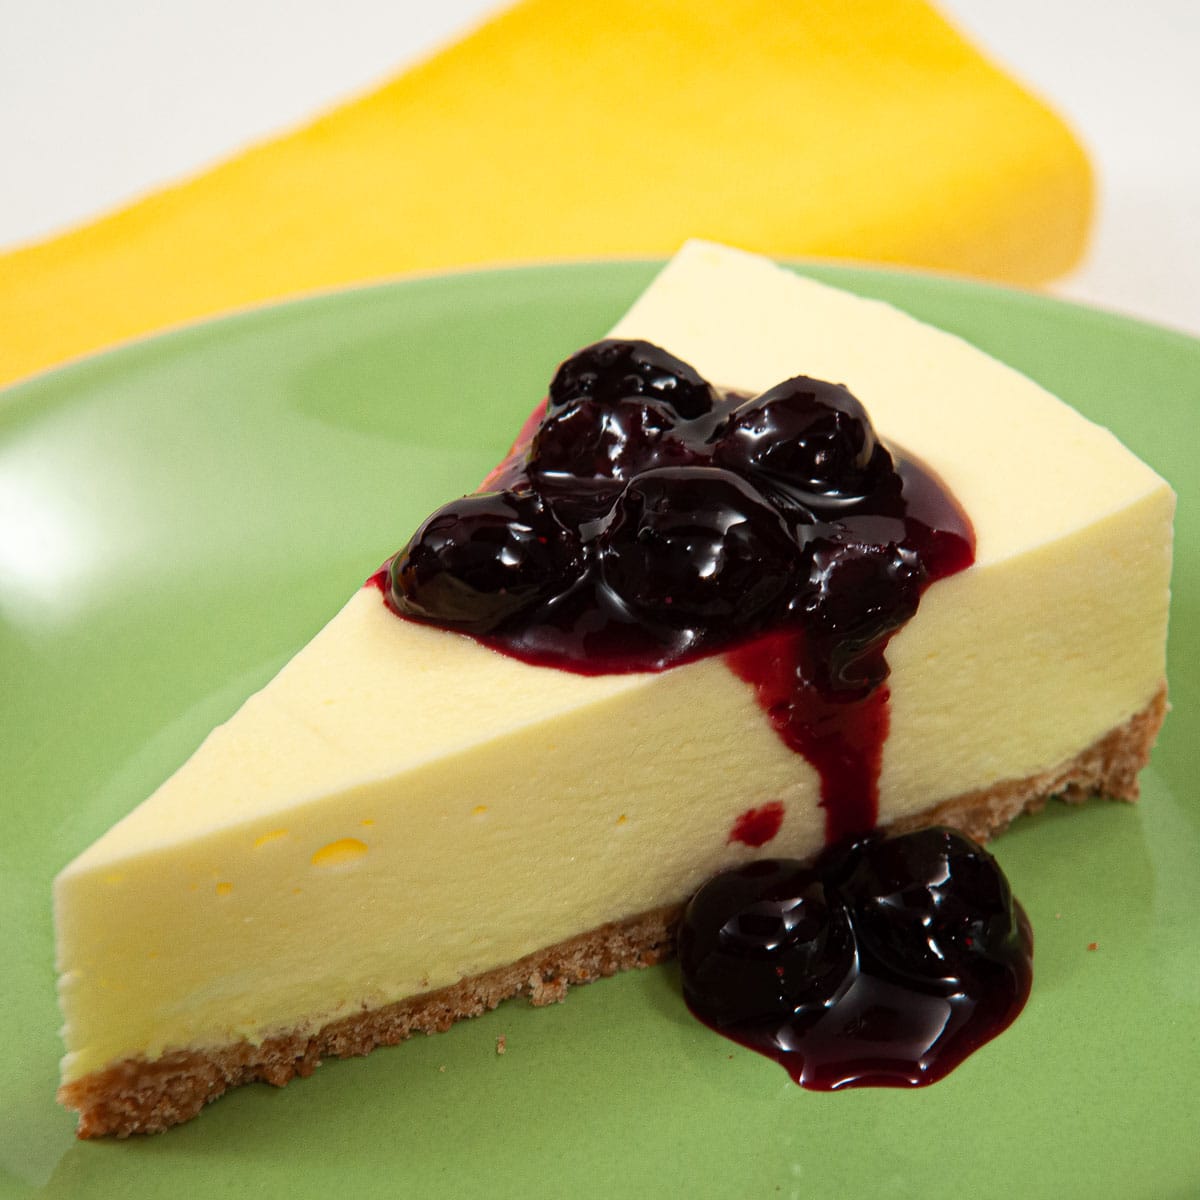
Lemonade Cake with Blueberry Sauce
From velvety cheesecakes that set up flawlessly without a water bath to creamy ice cream pies with crusts that stay pliable straight from the freezer, every one of these desserts delivers maximum flavor with minimal fuss. Whether you're trying to beat the summer heat, racing against the clock during the holidays, or just don't feel like turning on the oven — these are your recipes. And the compliments you'll get? Bask in their glory. Nobody needs to know how easy it really was.
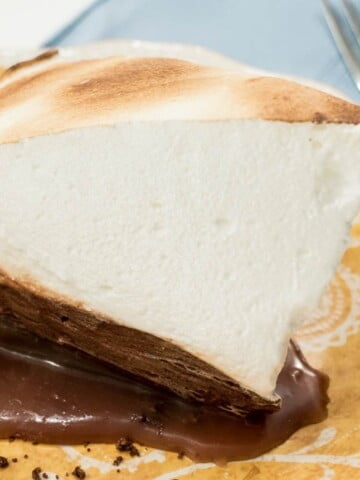
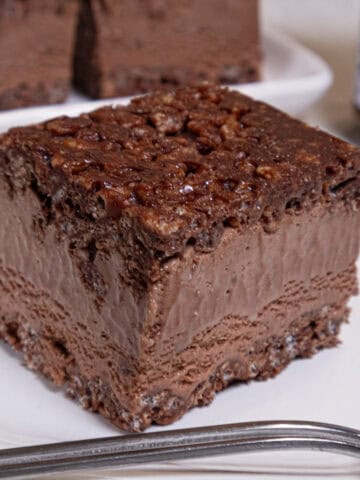
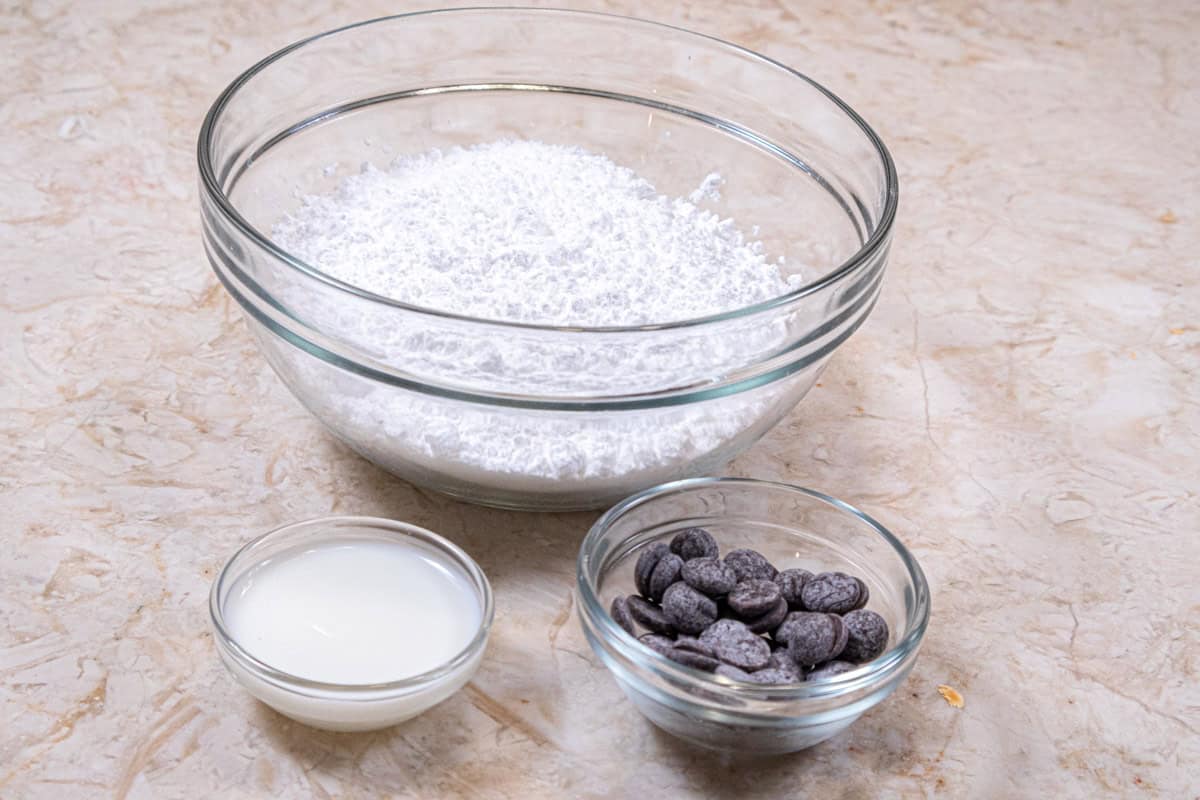
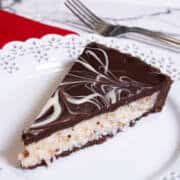
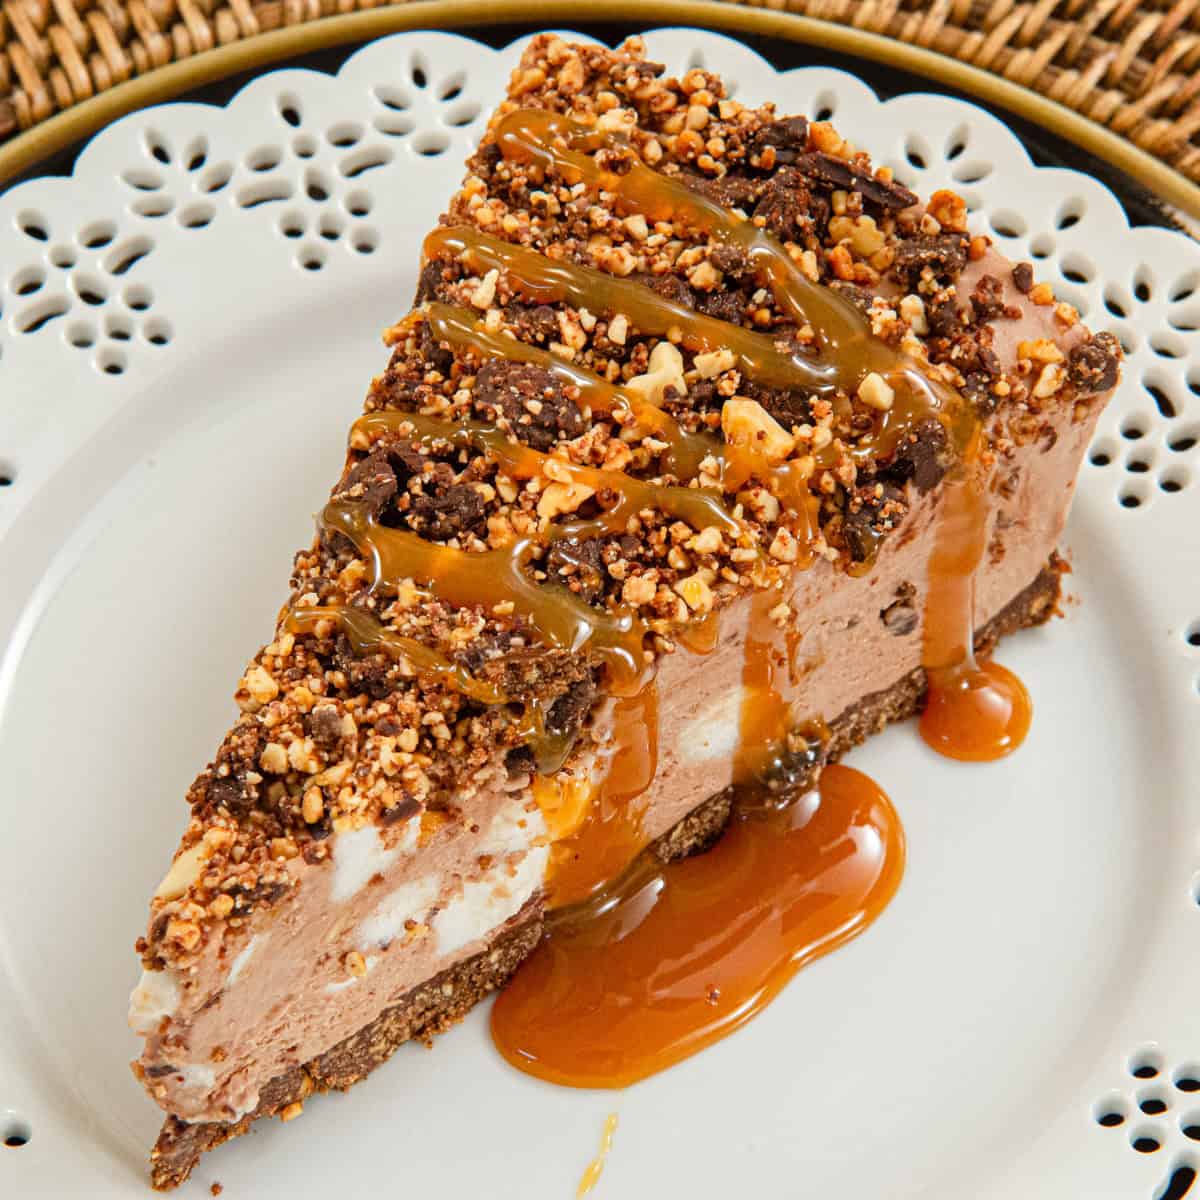
Easy No Bake Rocky Road Cheesecake
While it looks complex, this cheesecake is actually as easy as it gets. Peanuts, chocolate, and mini-marshmallows are stirred into a rich chocolate base made entirely in the processor — no water bath, no cracking, no fussing. Bask in the compliments and share the recipe if you feel like it.
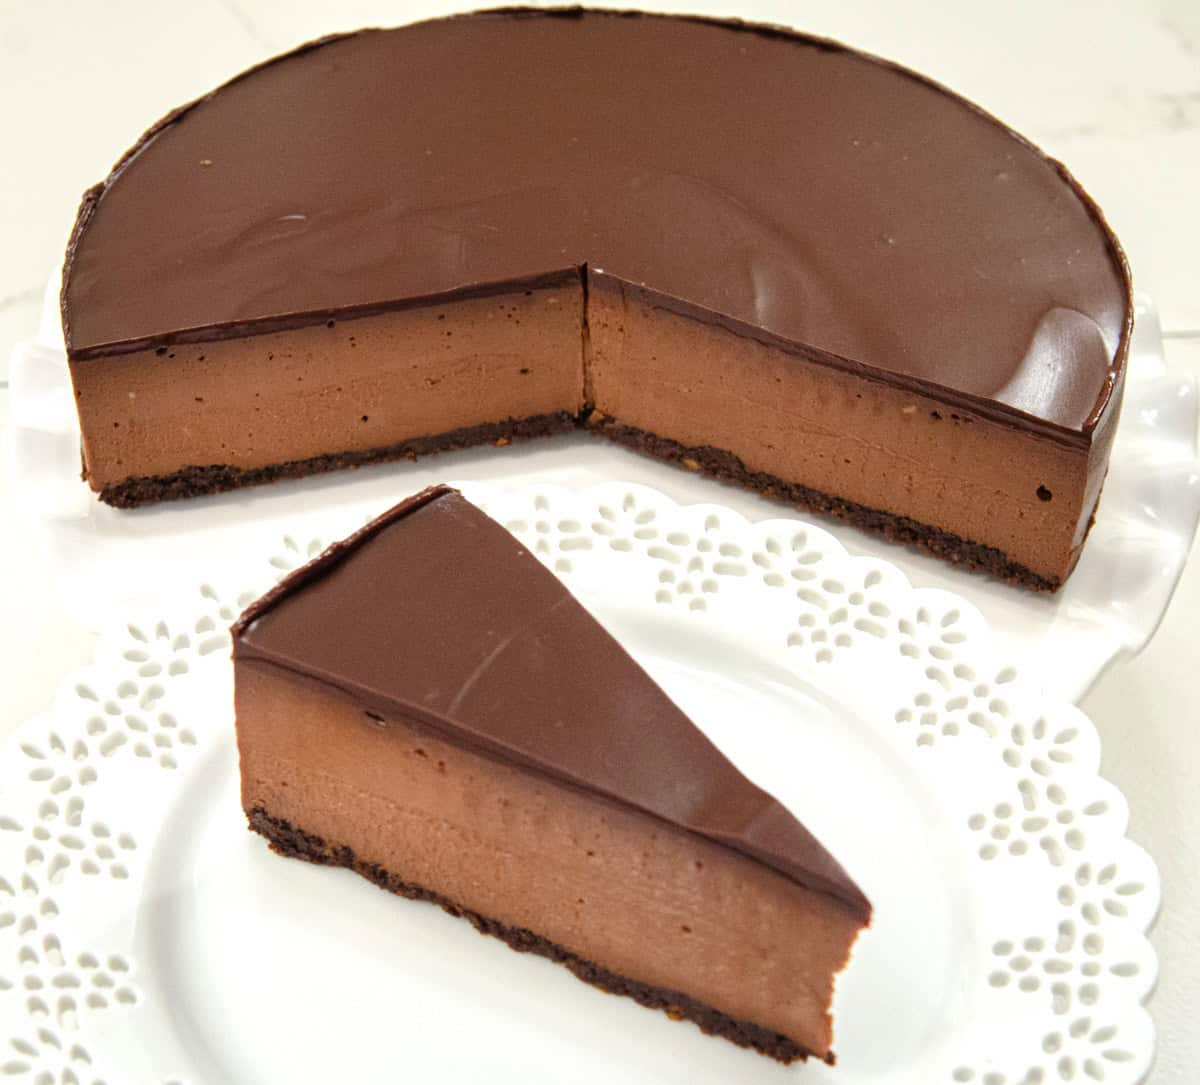
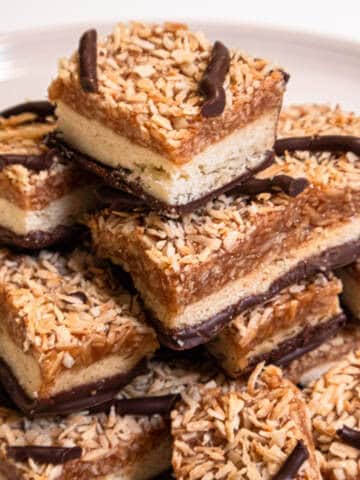
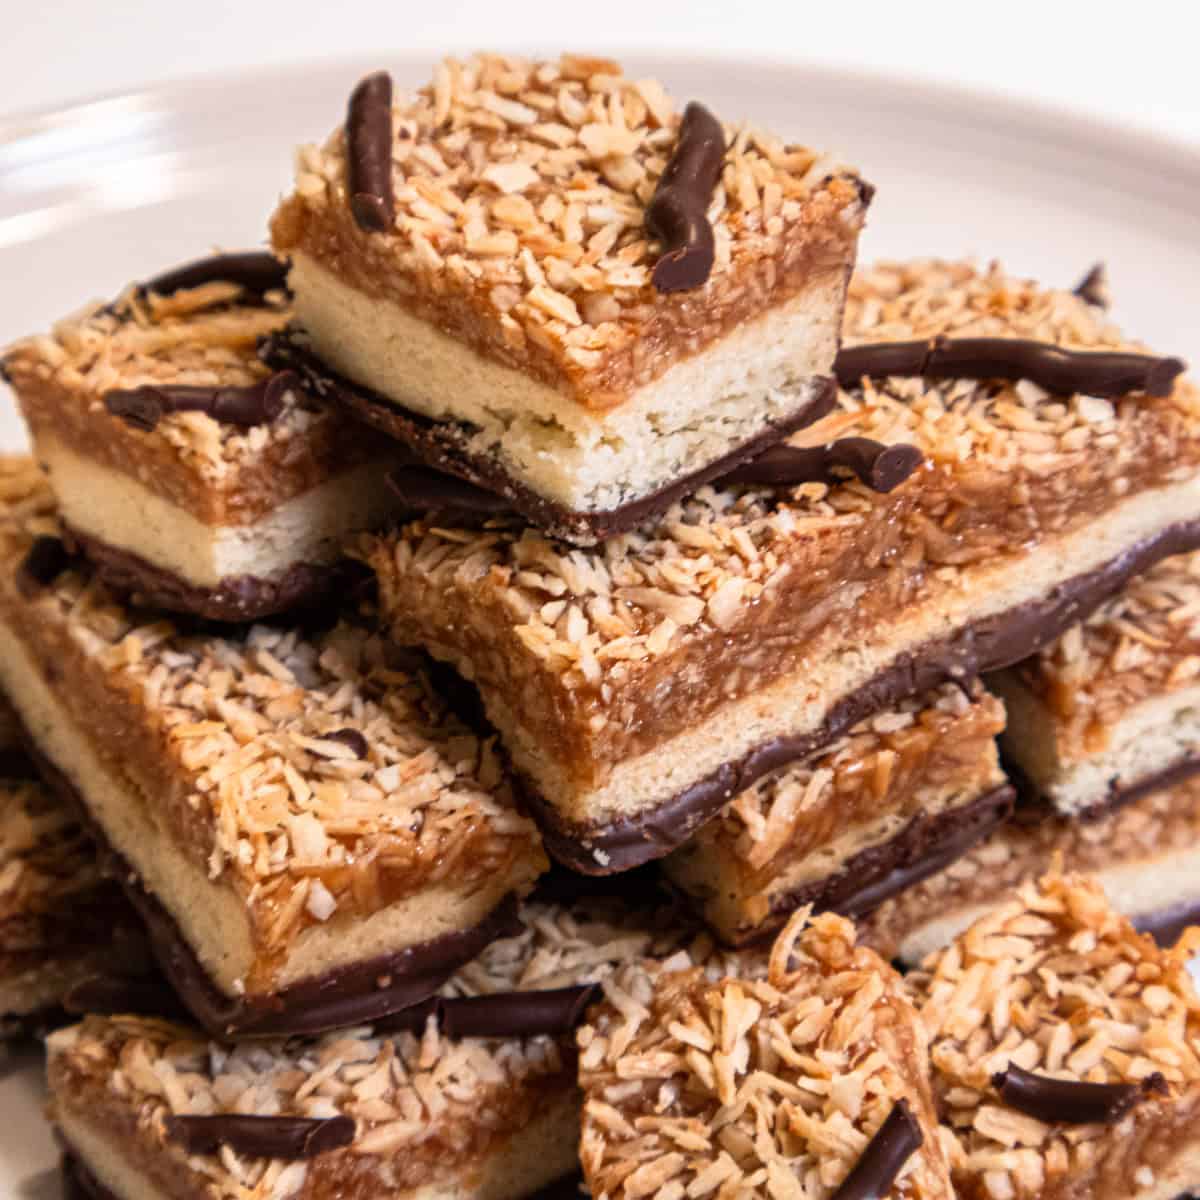
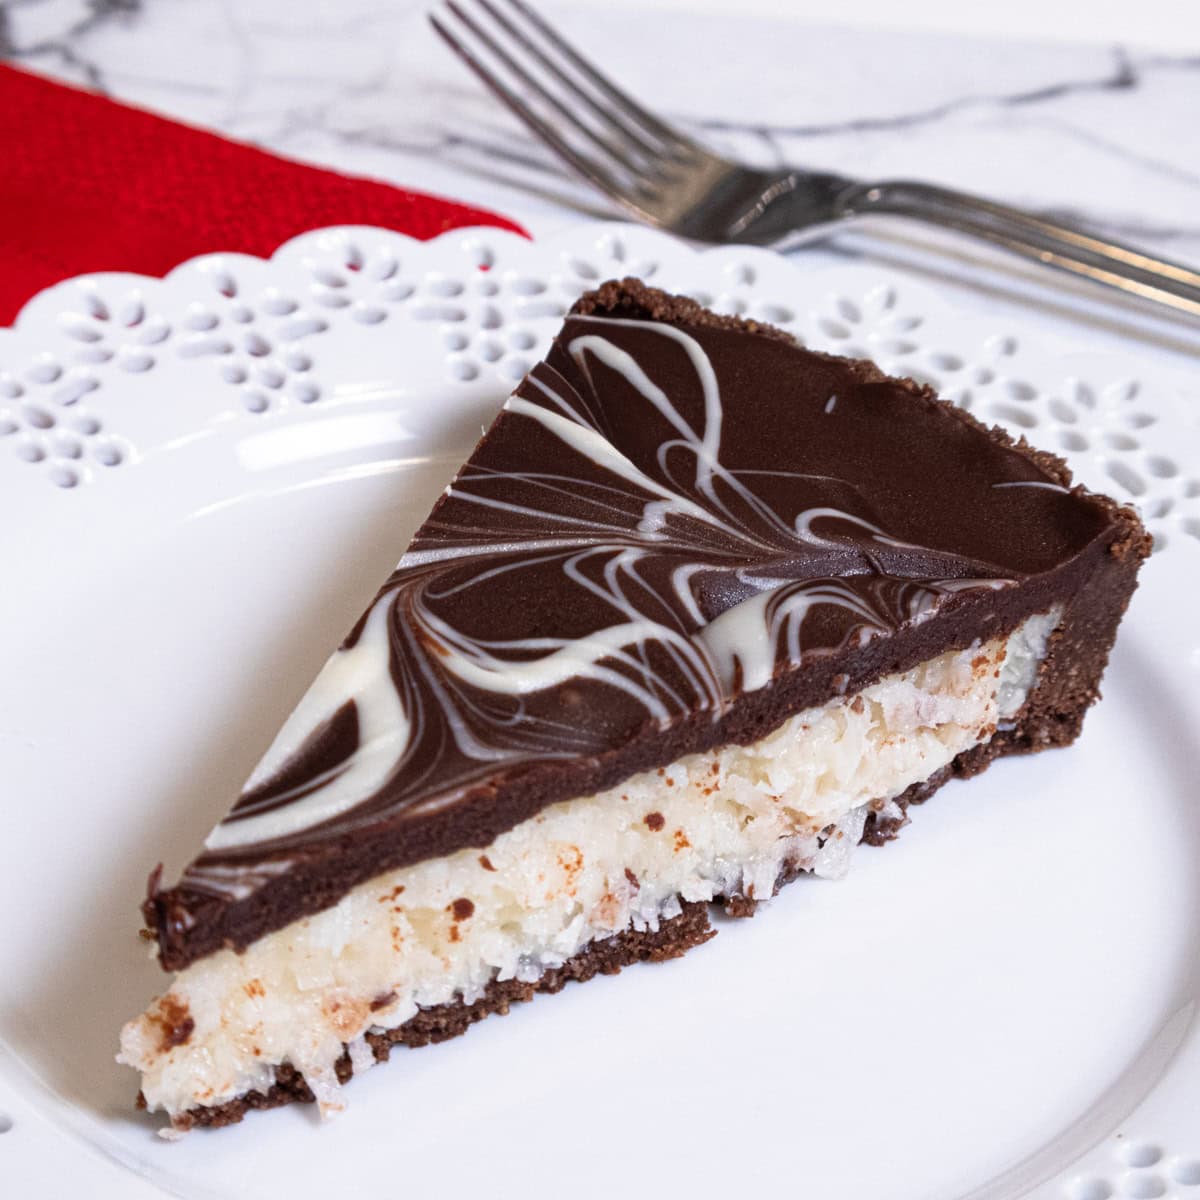
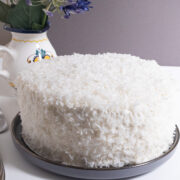
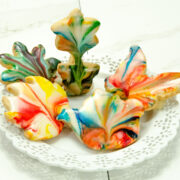
Chocolate Coconut Tart
Think Mounds Bar, but make it elegant. This Chocolate Coconut Tart layers cream of coconut, white chocolate, a touch of sour cream, and plenty of coconut into a chocolate crust — and not a single minute of oven time is required. The optional white chocolate swirl on top is the kind of finishing touch that makes people think you spent hours on it.

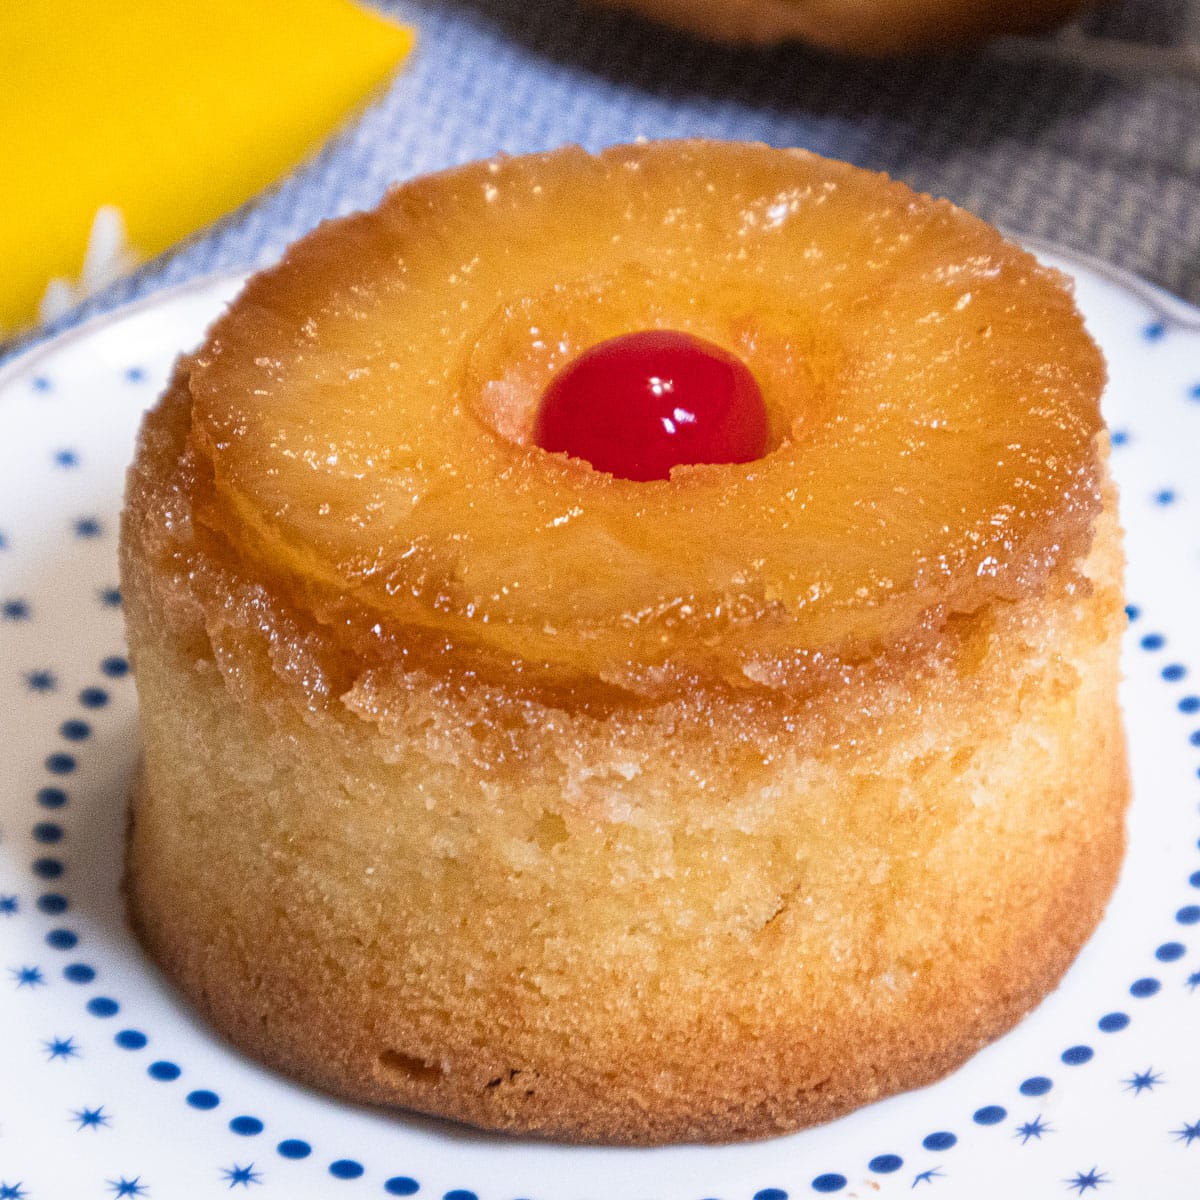
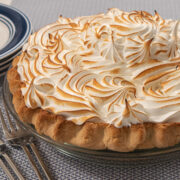
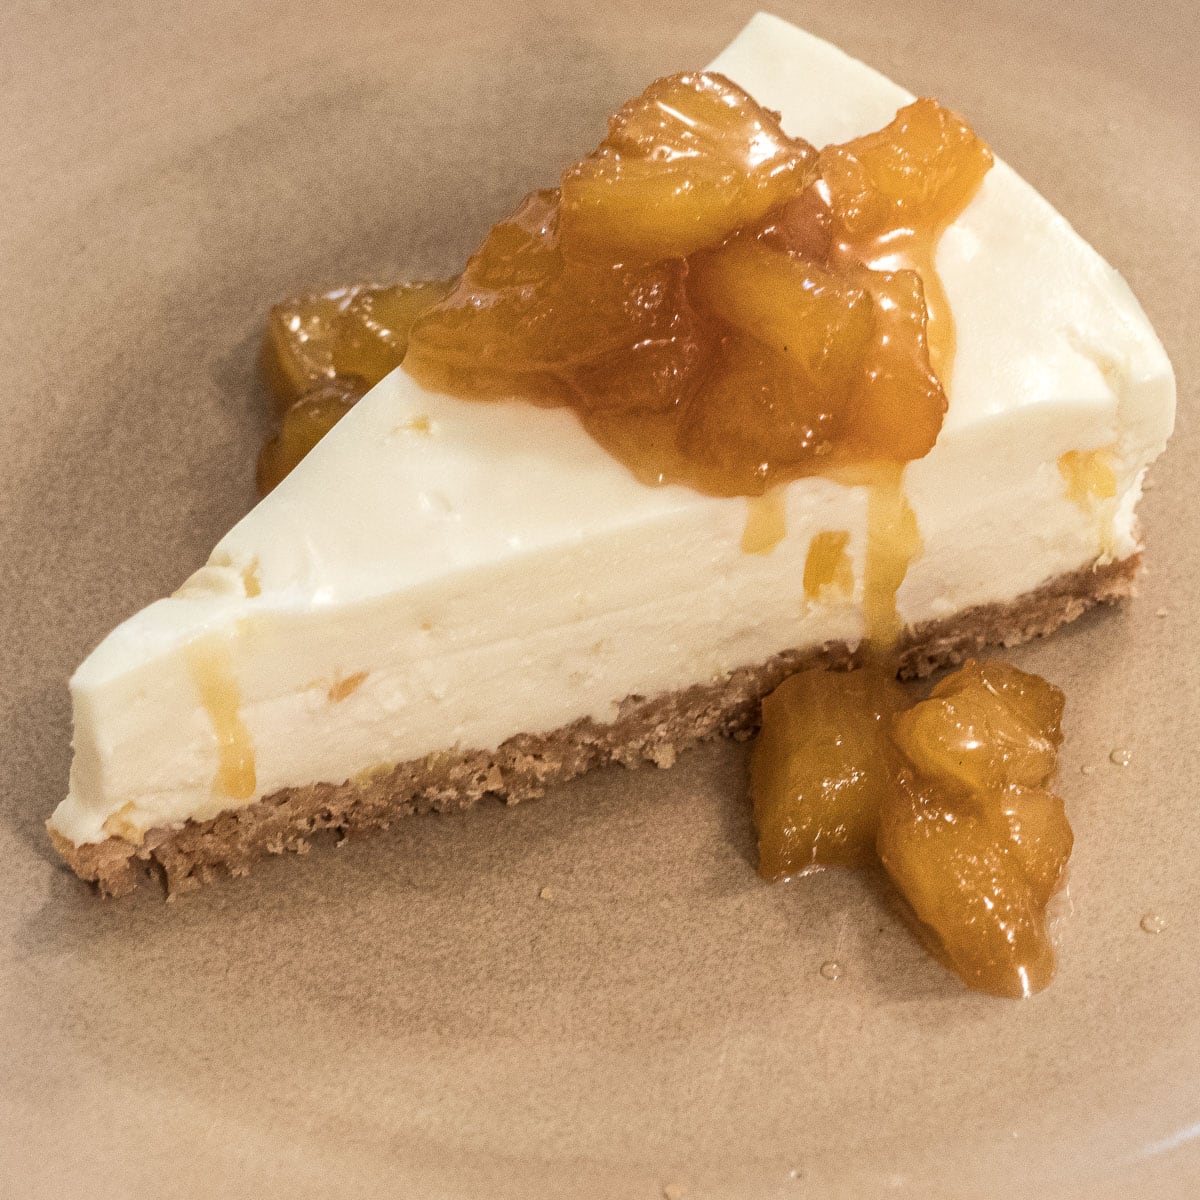
Easy Pina Colada No Bake Cheesecake
What if I told you this cool, creamy cheesecake comes together with no water bath, no eggs, and no condensed milk? Well, it can! The caramelized pineapple sauce that goes along with it is the final touch — though truth be told, you could eat that sauce by the spoonful all on its own.
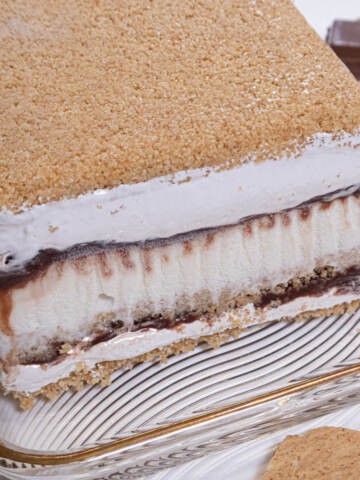
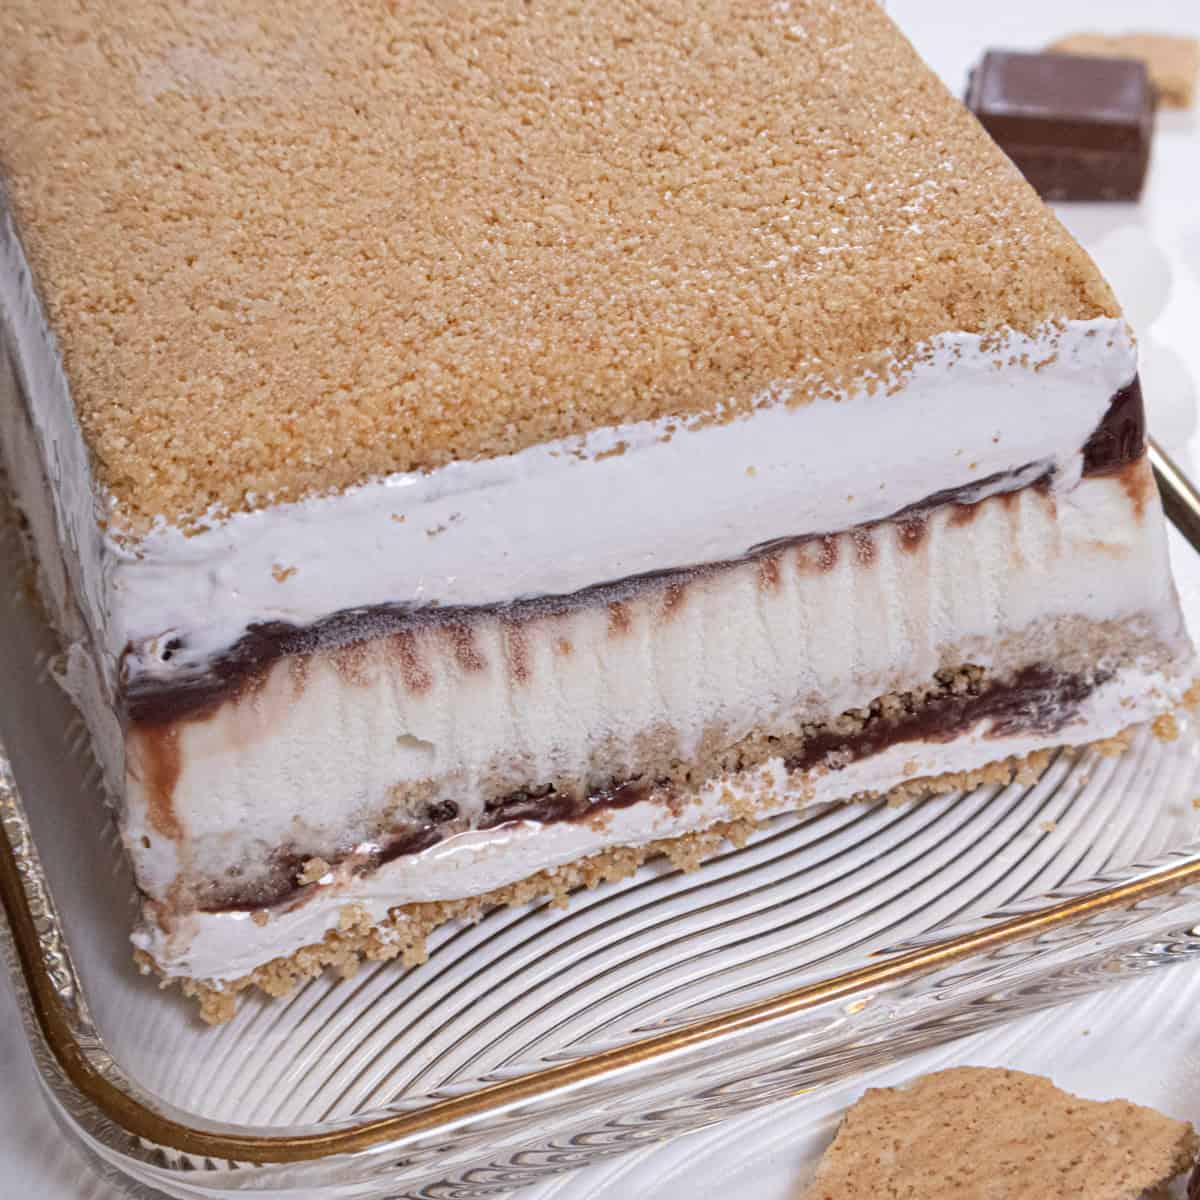
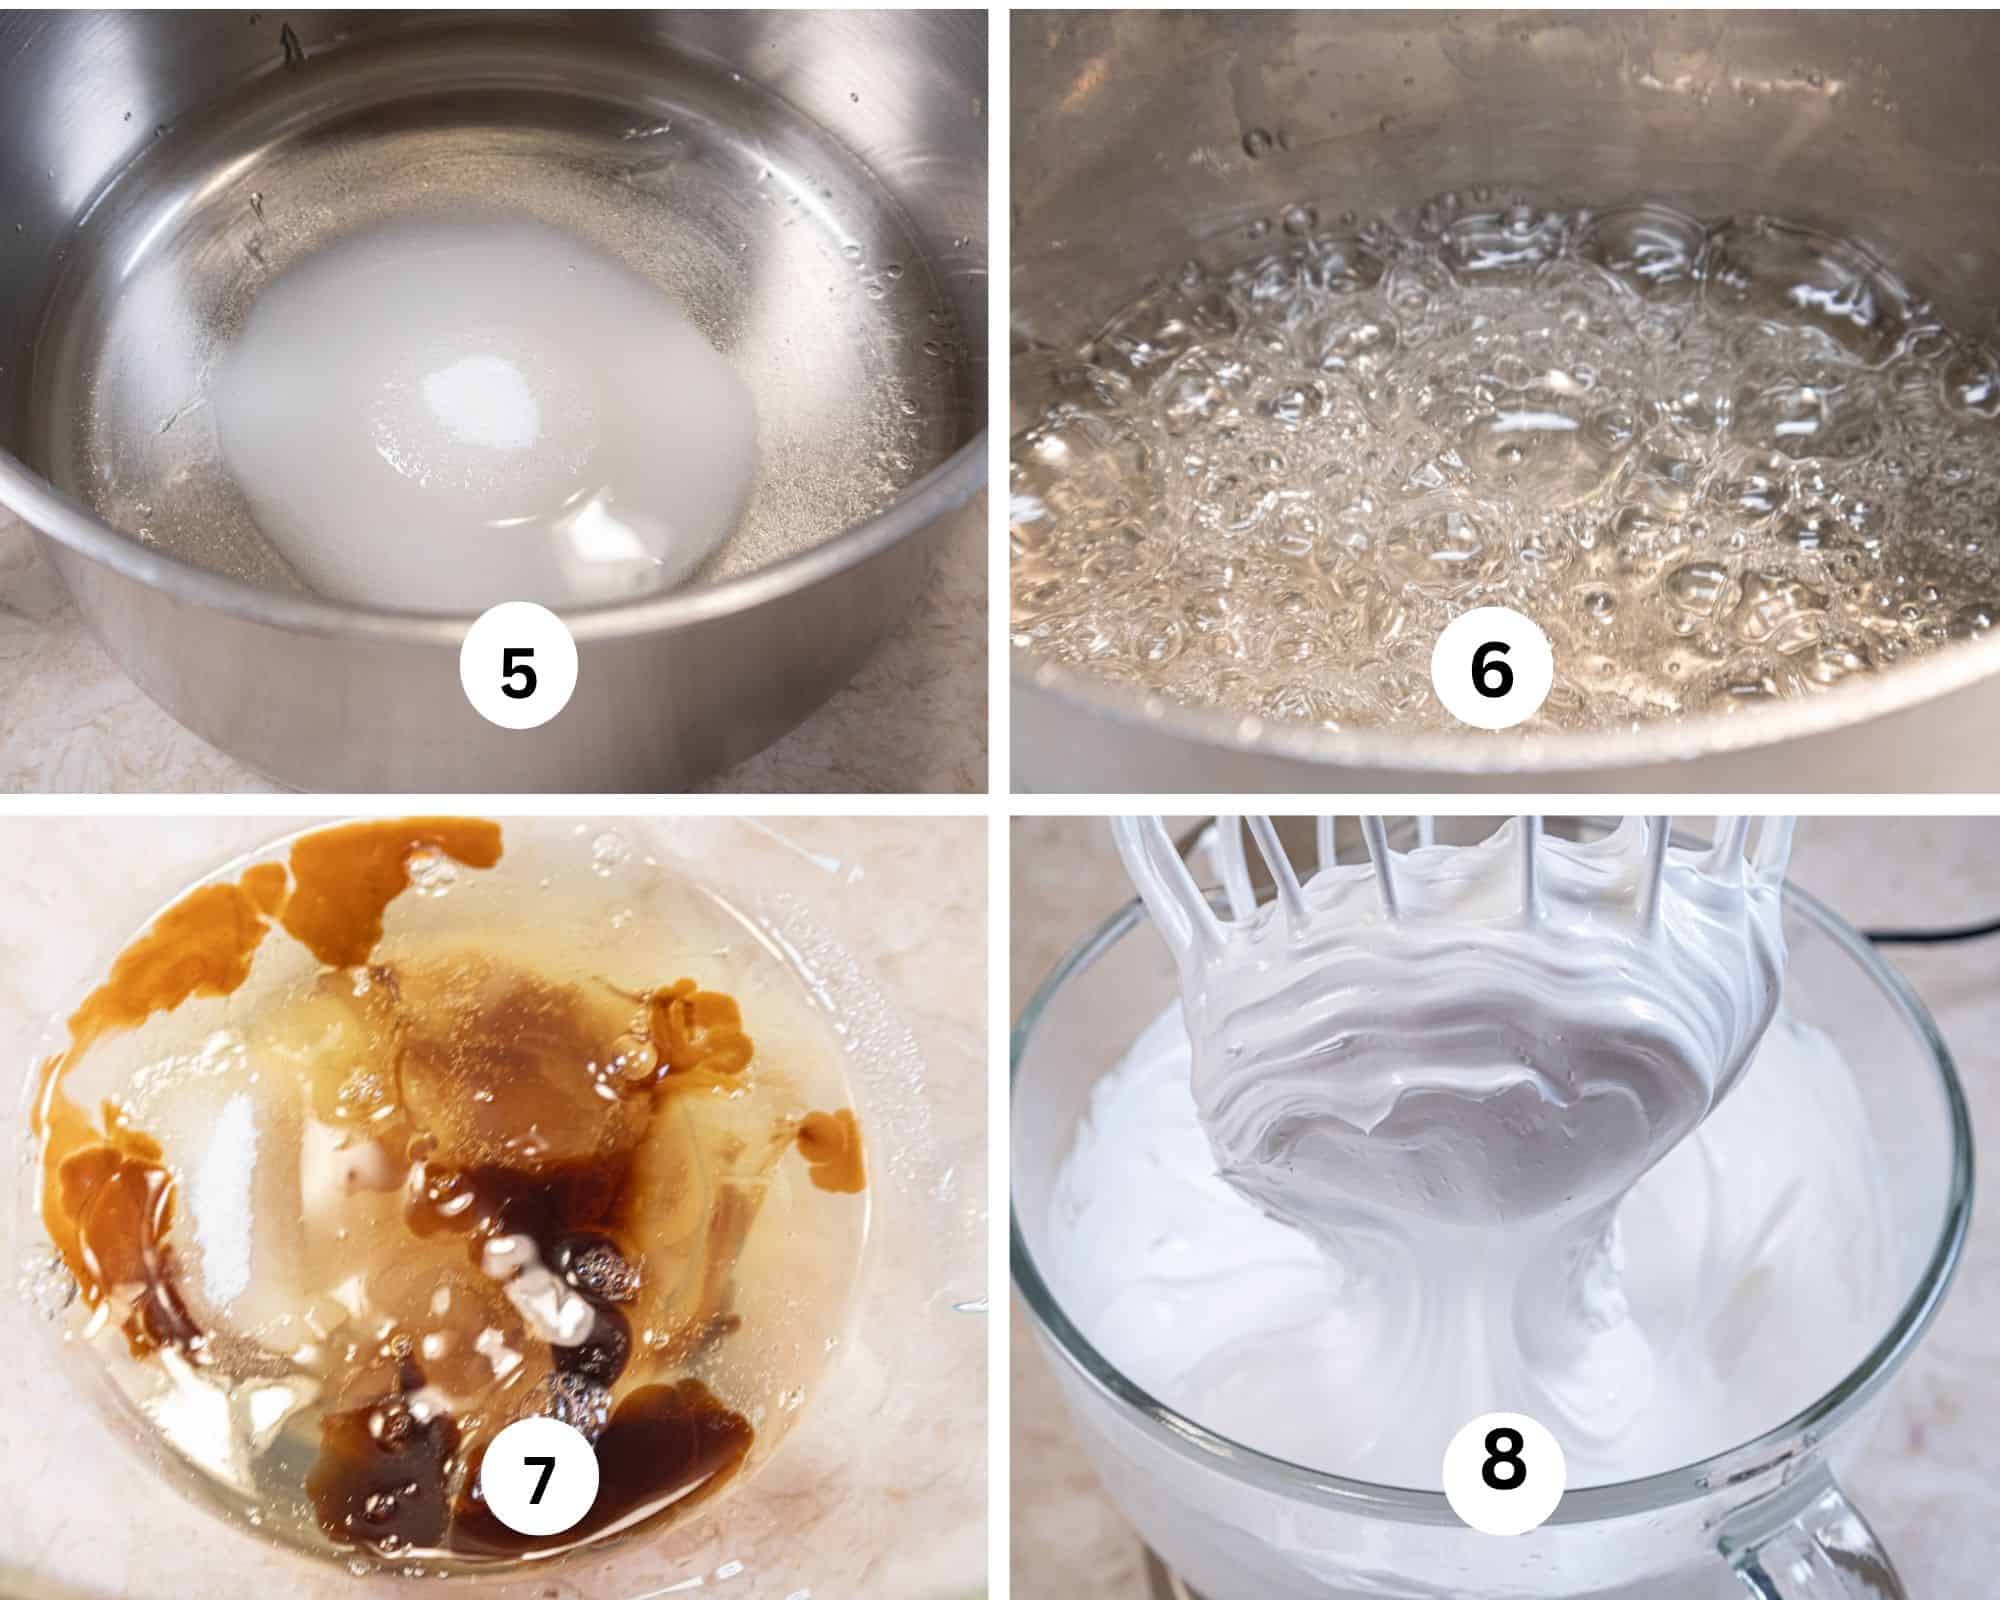
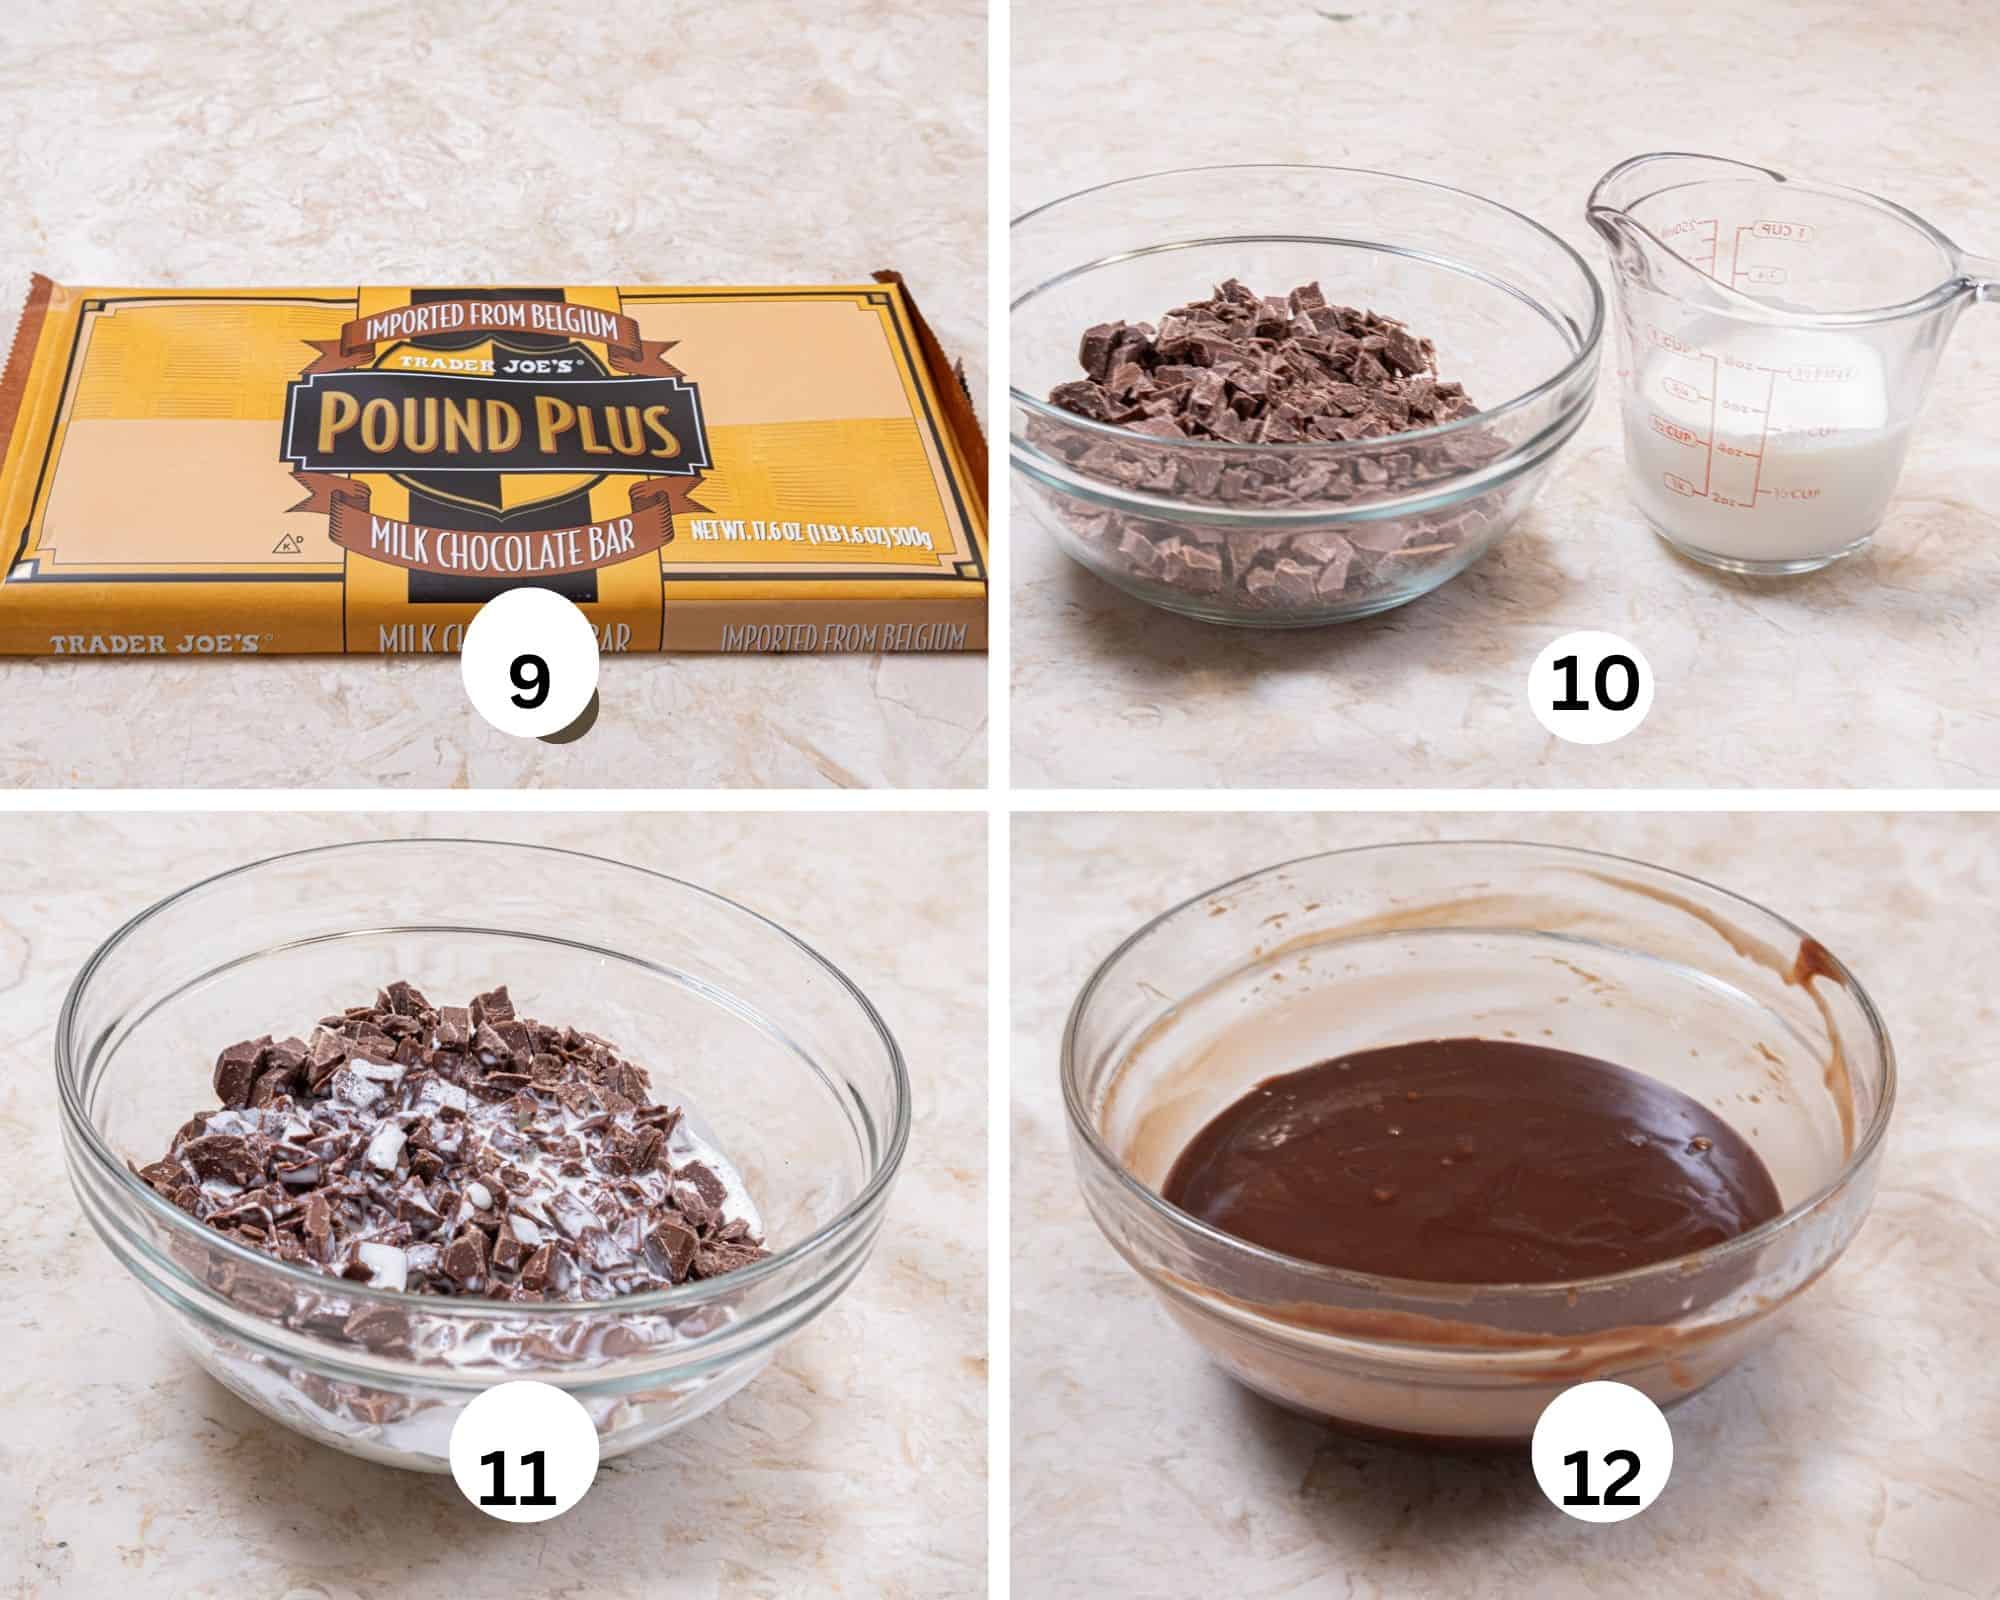
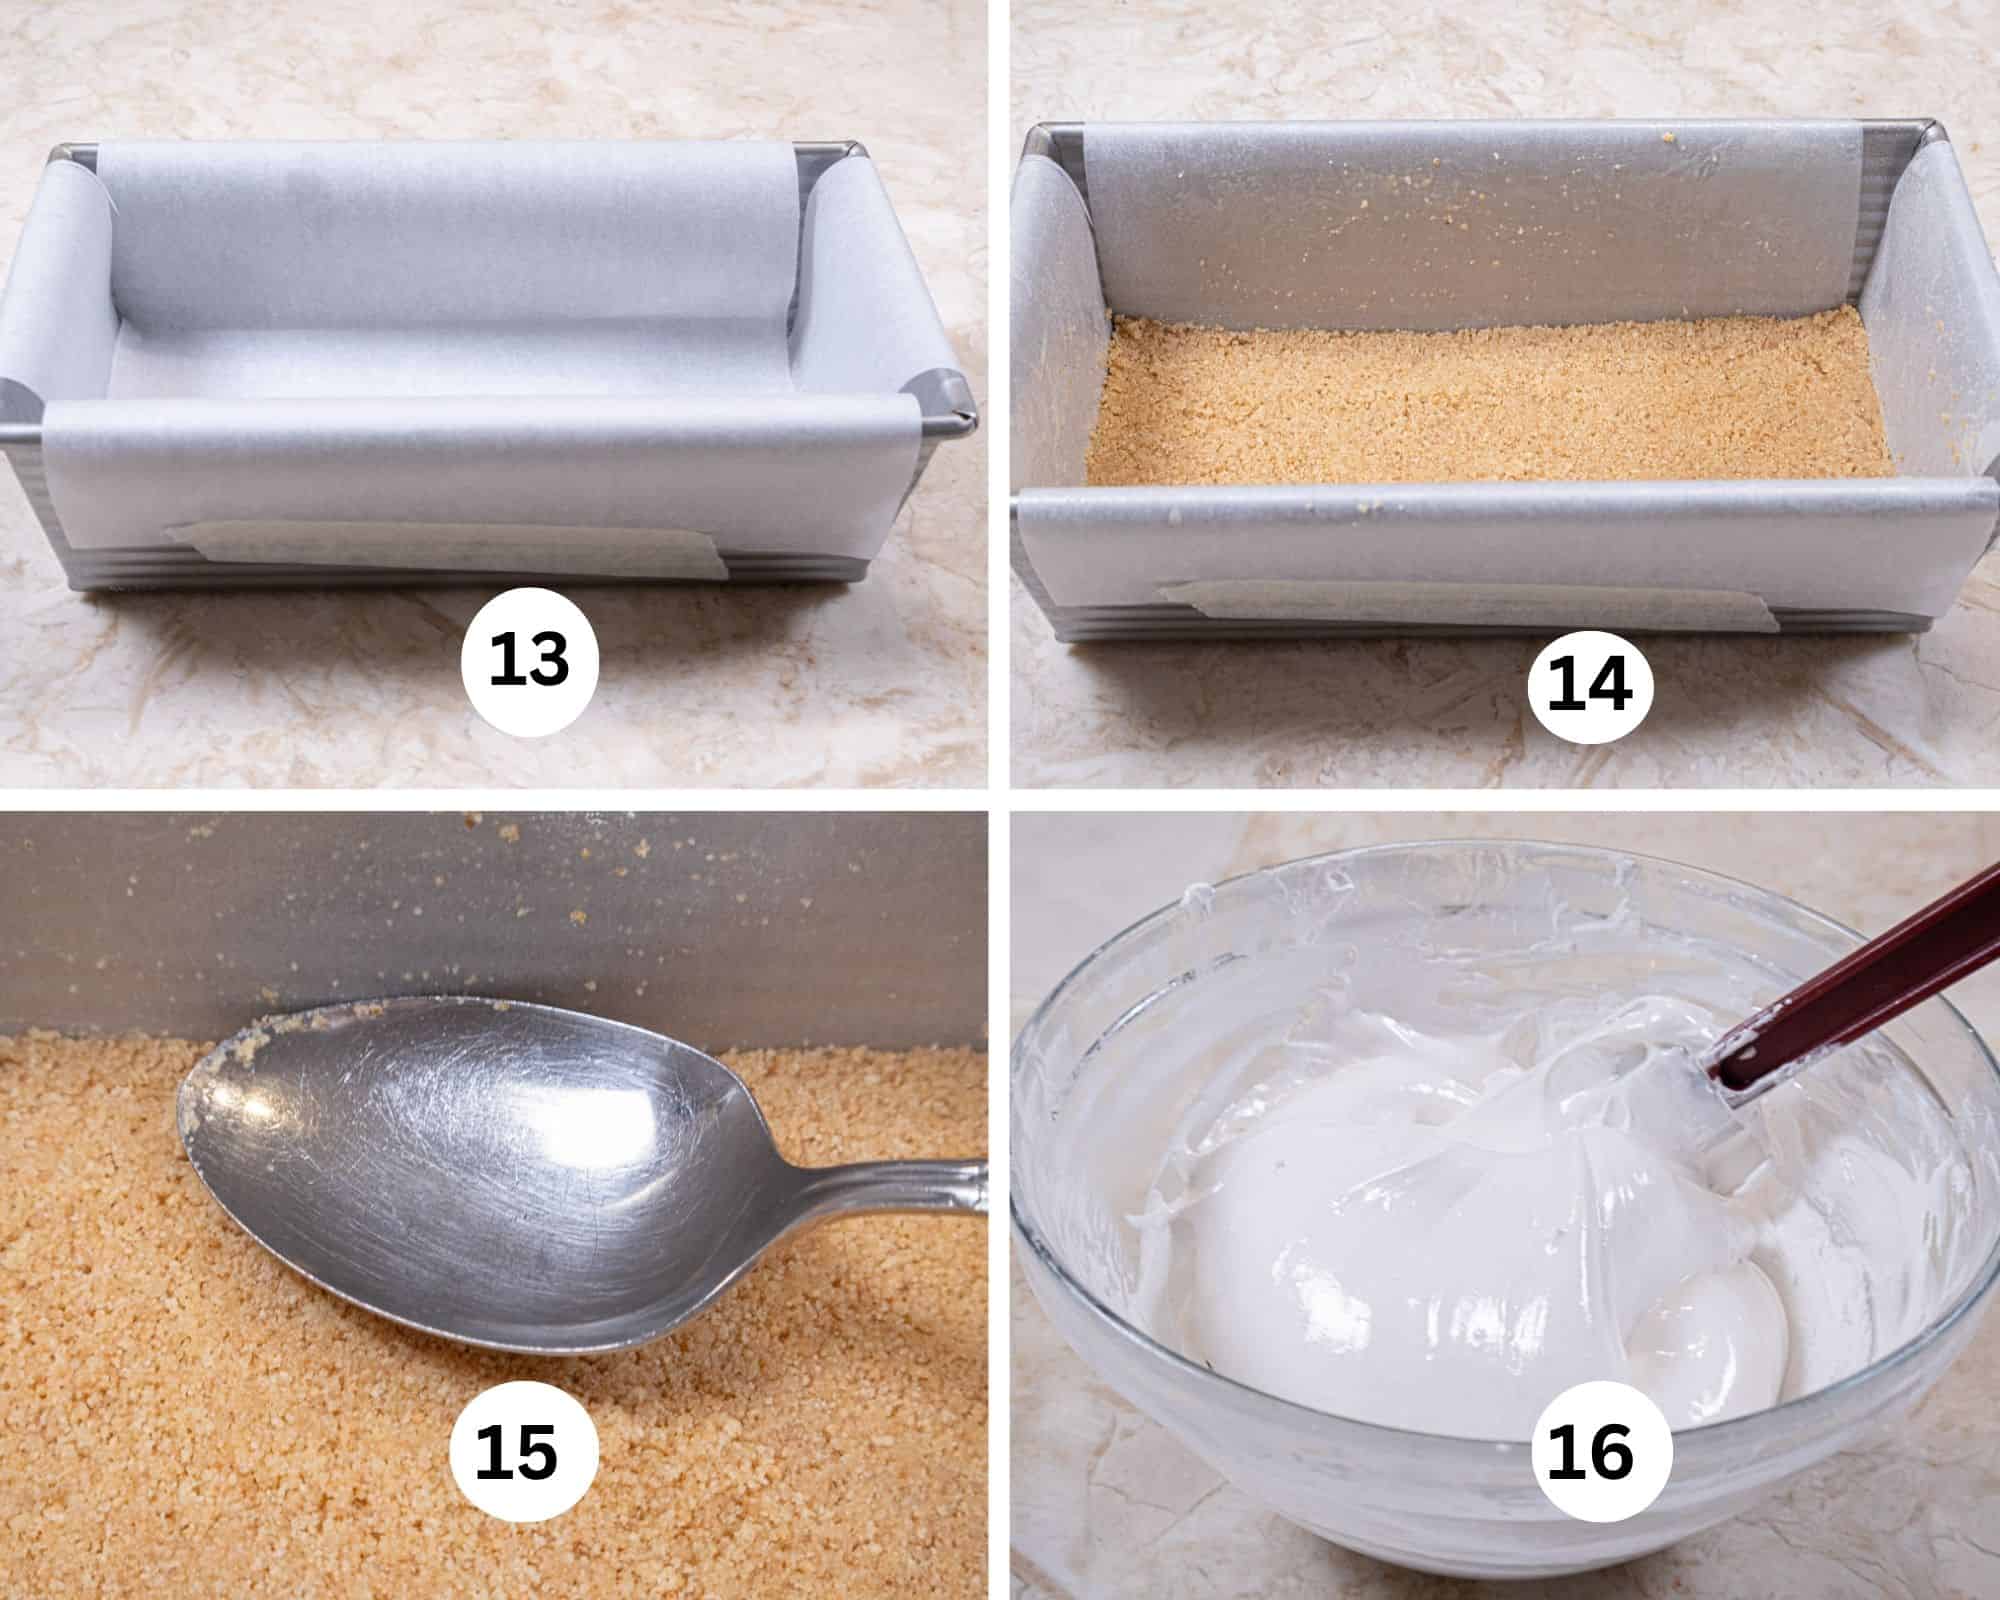
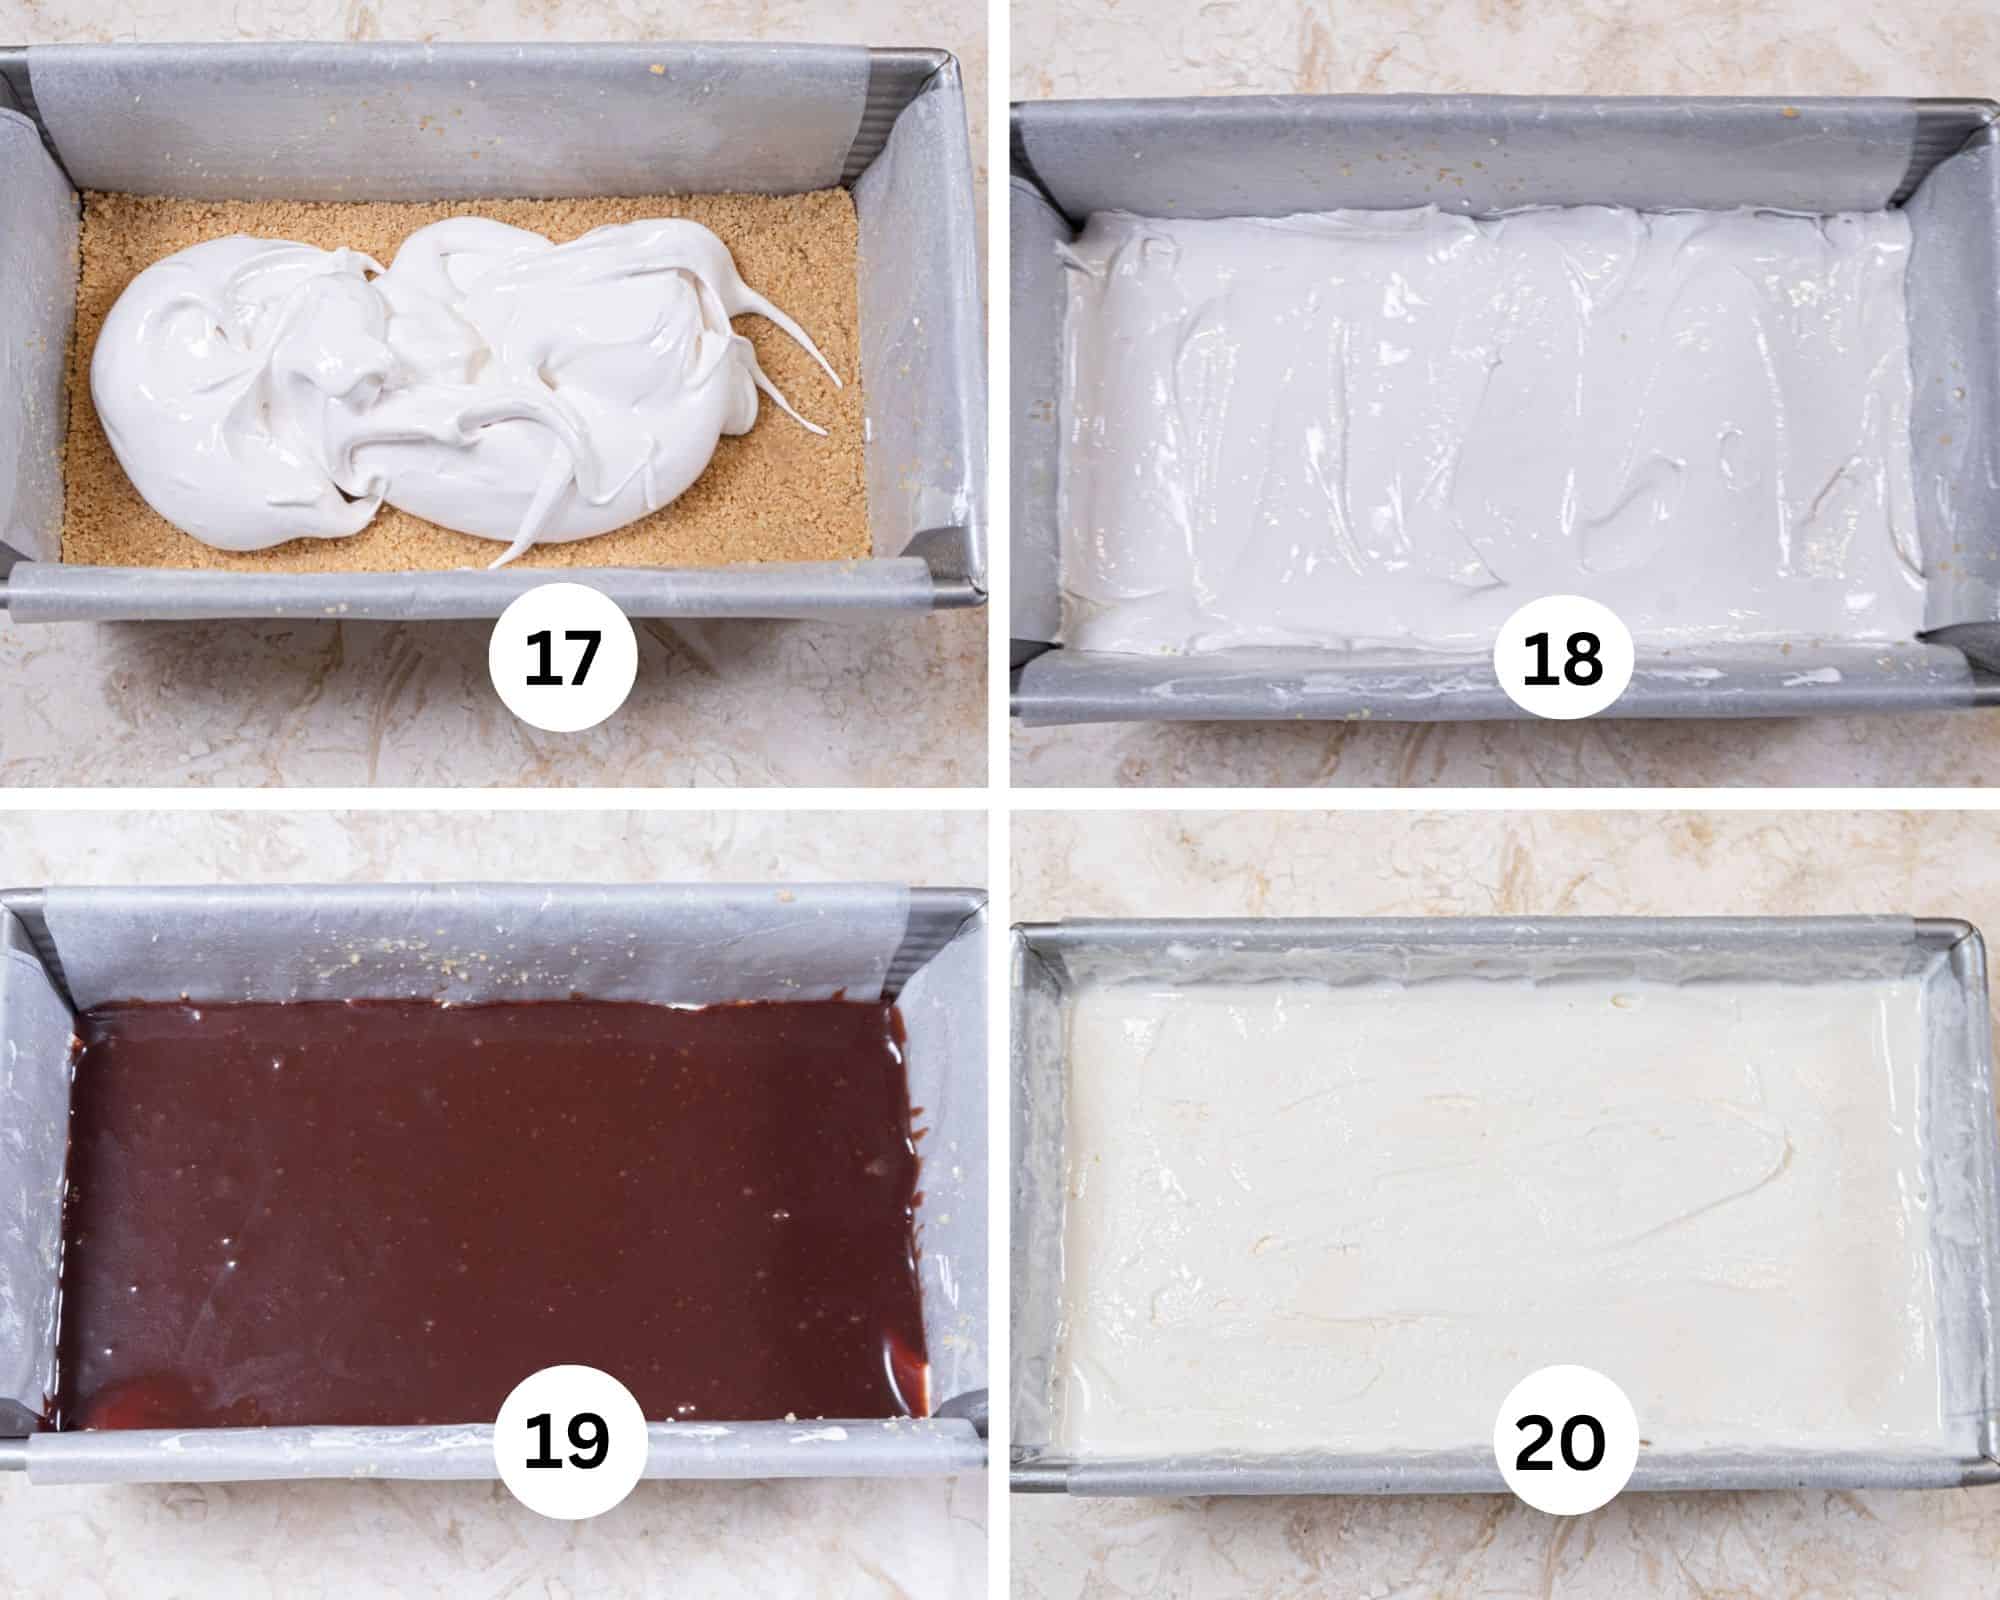
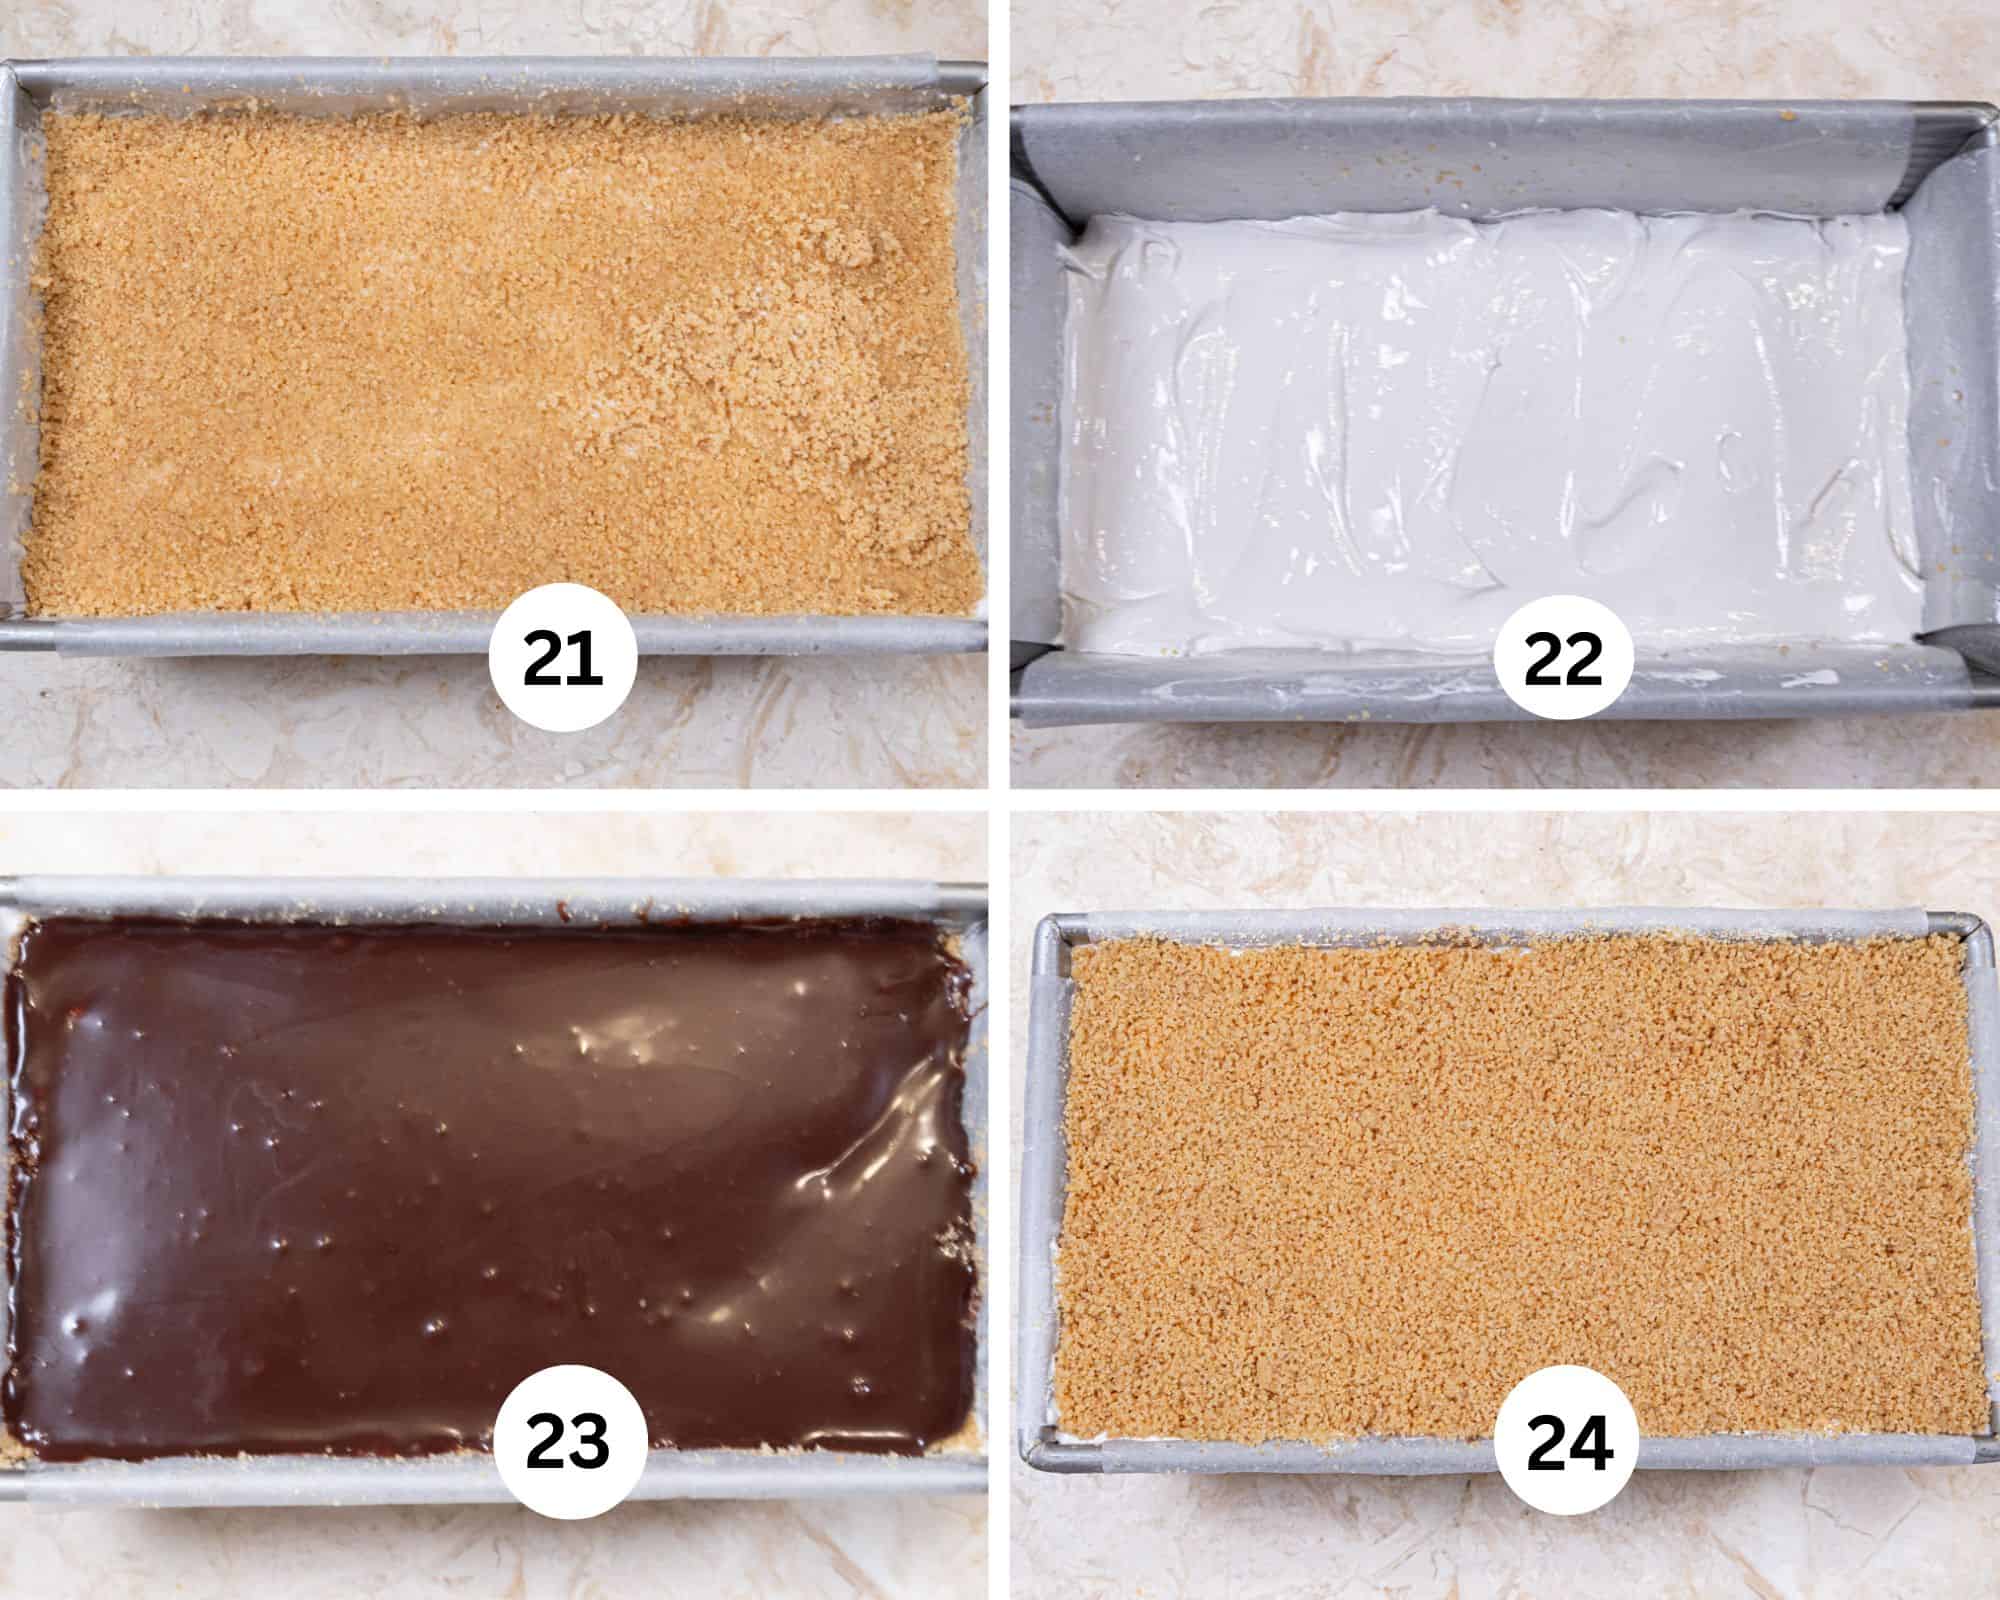
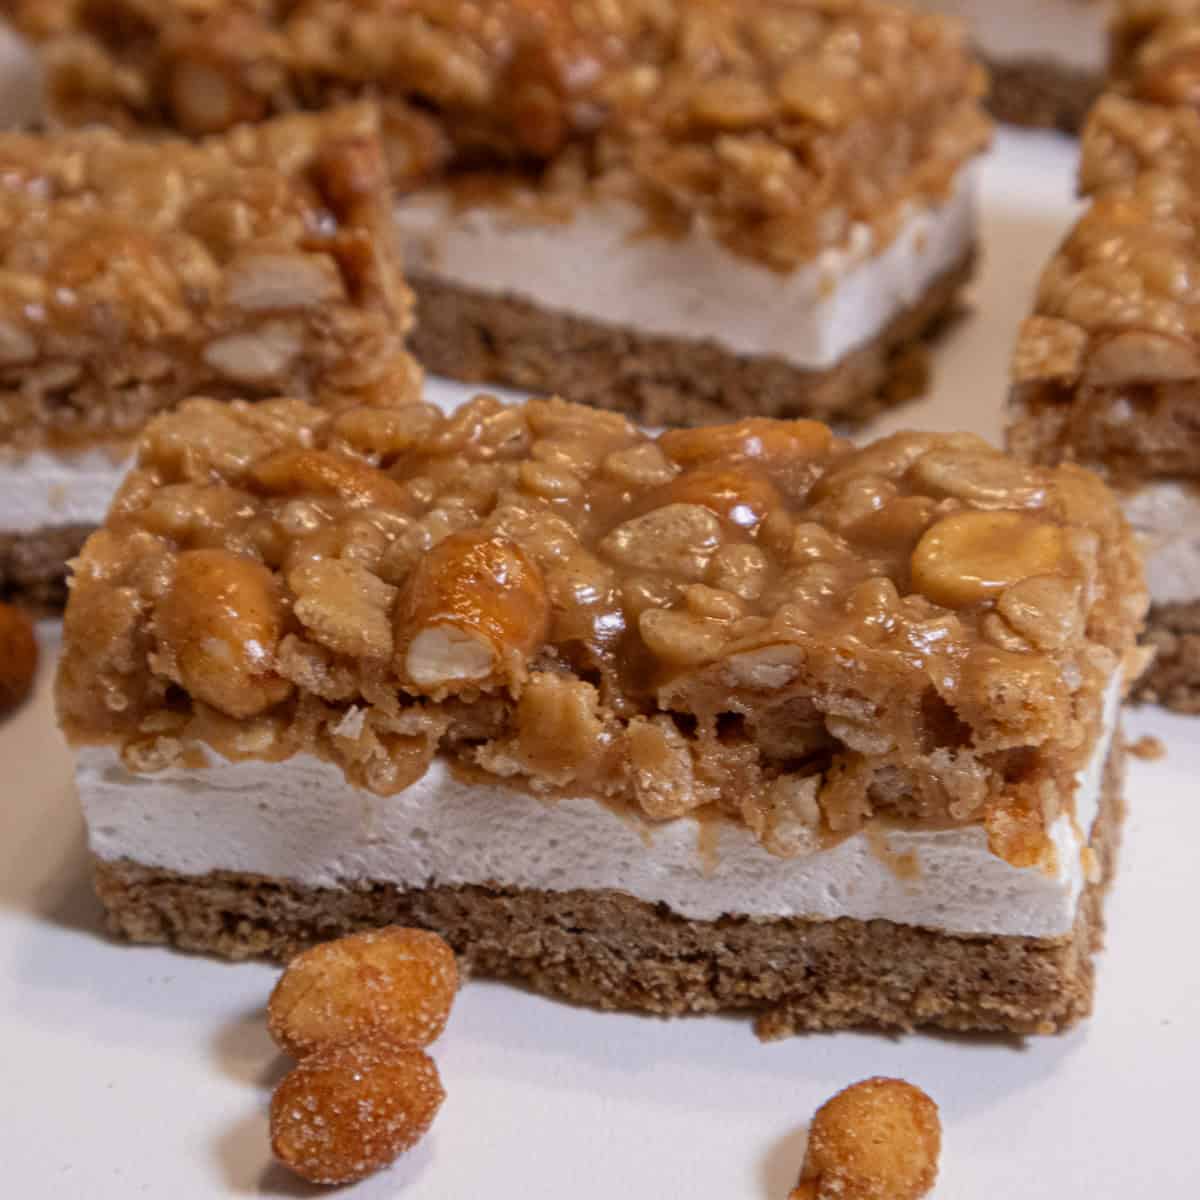
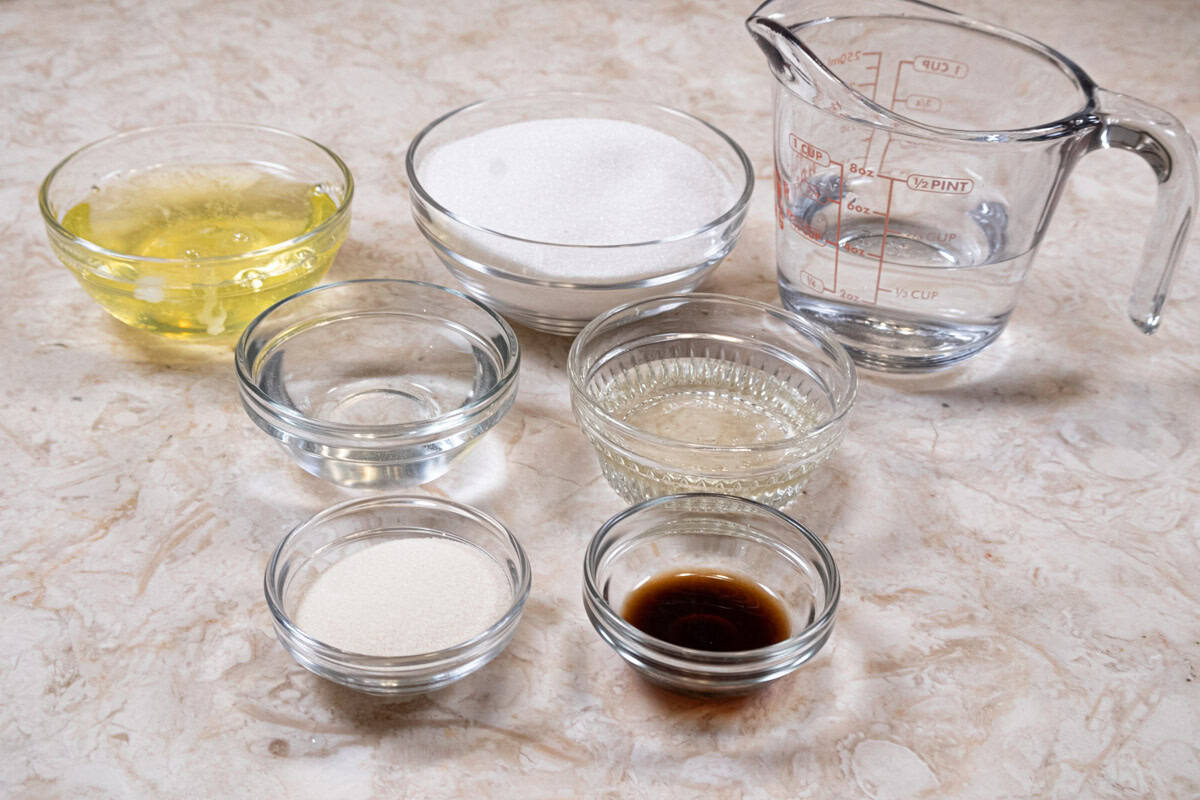
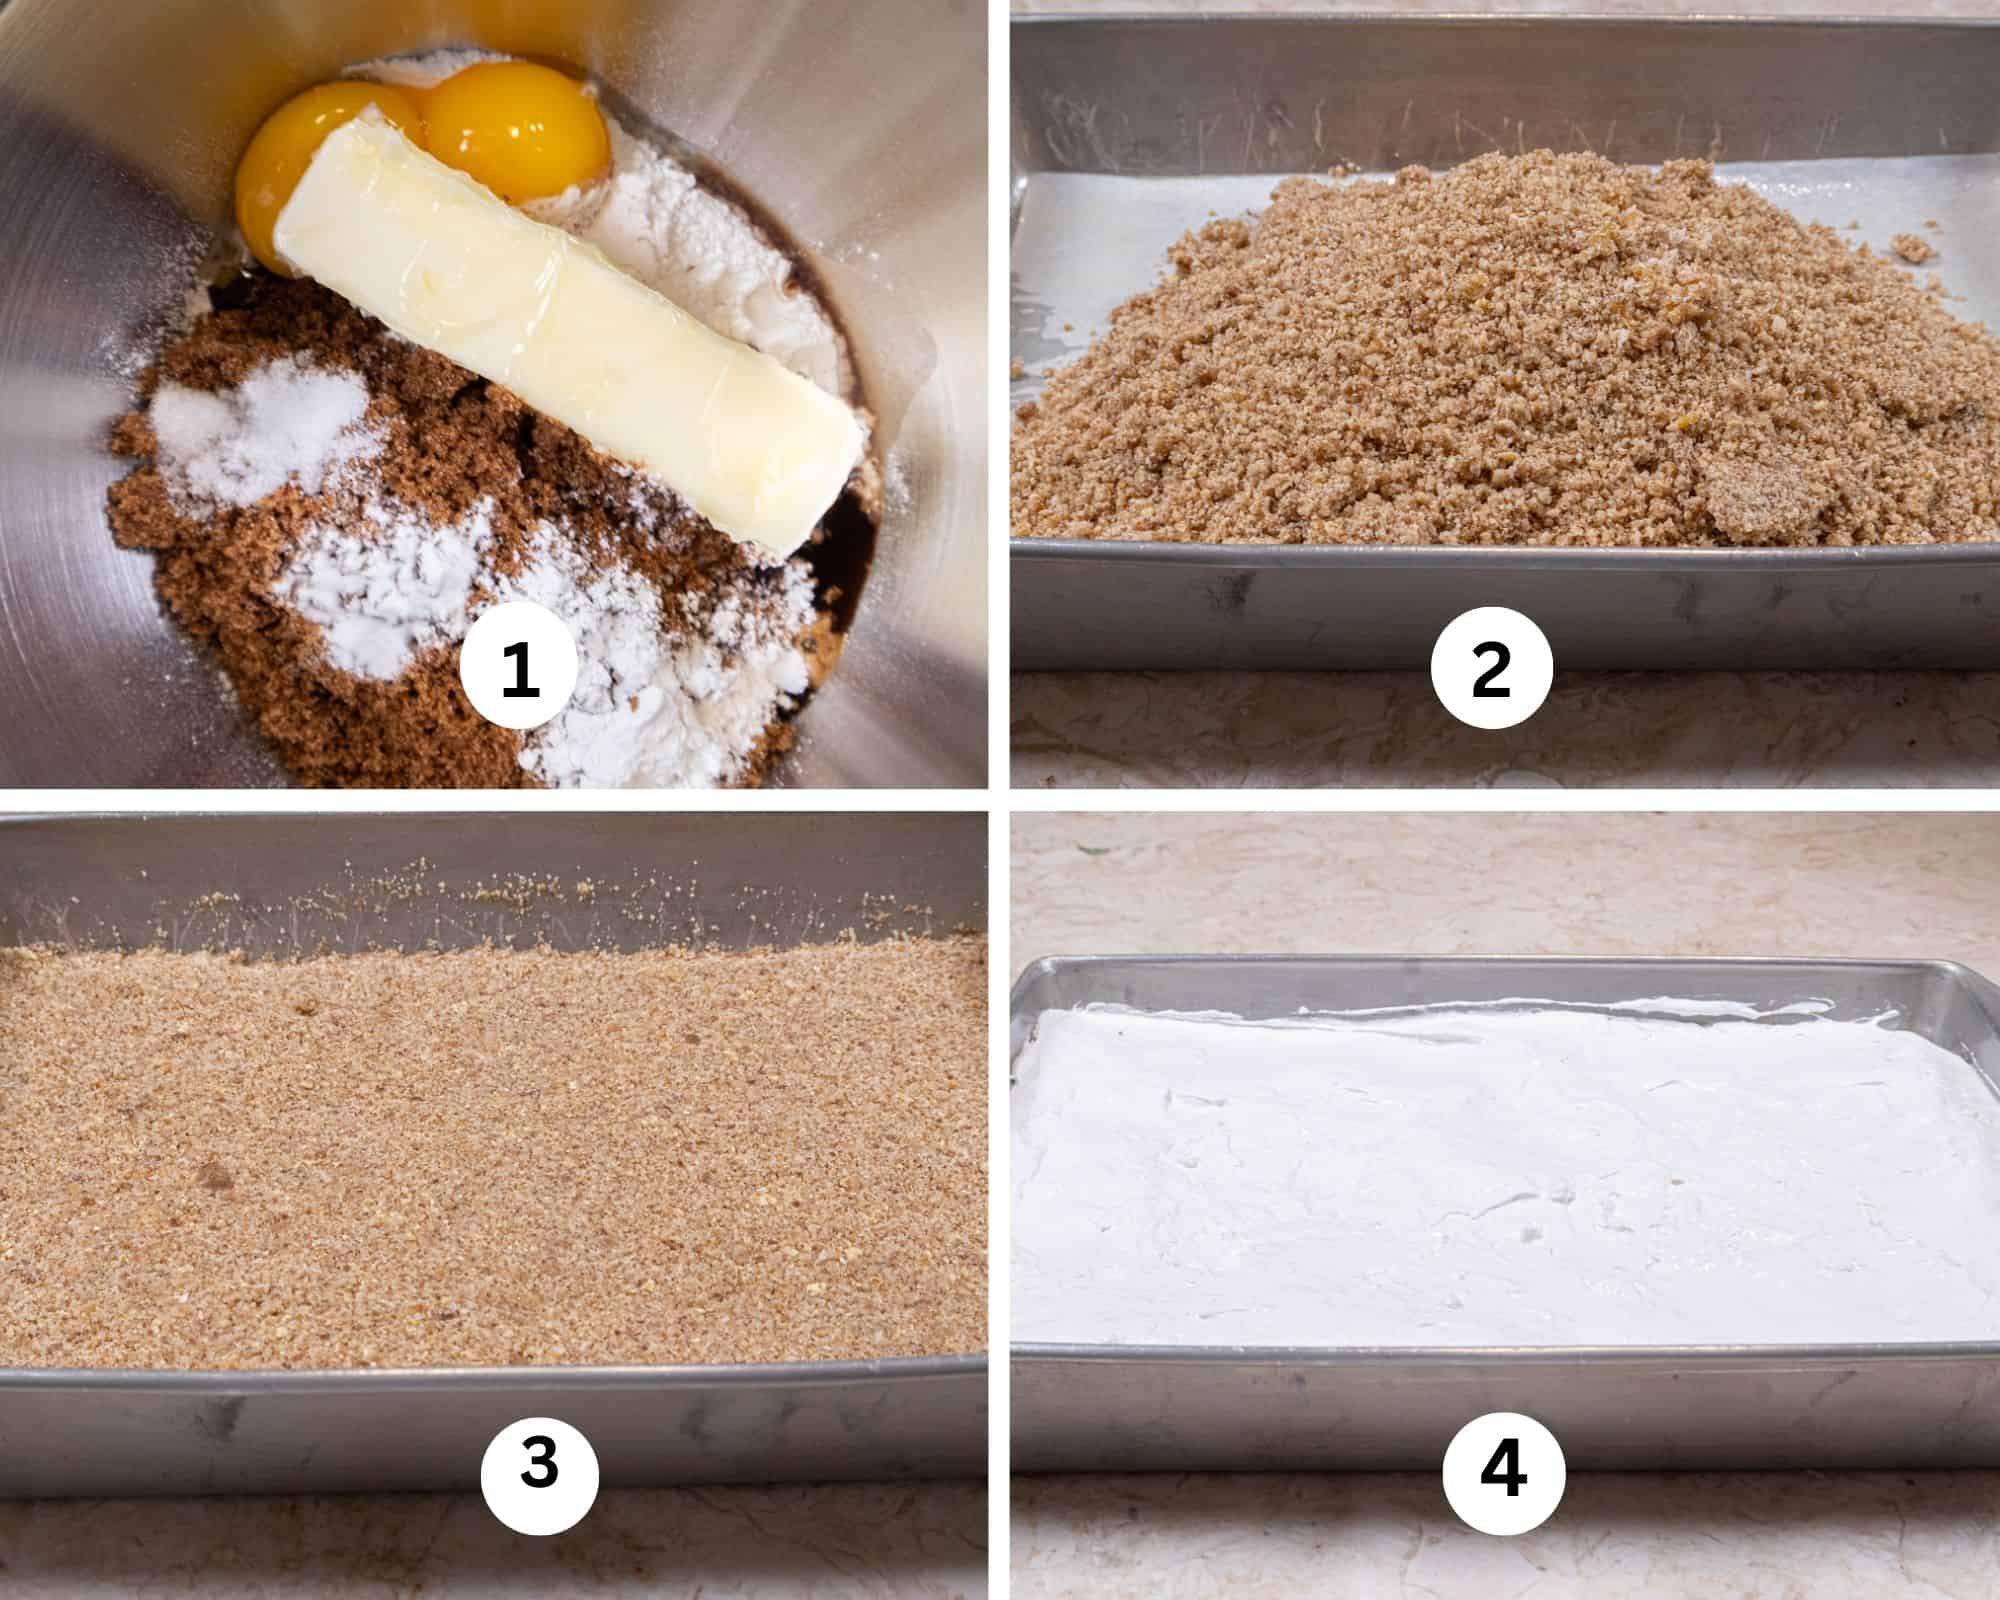
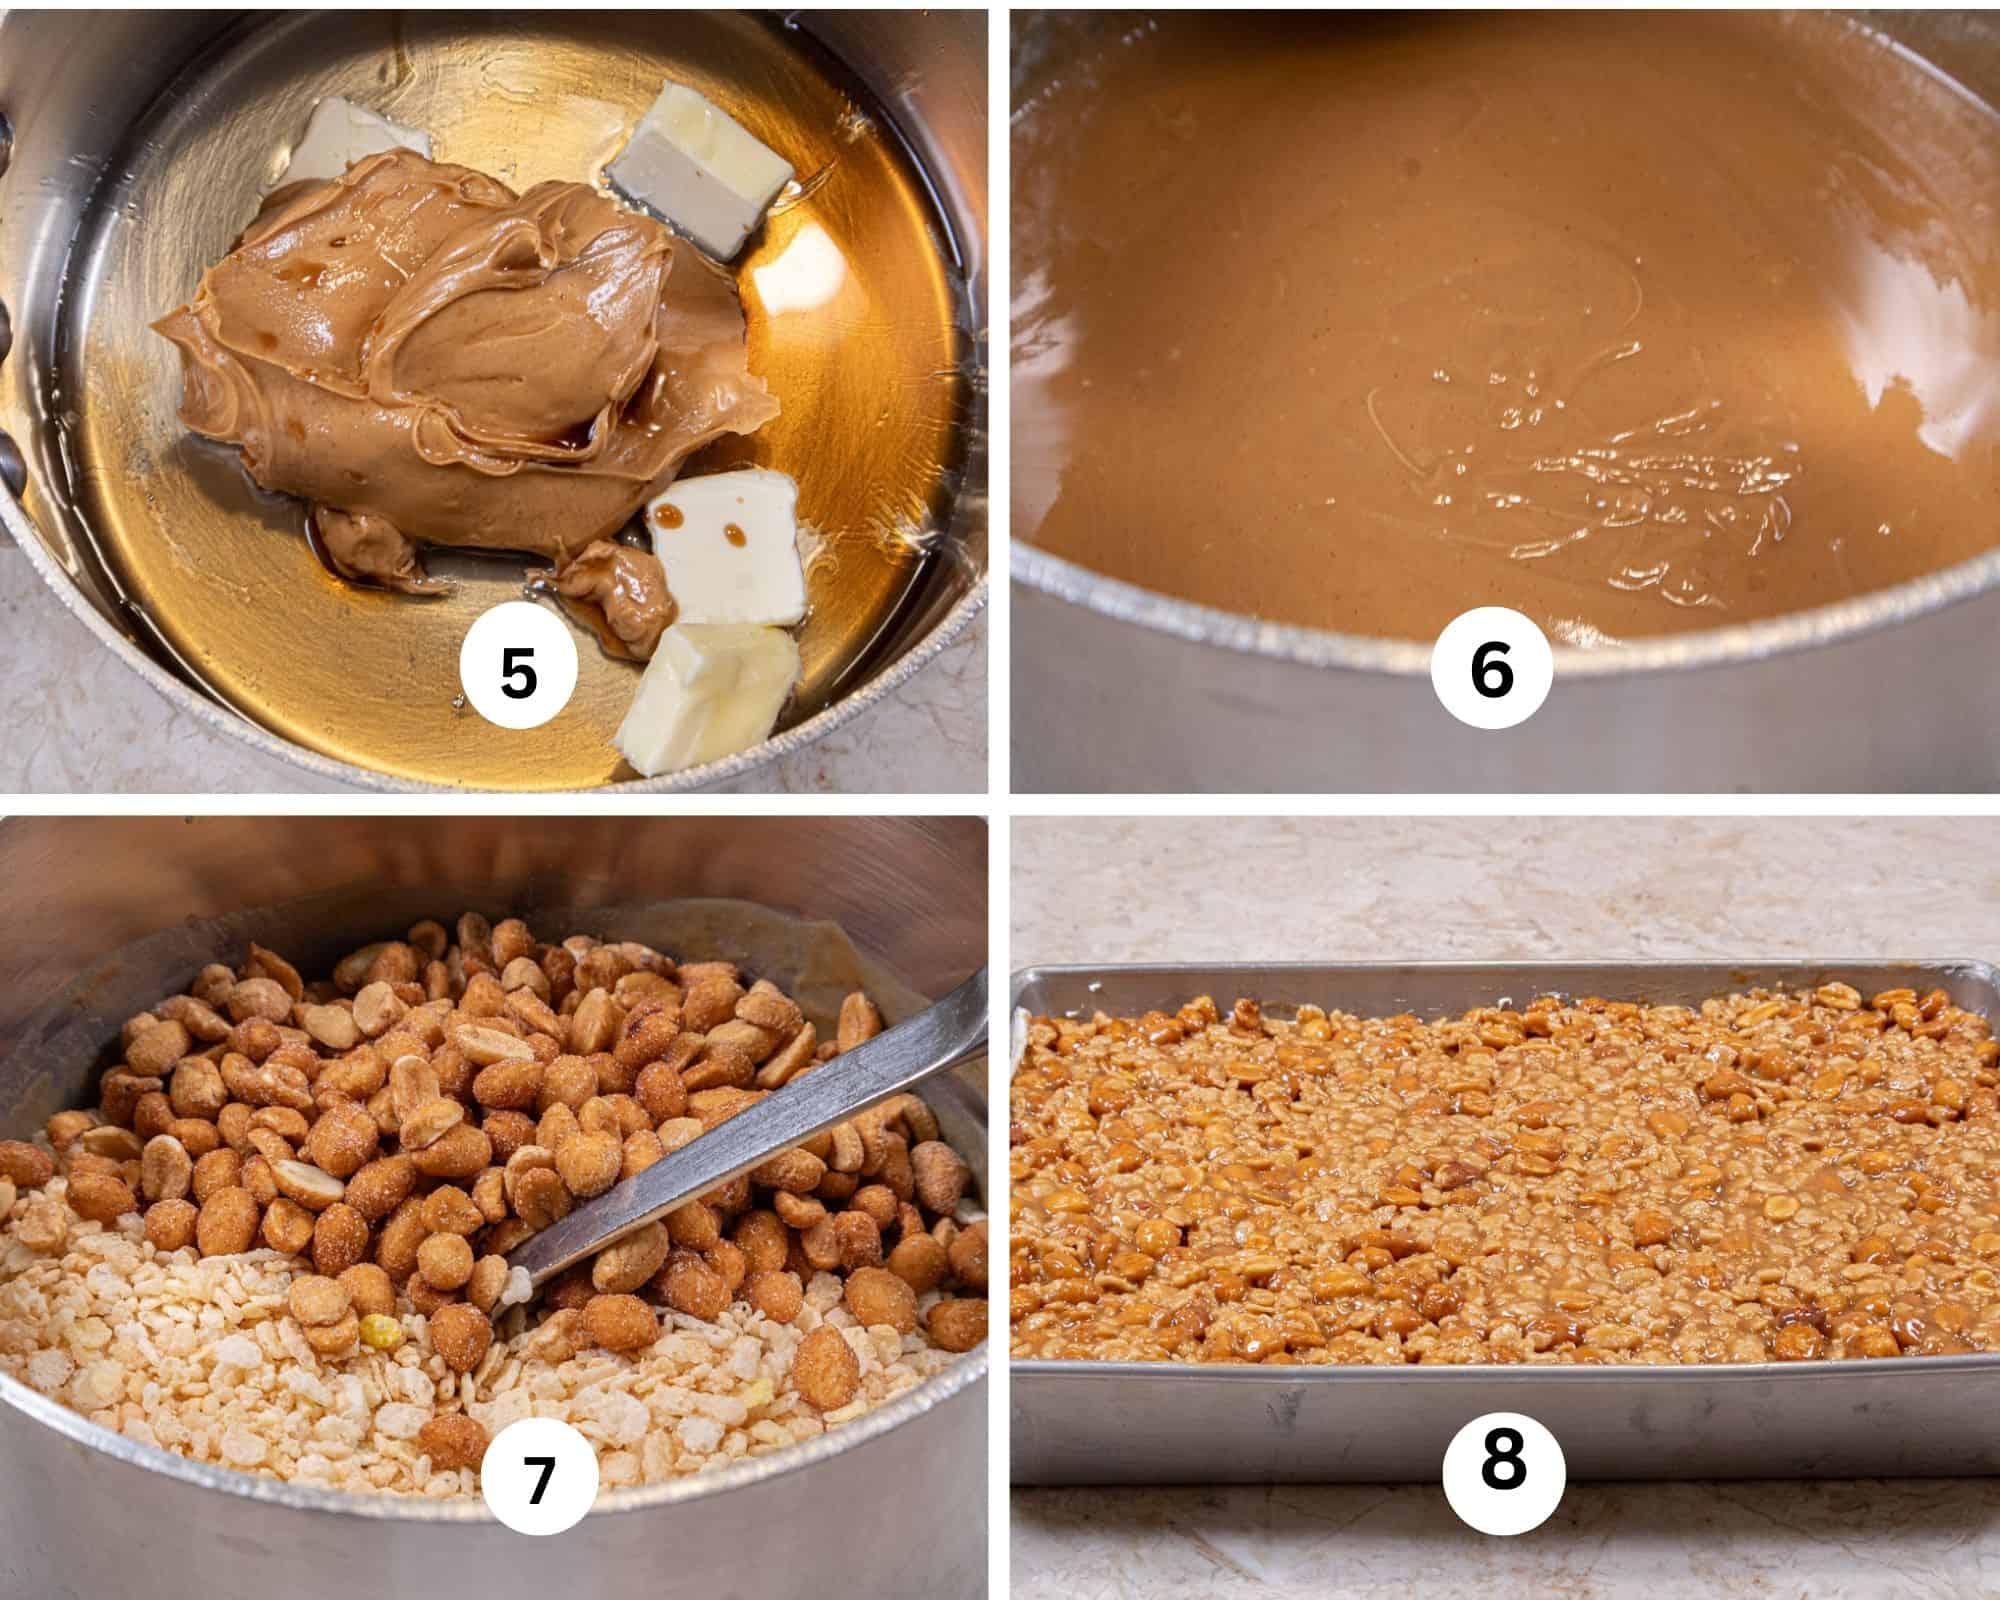
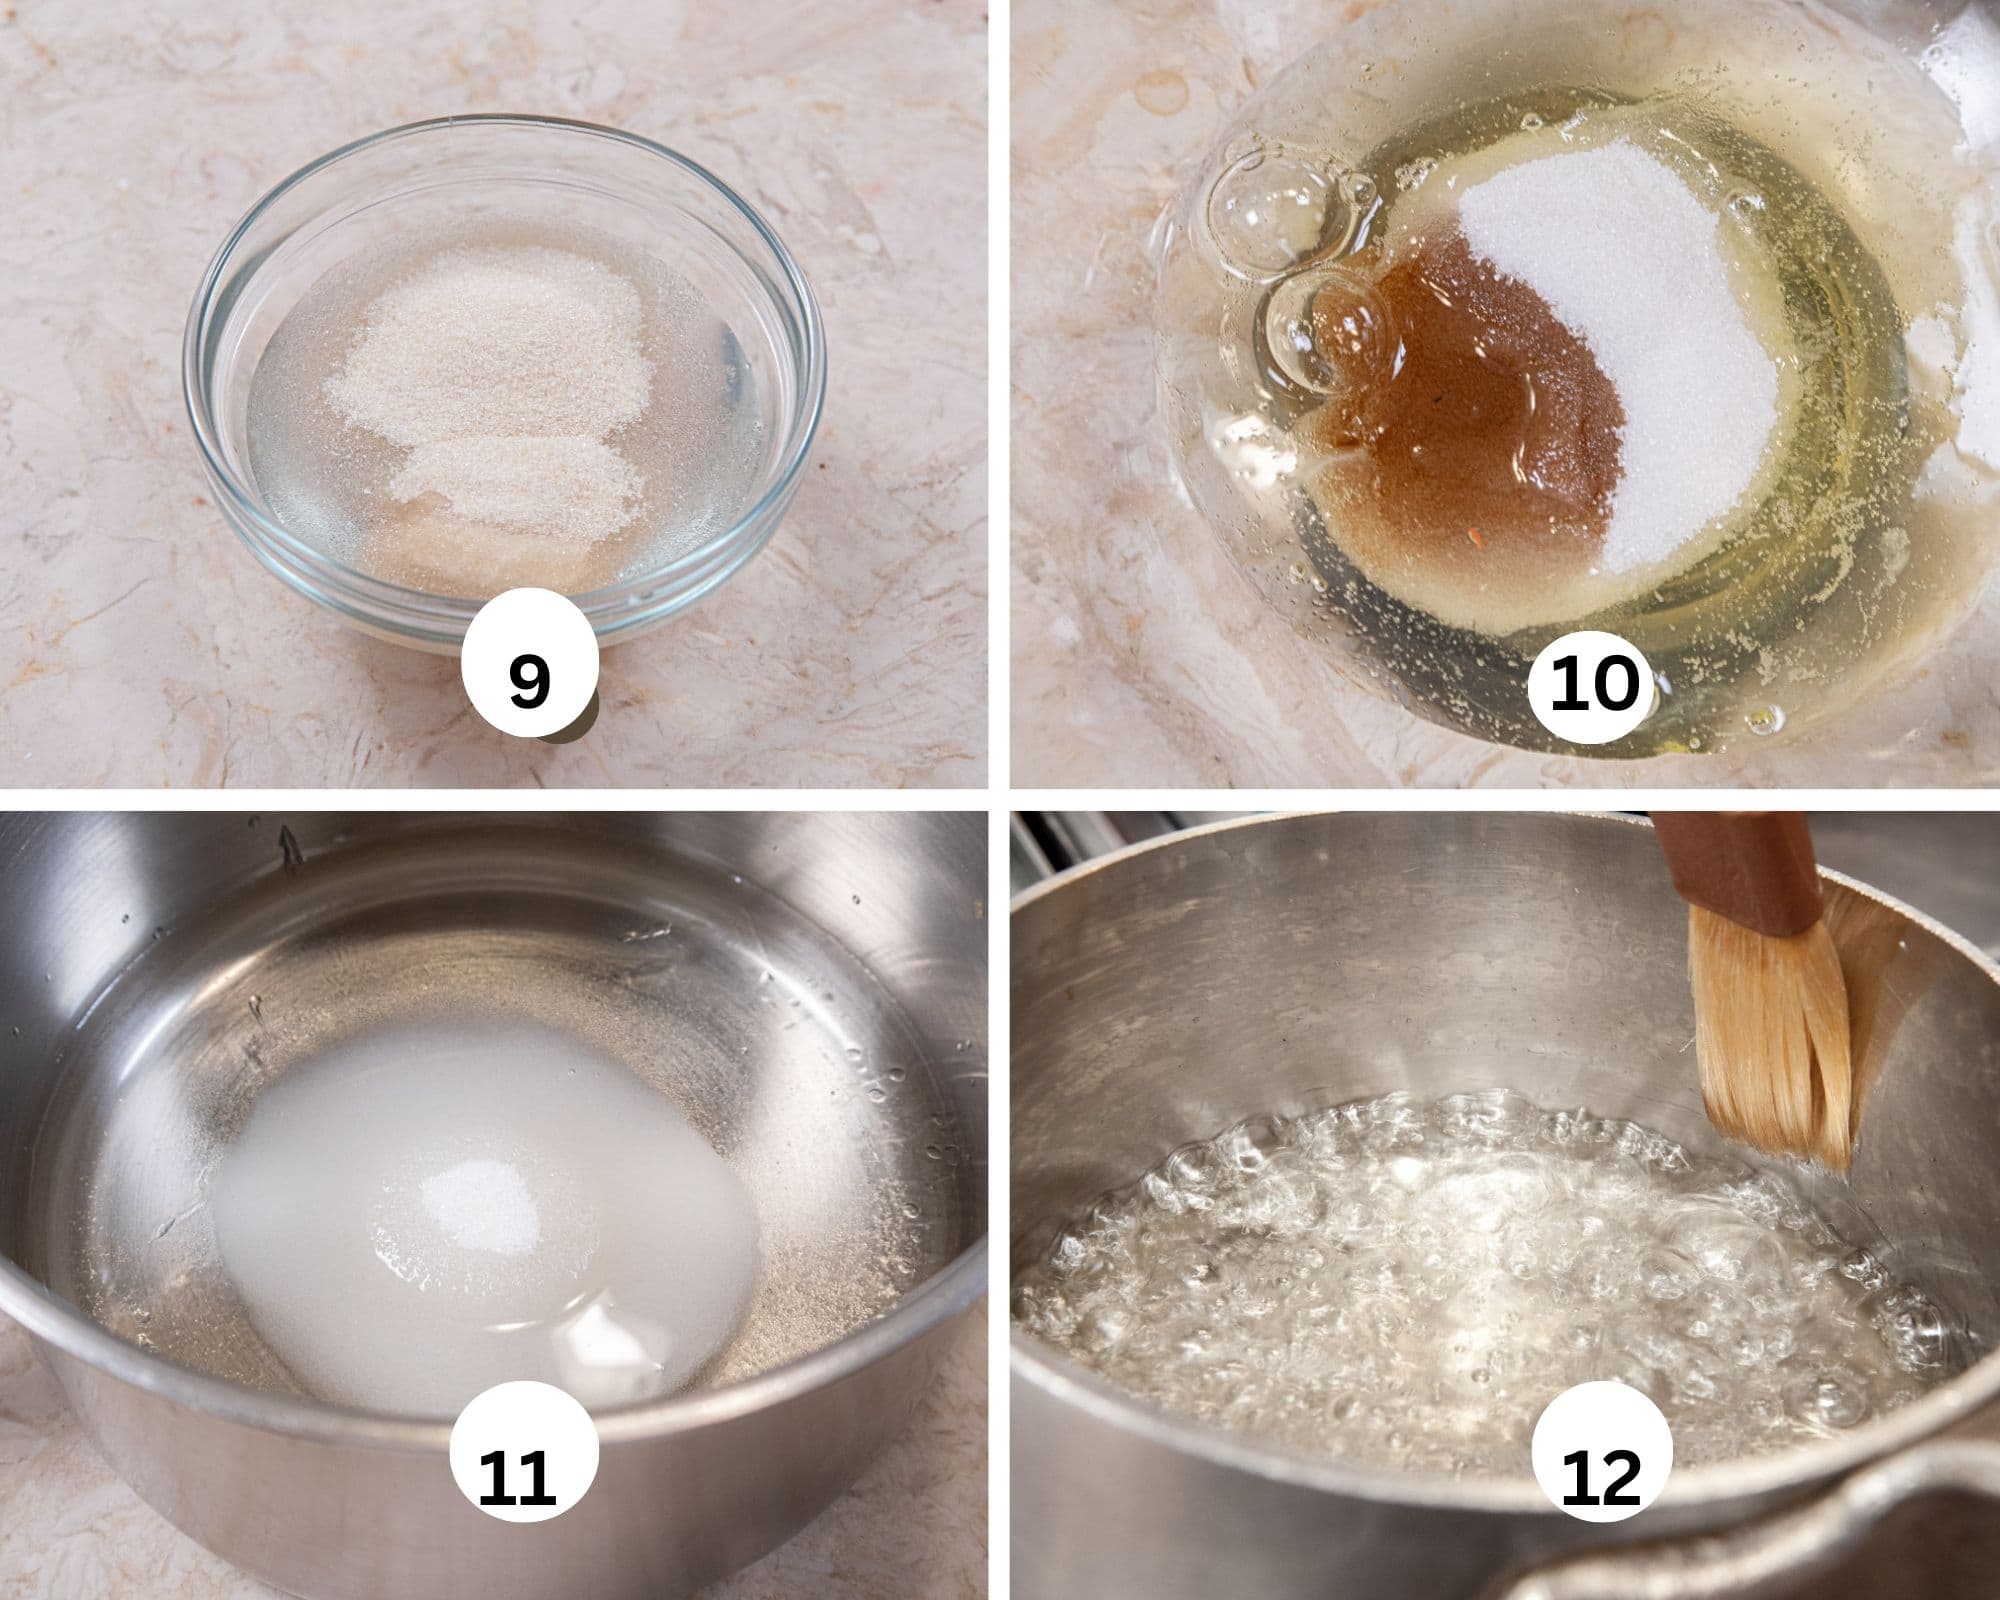
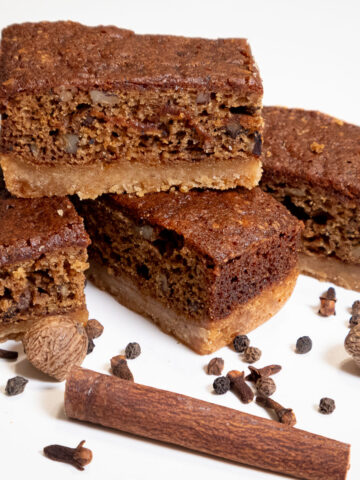
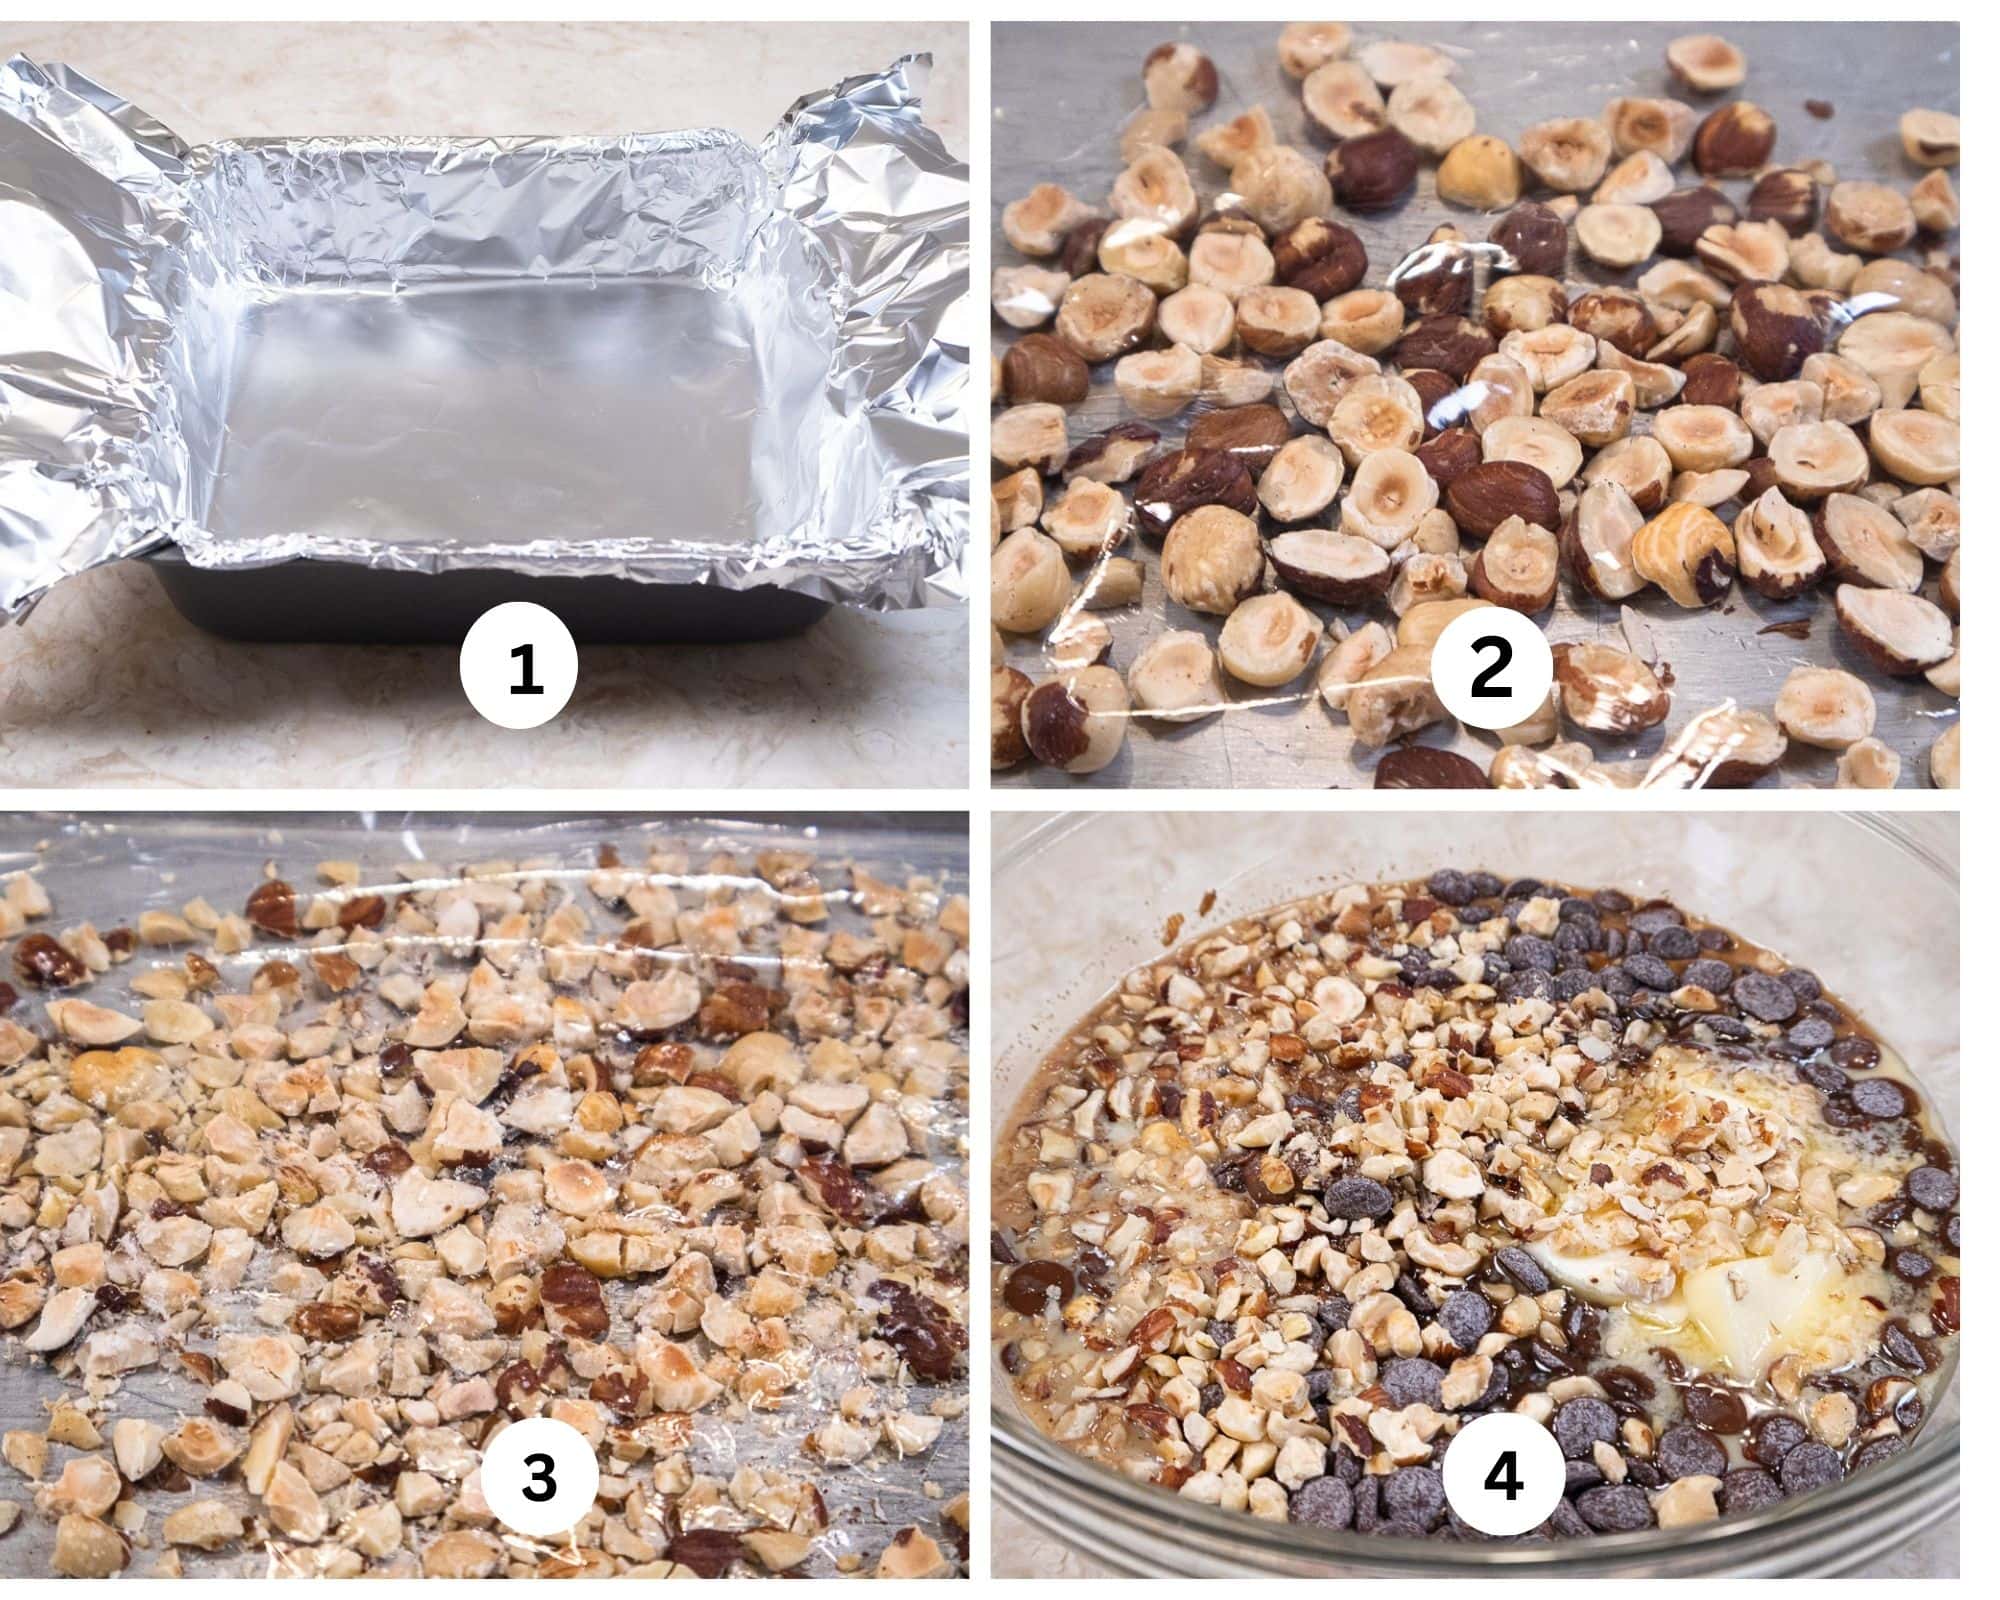
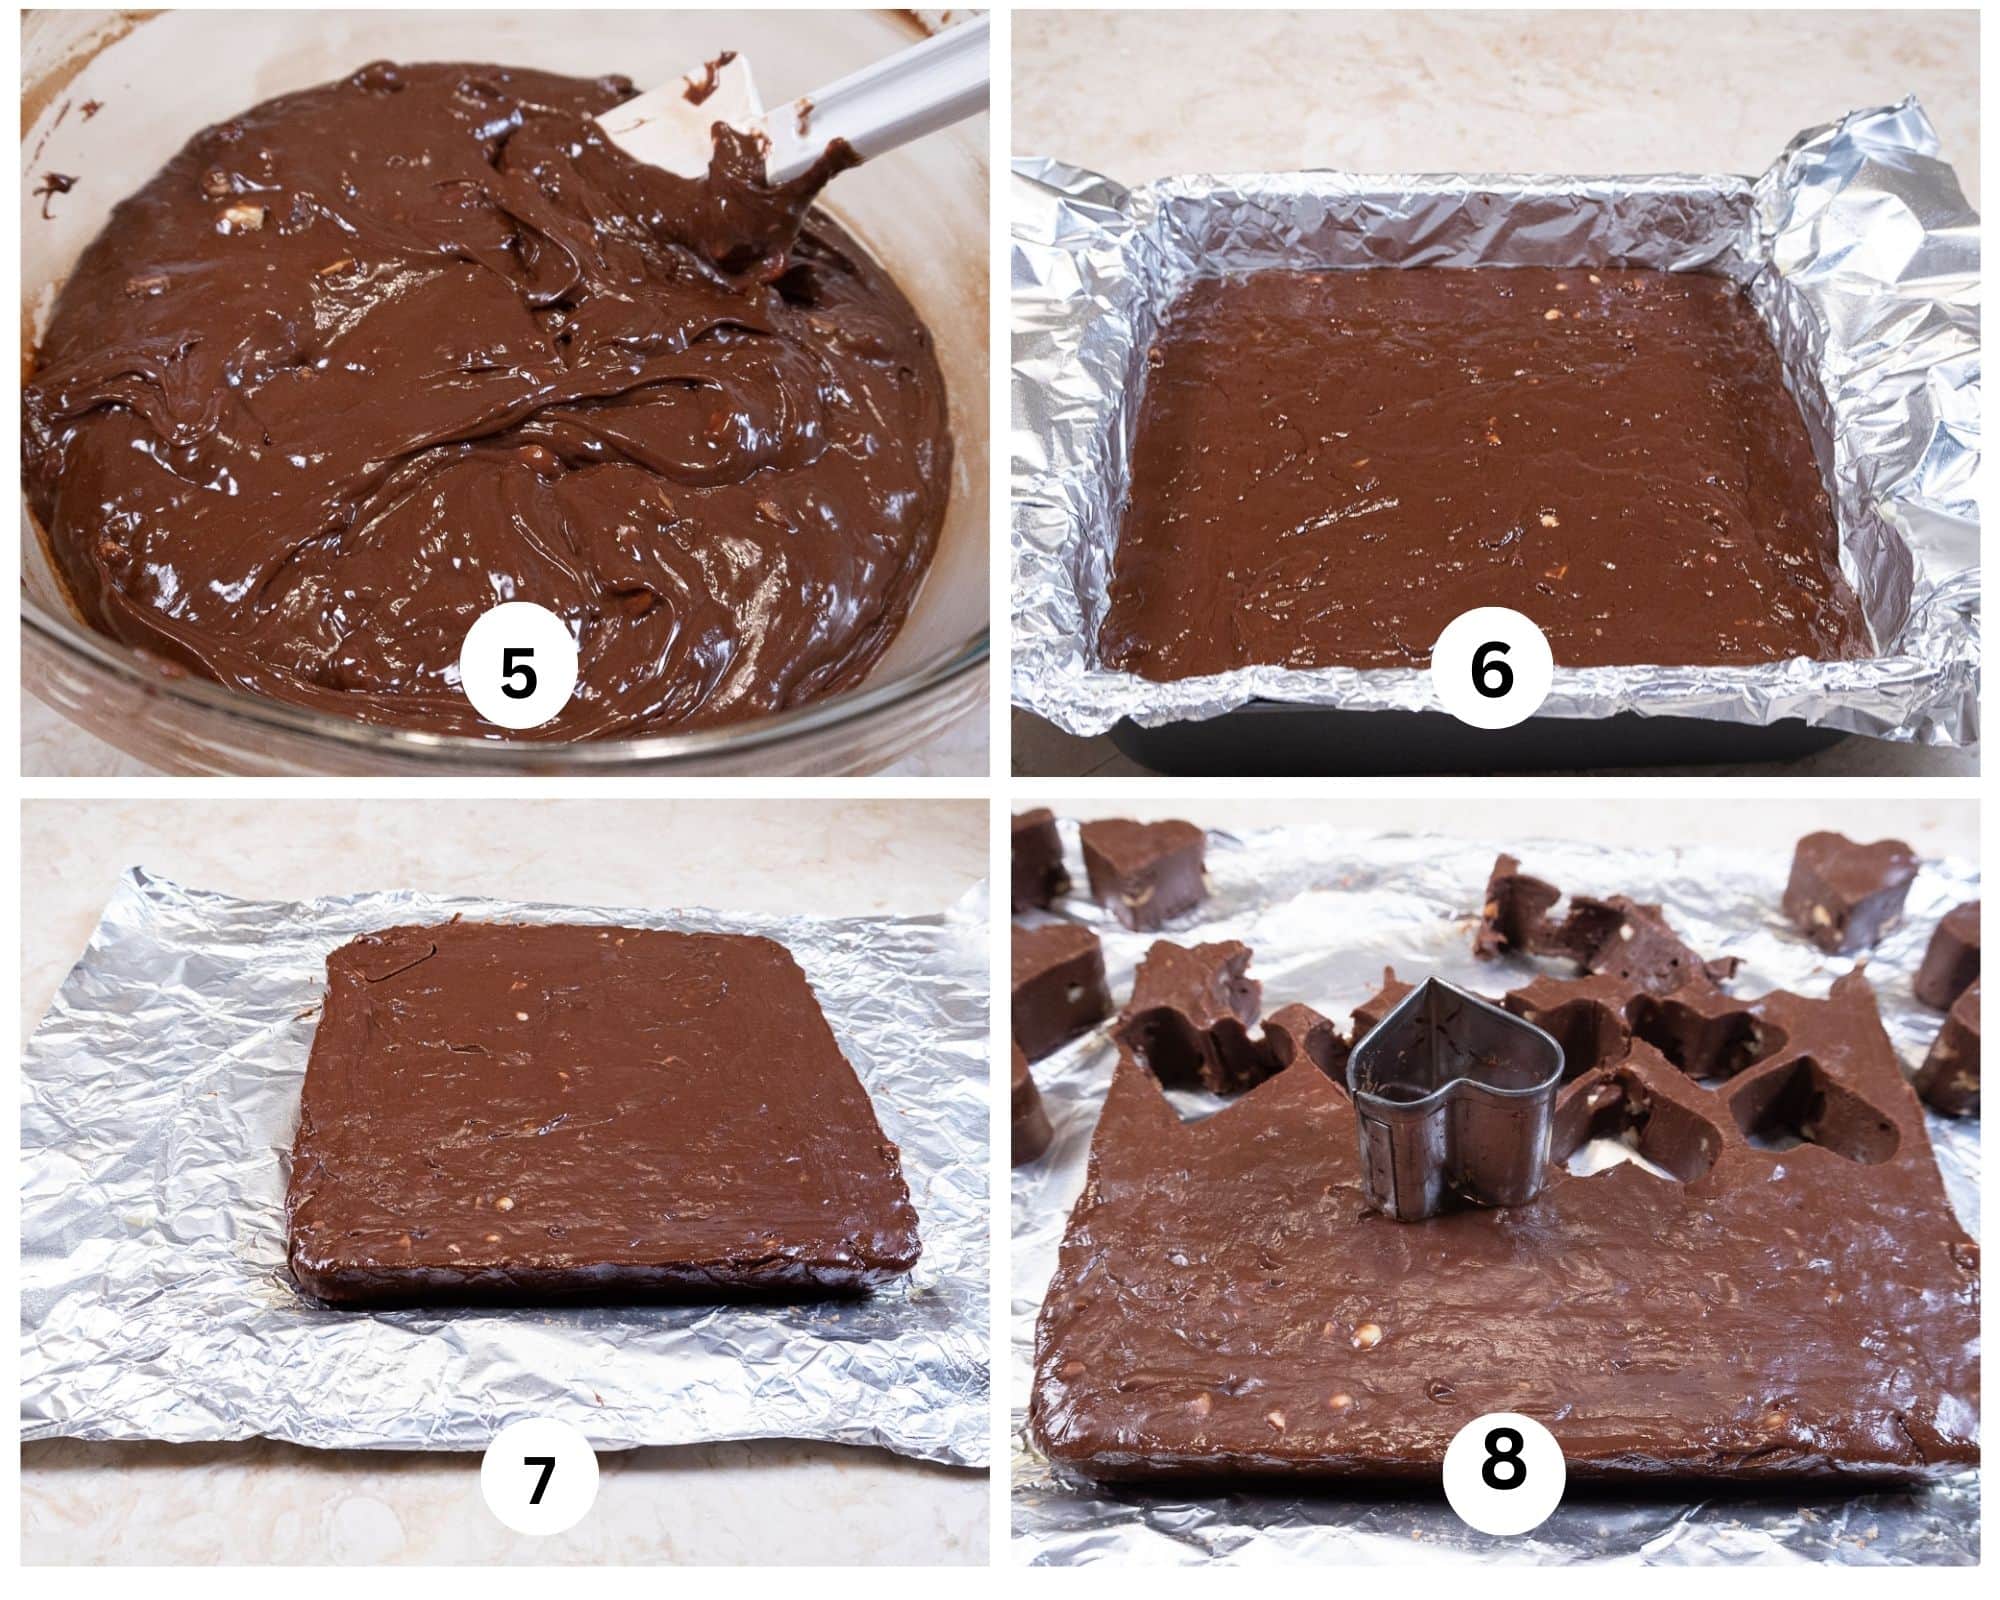
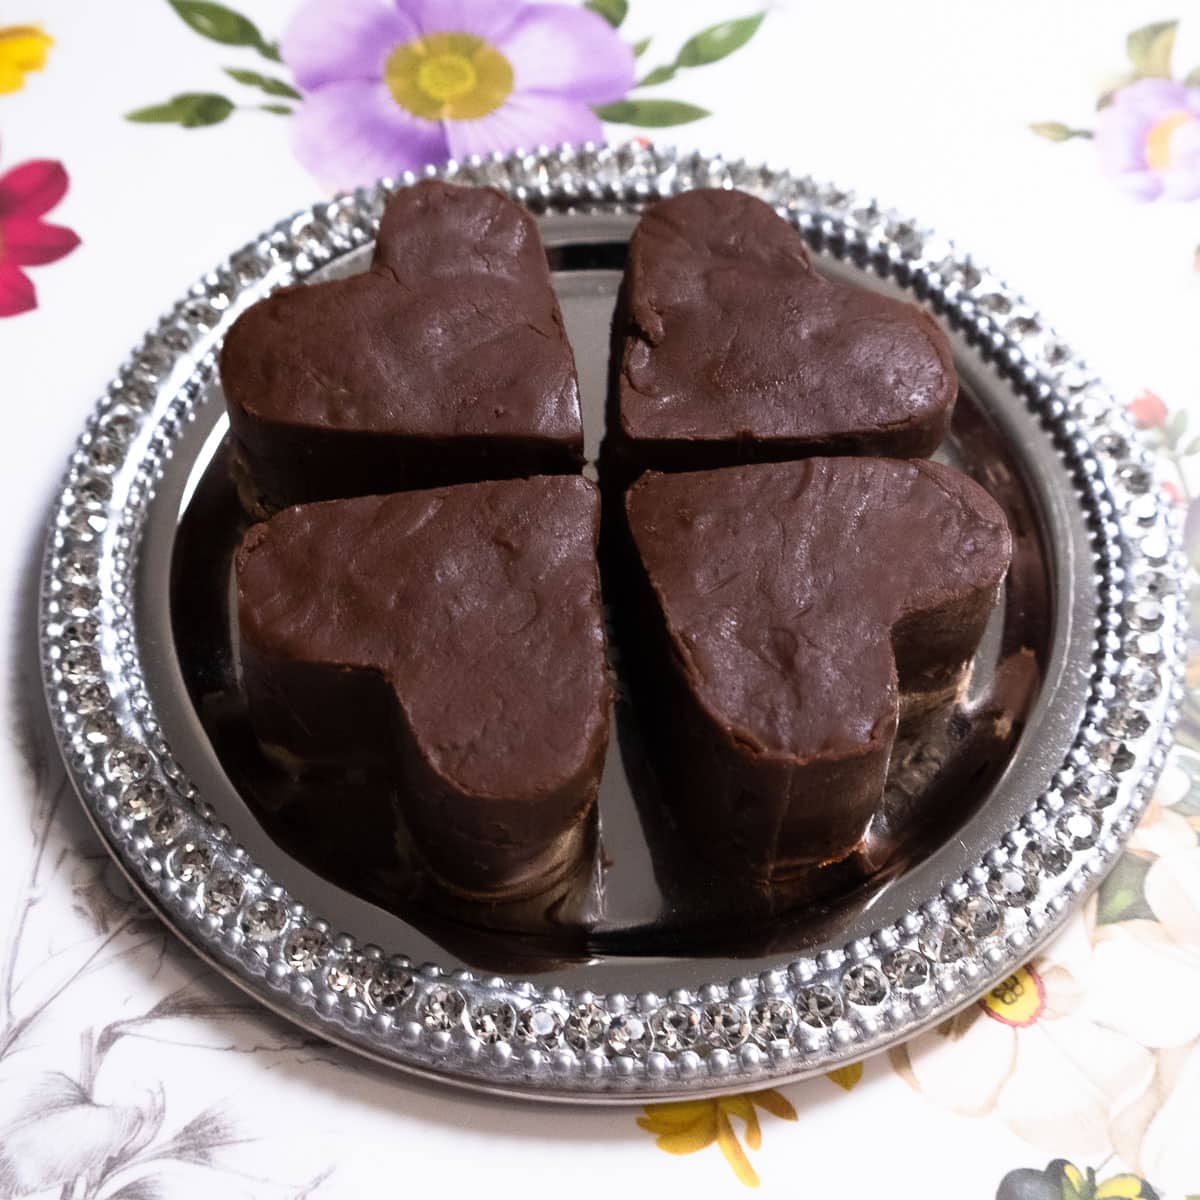
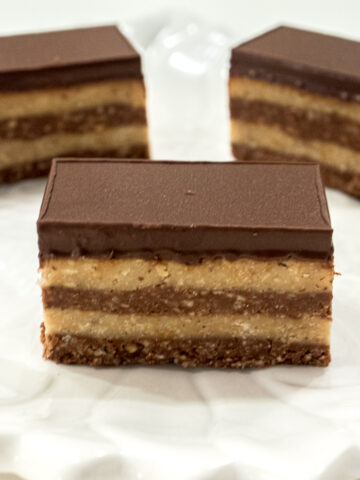
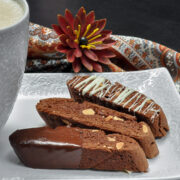
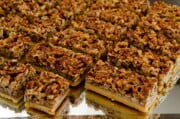
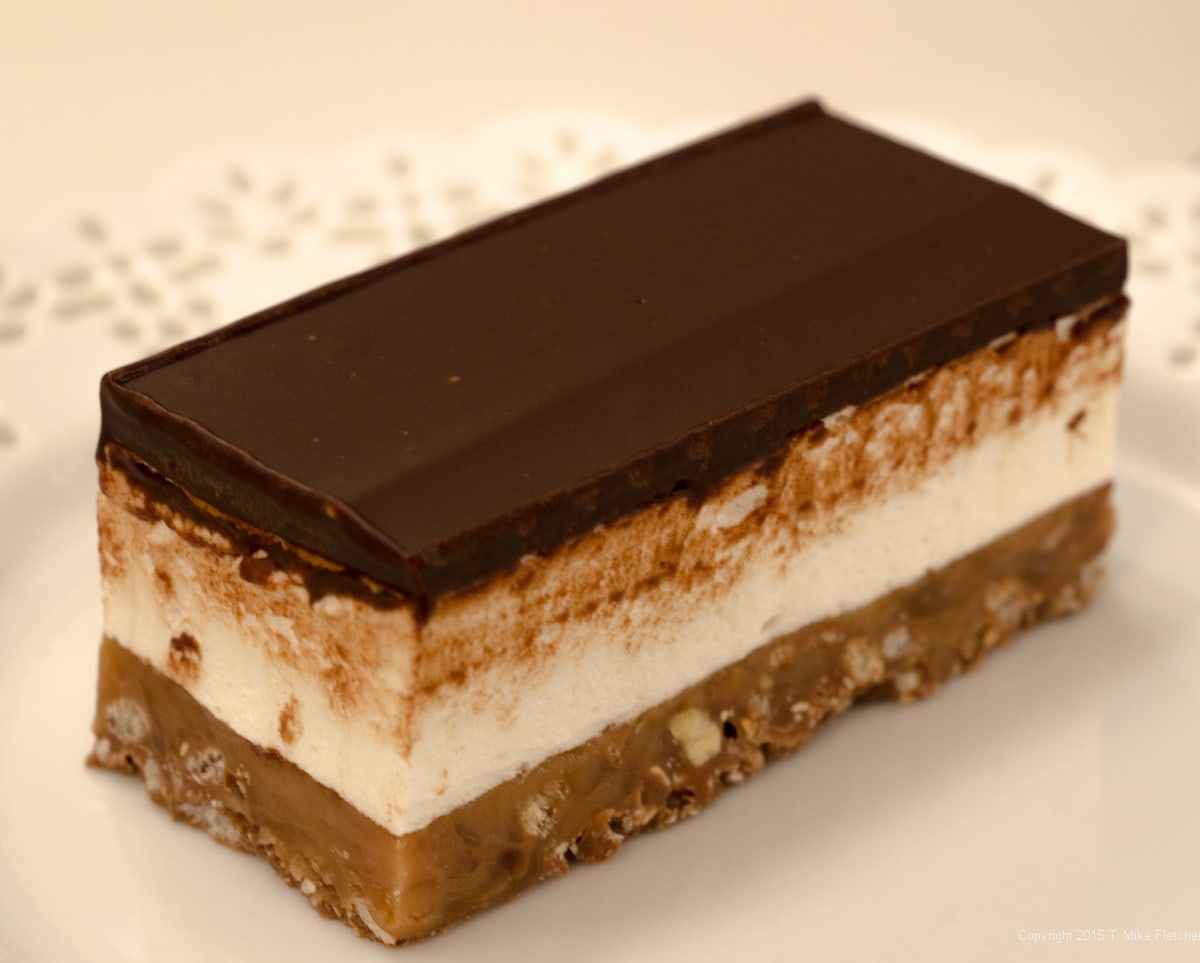
Hazelnut Crunch Bars
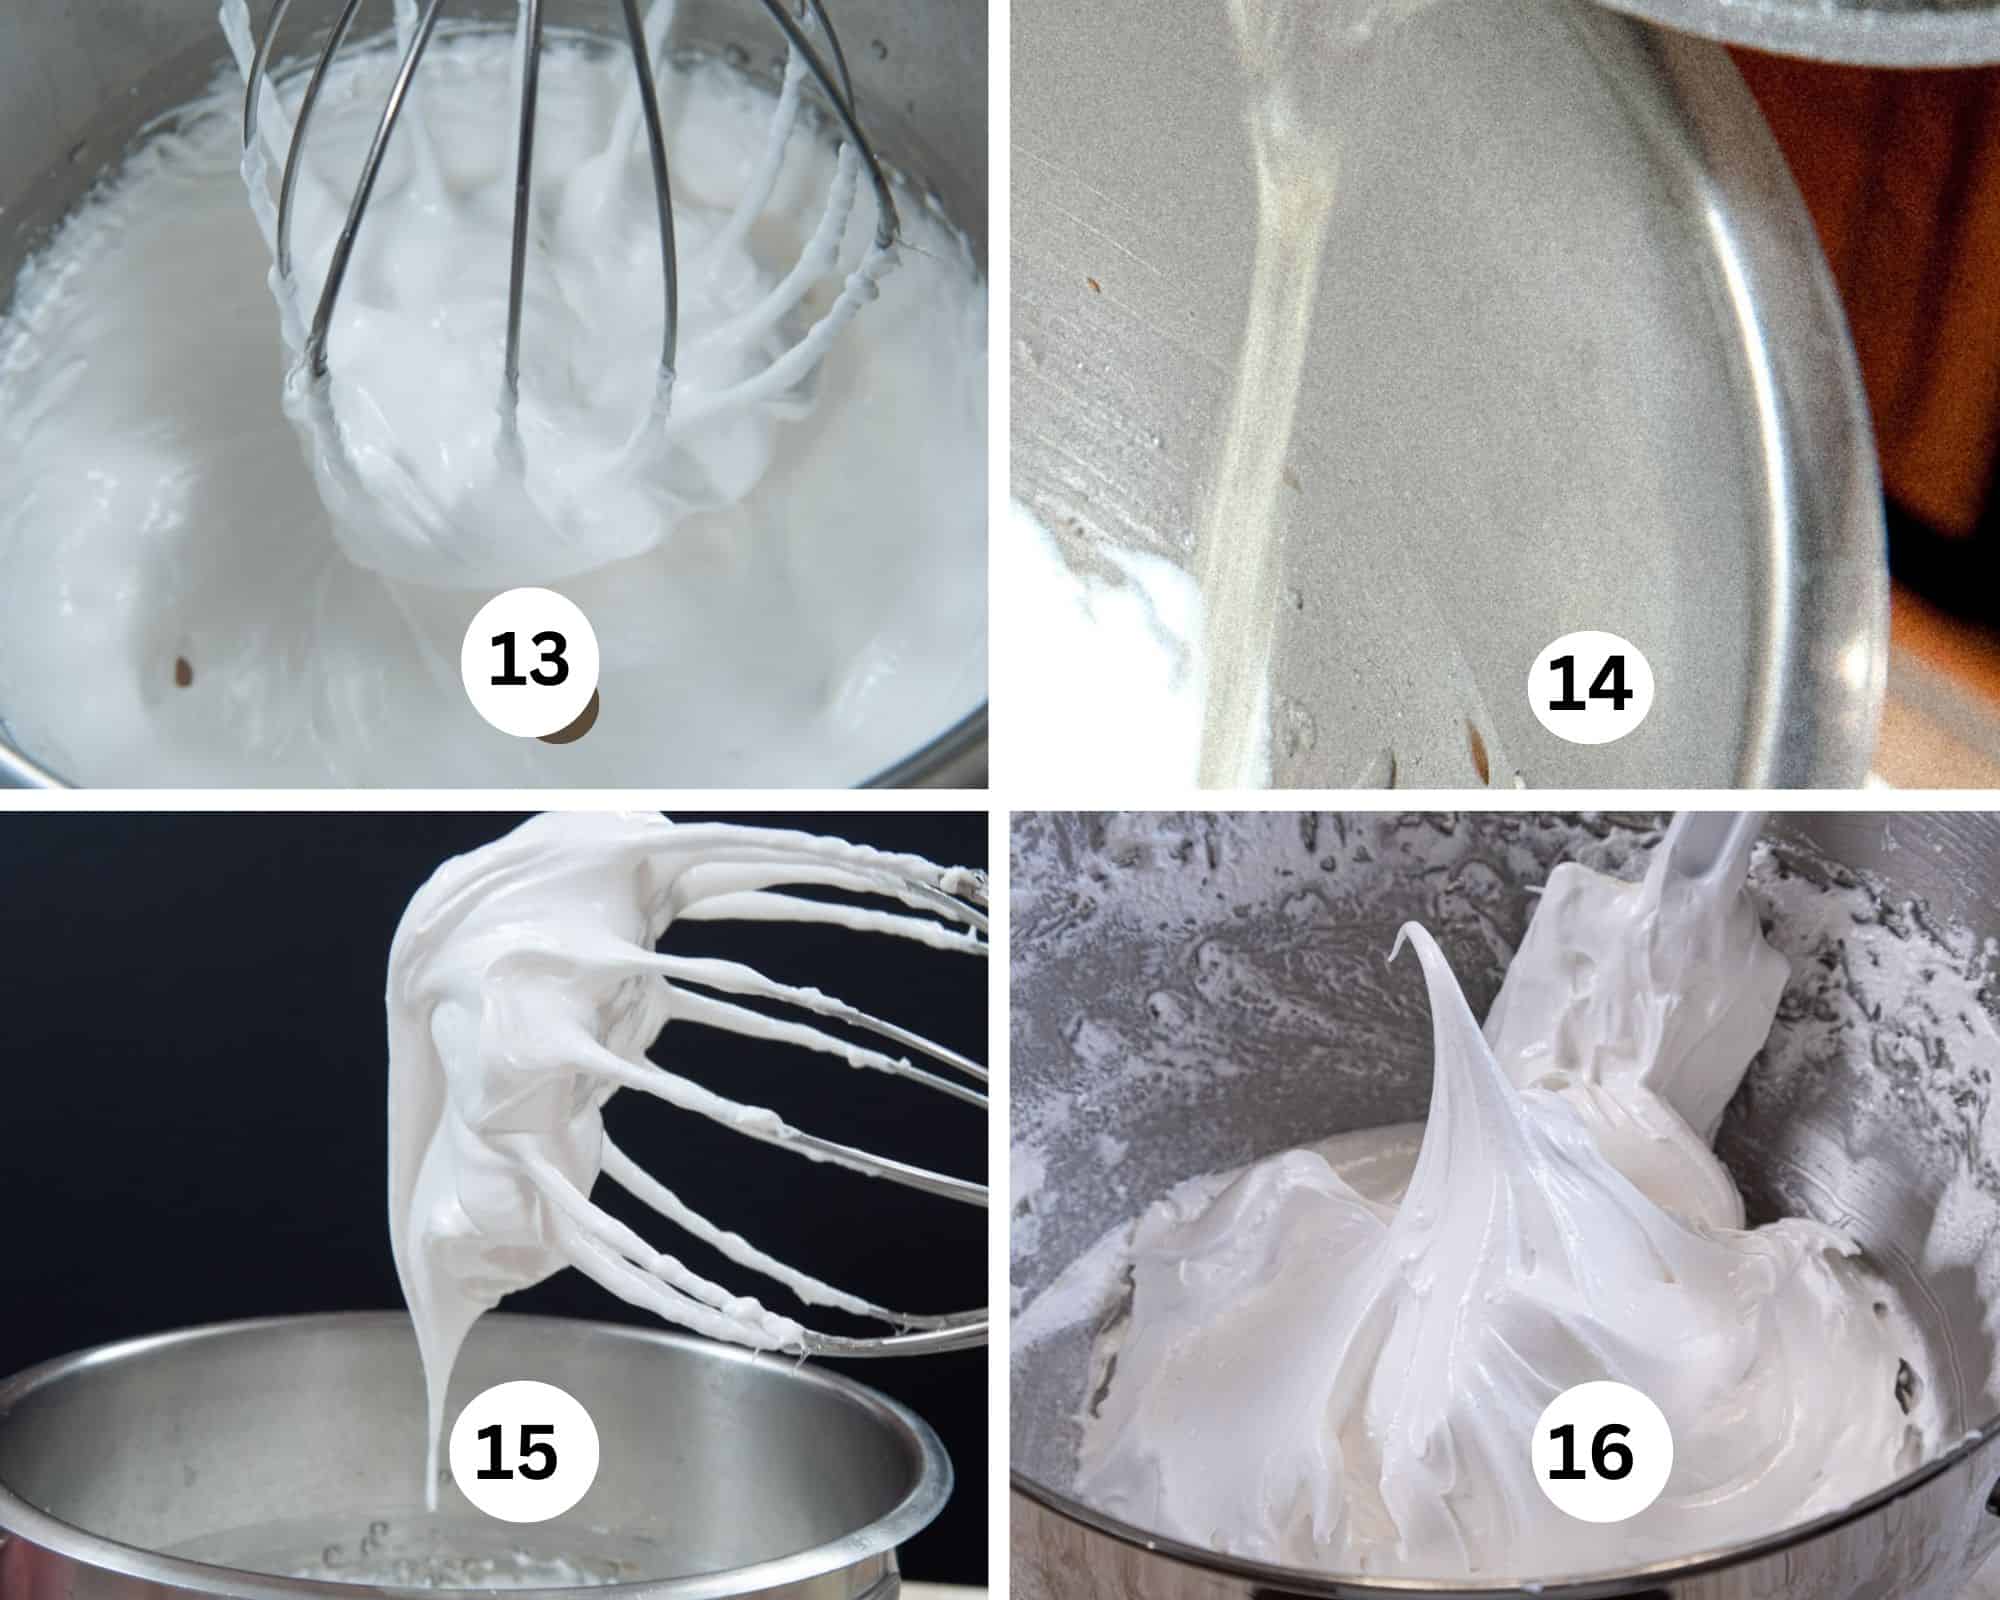
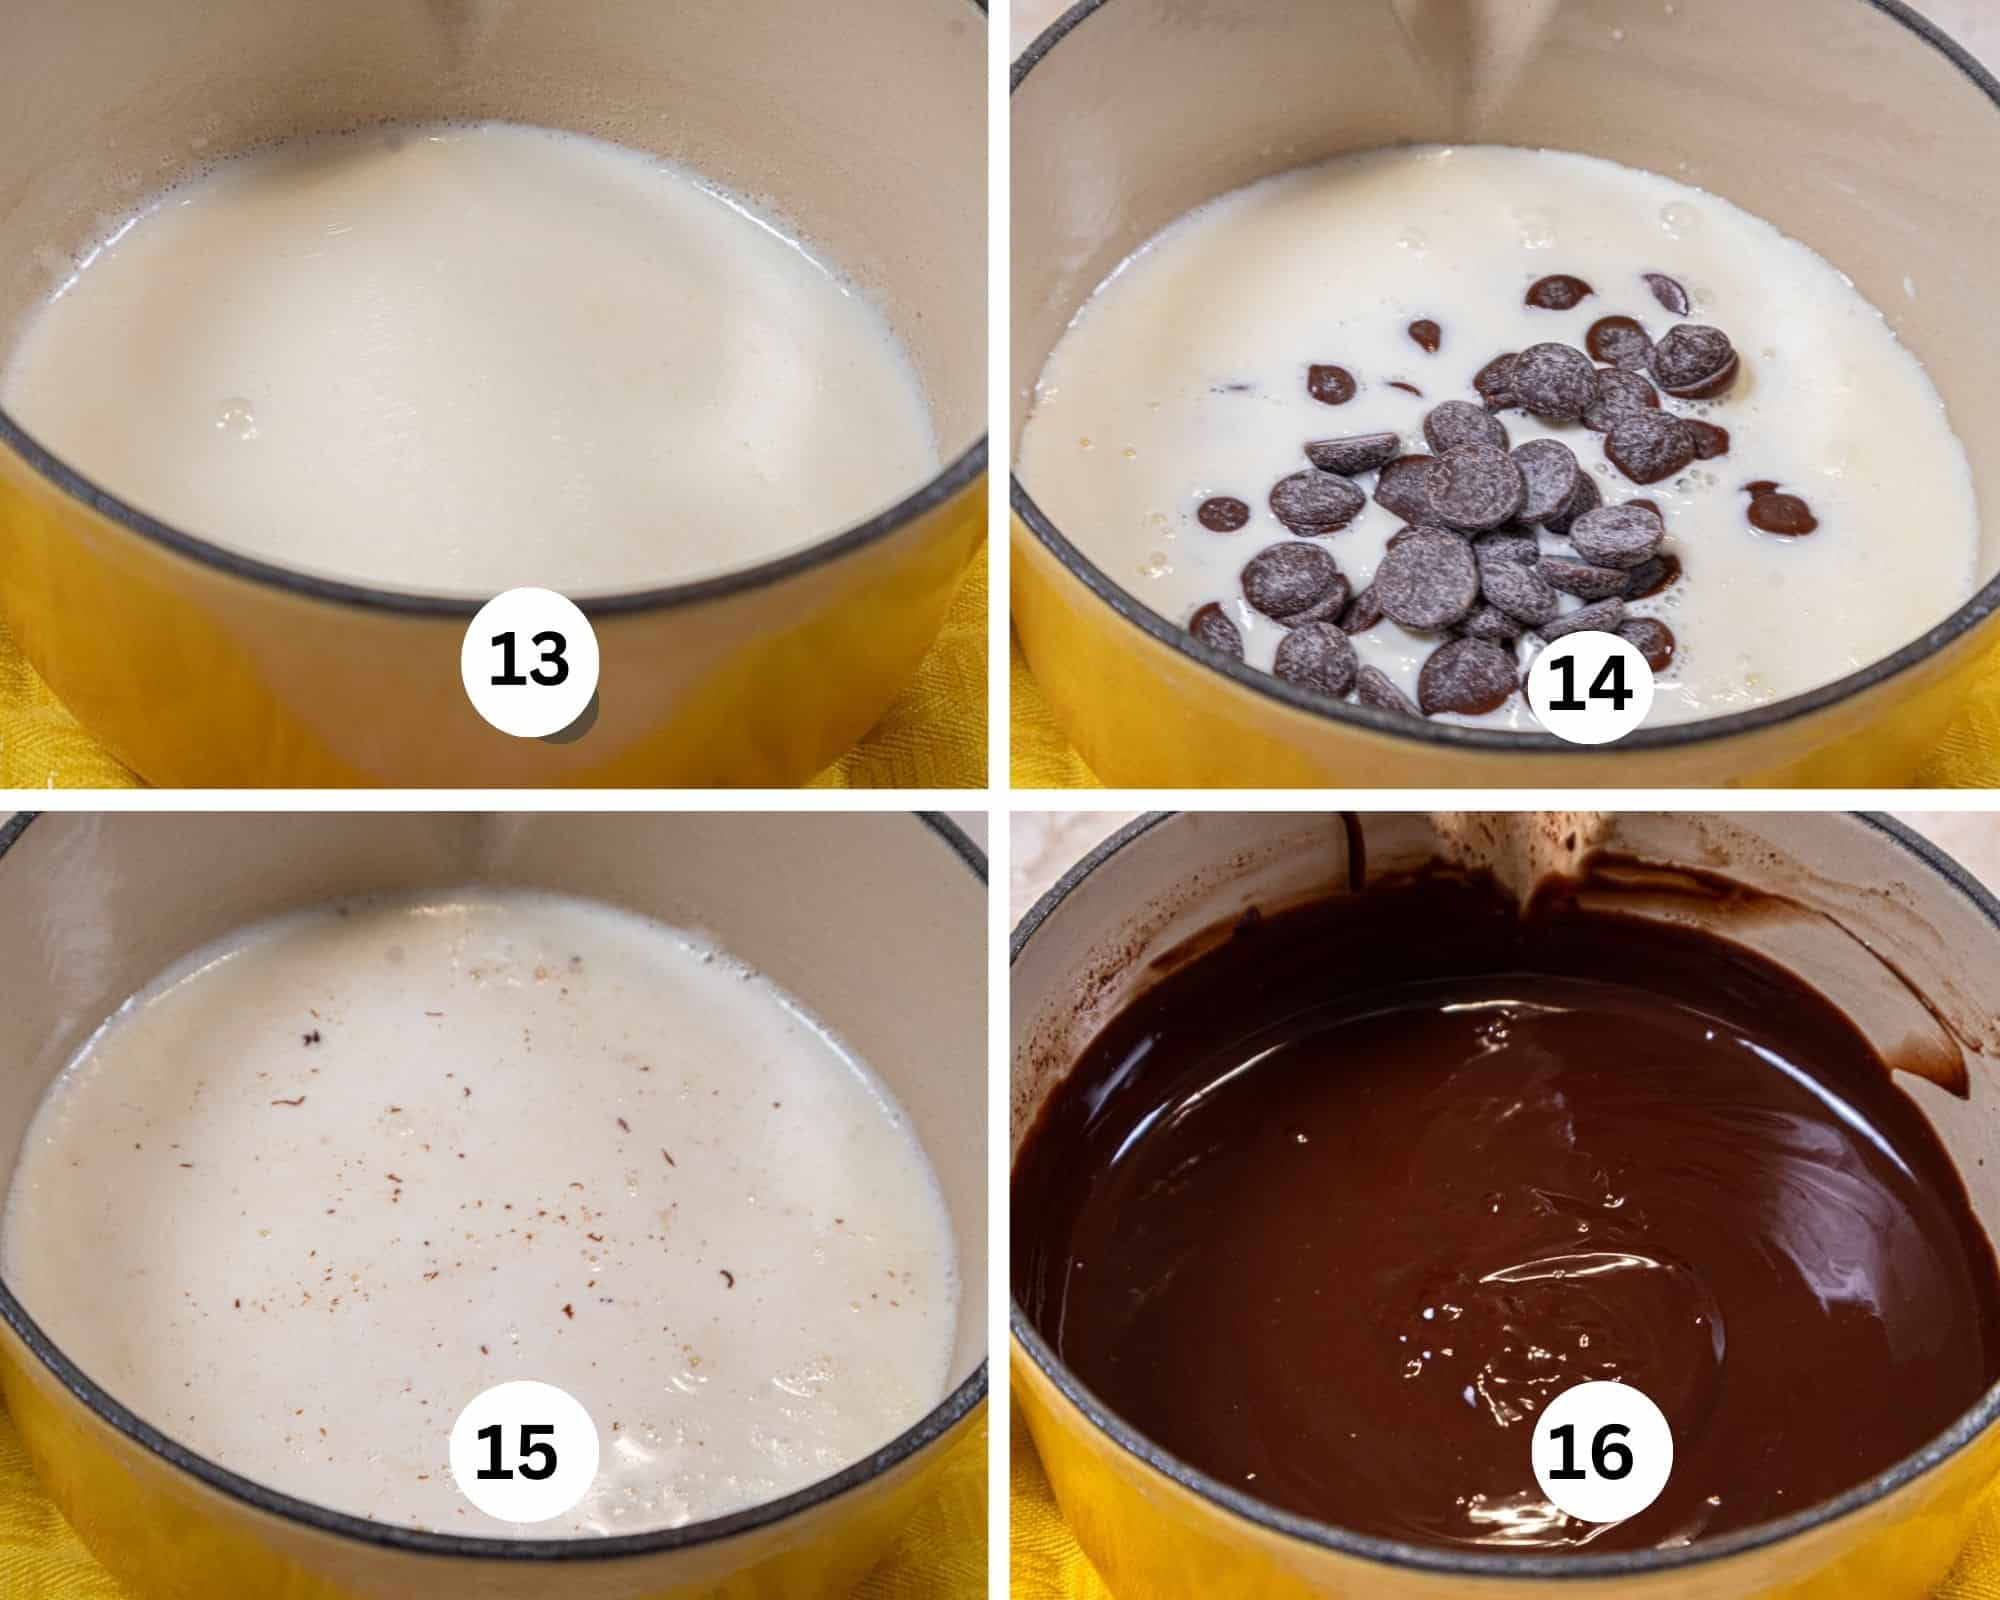
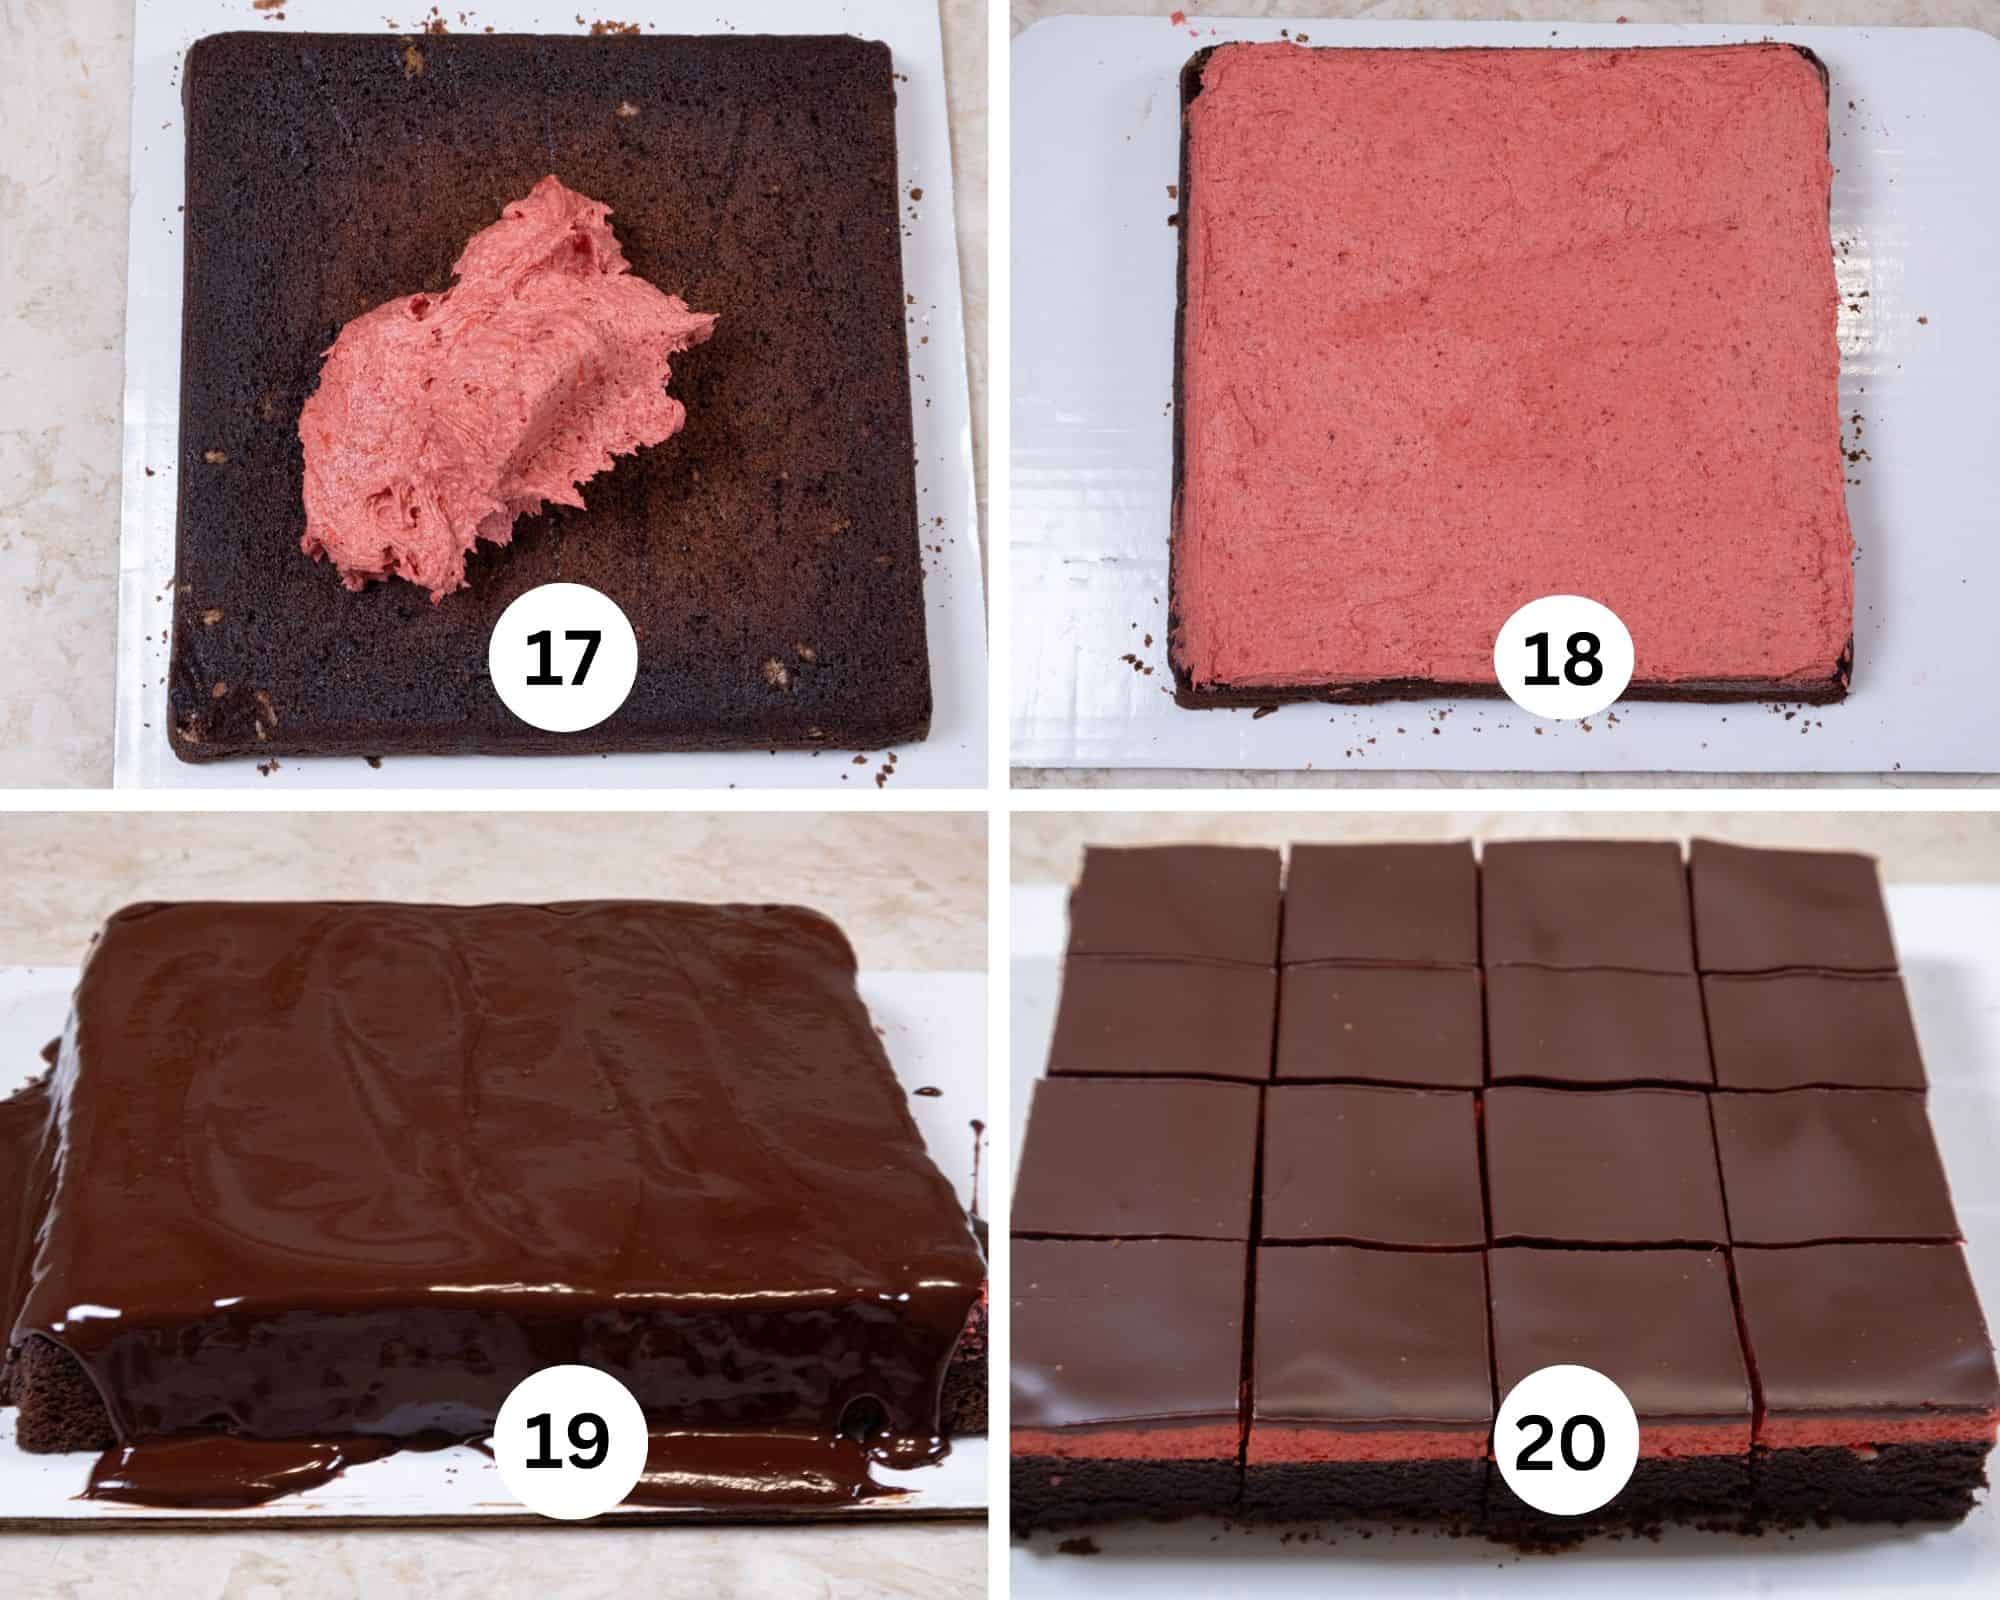
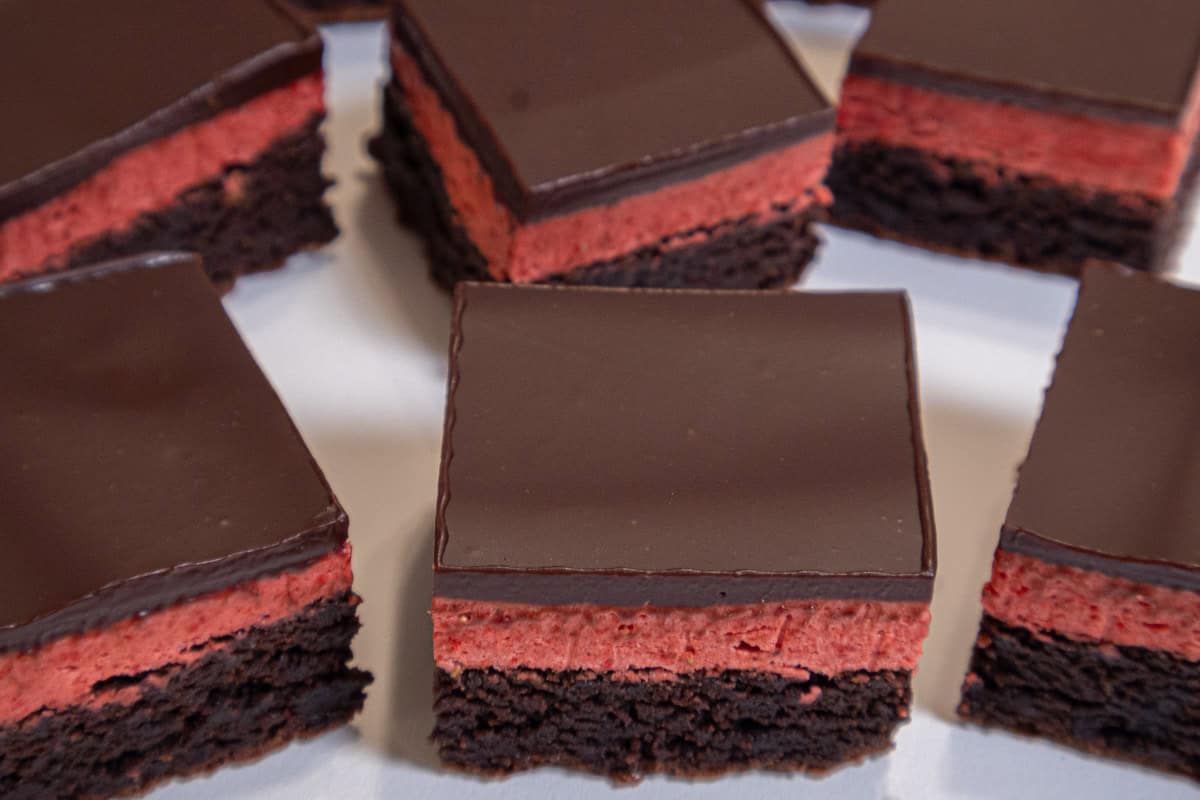
These Hazelnut Crunch Bars have a genuinely impressive backstory — born from a request by the Hyatt hotel and refined over decades into something truly spectacular. Milk chocolate, toasted hazelnuts, and rice krispies form the crunch base, which gets layered with caramel, a cloud-light homemade marshmallow, and a dark satin ganache finish. Not a single layer requires an oven, and yet the end result looks like it came straight out of a five-star pastry kitchen.
Peanut Butter Ice Cream Pie Recipe
Peanut Butter Ice Cream Pie is exactly the kind of showstopper you want in your back pocket for summer — a no-churn peanut butter ice cream that's impossibly smooth, all packed into a chocolate rice crispy crust that stays pliable straight from the freezer. That texture contrast alone — crunchy crust against silky ice cream — is enough to make people think you really outdid yourself. Make it ahead, pull it out at the end of a BBQ, and watch it disappear.
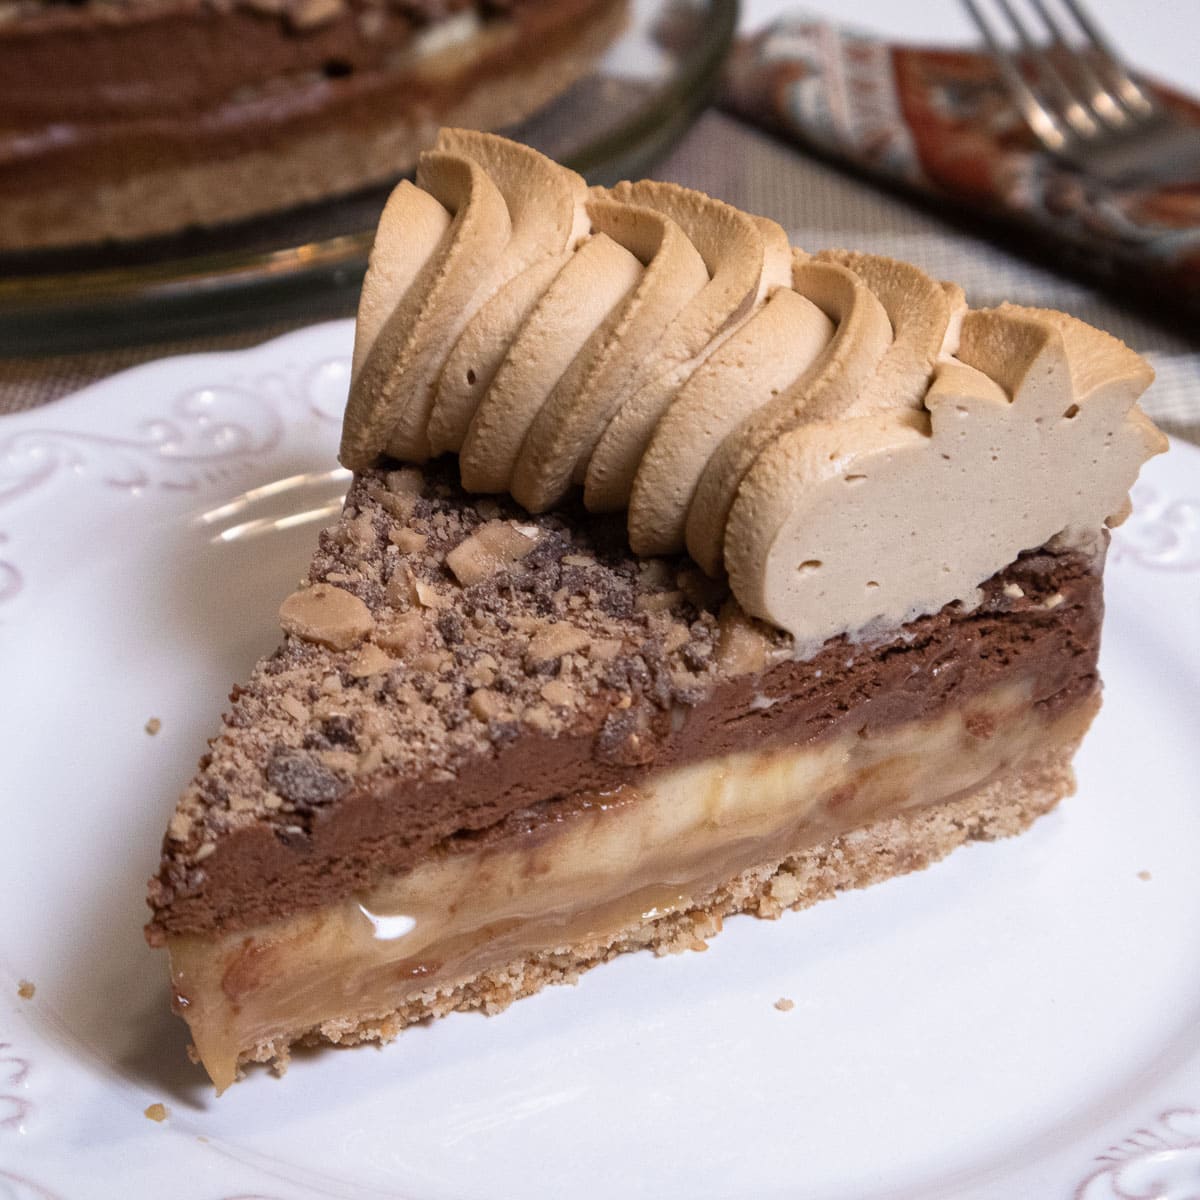
Amazing Banoffee Pie Recipe
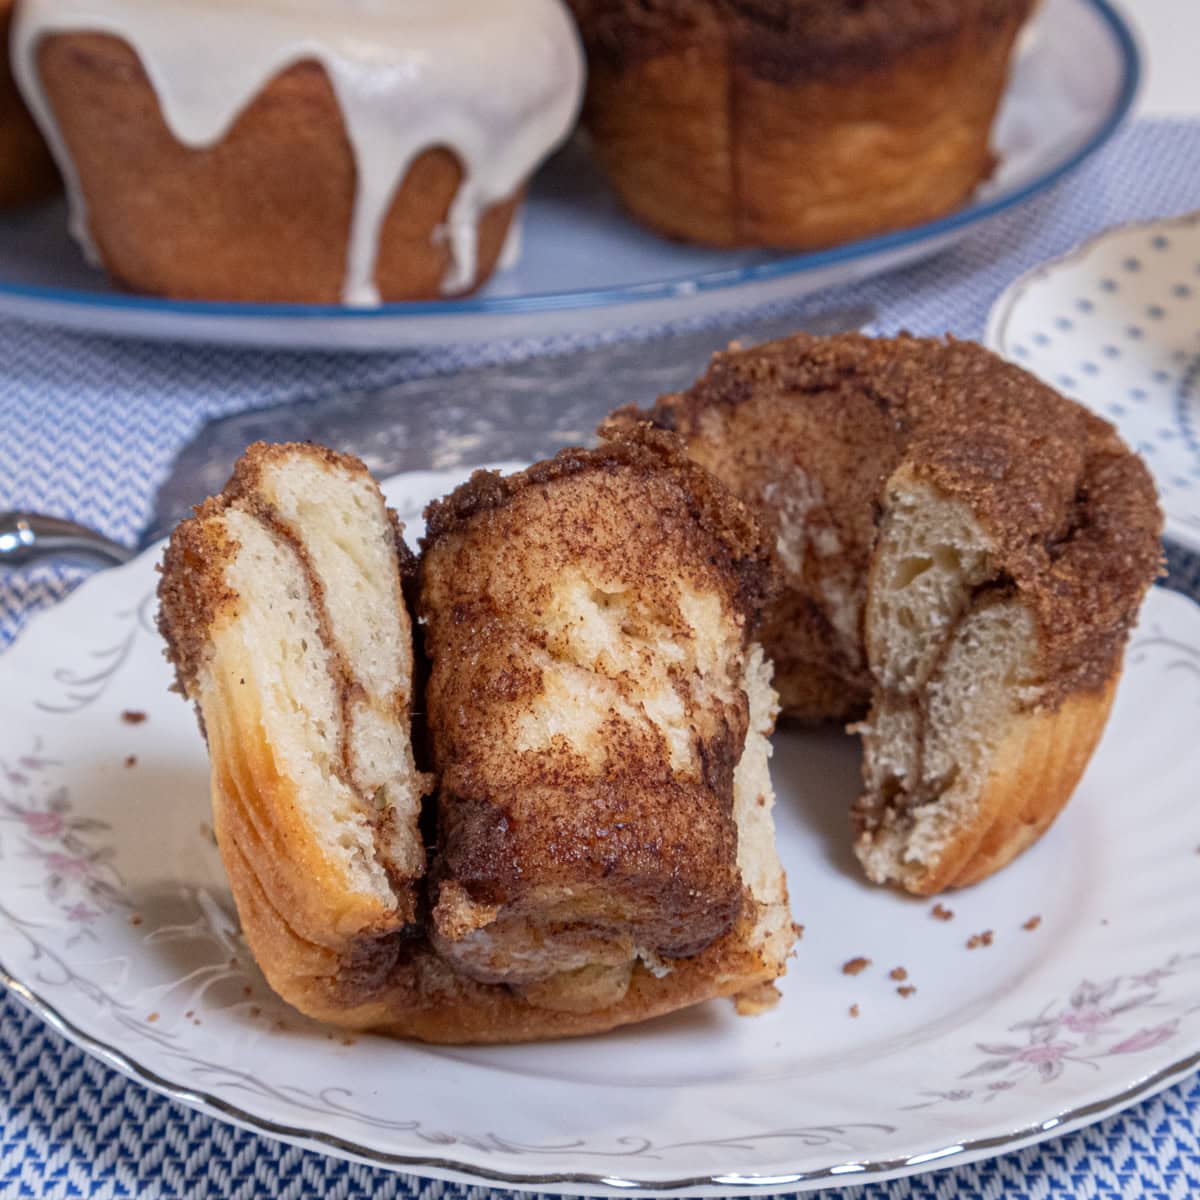
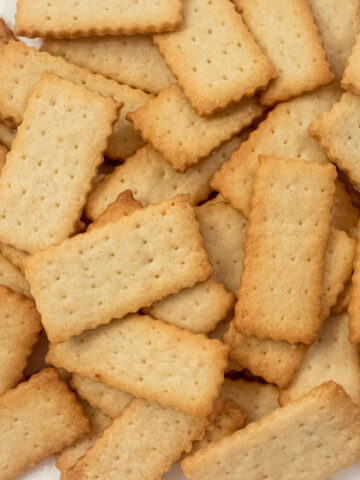
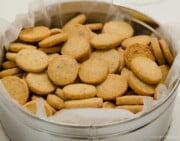
Banoffee Pie is one of those desserts that sounds impressive the moment you say it out loud — and this Amazing Banoffee Pie Recipe absolutely delivers on that promise. We're talking a vanilla wafer crust, a quick toffee filling made from condensed milk, fresh bananas, chocolate mousse, Heath bar bits, and coffee whipped cream — all stacked up with zero oven time required. The toffee alone is worth the click, because I've figured out a much faster method than boiling a can for hours or waiting on the oven to do the work.
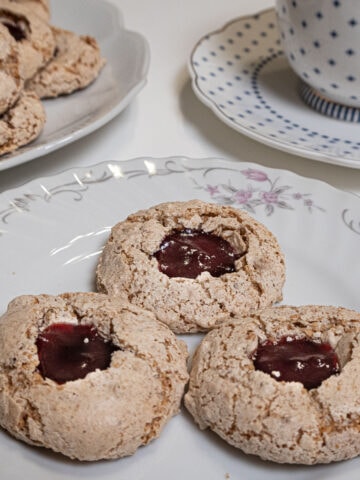
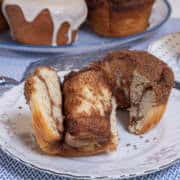
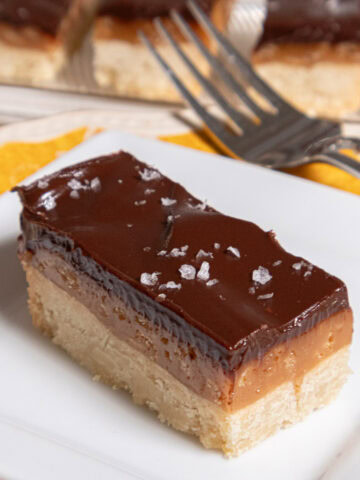
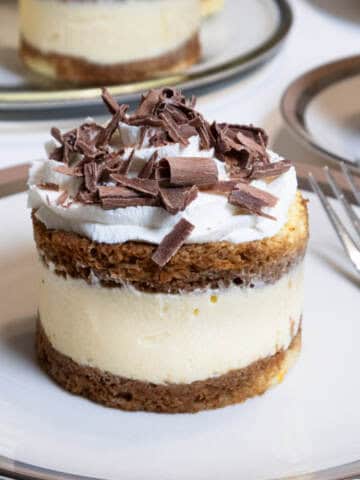
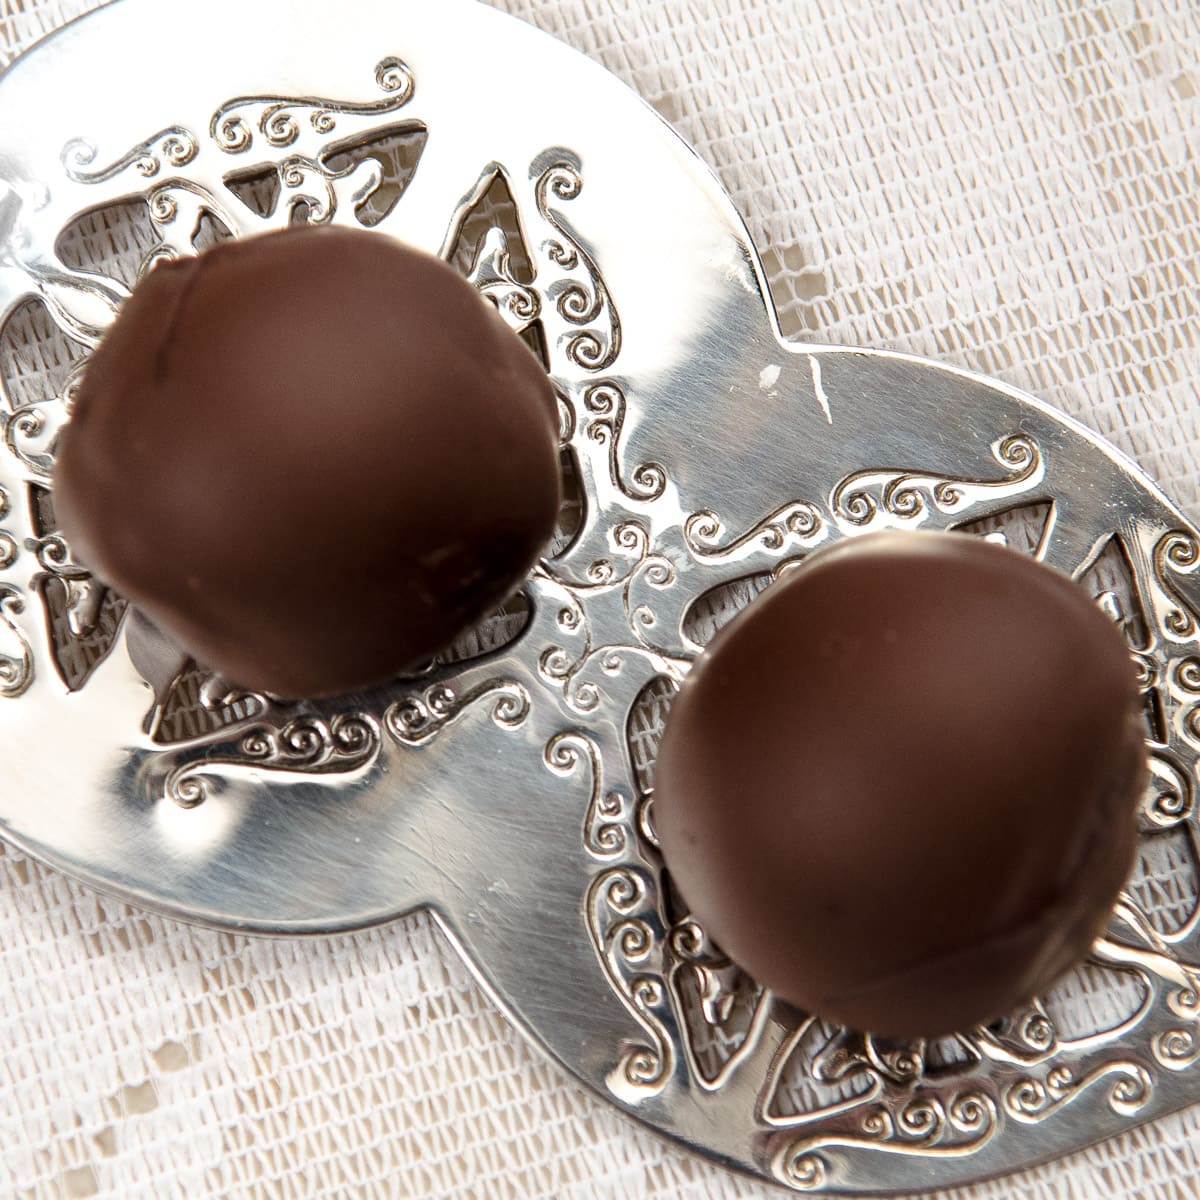
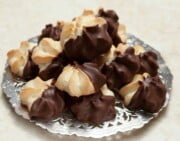
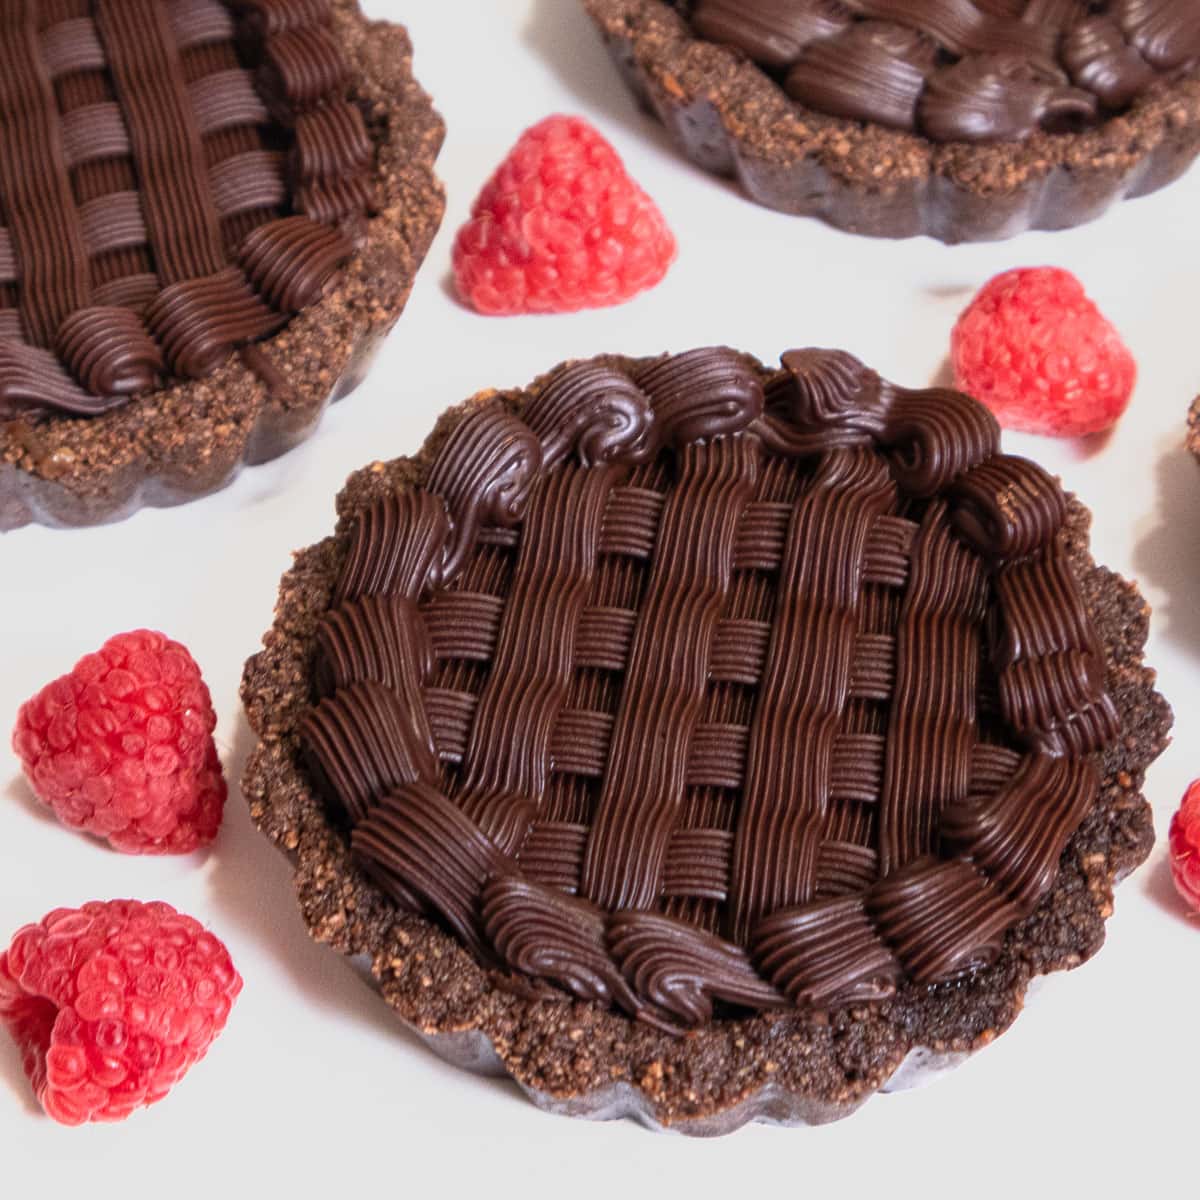
No Bake Mini Chocolate Caramel Tarts
You won't believe how easy these are to make. A press-in chocolate crumb crust, homemade caramel, and the same truffle filling that was wildly popular at the bakery come together in six elegant little tarts that can be made ahead. Everyone will think you bought them at an upscale bakery — and you don't need to correct them.
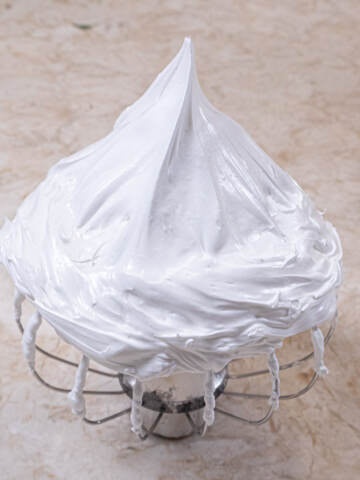
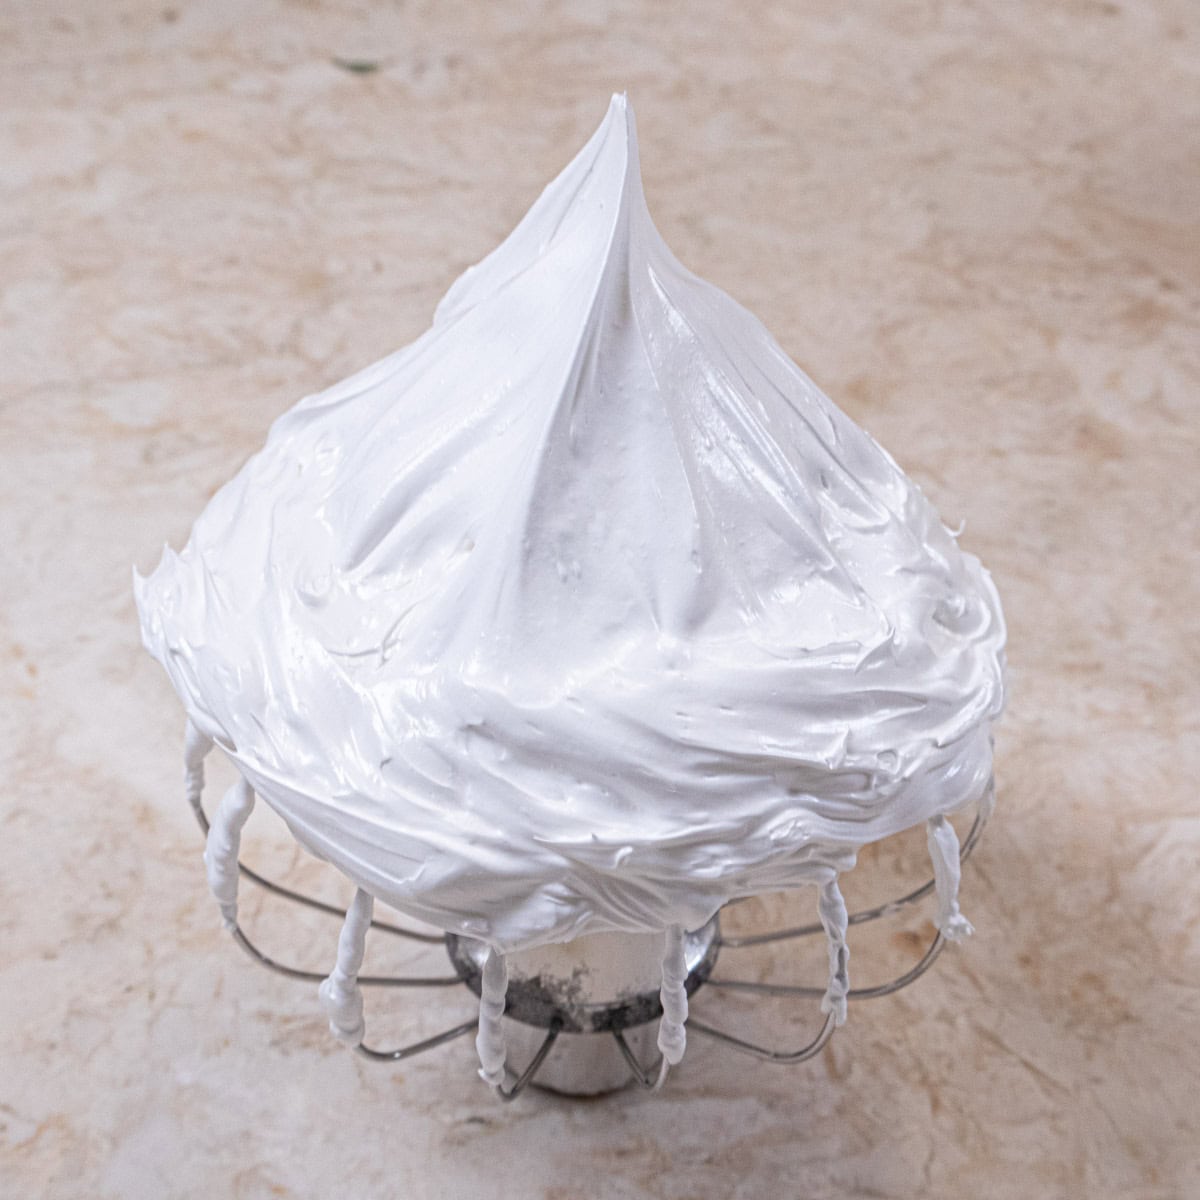
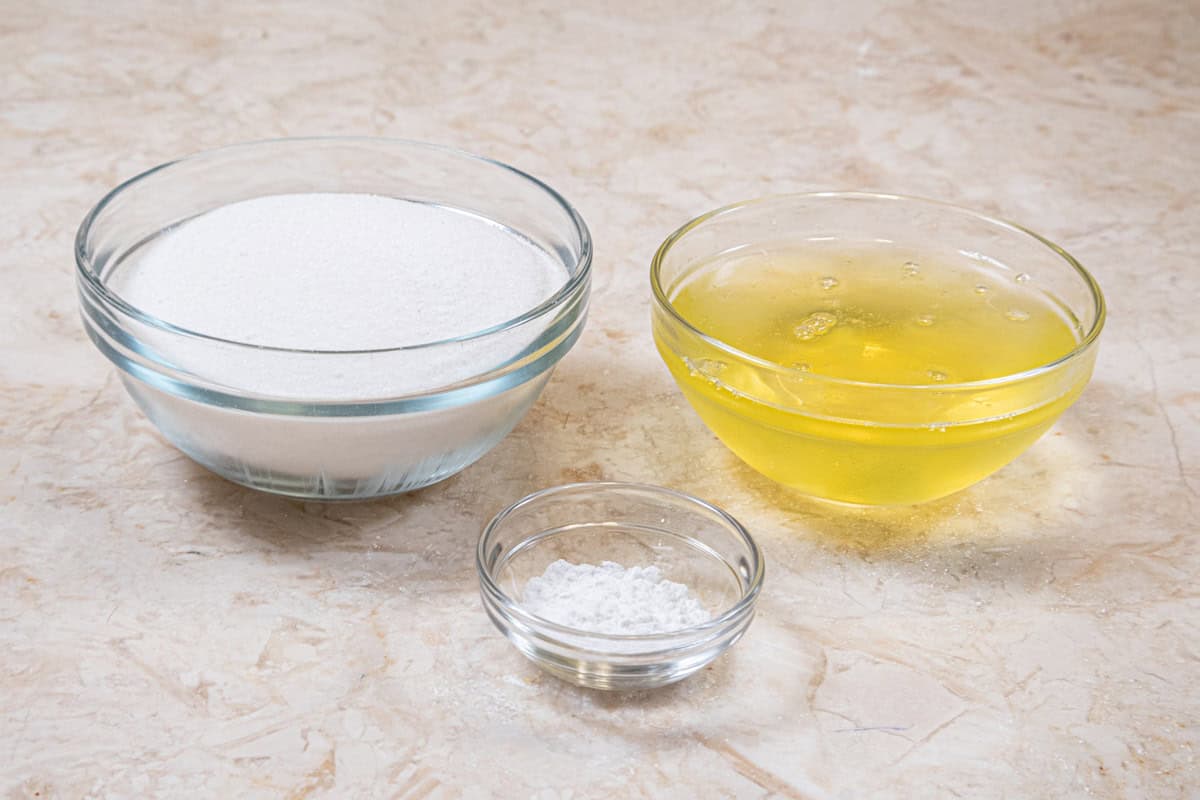
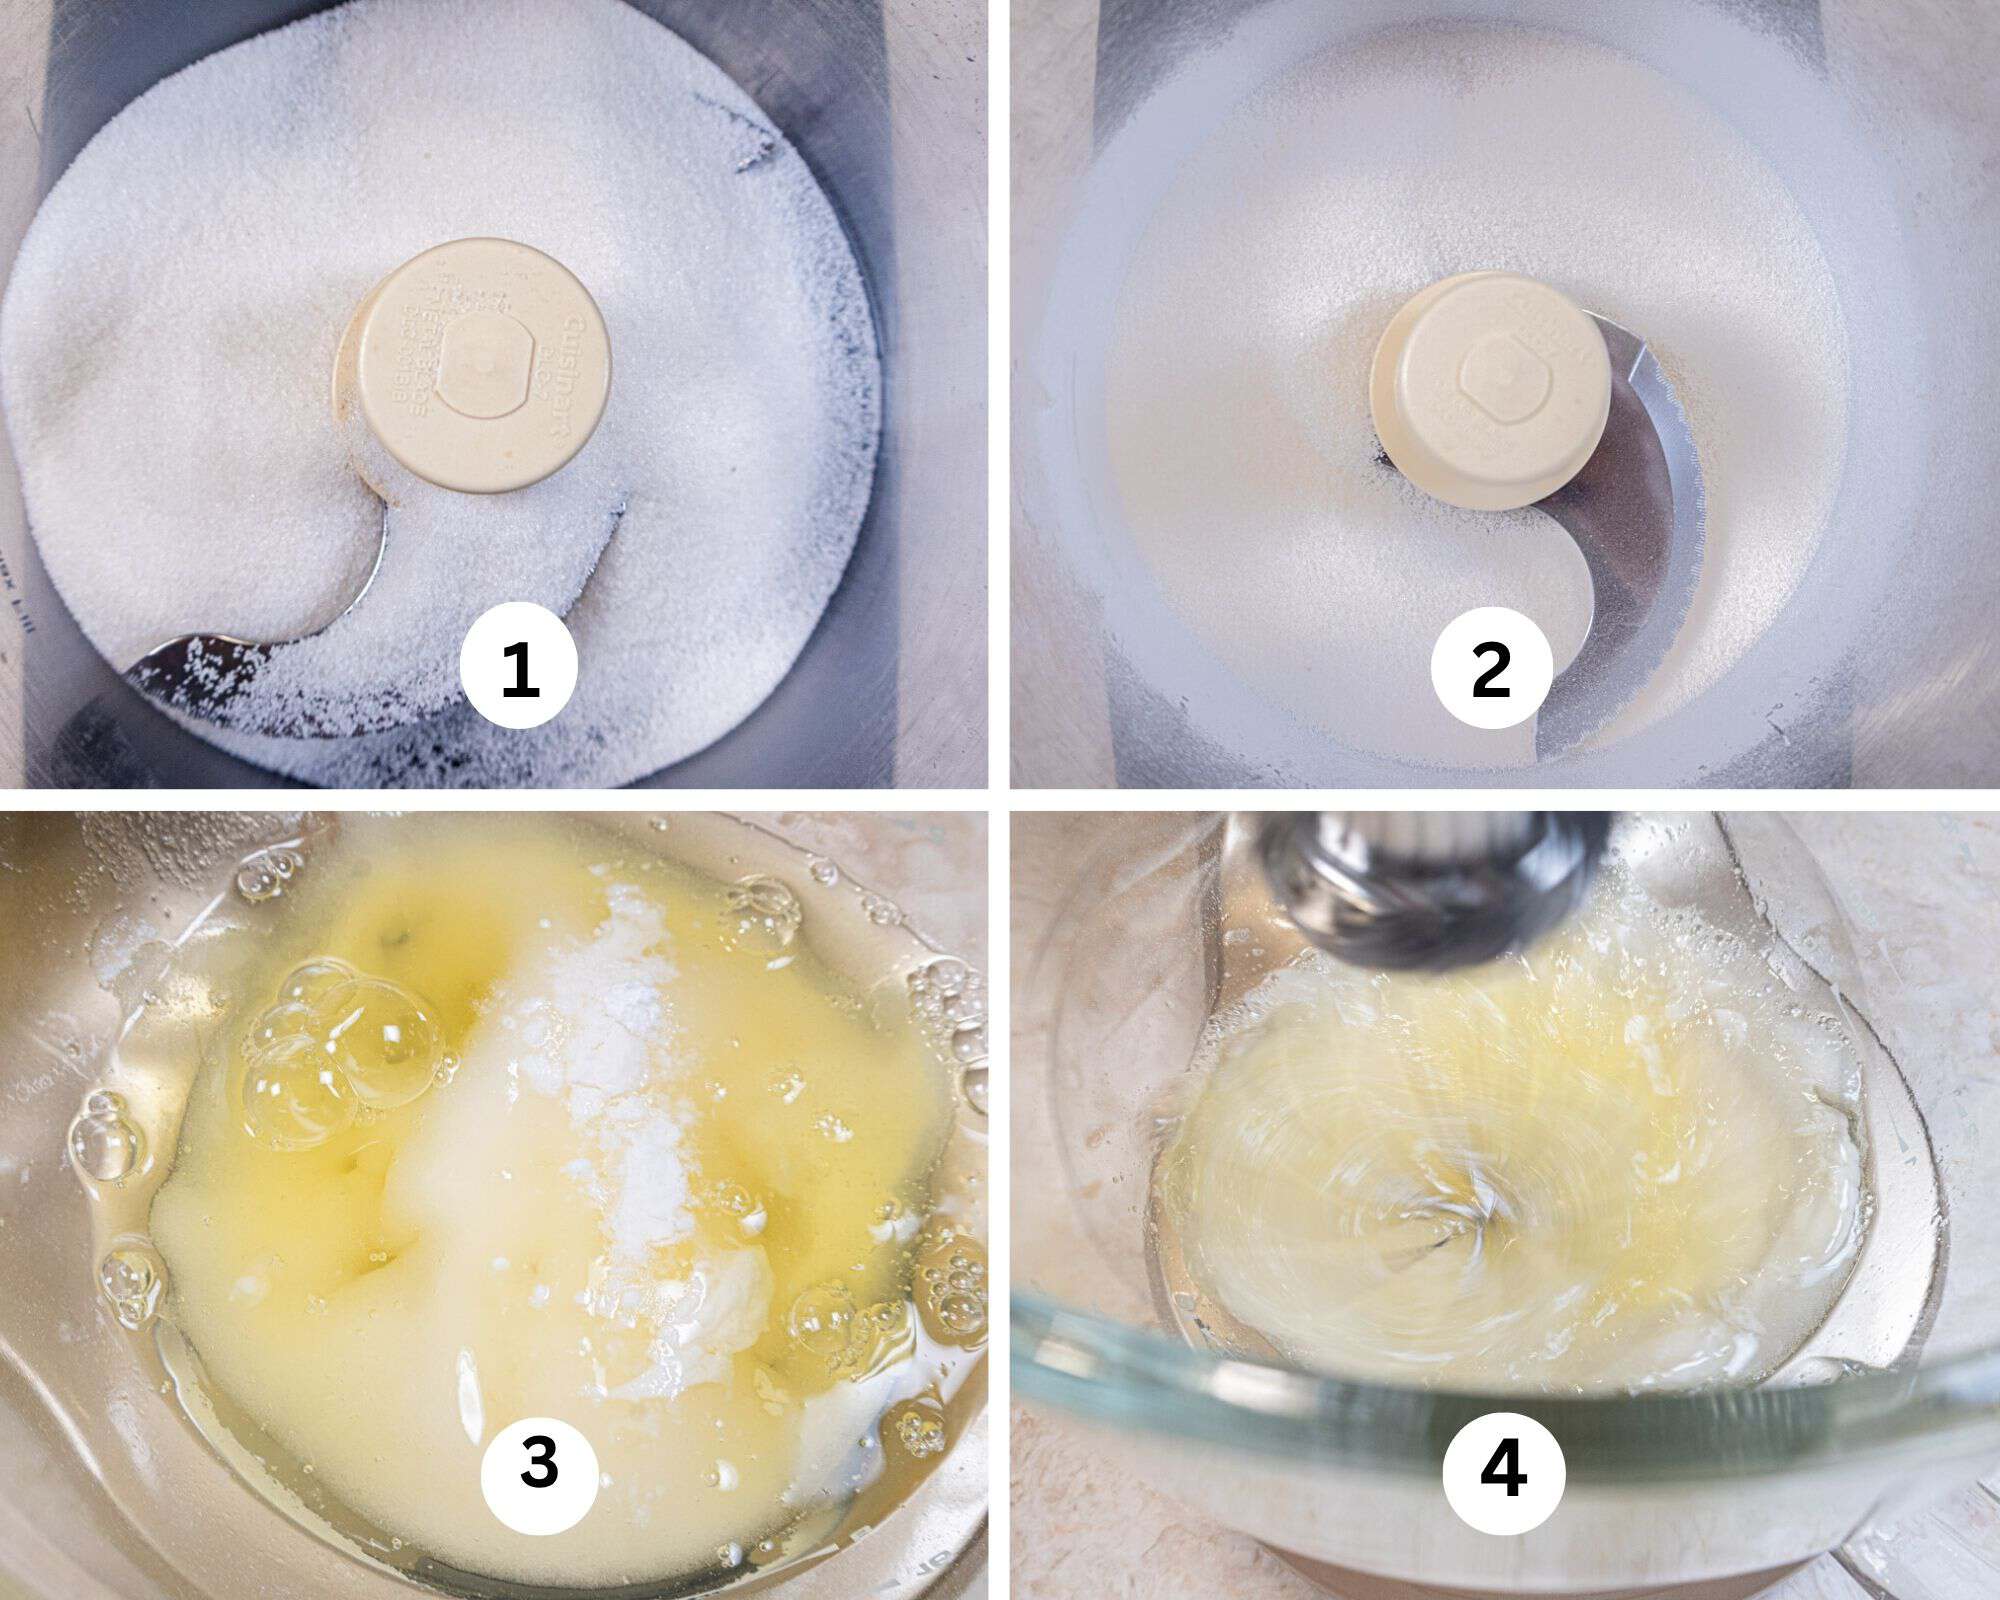
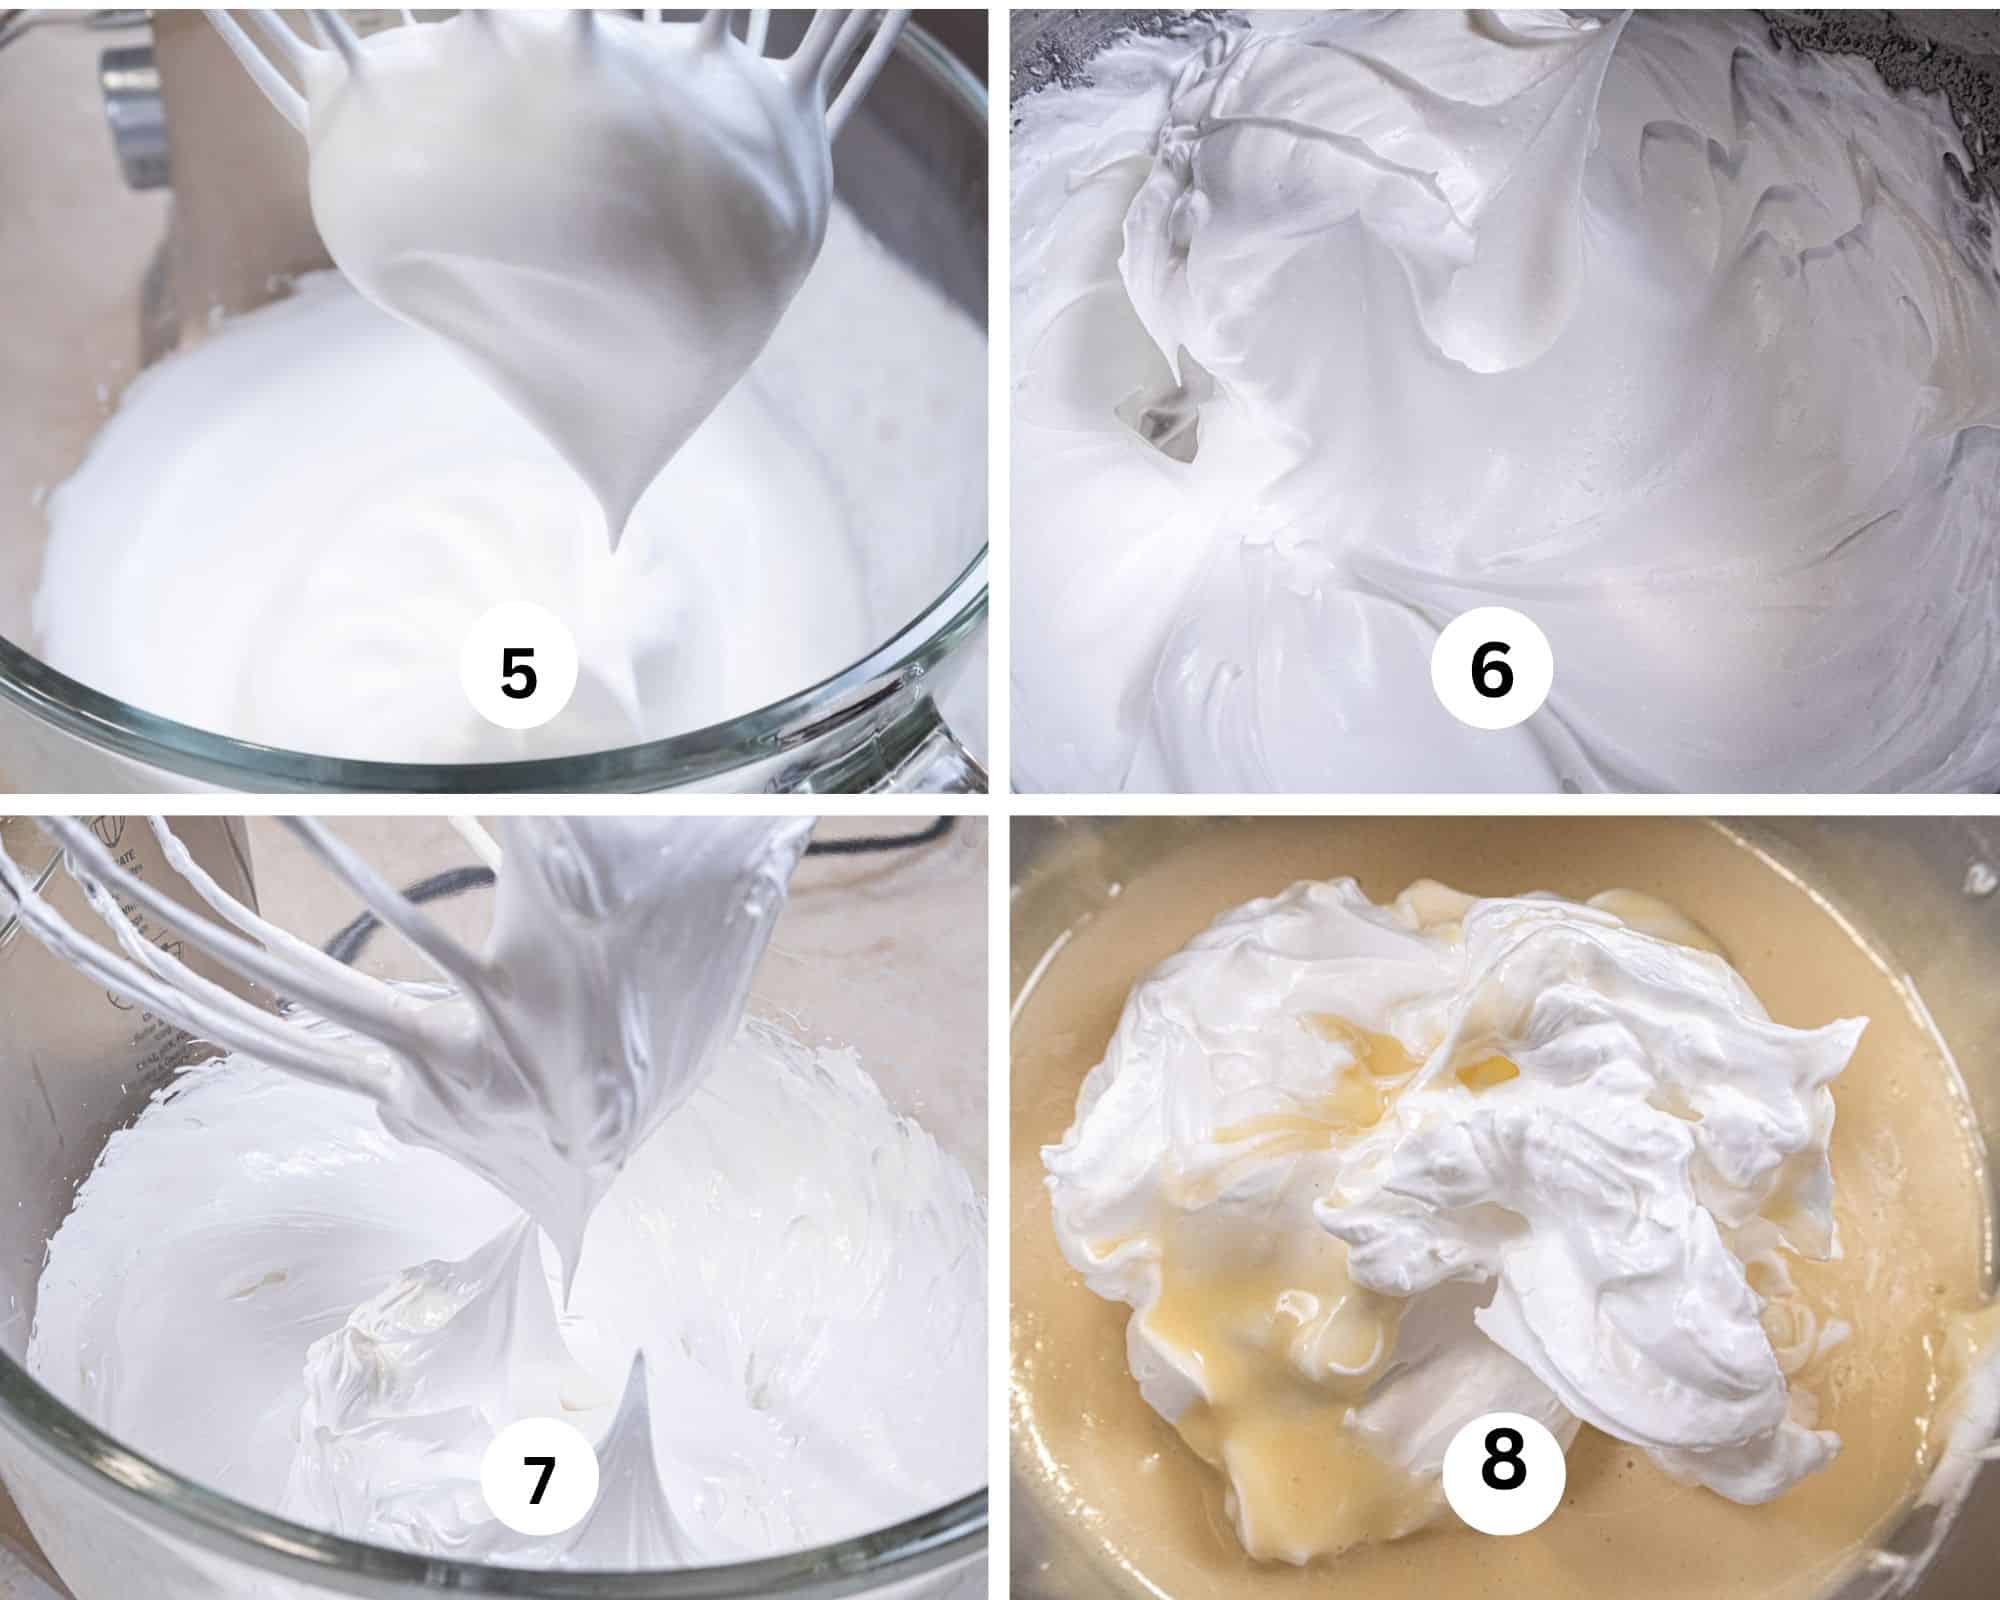
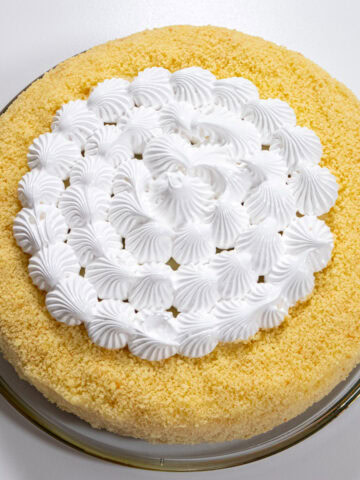
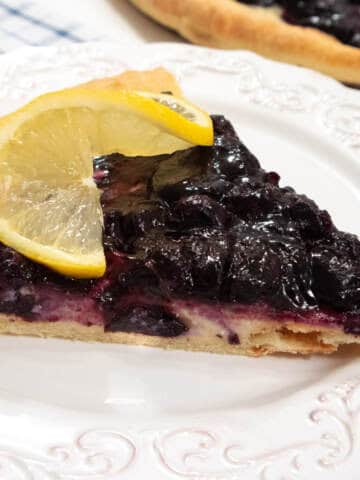
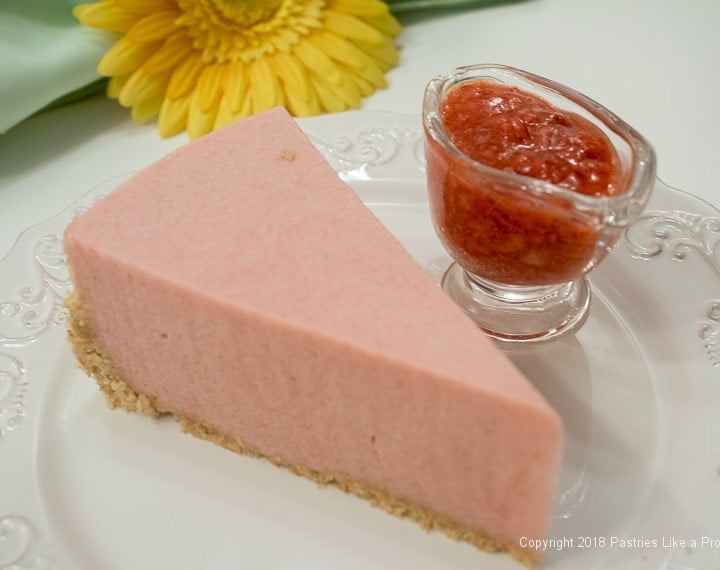
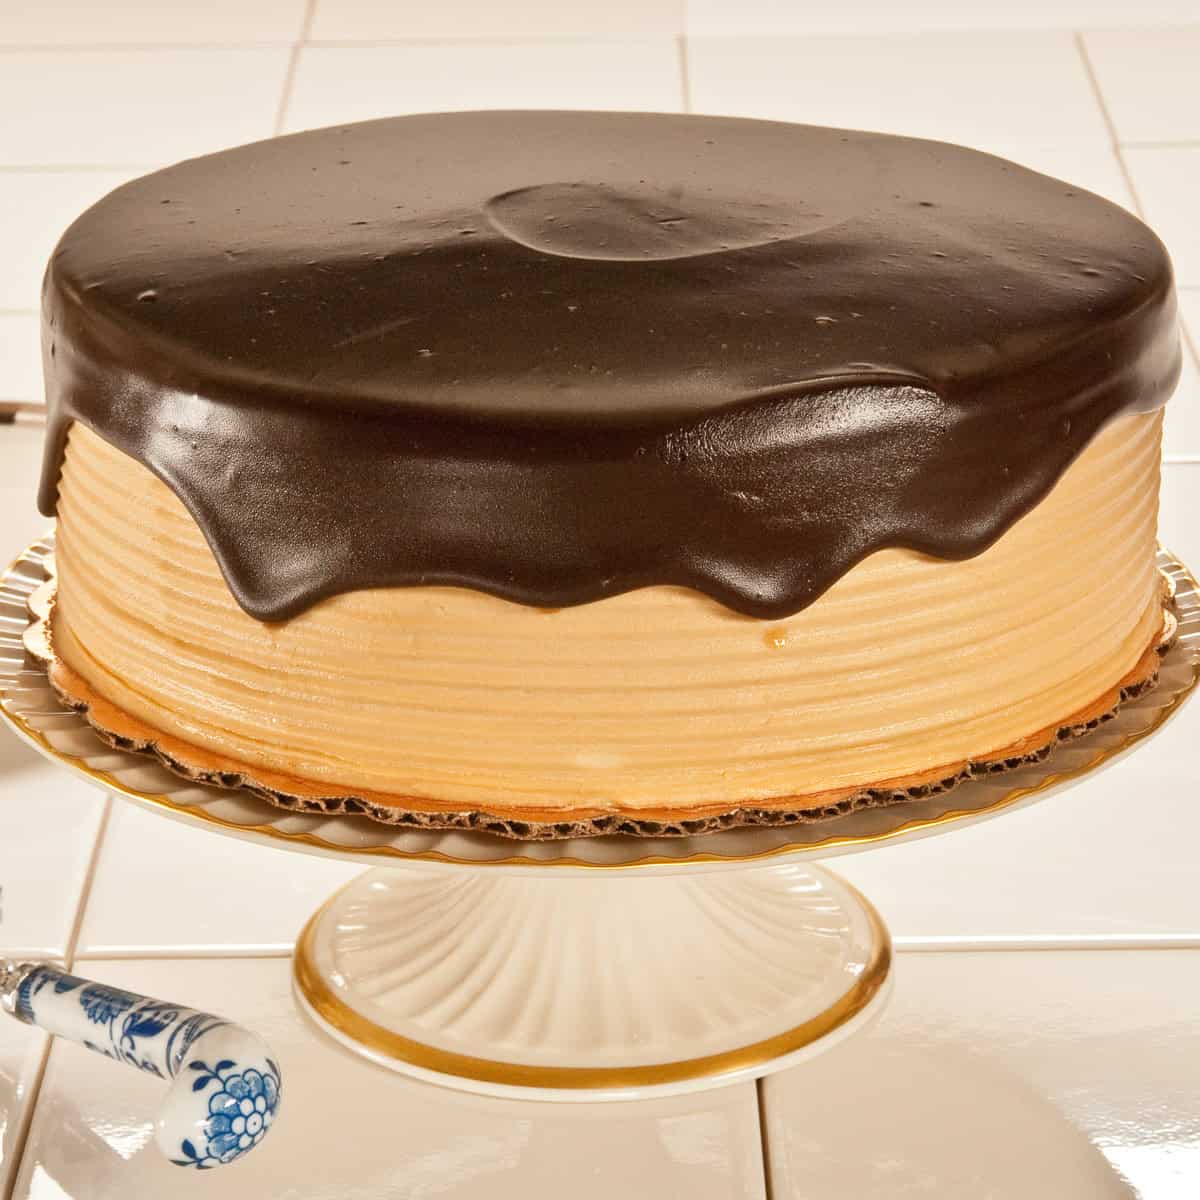
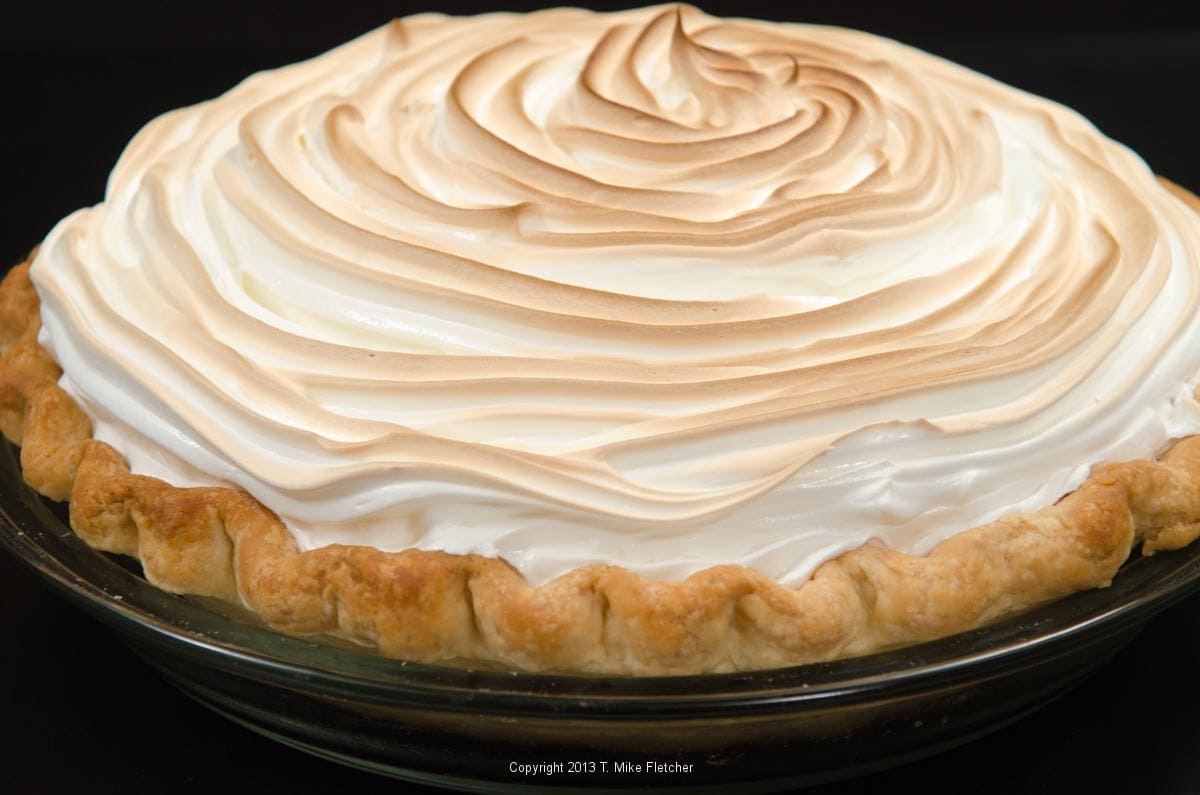
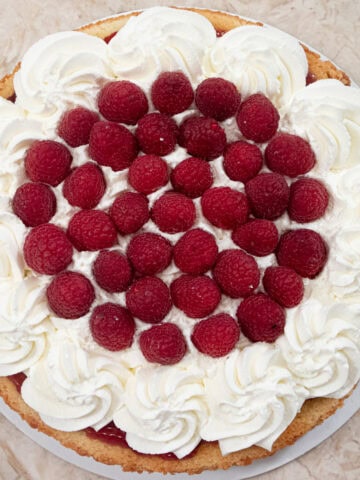
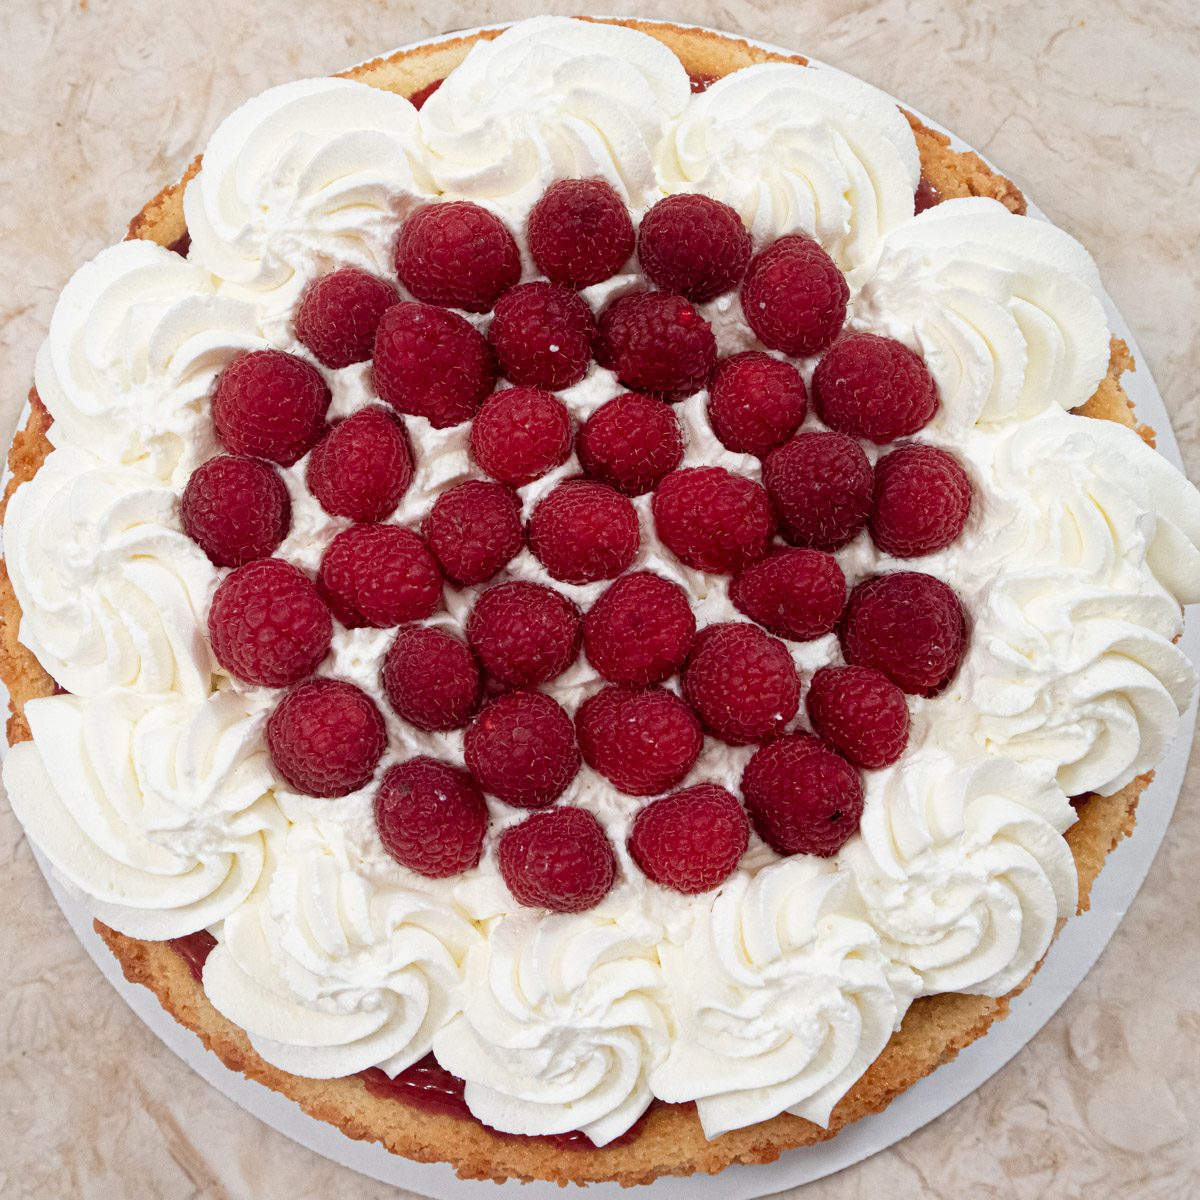
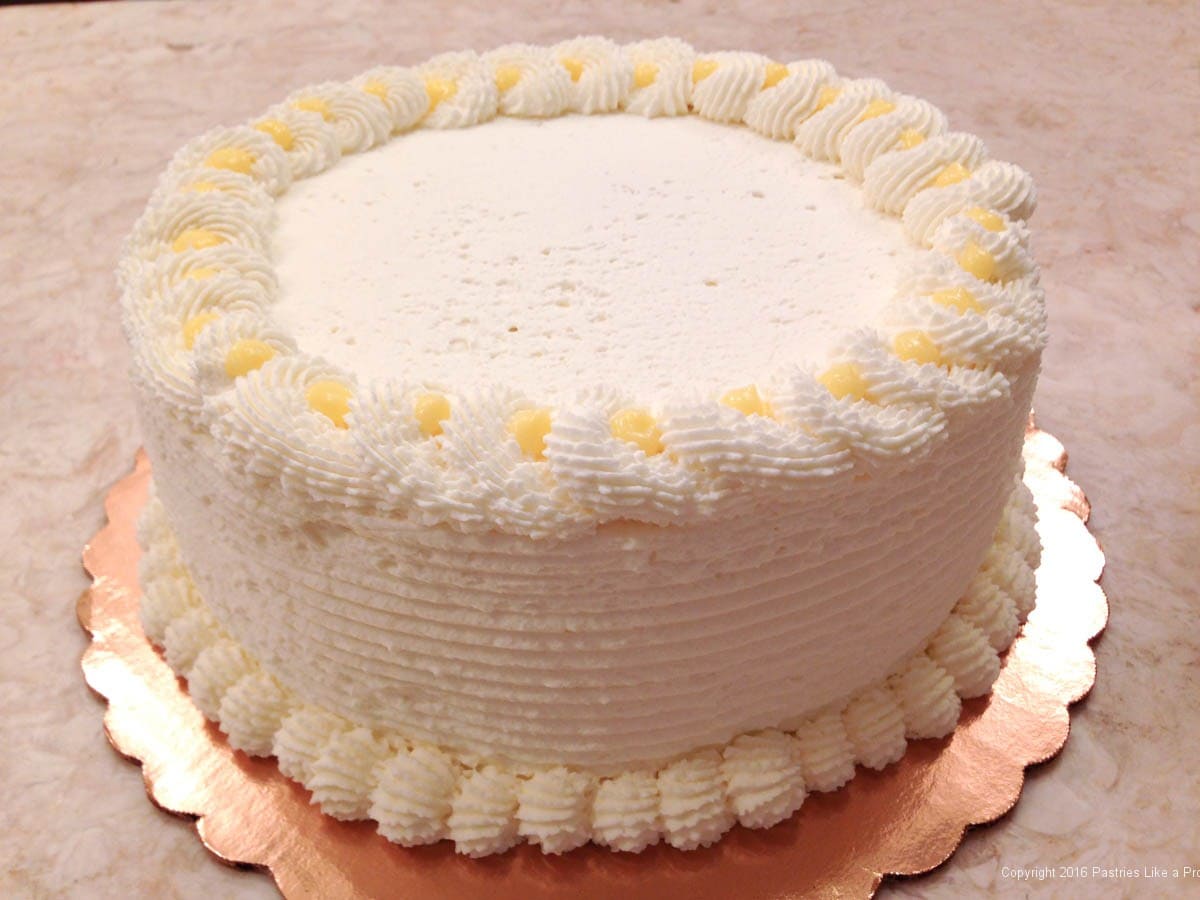
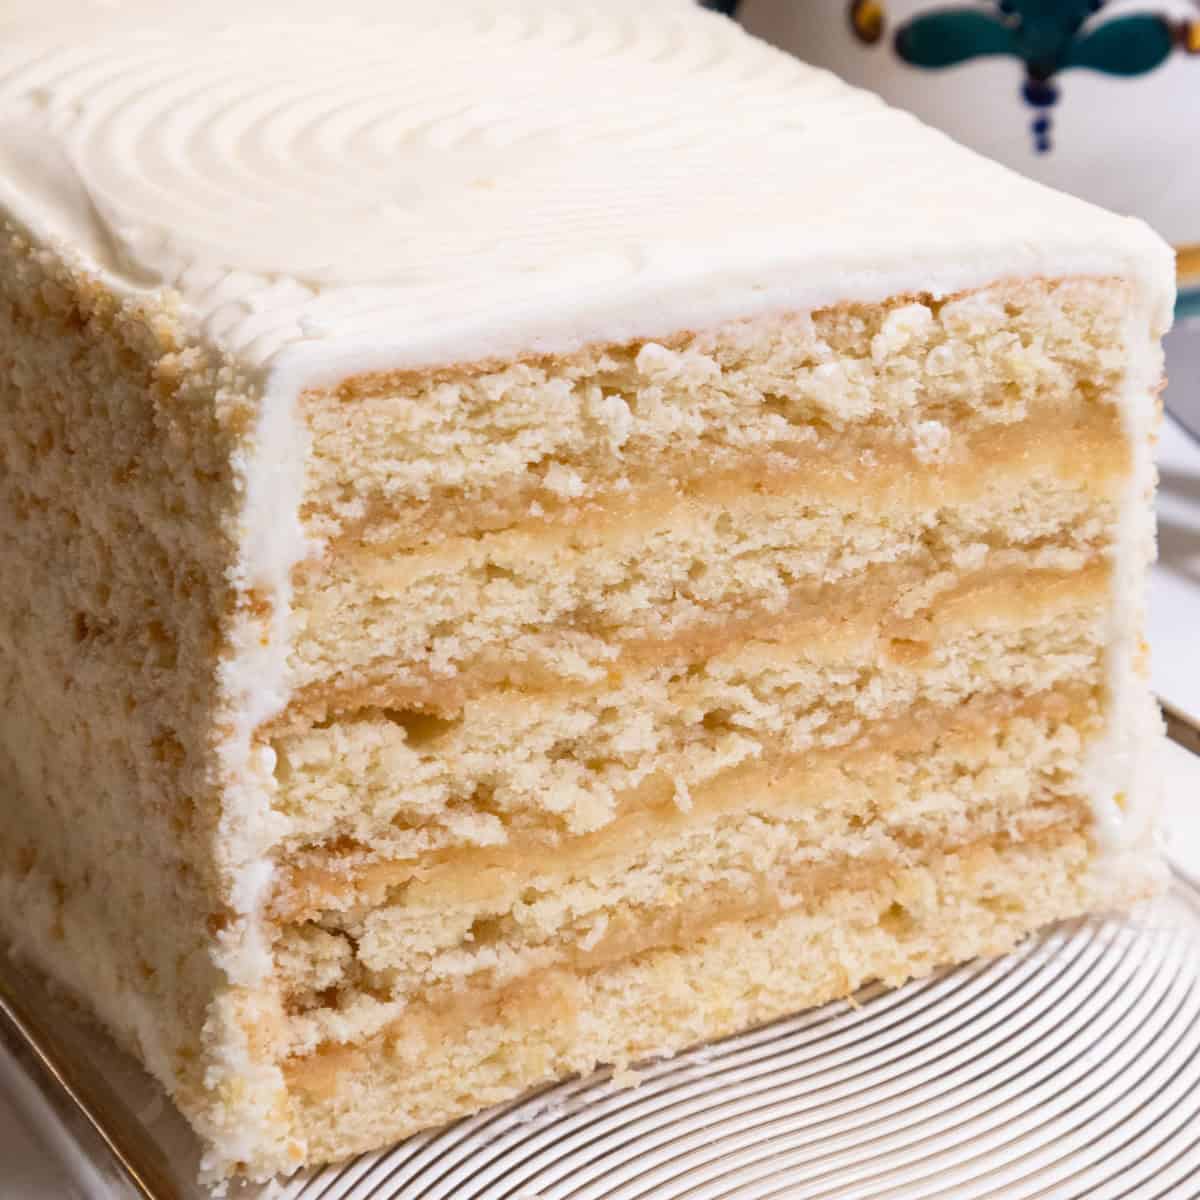
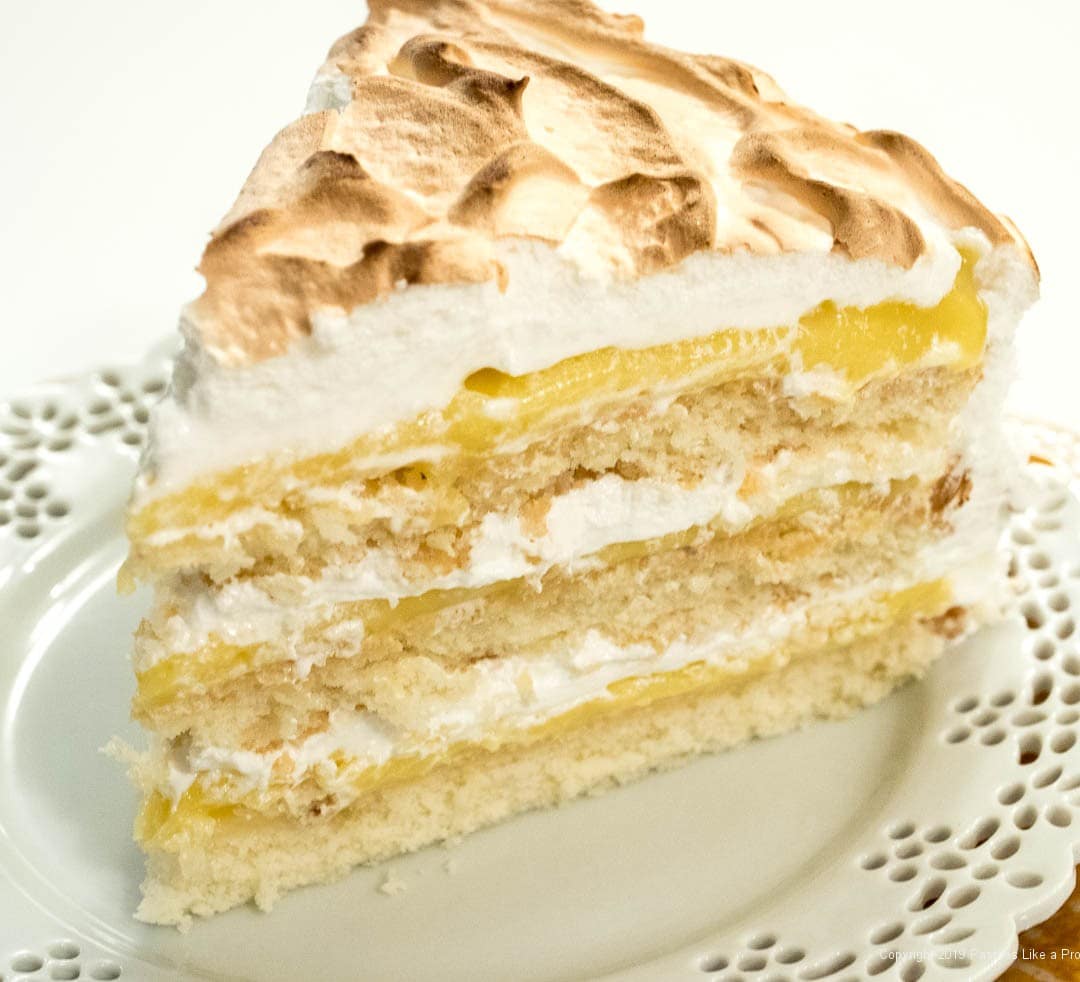
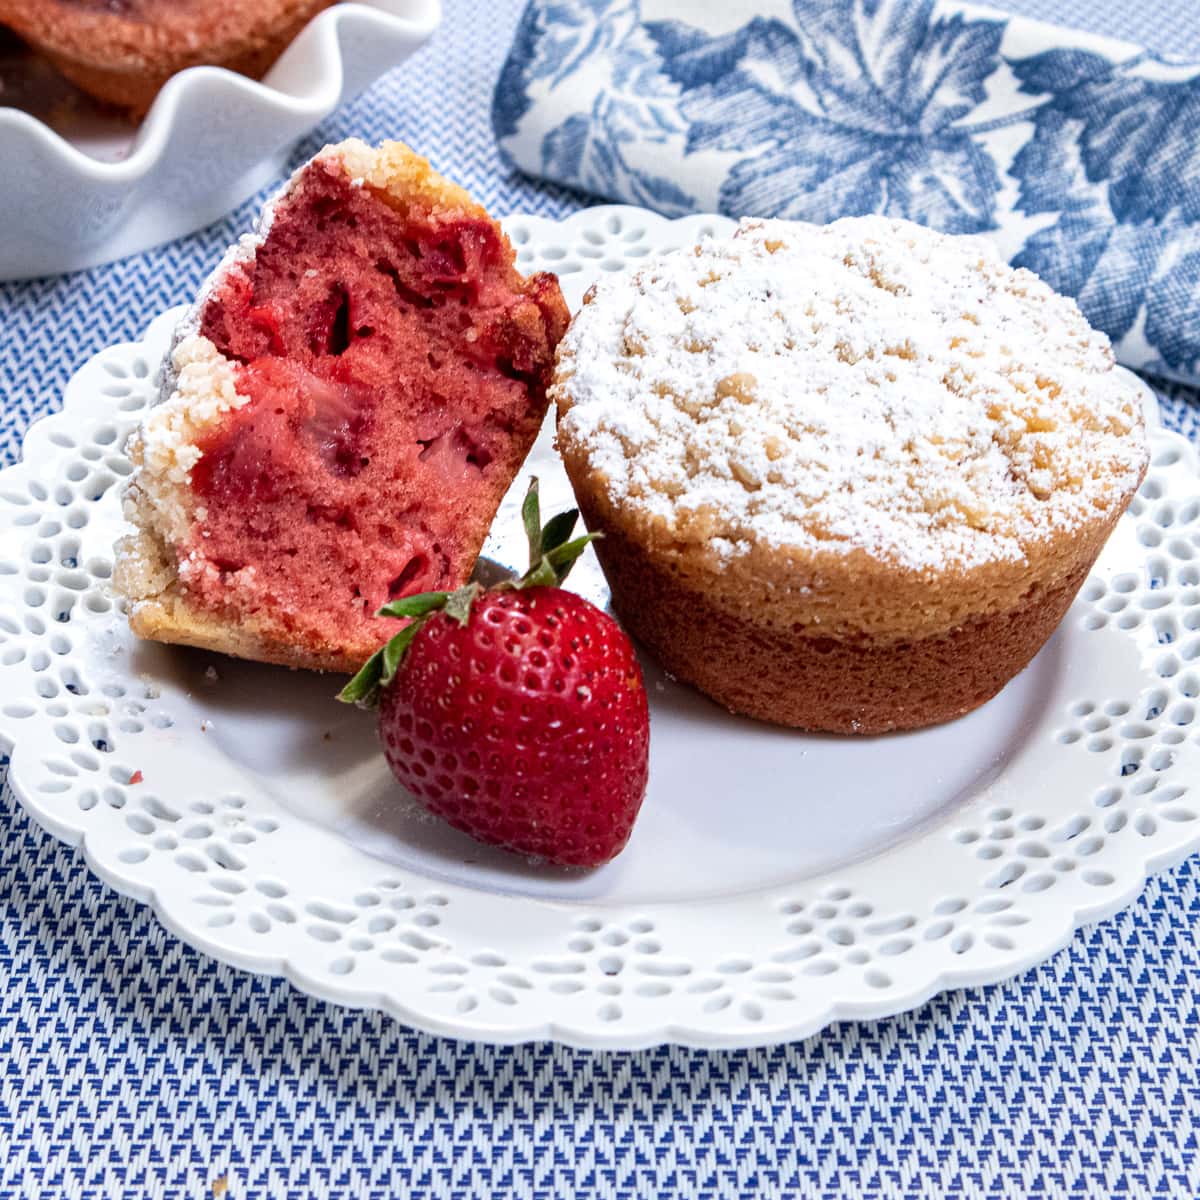
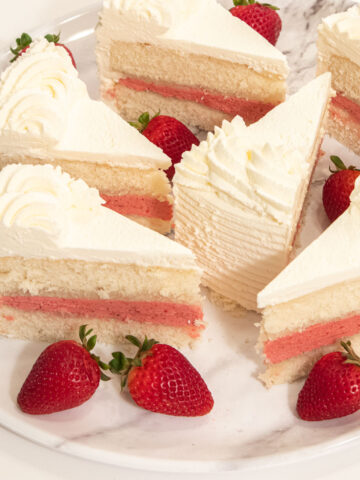
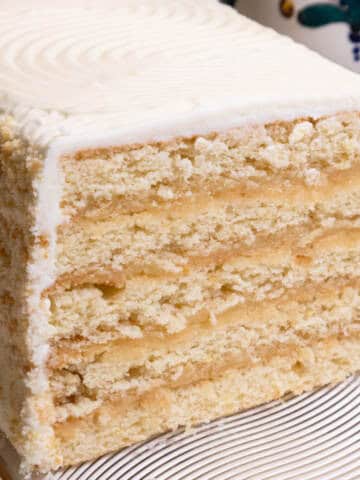
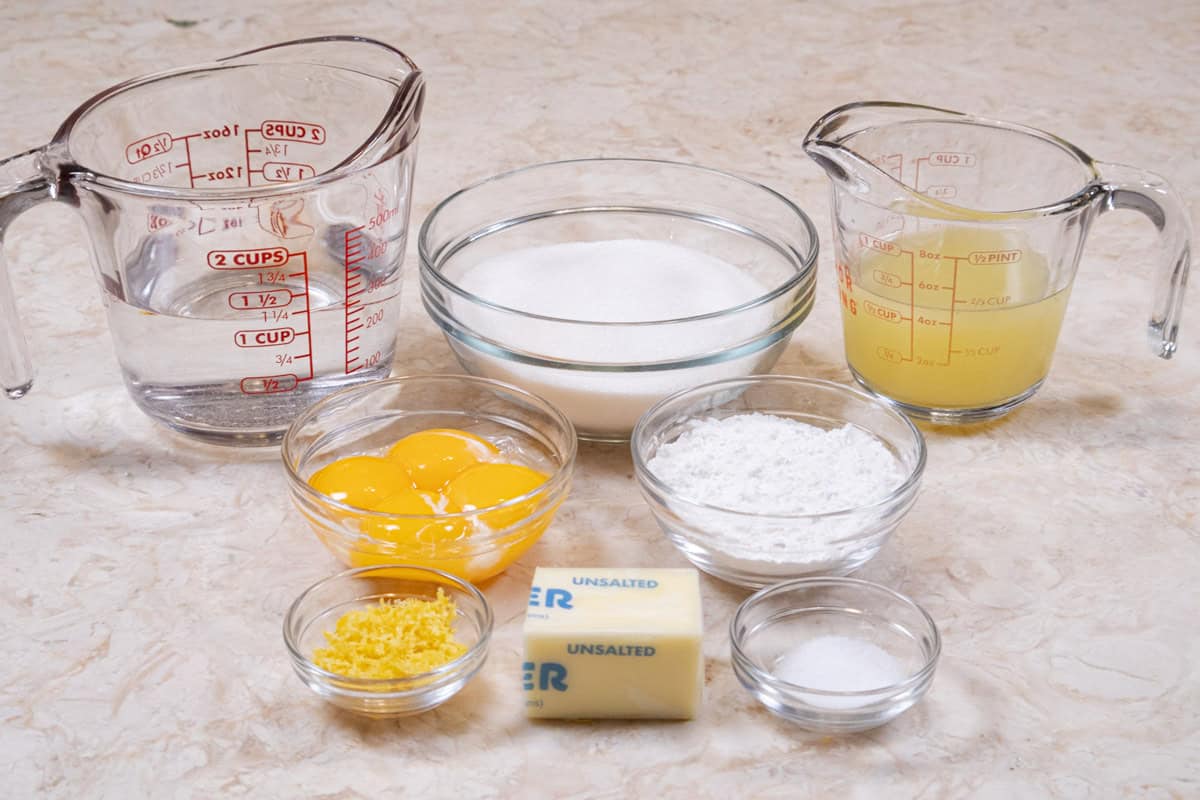
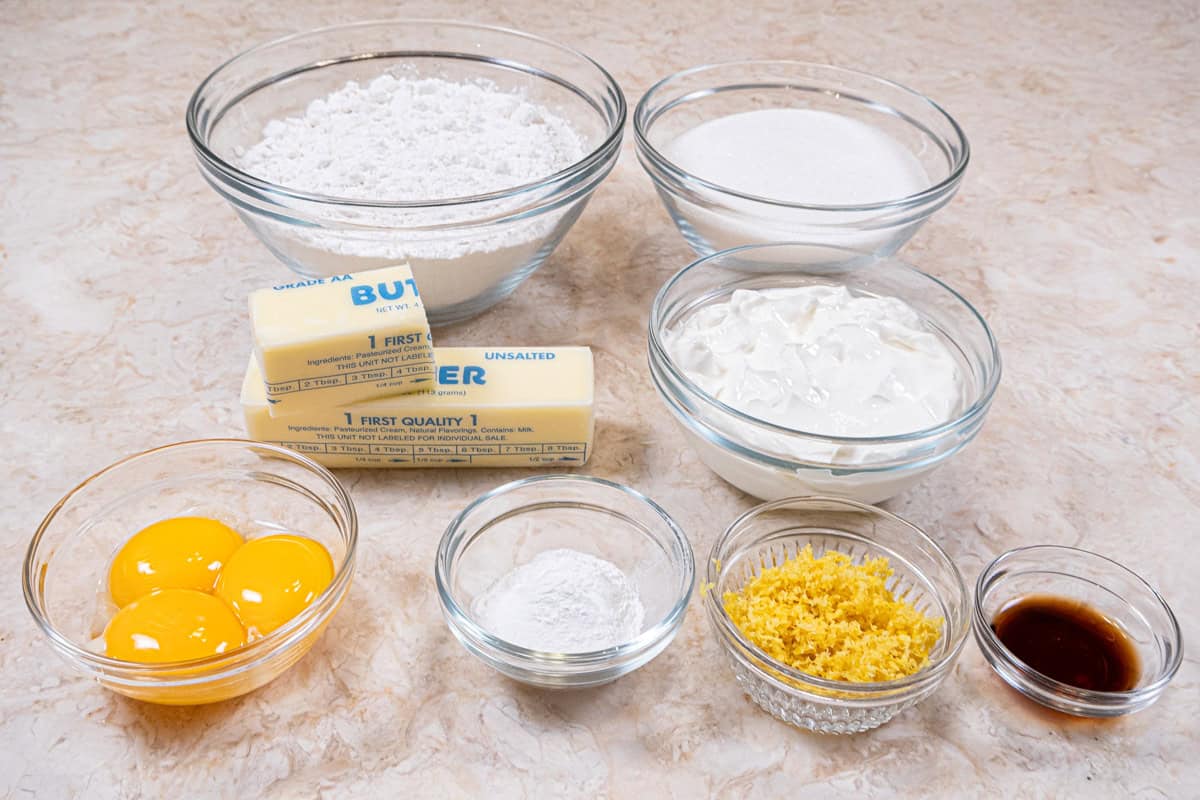
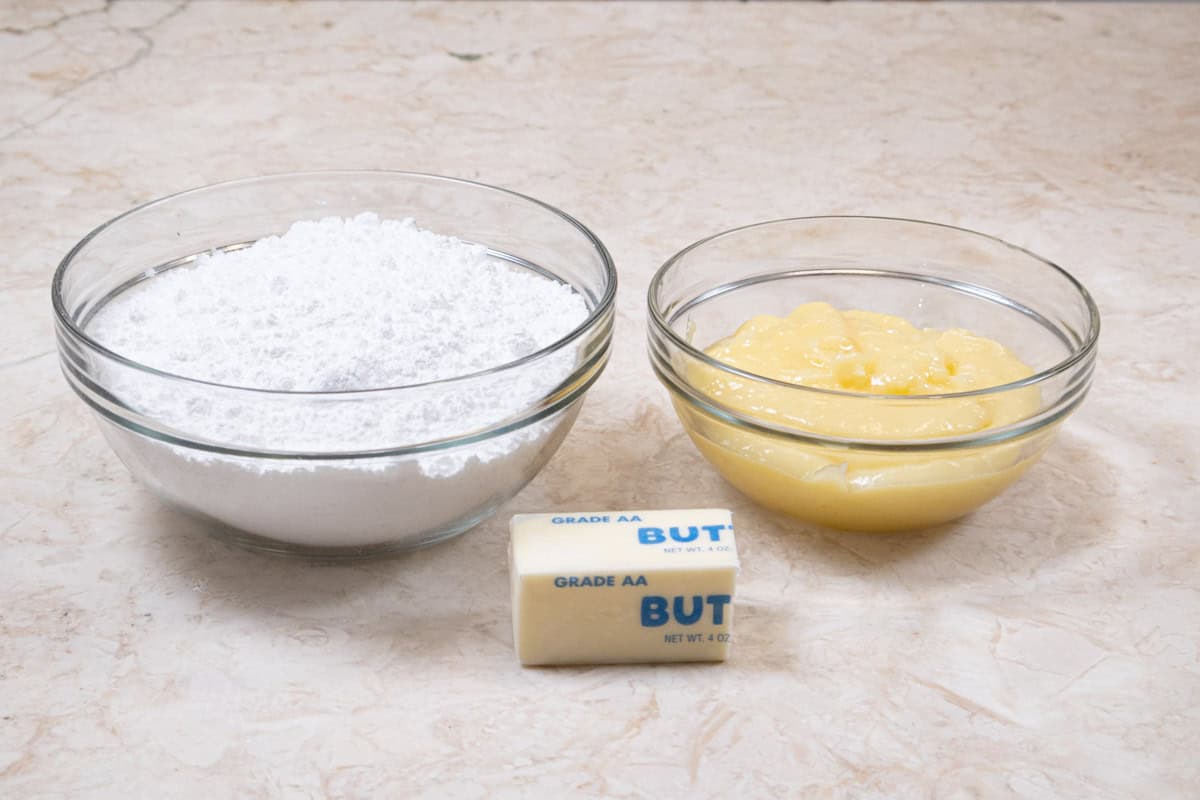
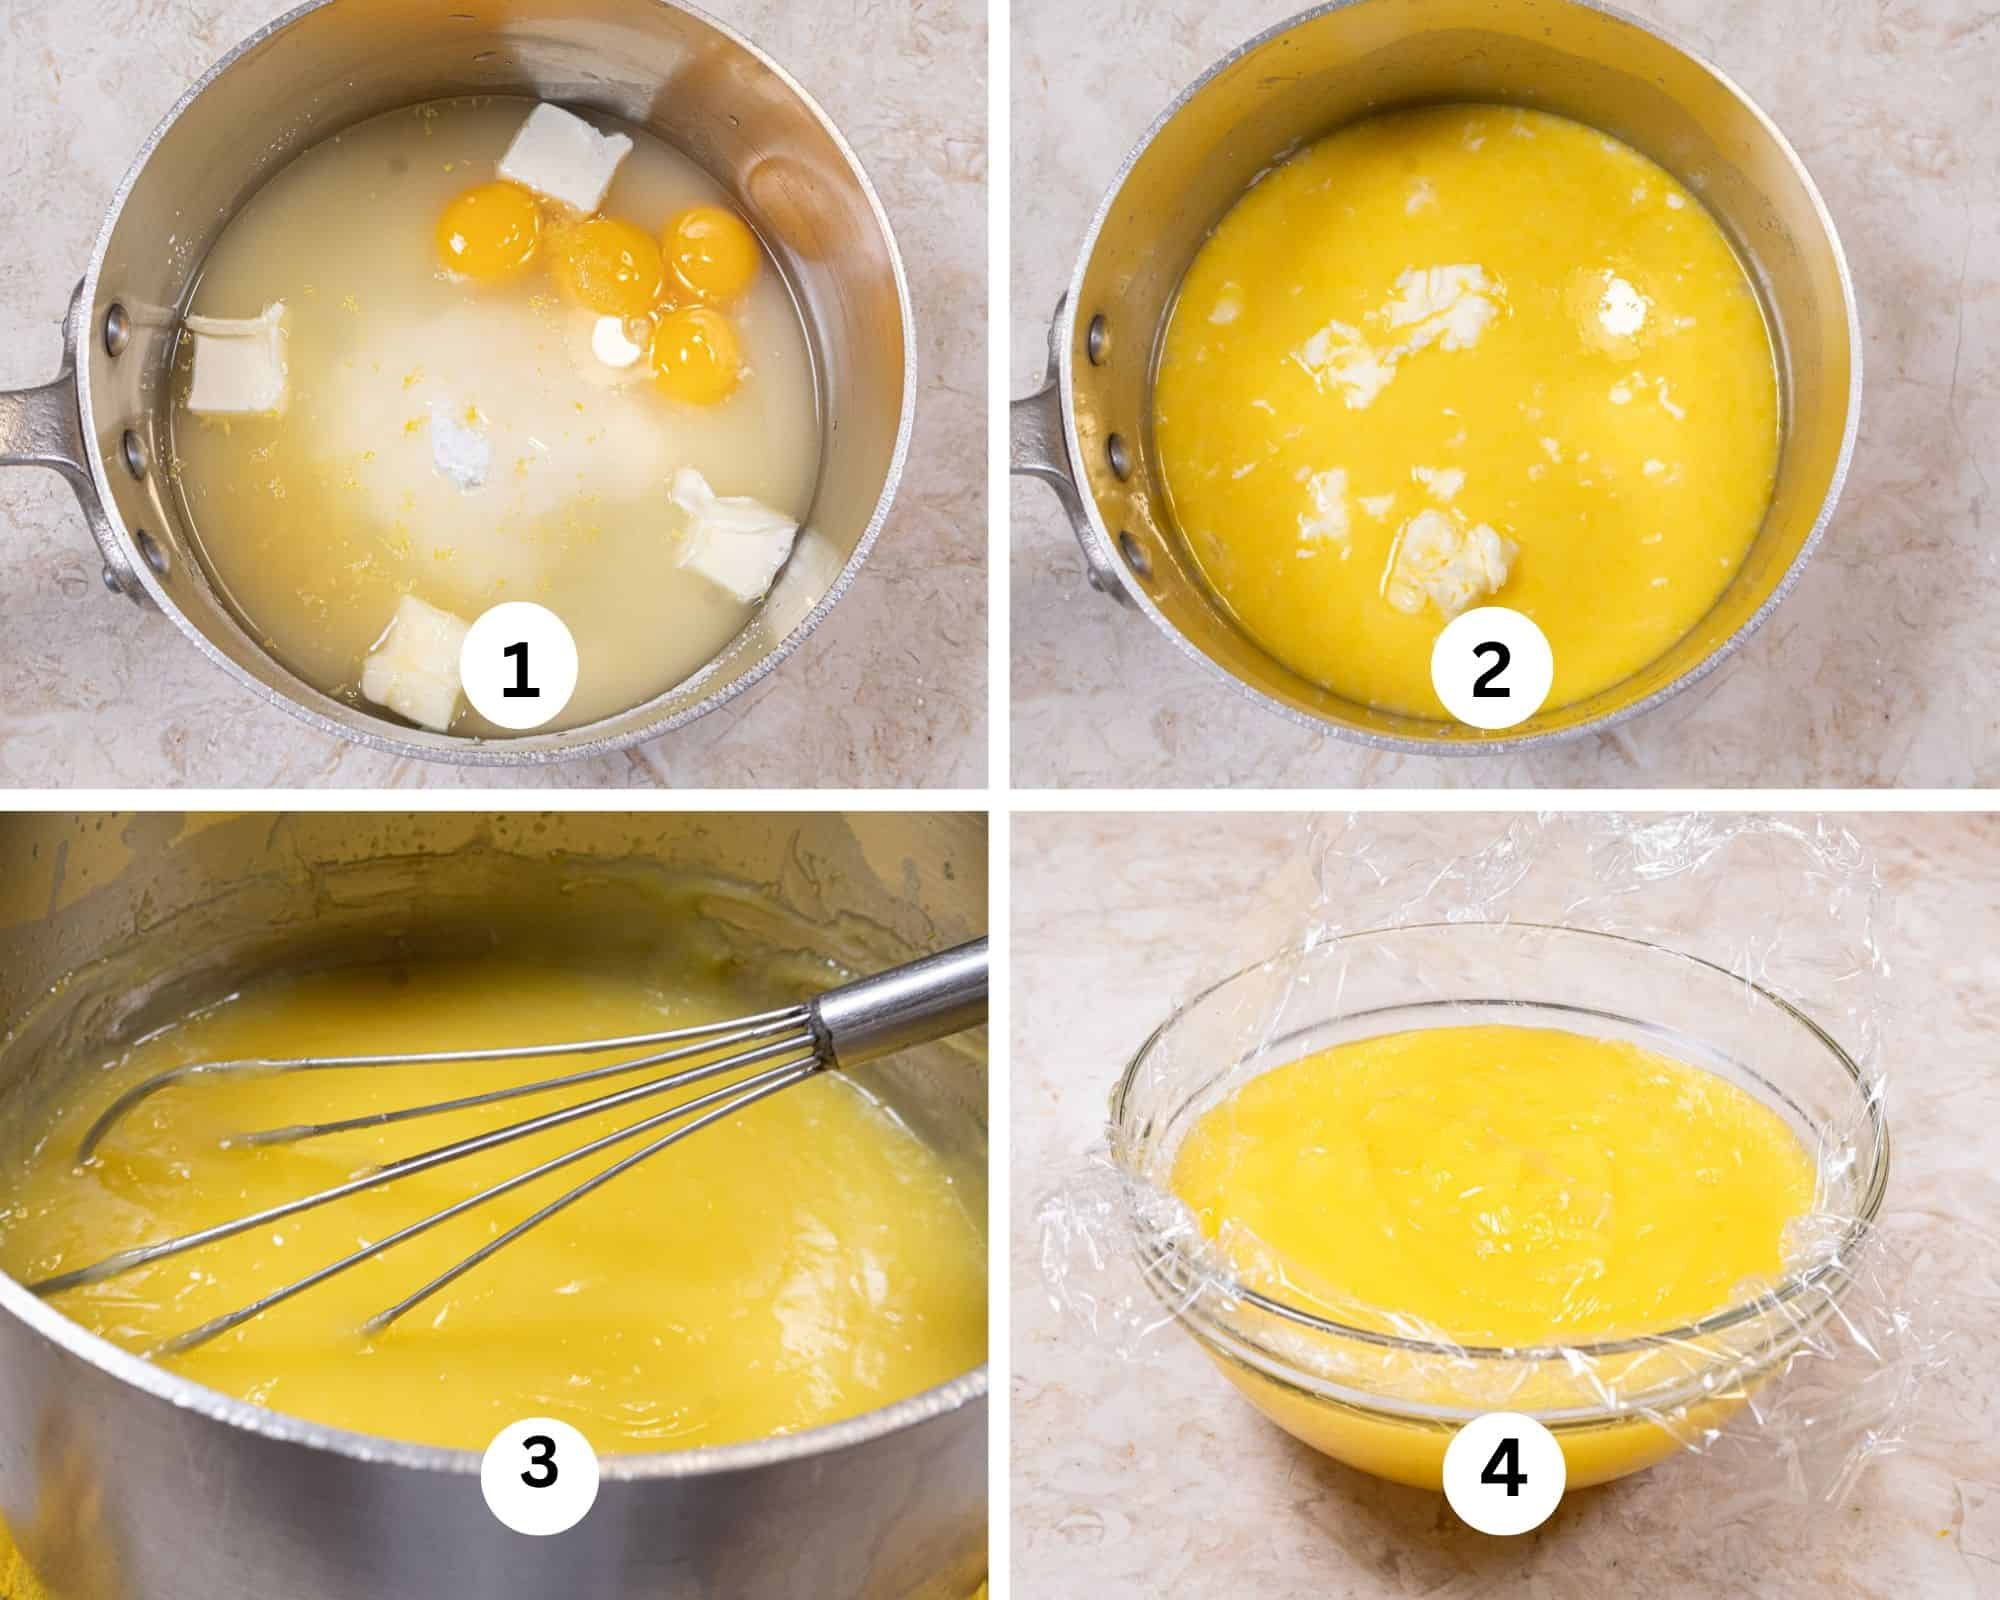
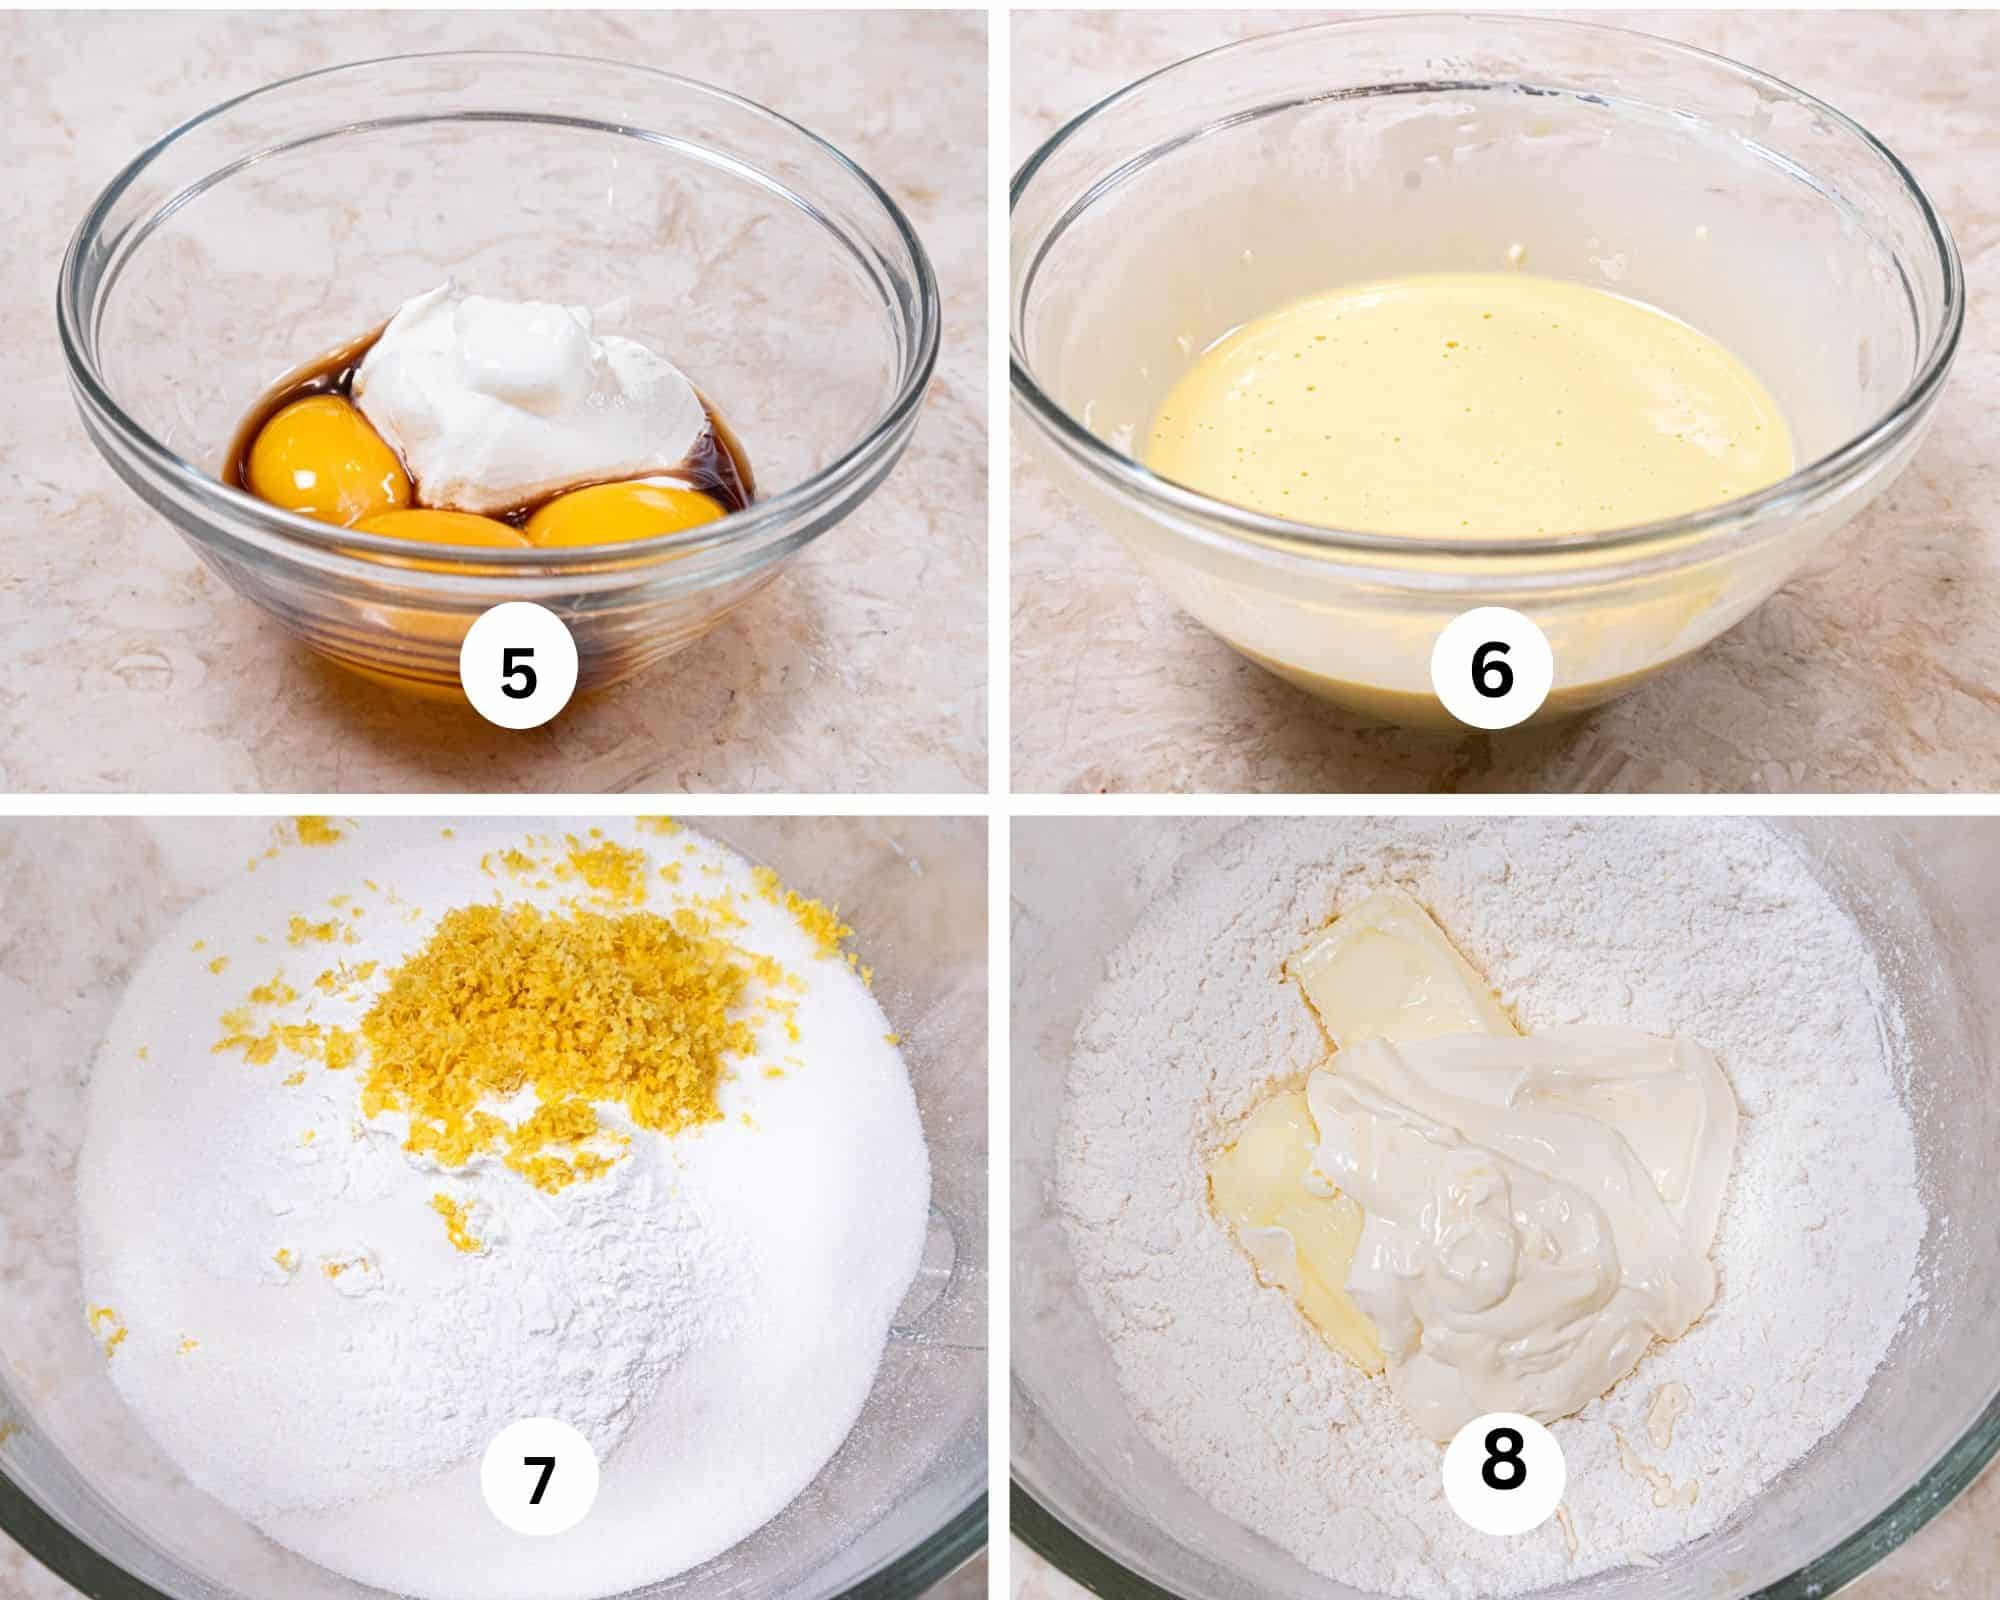
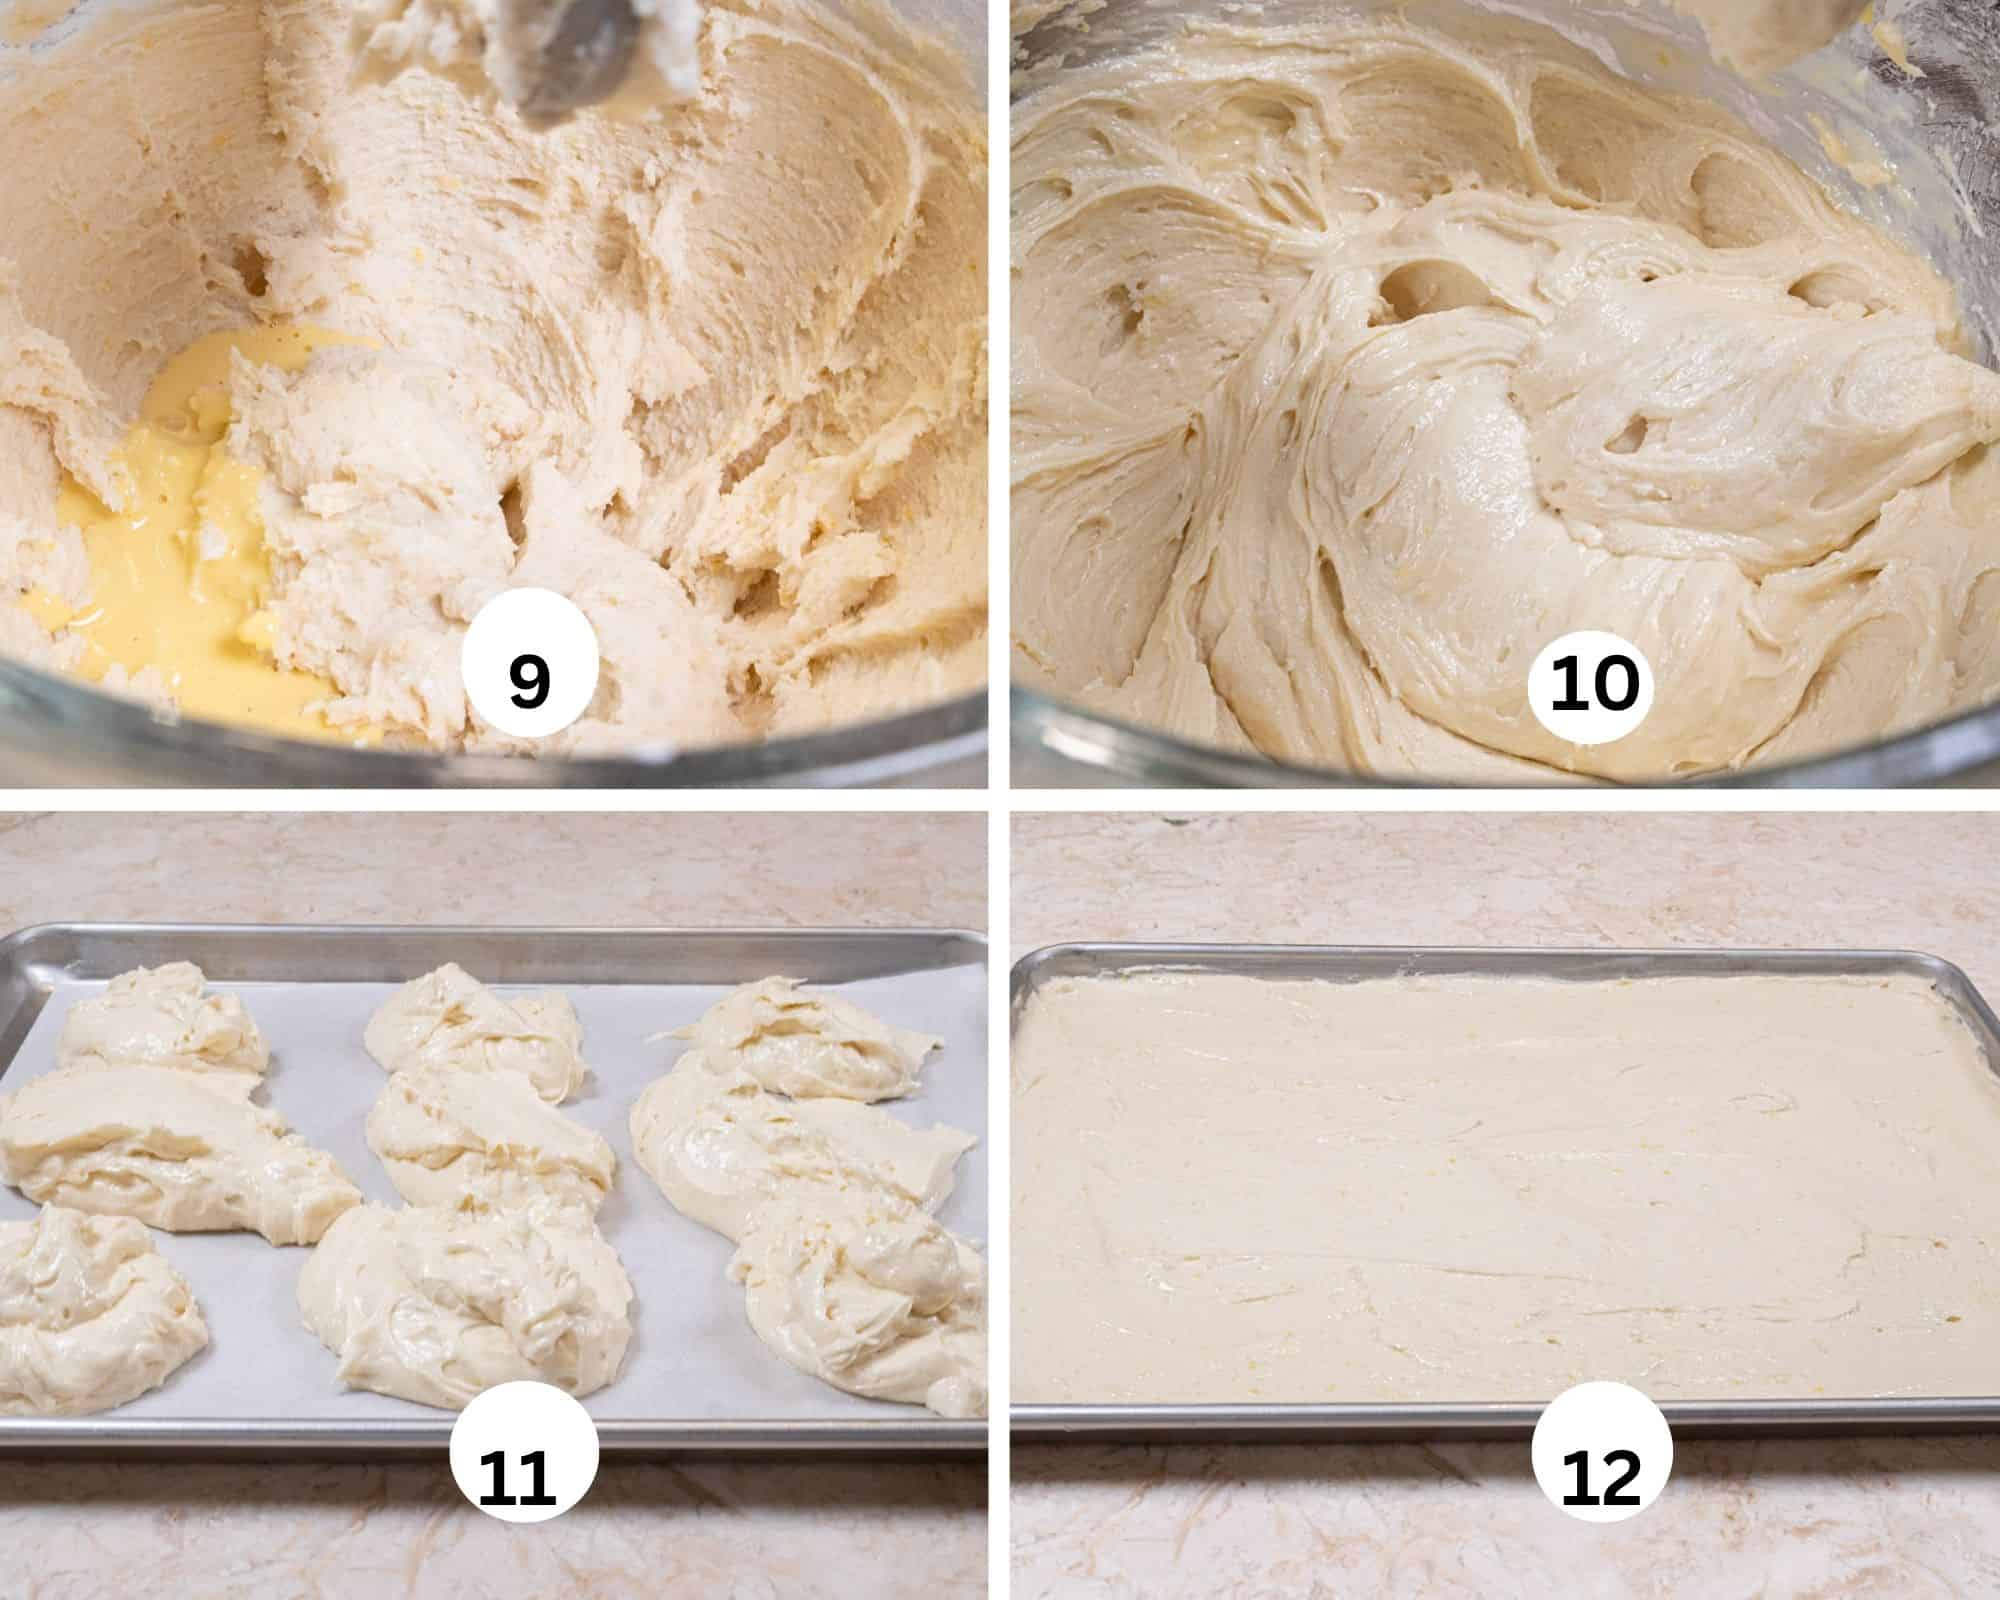
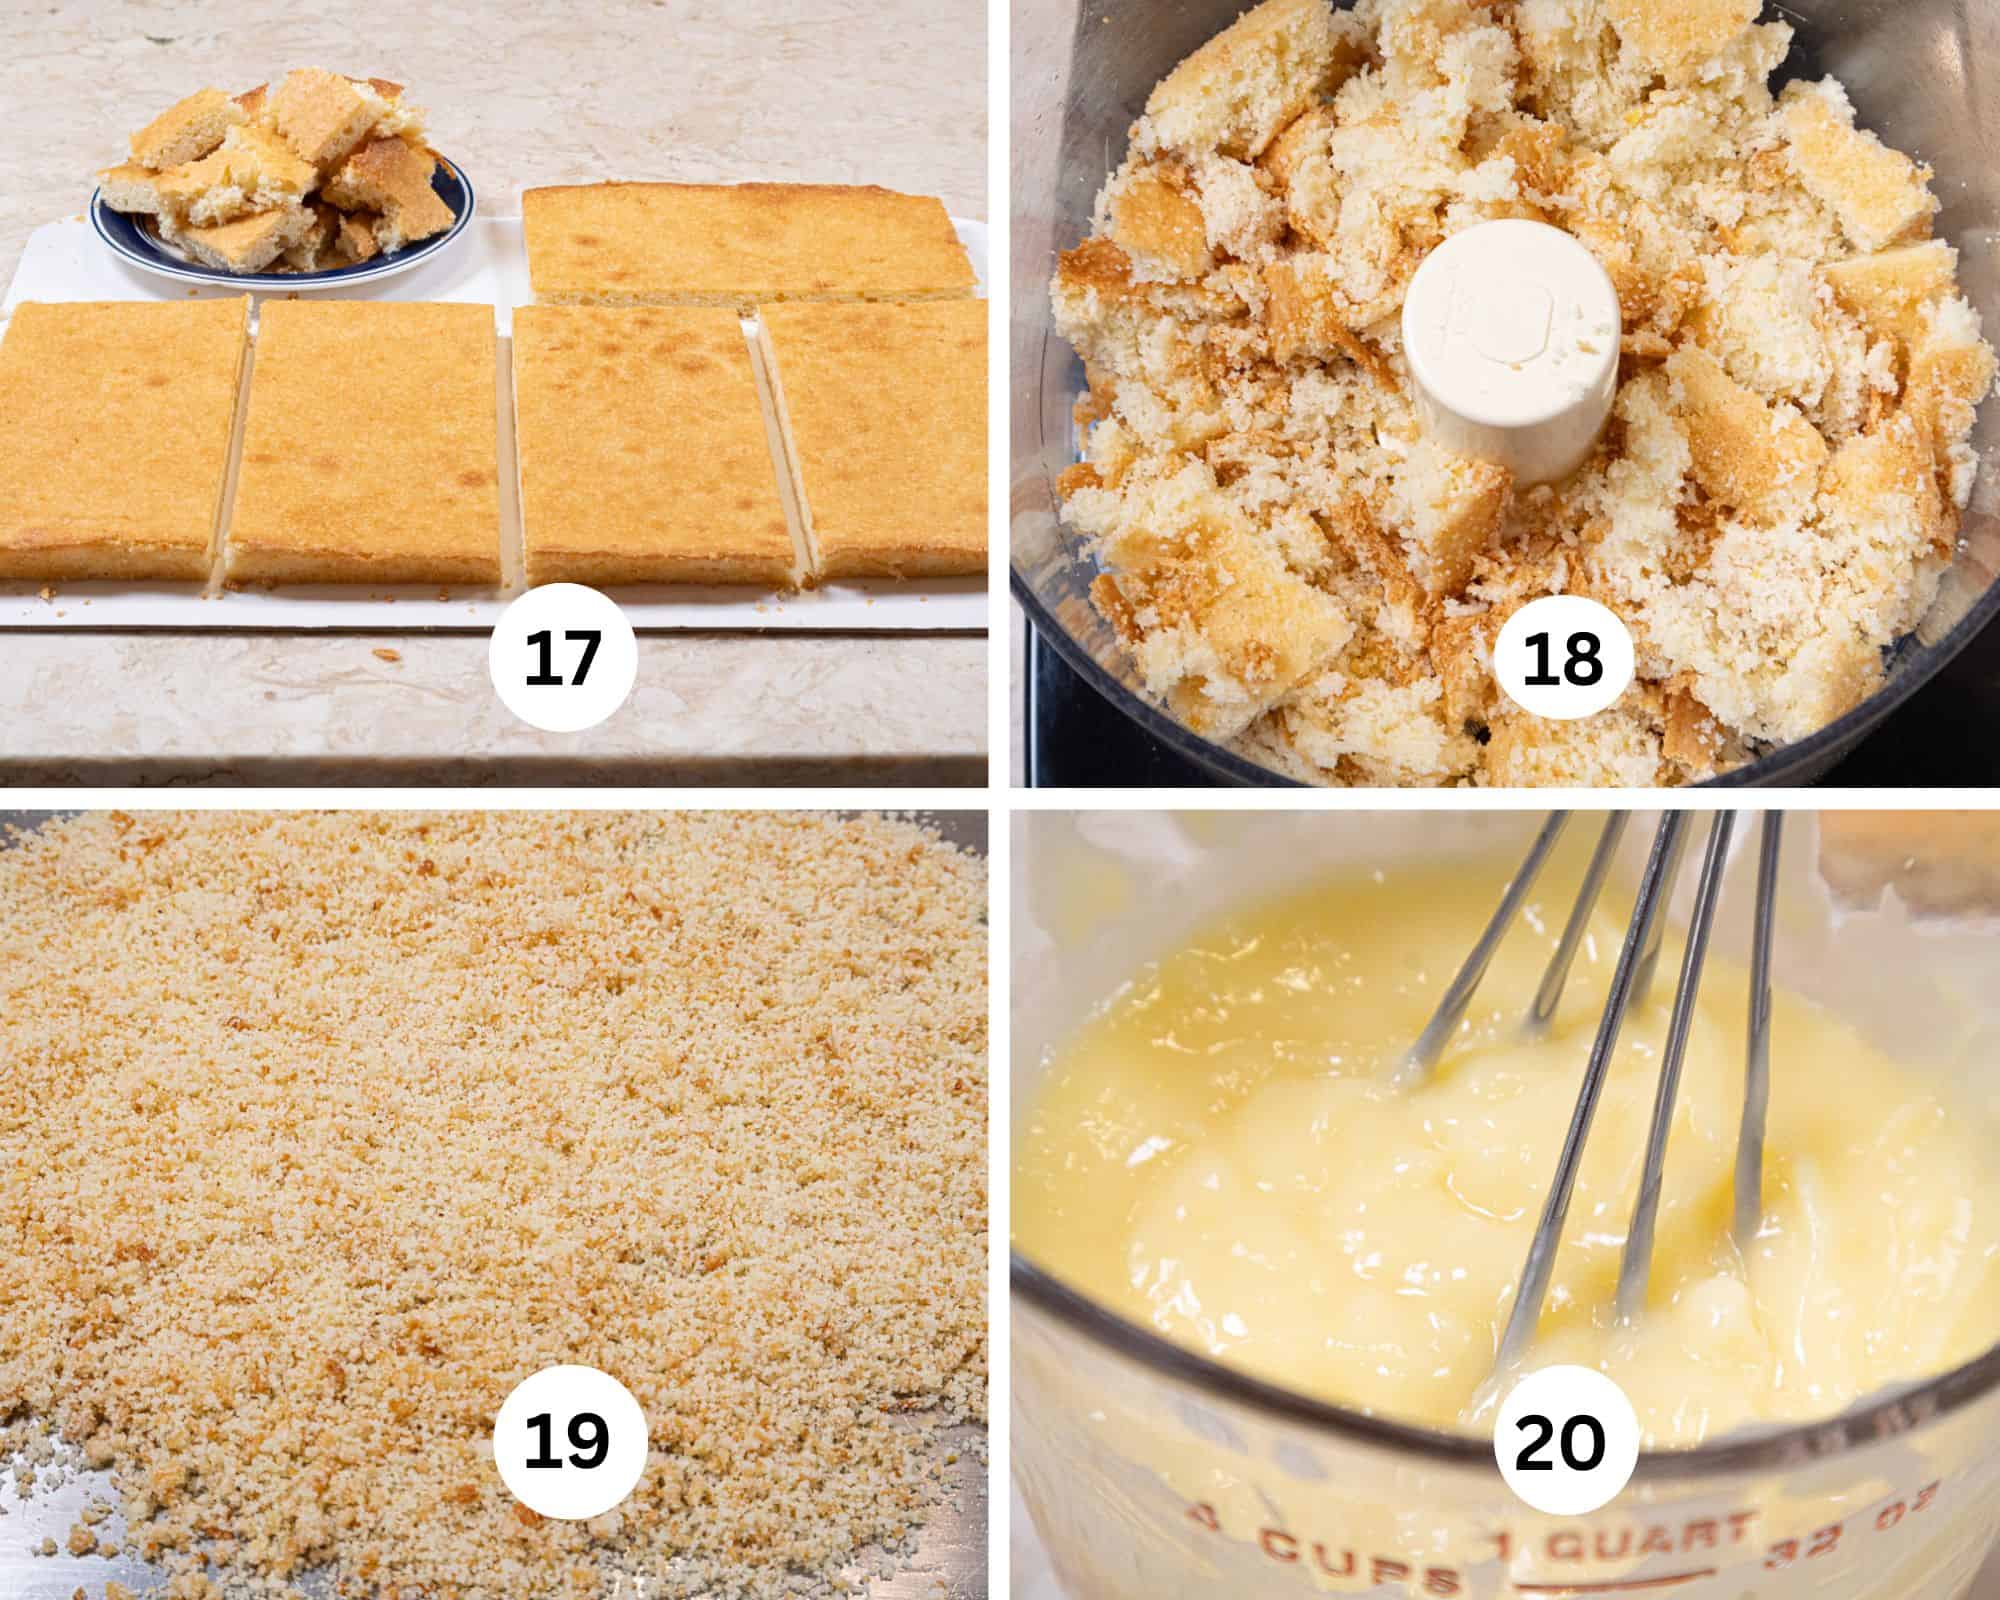
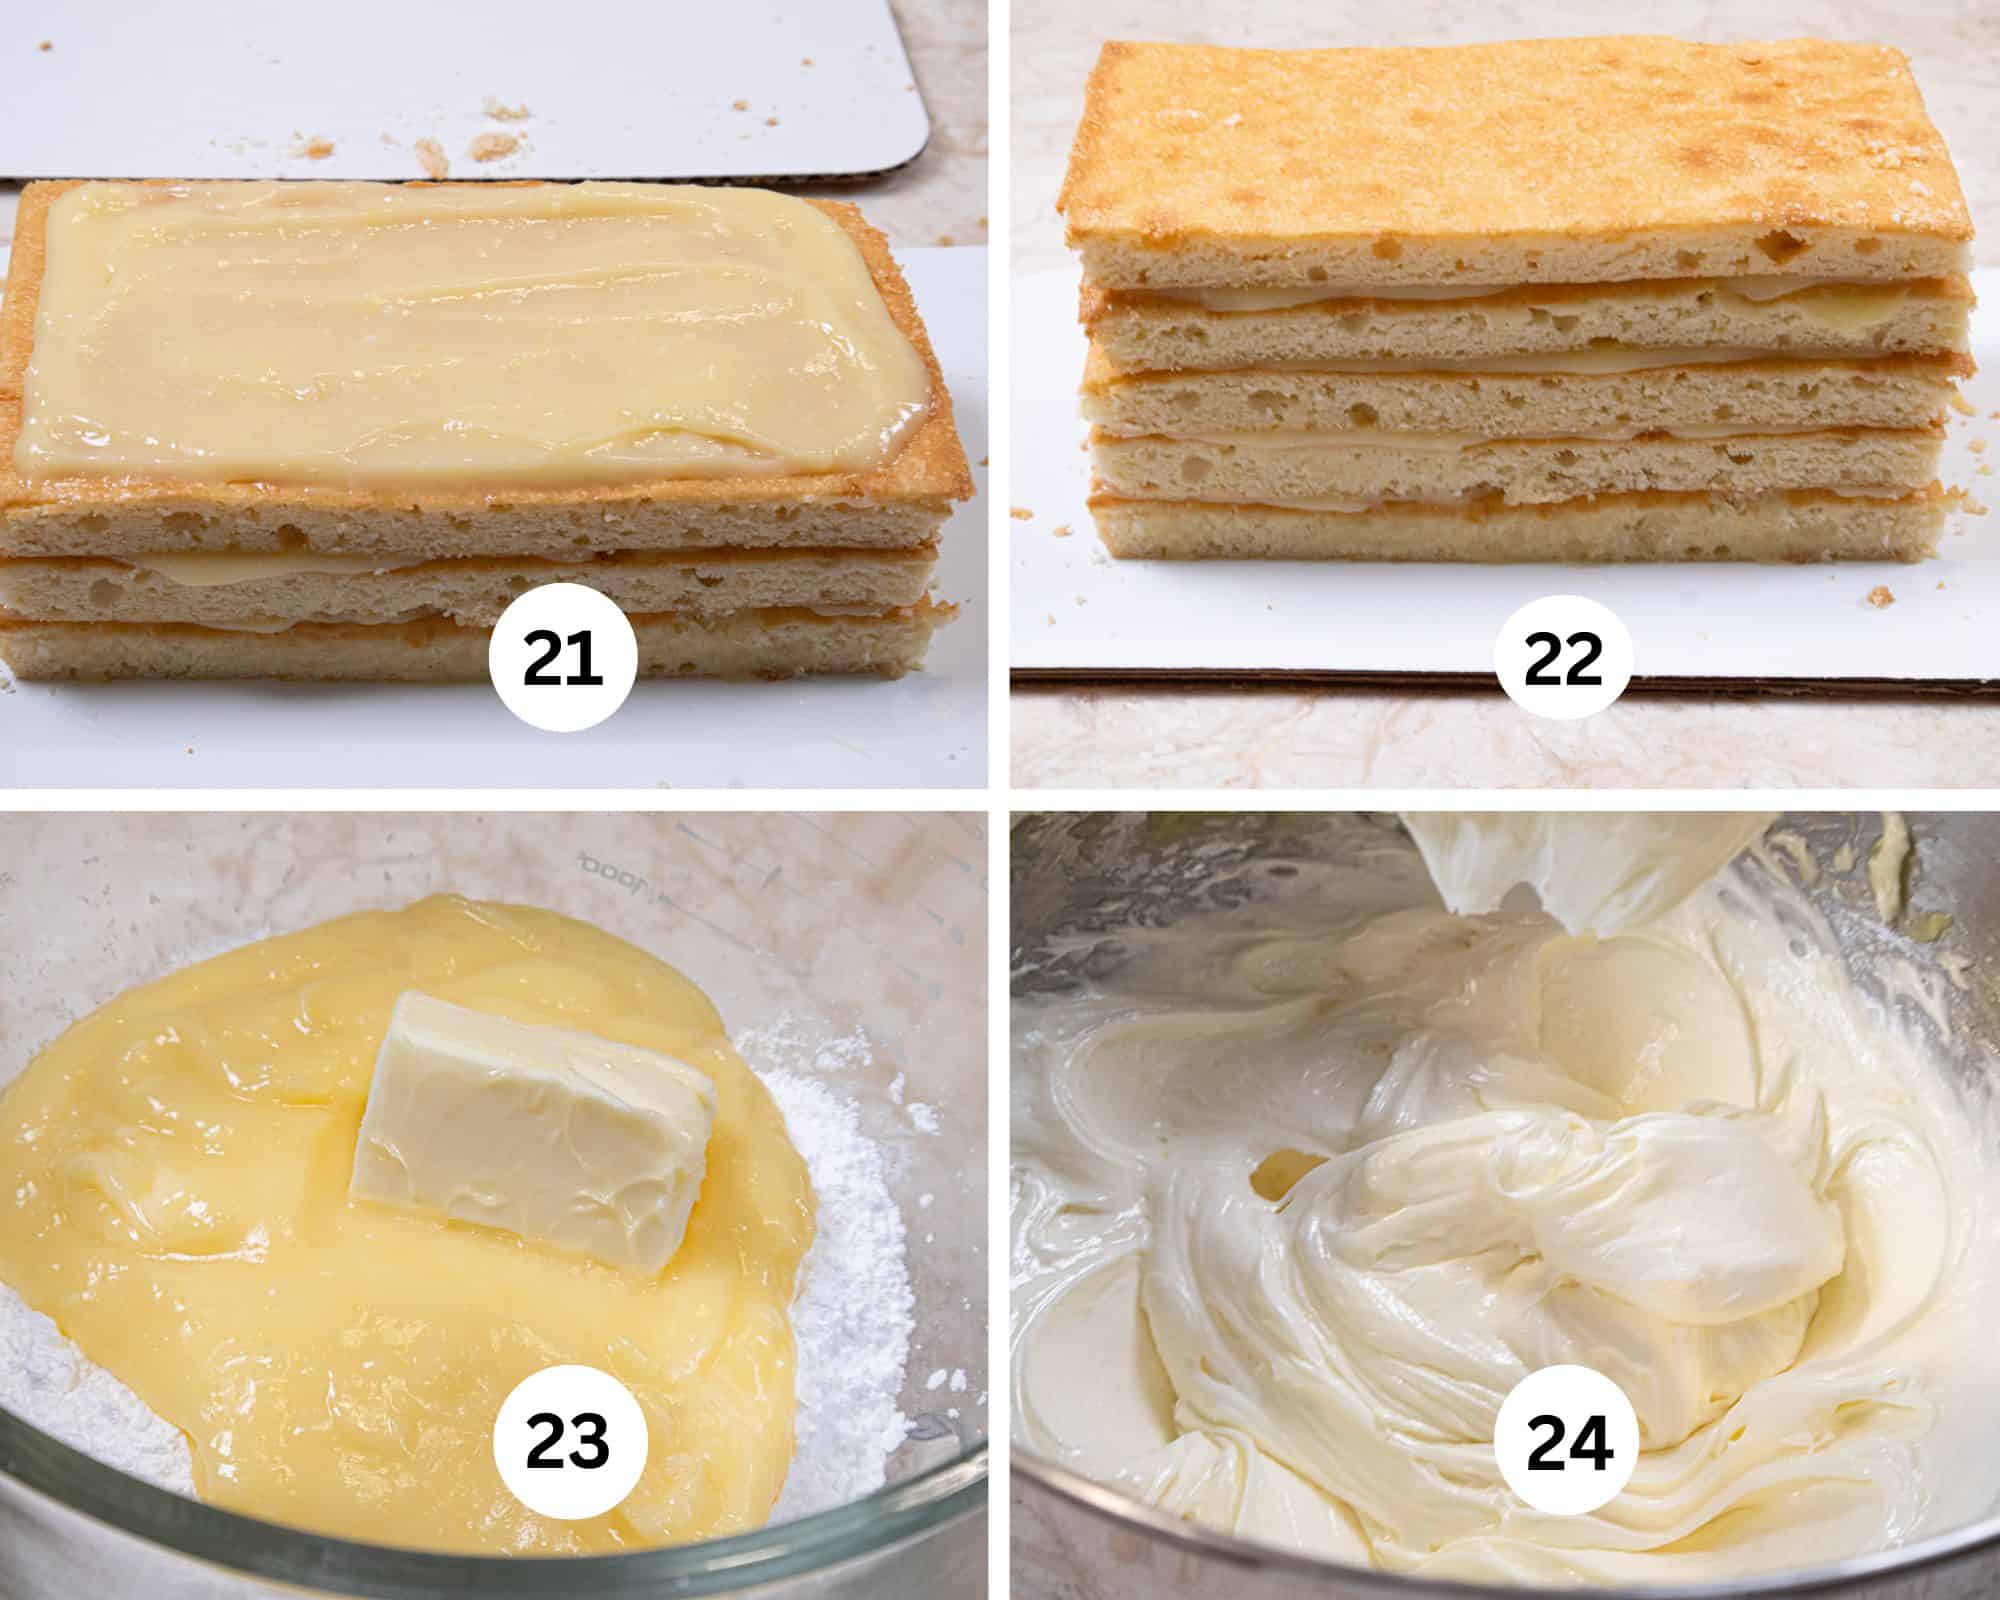
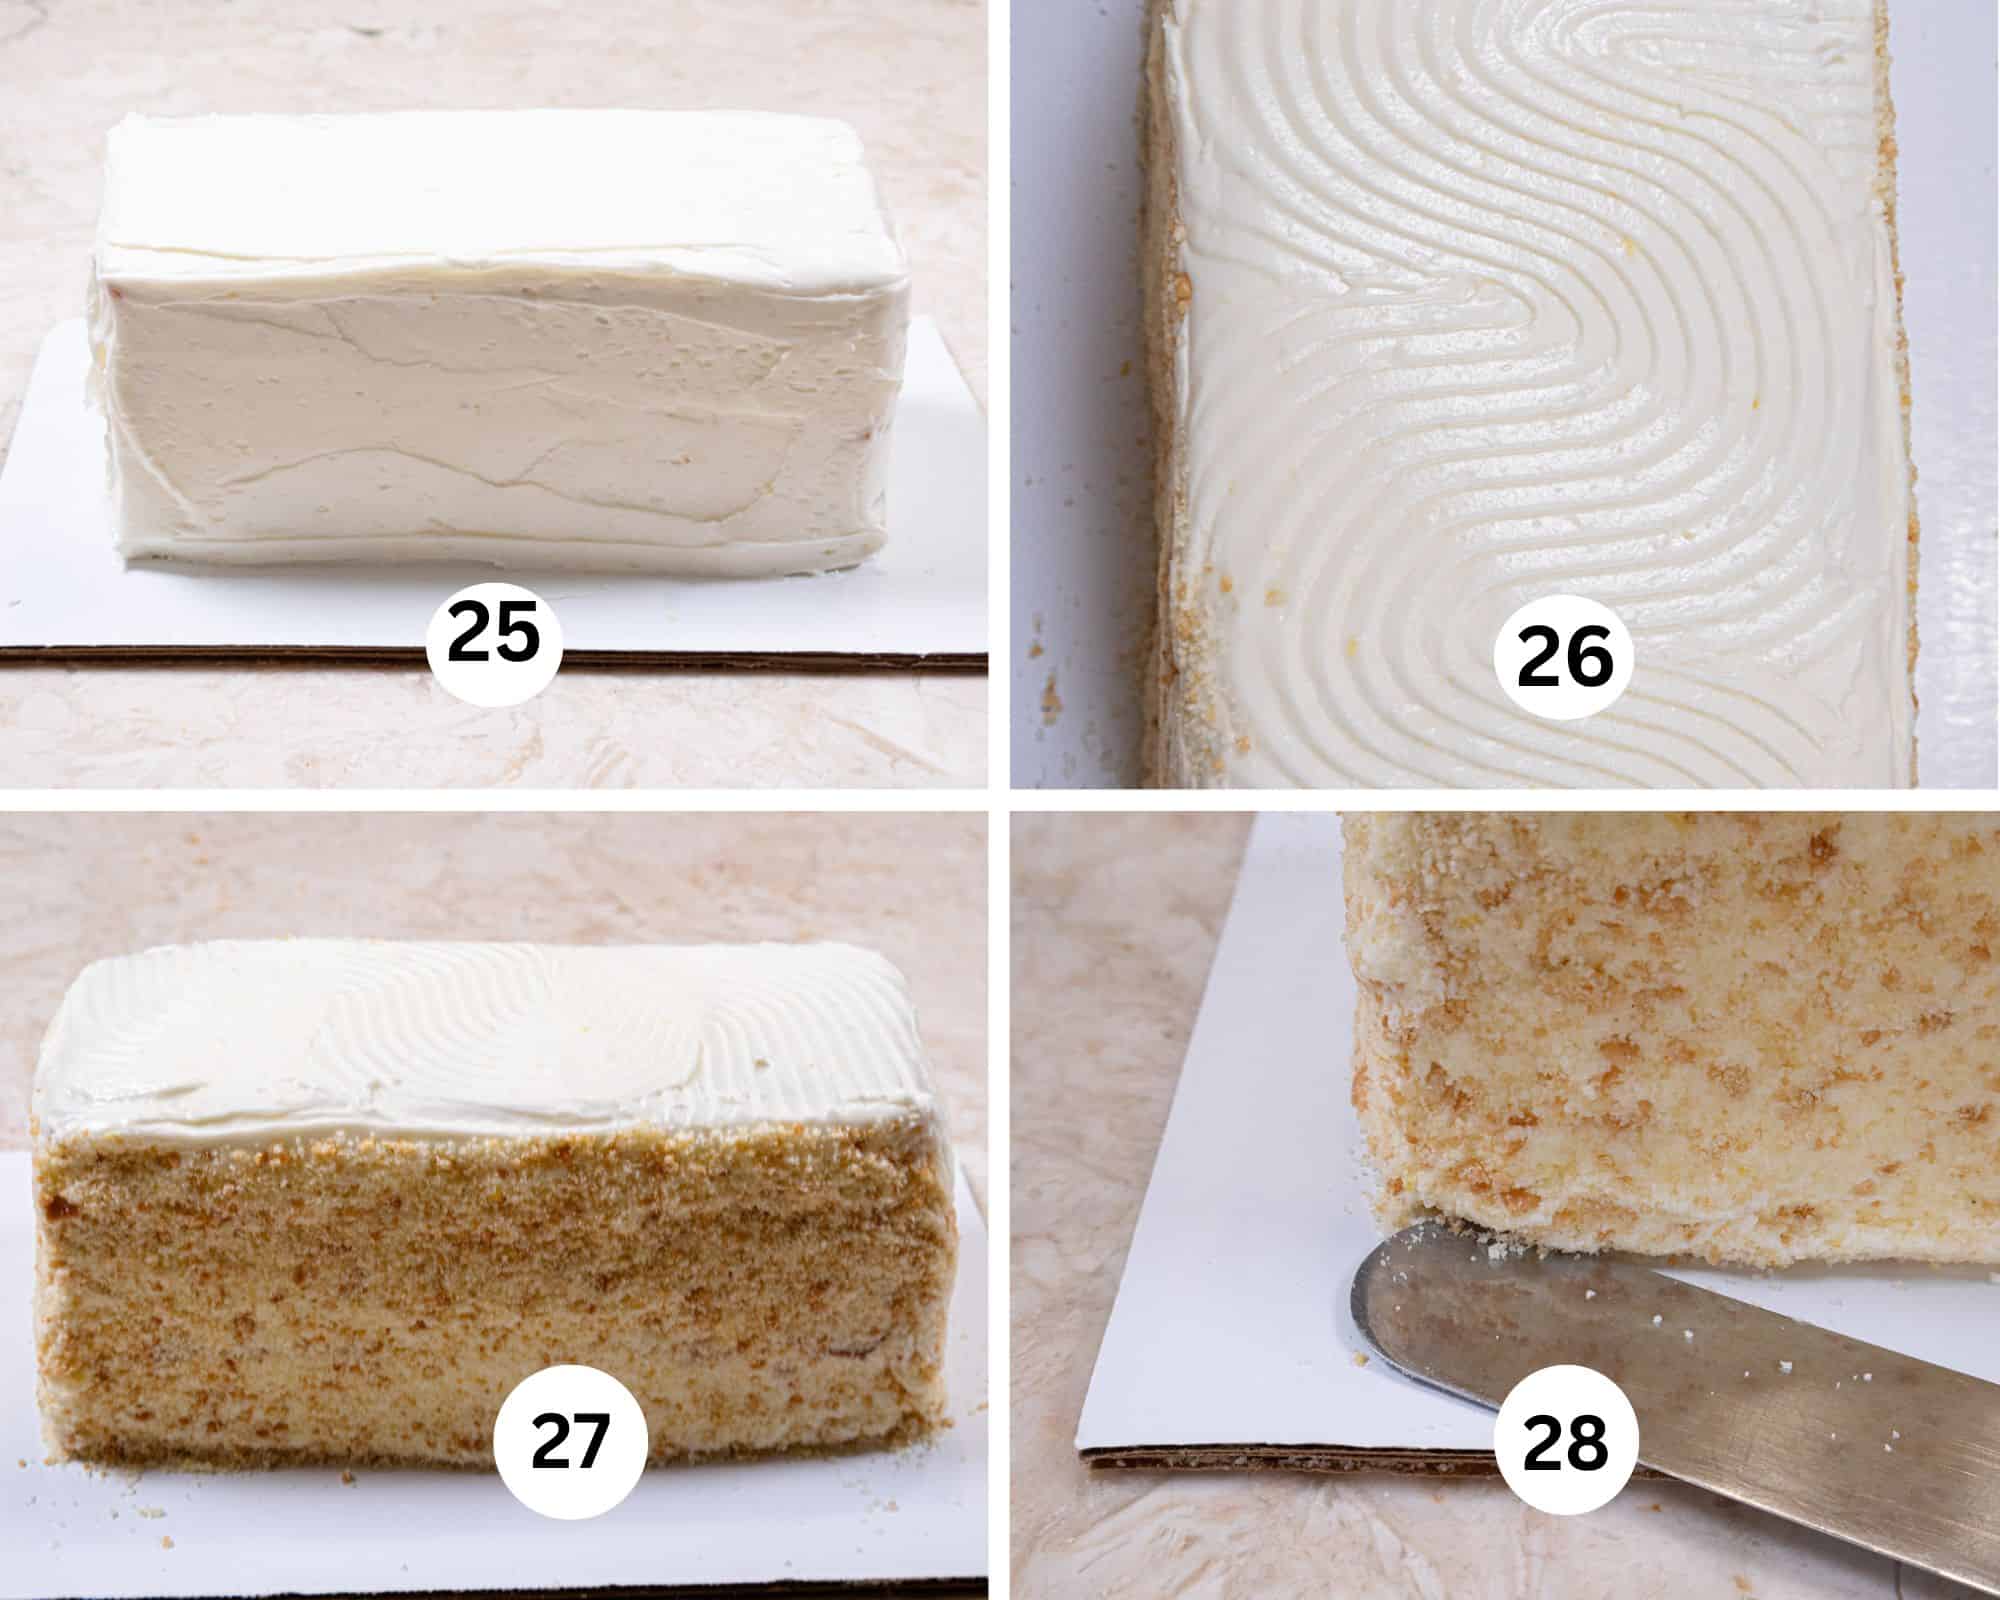
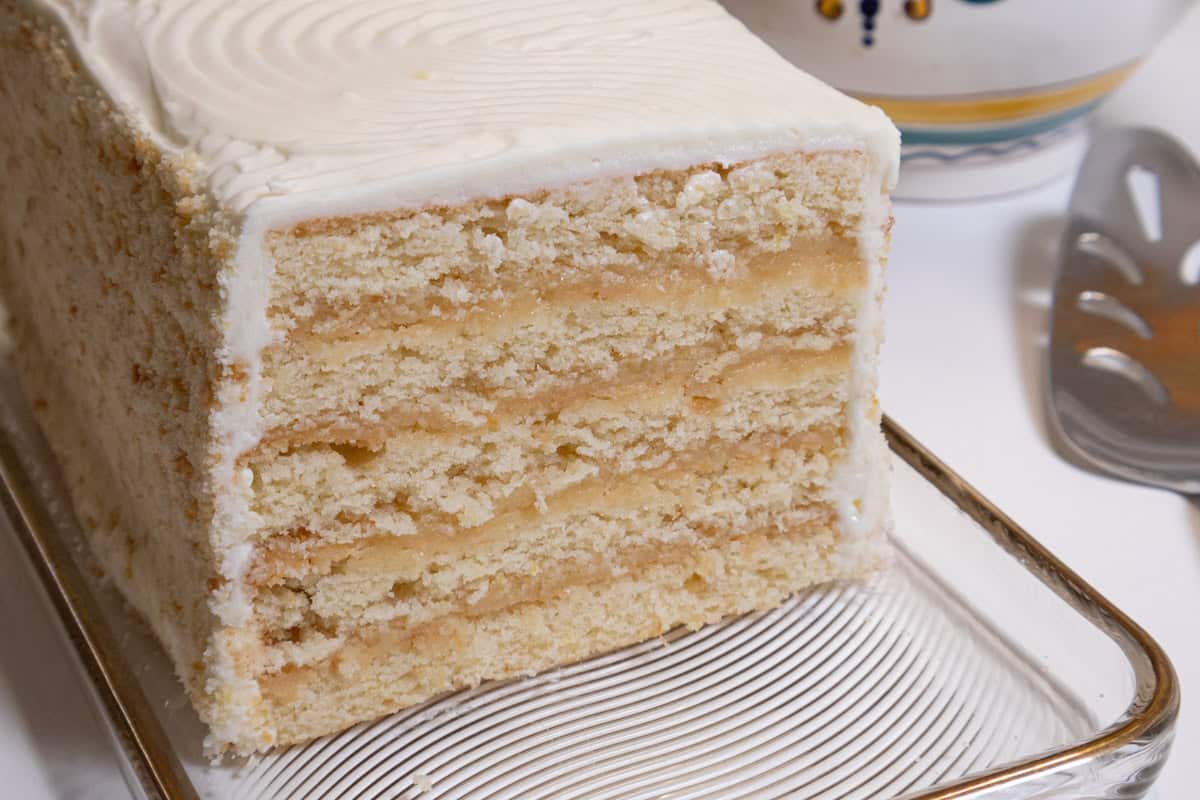
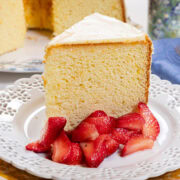
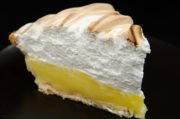
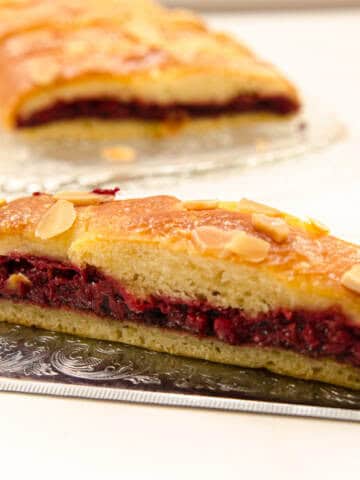
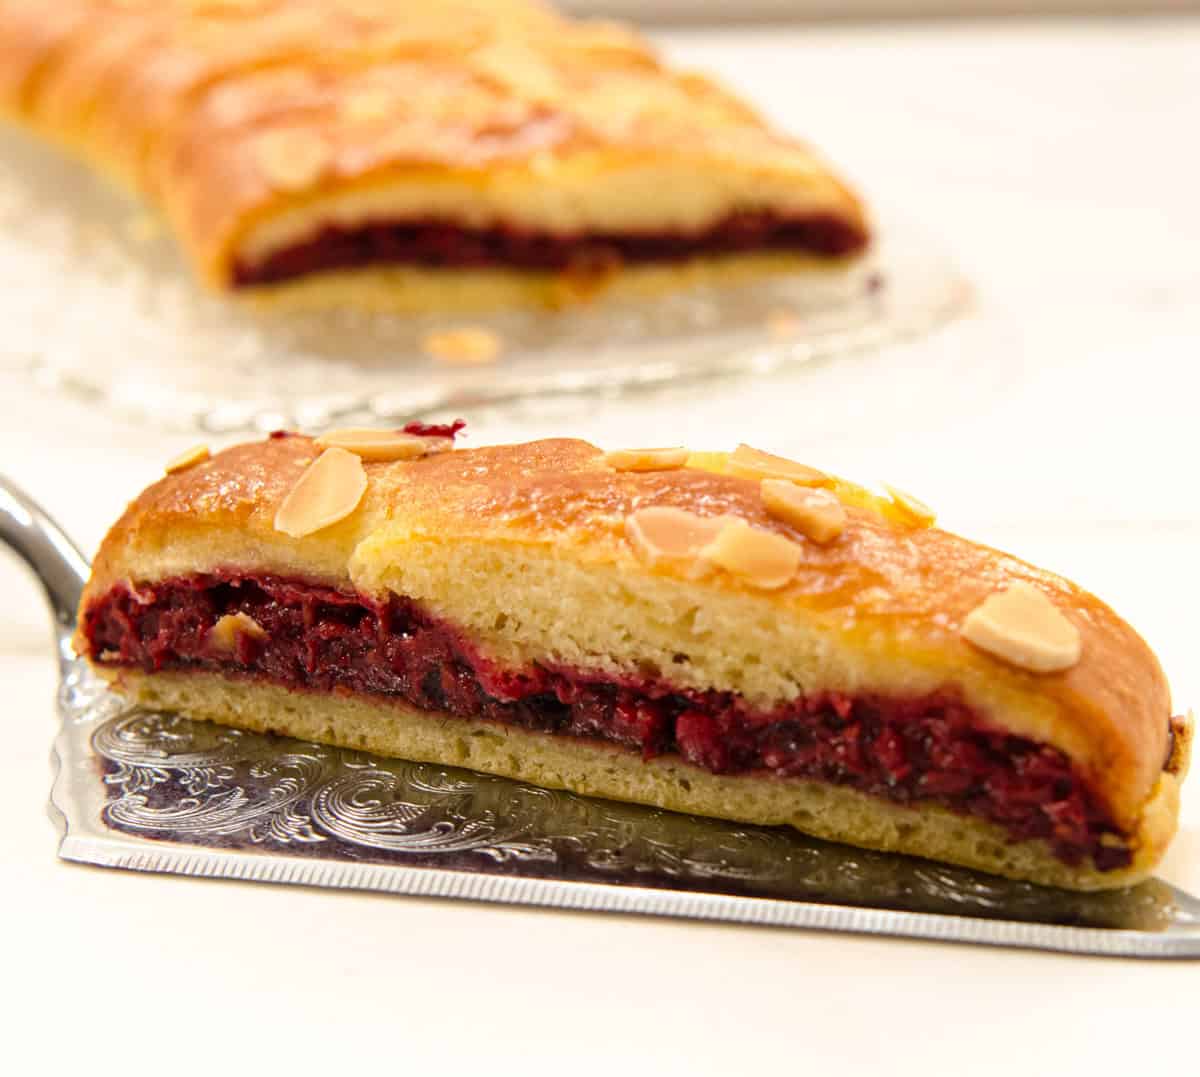
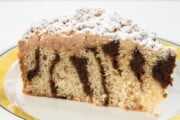
Lemonade Cake With Blueberry Sauce
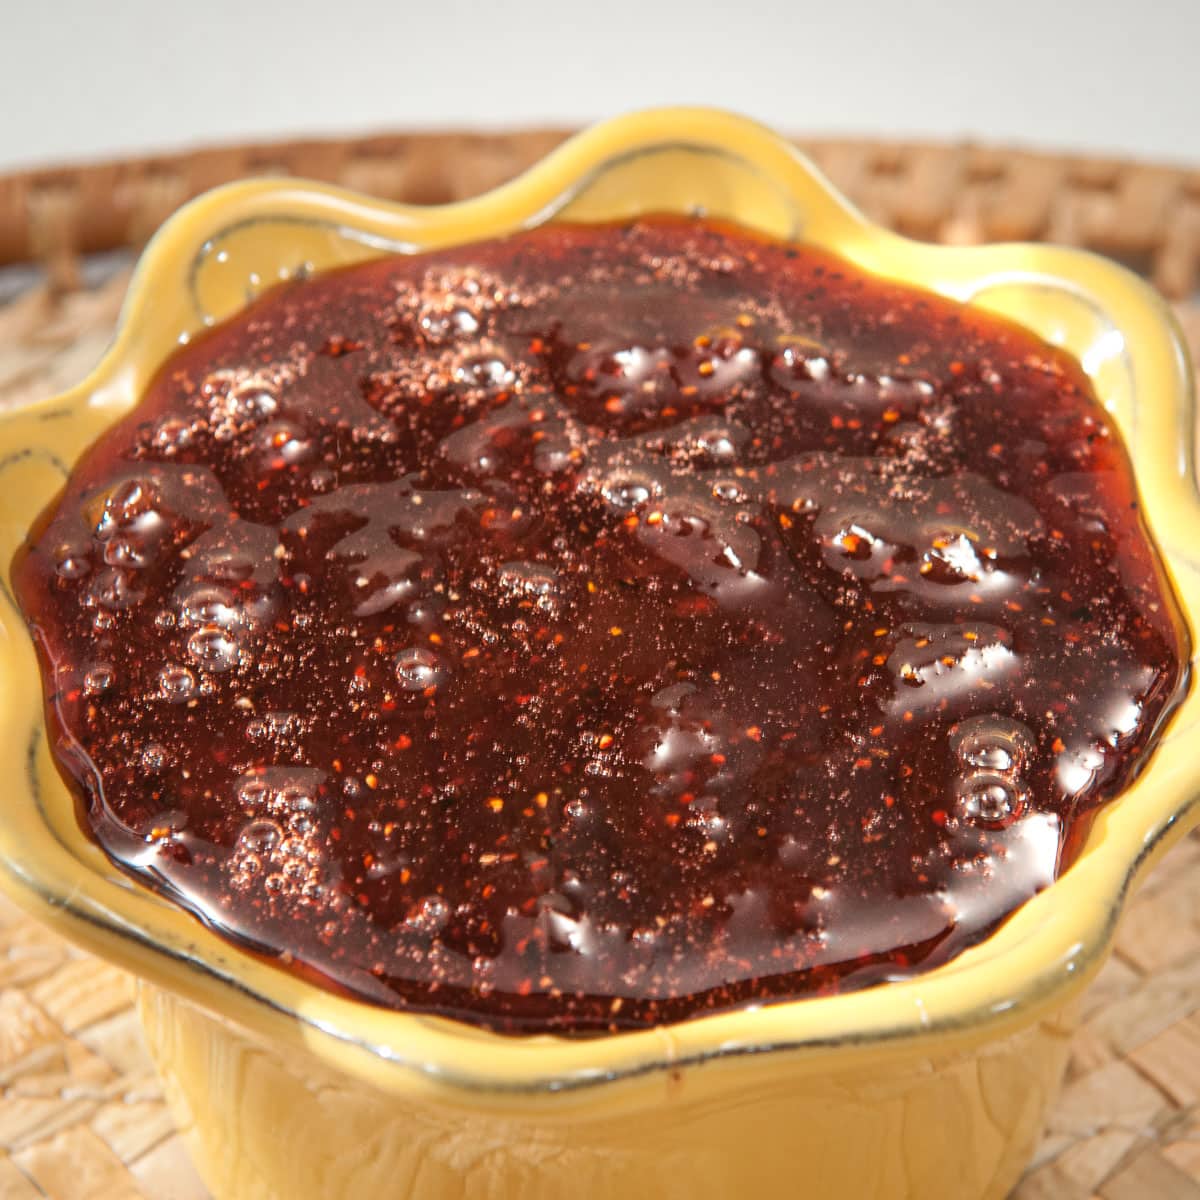
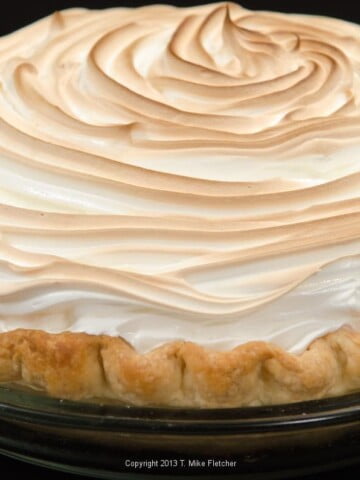
Lemonade Cake with Blueberry Sauce is the kind of showstopper that makes people stop mid-bite and ask for the recipe — tart lemon curd folded into whipped cream and meringue, poured over a vanilla wafer crust, with a deep purple blueberry sauce cascading down the pale yellow sides. Every component can be made ahead and assembled when you're ready, which means you can pull this off even on a busy day without breaking a sweat. And that blueberry sauce? You'll be making extra batches to spoon over pancakes and ice cream long after summer is over.
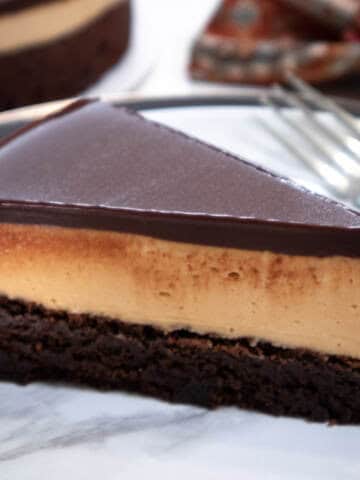
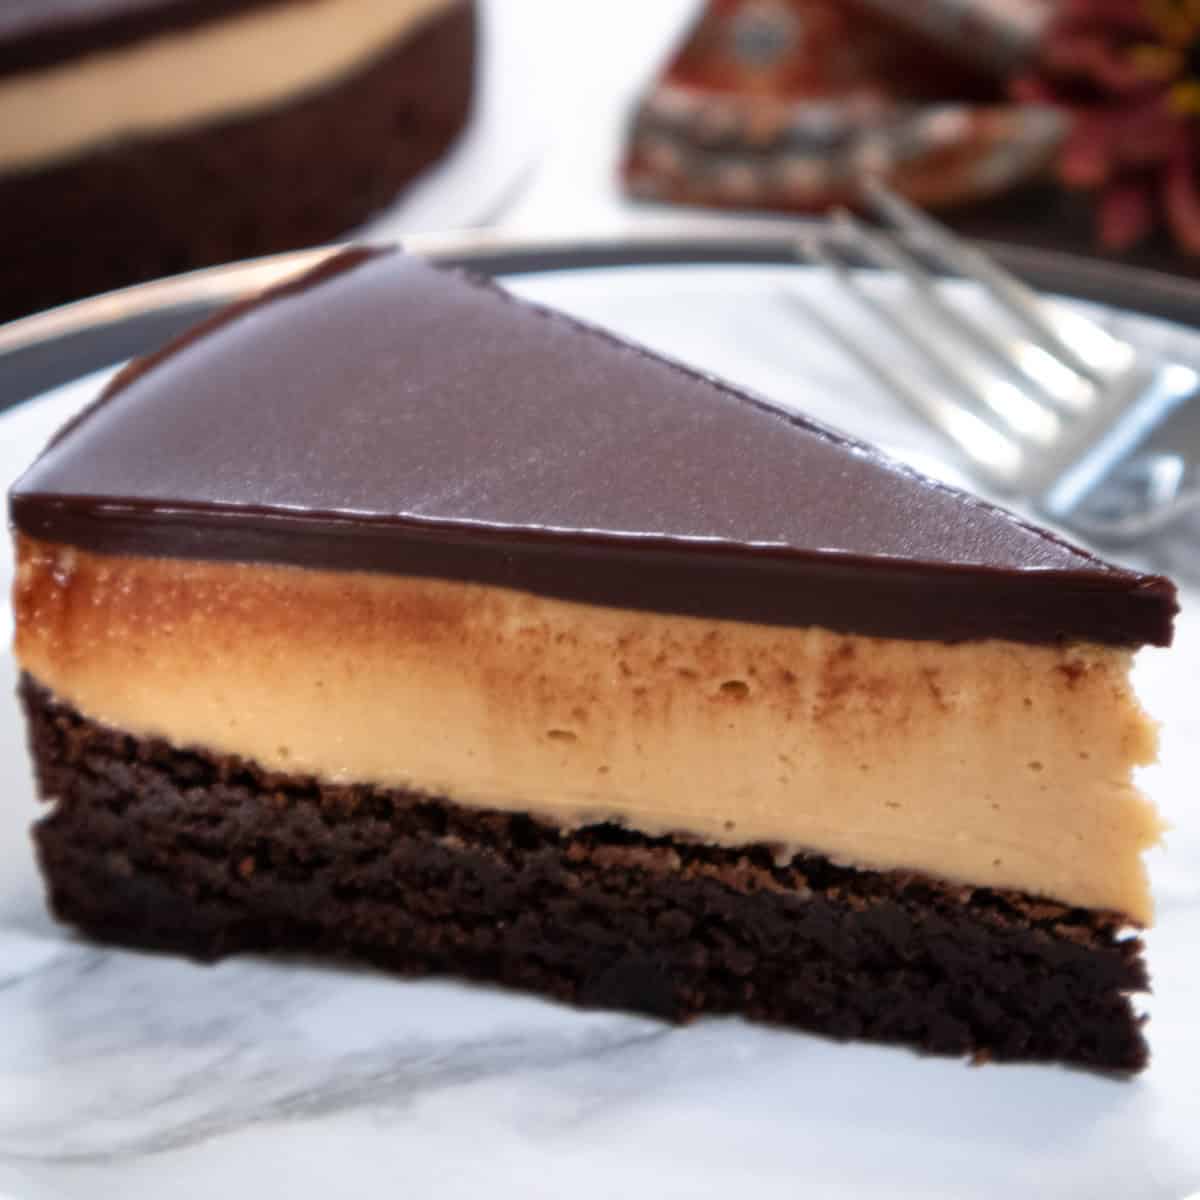
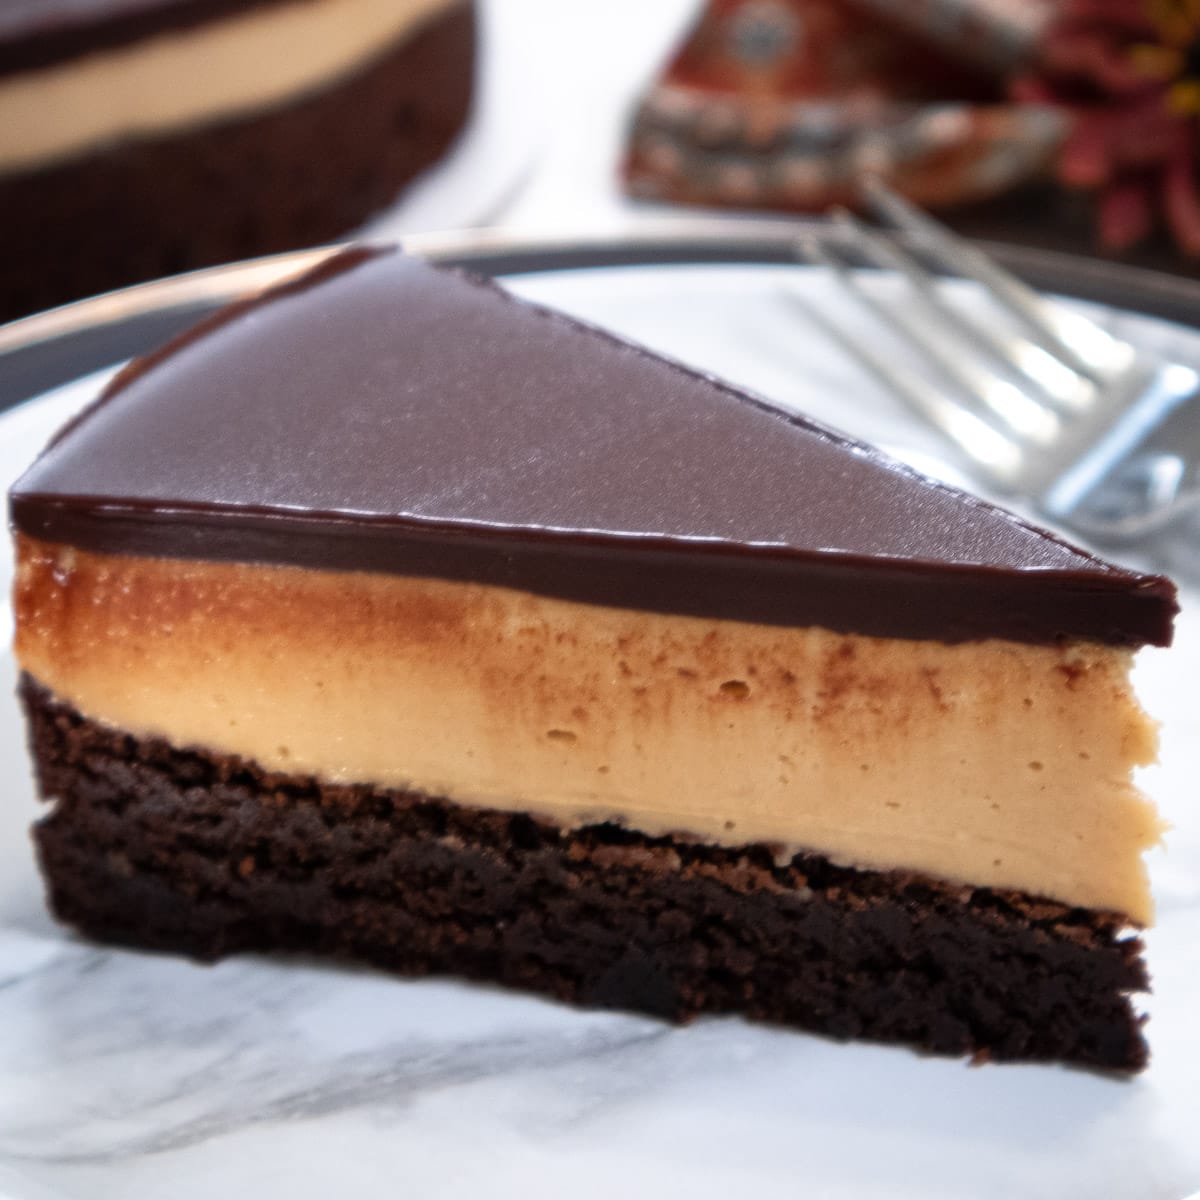
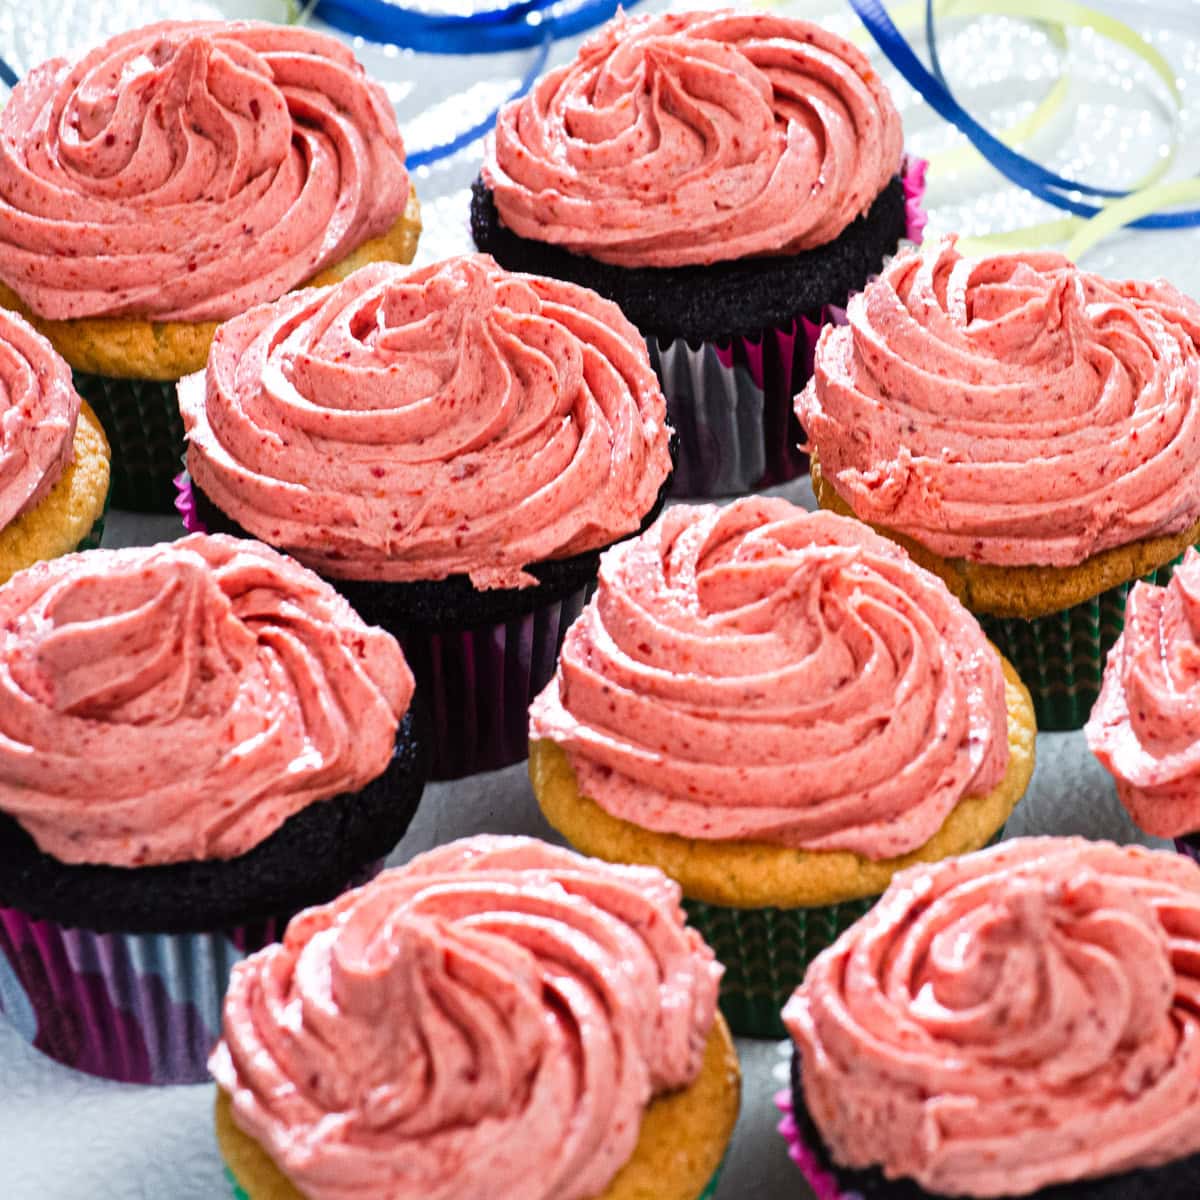
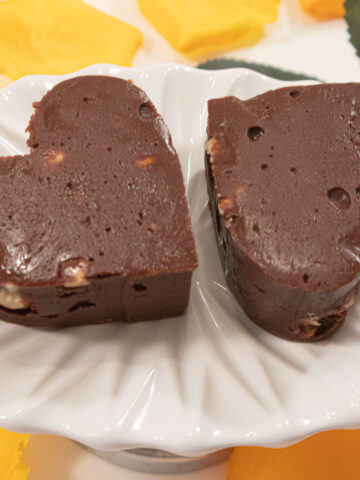
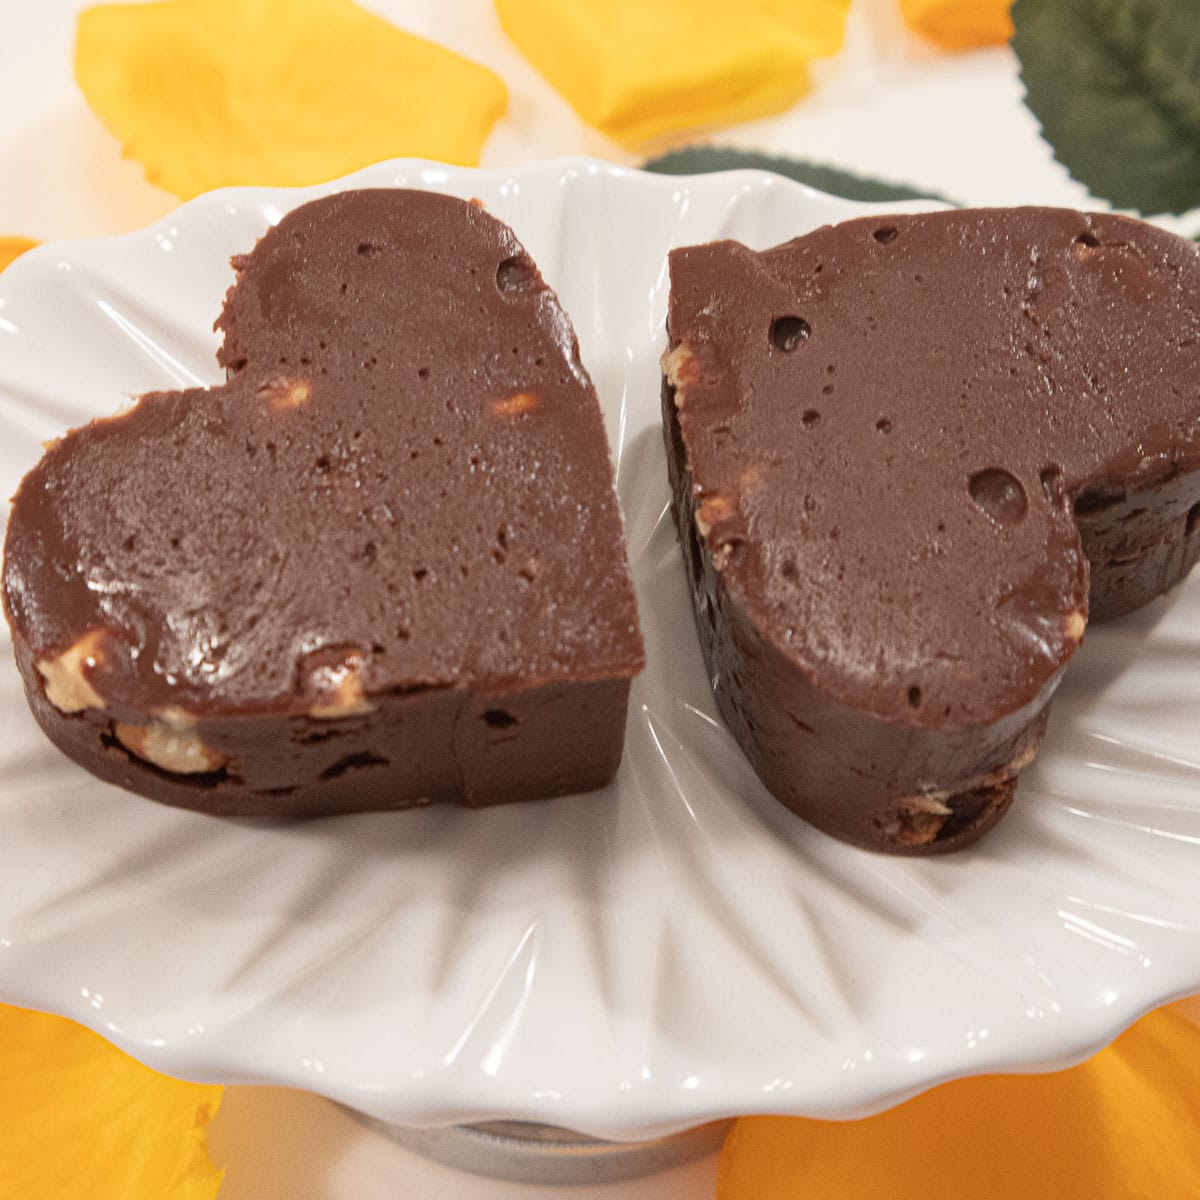
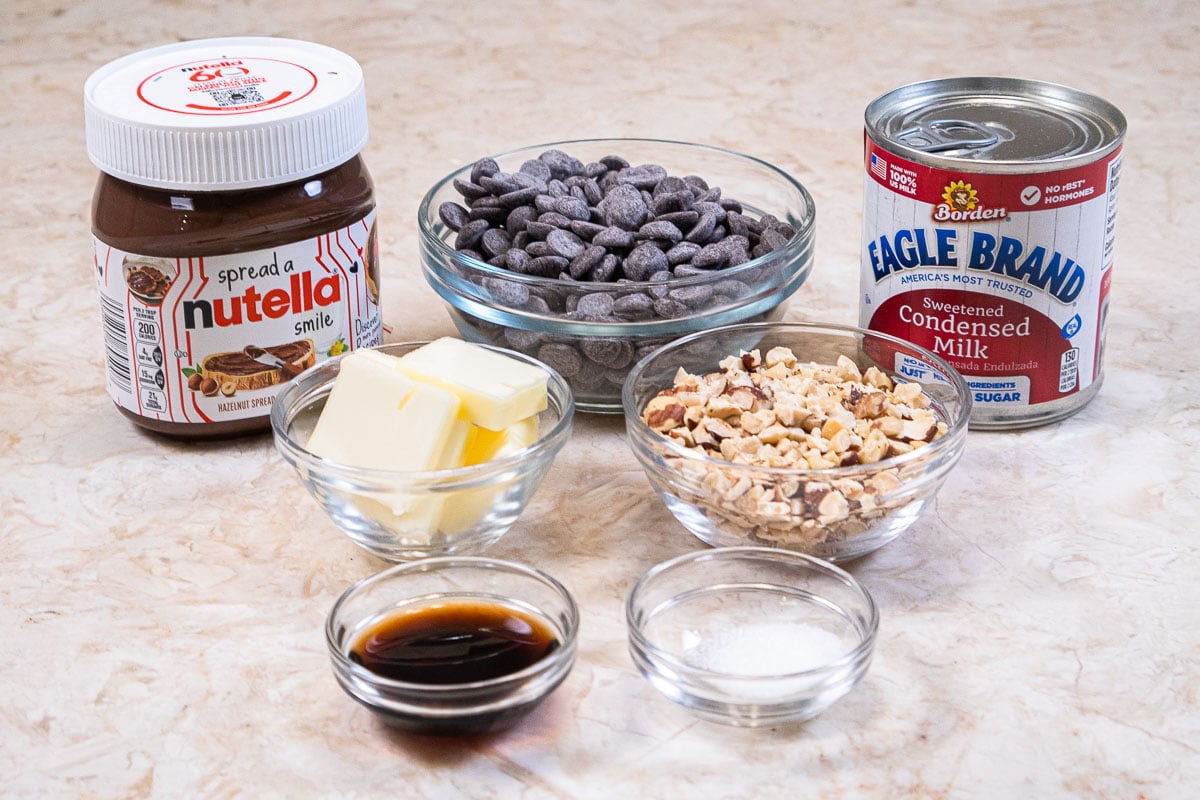
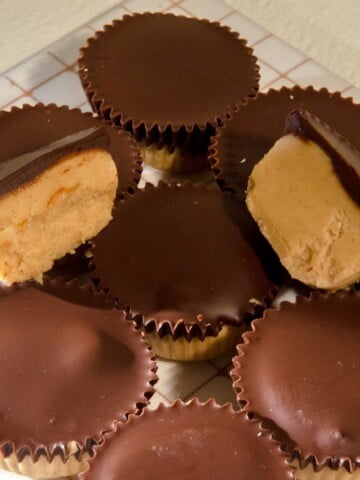
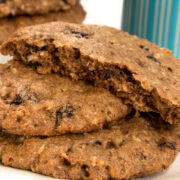
No Bake Peanut Butter Bars
These No Bake Peanut Butter Bars are exactly what they sound like: a chocolatey crust, a smooth, creamy peanut butter filling, and a chocolate top — layered up fast and gone even faster. If you're a Reese's fan, consider this the upgraded version you didn't know you needed. Easy enough to make with the kids, impressive enough to bring to an outdoor dinner — they really do work anywhere, anytime.

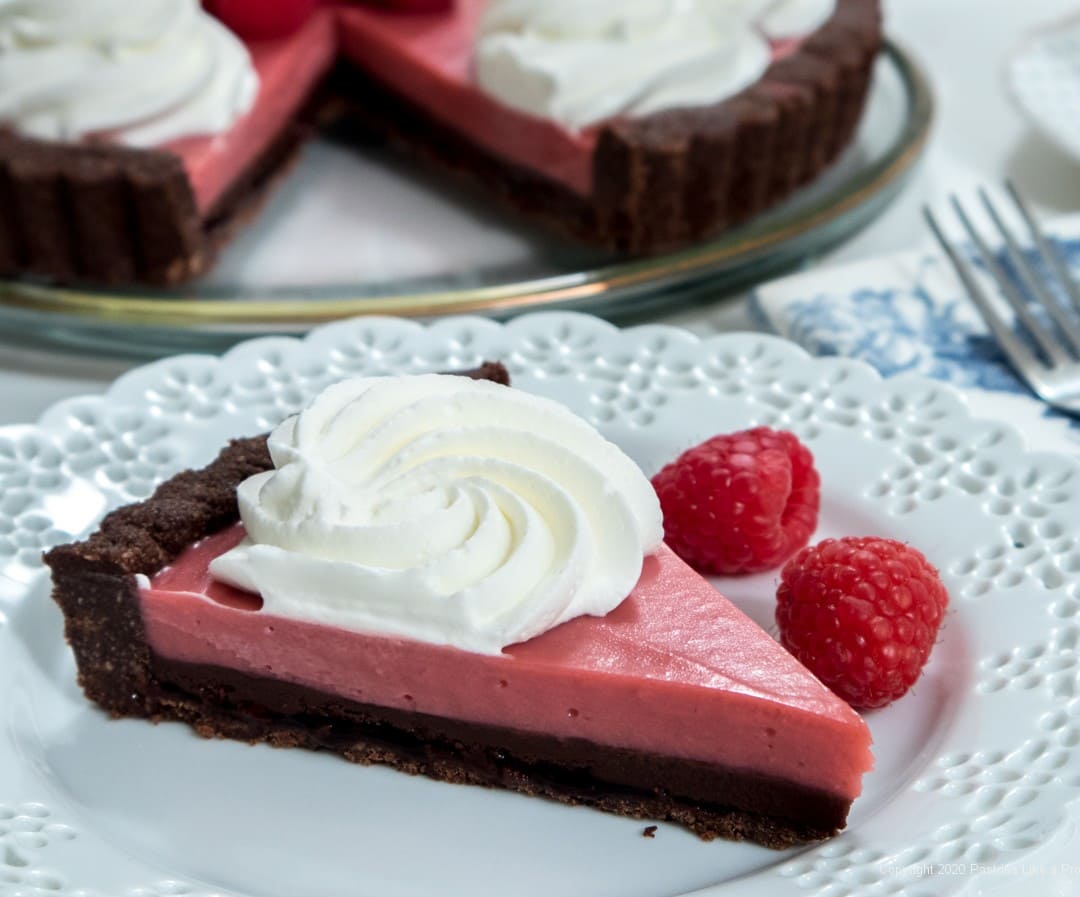
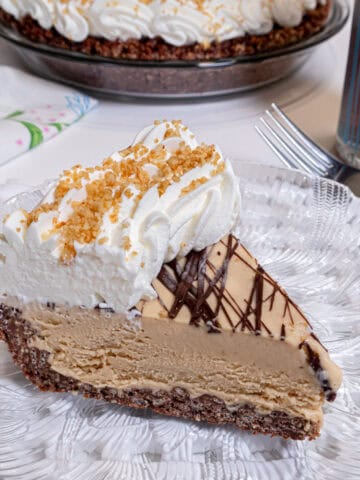
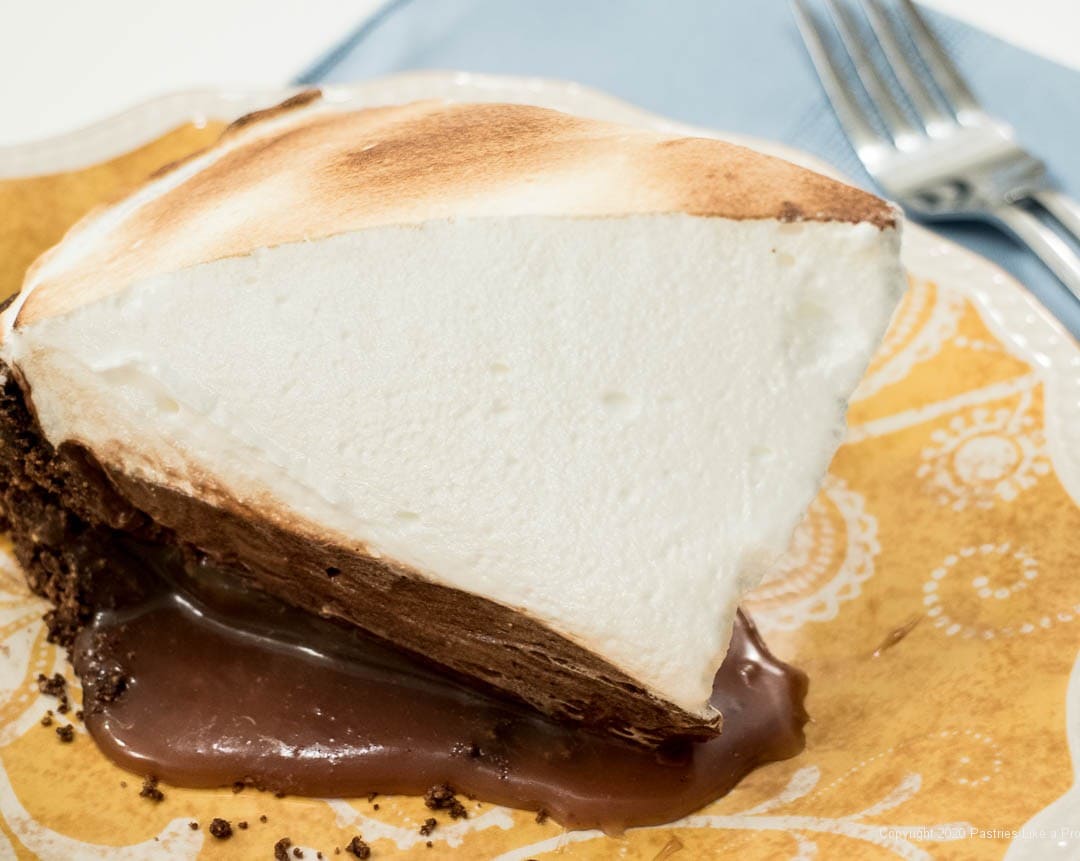
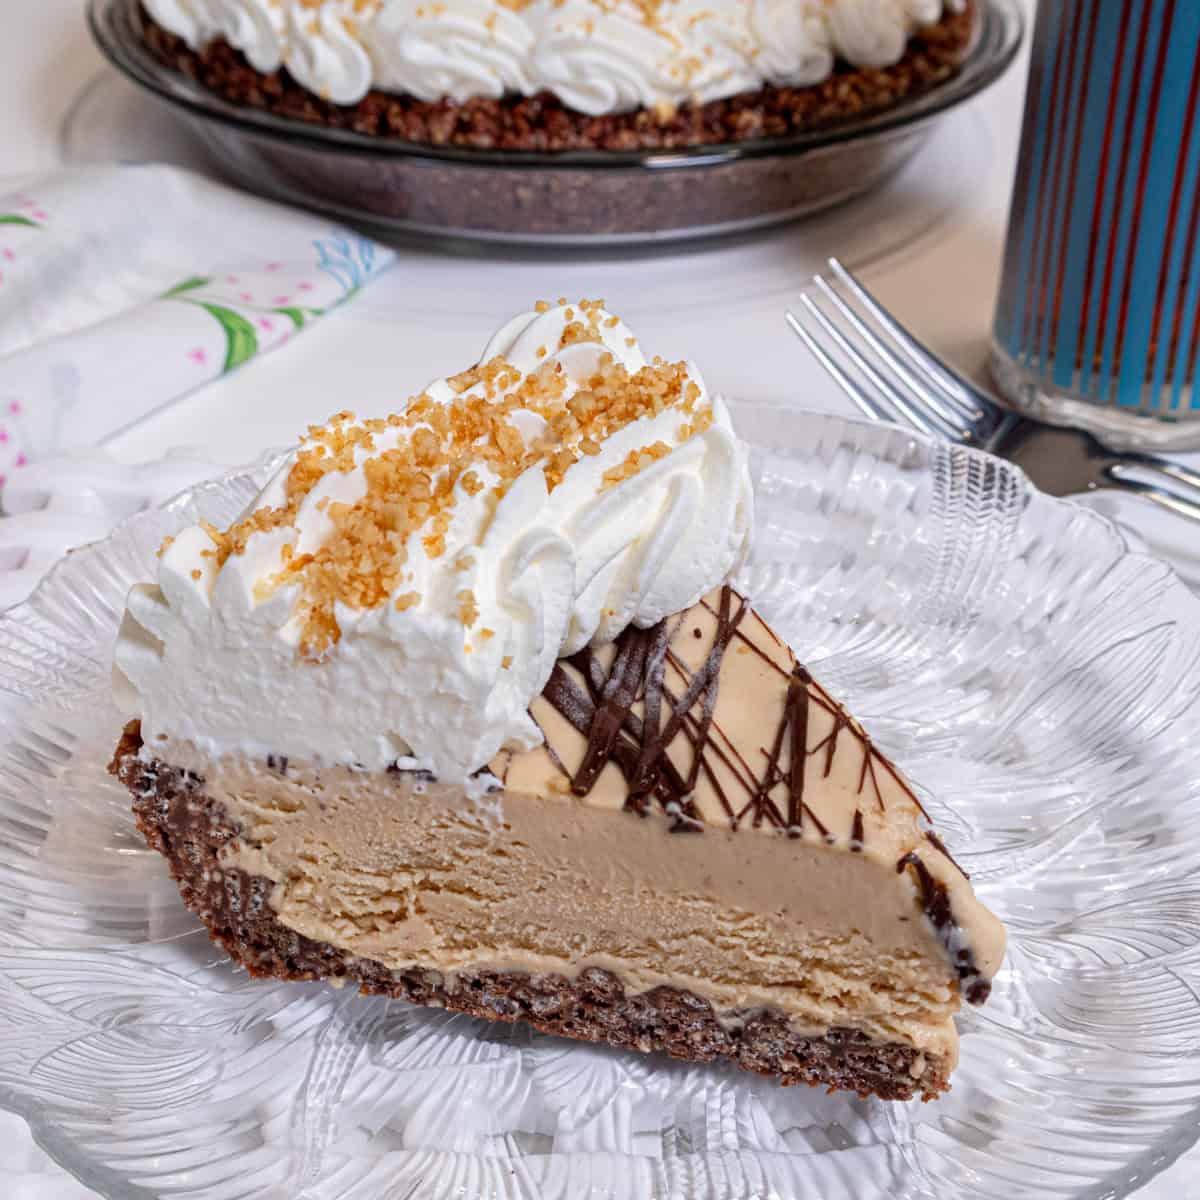
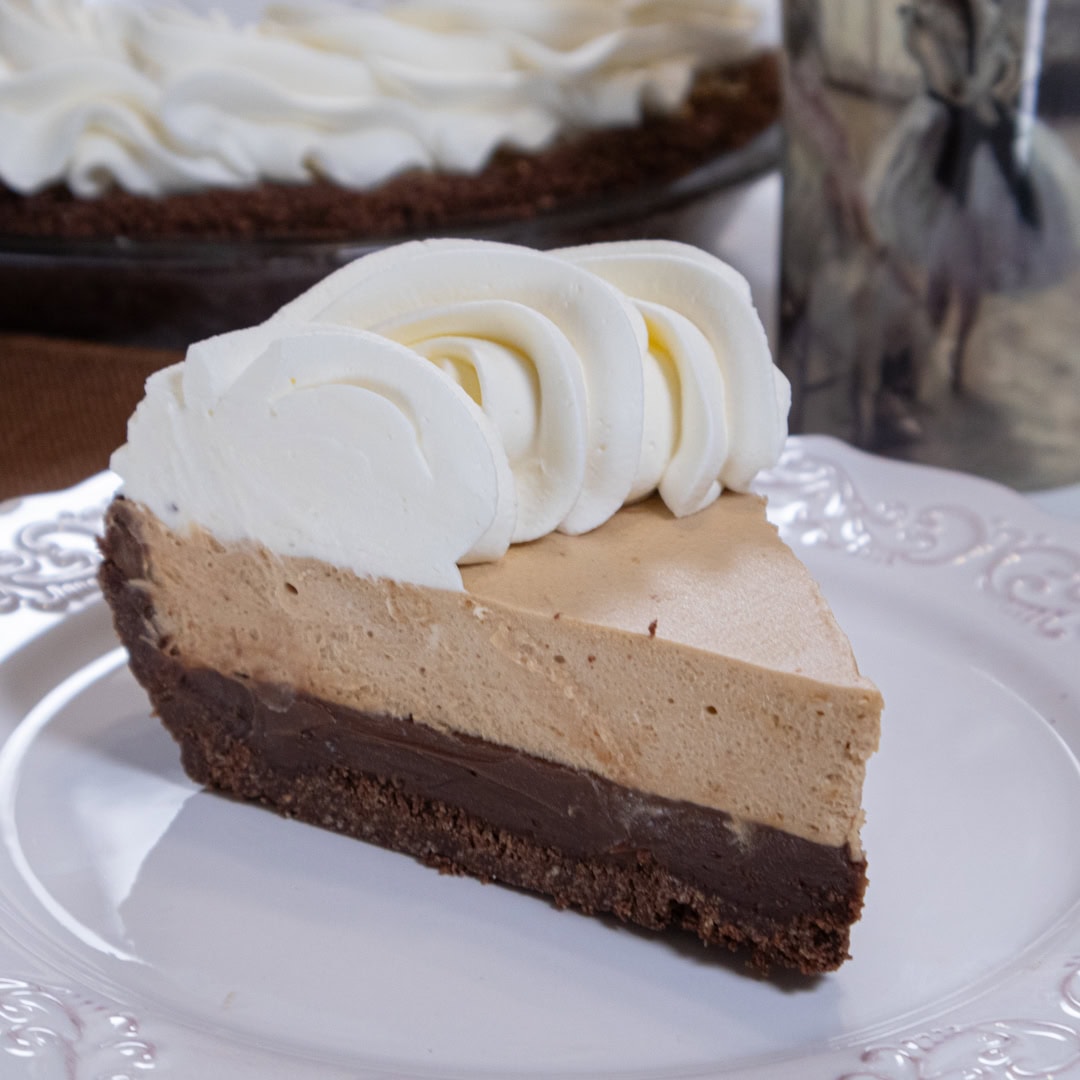
Baileys Pi Day Pie
Baileys Pi Day Pie is the kind of dessert that earns its own occasion — a deeply chocolatey crust, a creamy chocolate layer, and a white chocolate coffee Baileys mousse all piled high with billows of whipped cream. The whole thing can be made ahead and frozen, which means you're basically just pulling perfection out of the freezer when the time comes. If you're a Baileys fan, this one is absolutely calling your name.
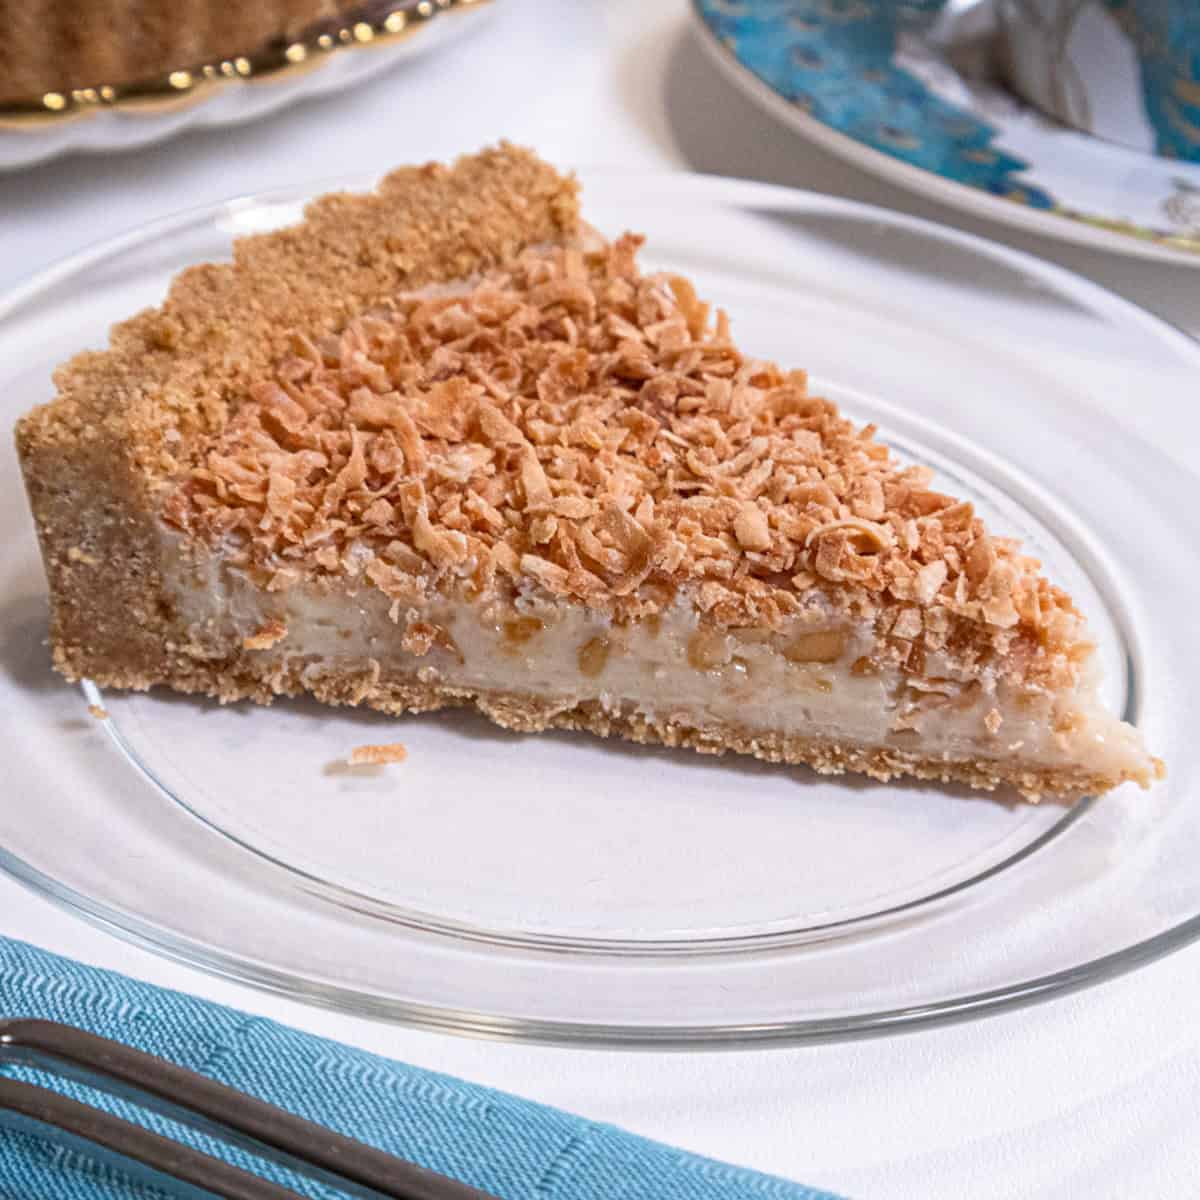
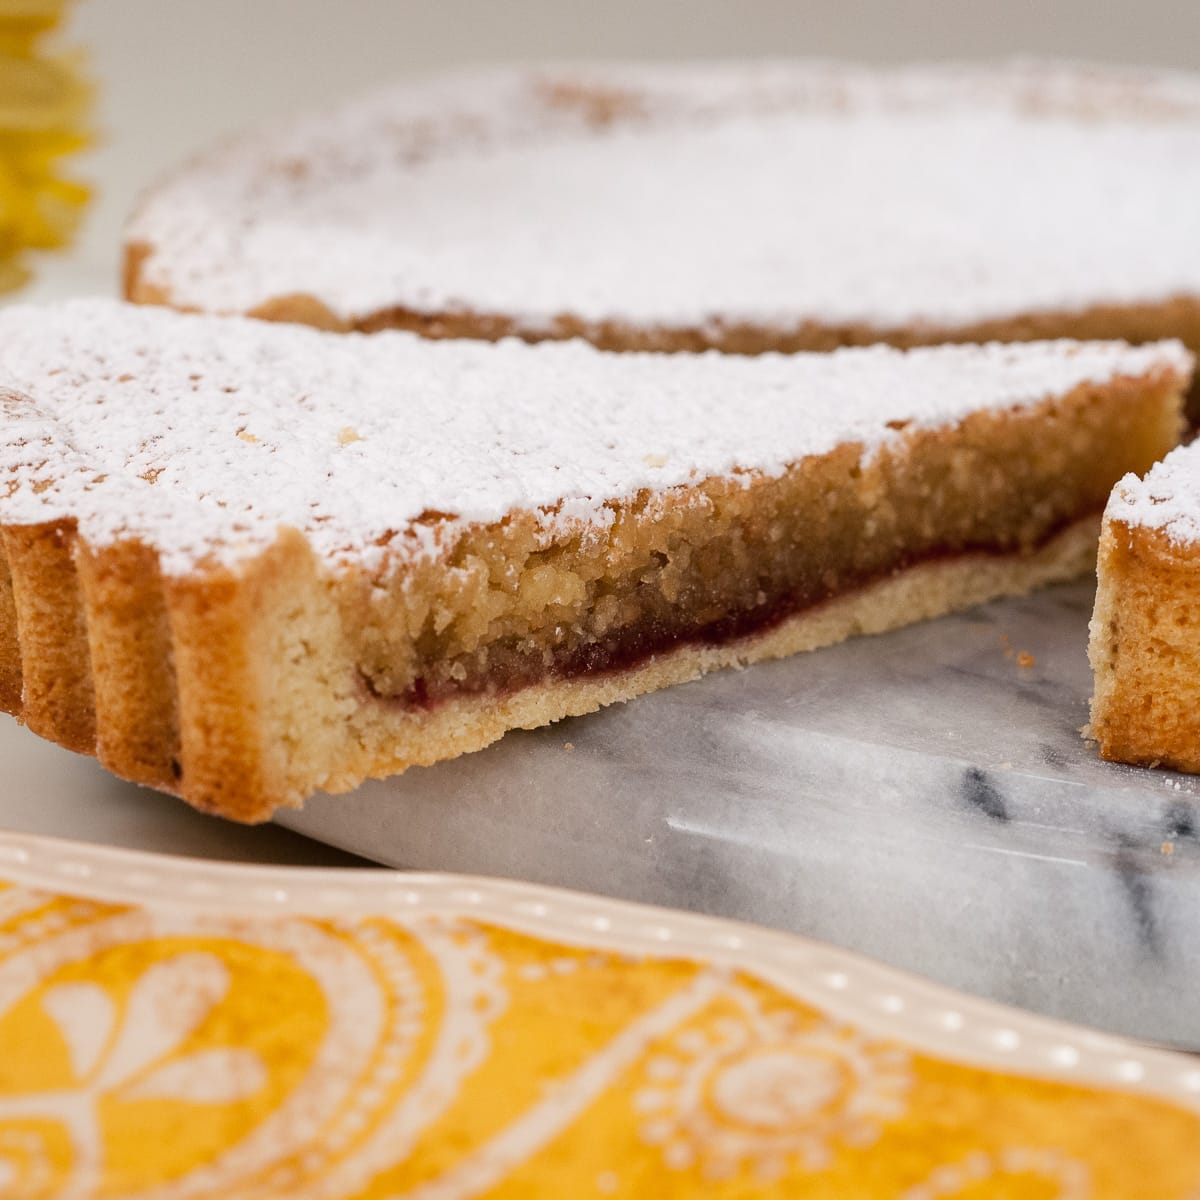
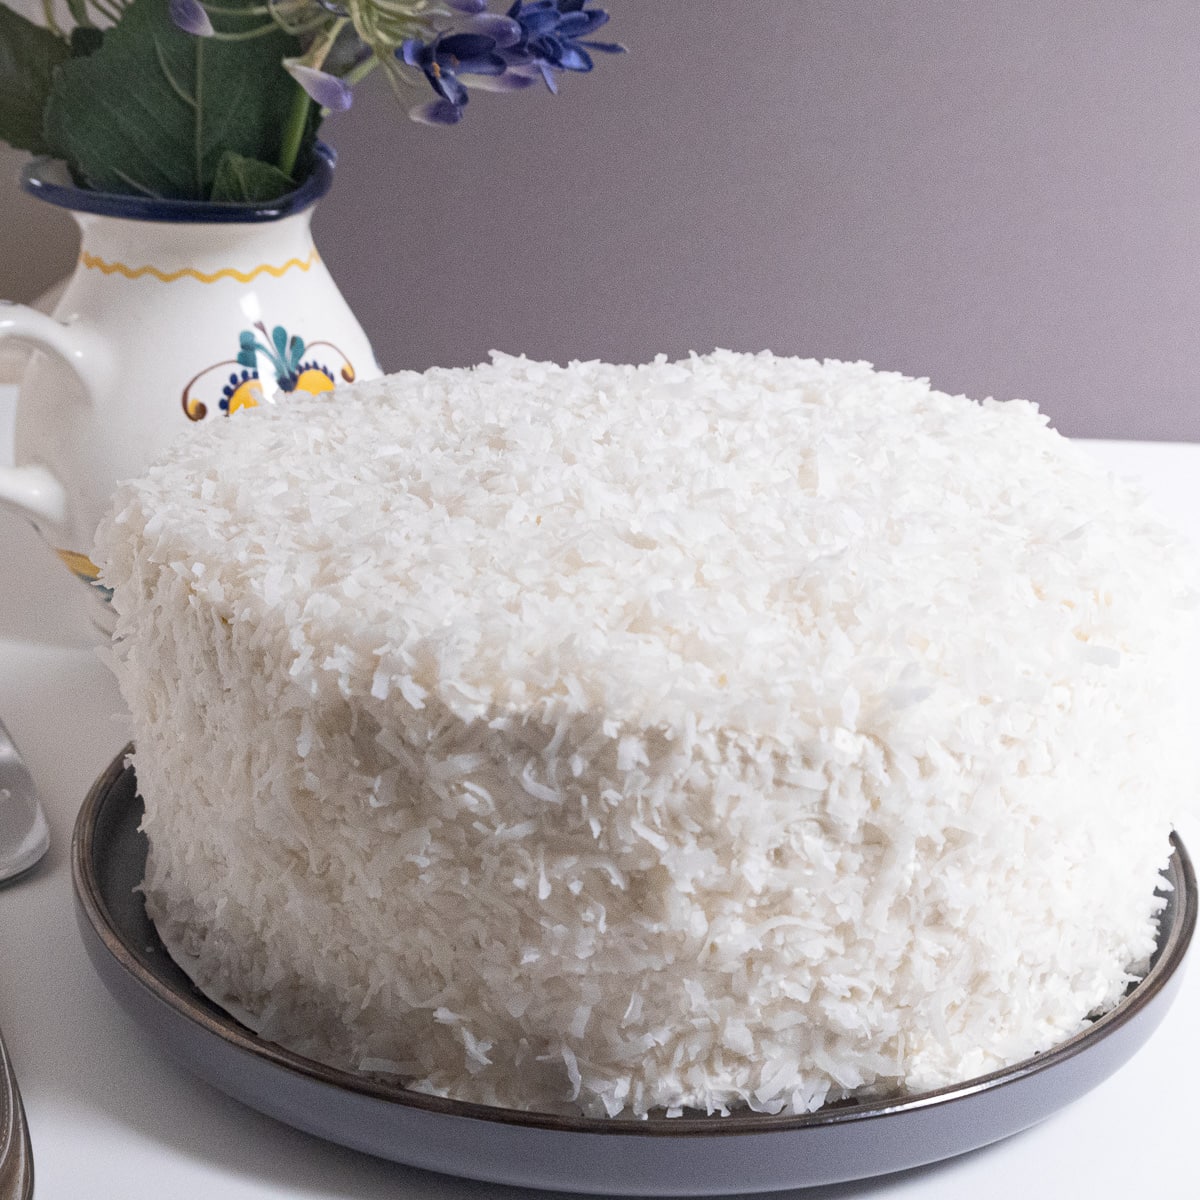
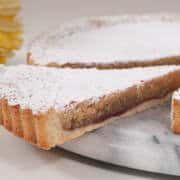
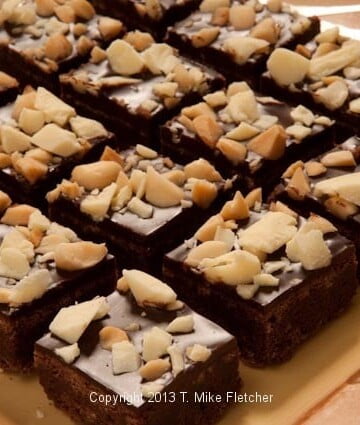
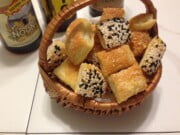
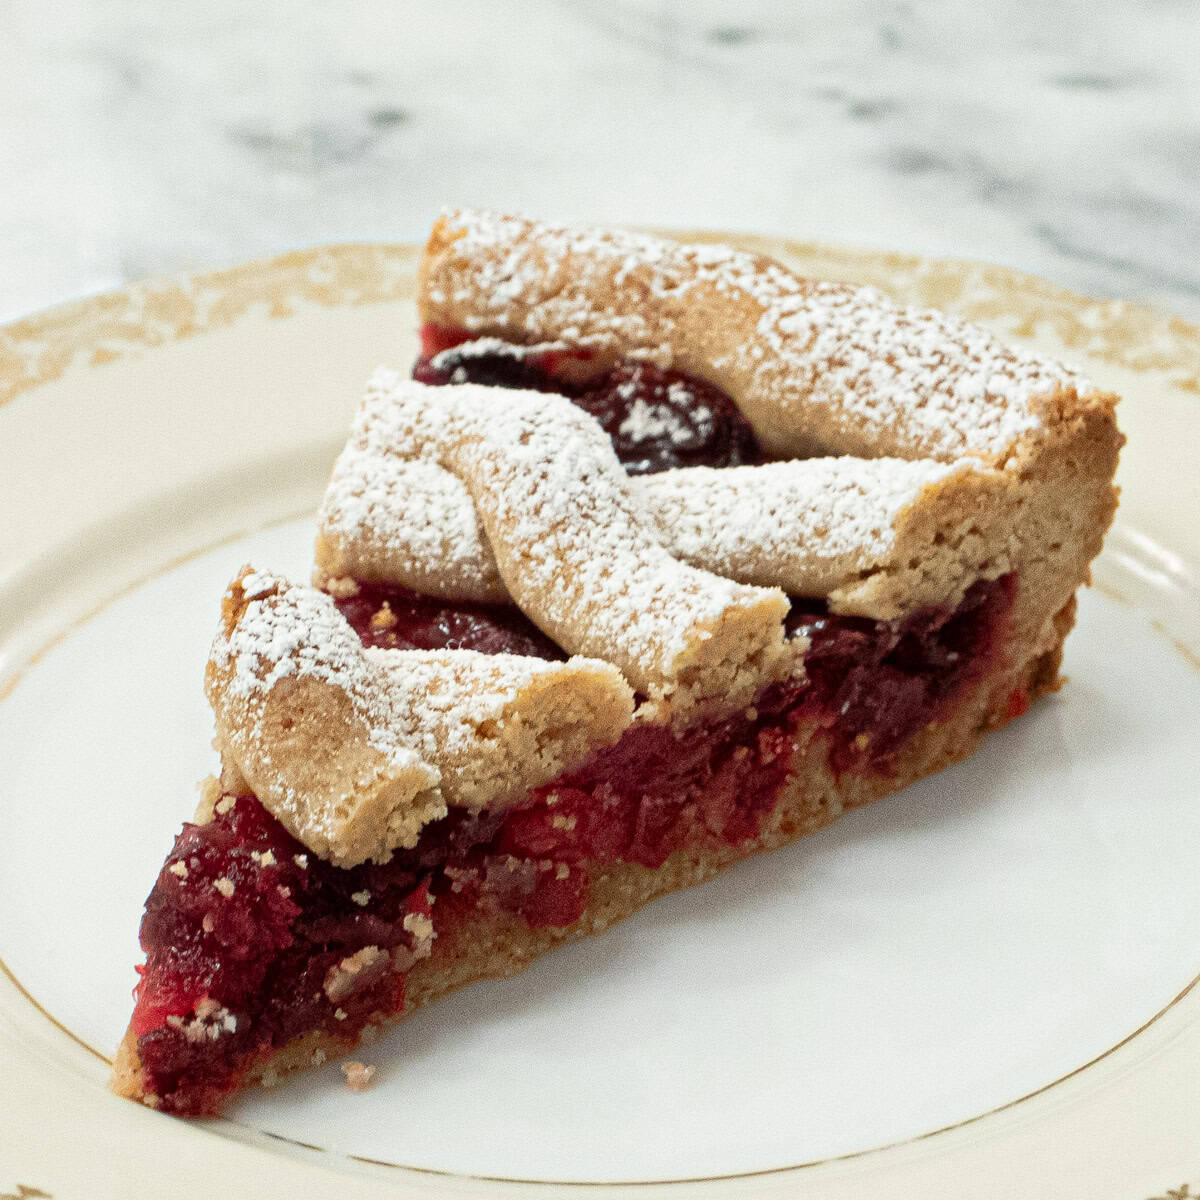
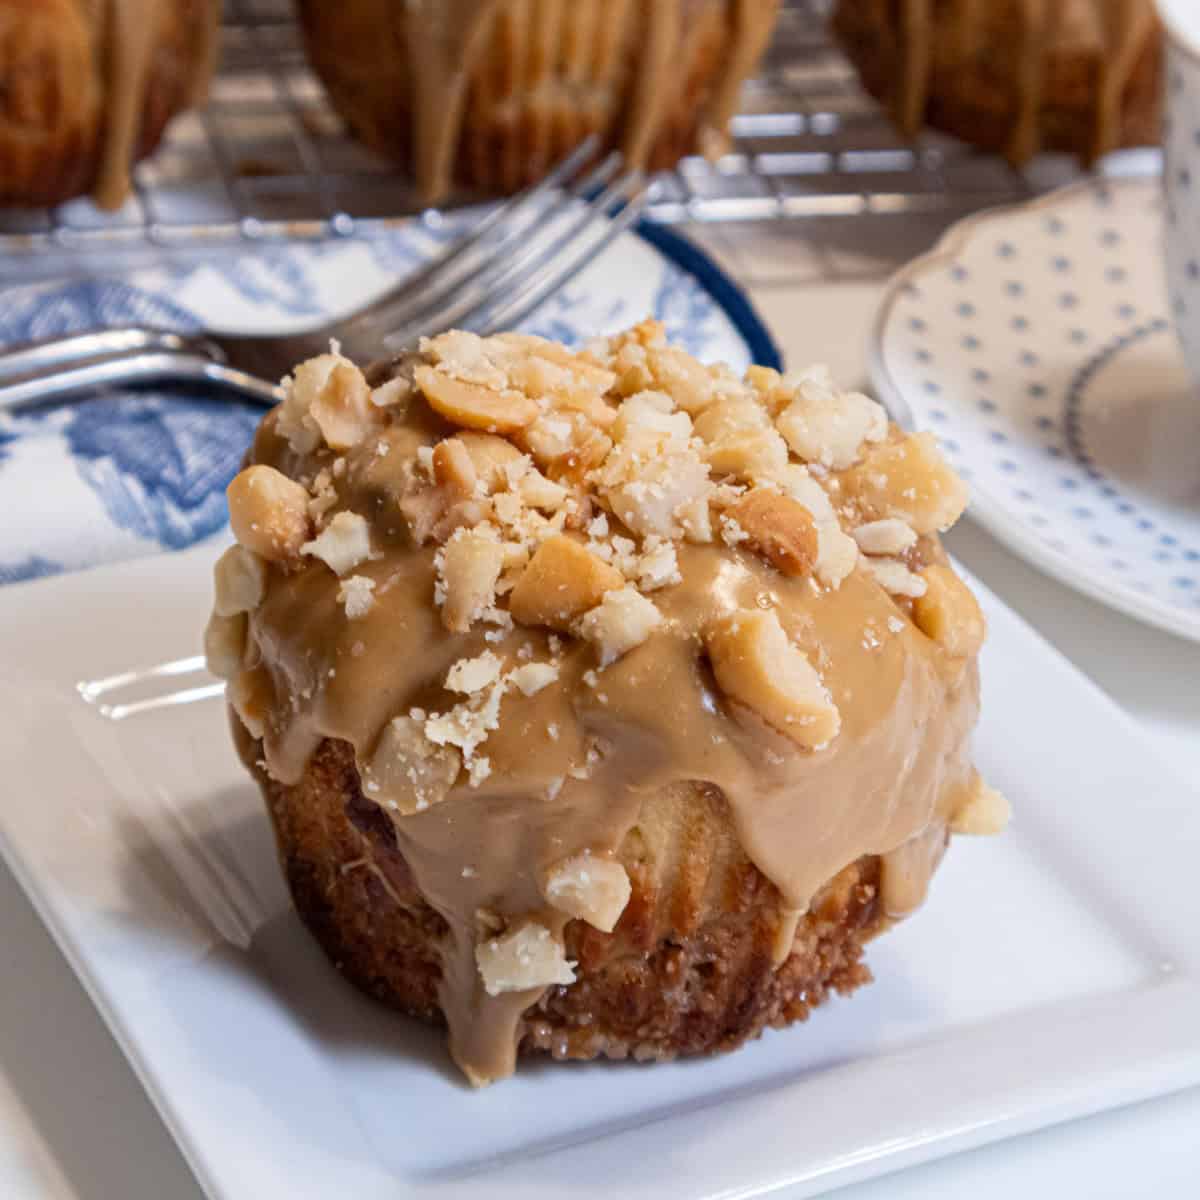
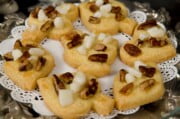
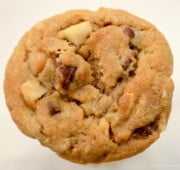
Macadamia And Coconut Tart
This Macadamia and Coconut Tart has a backstory I love — it started as a white chocolate truffle recipe developed for a client during the truffle craze of the late '80s, and it was so good I turned it into a tart. Toasted macadamia nuts, toasted coconut, cream of coconut, and a whisper of dark rum all folded into a white chocolate truffle filling in a simple graham cracker crust — no oven required. The only thing standing between you and this dessert is making sure you don't overheat the white chocolate, and I'll walk you through exactly how to handle that.