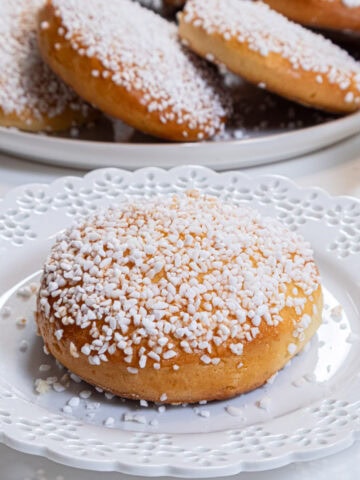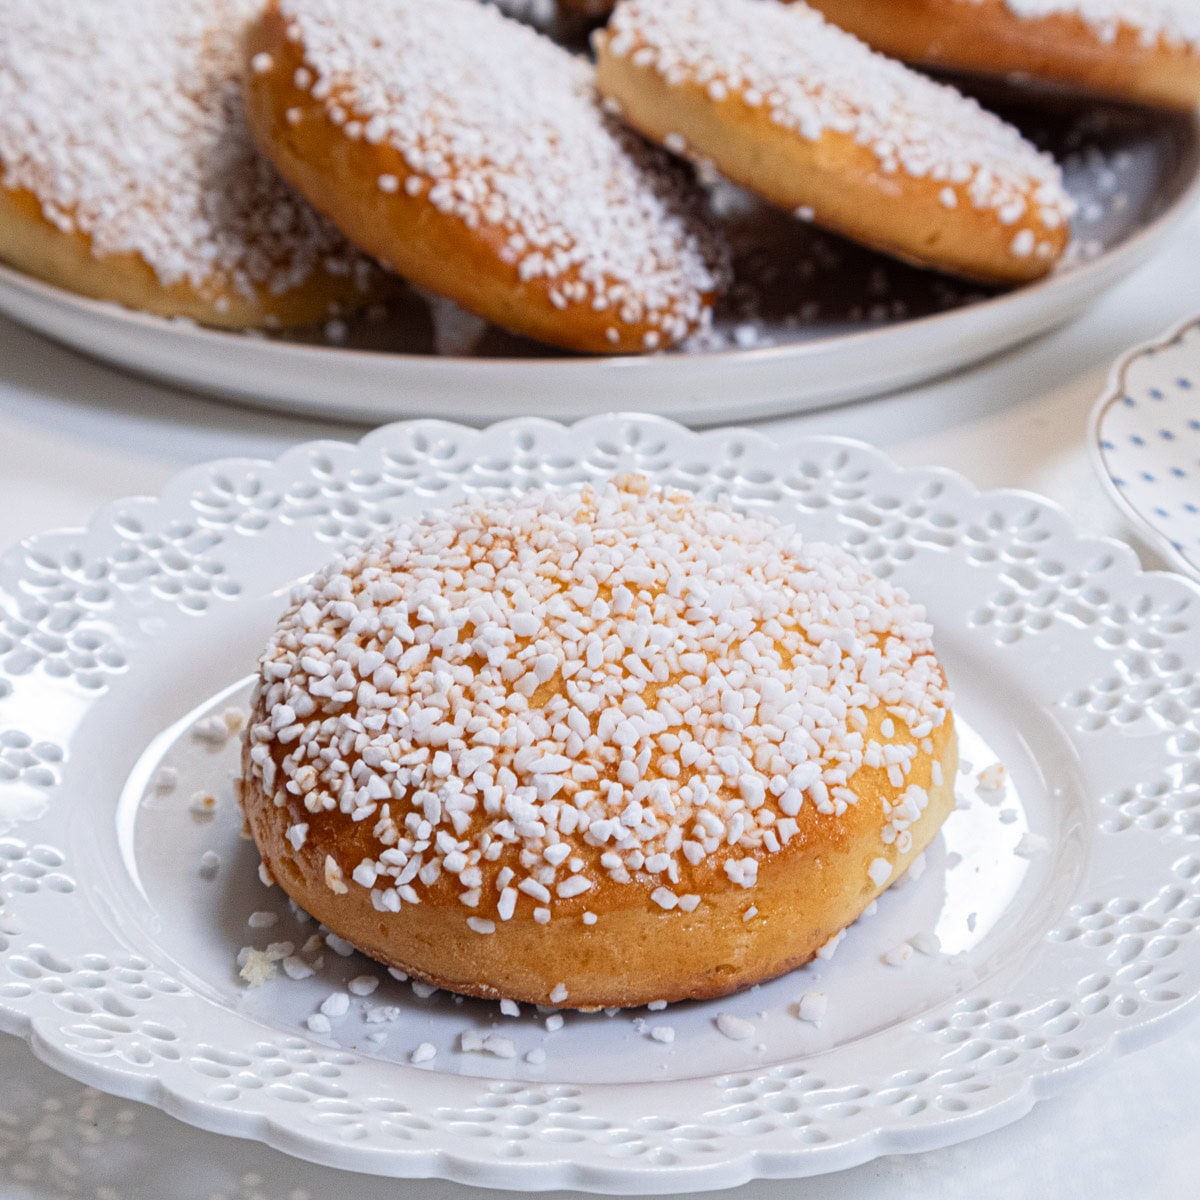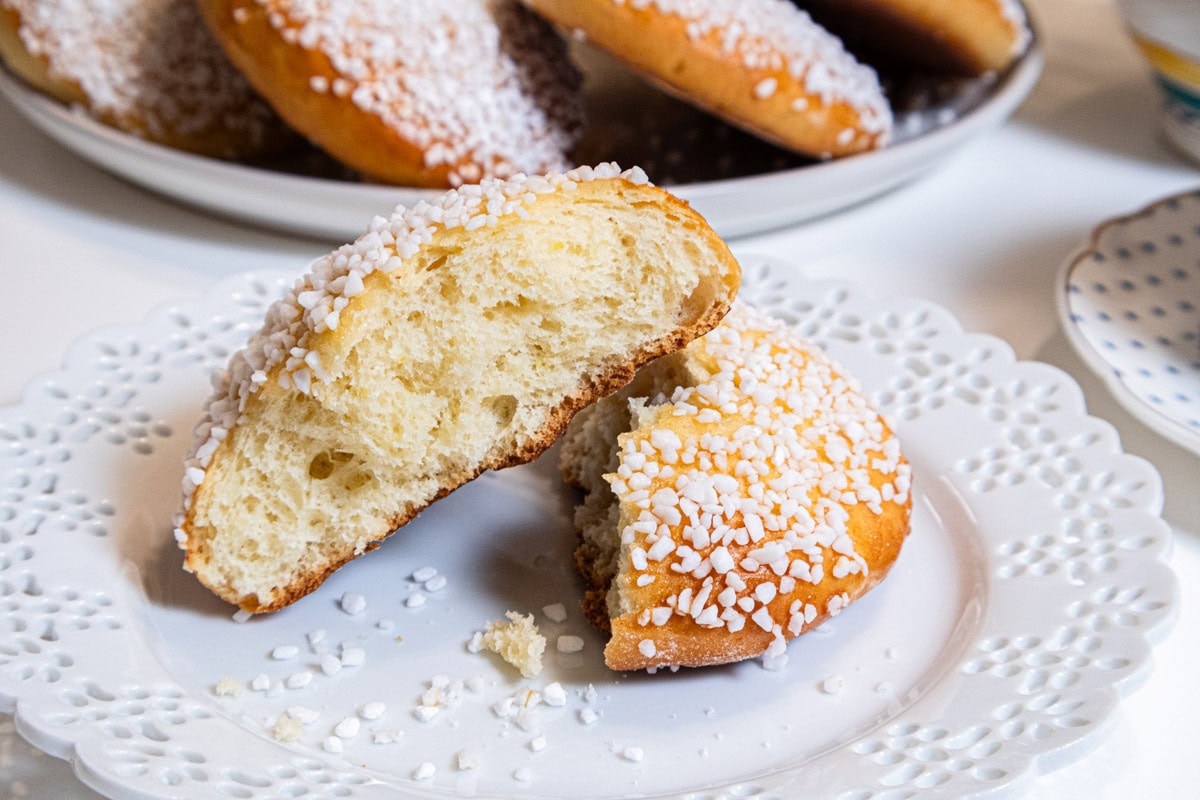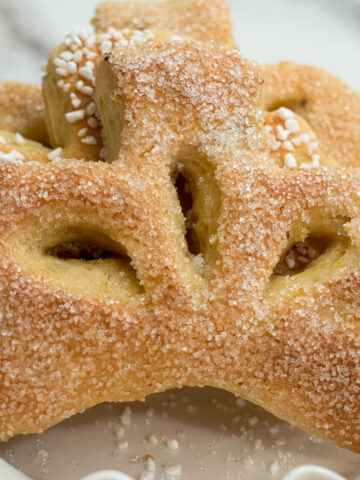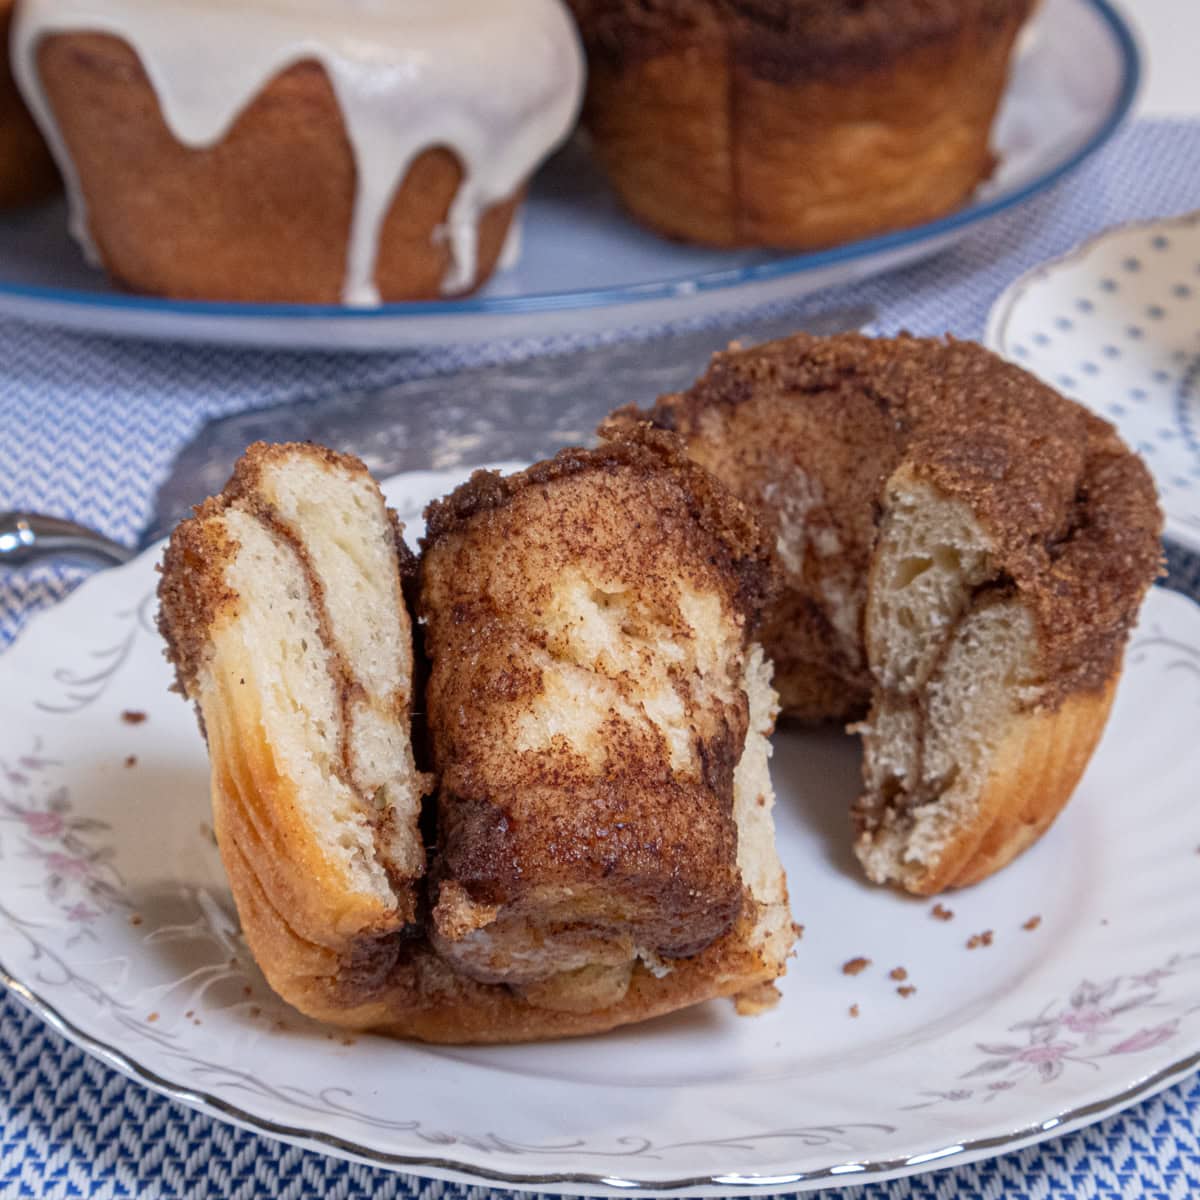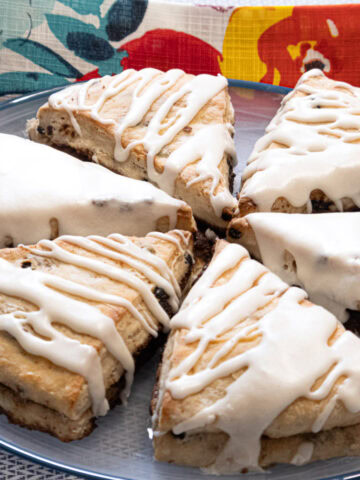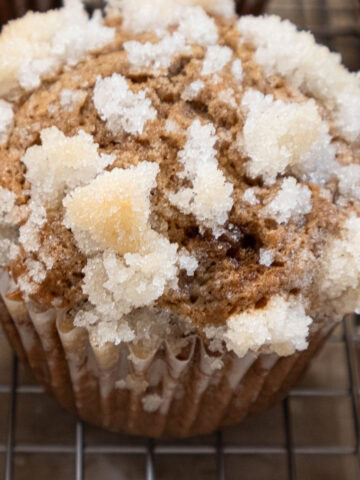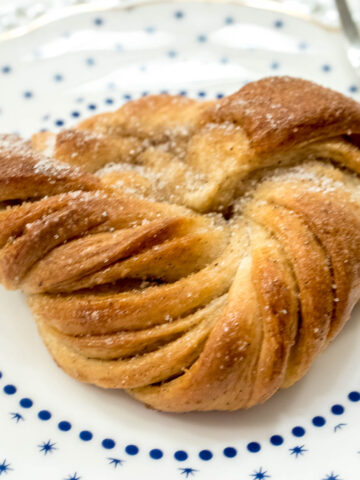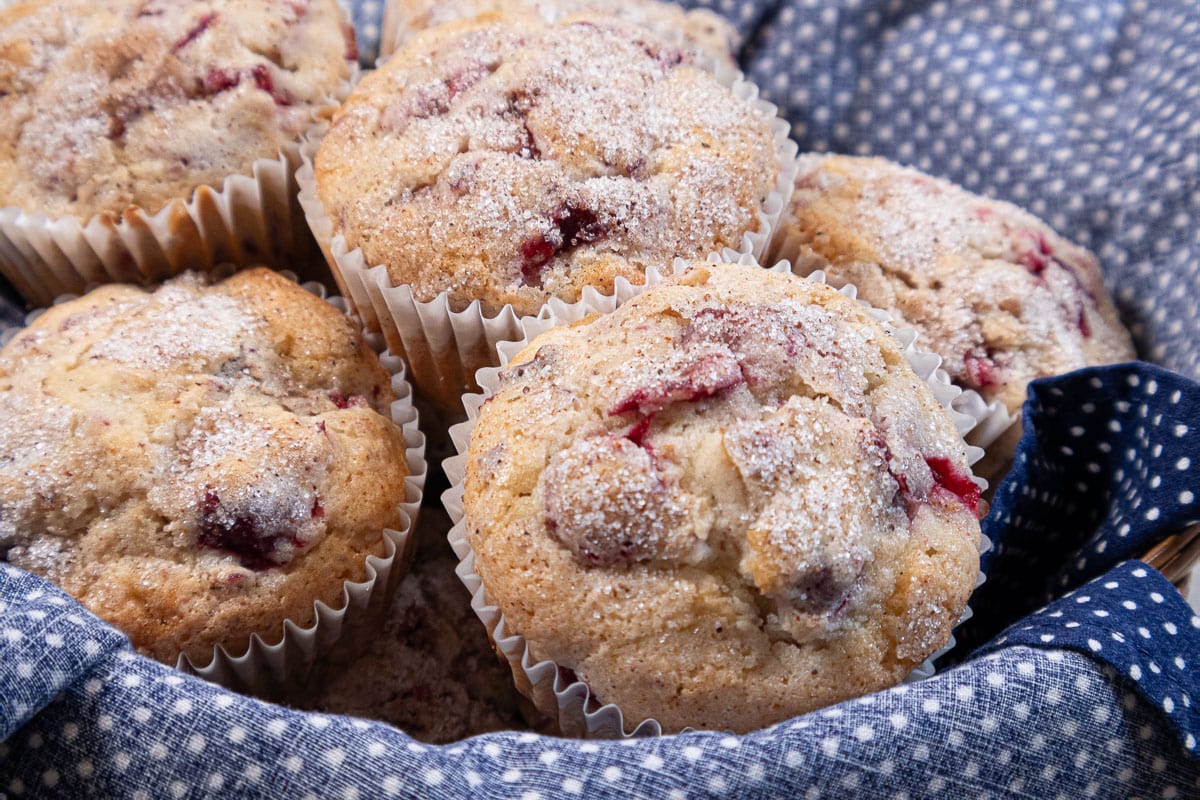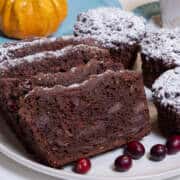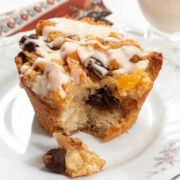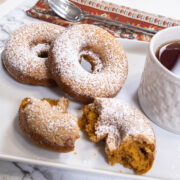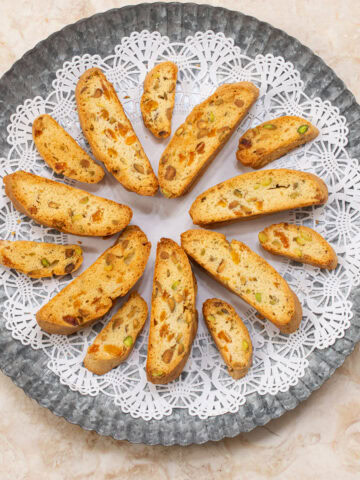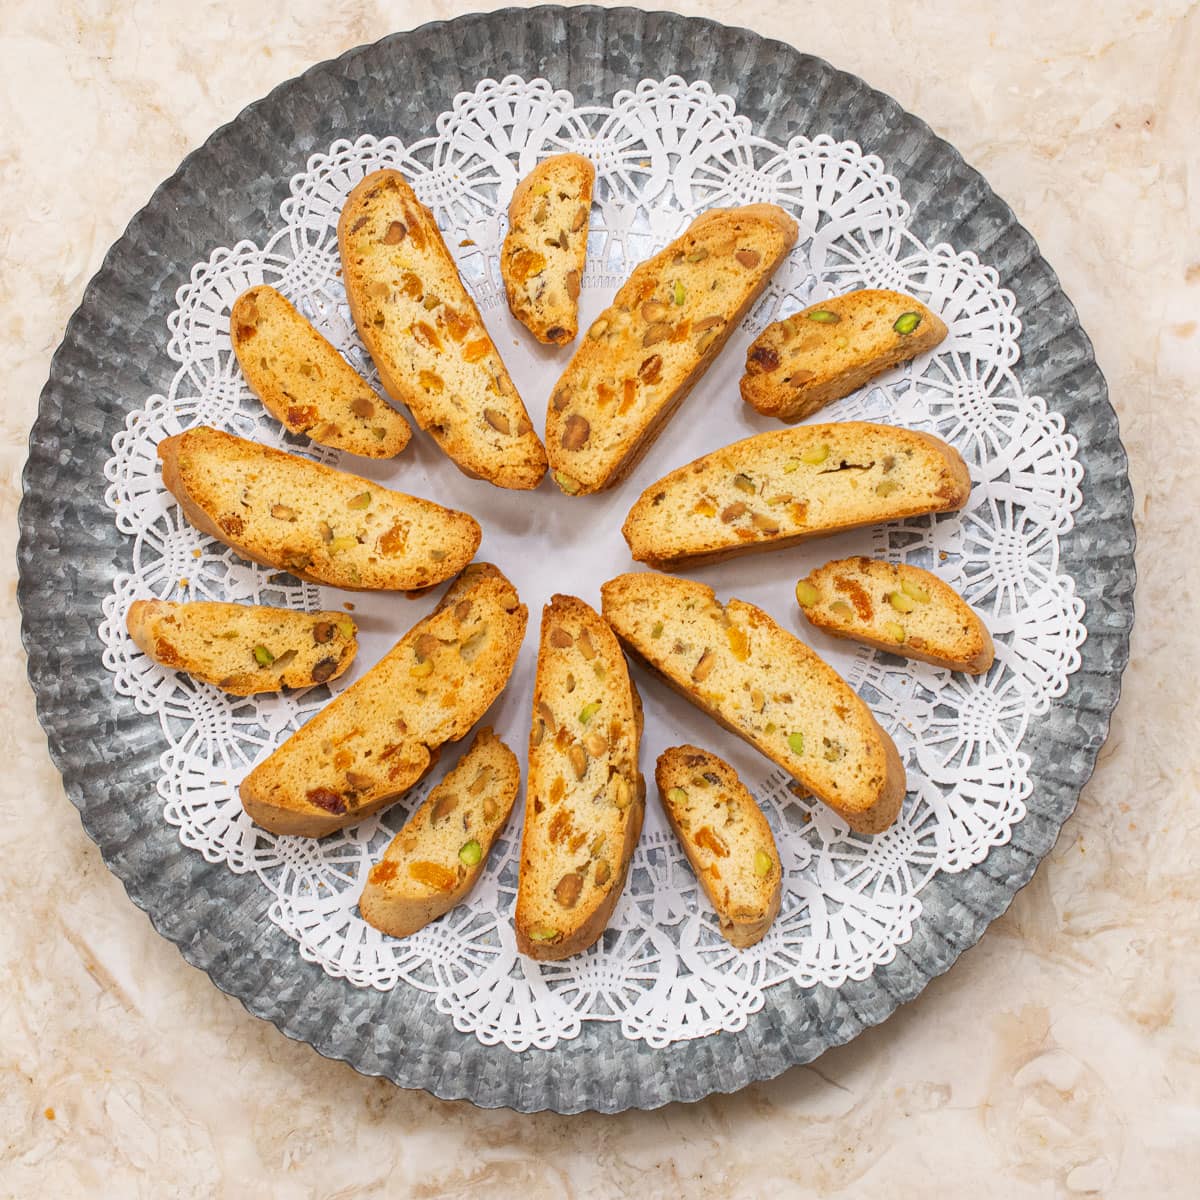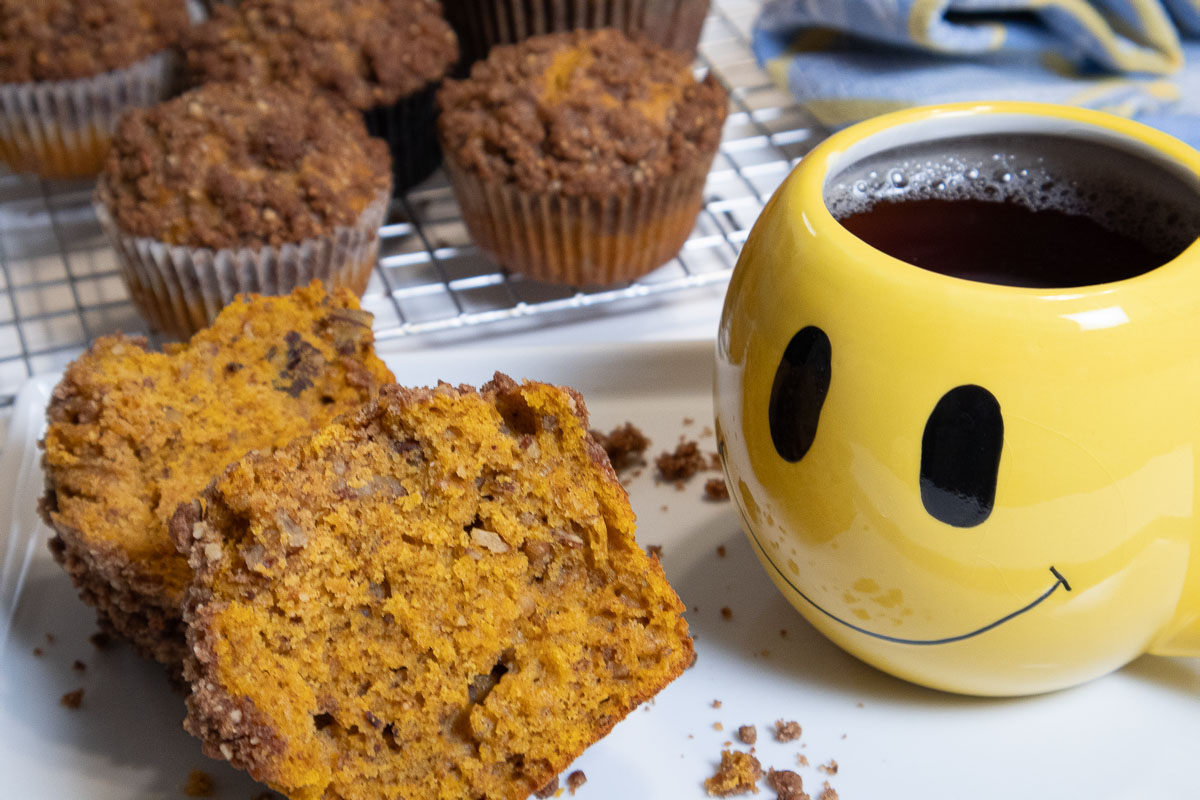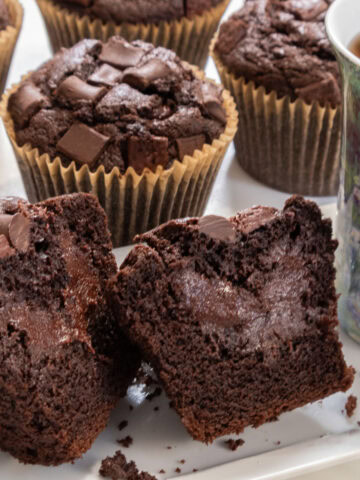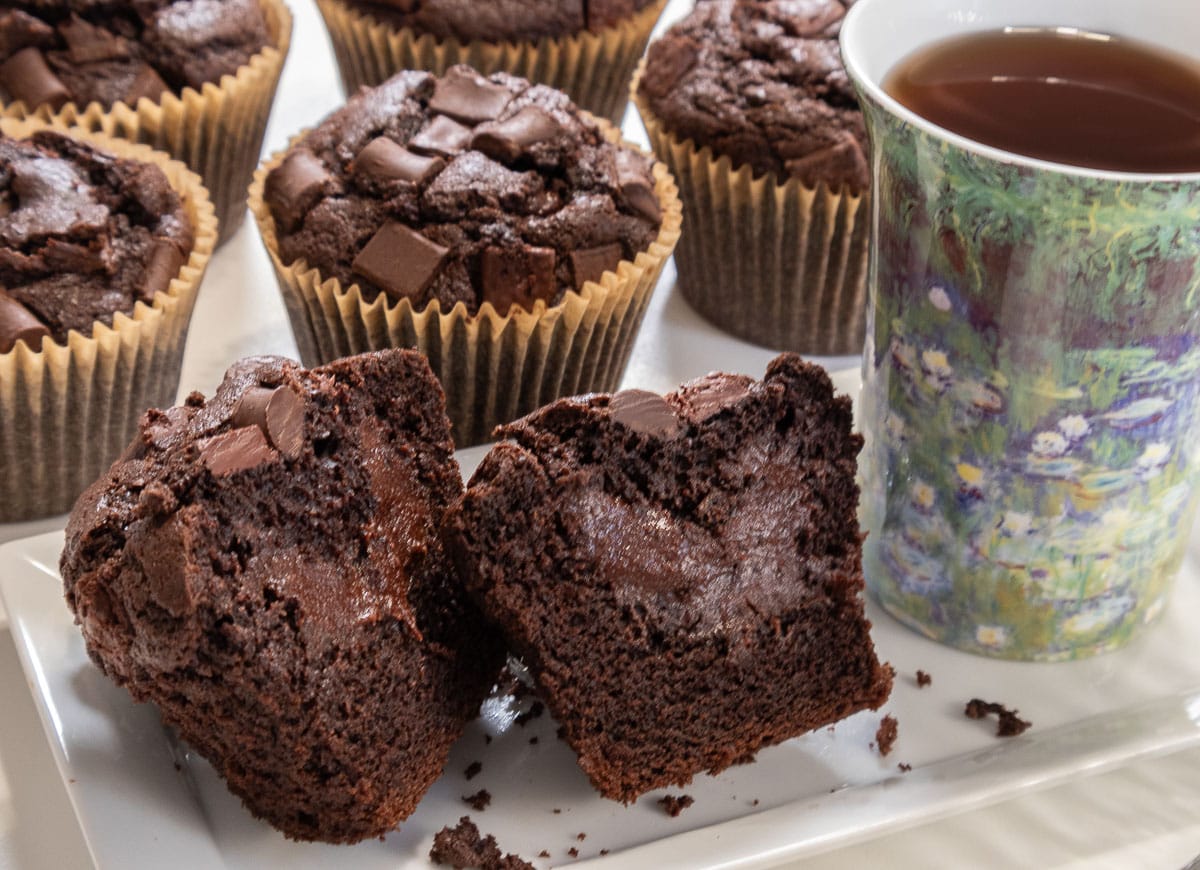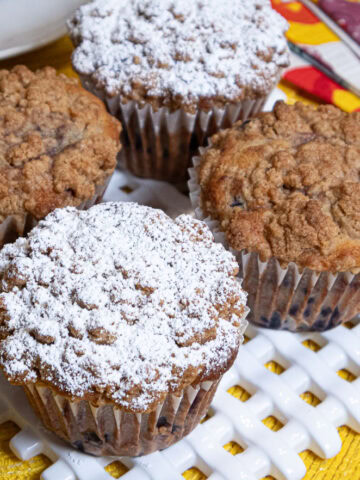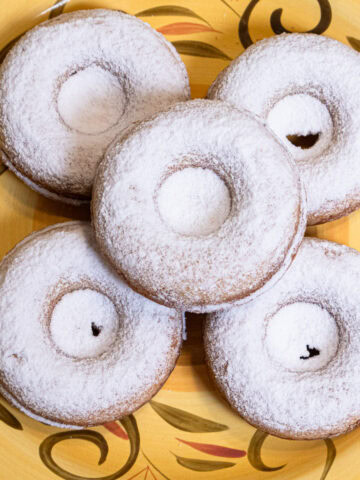
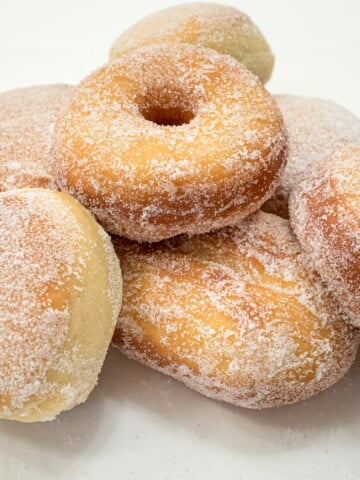
This Crumbed Baked Cake Donuts Recipe is not only super easy but fantastically good! It requires no special ingredients, is made in minutes and bakes even faster. They are light as a feather and freeze for later. Anyone can make these they are so simple. This is a recipe you don't want to pass up.

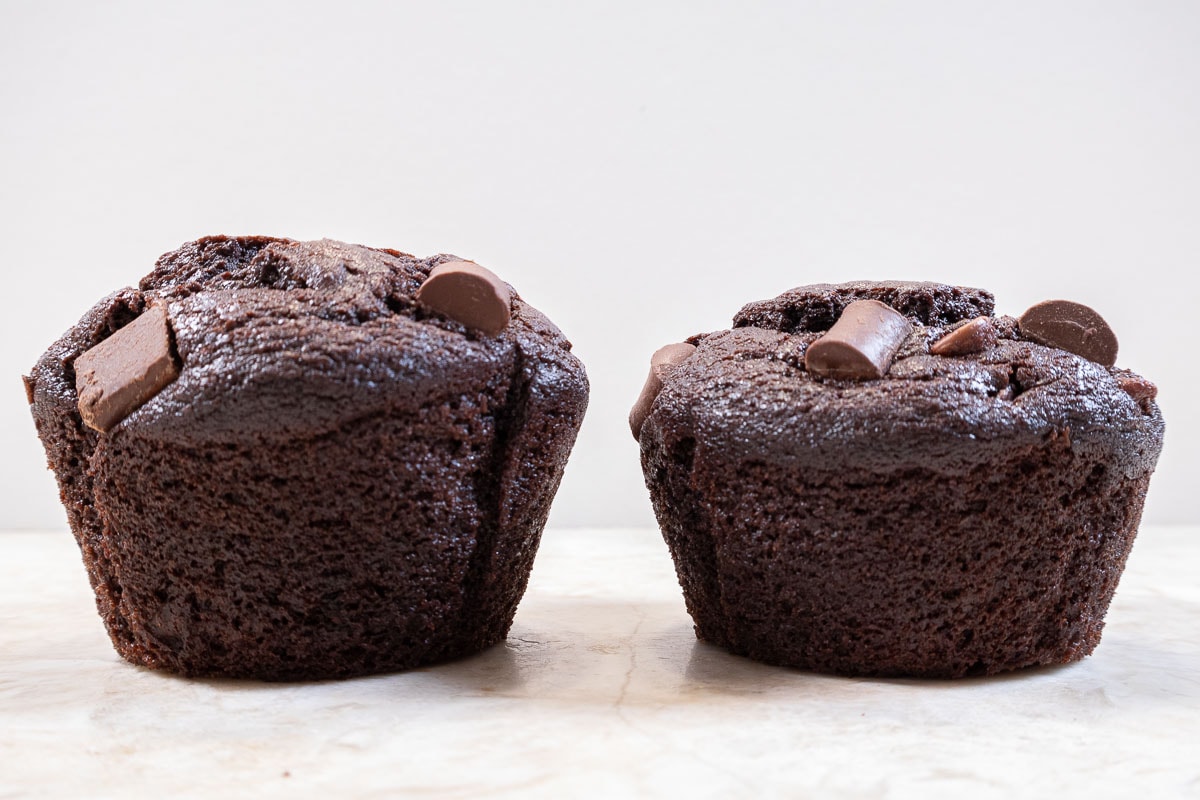
Even better, if you don't have a donut pan a regular size muffin pan will do. I'll show you both.
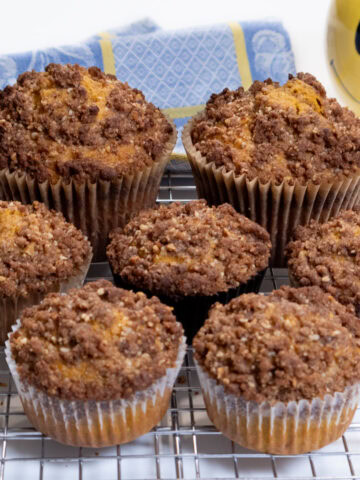
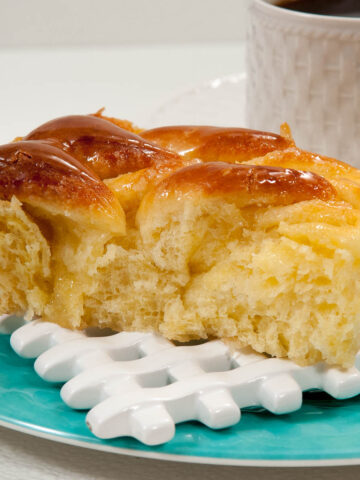
Interested in more donuts? Check out these recipes: Pumpkin Cake Donut Recipe, Irresistible French Beignets, Apple Cake Doughnuts, Apple Fritters with Speculaas Spice, Carrot Cake Baked Doughnuts, or the best yeasted doughnuts around Fresh as a Daisy Doughnuts.
[feast_advanced_jump_to]So Where are the Crumbs?
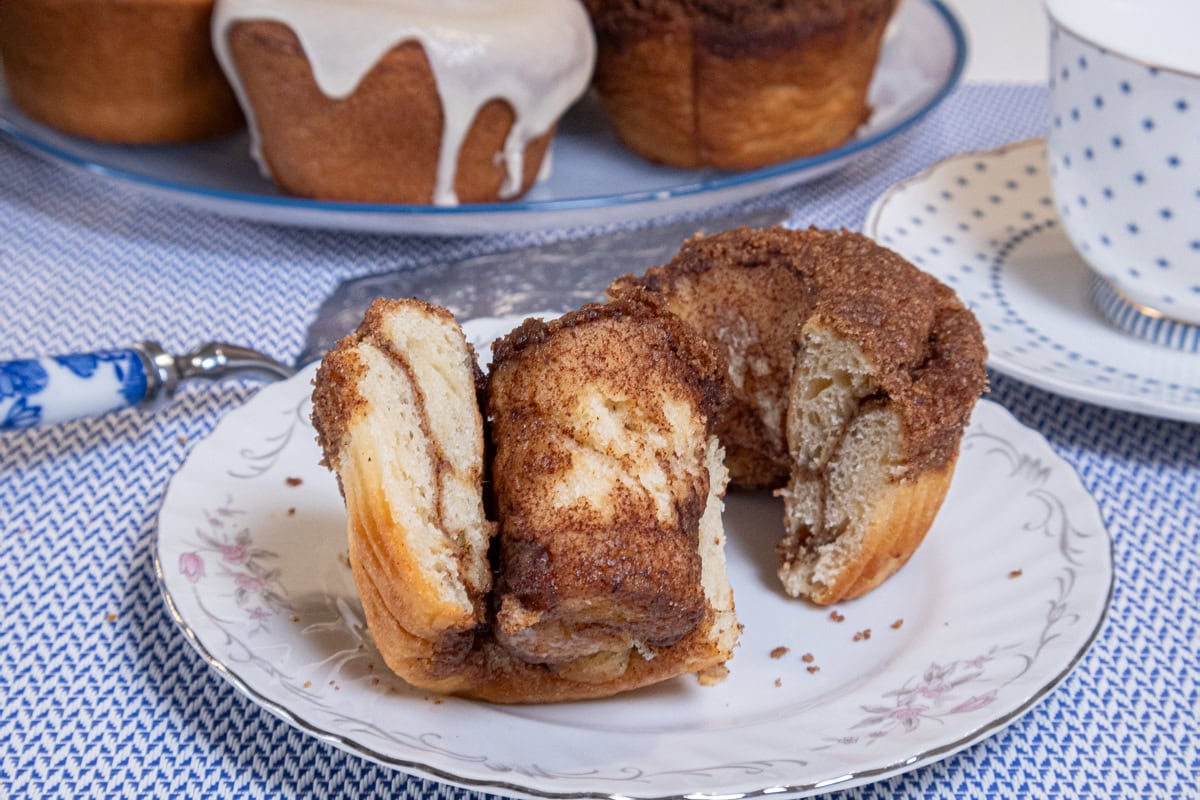
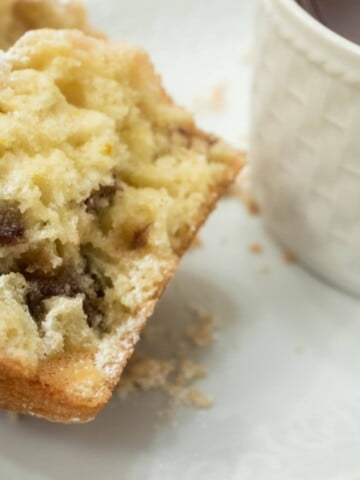
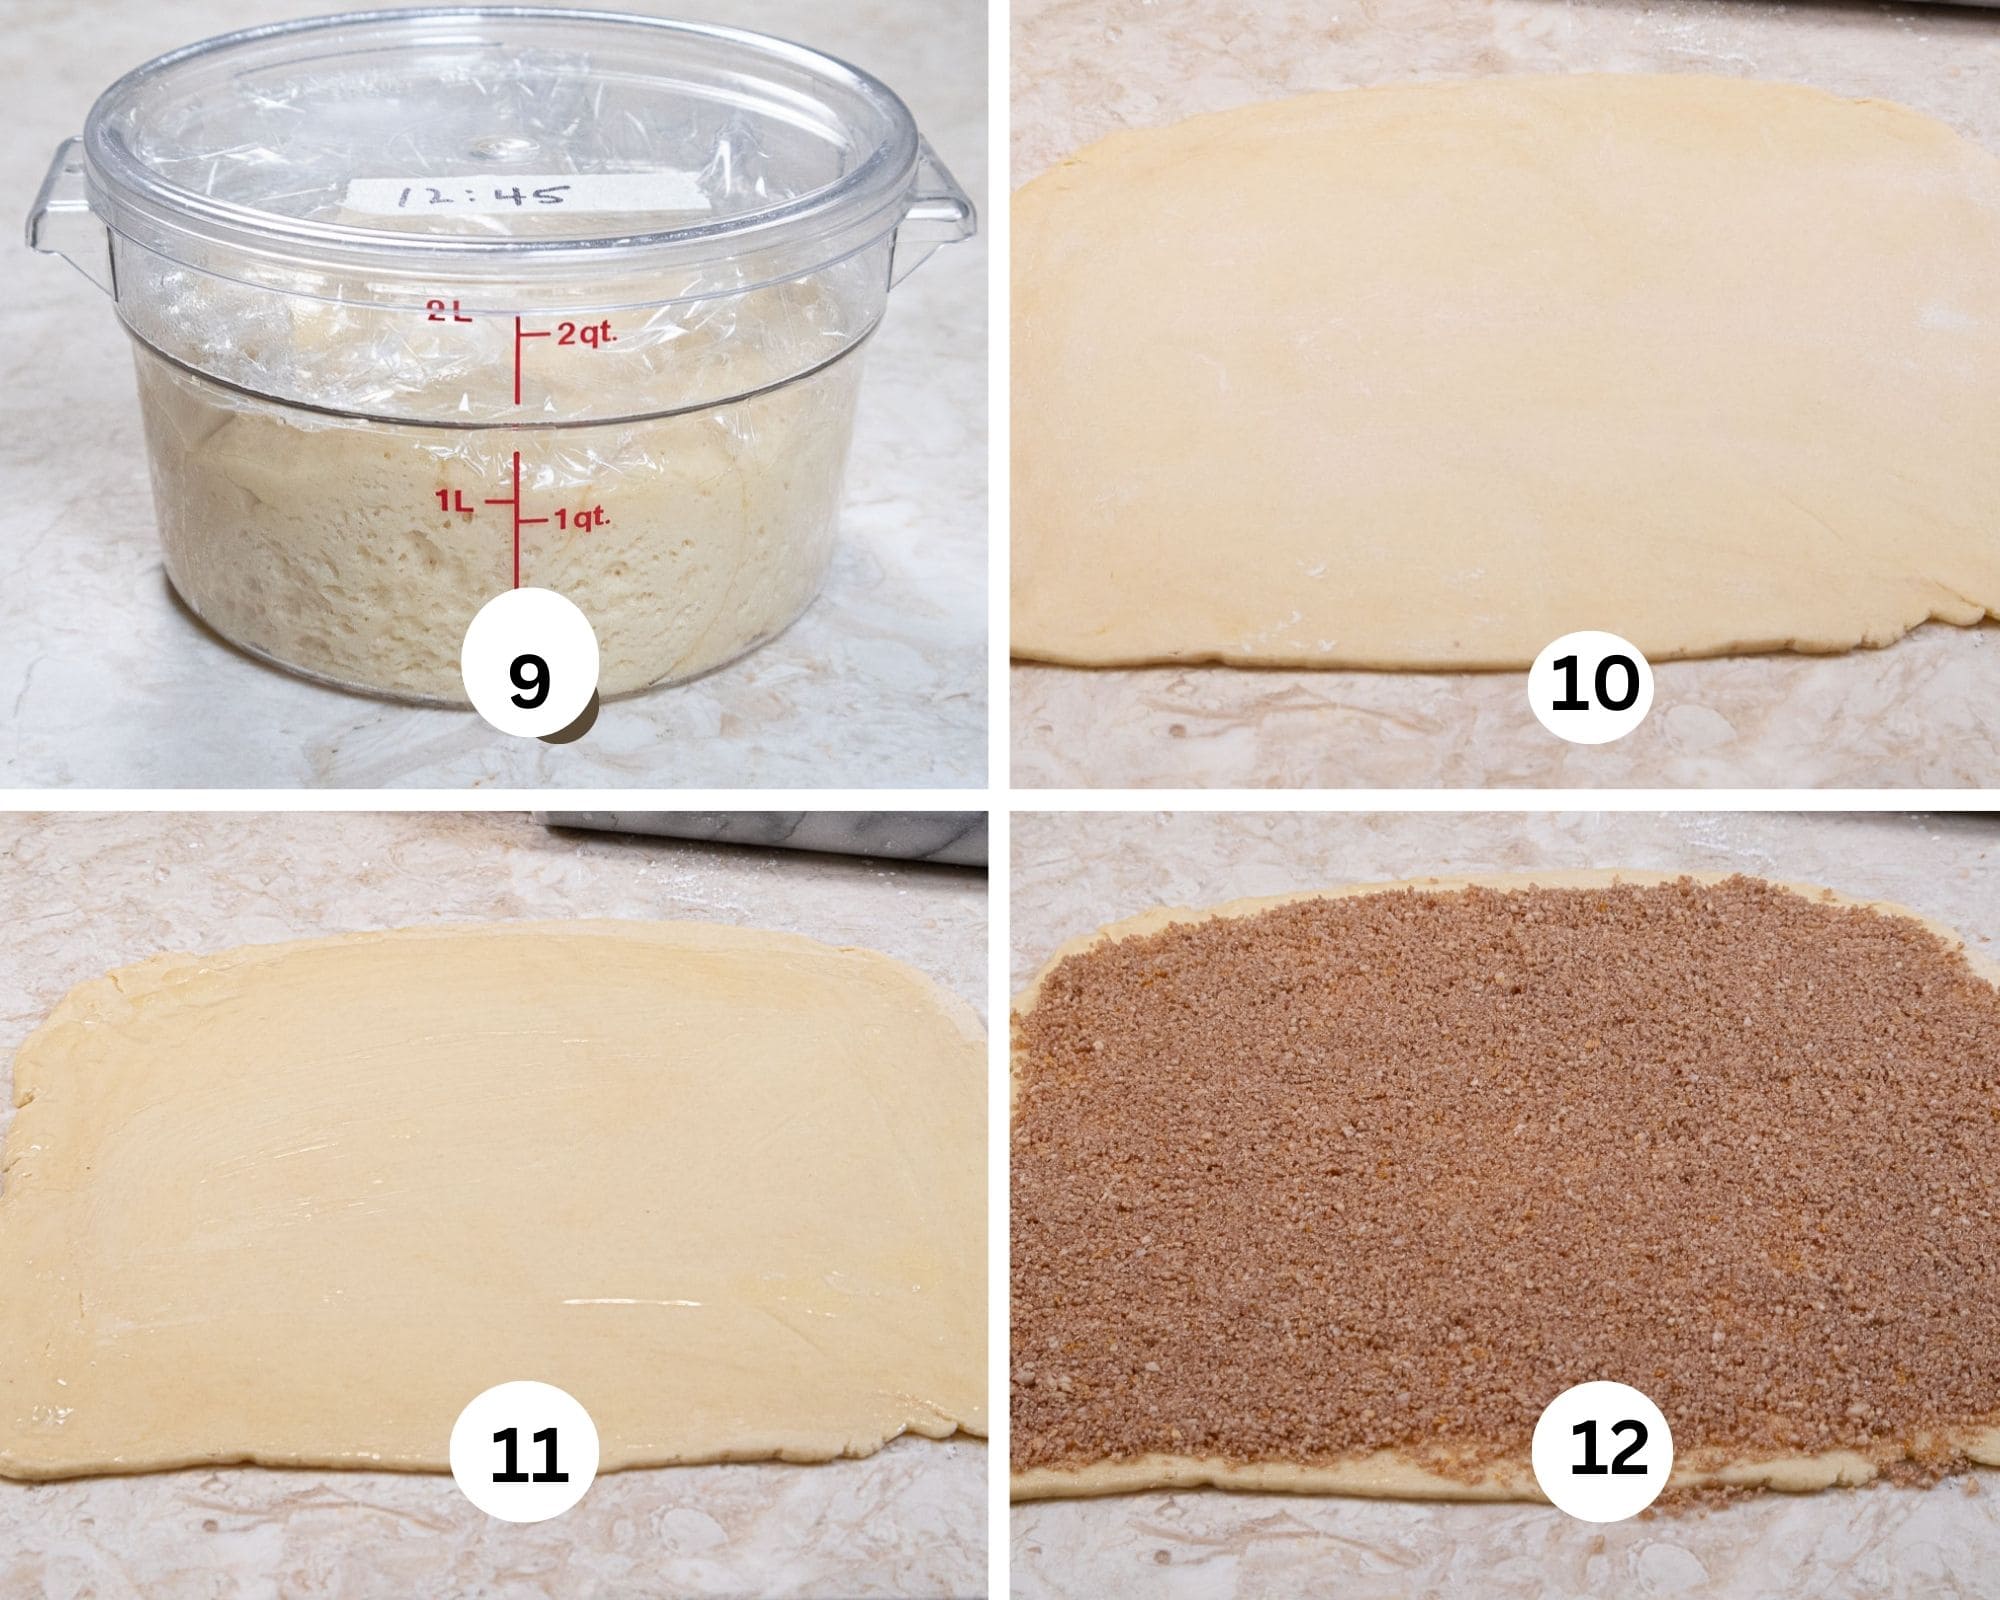
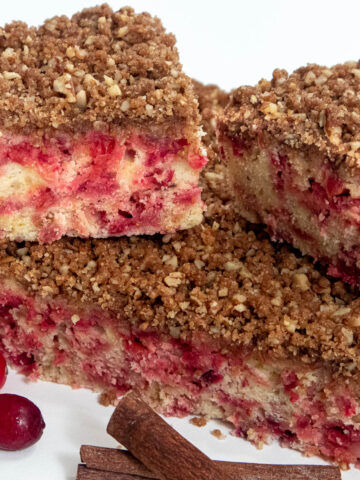
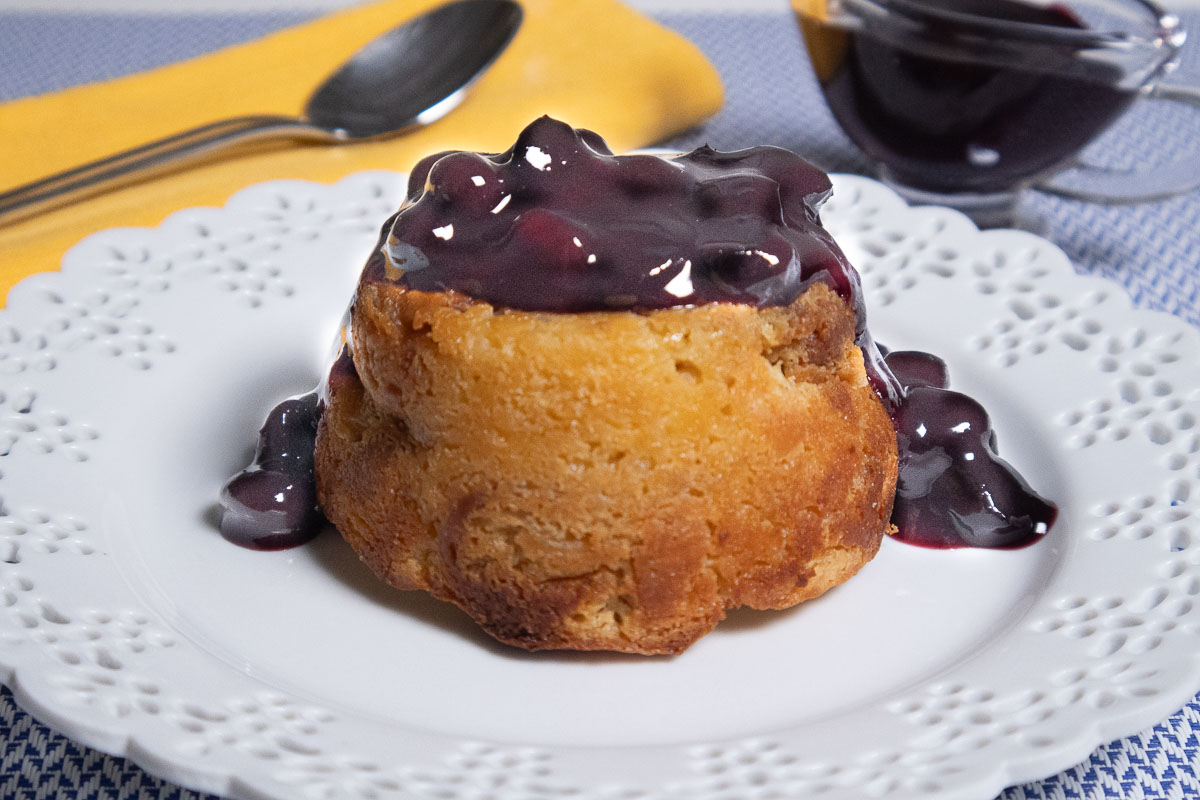
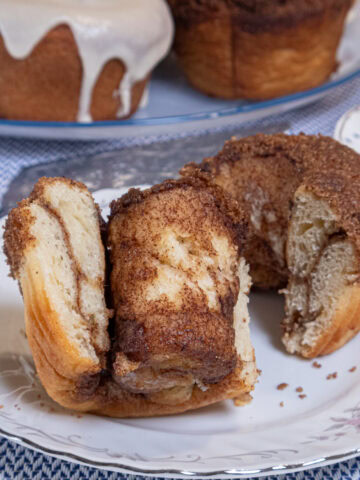
When I initially made these, I put crumbs on the top and on the bottom of the pans. The crumbs on the top just mostly sank into the batter as it rose. But the ones on the bottom were perfect. So they are technically on the bottom but when turned out cover the doughnut perfectly, just in a packed form.
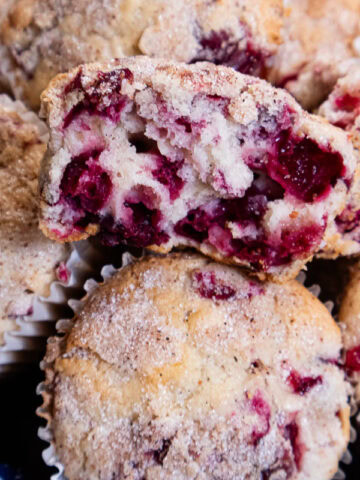
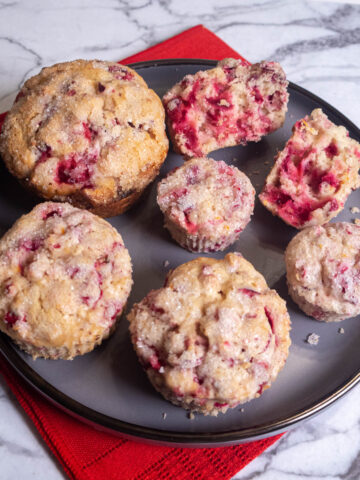
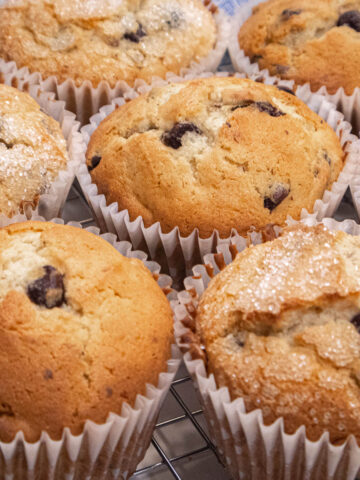
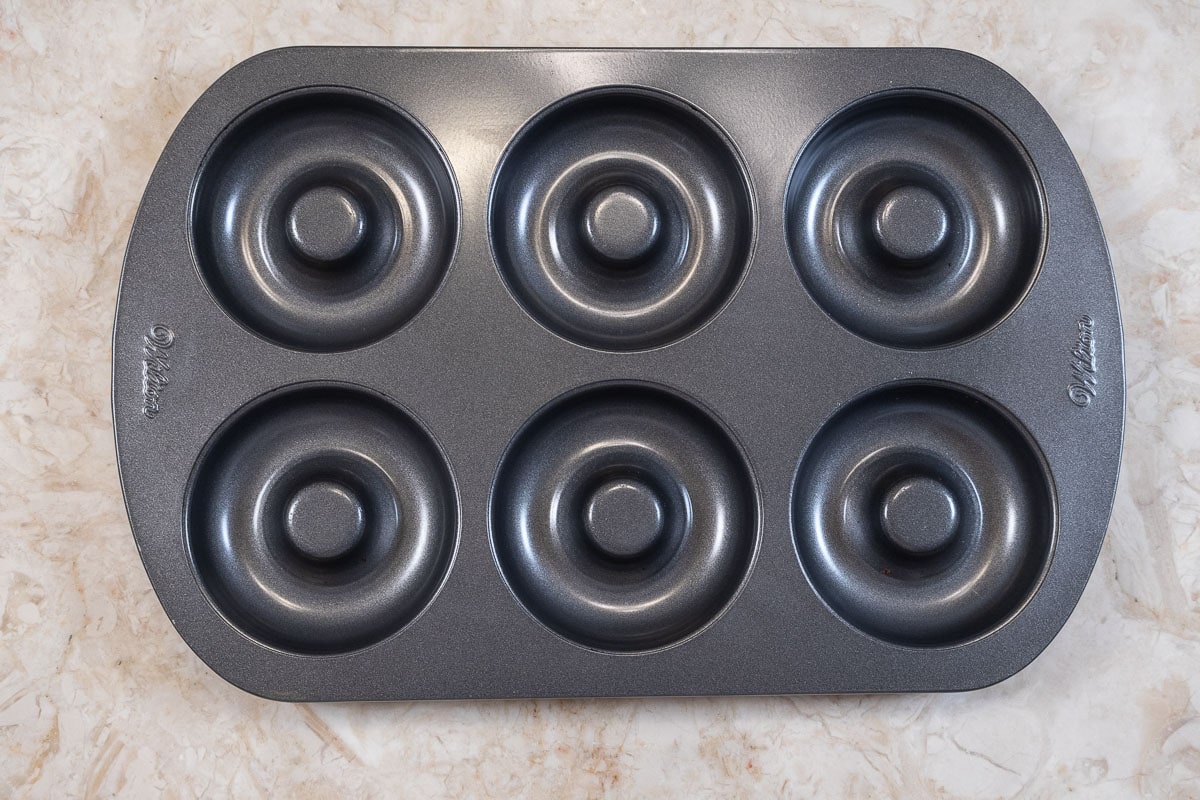
What if I Don't Have a Donut Pan?
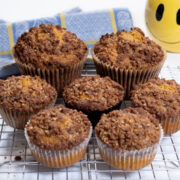
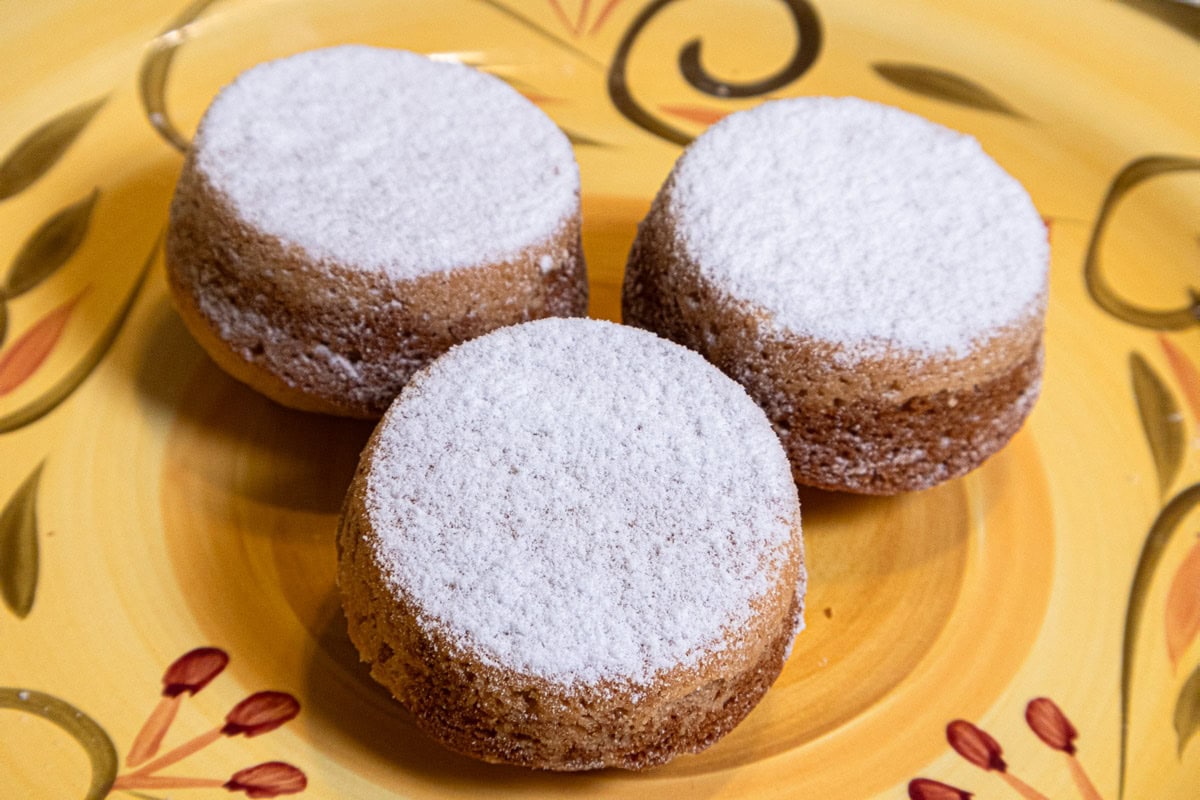
No worries. A regular size muffin pan works well and the holes are optional.
What if I Don't Have?
- If you don't have or don't like nutmeg, substitute cinnamon, cardamom would be super, grate a lemon or orange into the batter, add mini chocolate chips or finely cut nuts. The variations are endless.
- No cake flour? Sub all-purpose.
- Out of dark brown sugar? Use light brown sugar.
- No unsalted butter? Use salted butter and cut the salt in the recipes in half.
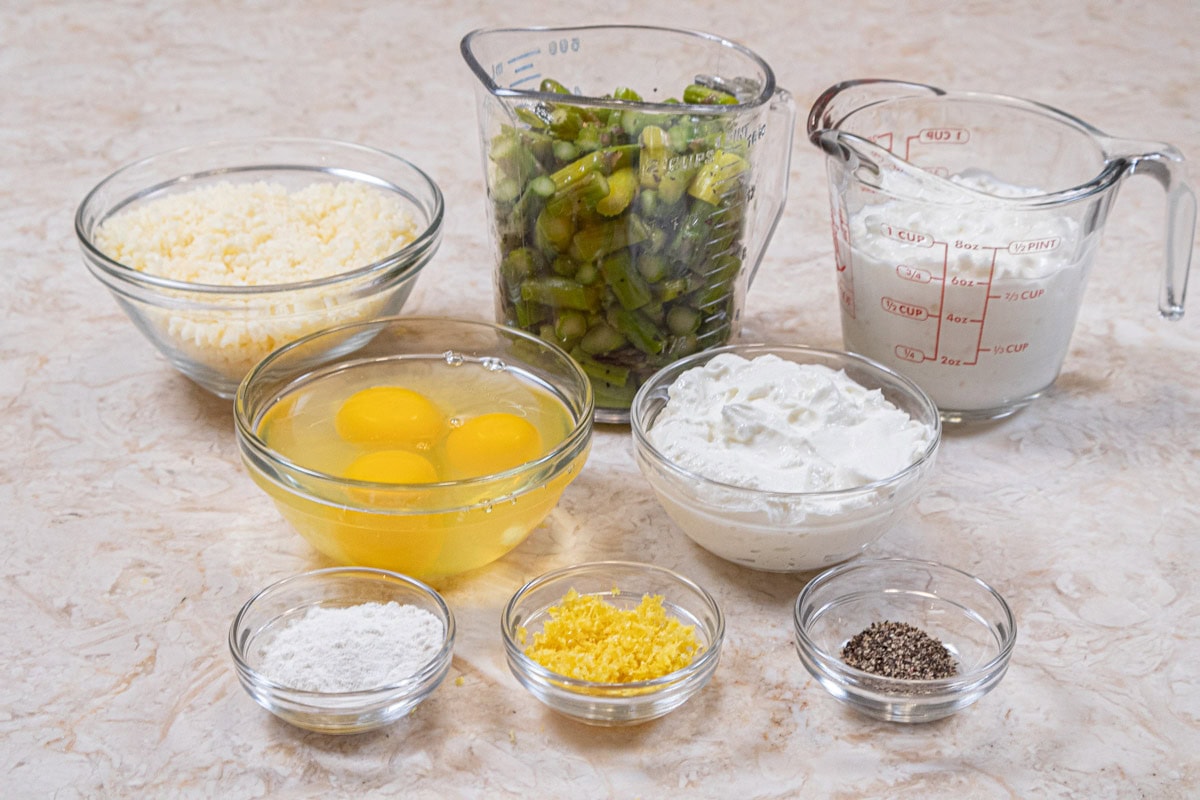
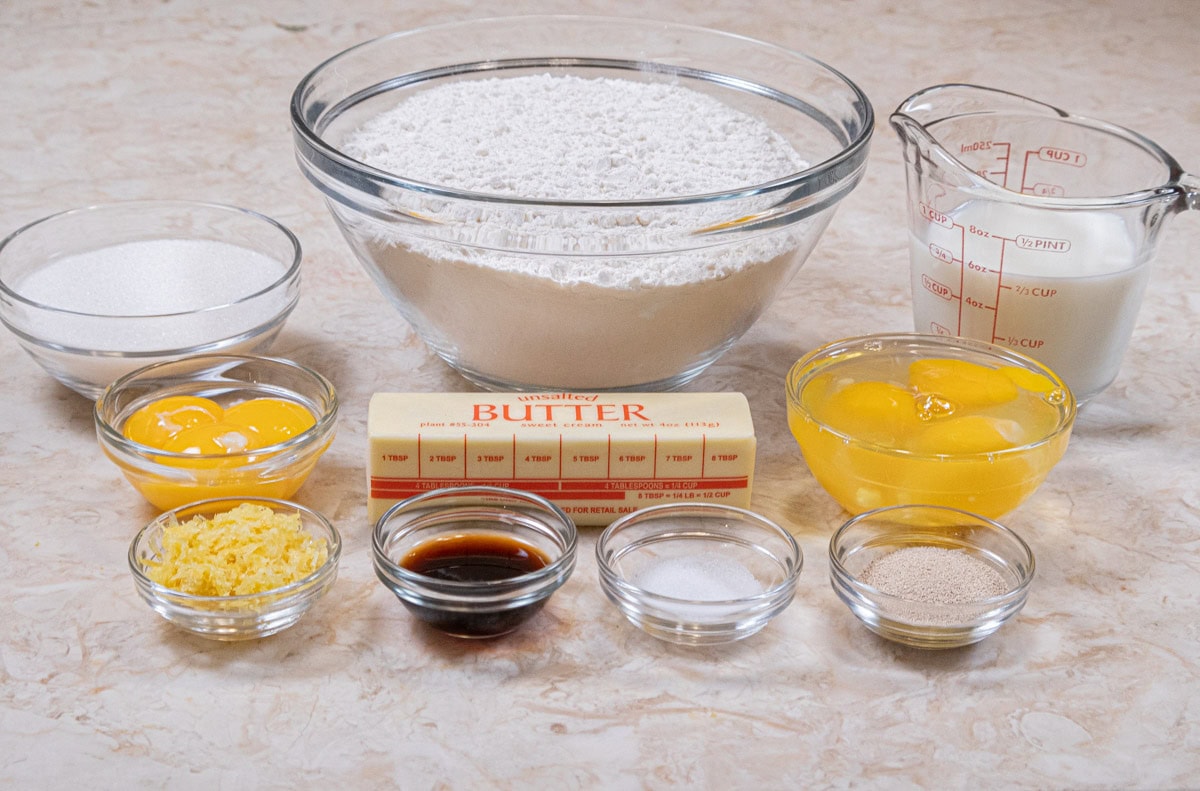
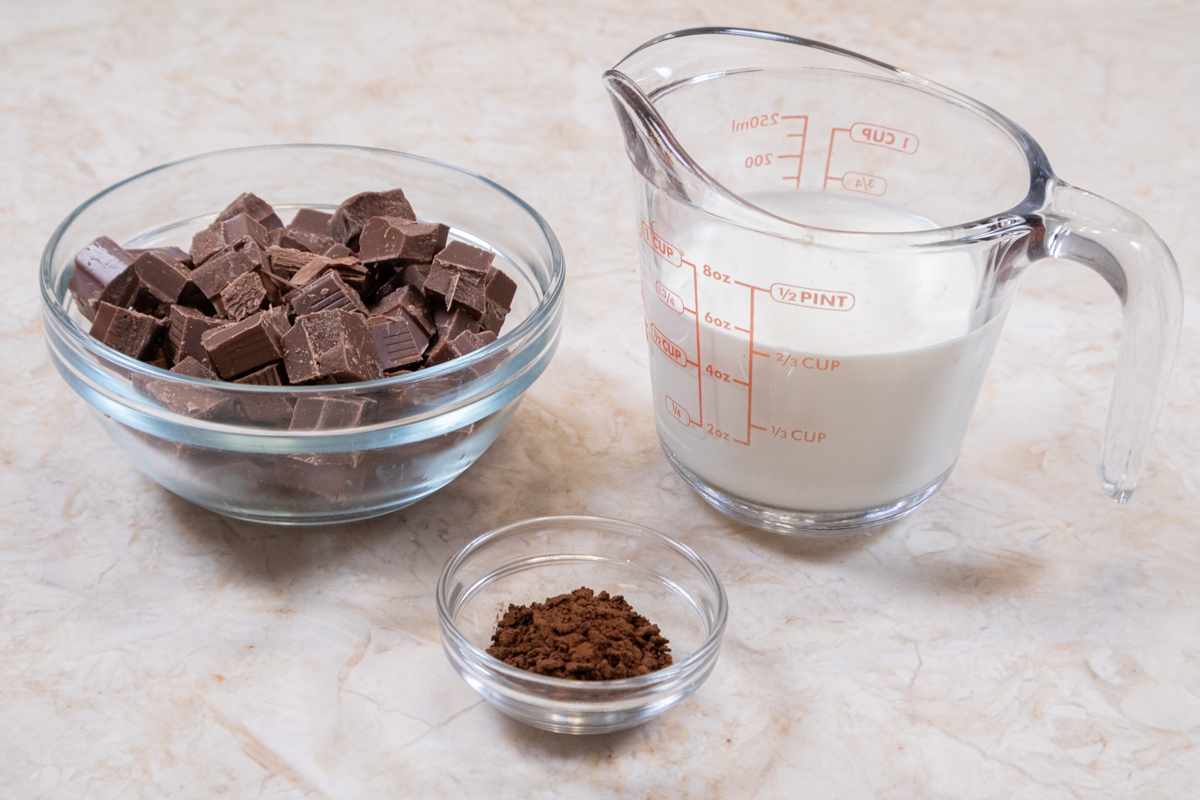
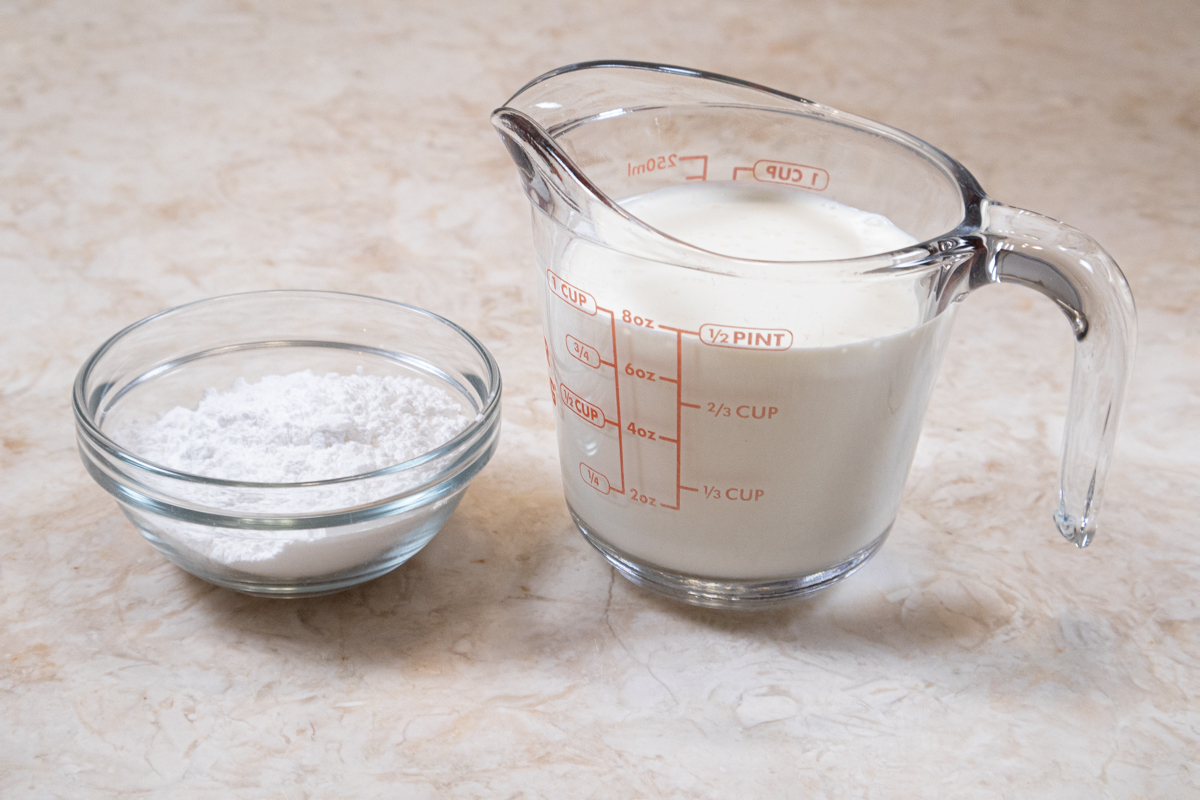
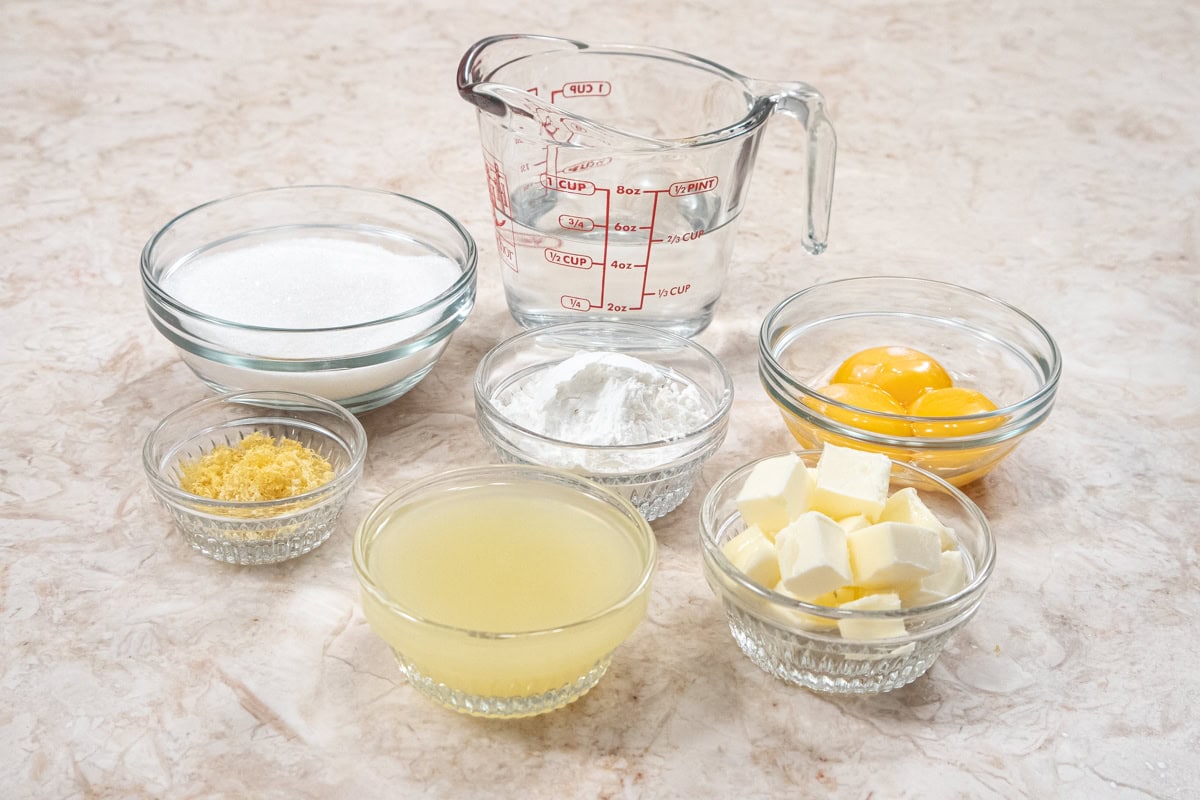
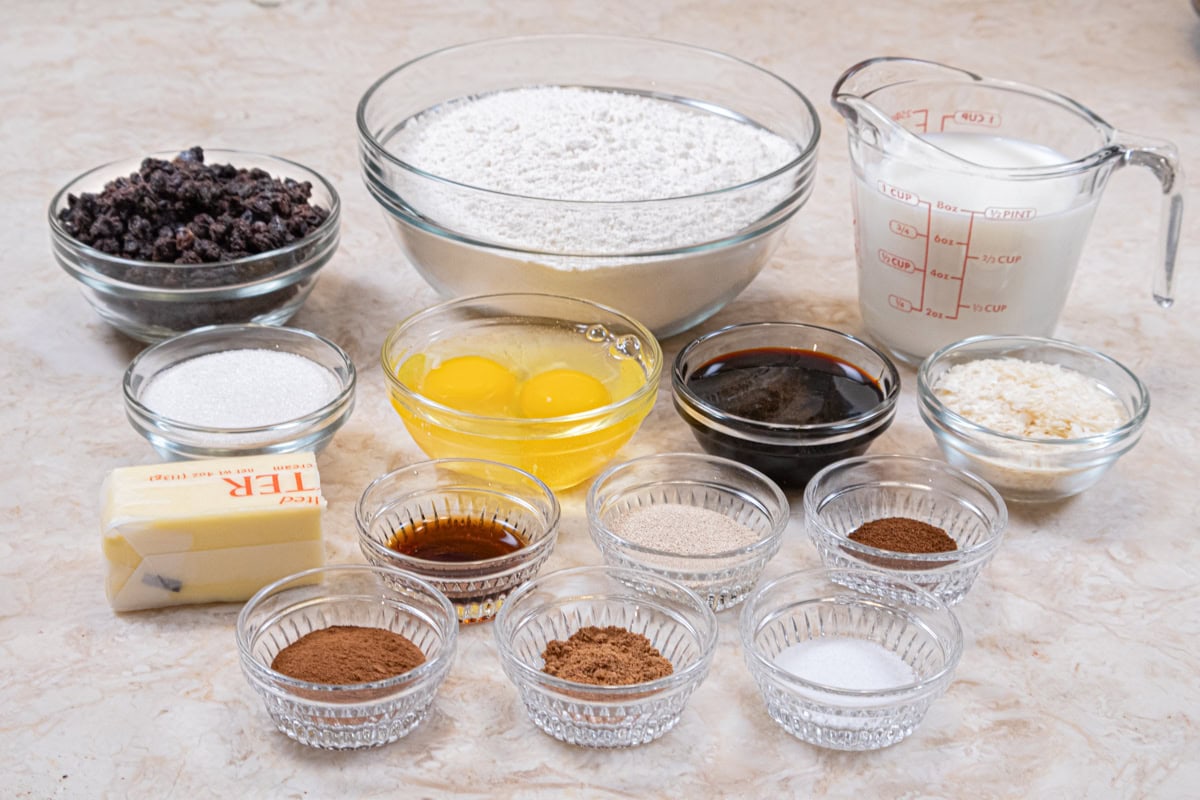
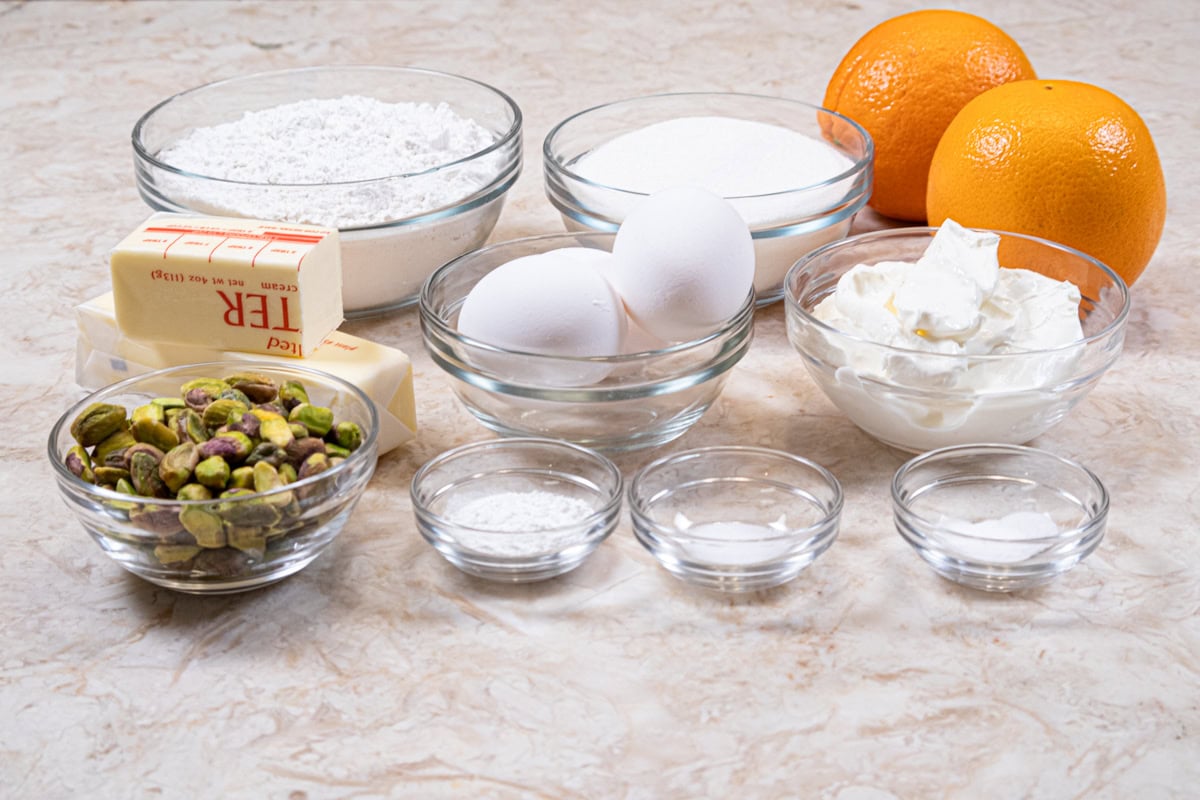
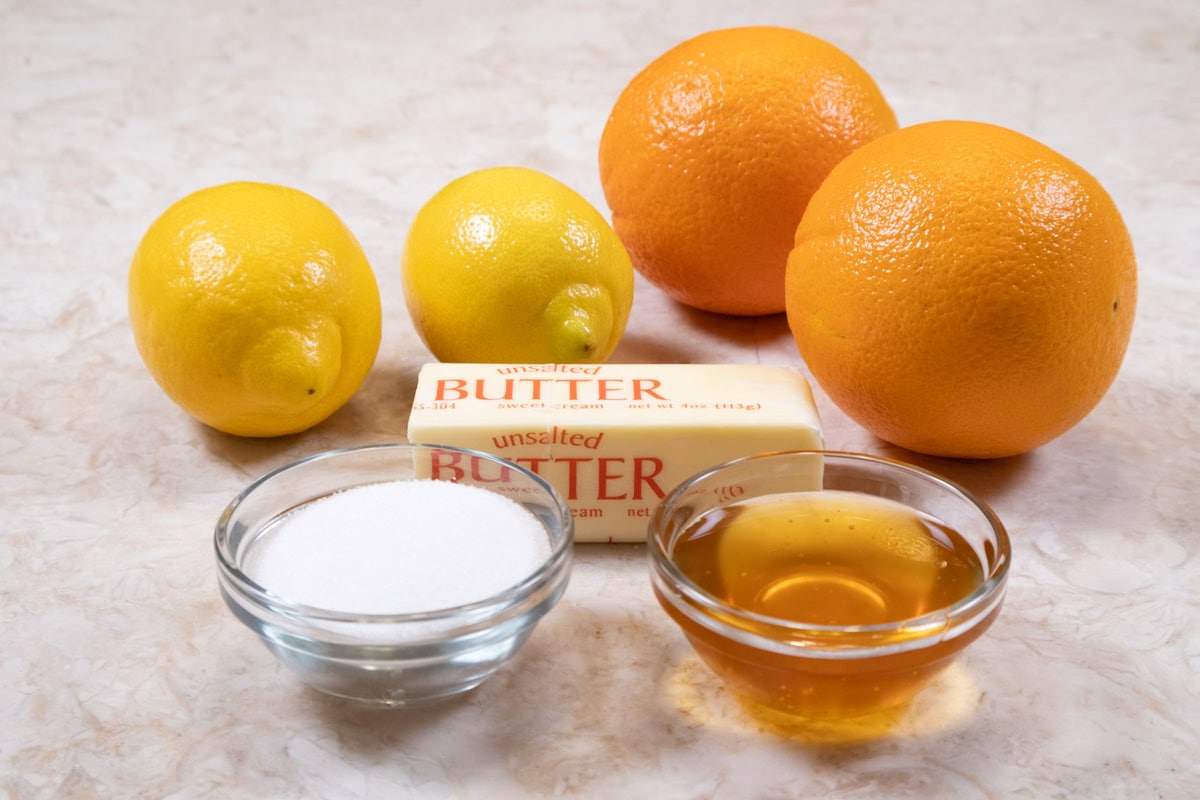
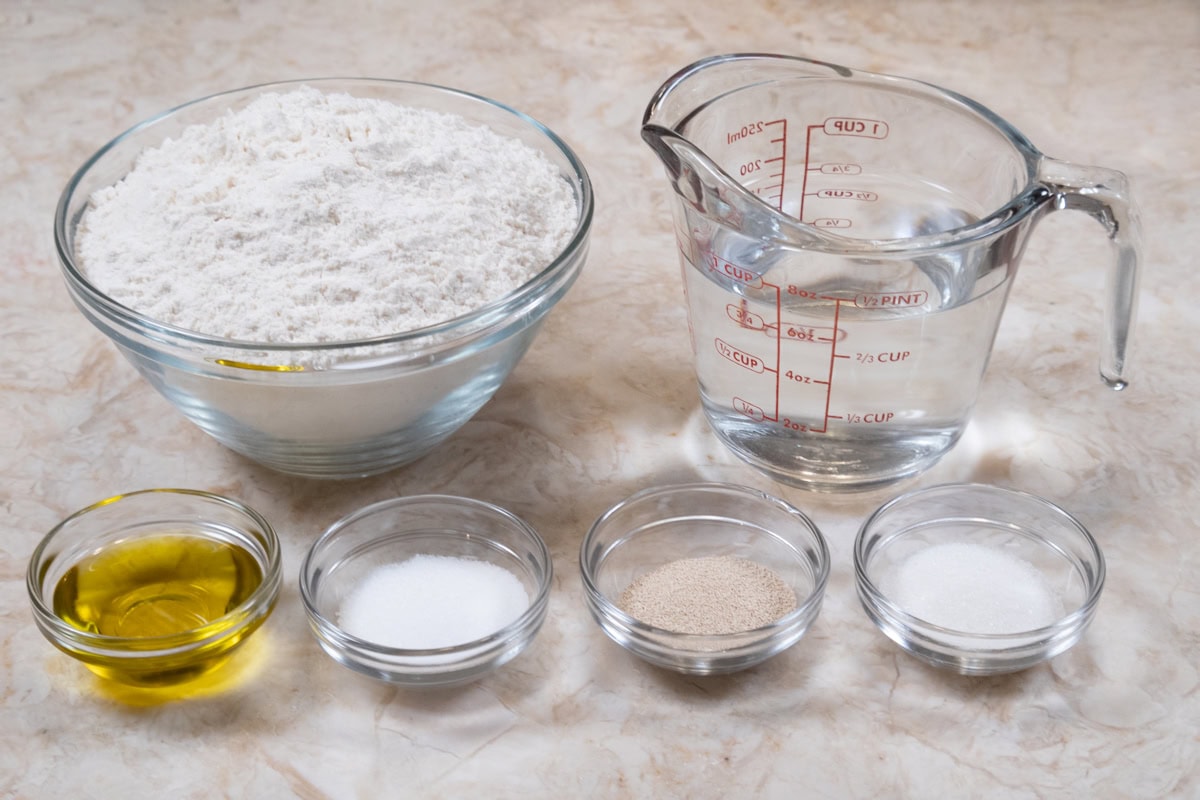
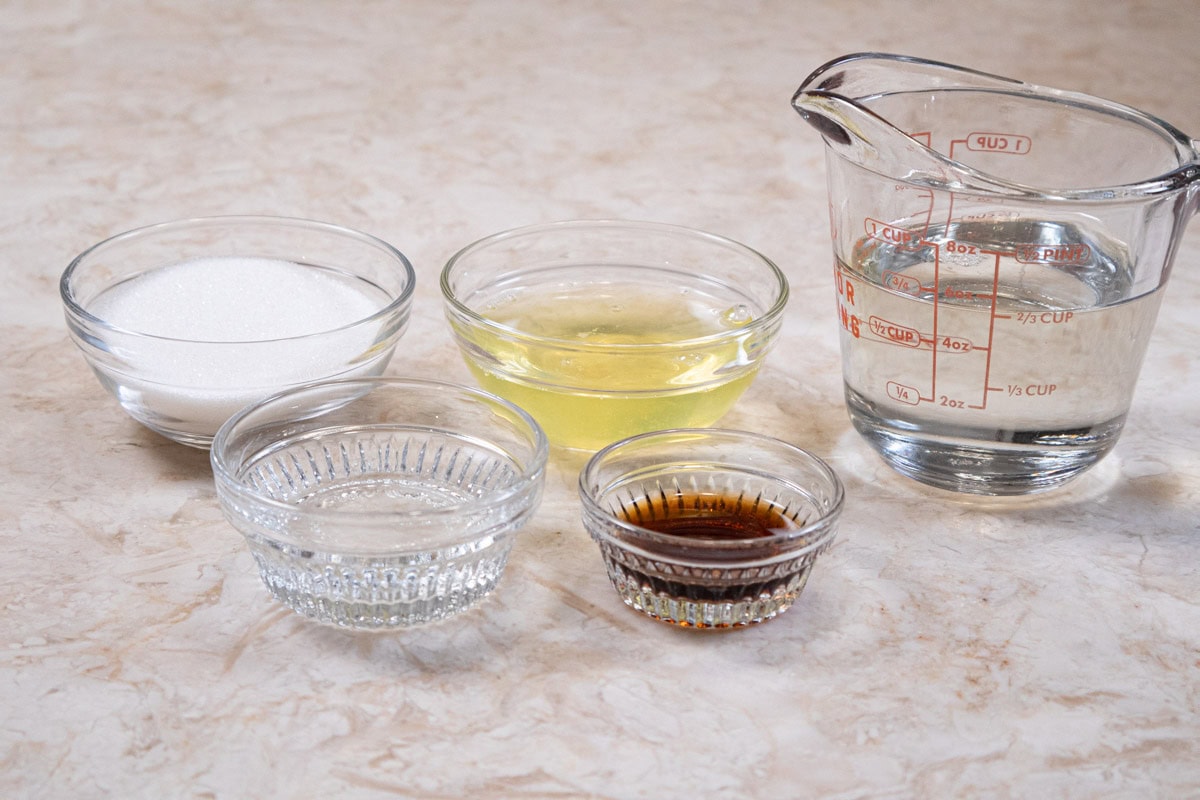
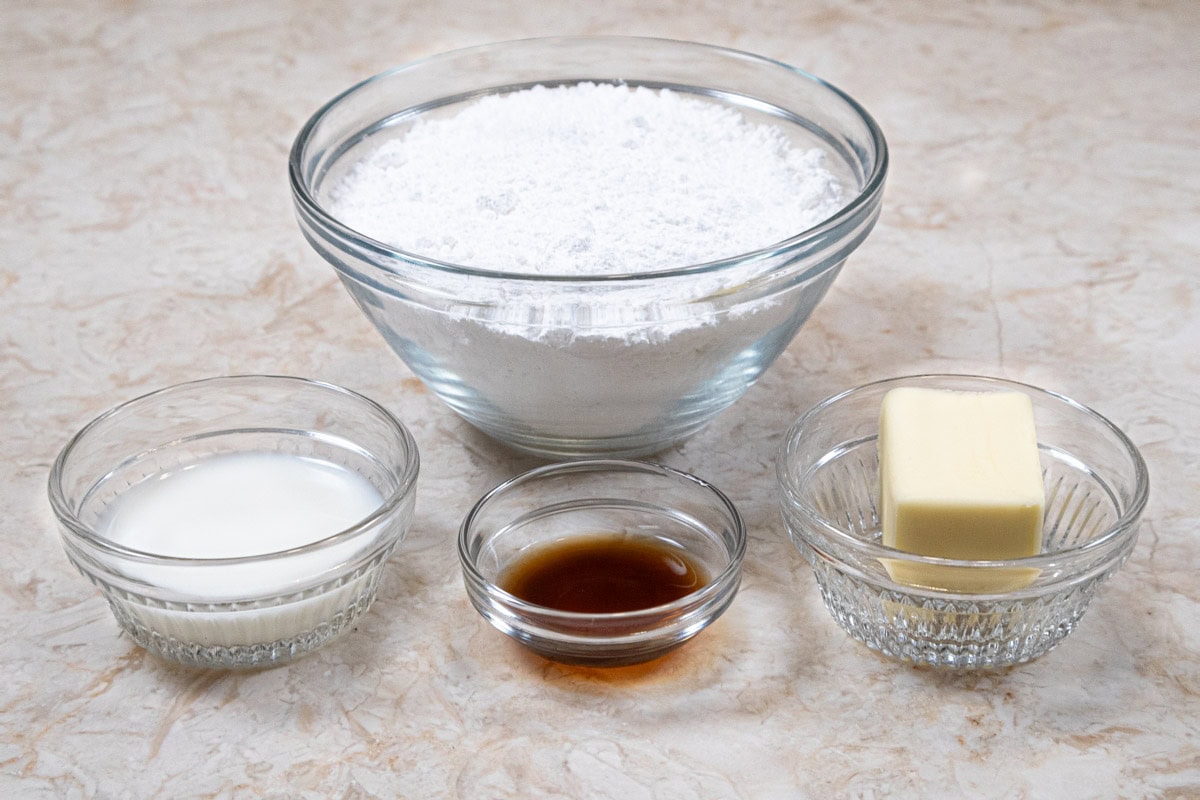
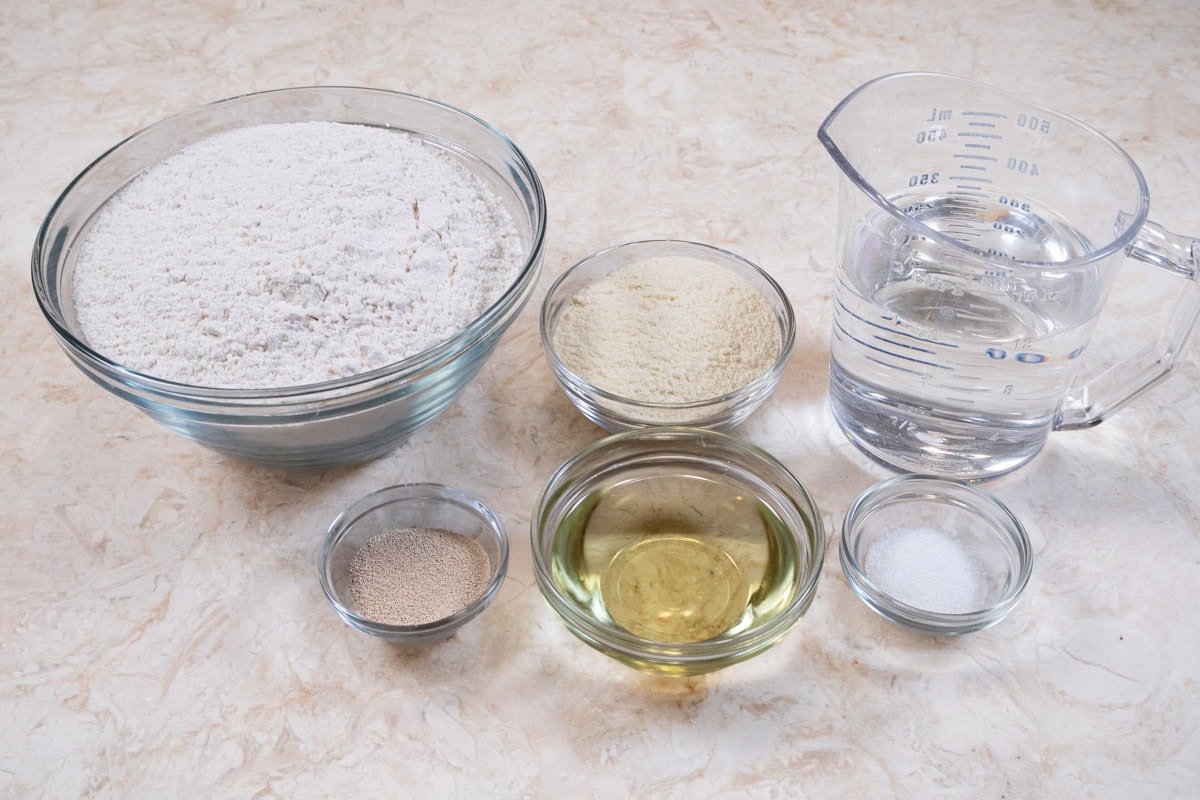
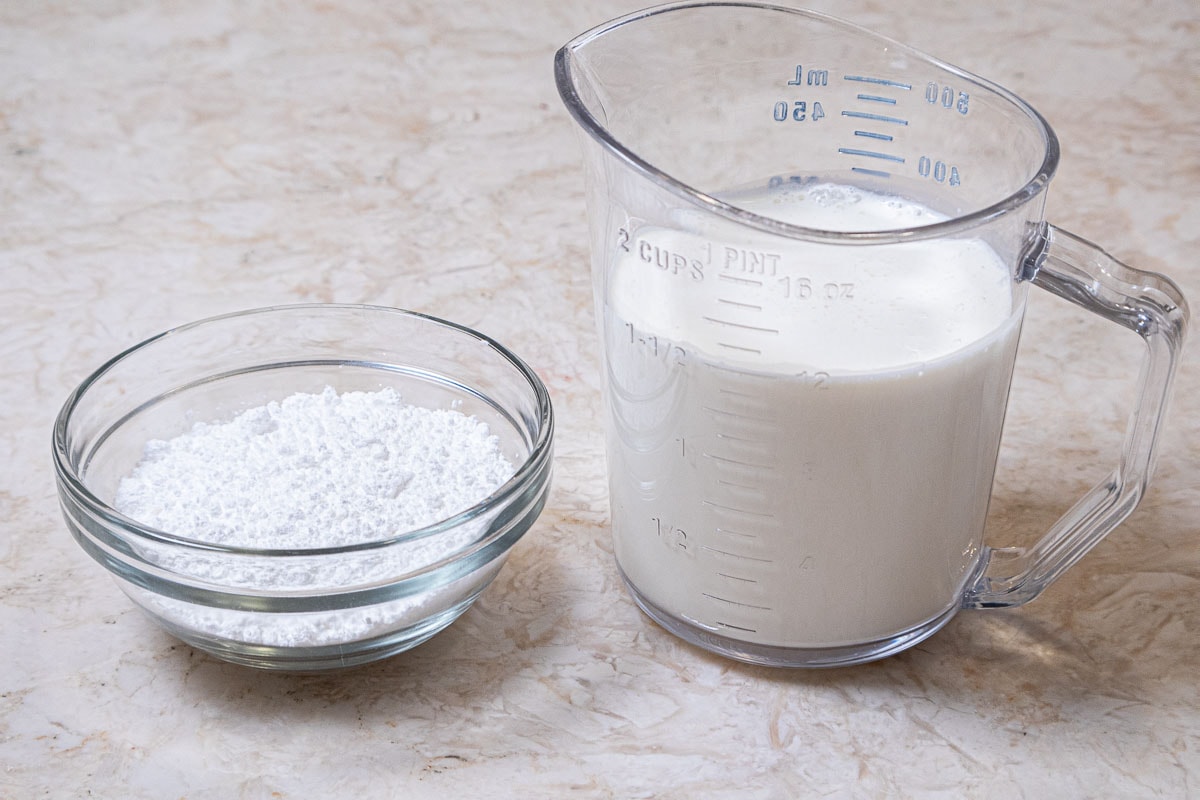
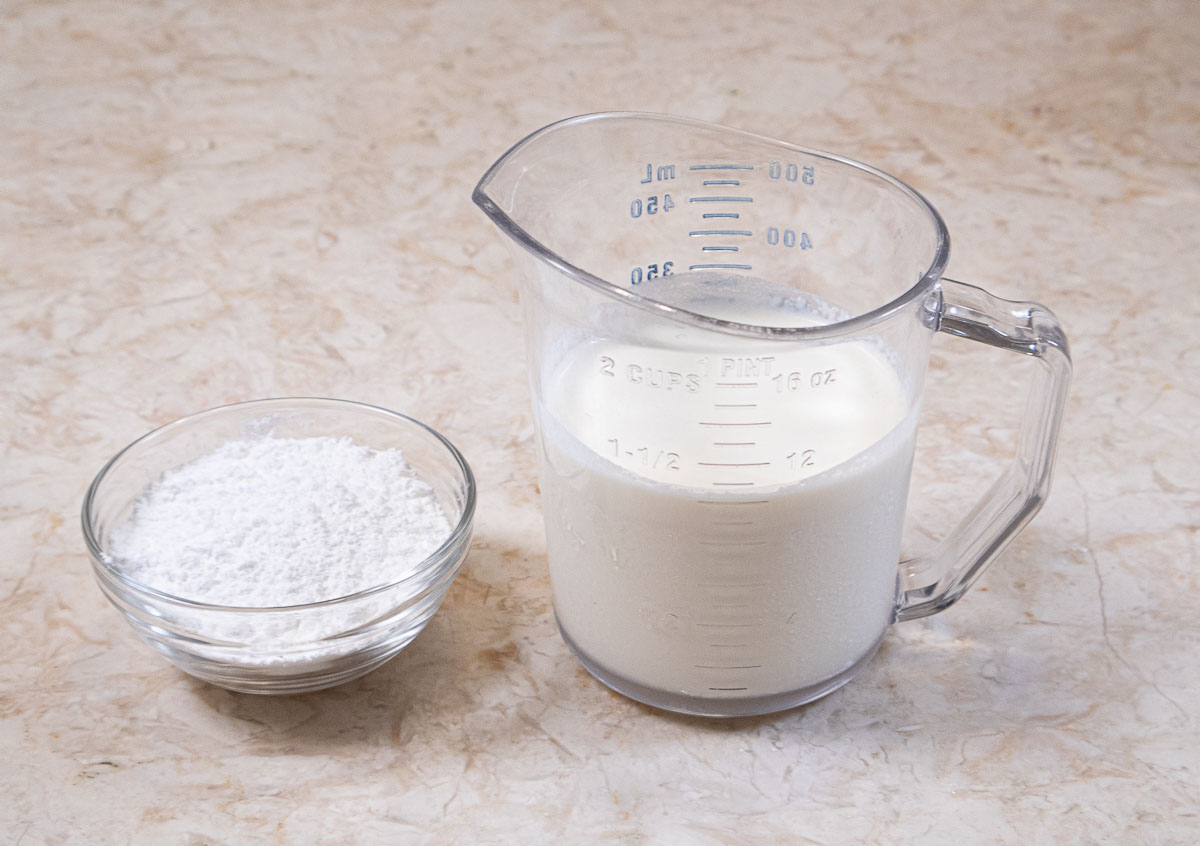
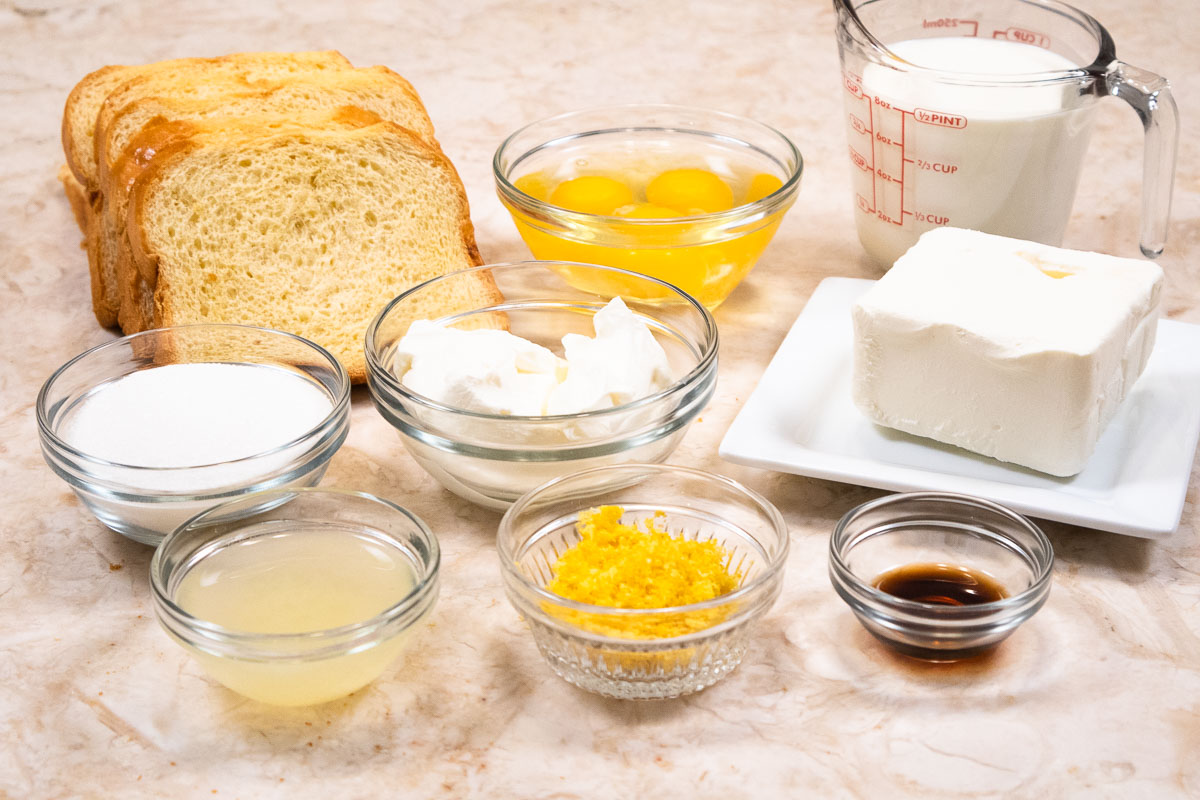
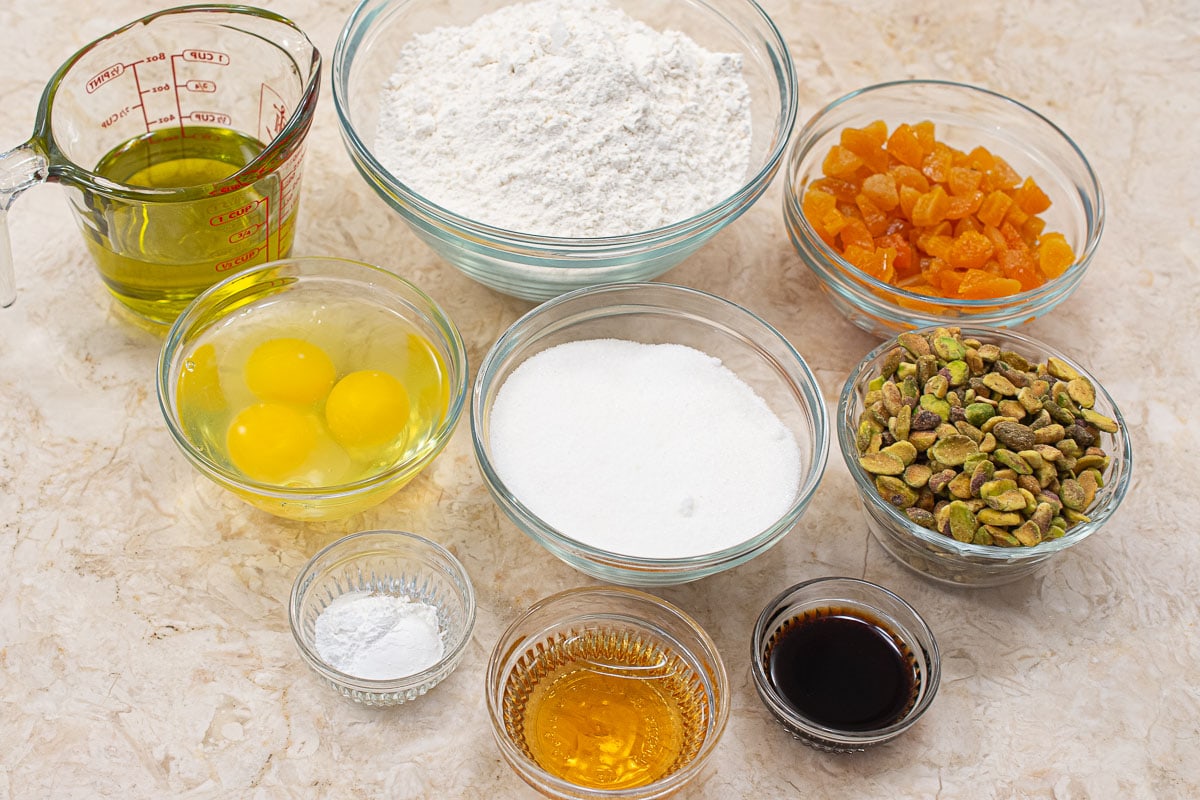
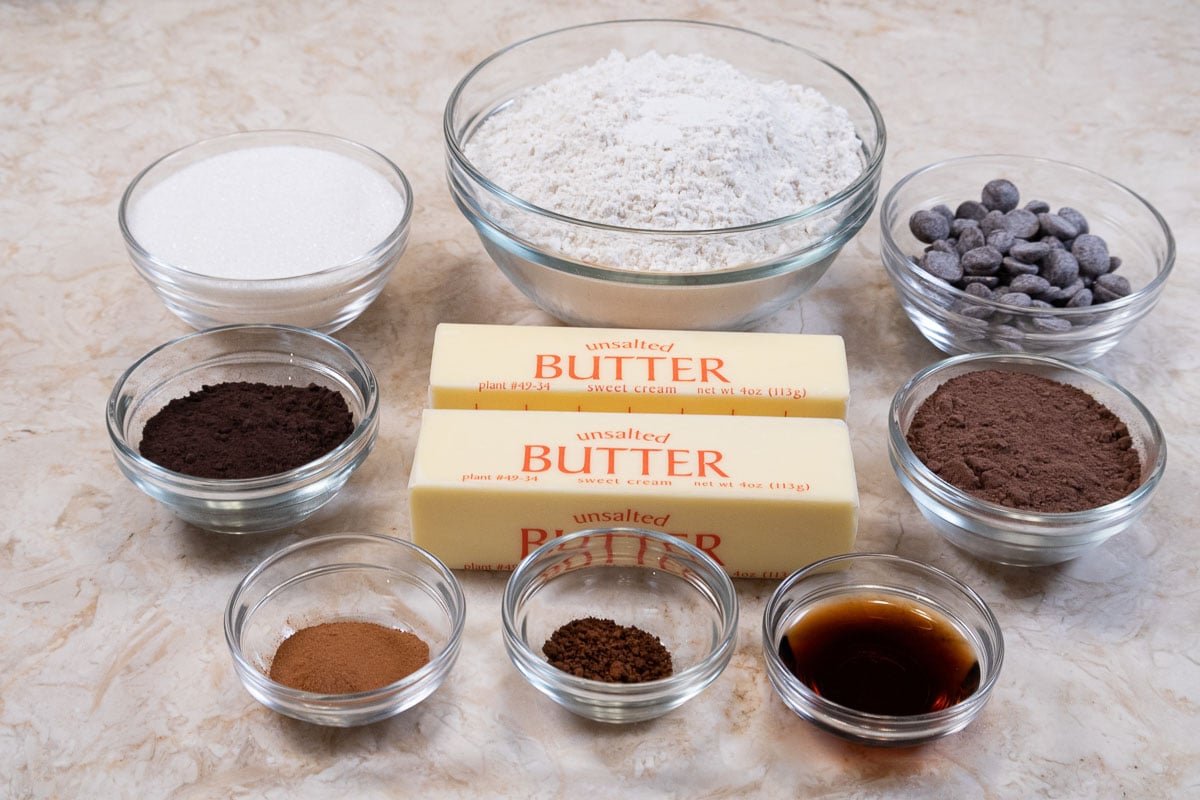
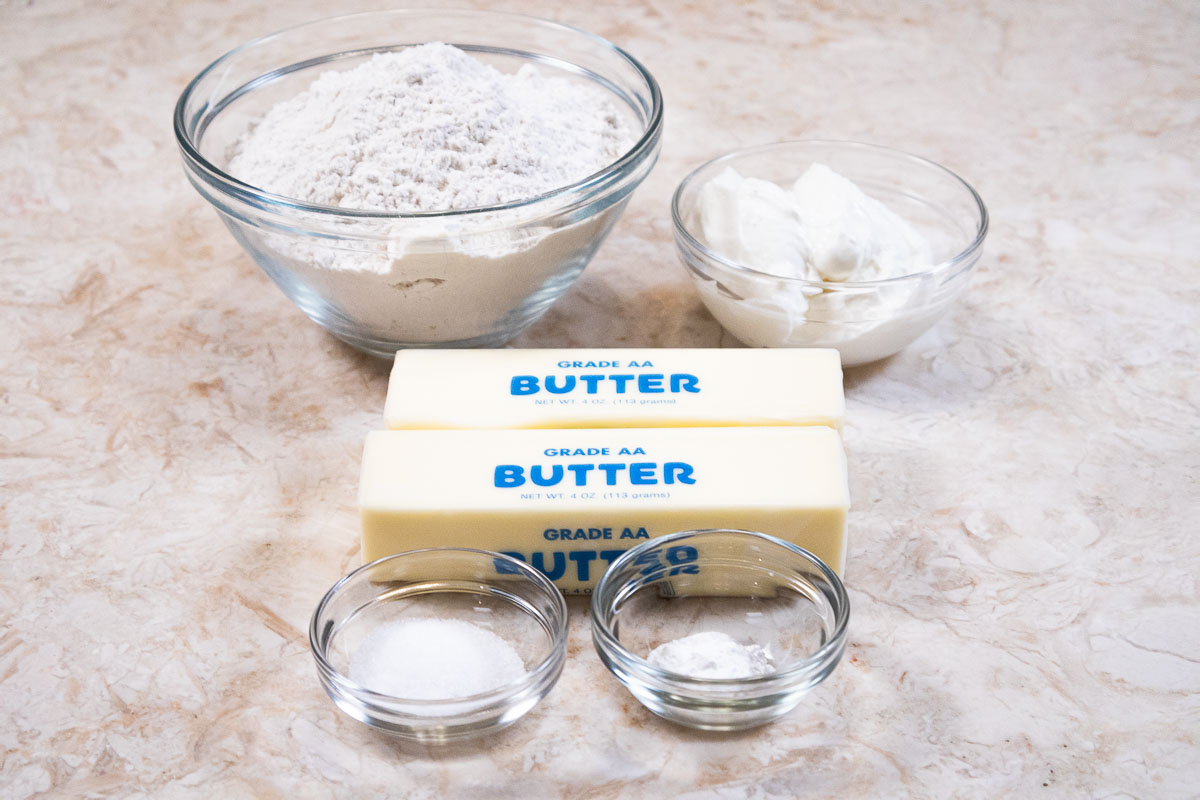
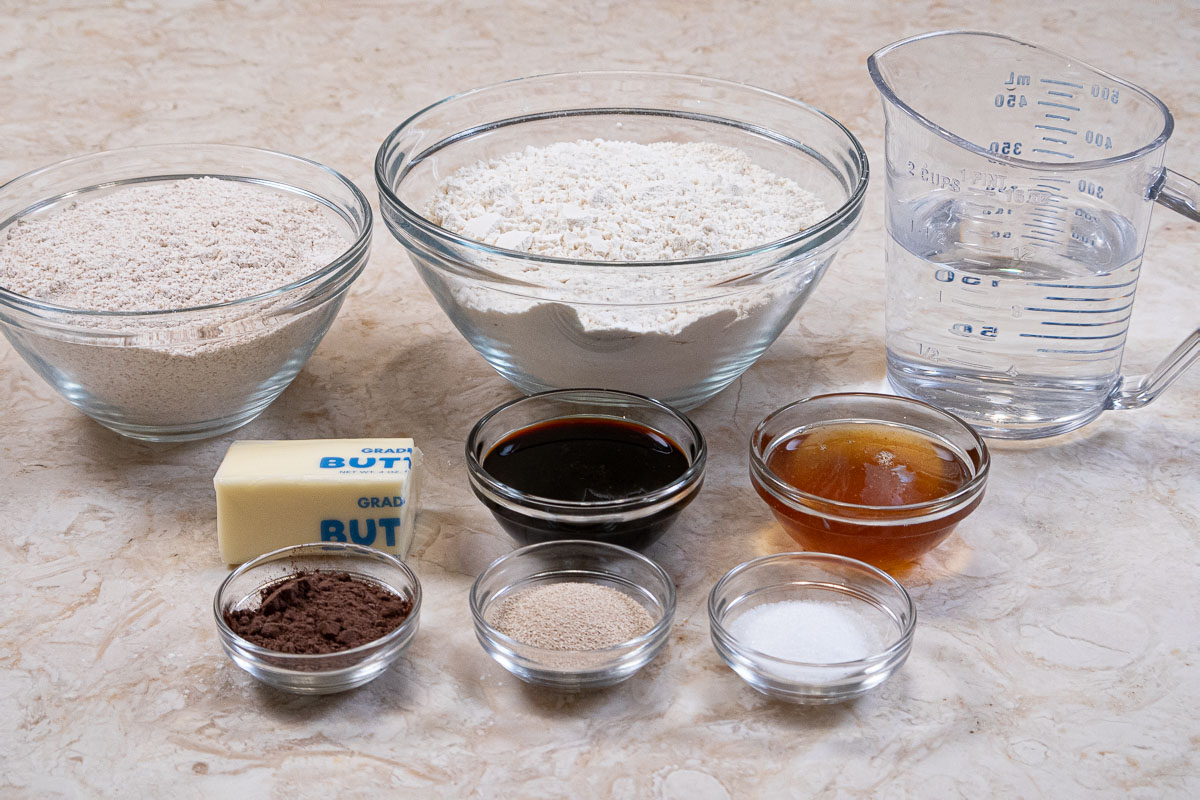
Recipe Ingredients
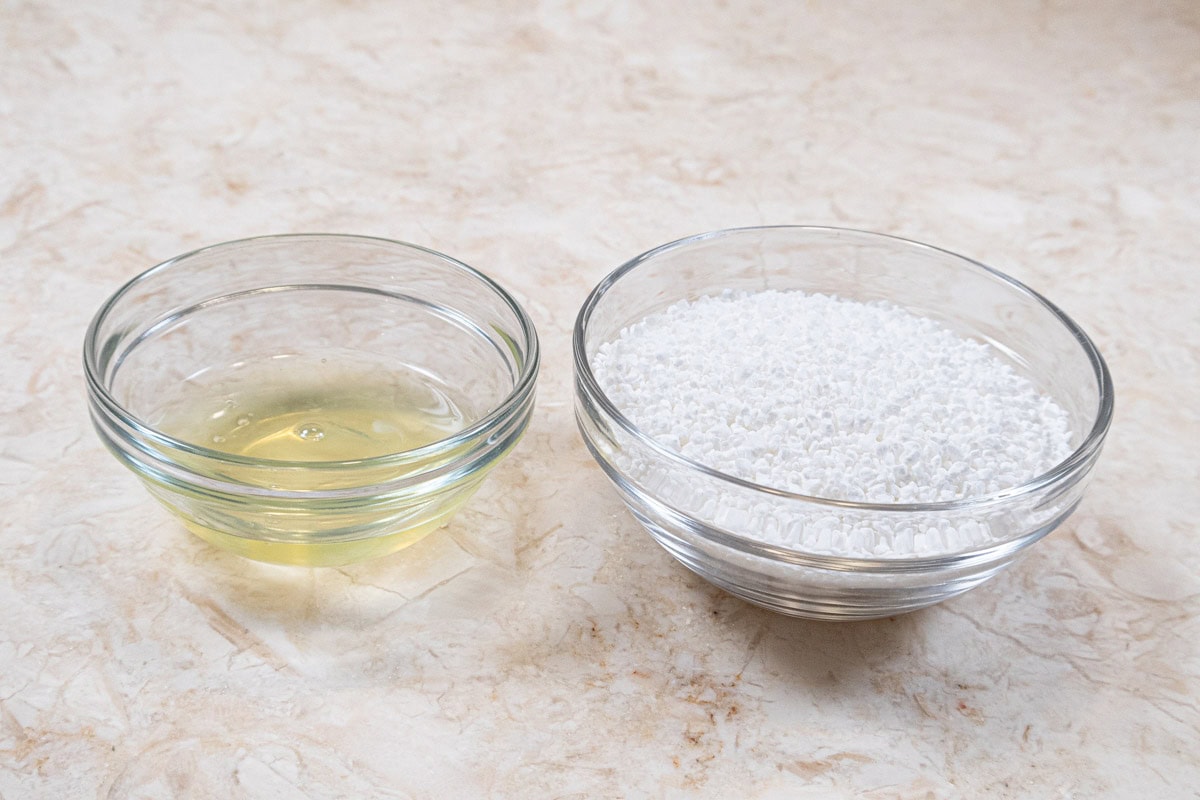
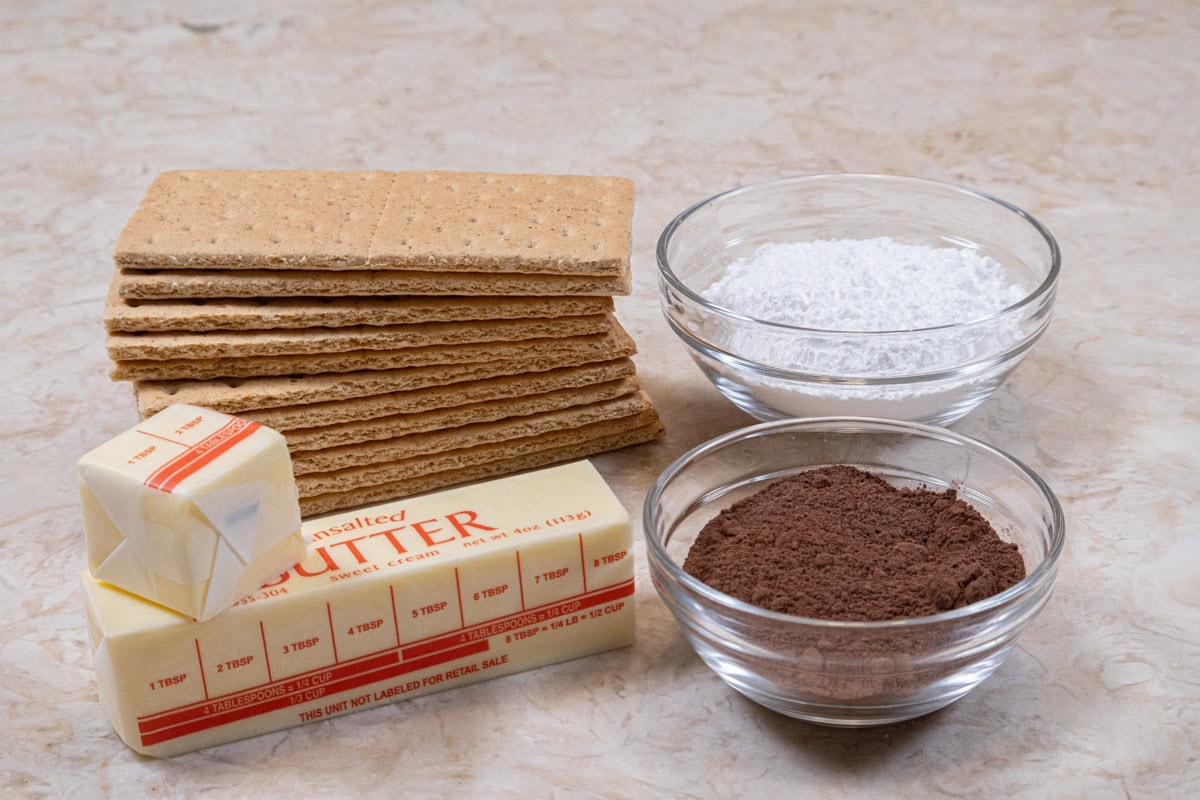
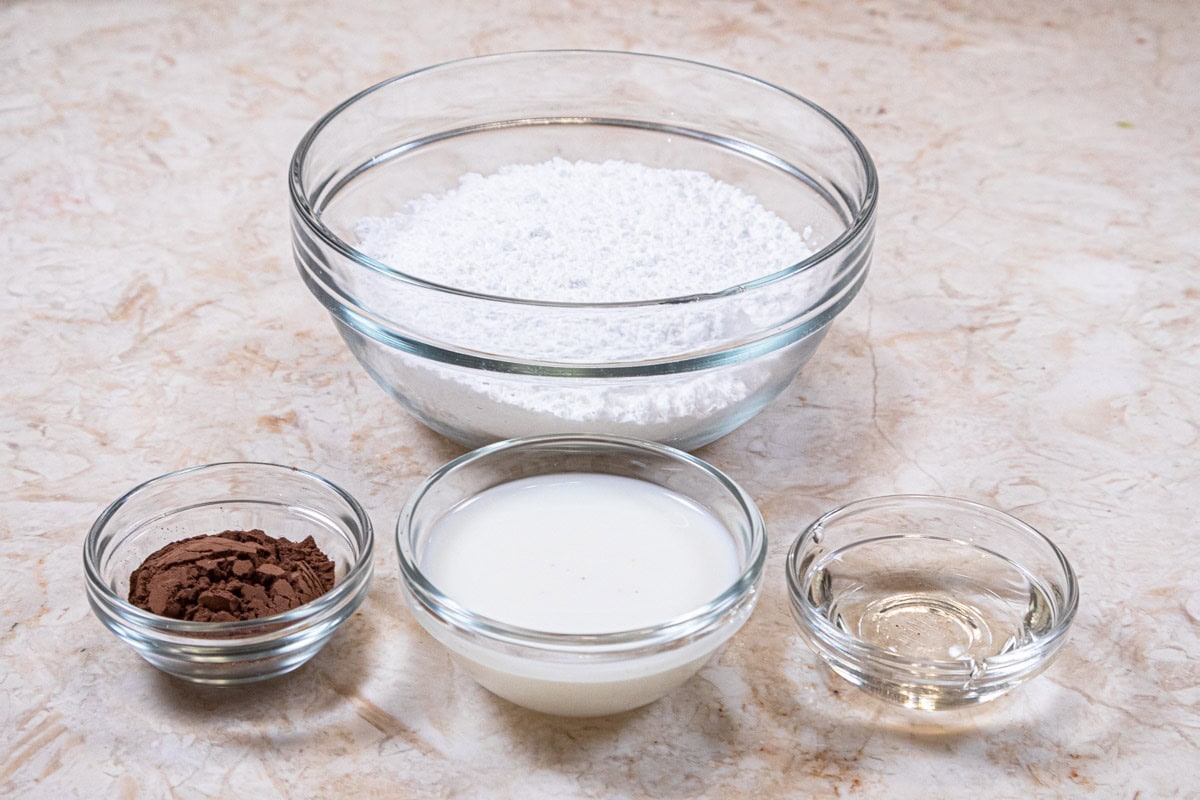
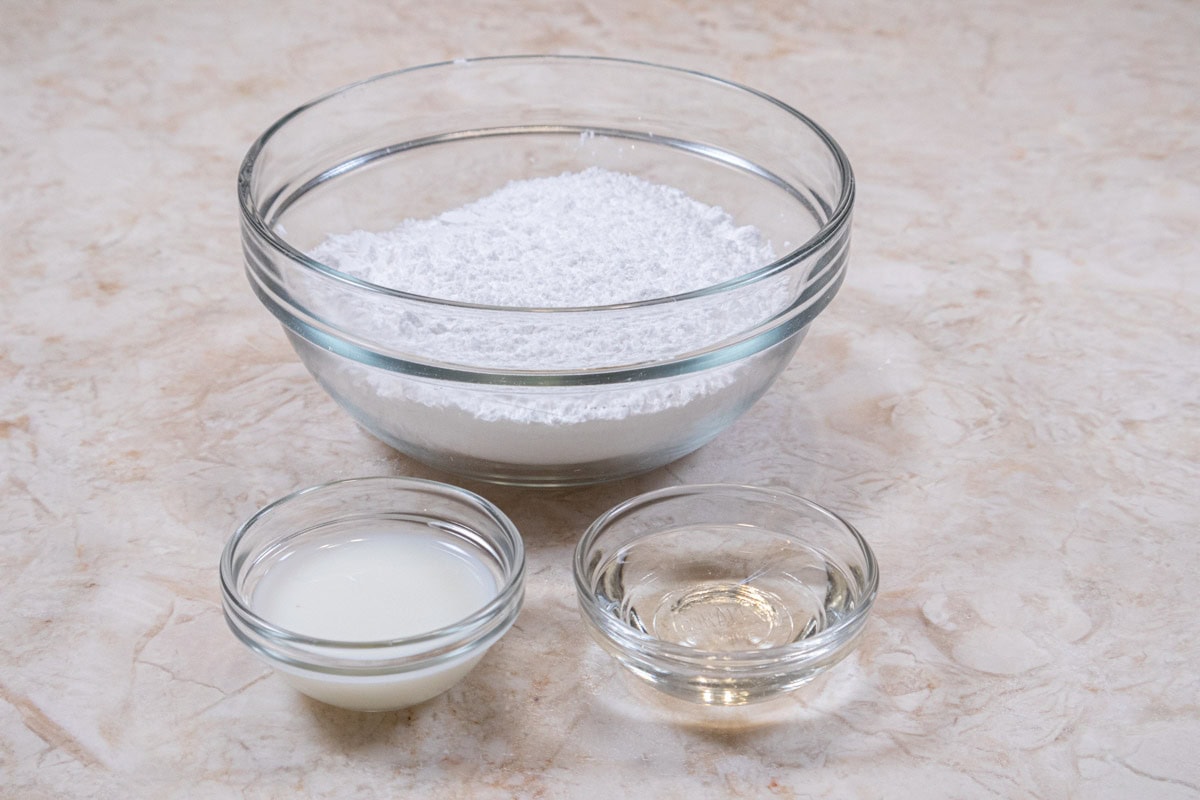
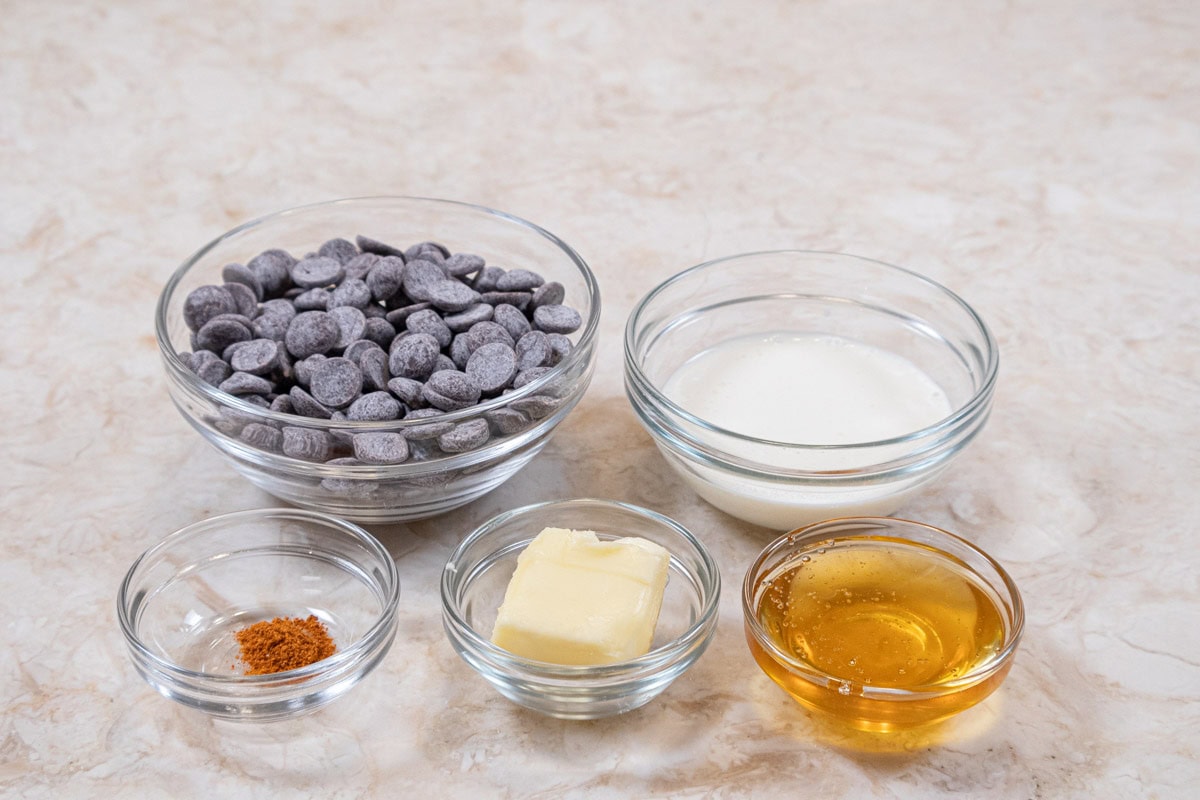
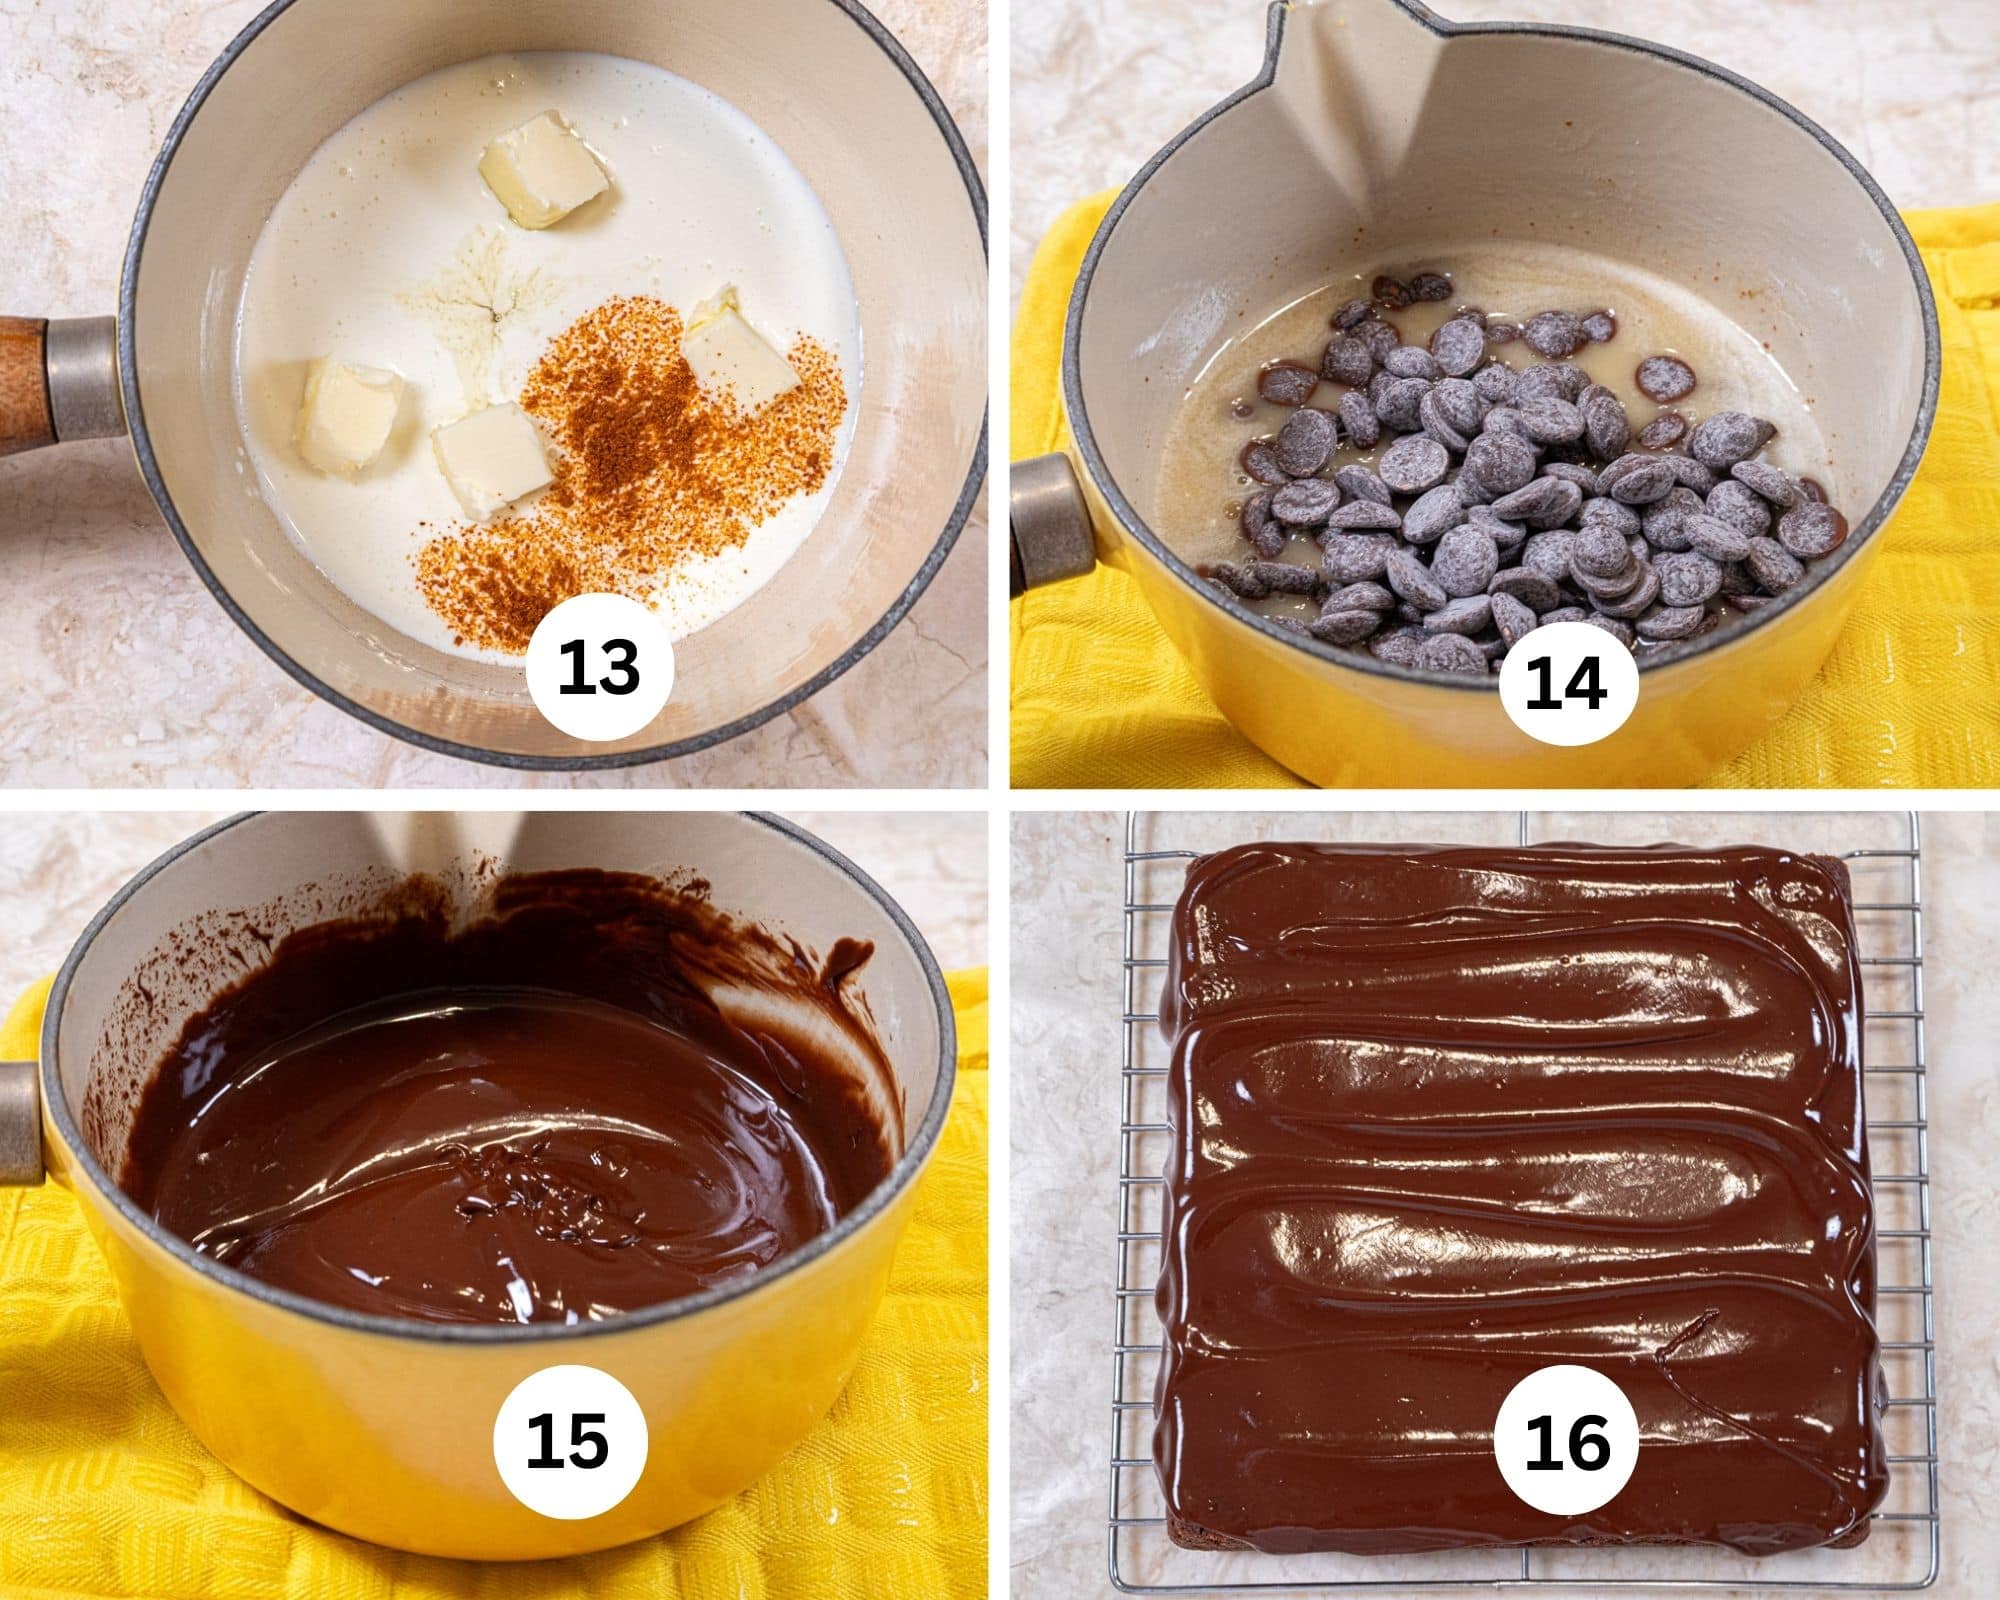
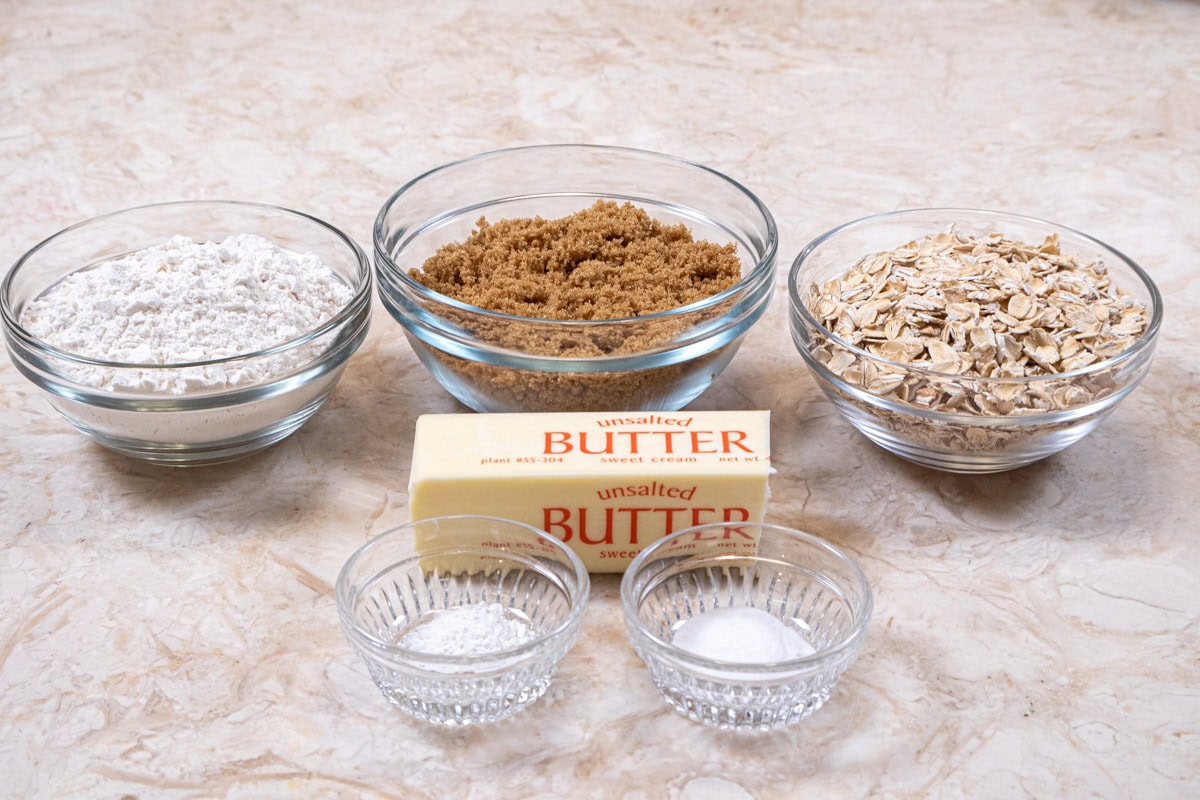
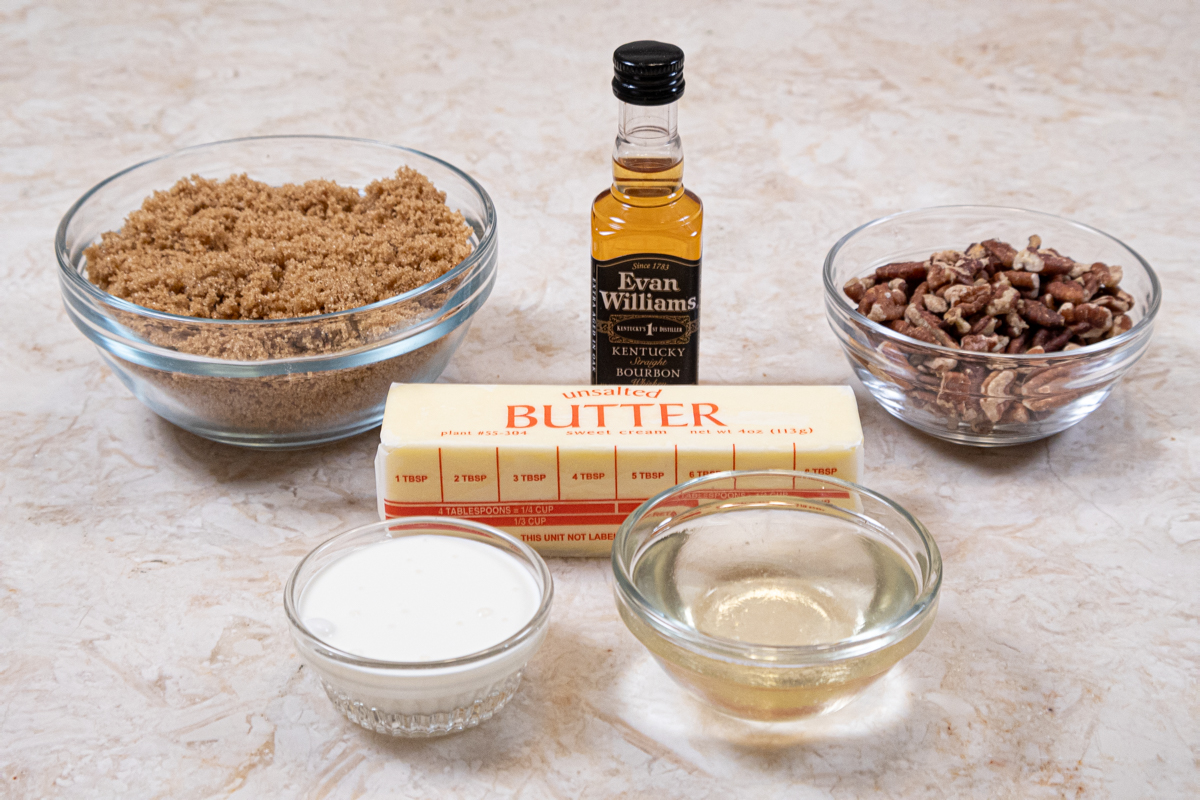
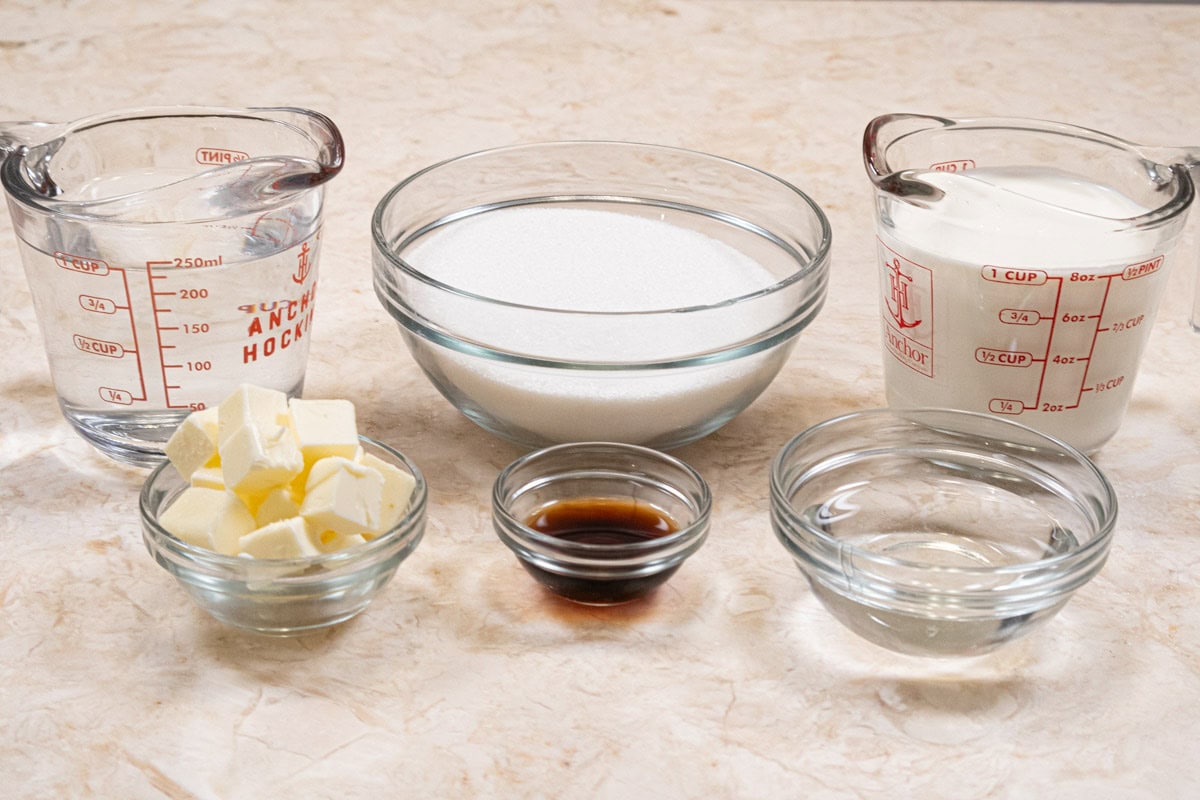
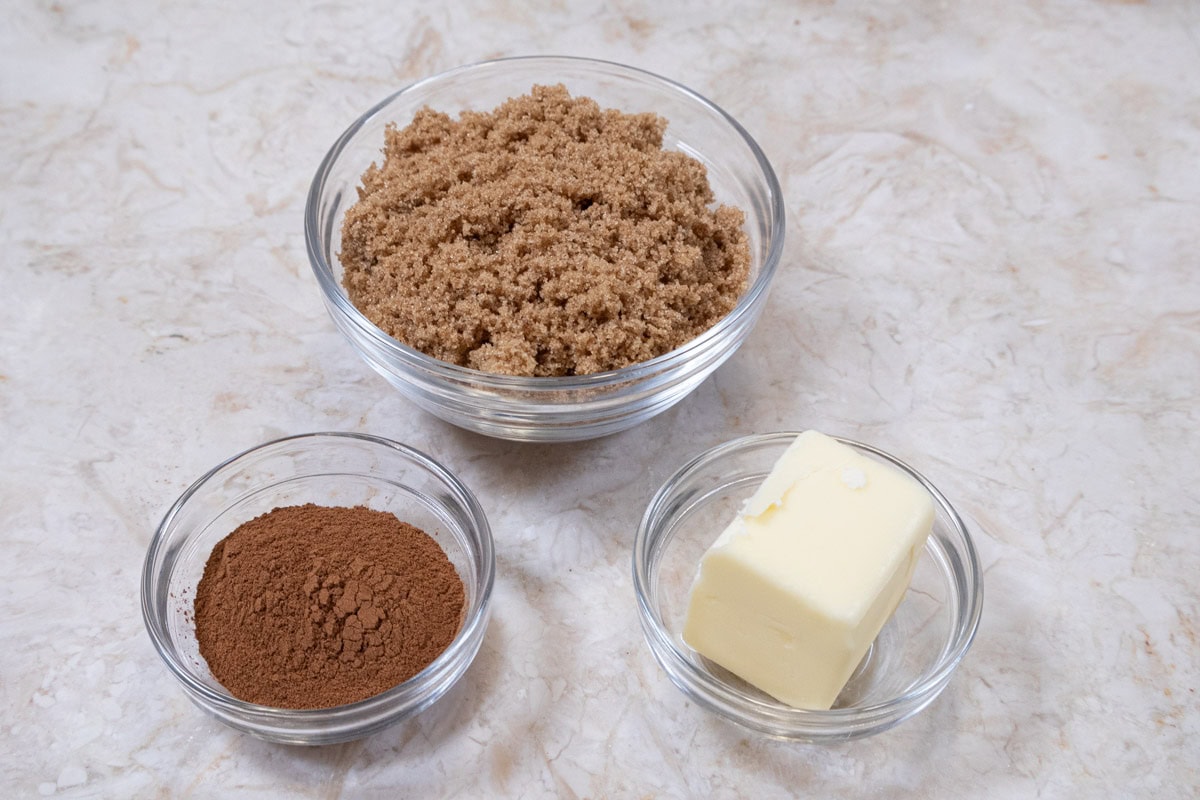
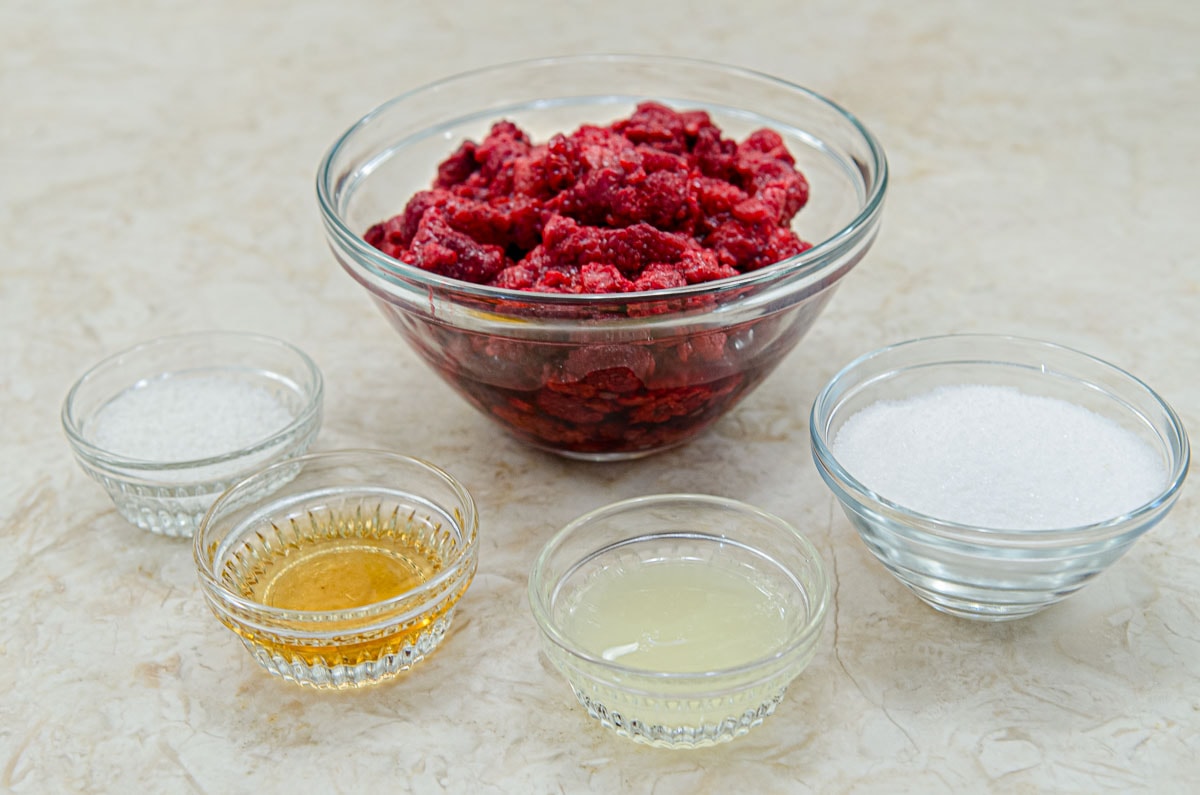
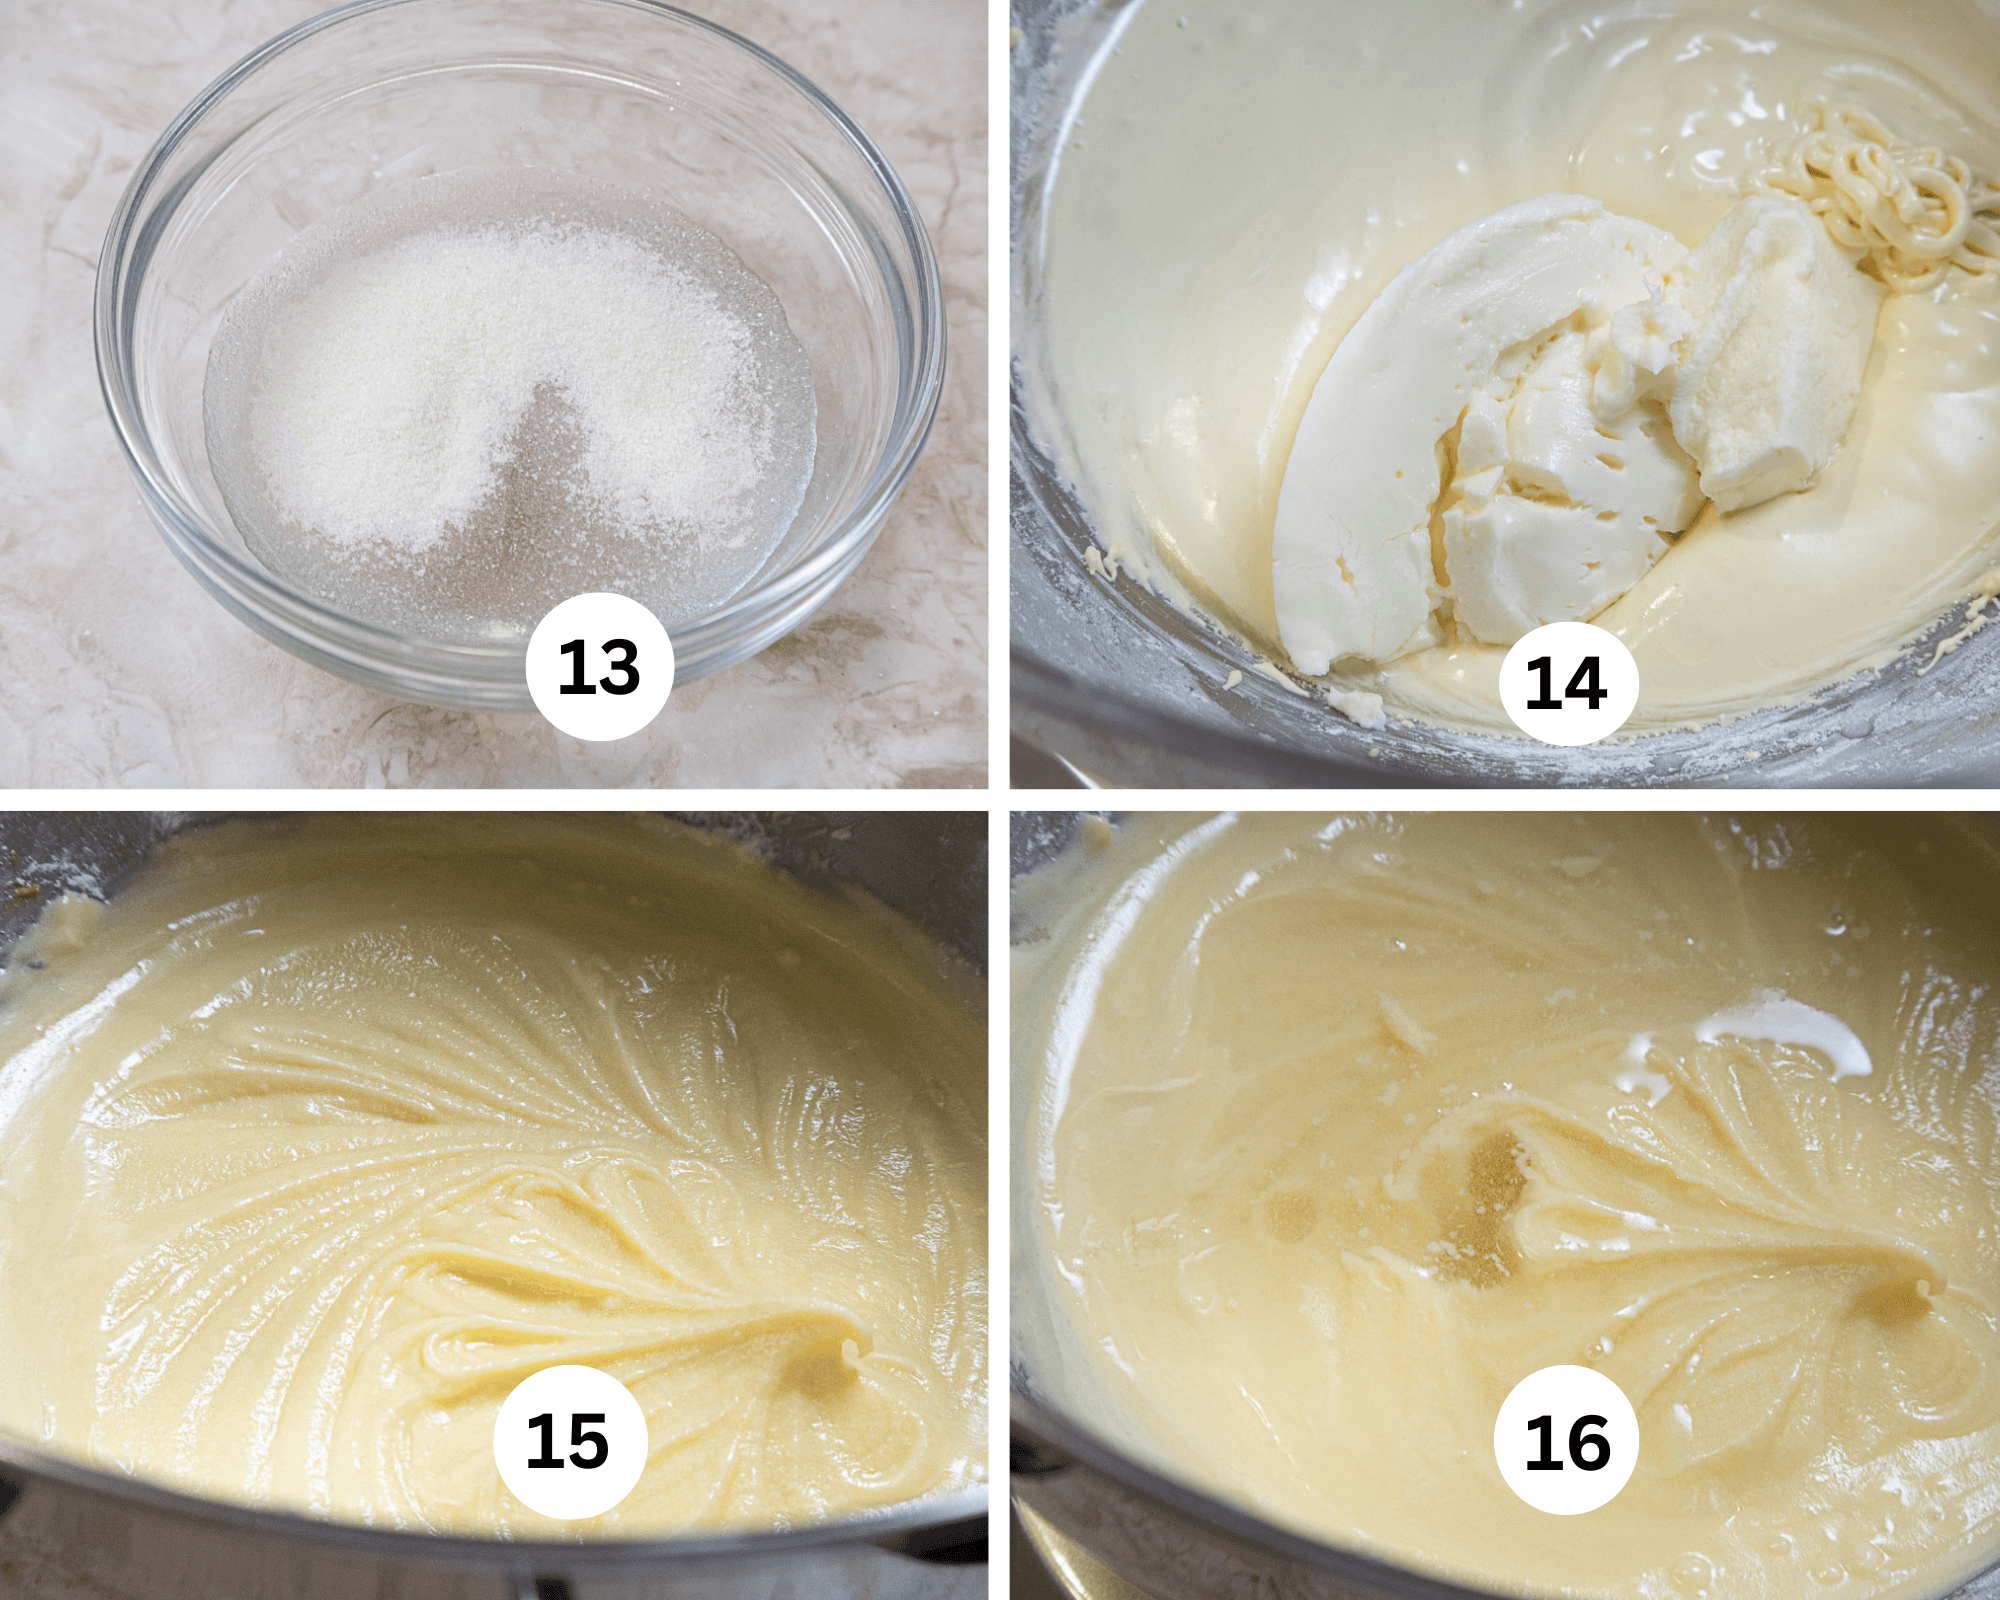
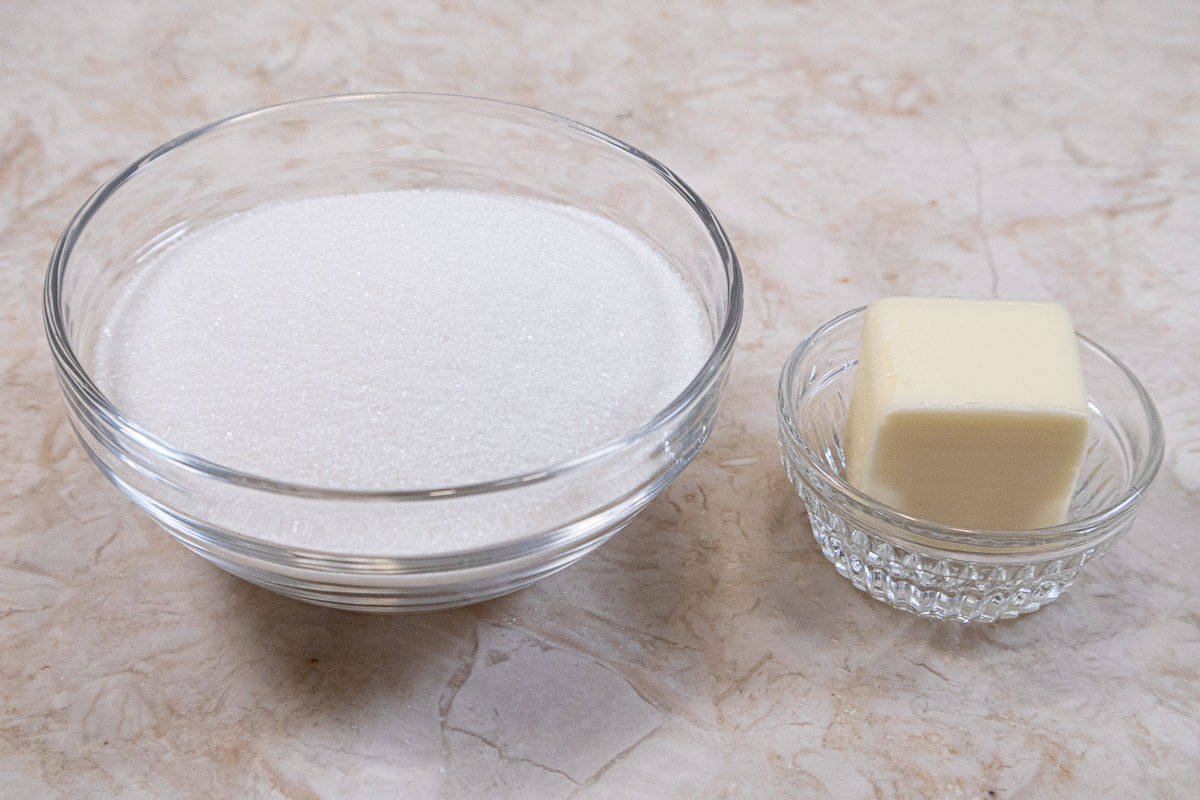
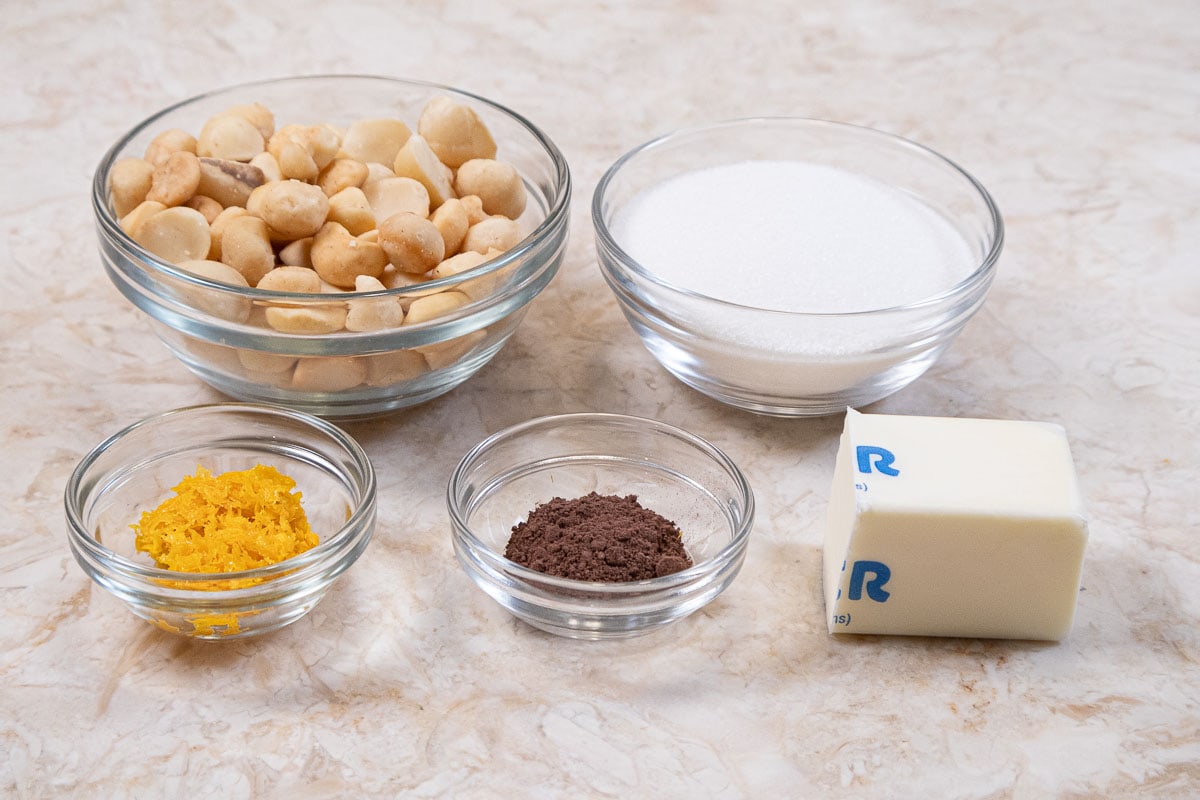
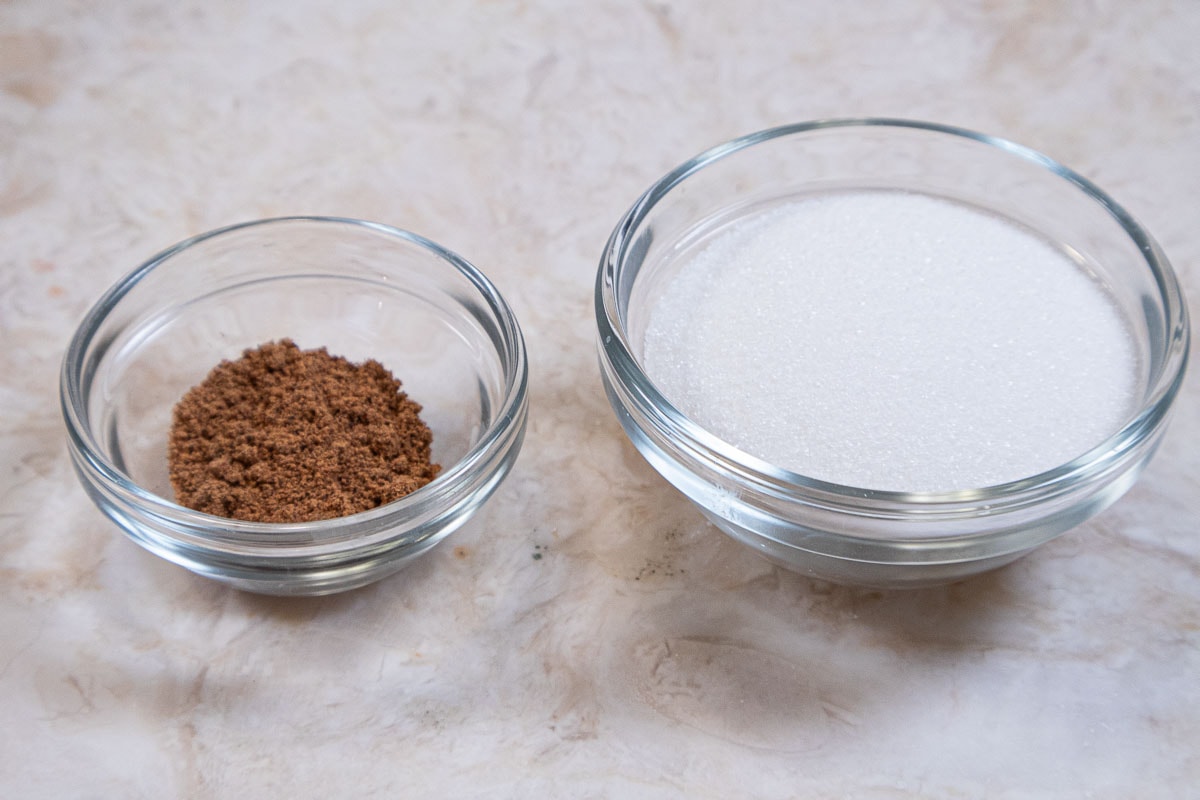
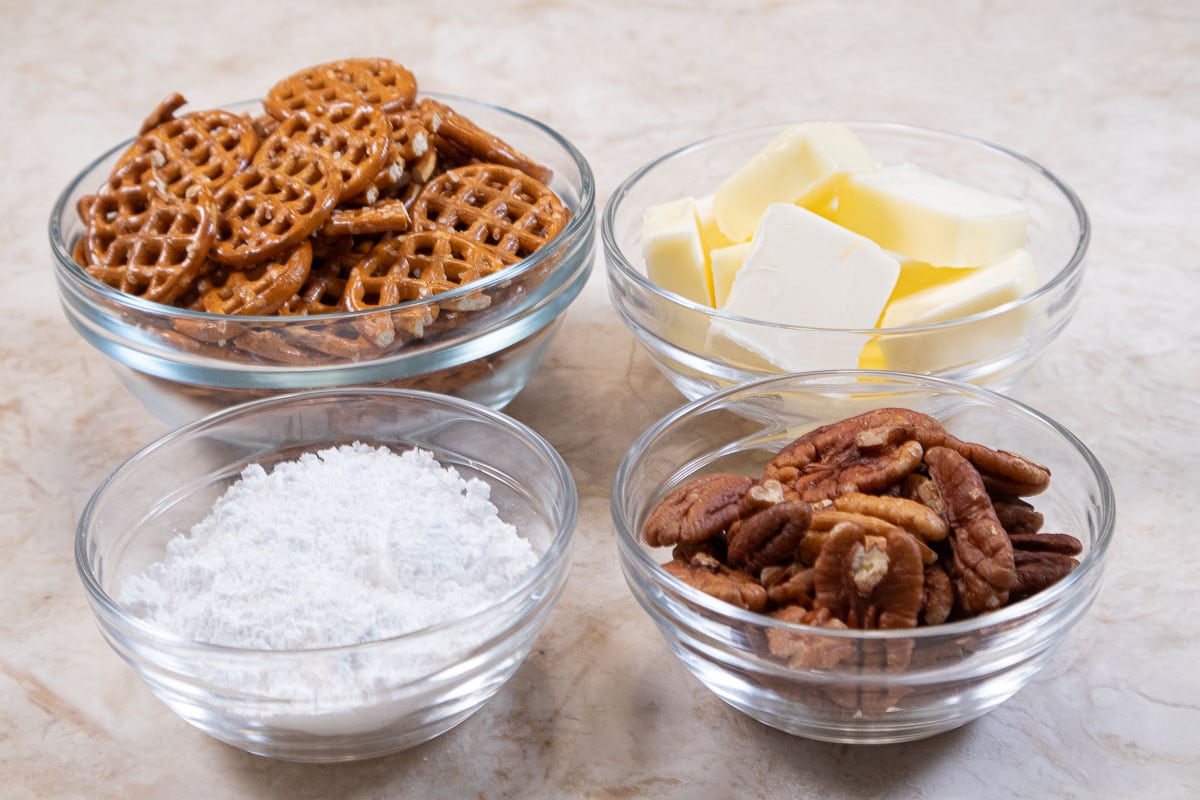
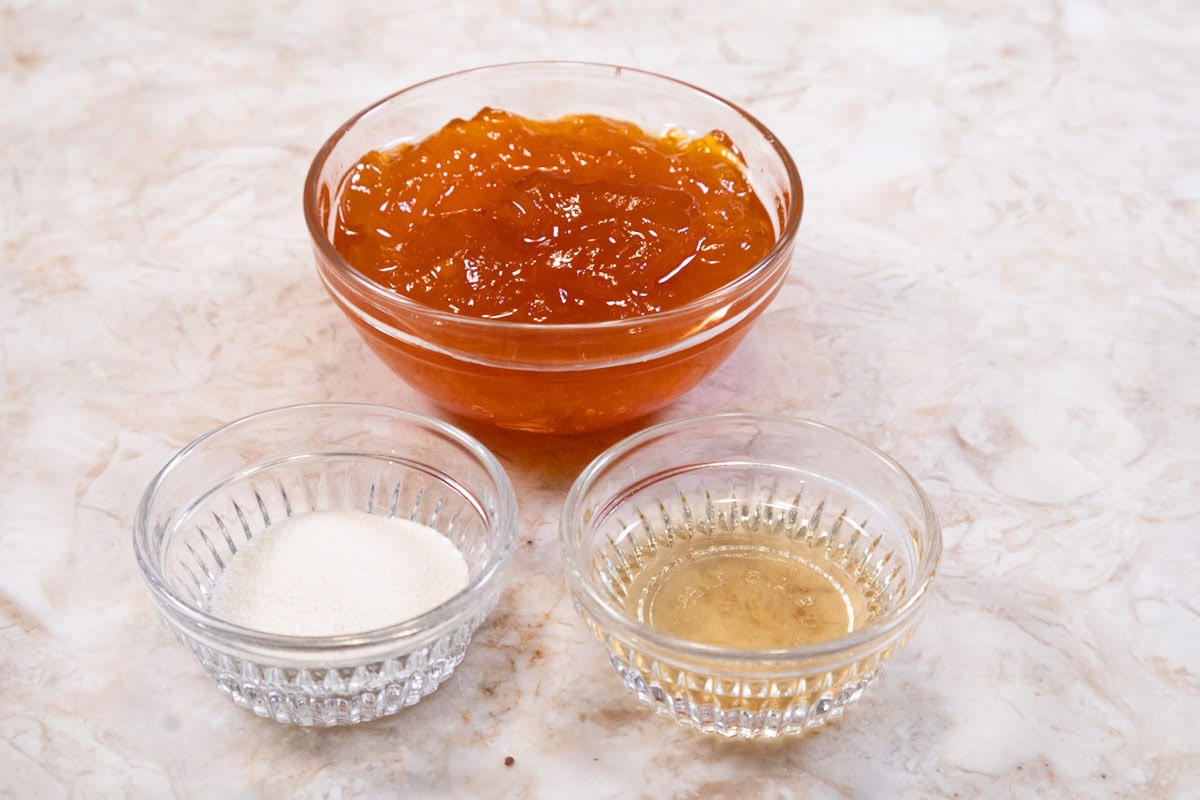
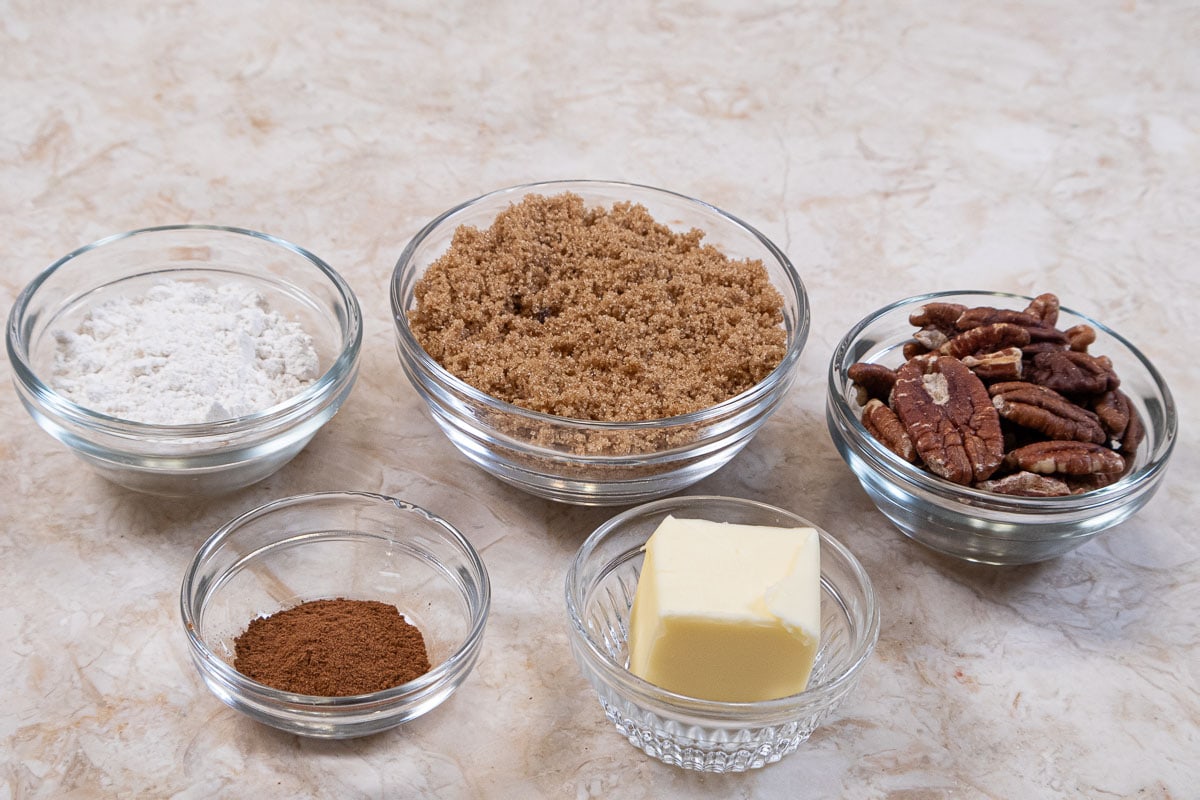
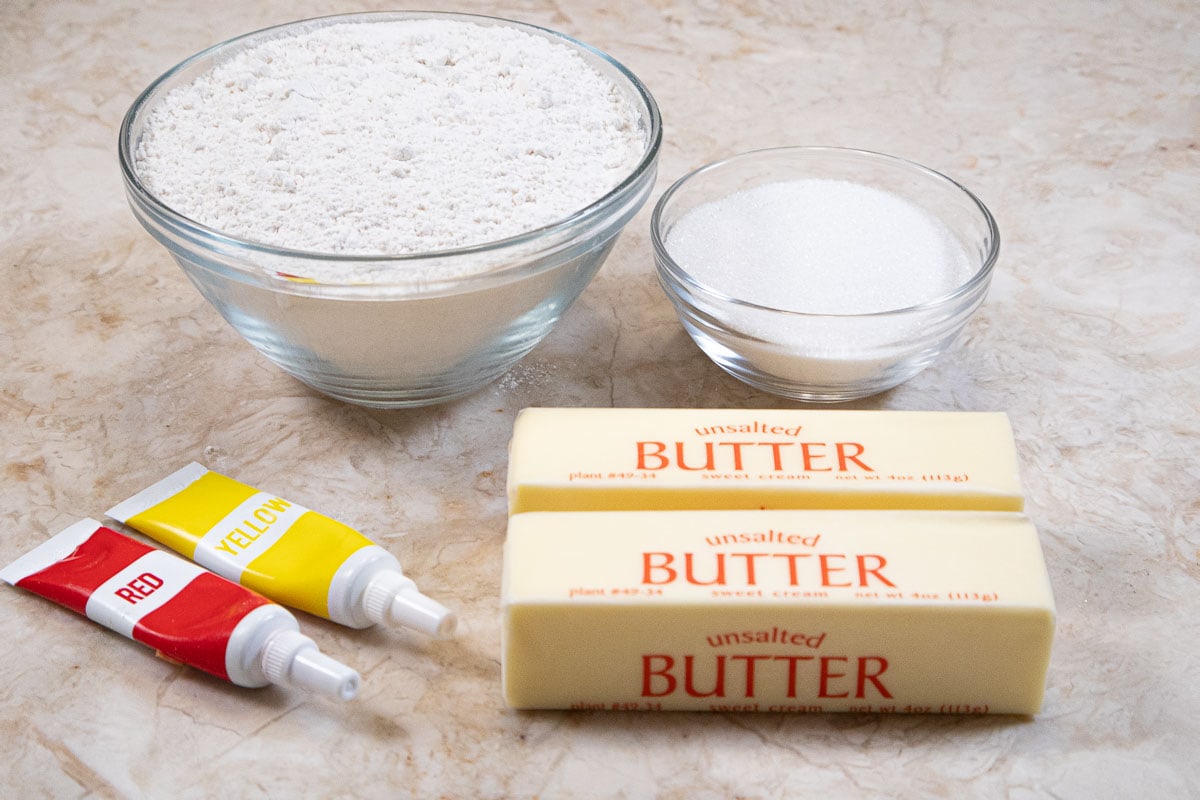
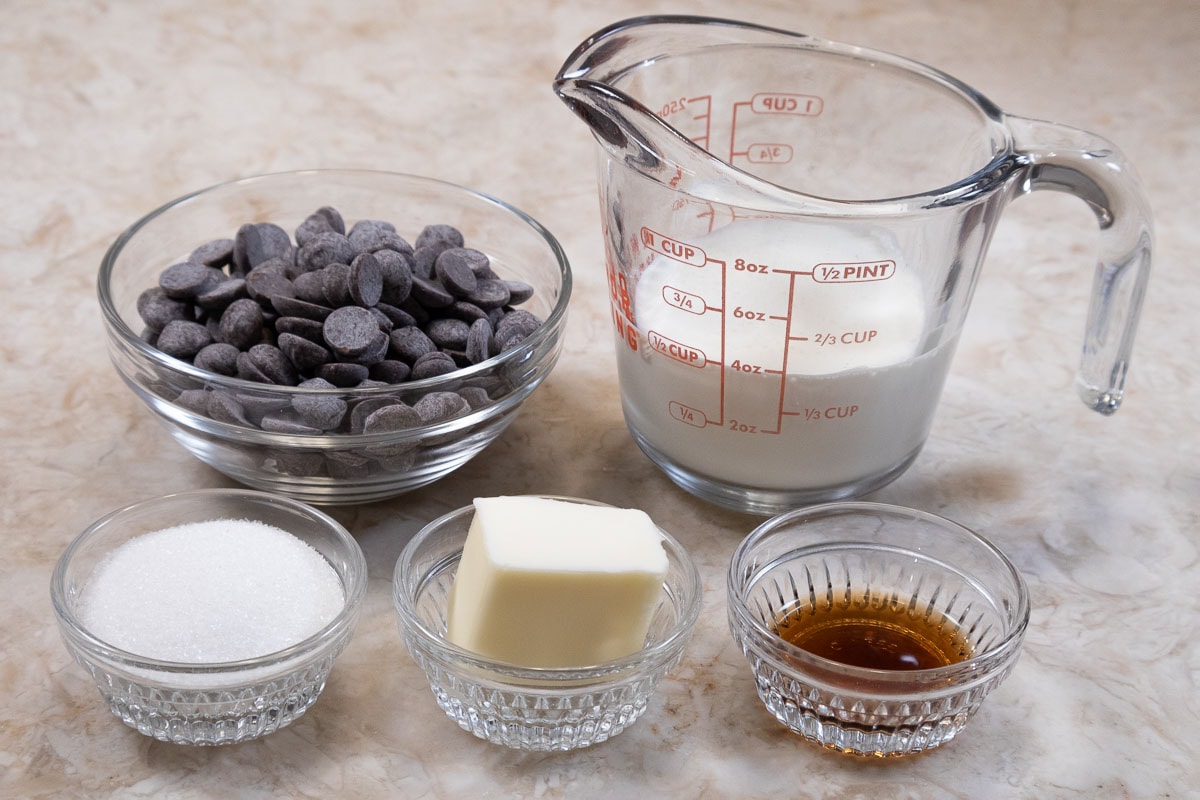
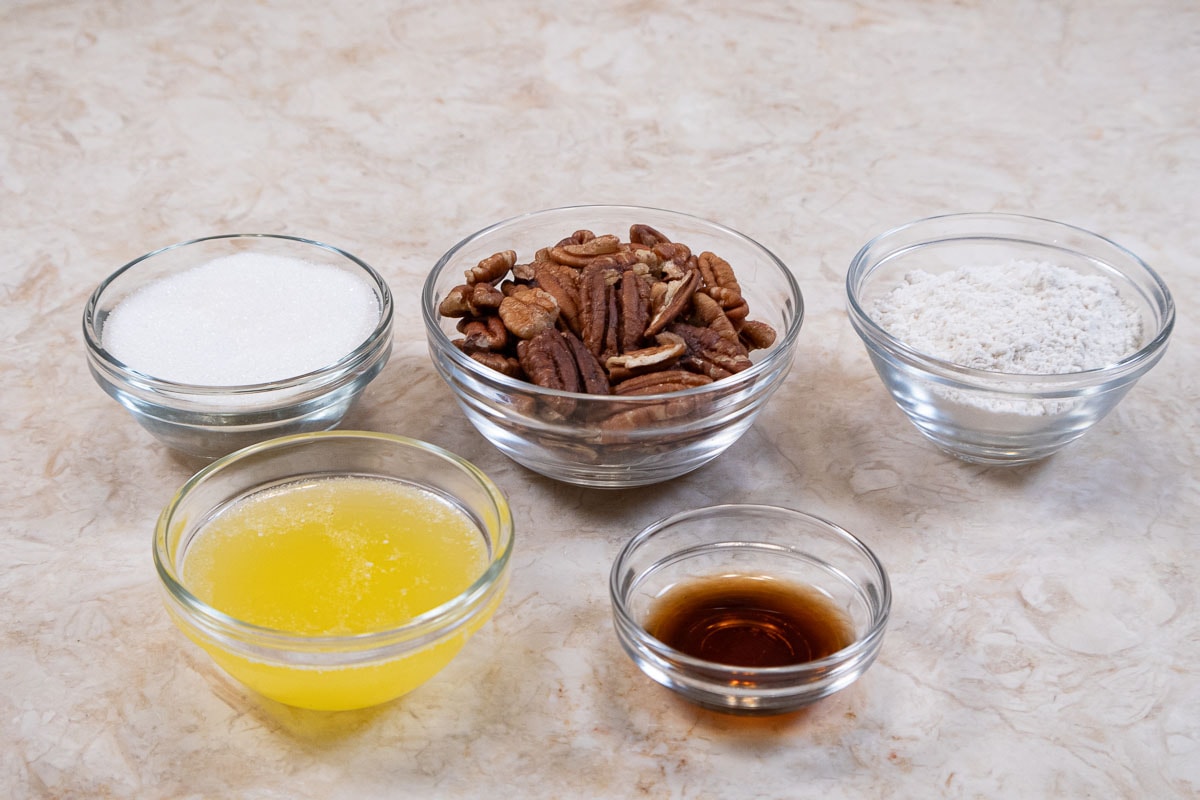
Crumb Ingredients
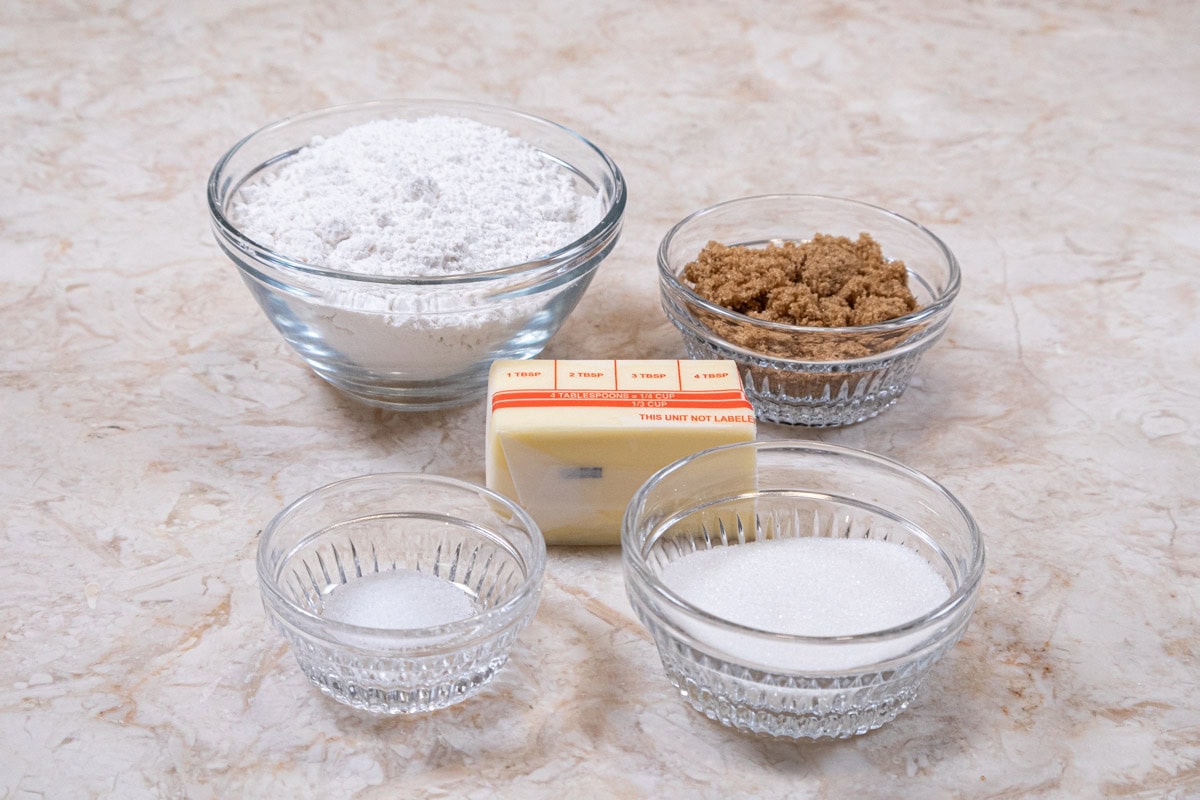
Front Row: Salt, granulated sugar,
MIDDLE ROW: Unsalted butter
BACK ROW: Cake flour, brown sugar
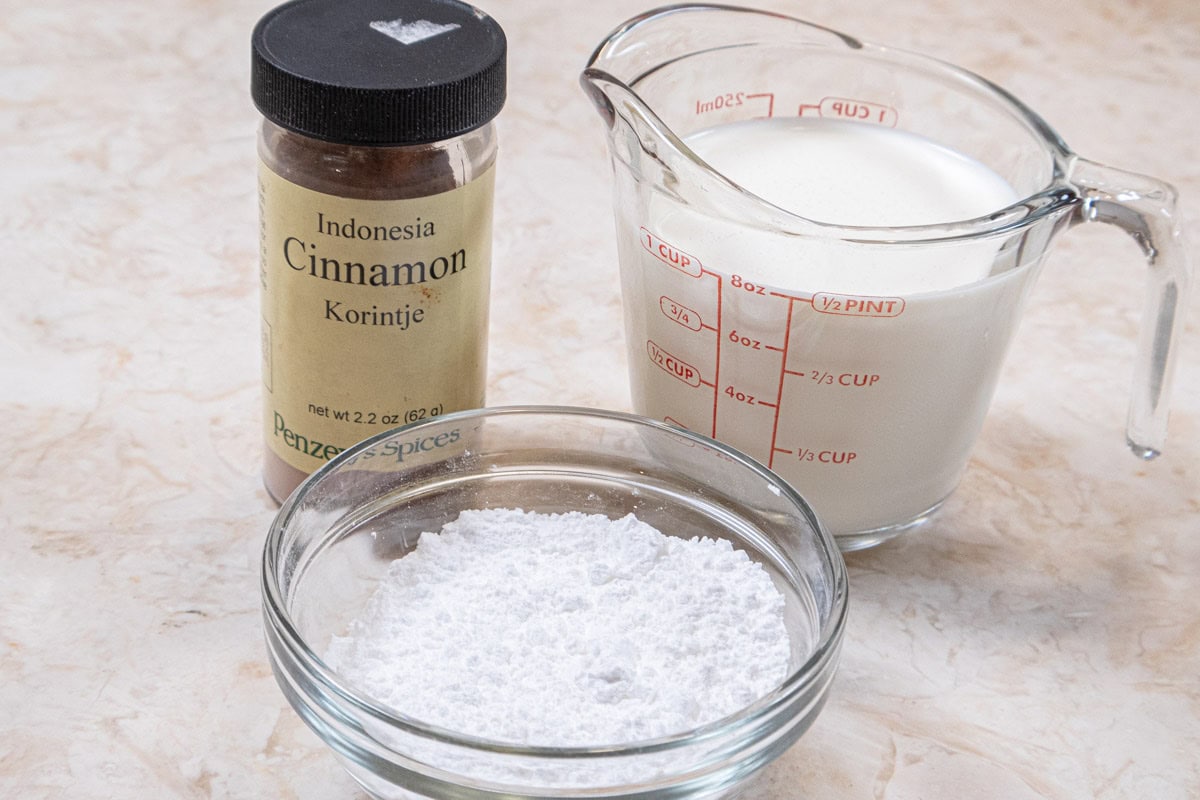
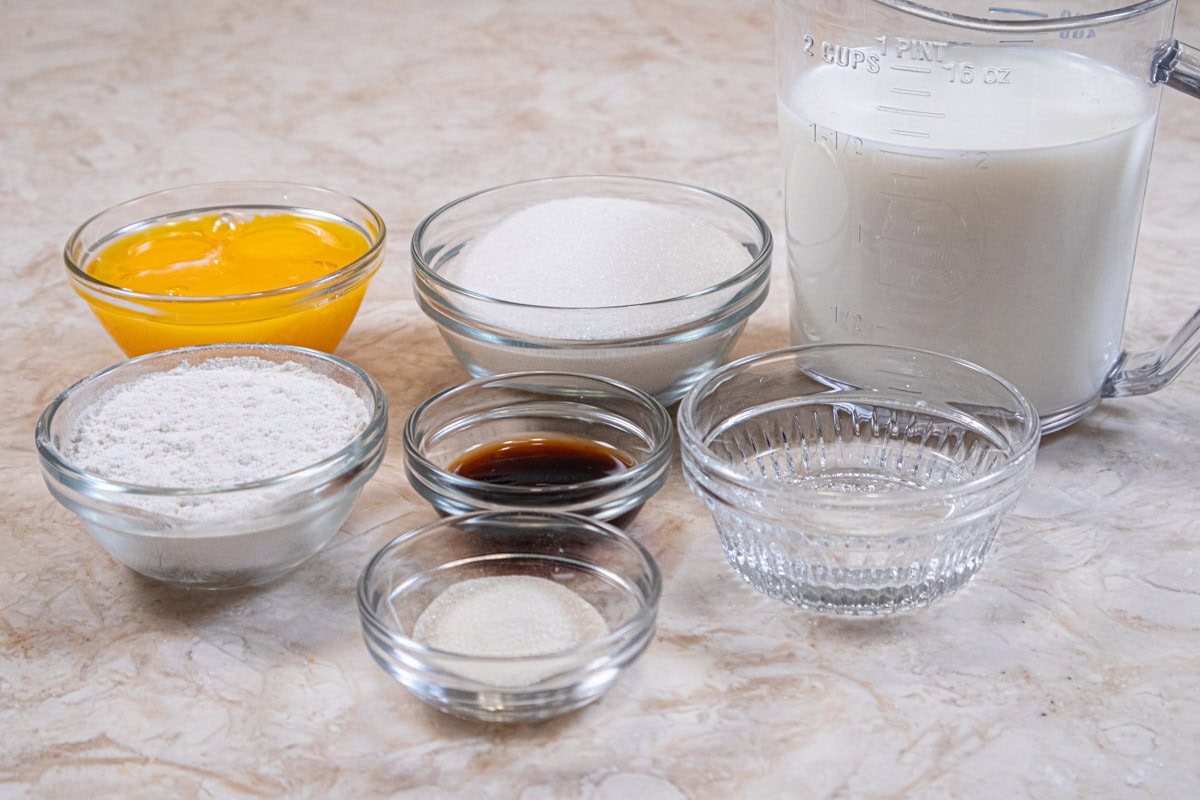
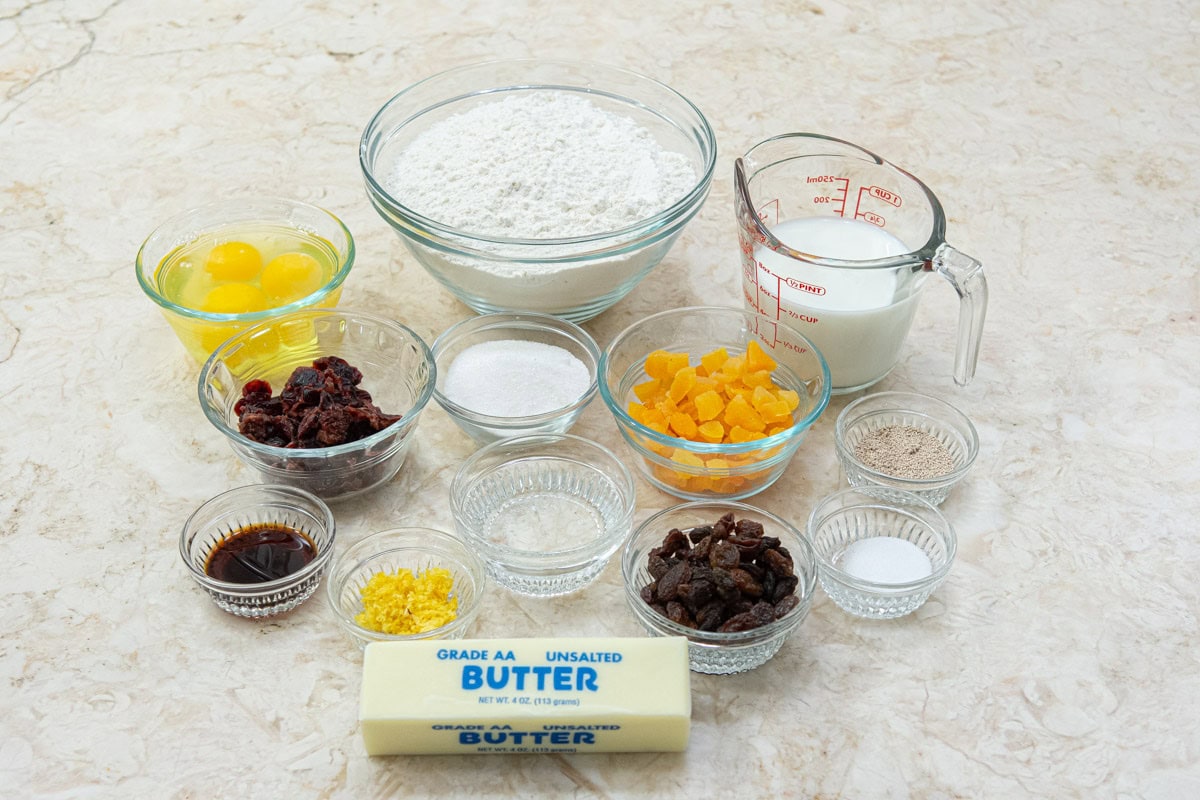
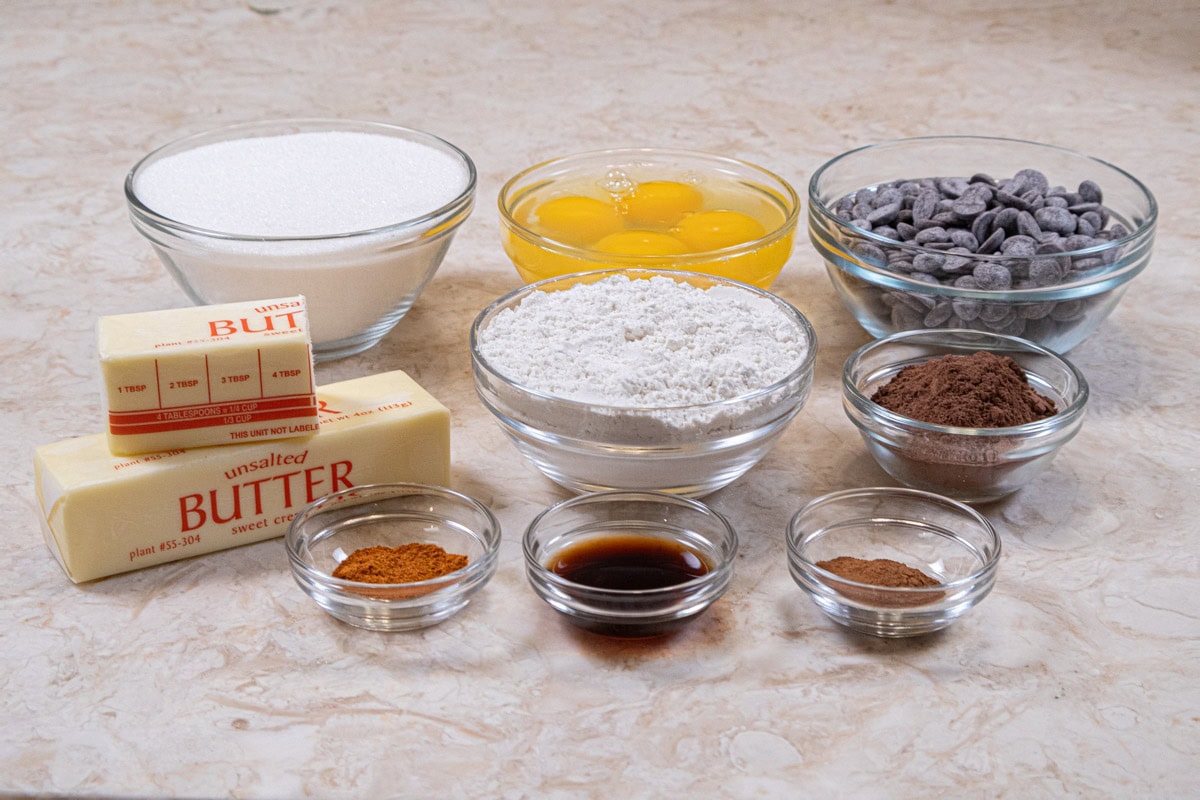
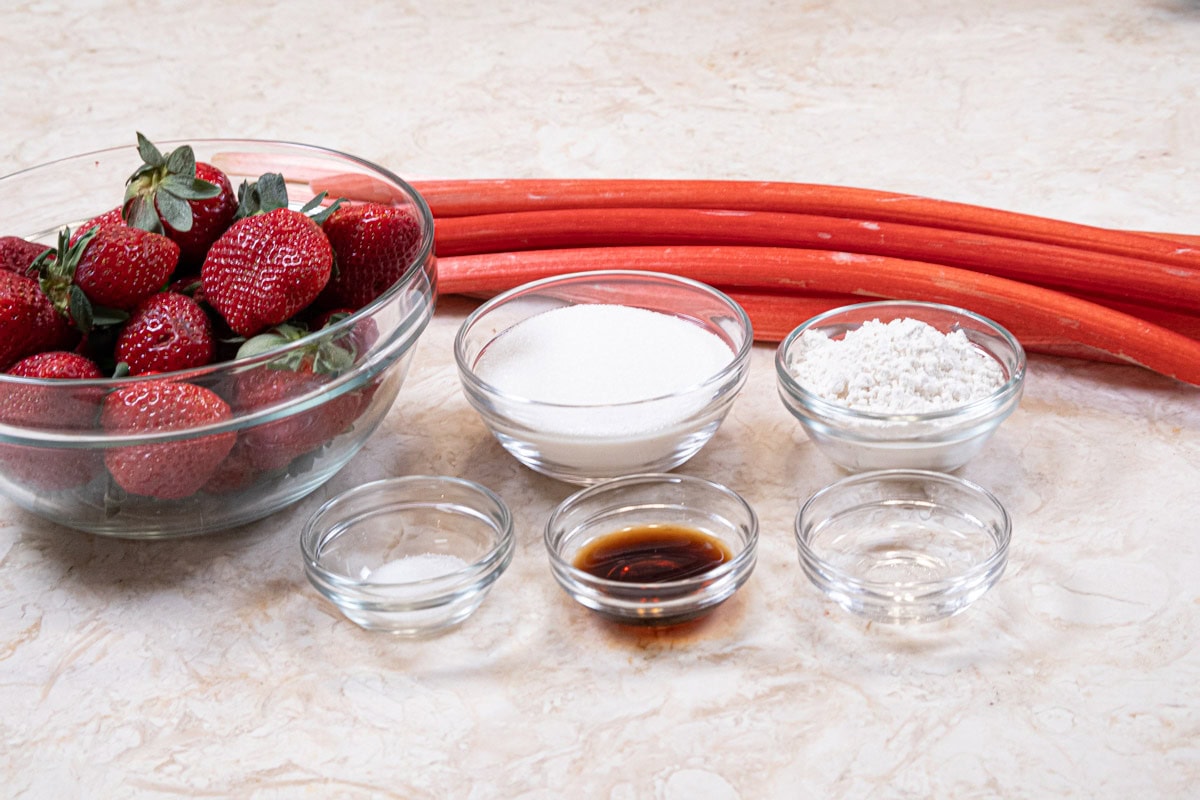
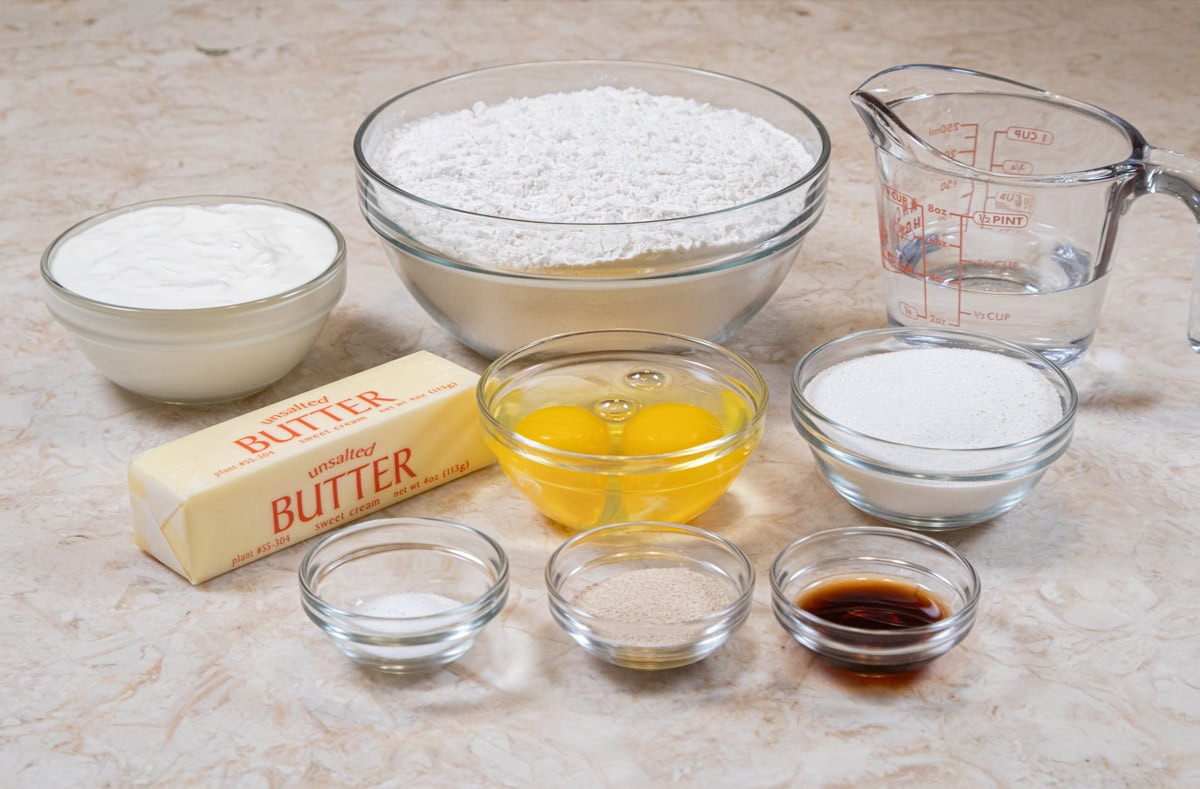
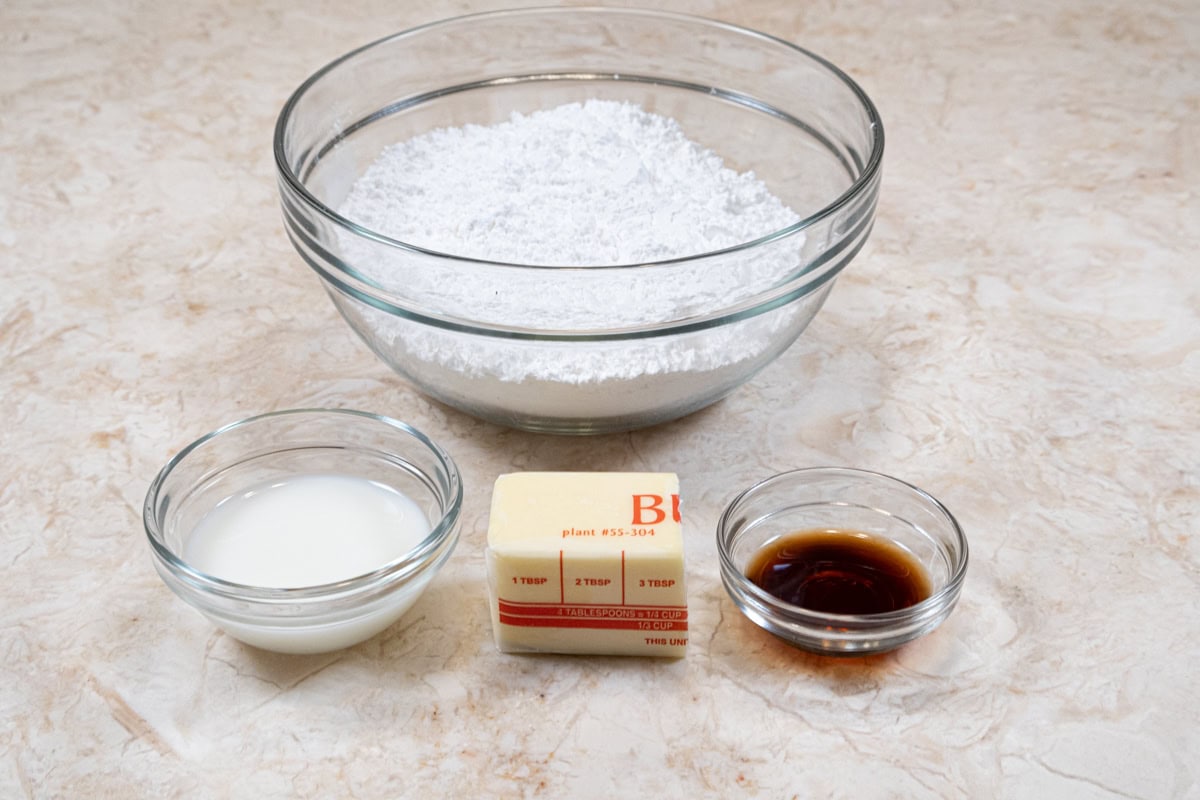
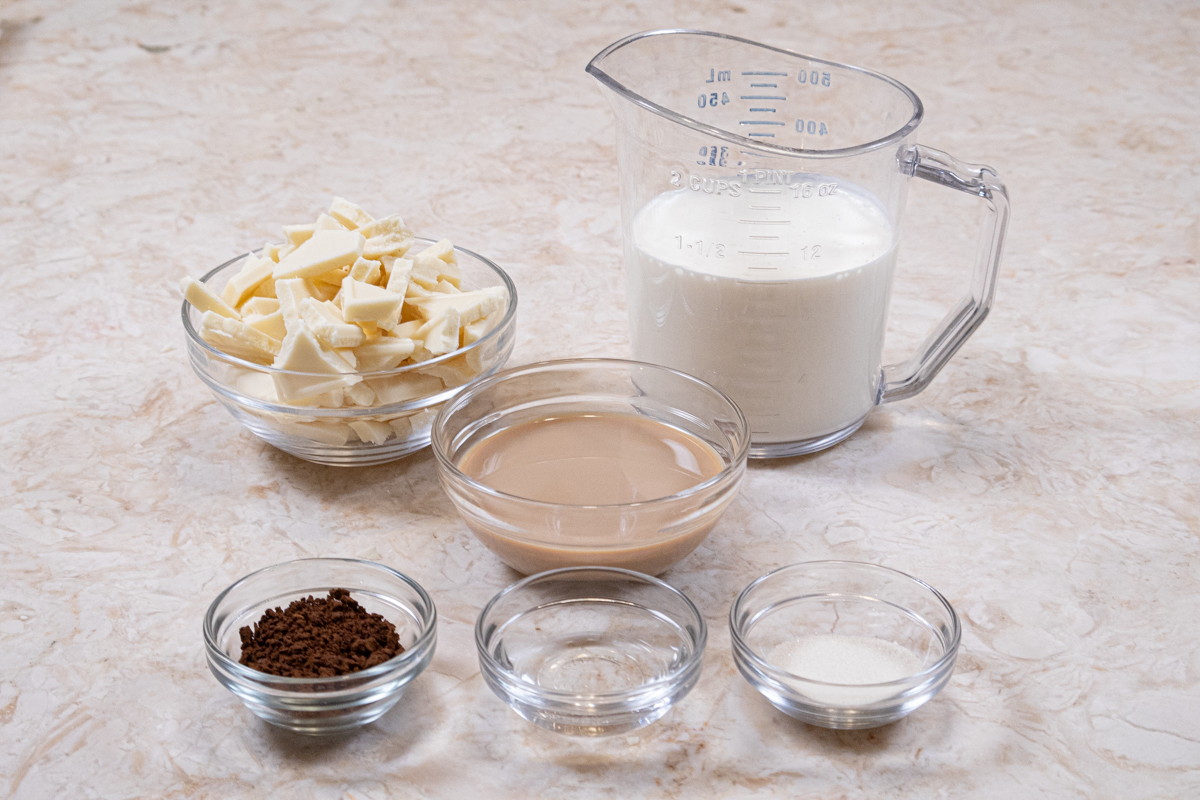
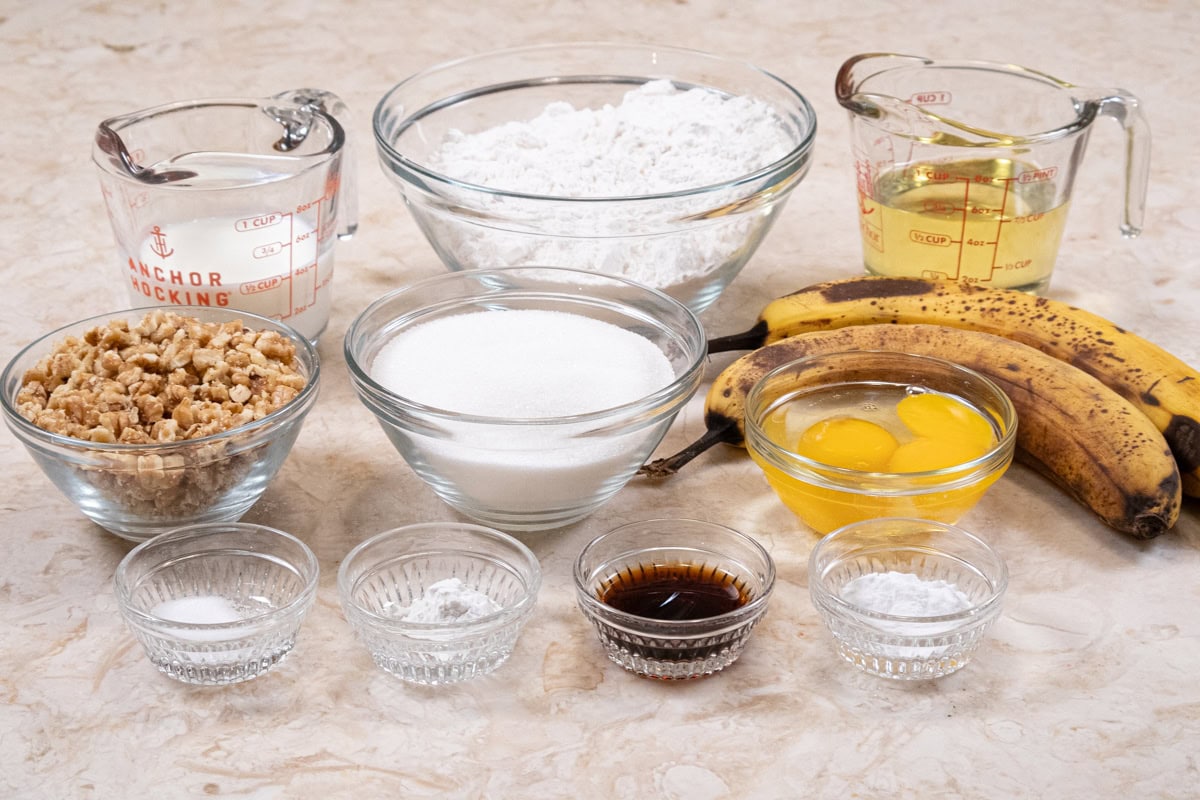
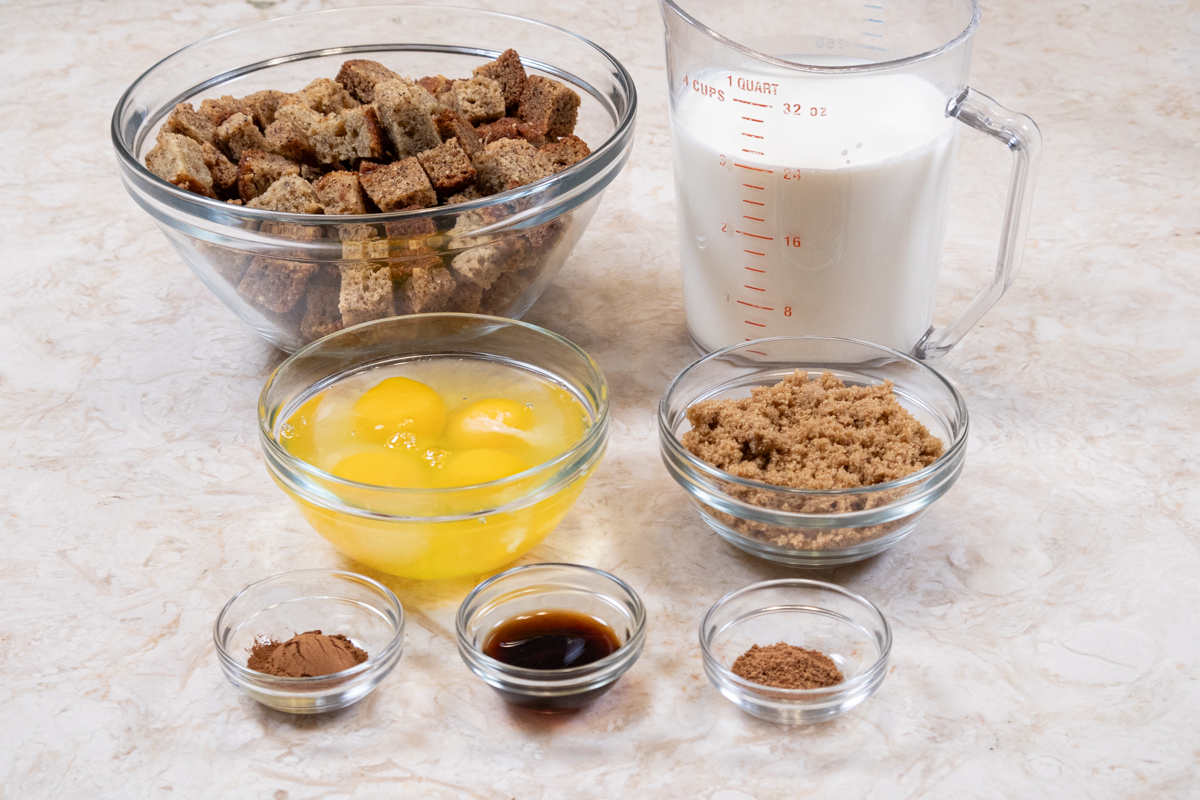
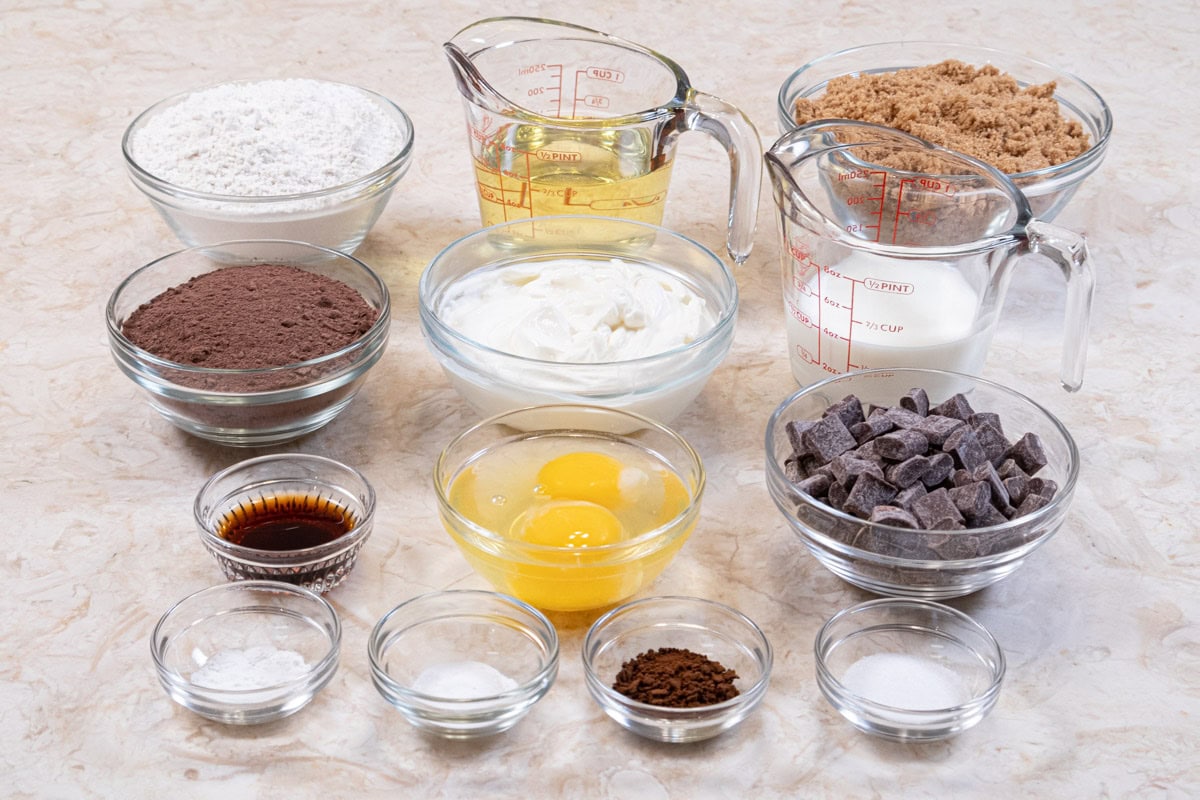
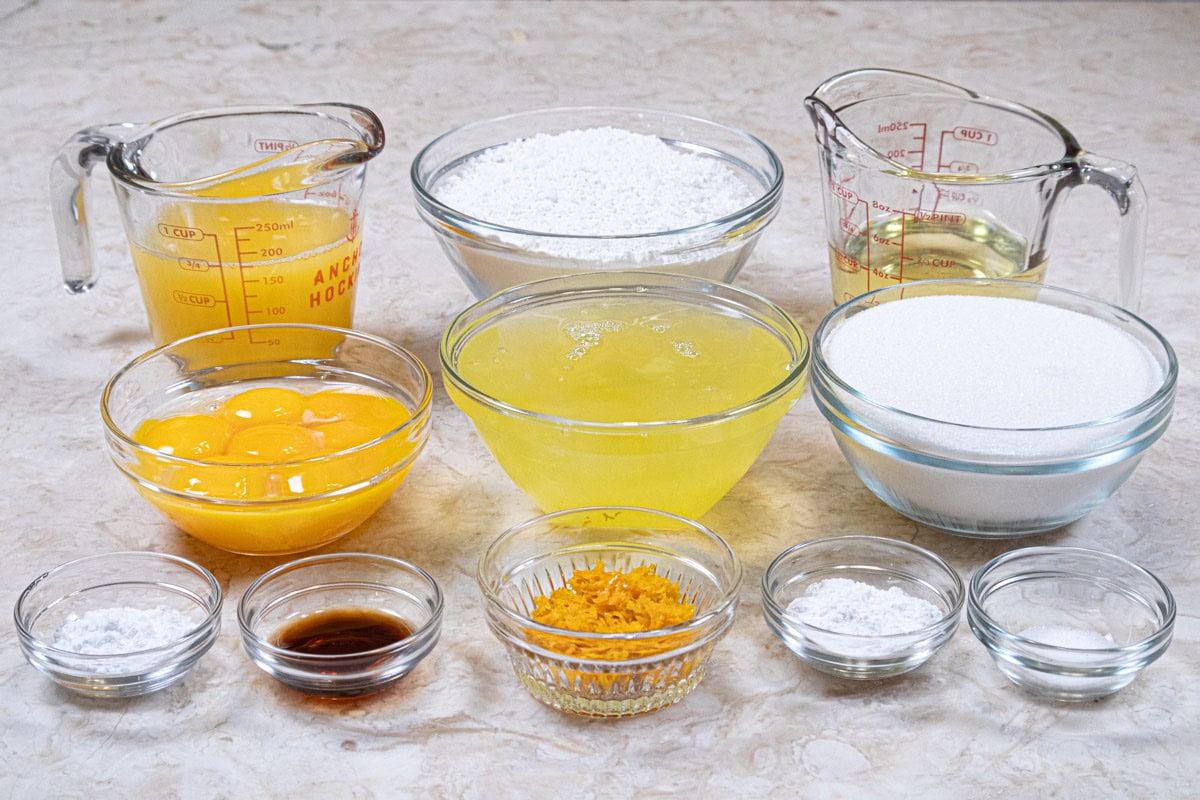
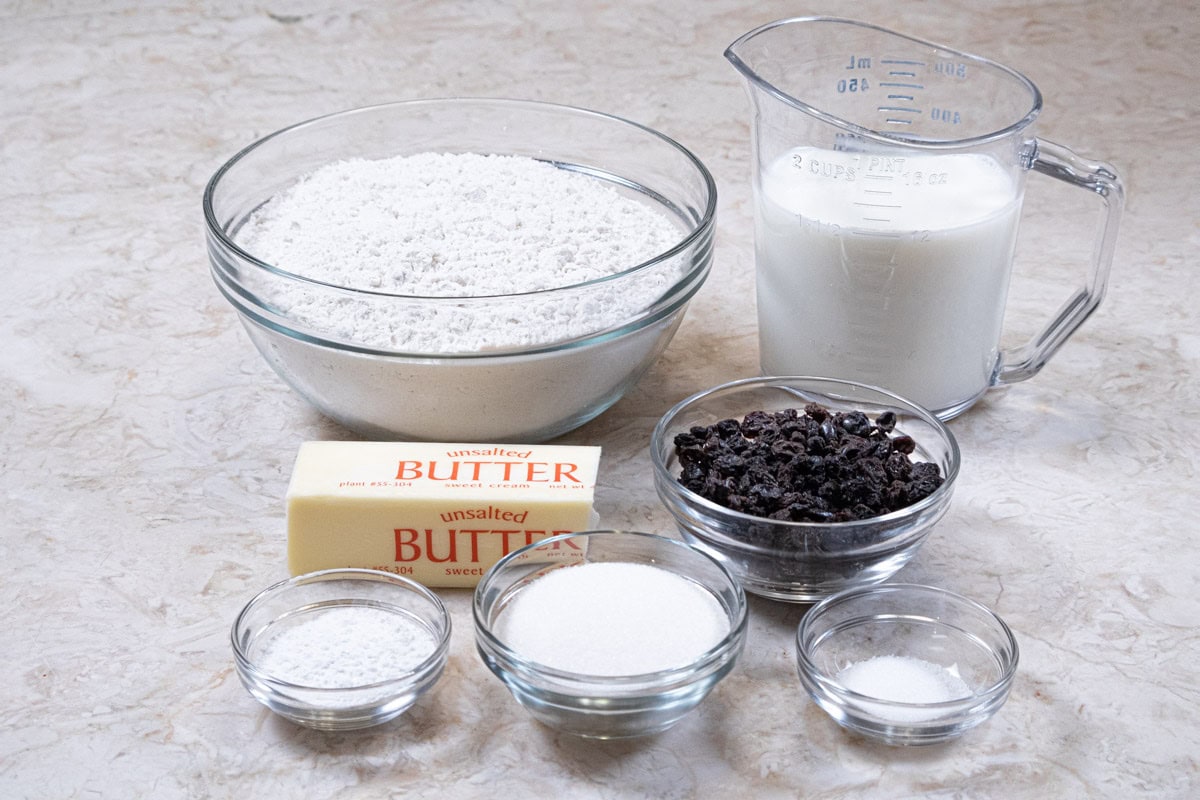
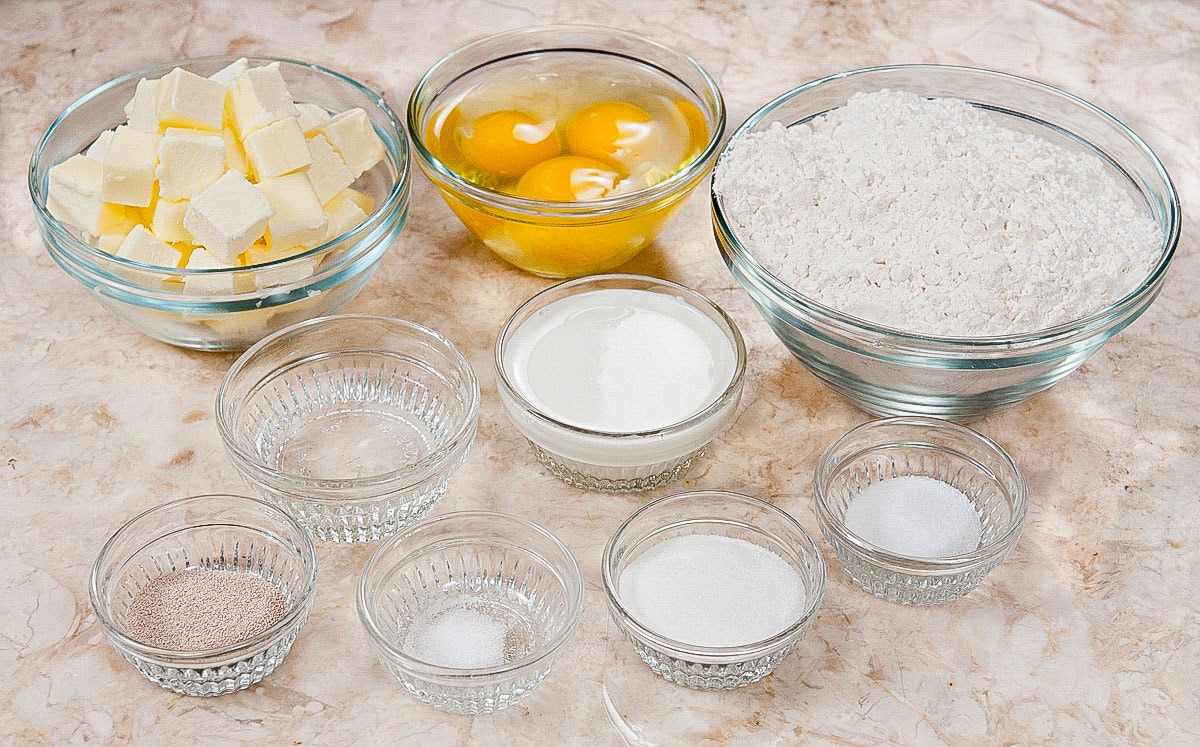
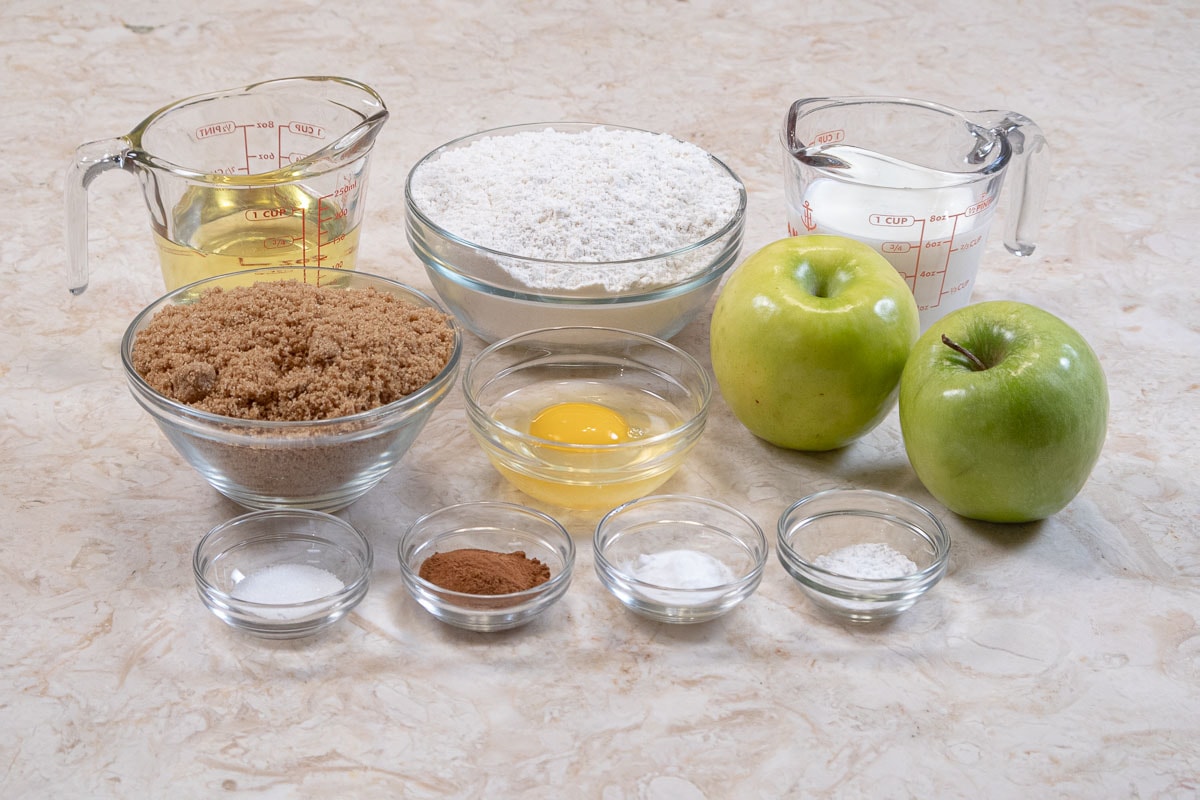
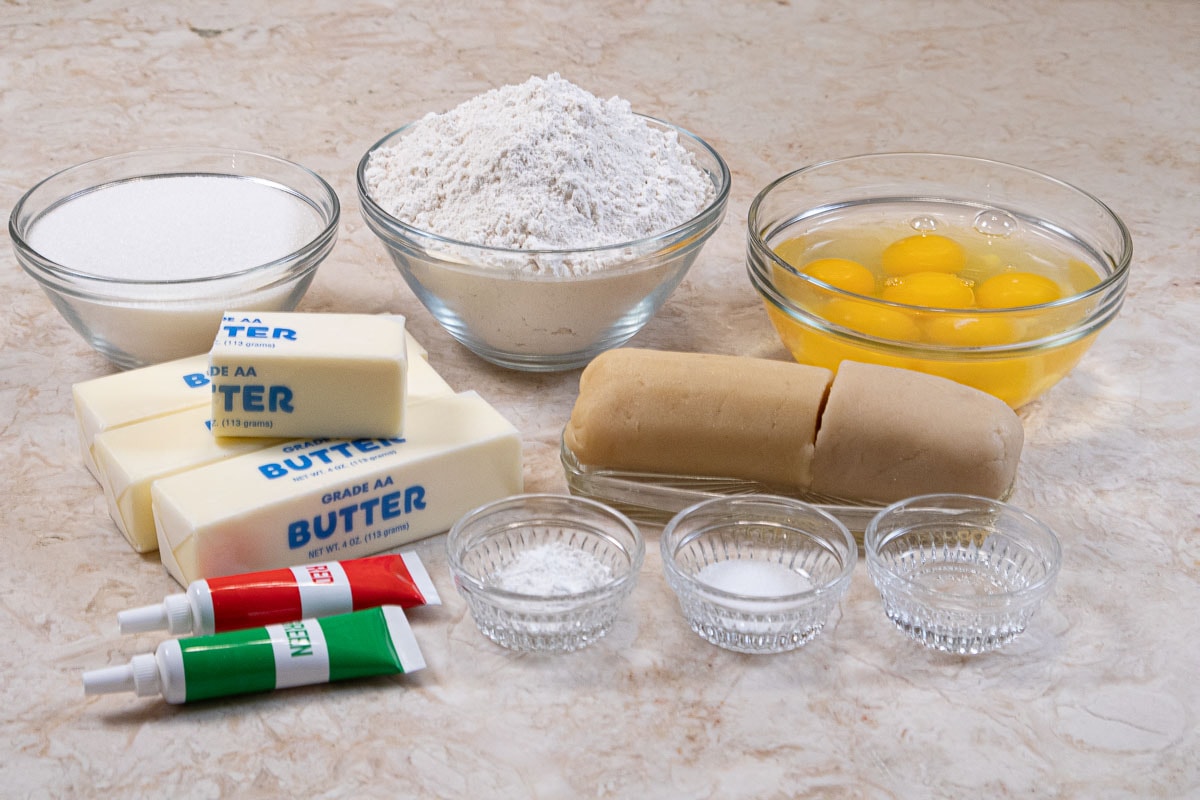
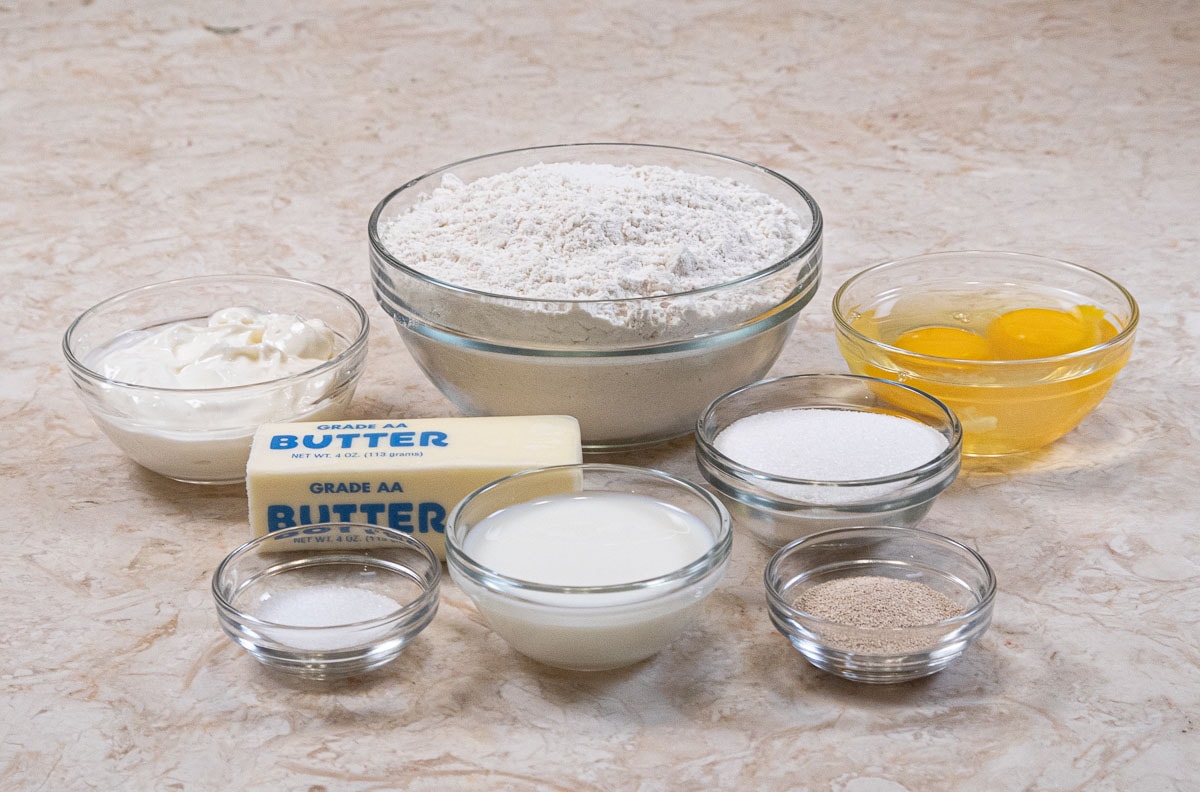
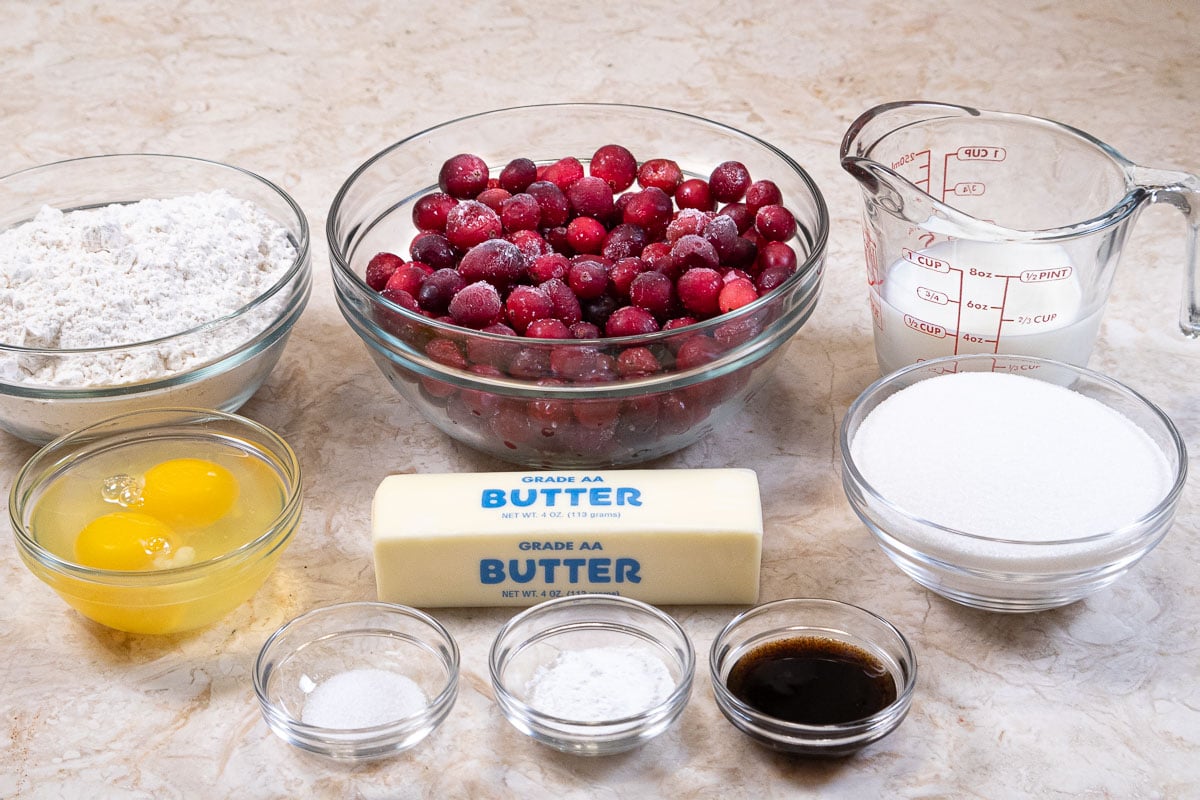
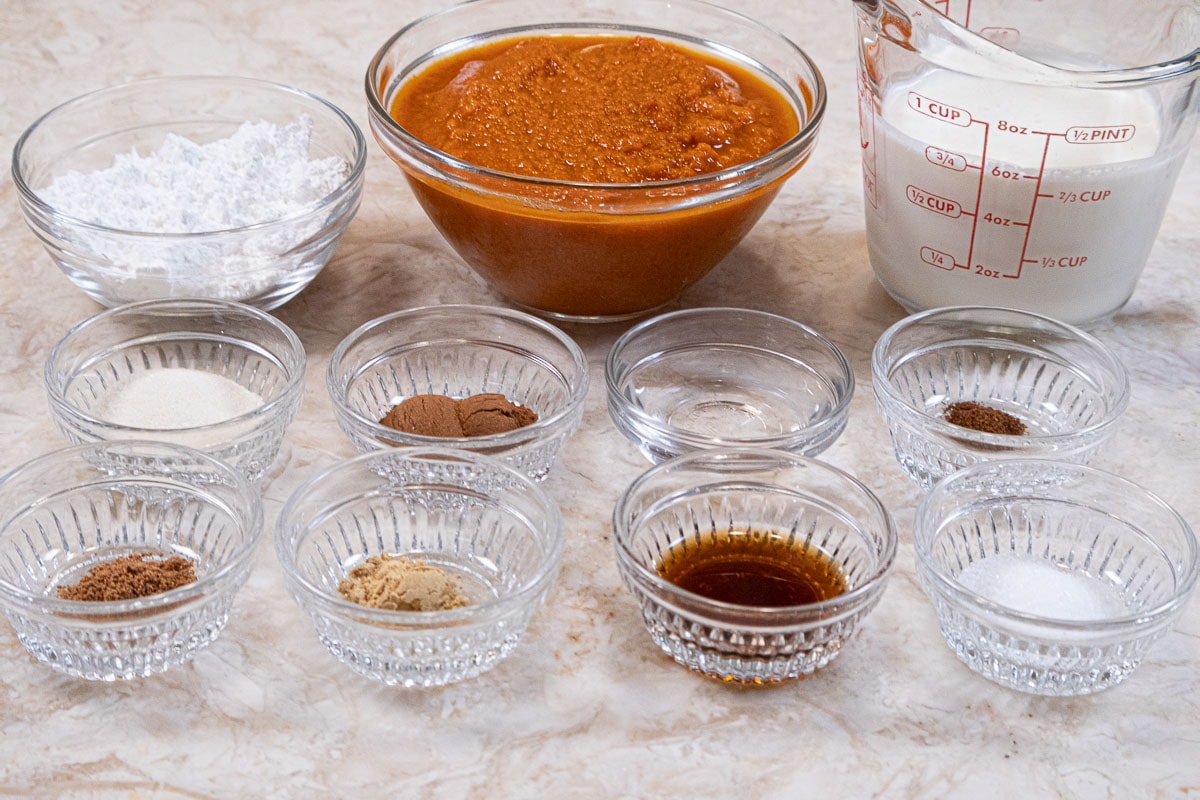
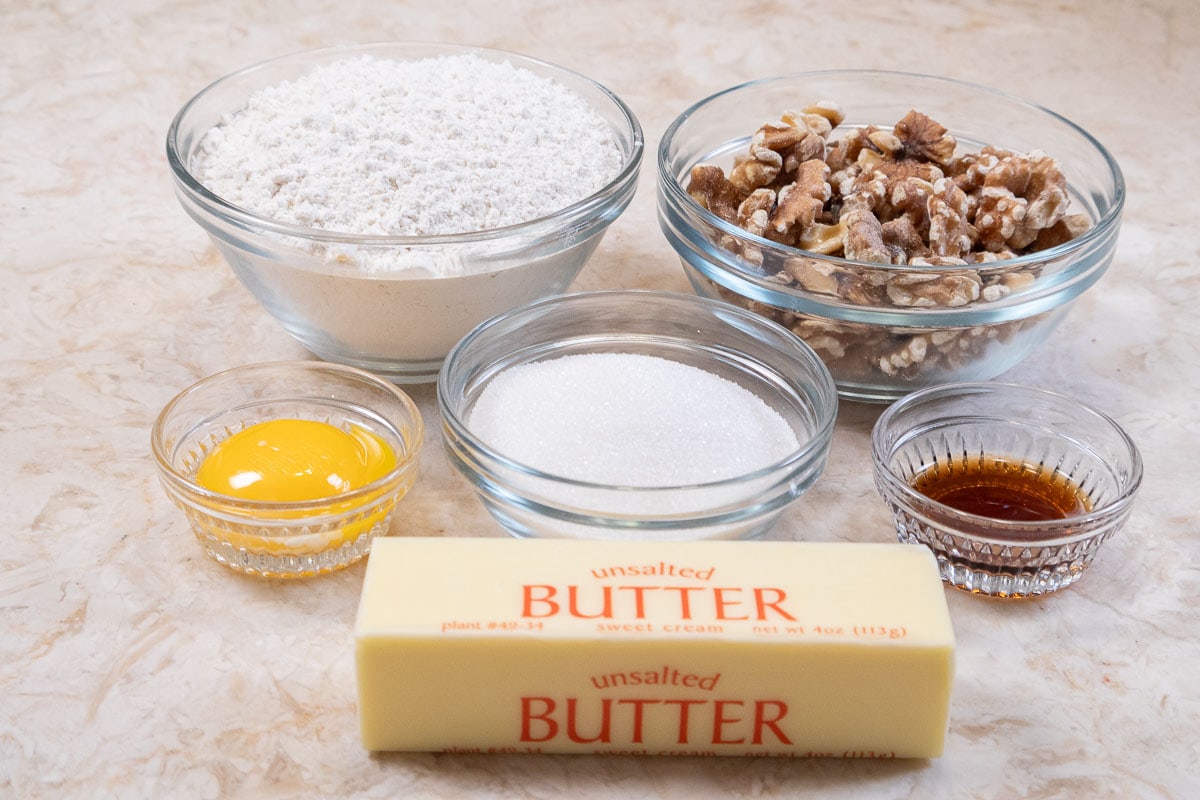
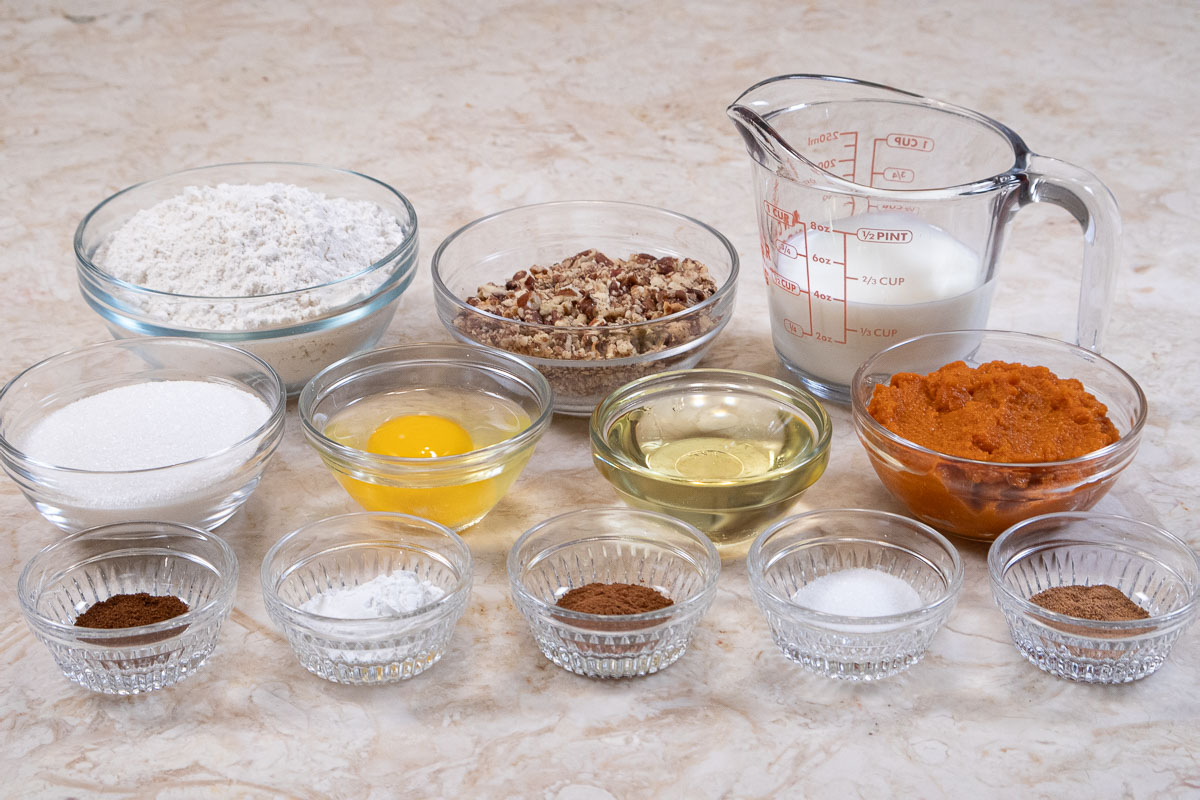
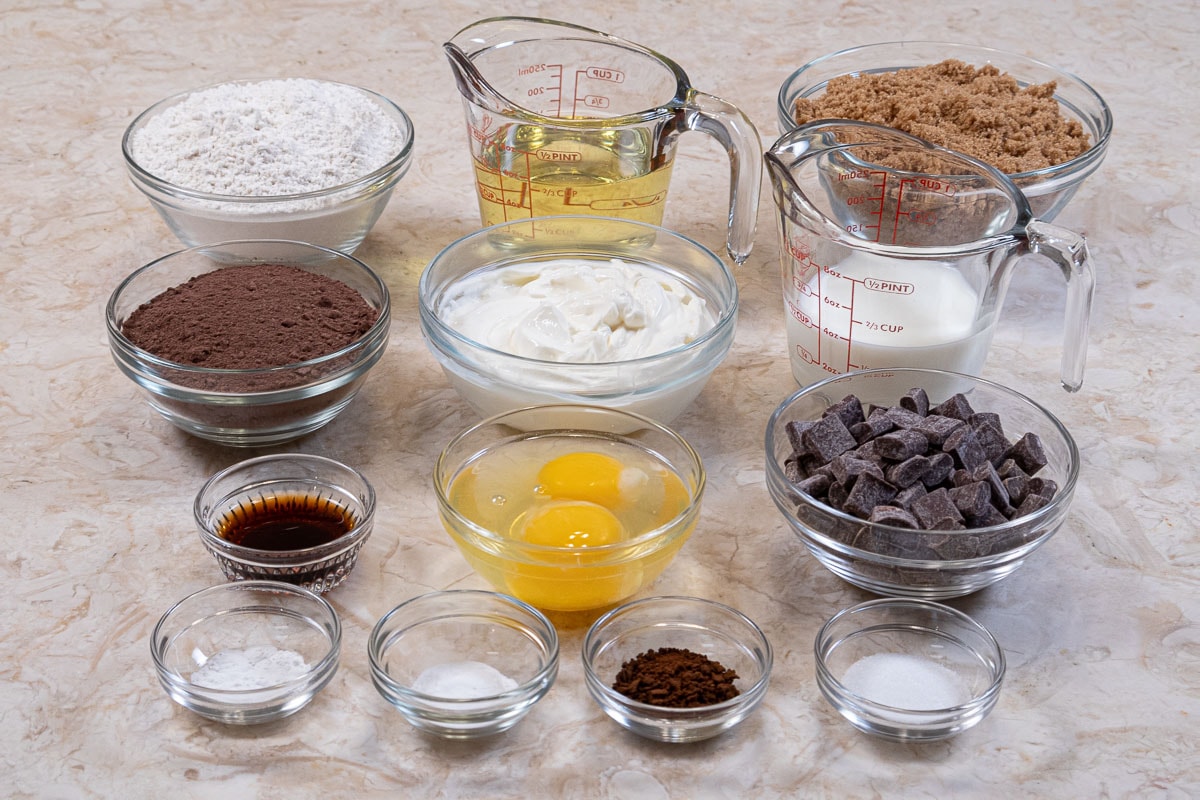
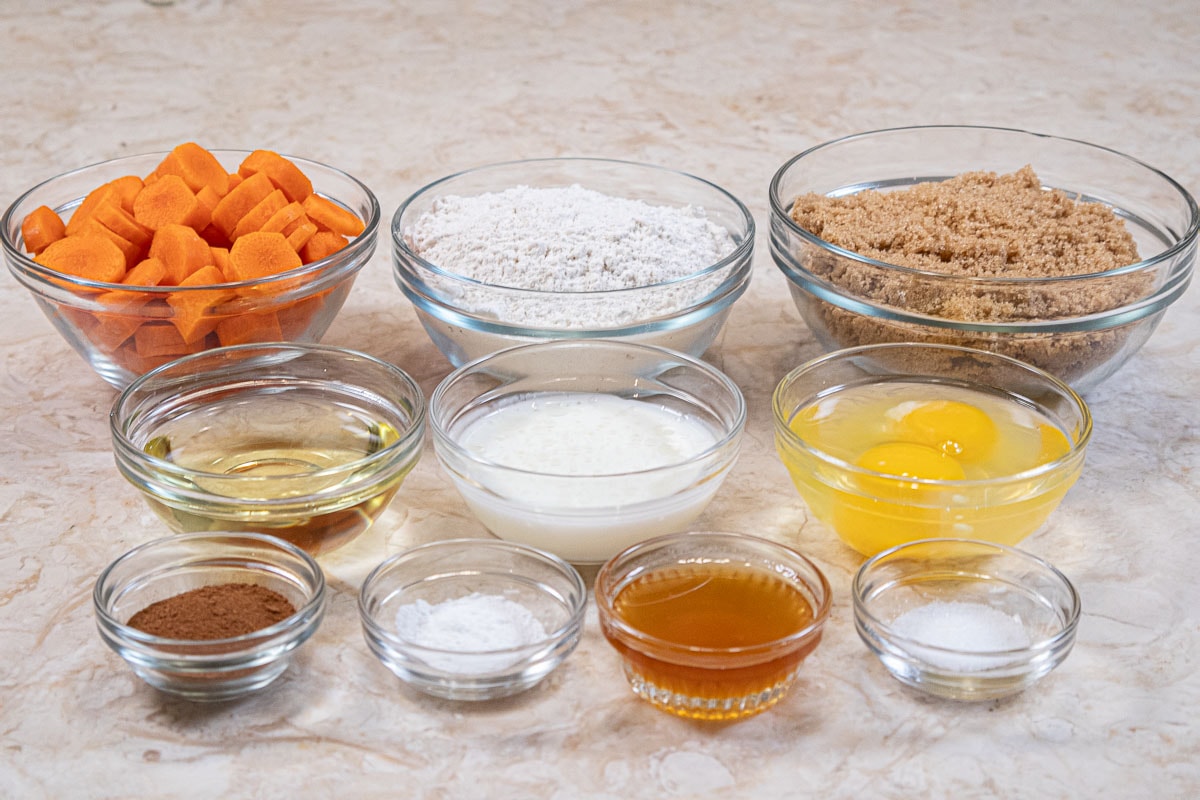
Donut Batter
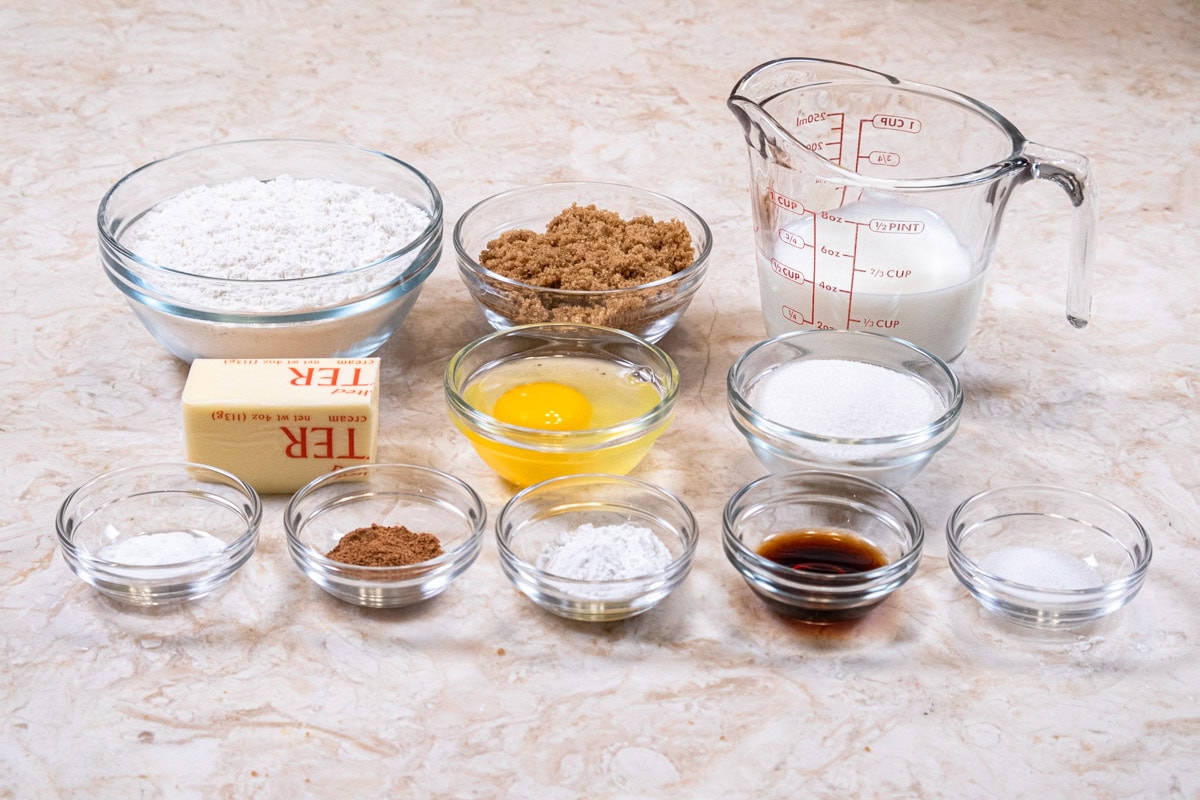
FRONT ROW: Baking soda, cinnamon, baking powder, vanilla, salt
MIDDLE ROW: Unsalted butter, egg, granulated sugar
BACK ROW: All-purpose flour, brown sugar, milk
Be sure to see the recipe card below for the ingredients and instructions.
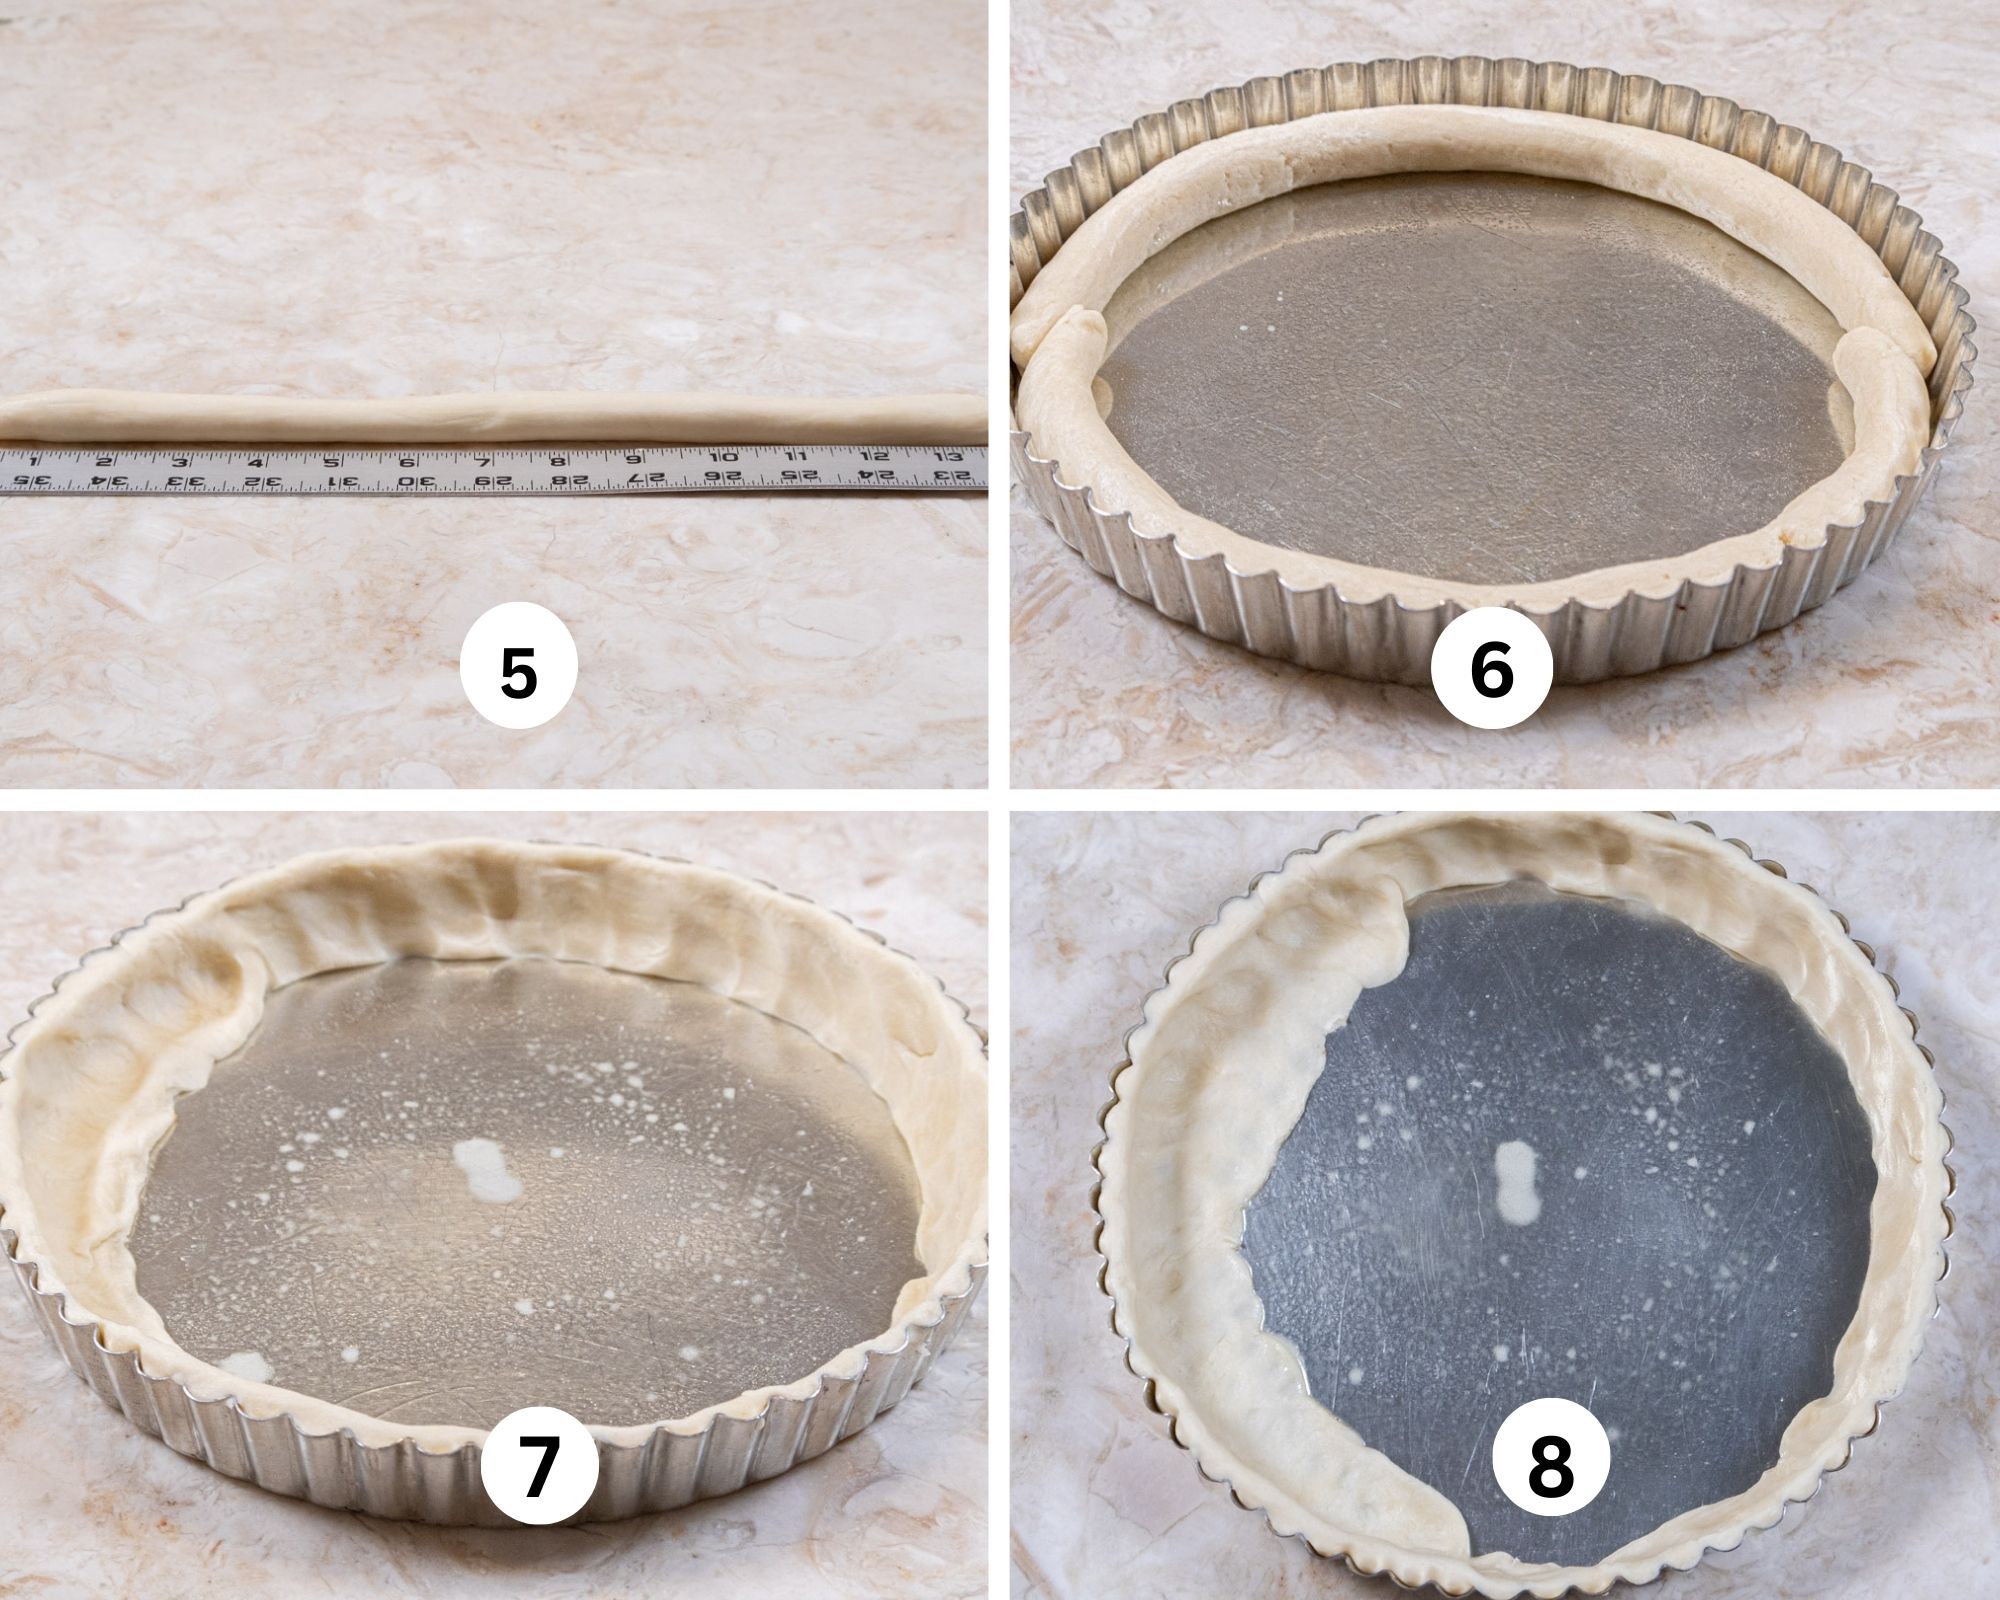
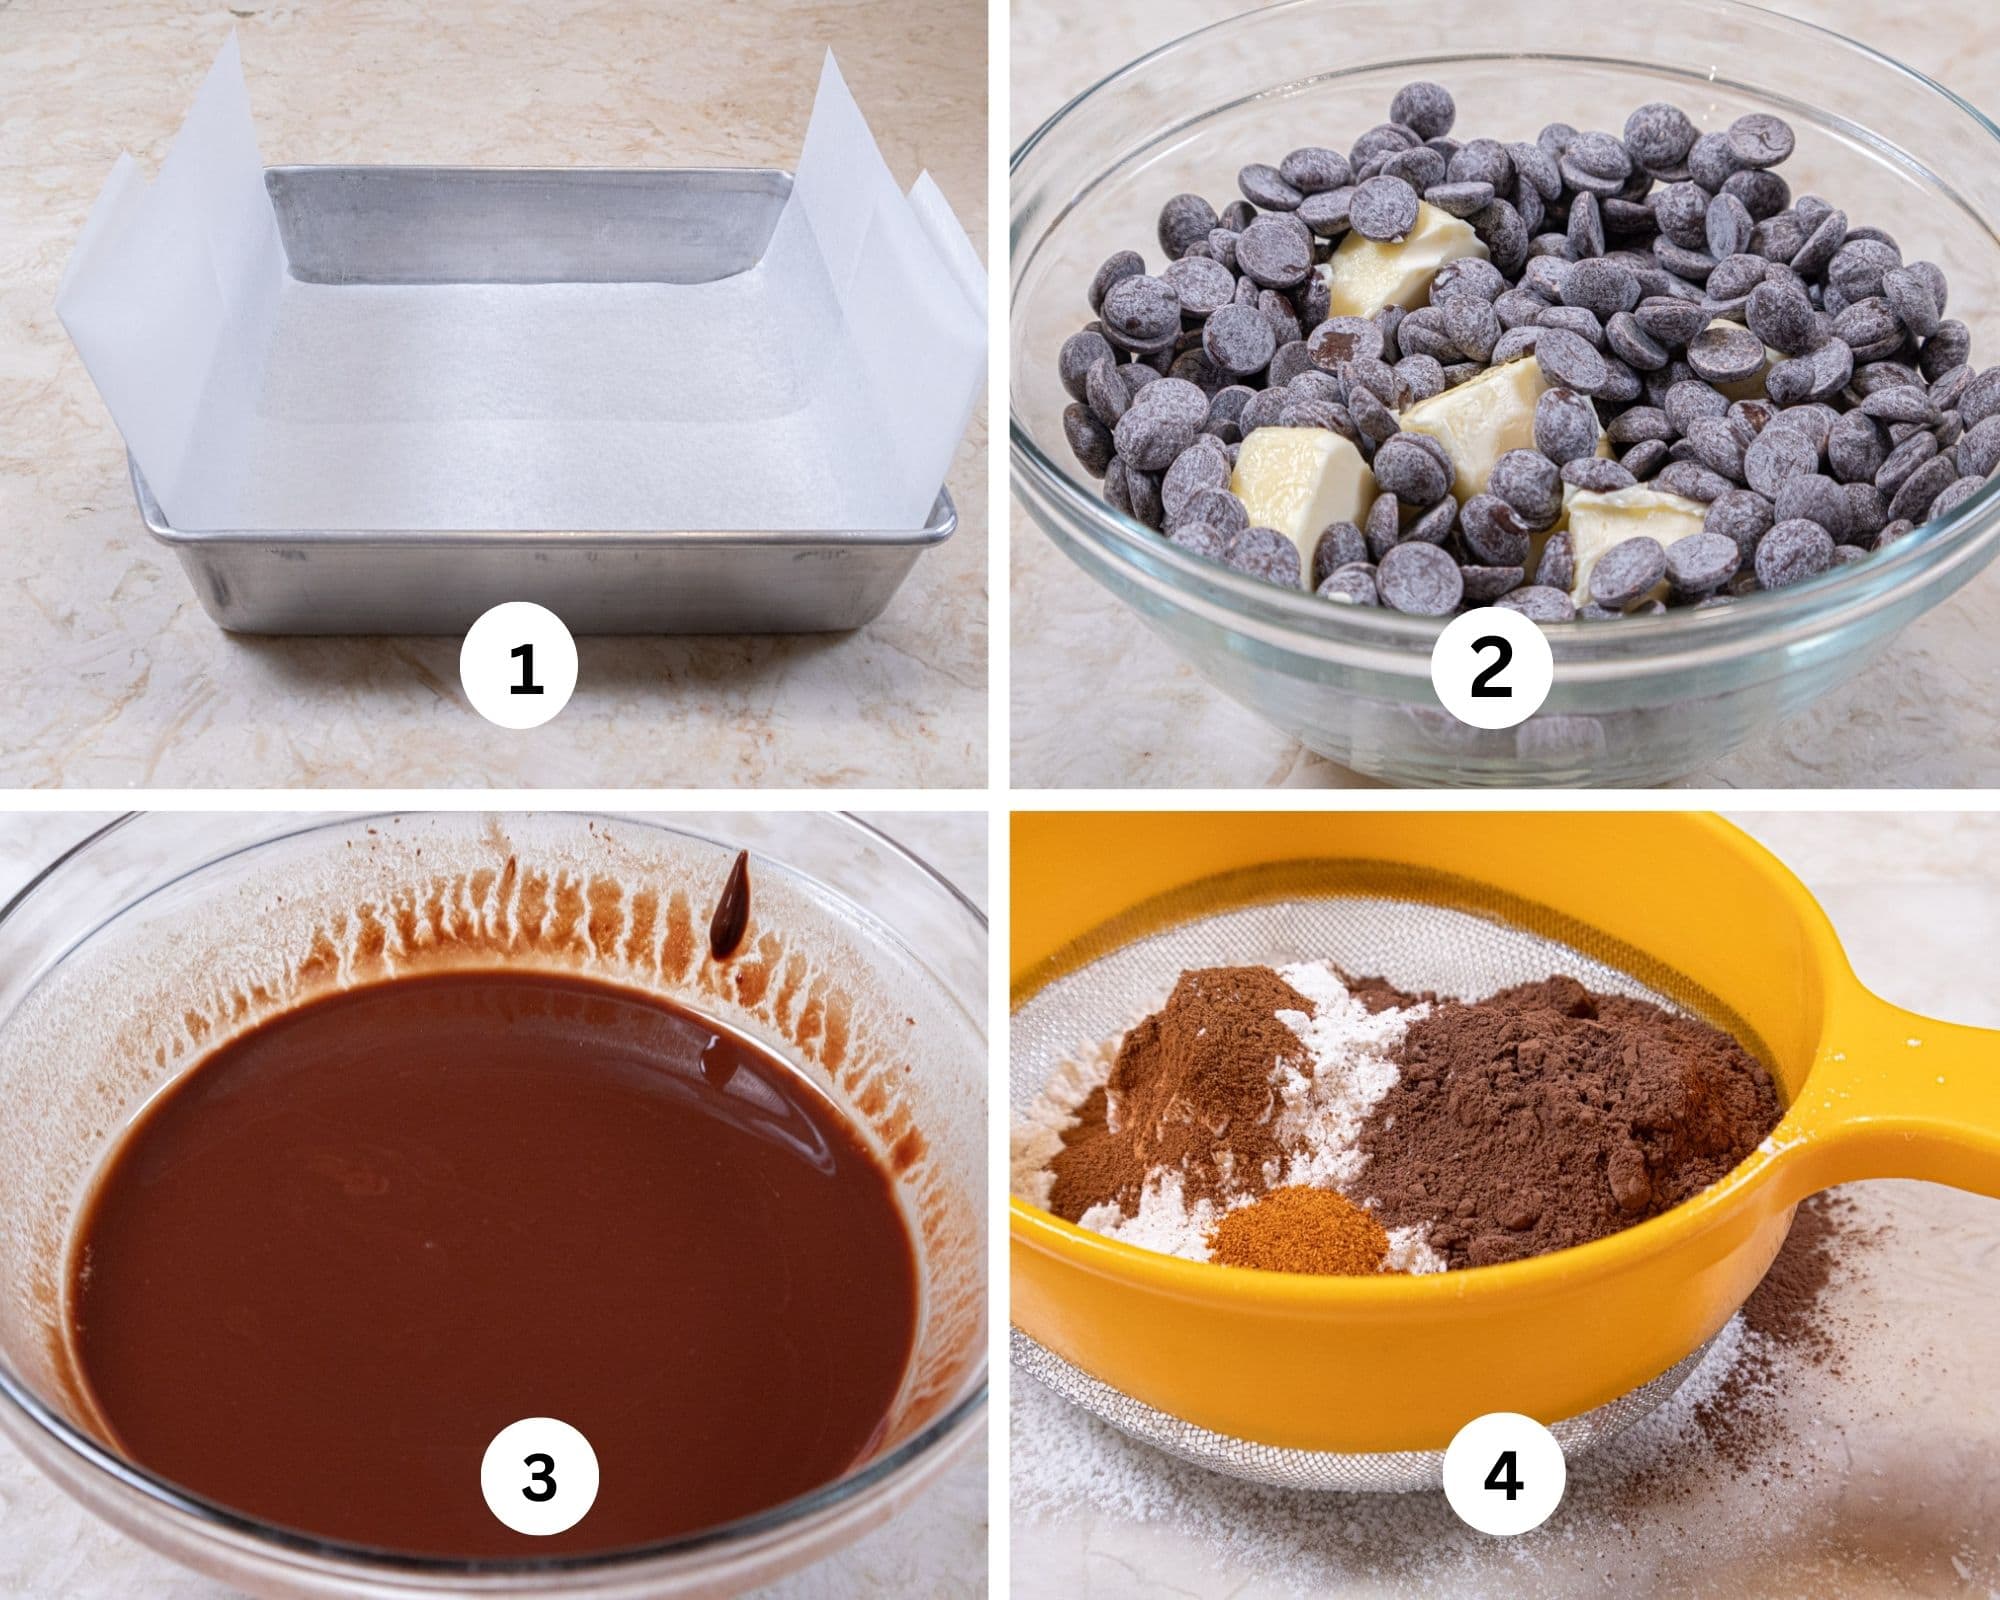
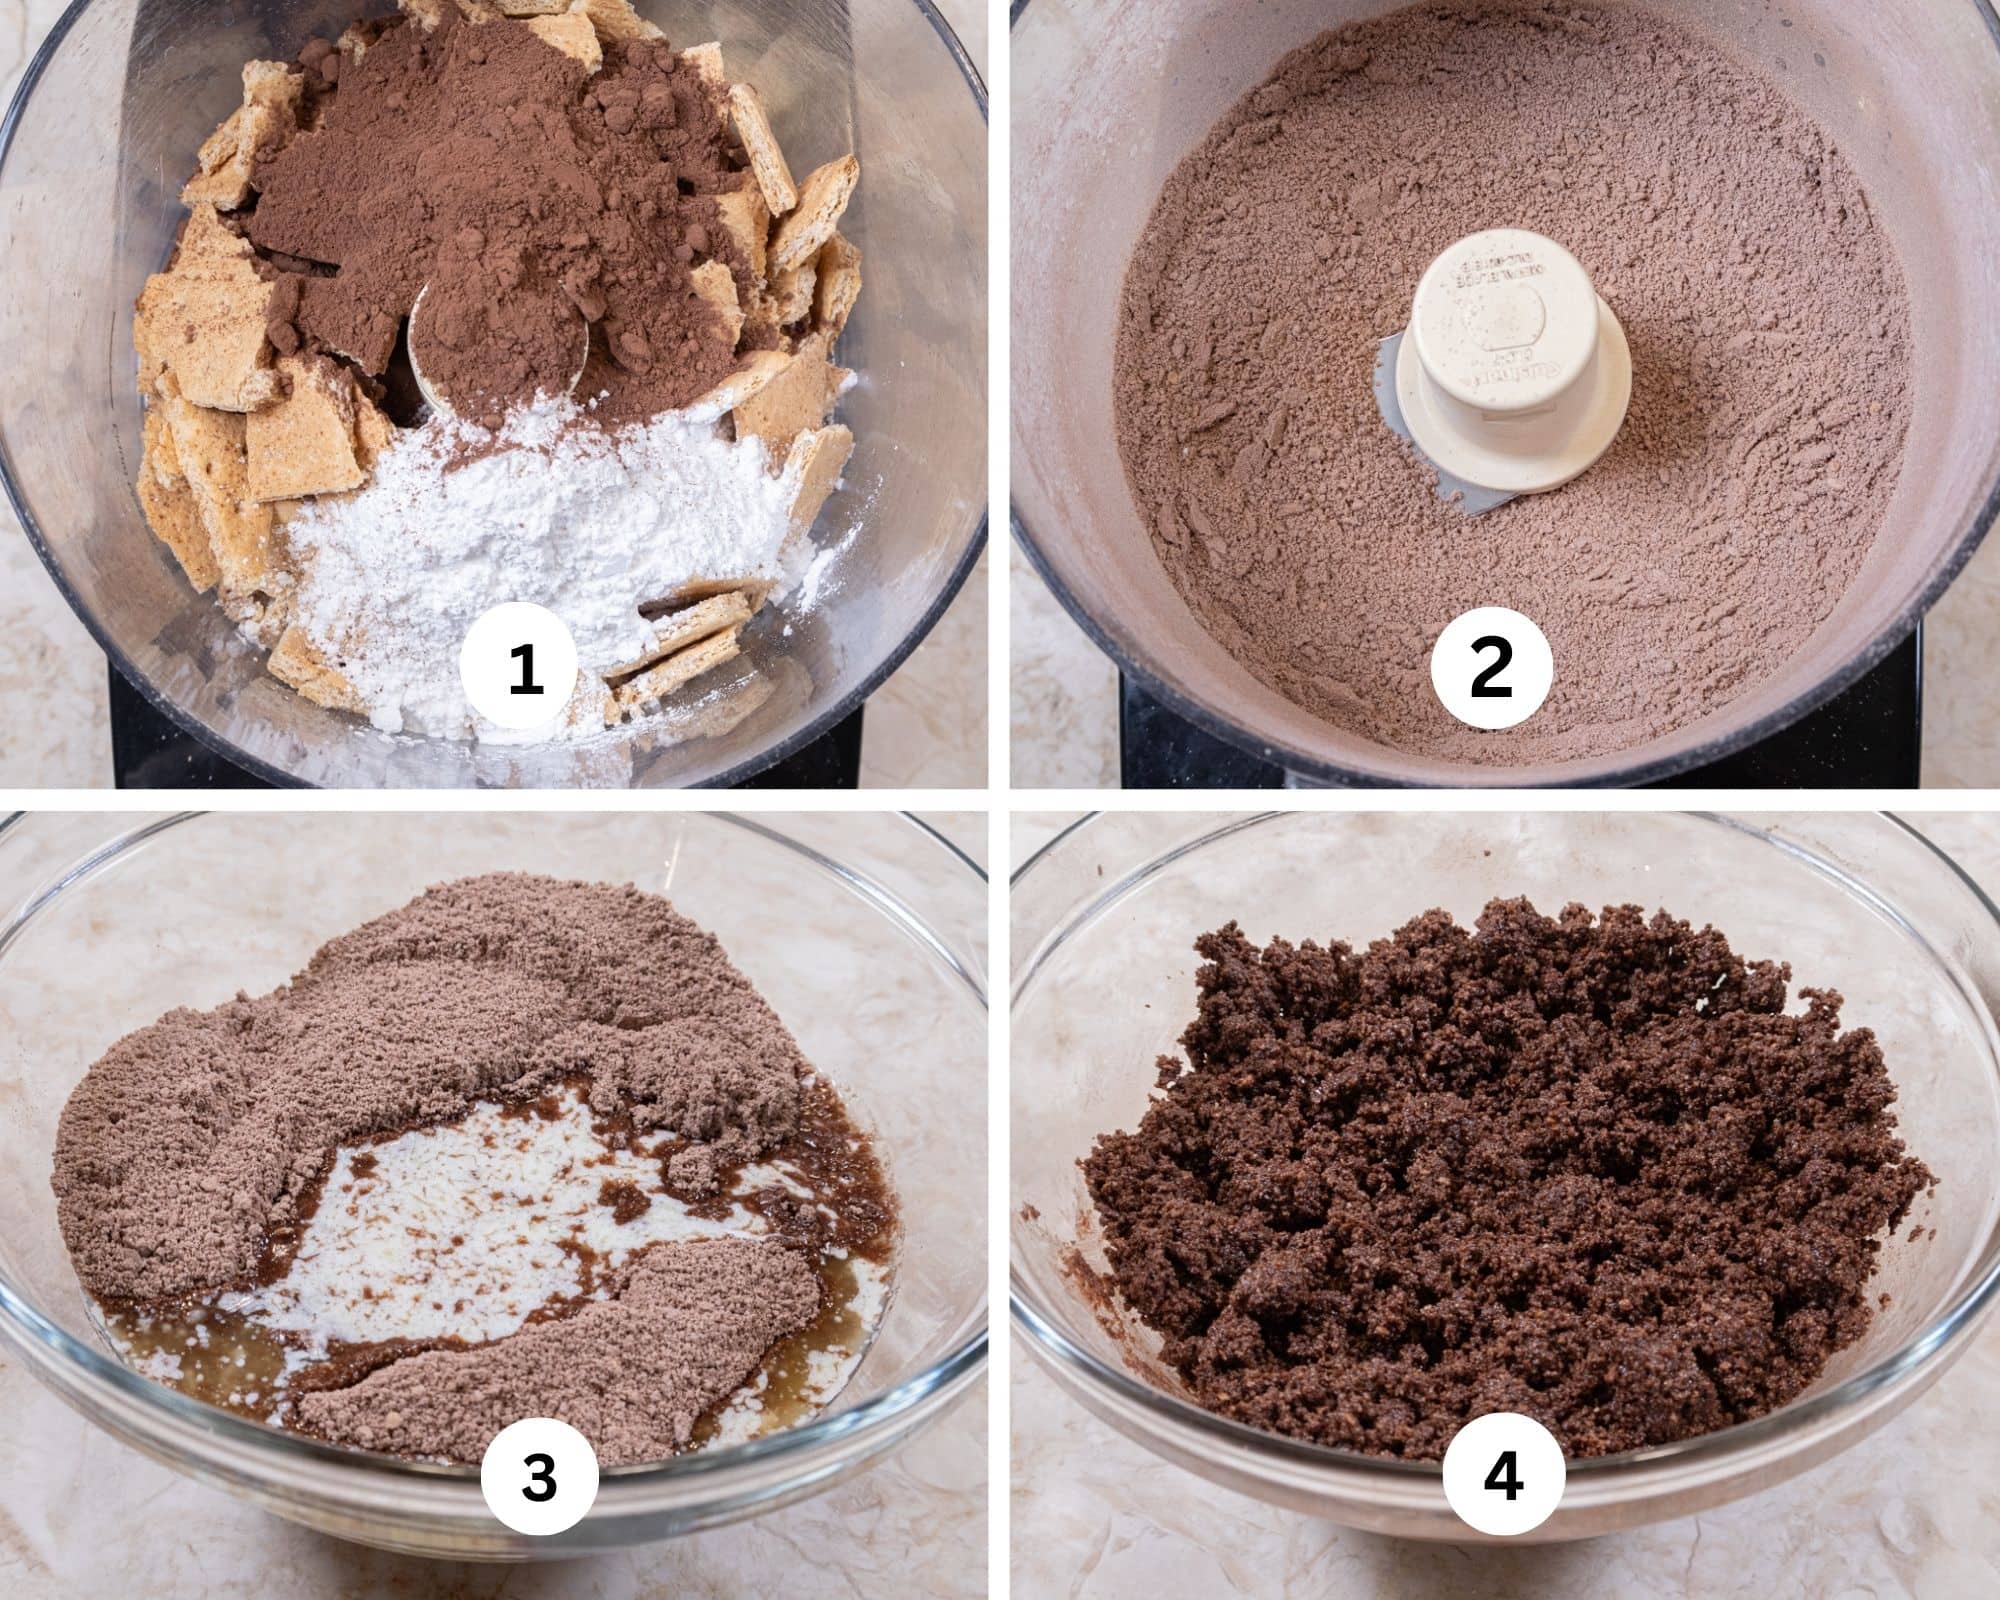
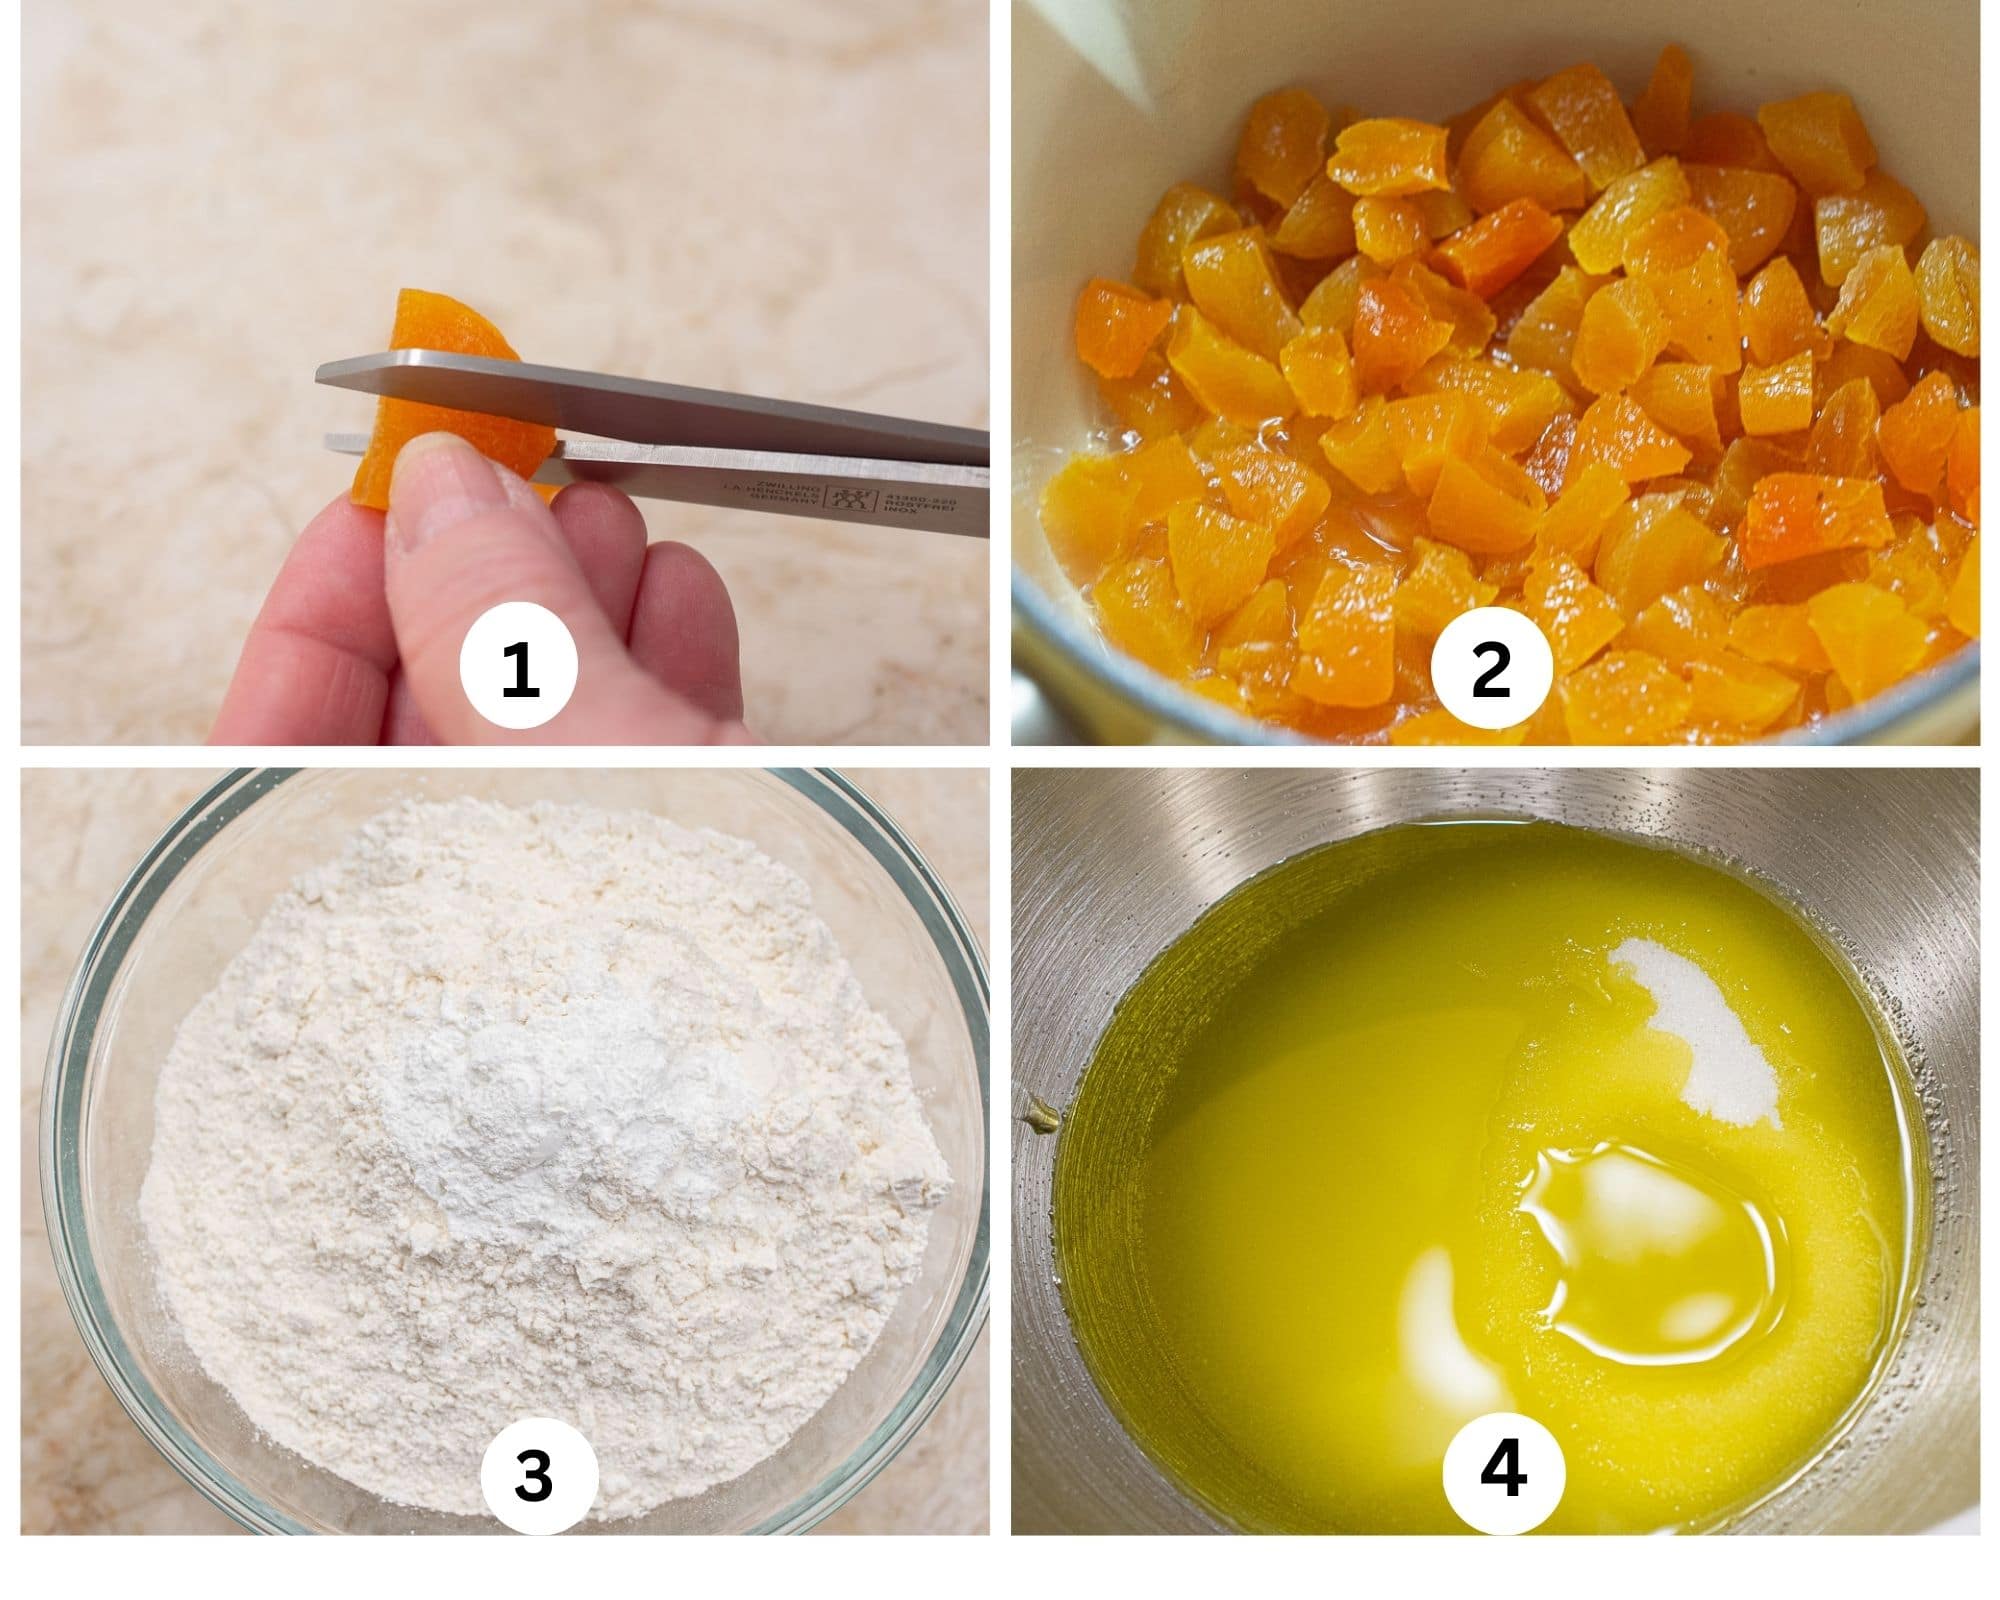
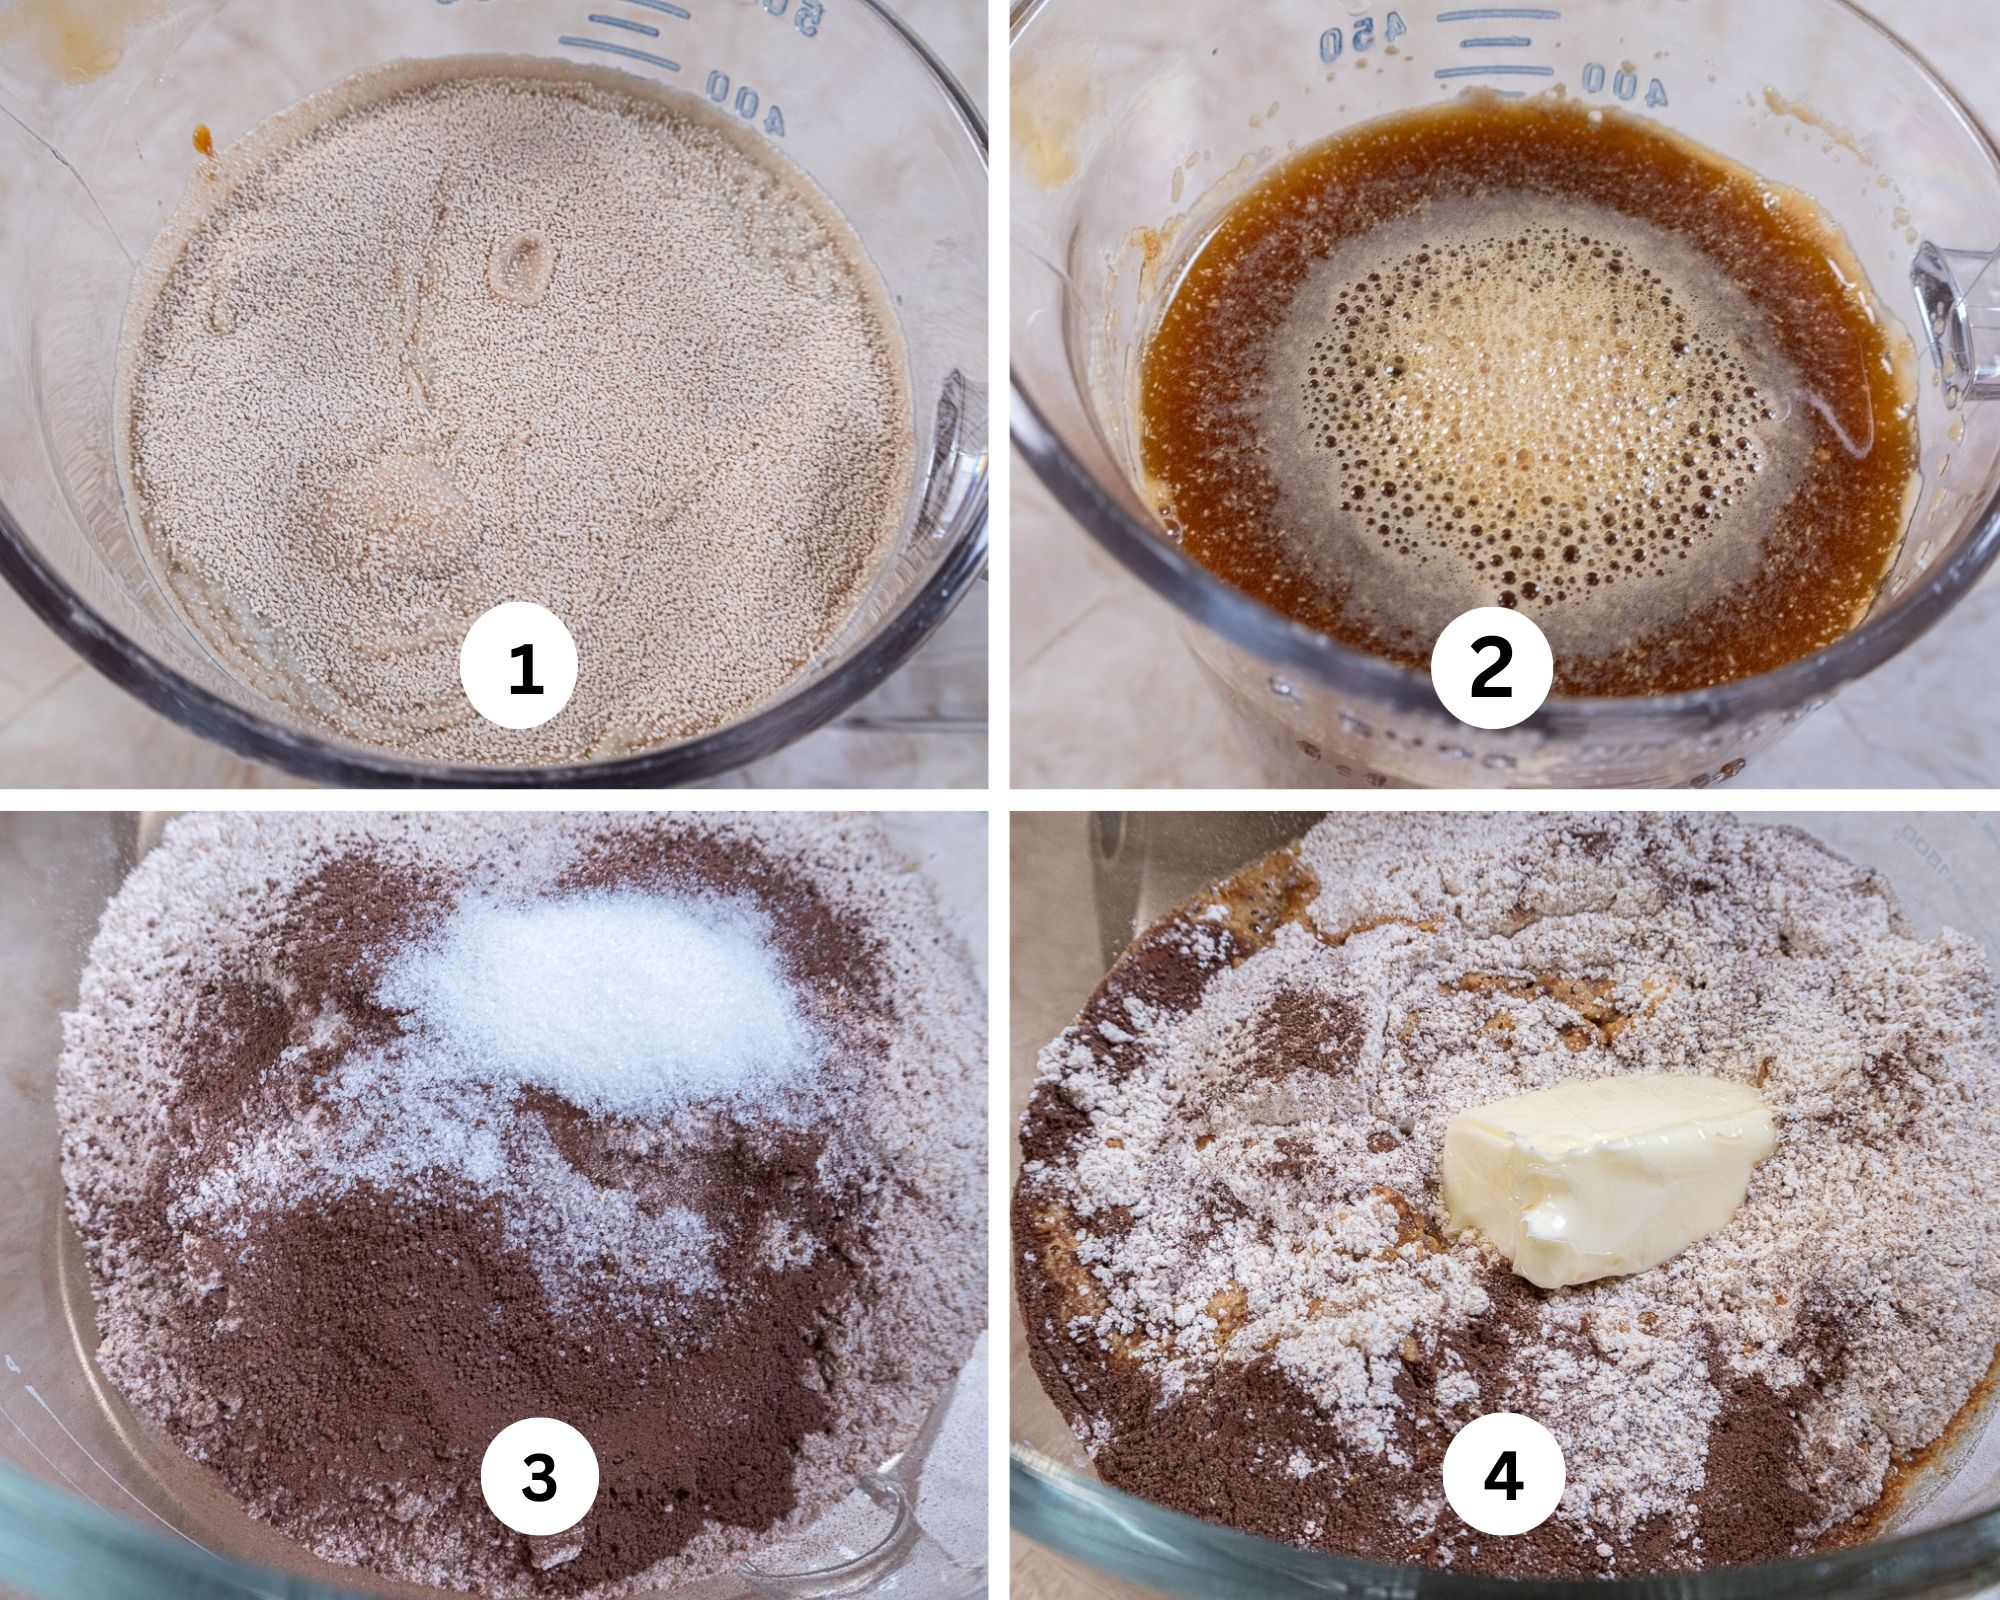
Step by Step Instructions
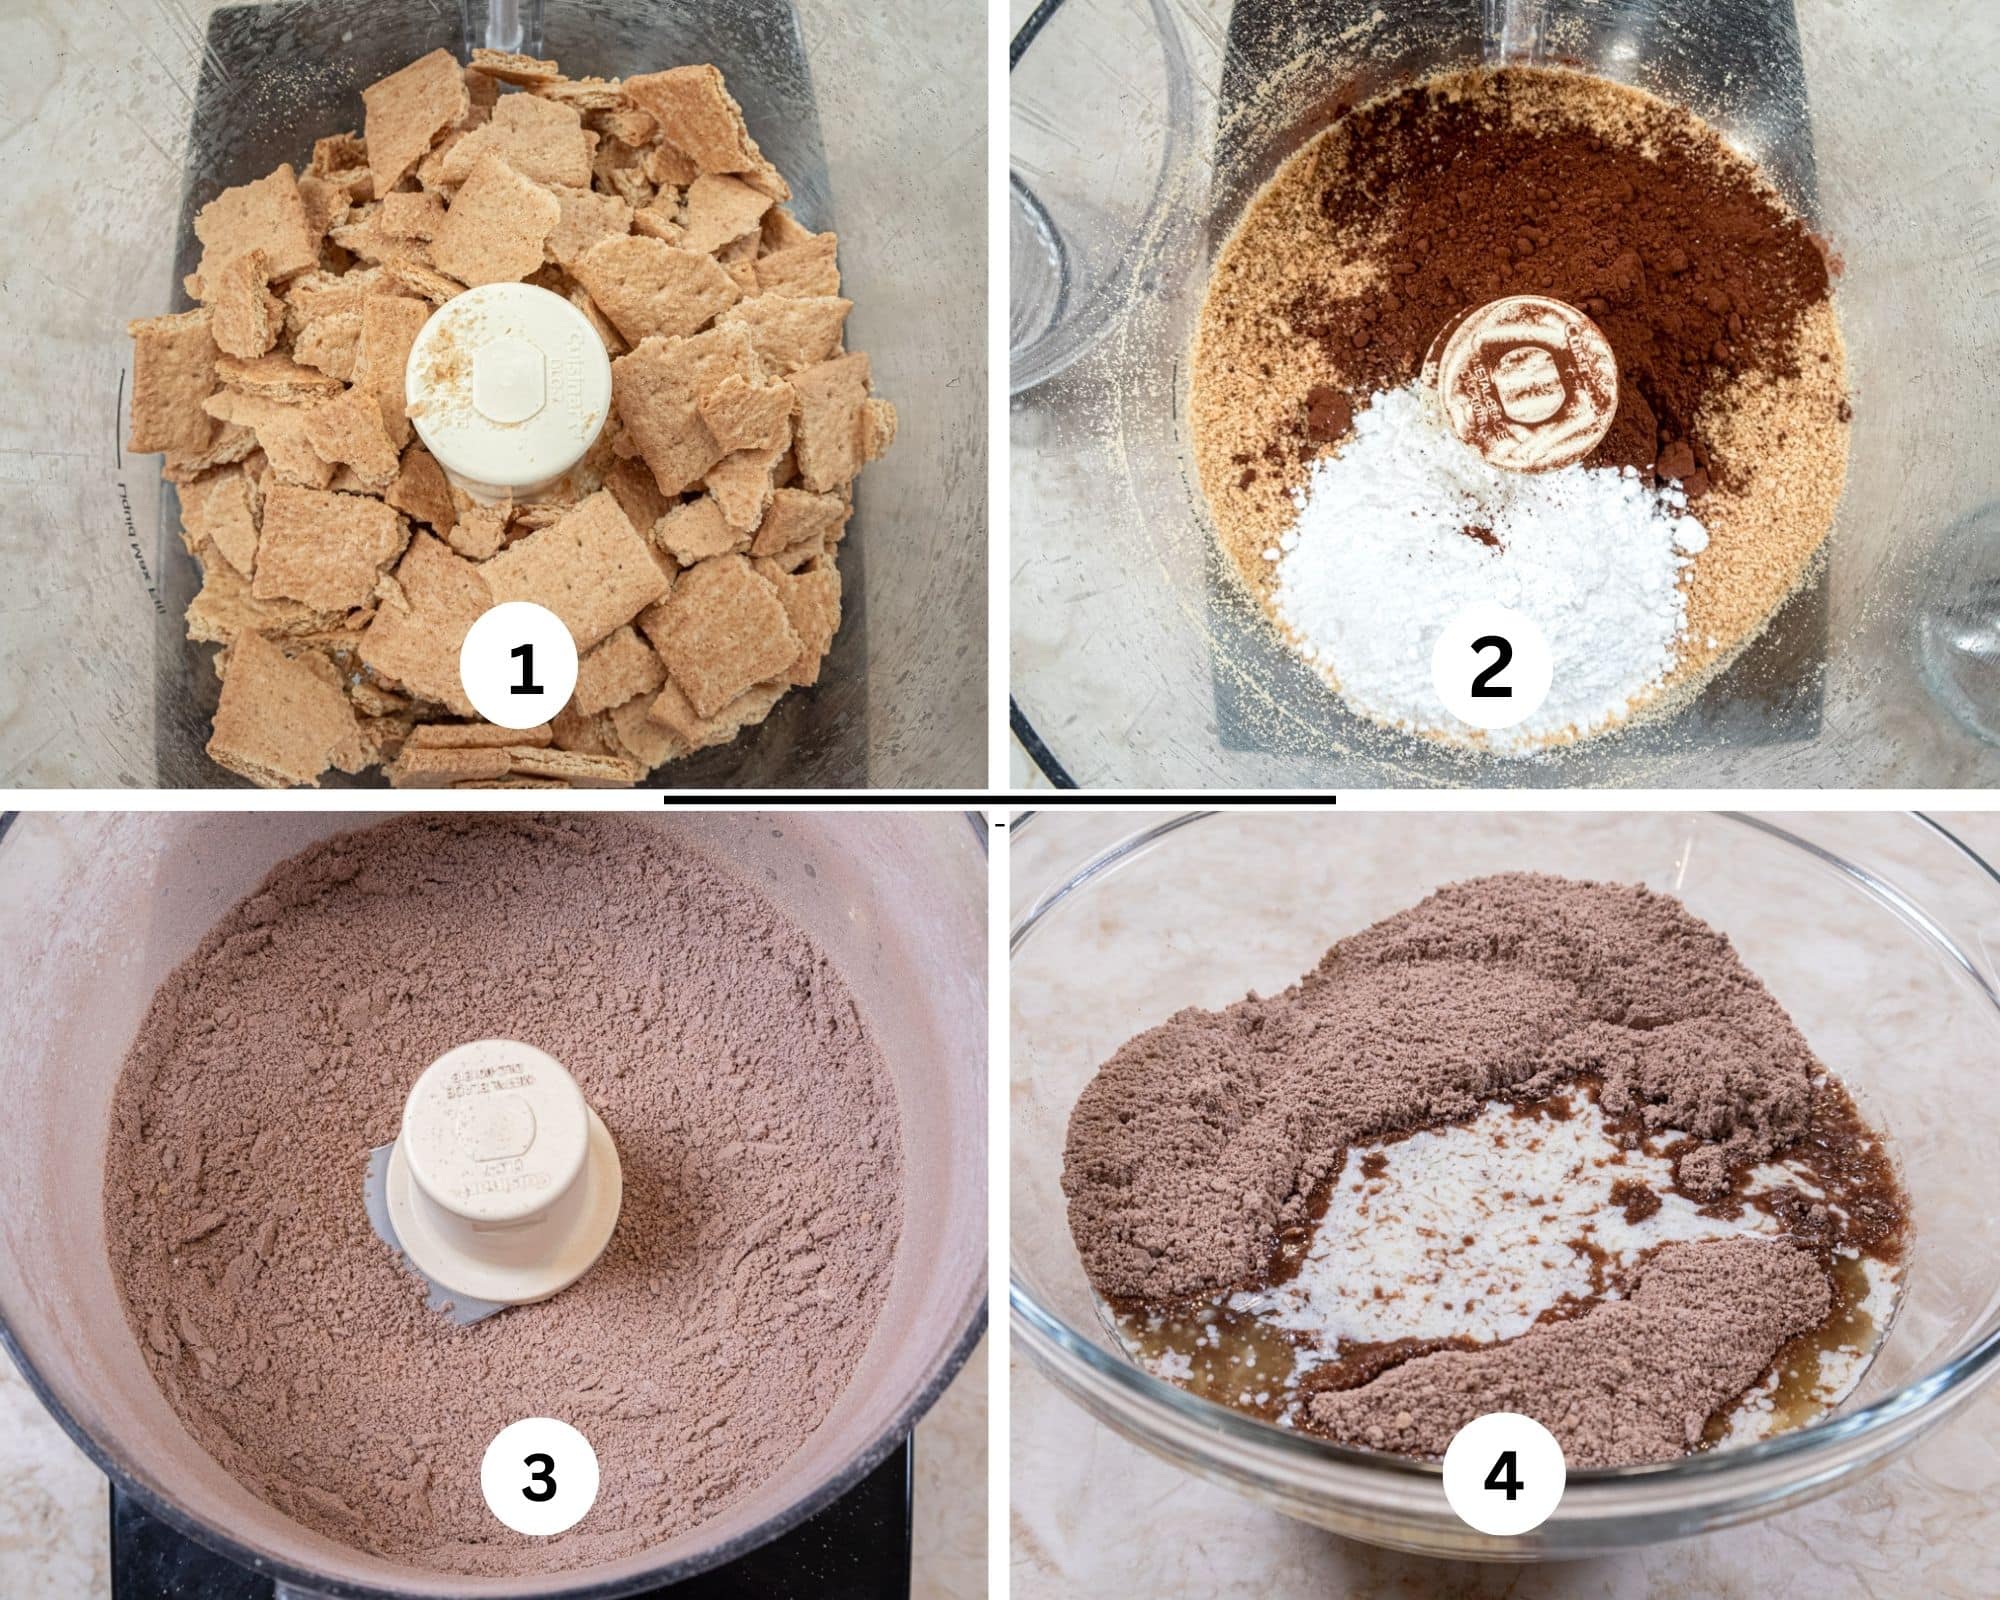
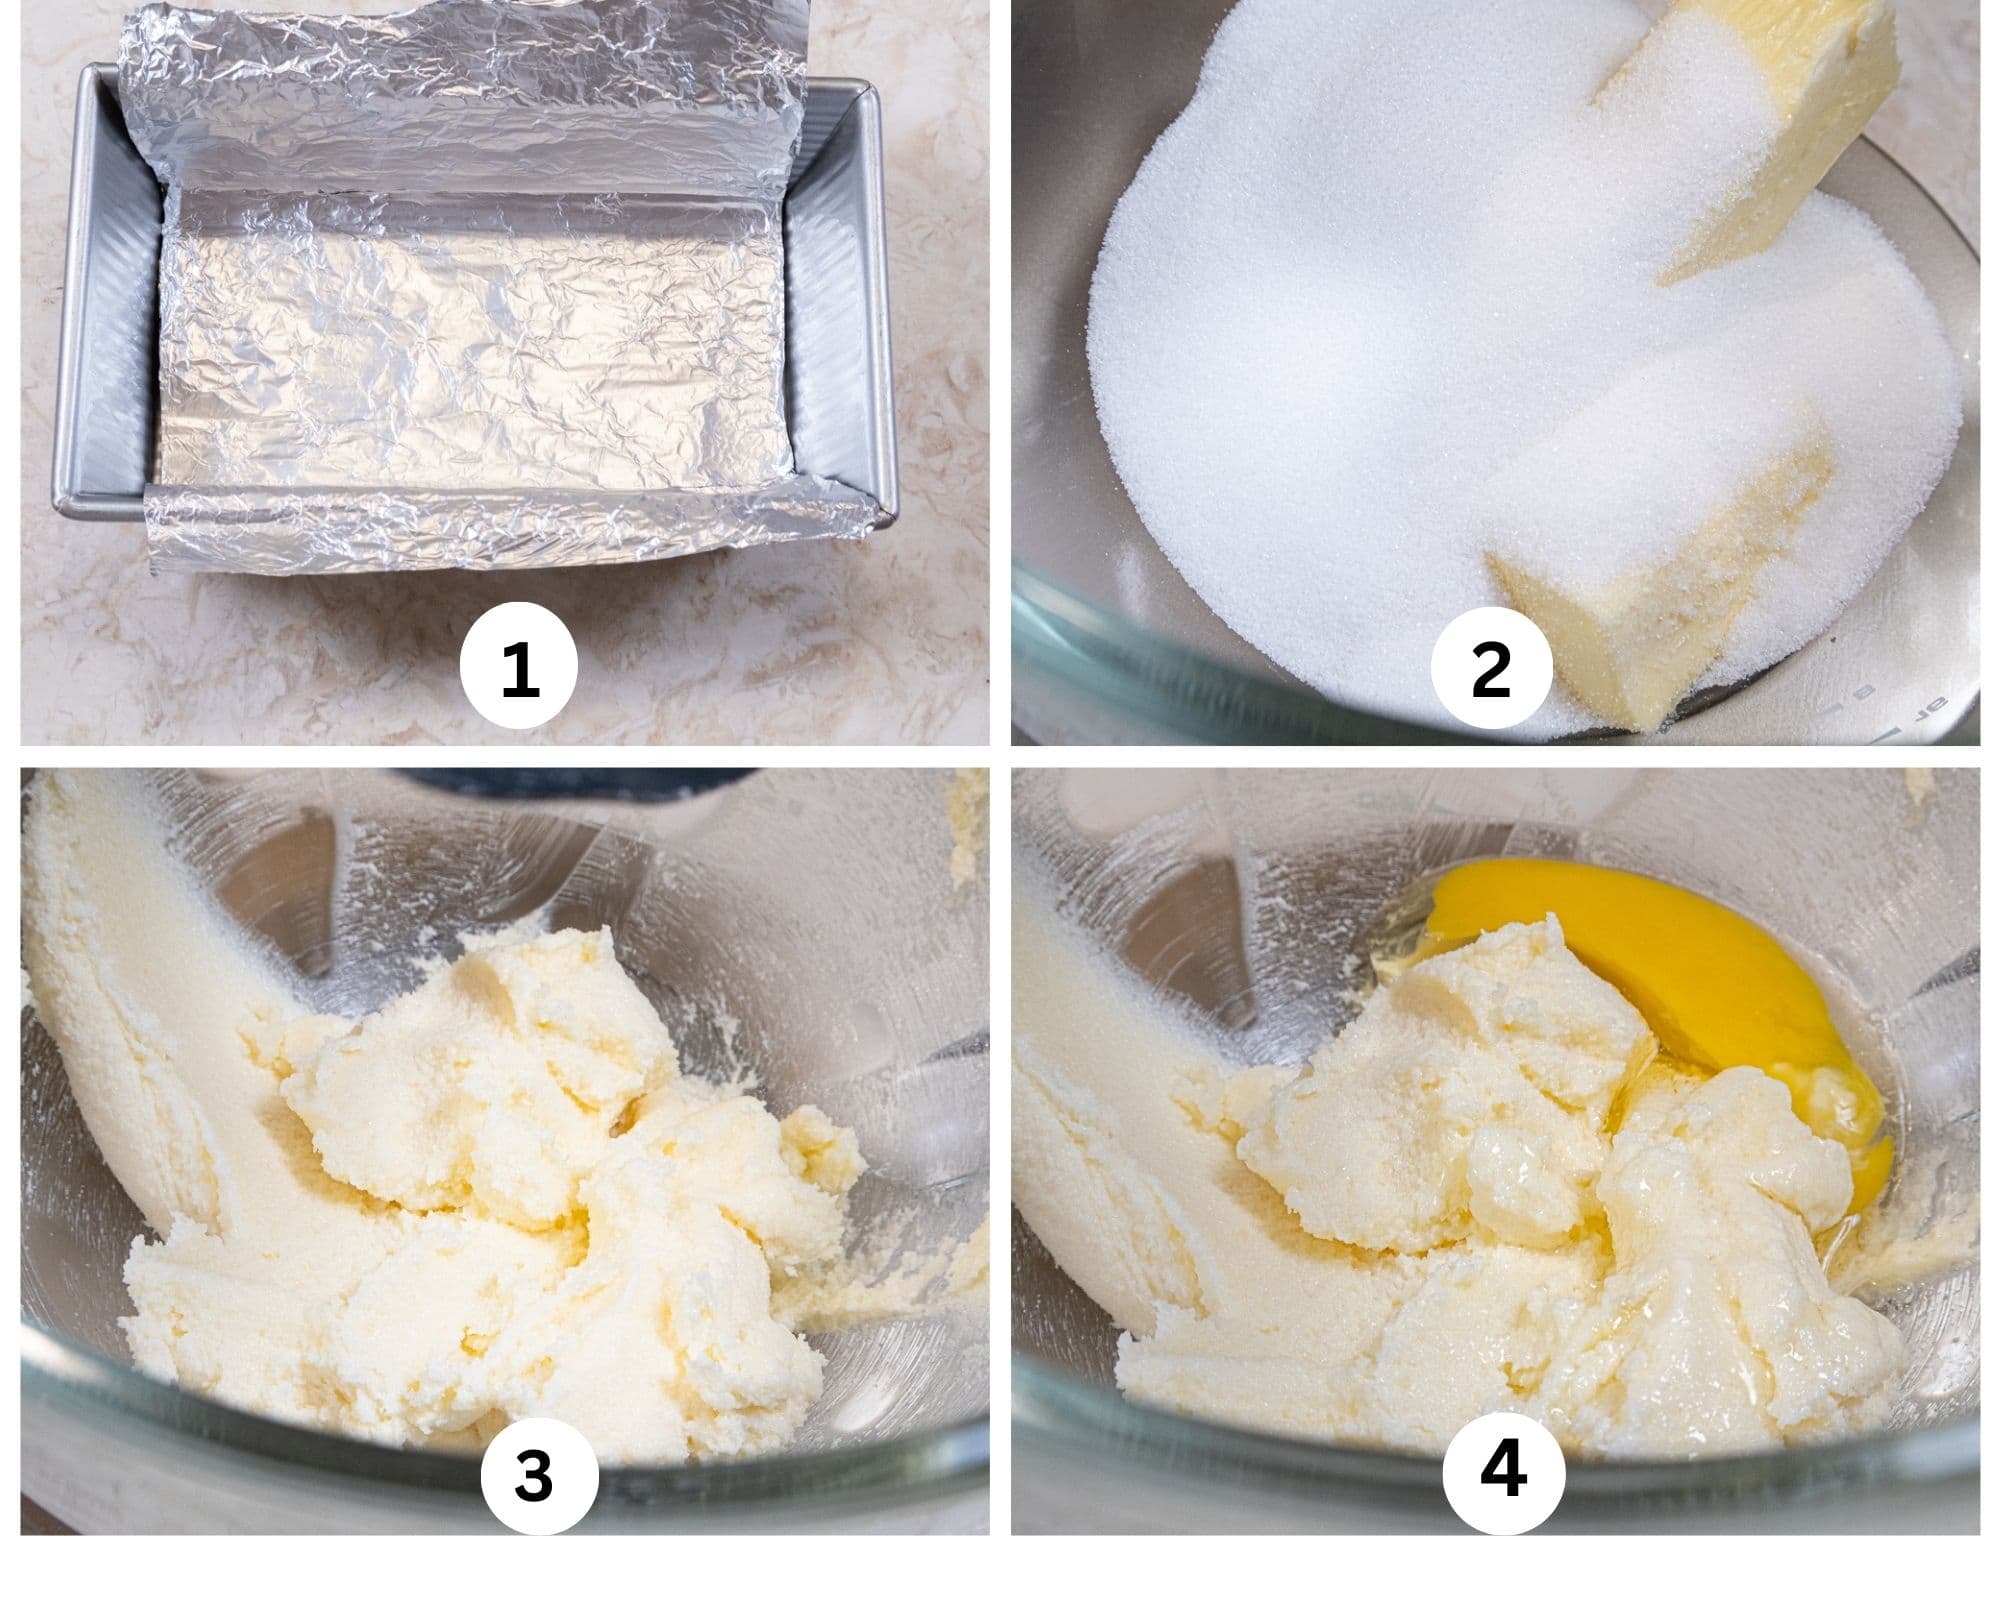
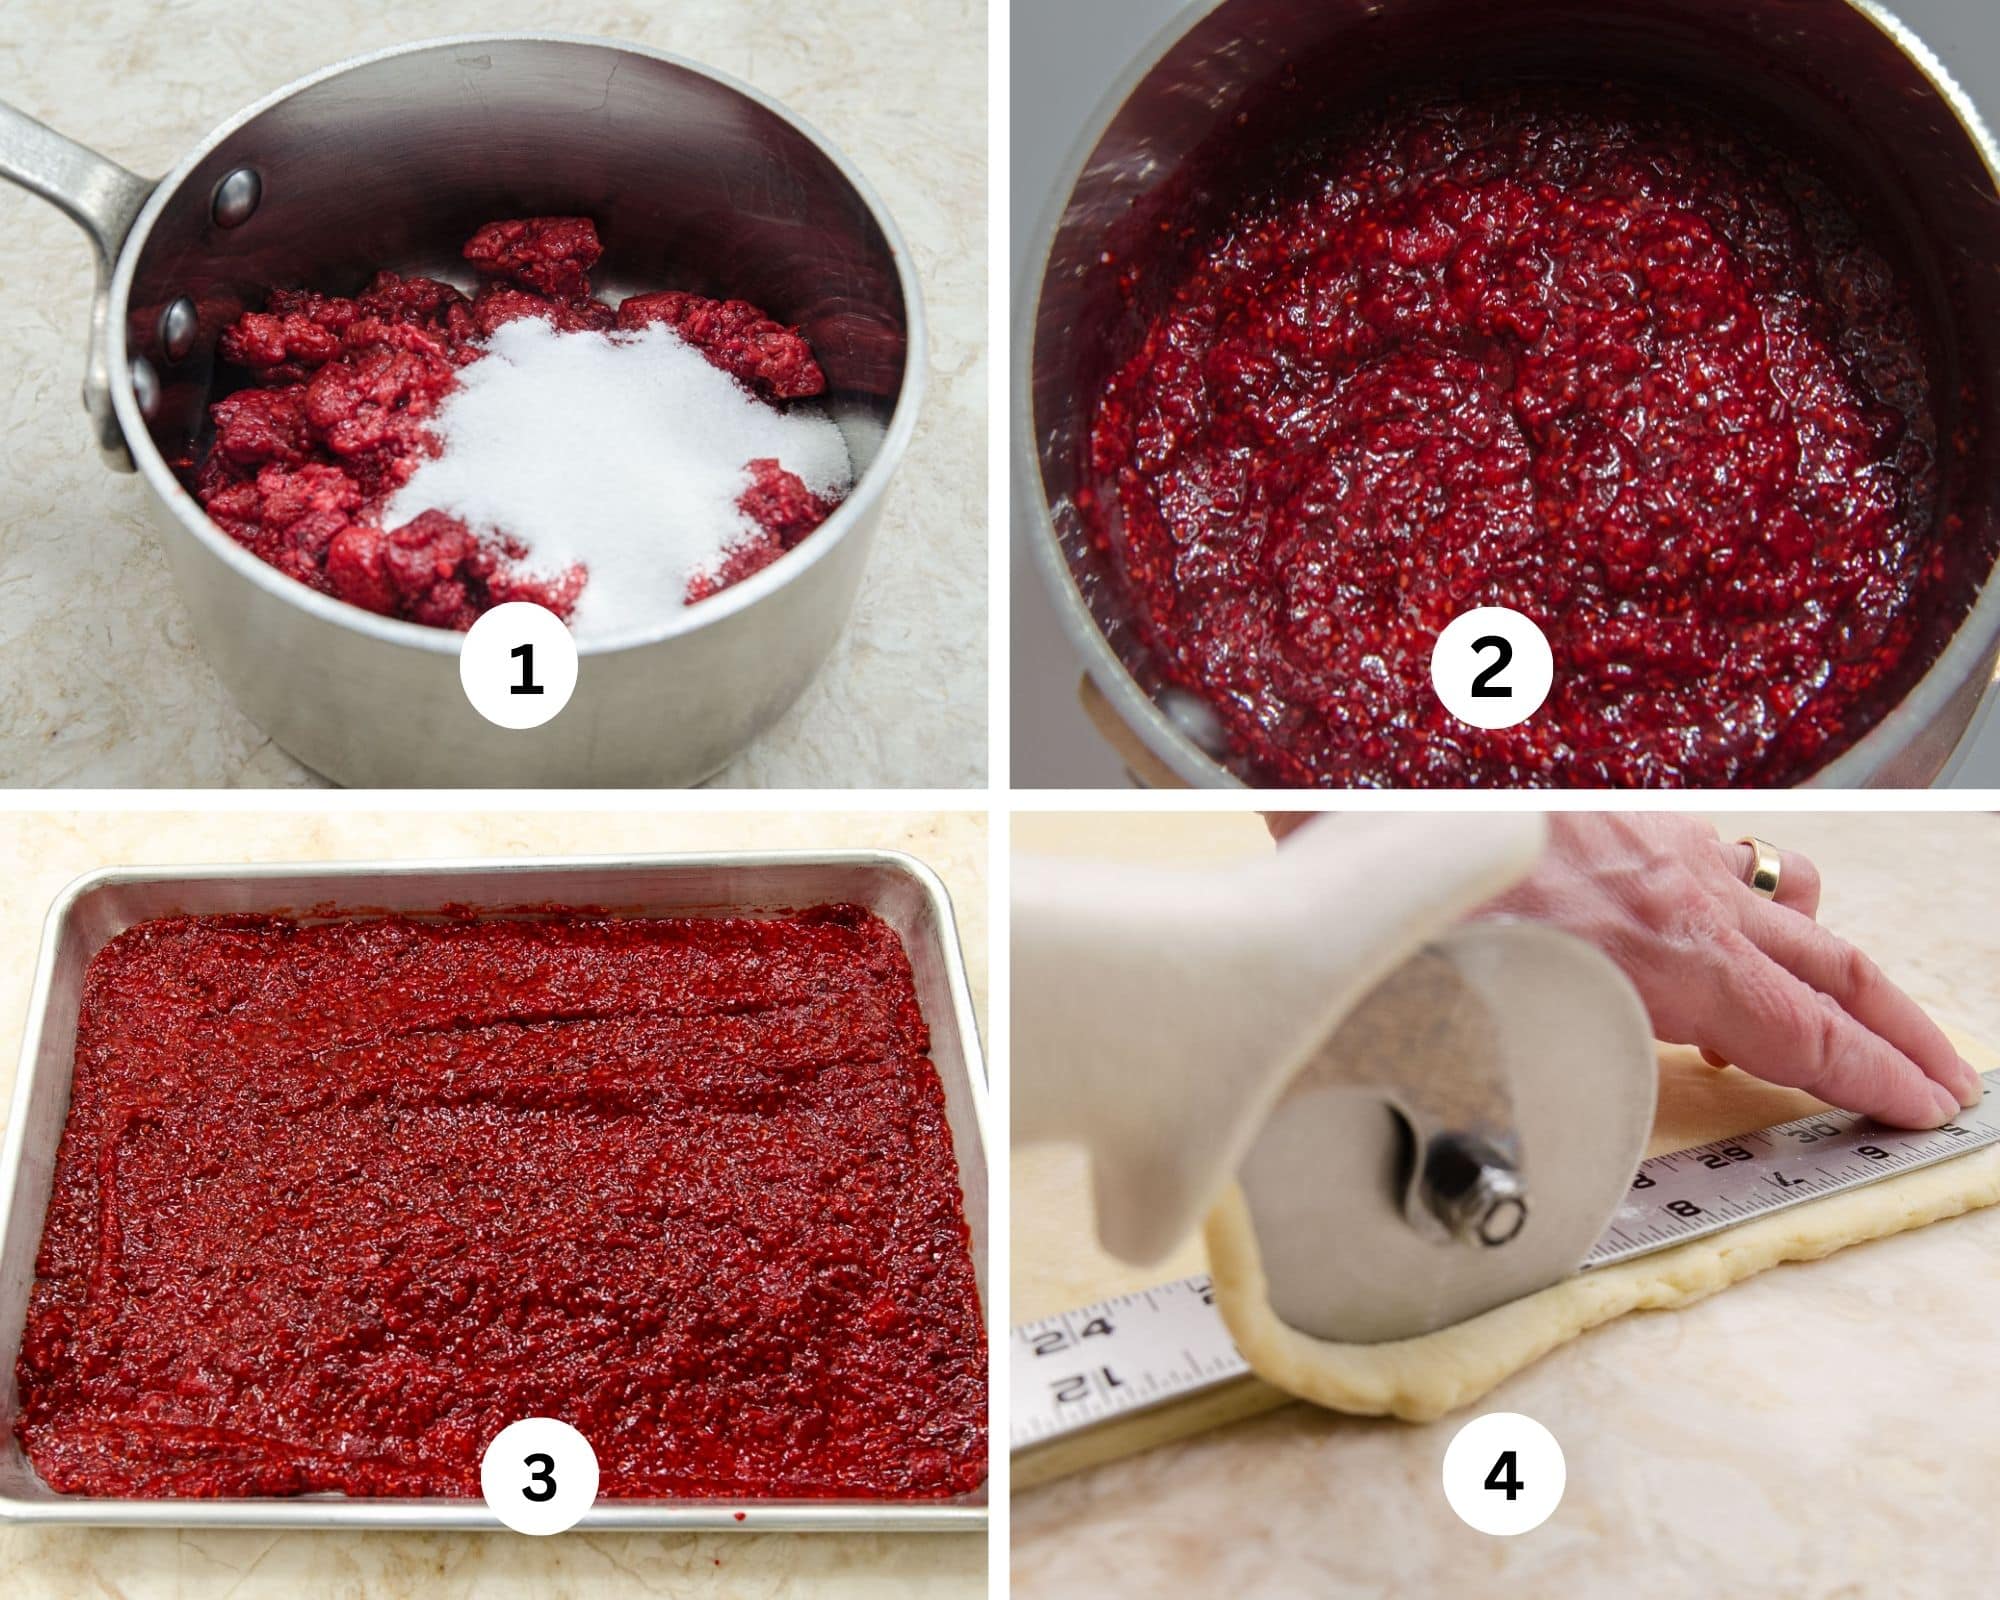
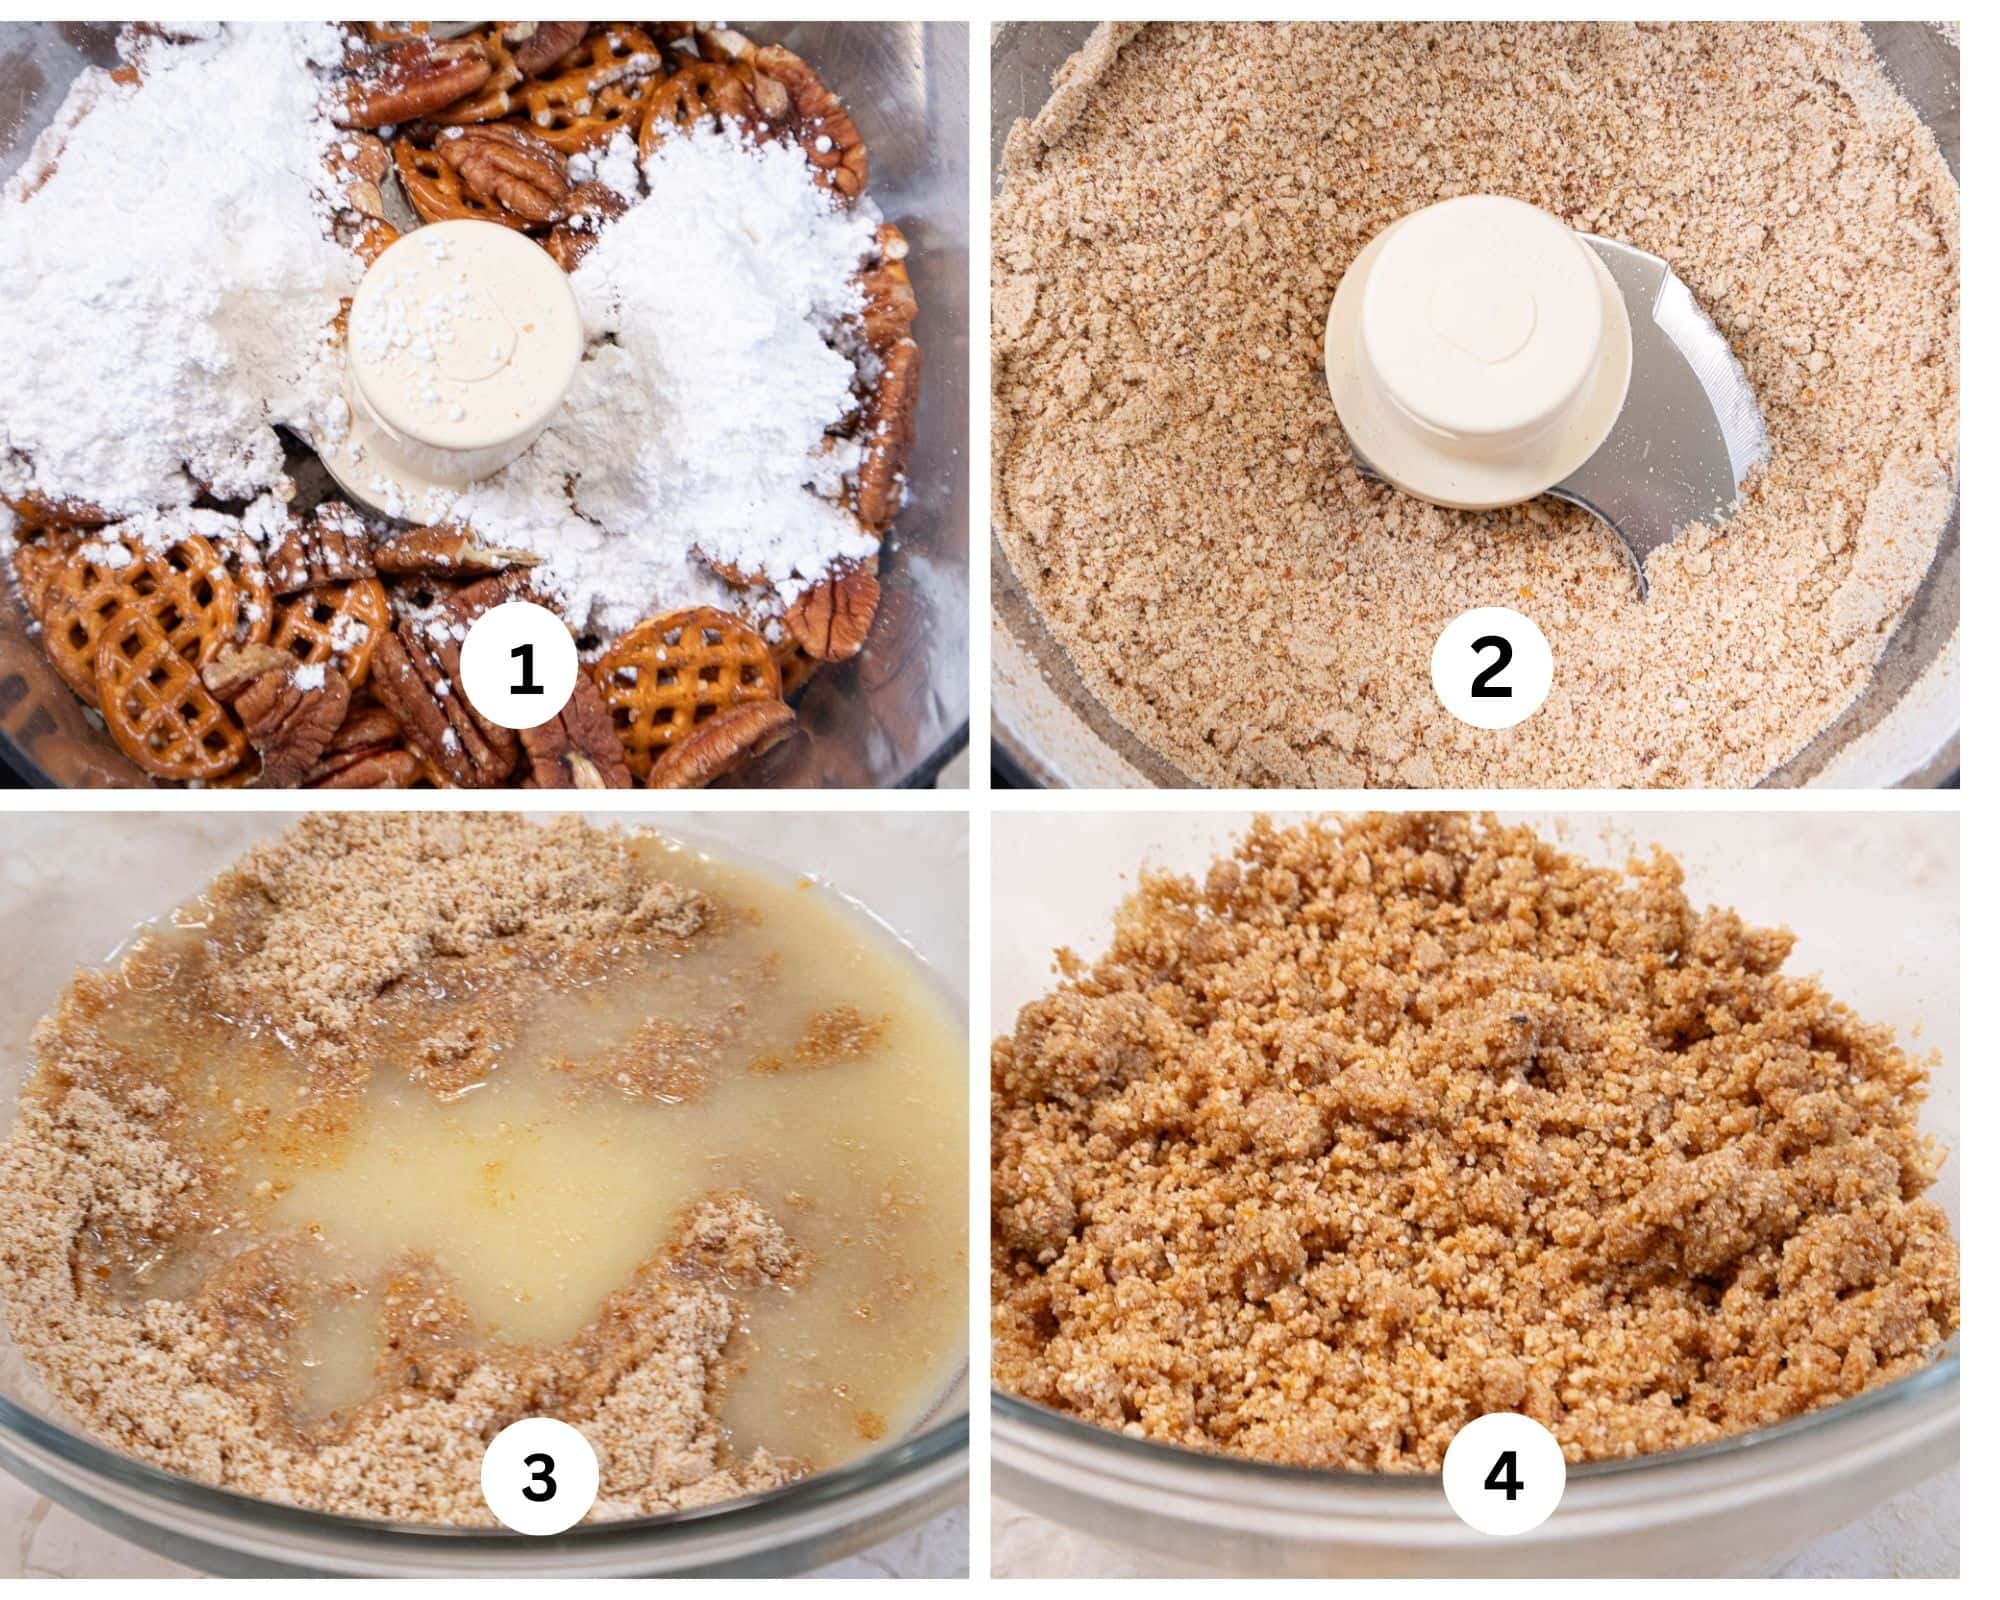
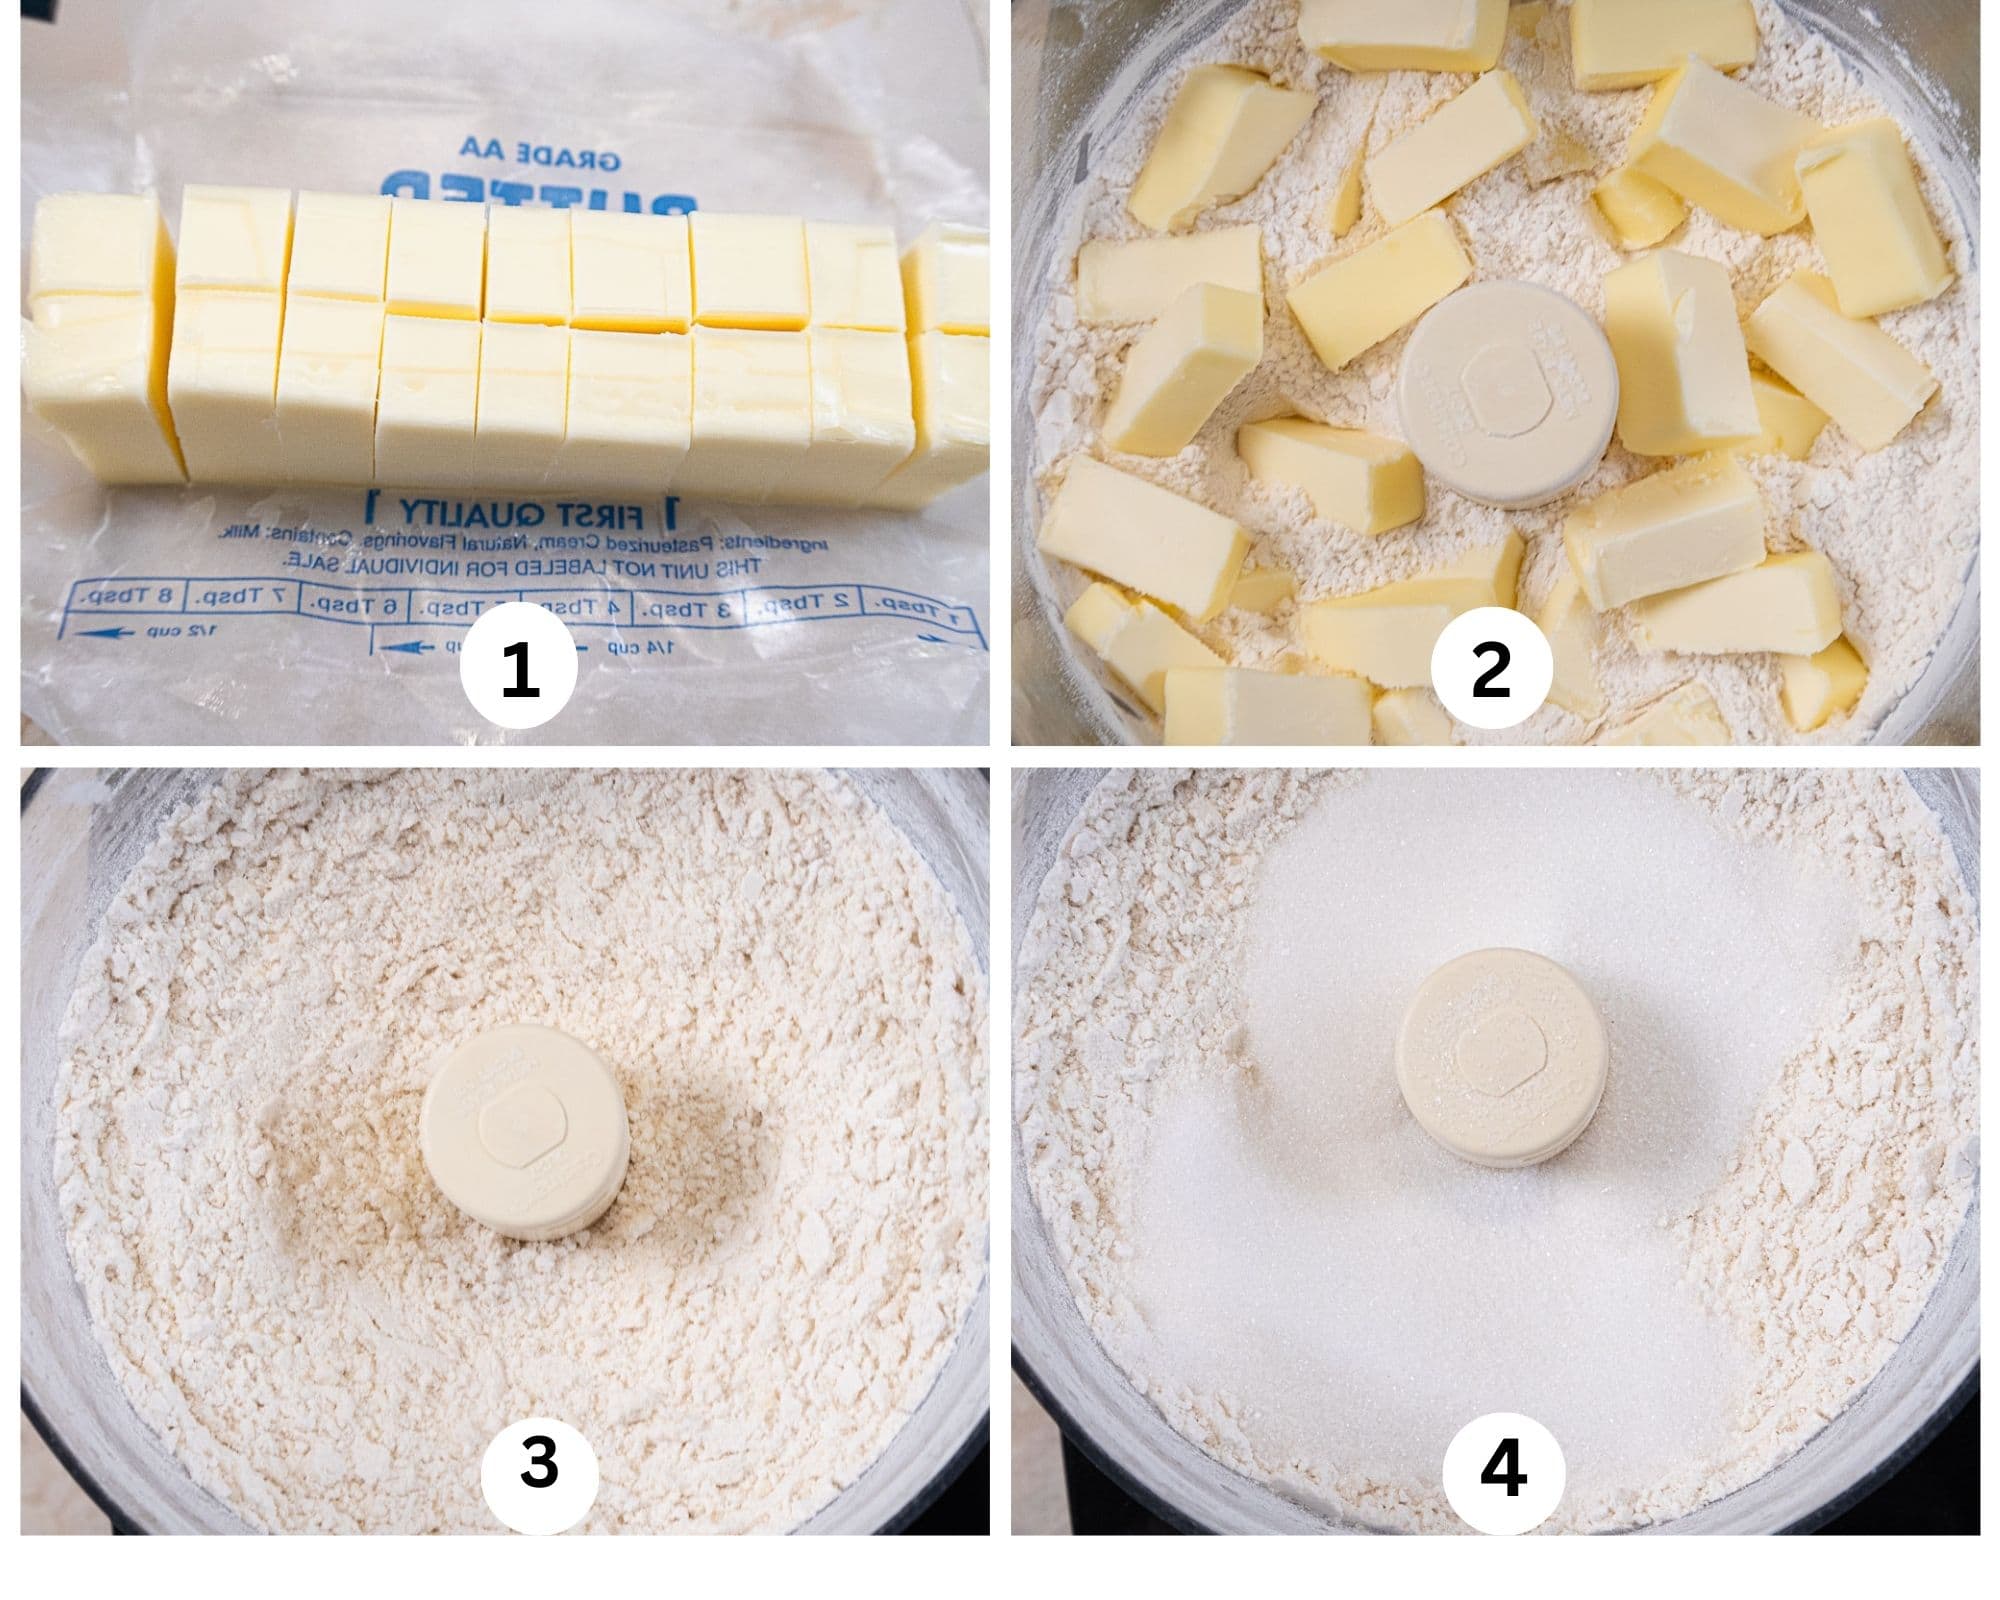
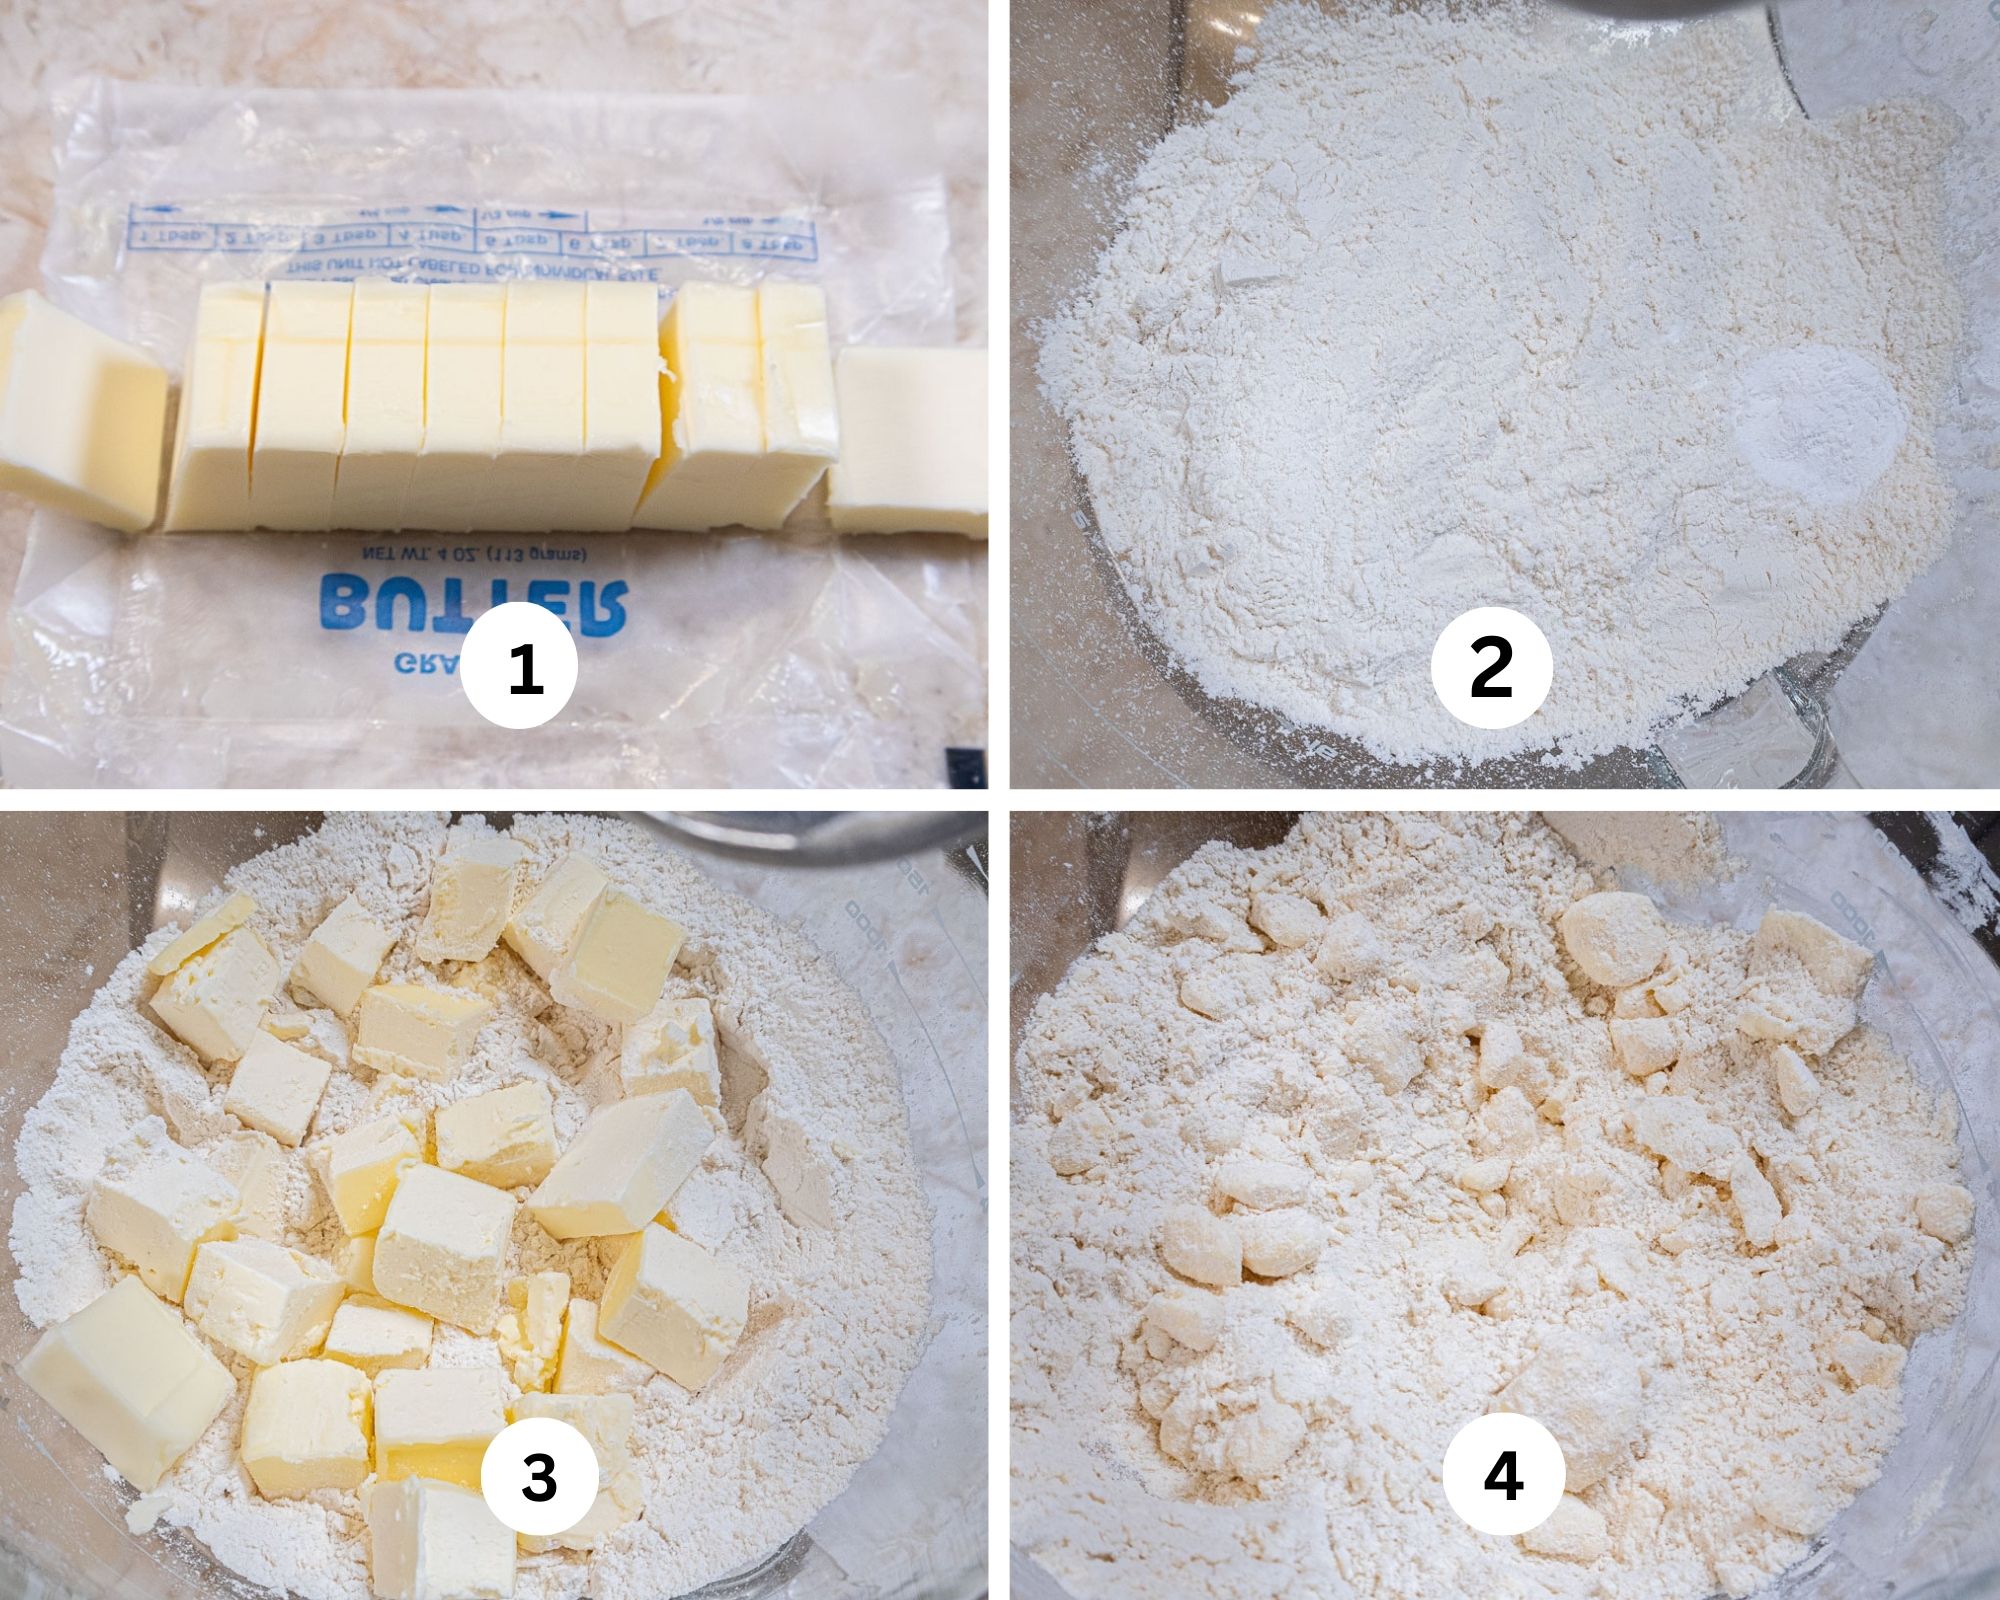
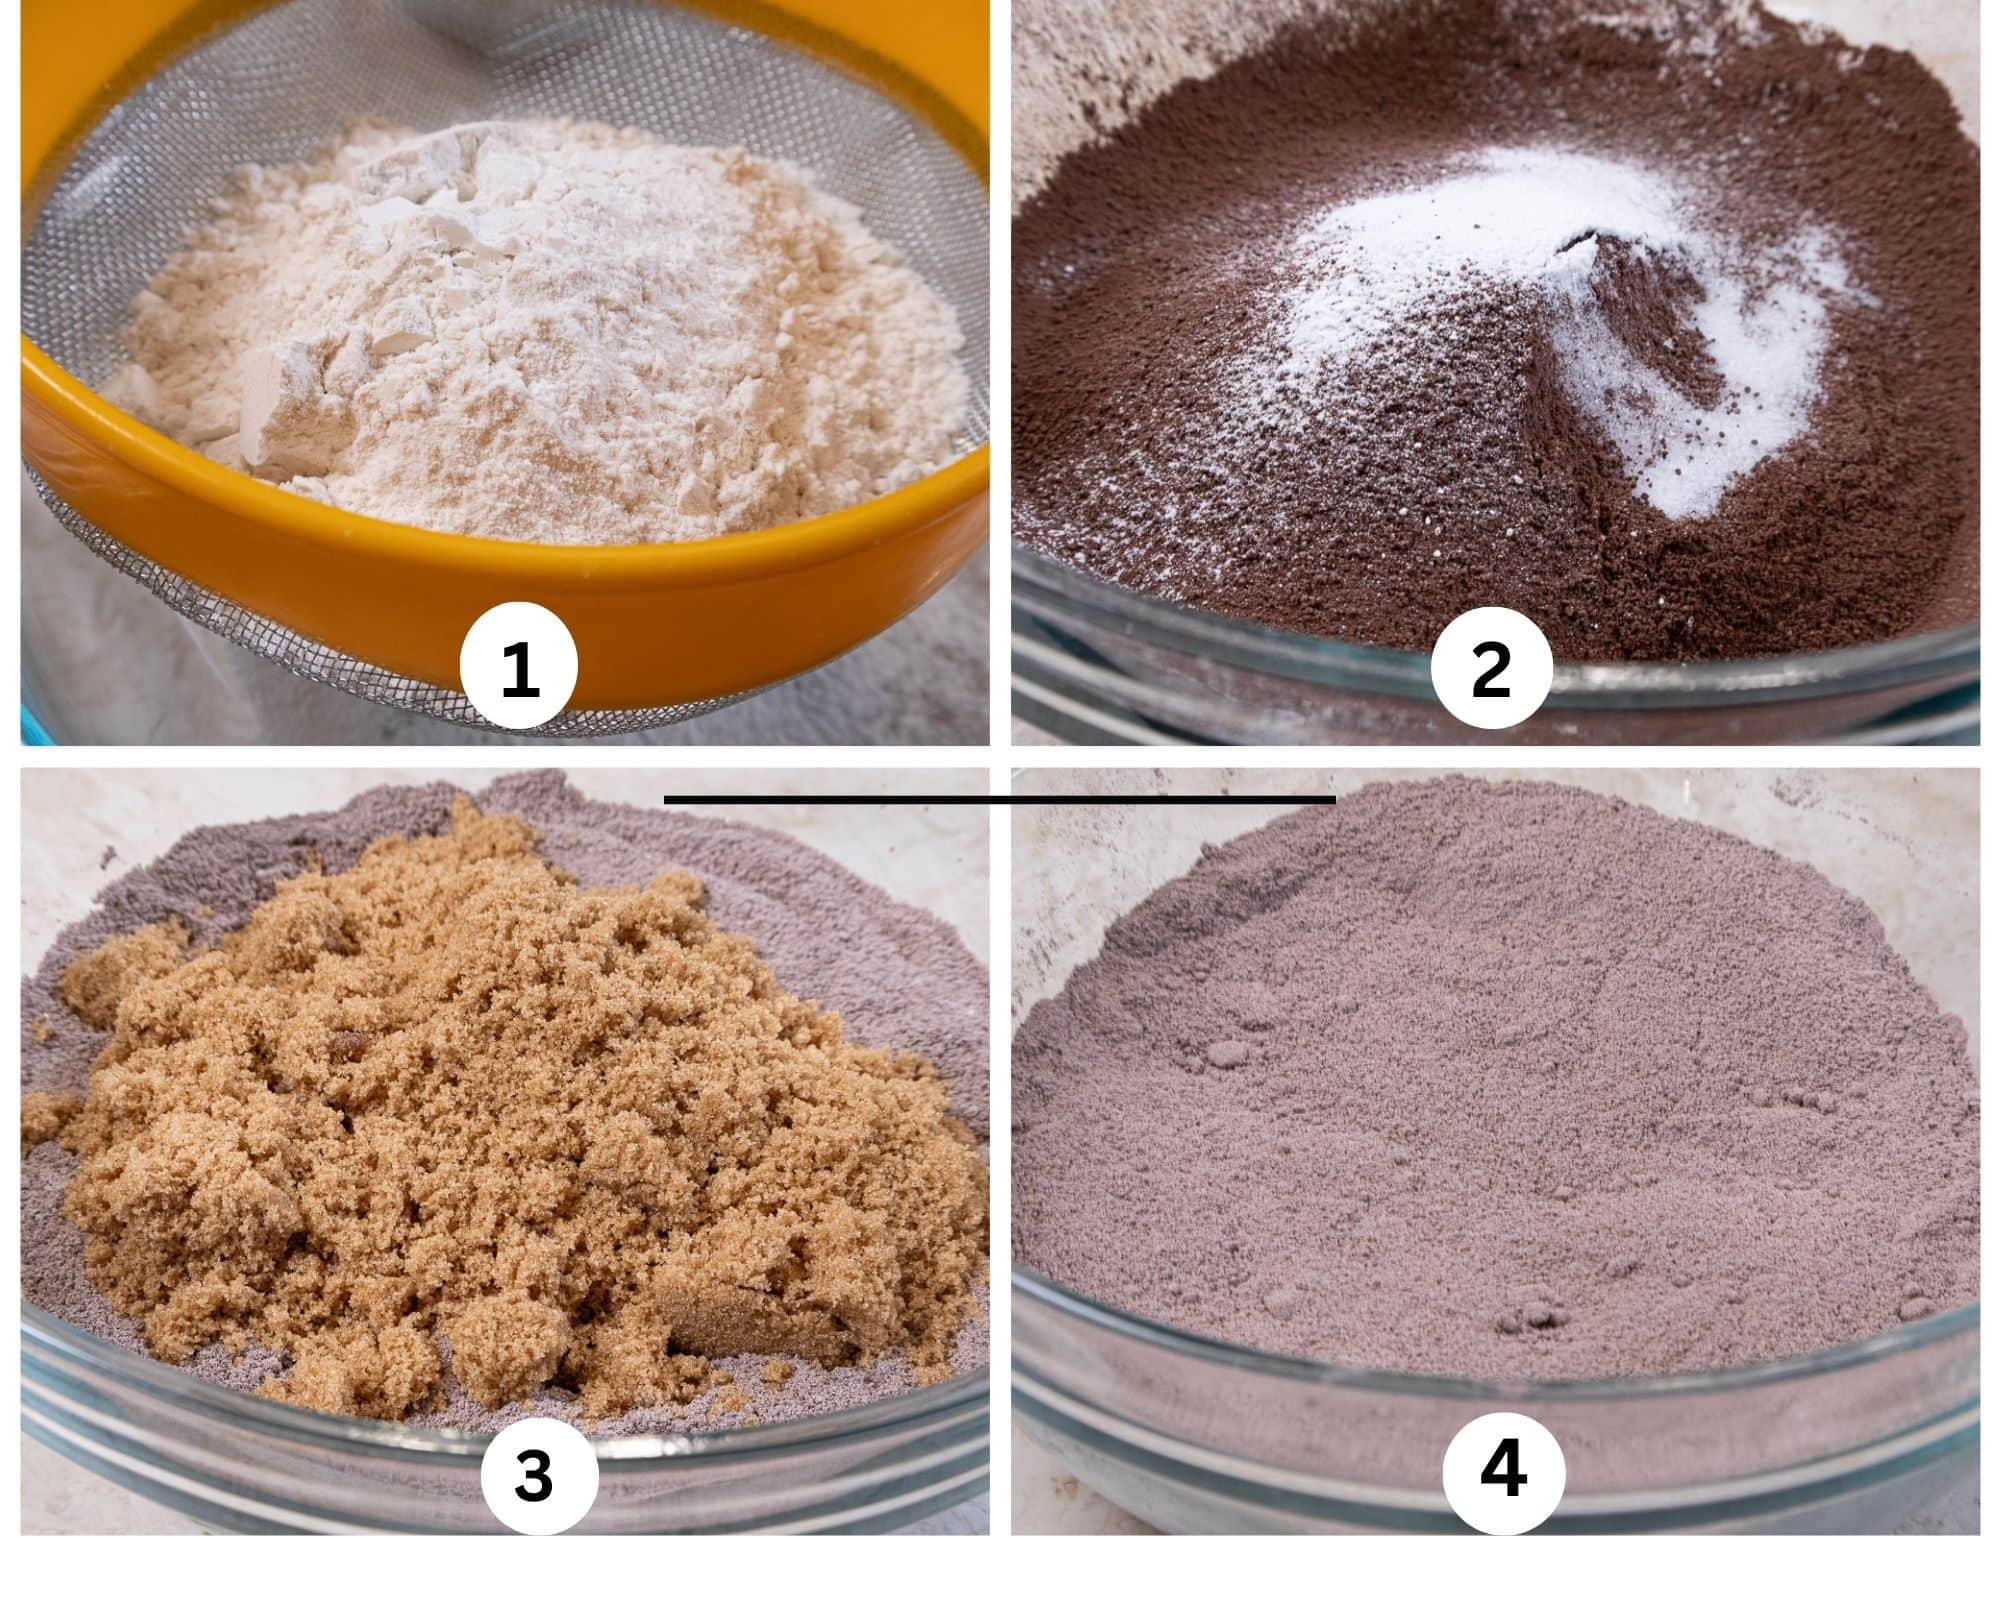
The Crumbs
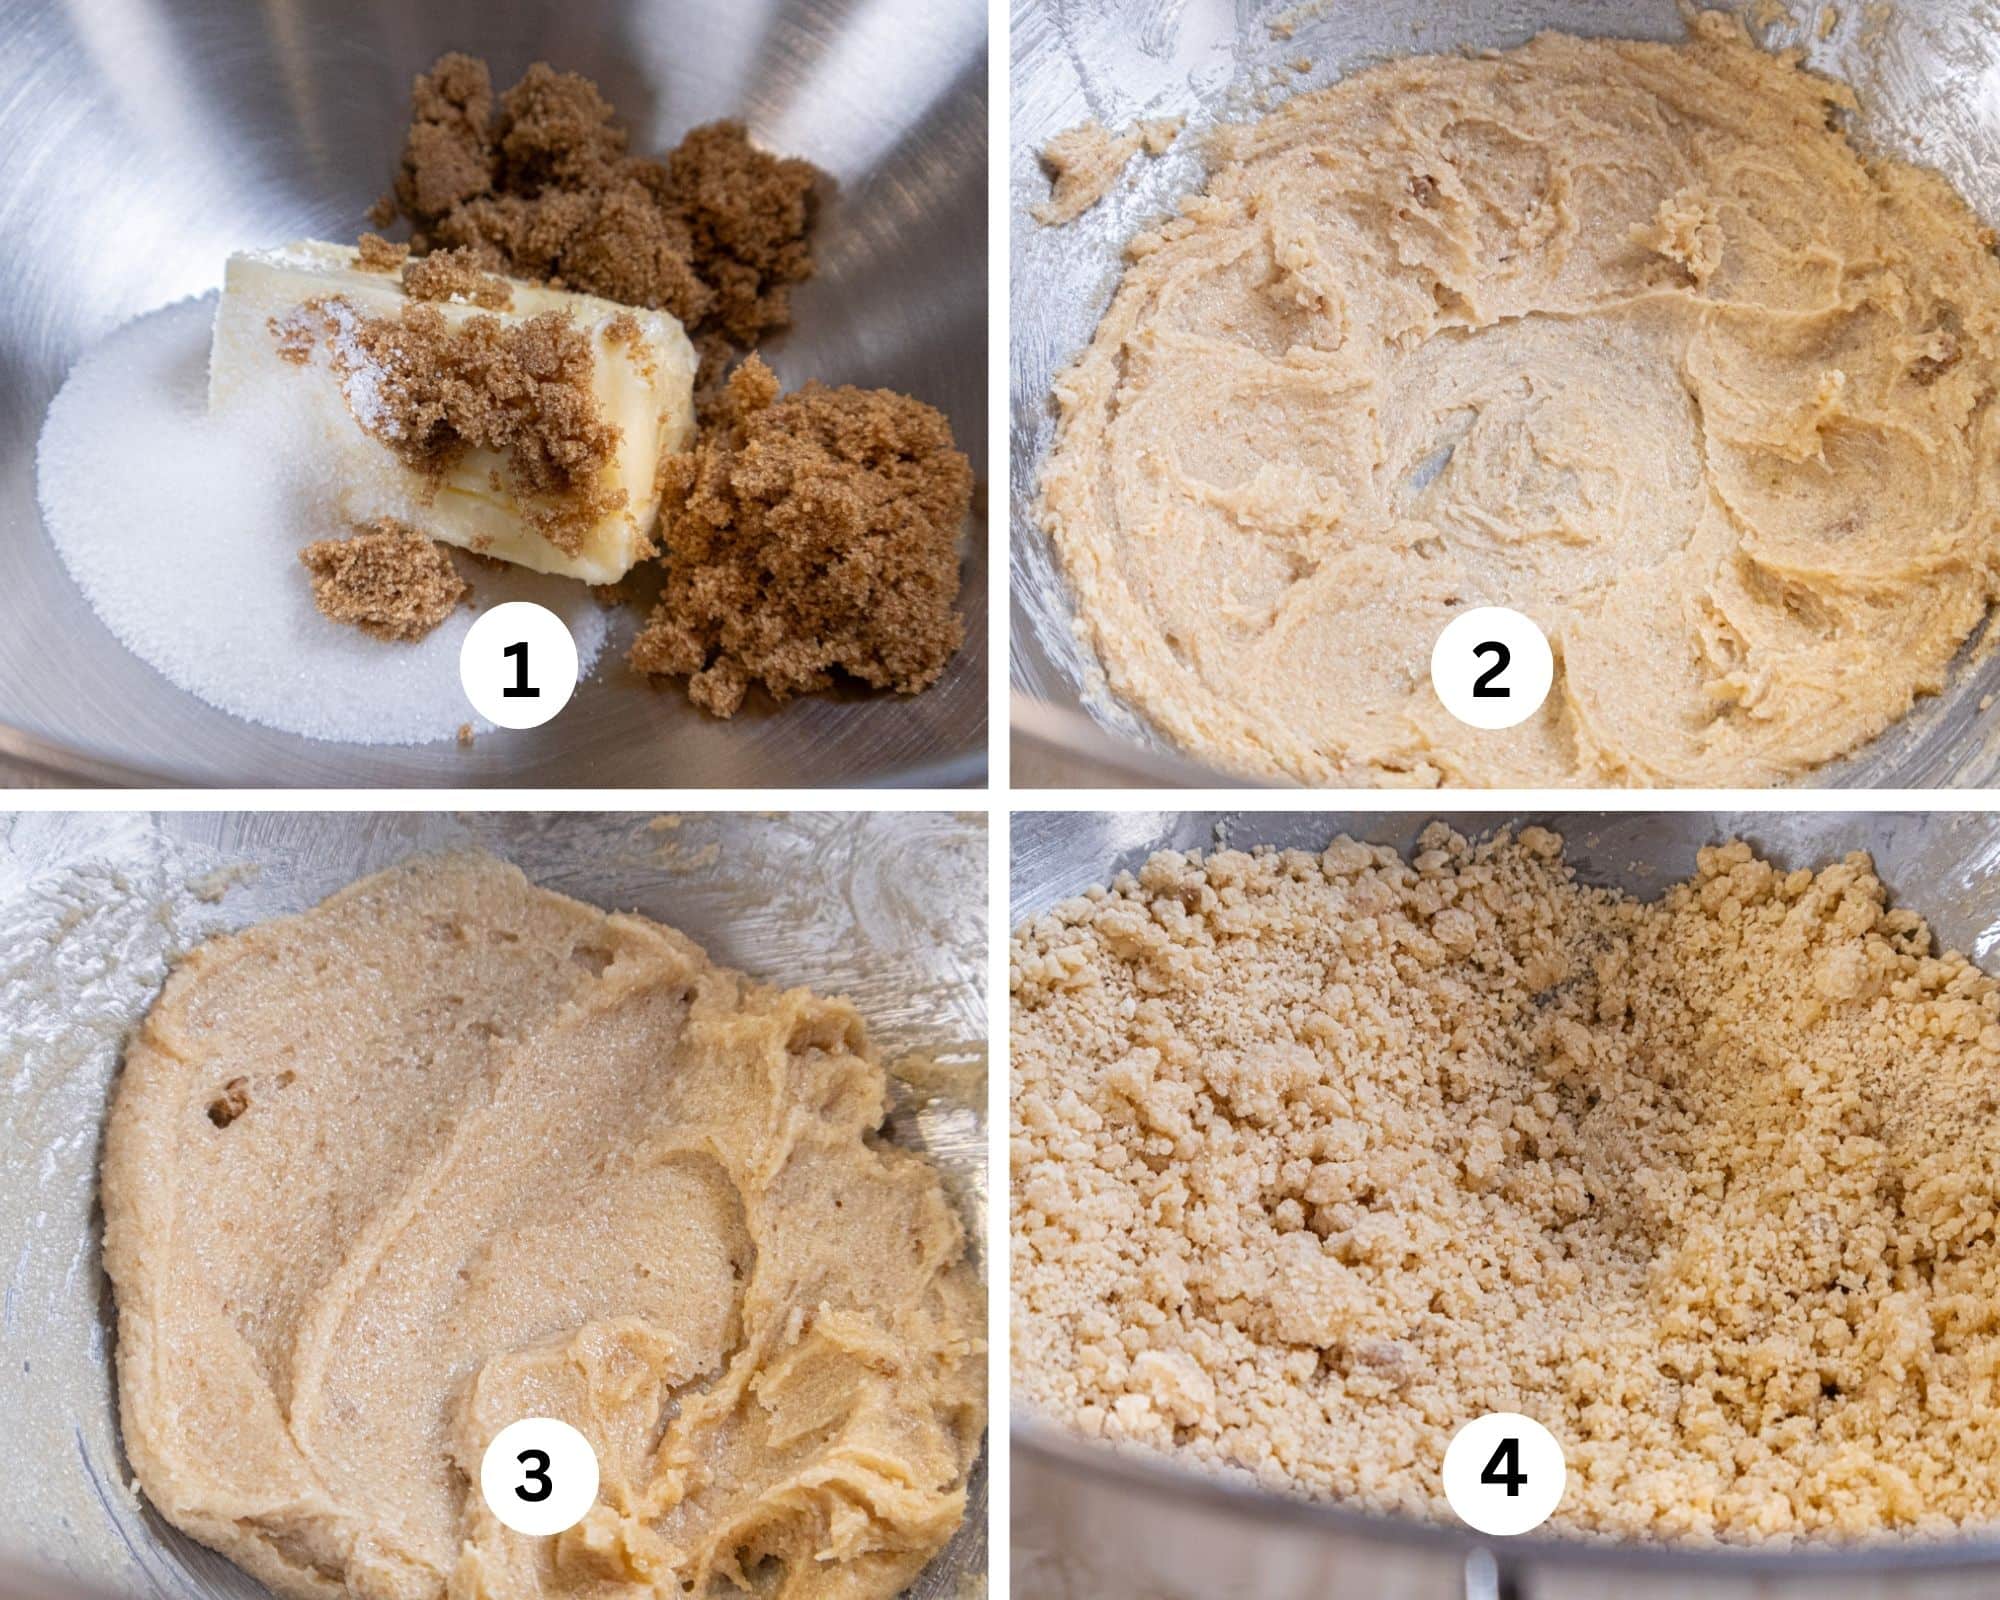
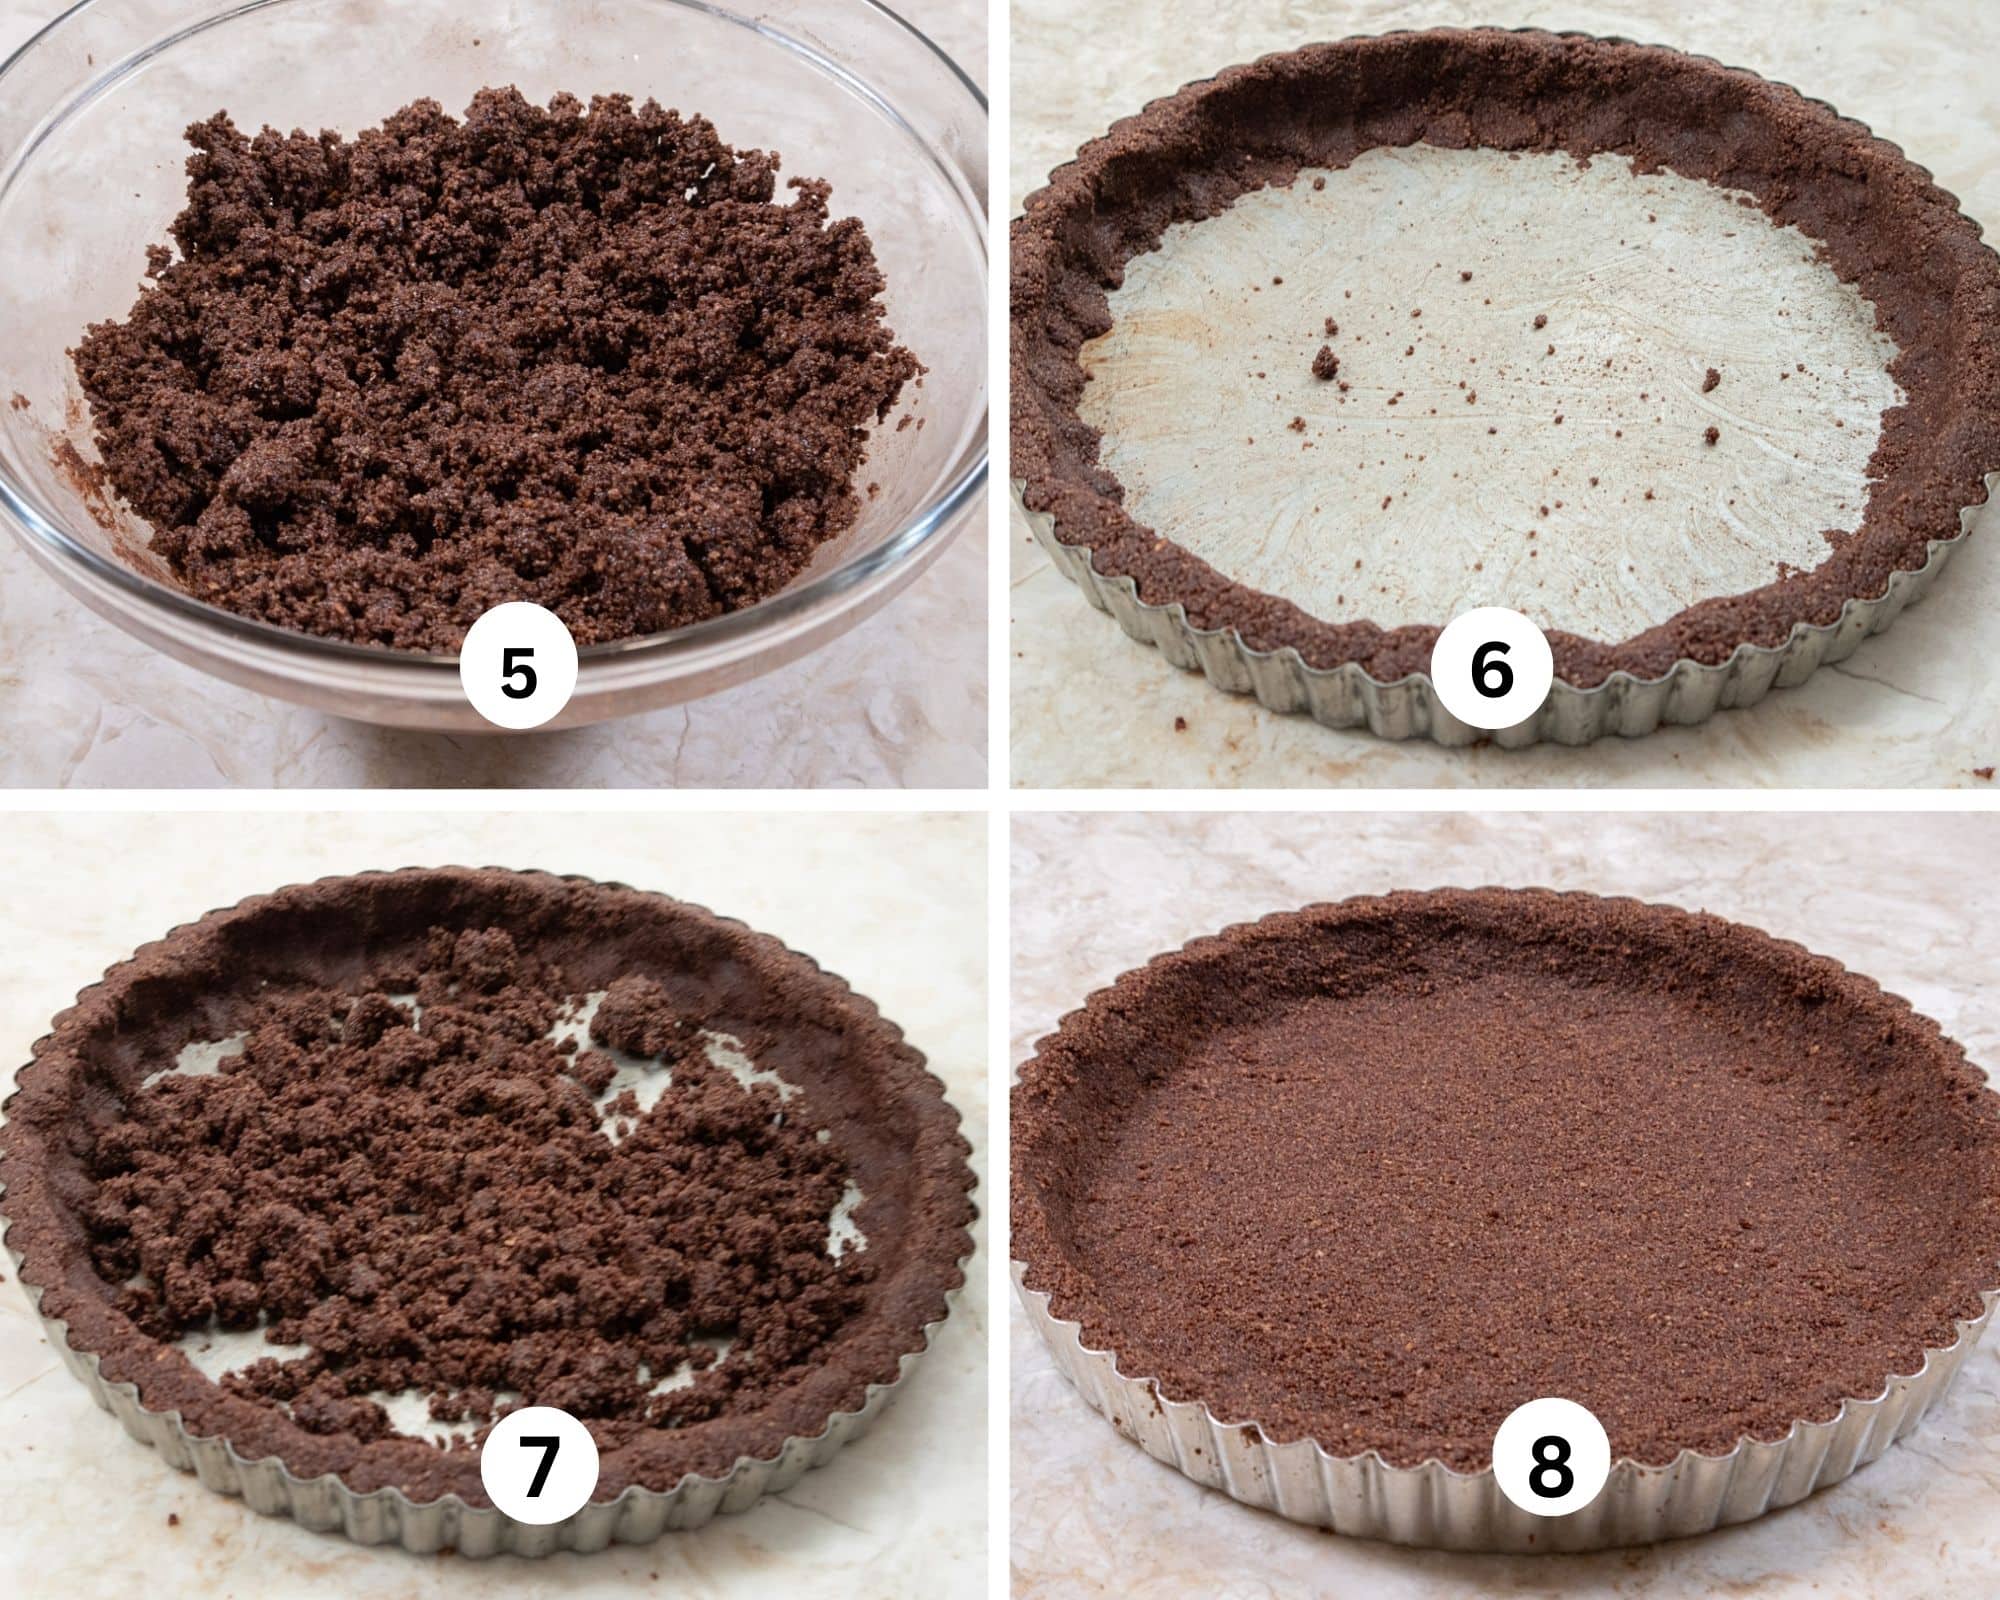
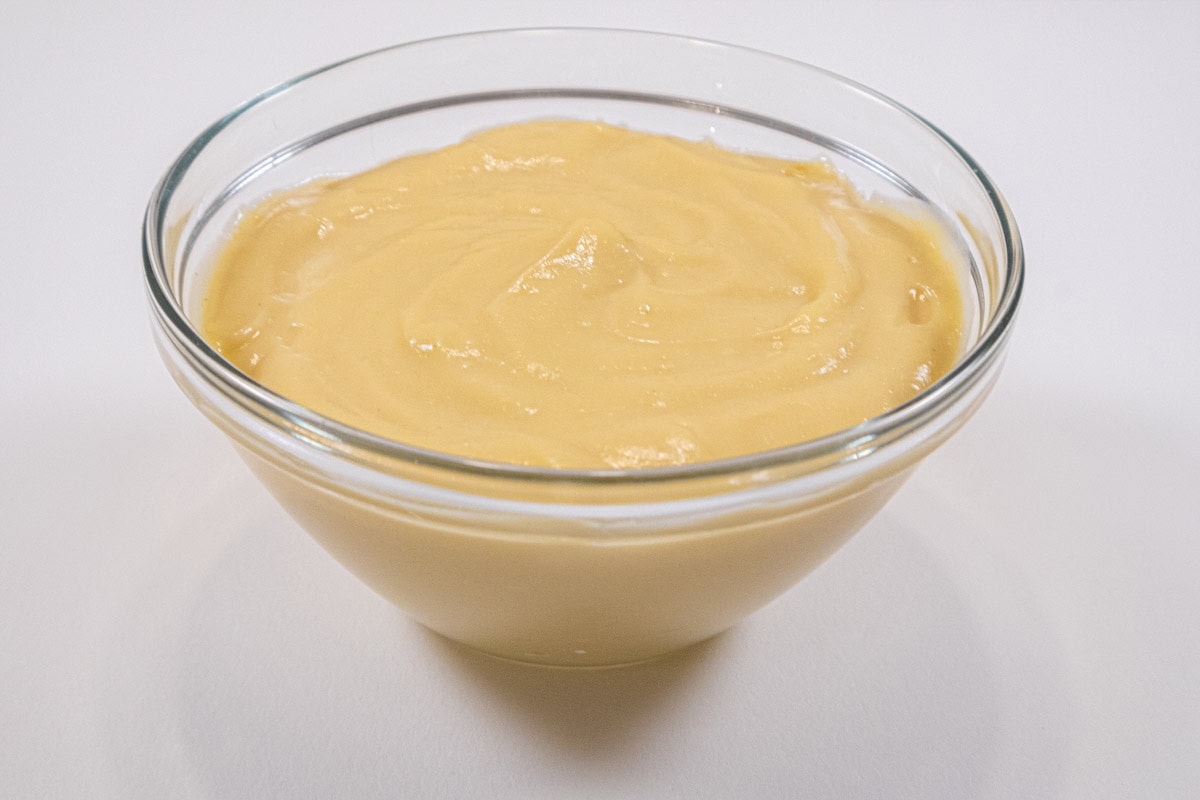
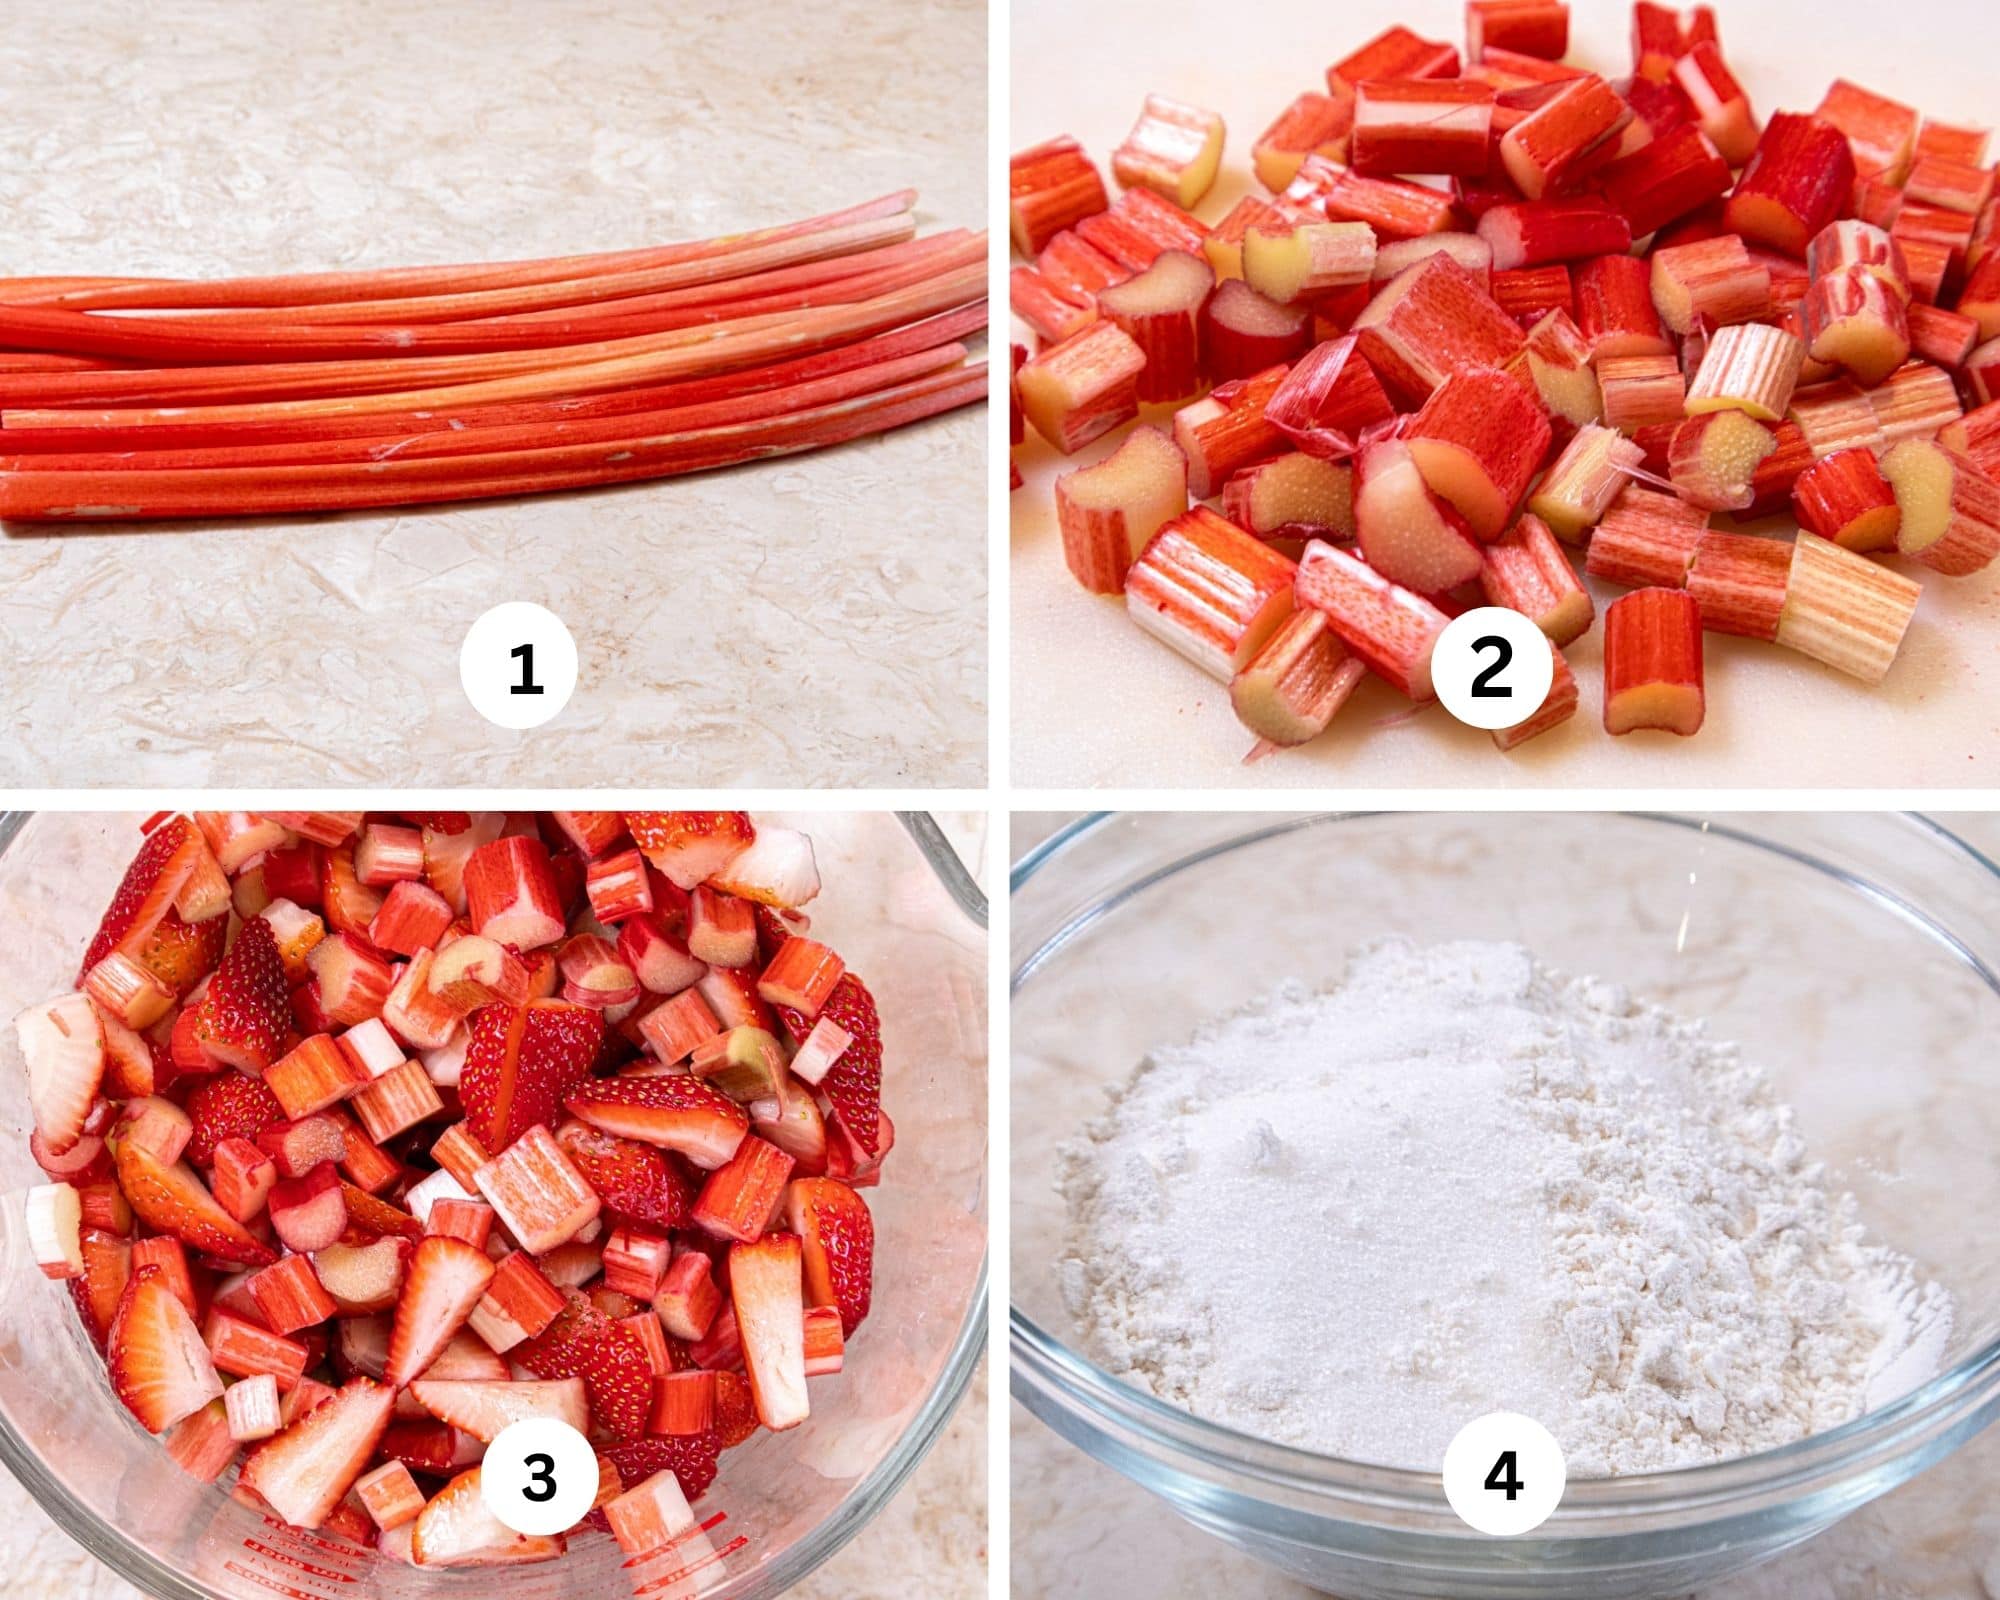
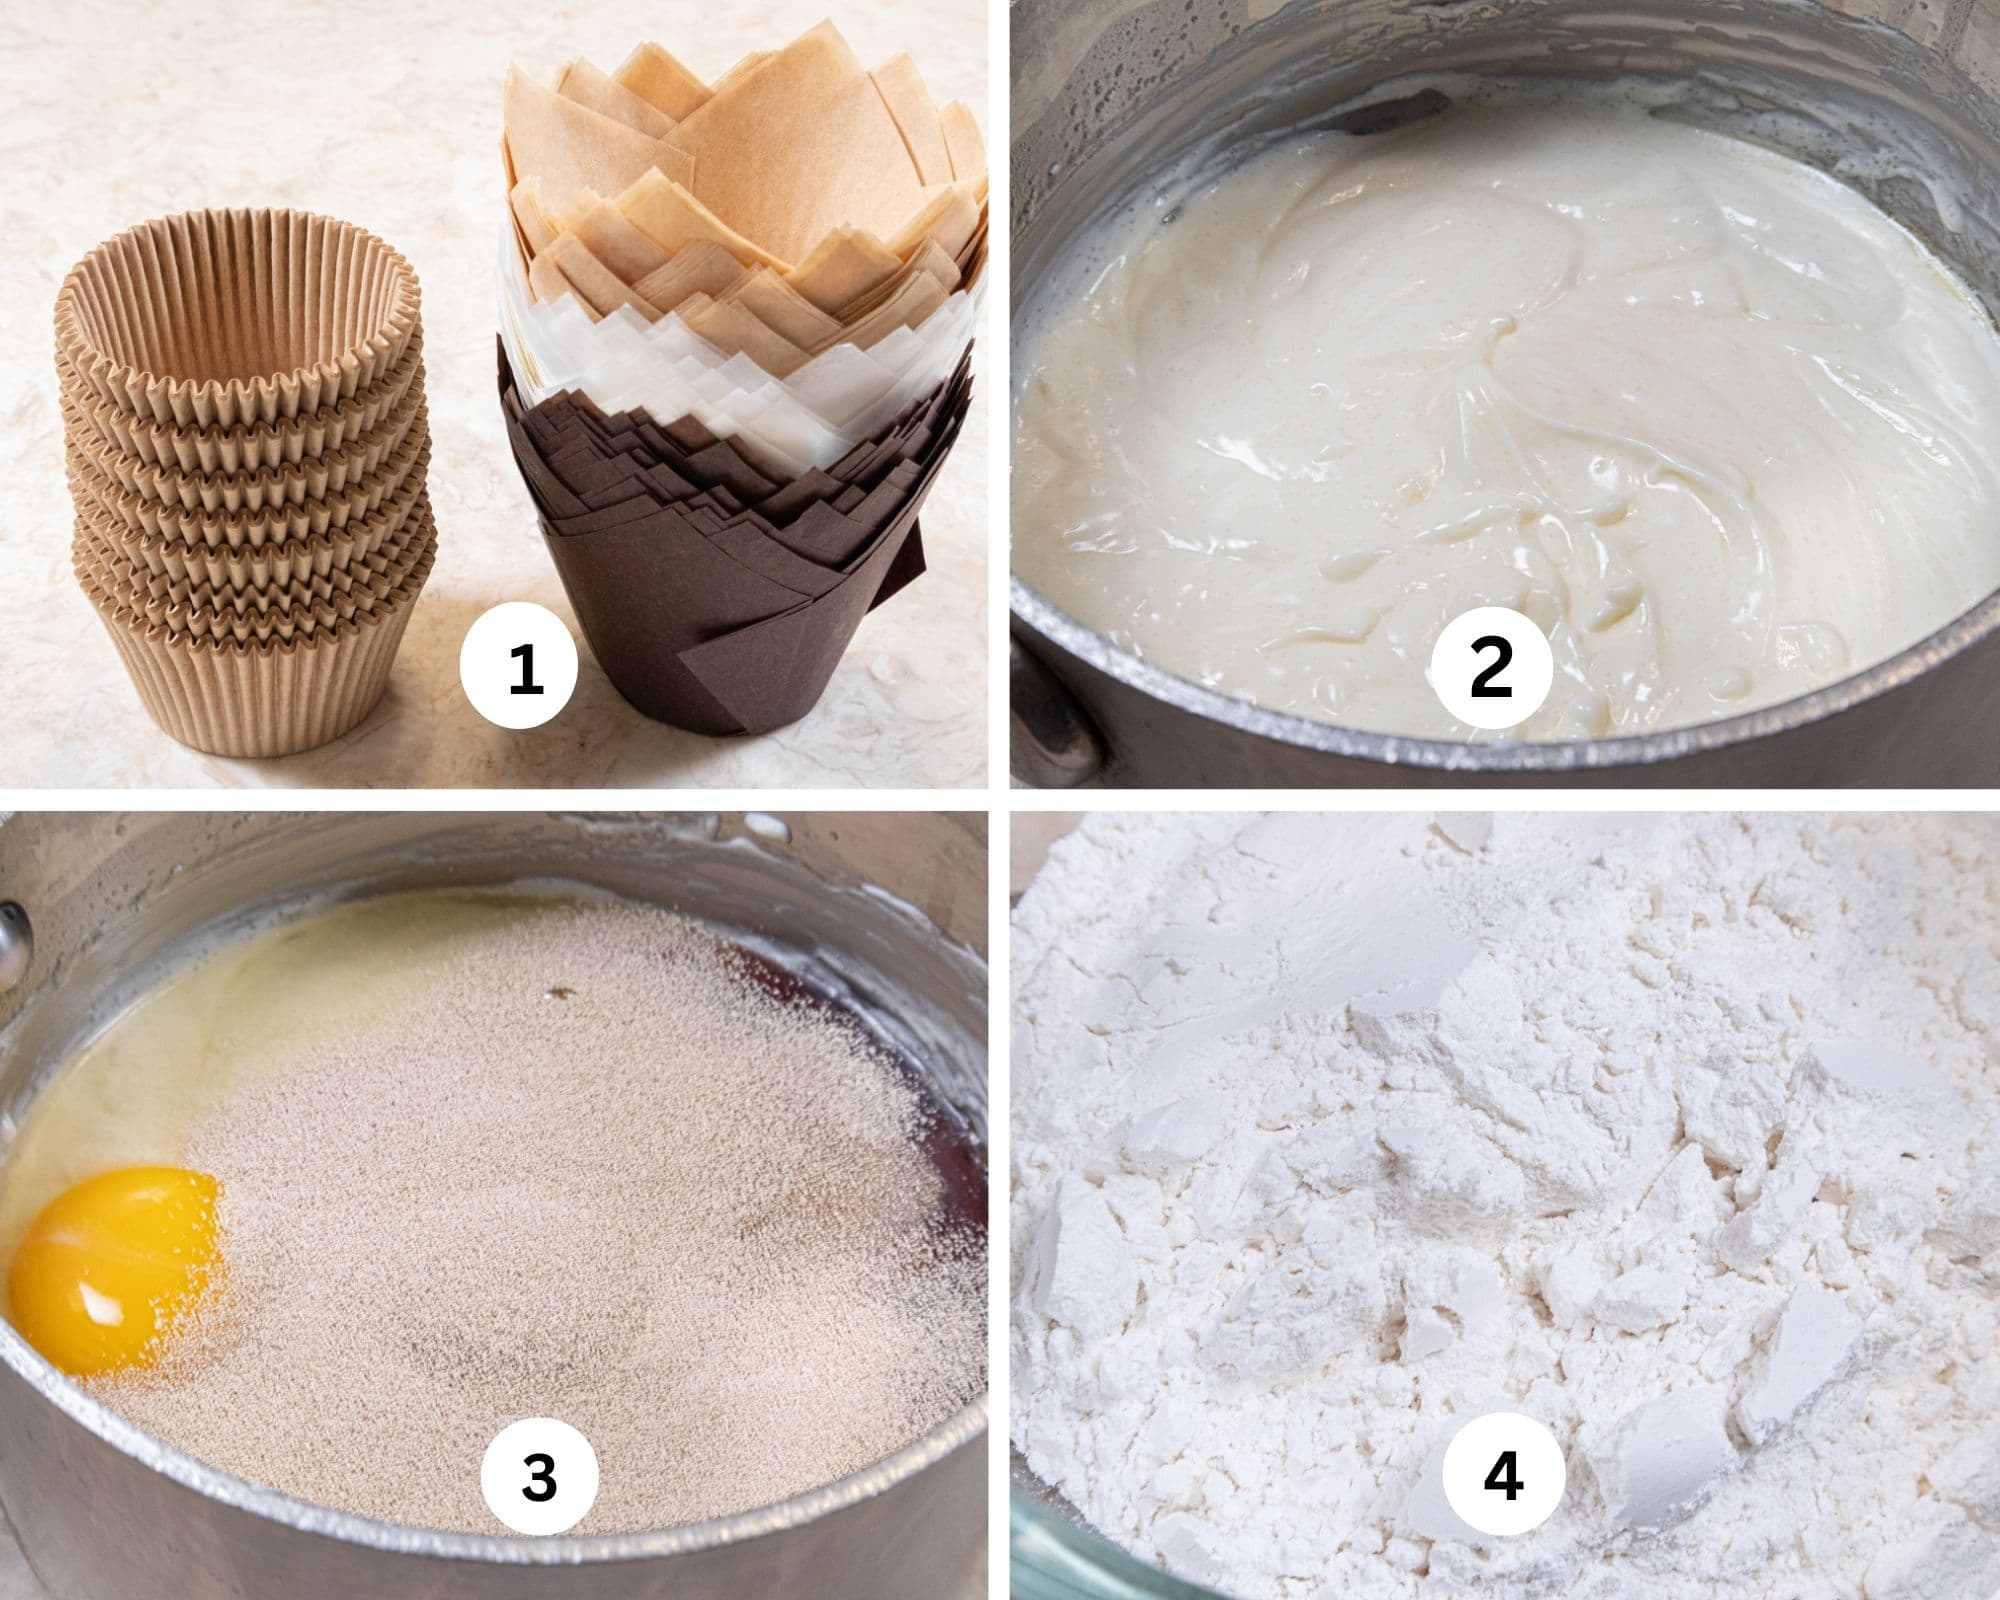
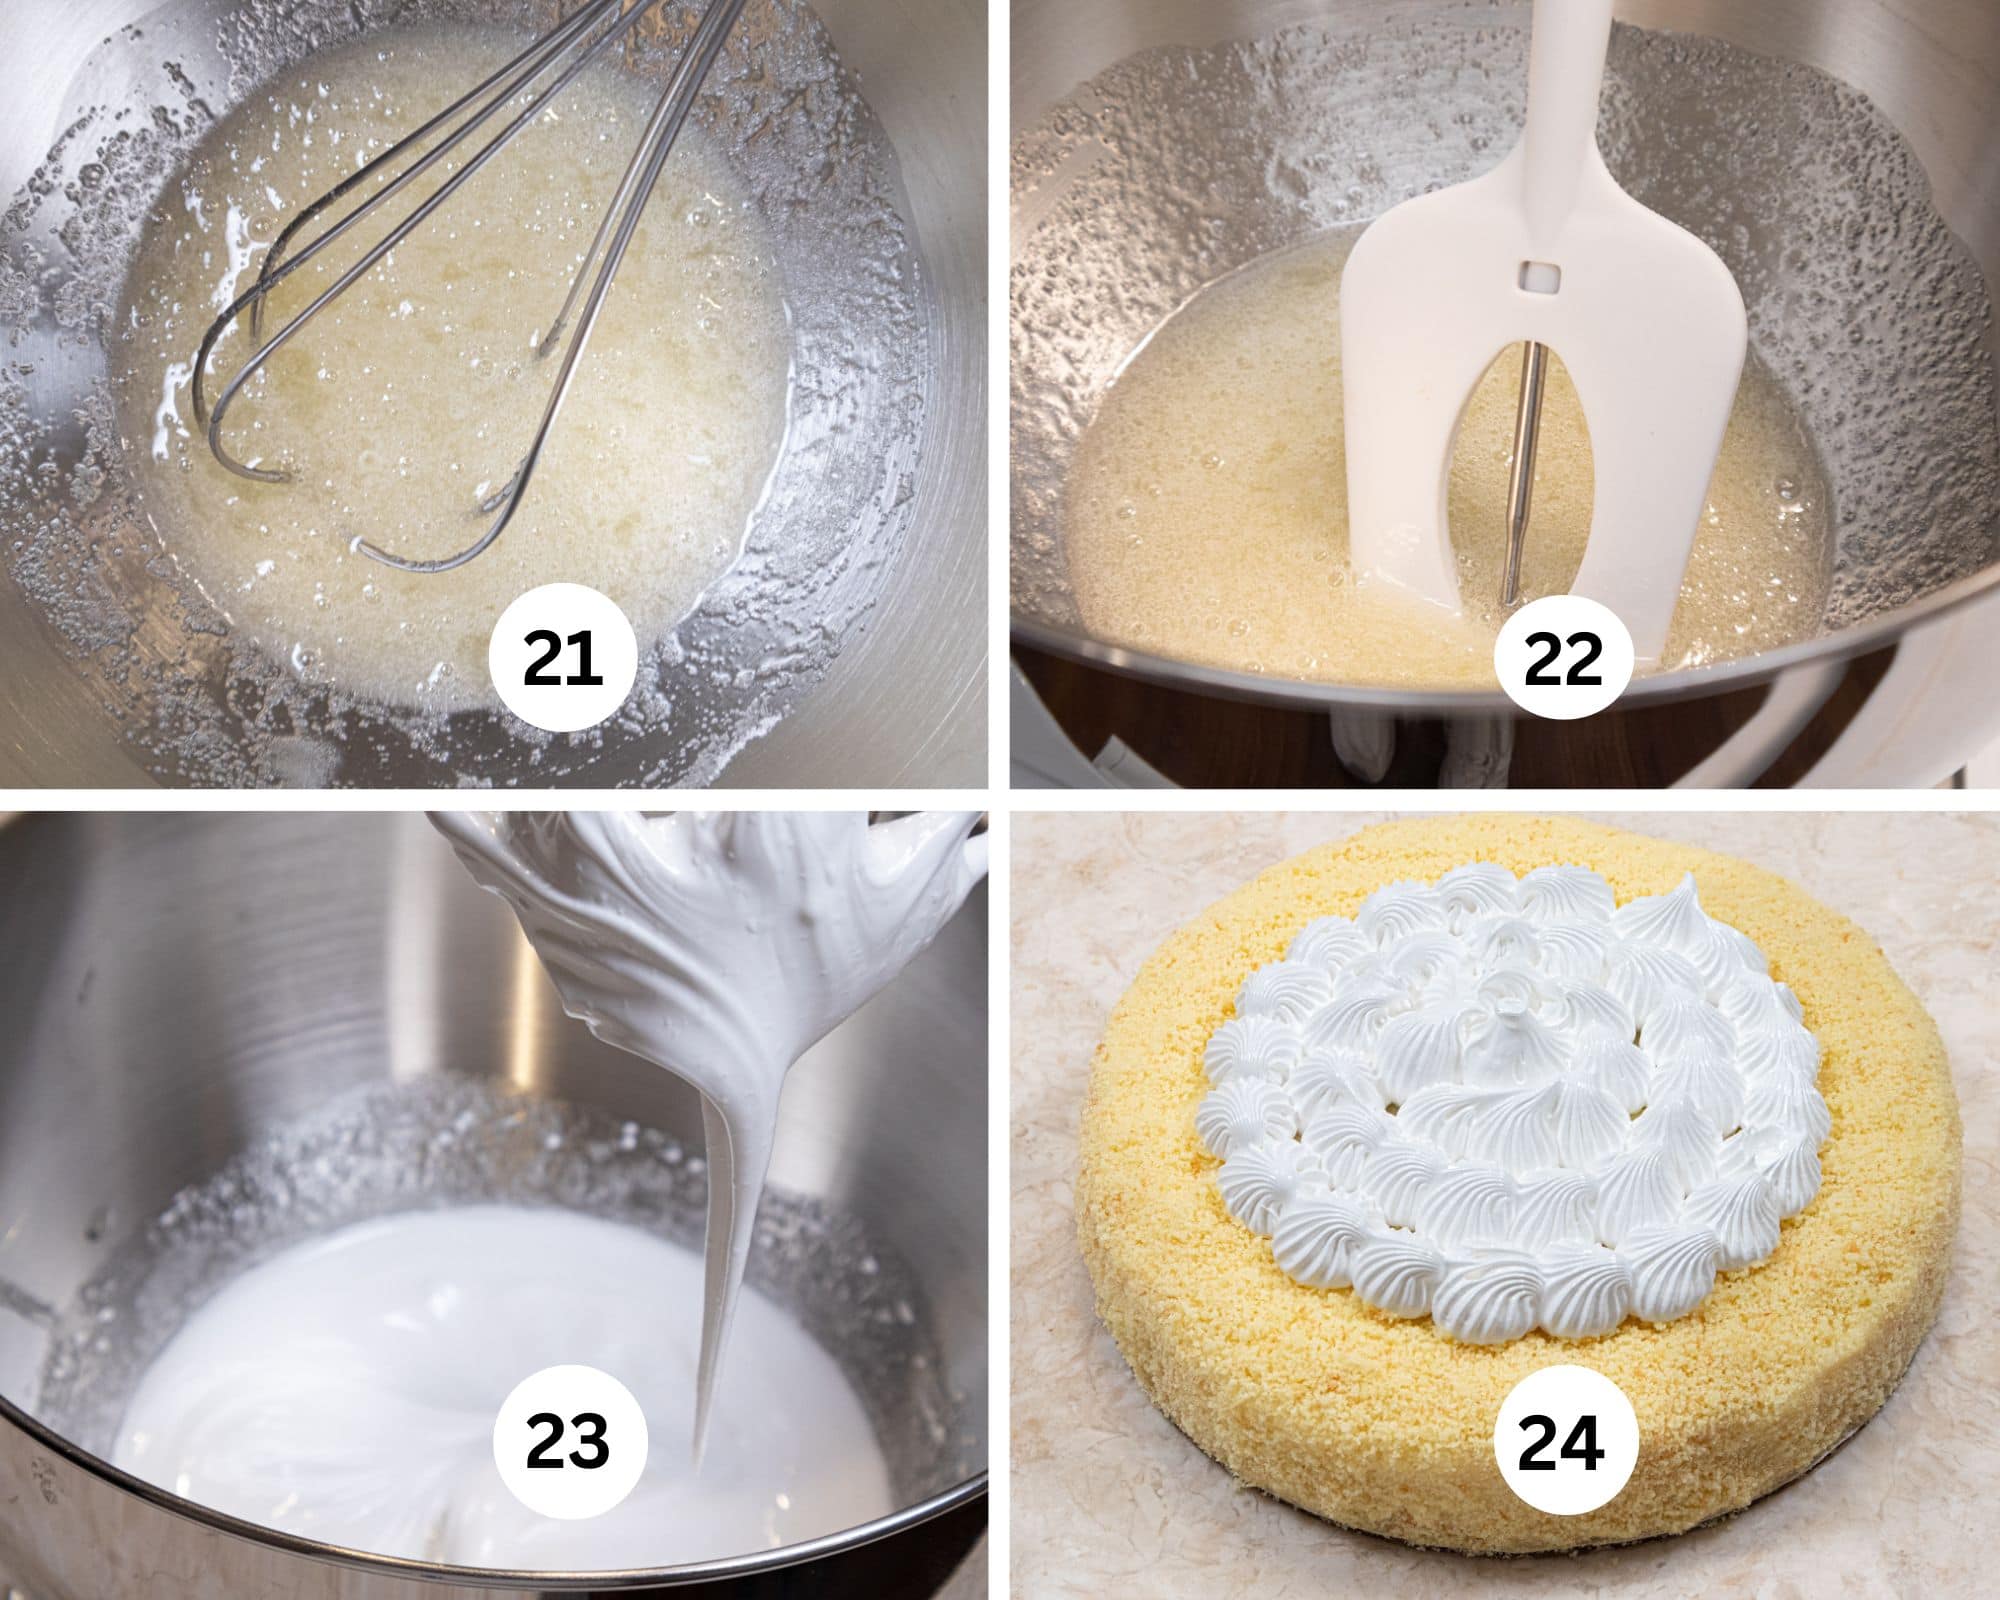
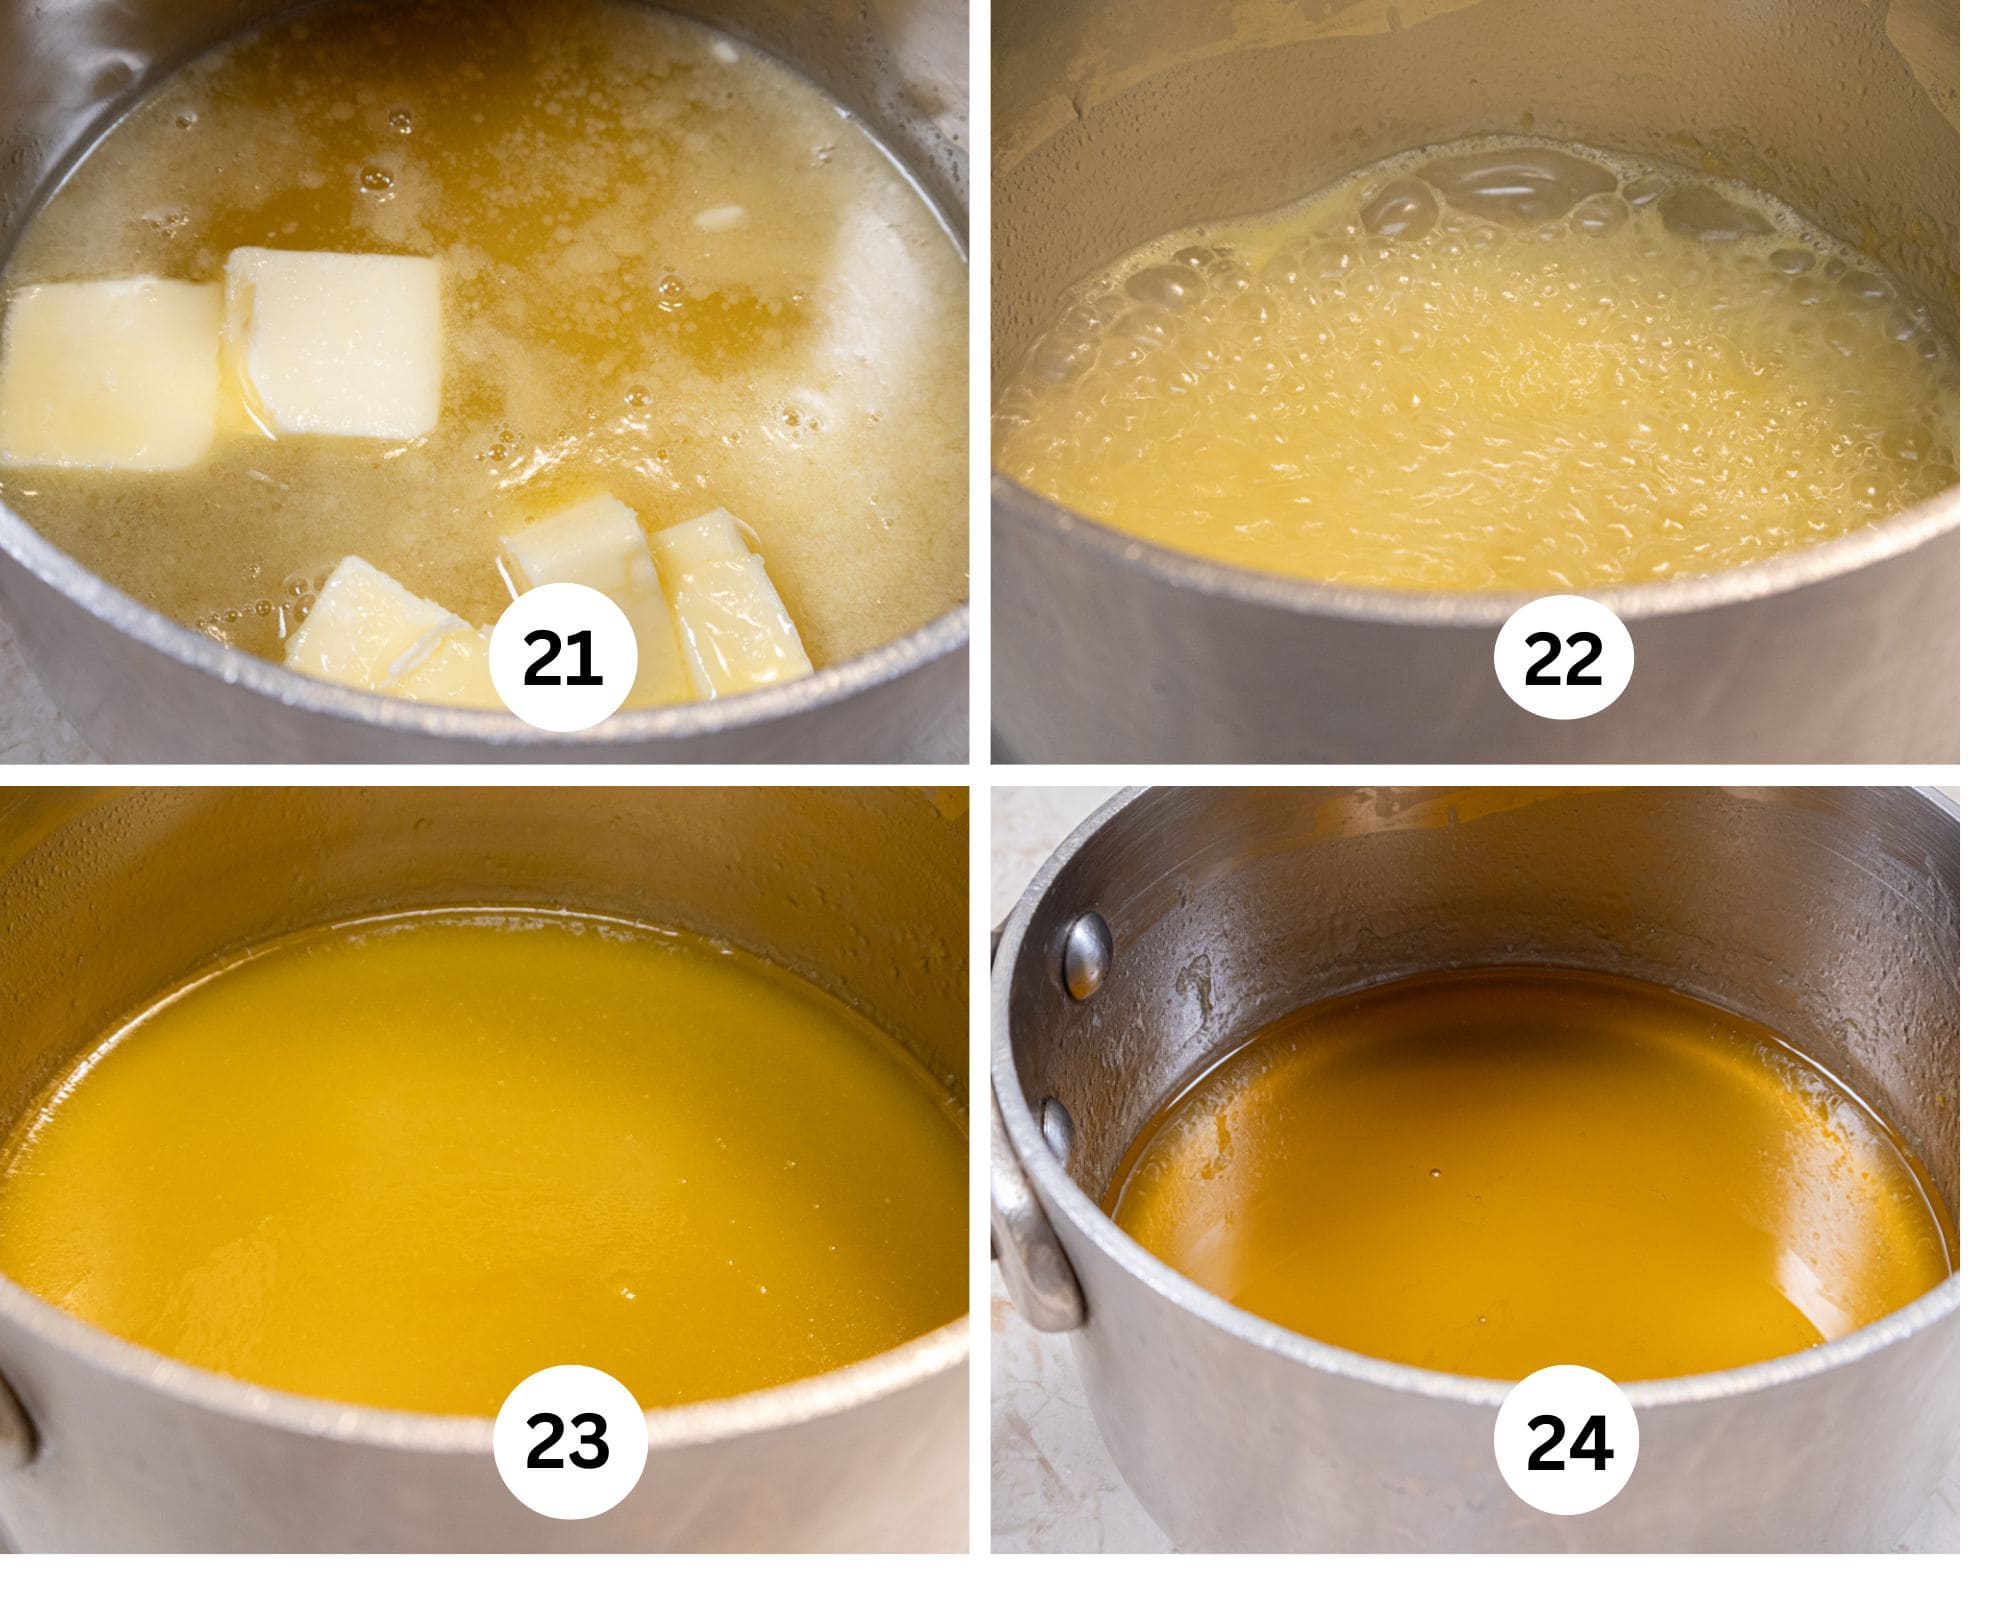
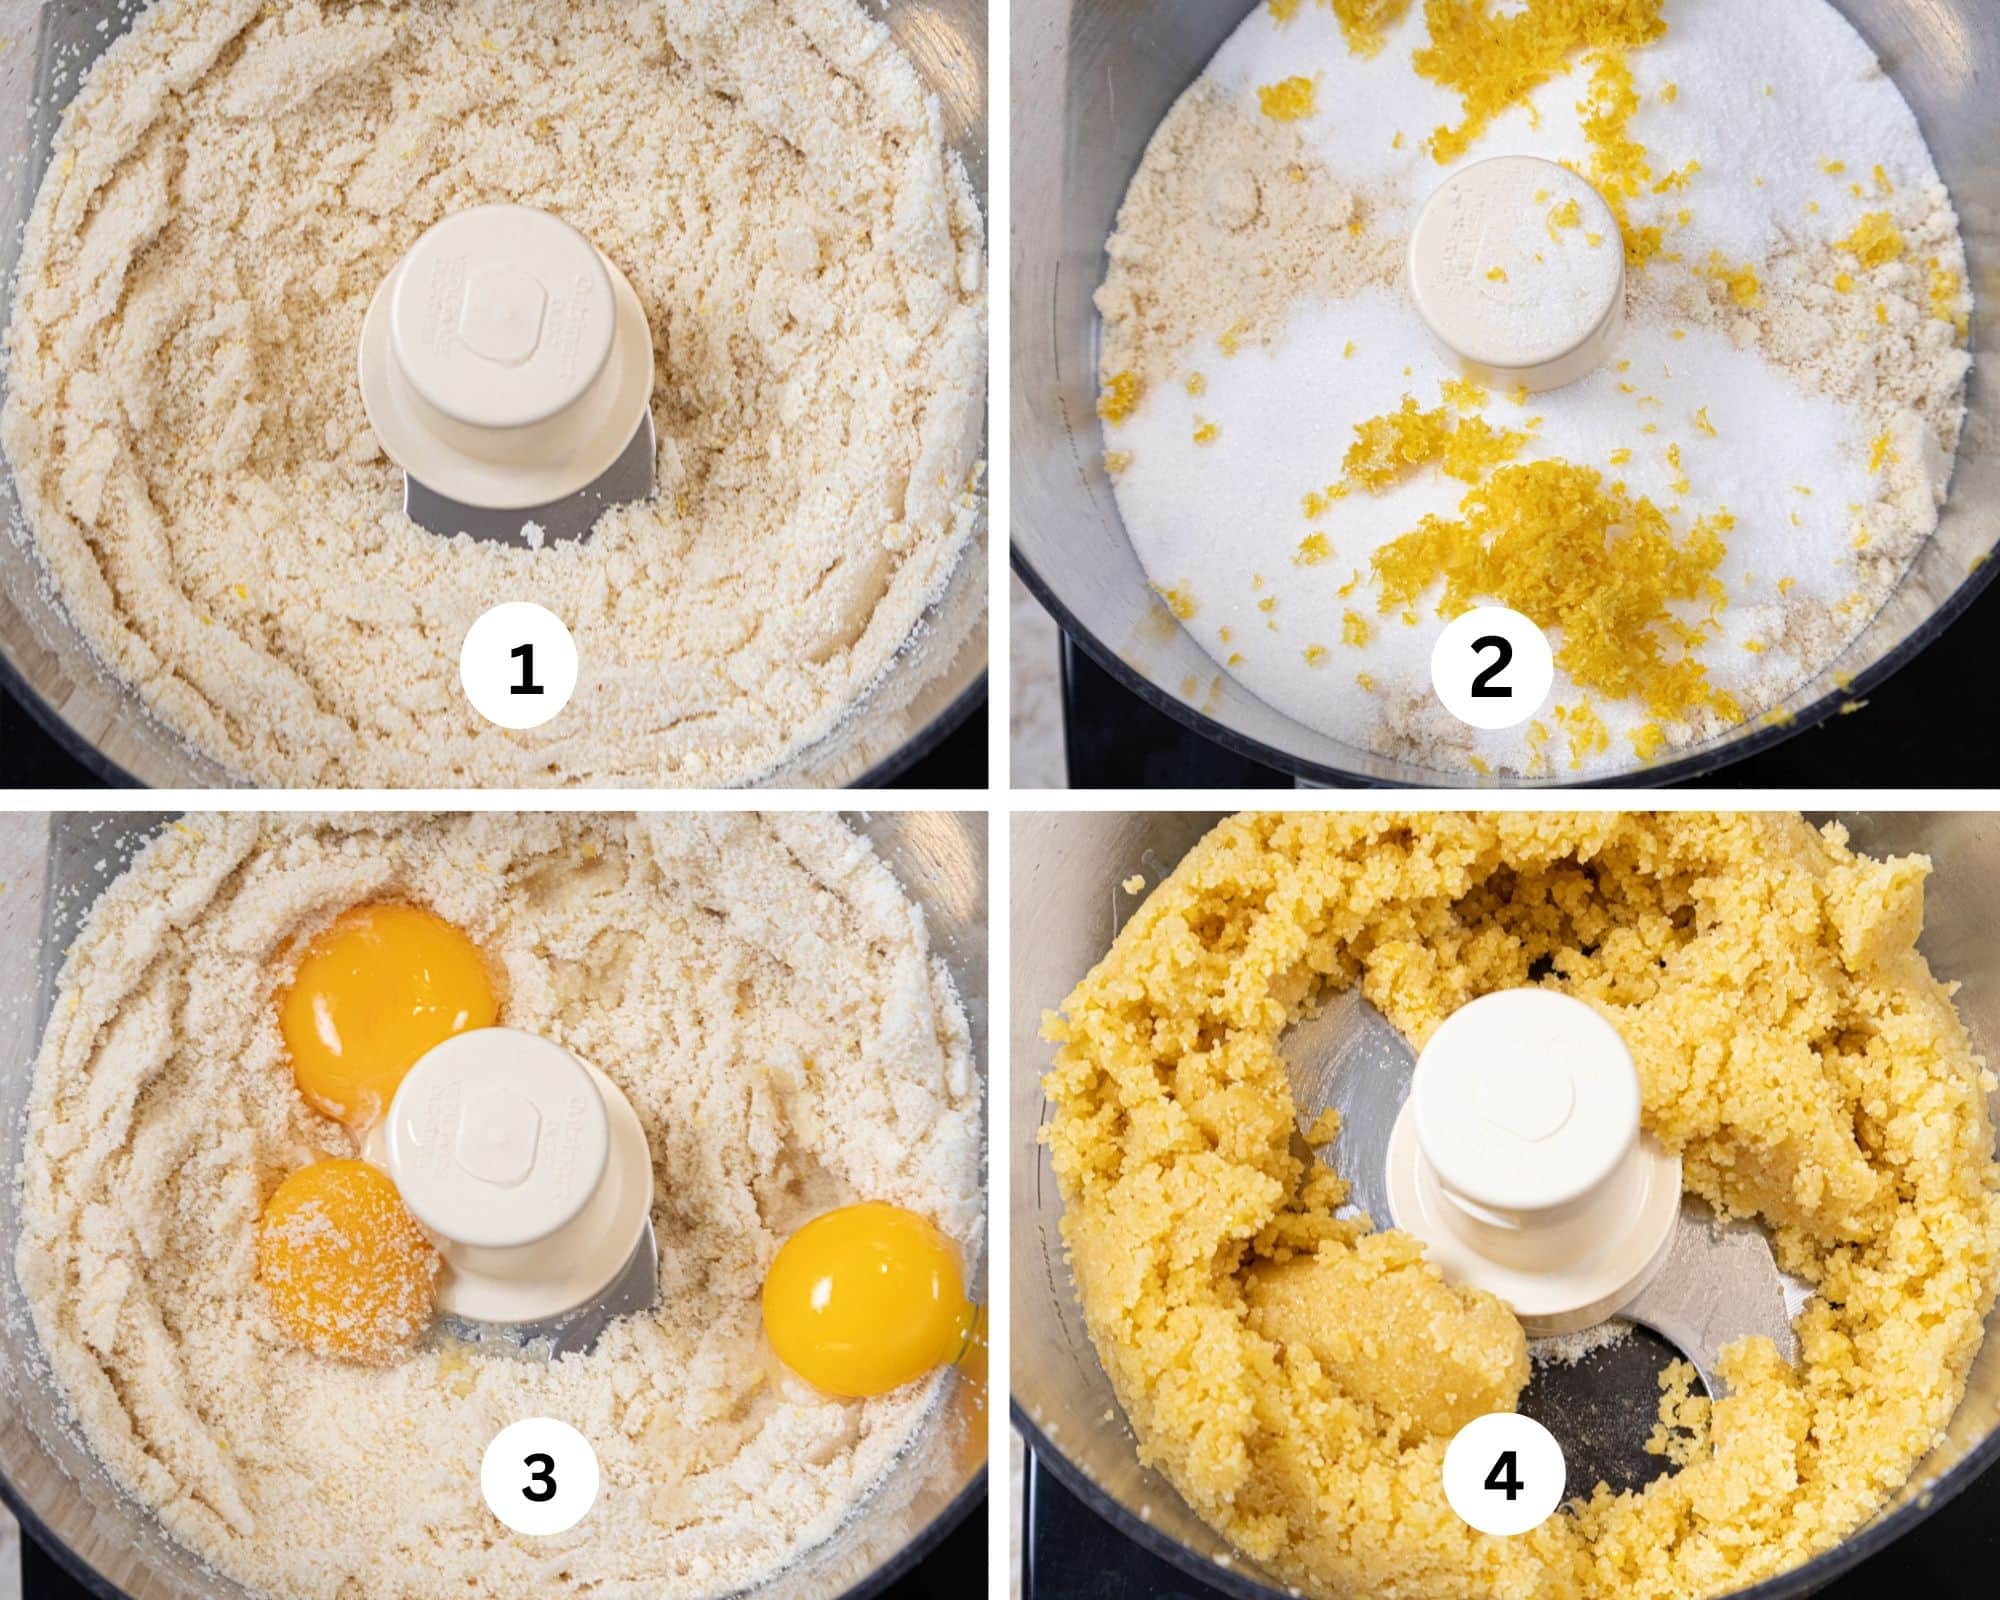
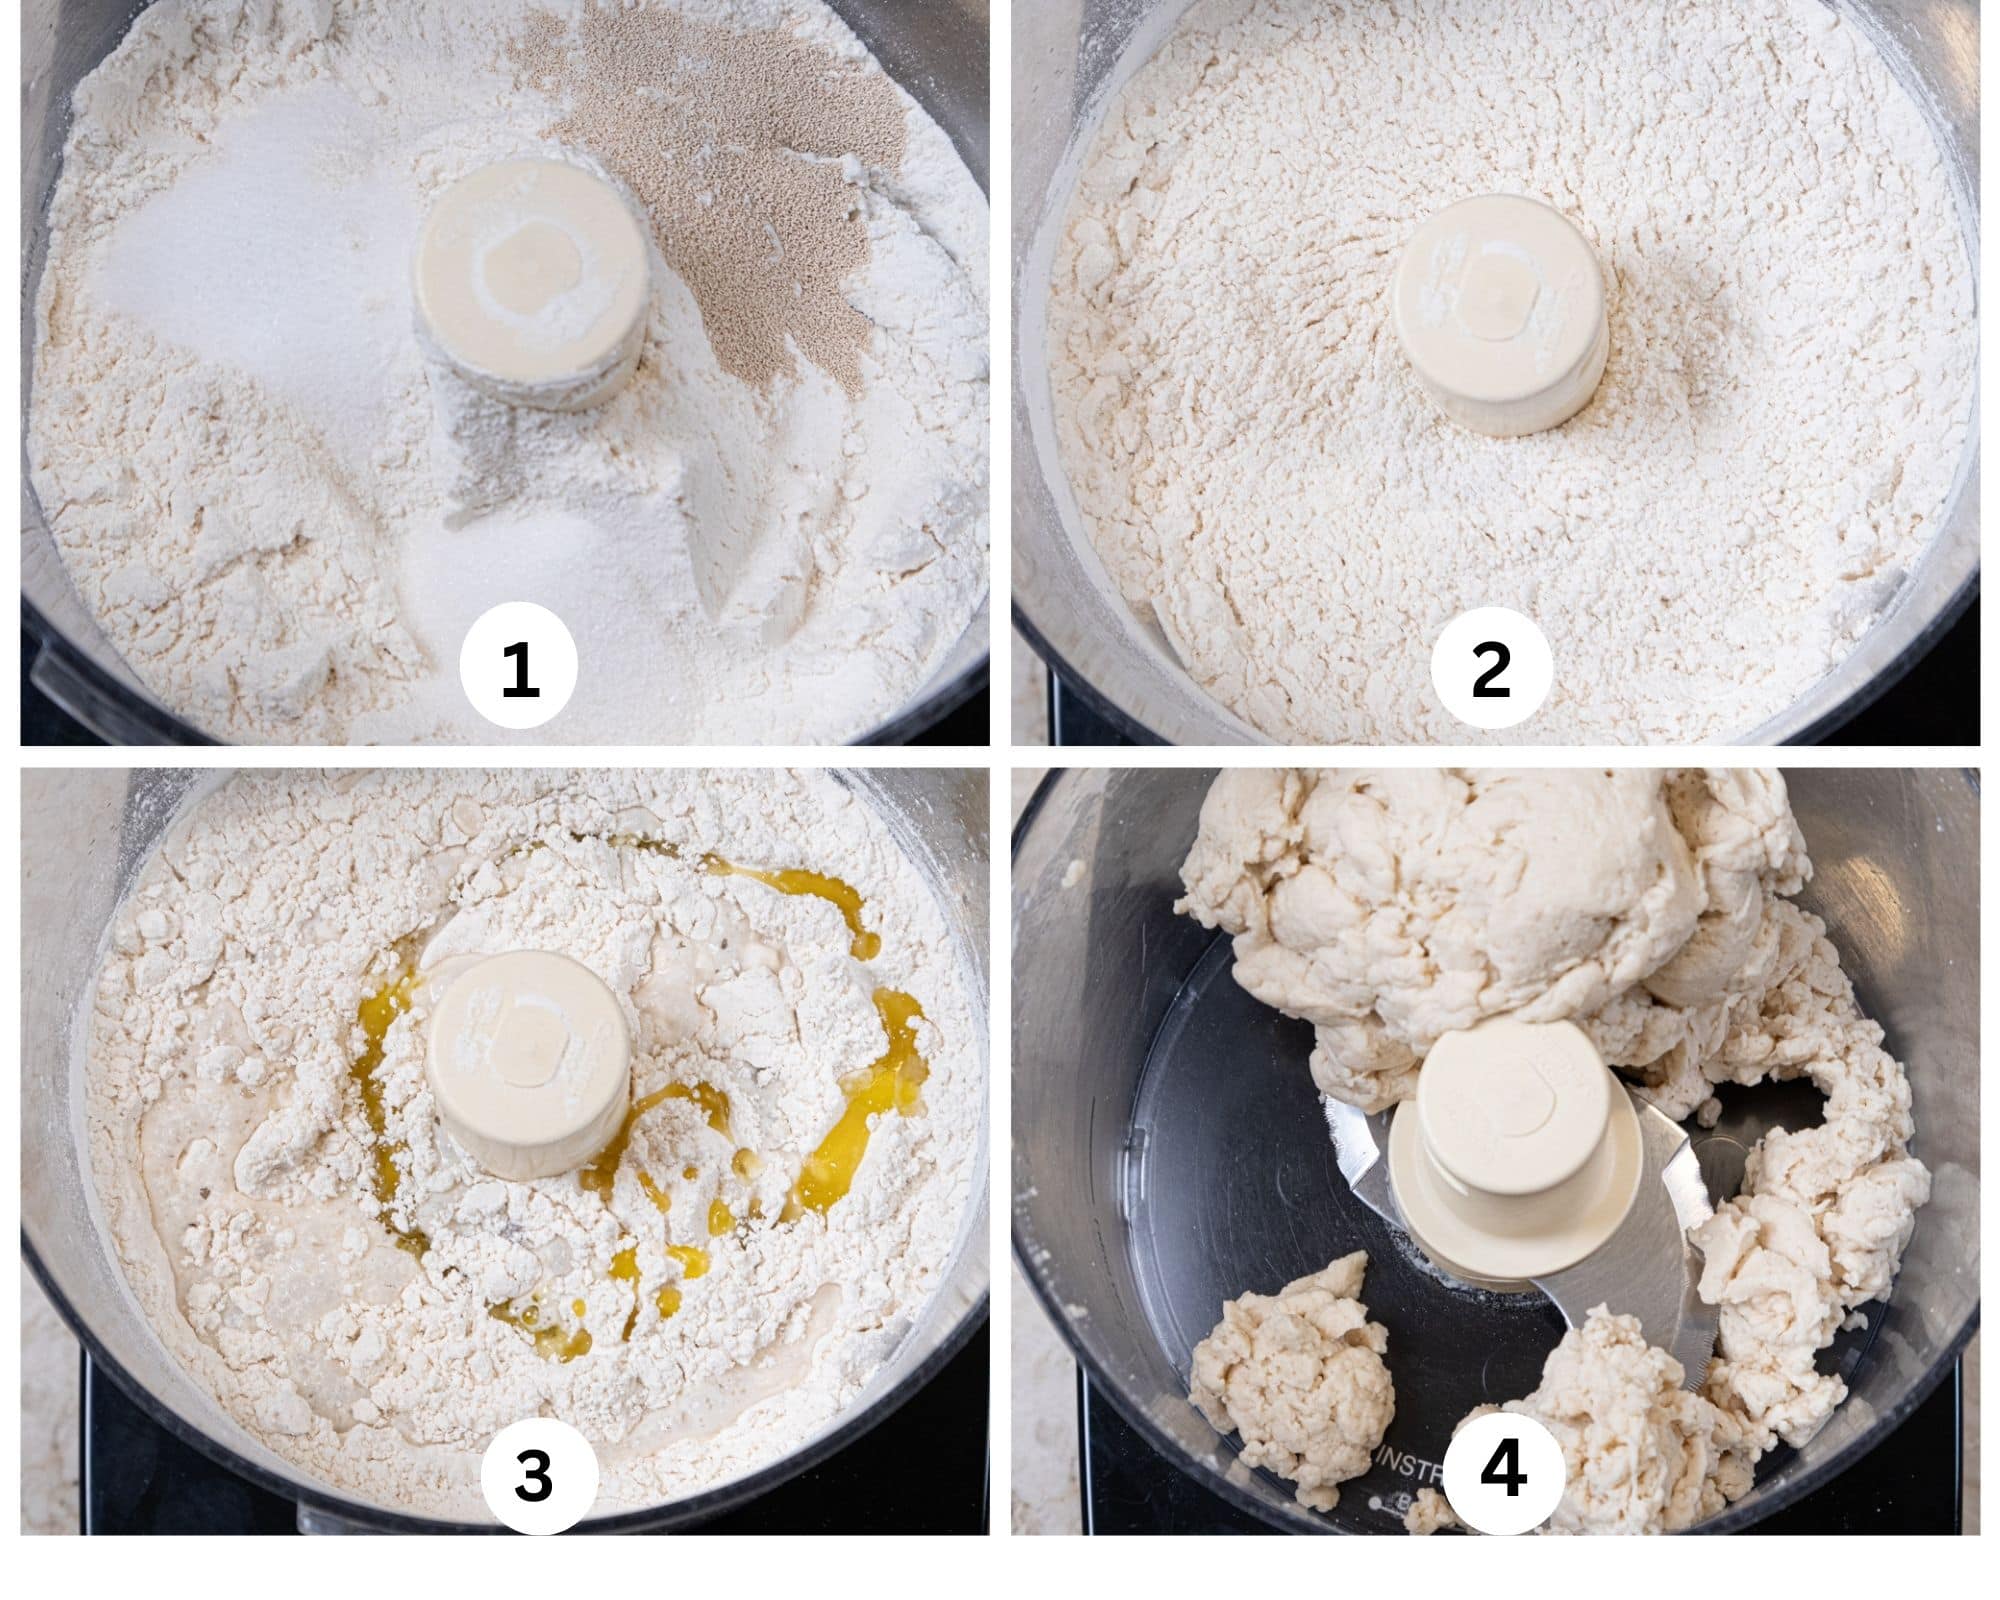
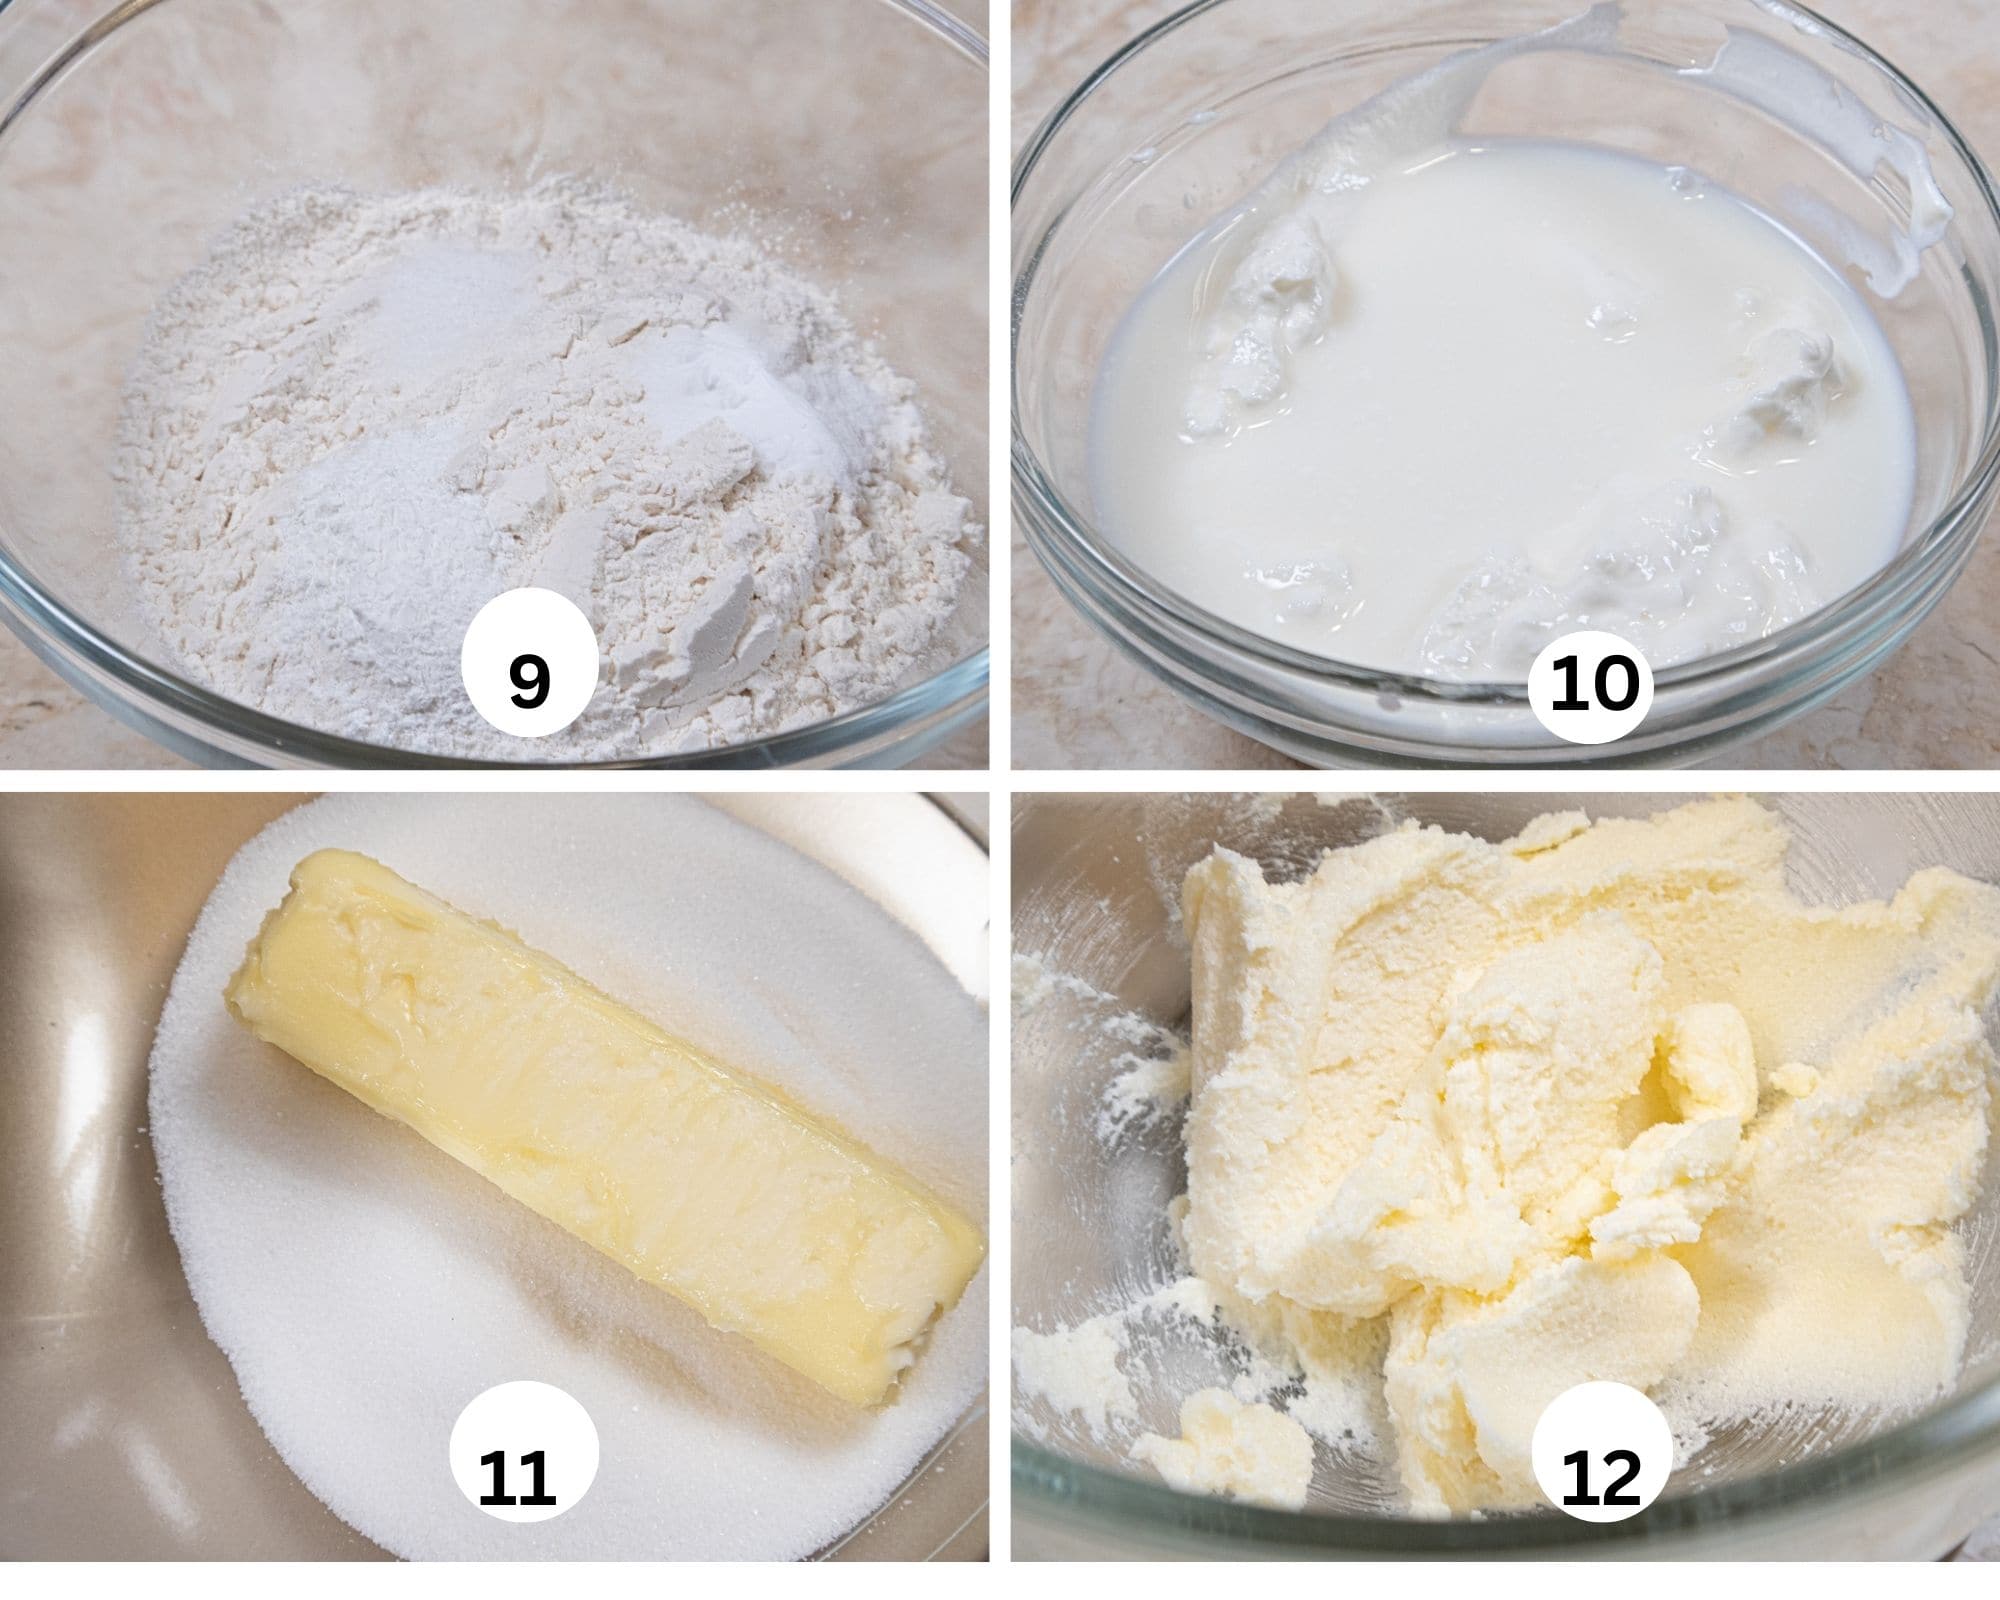
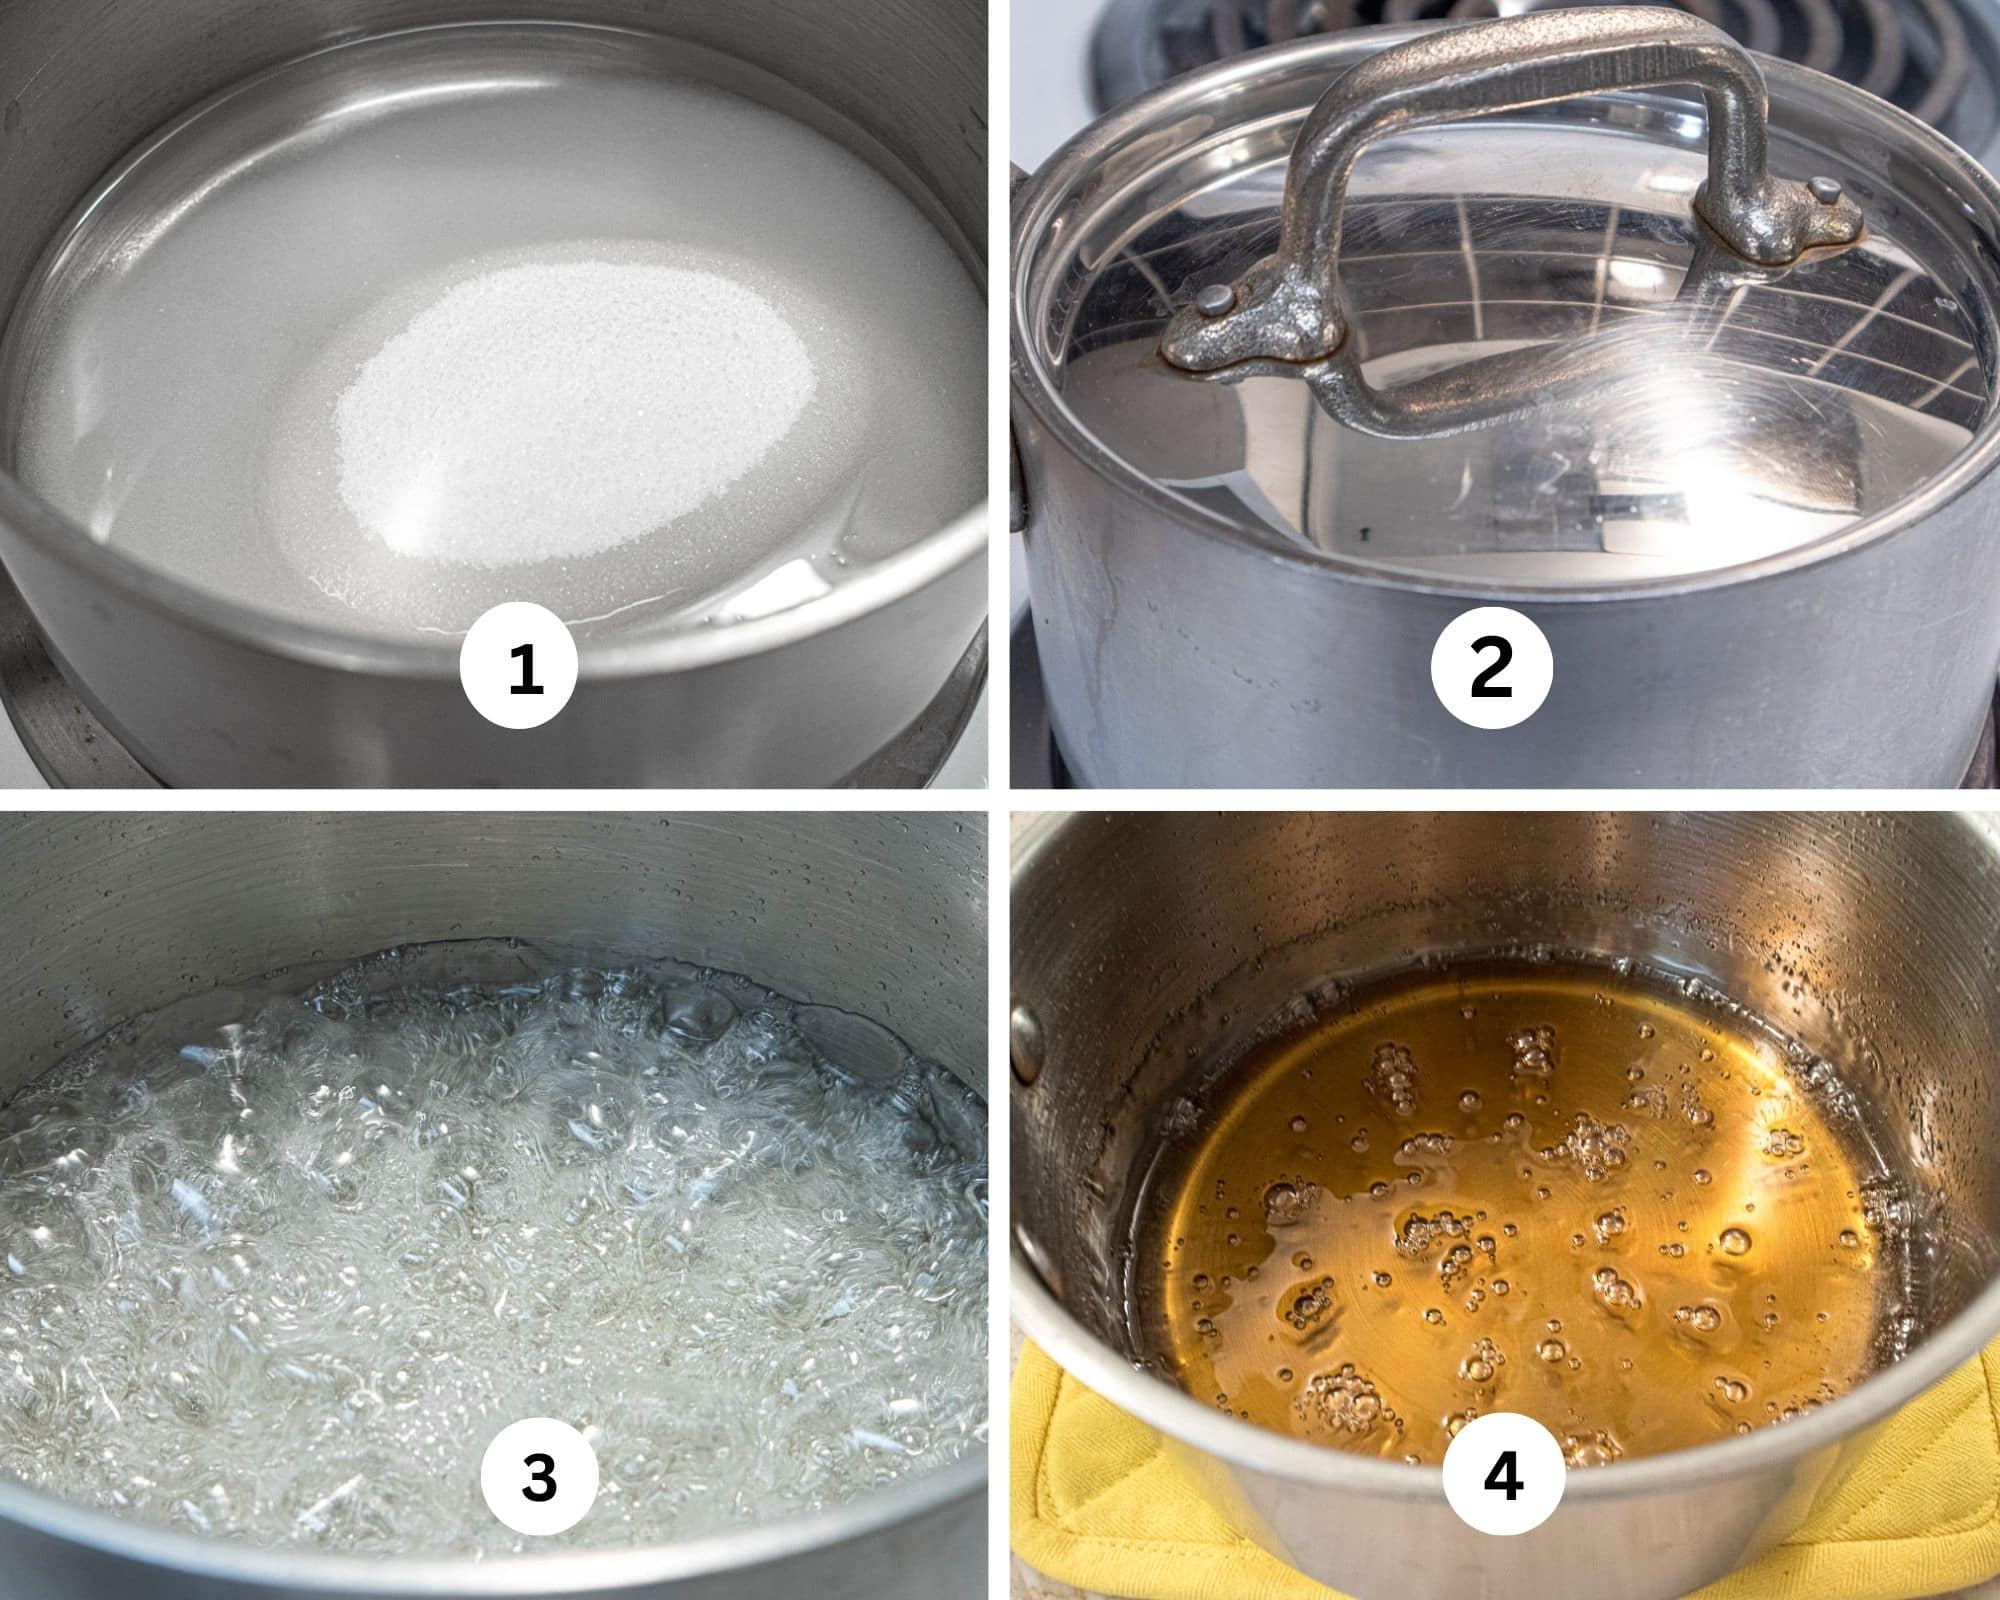
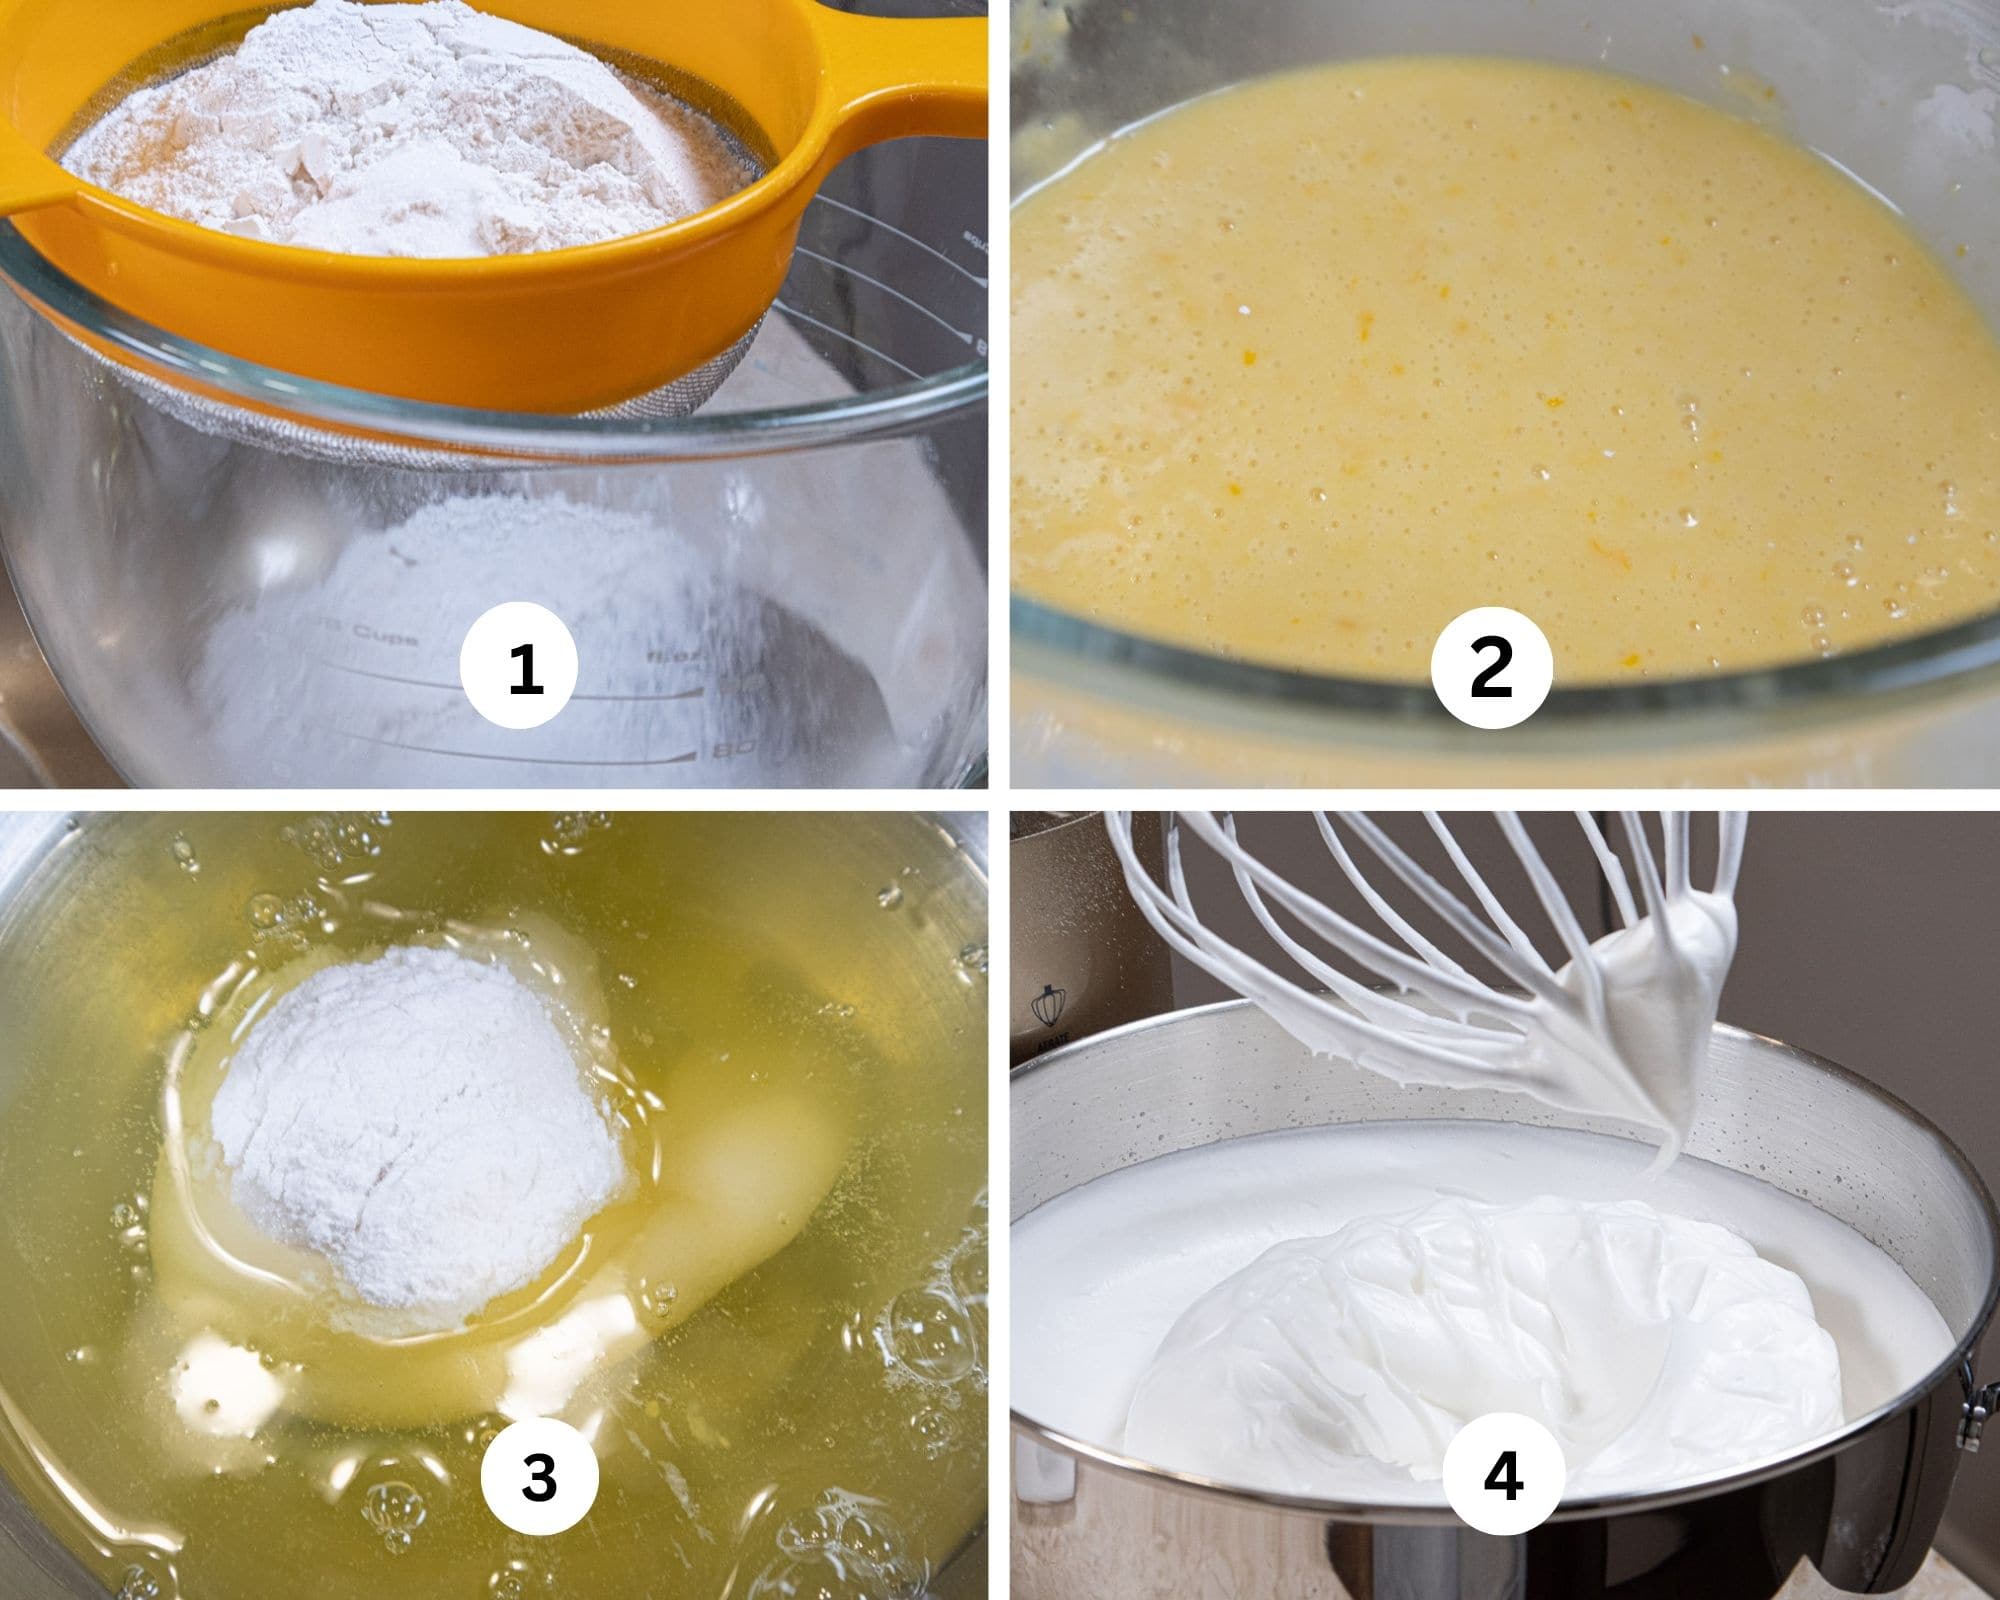
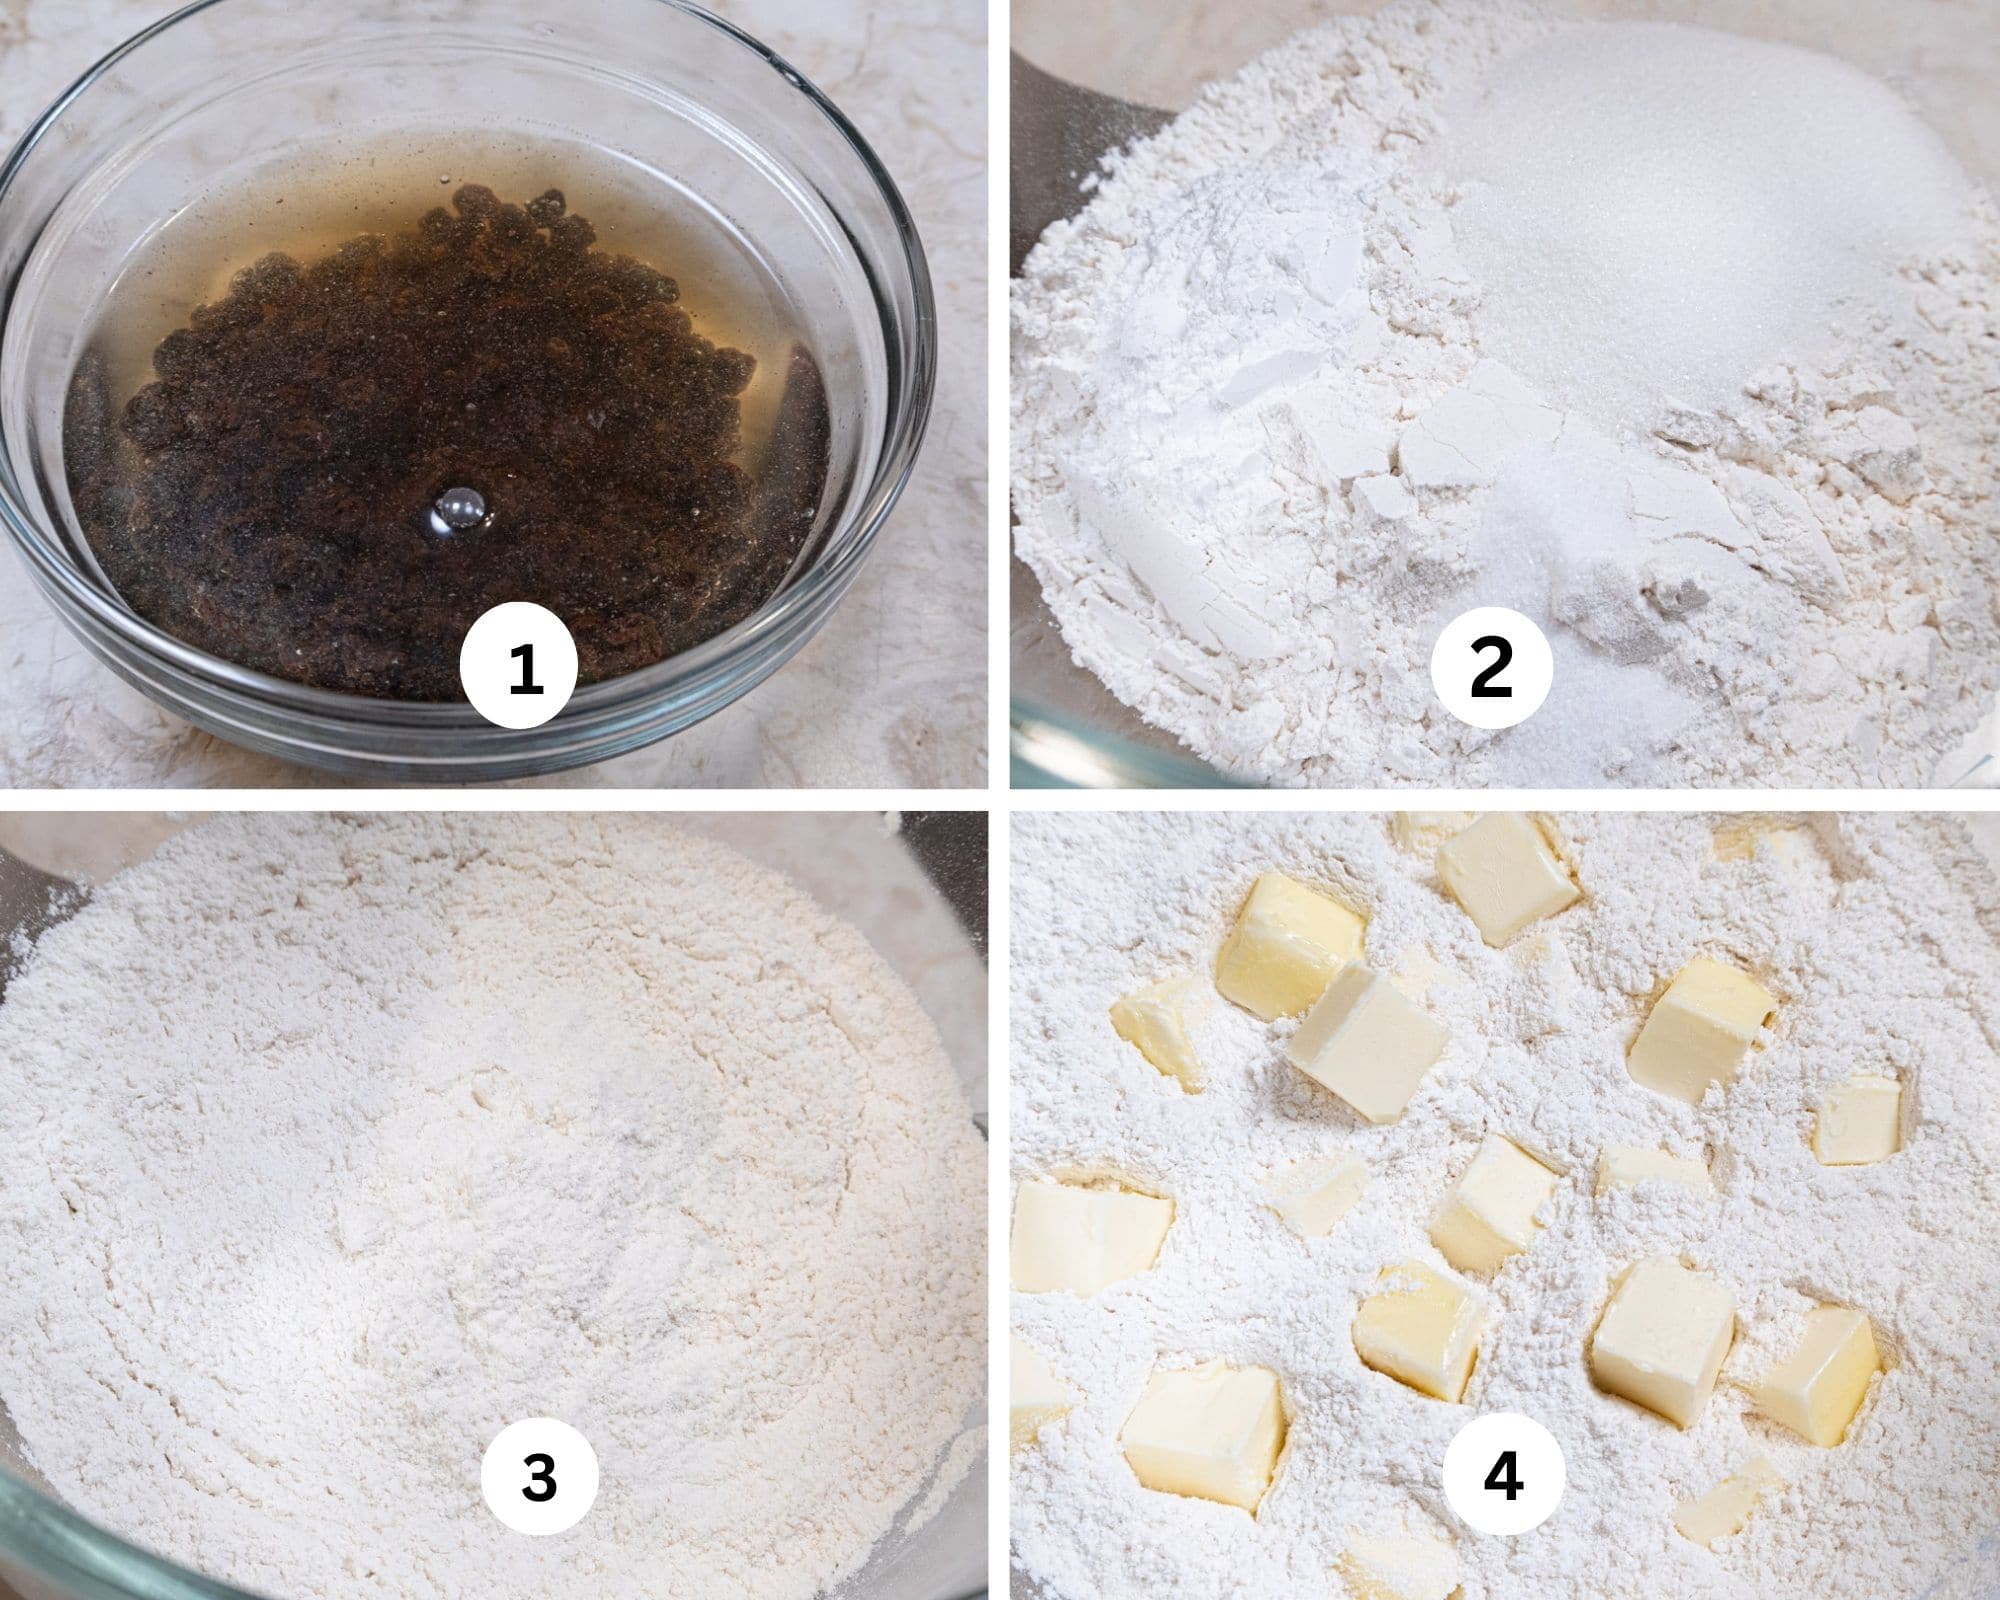
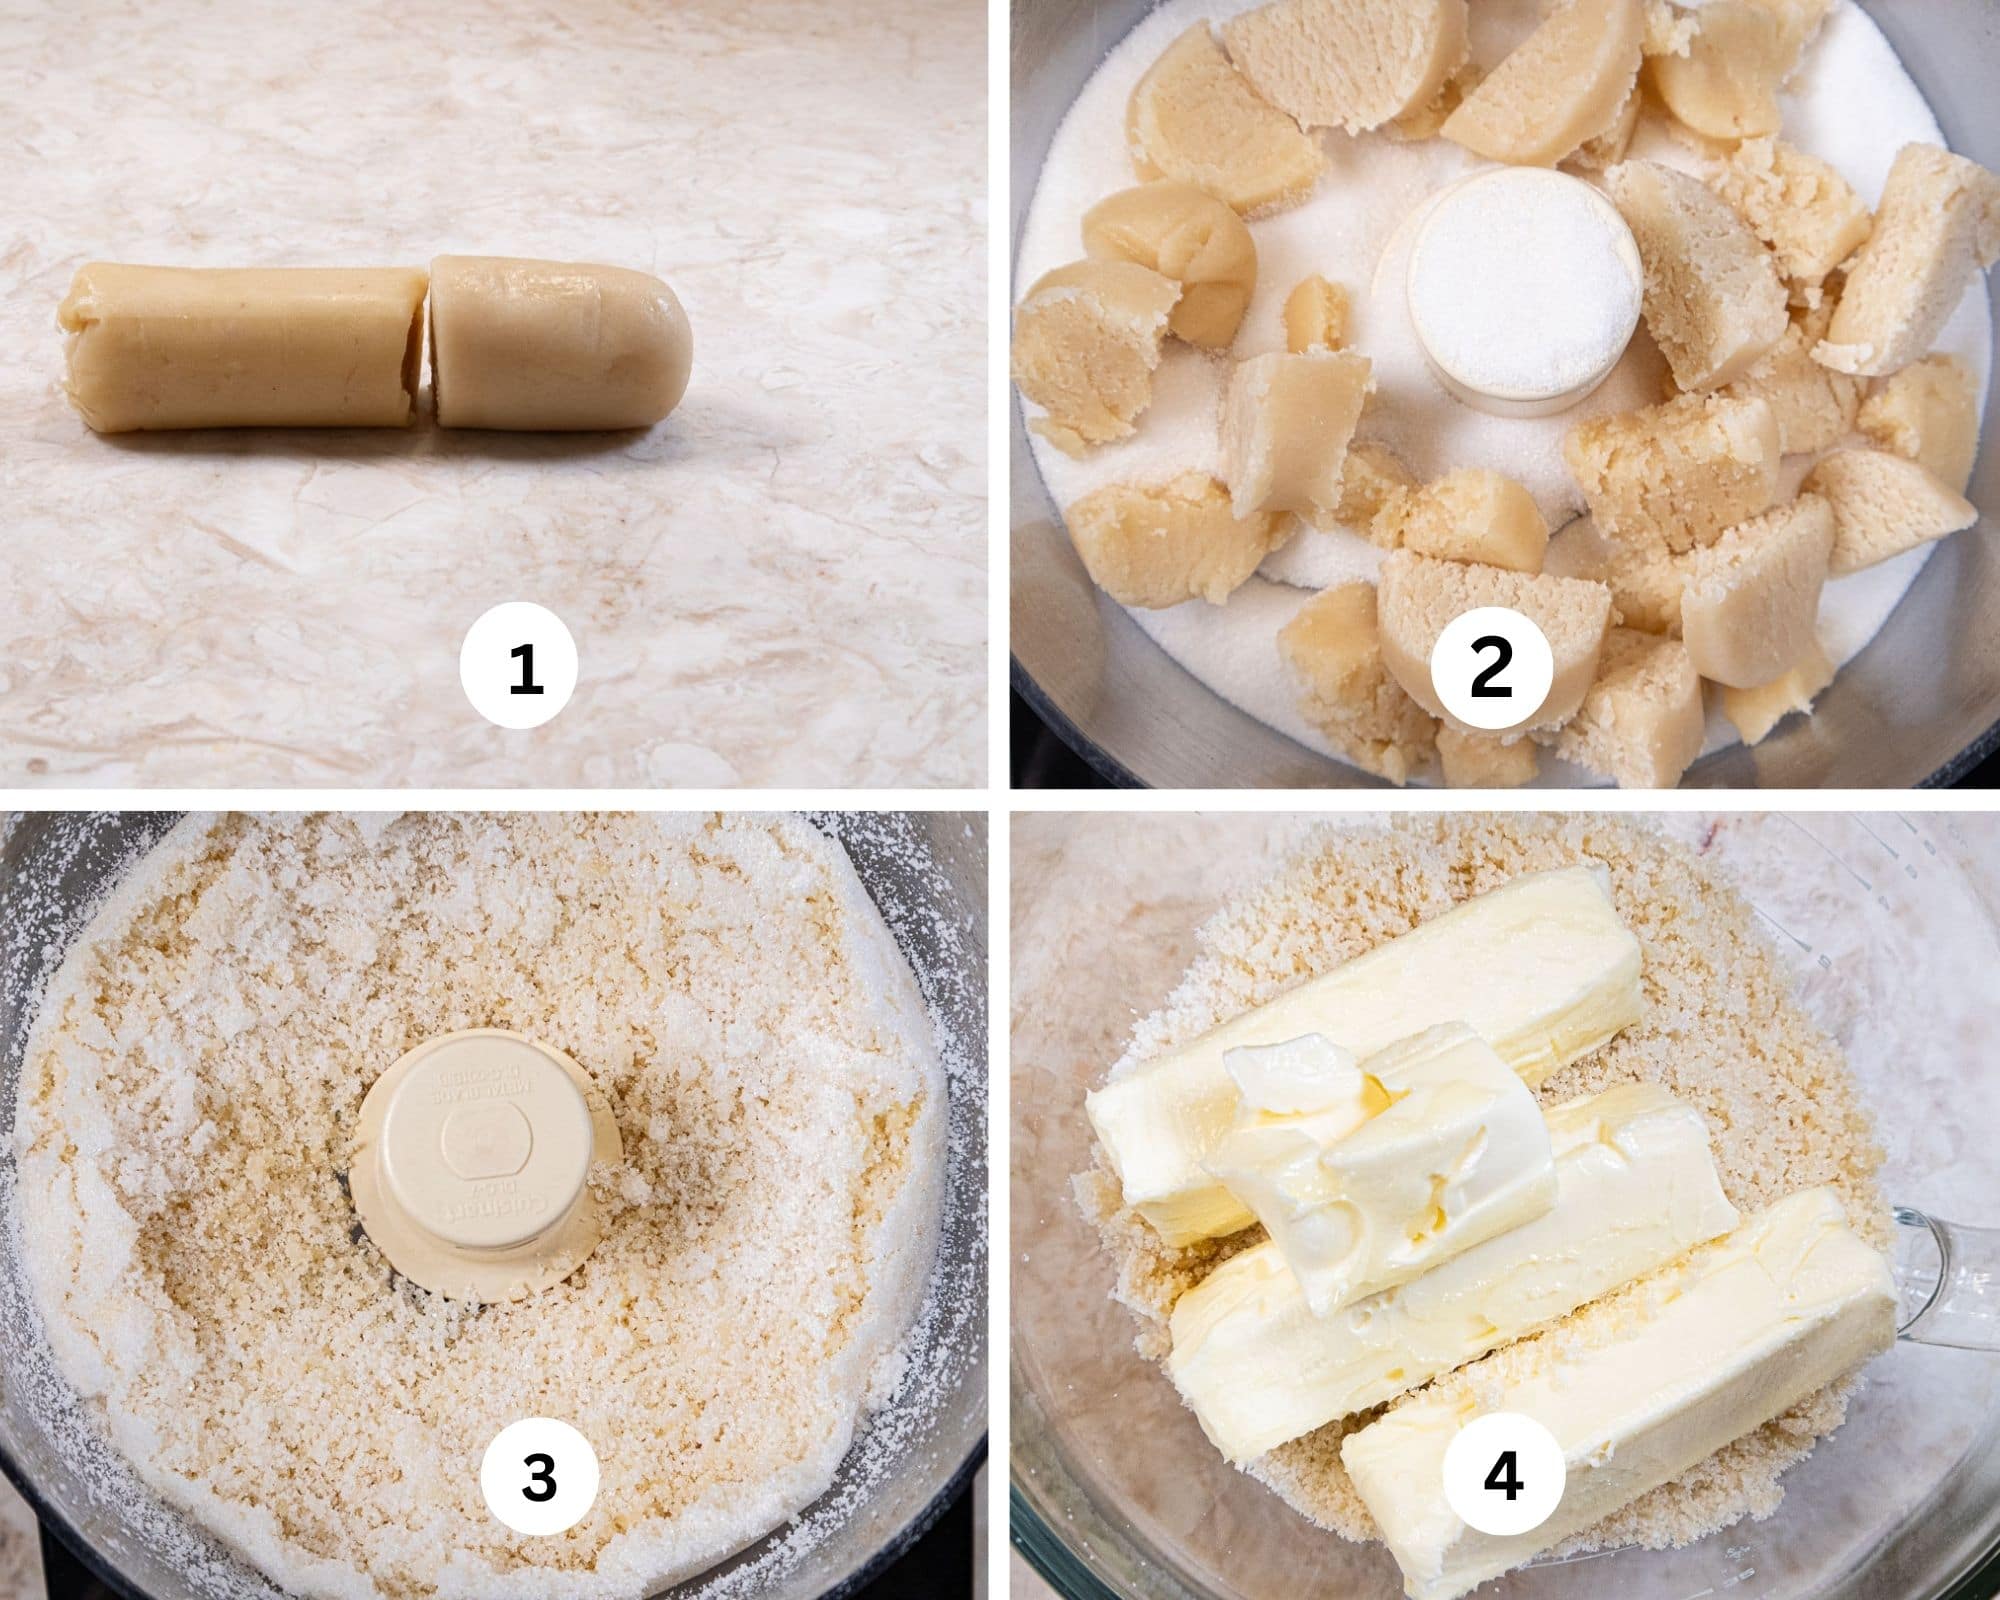
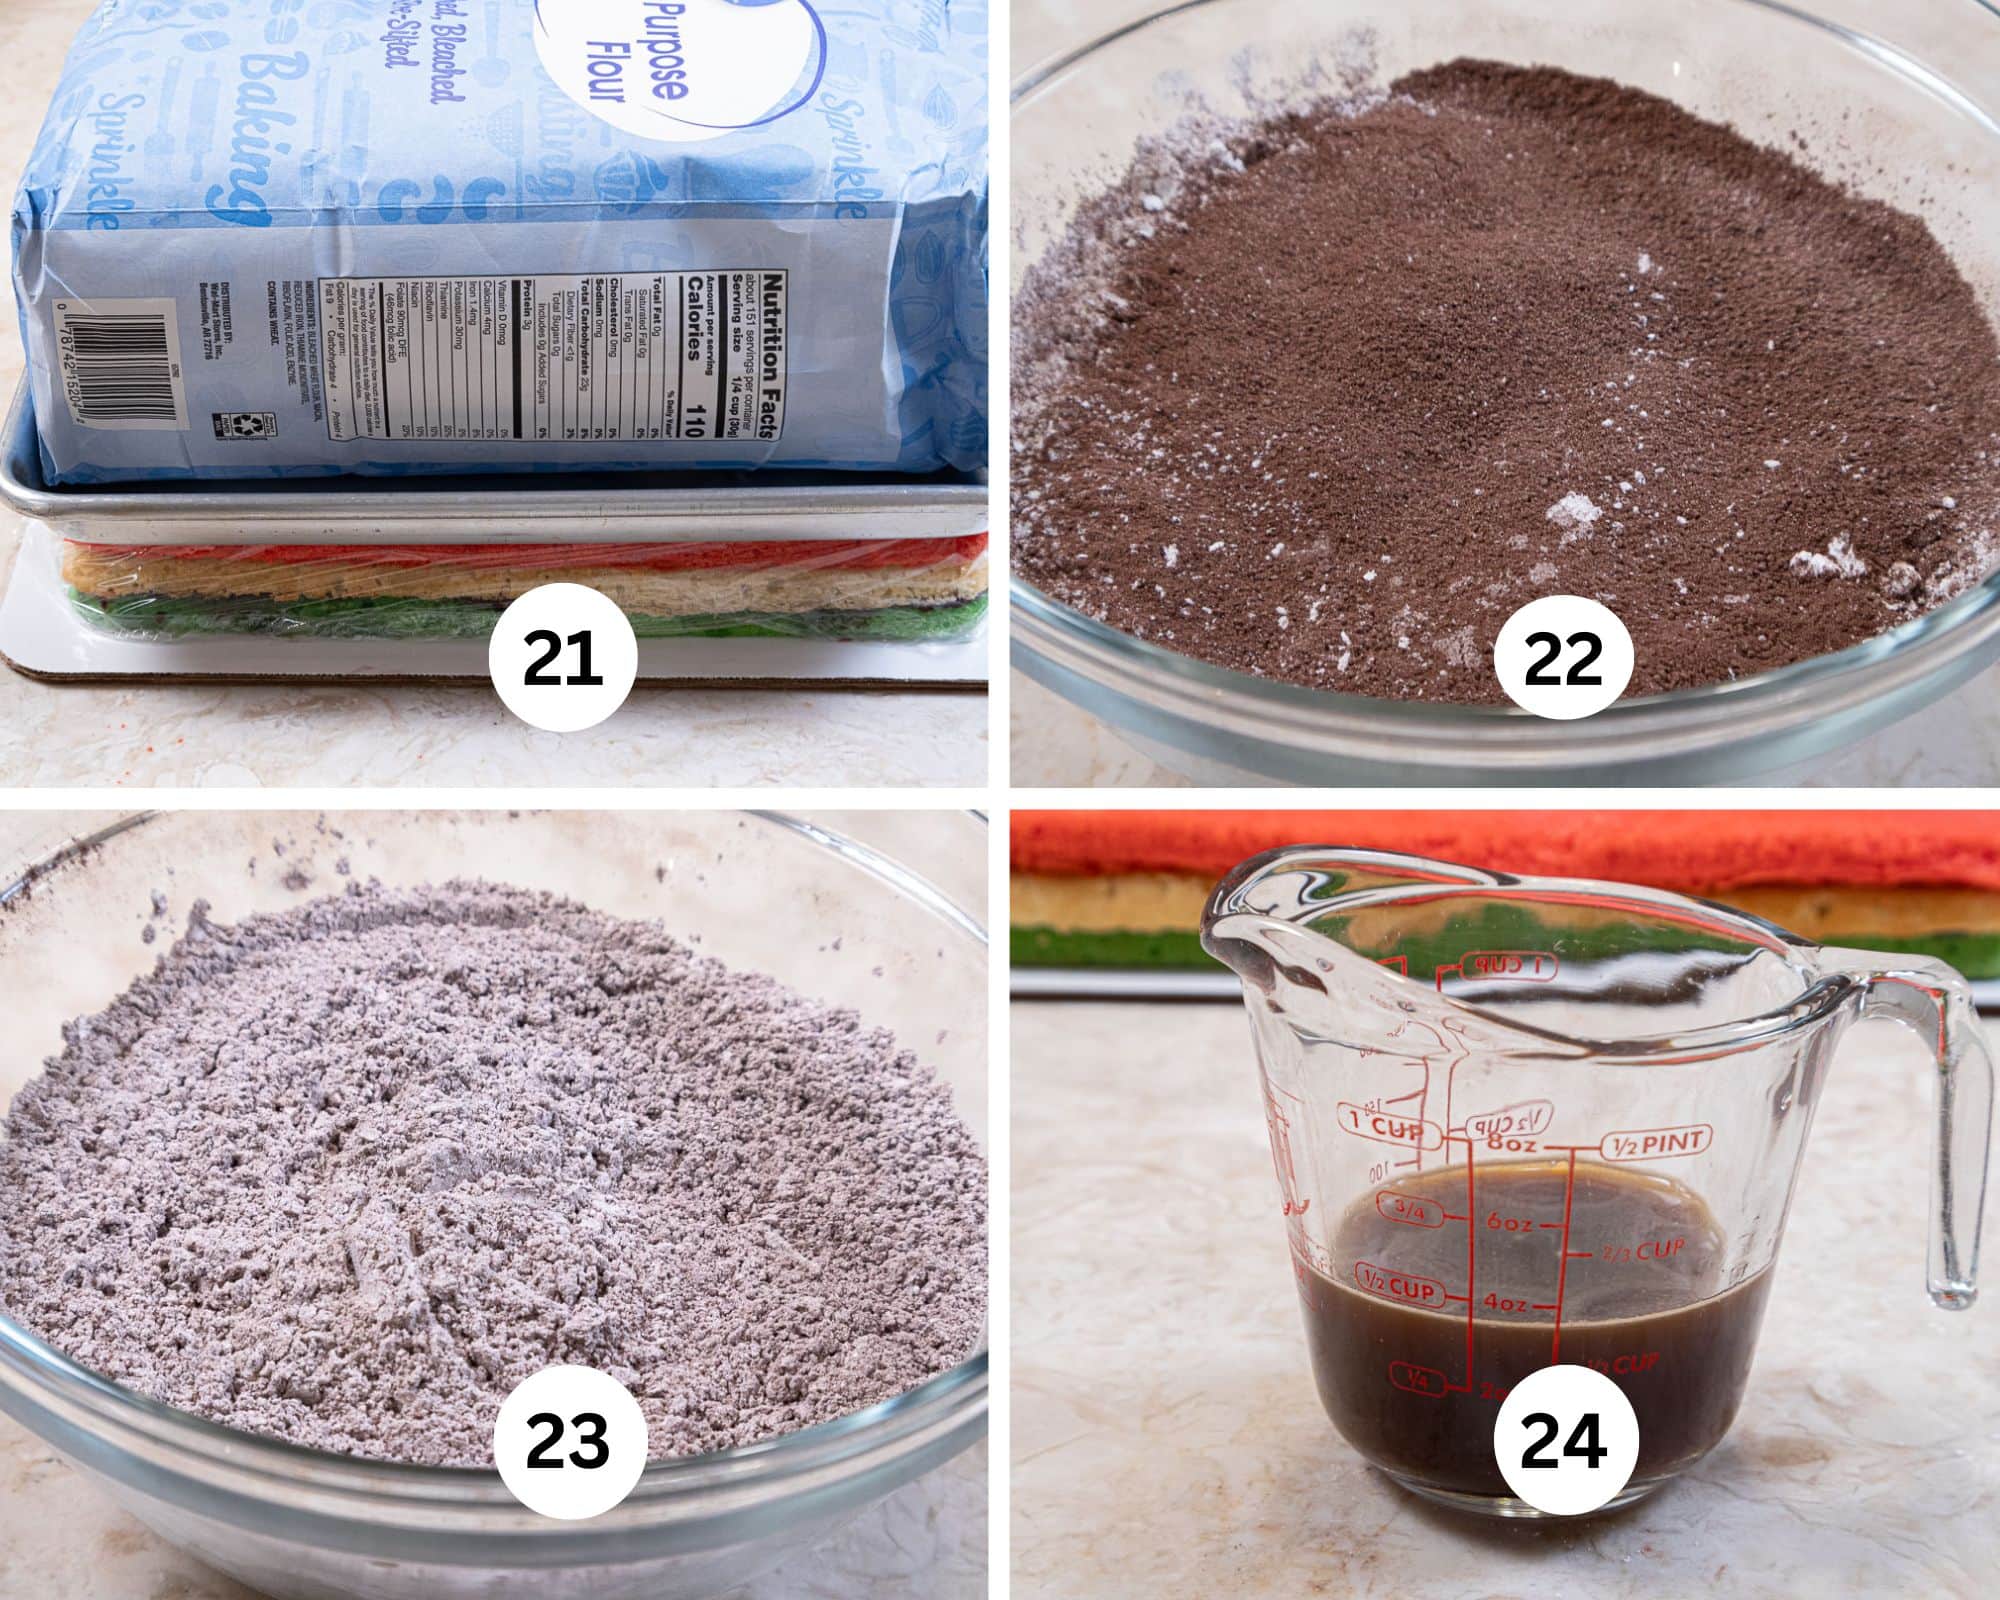
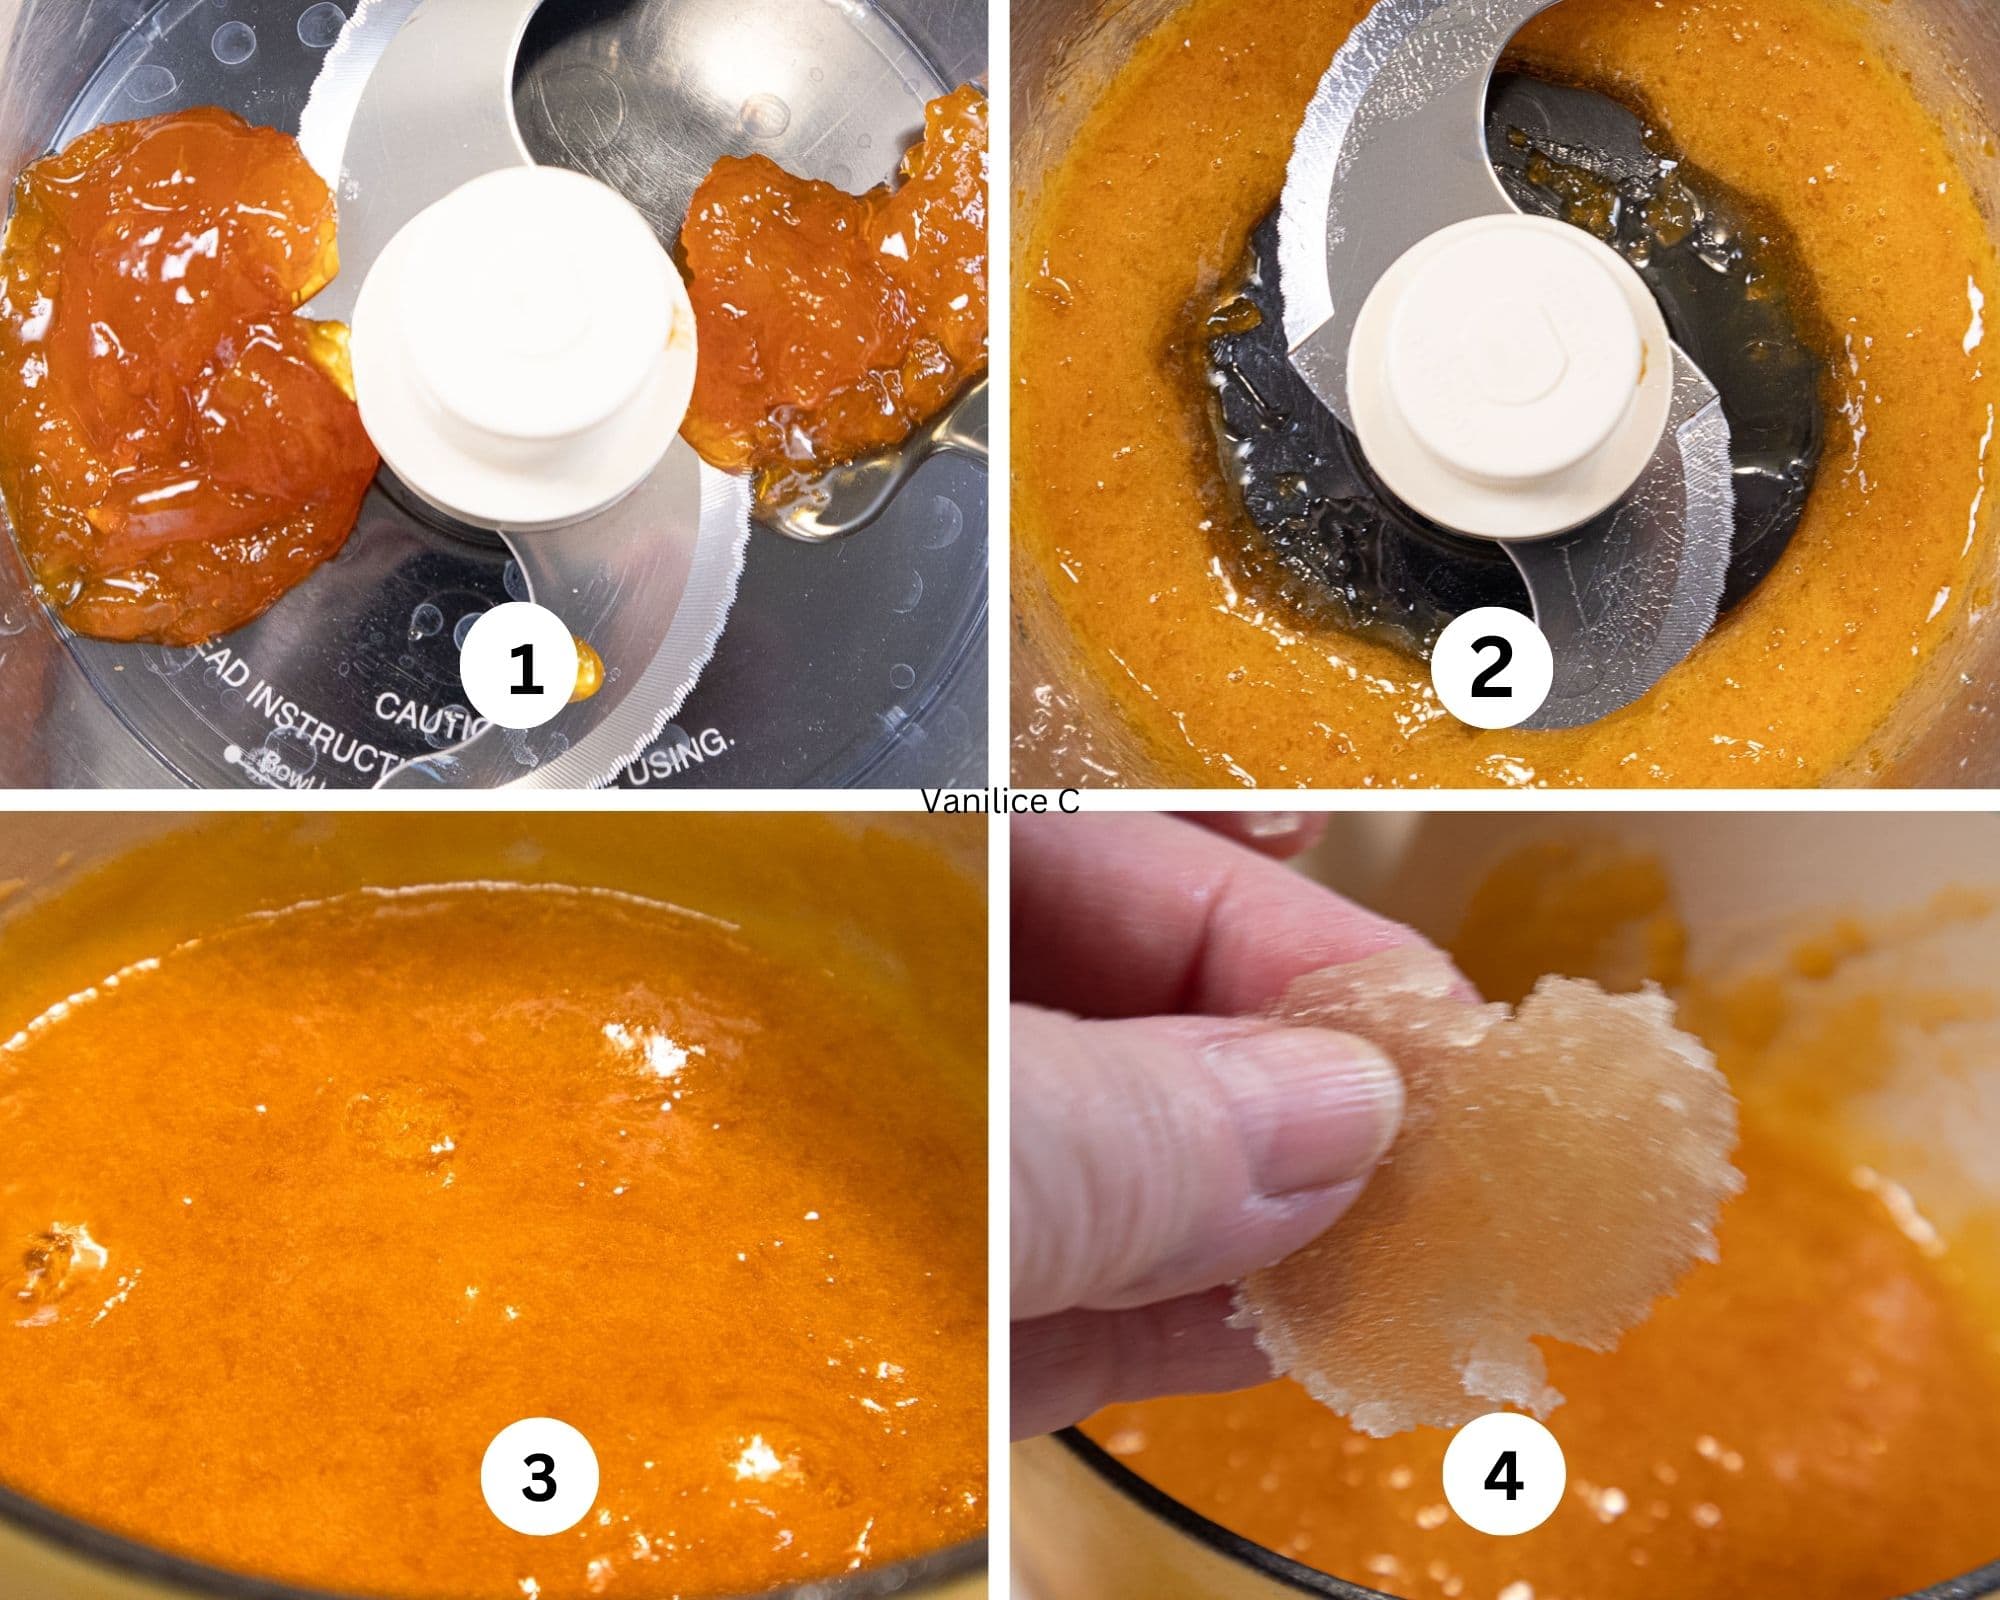
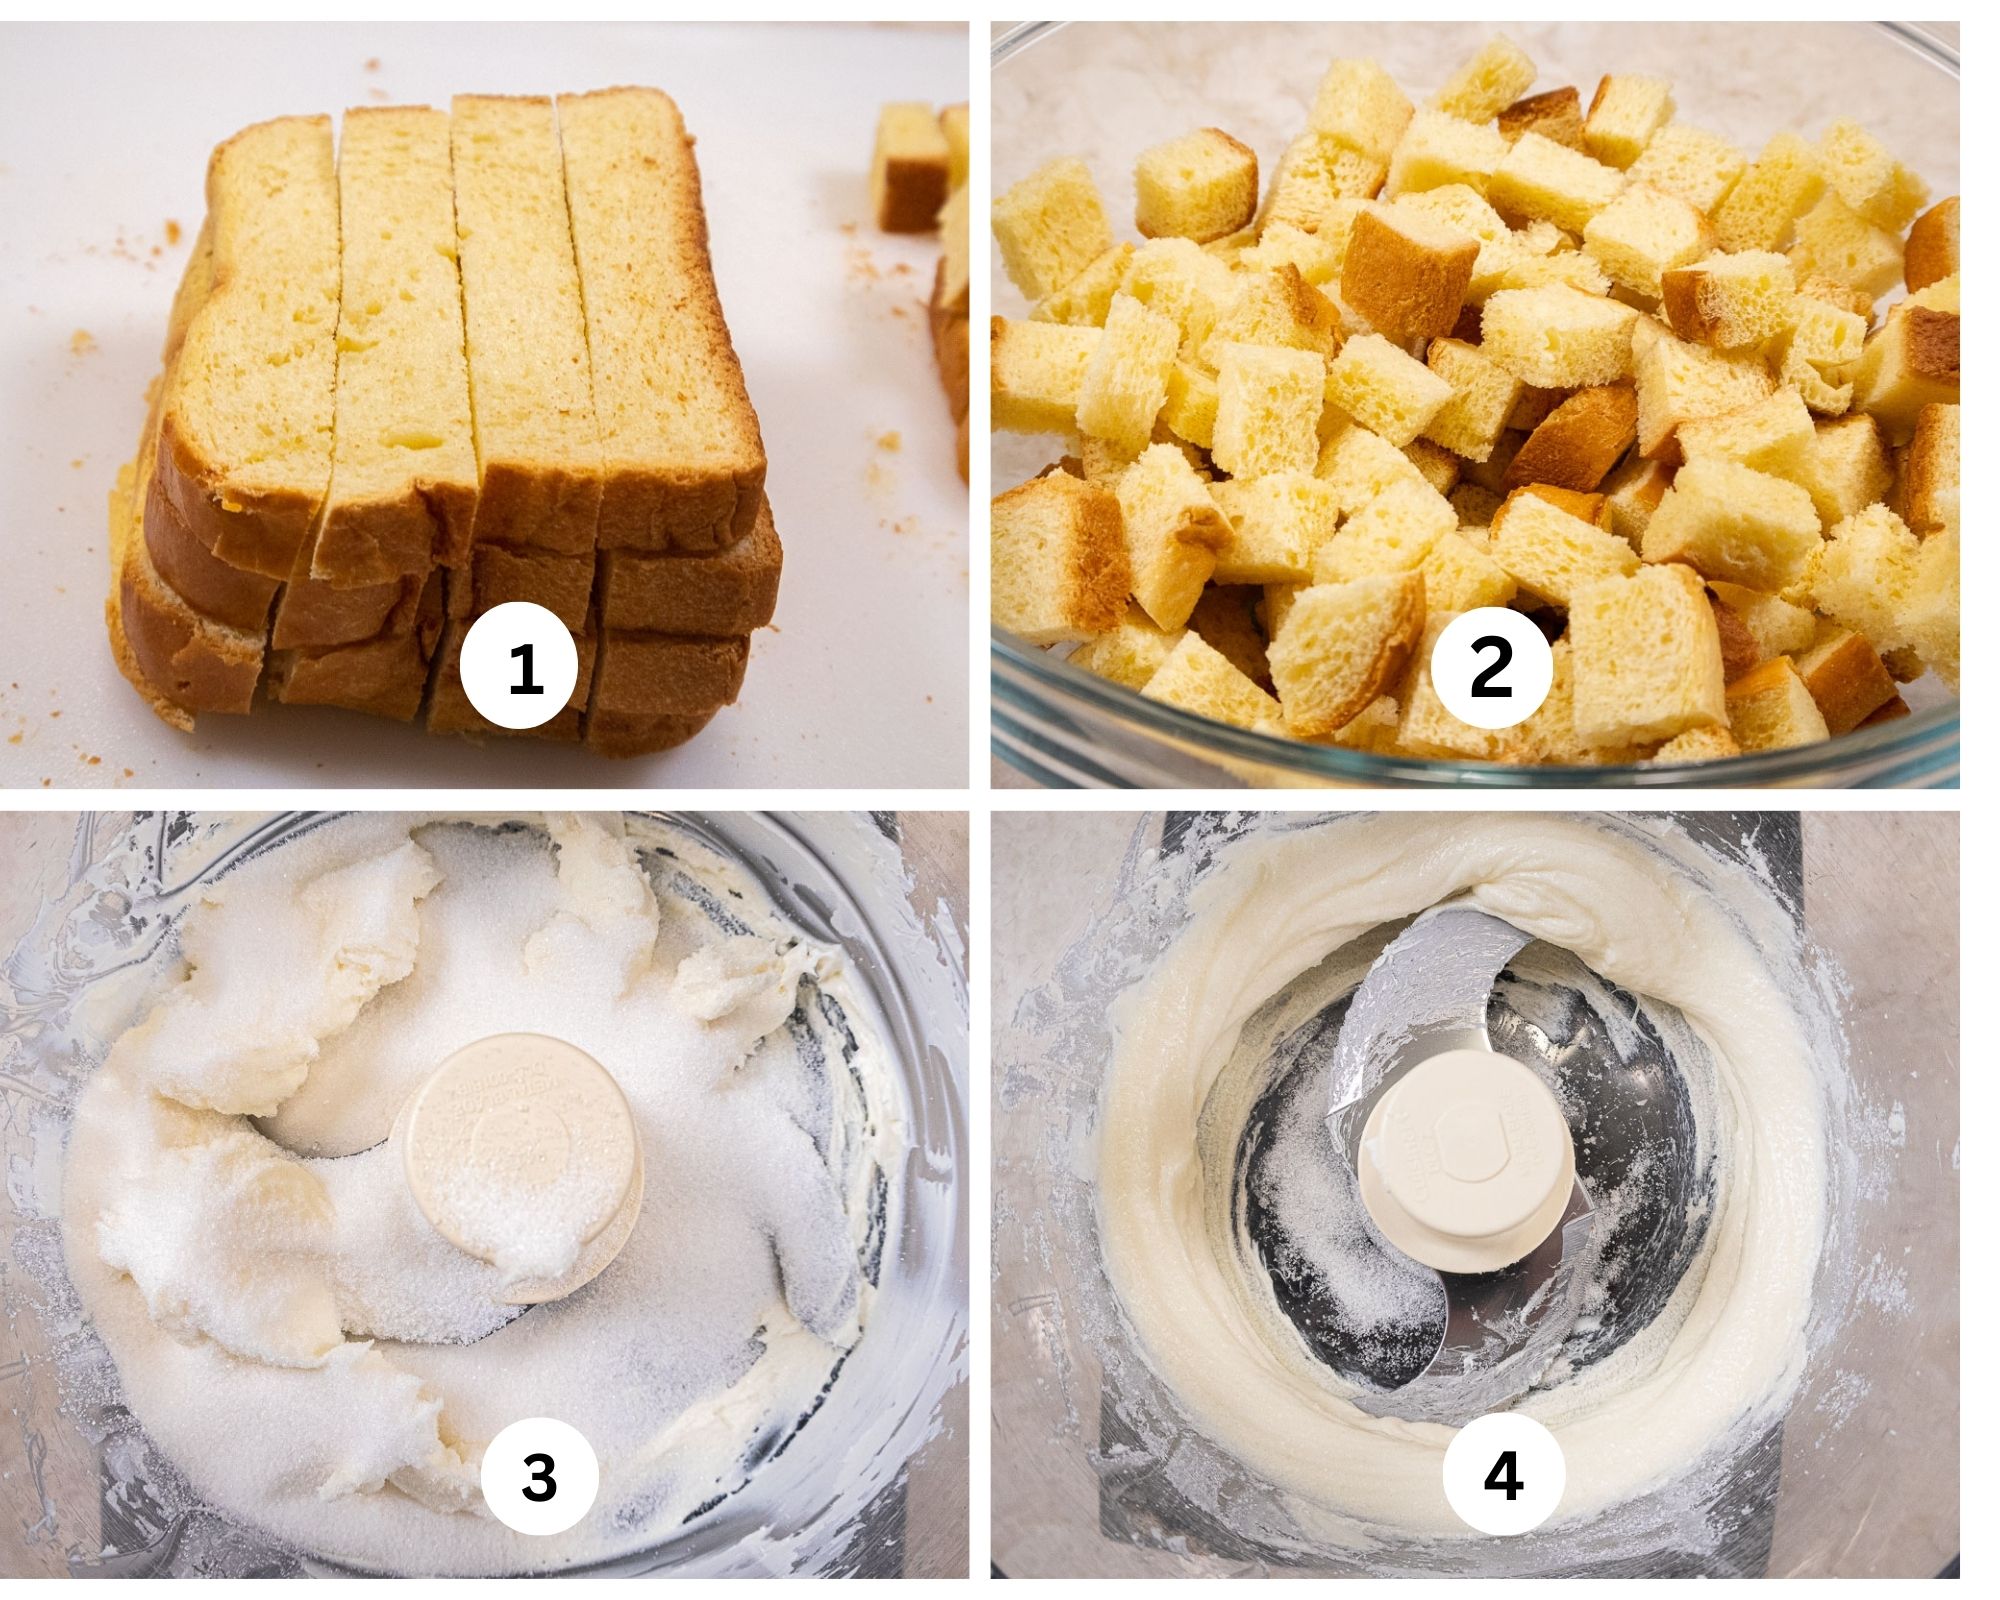
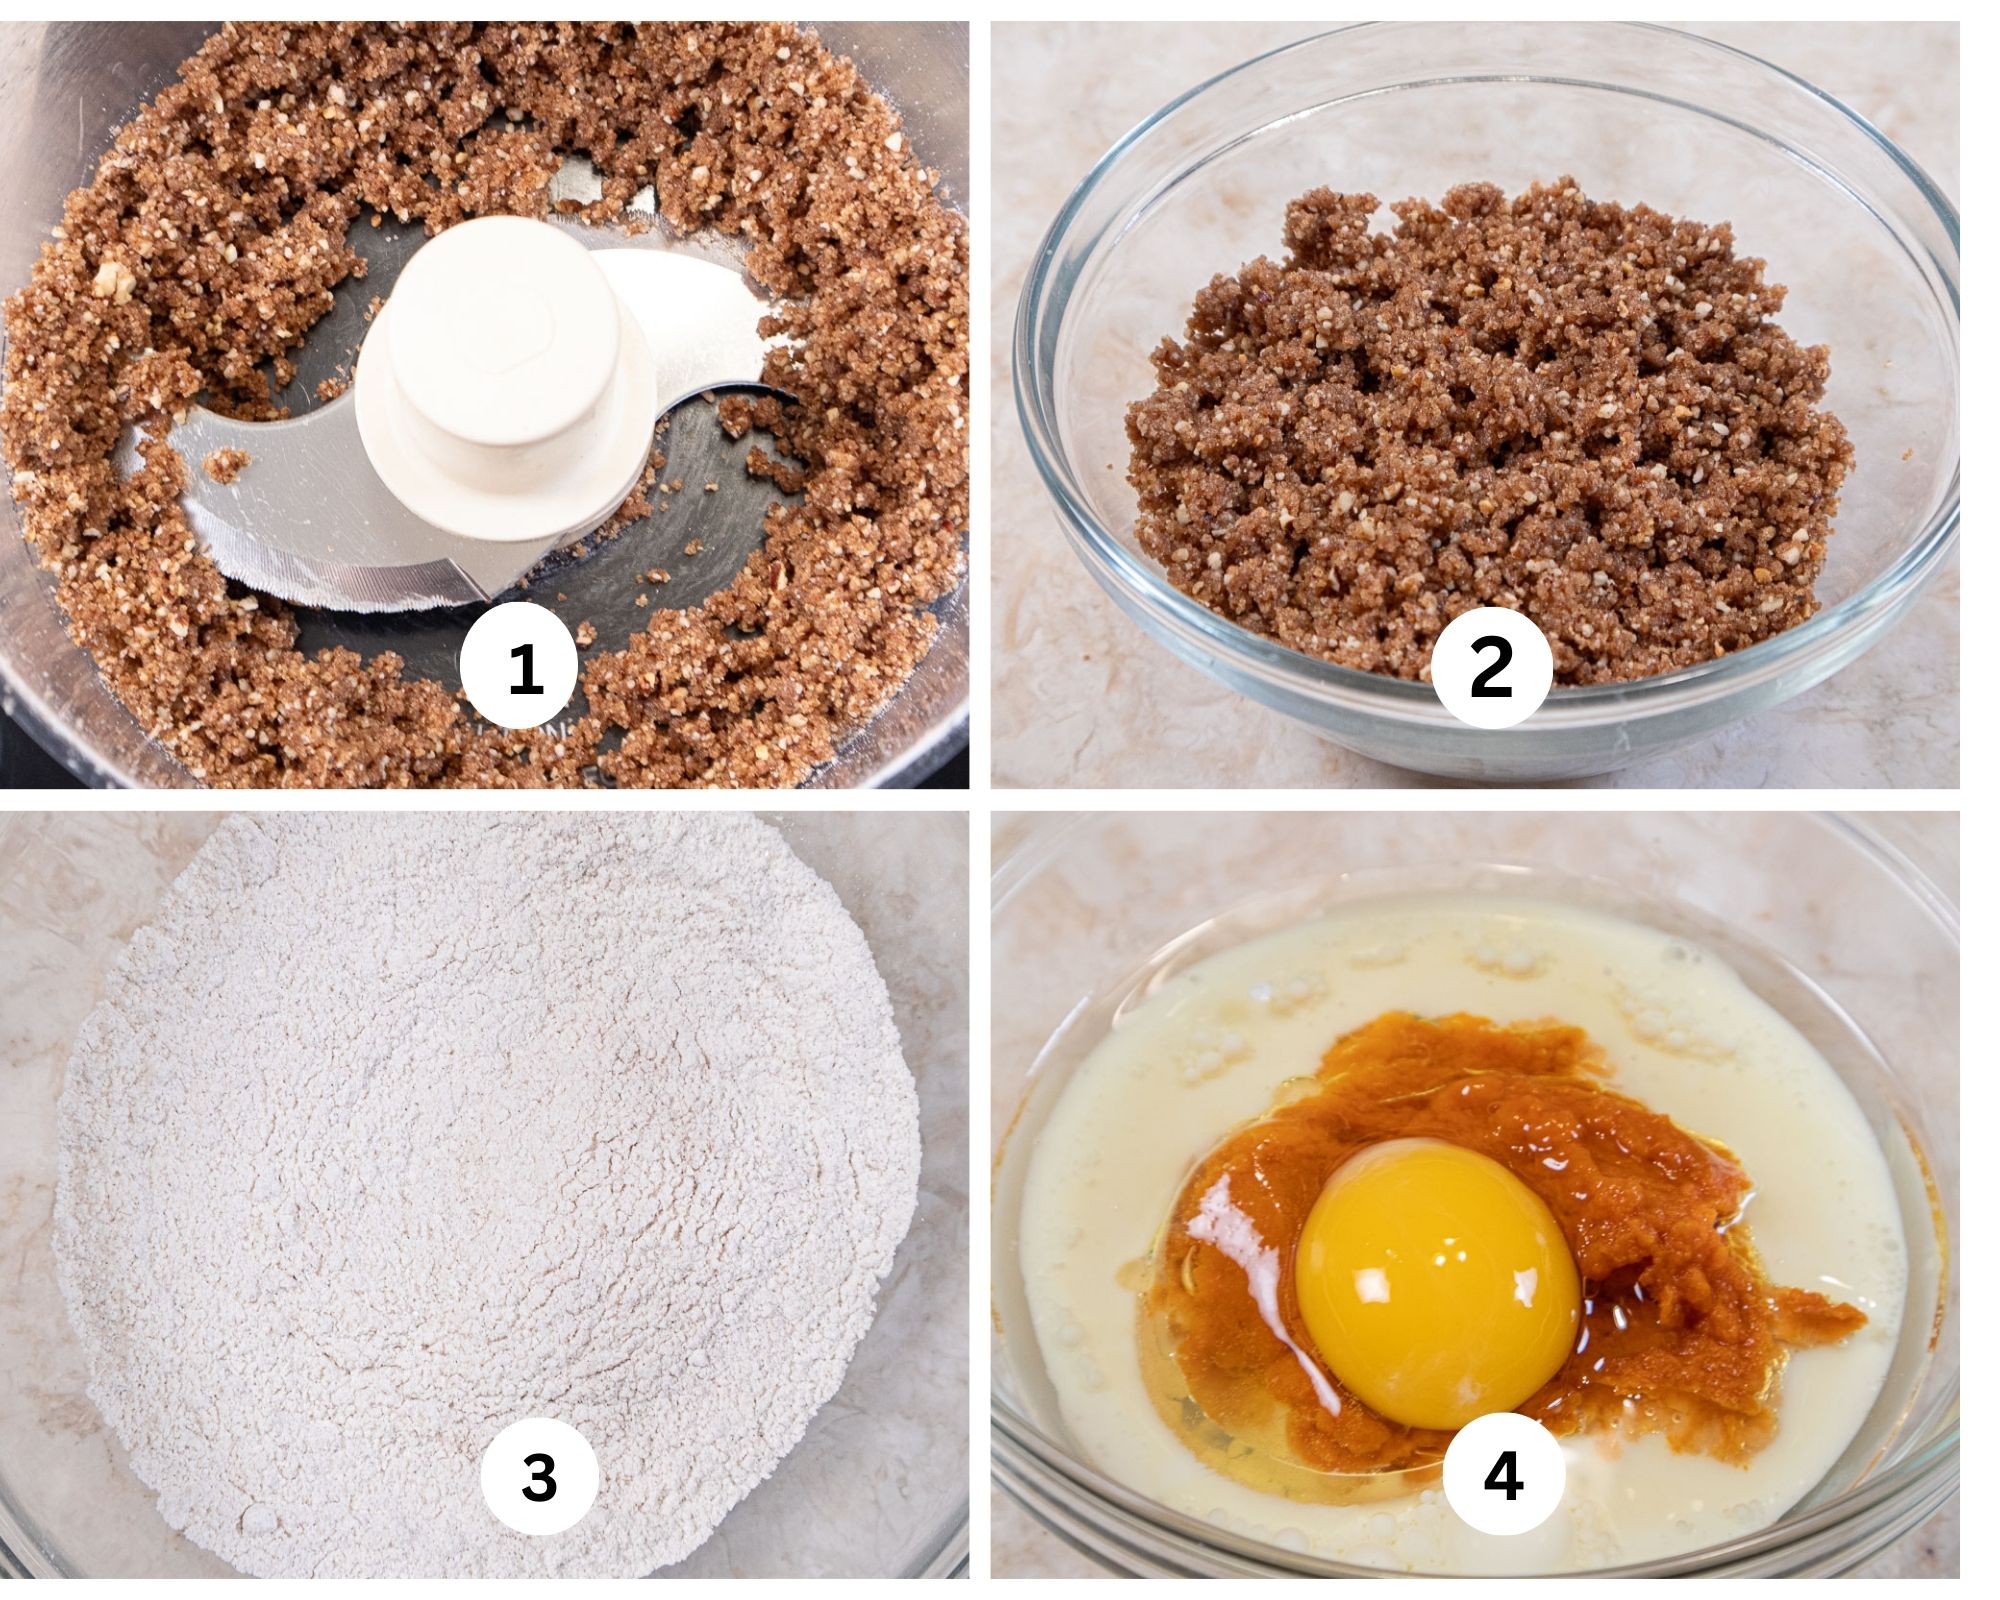
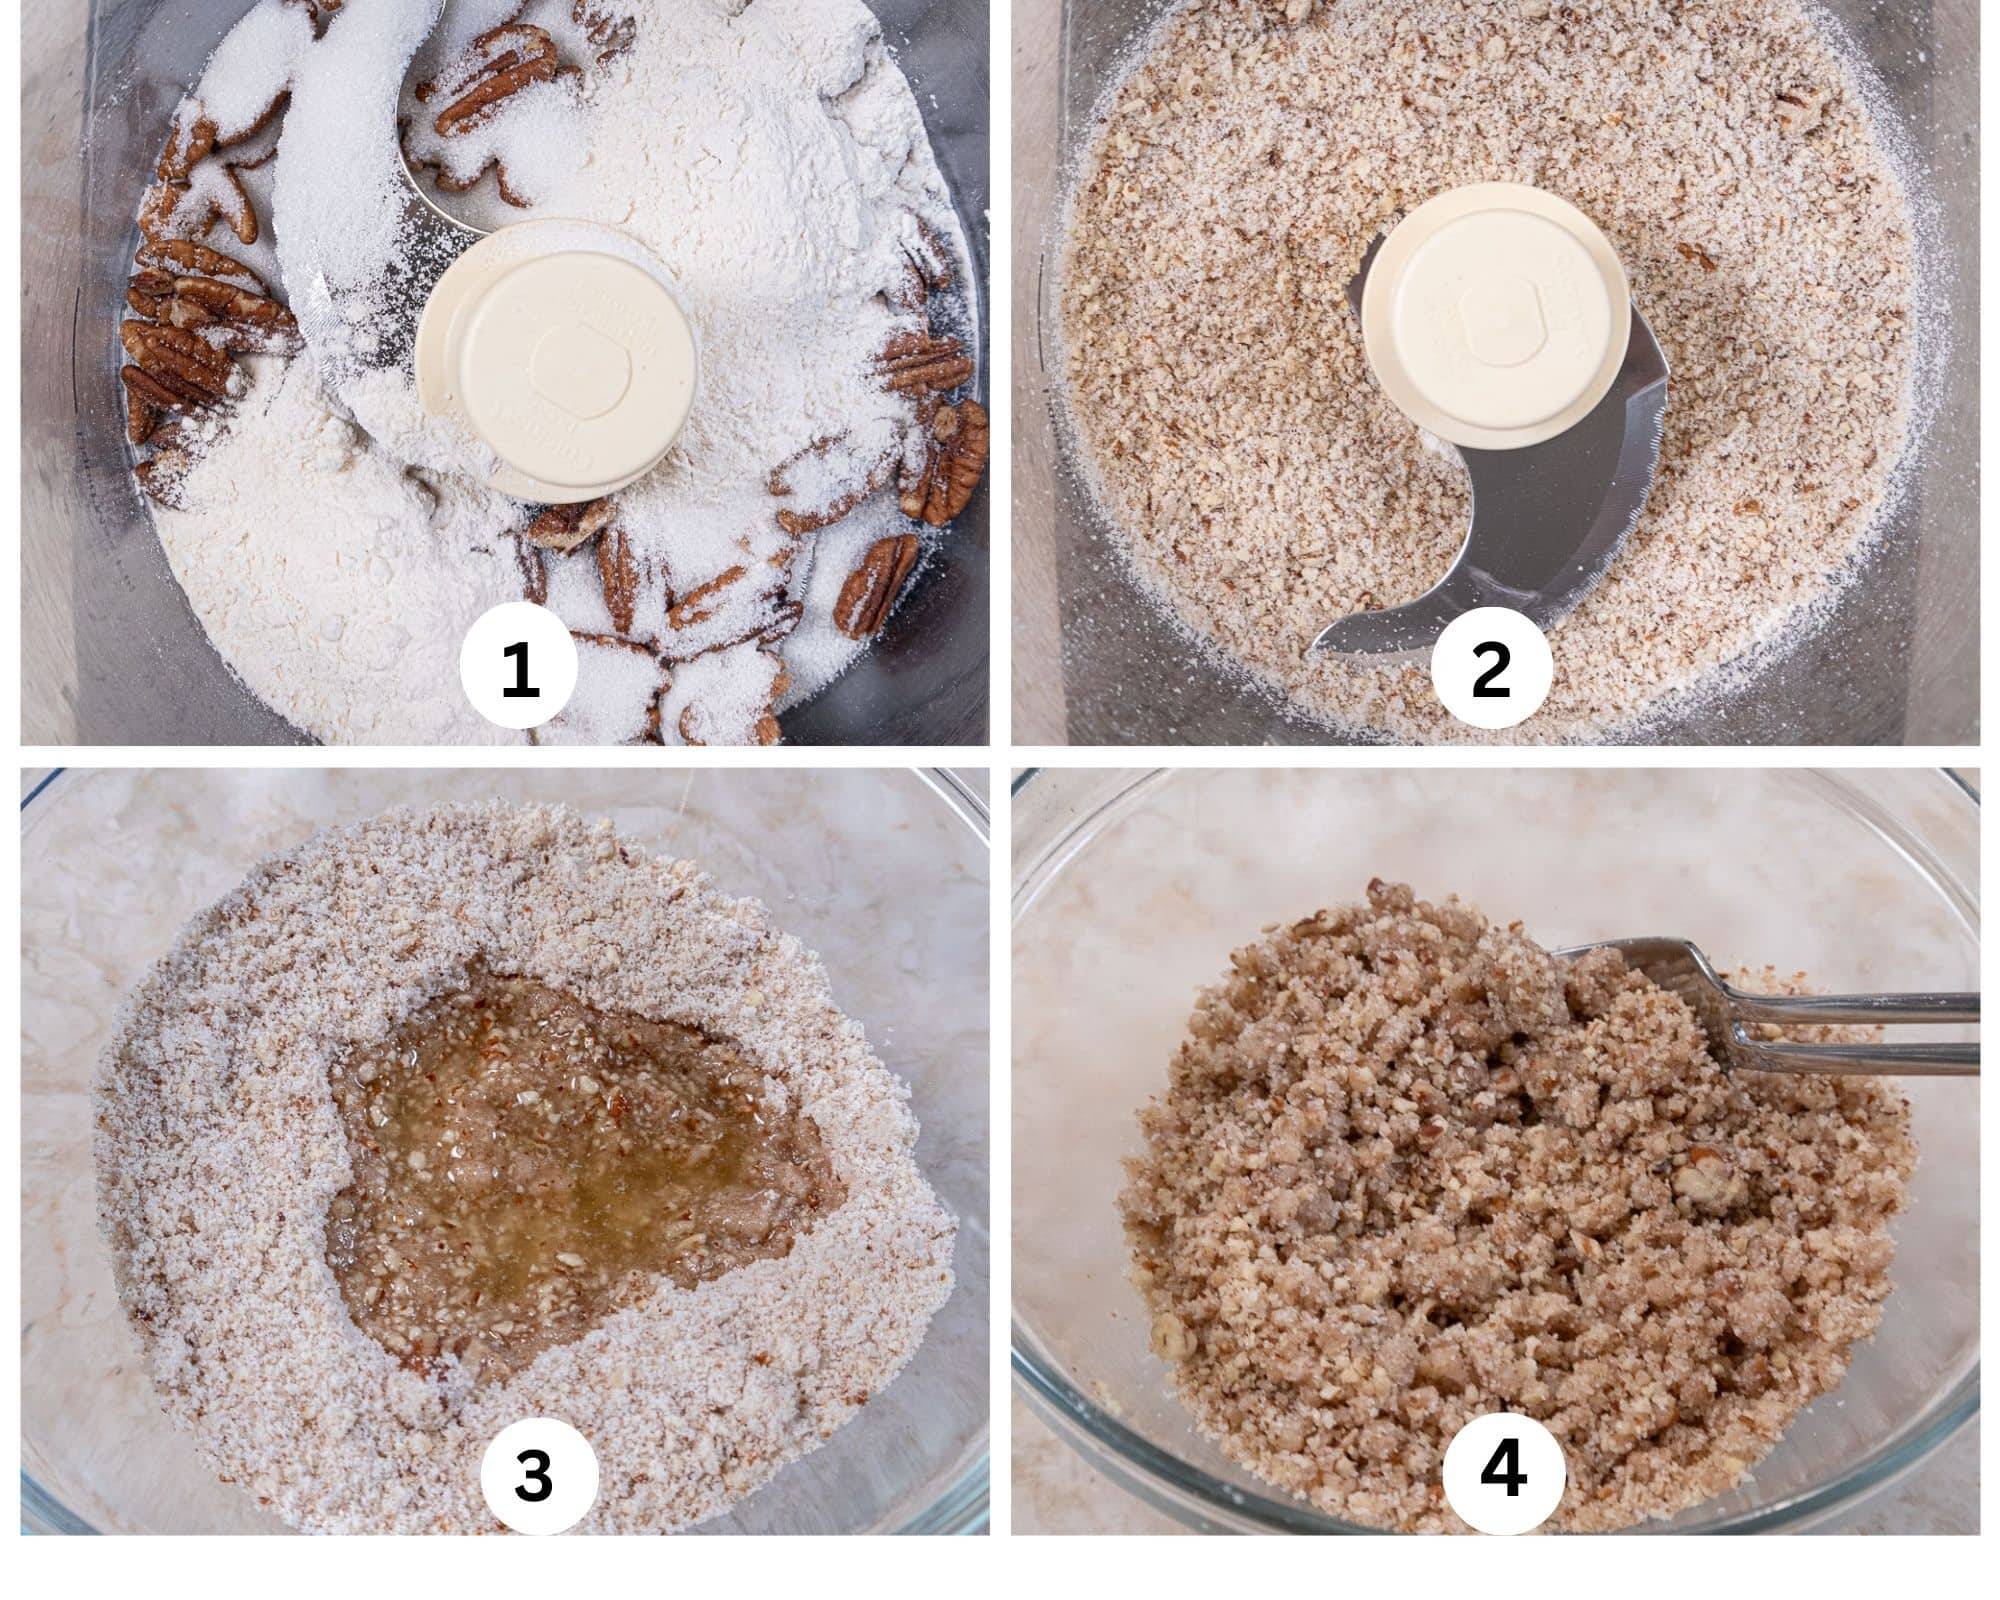
Step 1. Place the butter, granulated and brown sugars in the bowl of a mixer. Step 2. Cream them together until light. Step 3. Because this is a small mixture, scrape often to keep it at the bottom of the bowl and not stuck to the side of the bowl. Step 4. Add the flour and mix only until crumbs form. Do not over mix and make a paste. Store the crumbs in the fridge while making the batter.
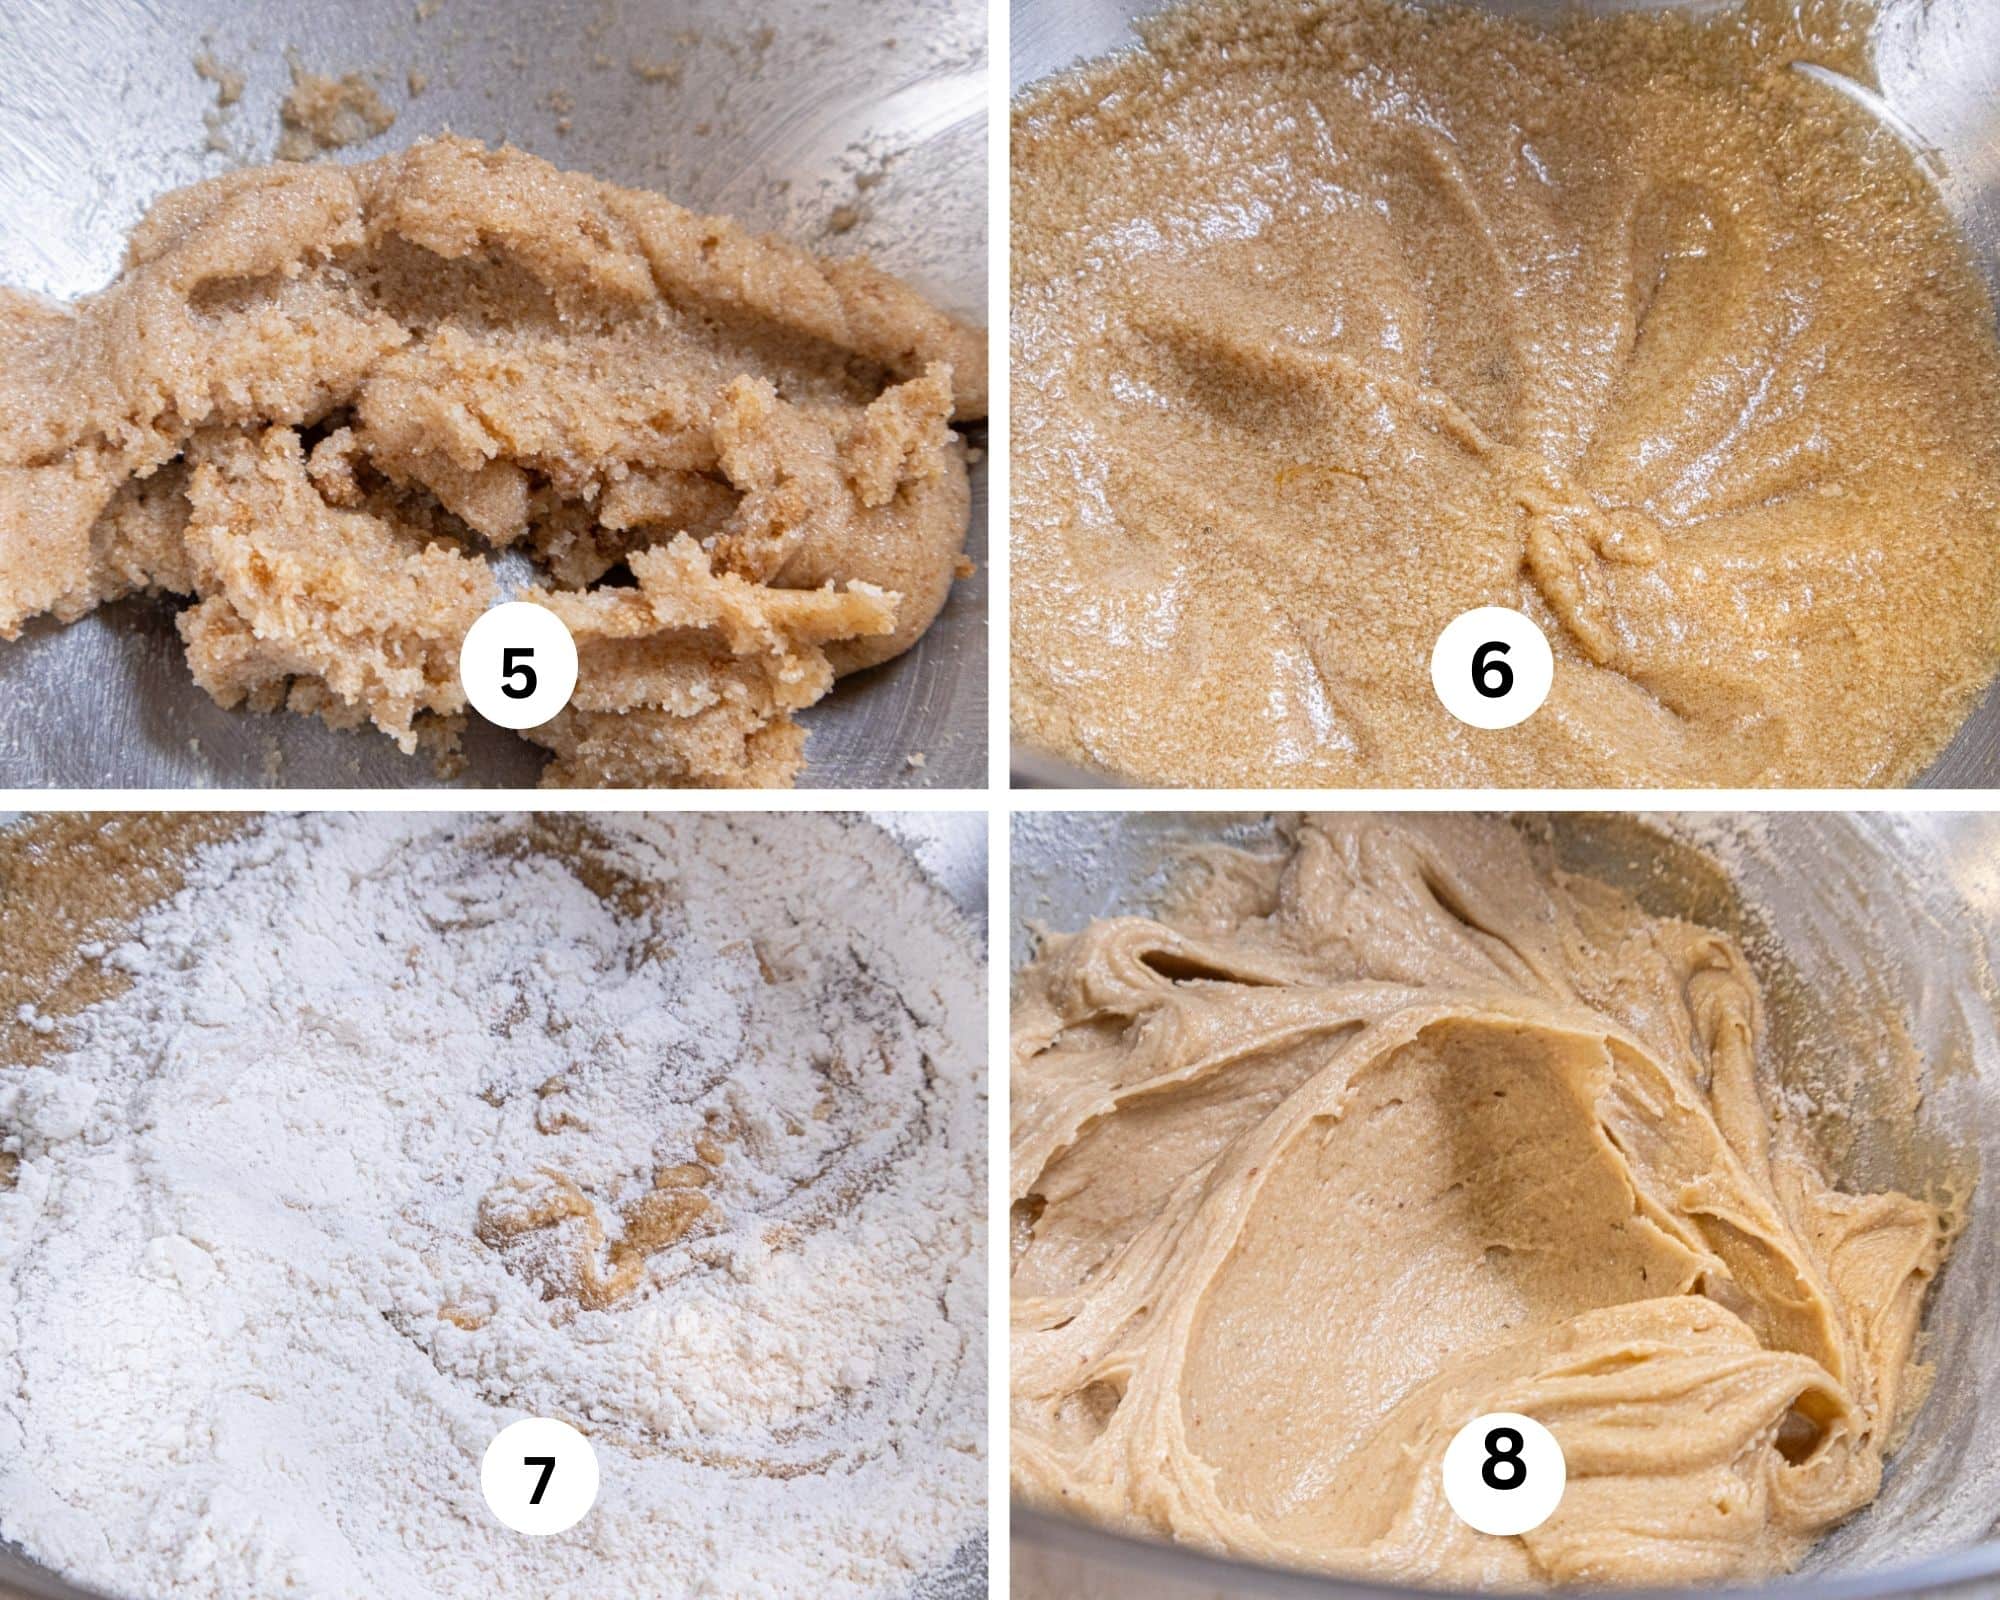
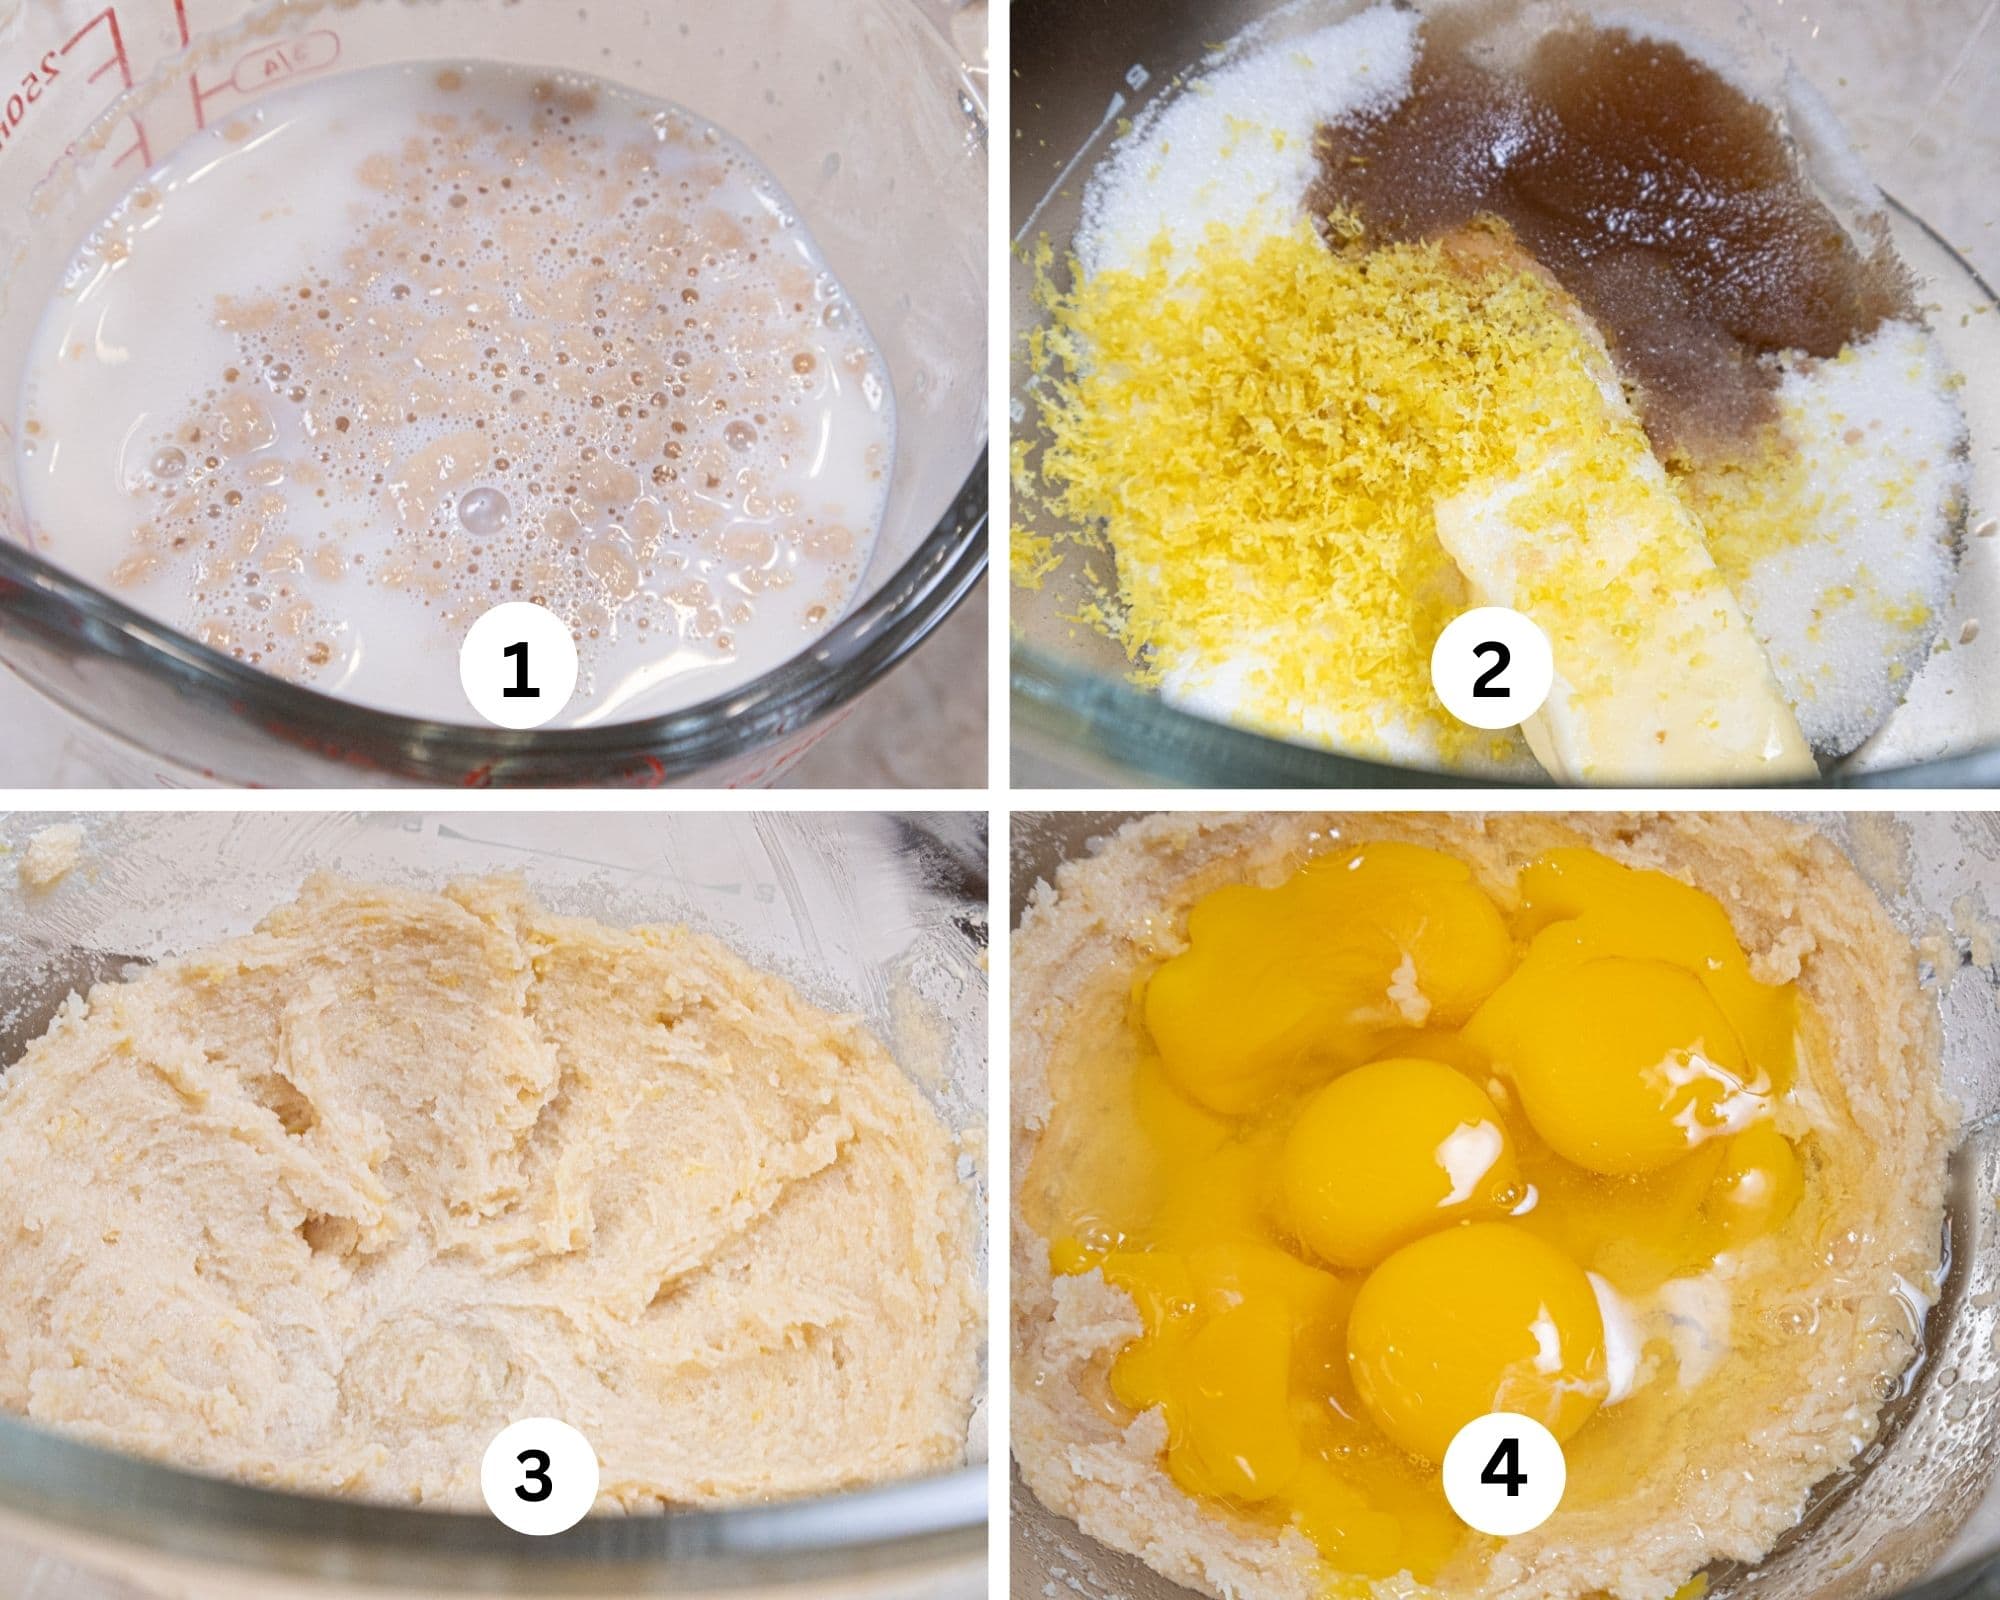
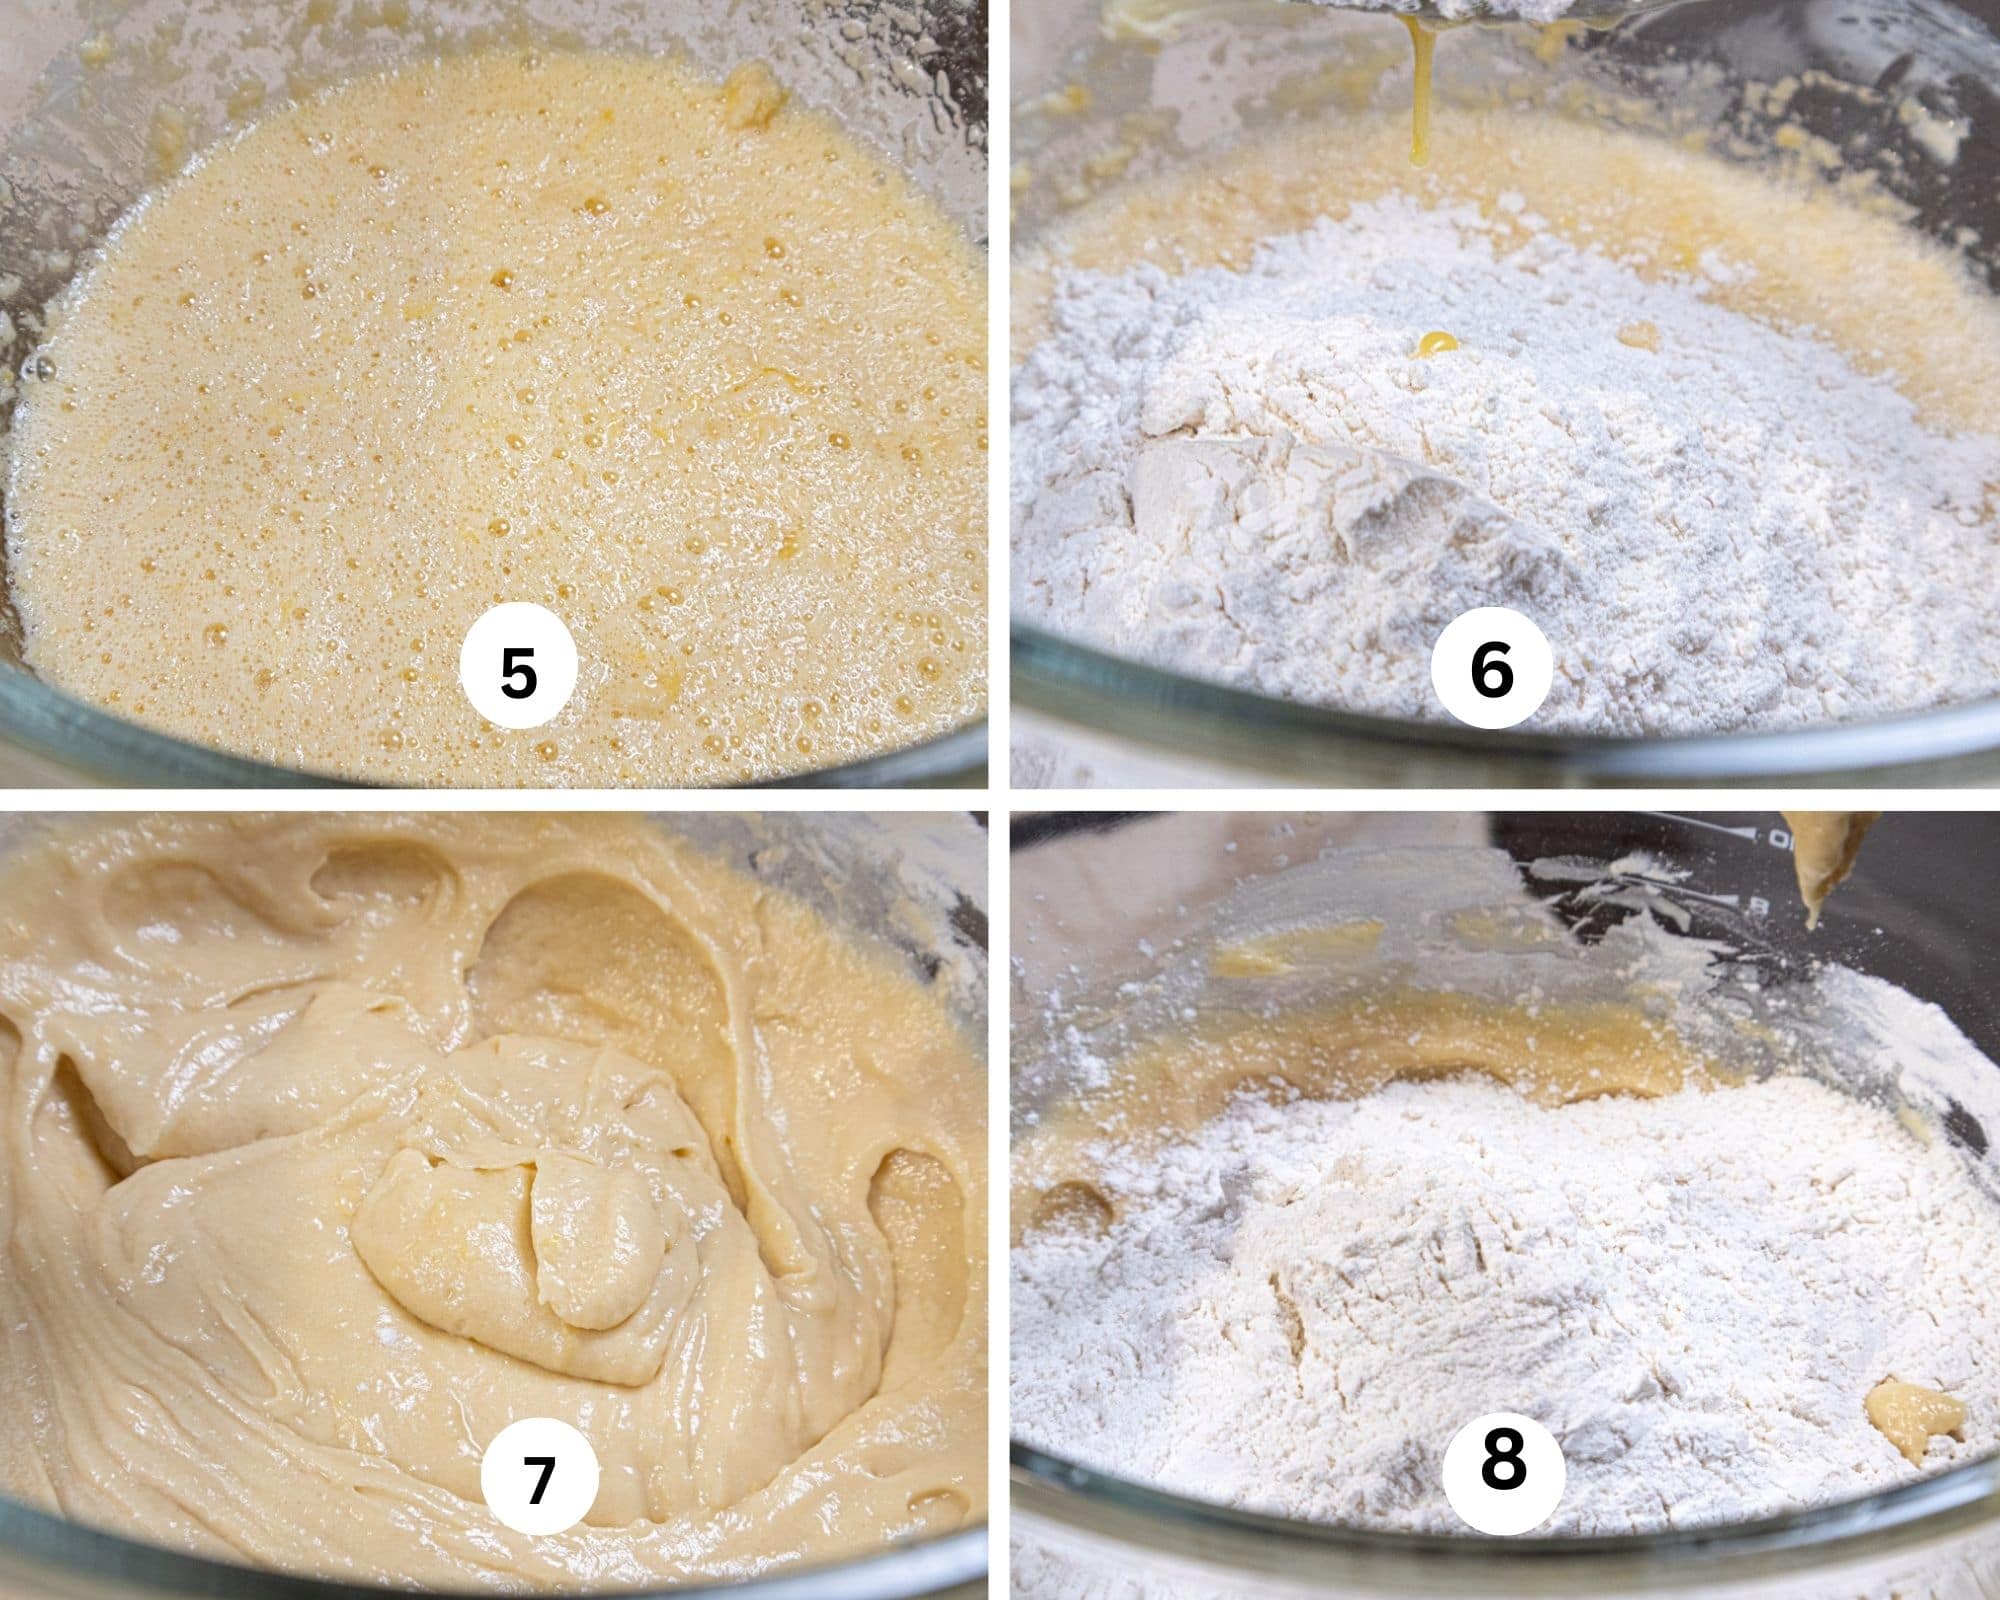
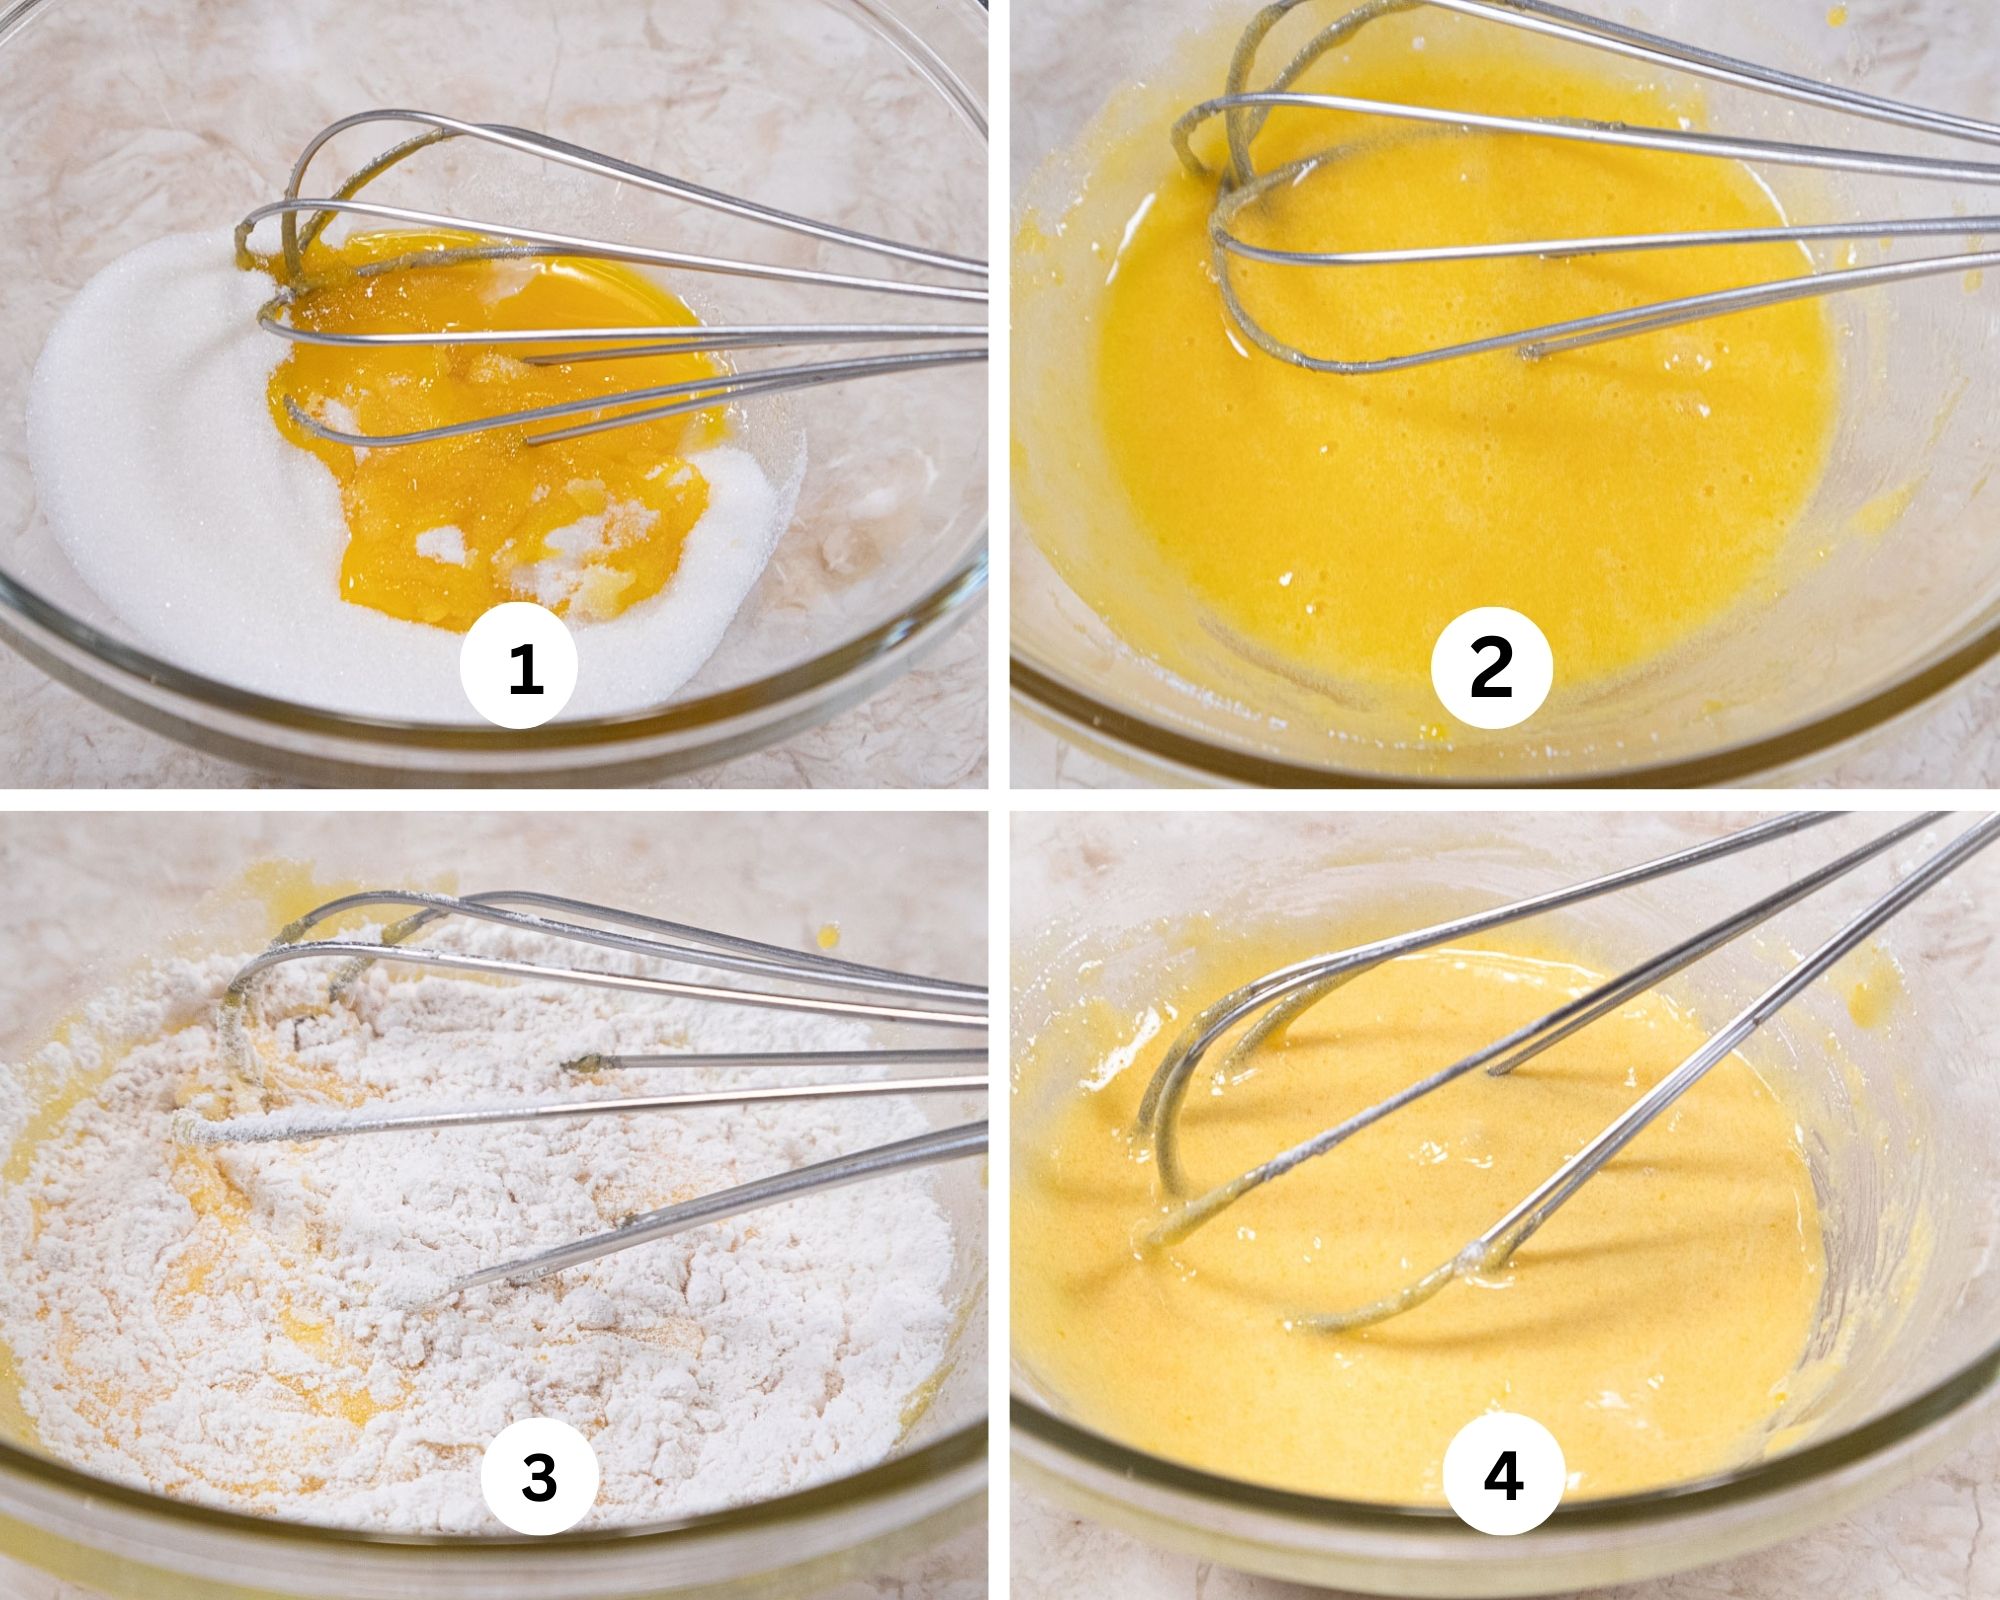
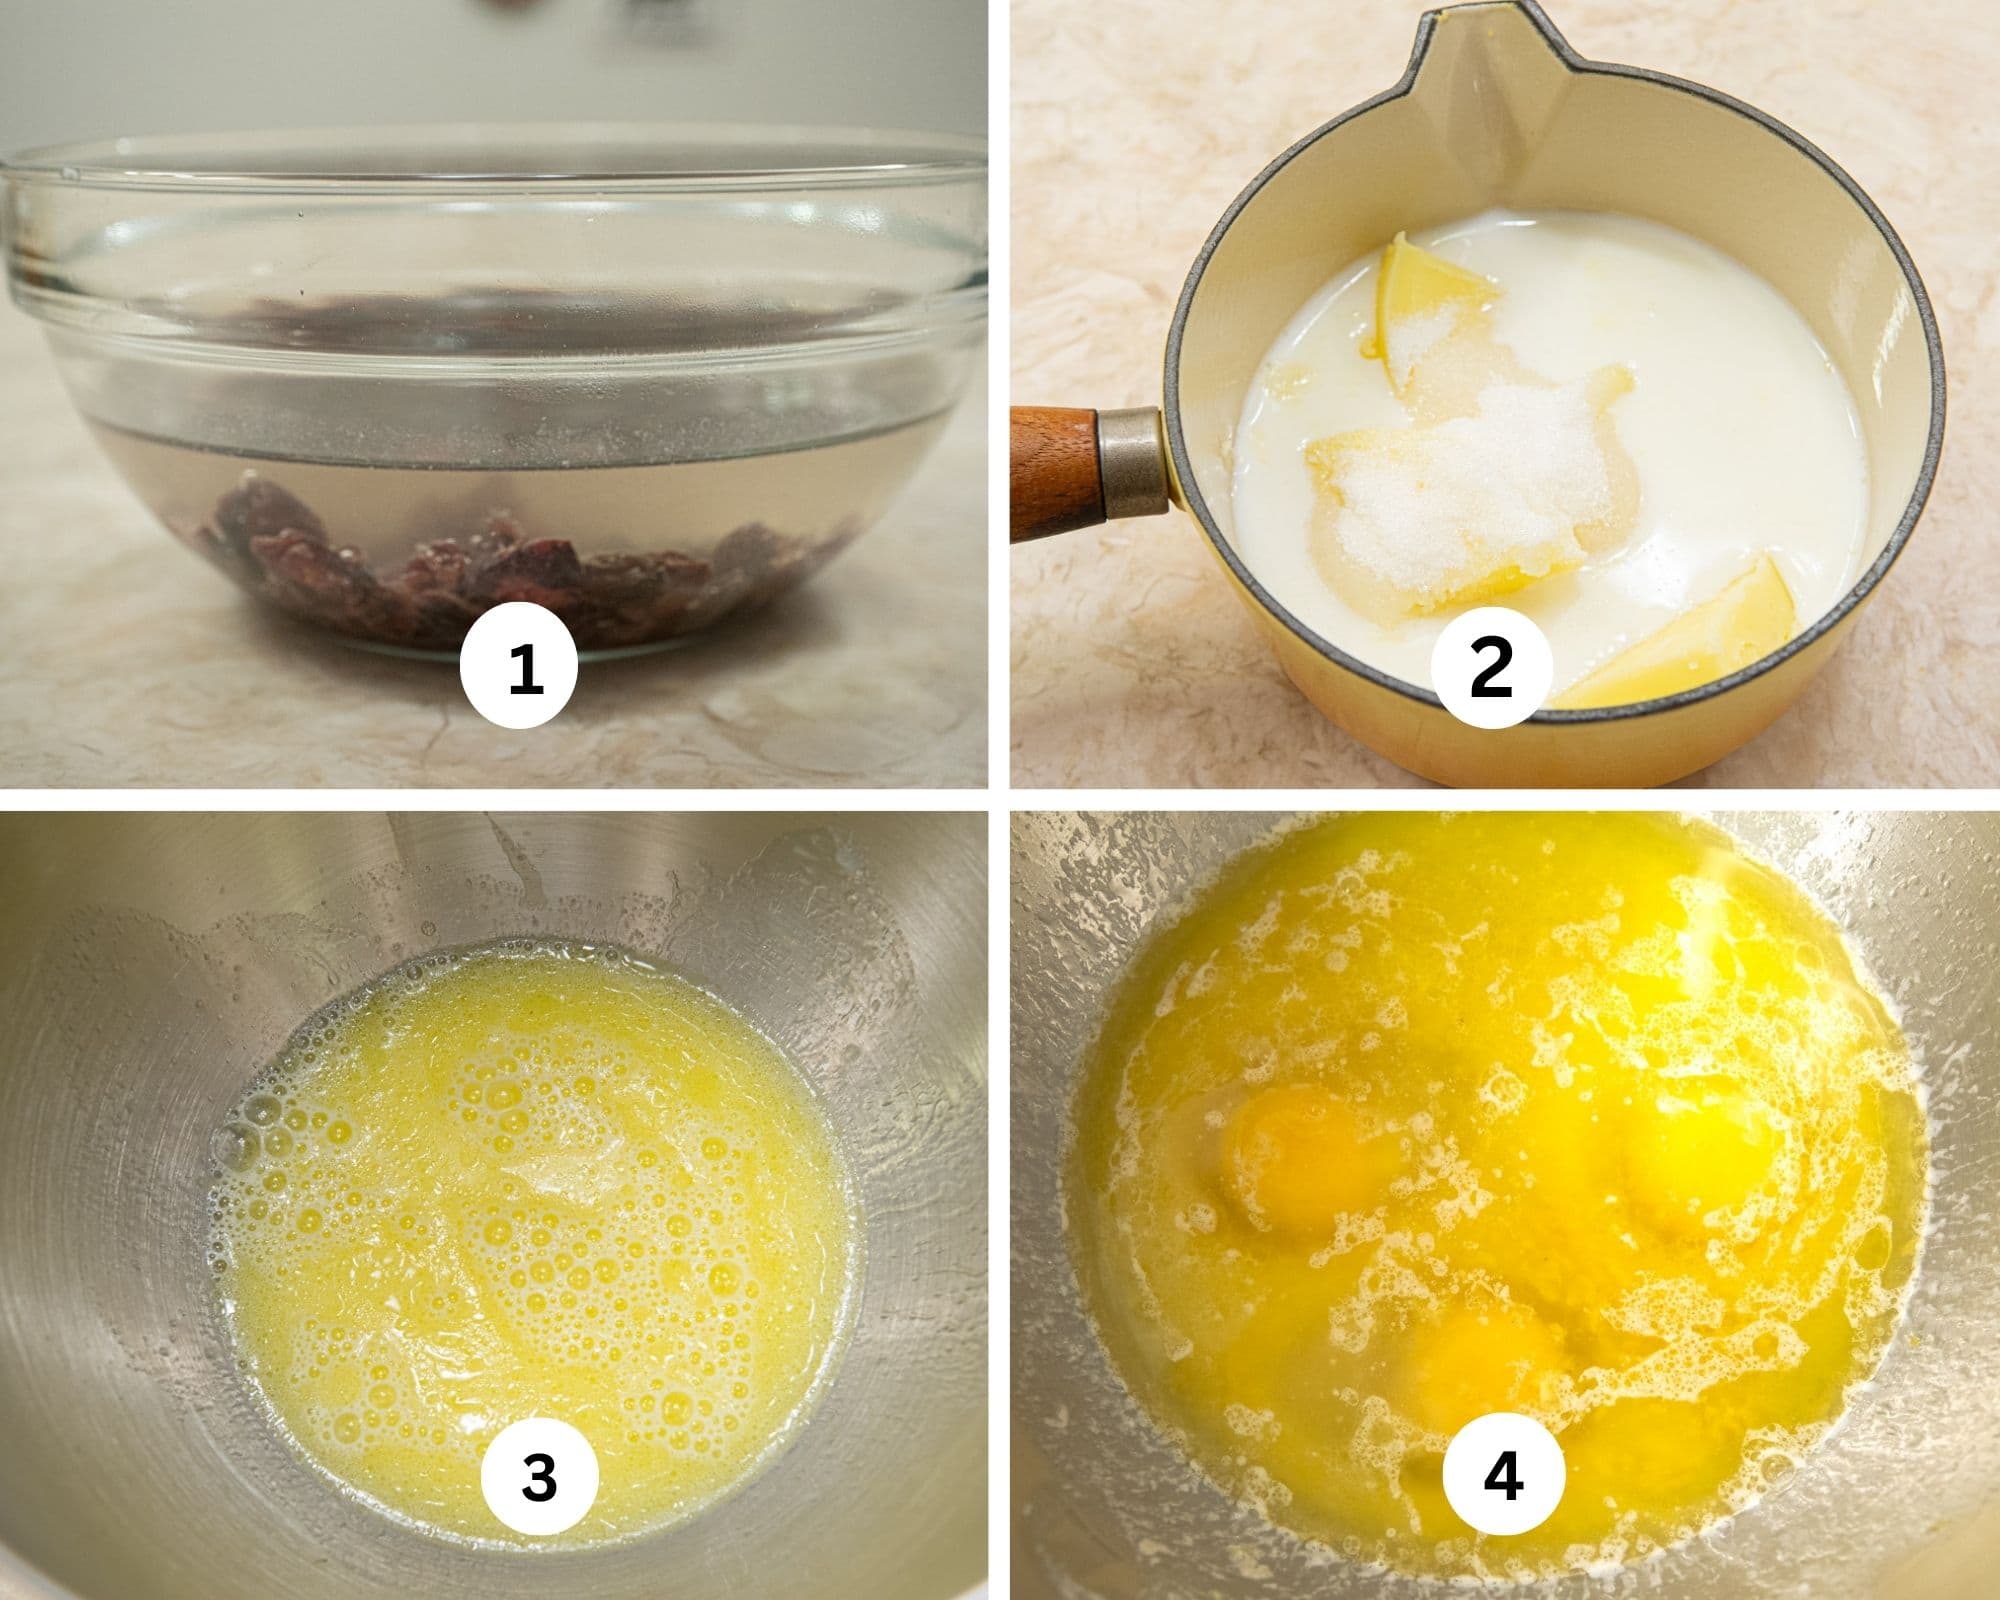
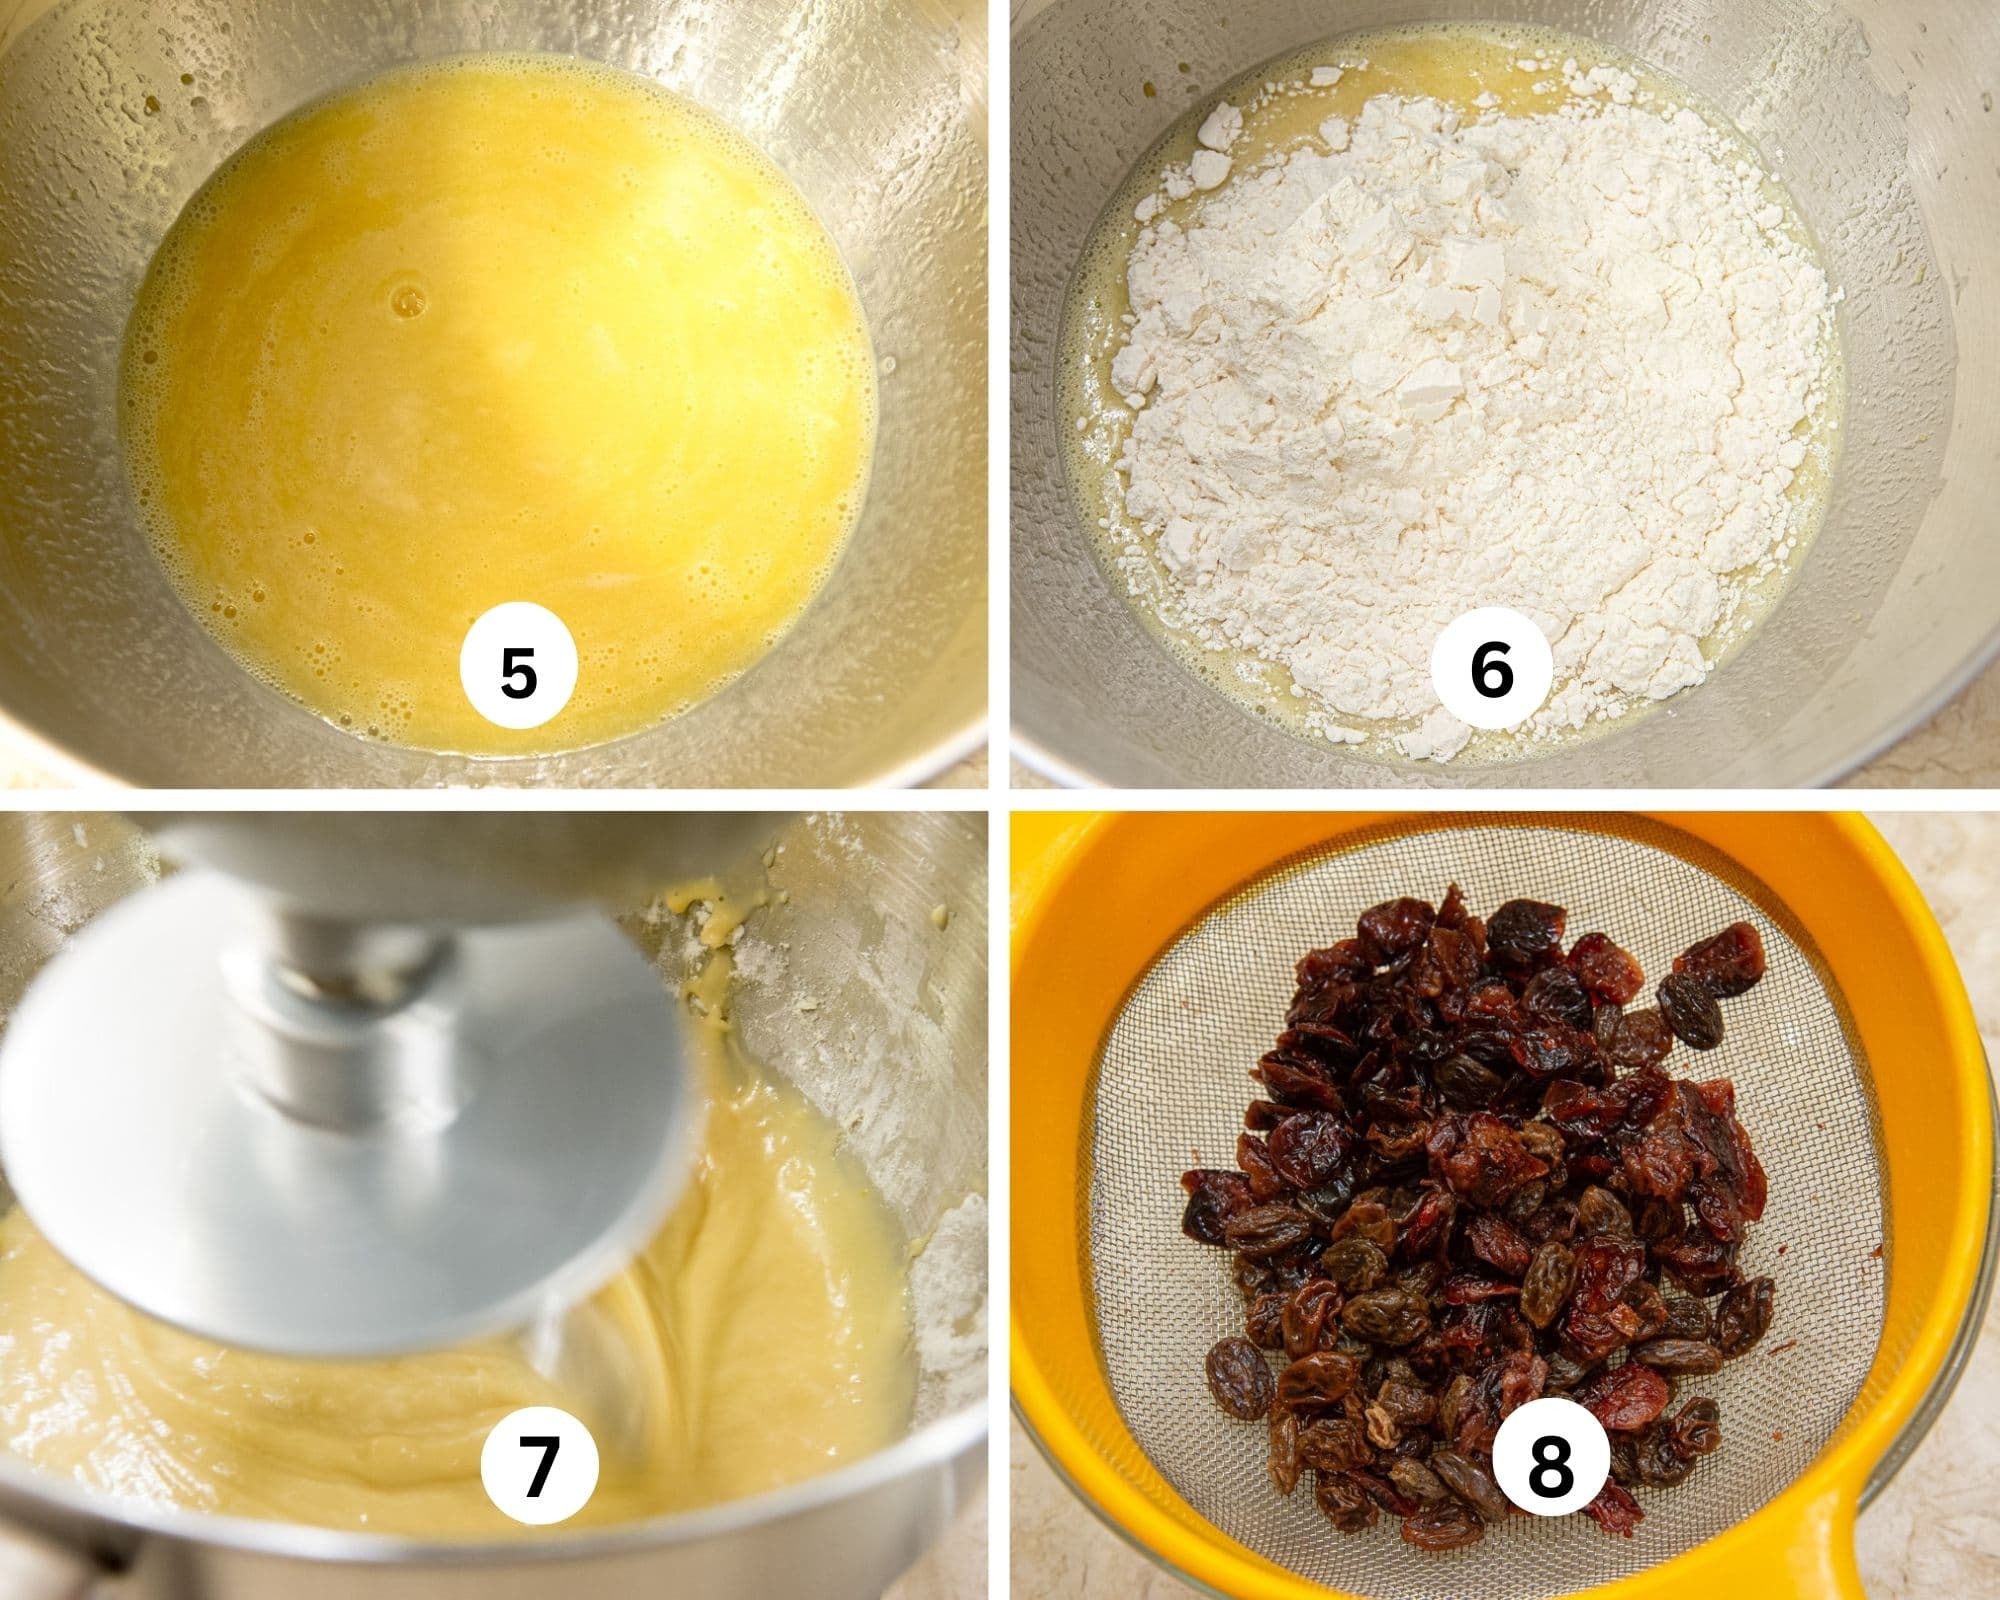
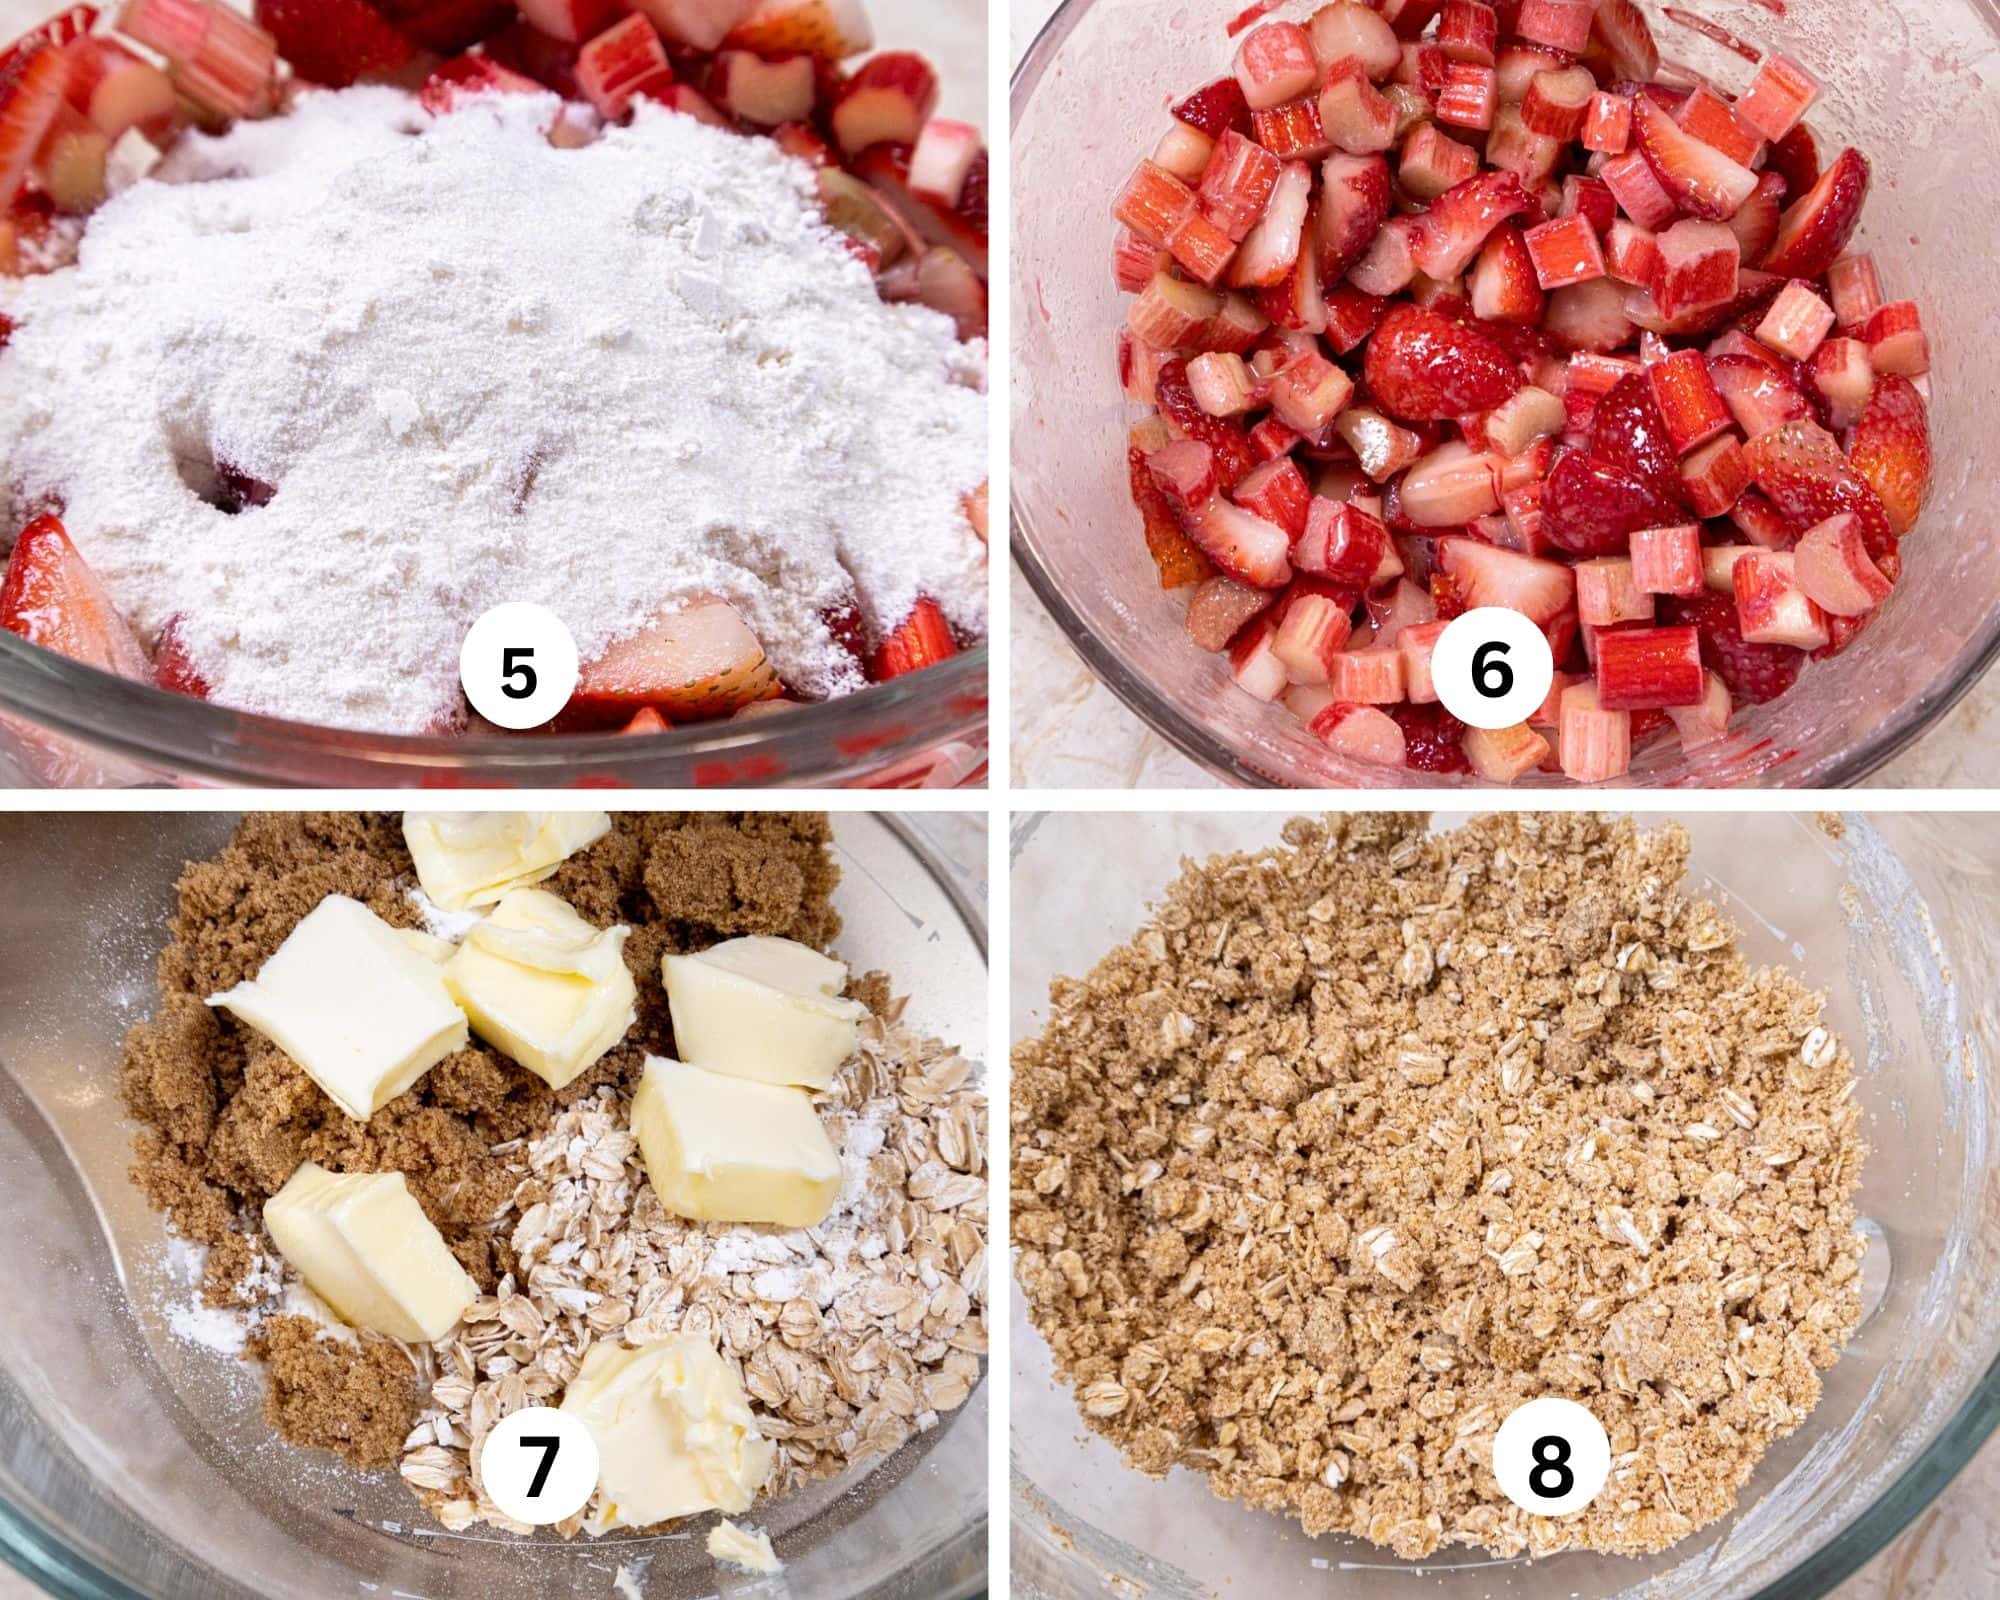
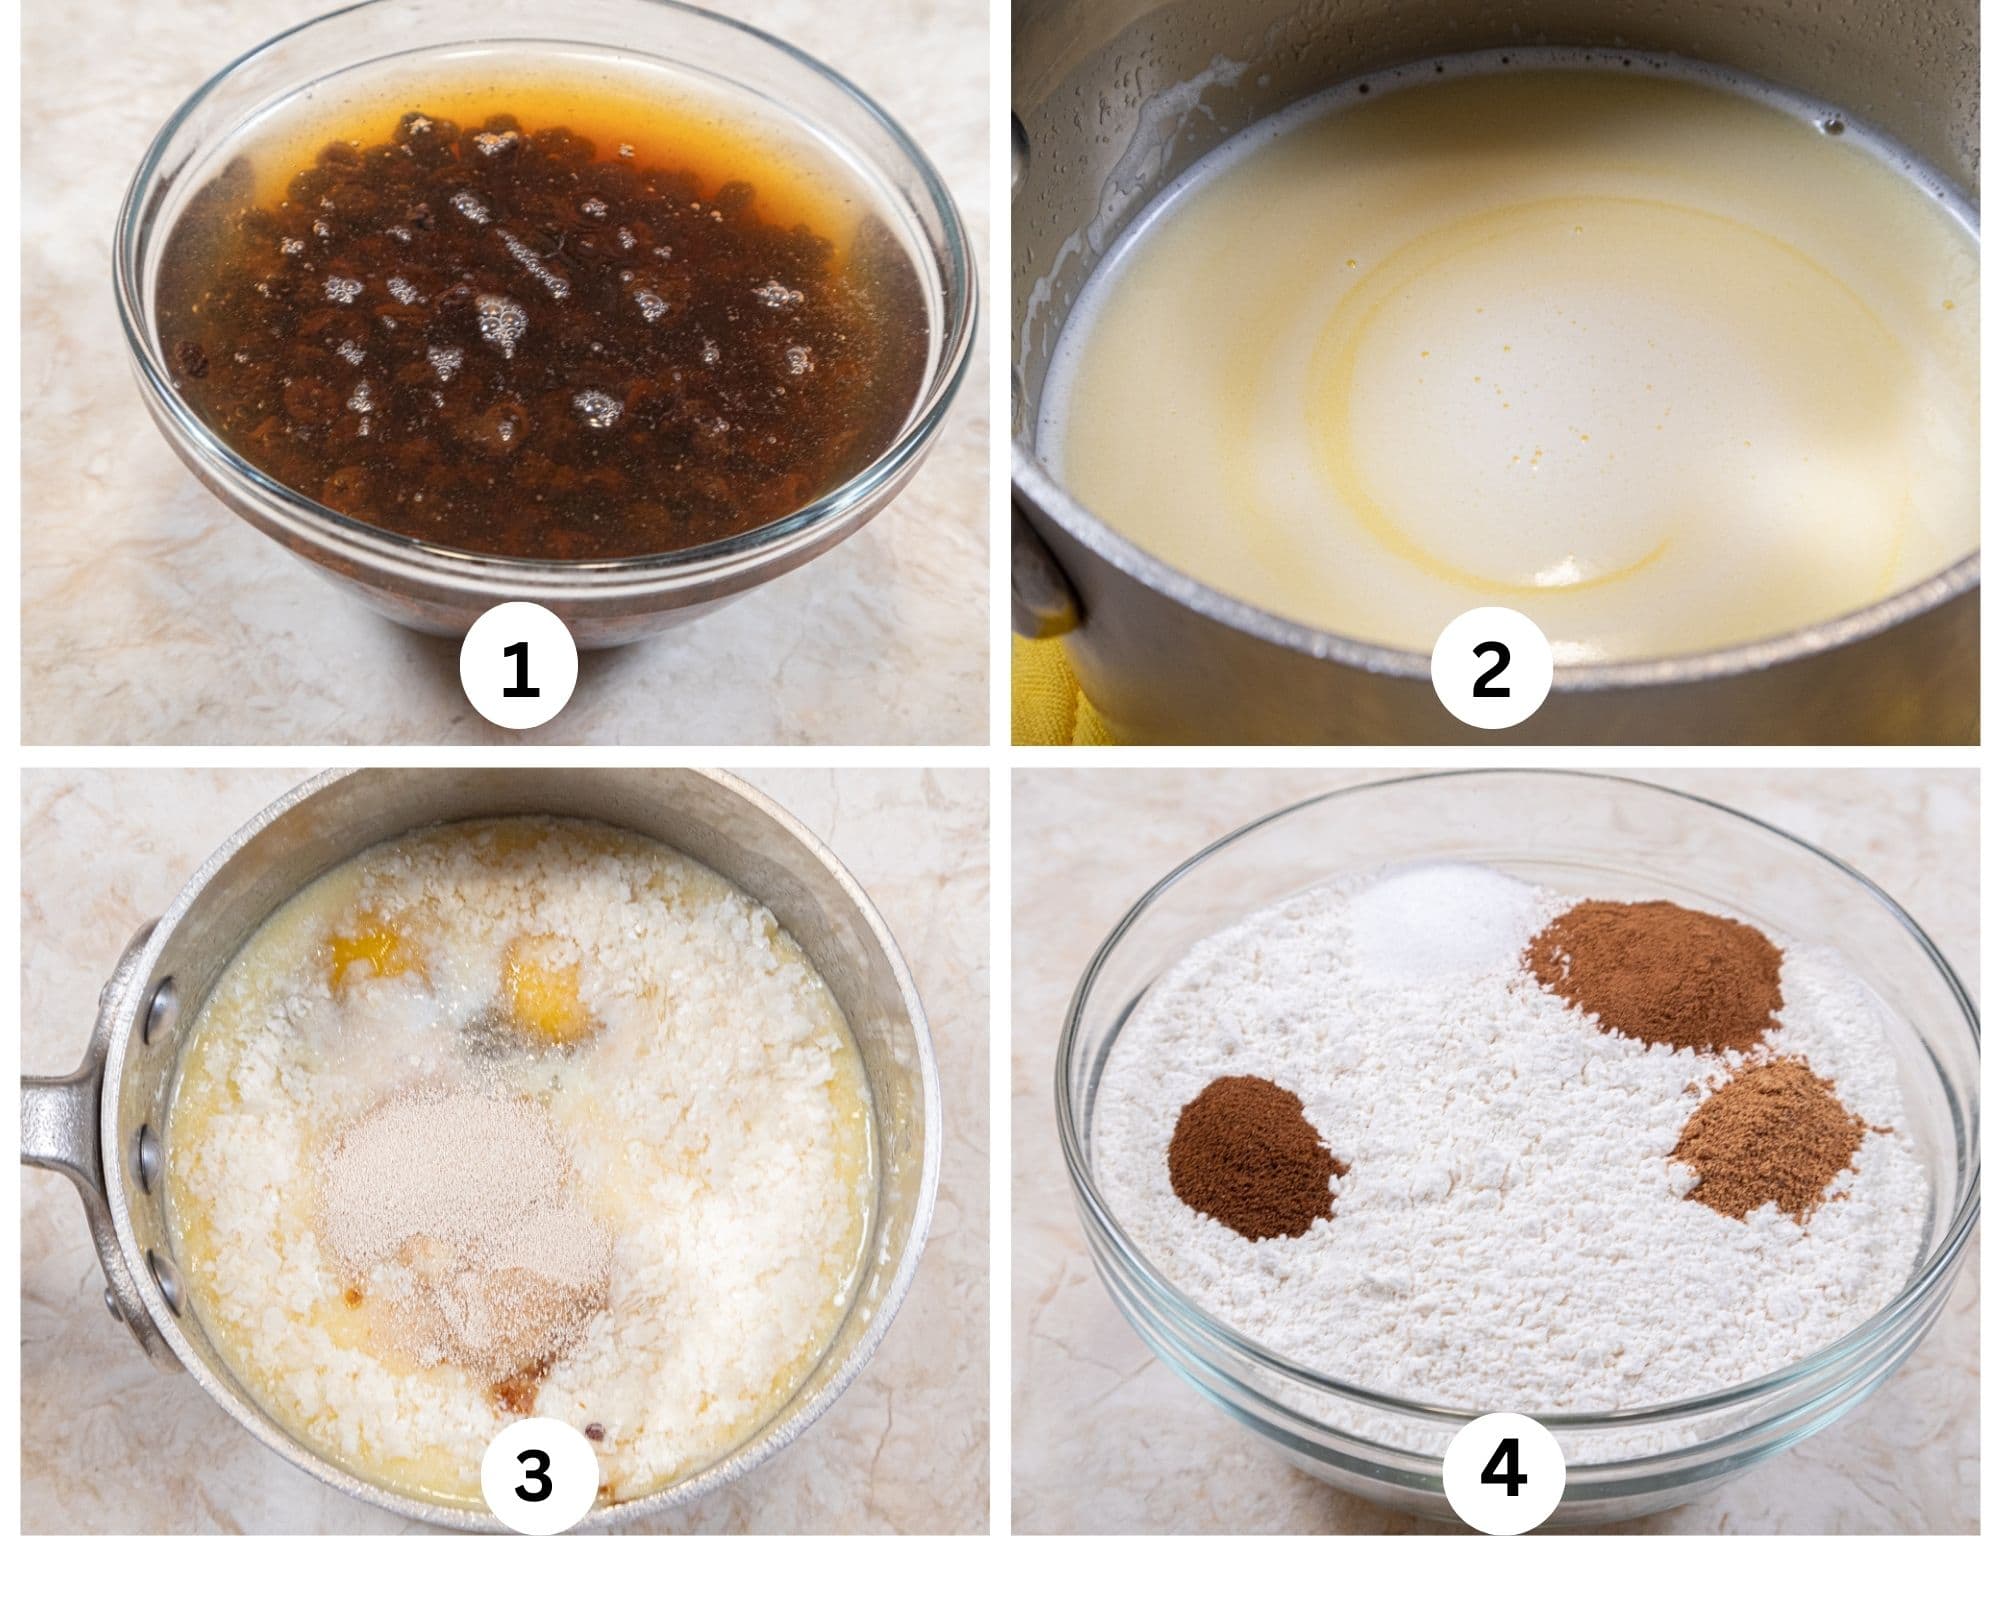
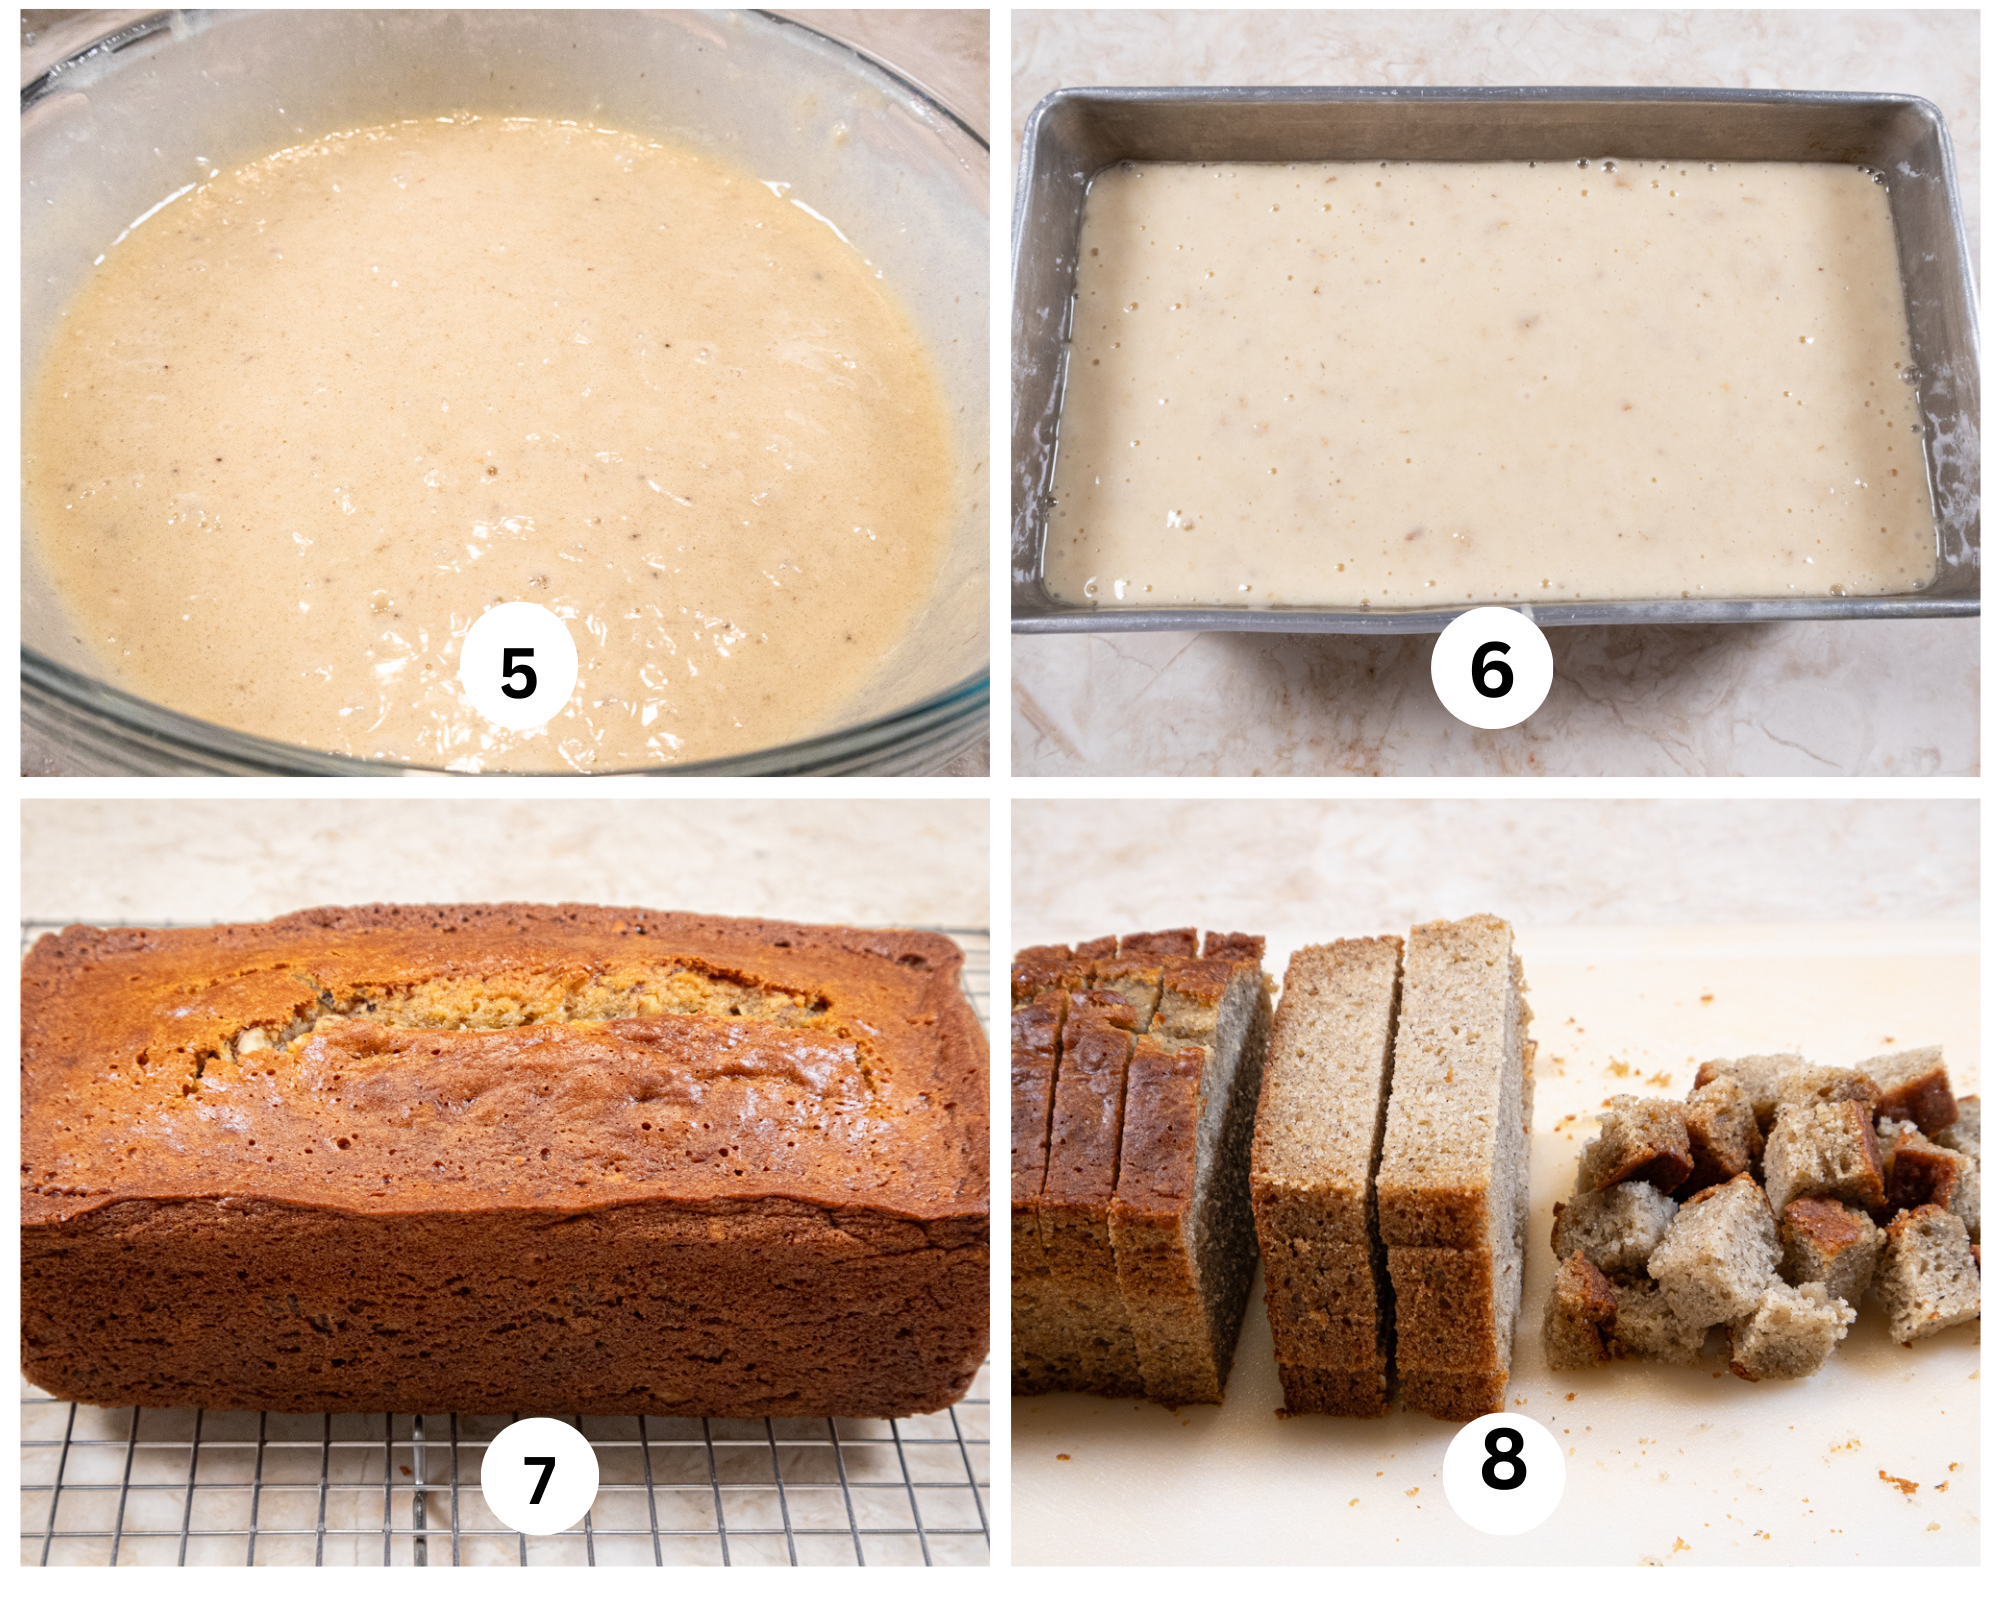
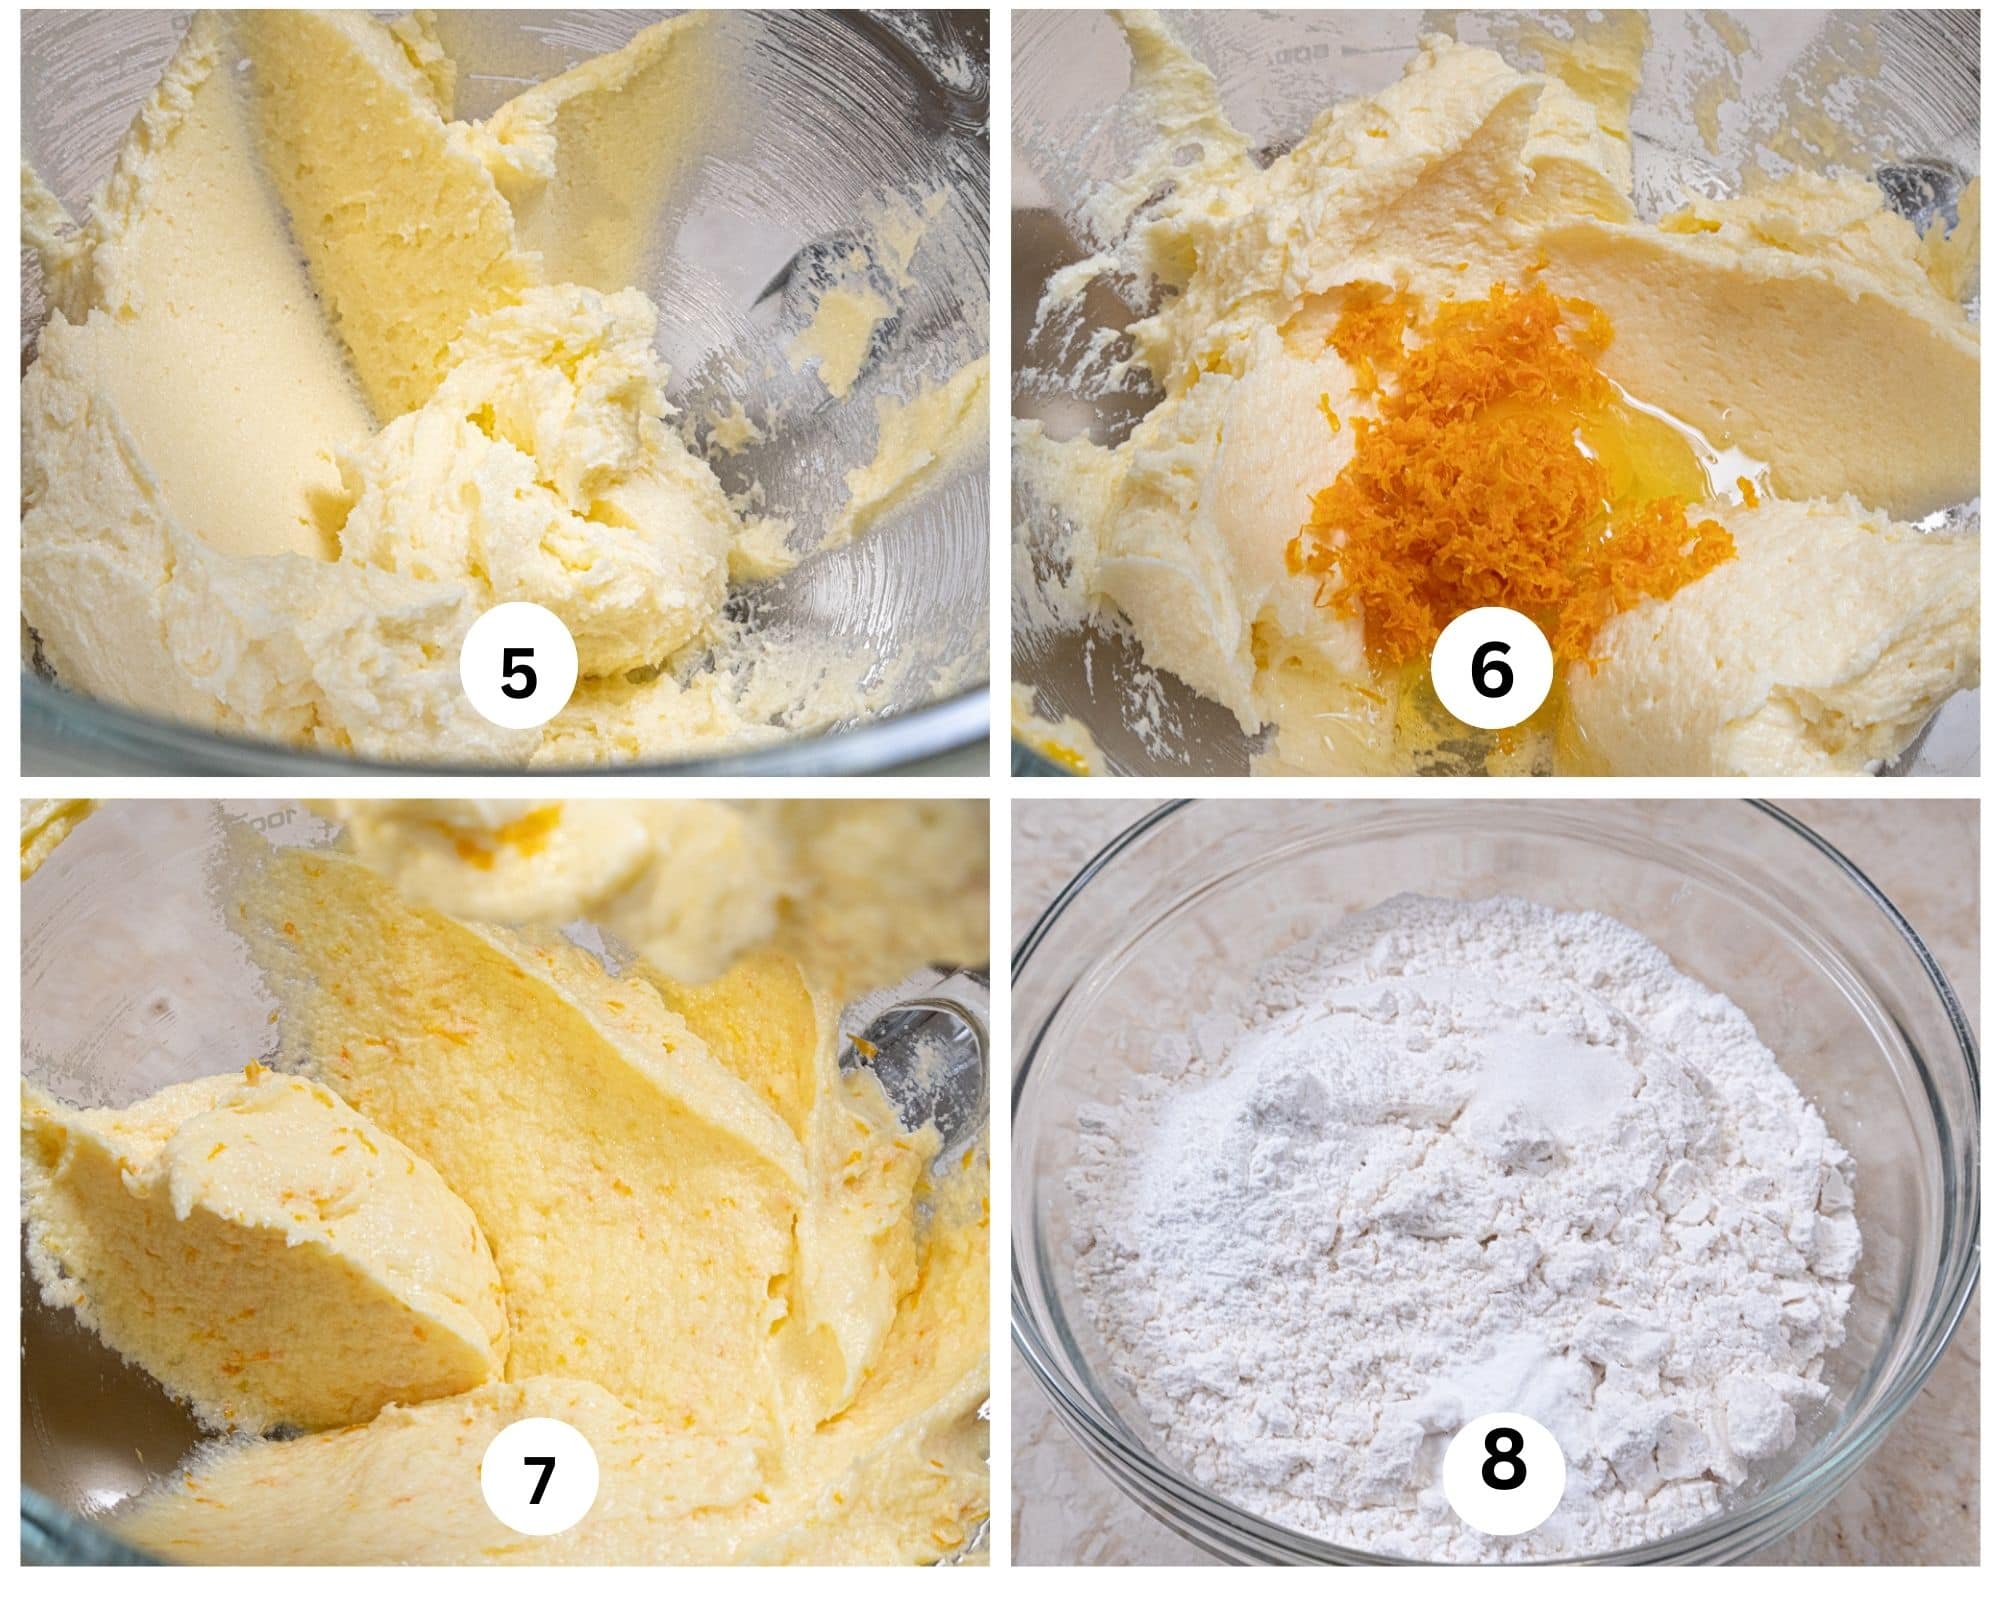
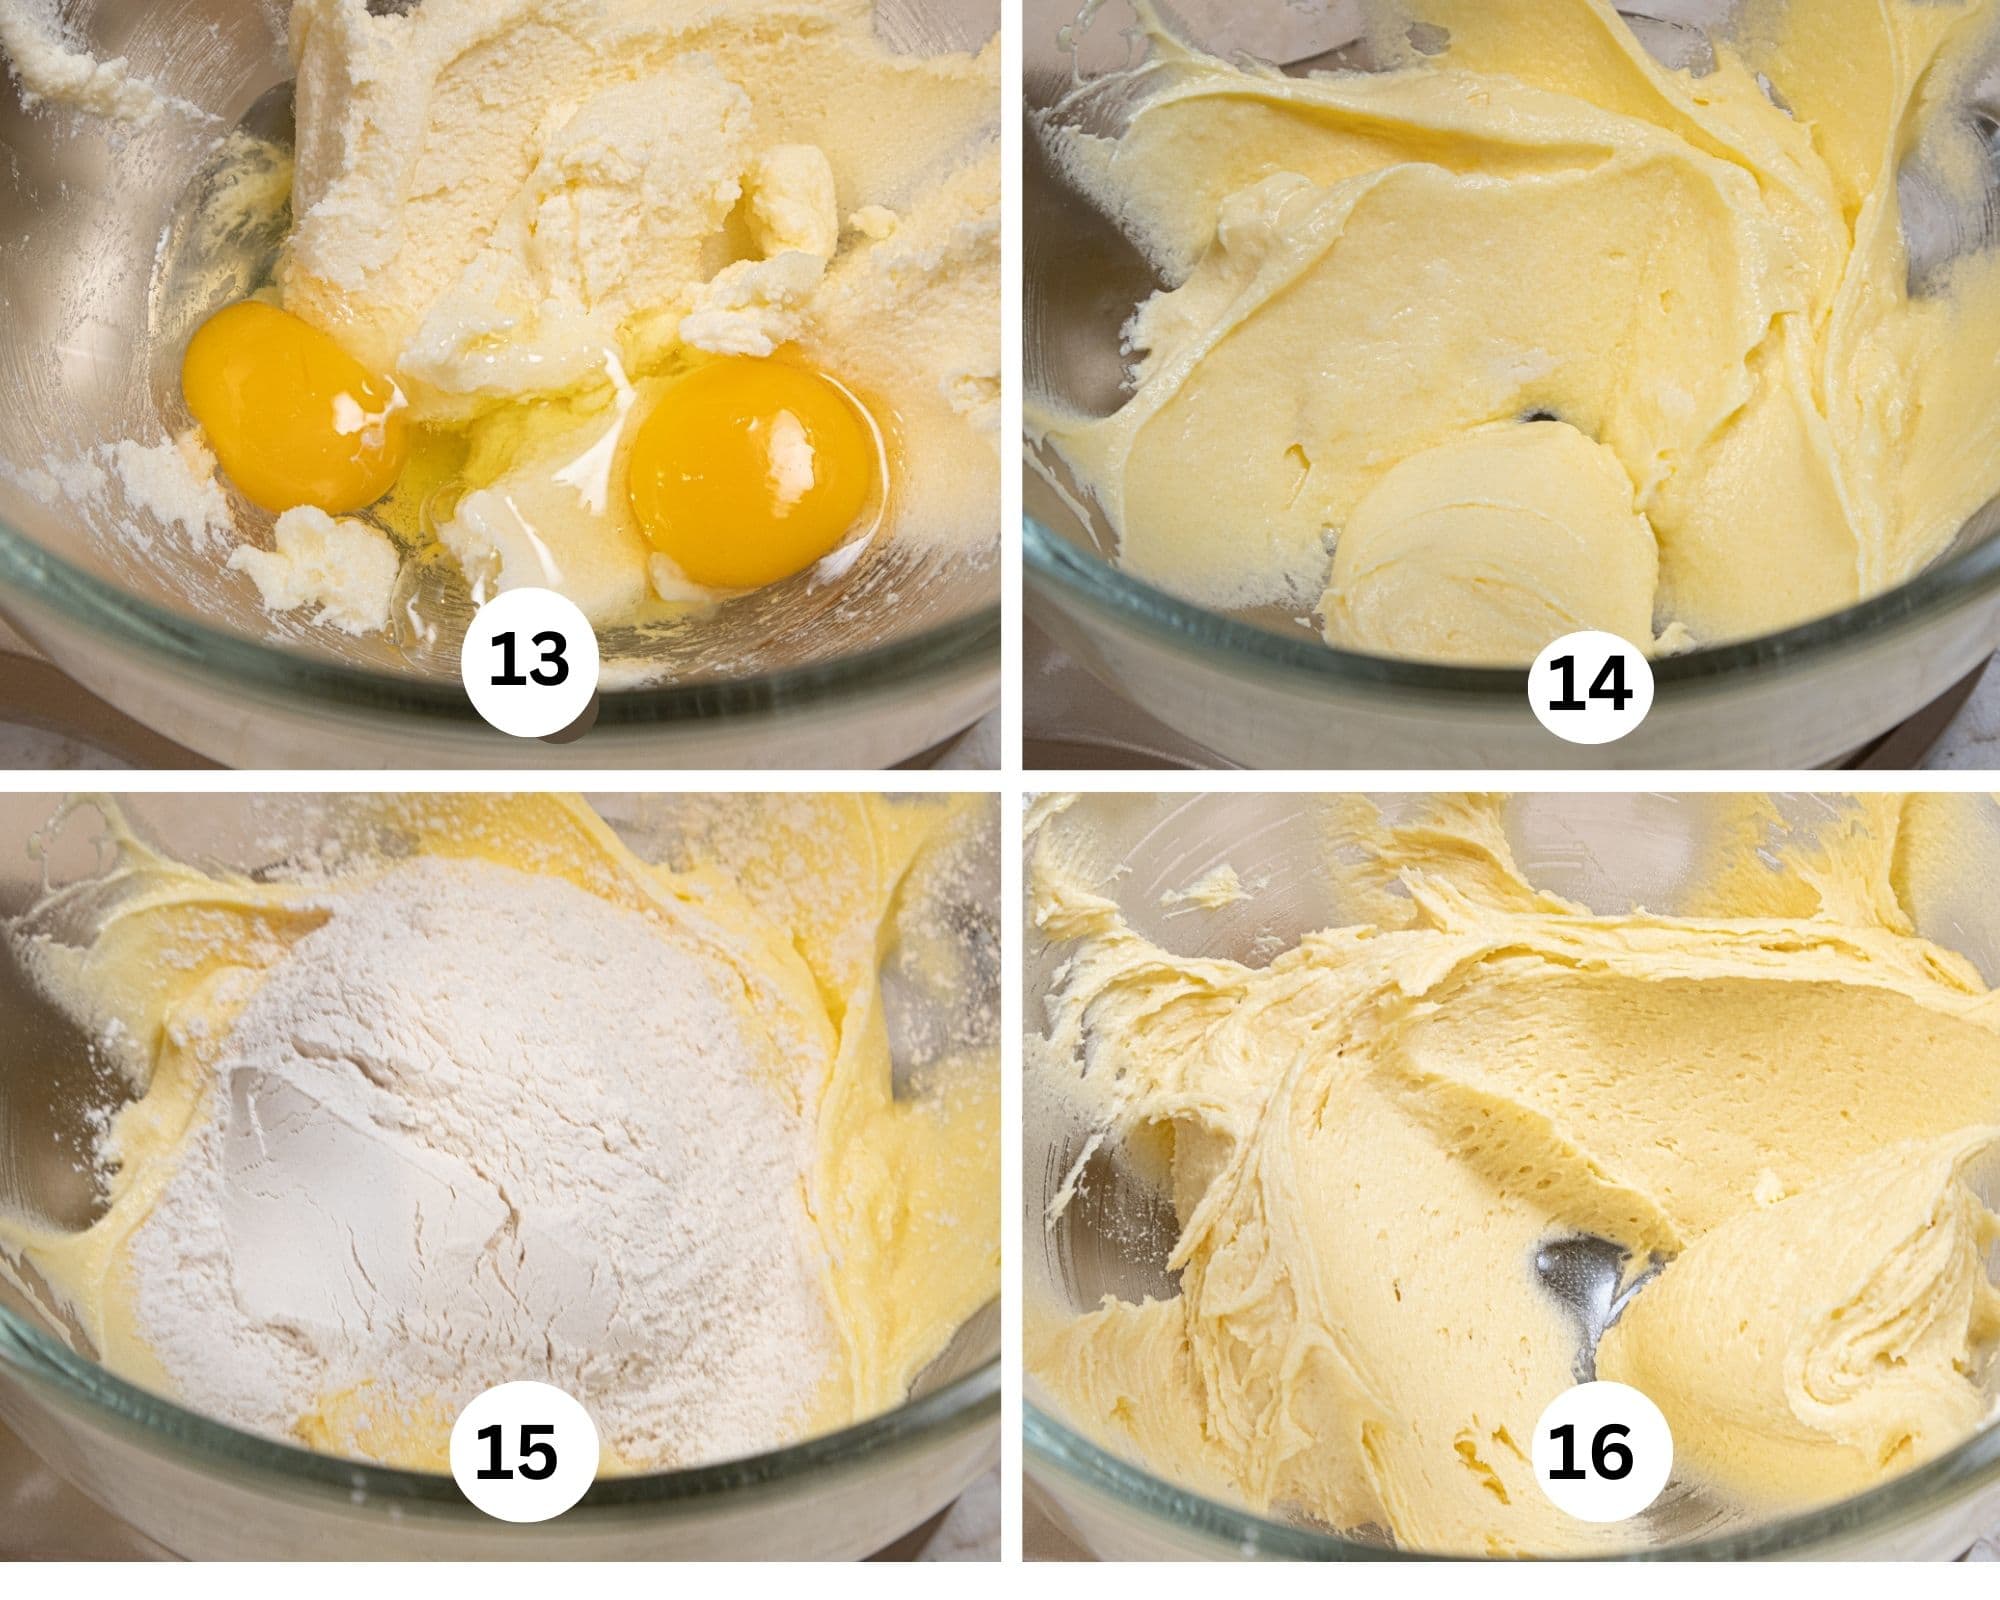
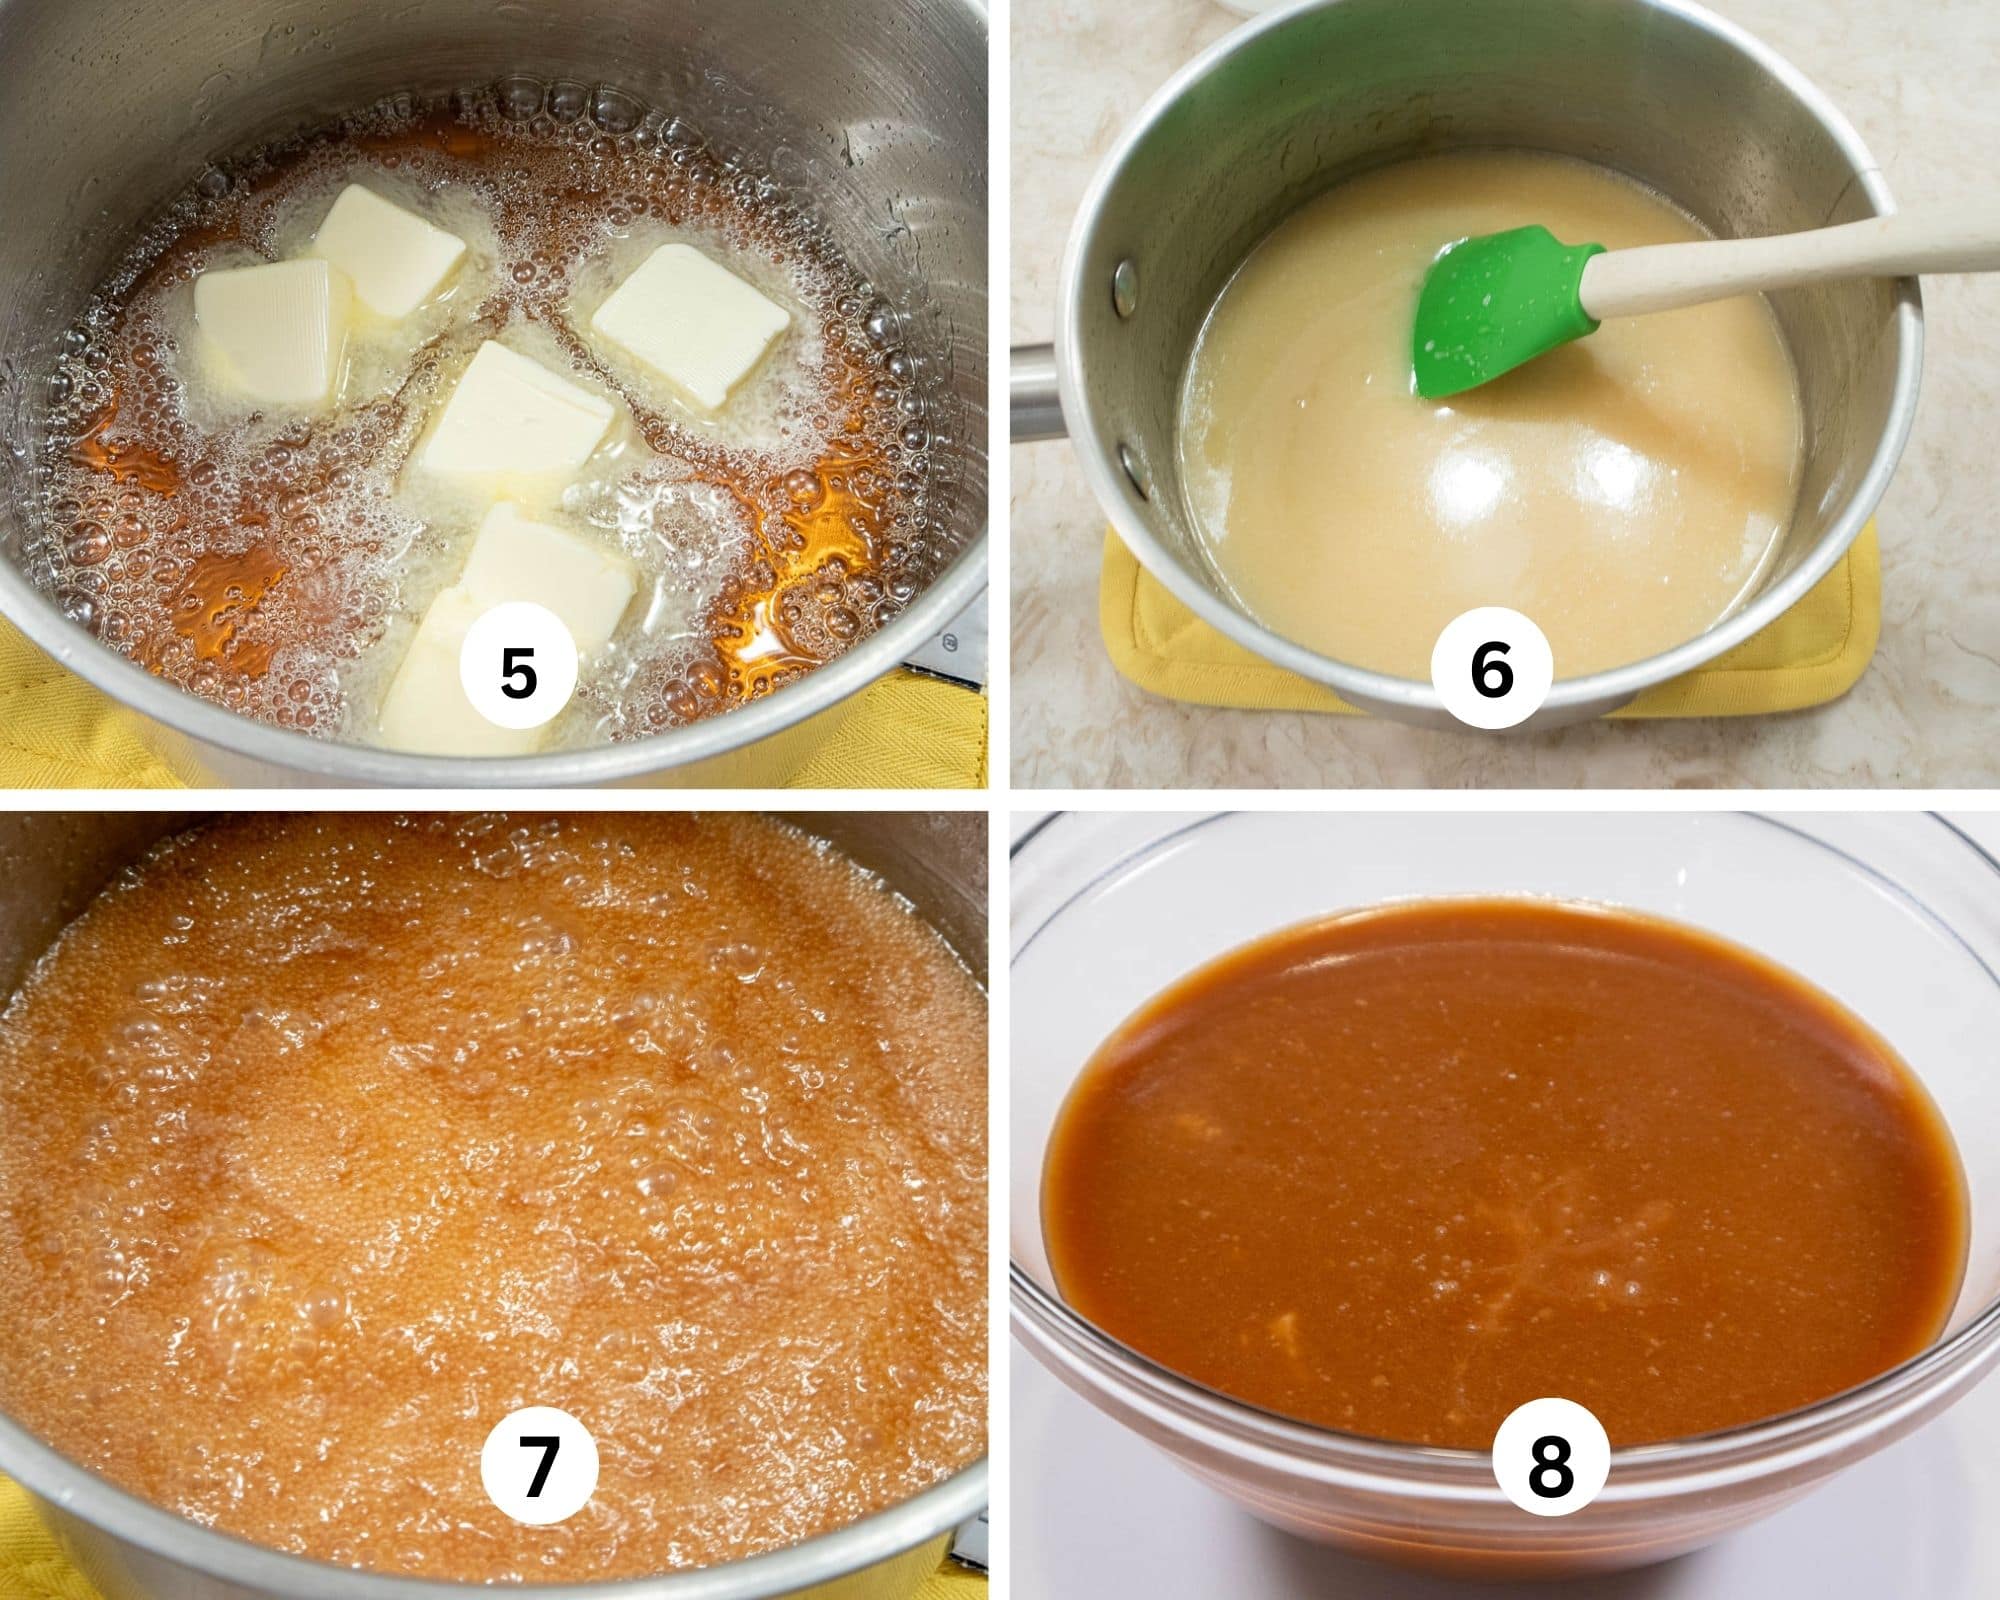
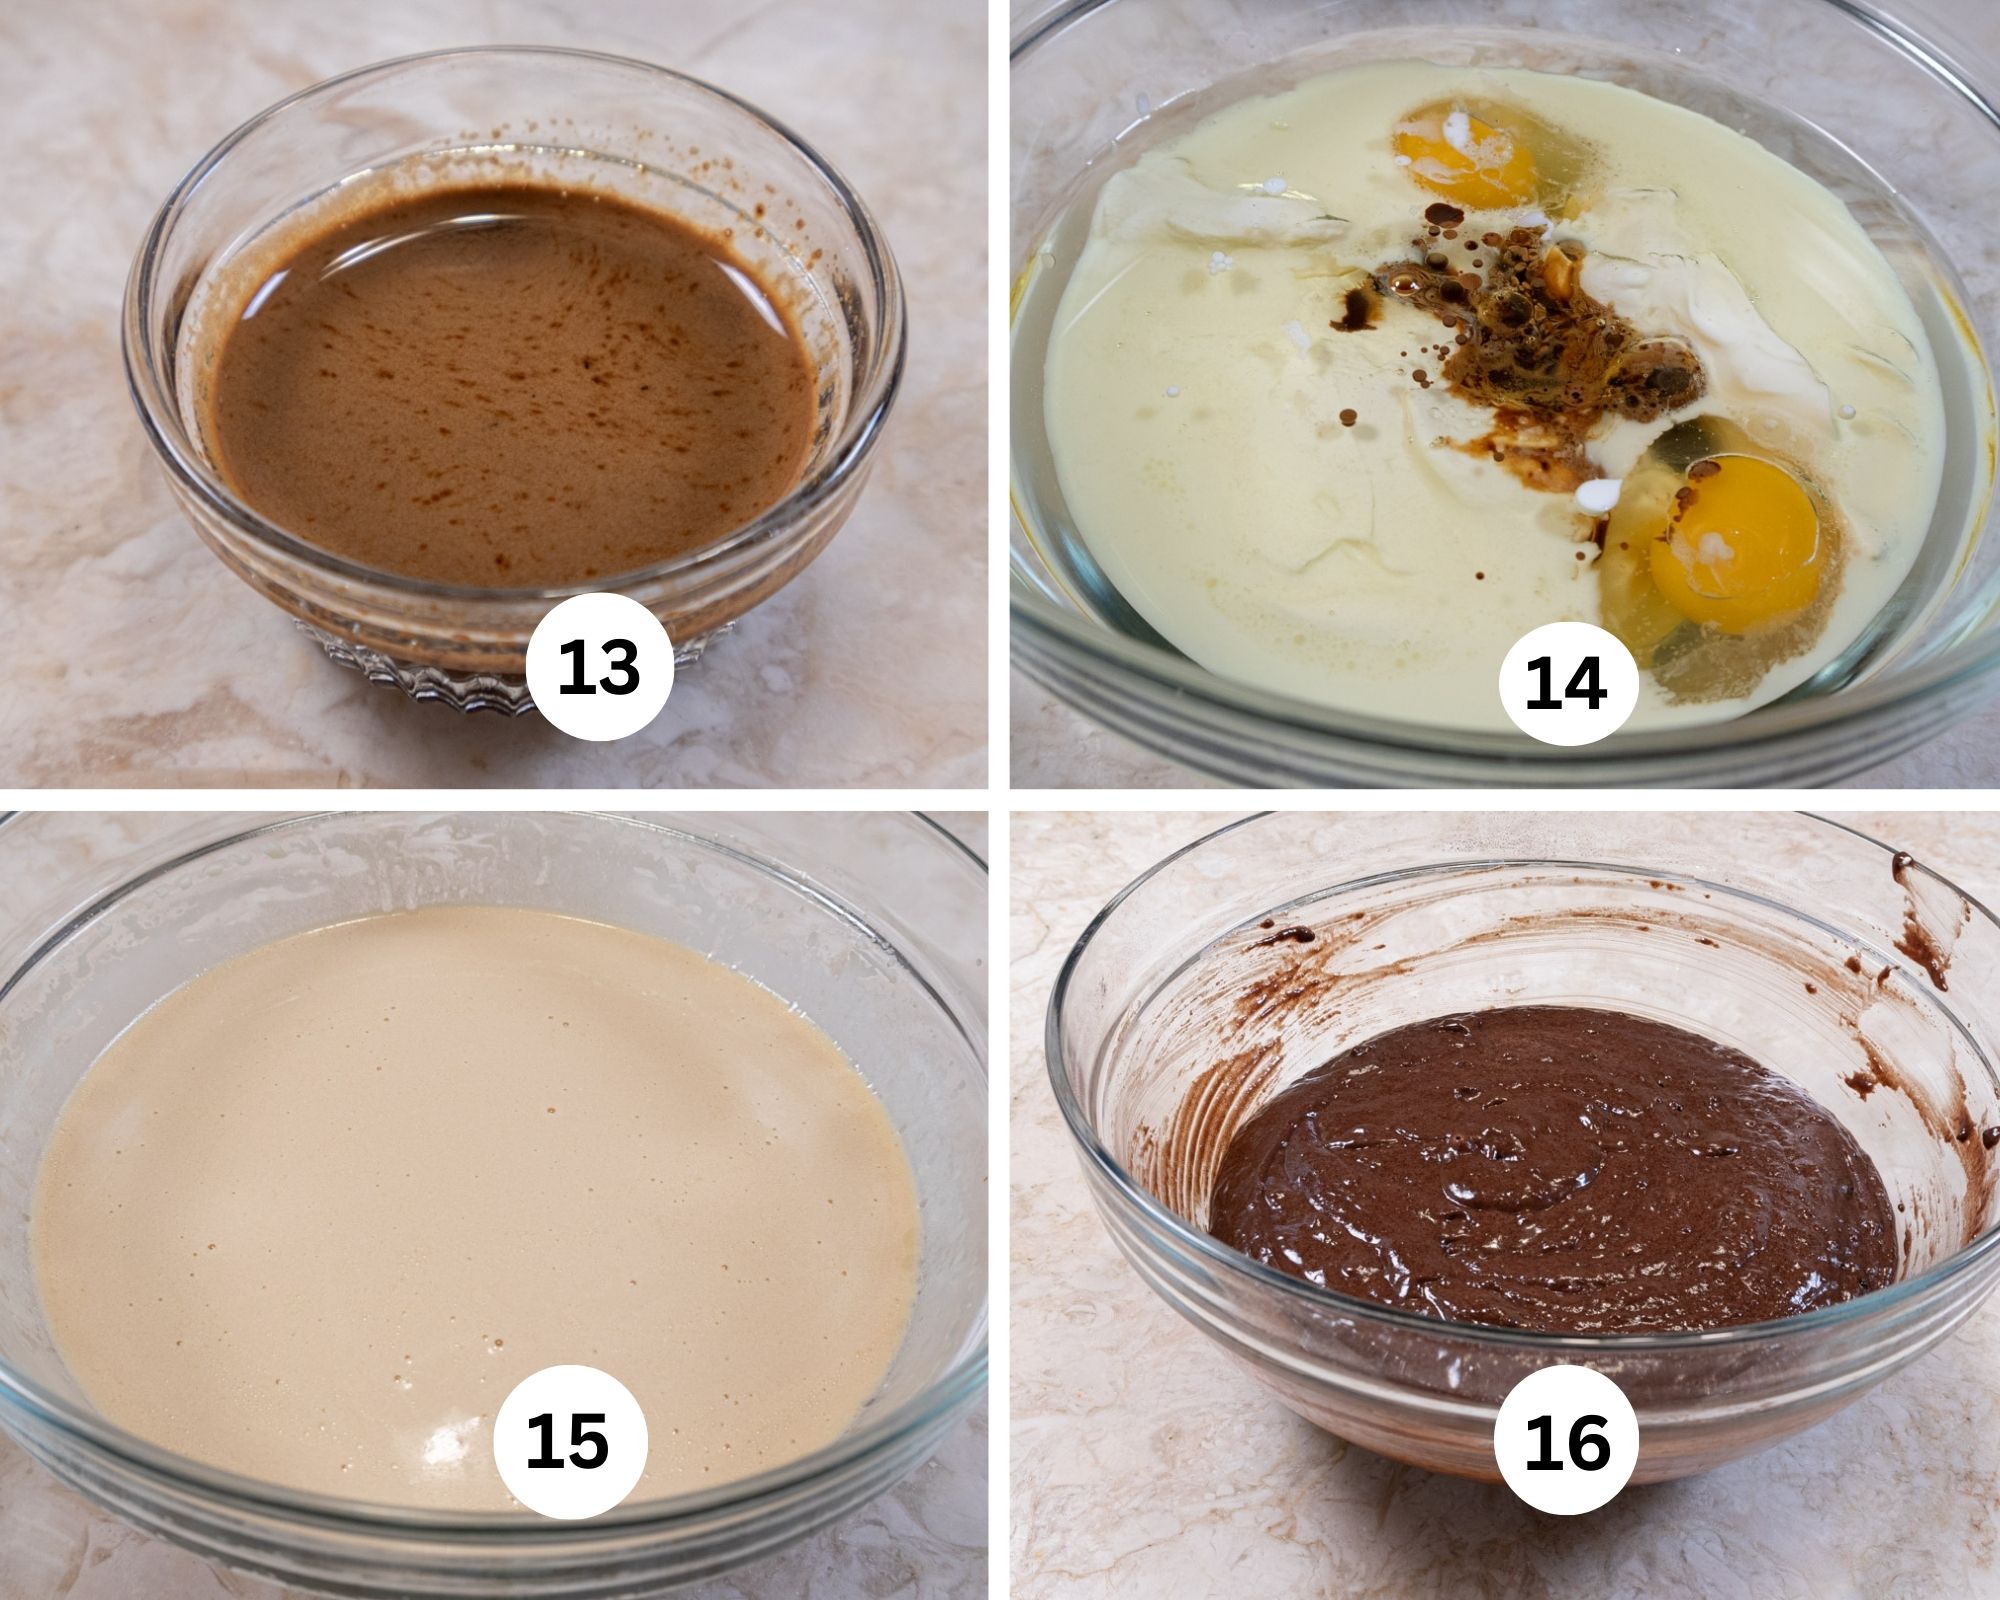
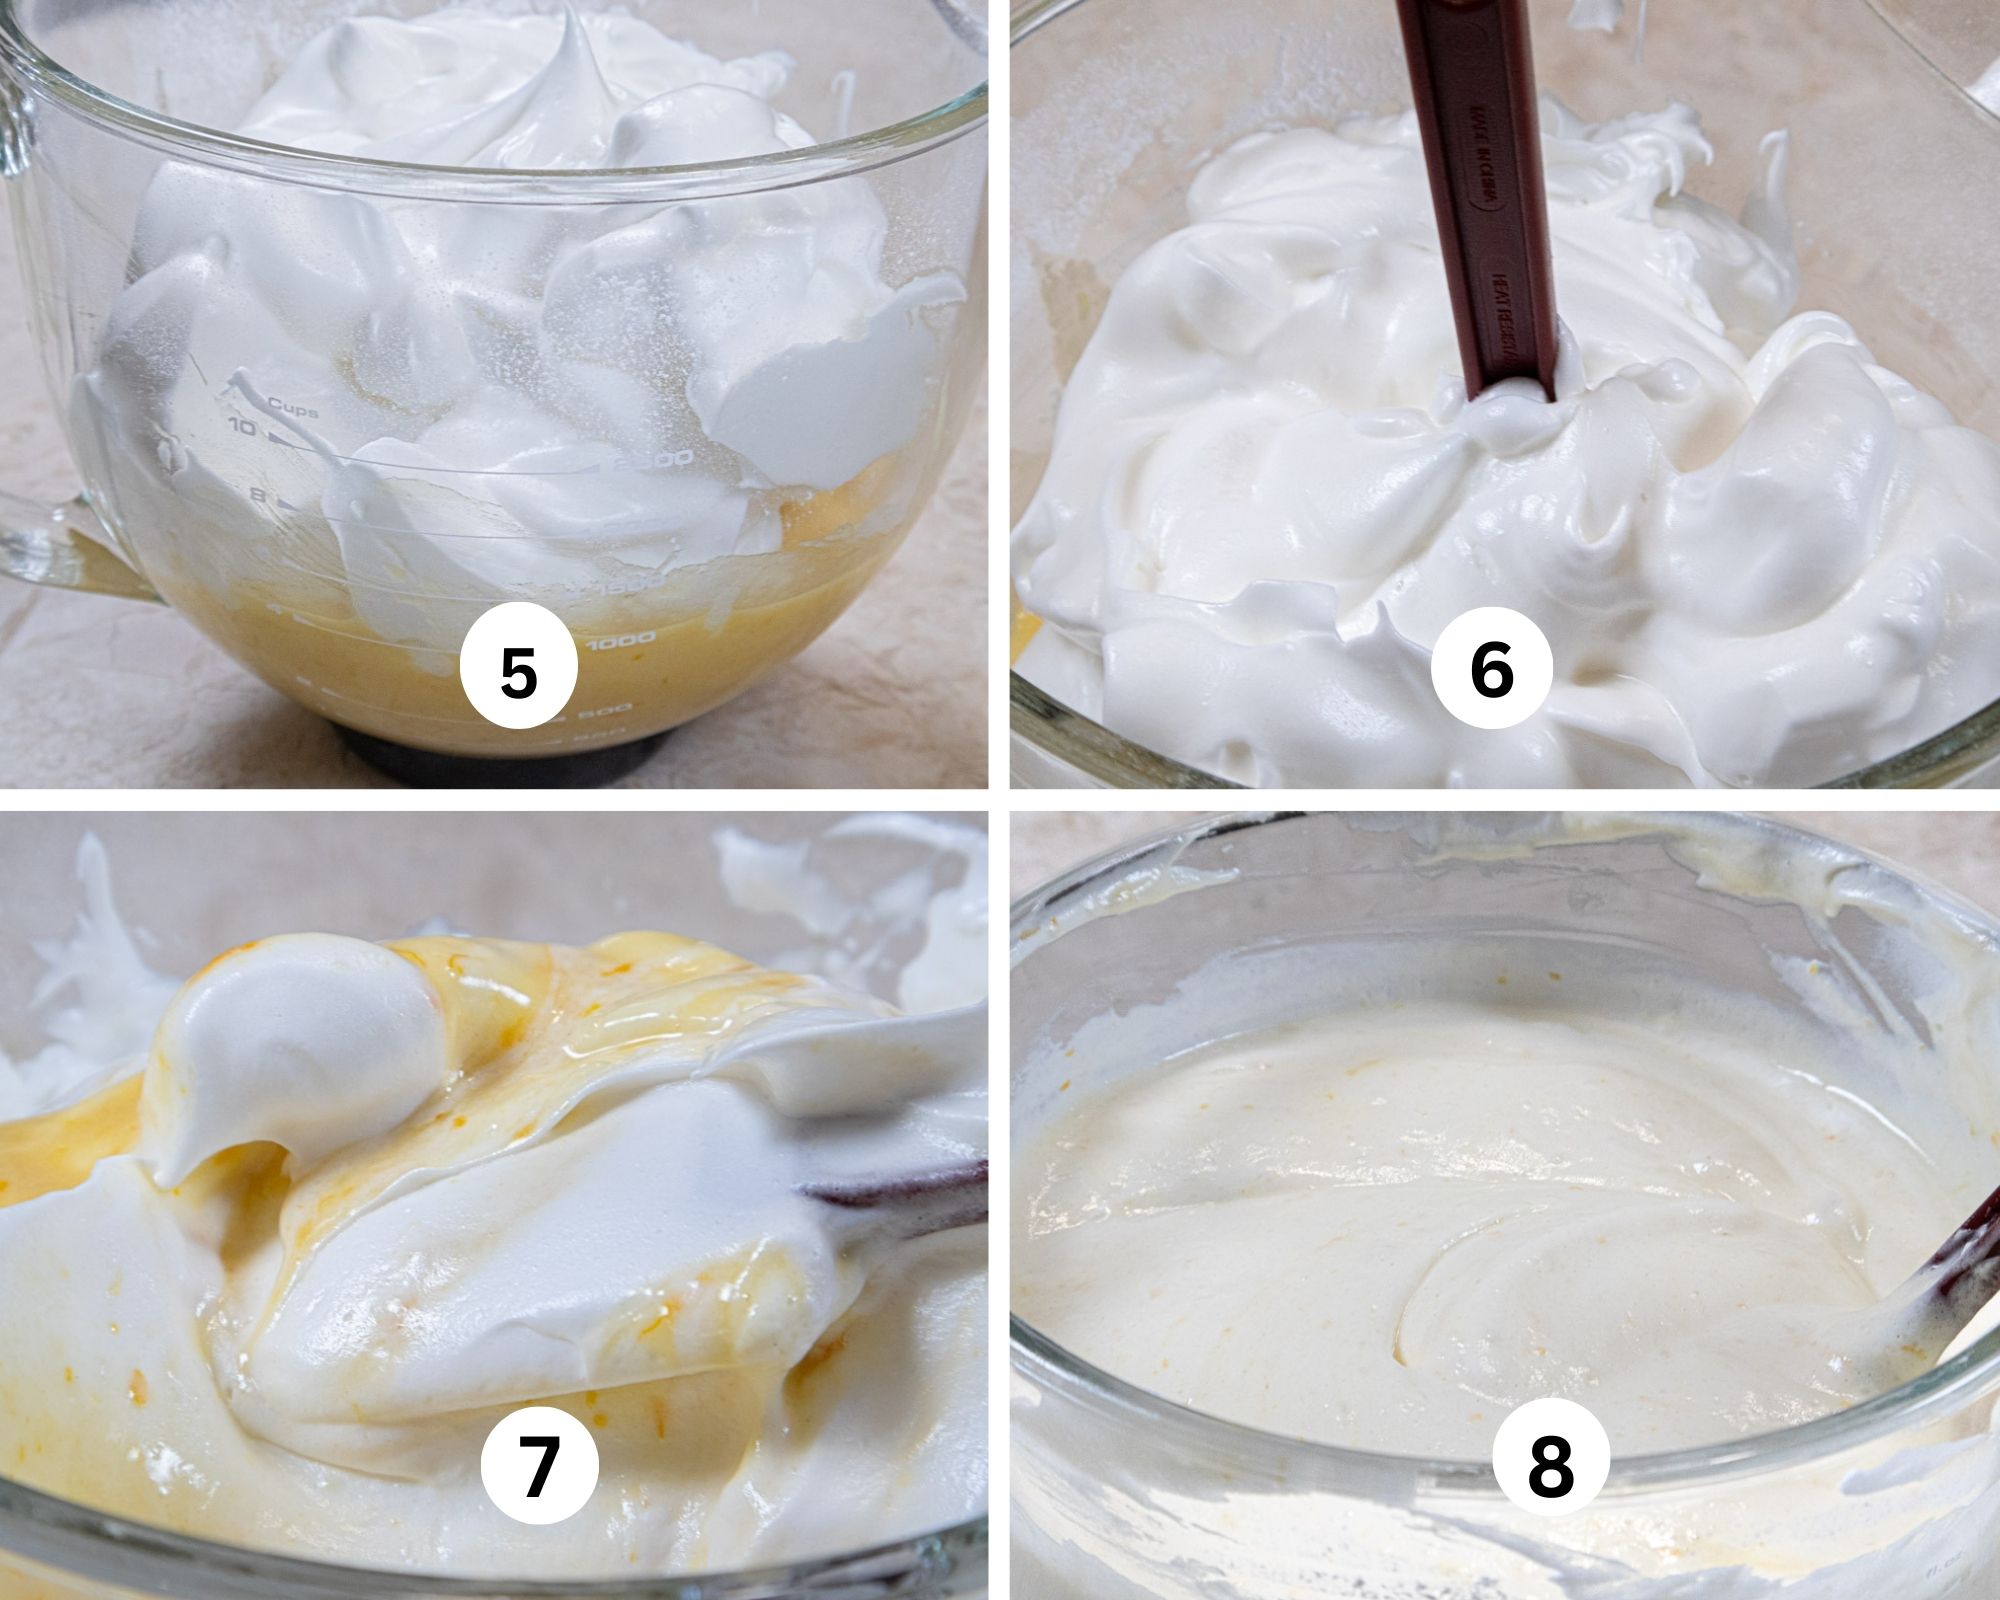
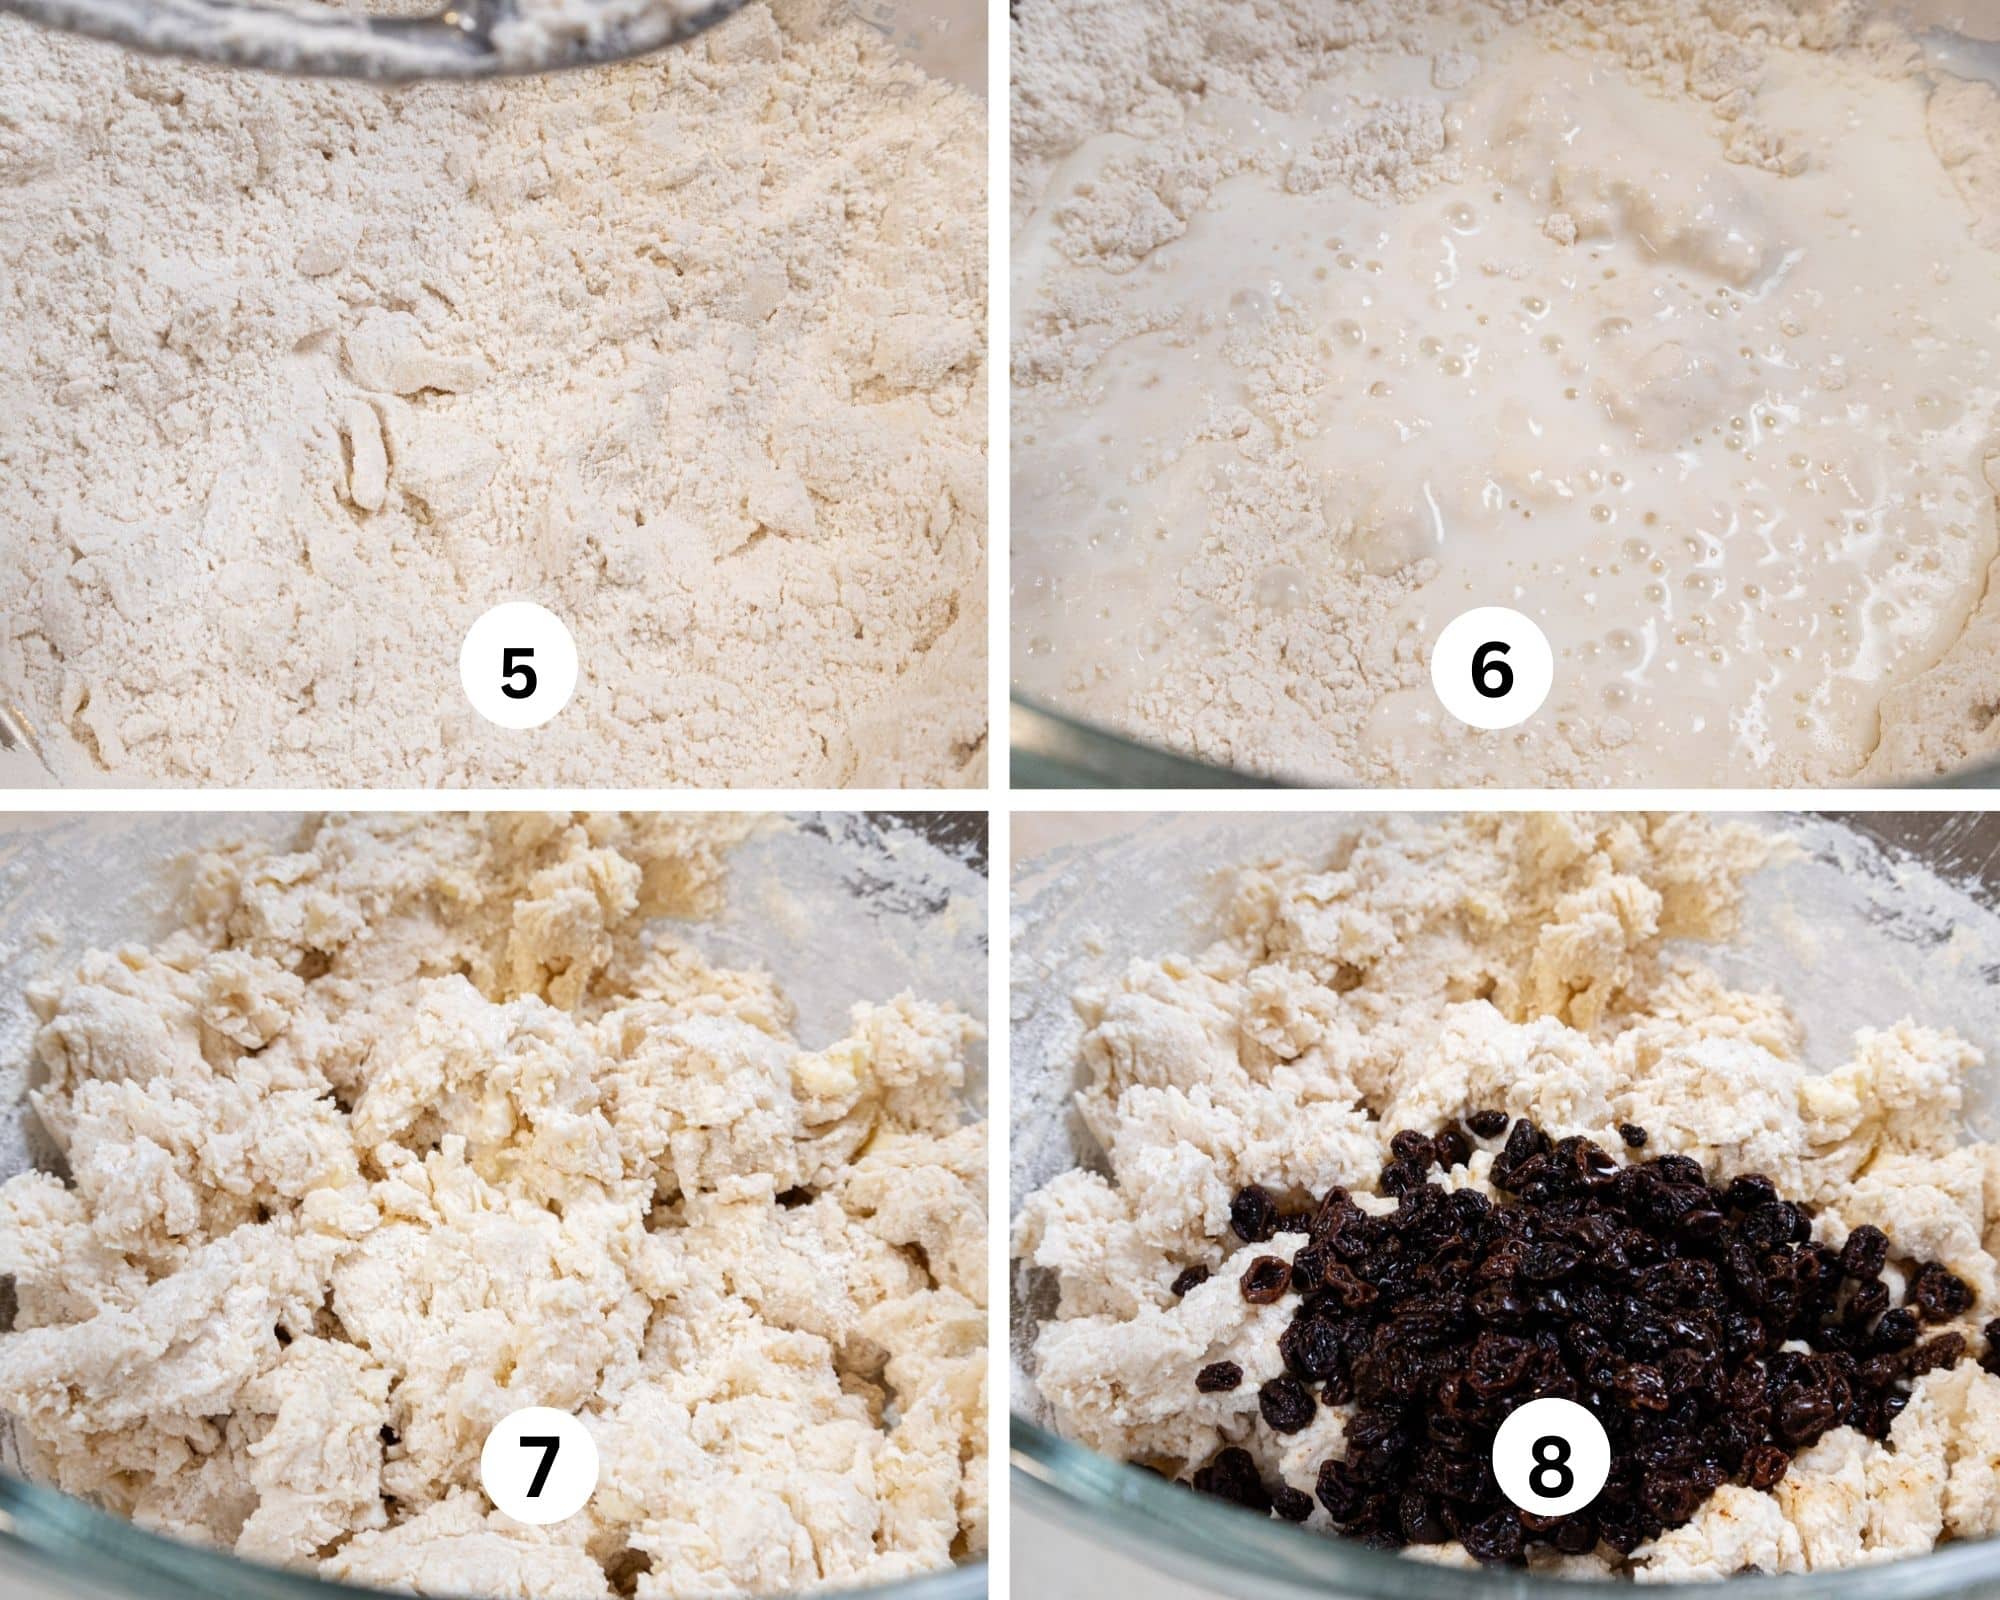
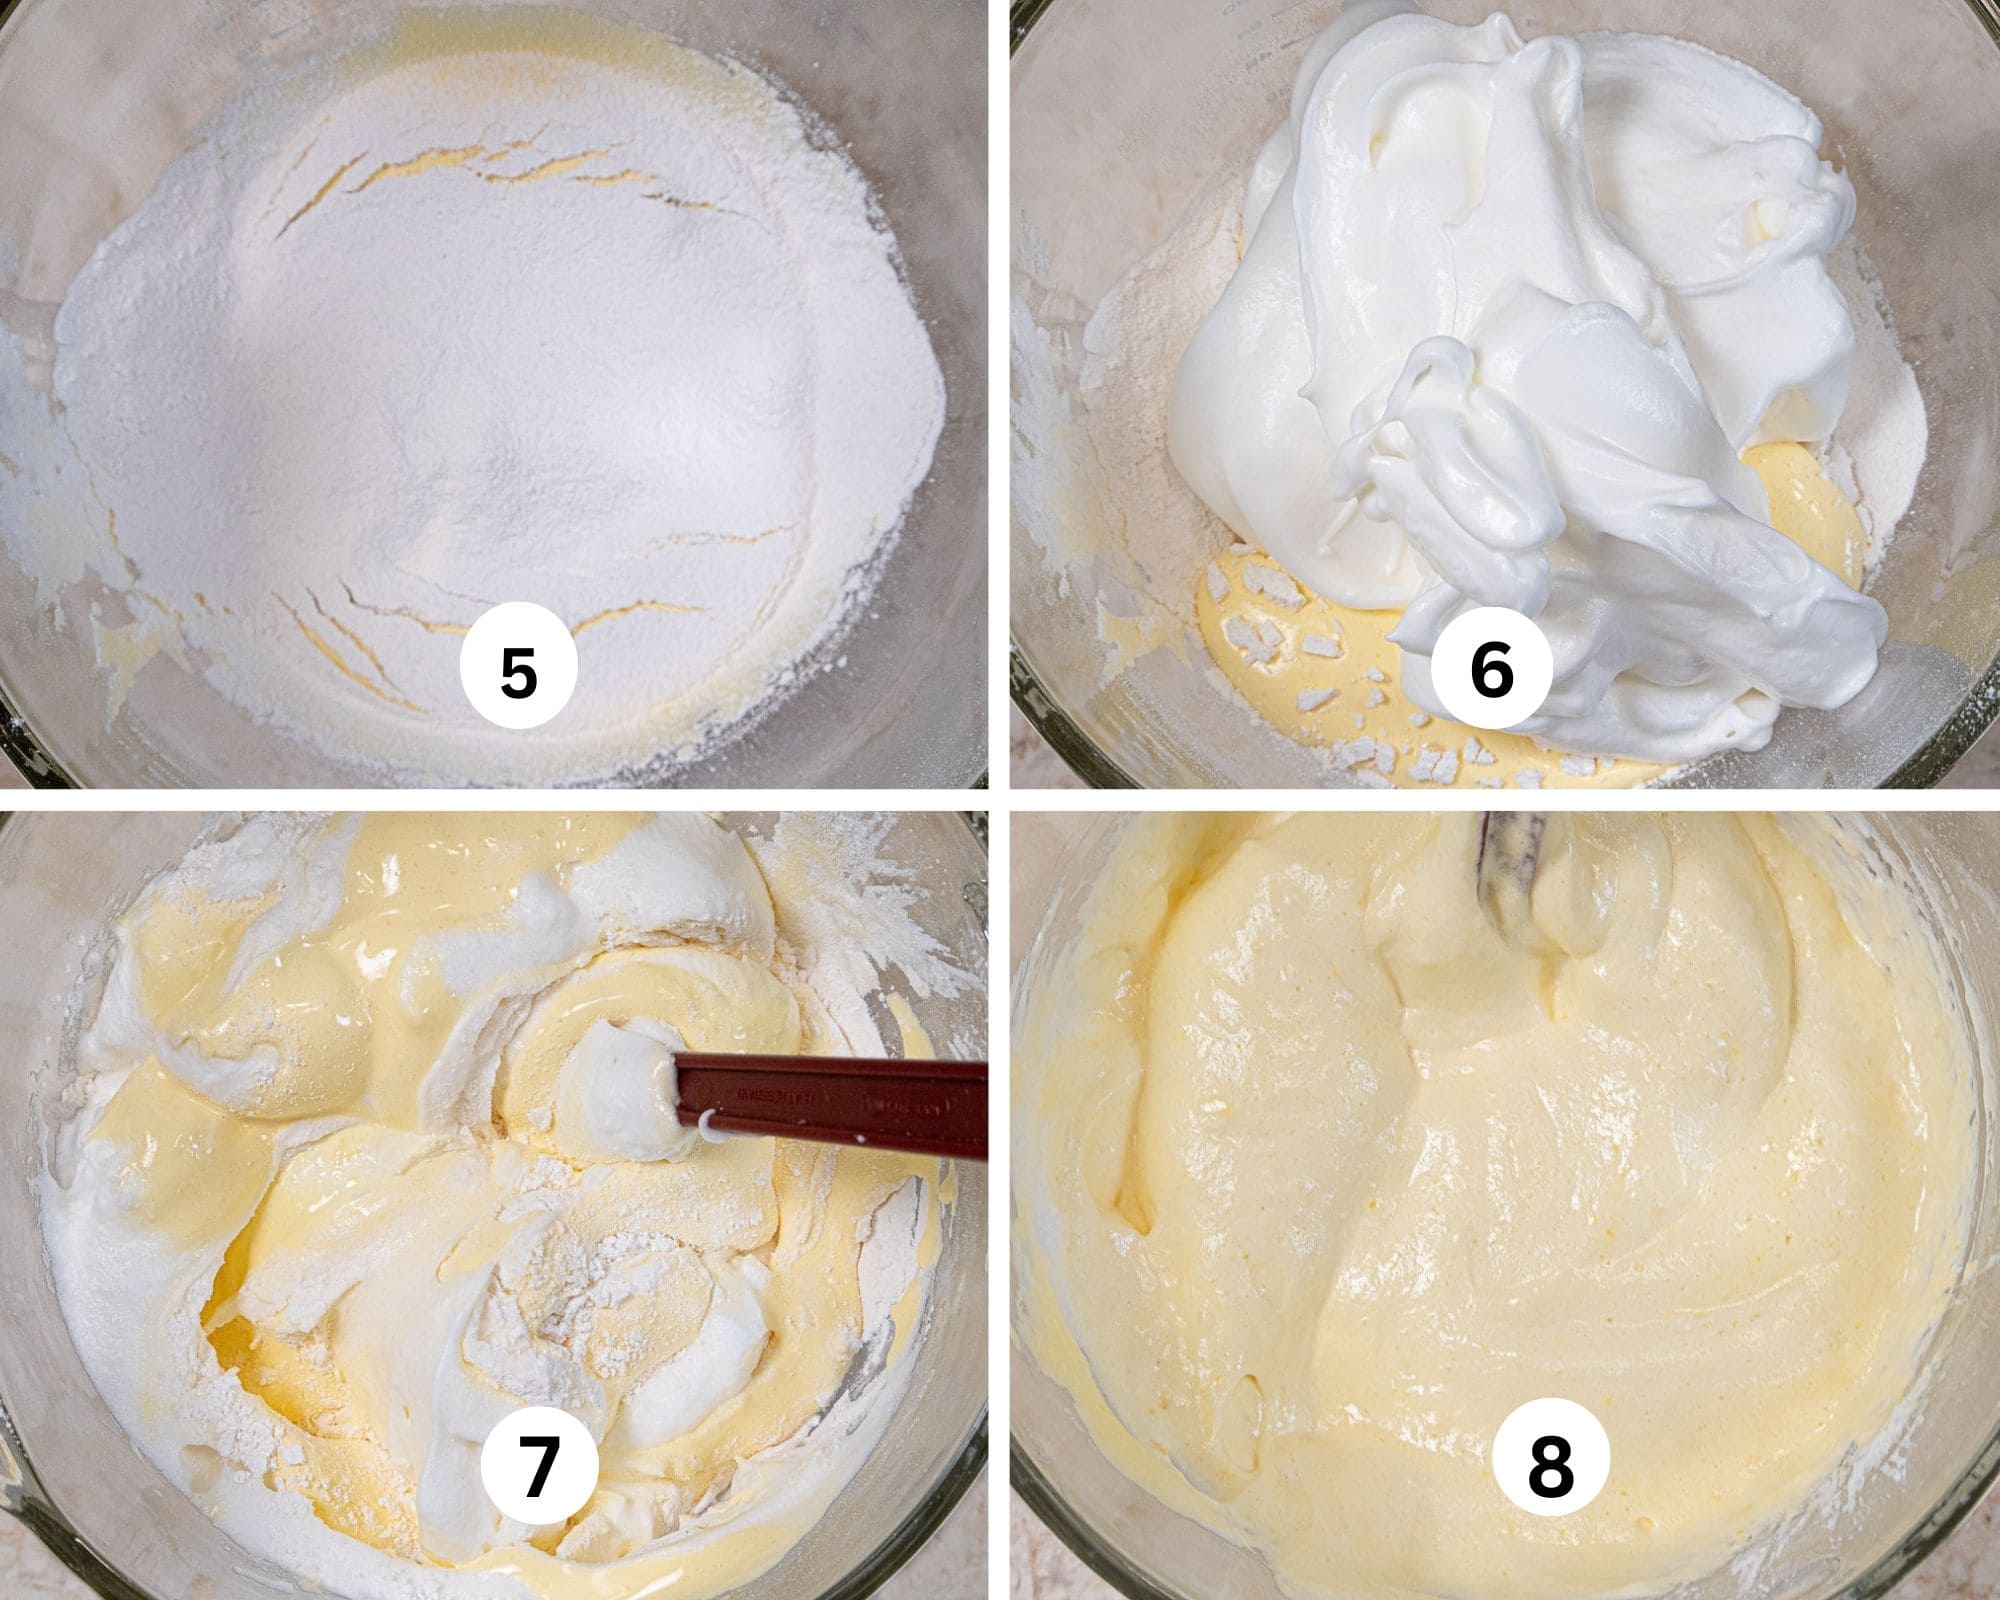
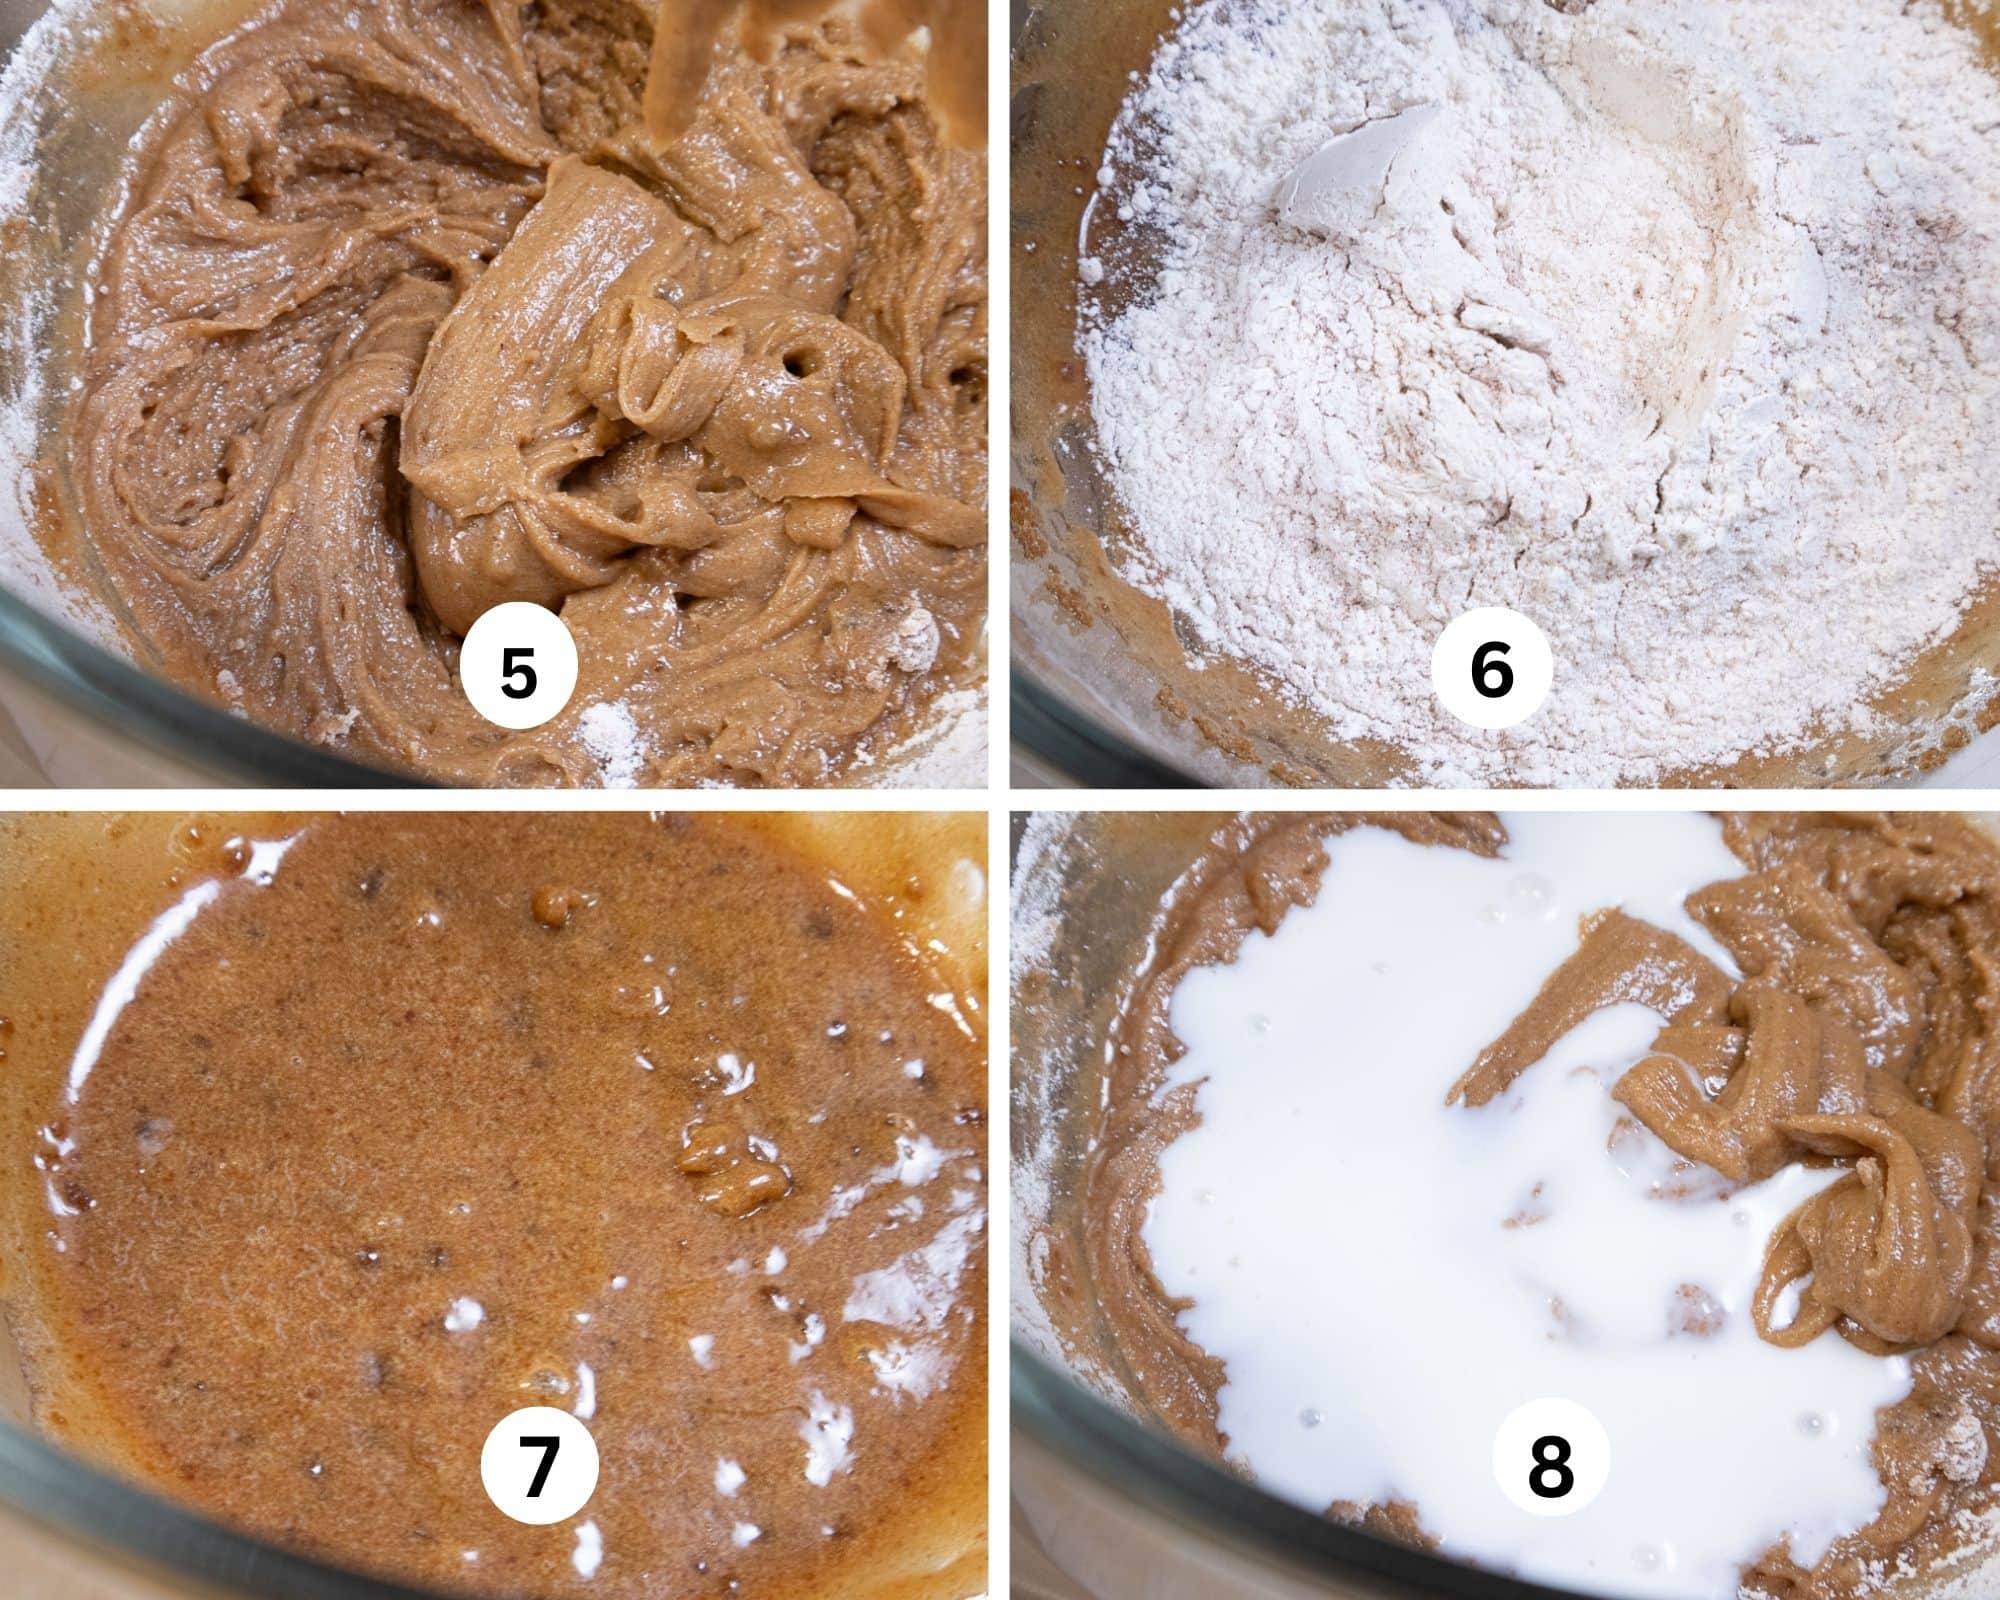
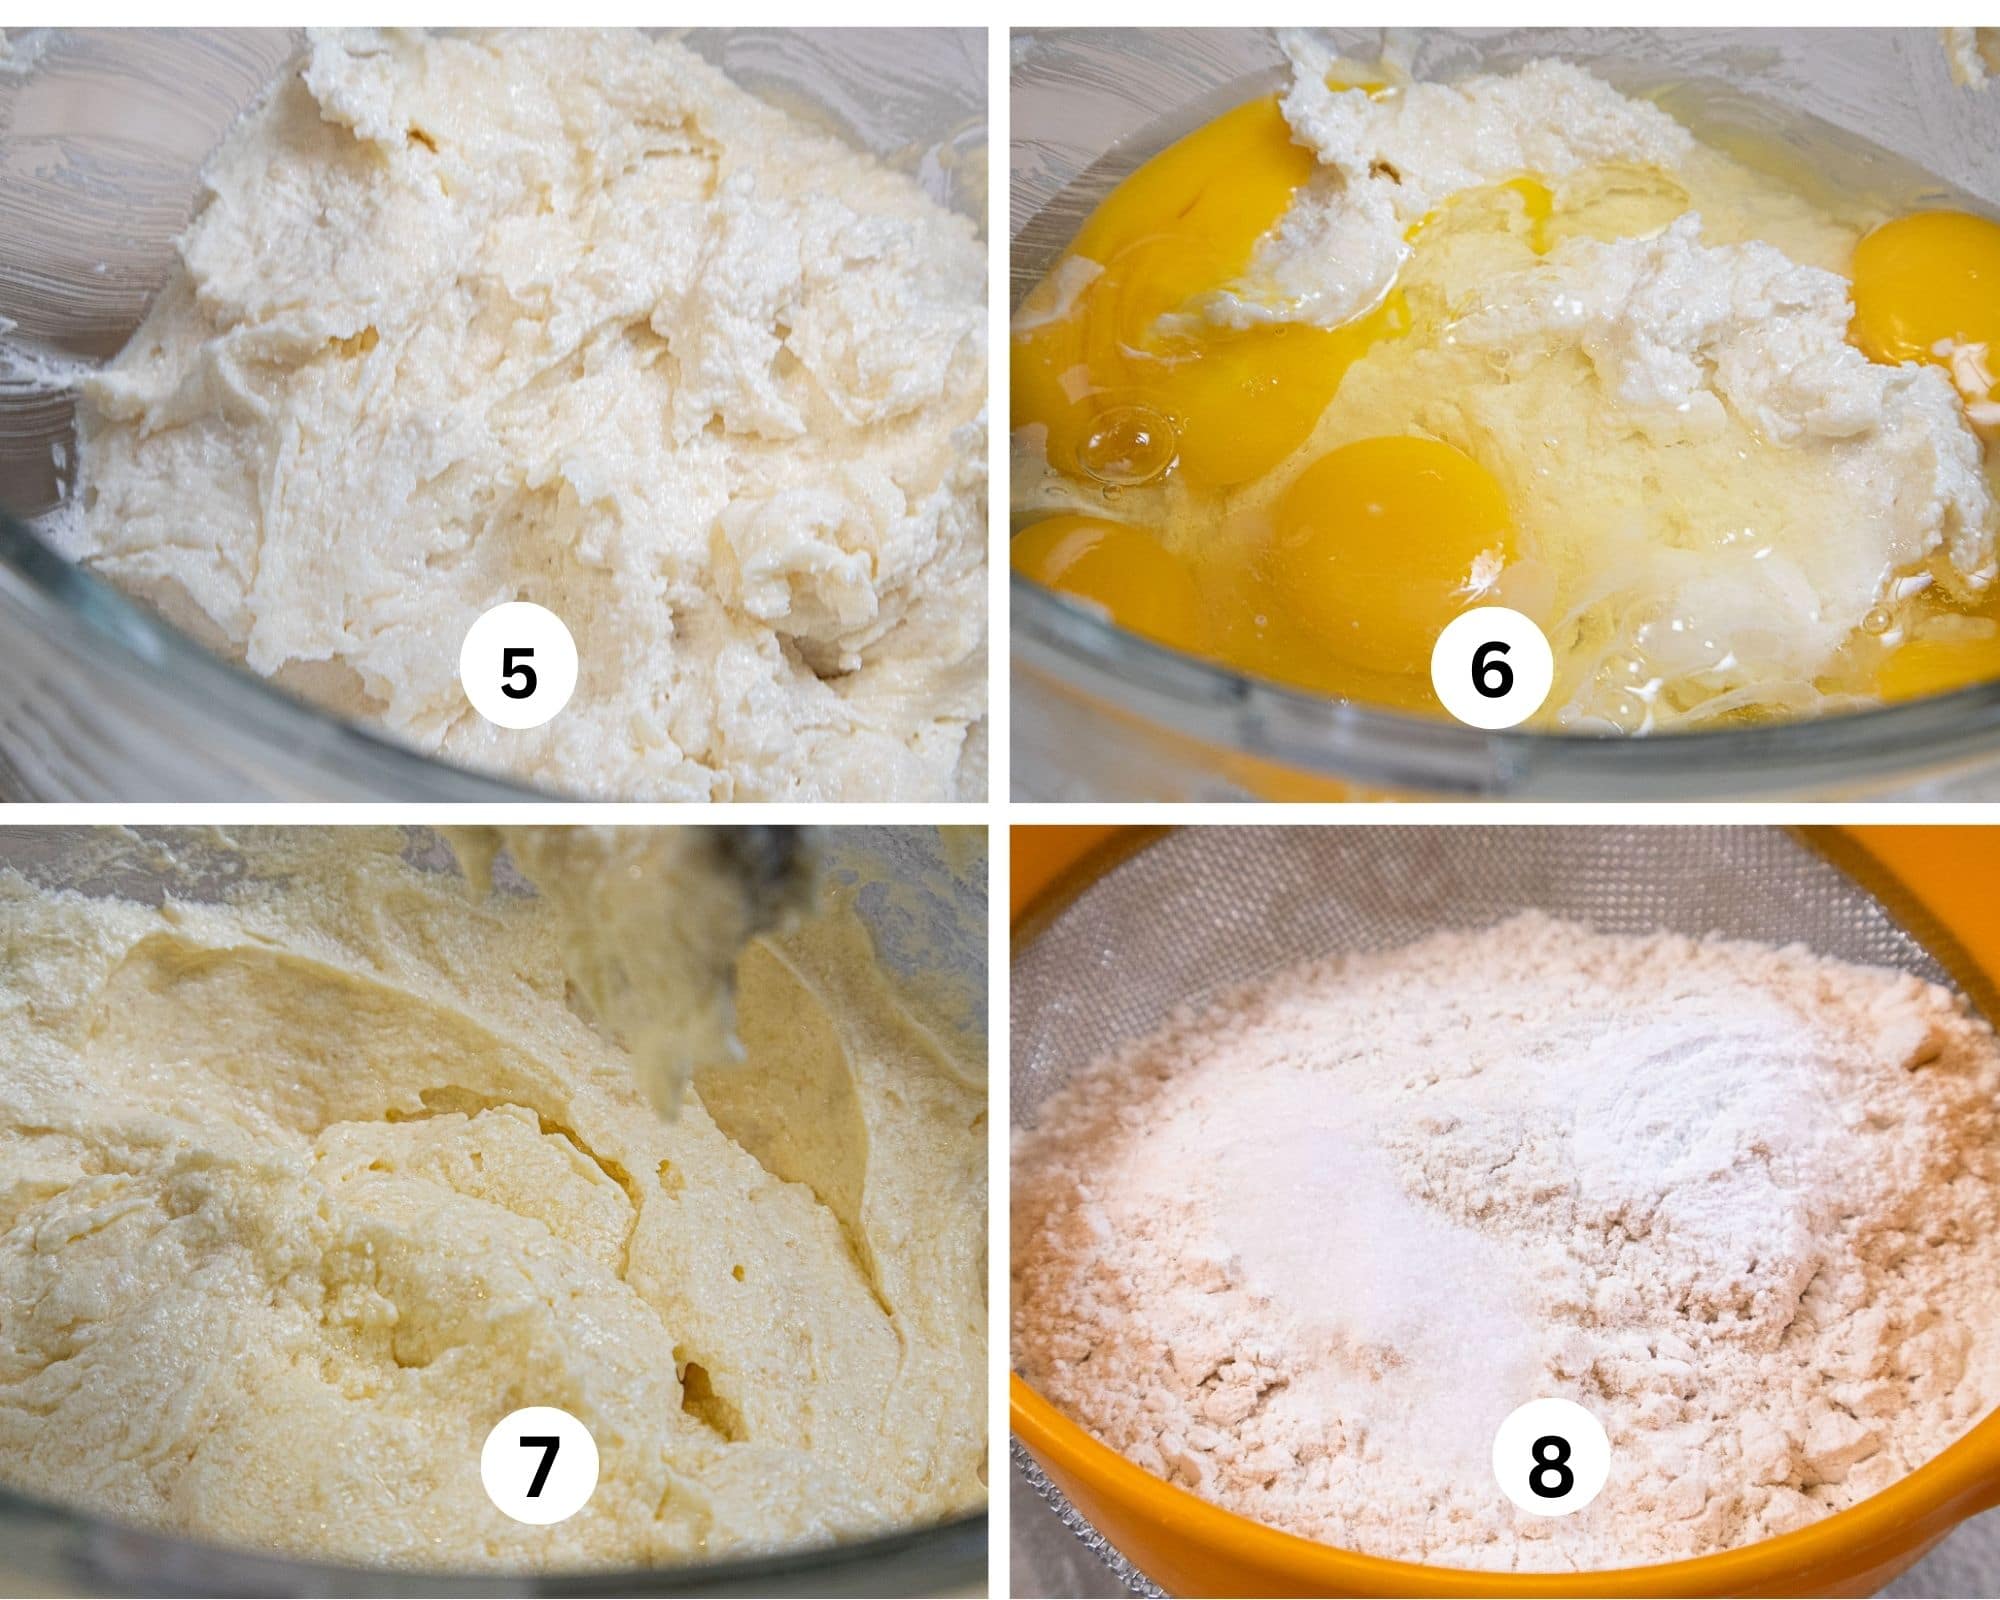
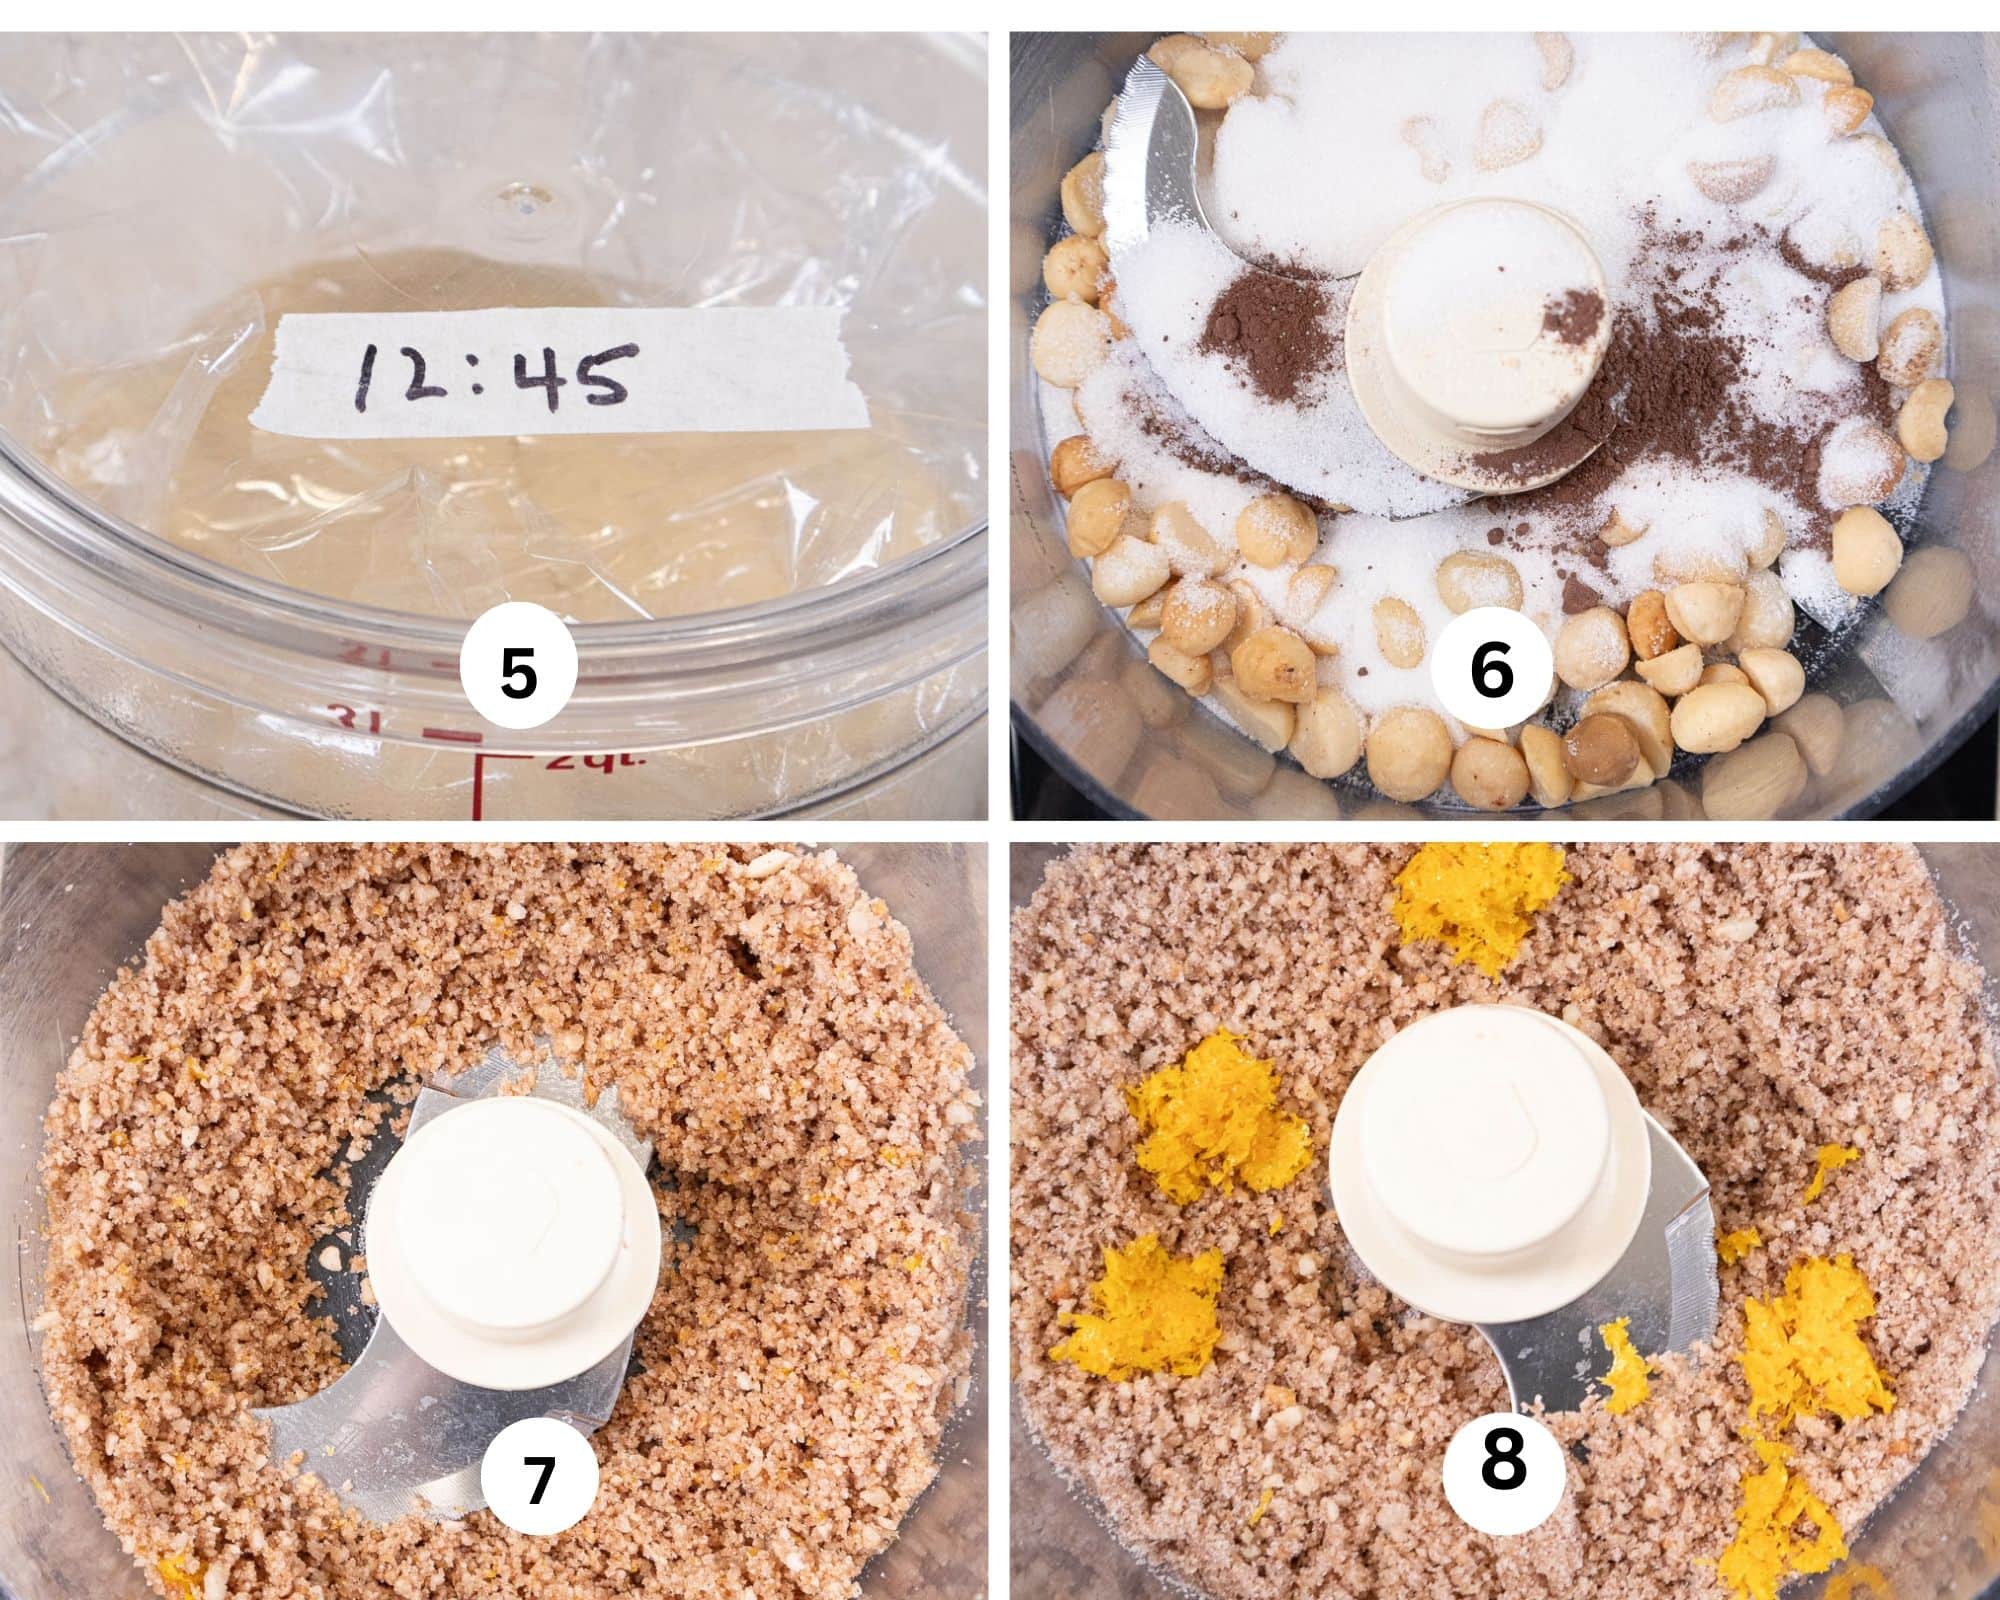
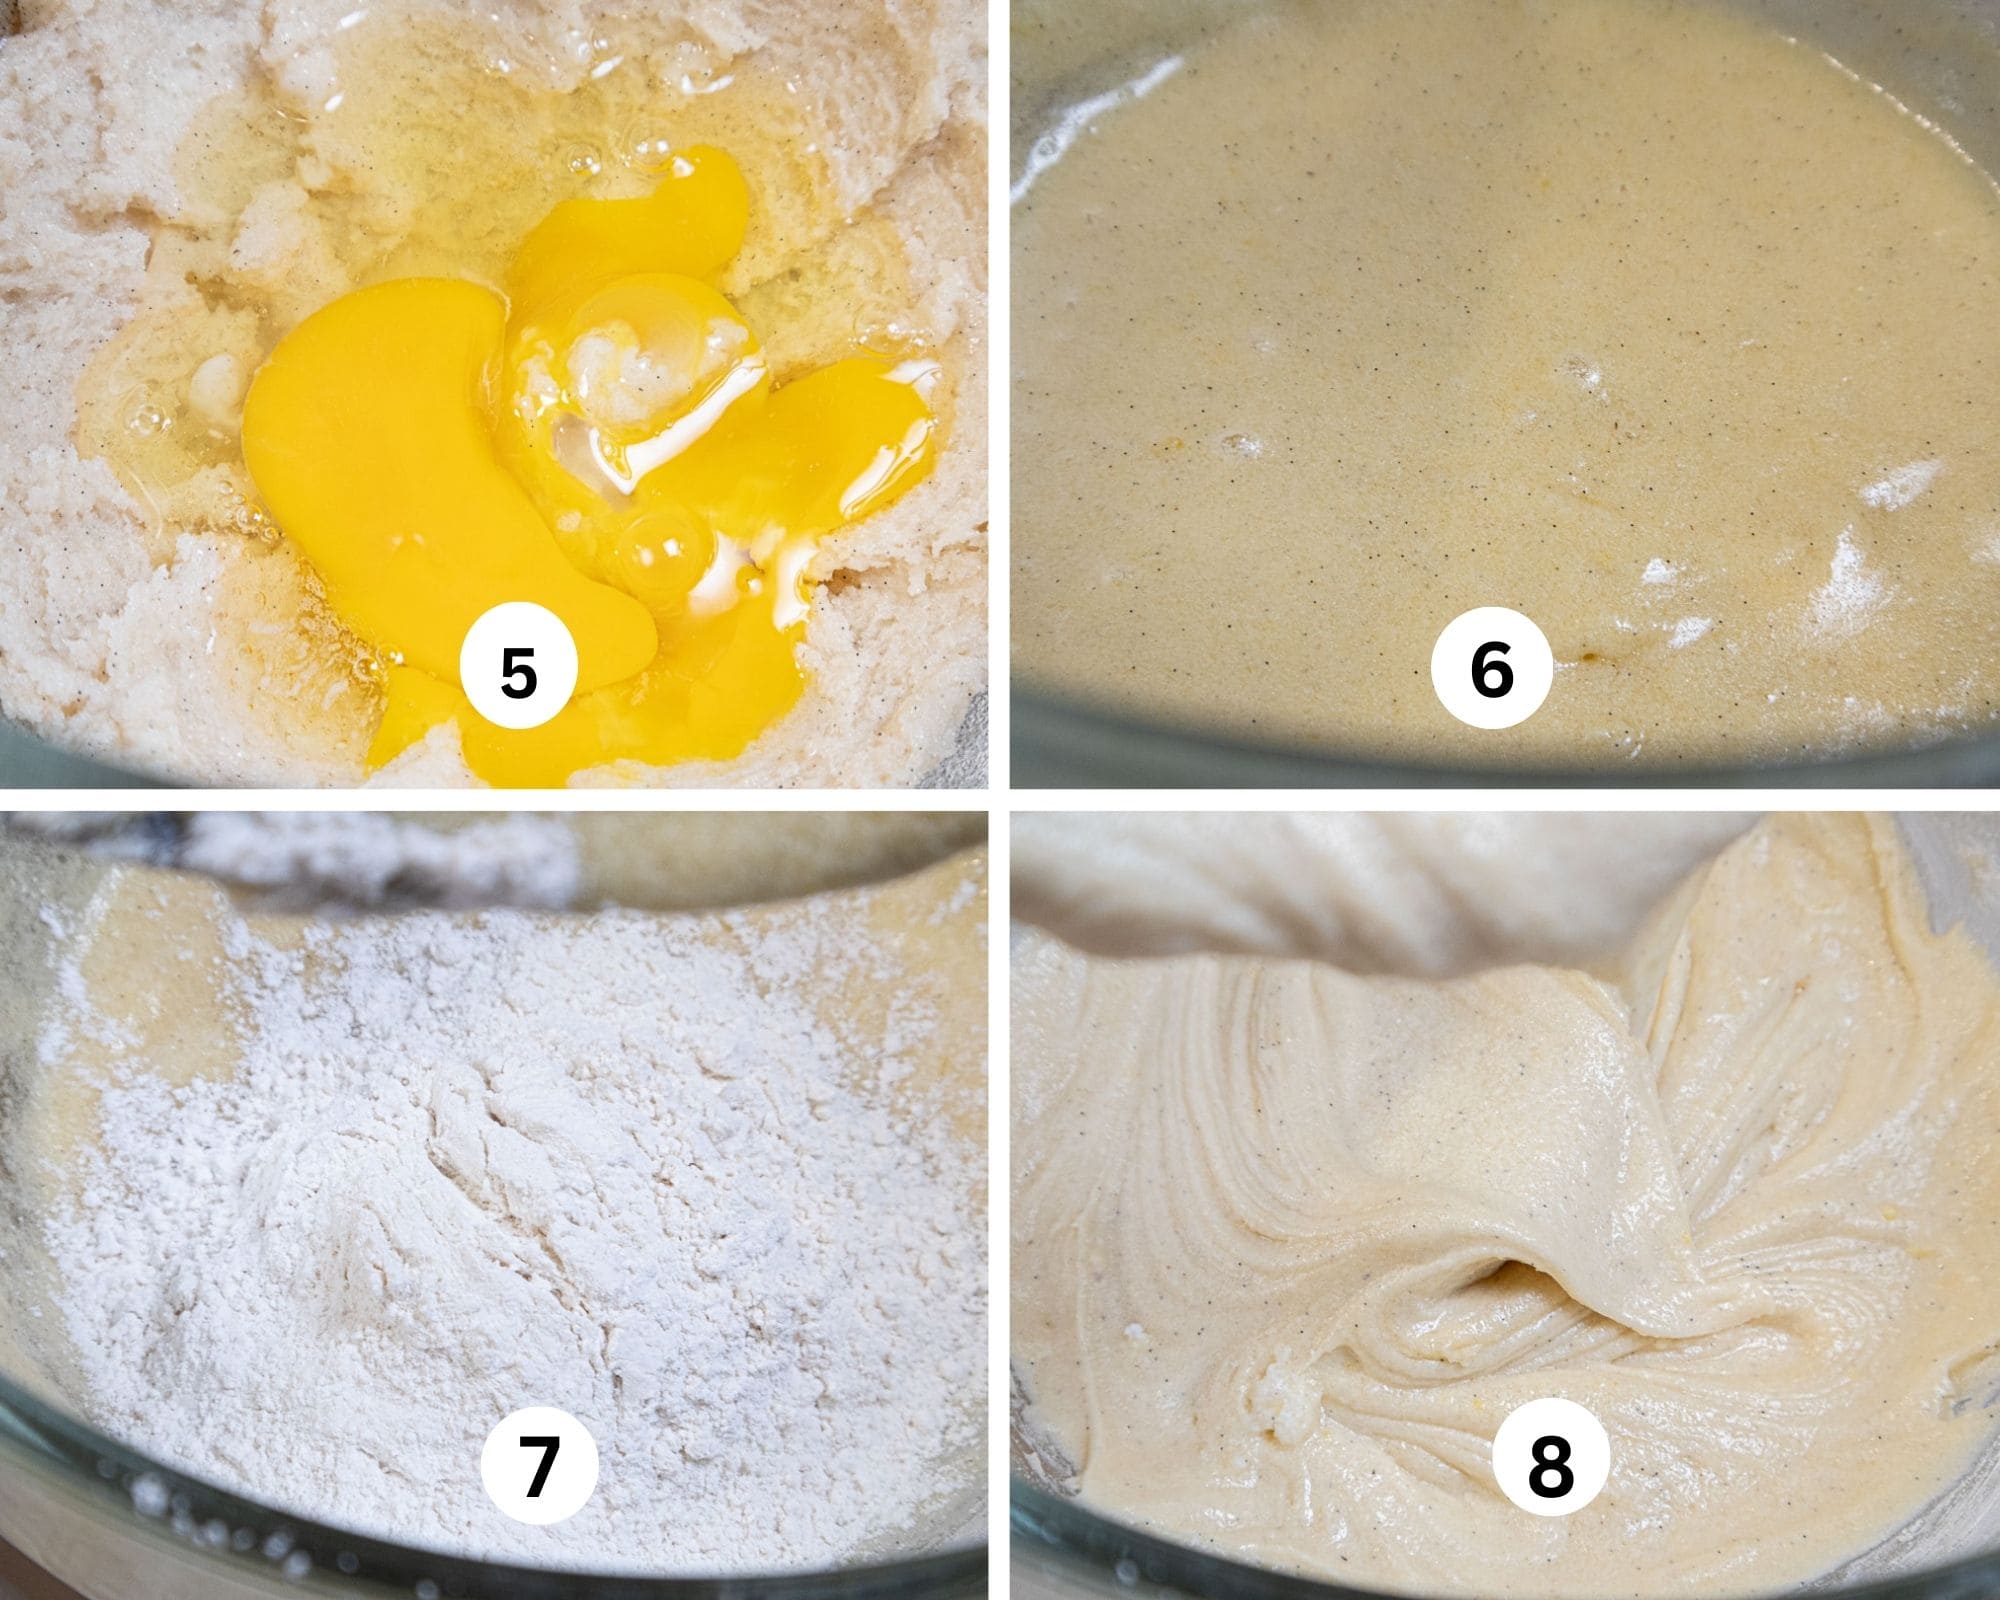
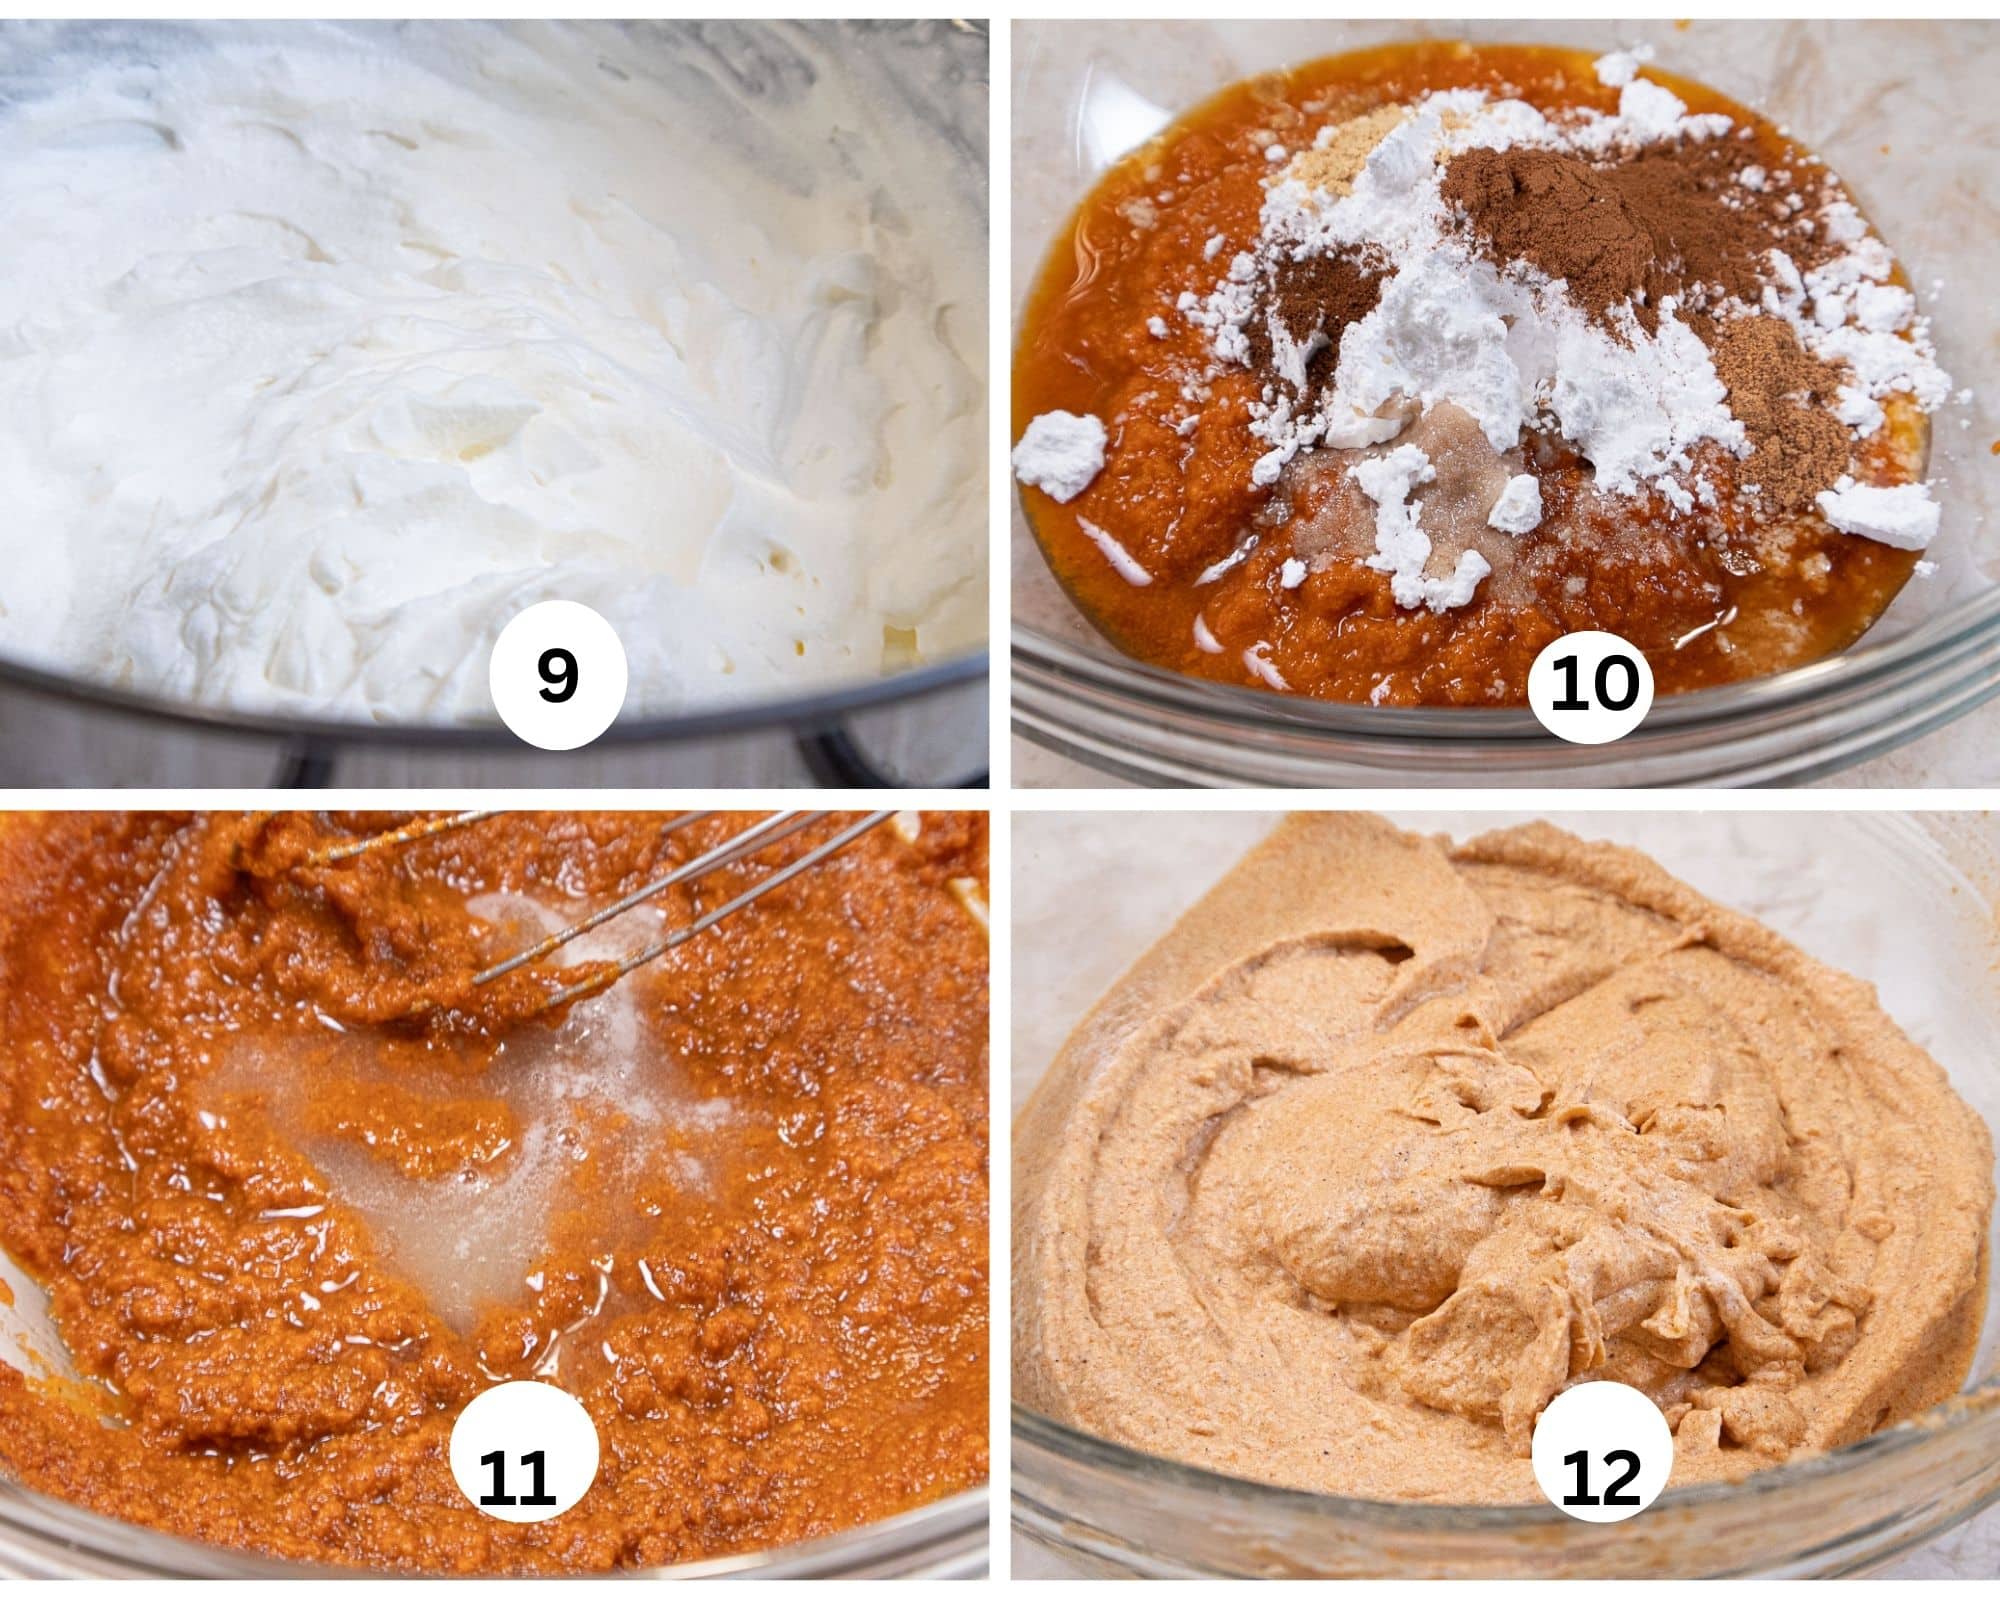
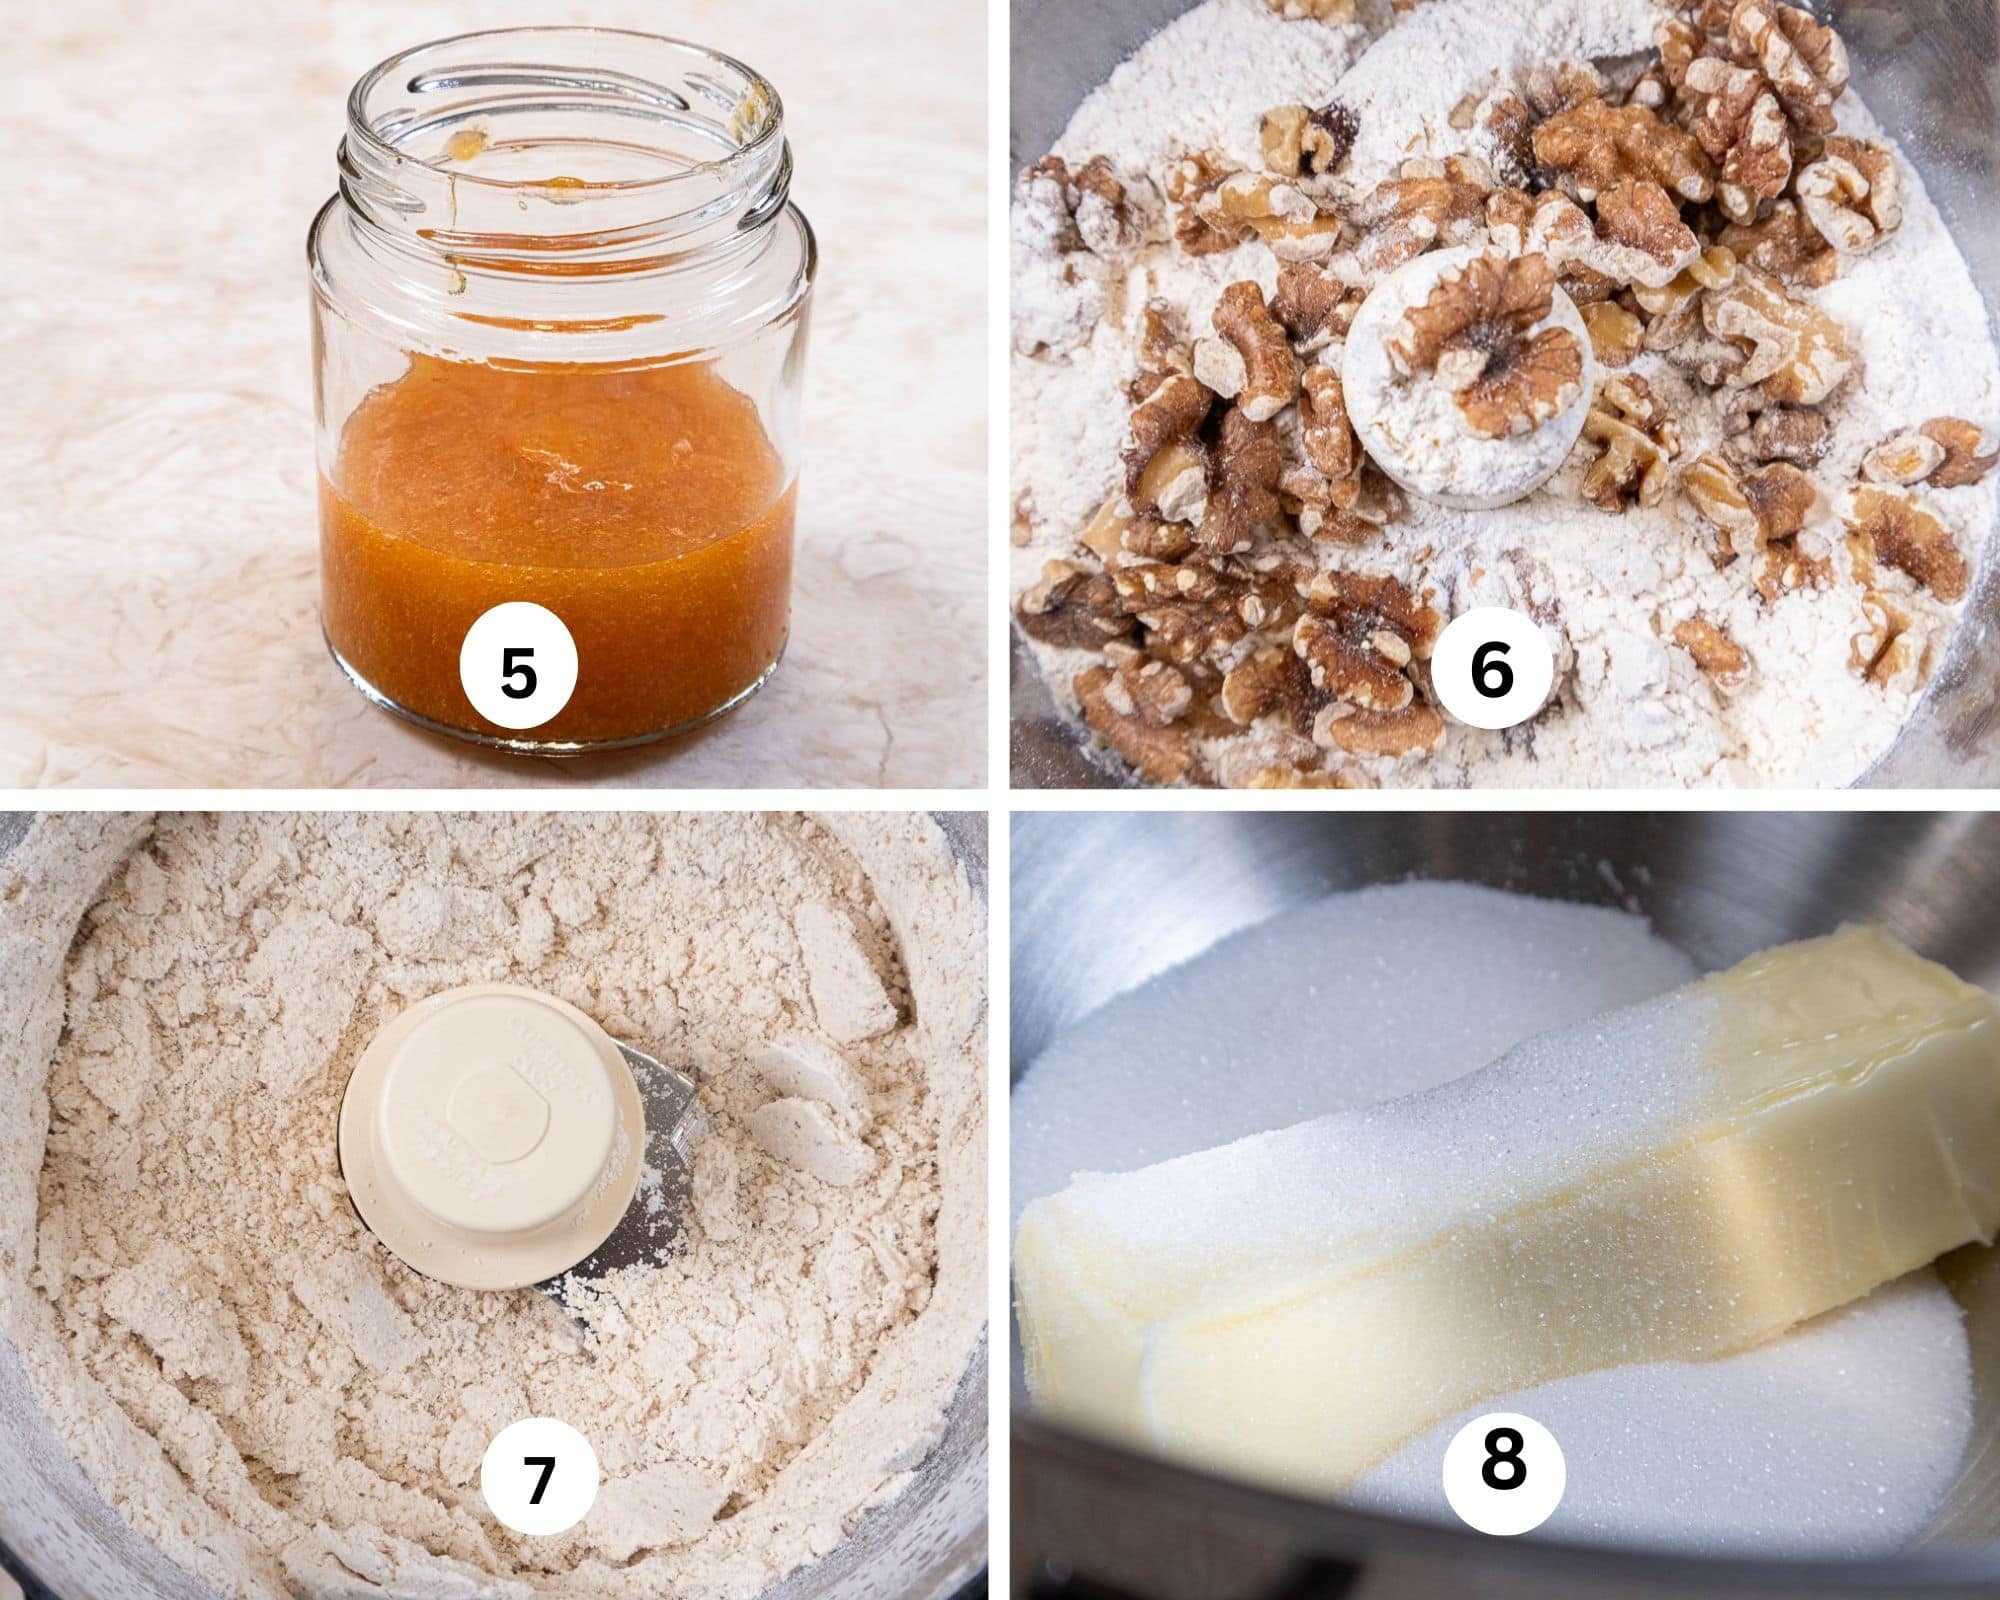
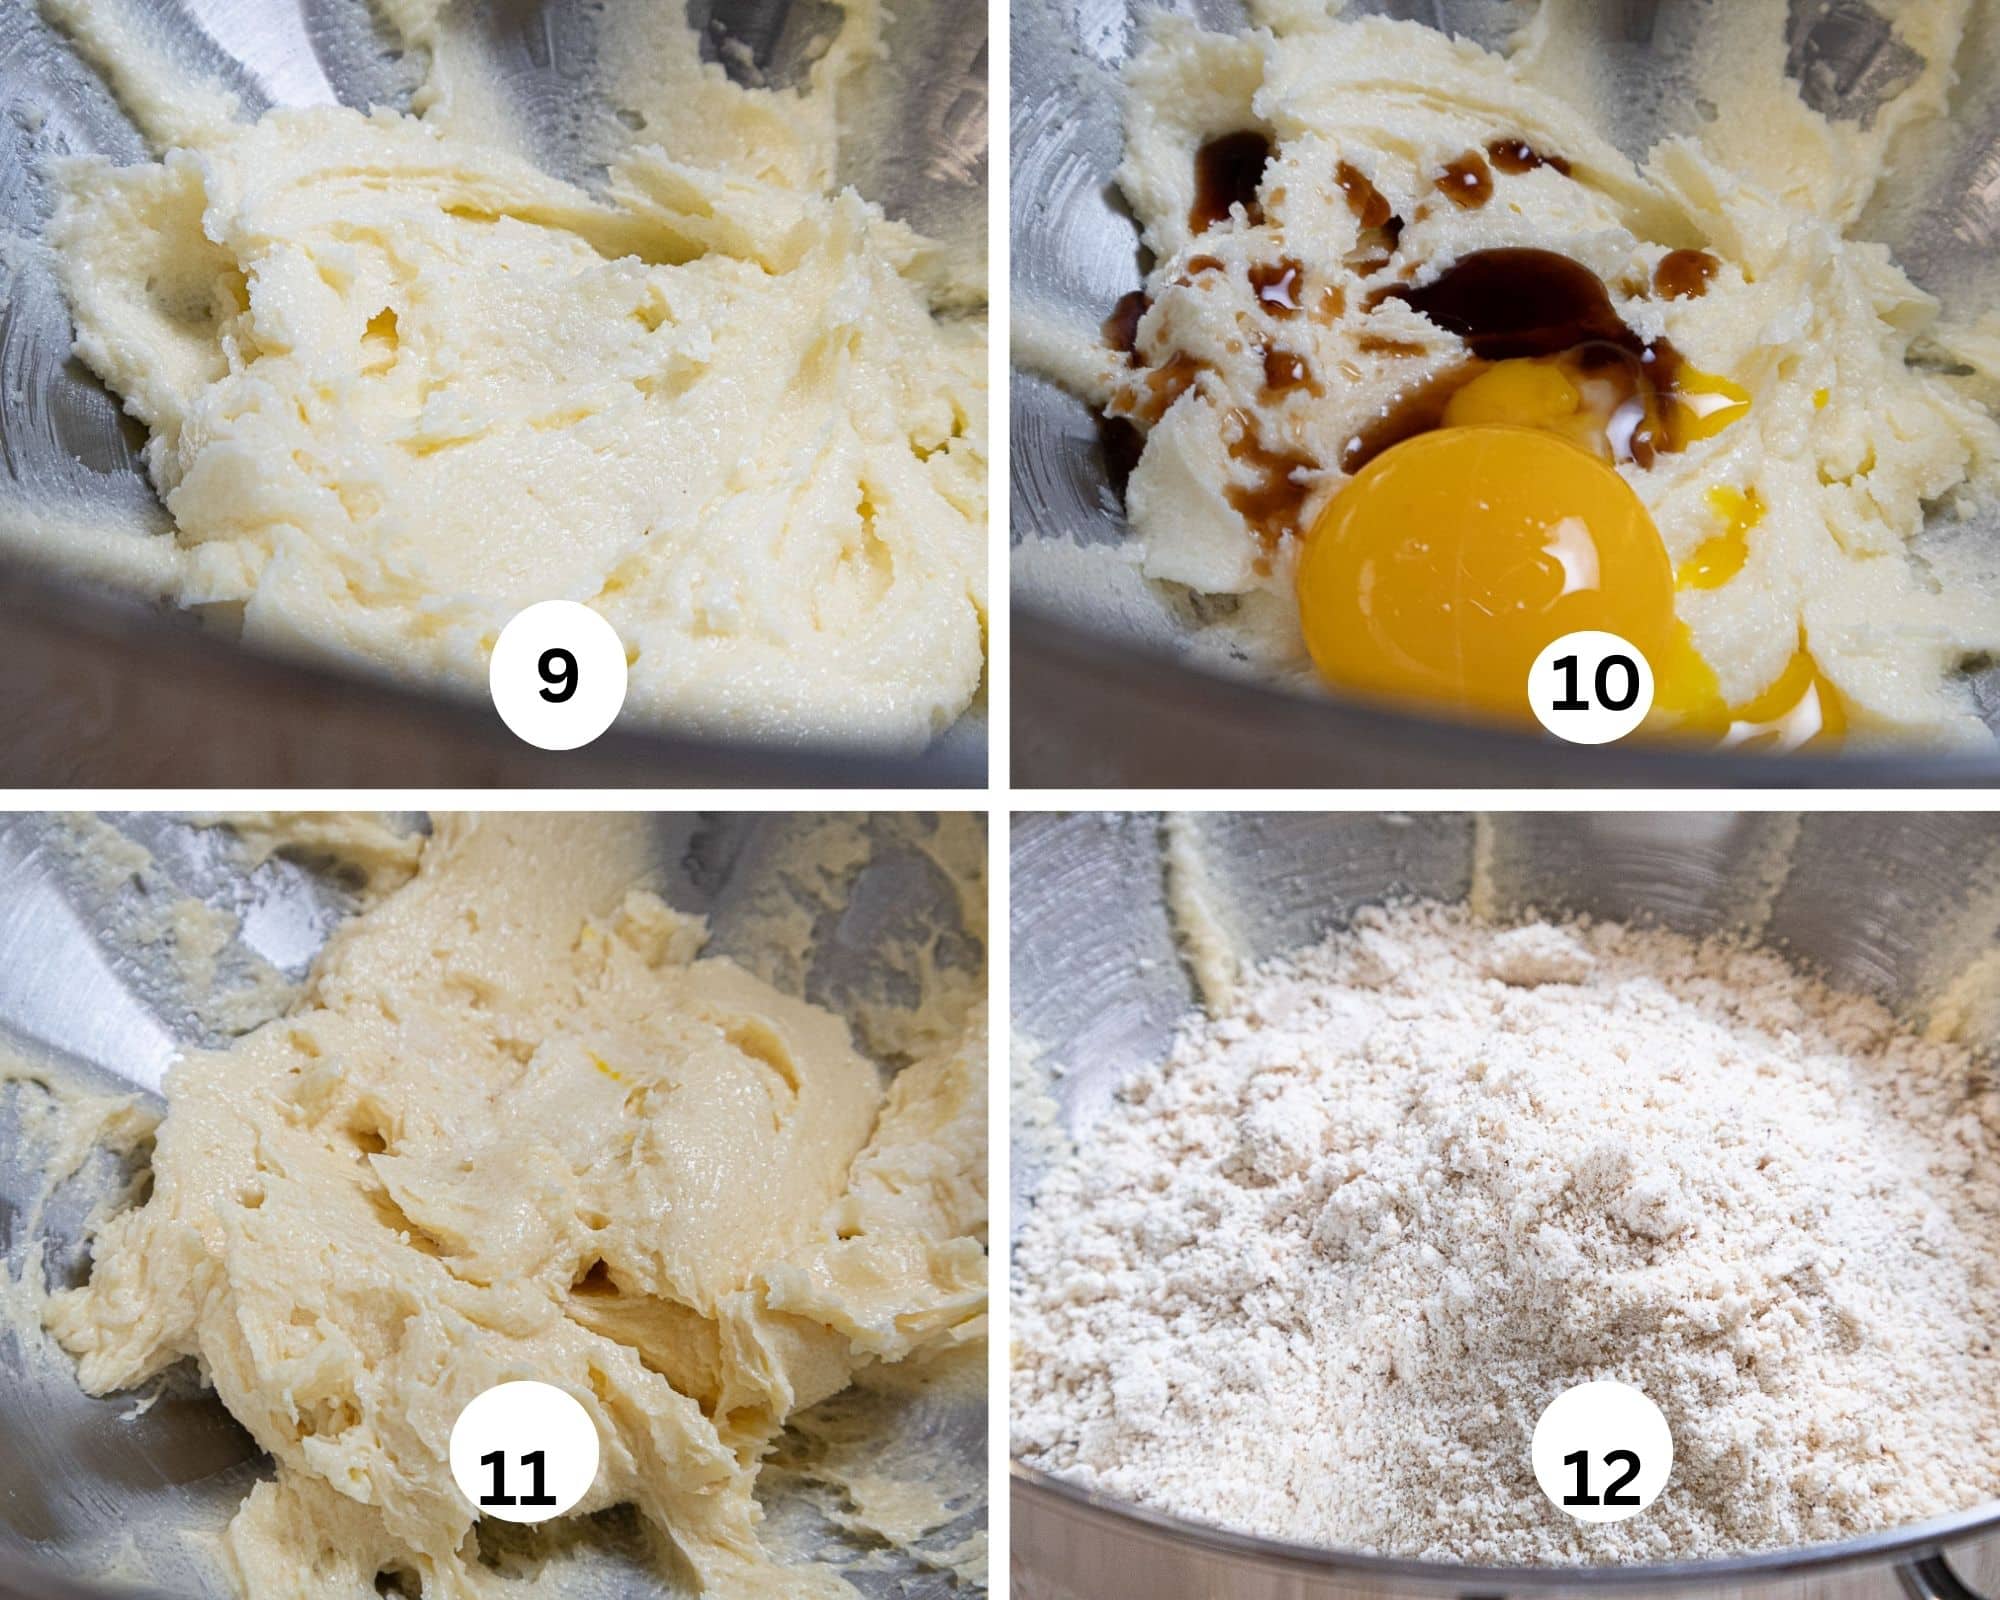
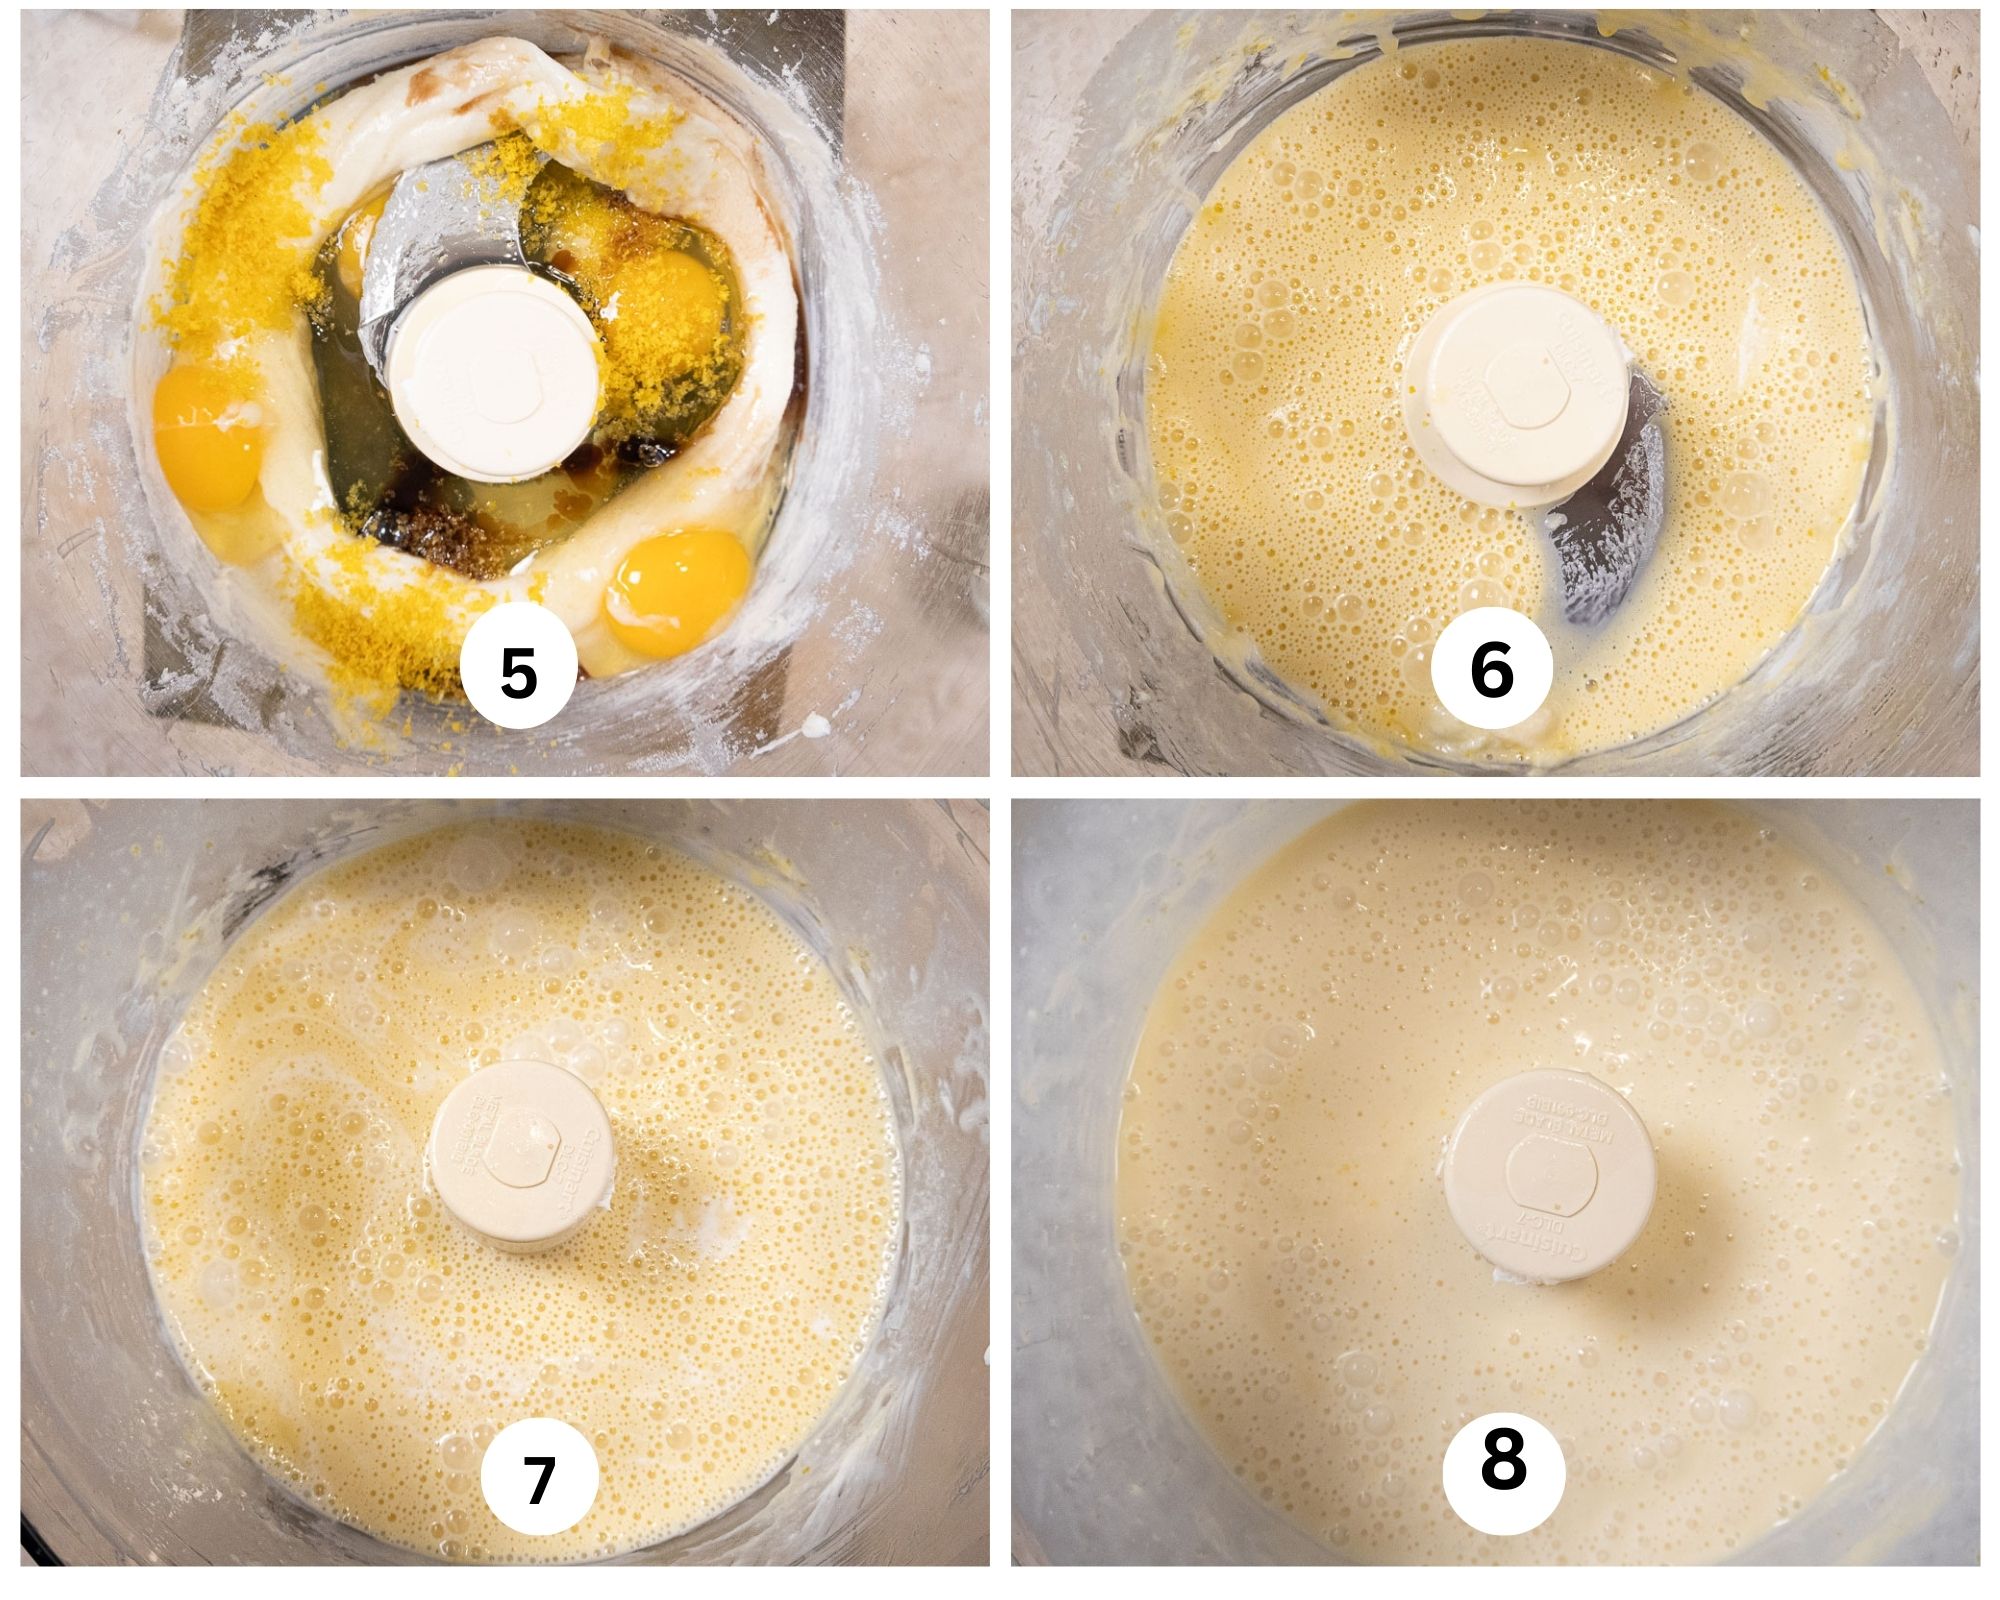
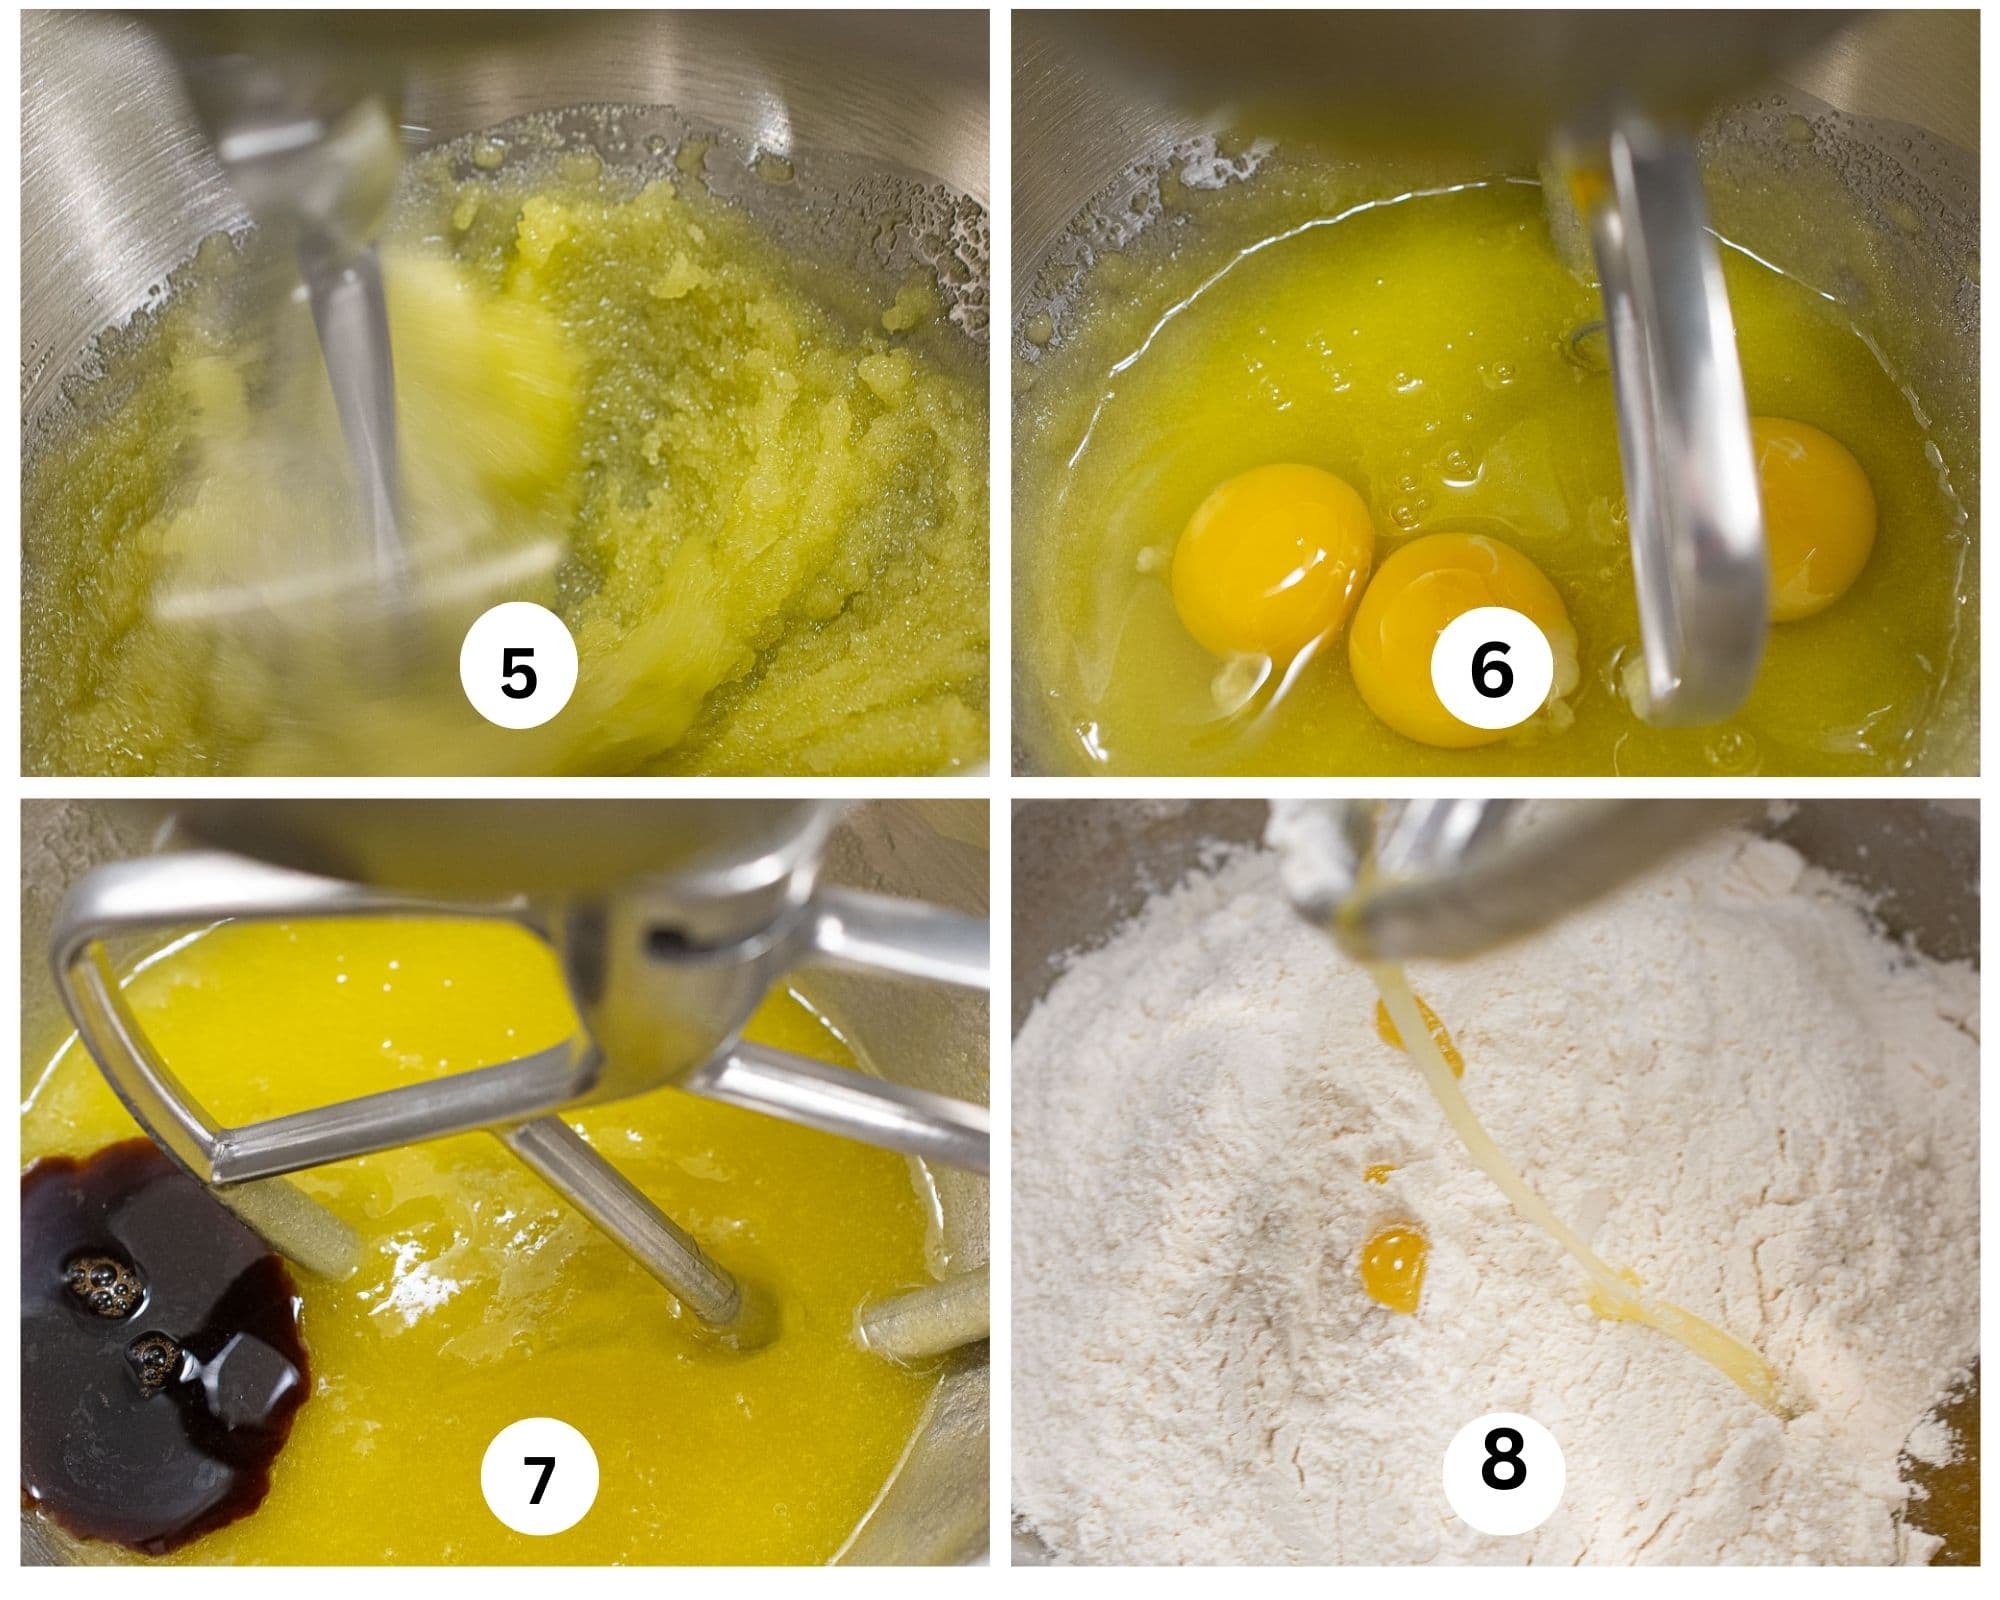
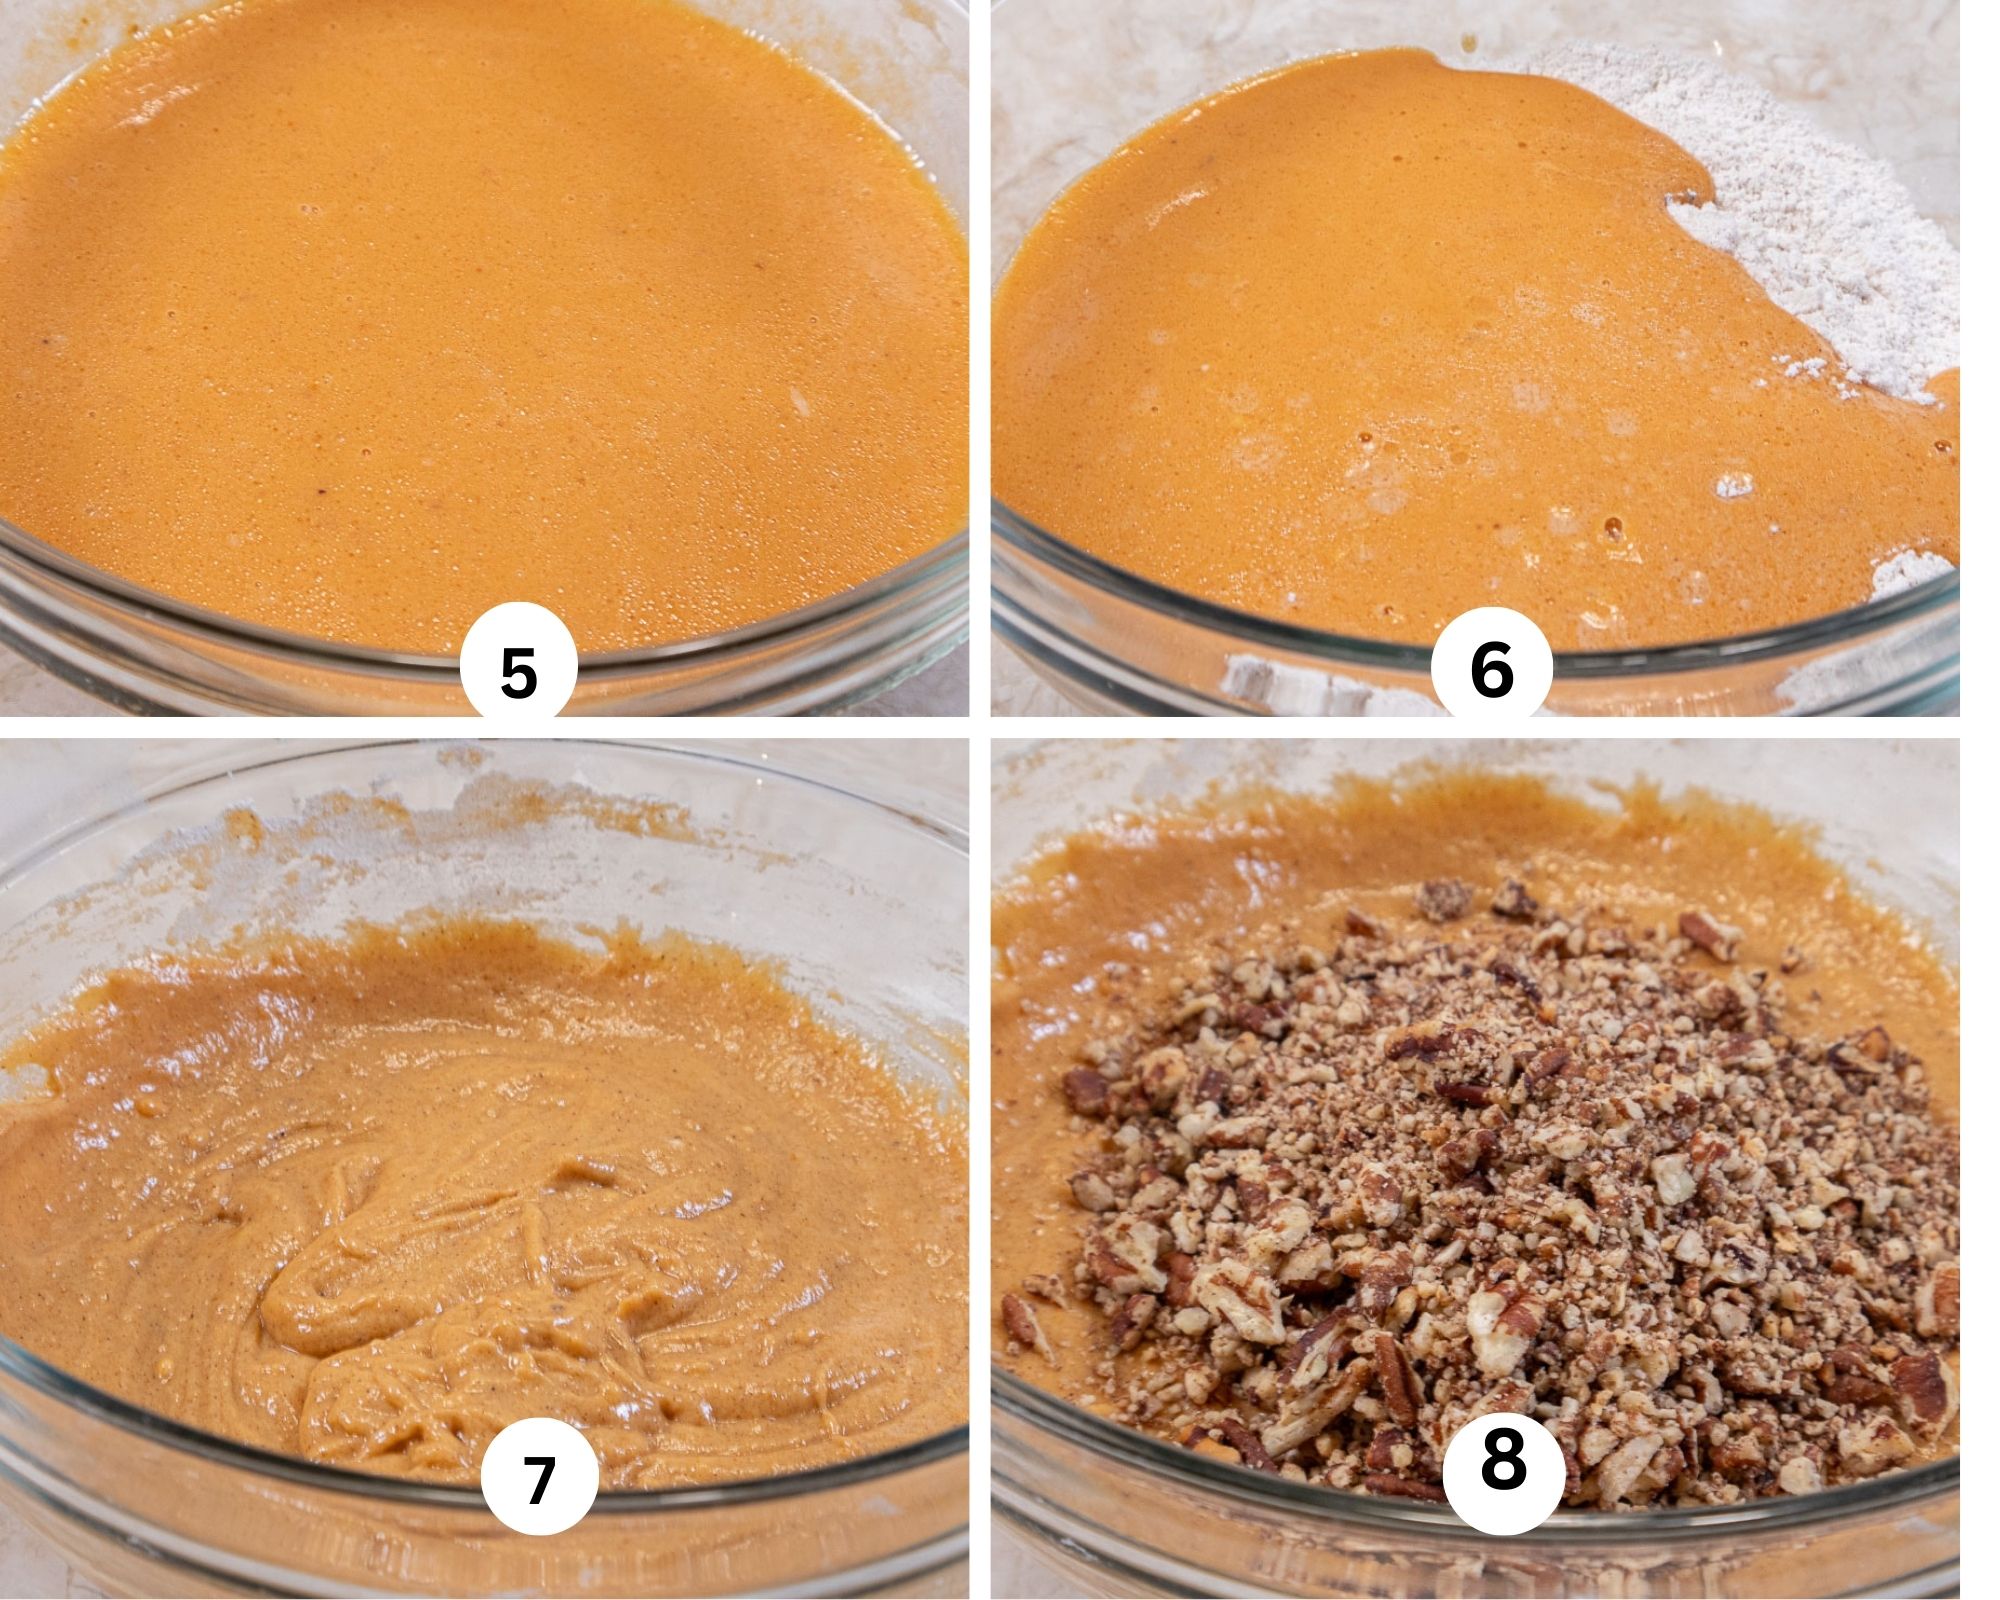
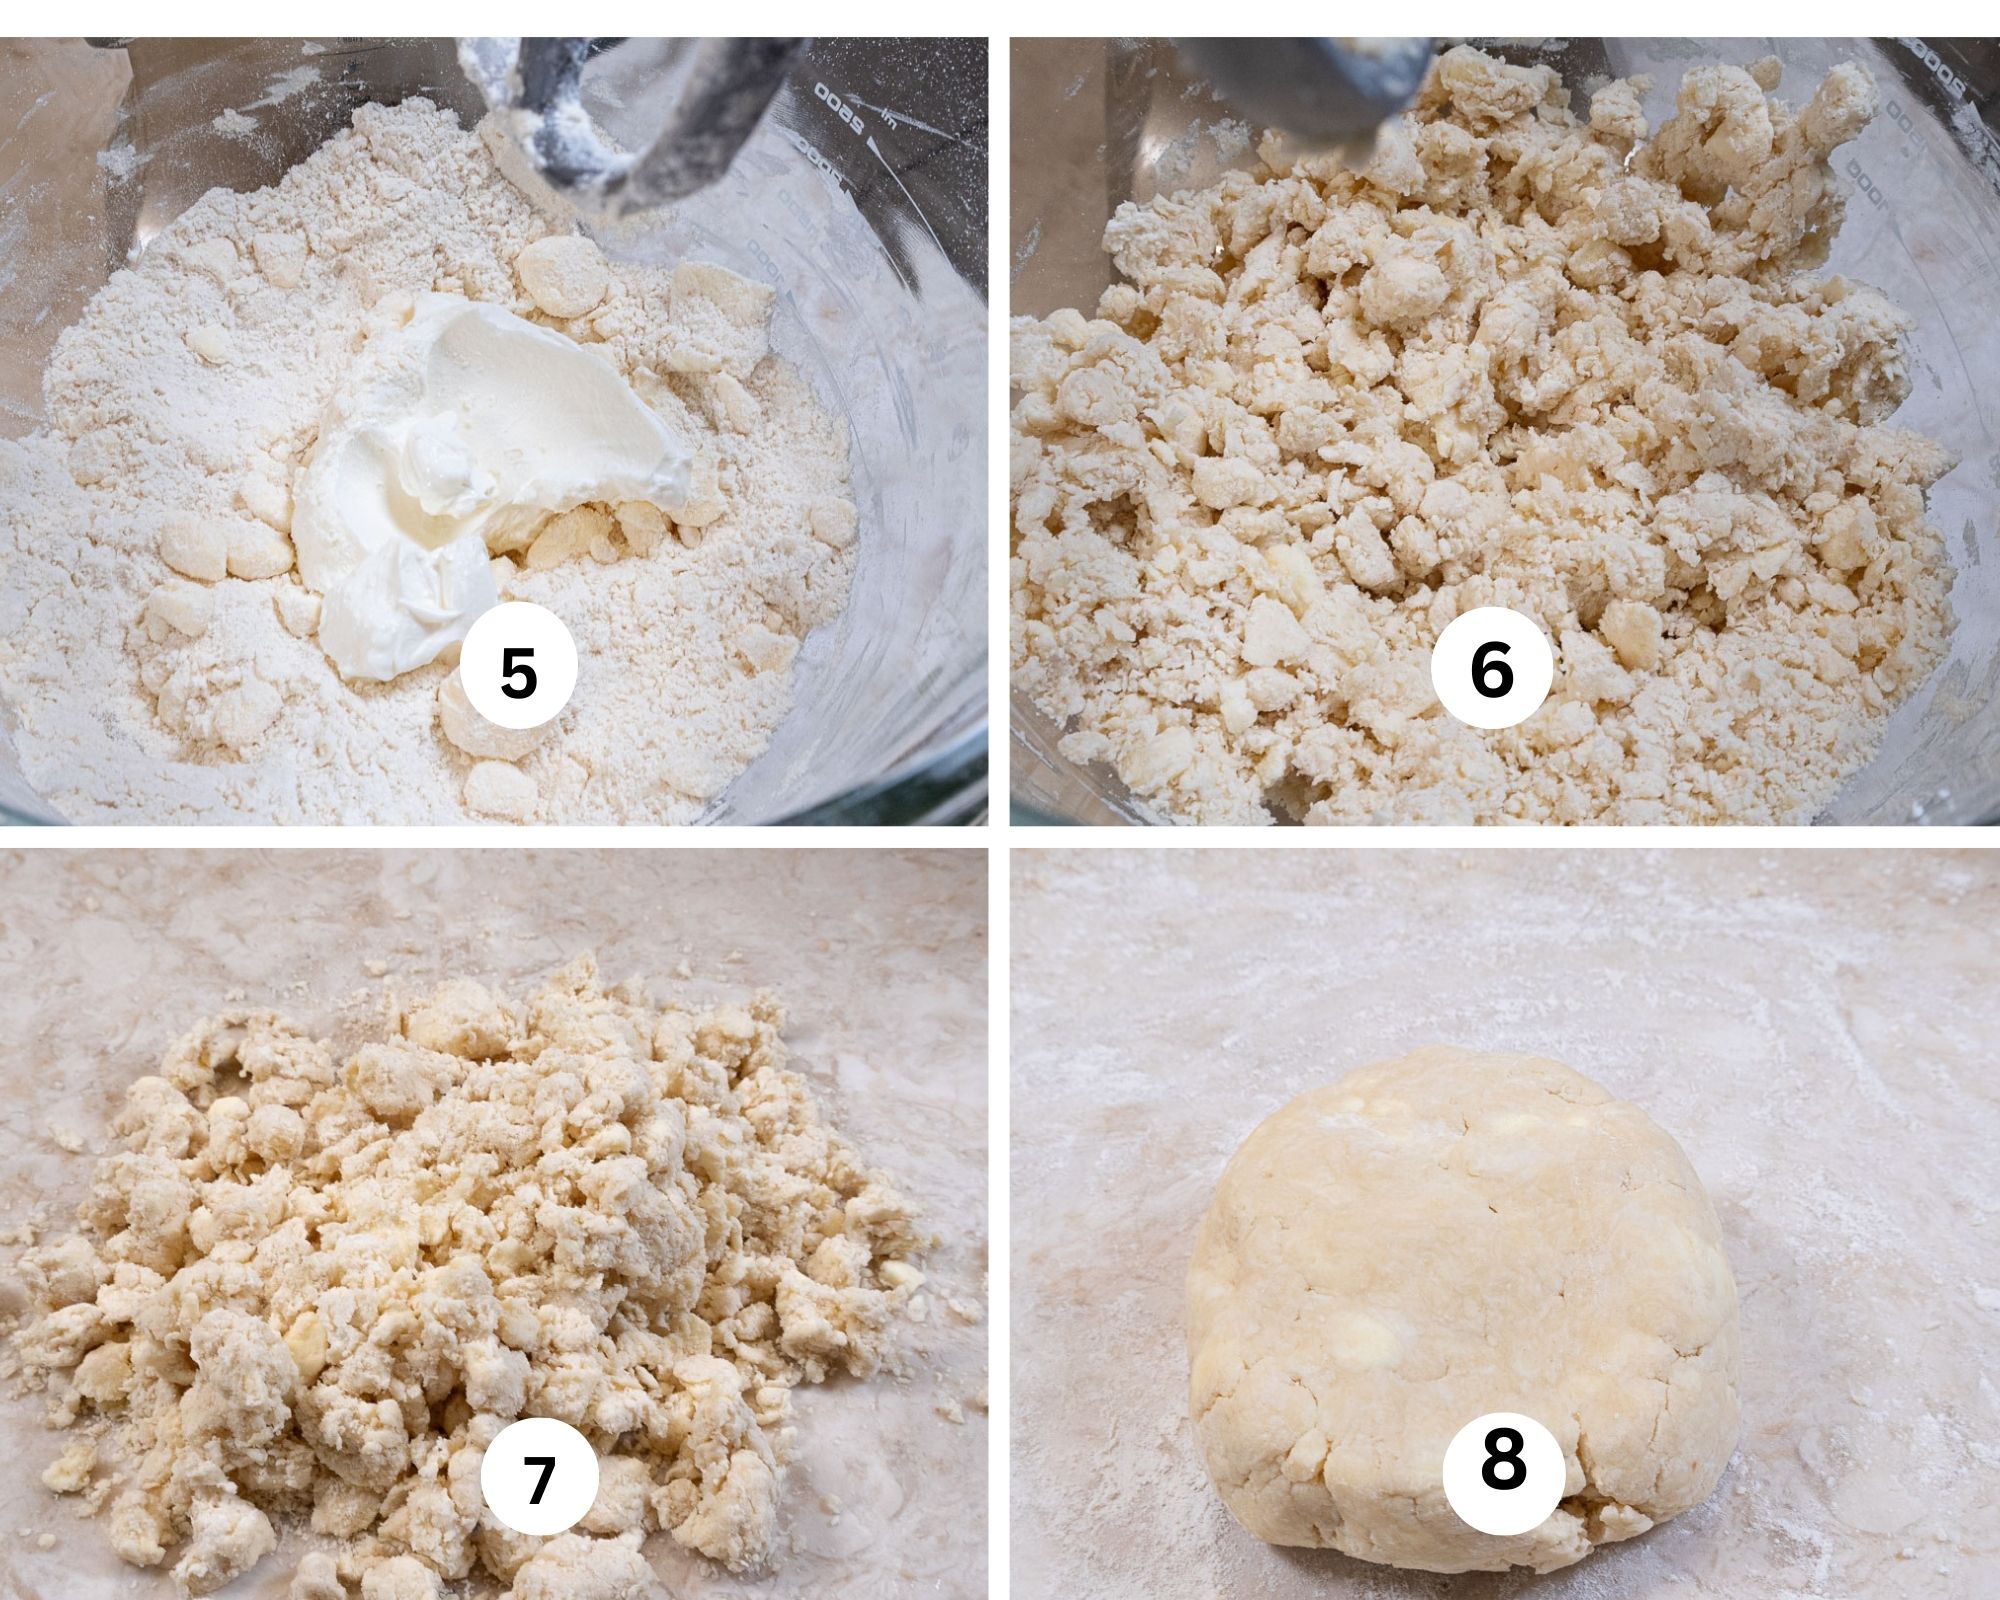
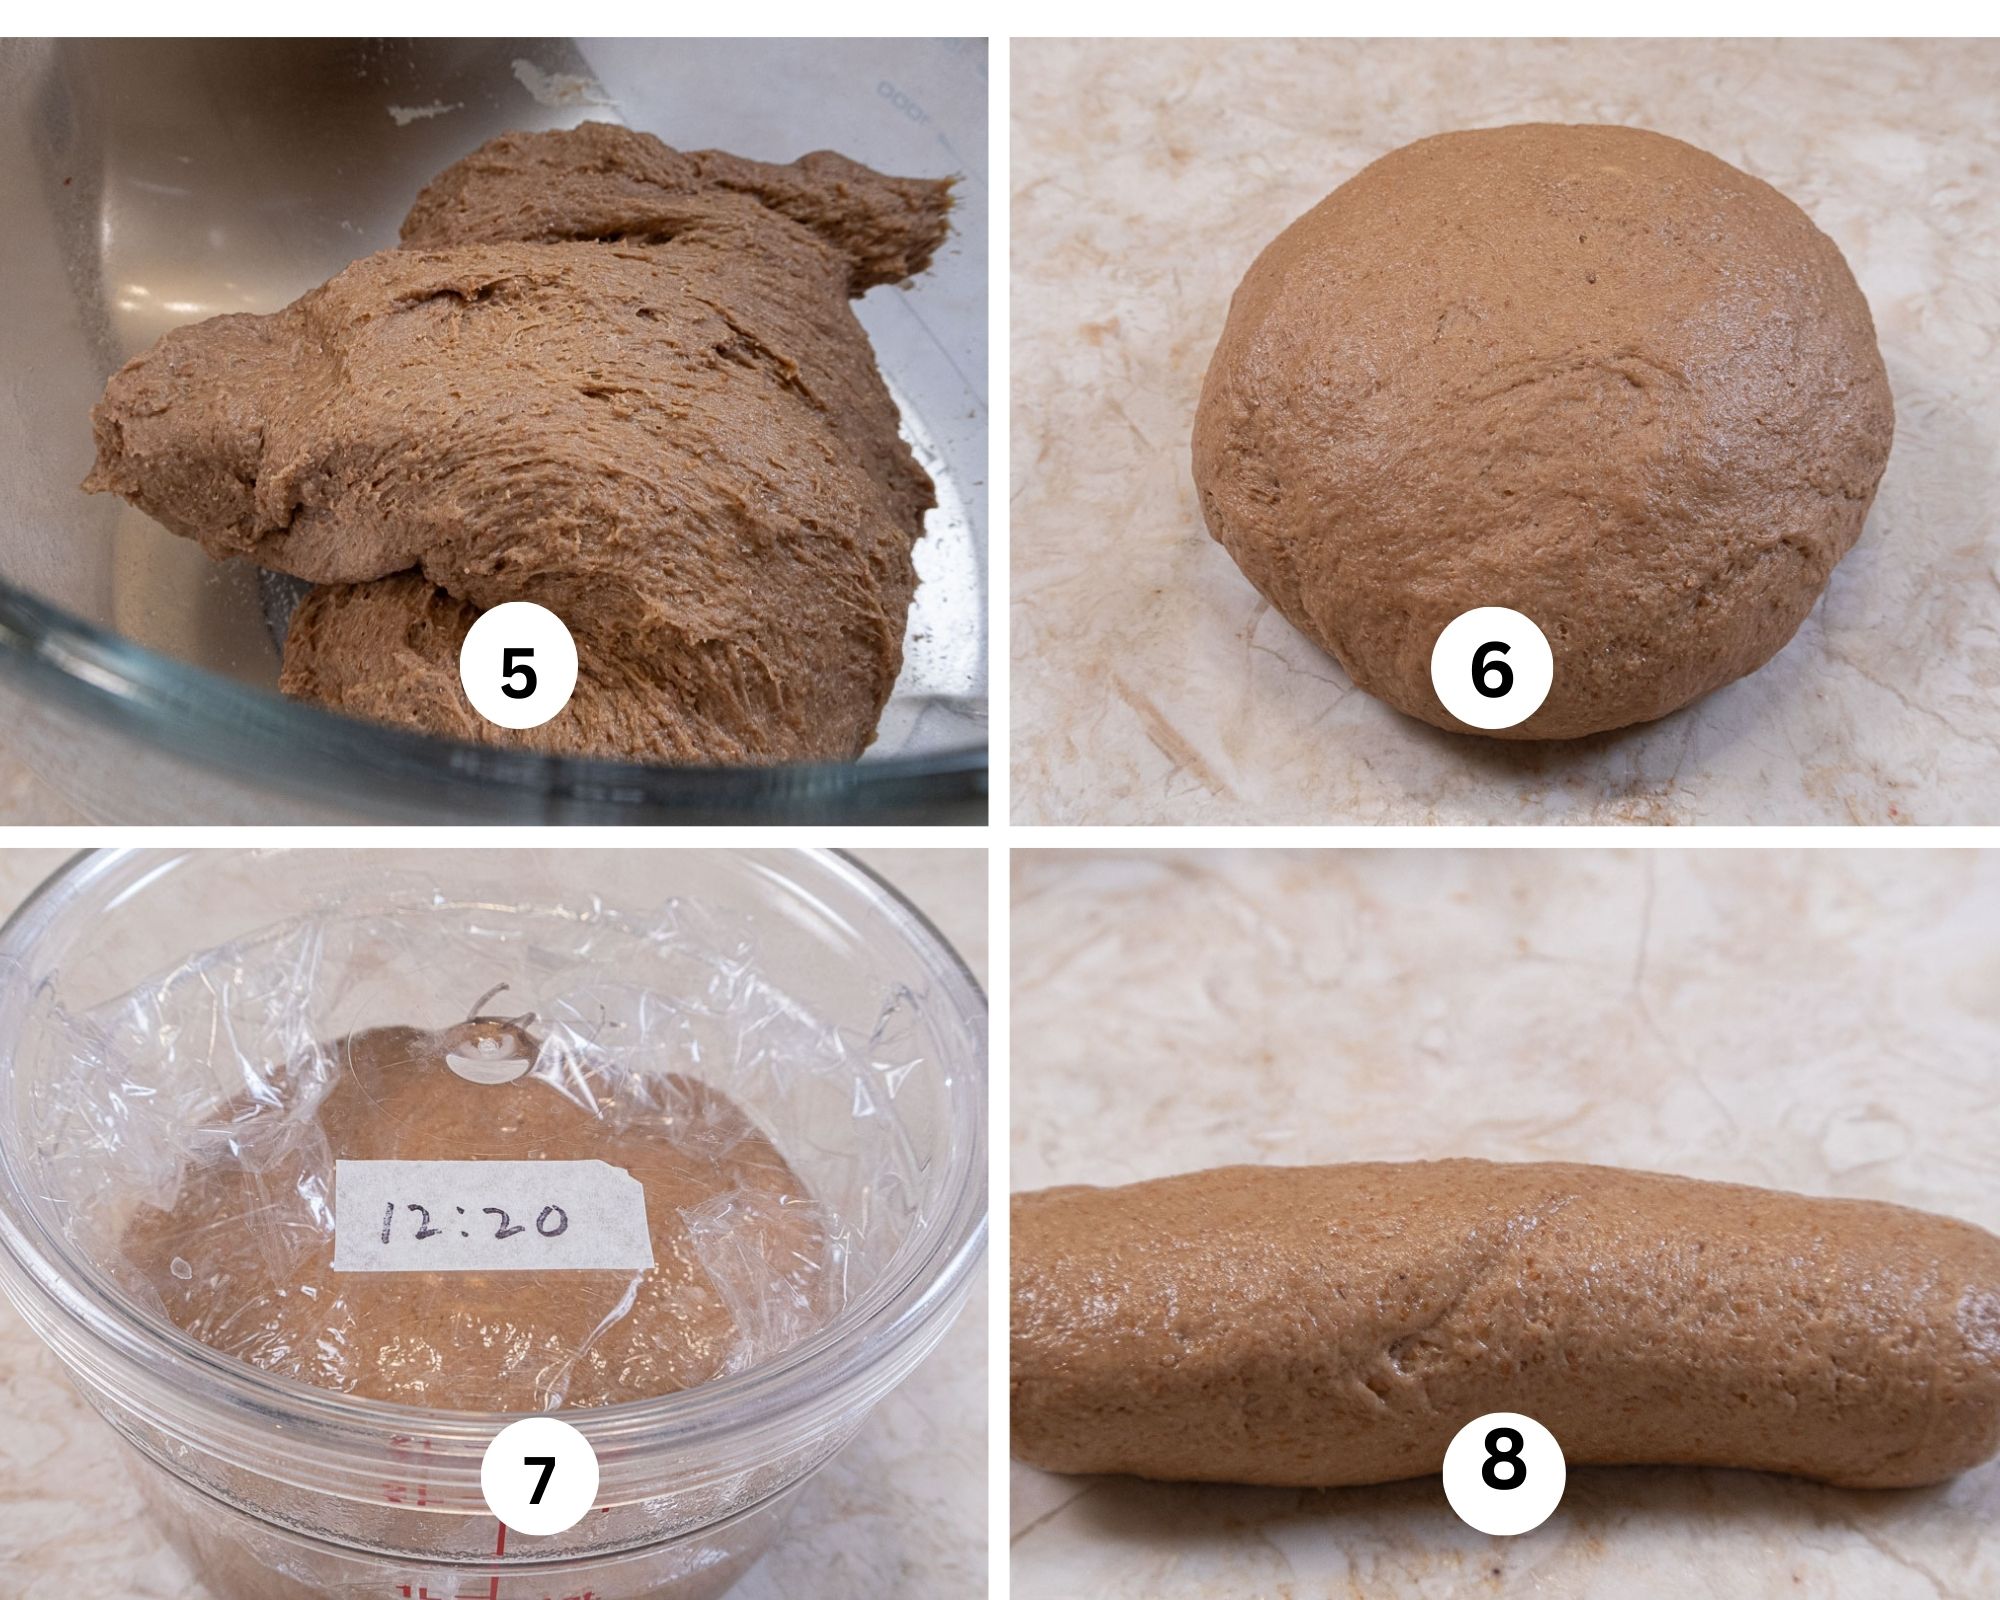
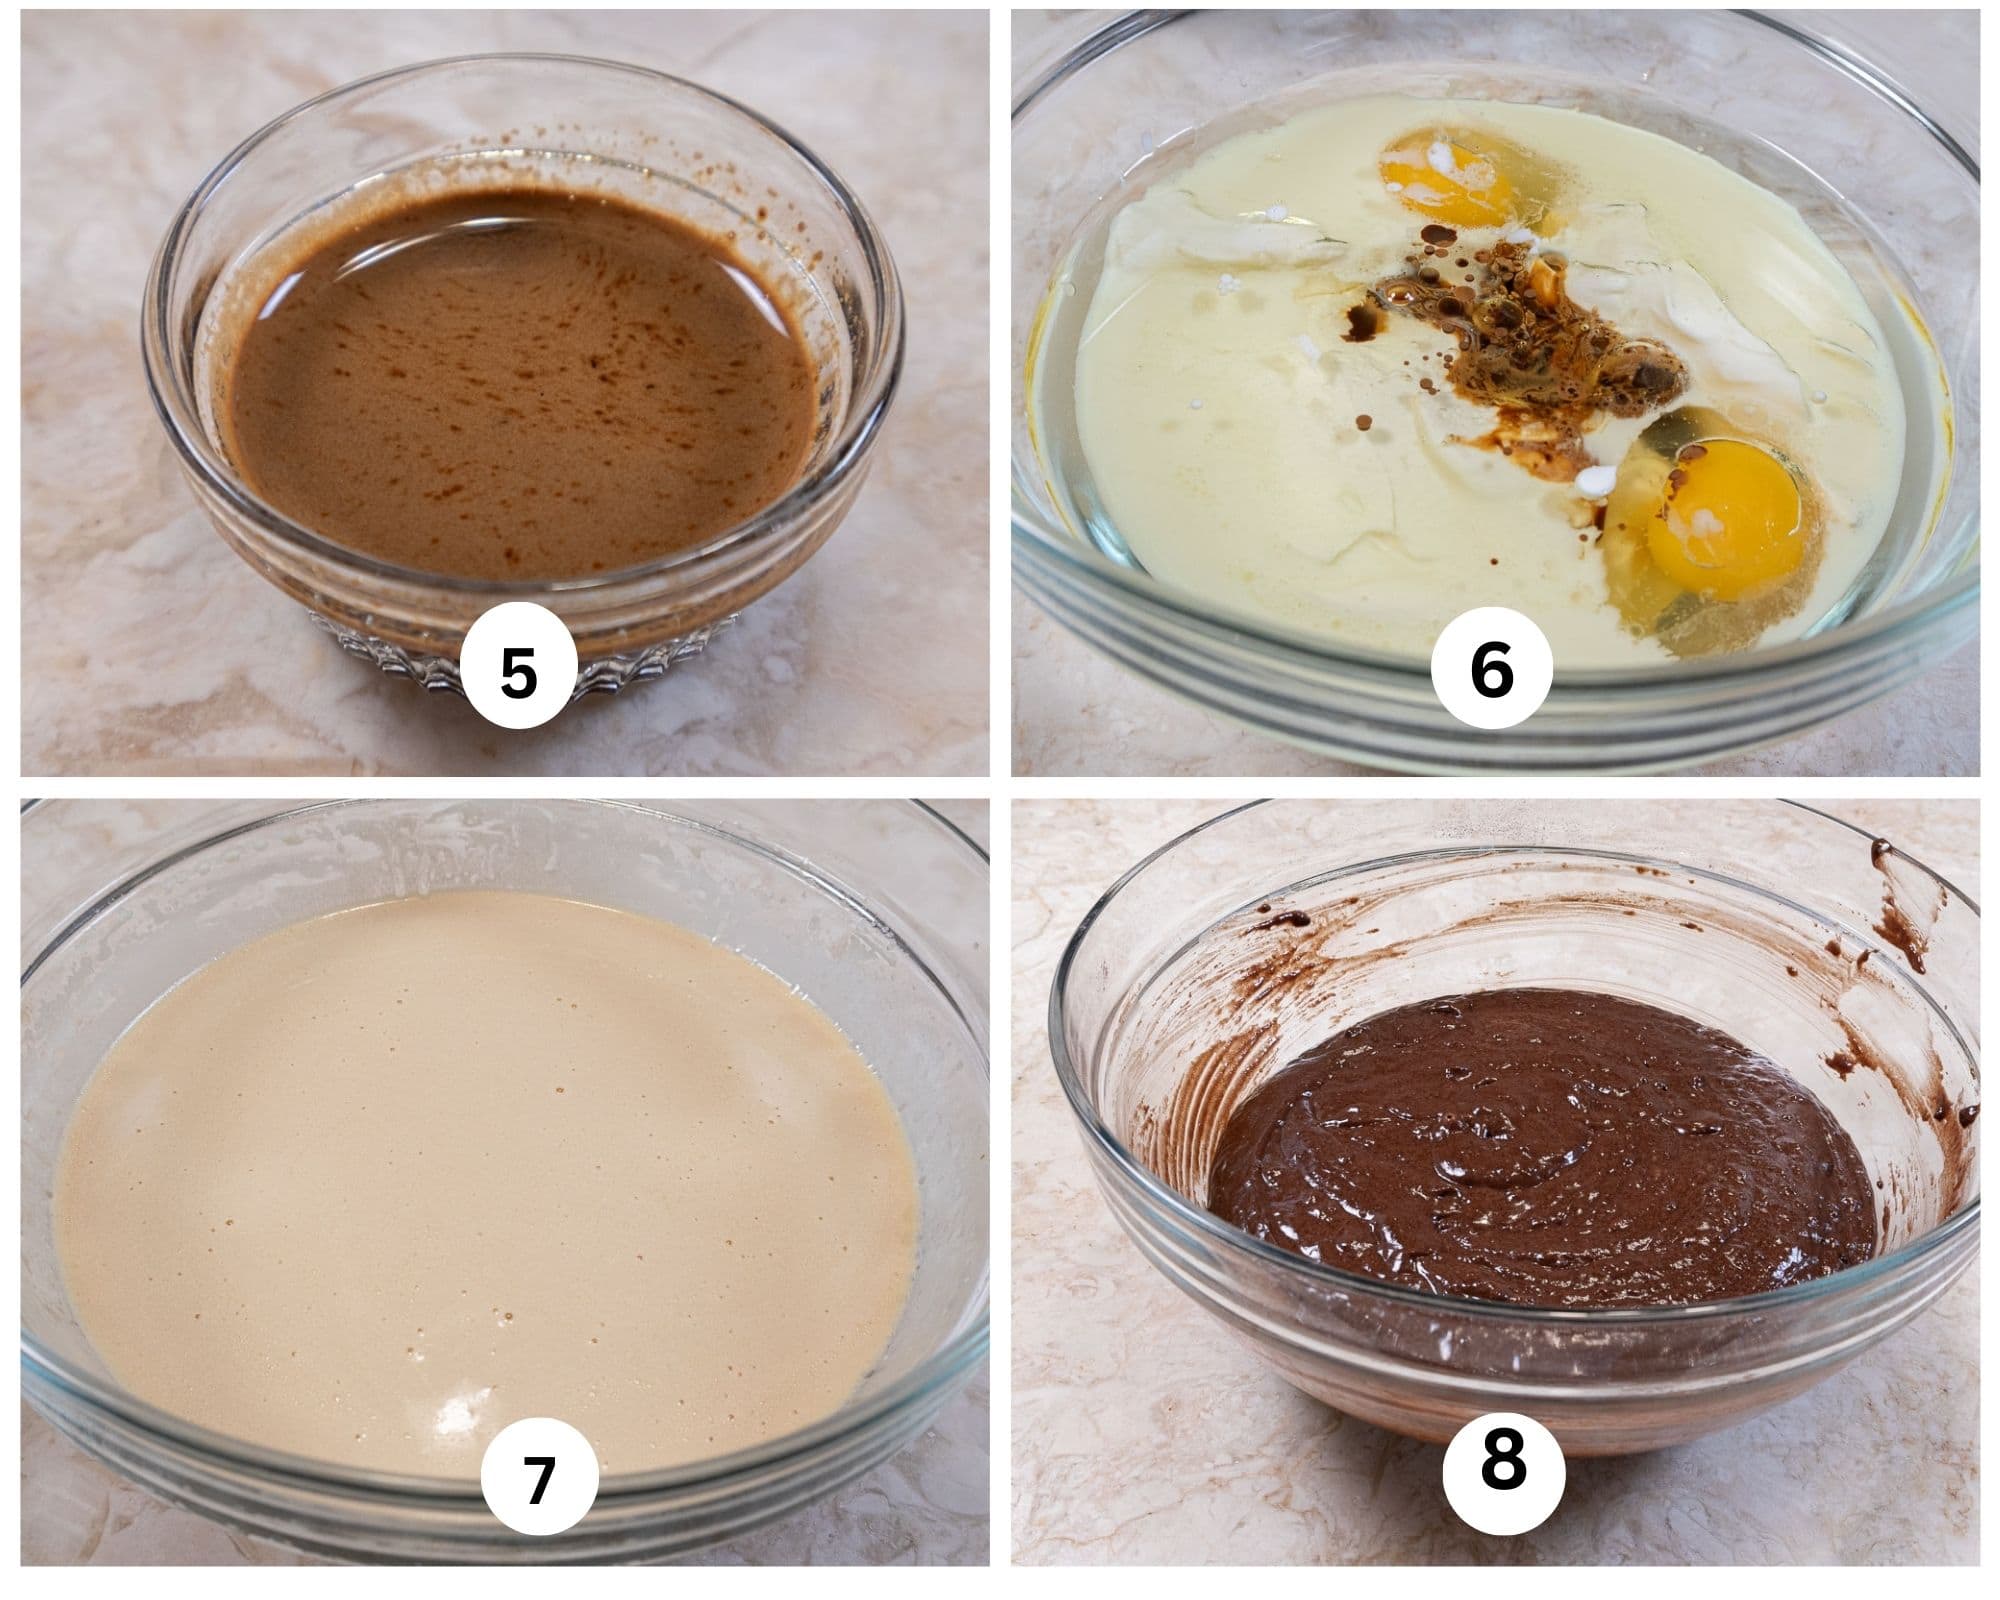
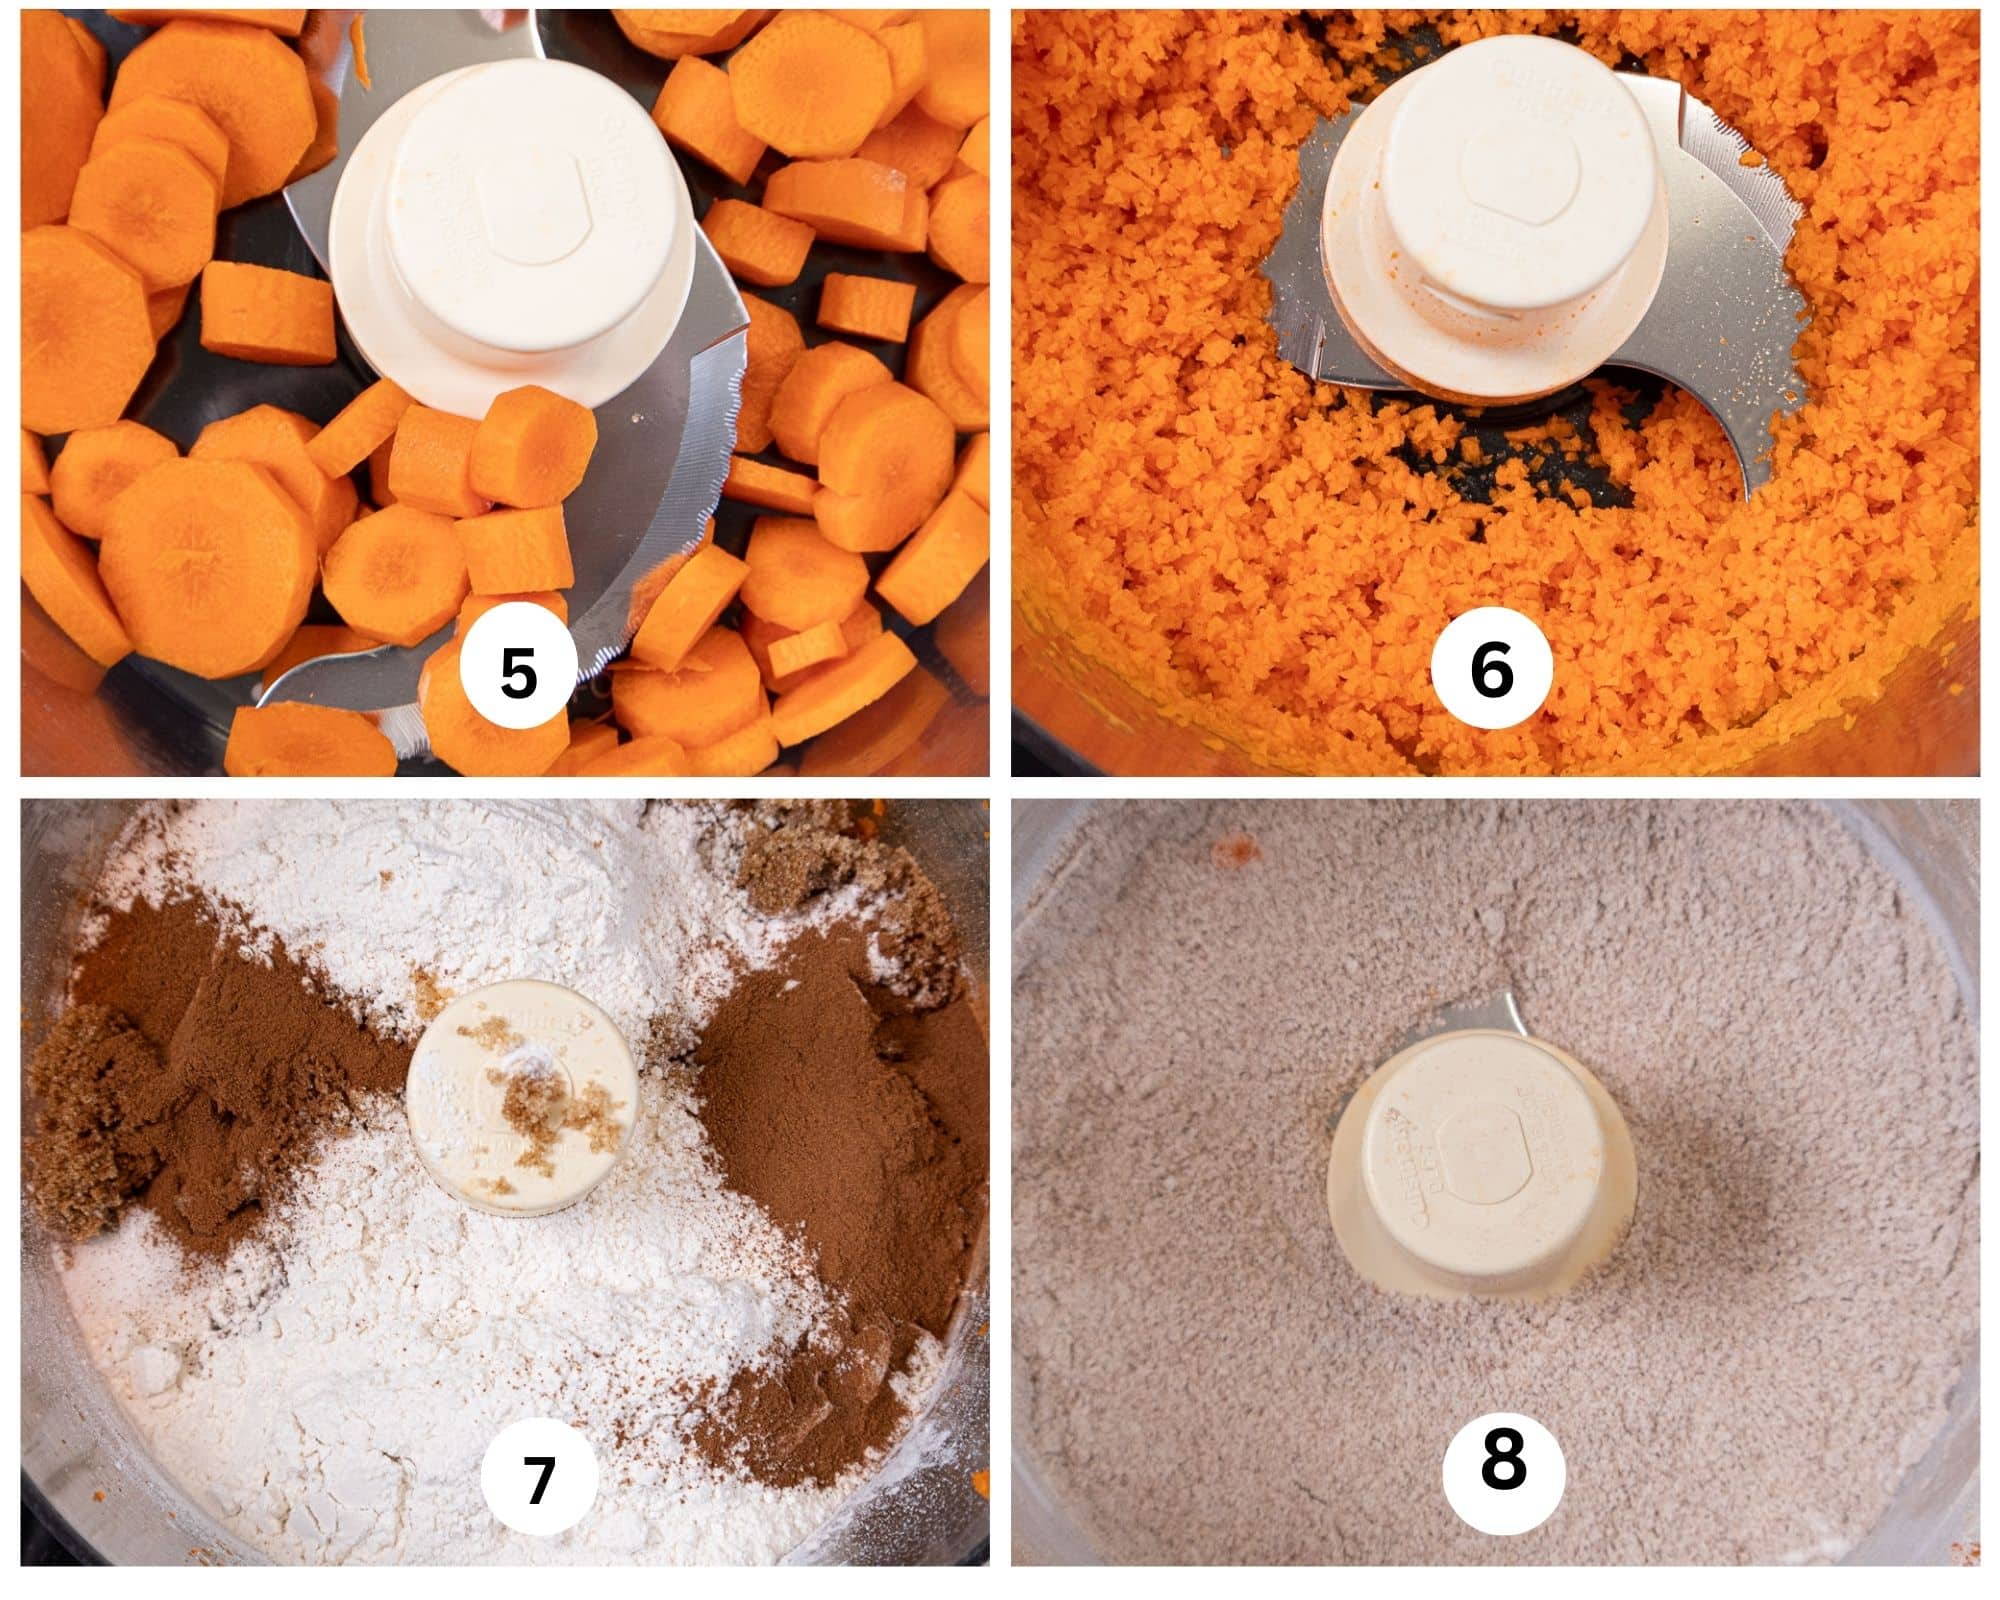
Step 5. Place the butter, granulated and brown sugars together. Scrape down into the bottom of the bowl. Step 6. Add the egg and vanilla. Beat, scraping down as necessary. It will most like curdle. See my post on How to Avoid Curdled Cake Batter for detailed information. Step 7. Add the first of three additions of flour. Step 8. Beat it on low to bring it together.
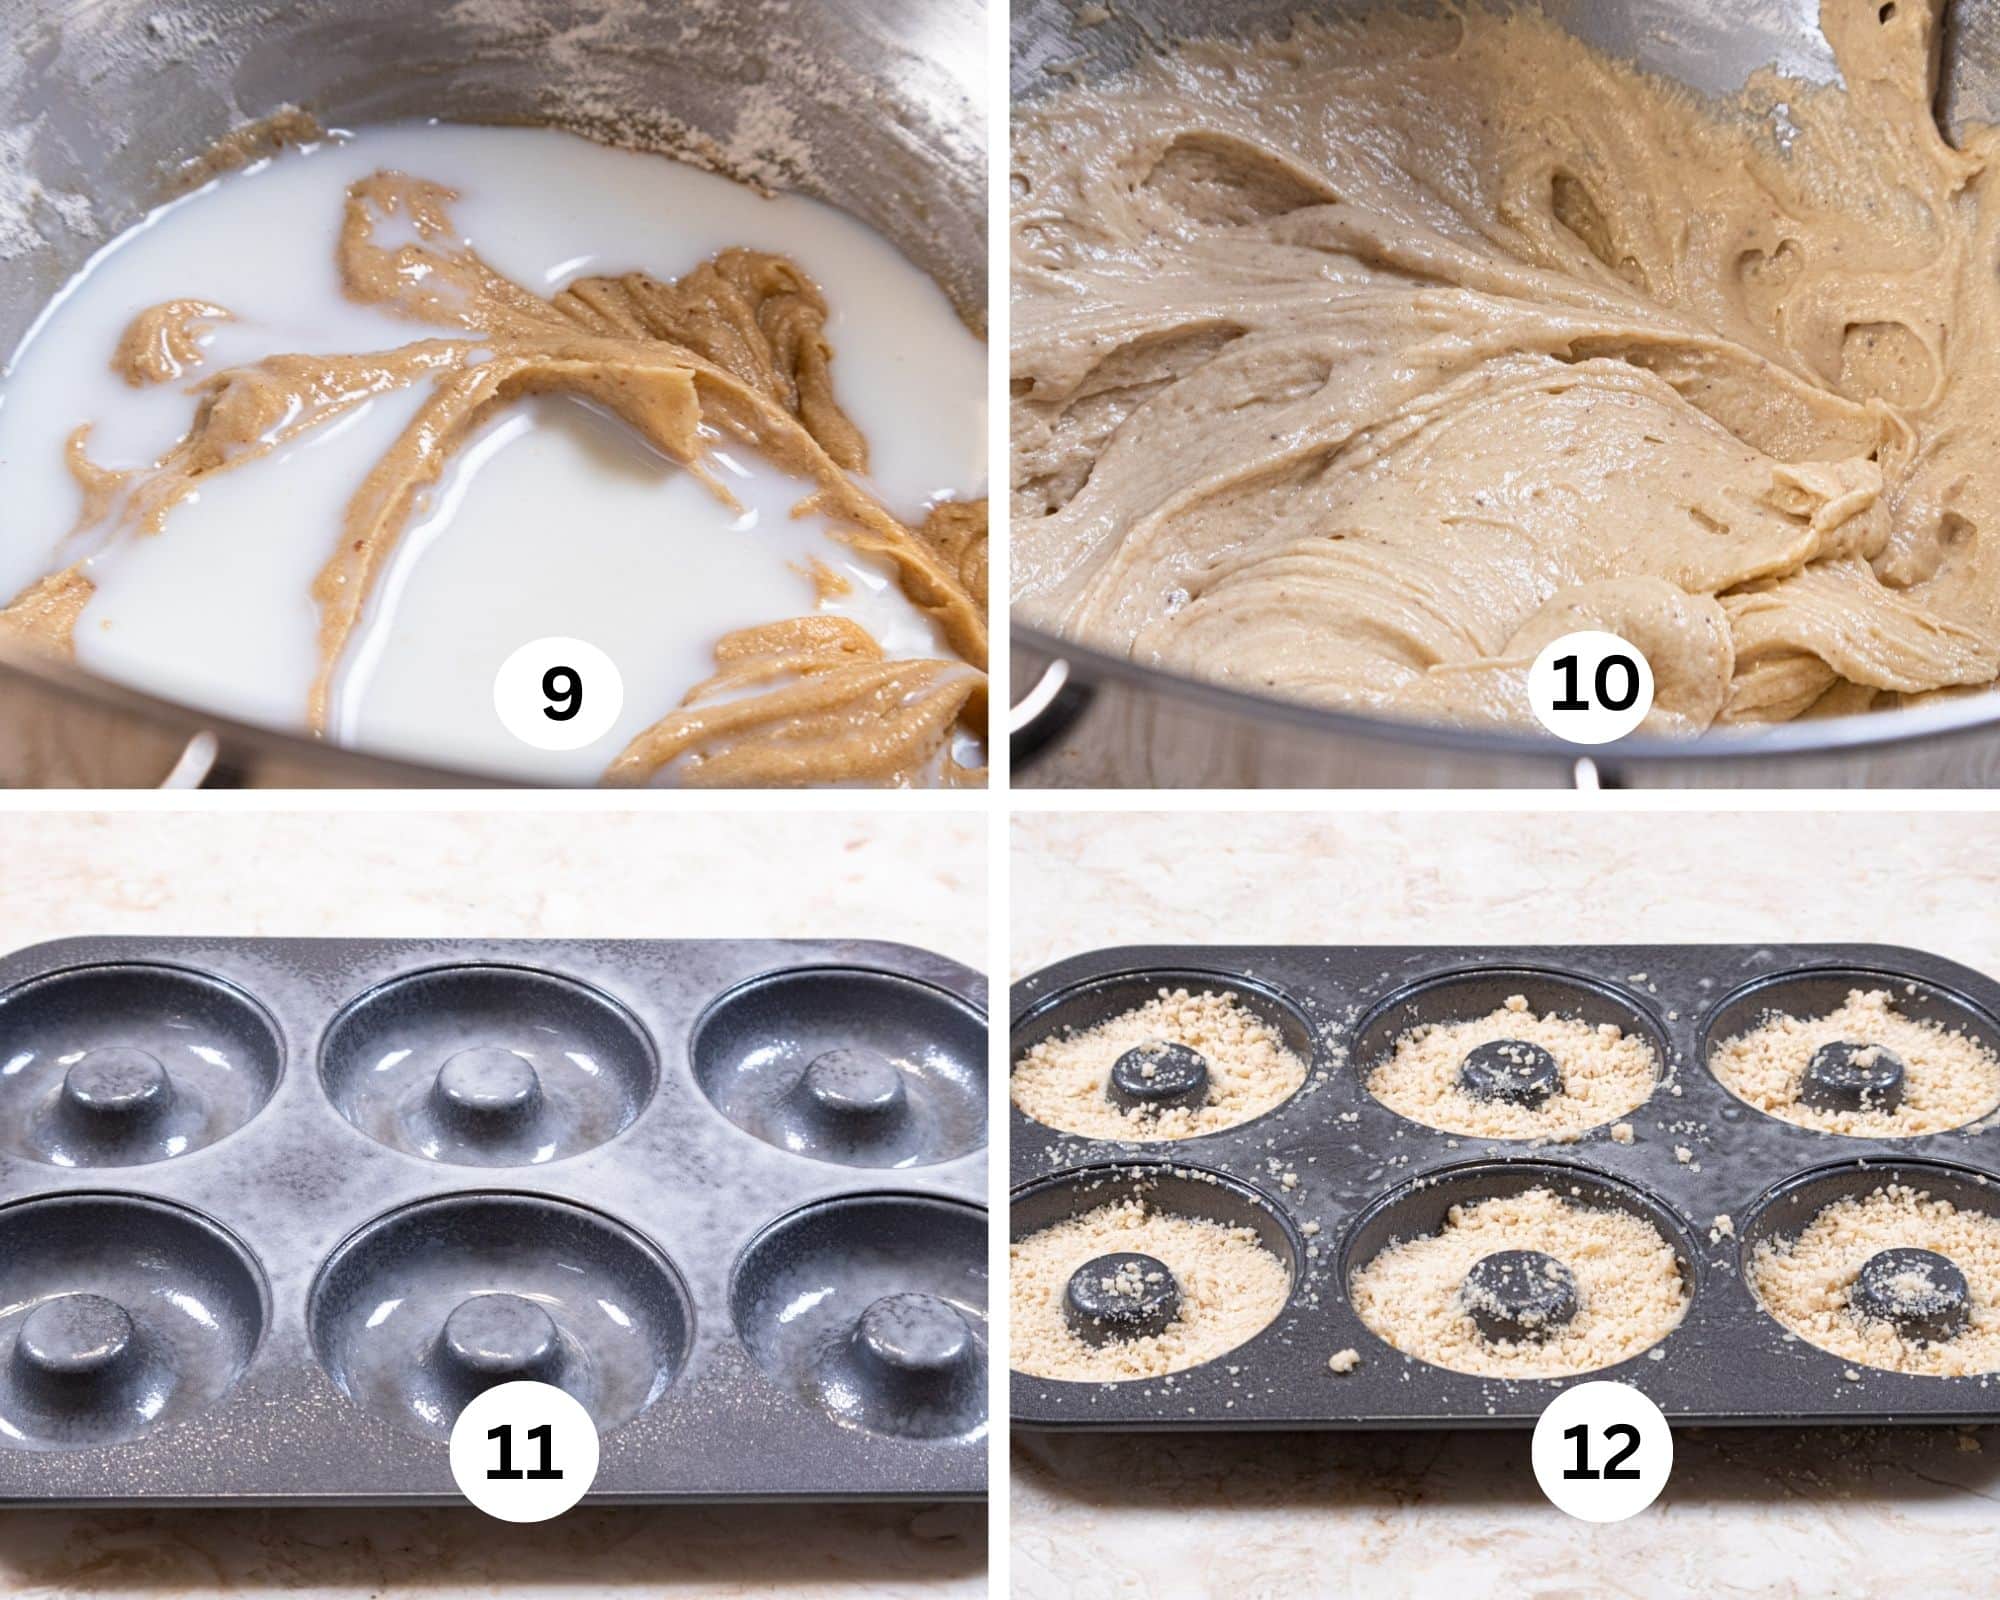
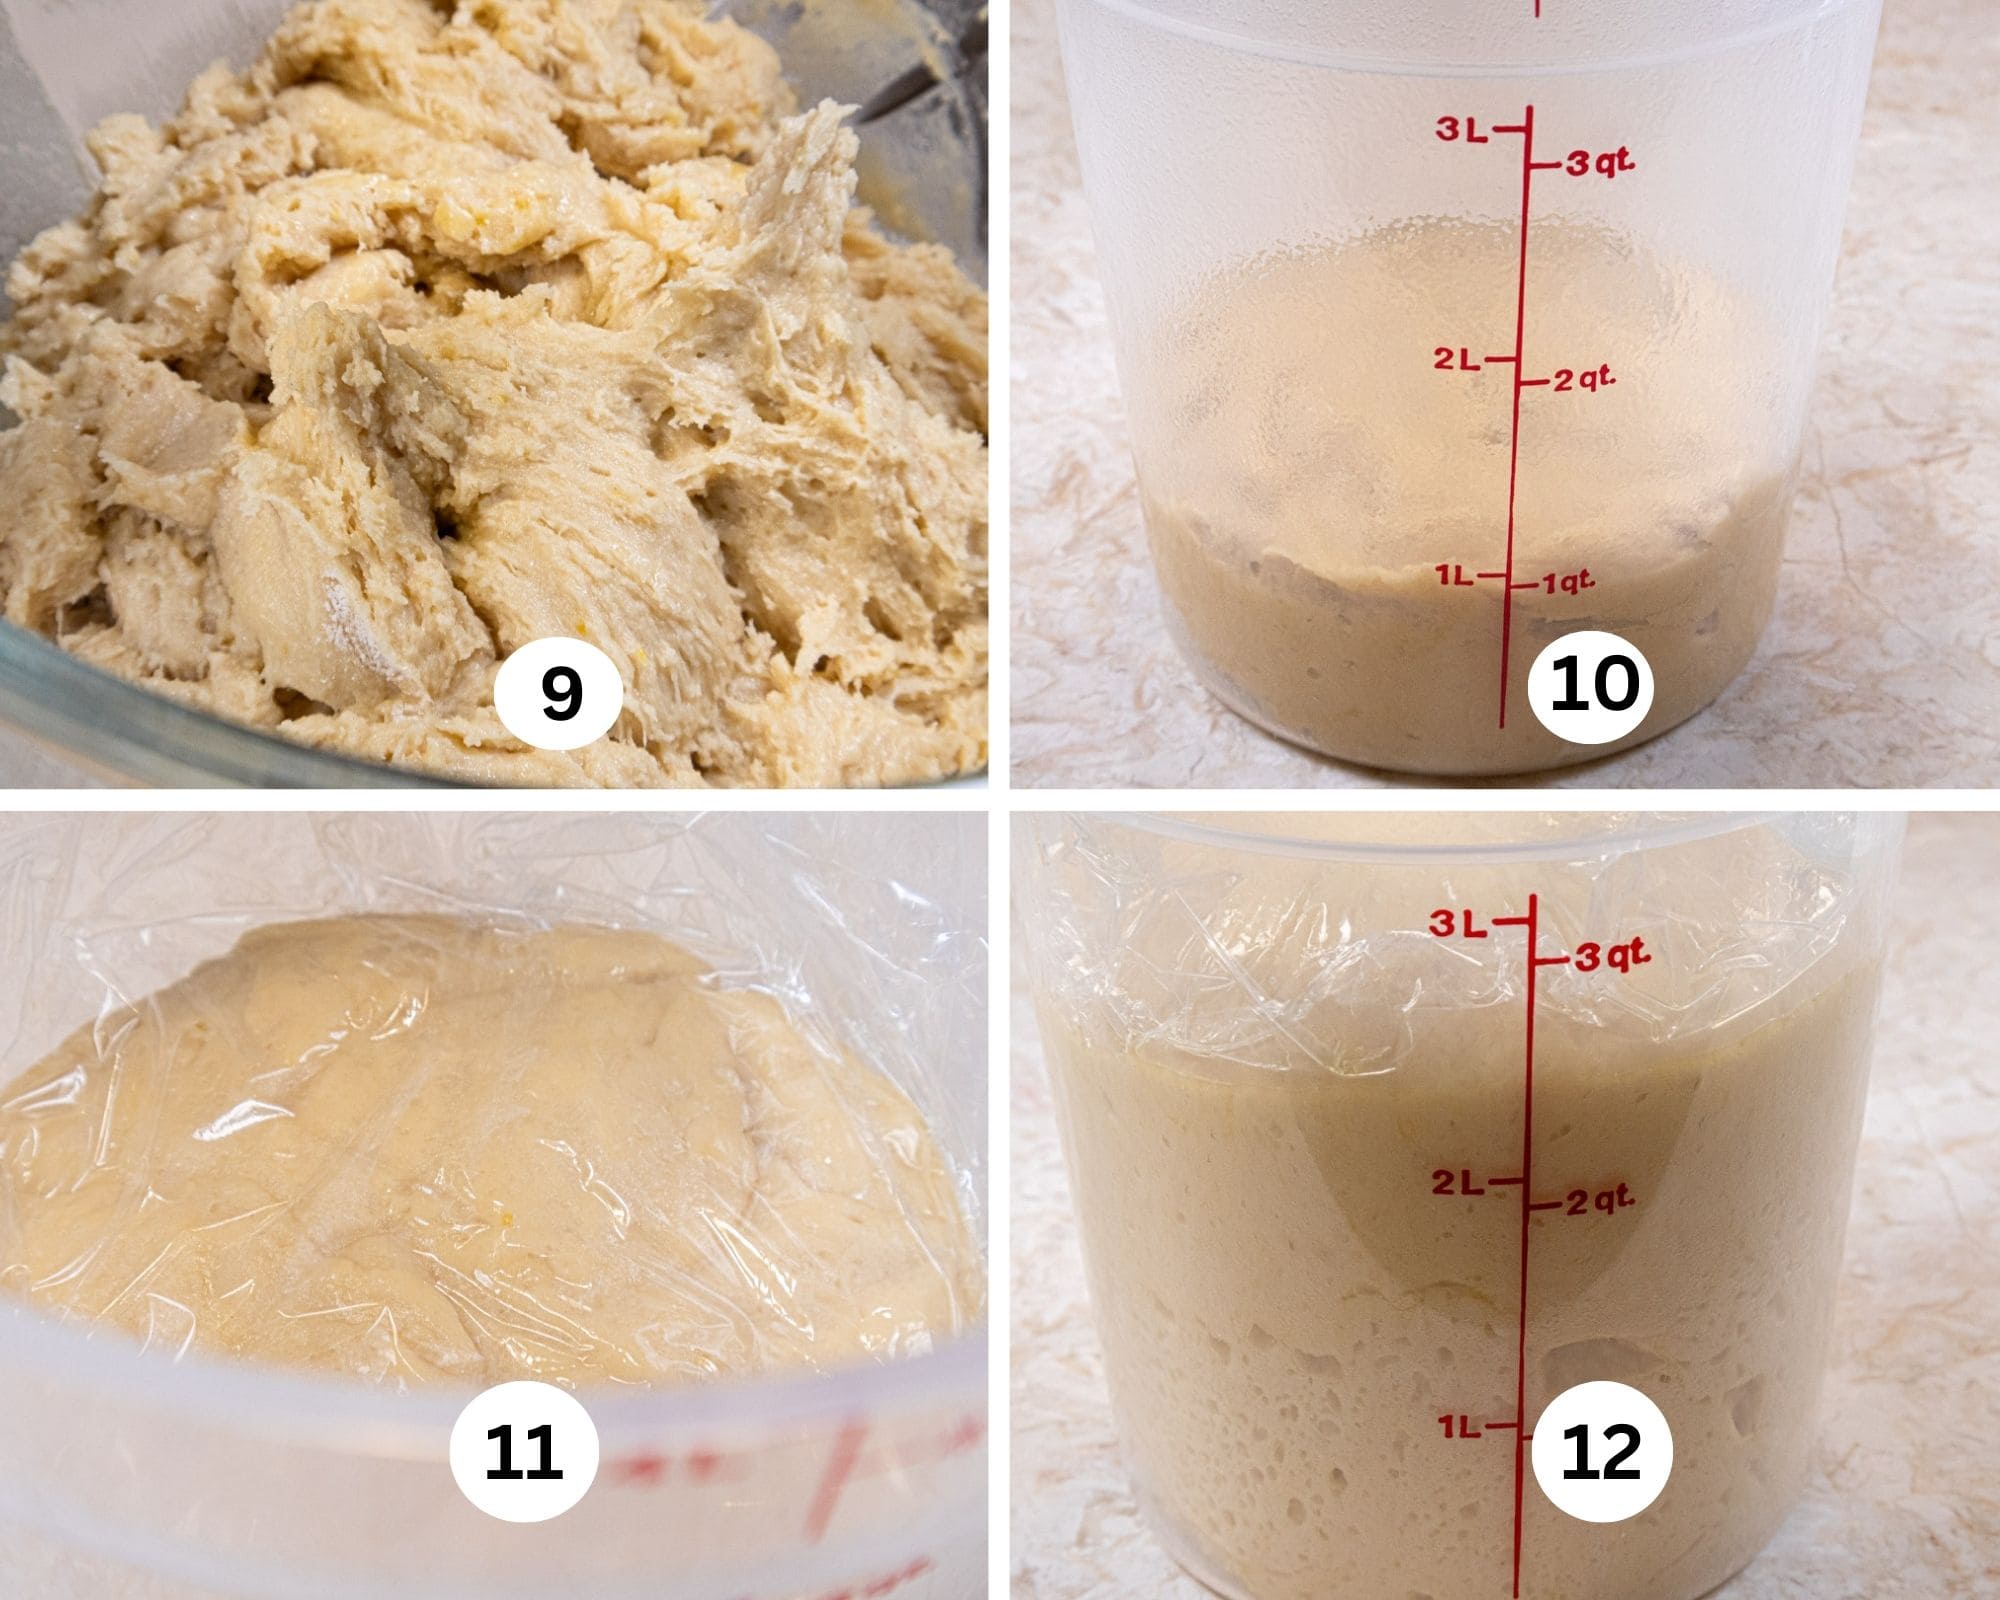
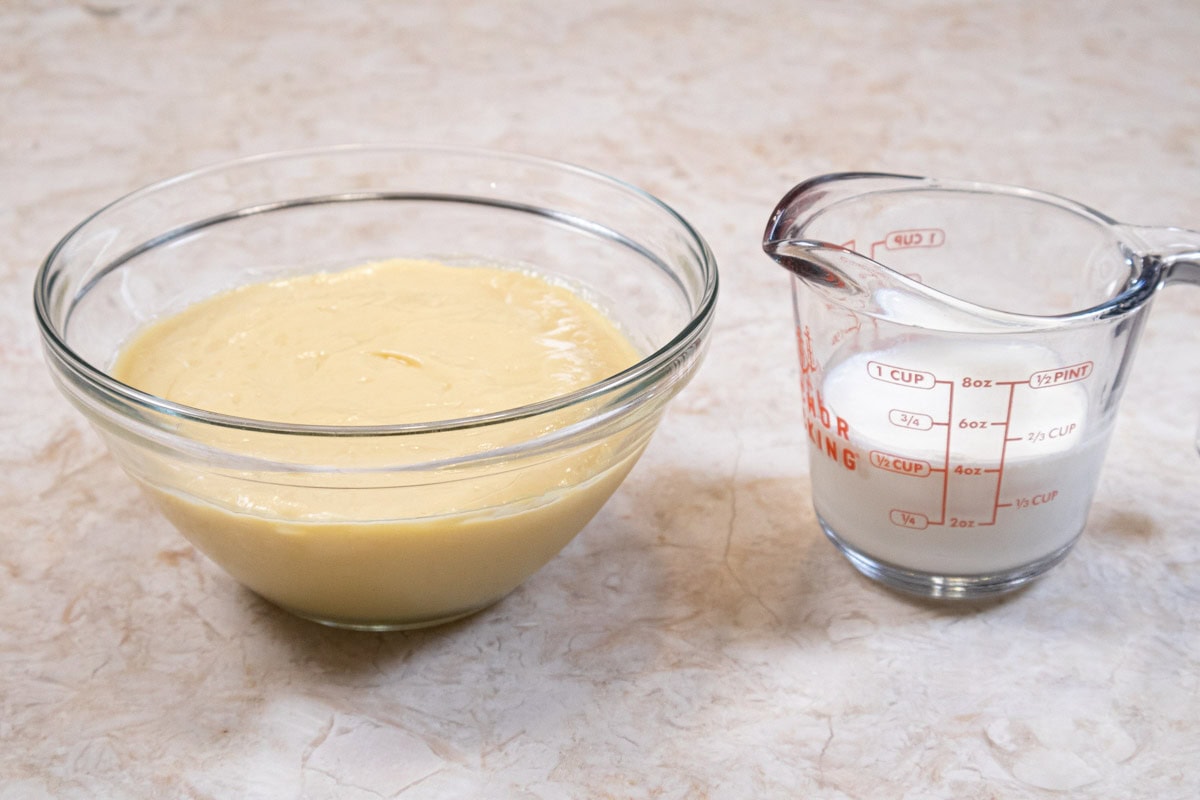
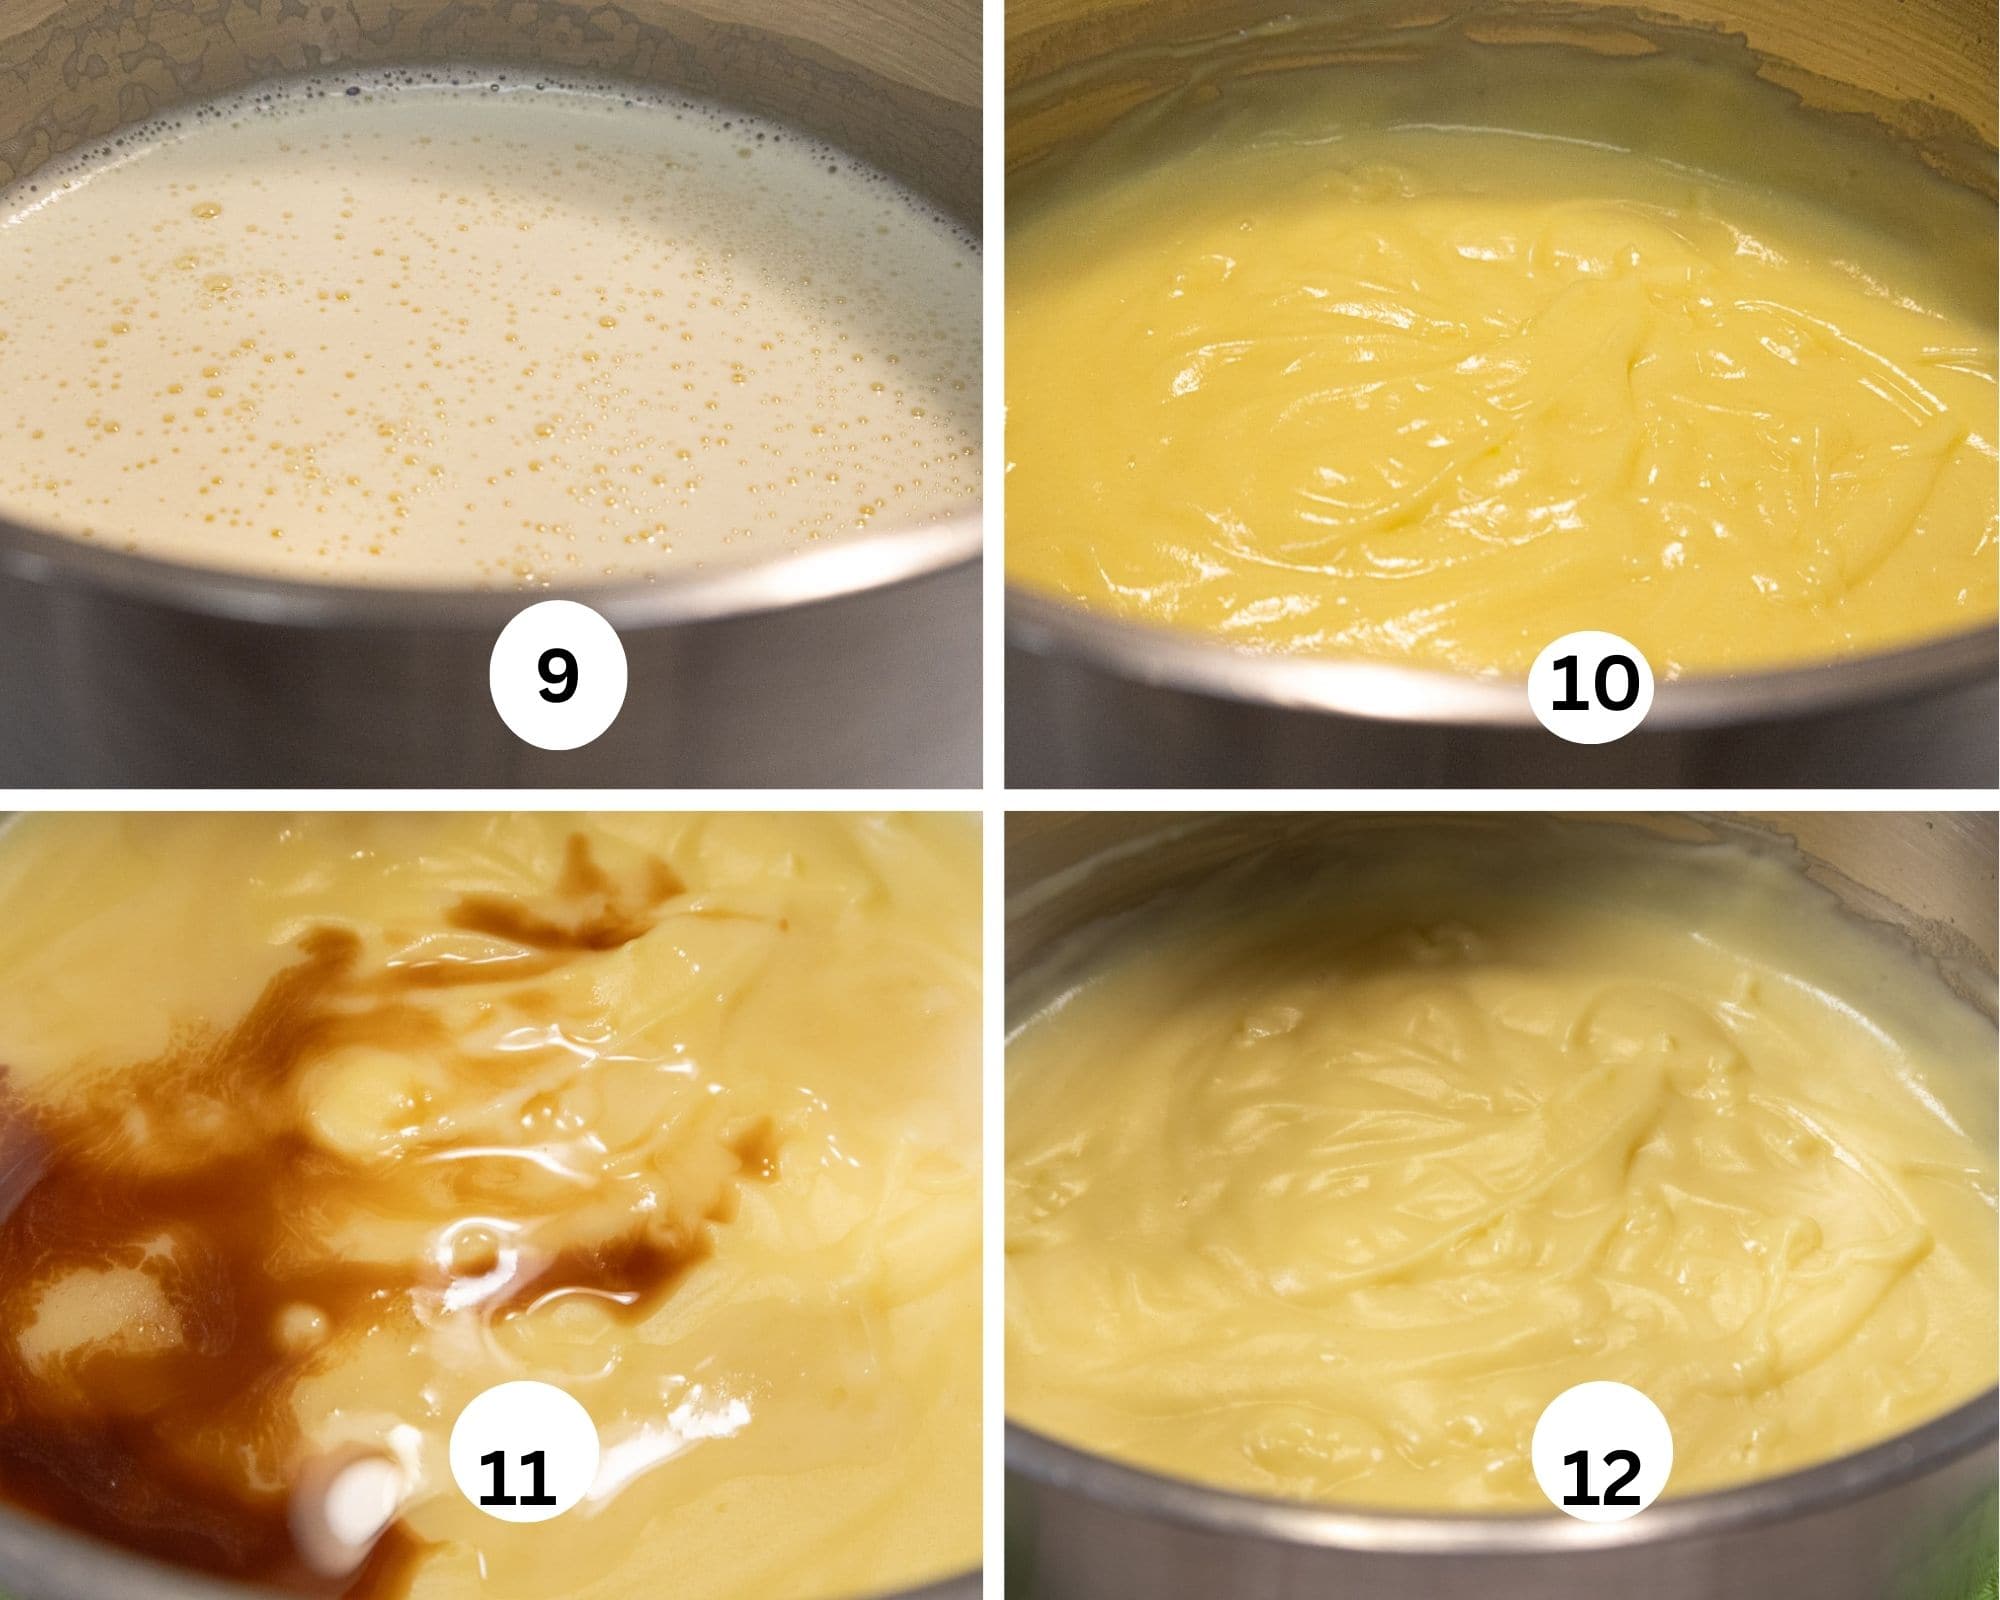
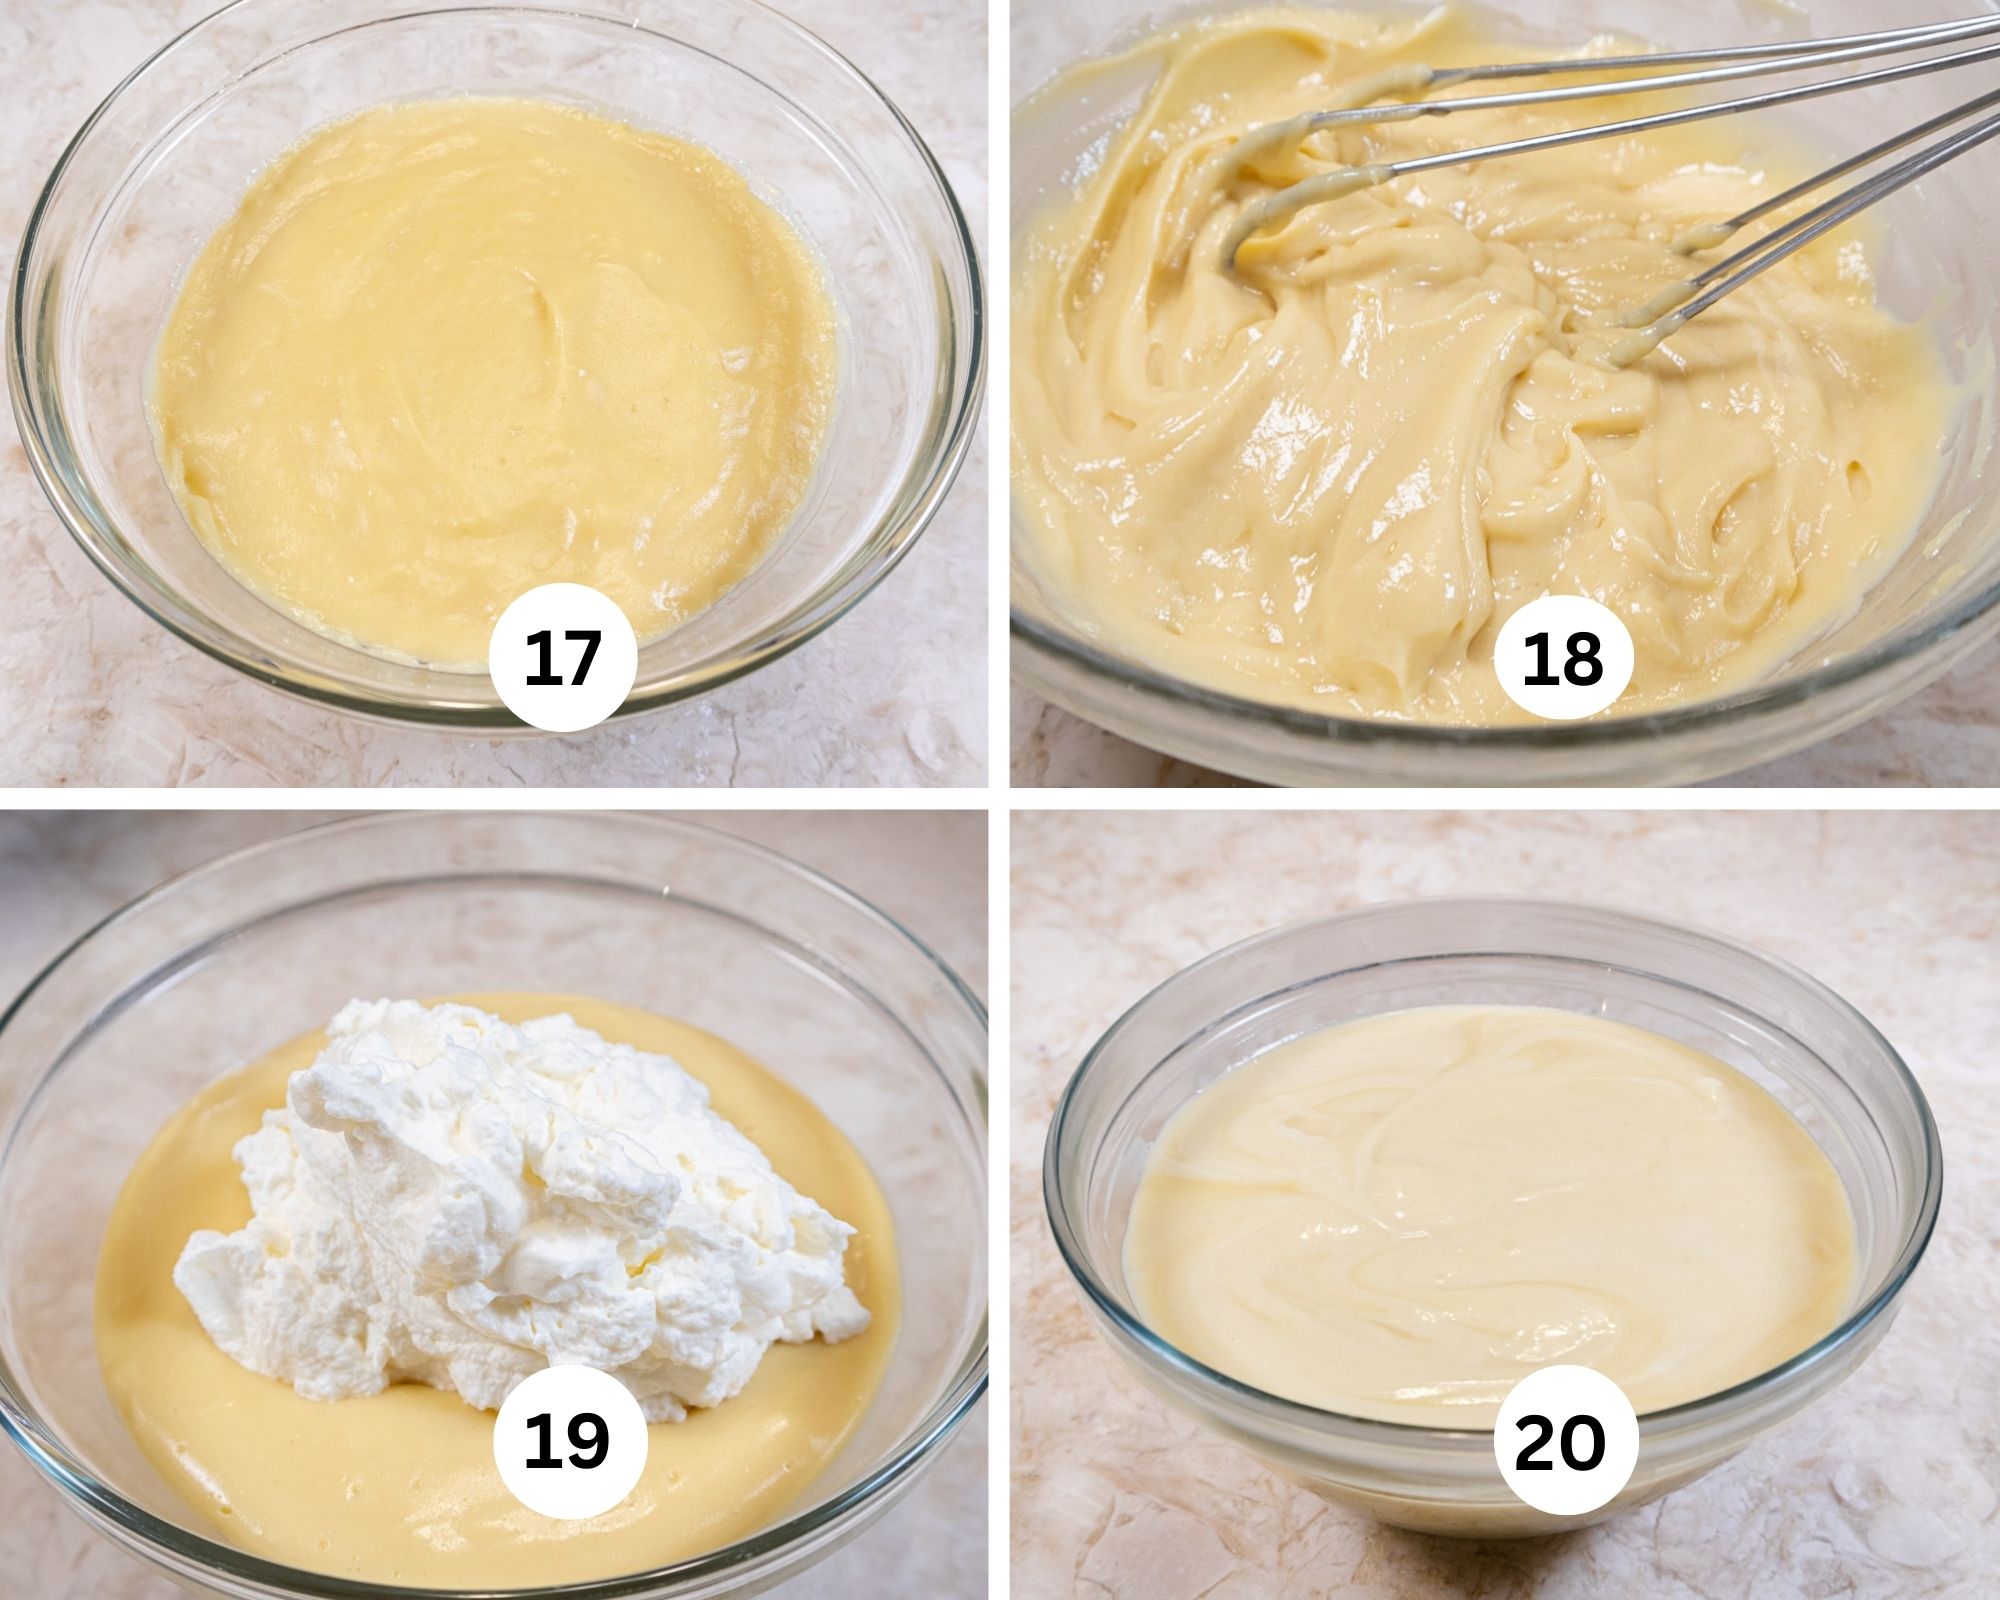
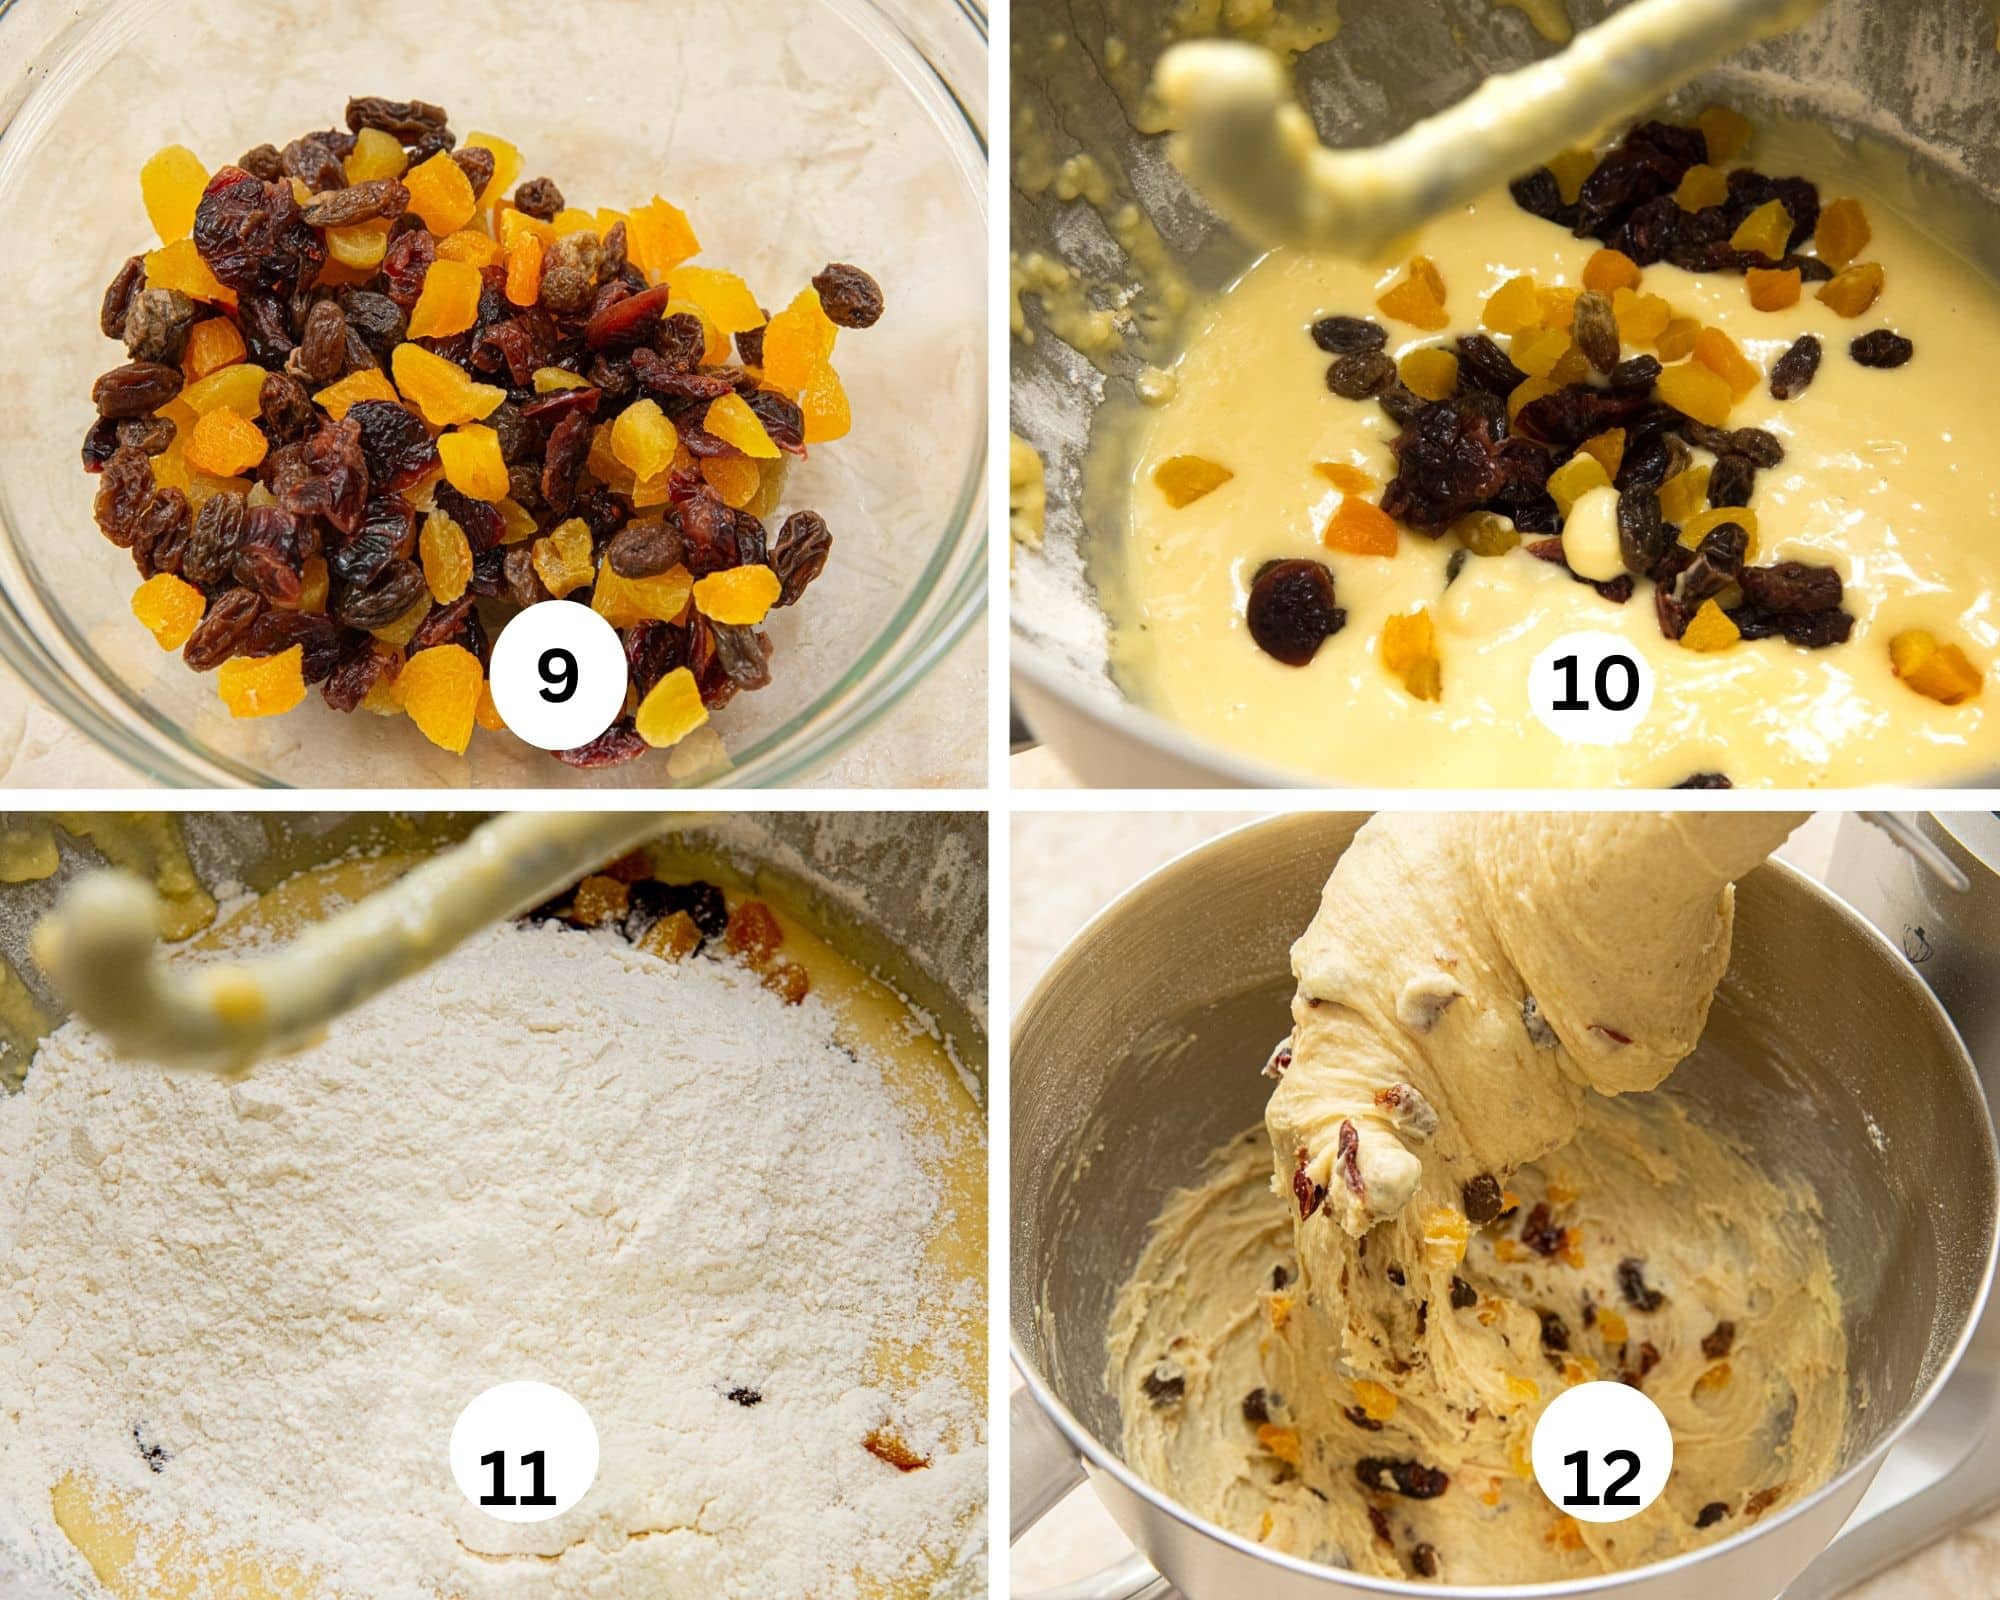
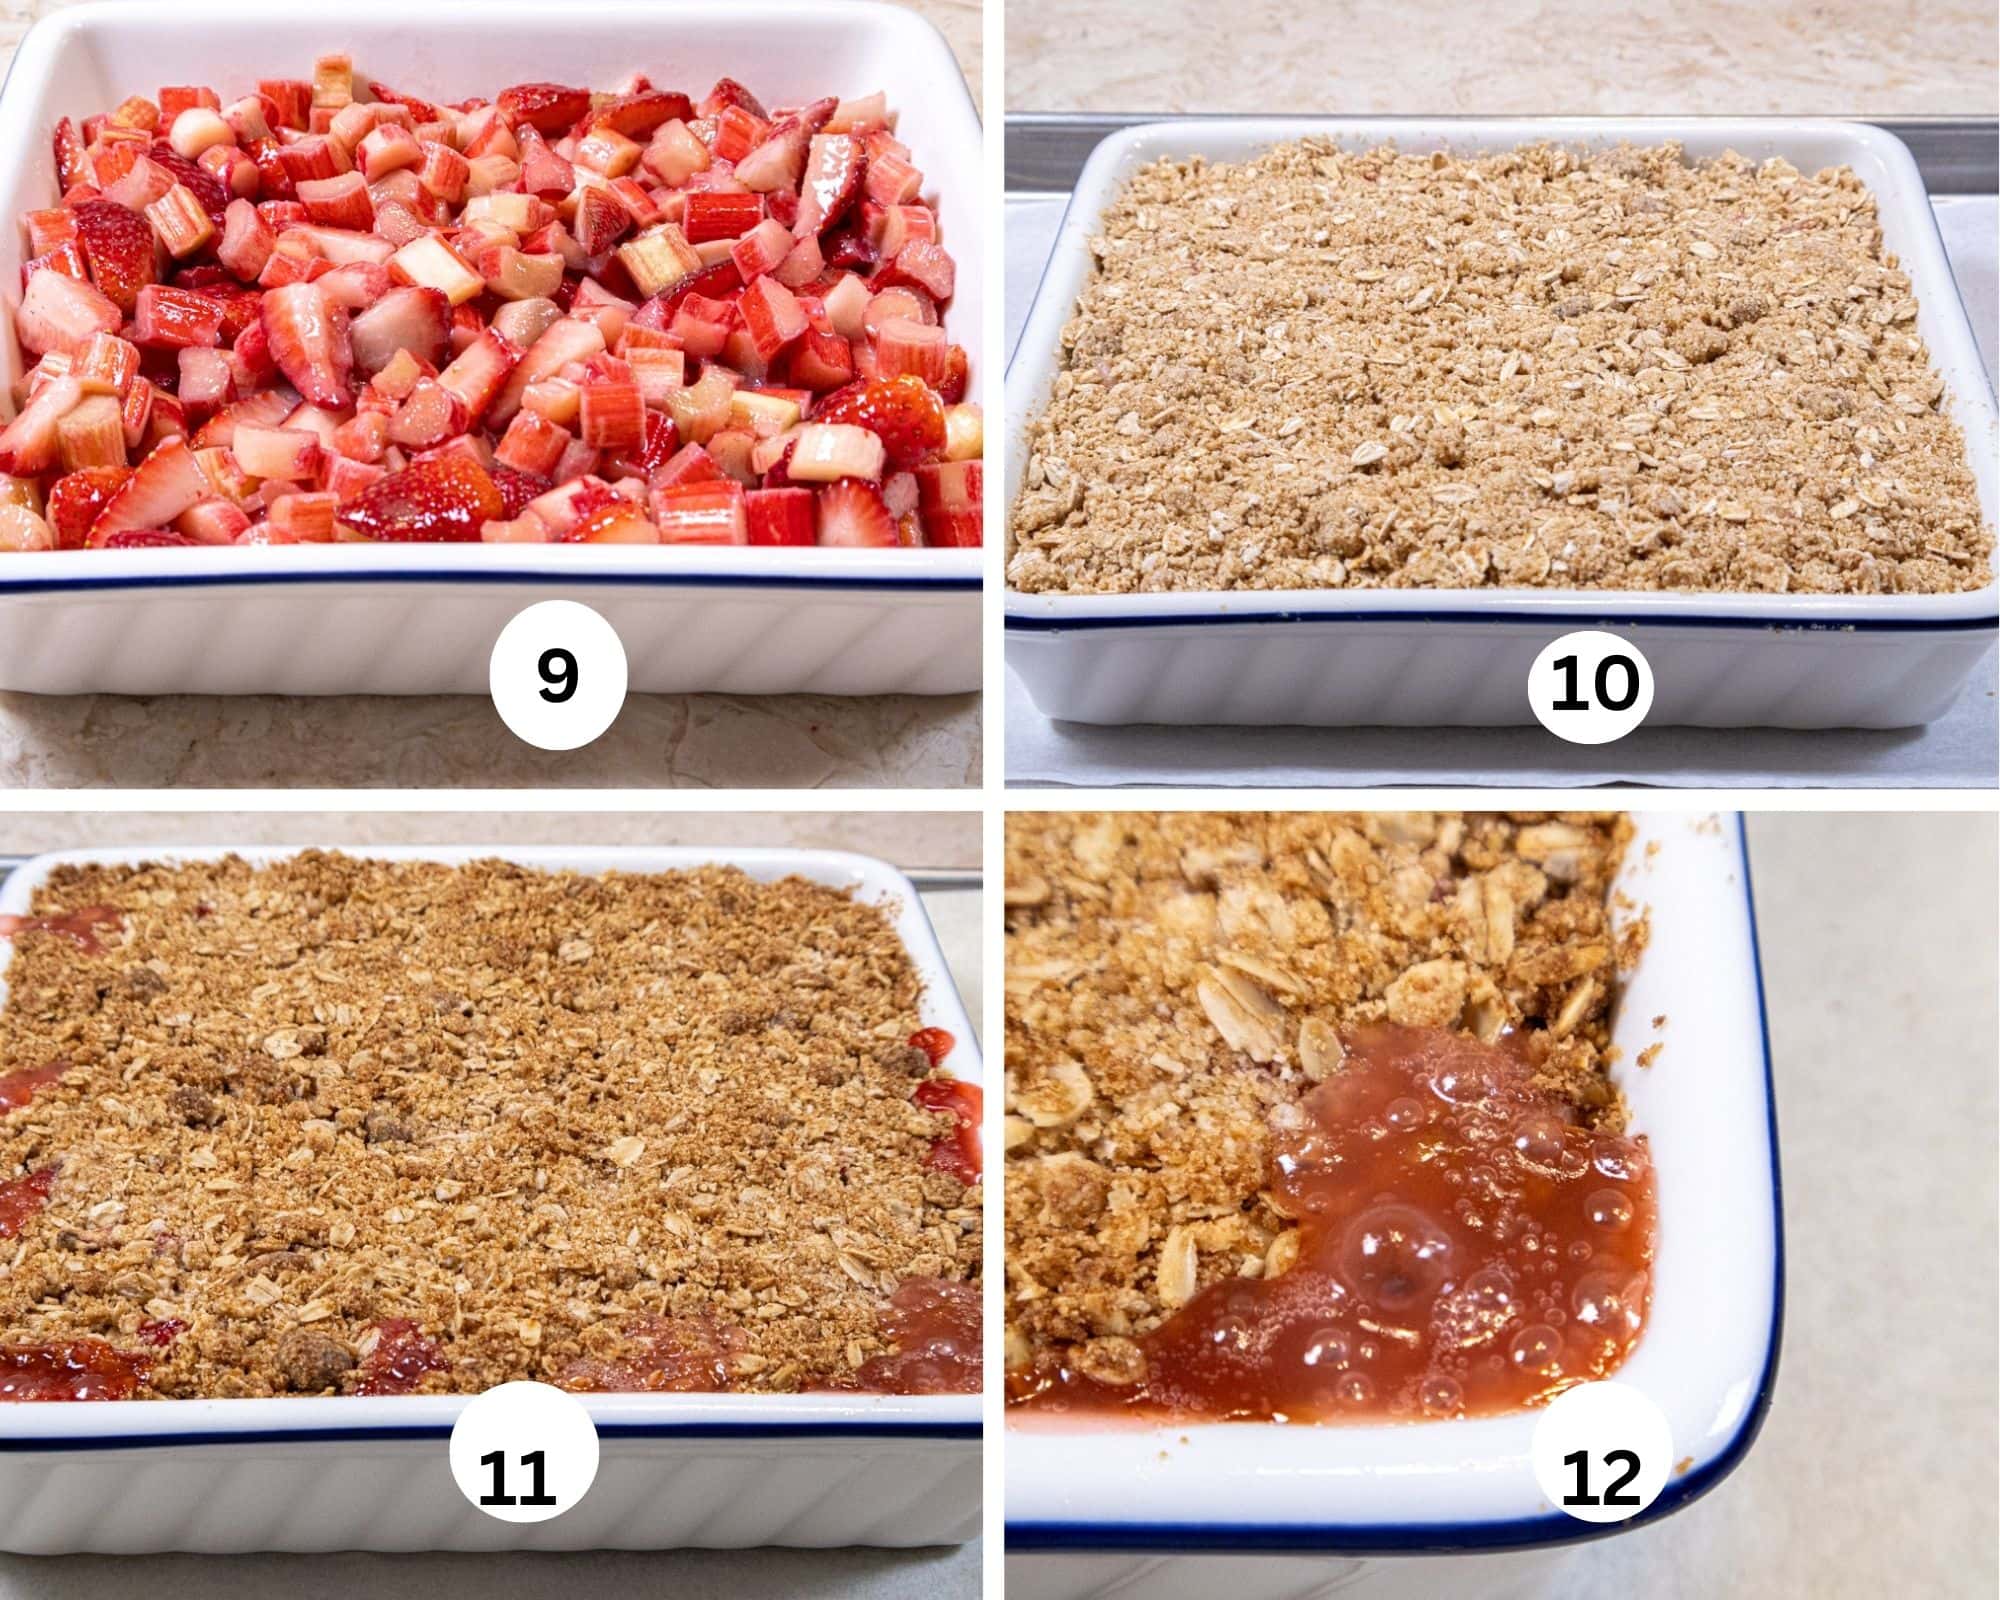
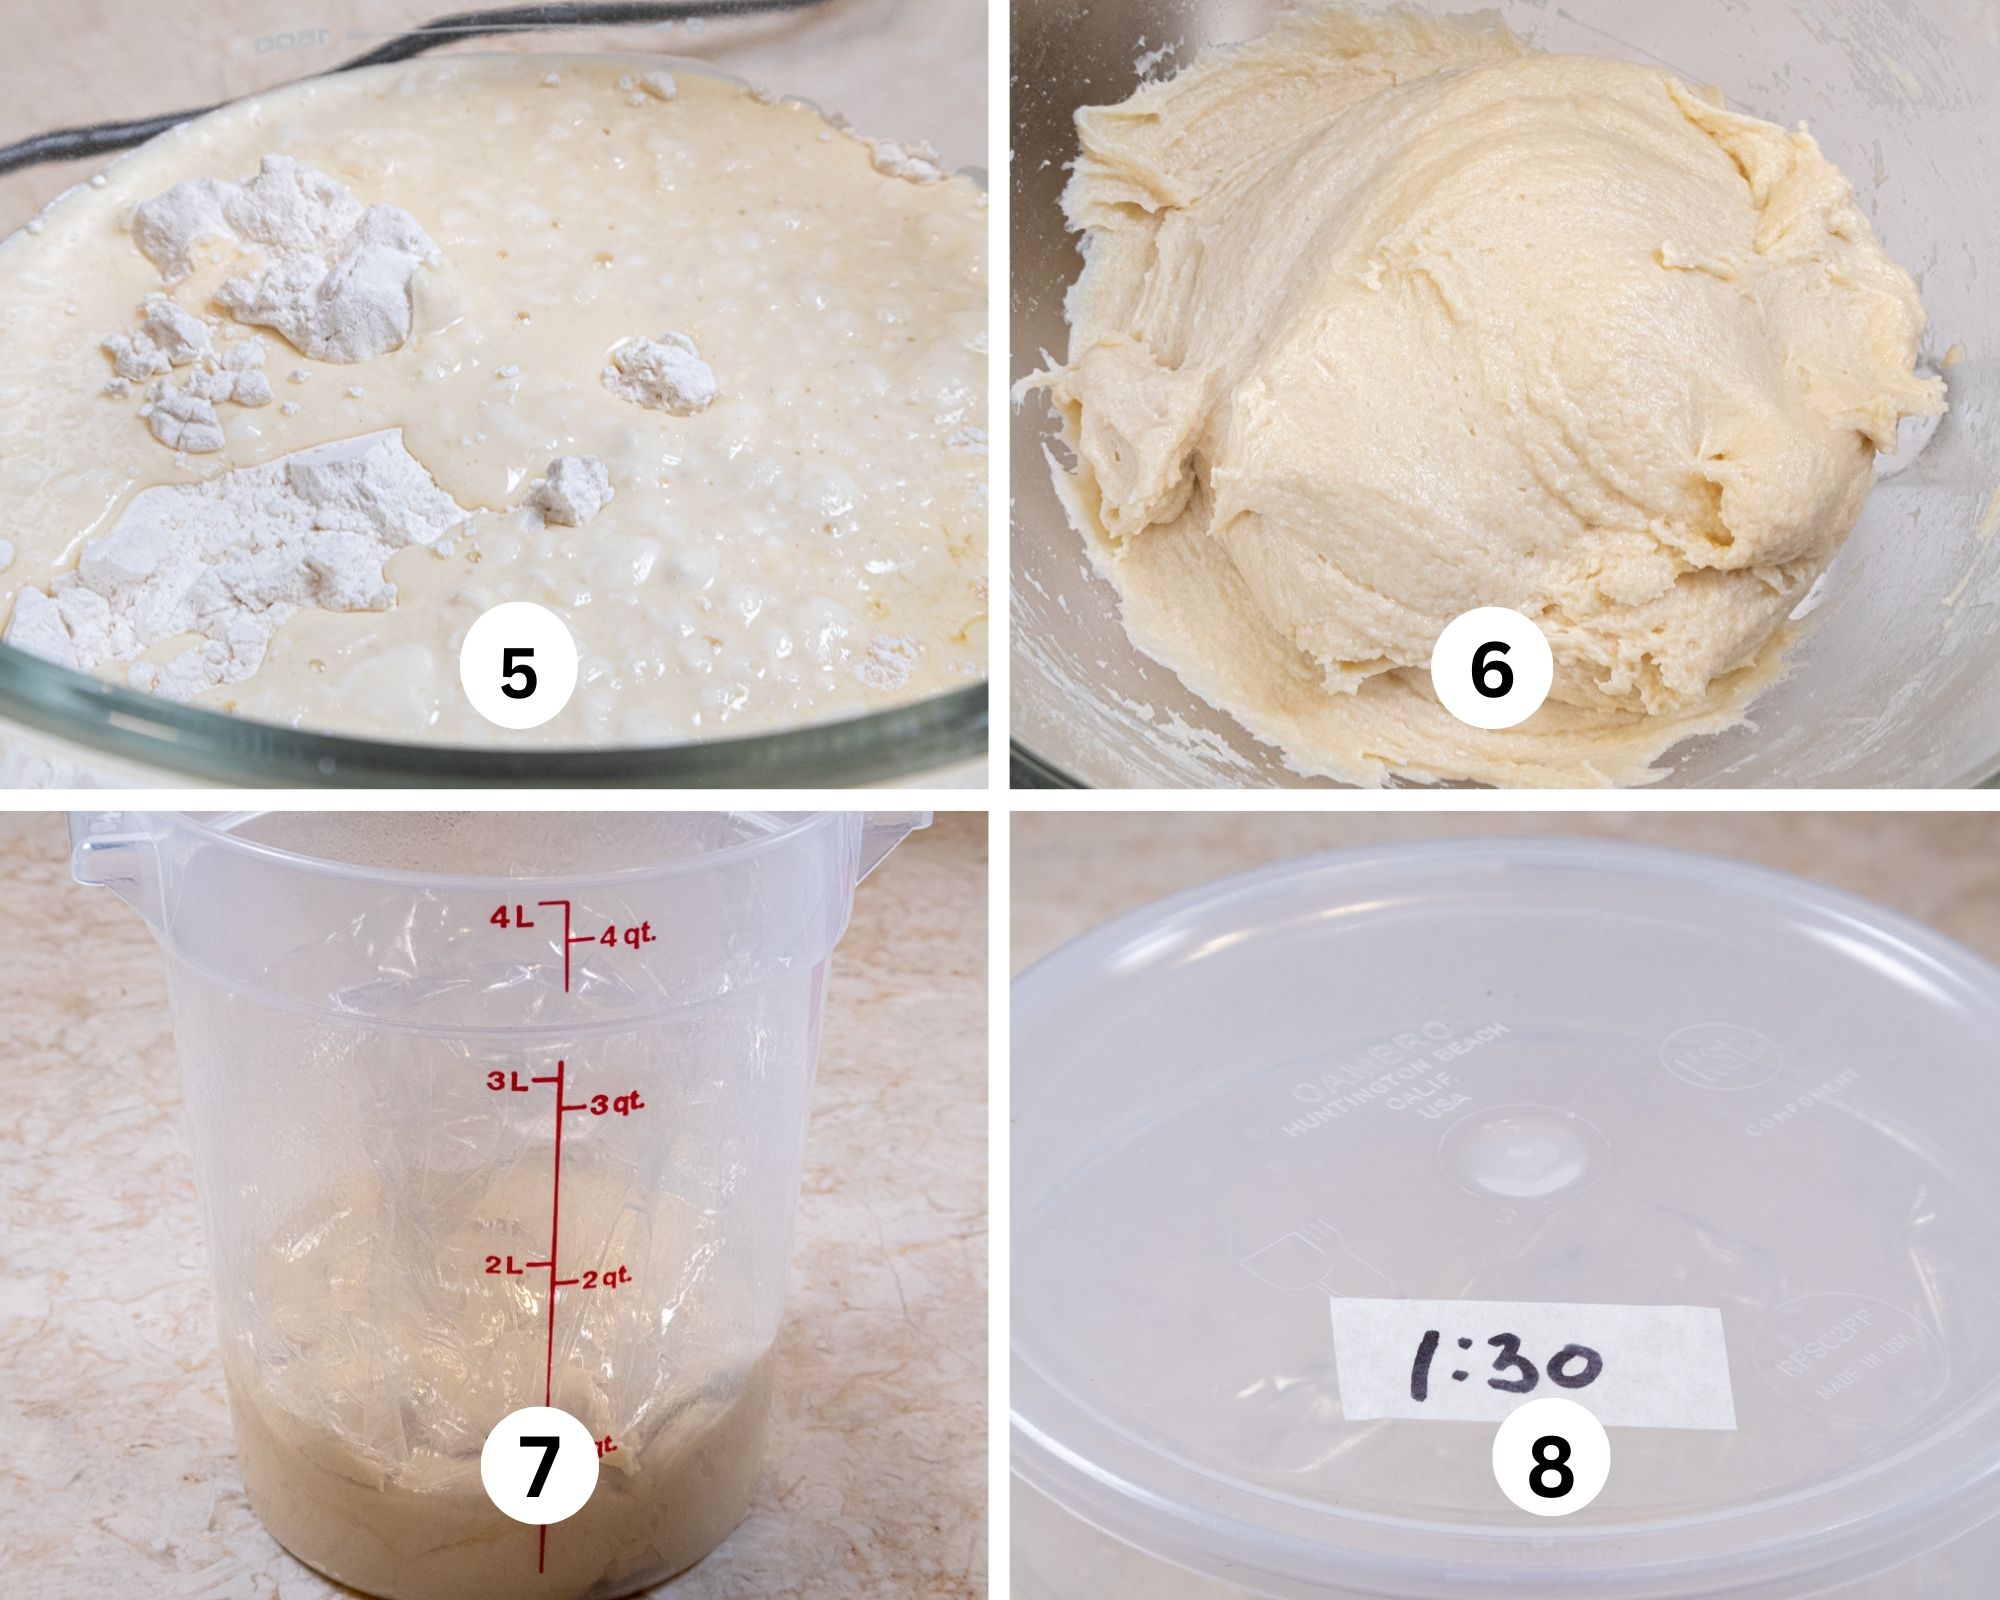
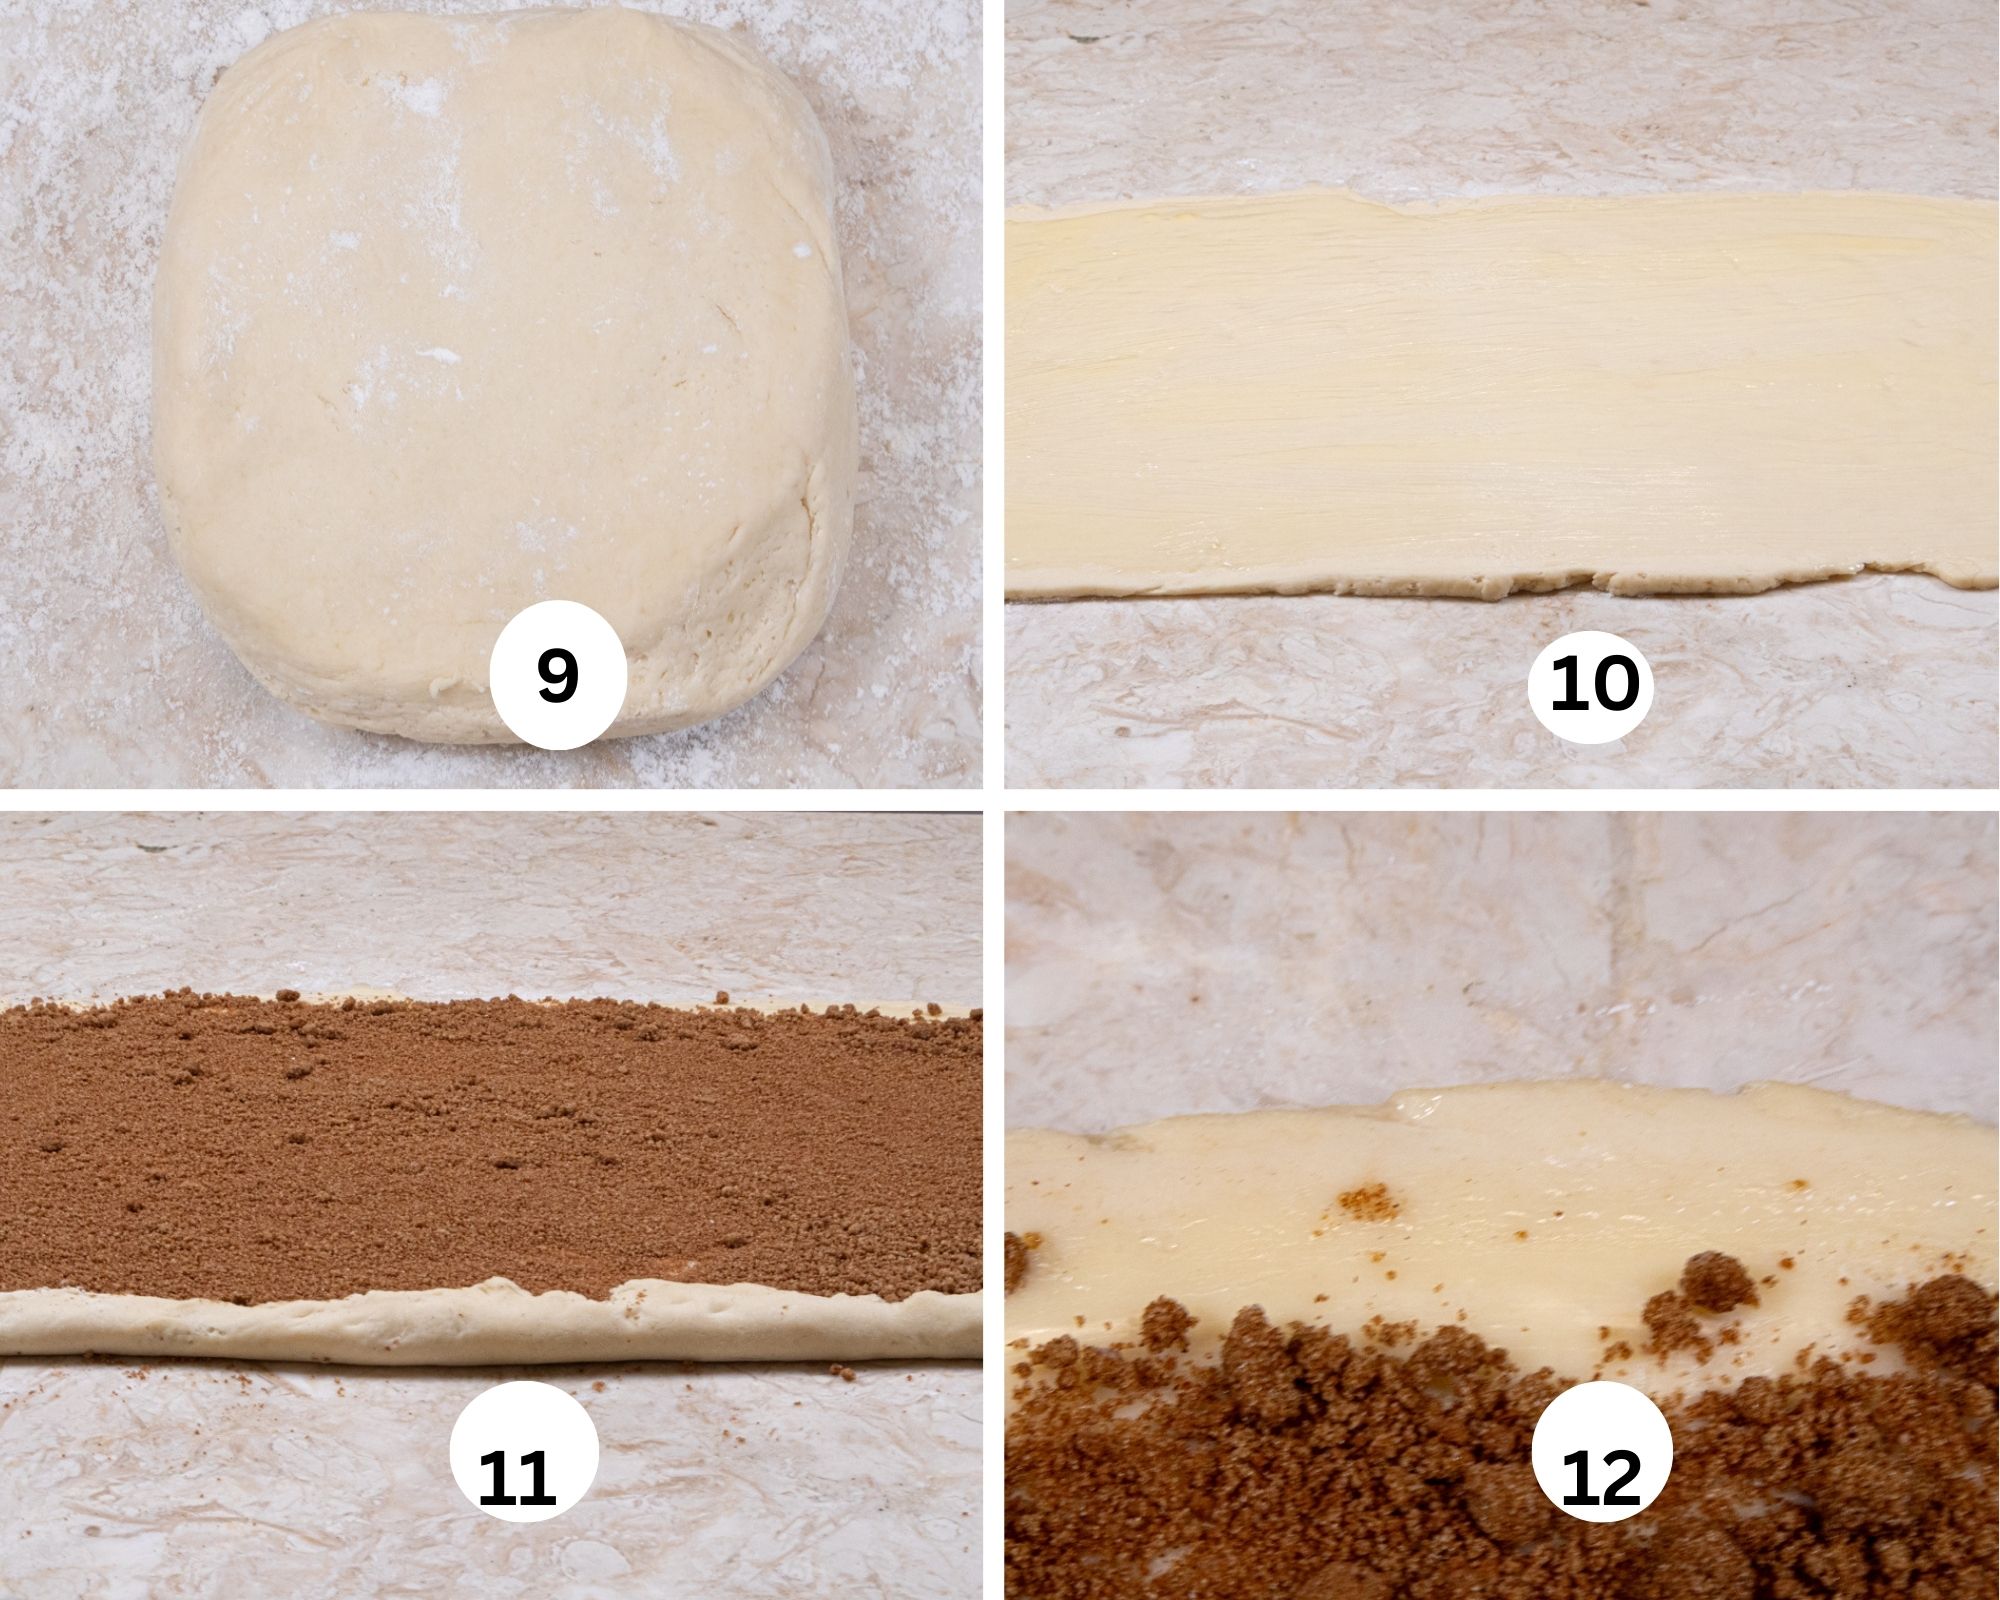
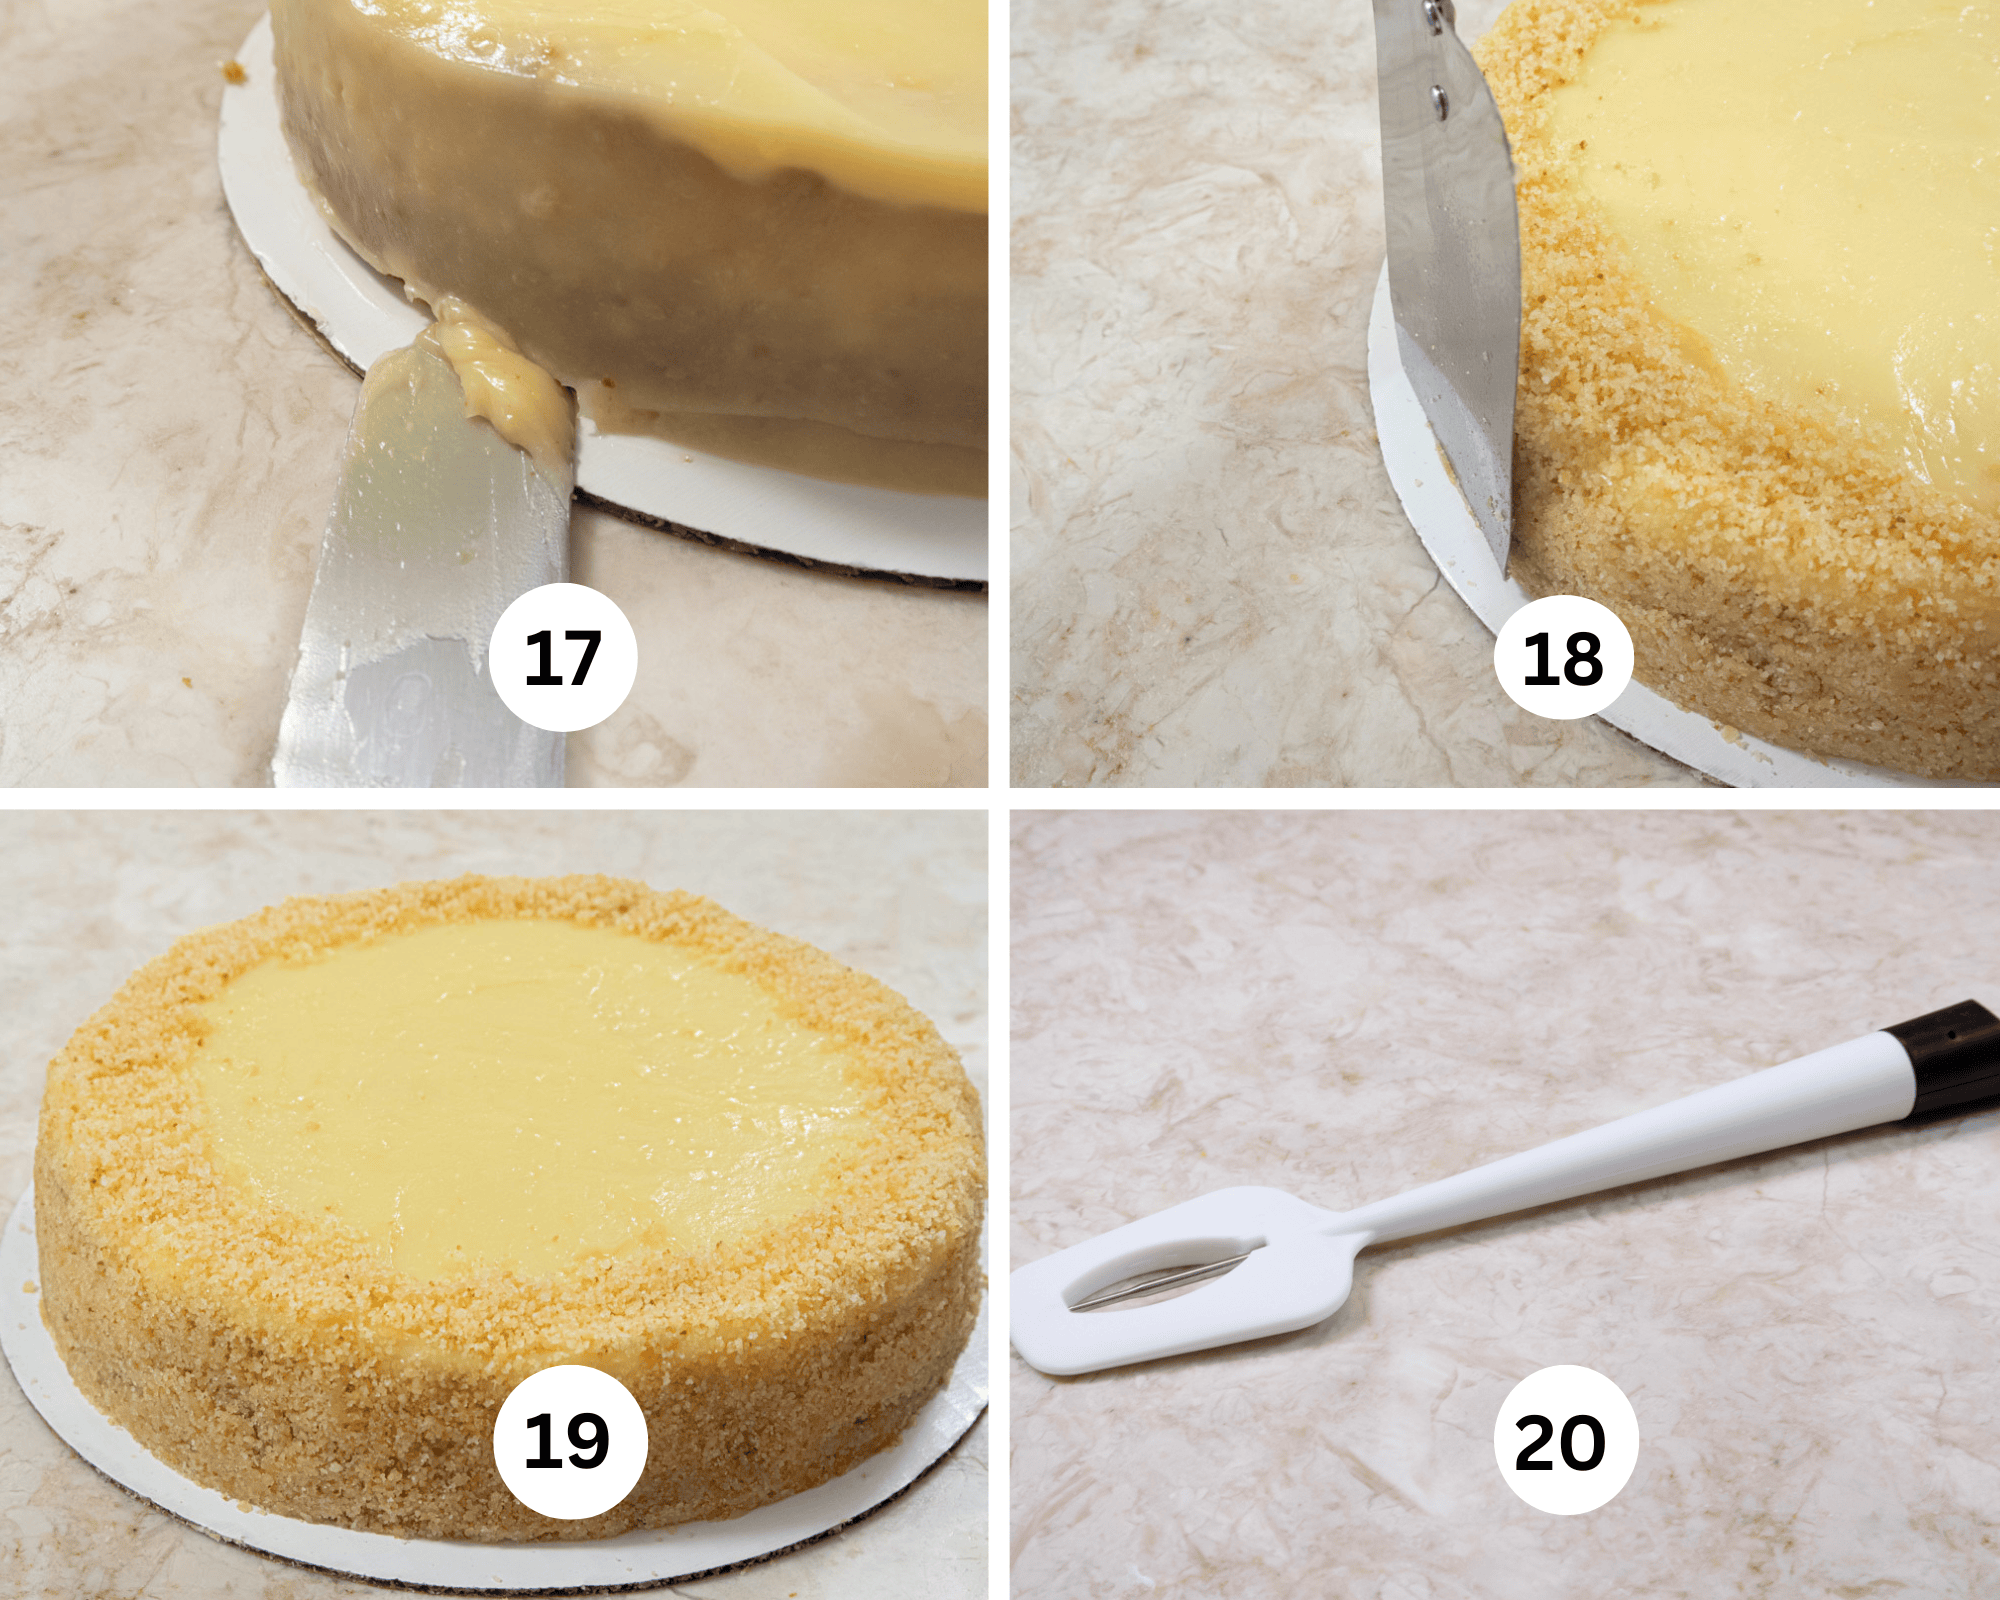
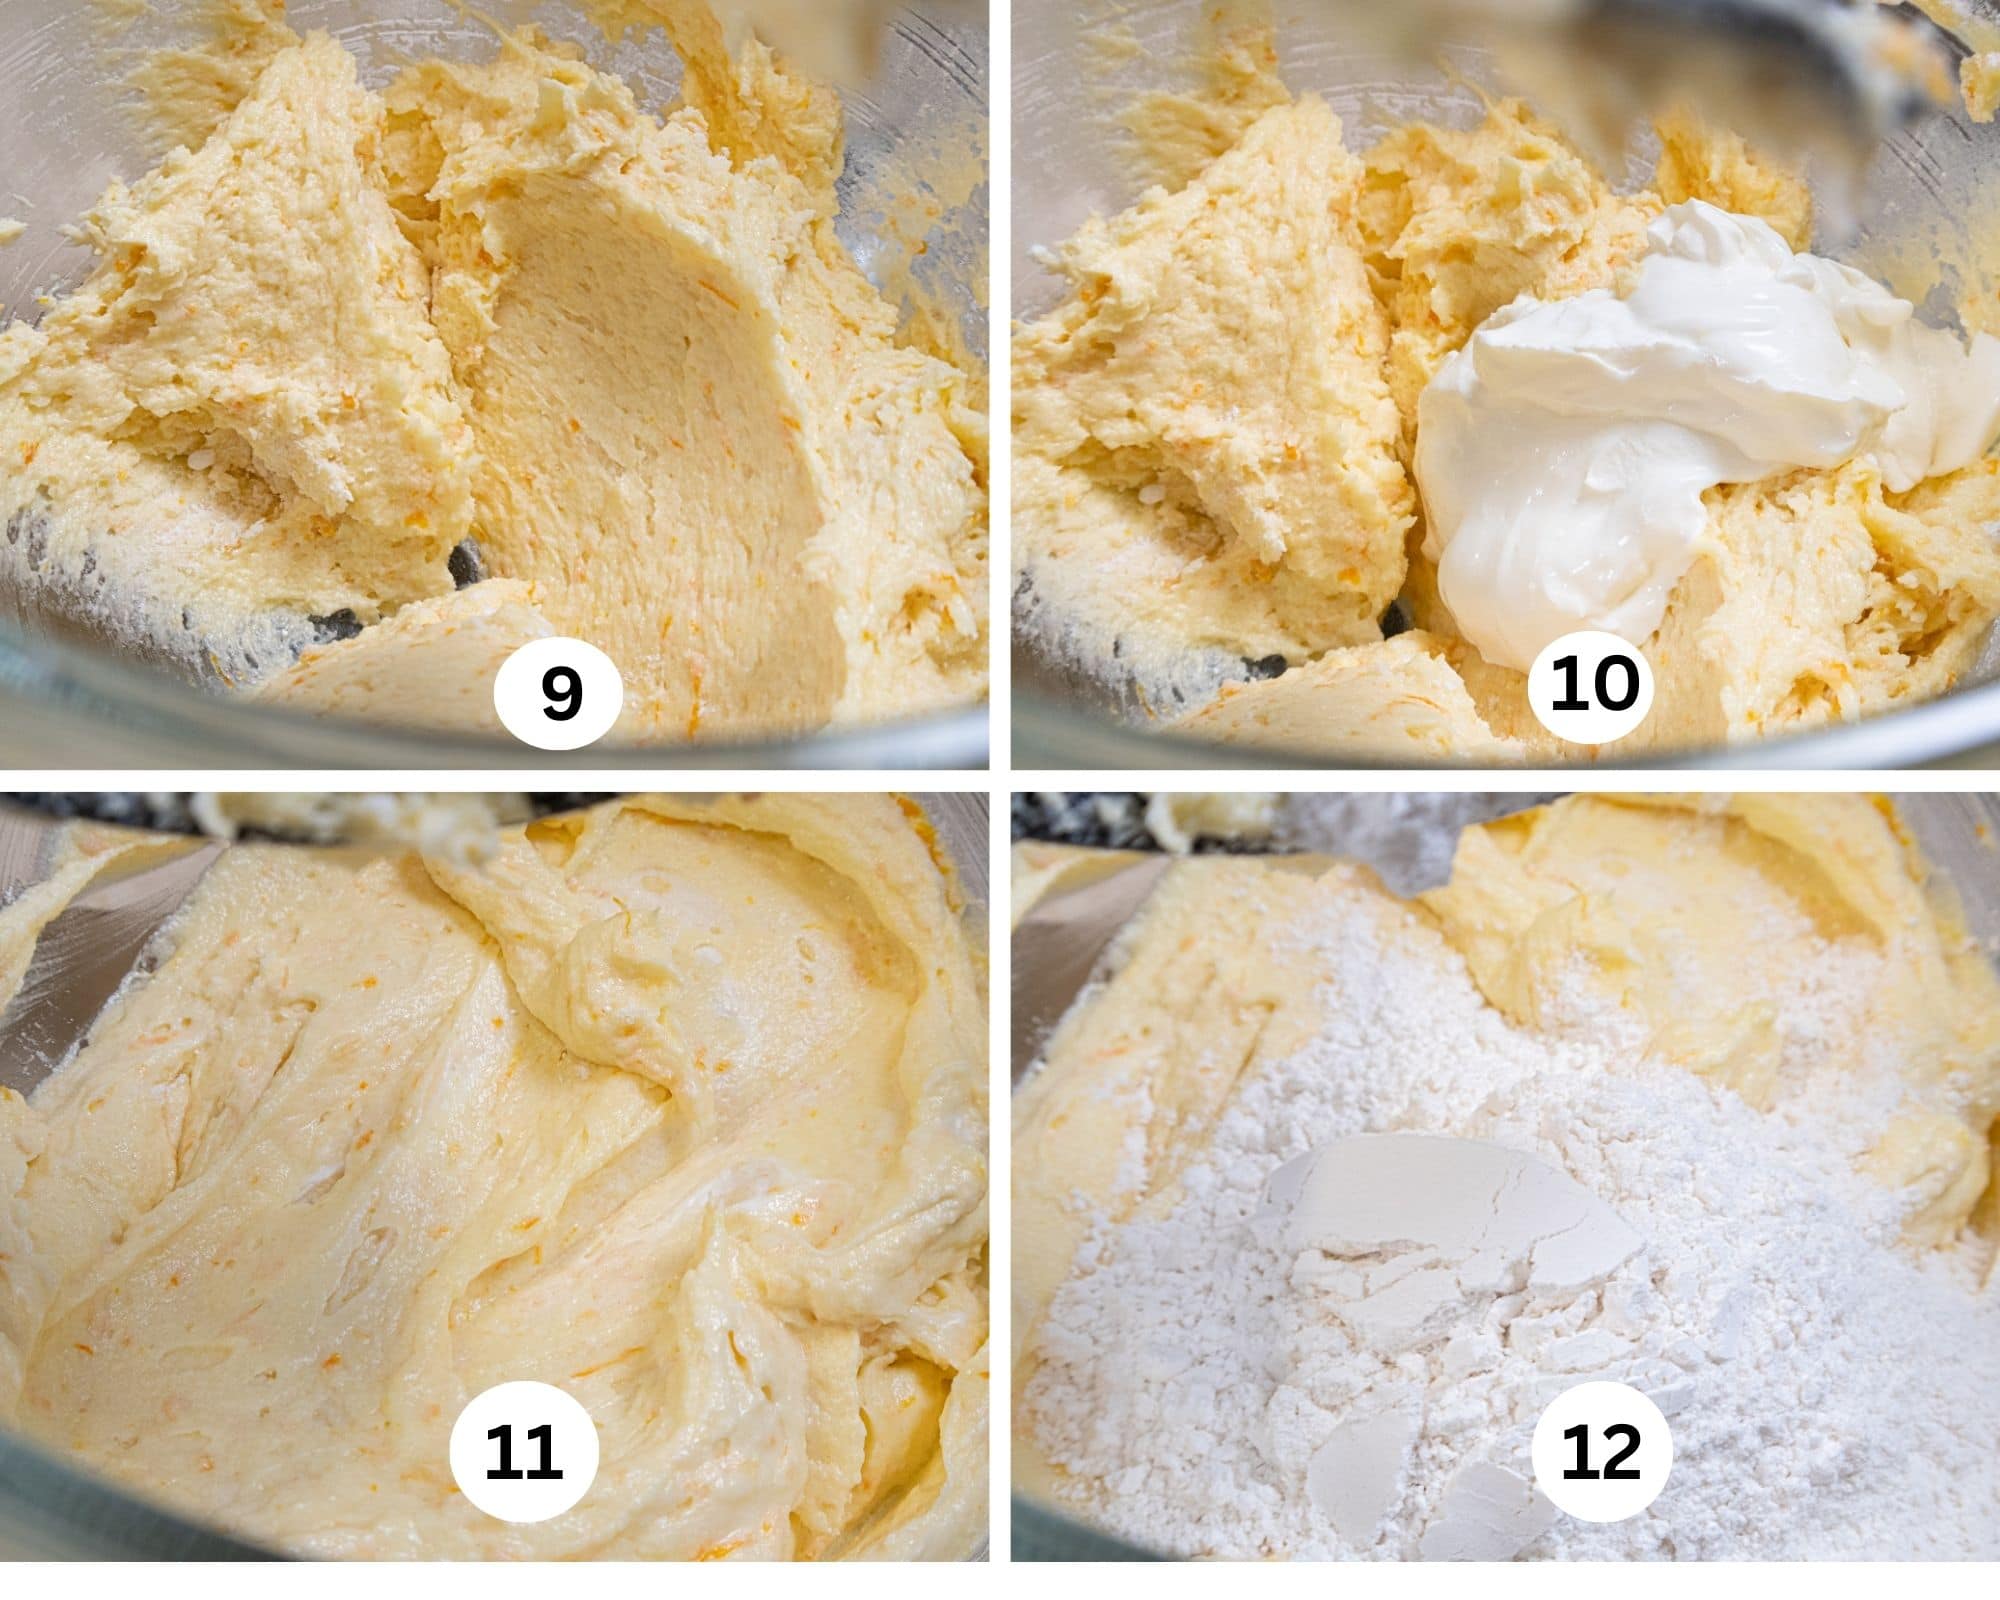
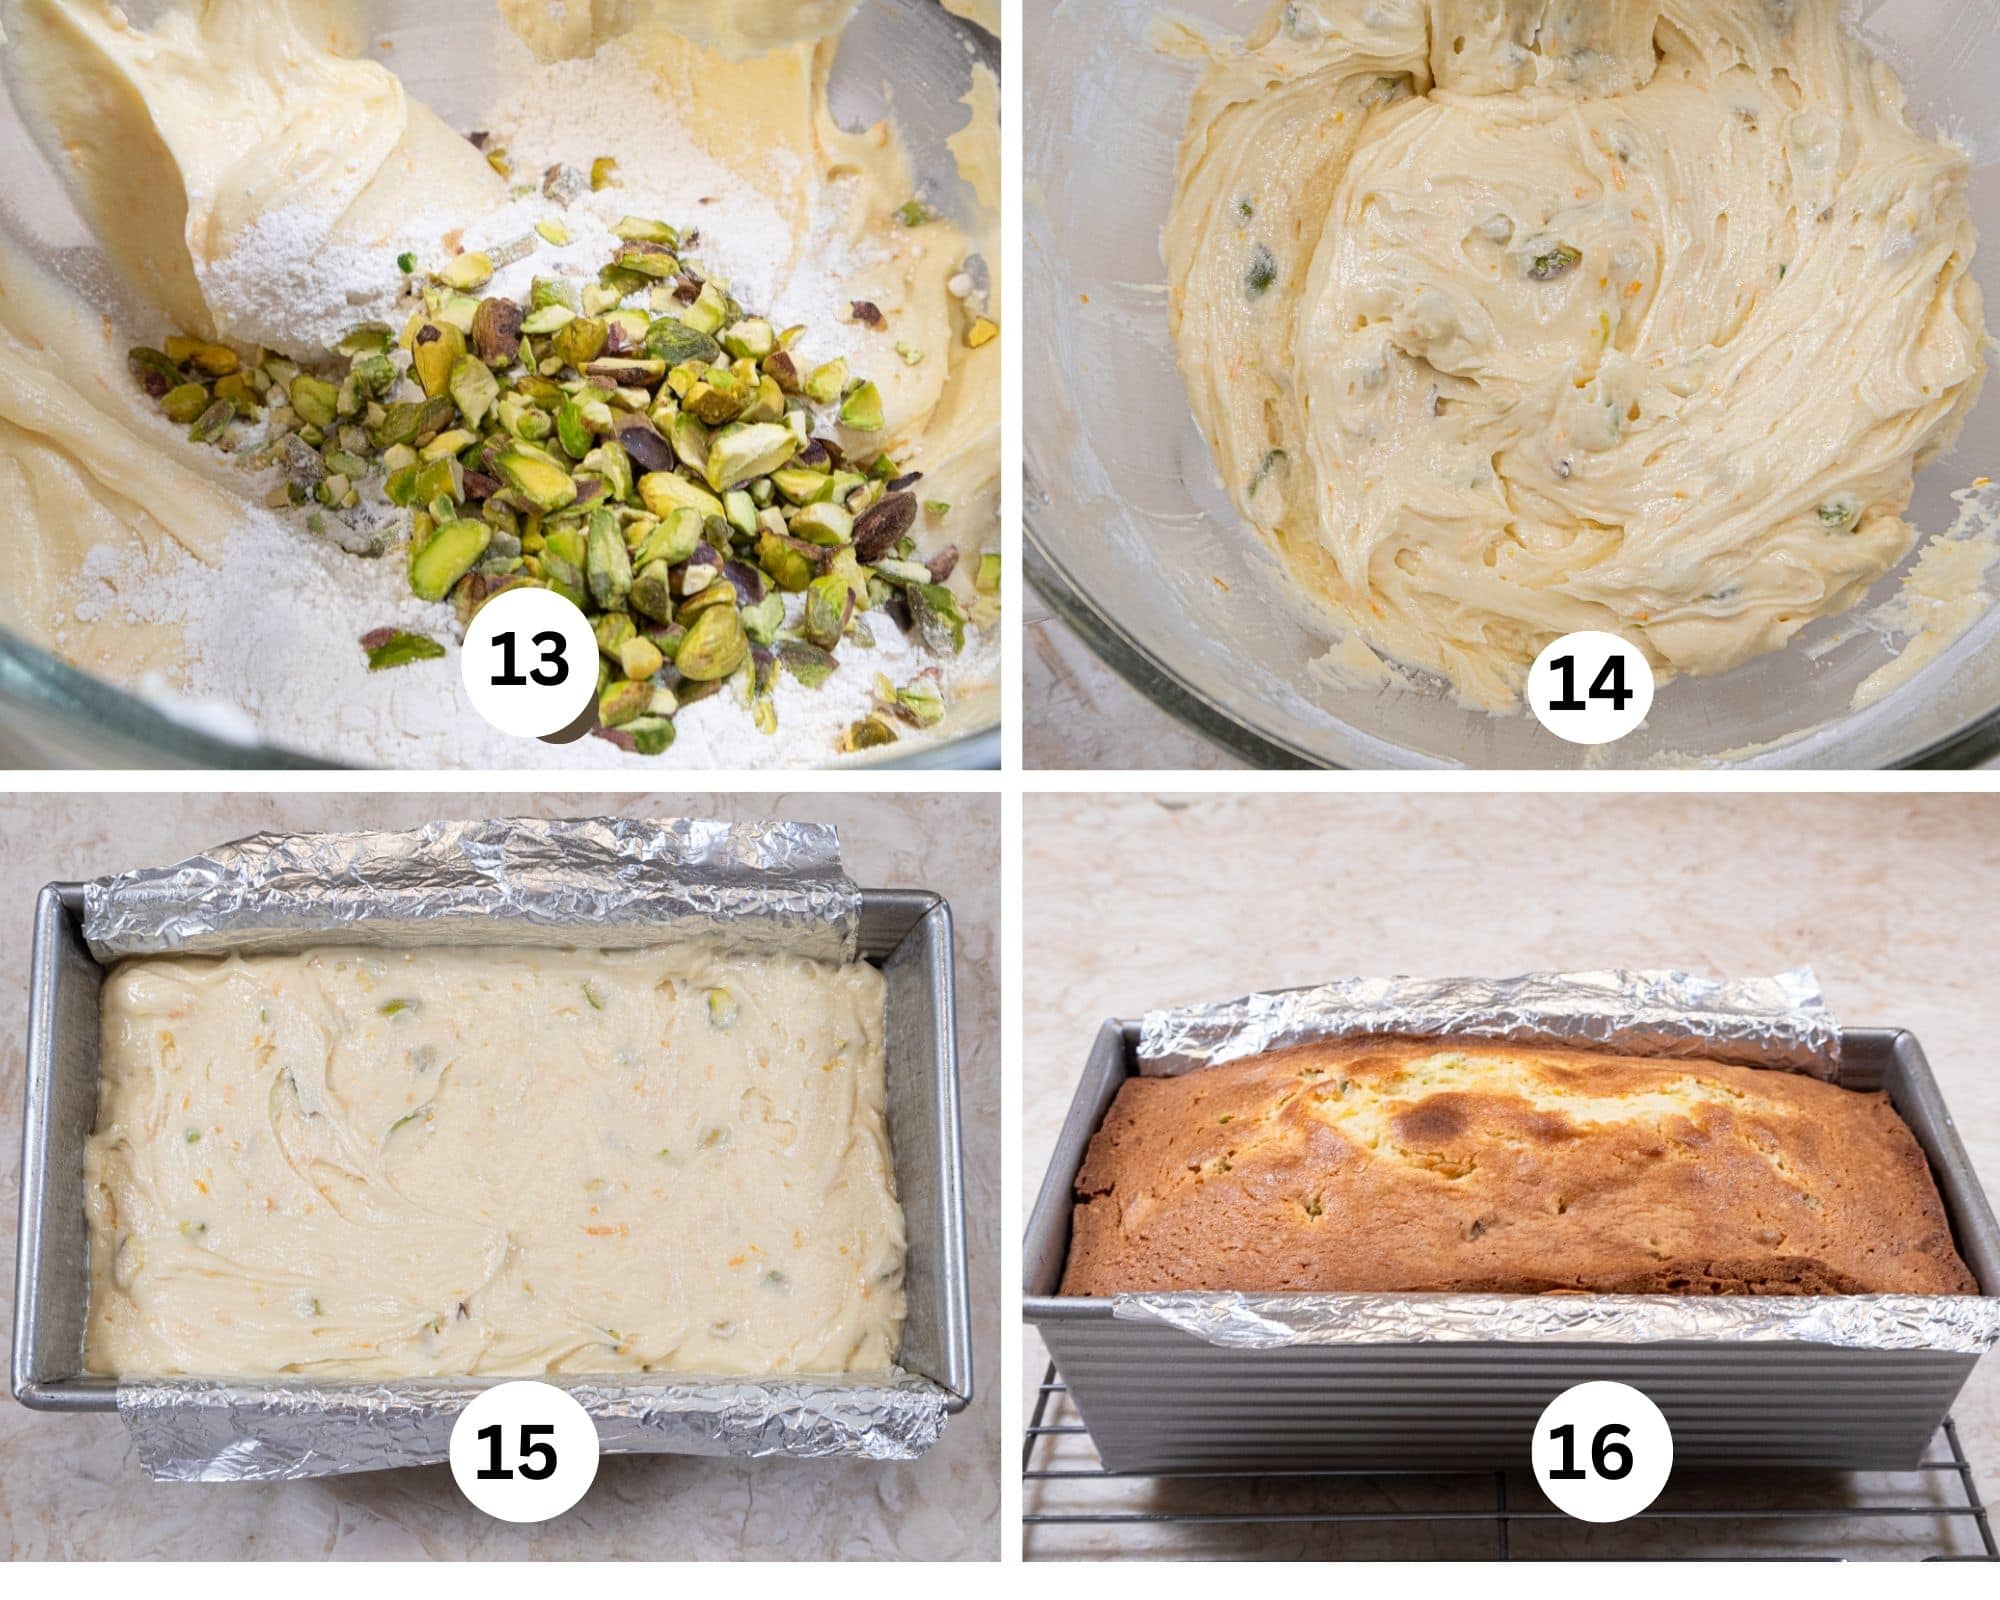
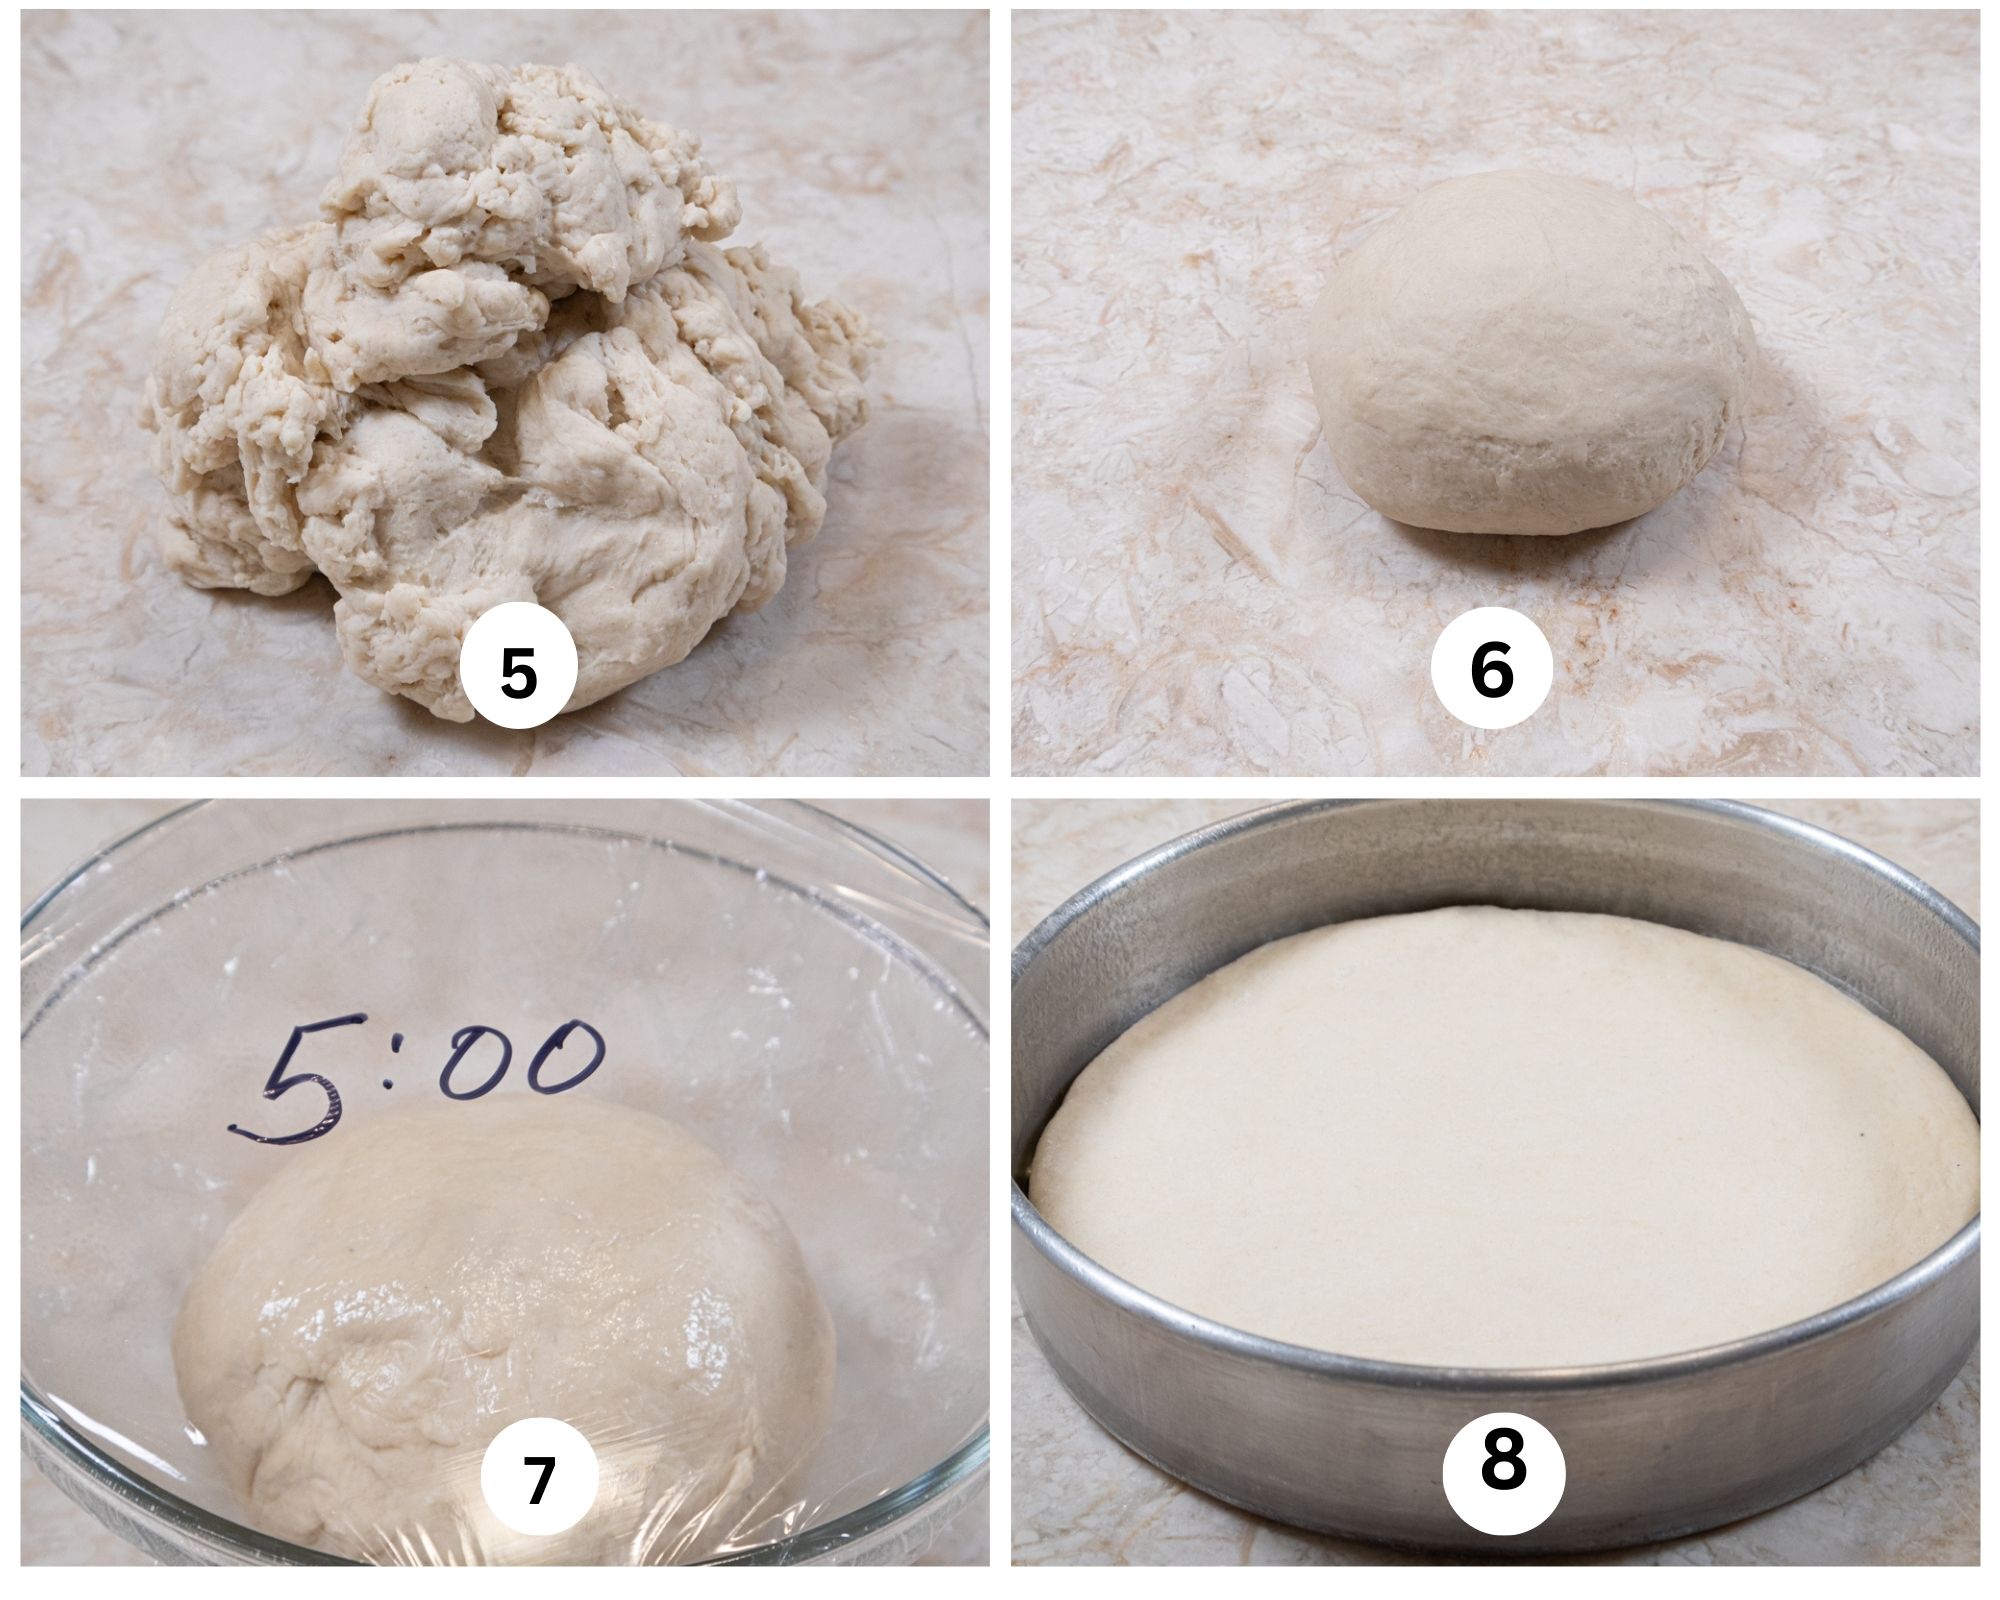
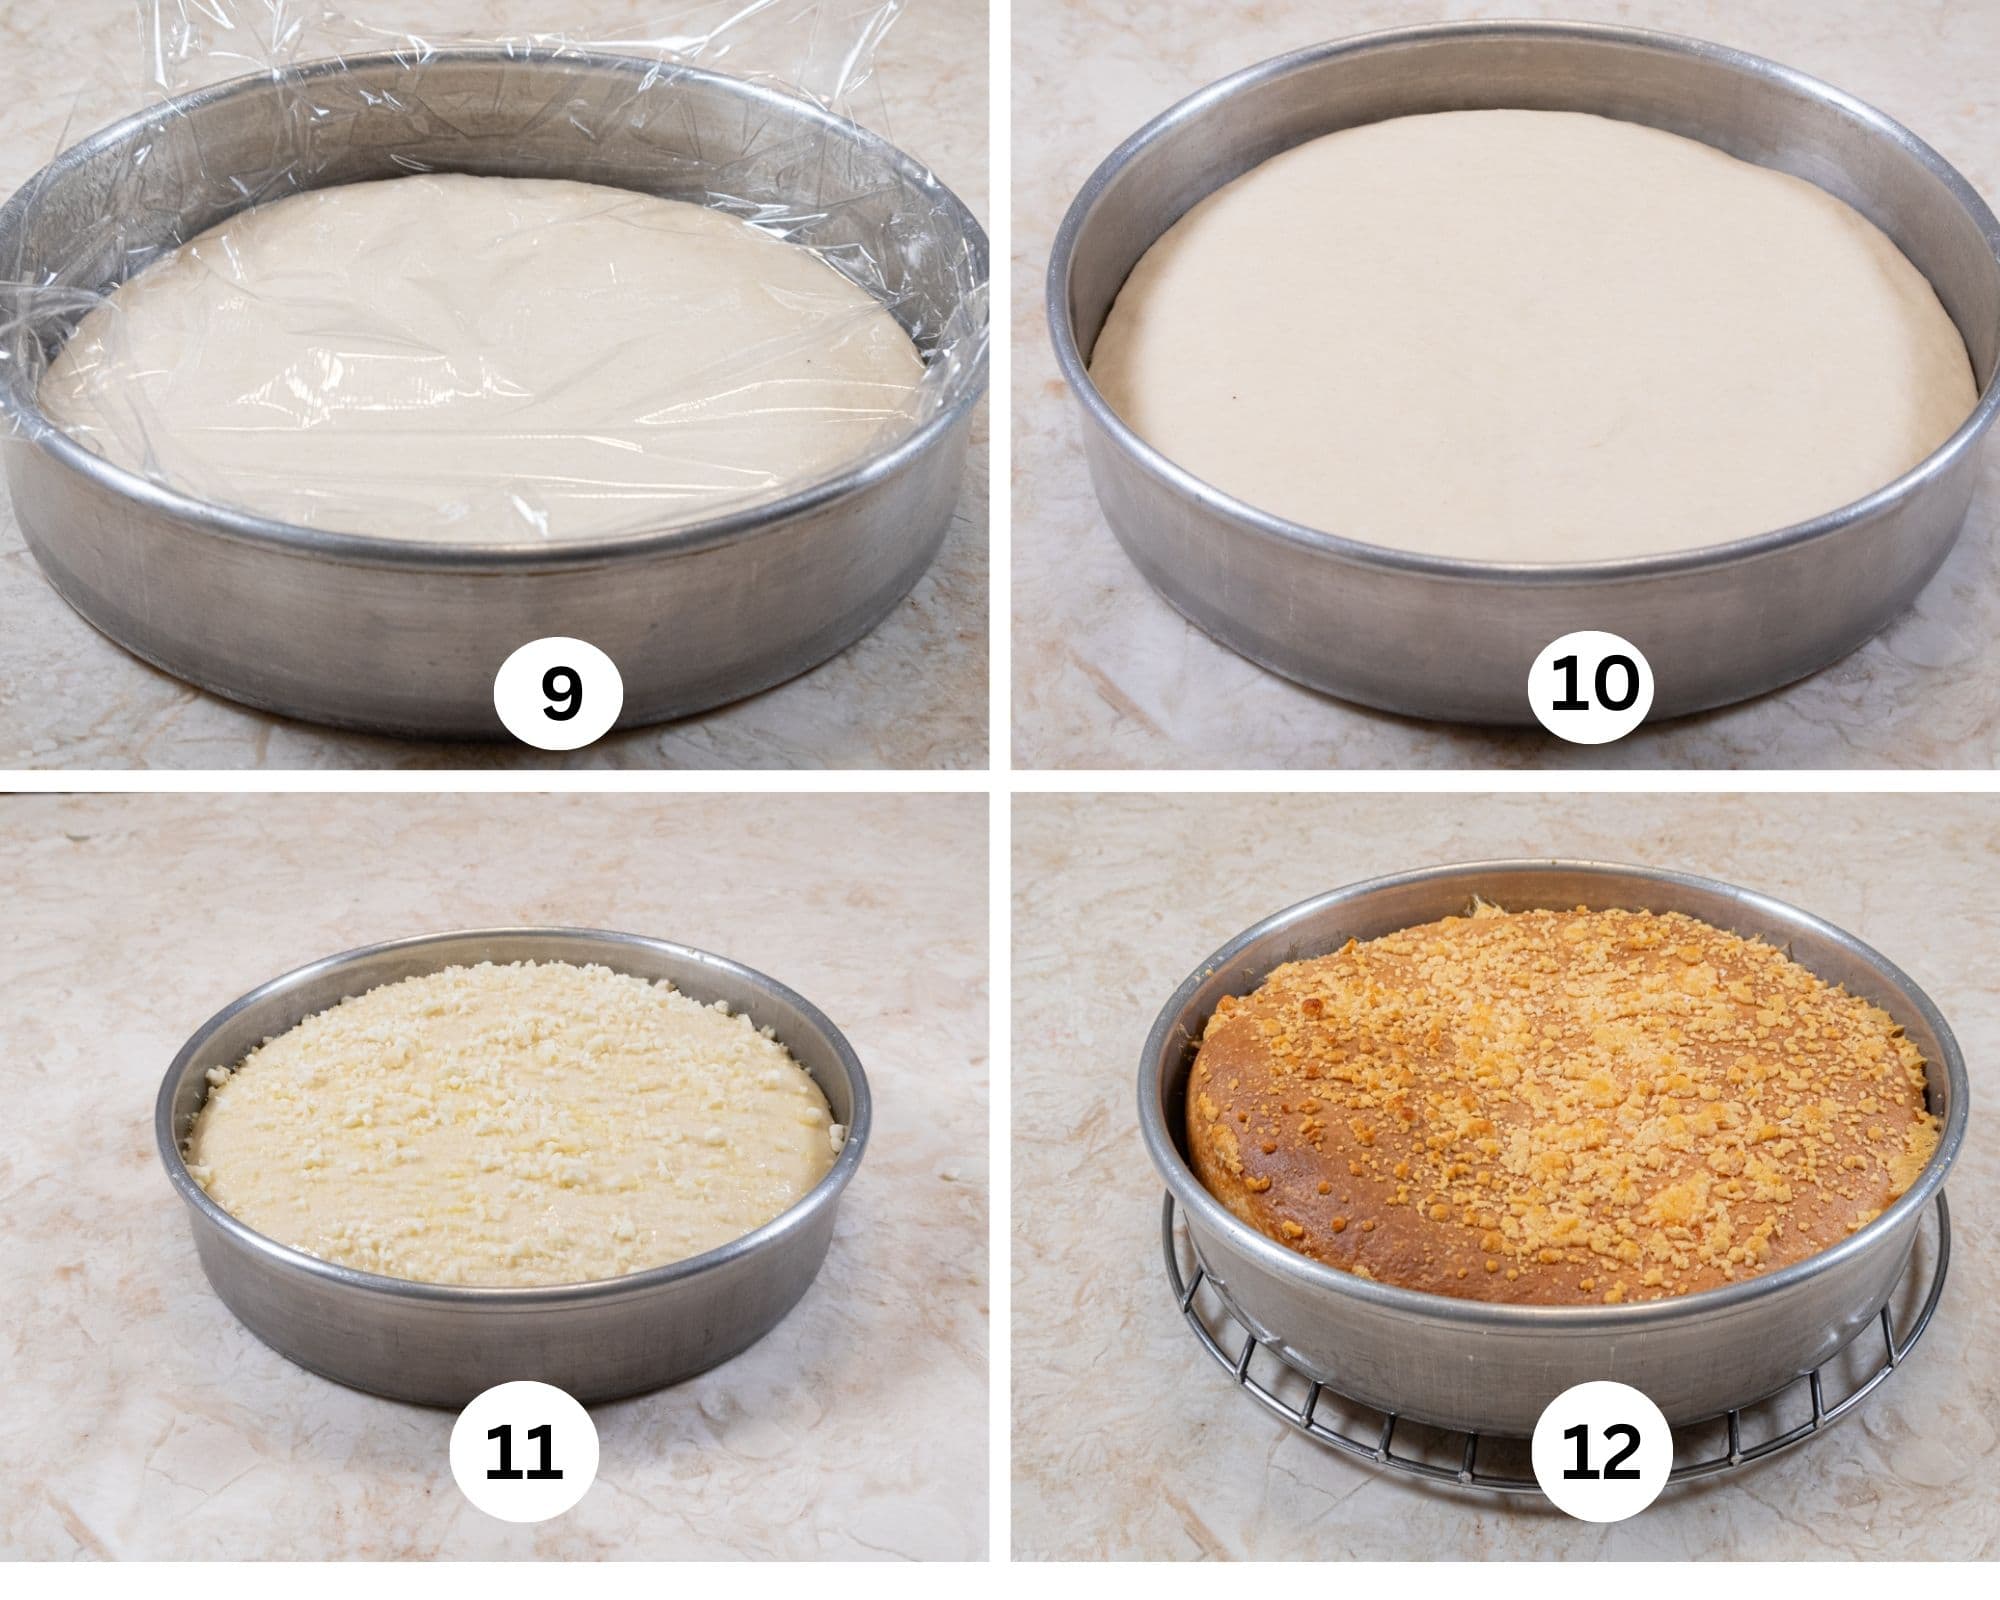
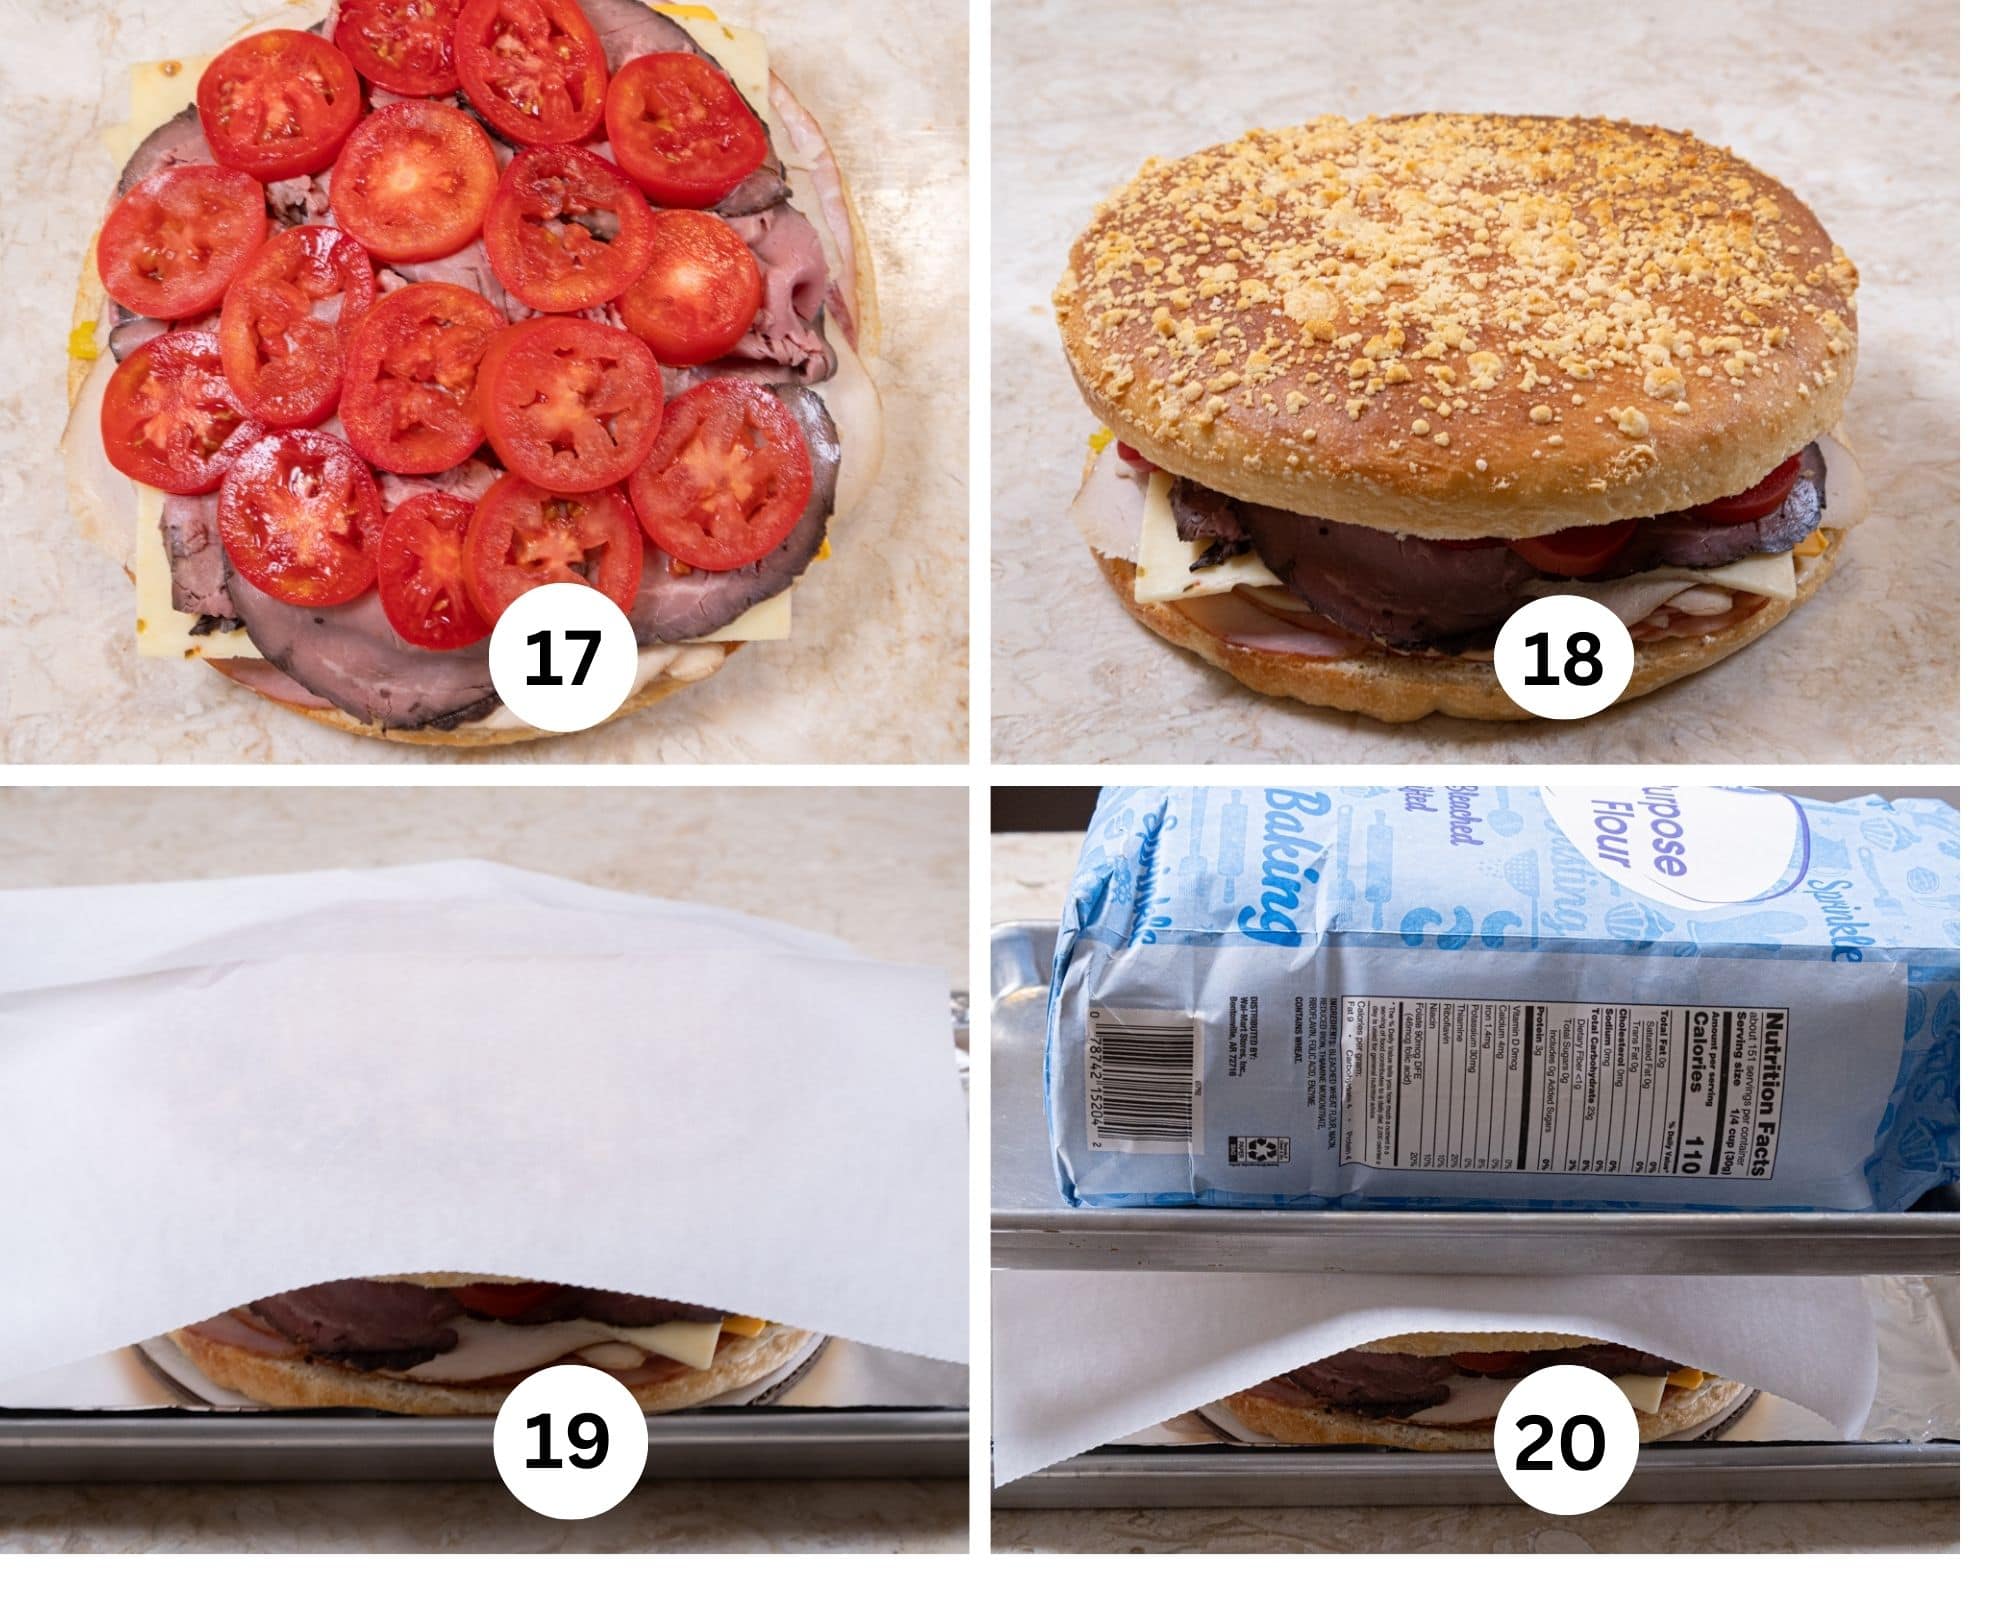
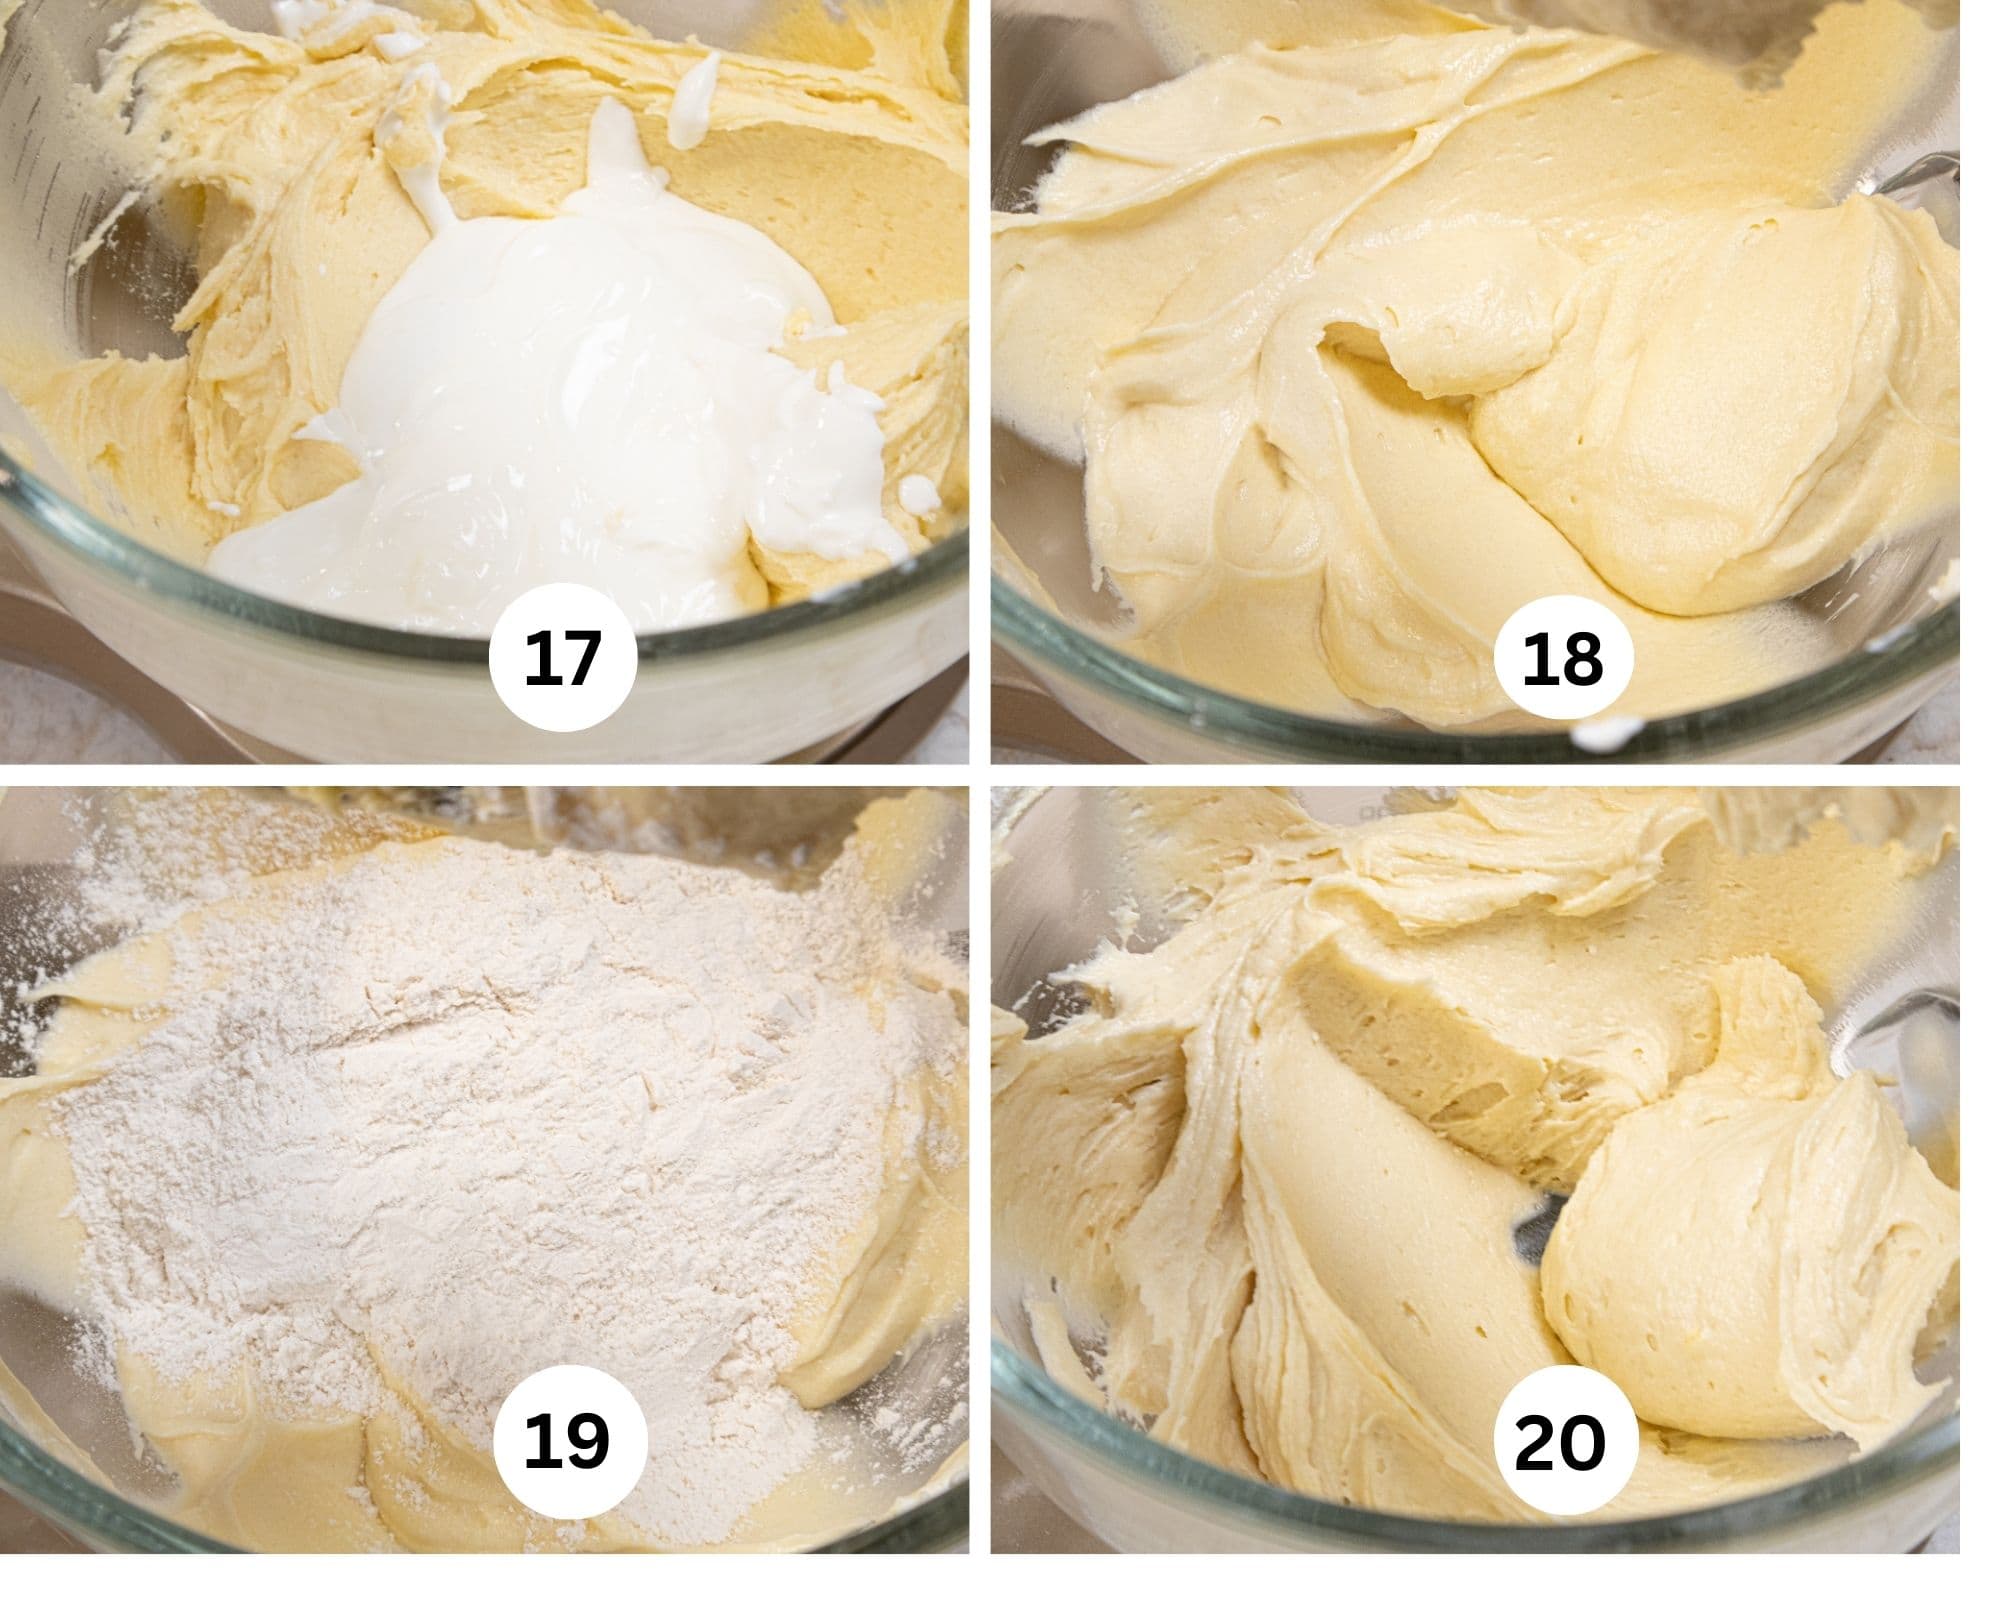
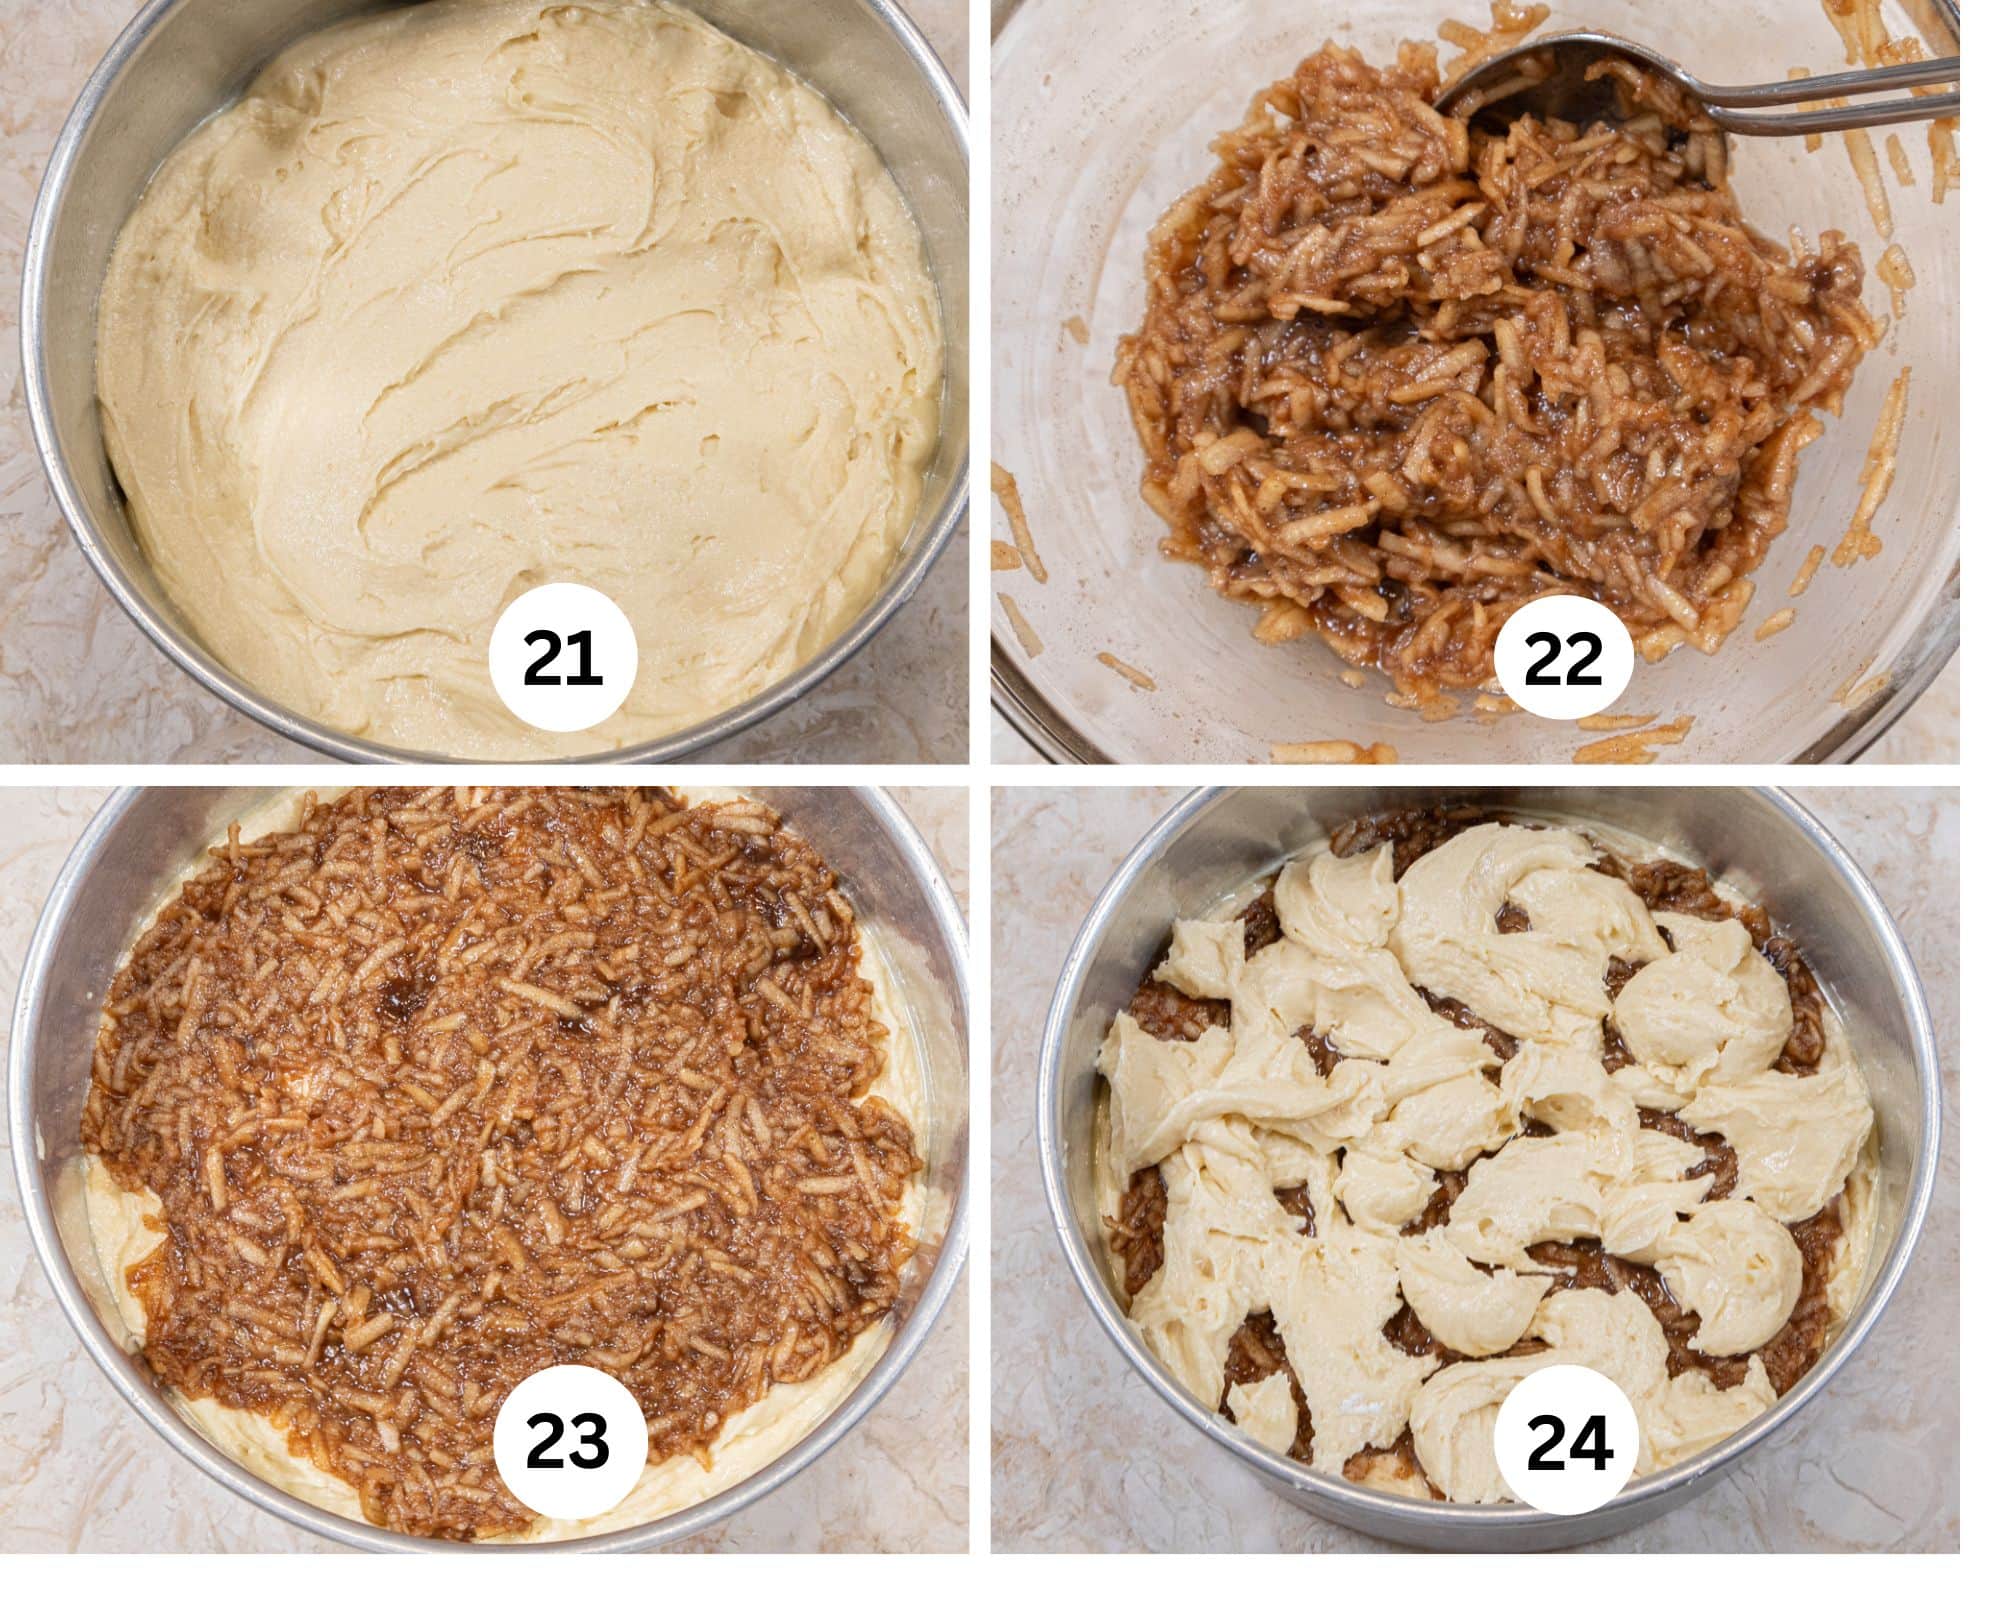
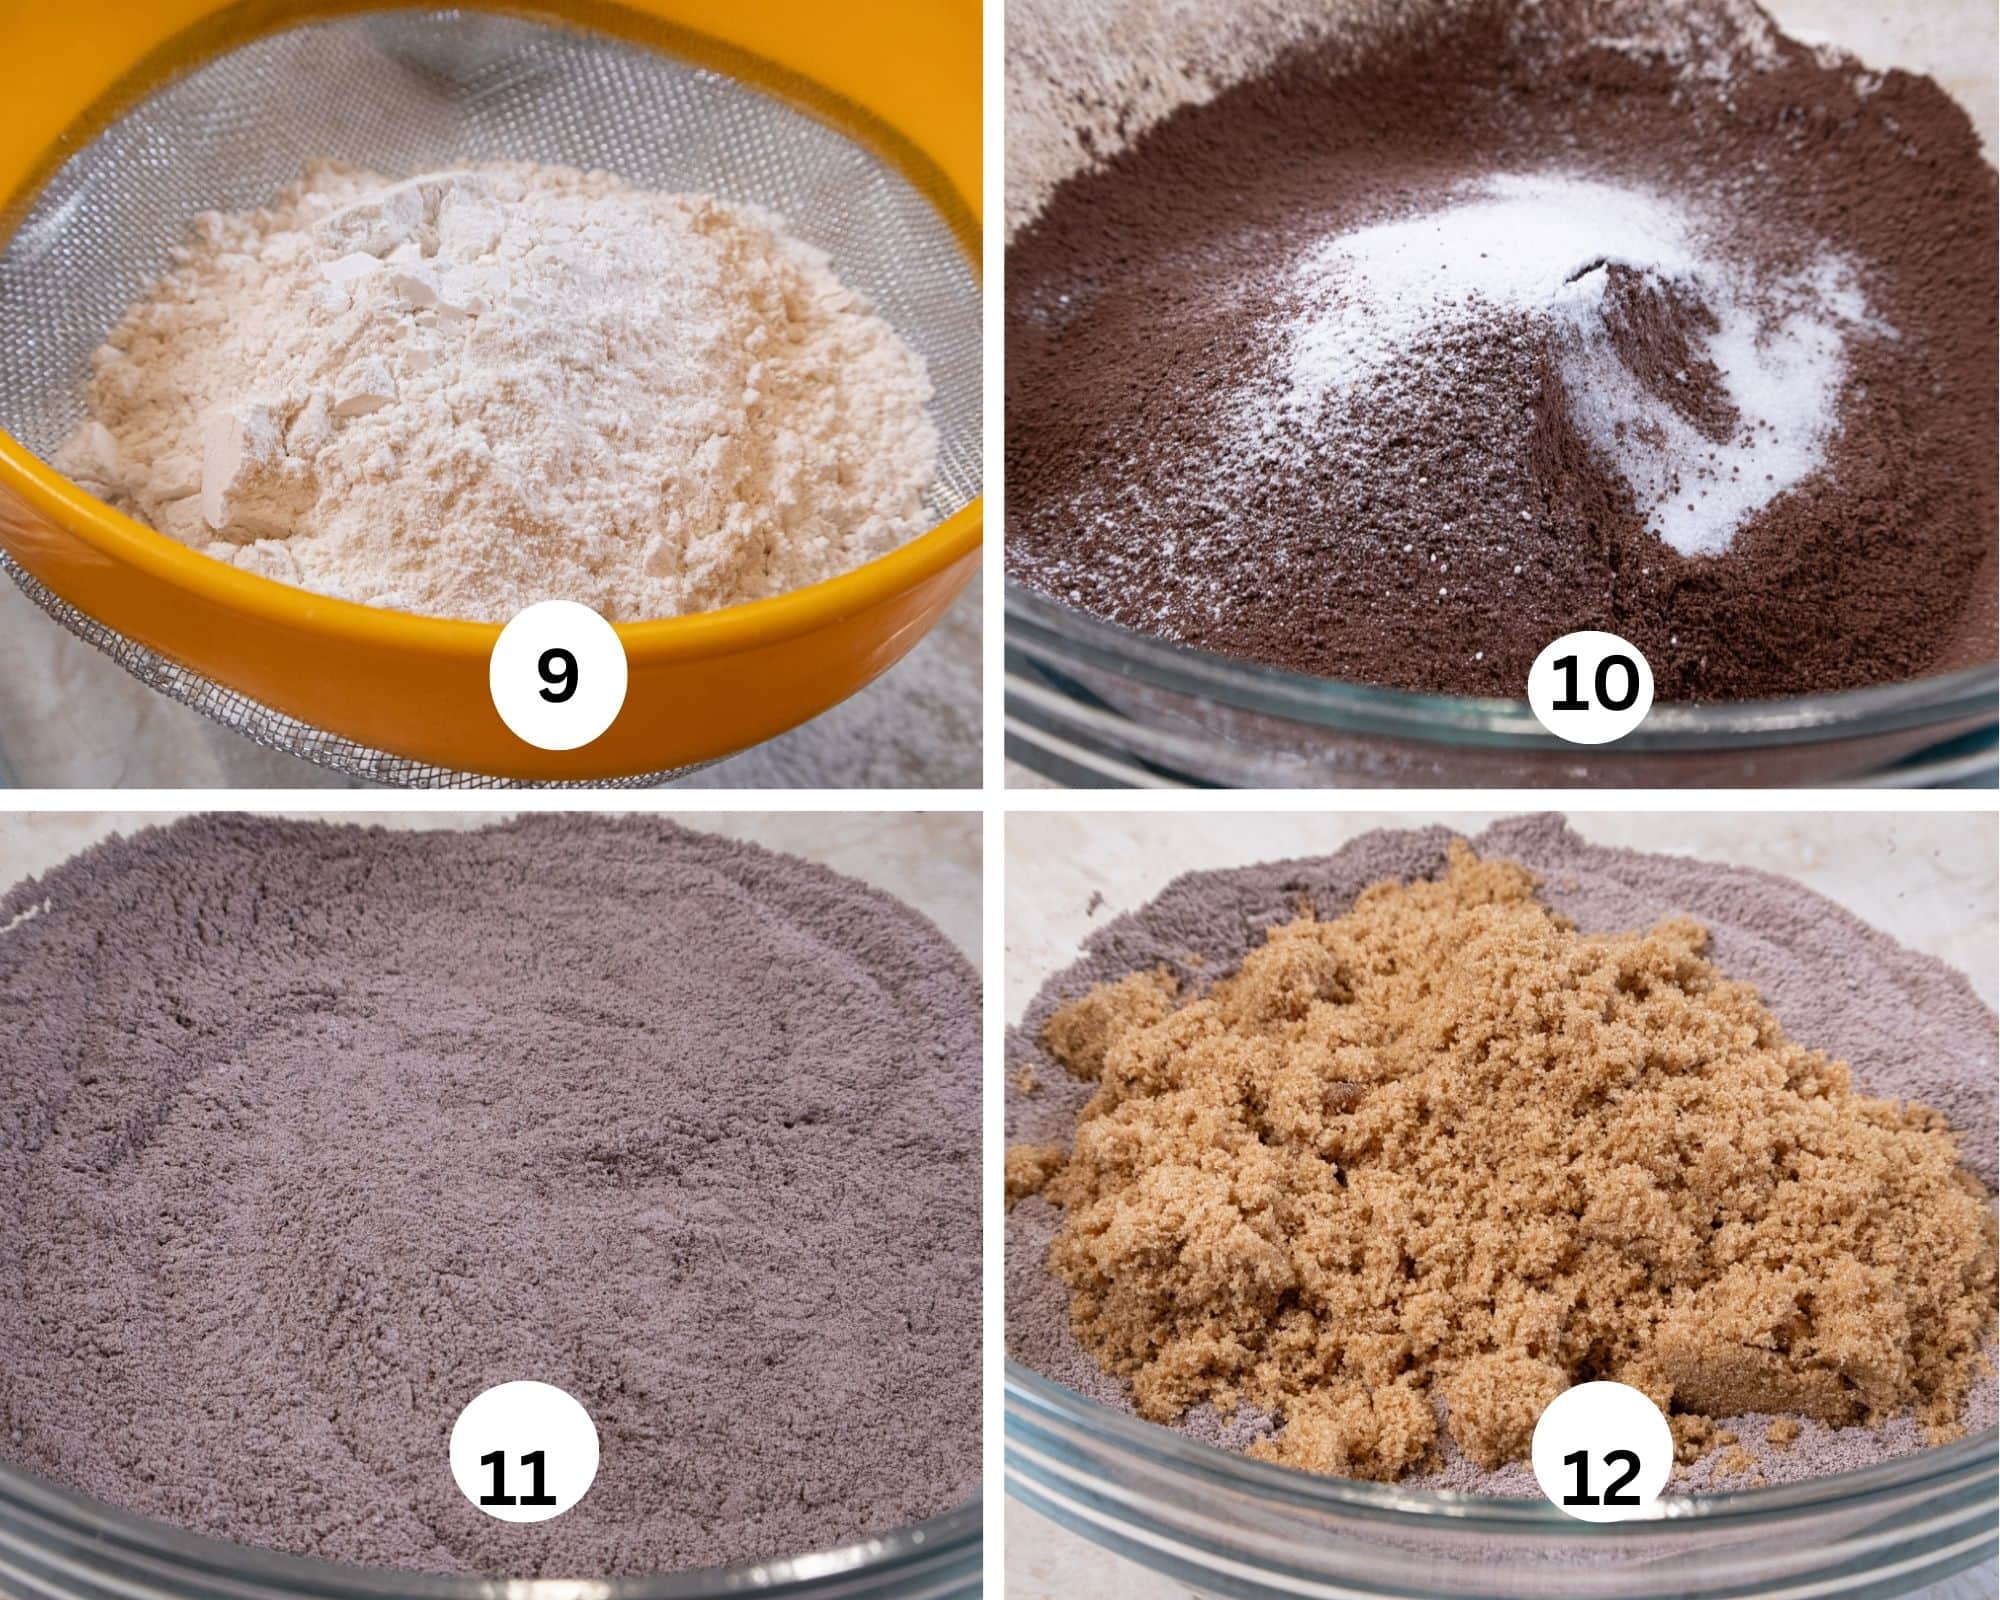
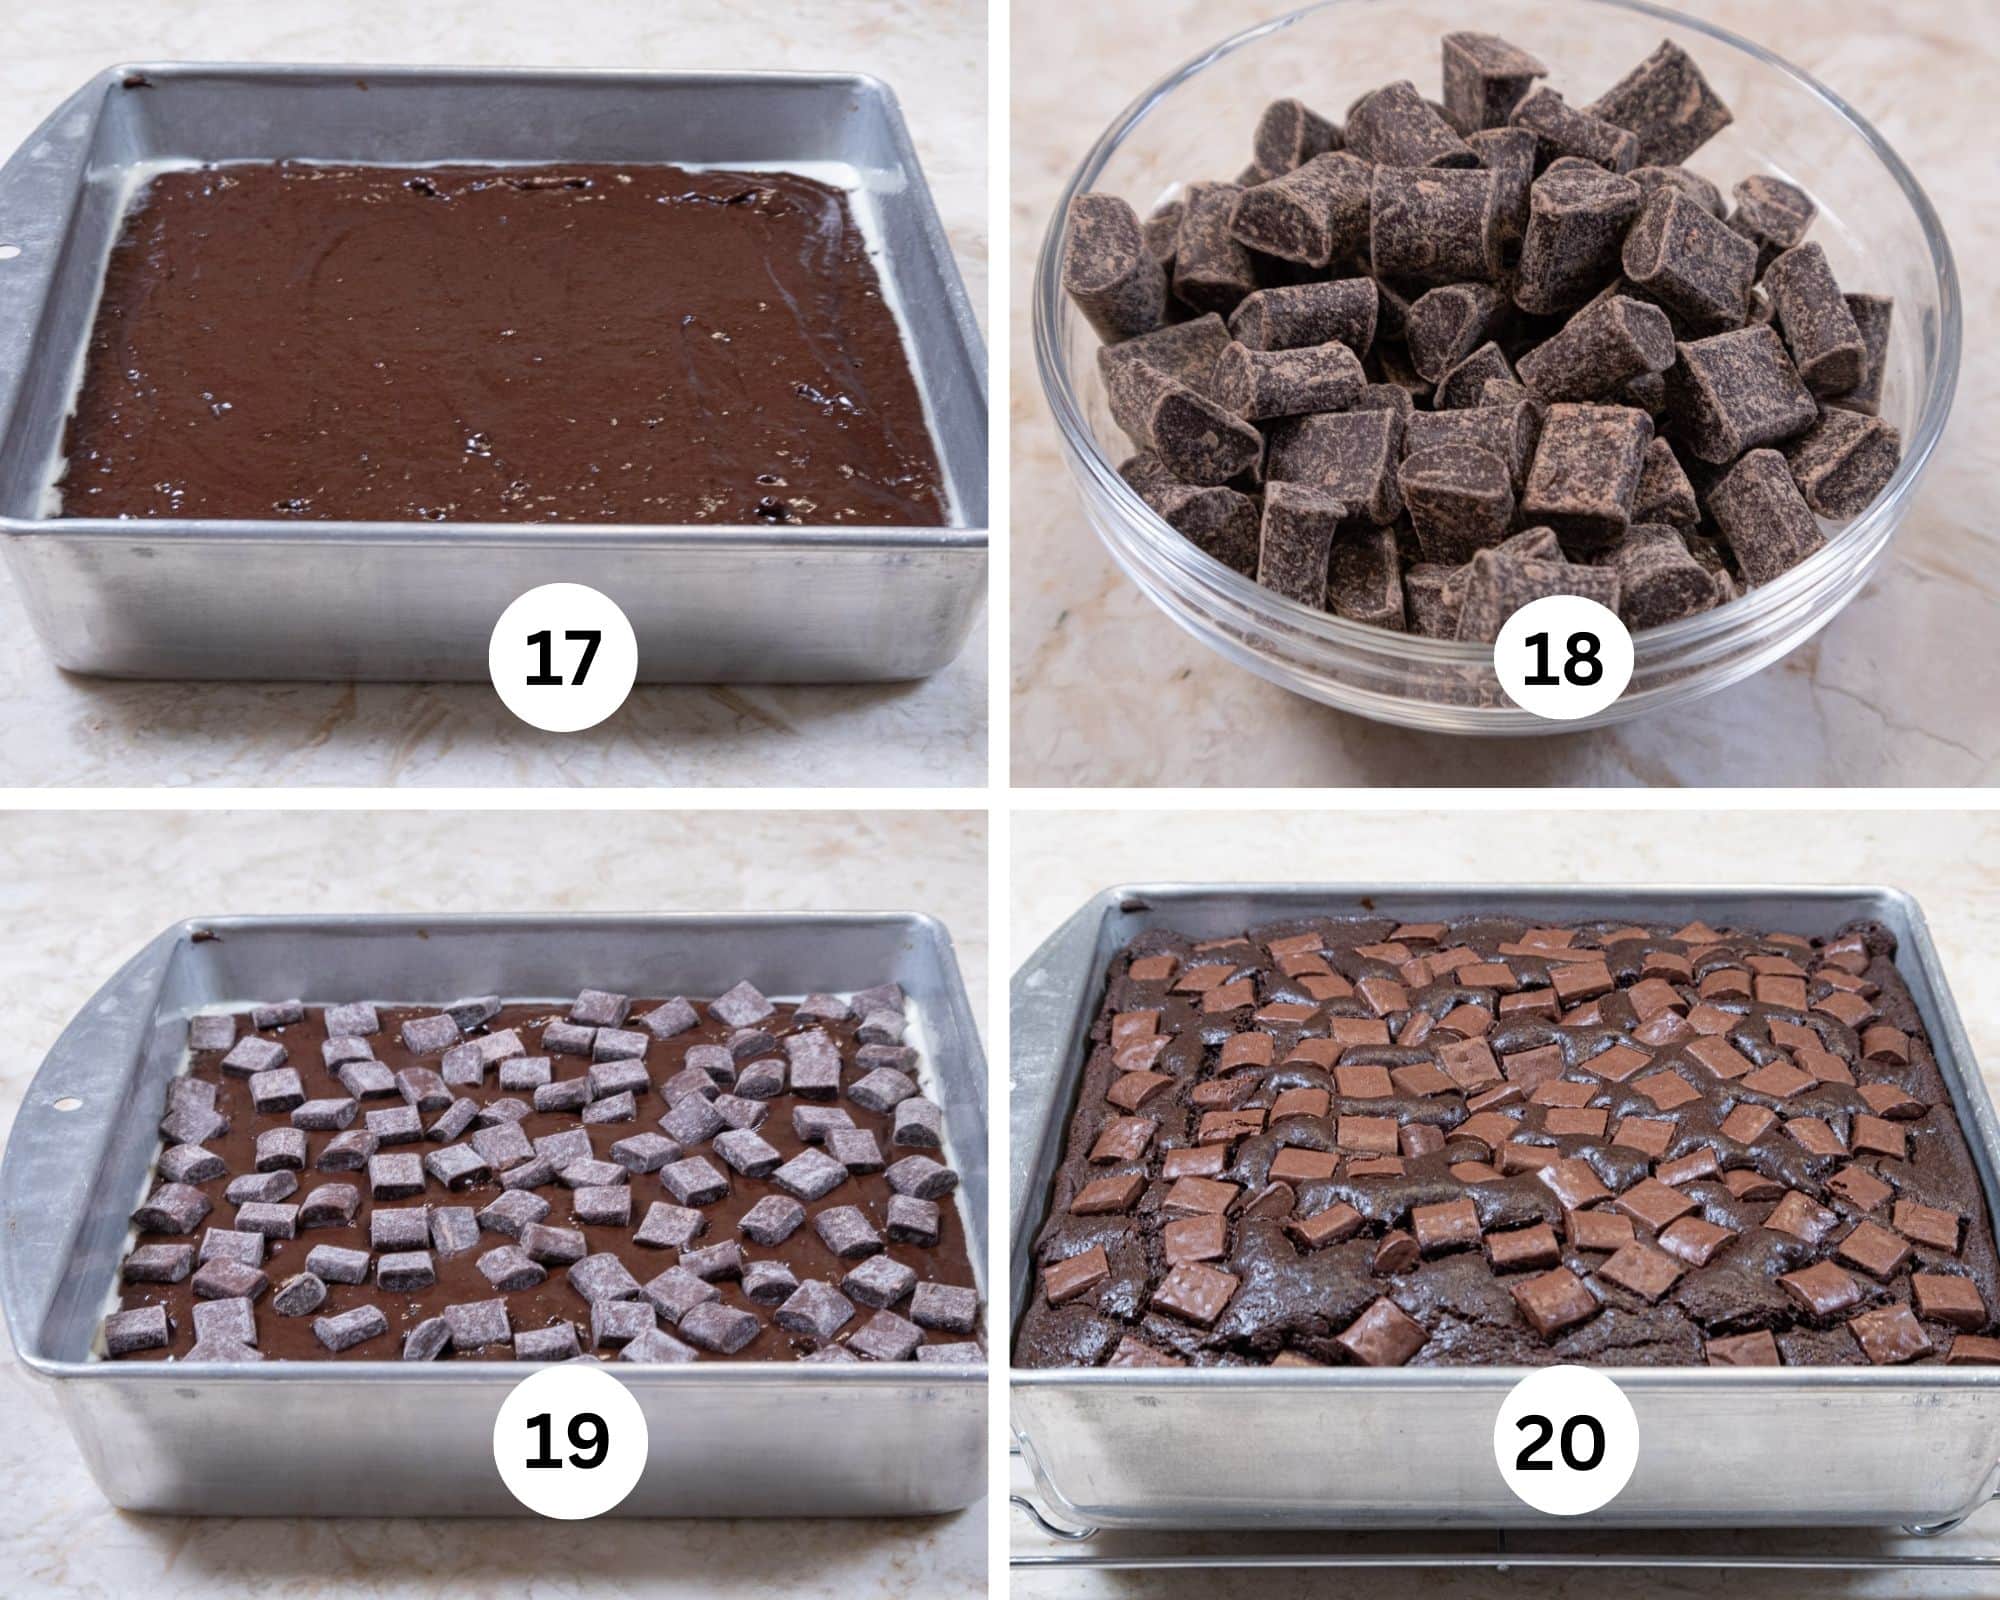
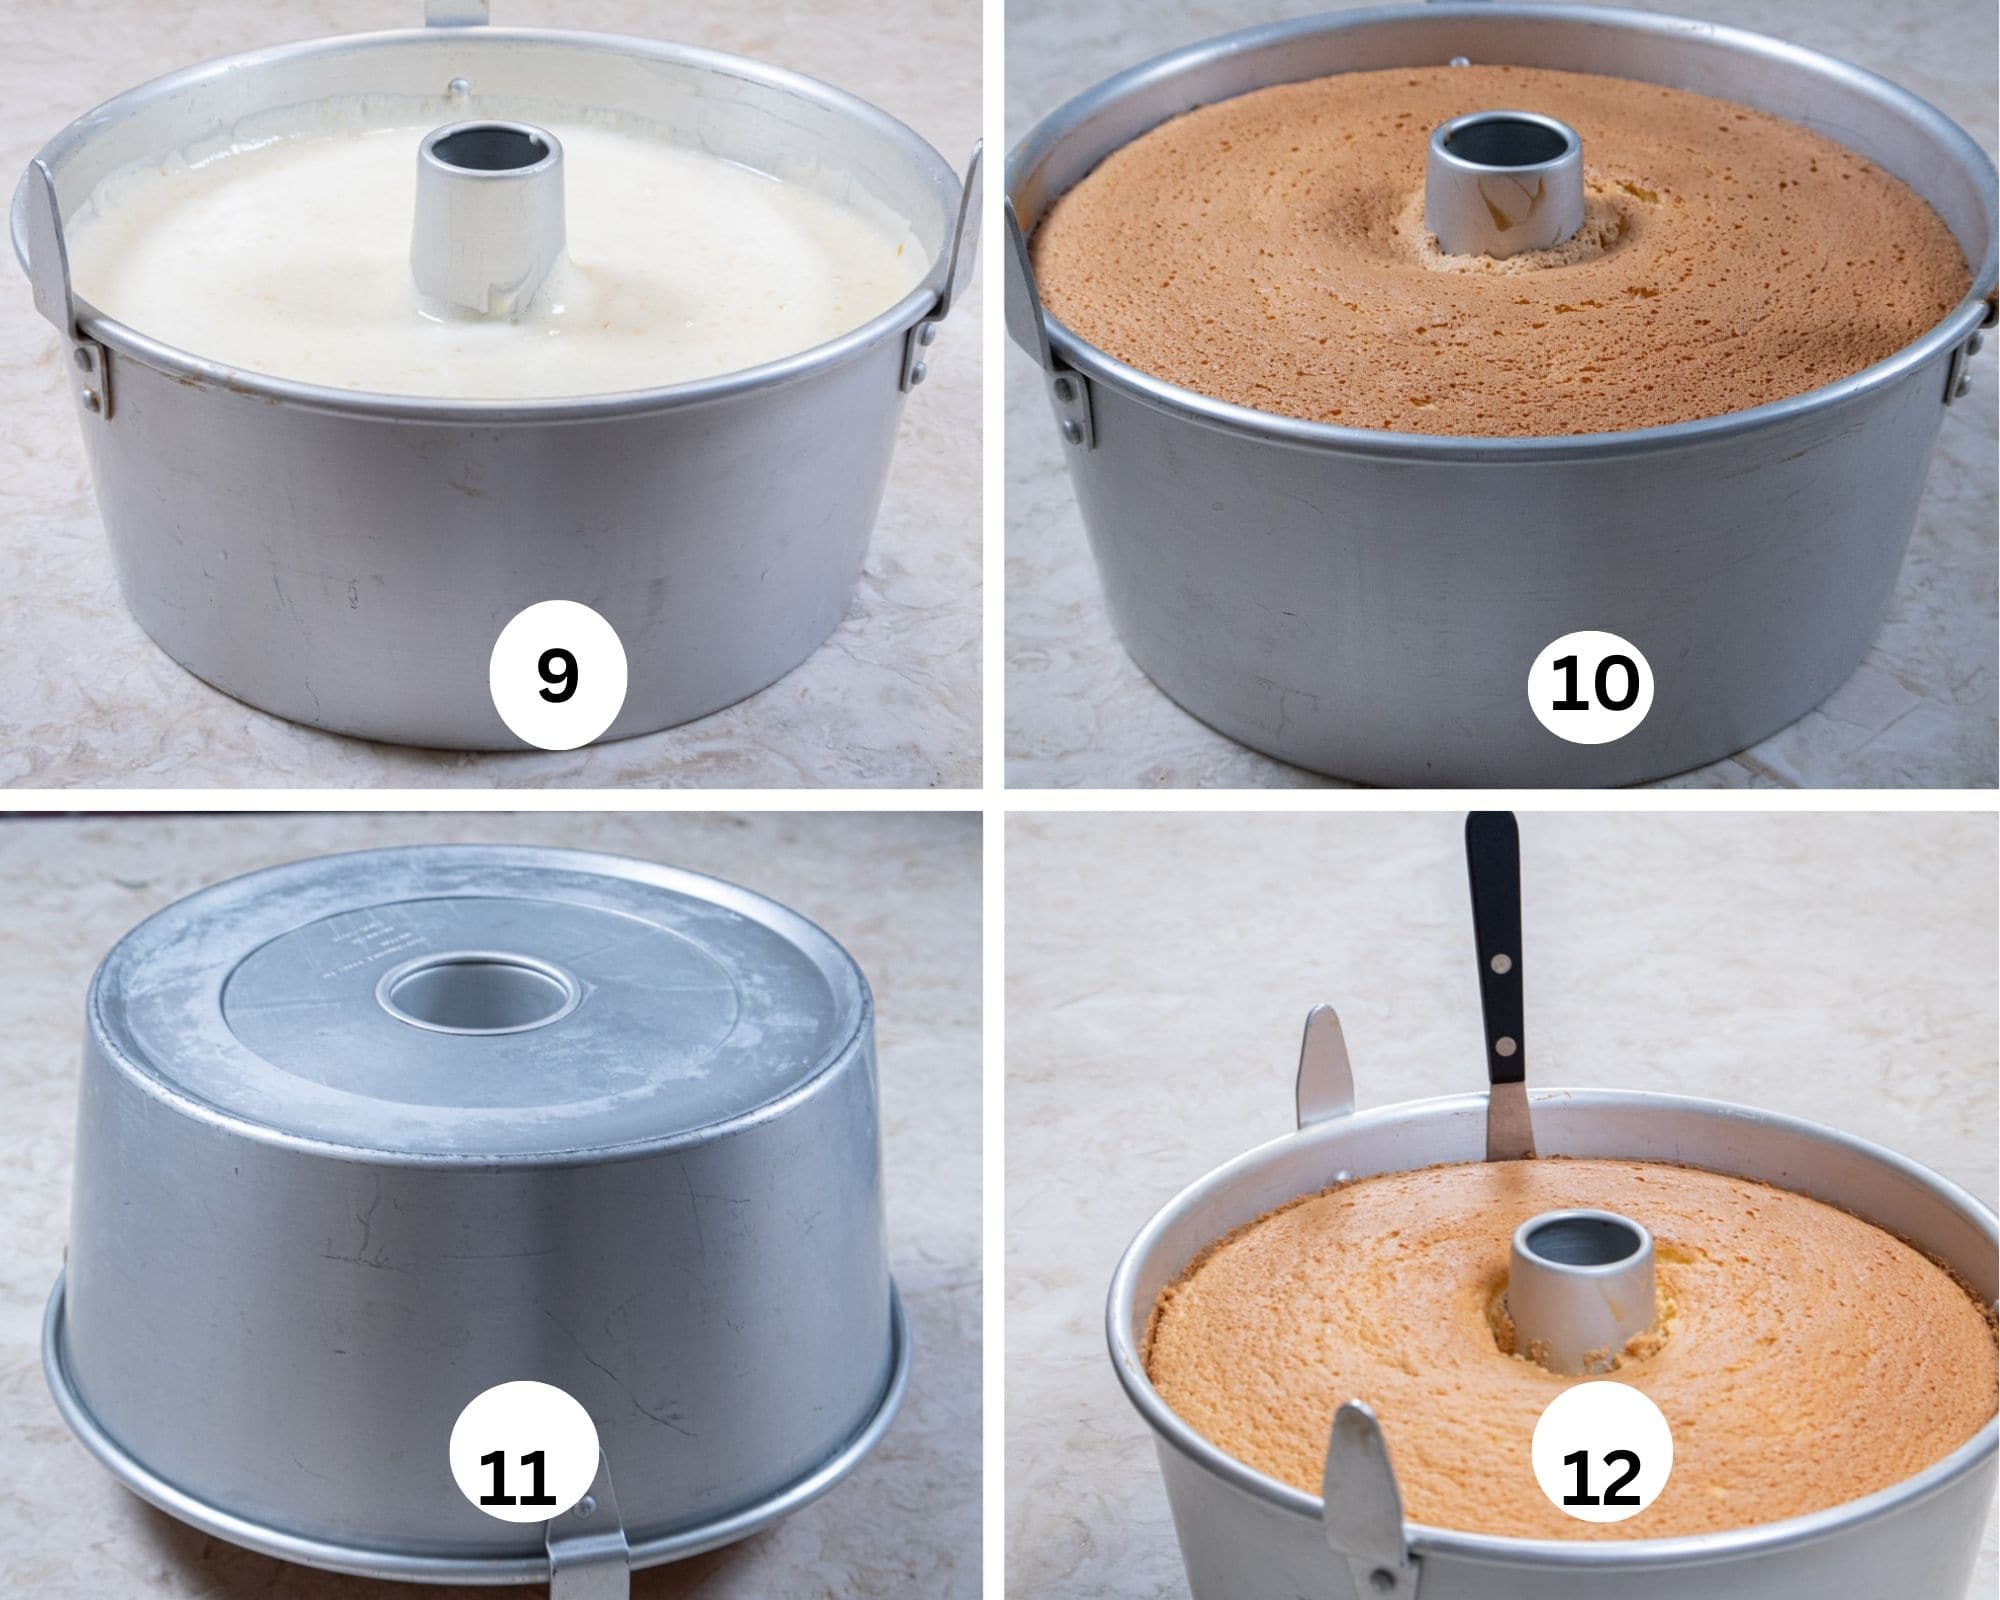
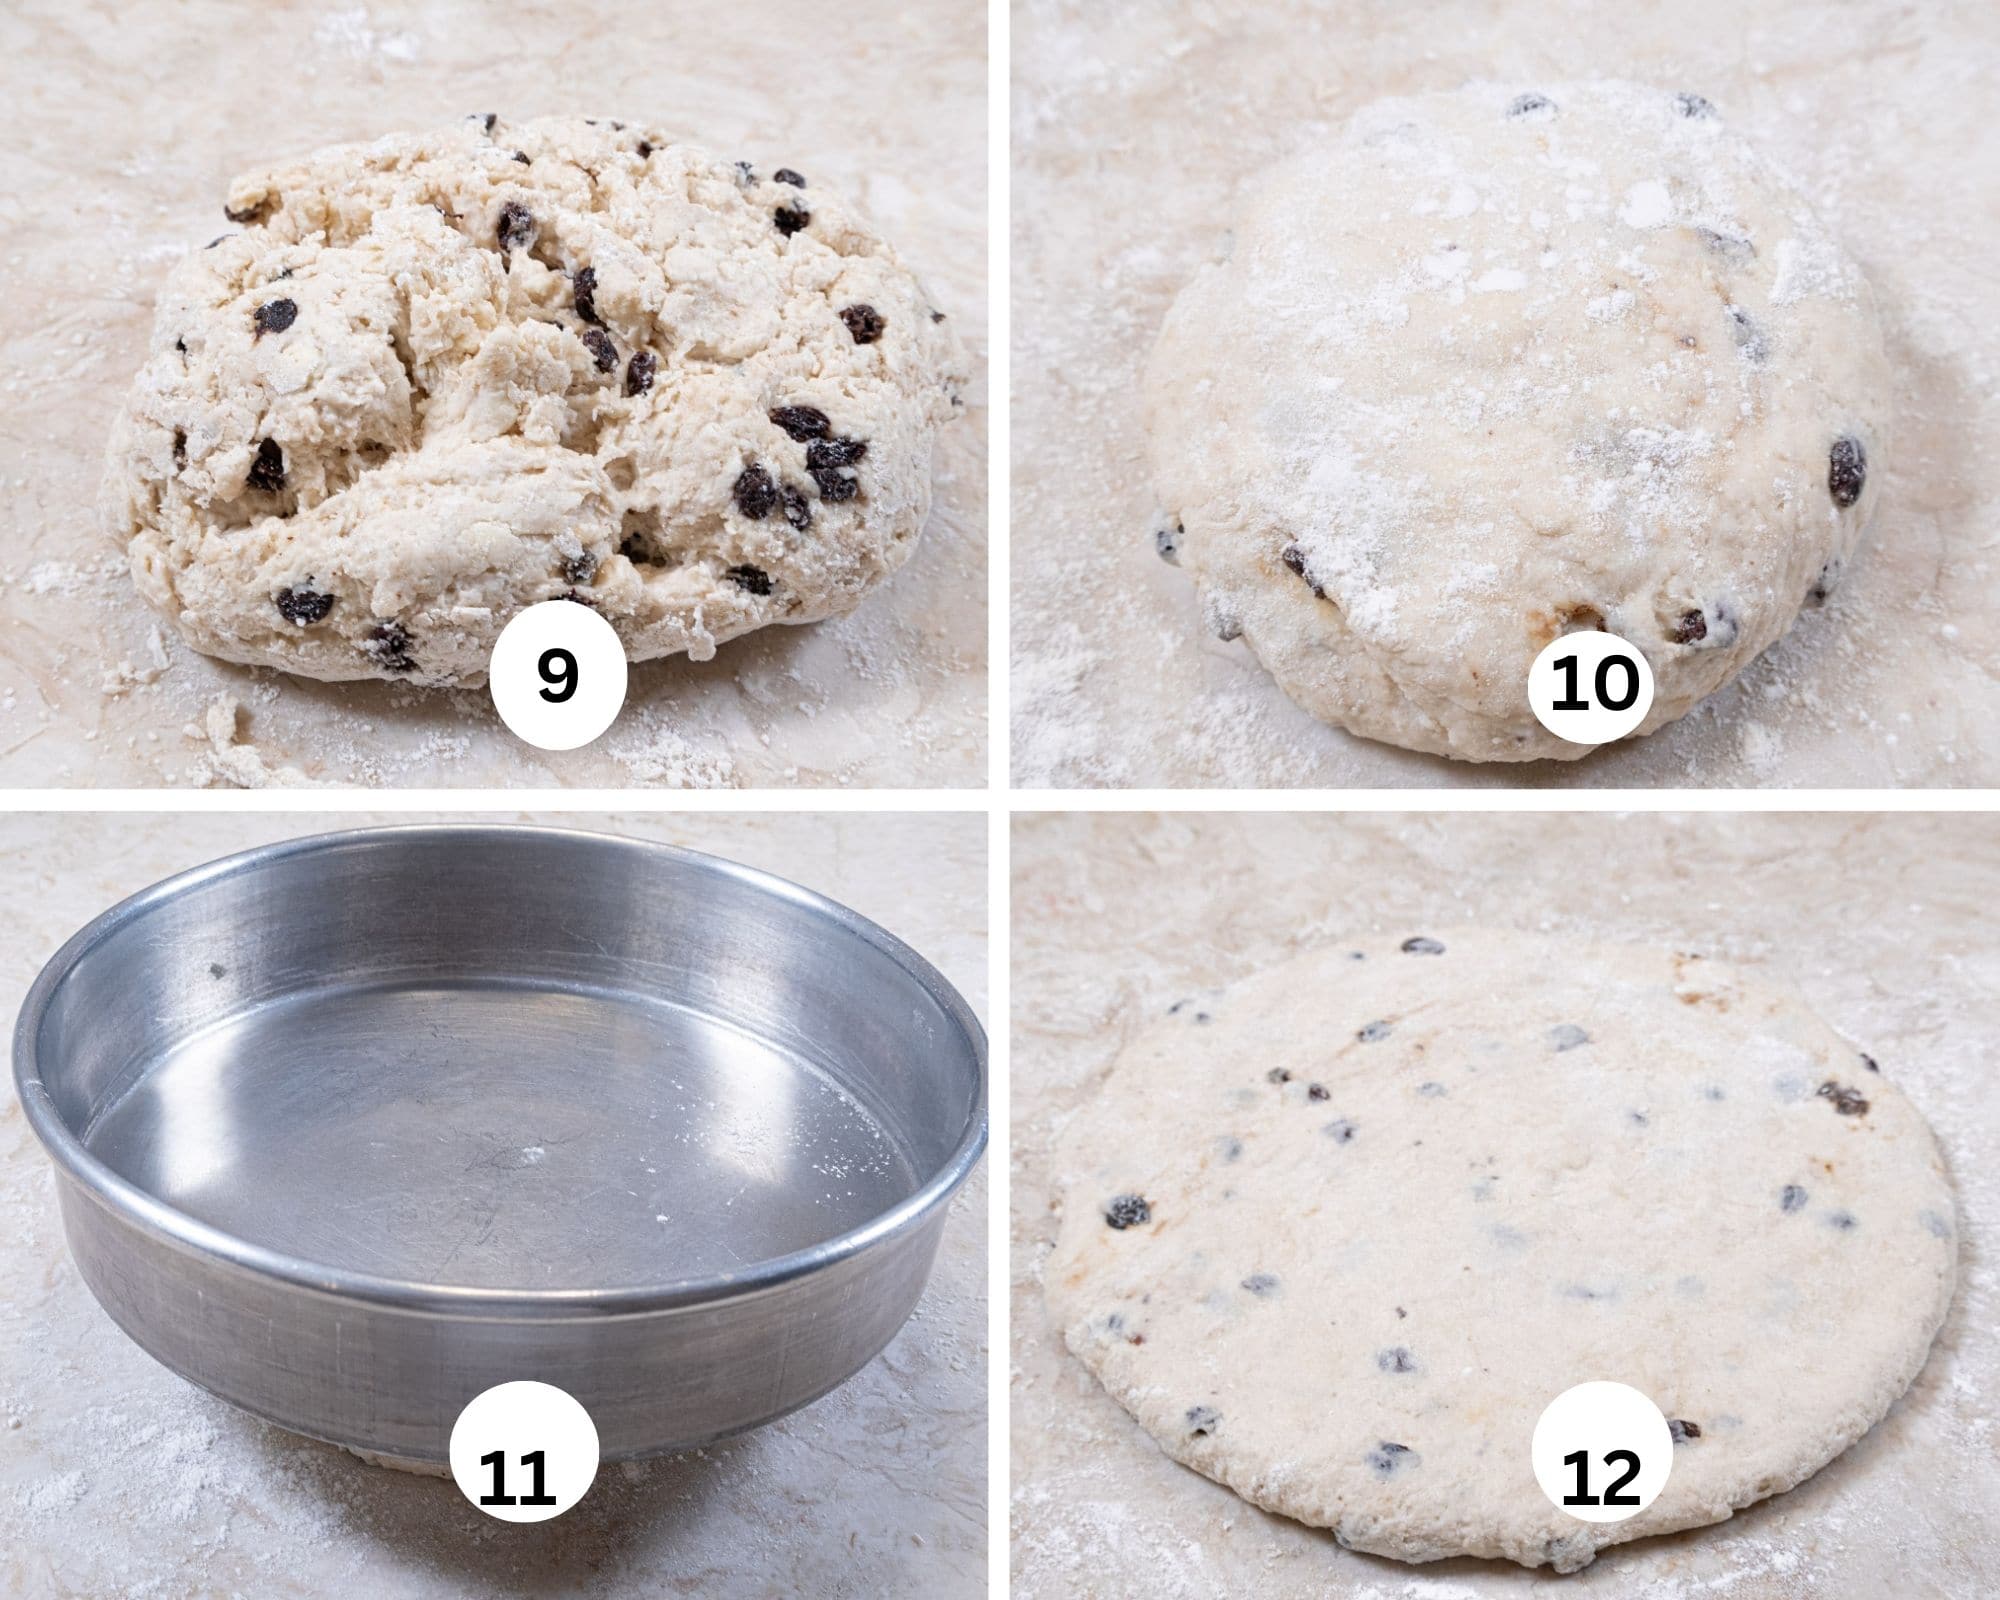
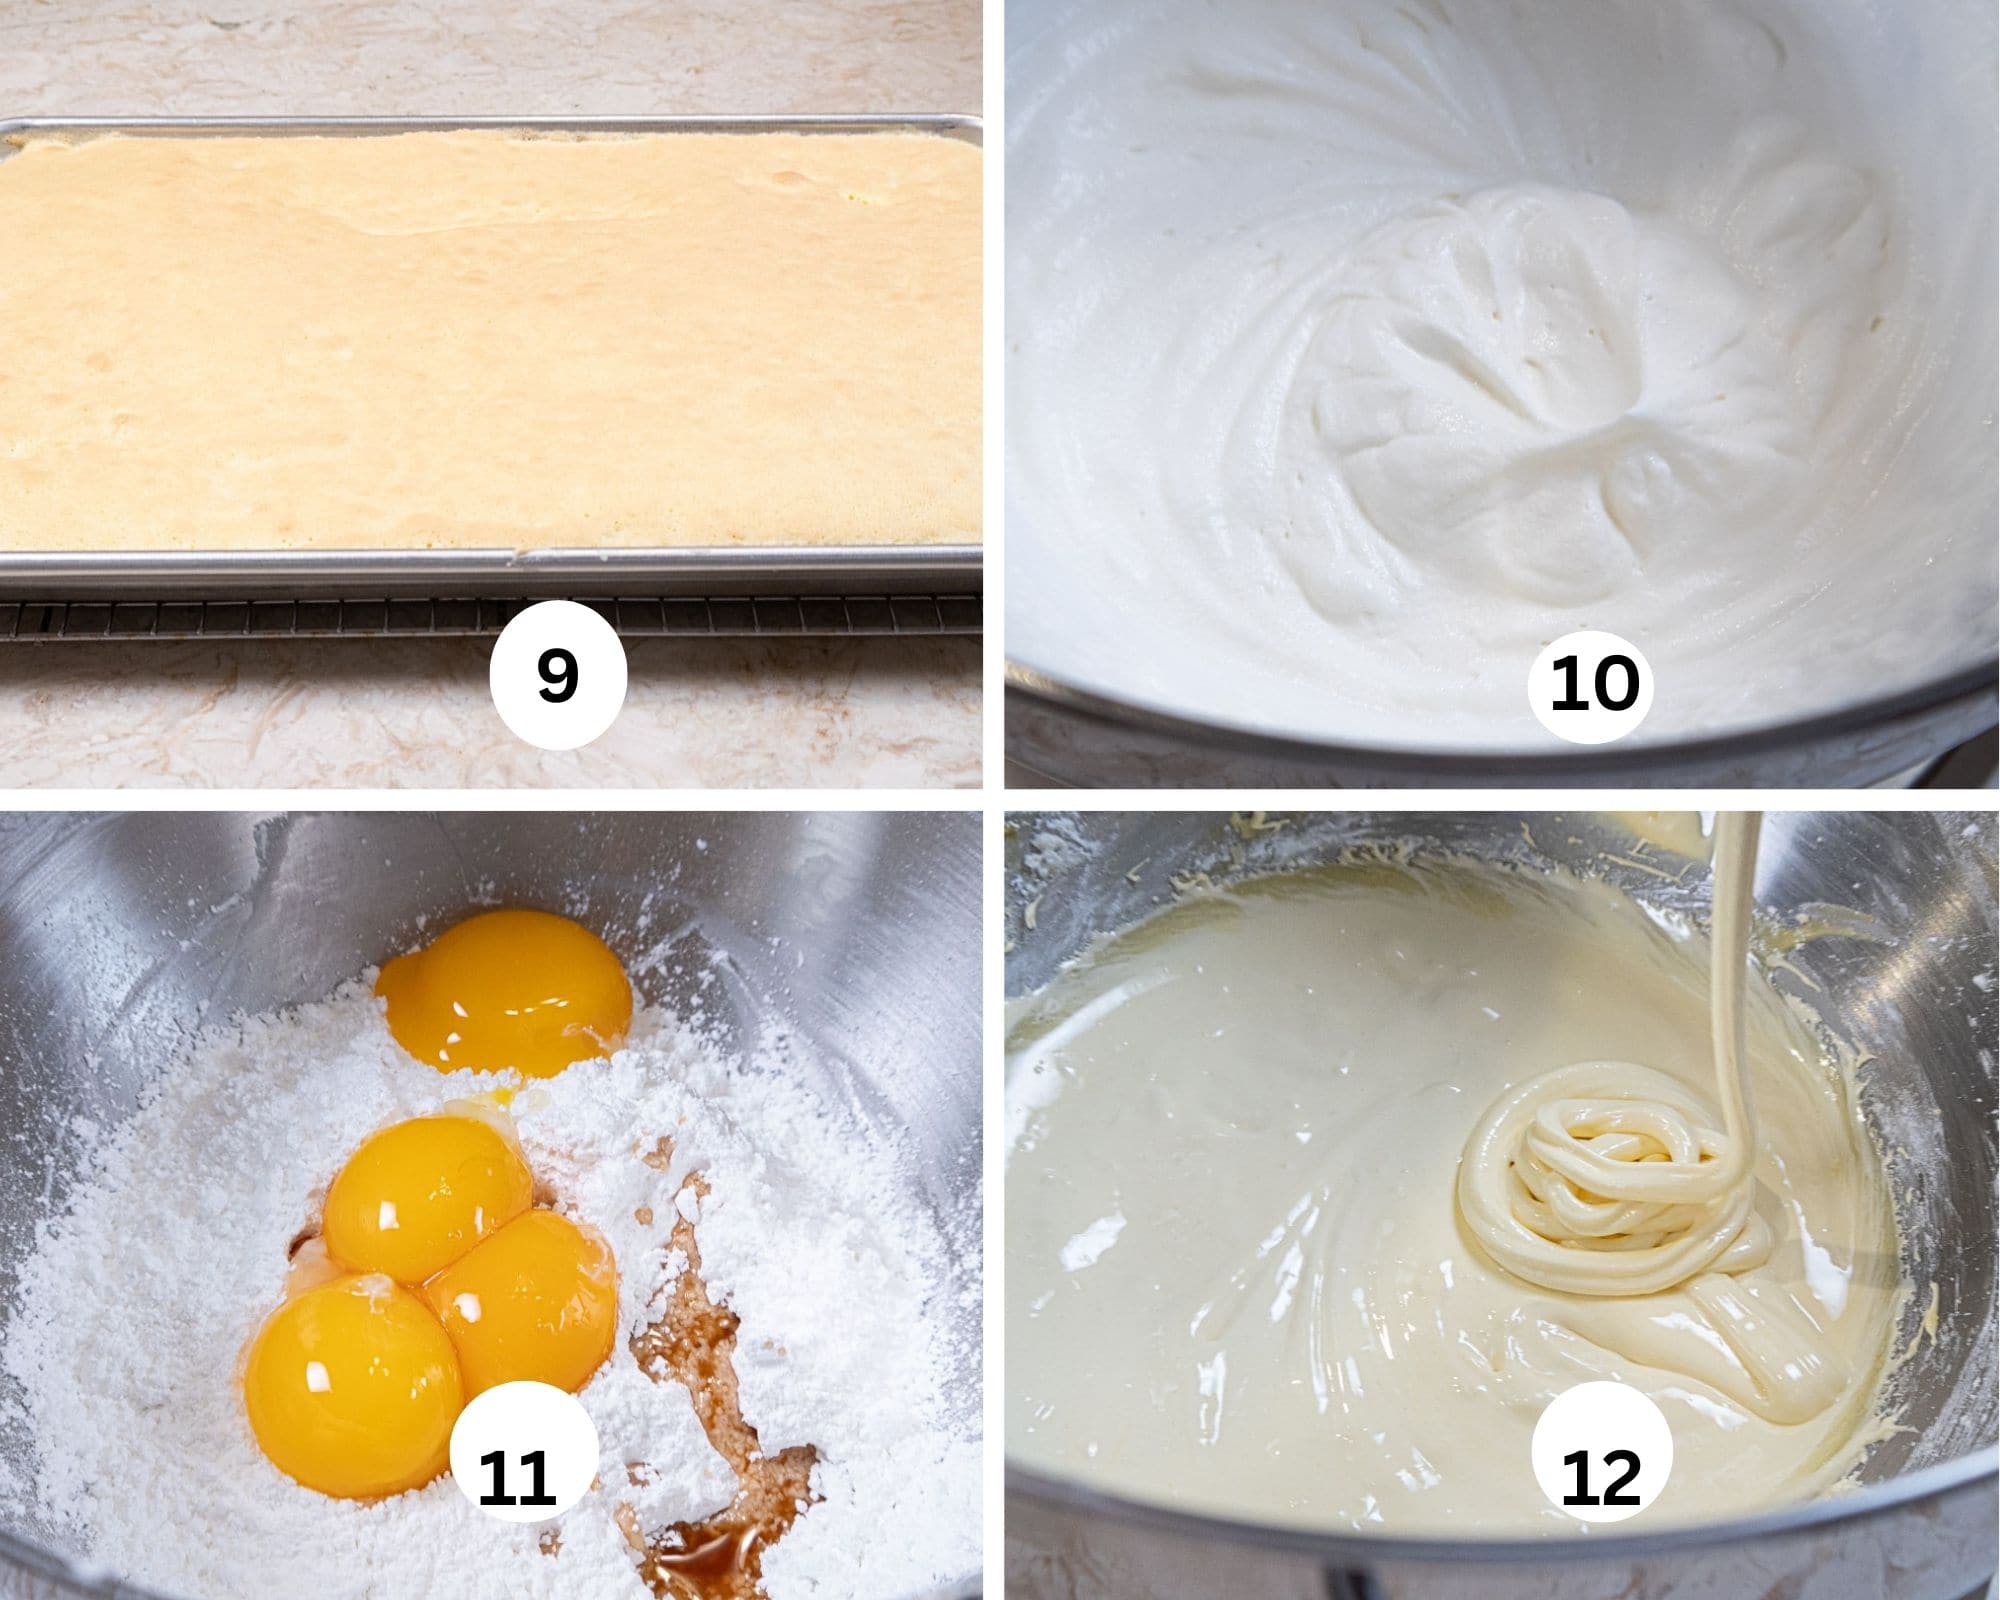
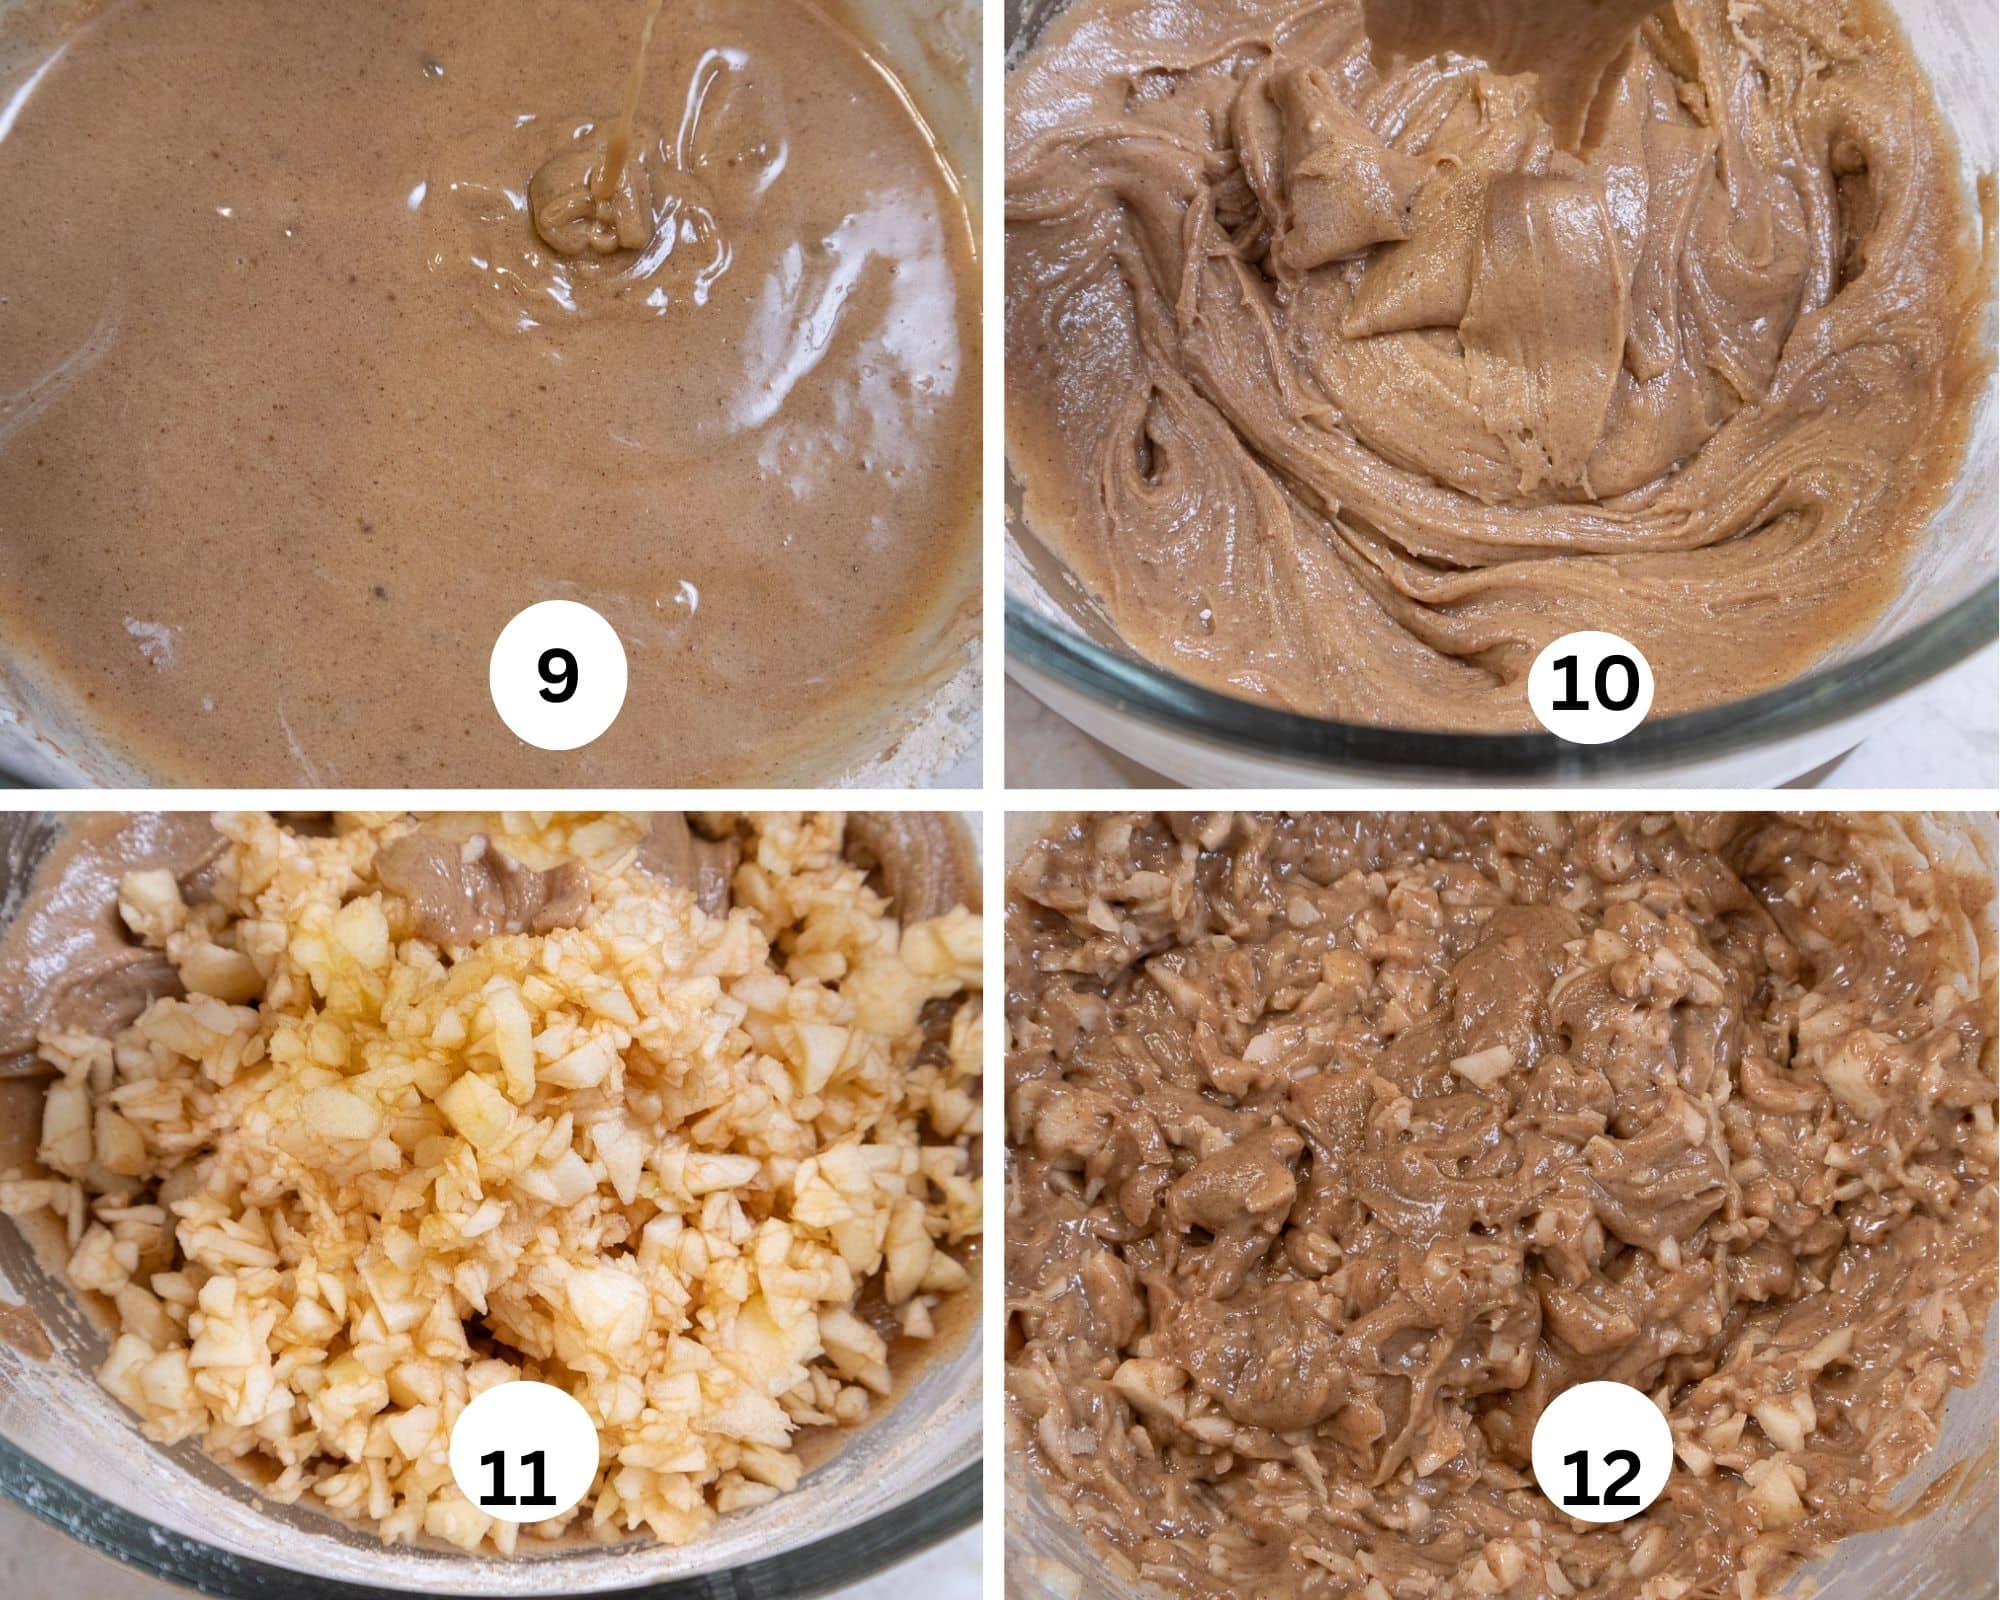
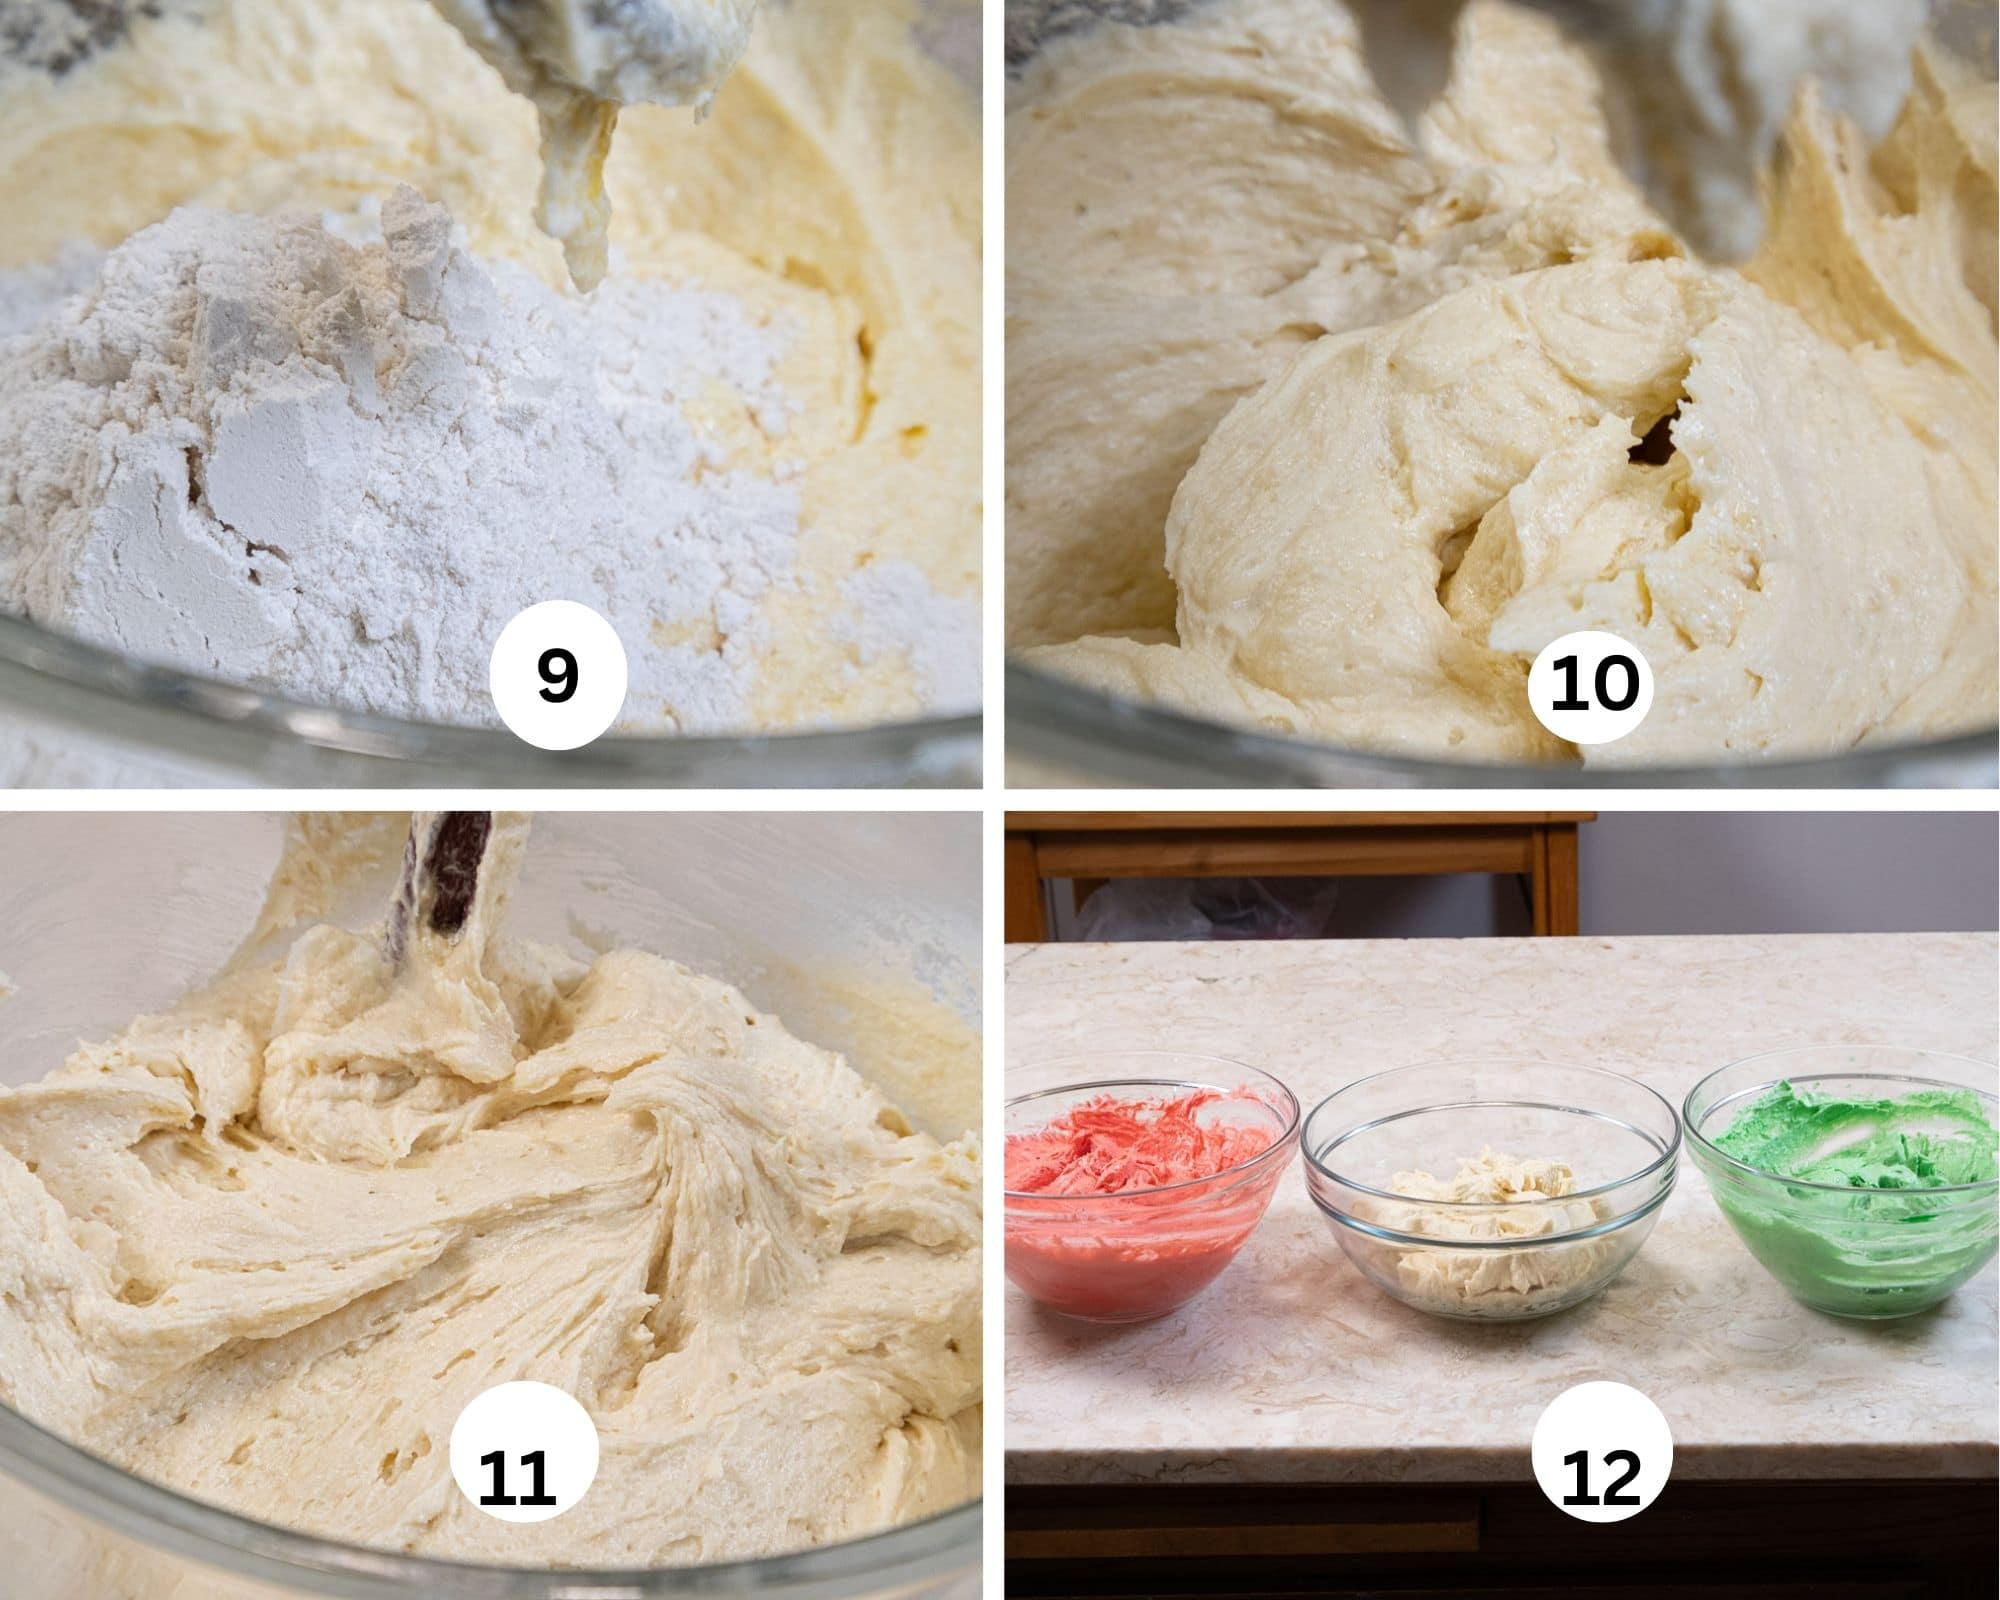
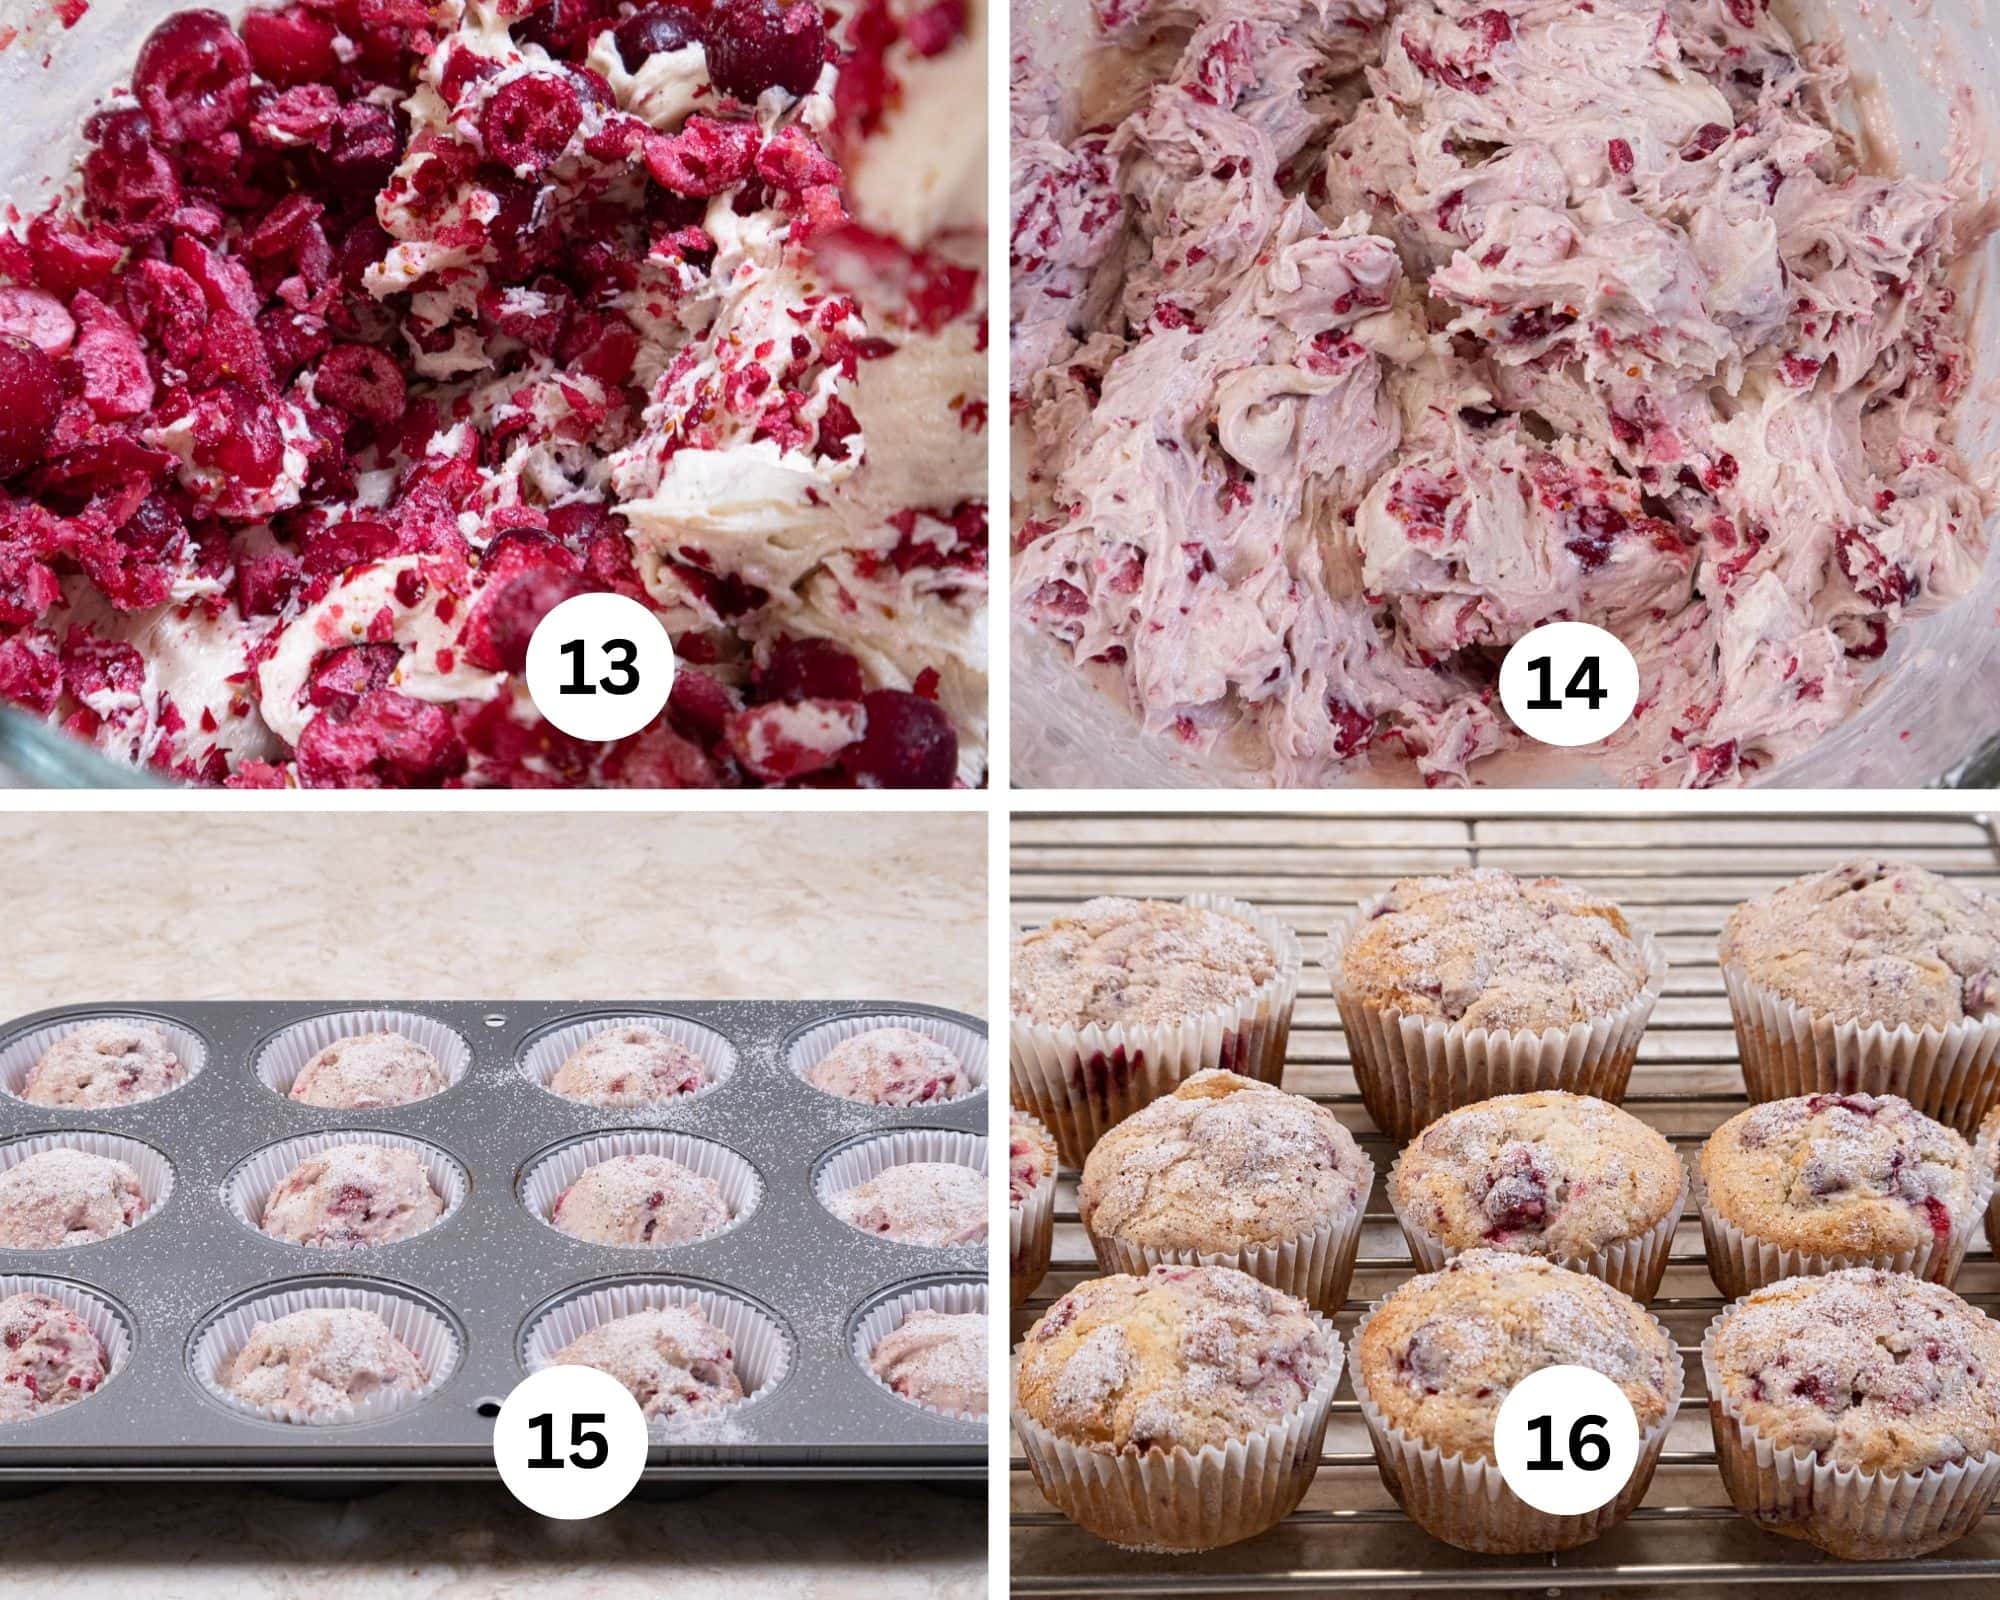
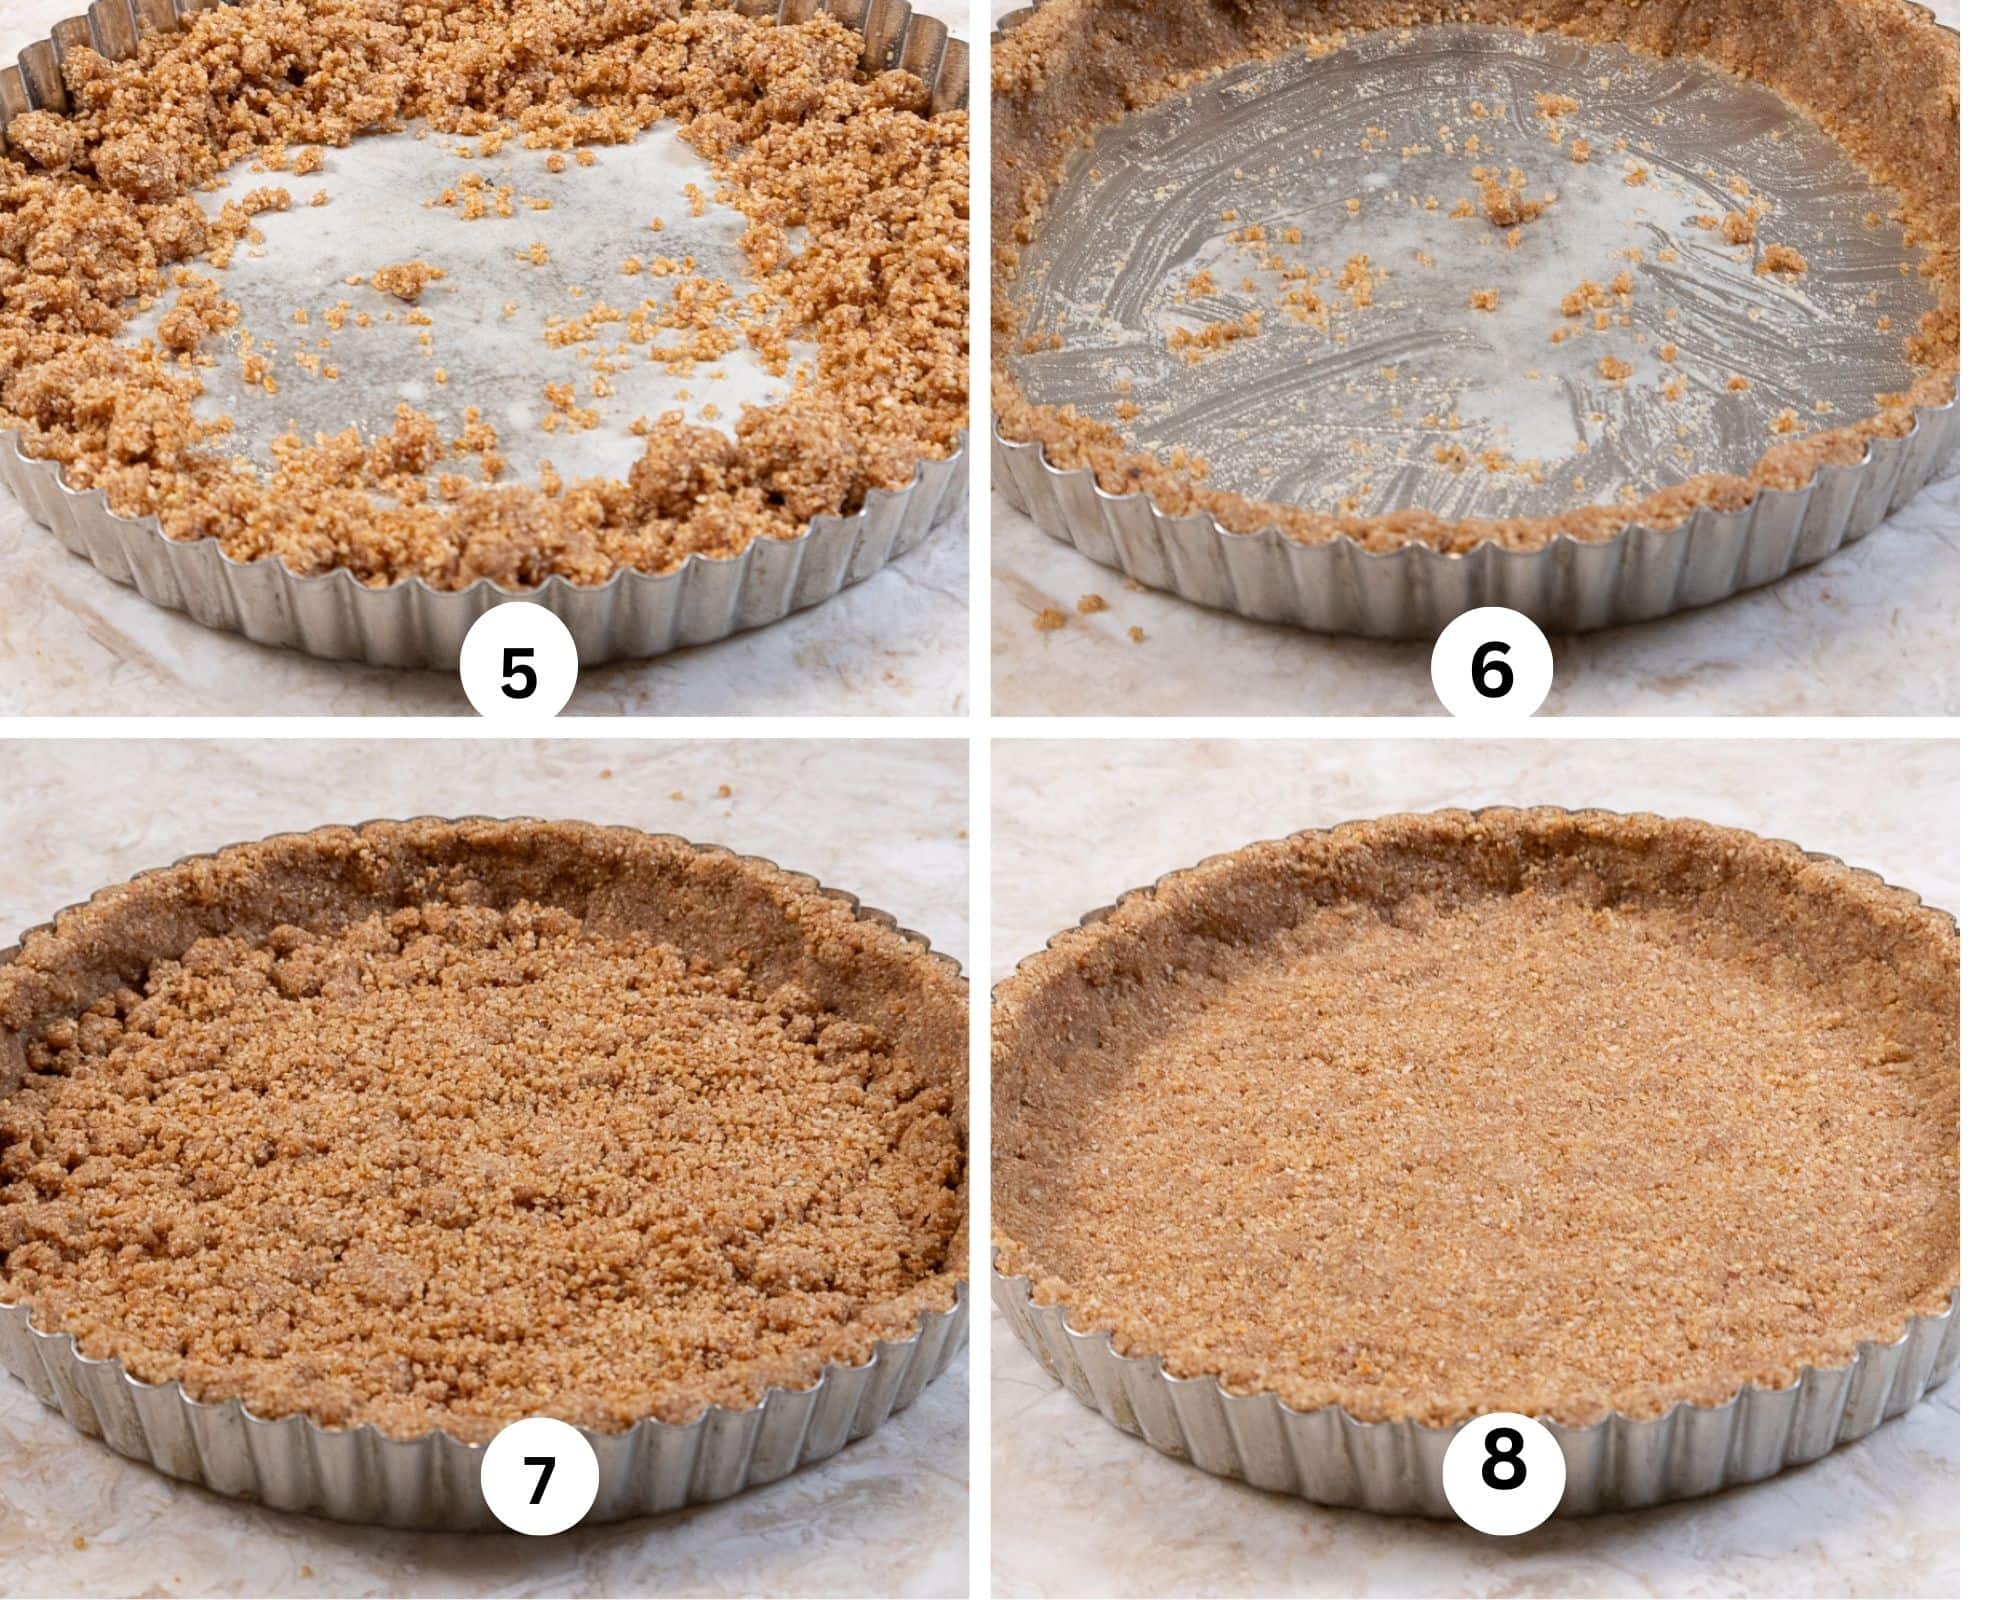
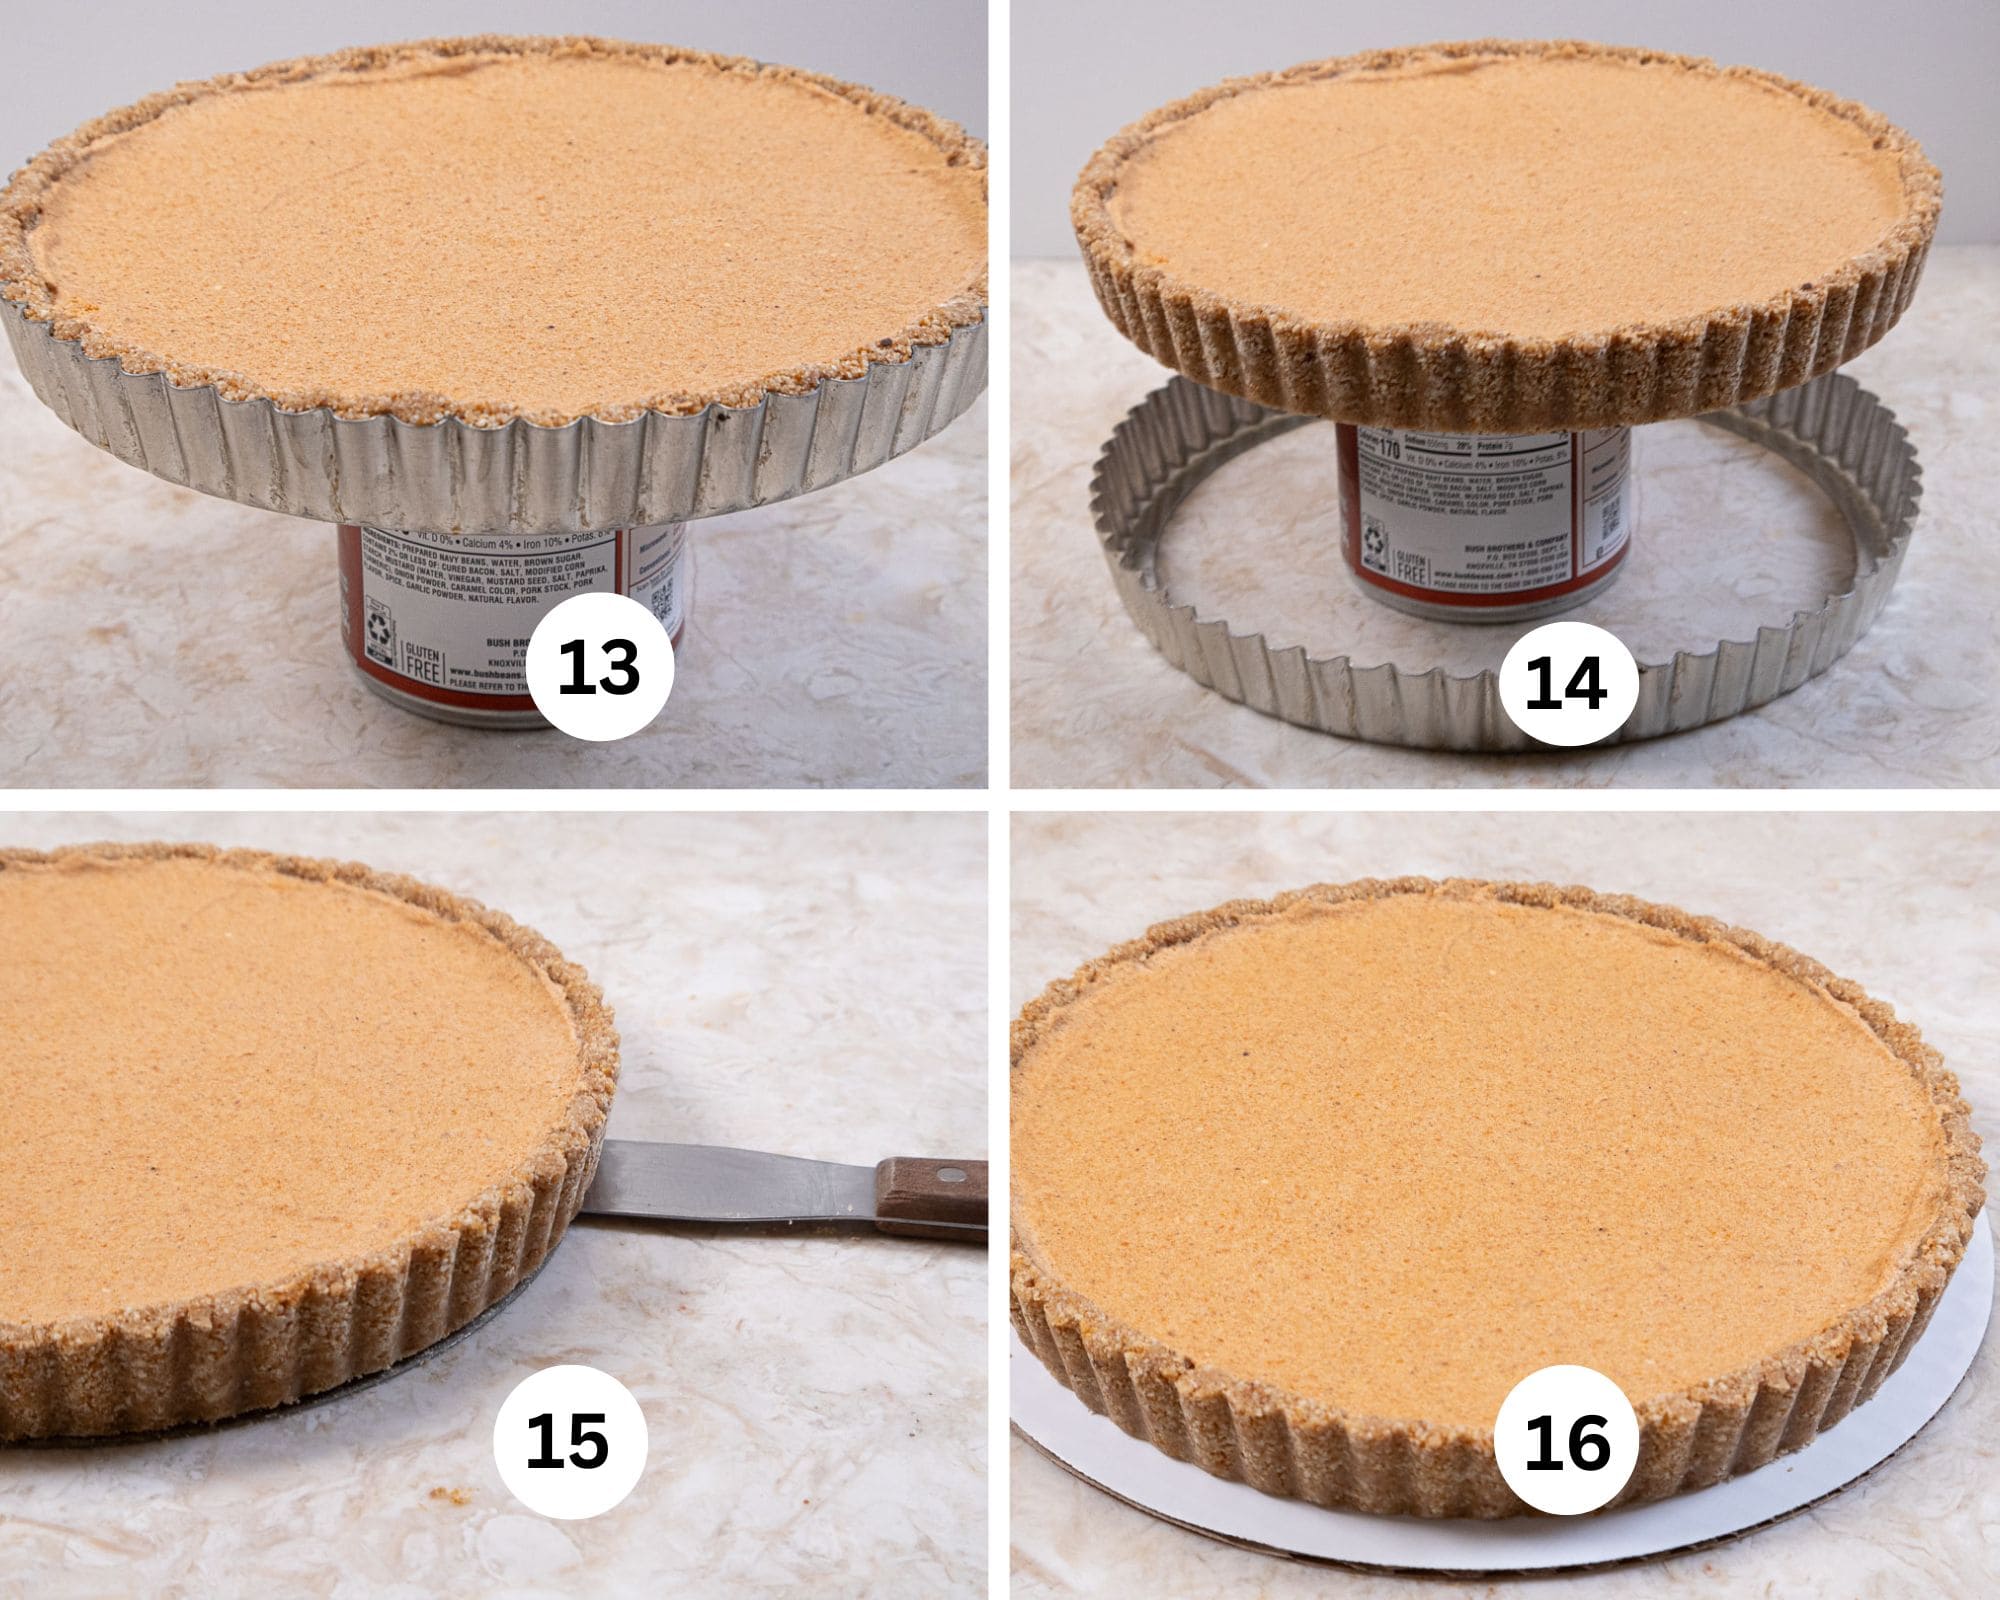
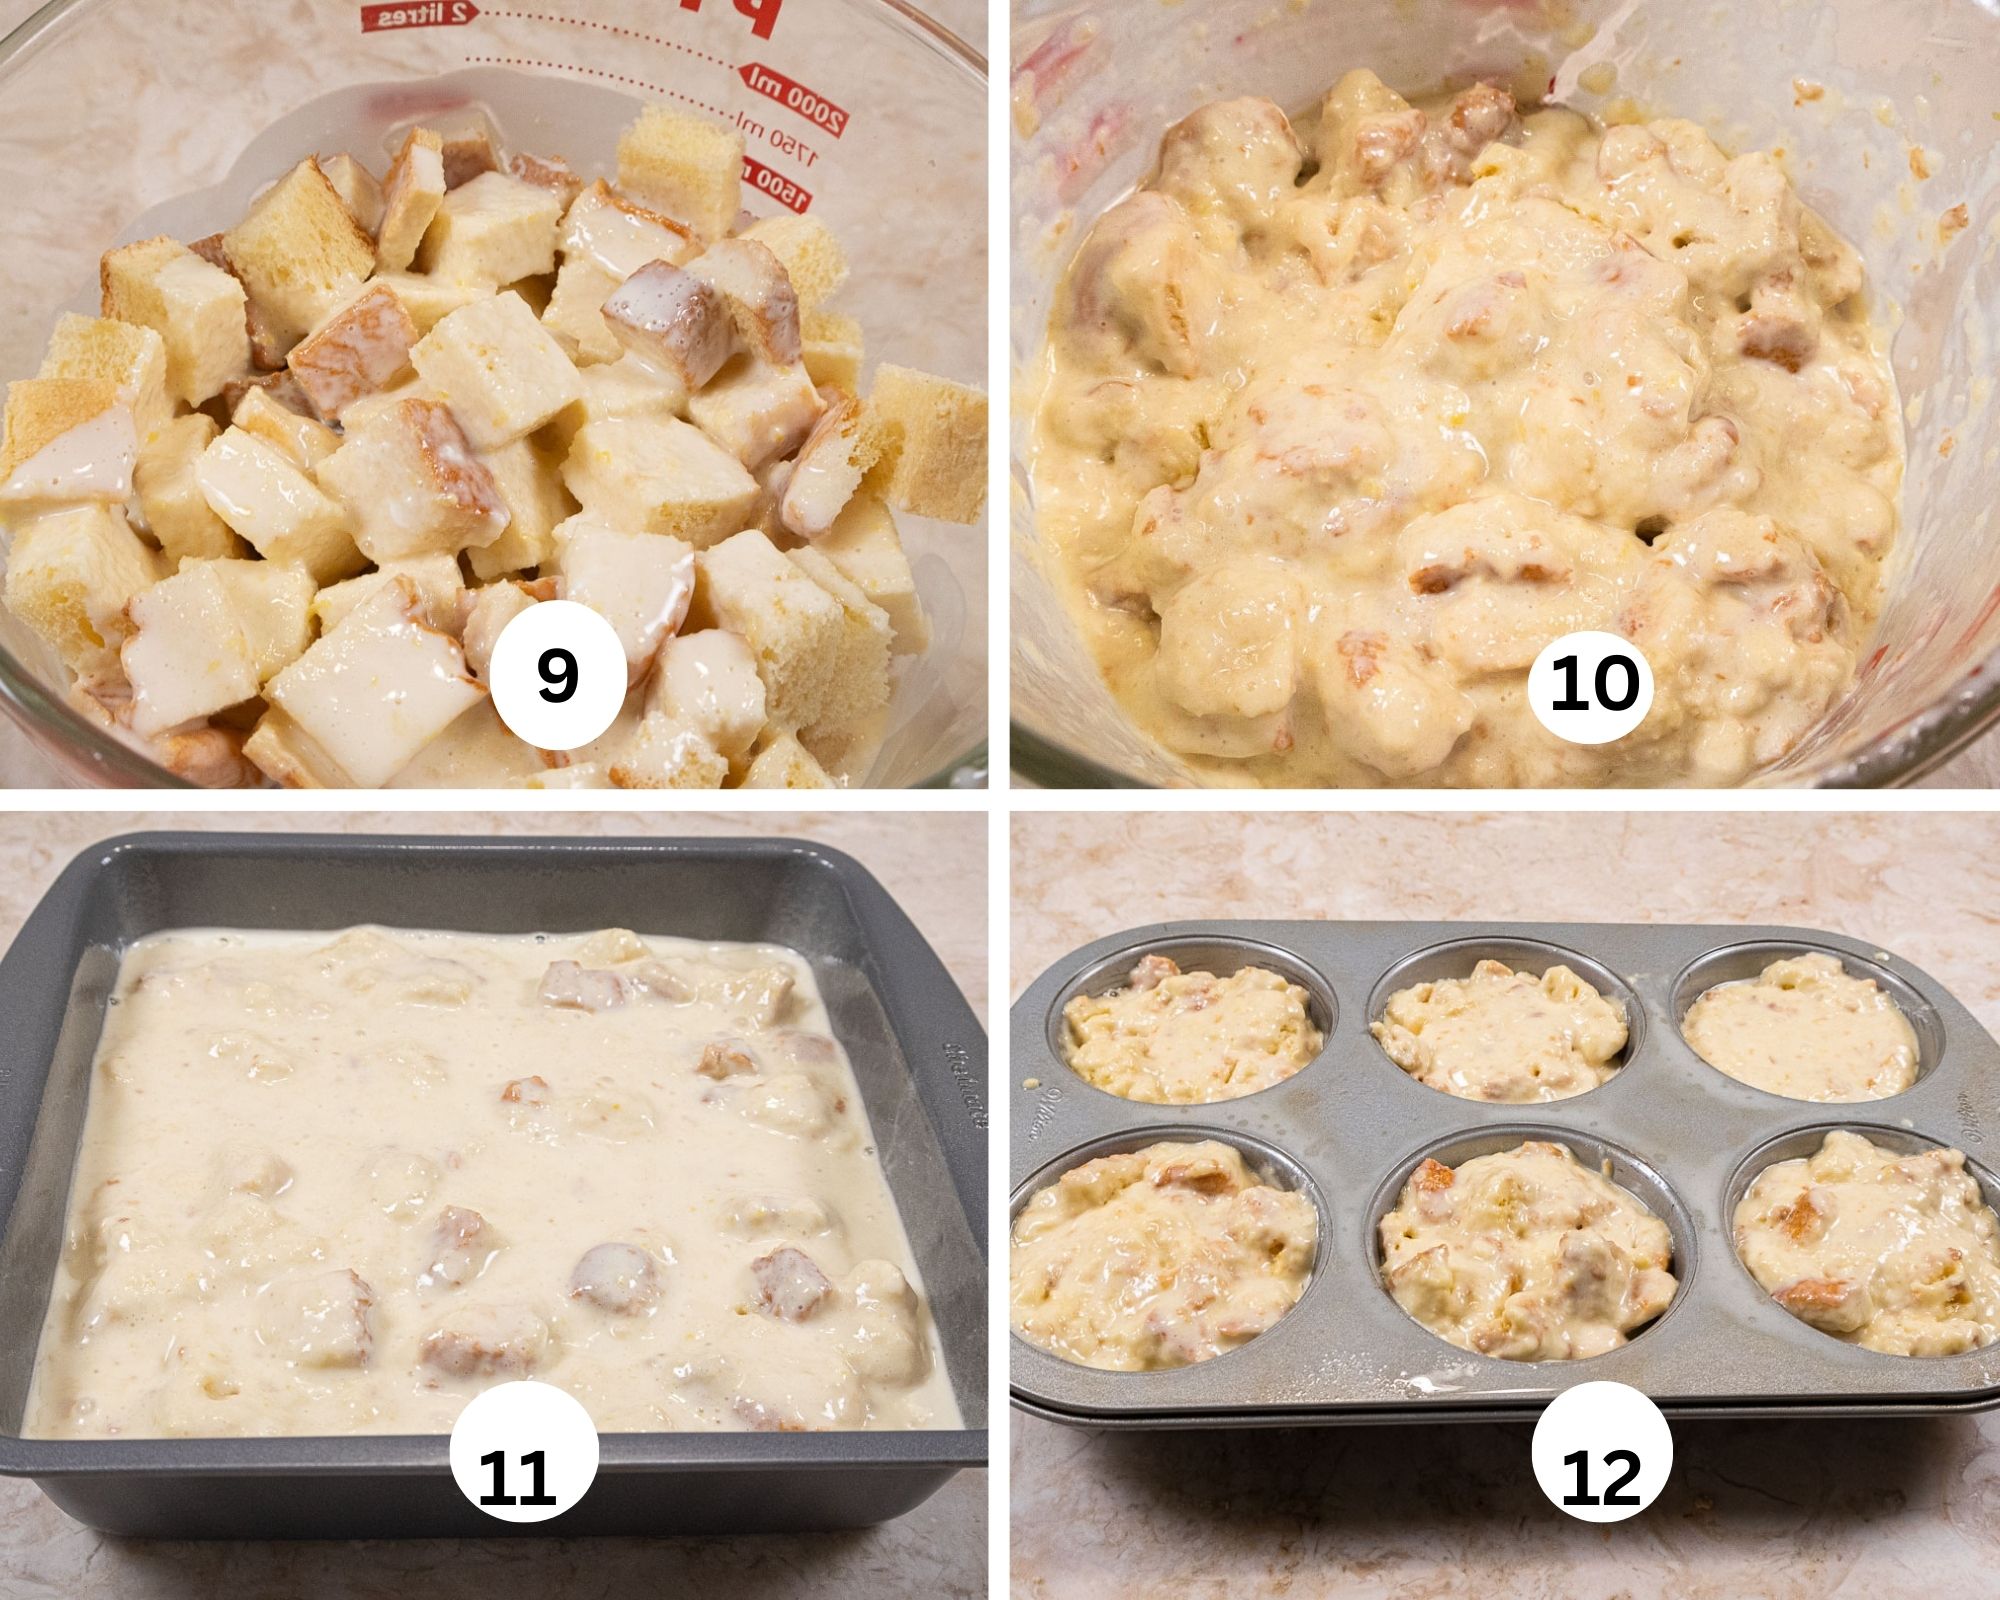
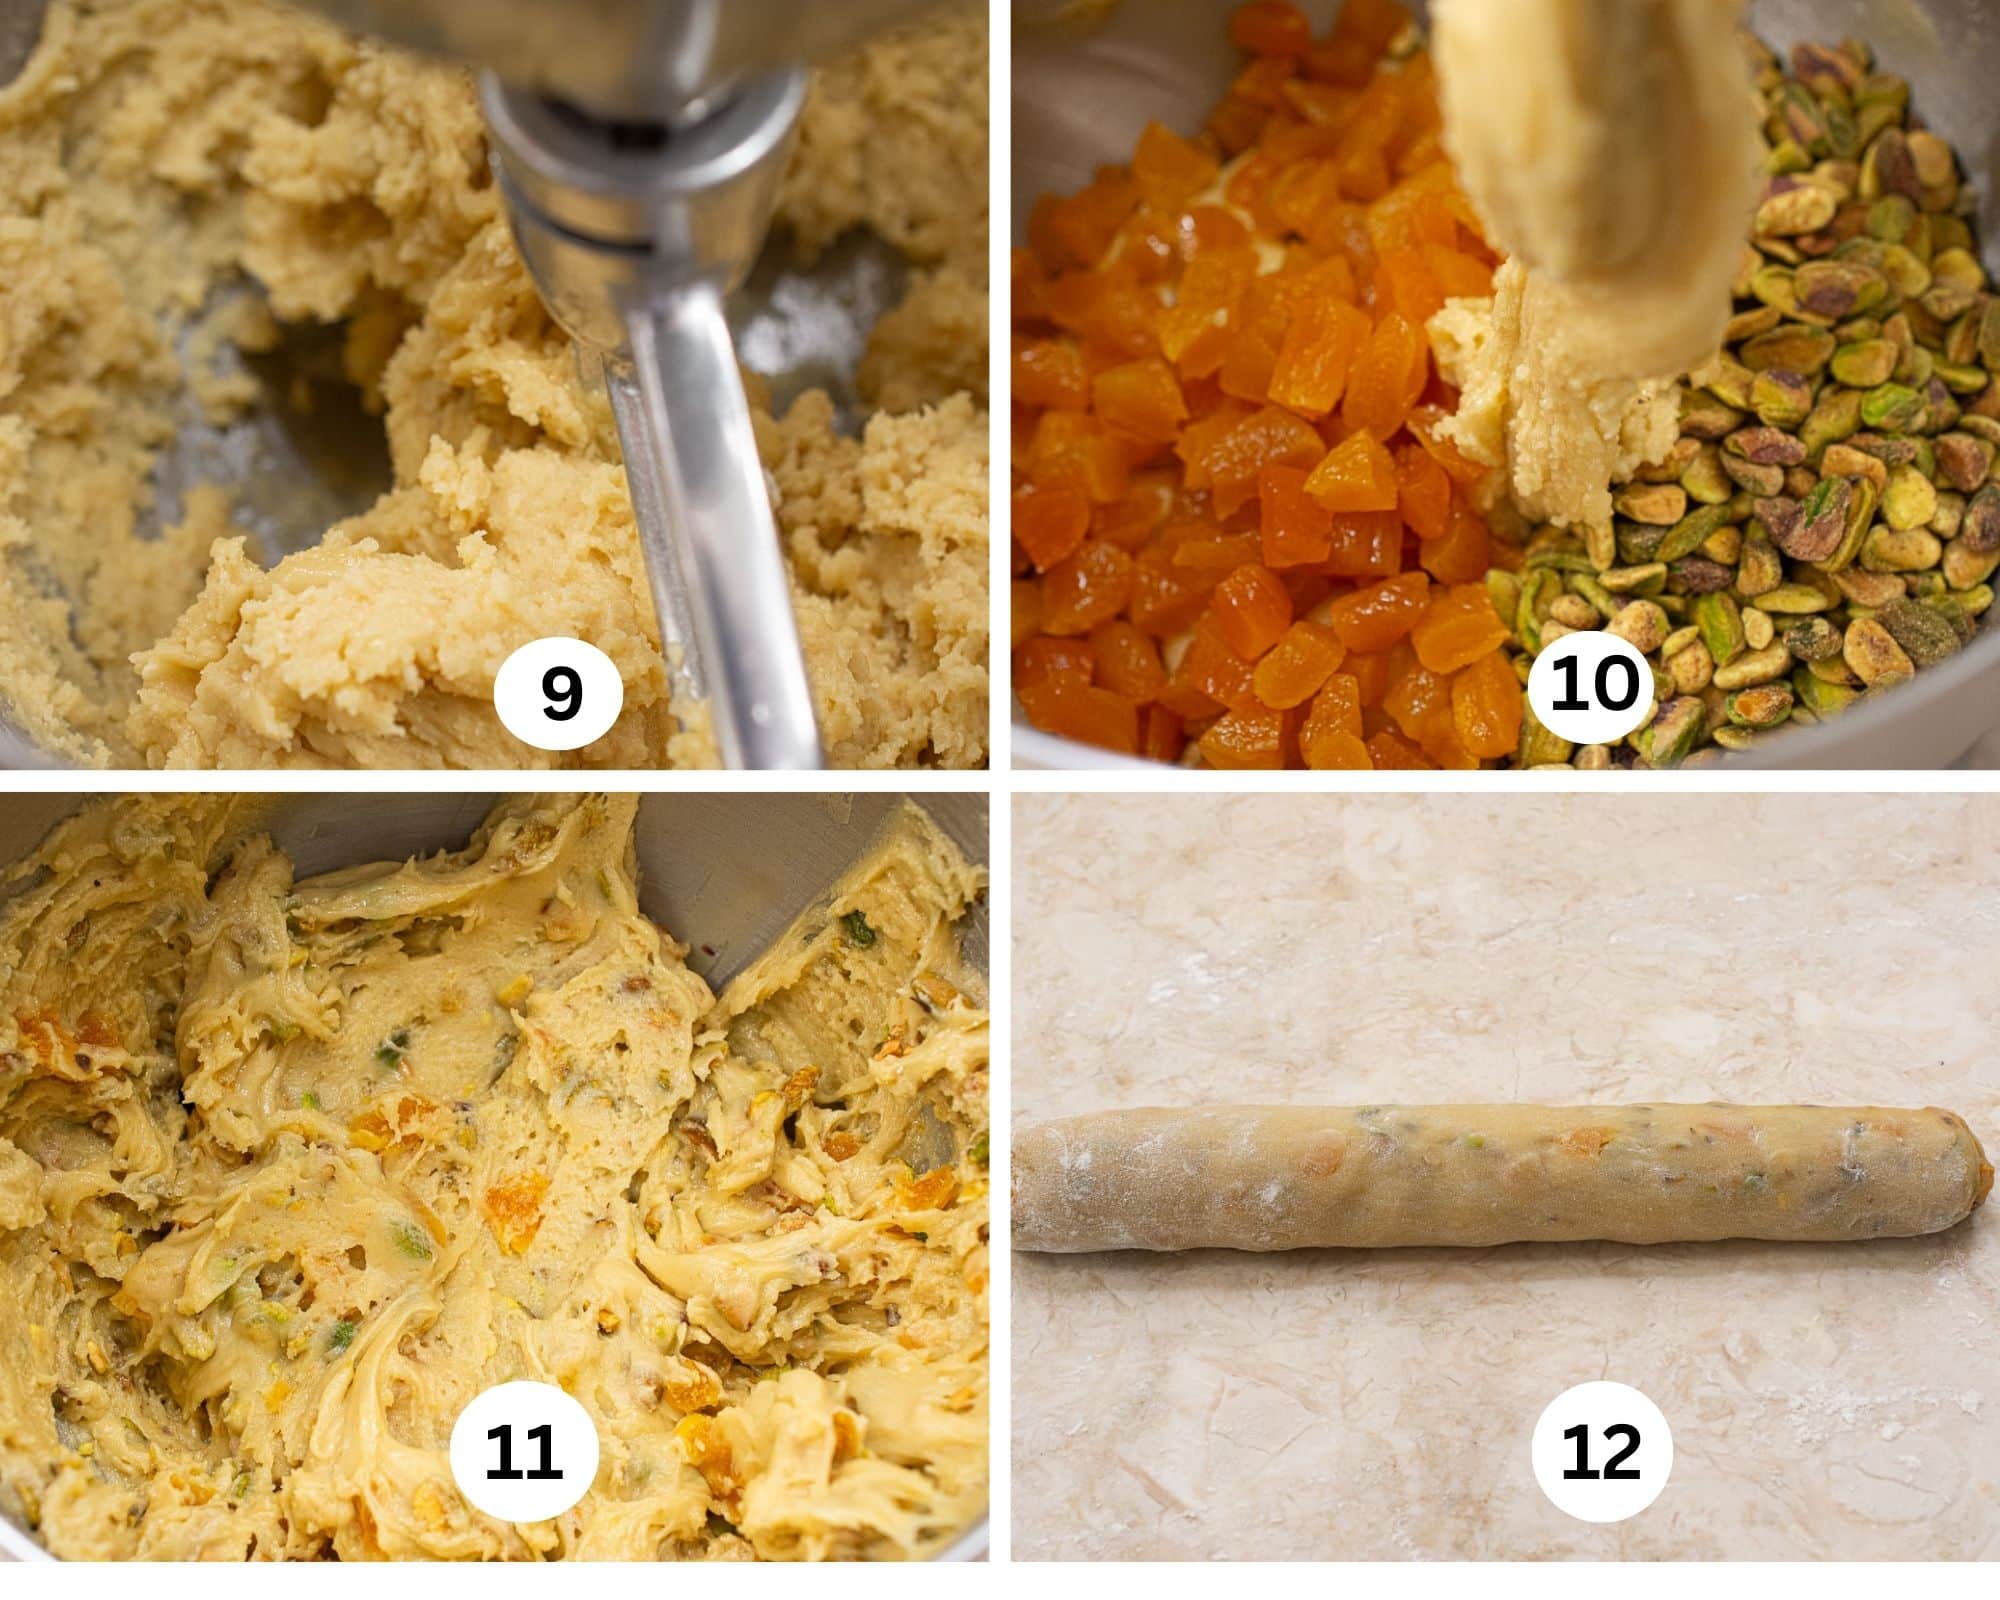
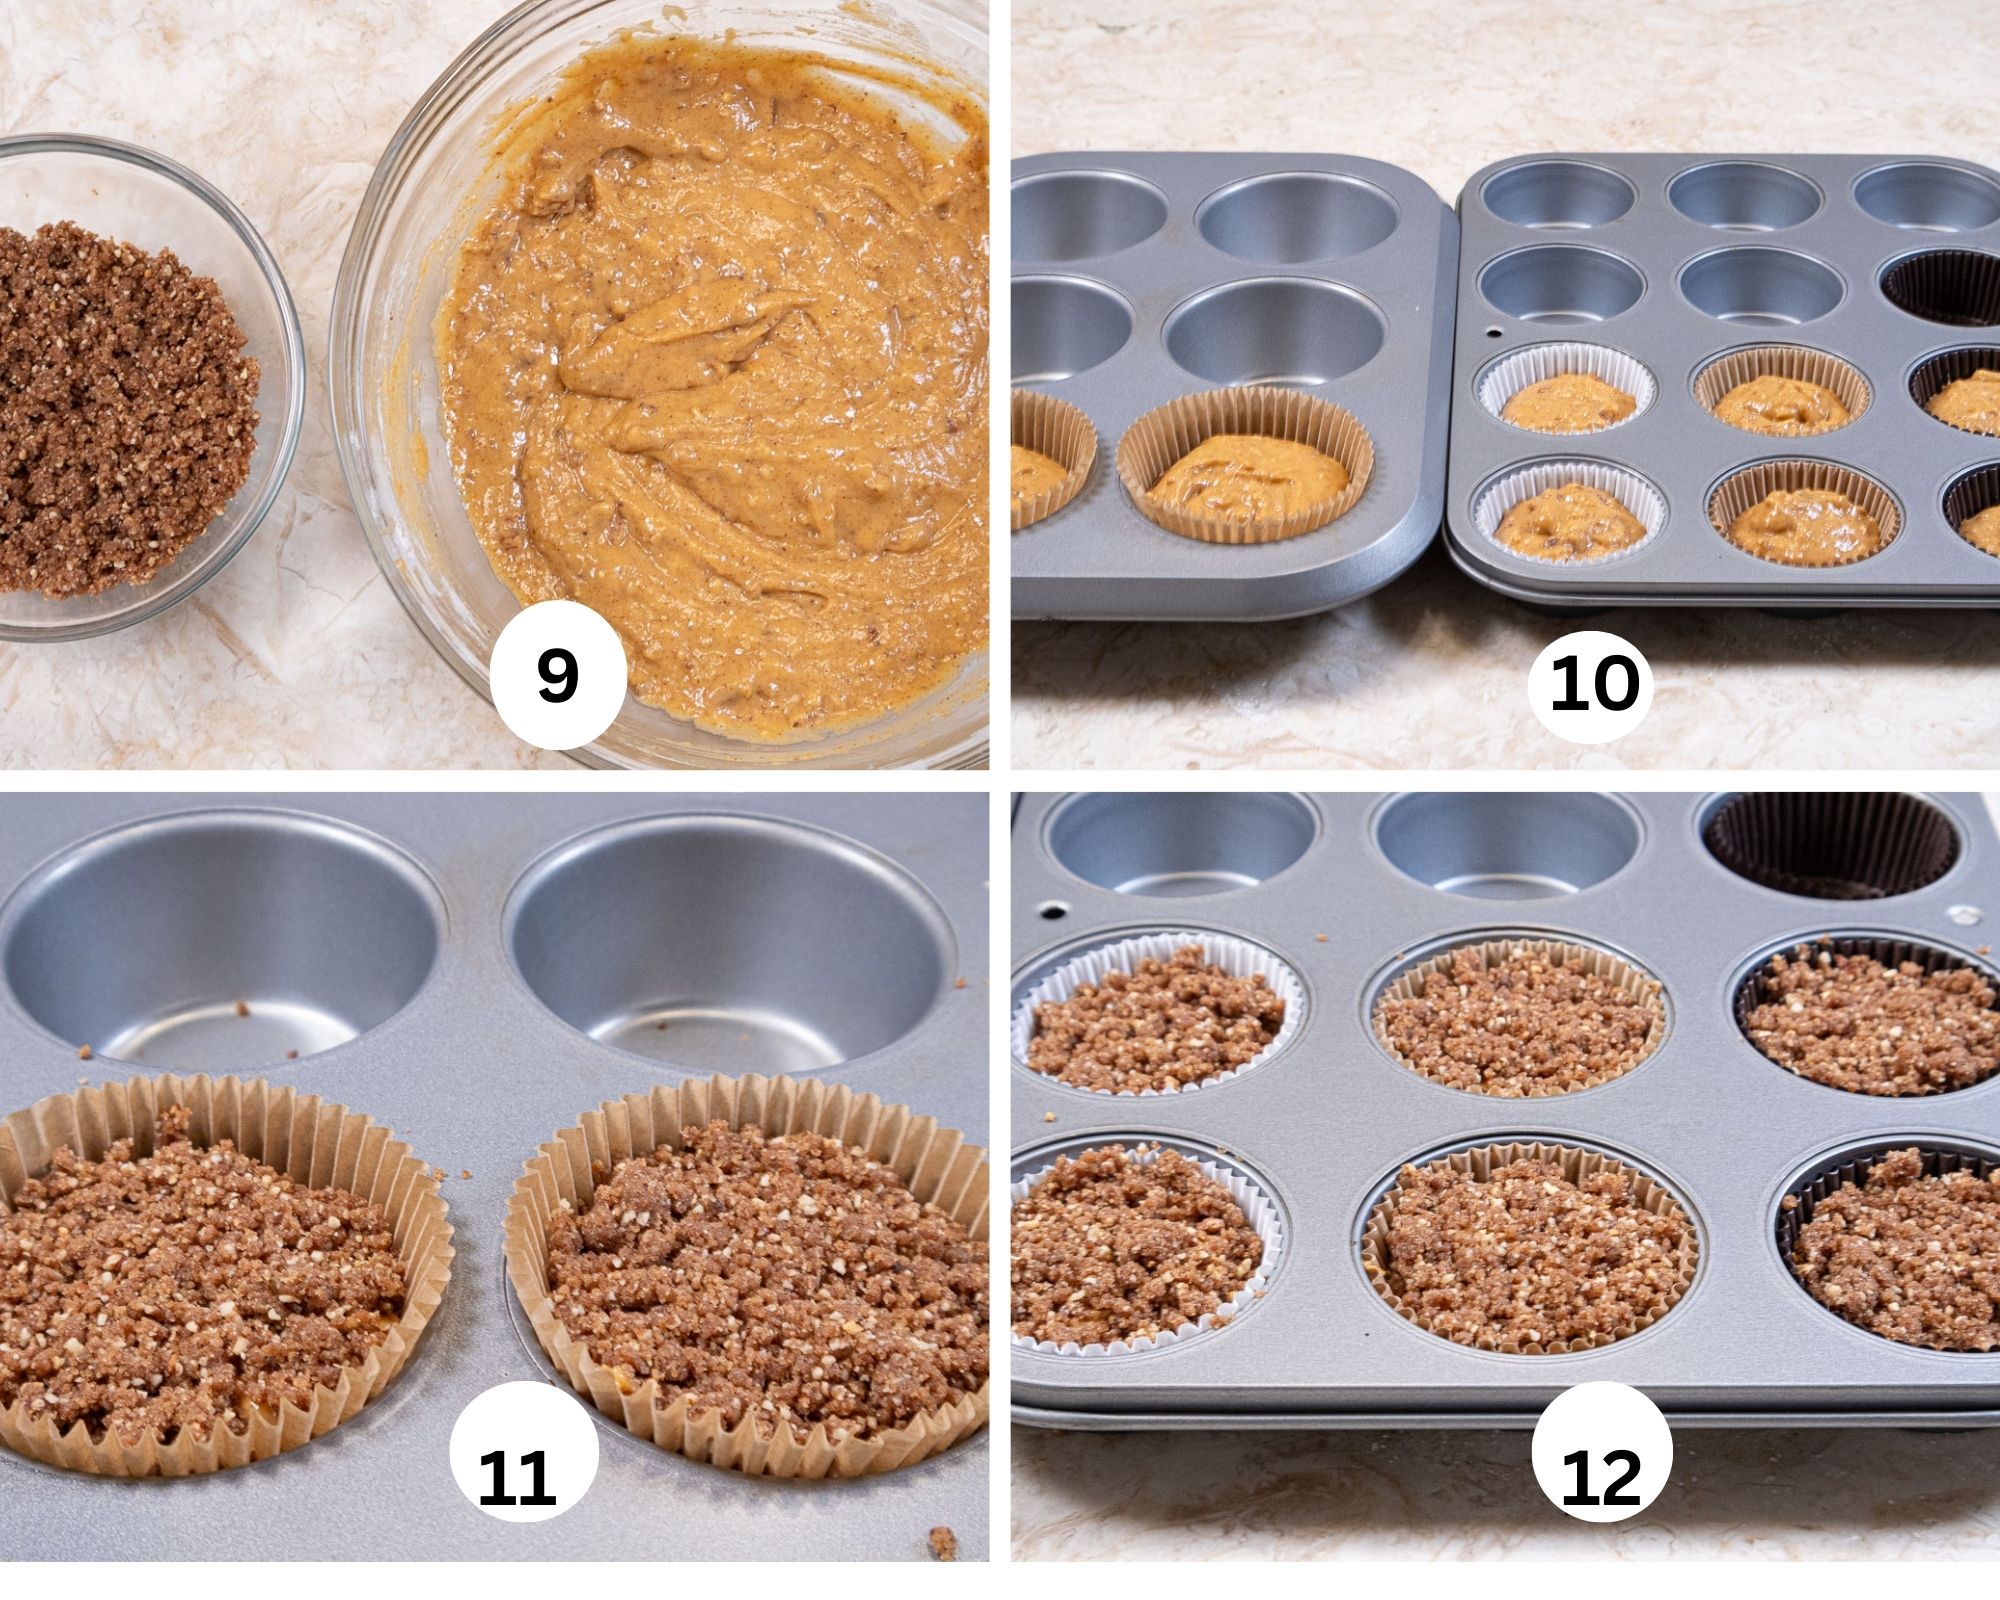
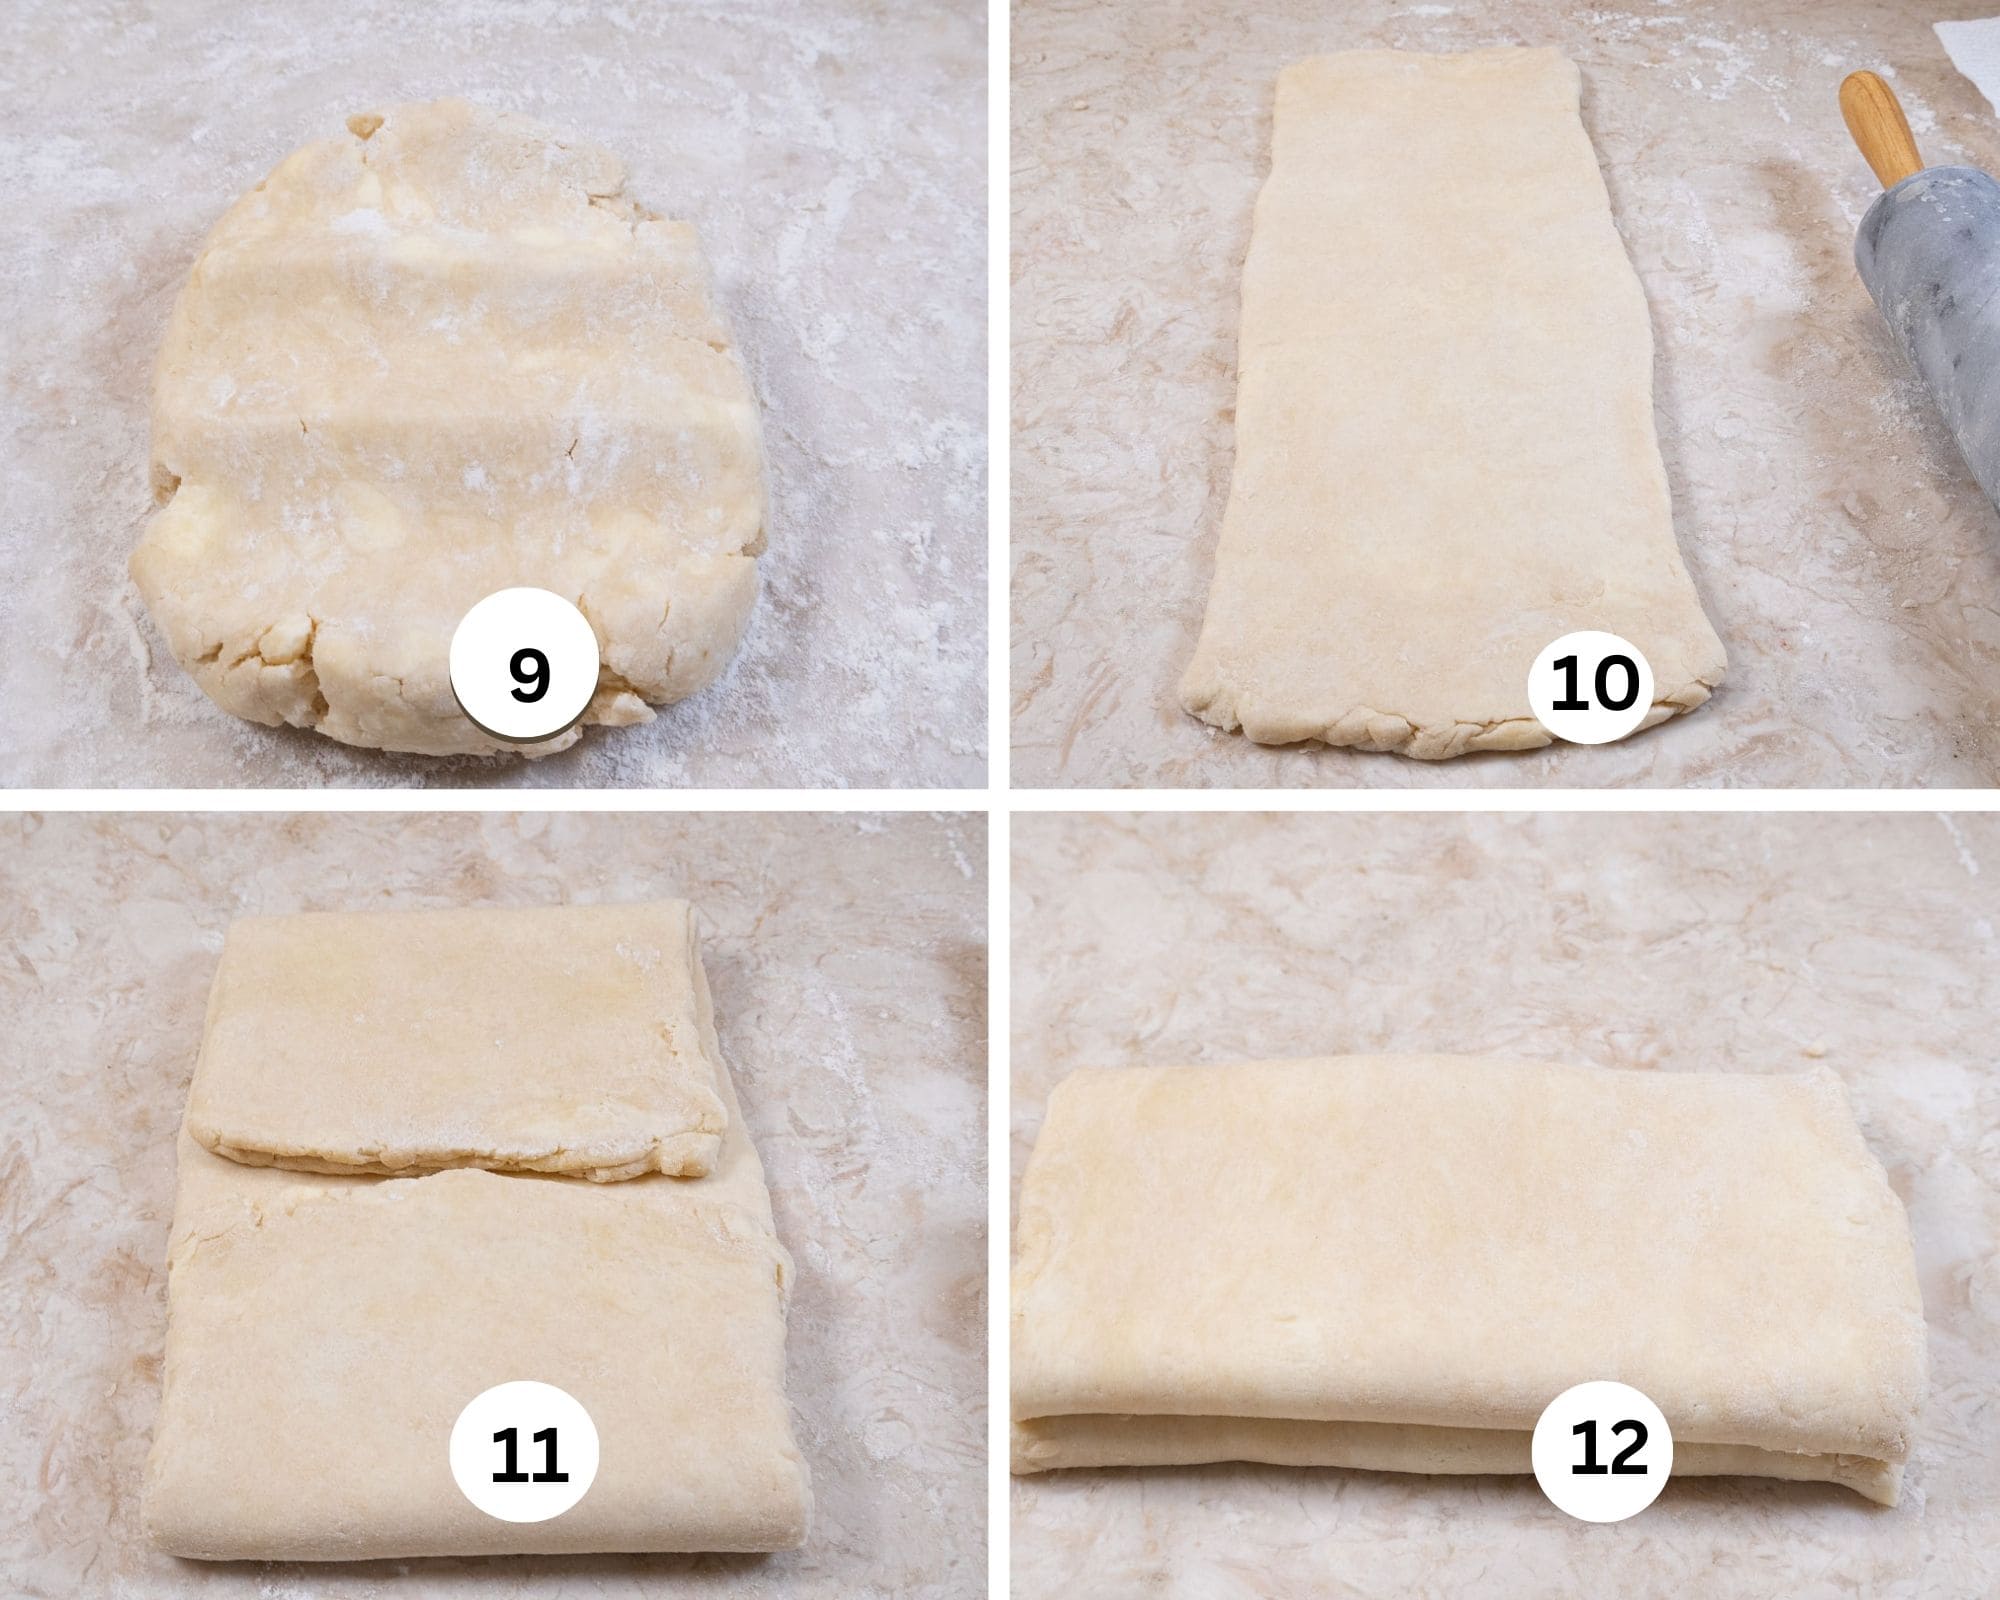
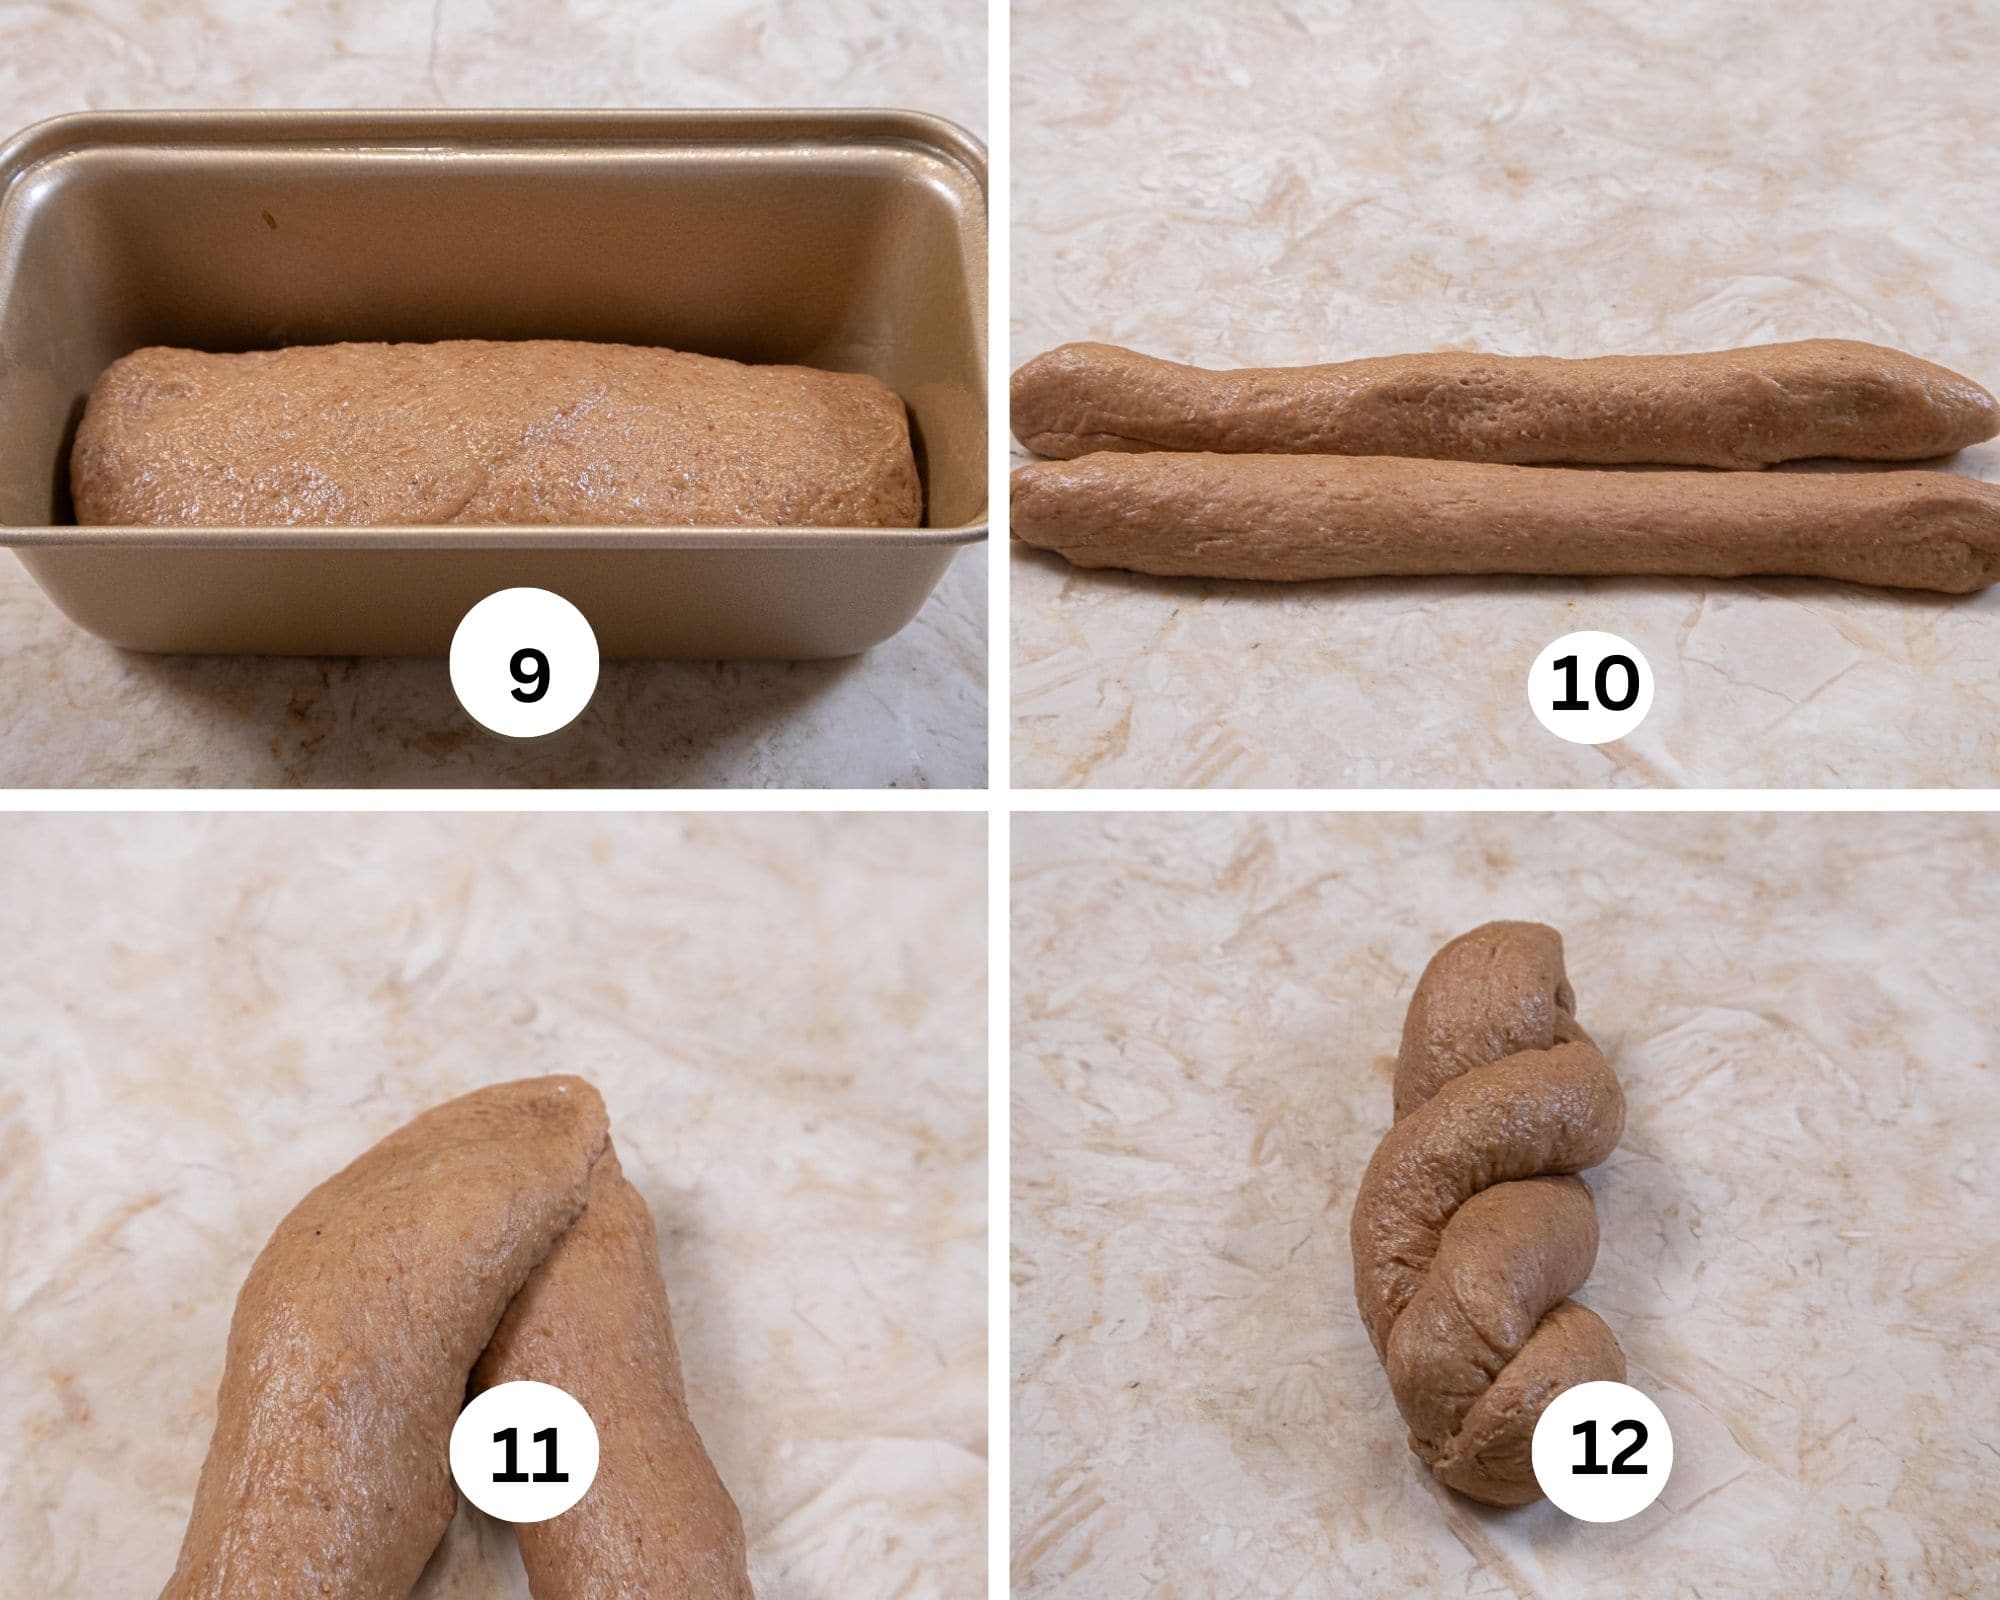
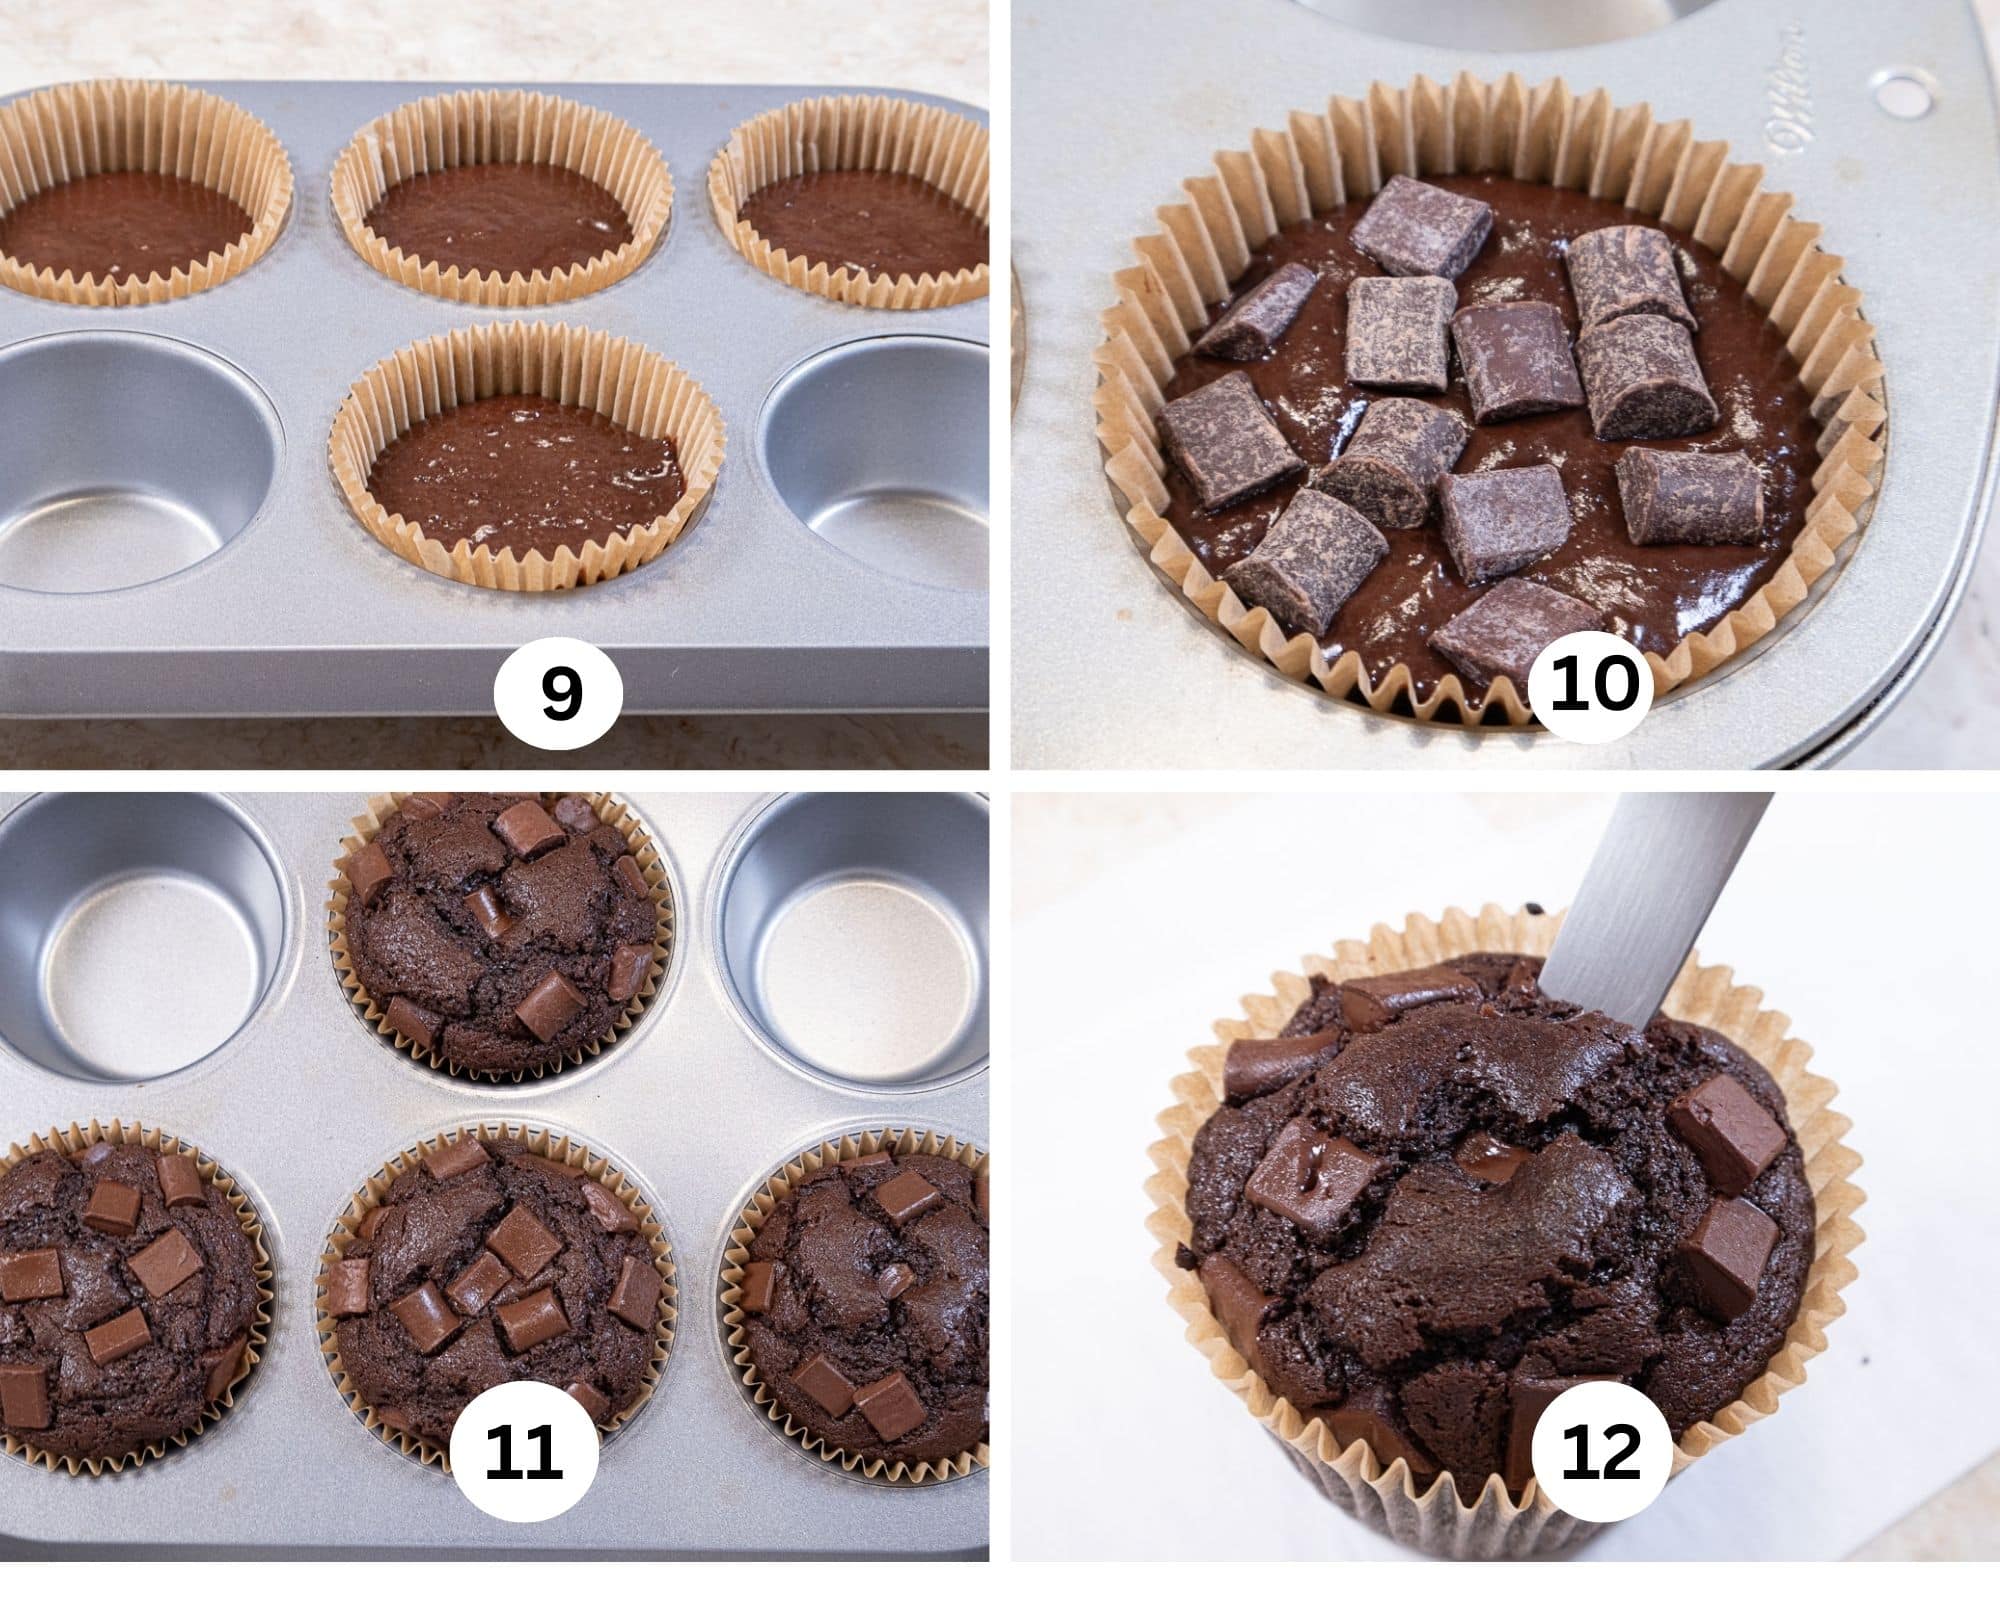
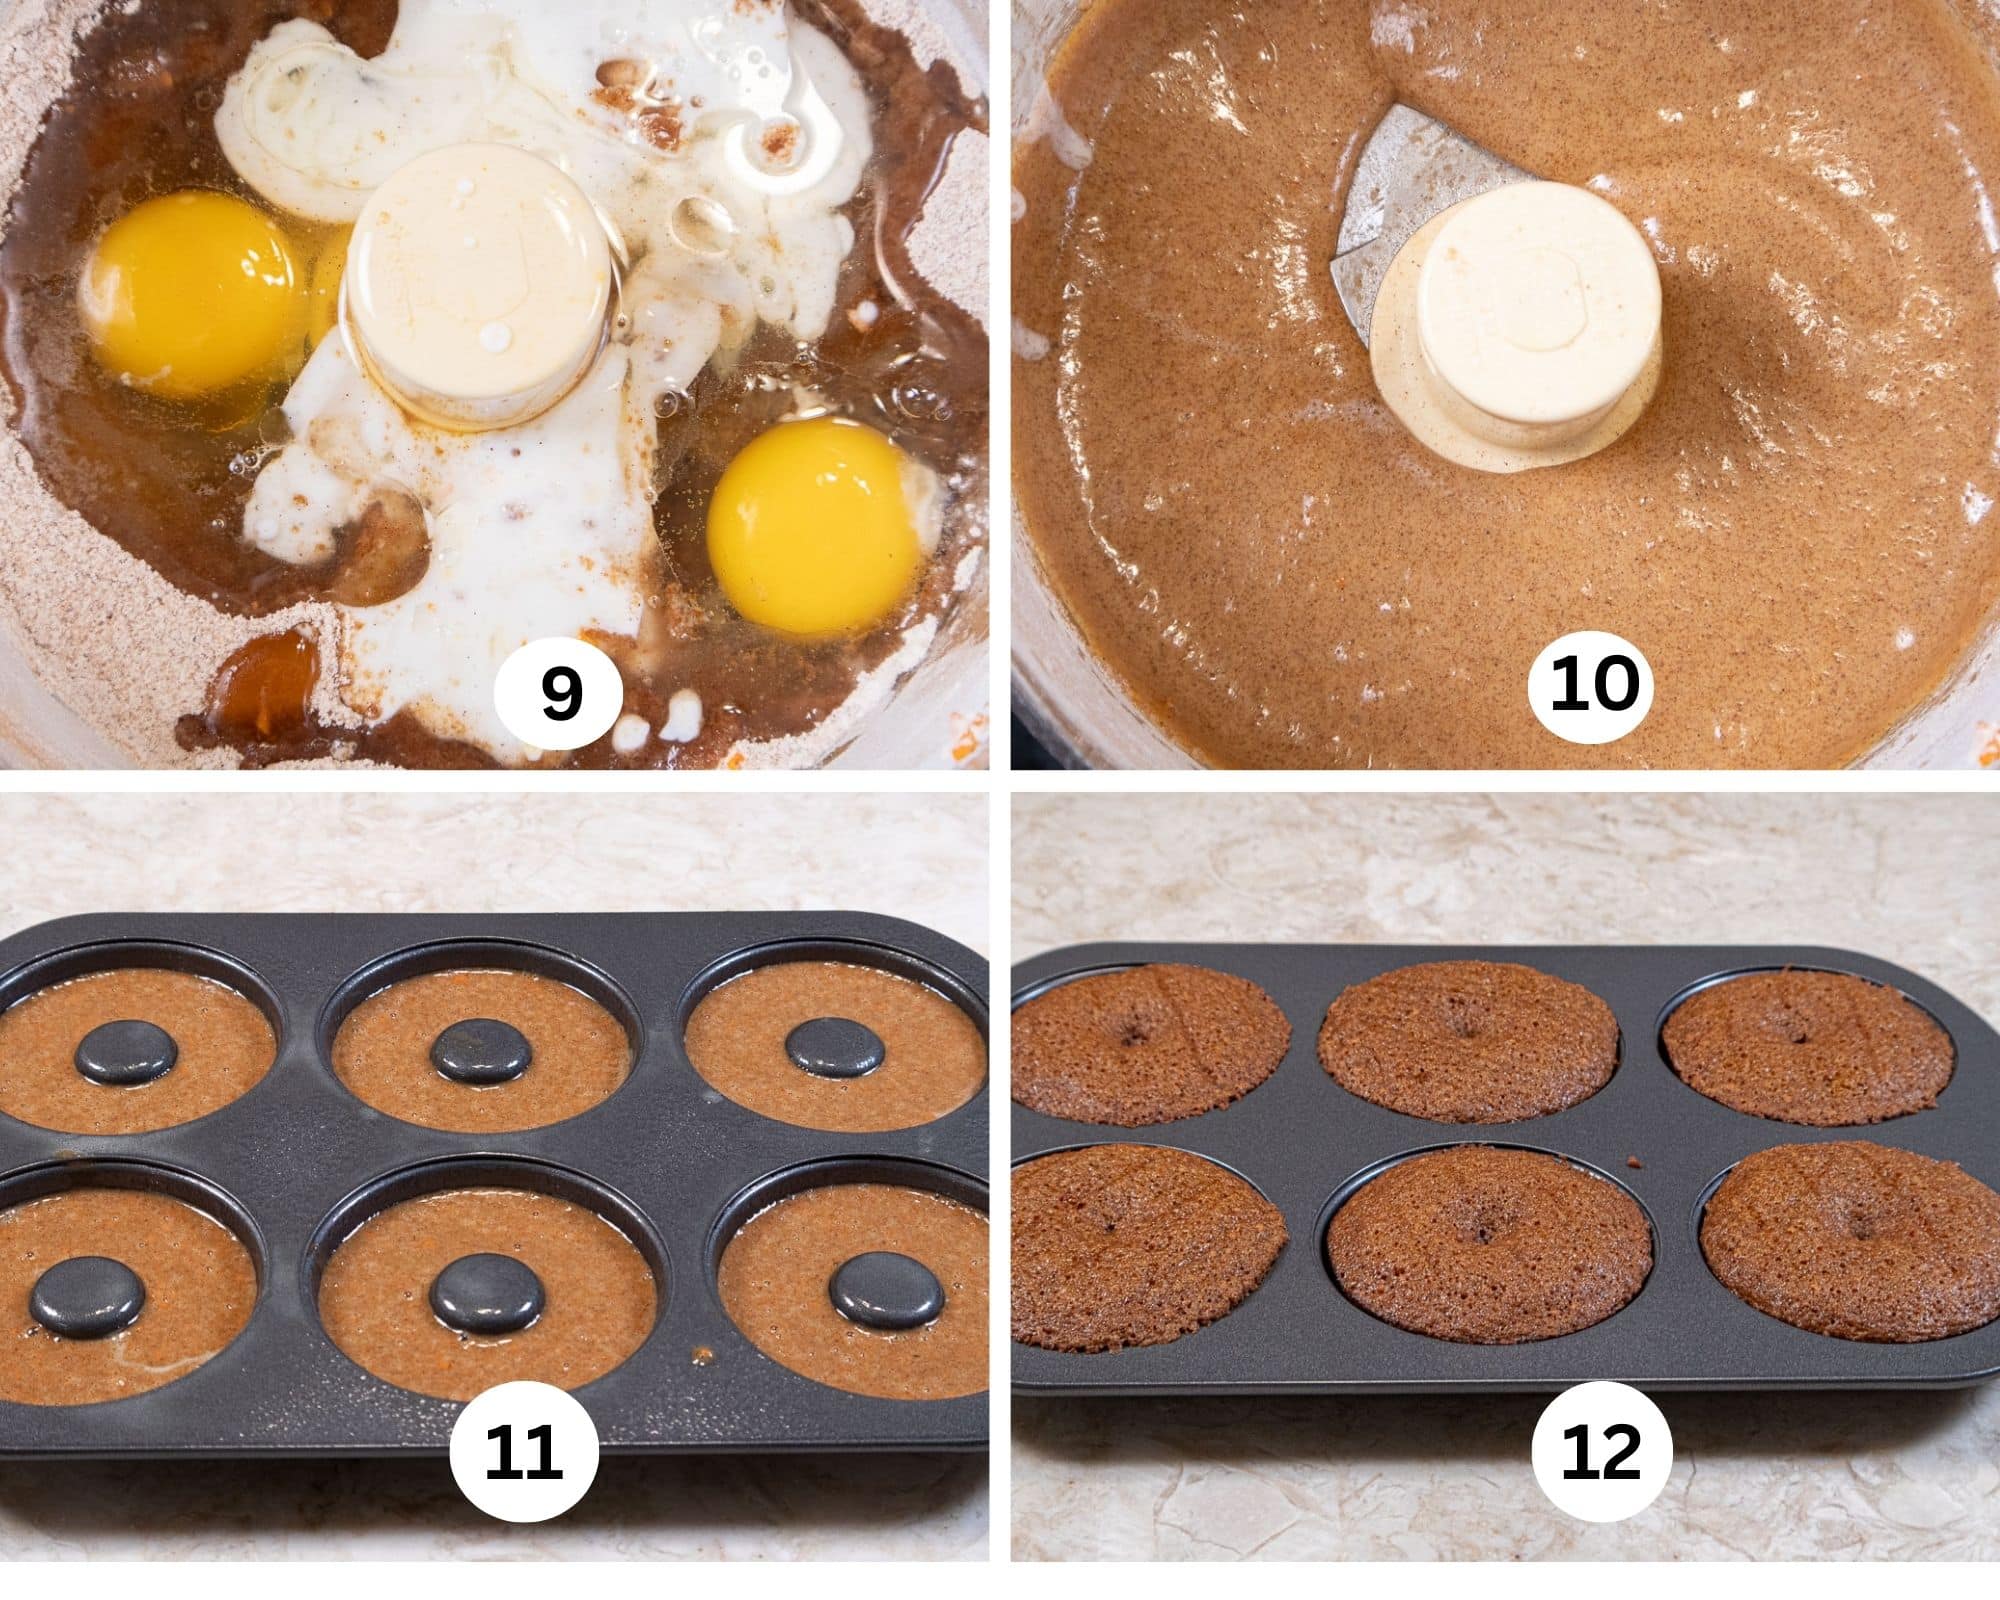
Step 9. Add the first of two additions of milk. Mix it in on low then continue with the second addition of flour, the last of the milk and the last of the flour. Scrape down as necessary. Step 10. The finished batter will be very thick. At this point fit a pastry bag with a ¾" plain tip. Step 11. Spray a donut pan or a regular size muffin pan well with a non-stick baking release. Step 12. Divide the crumbs (about 2 tablespoons each) between 9 wells of either pan. Press them firmly down.
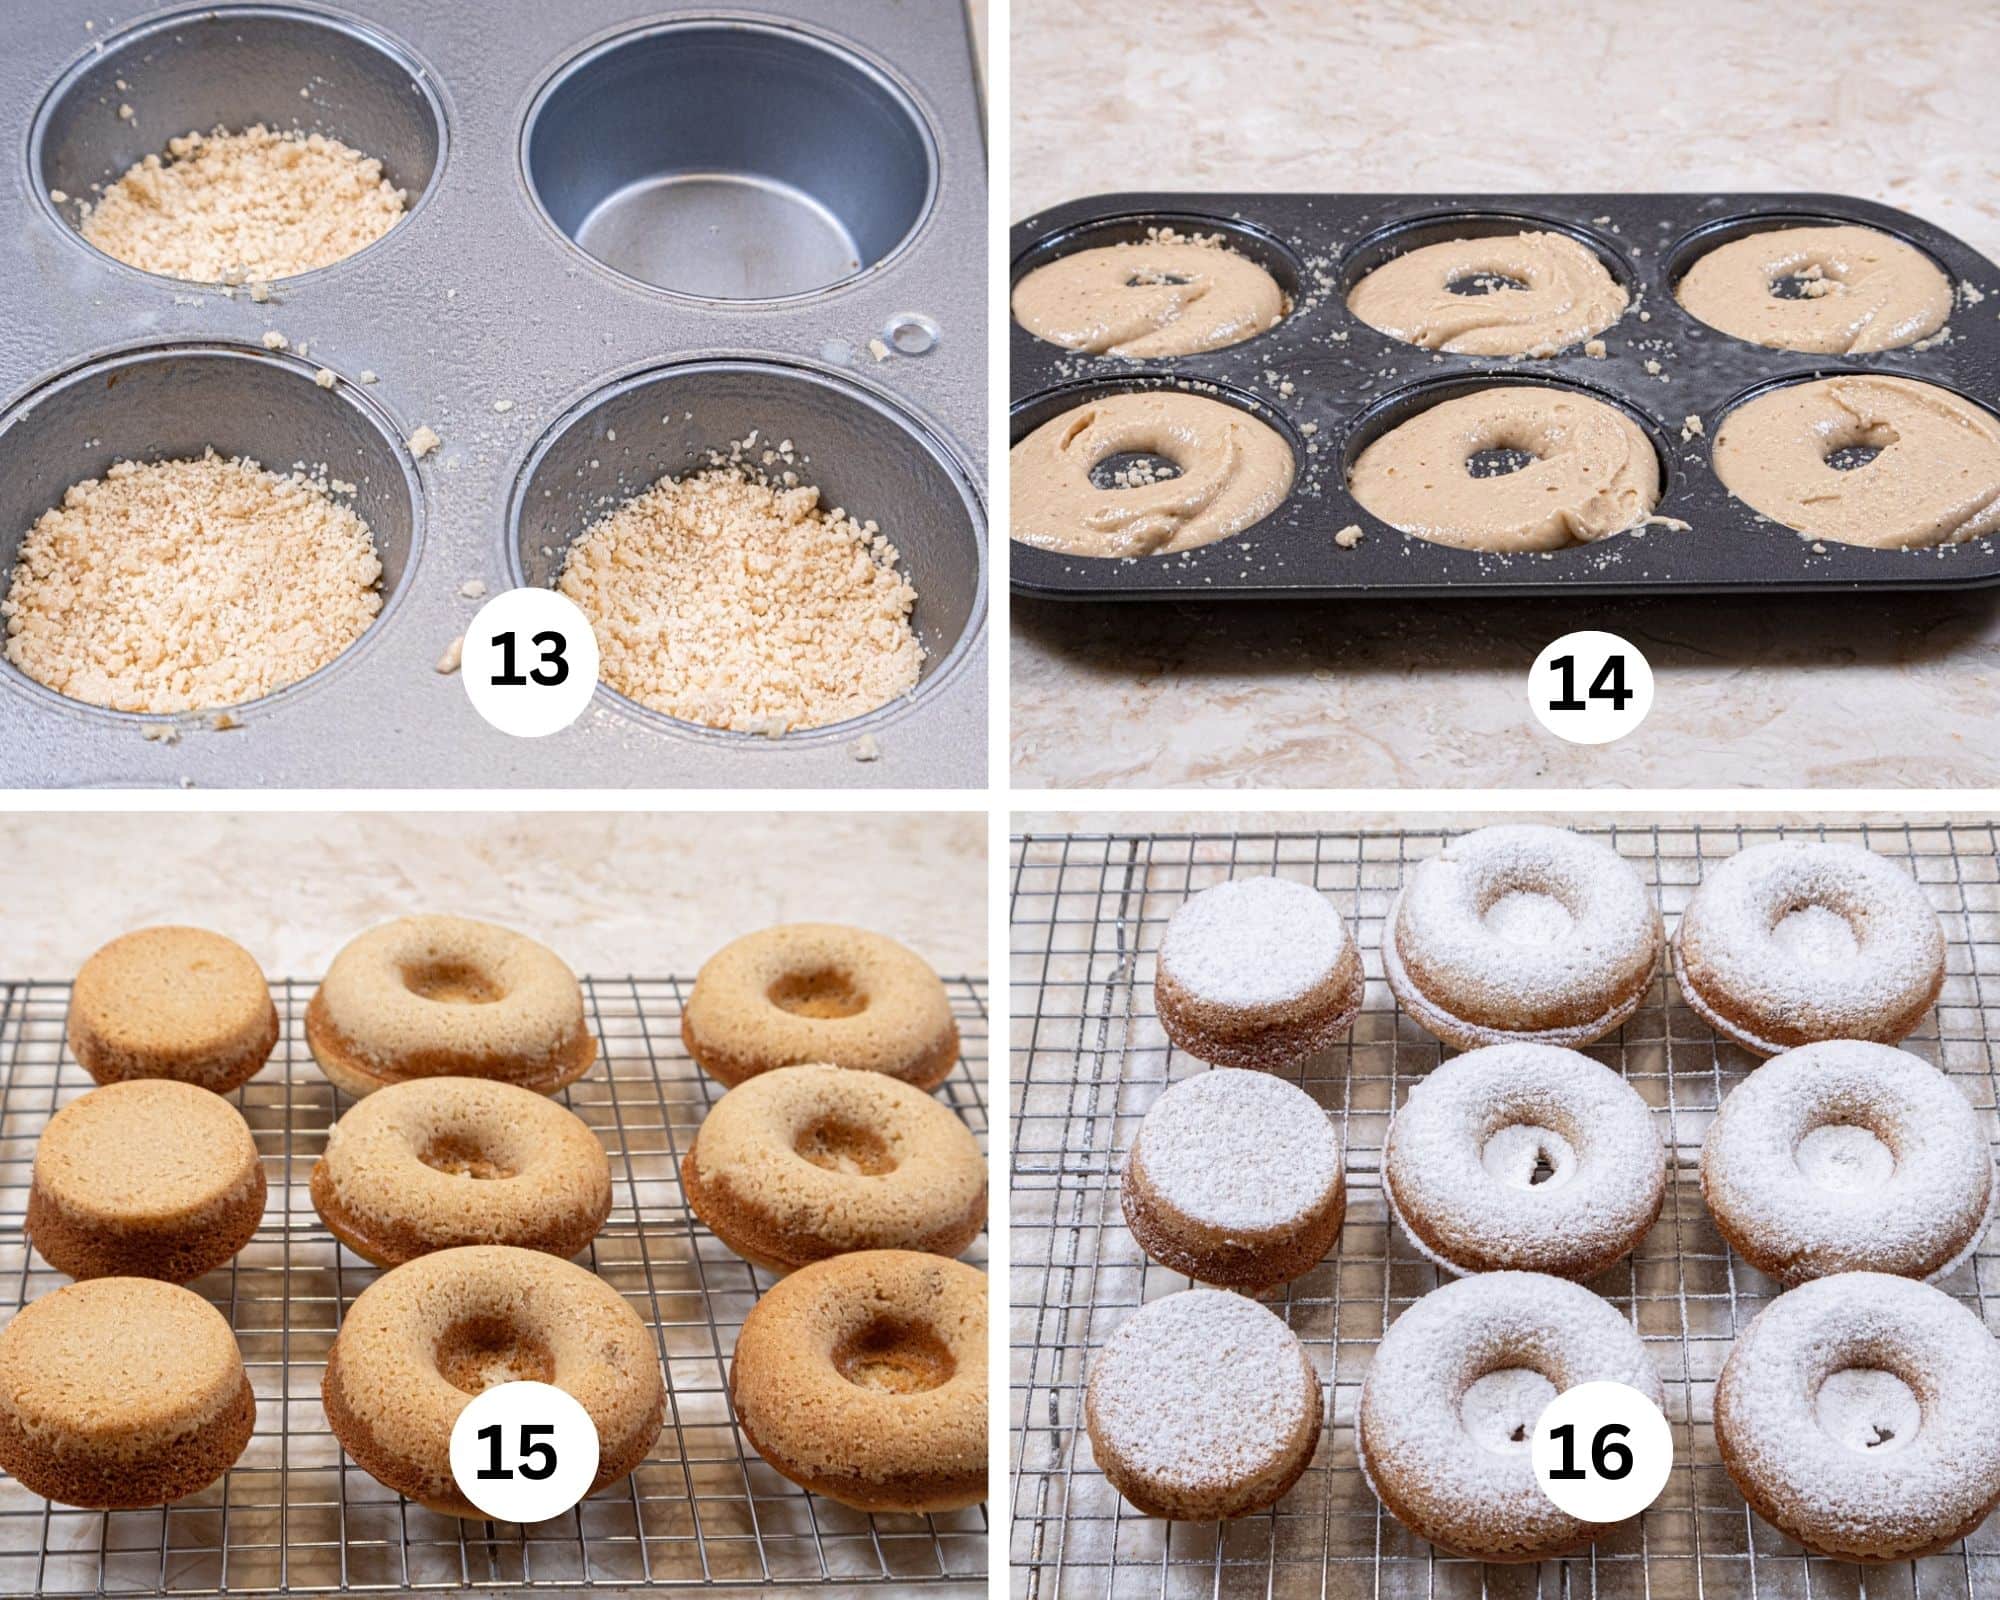
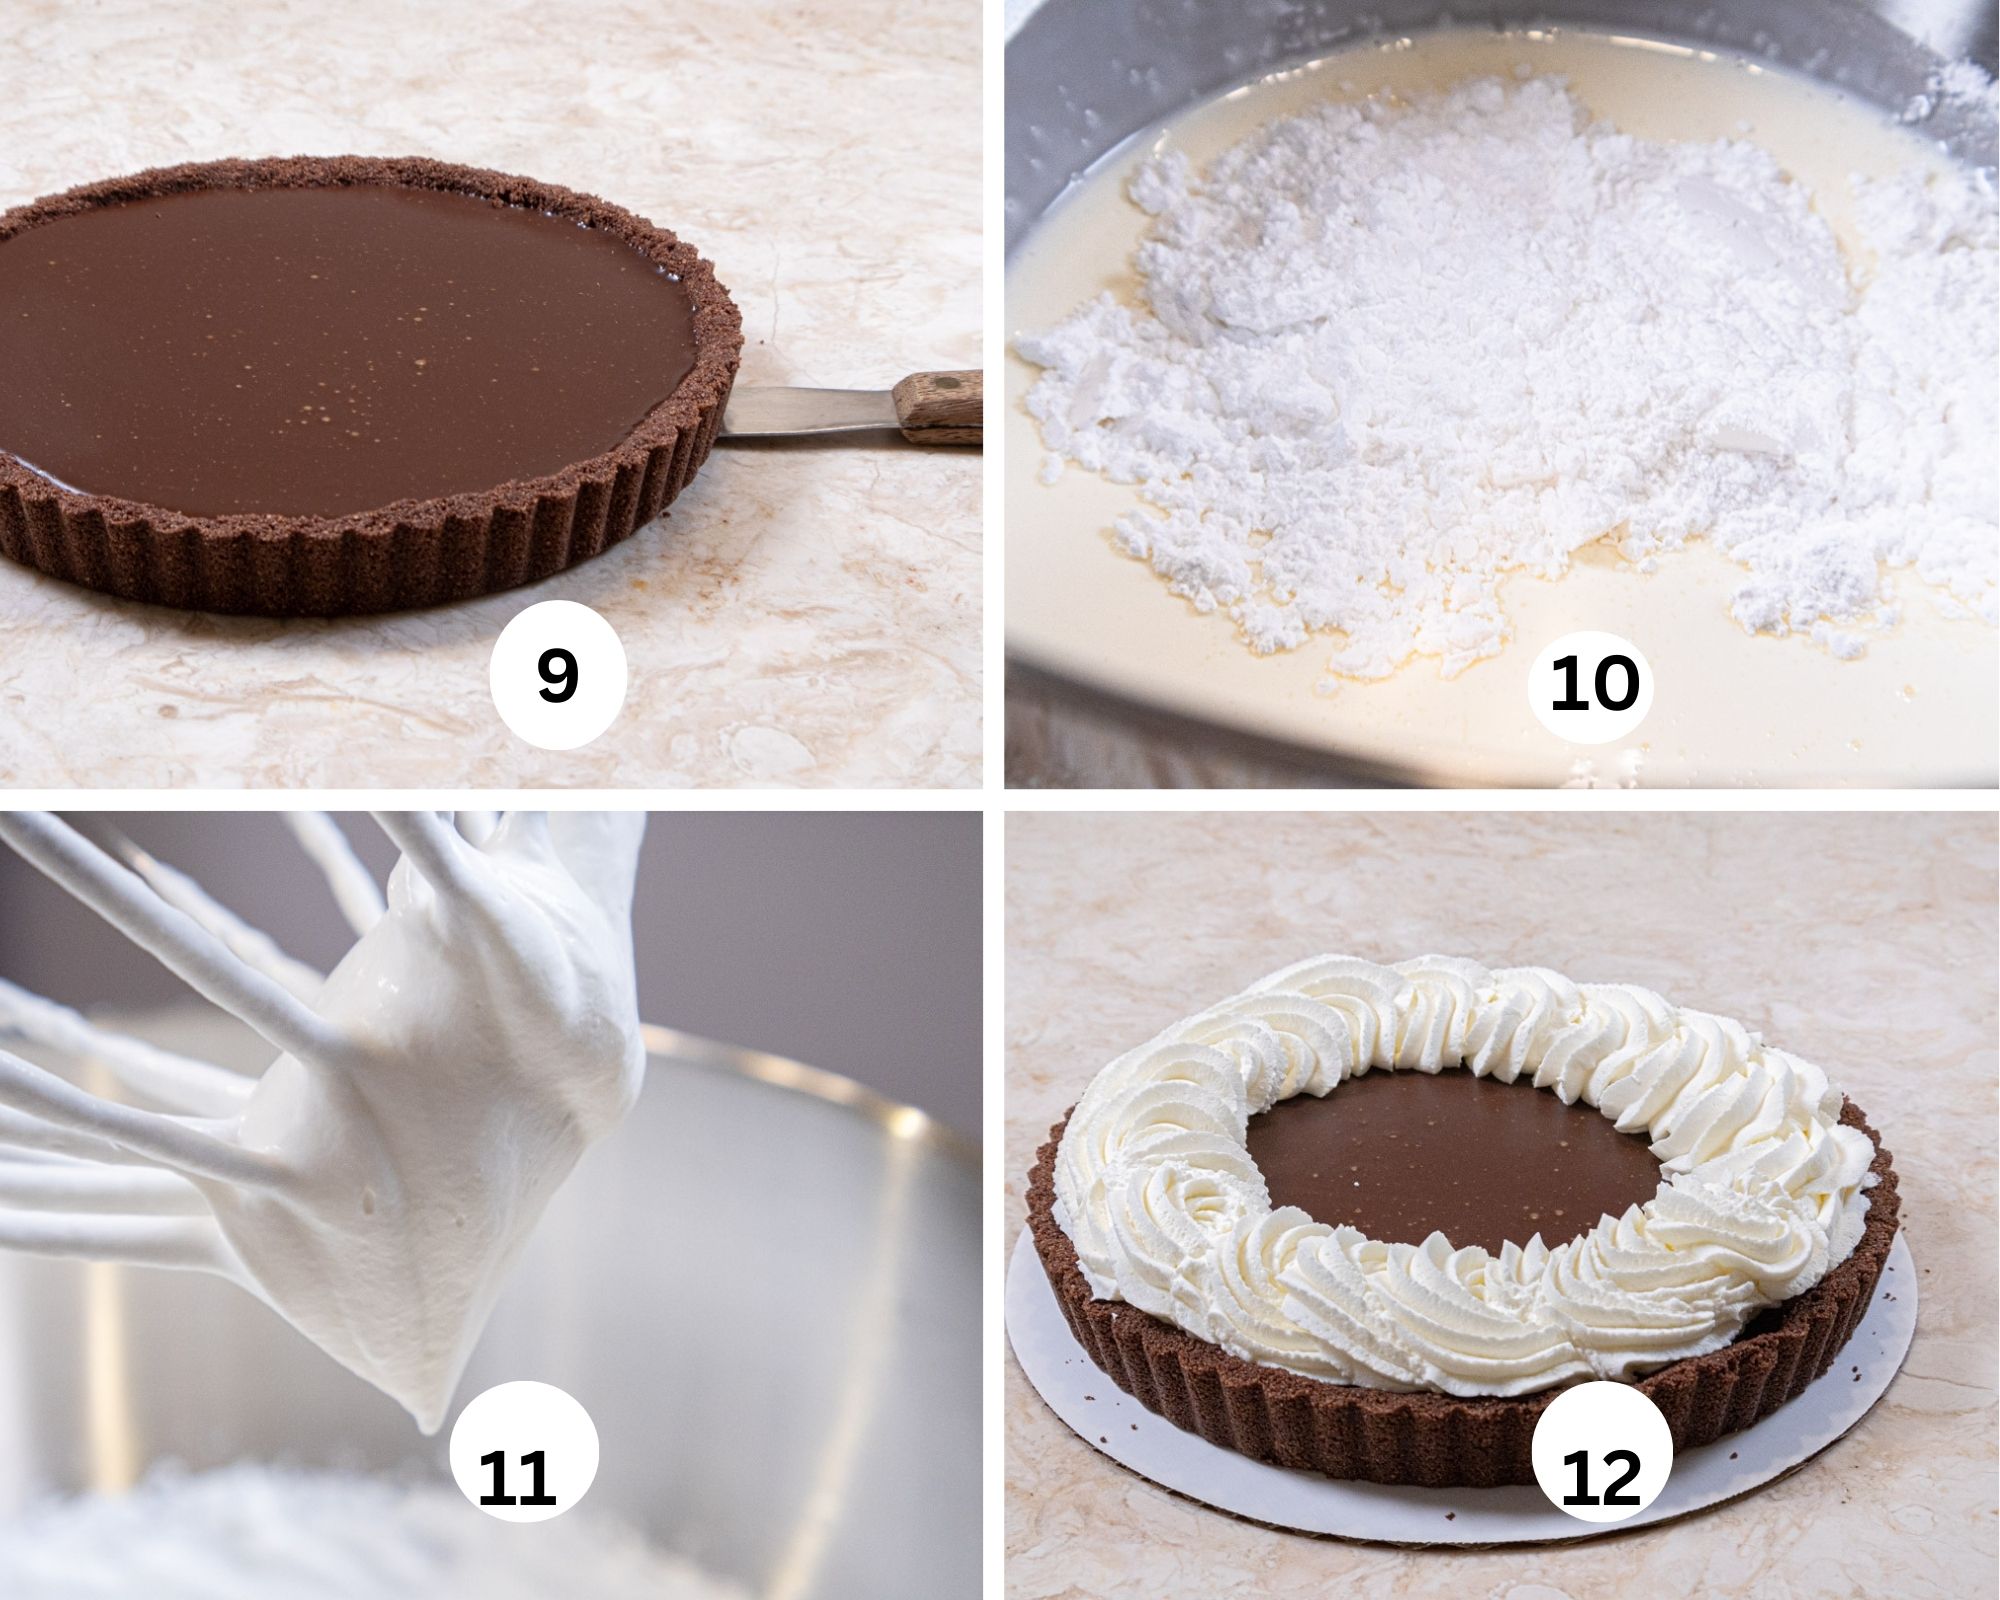
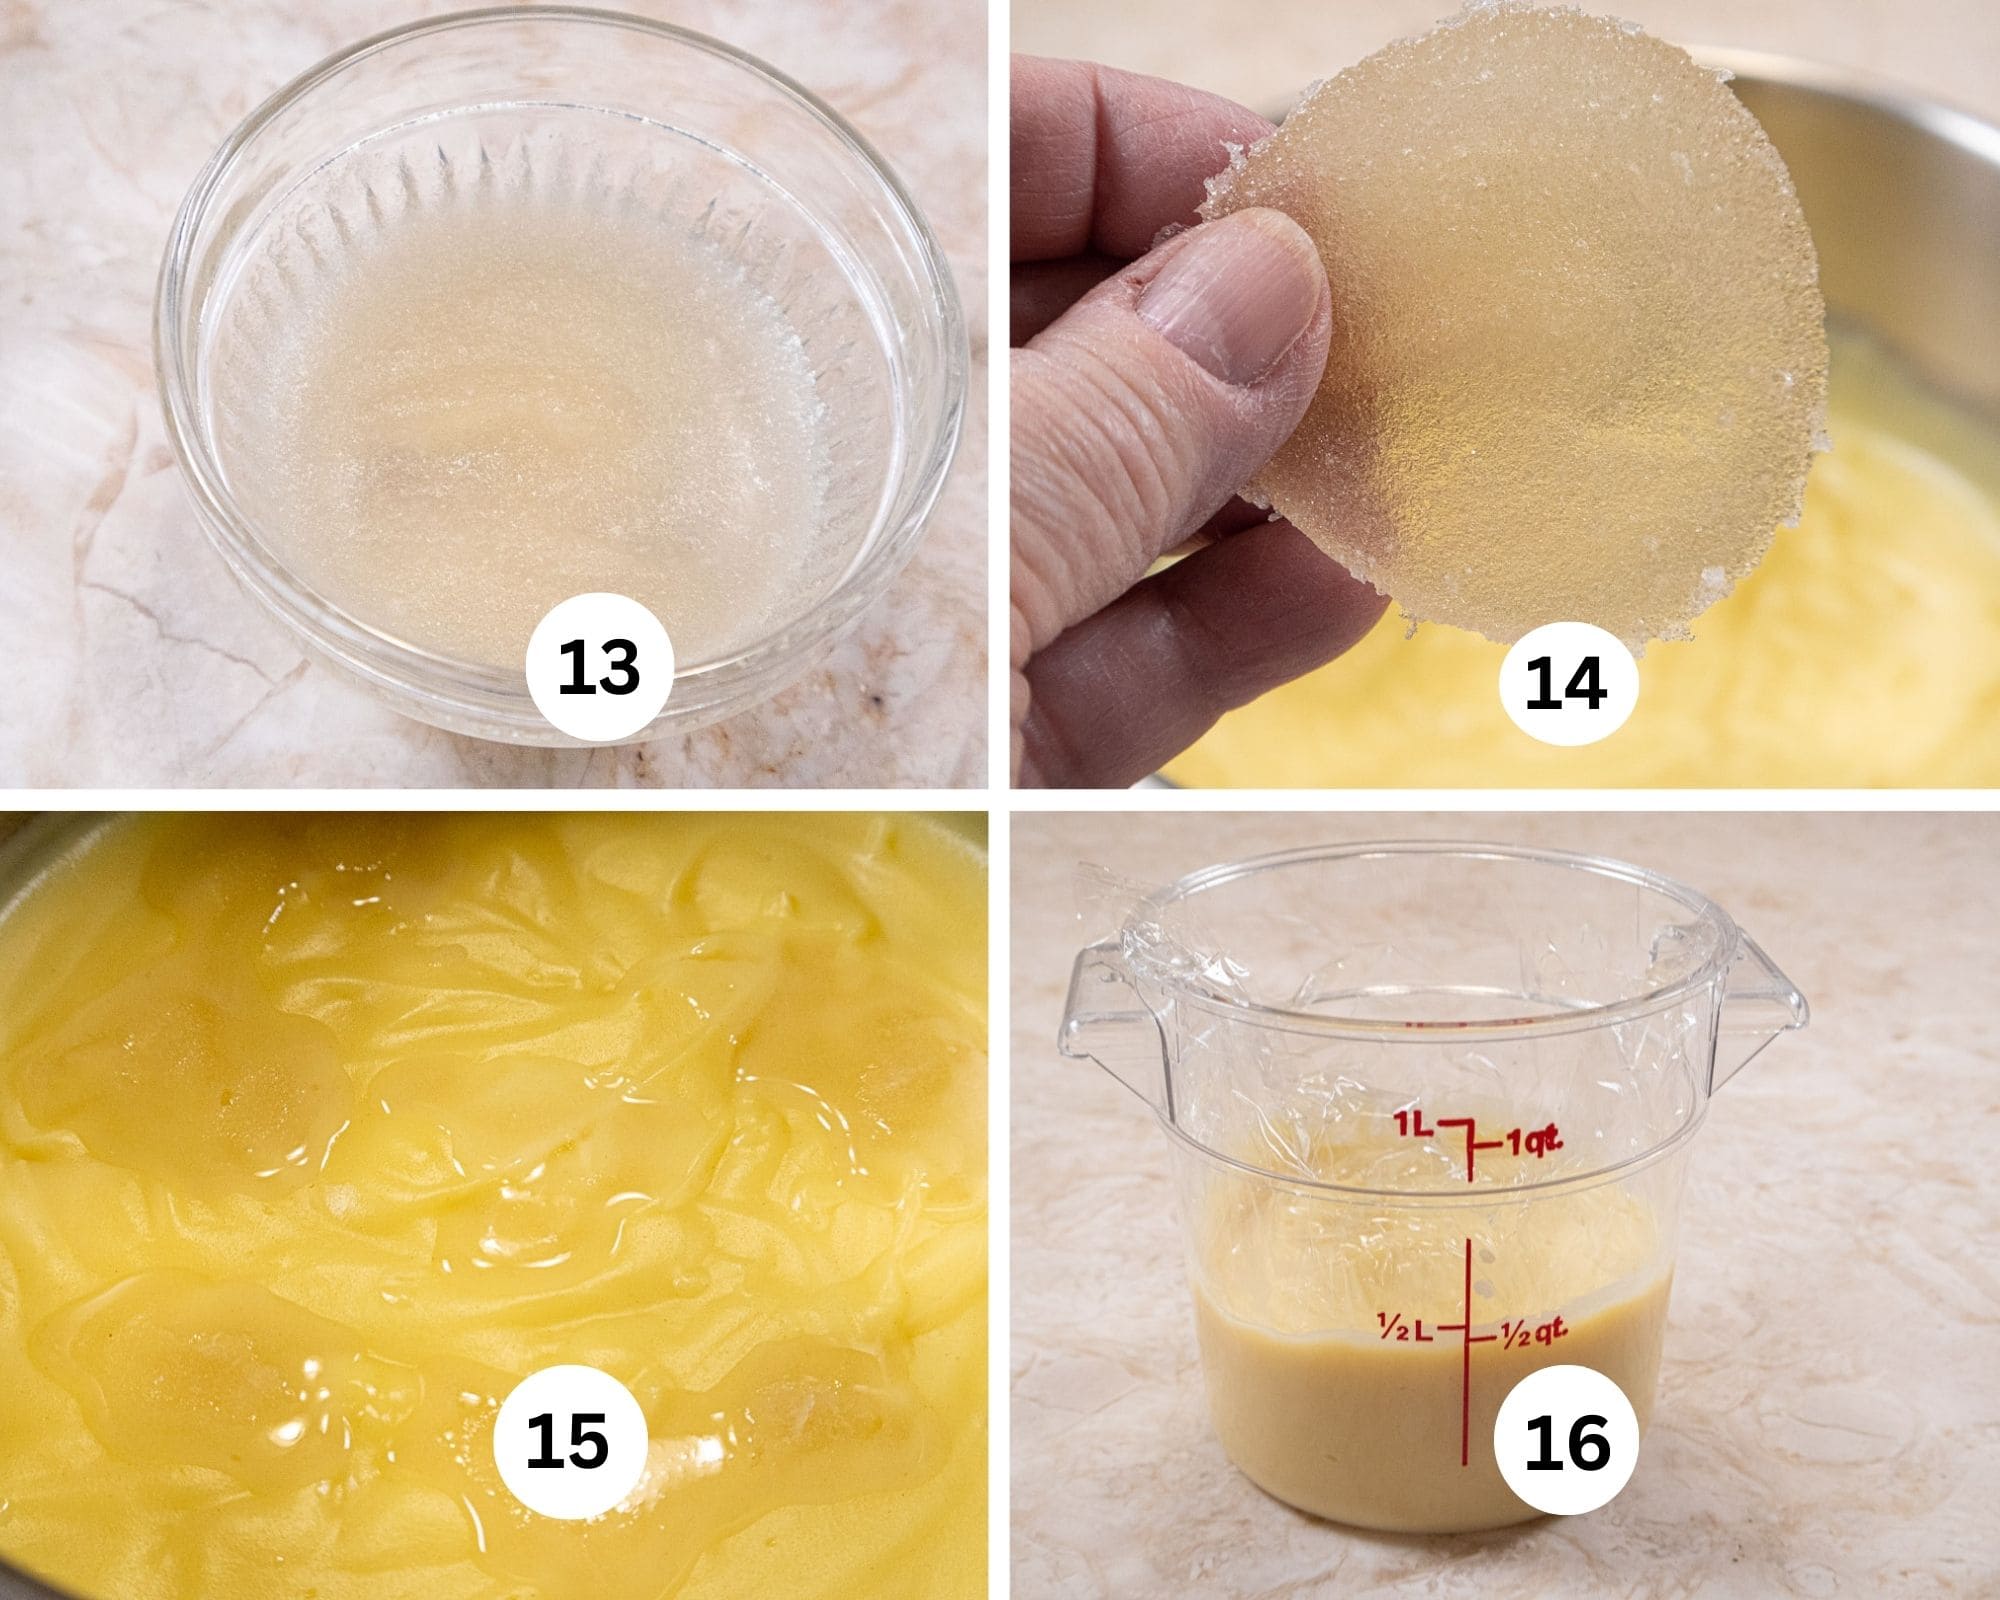
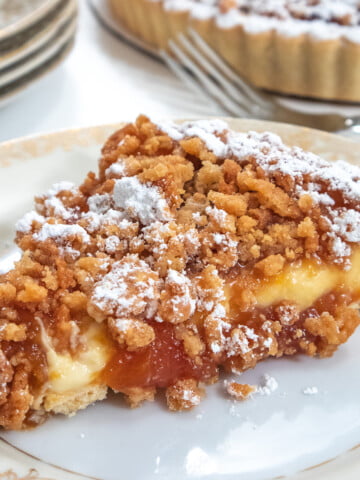
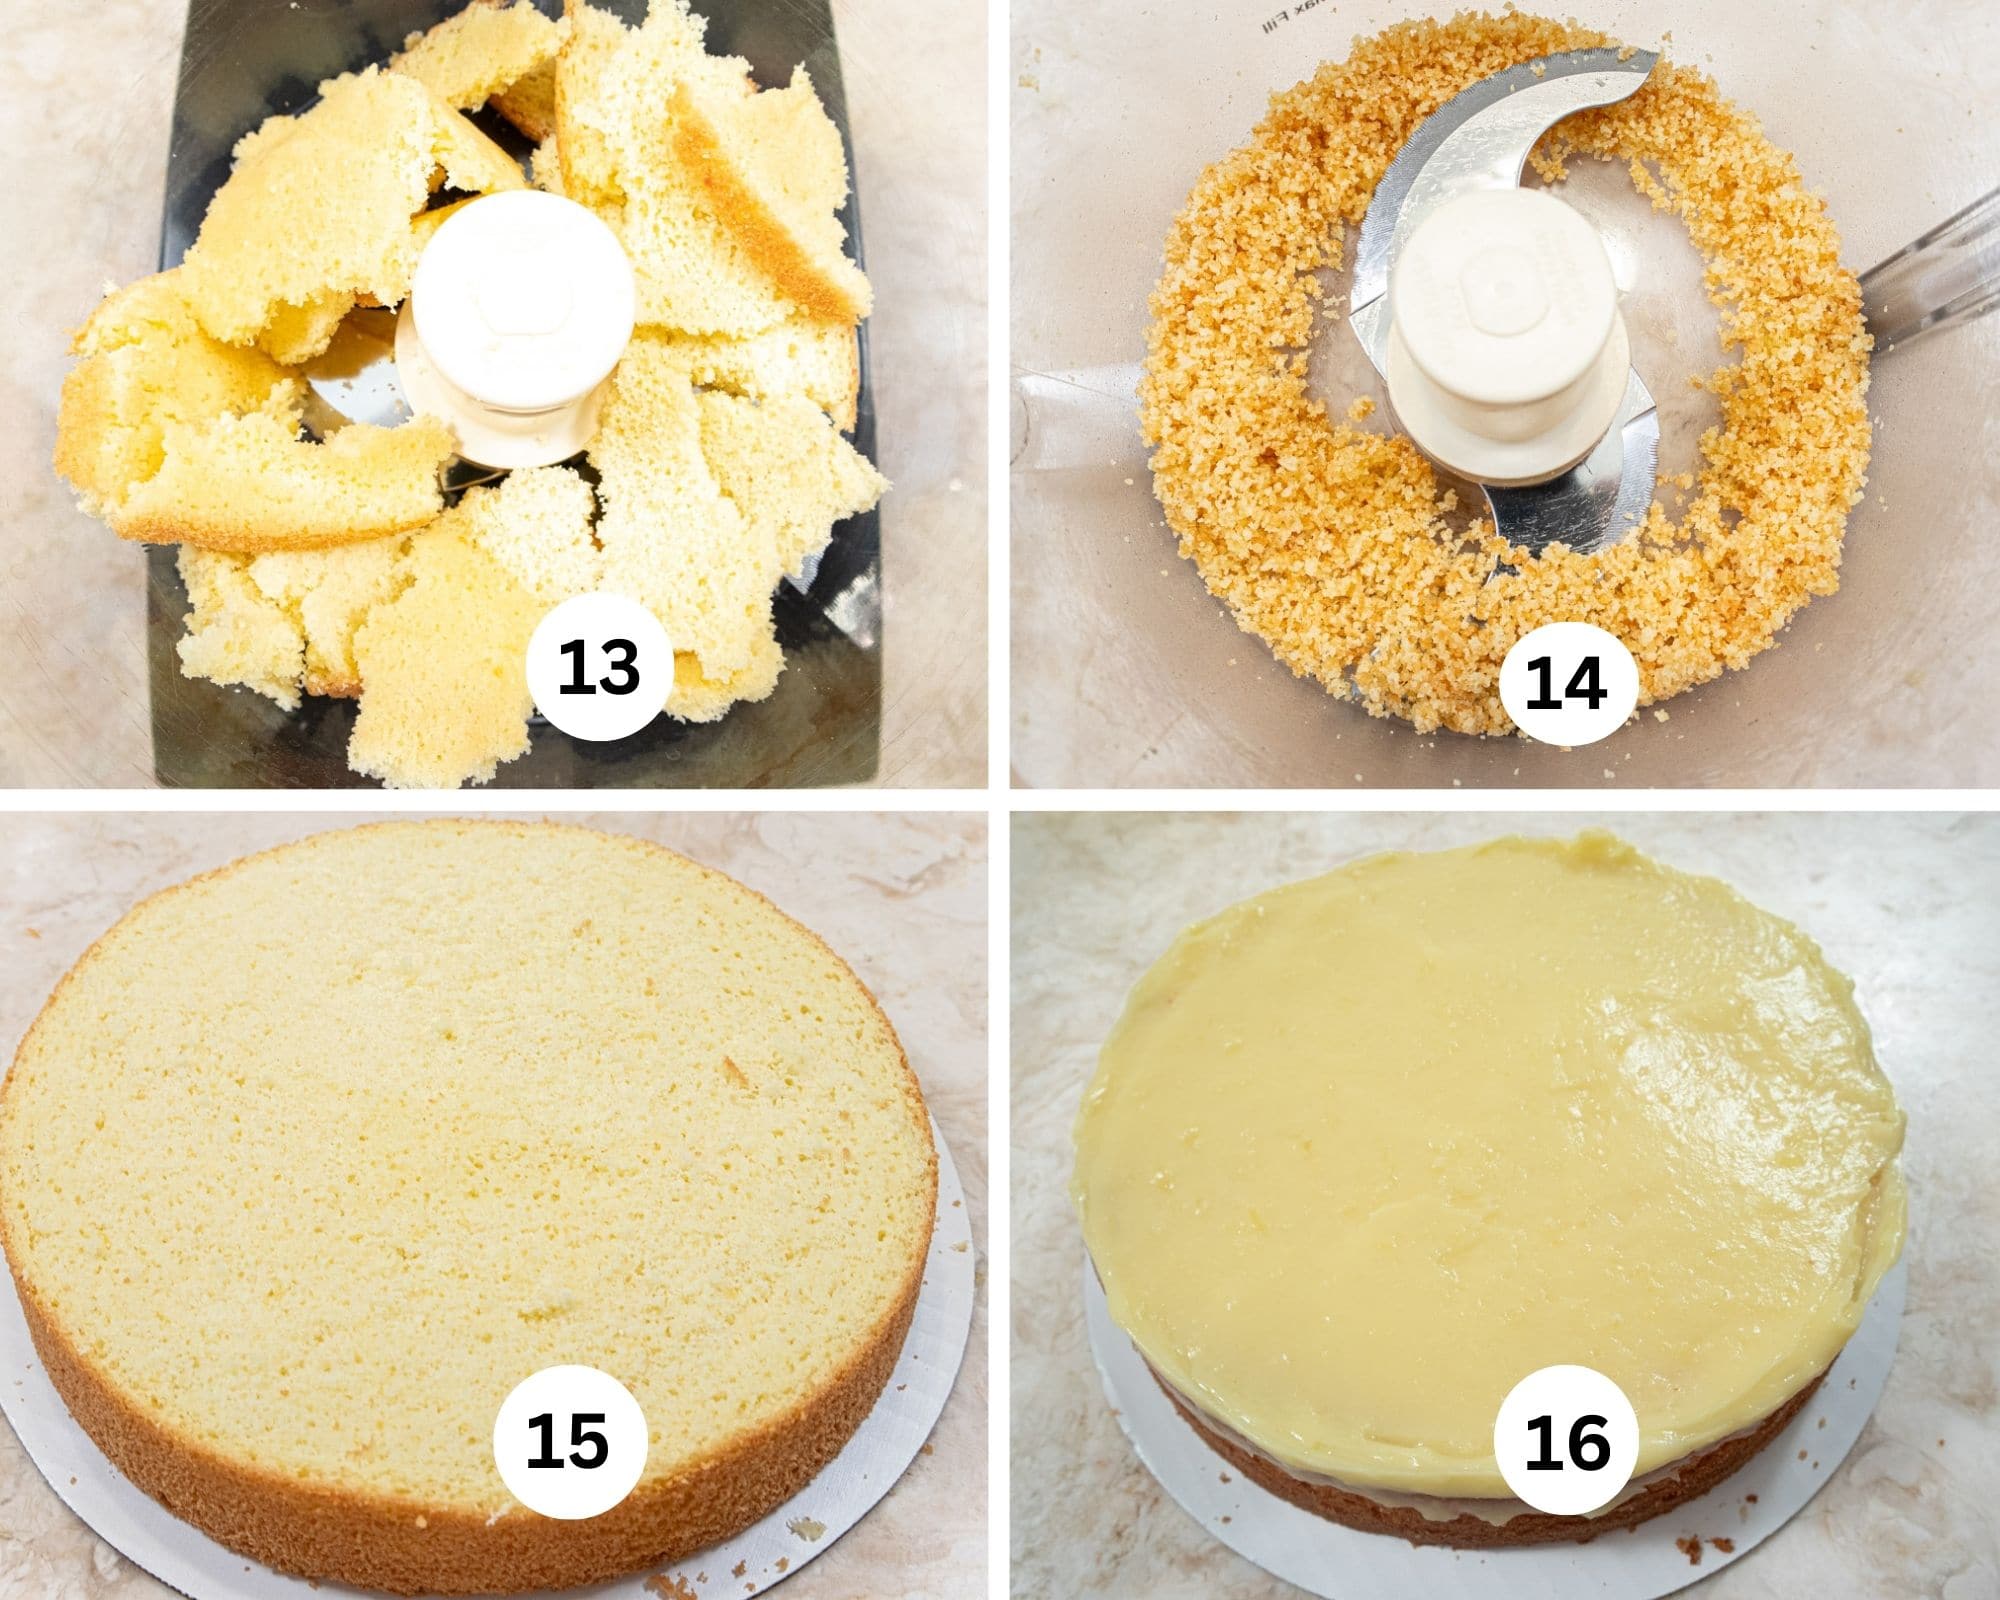
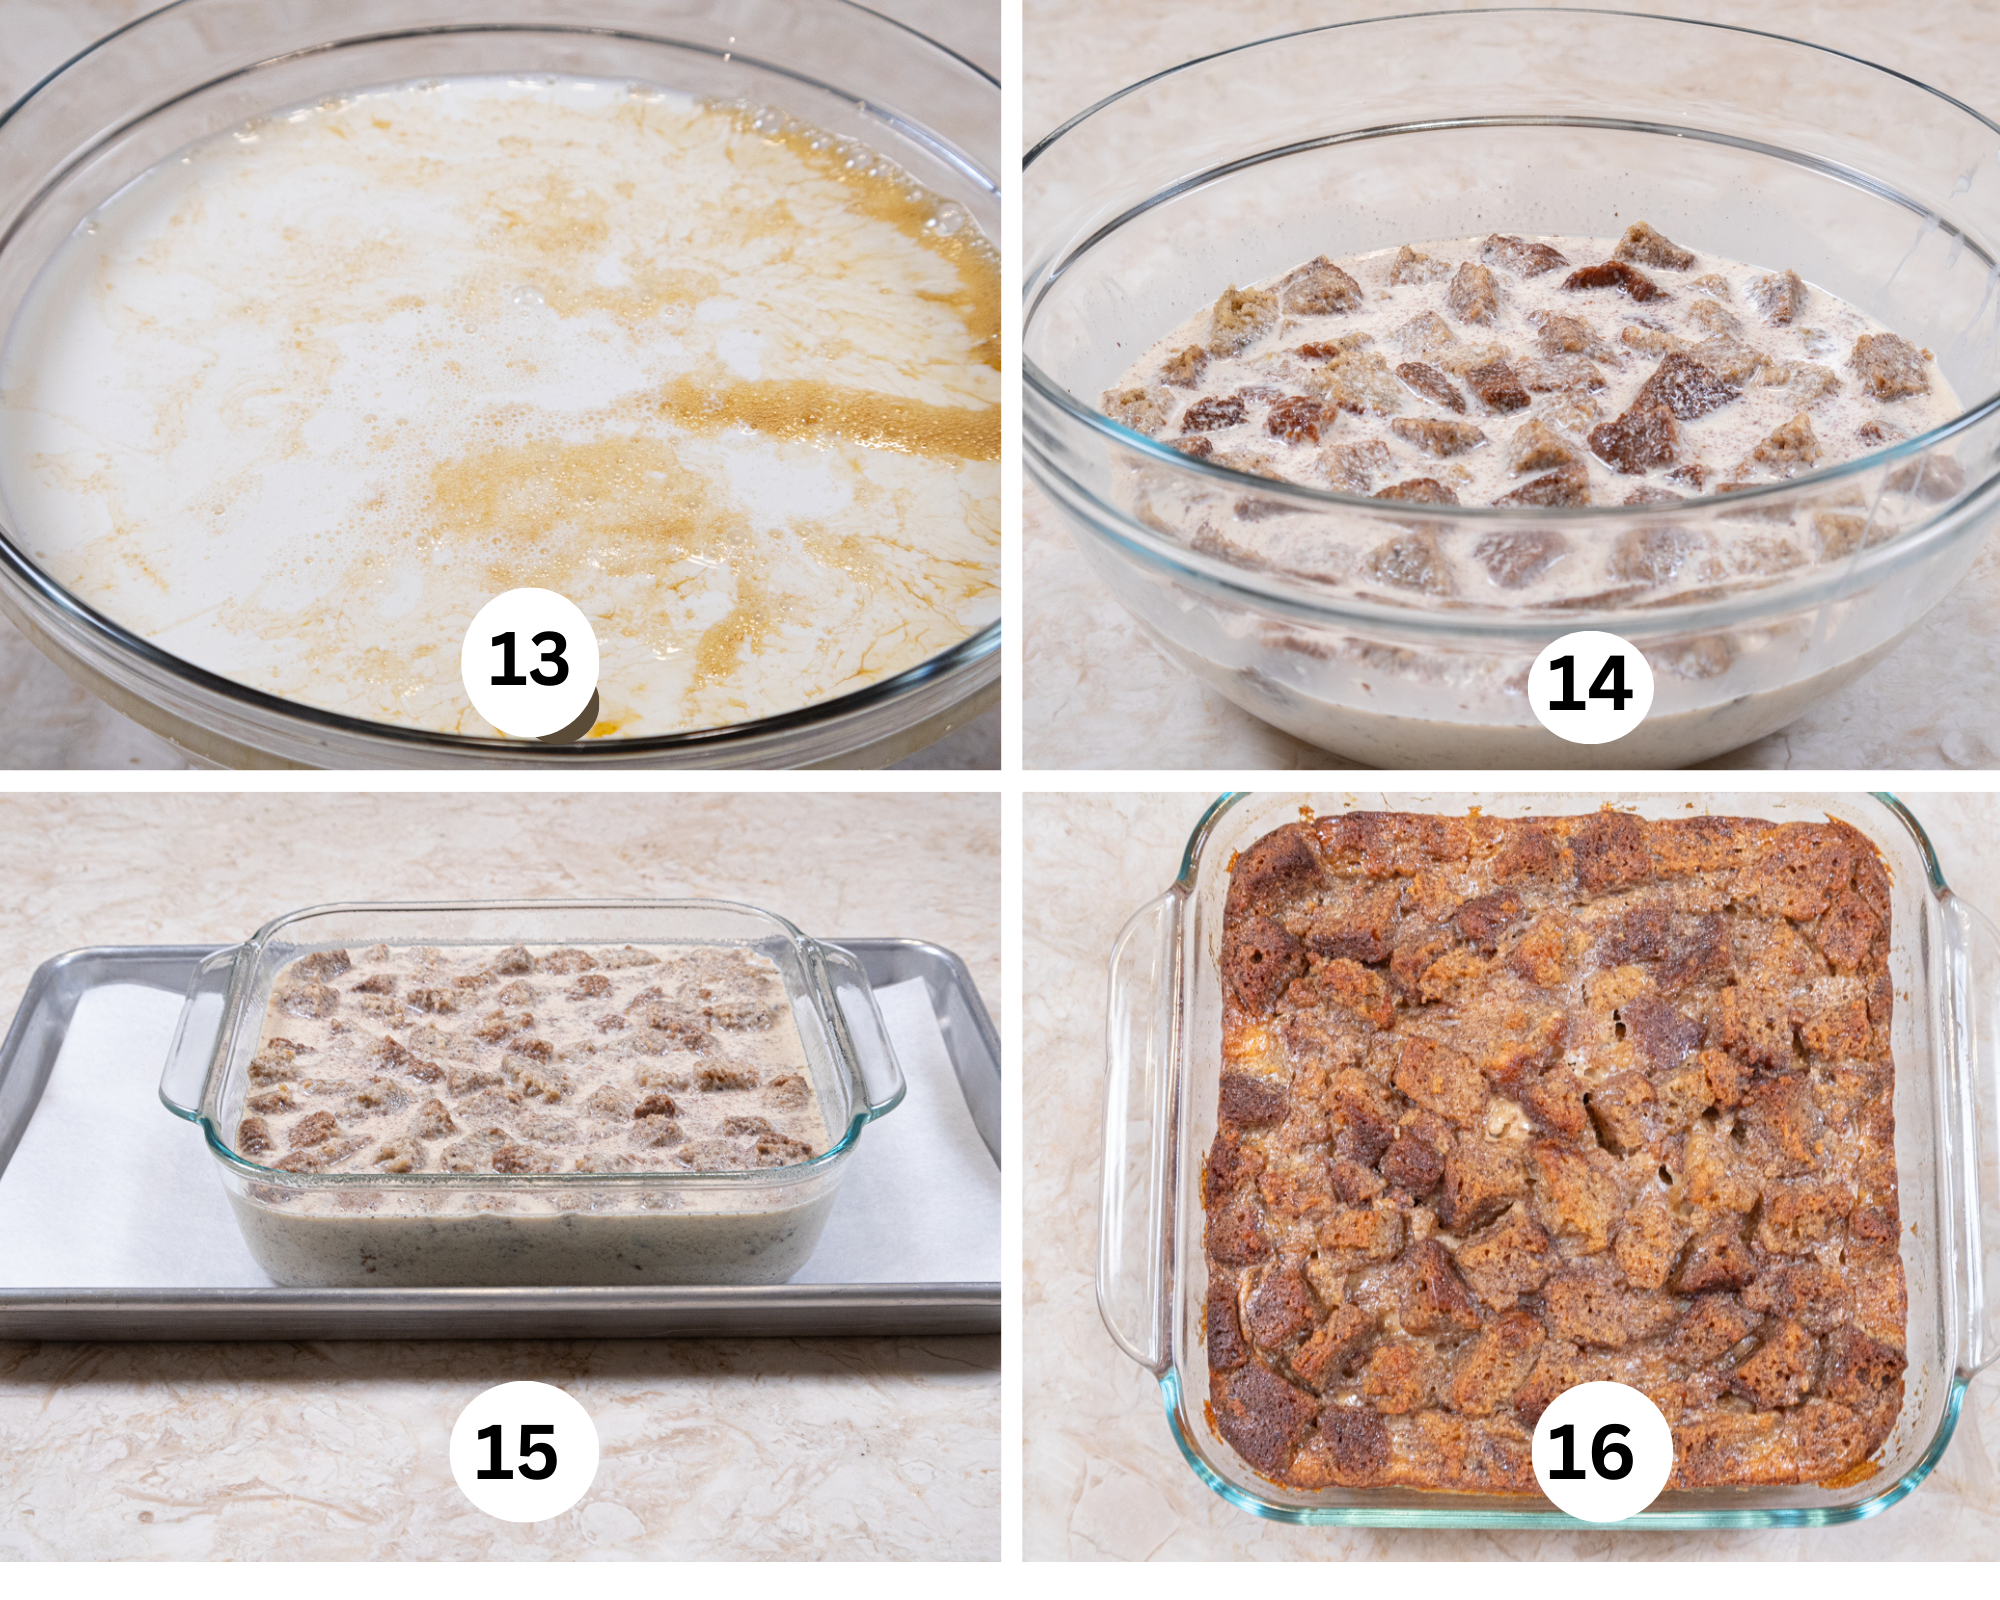
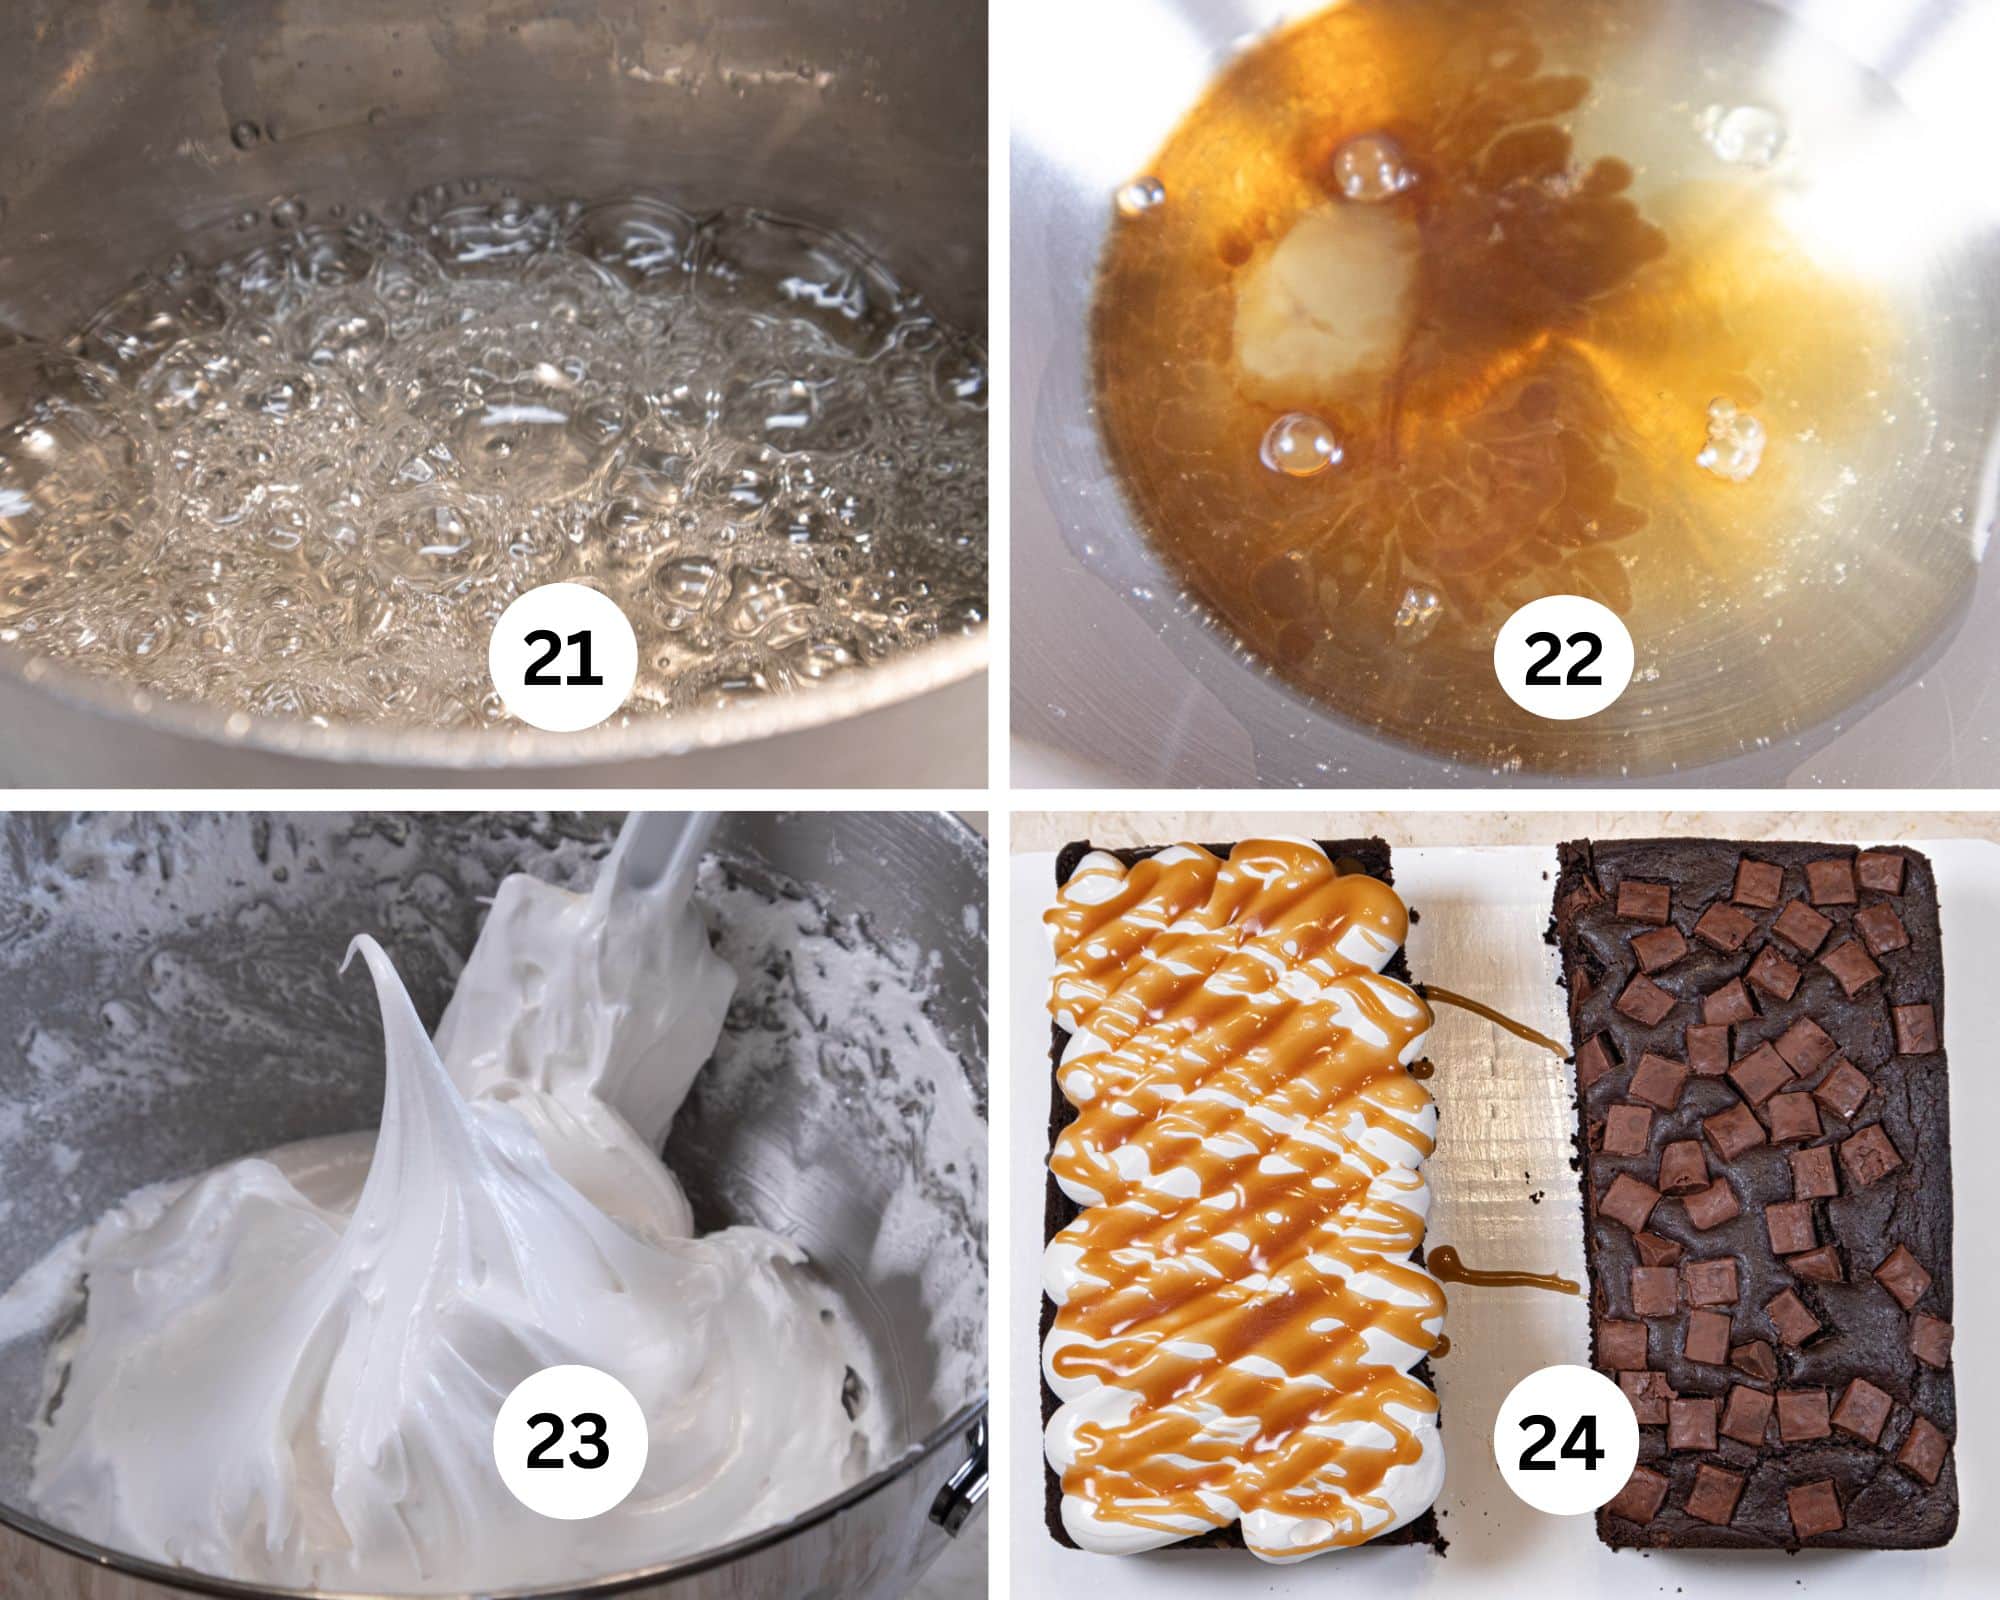
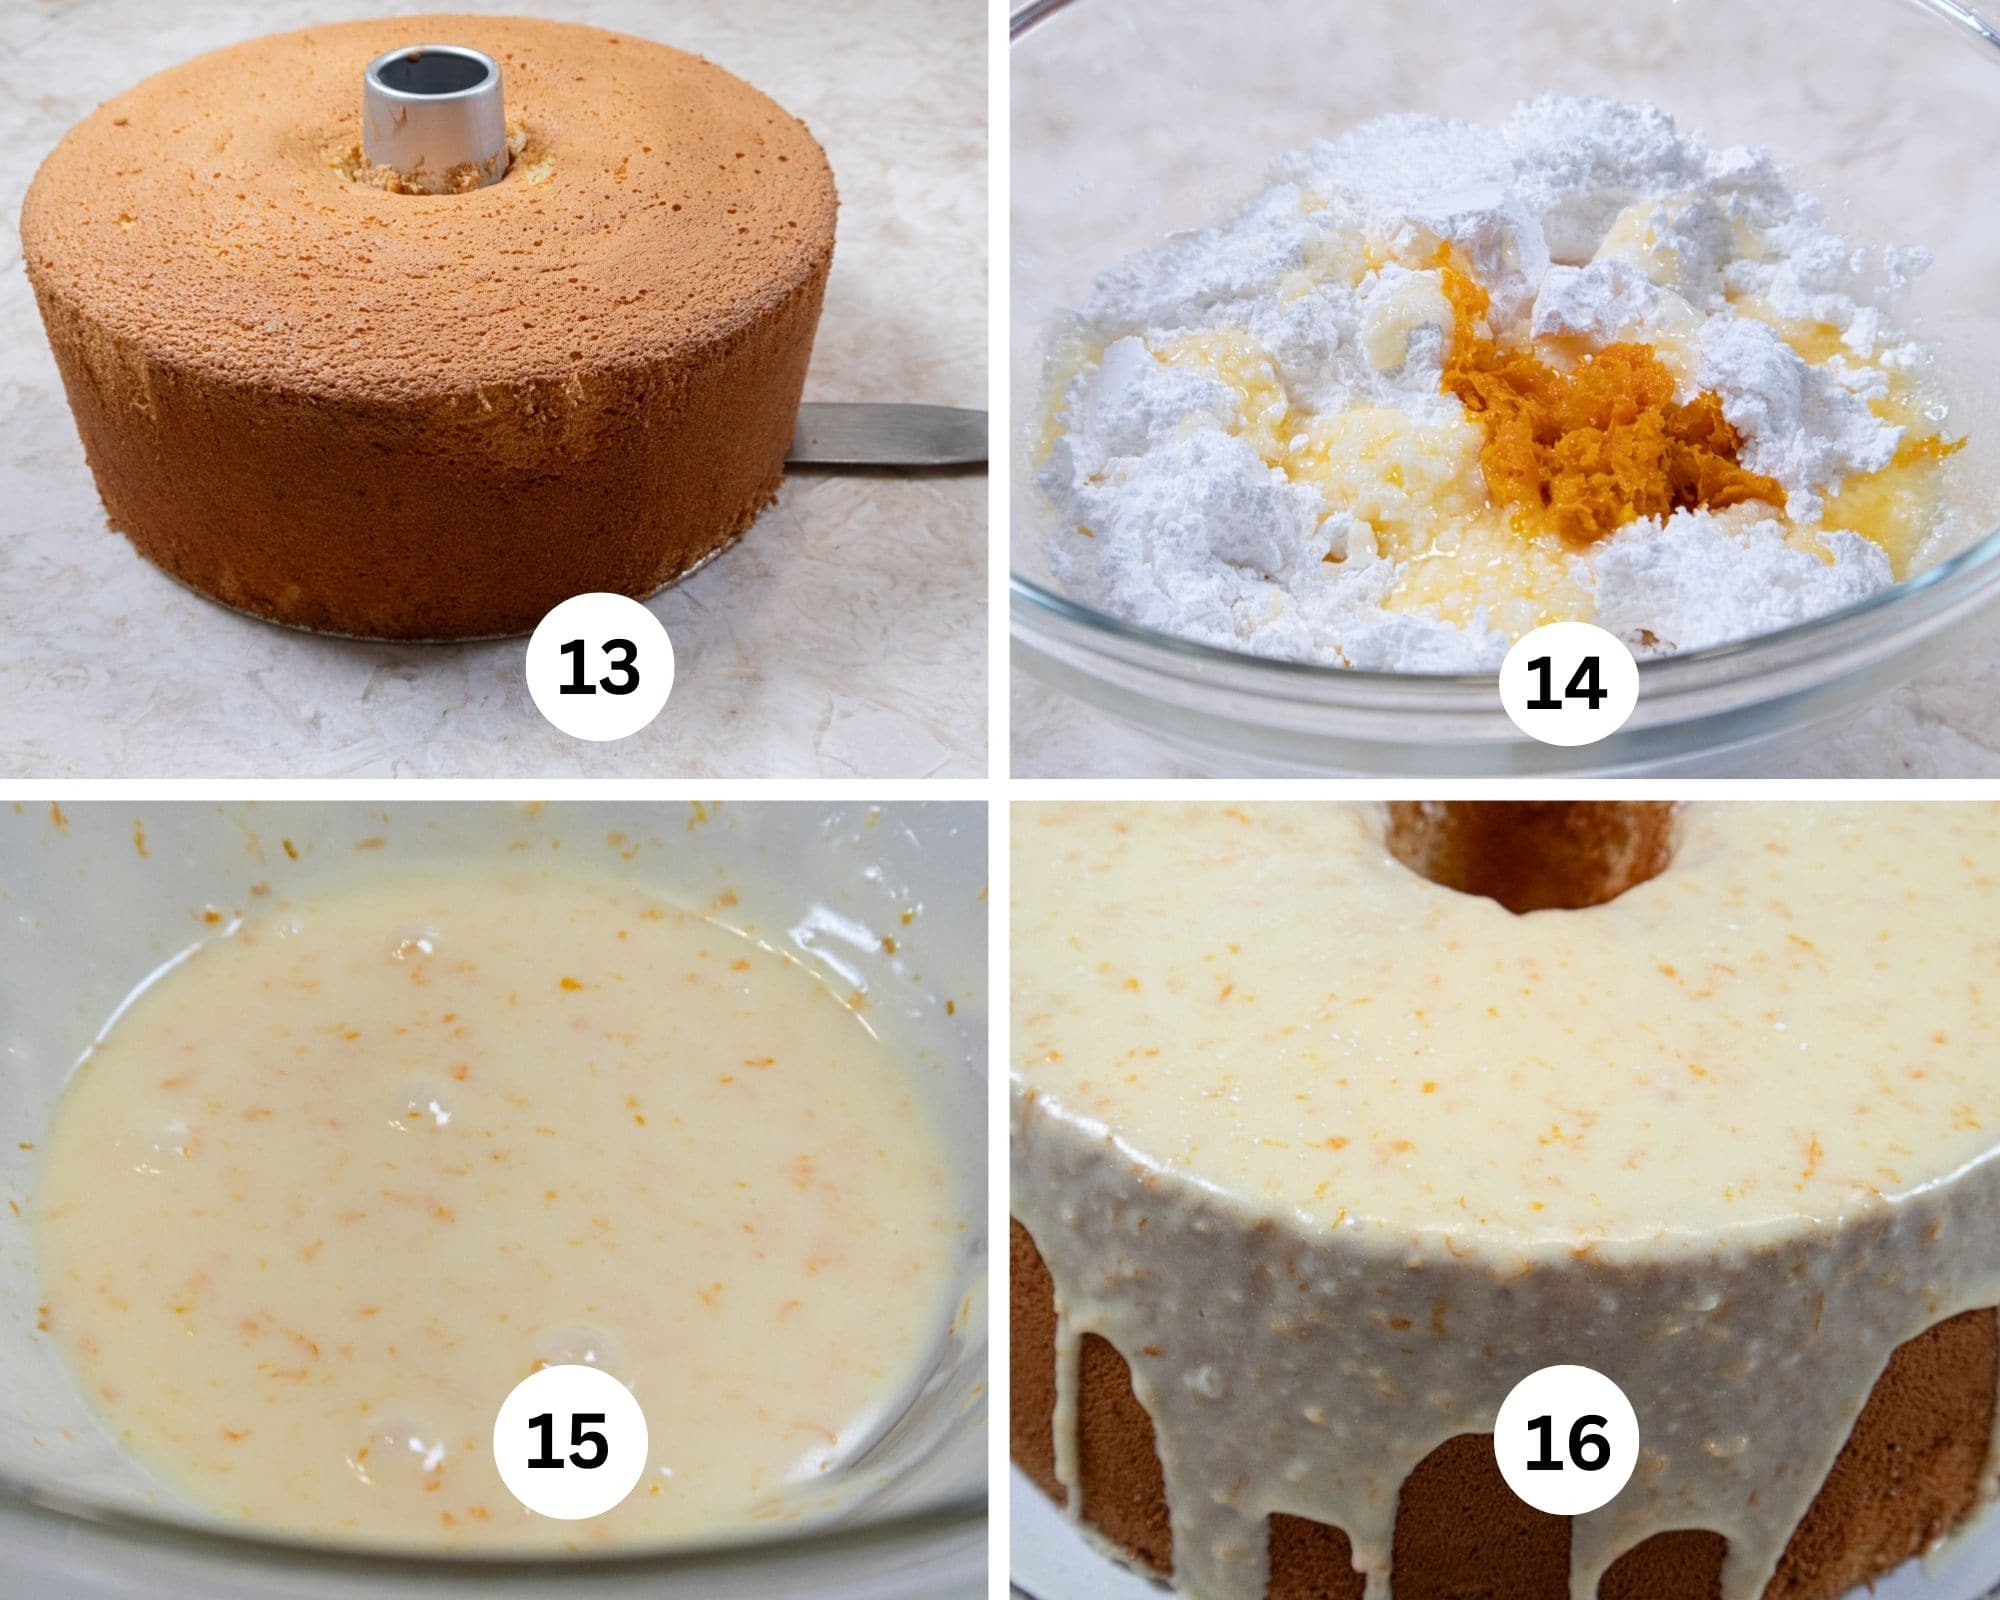
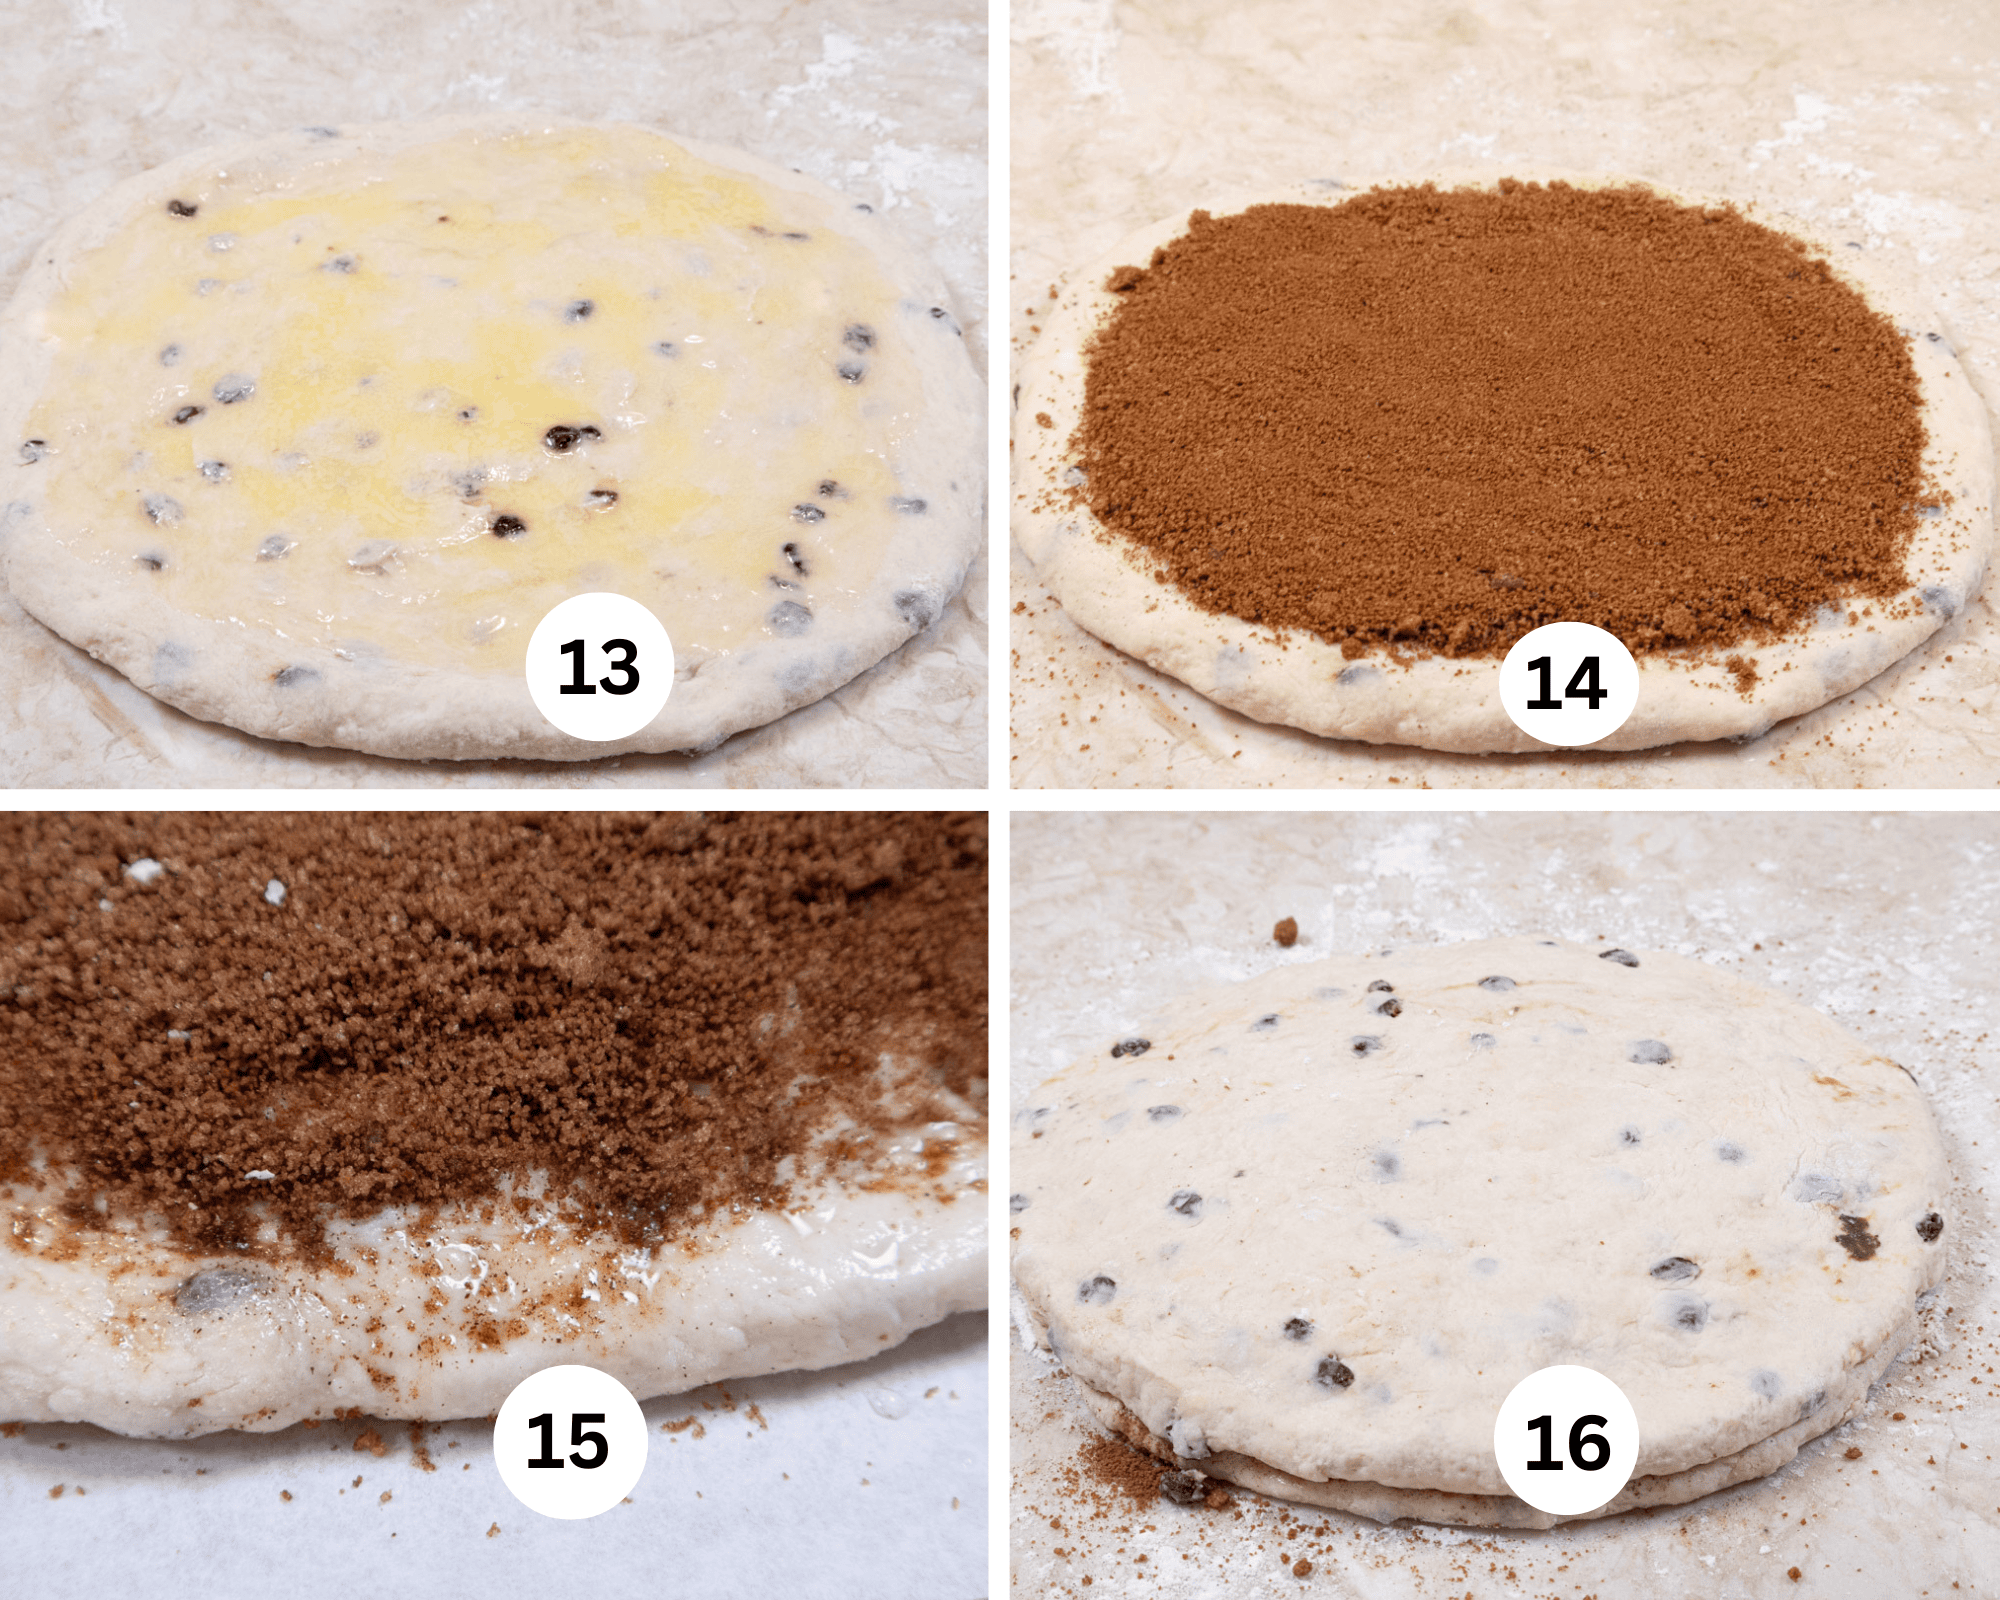
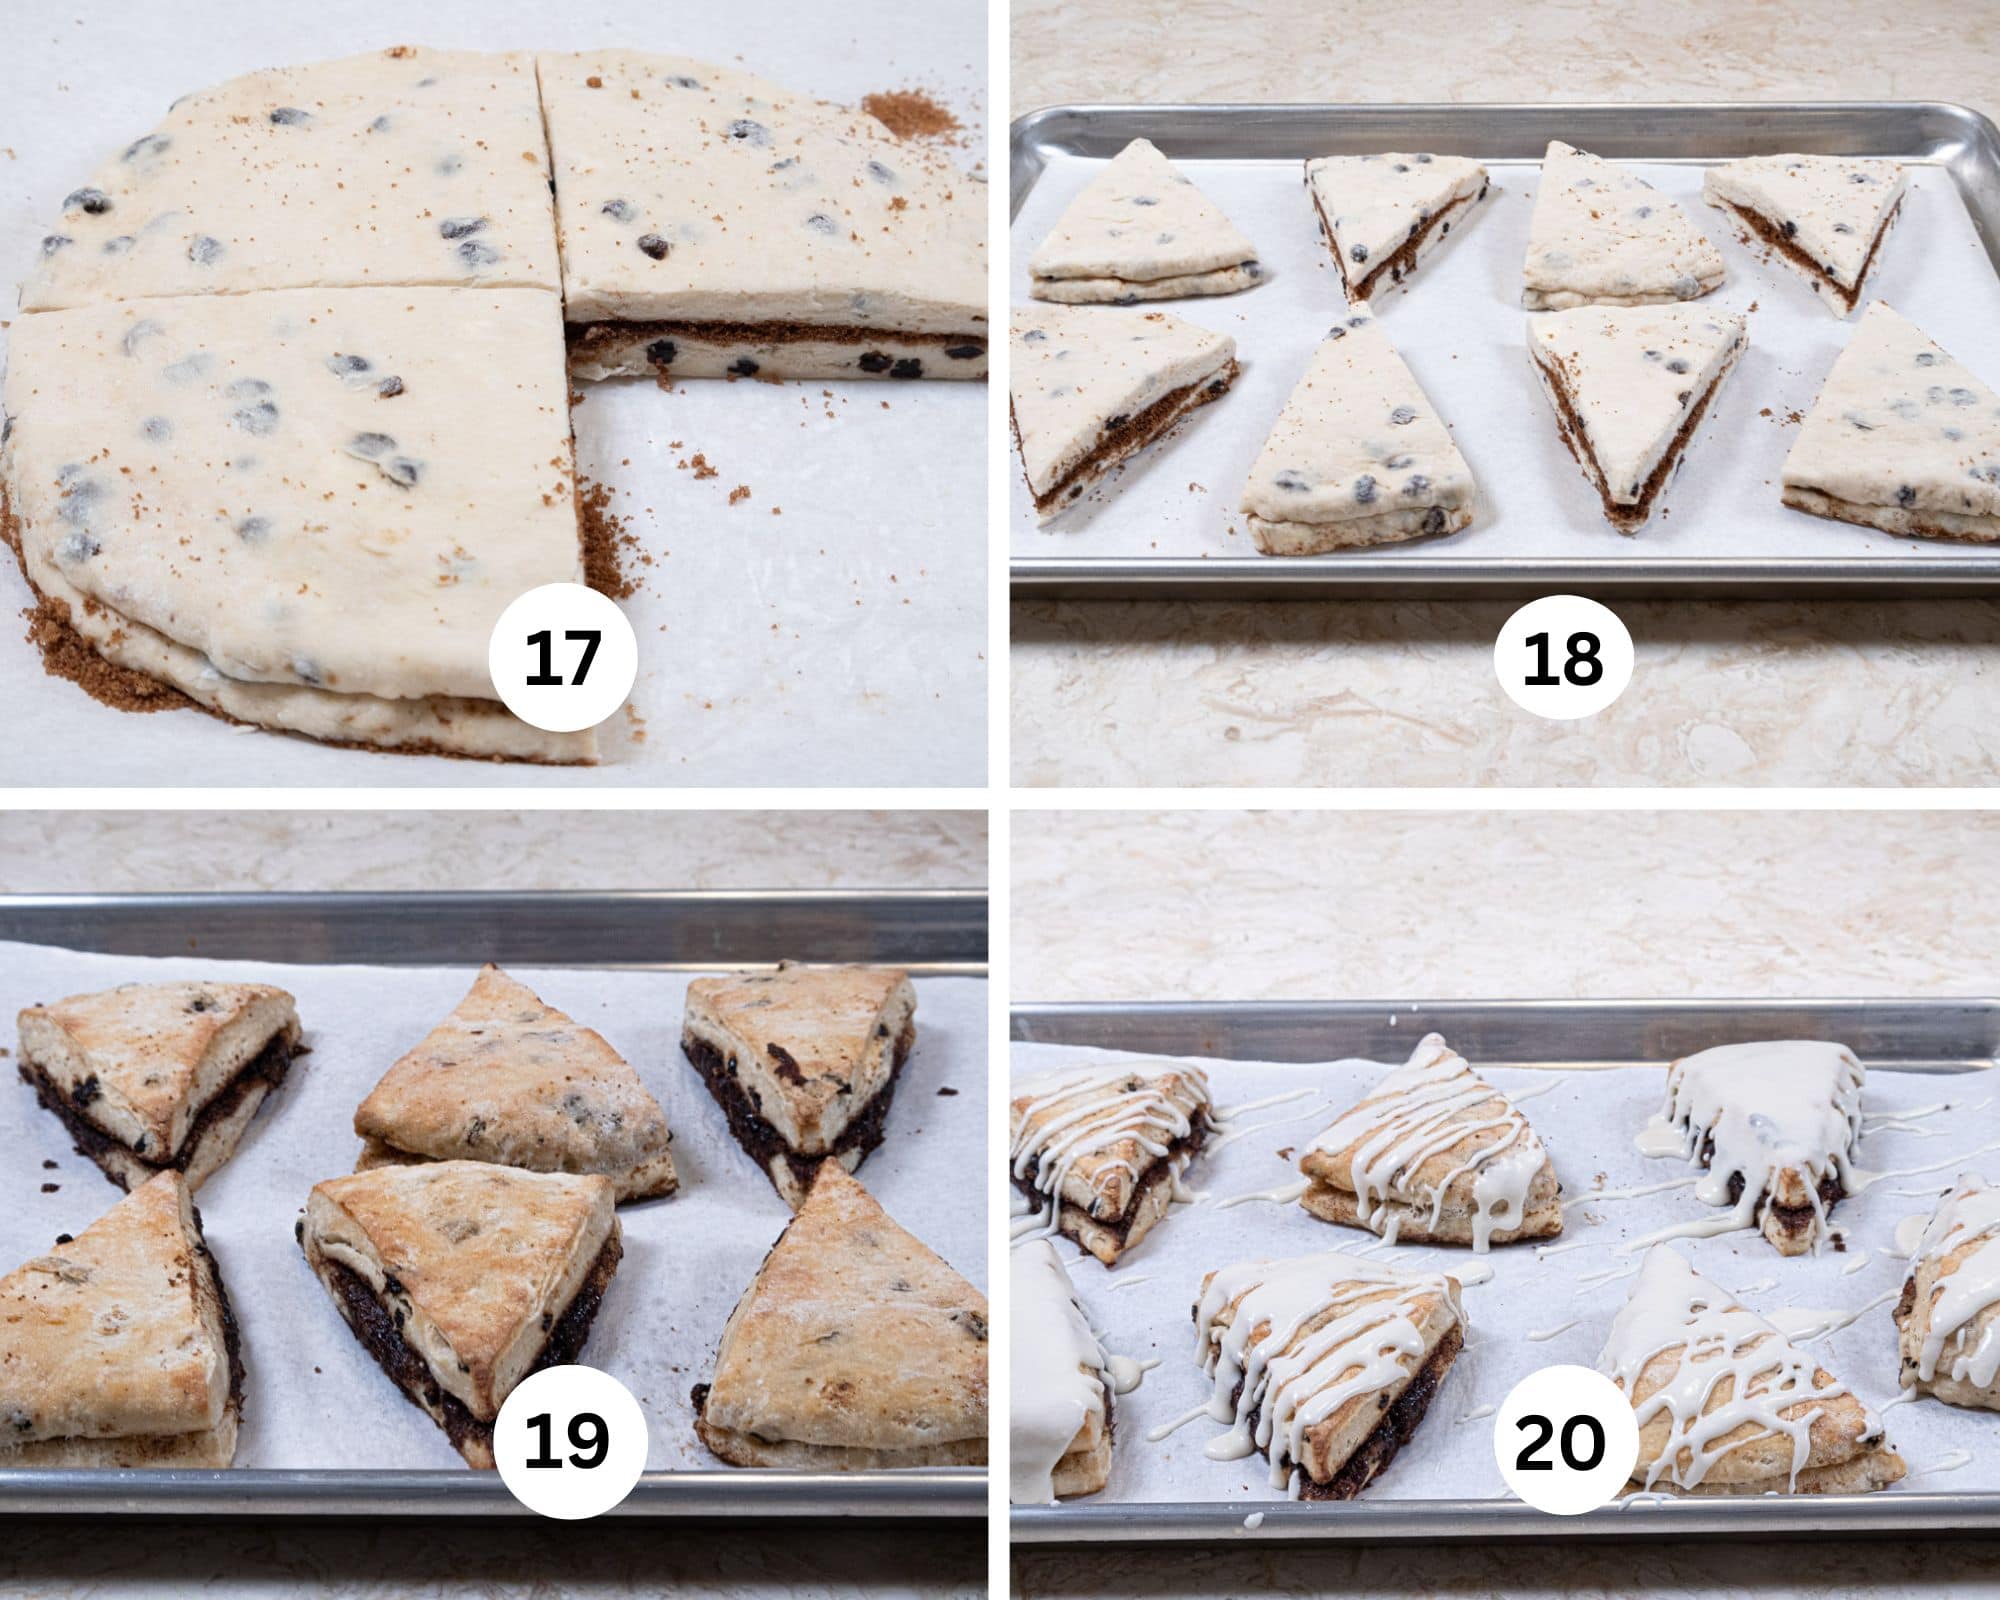
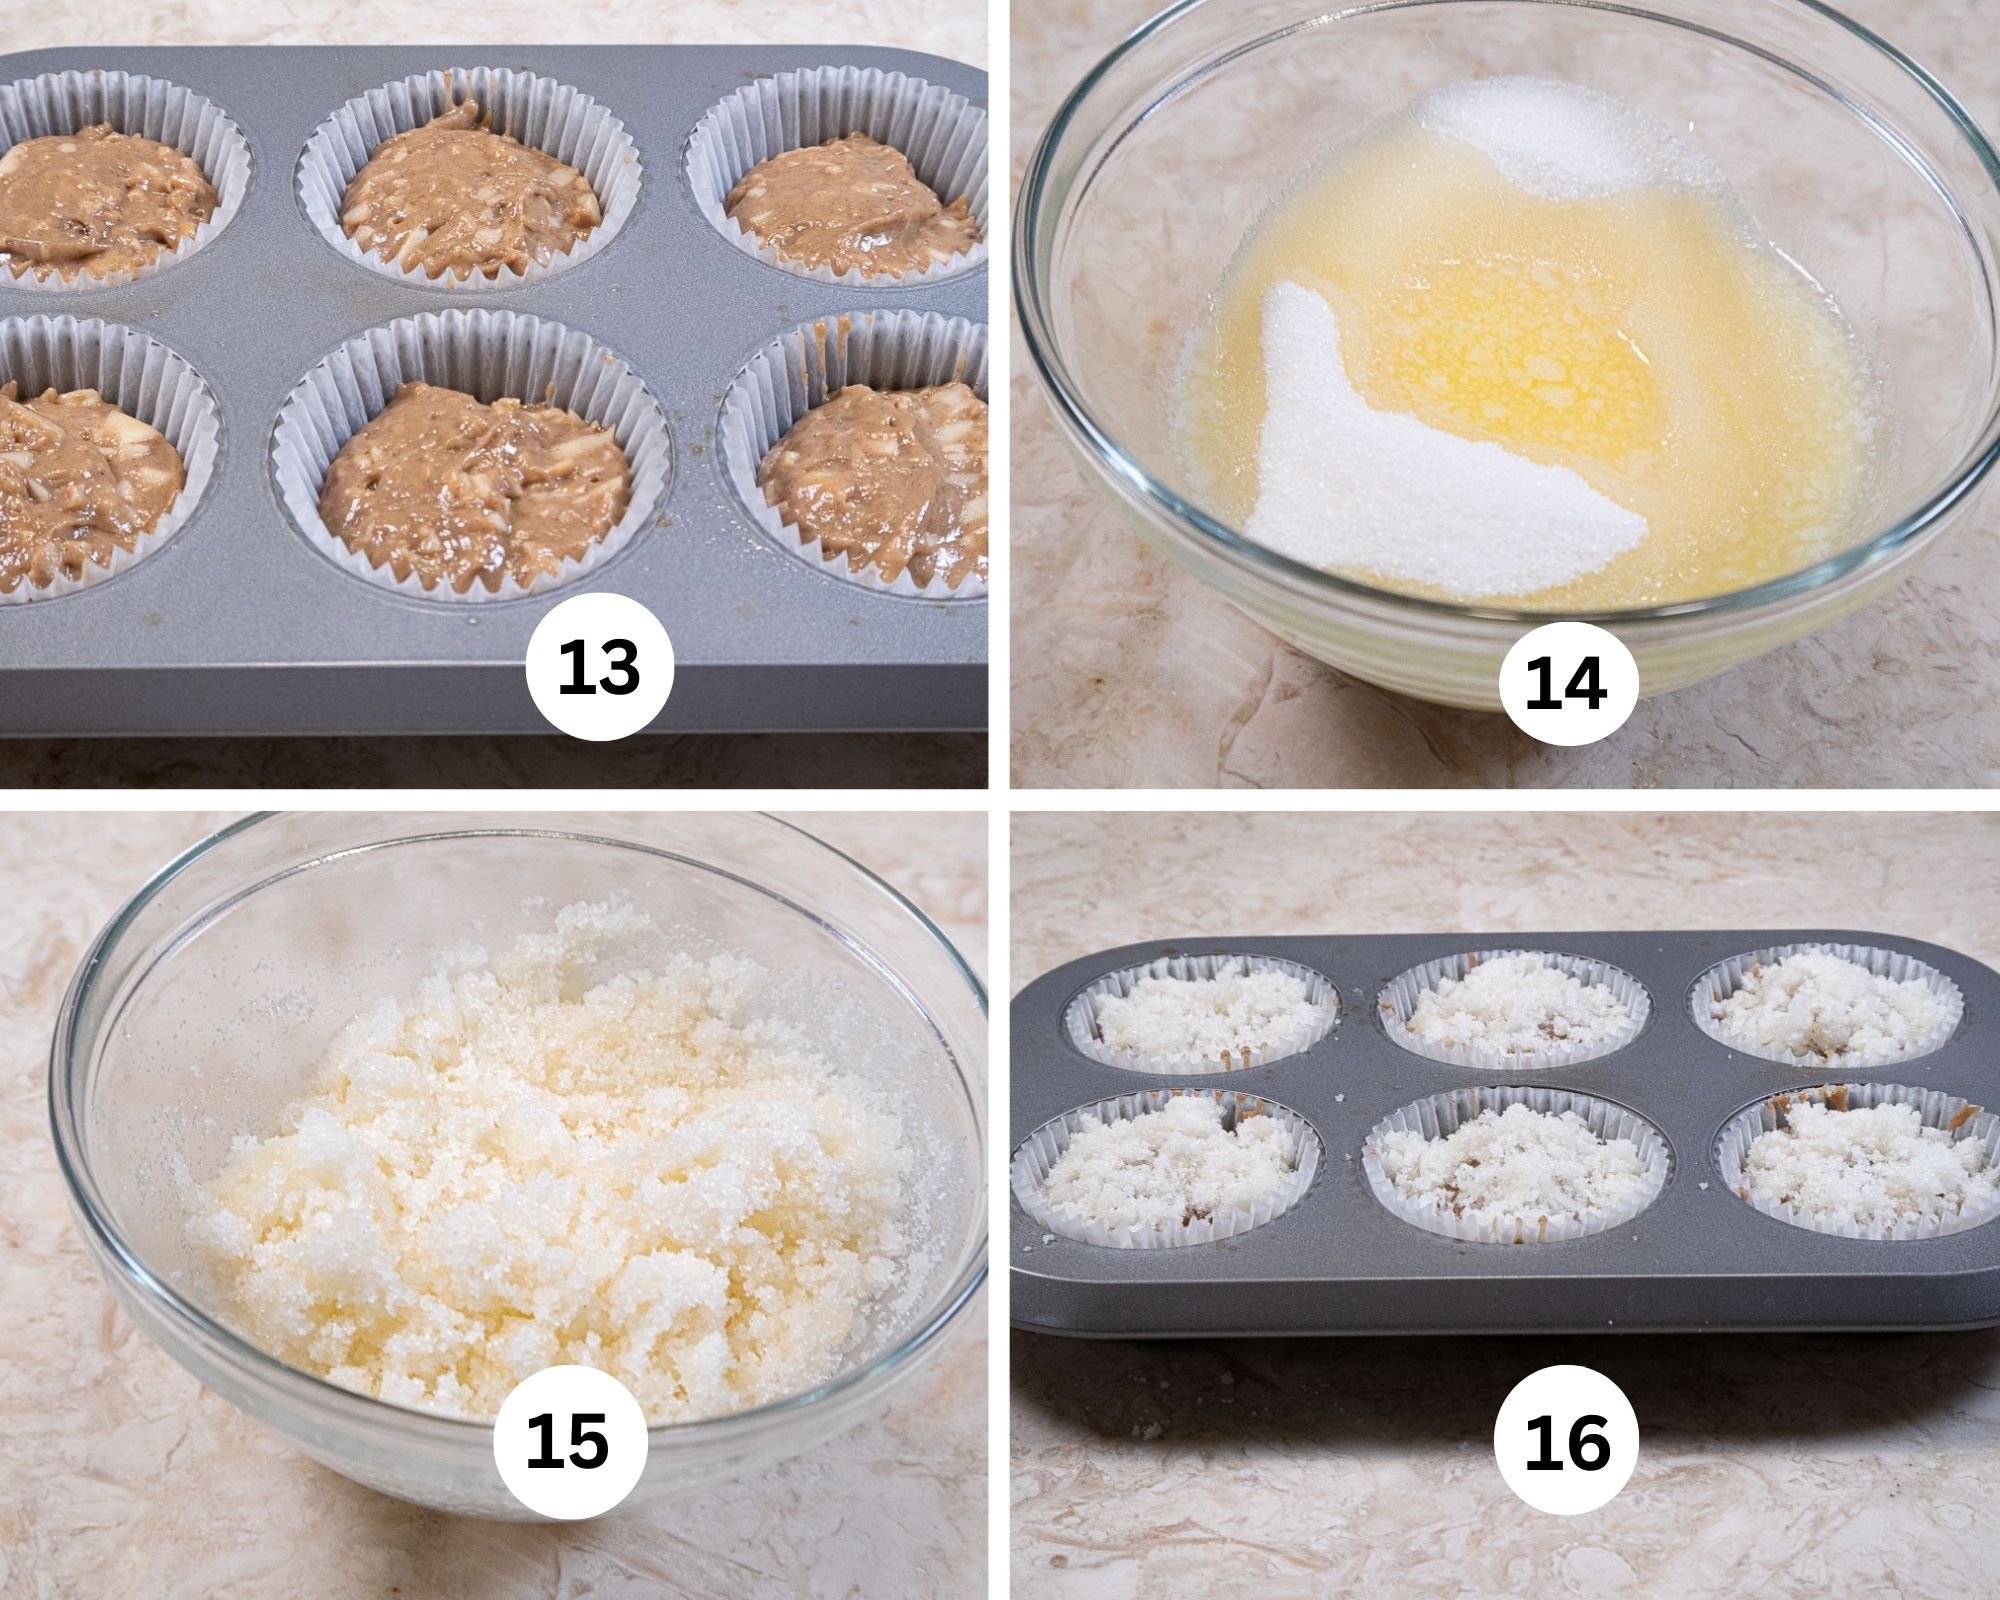
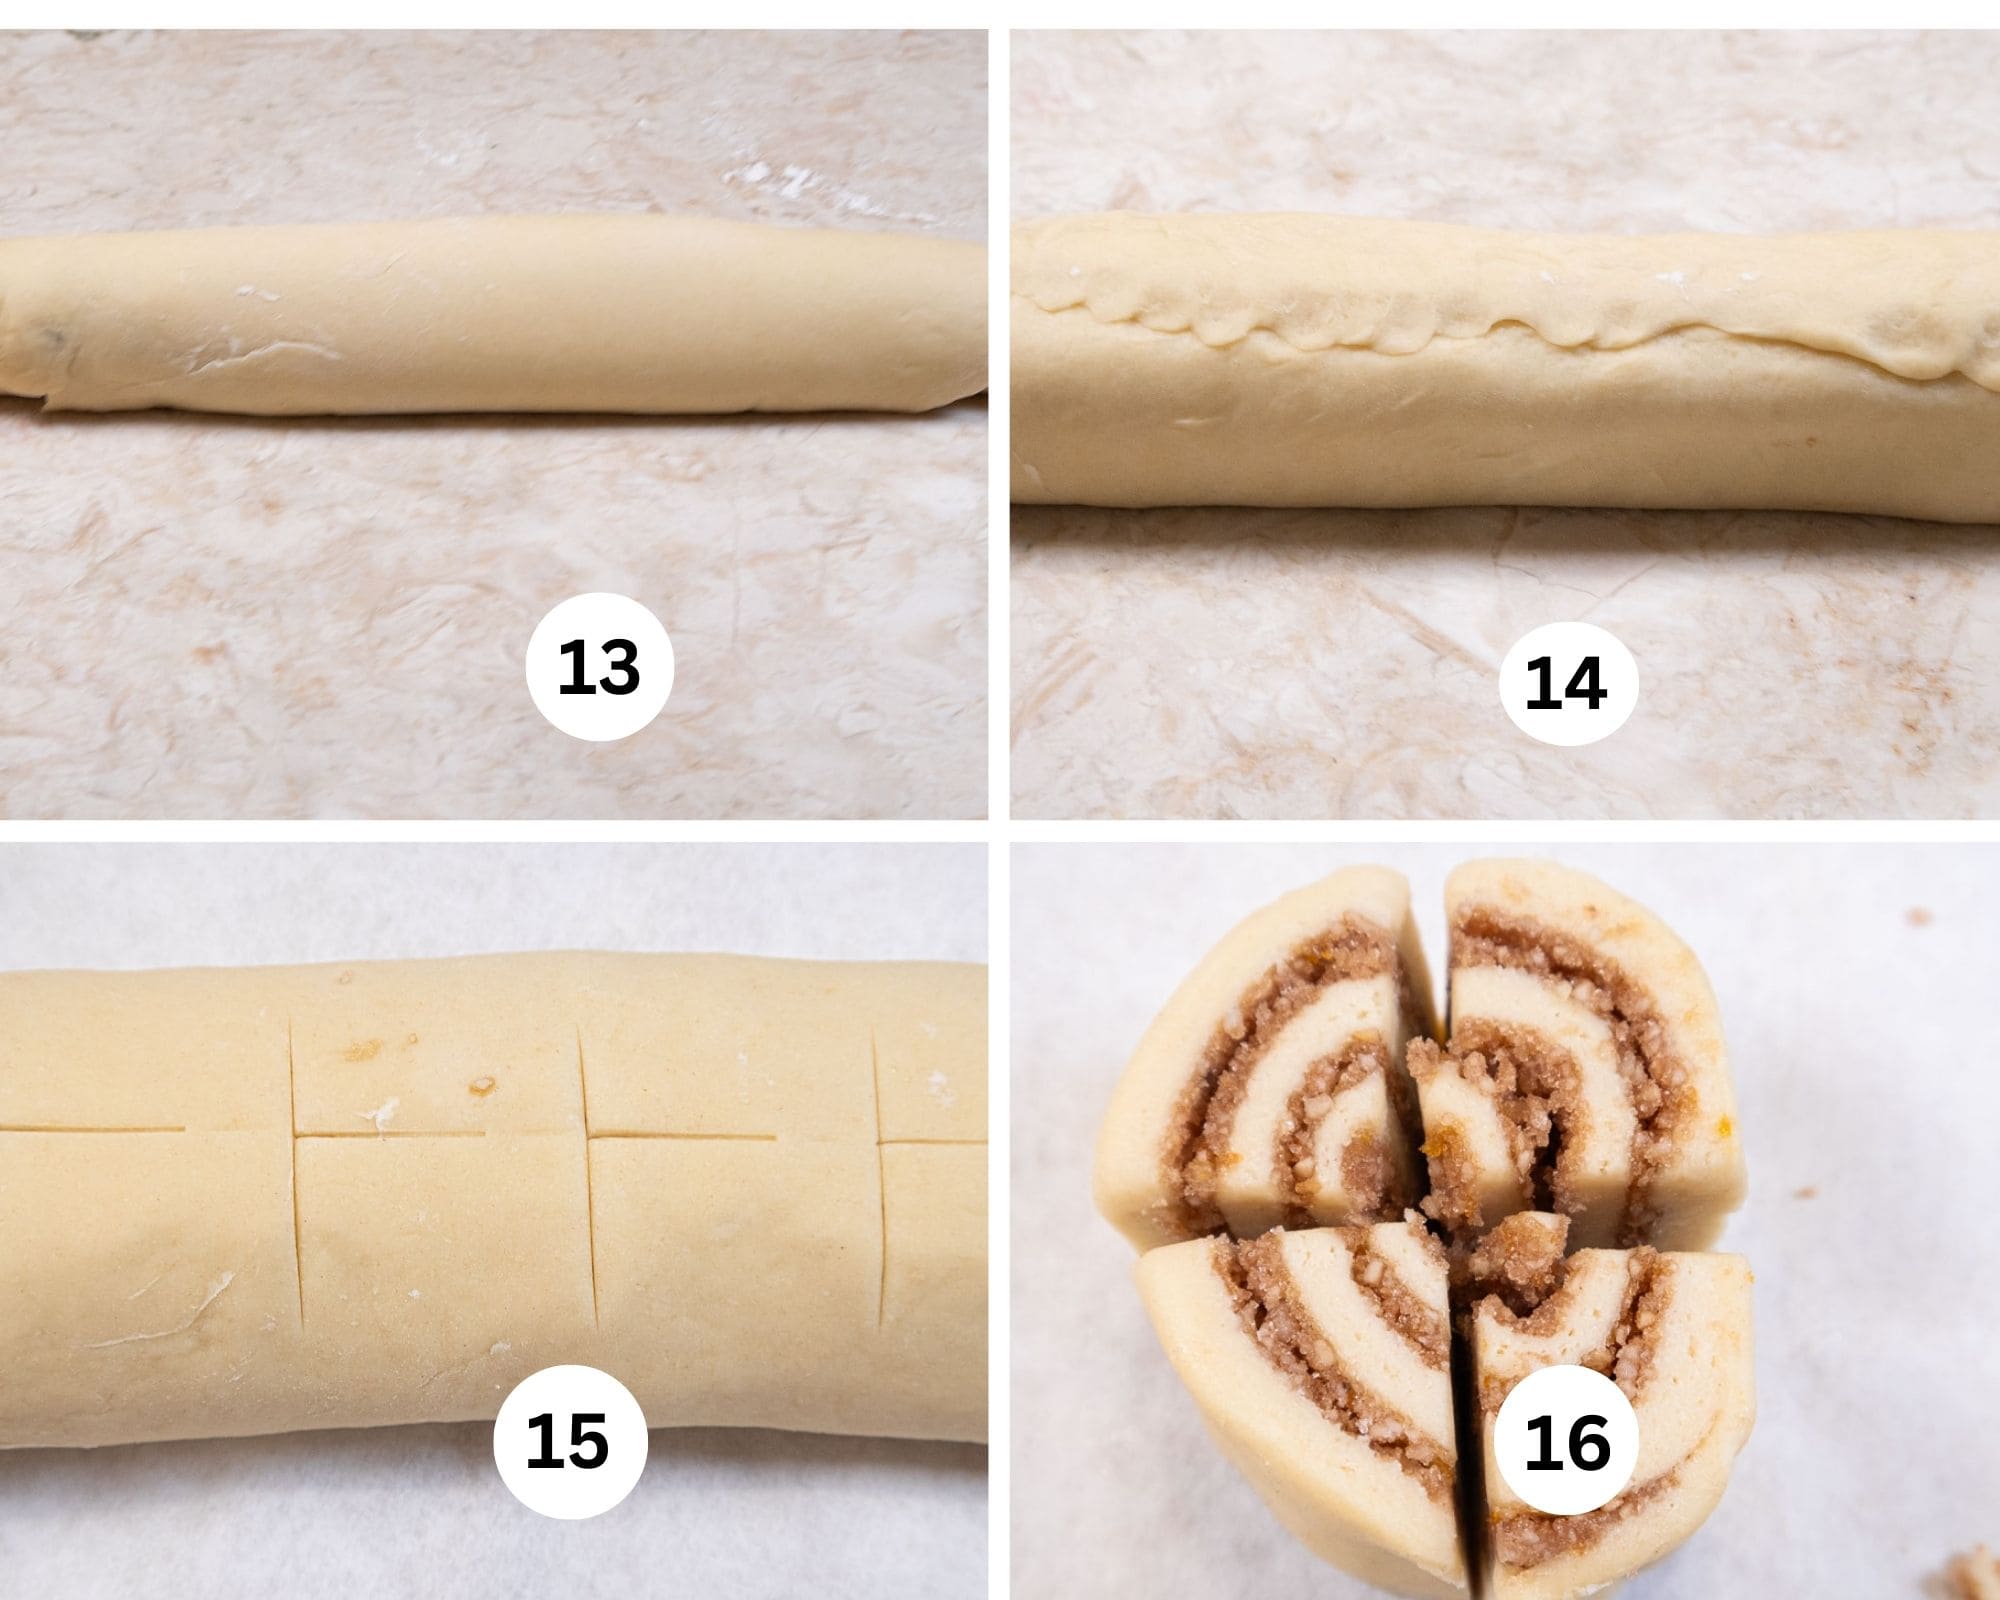
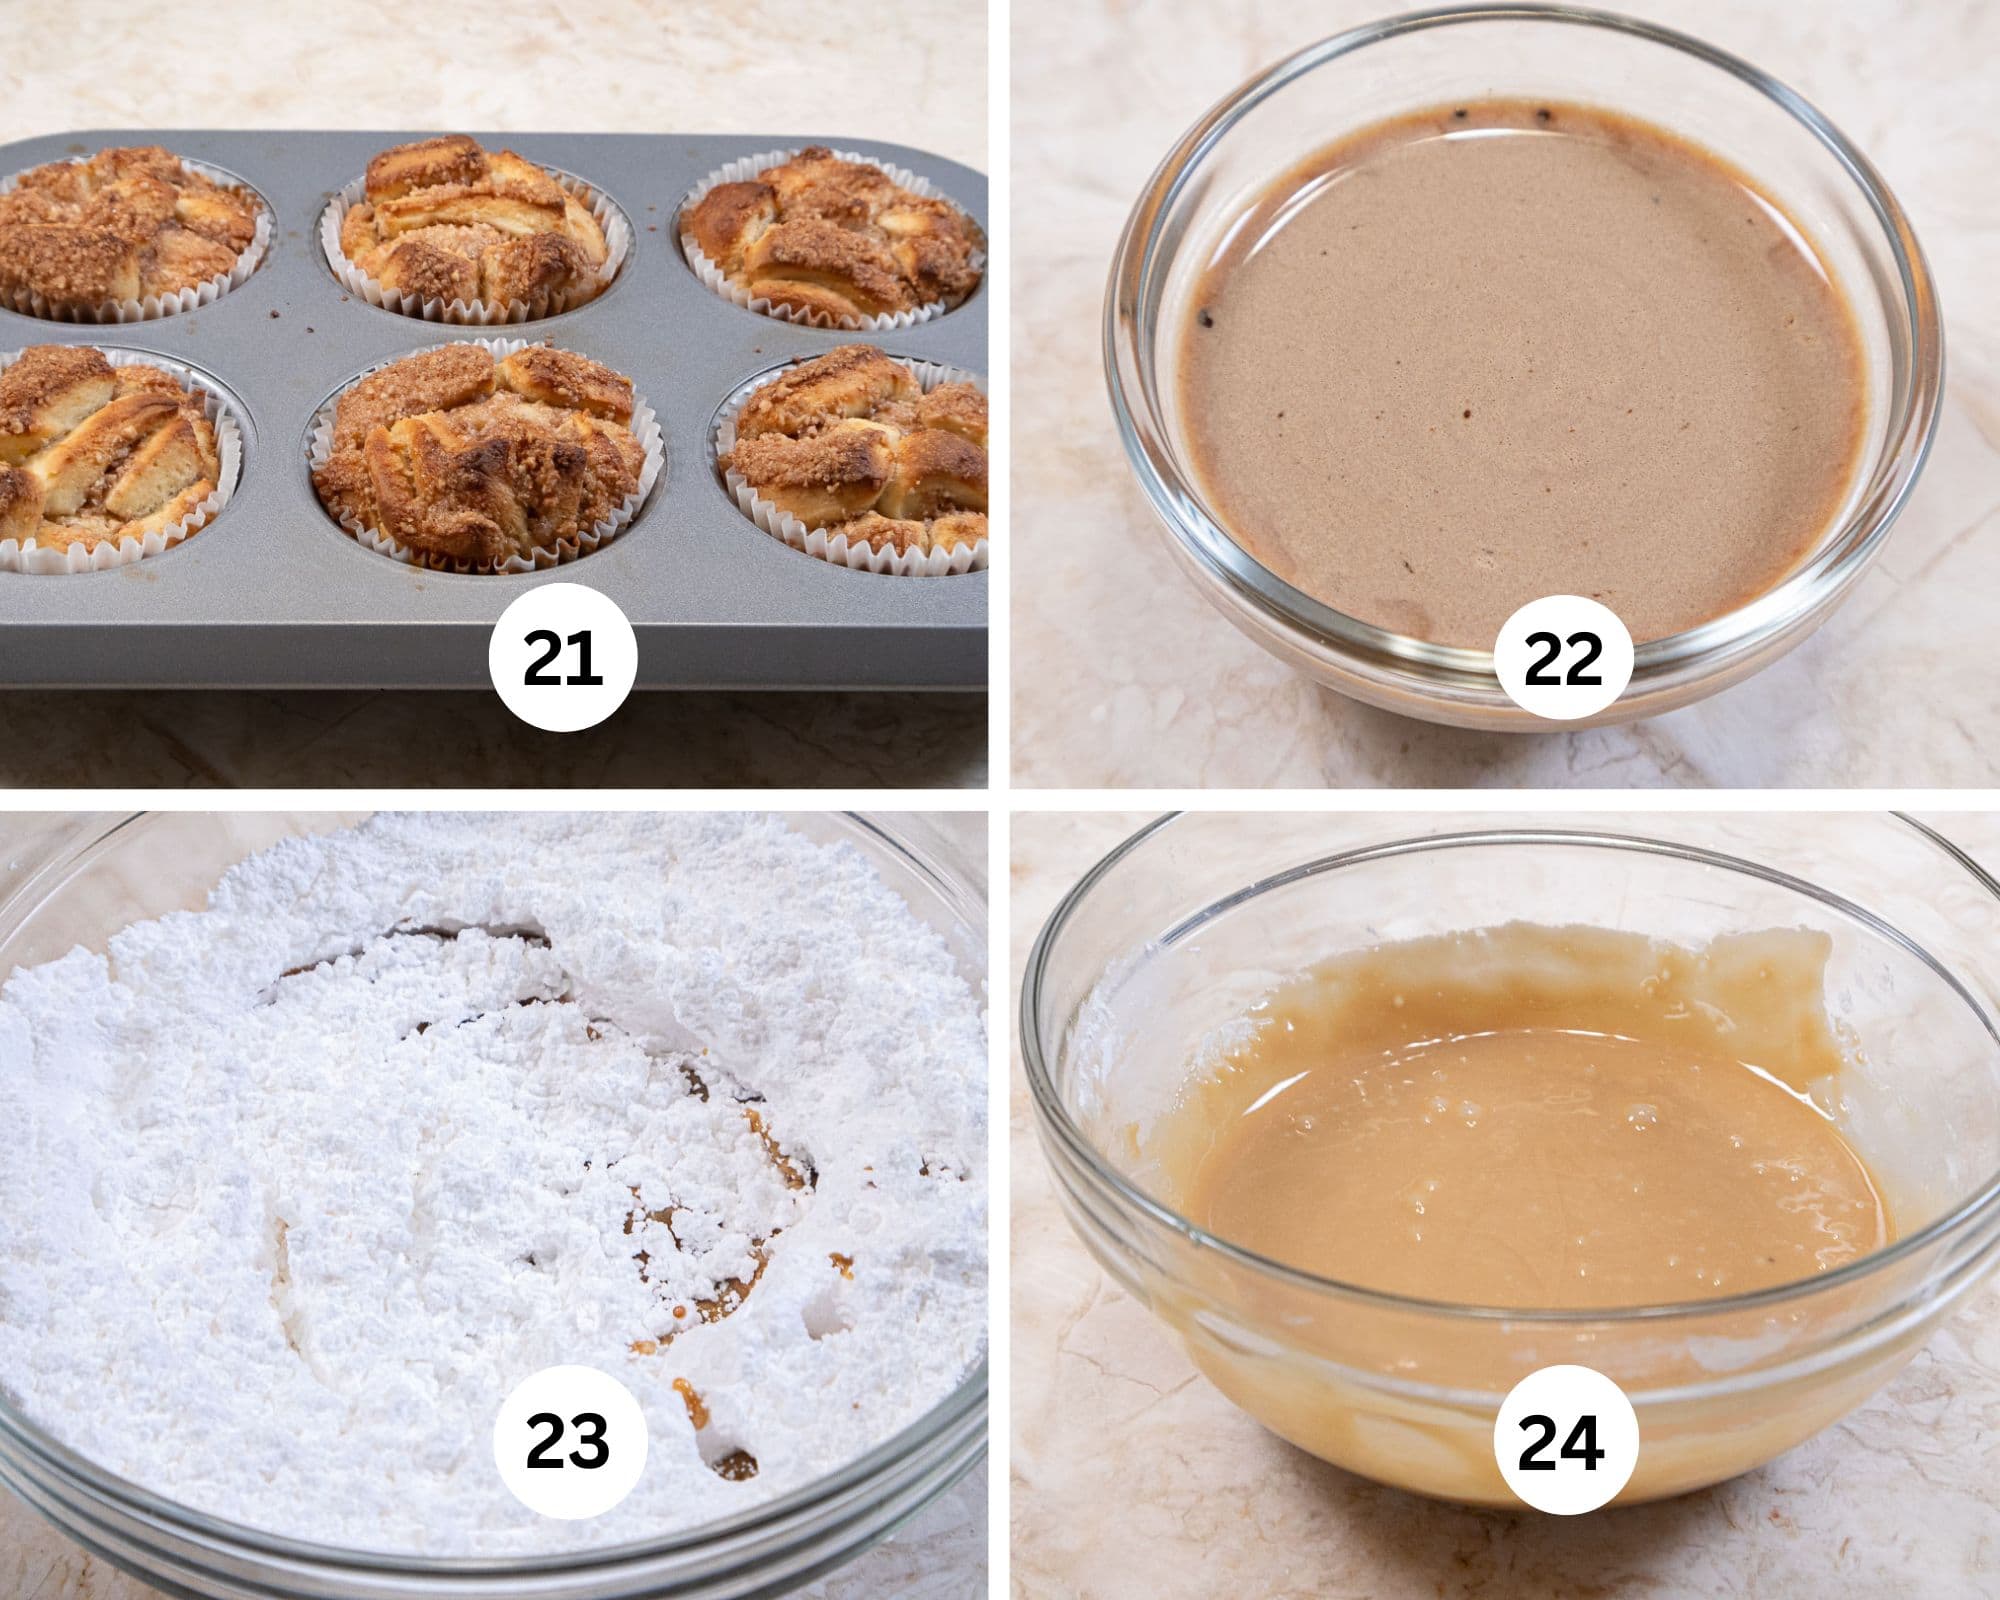
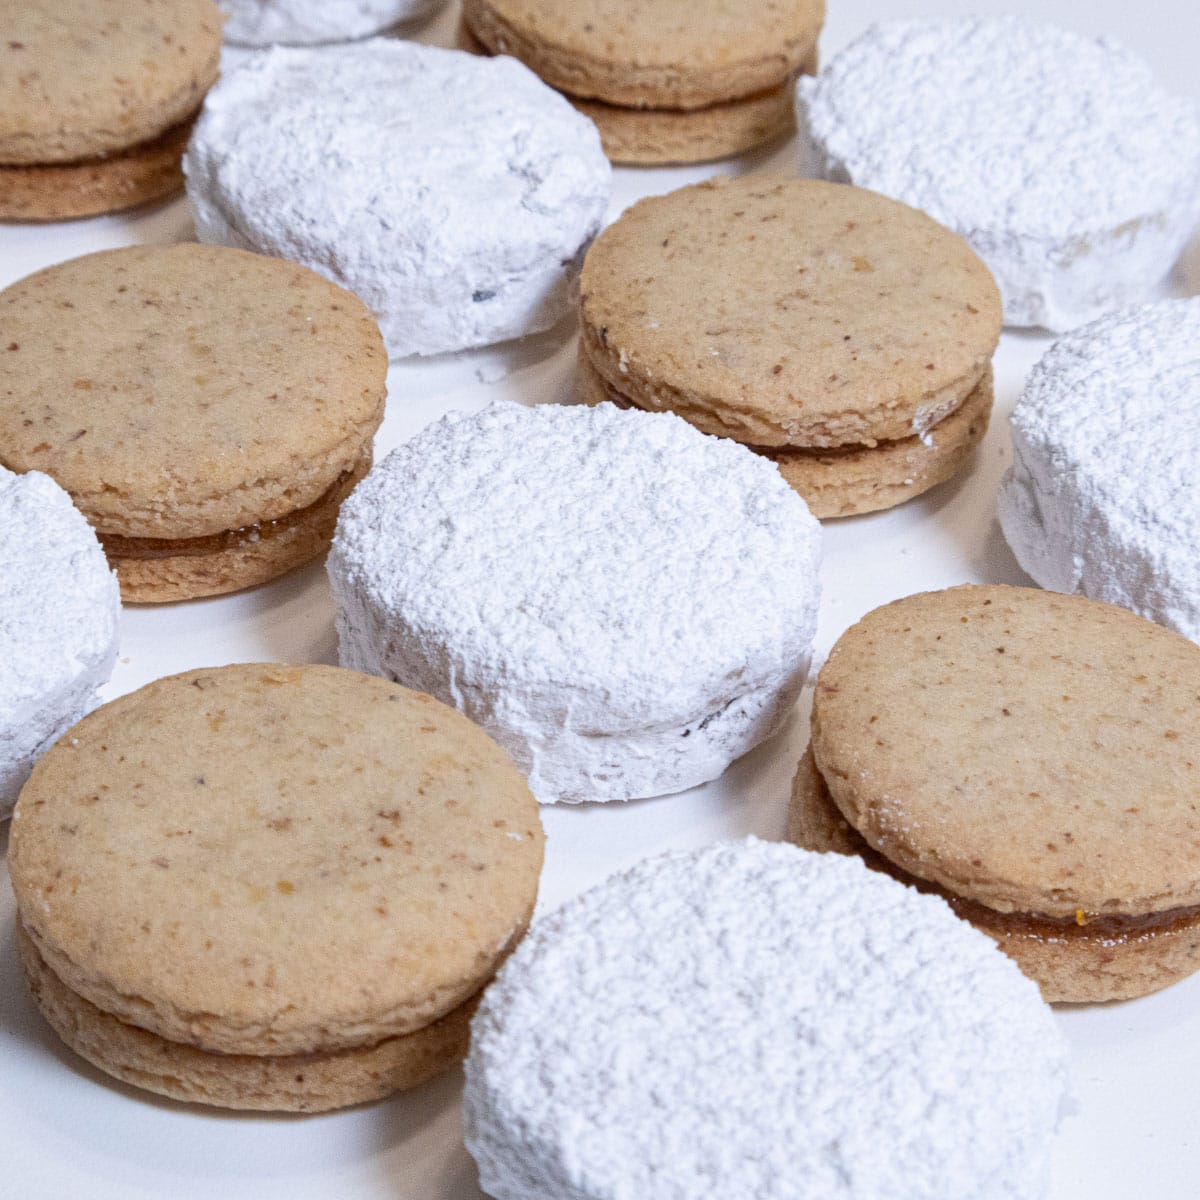
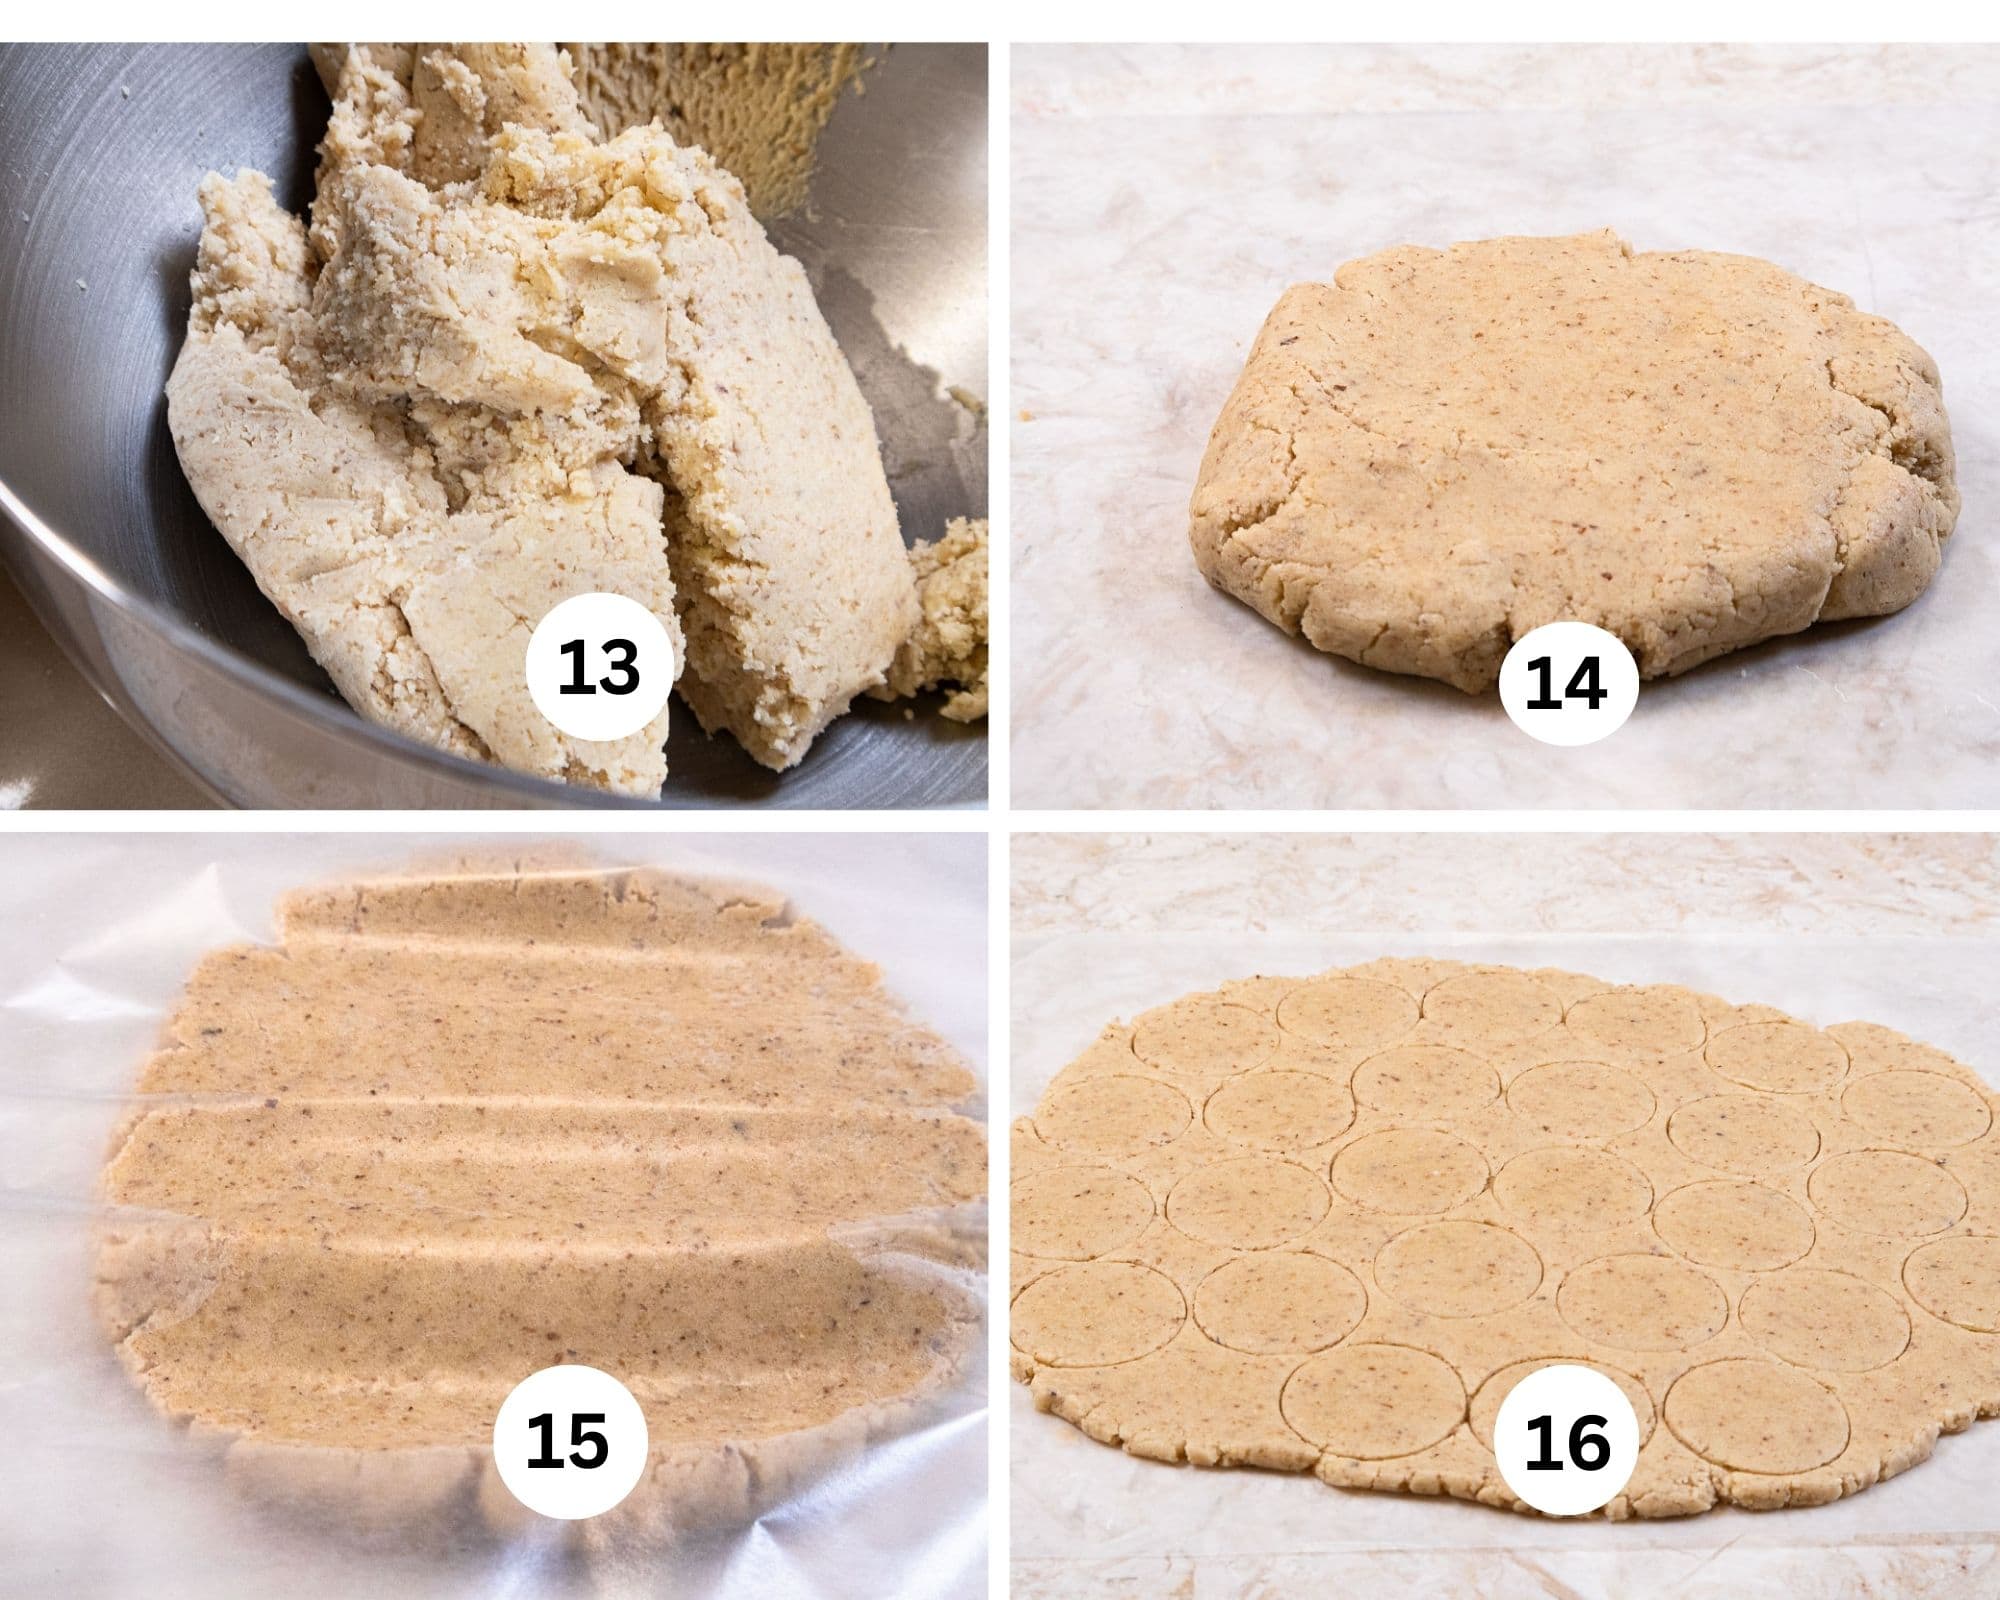
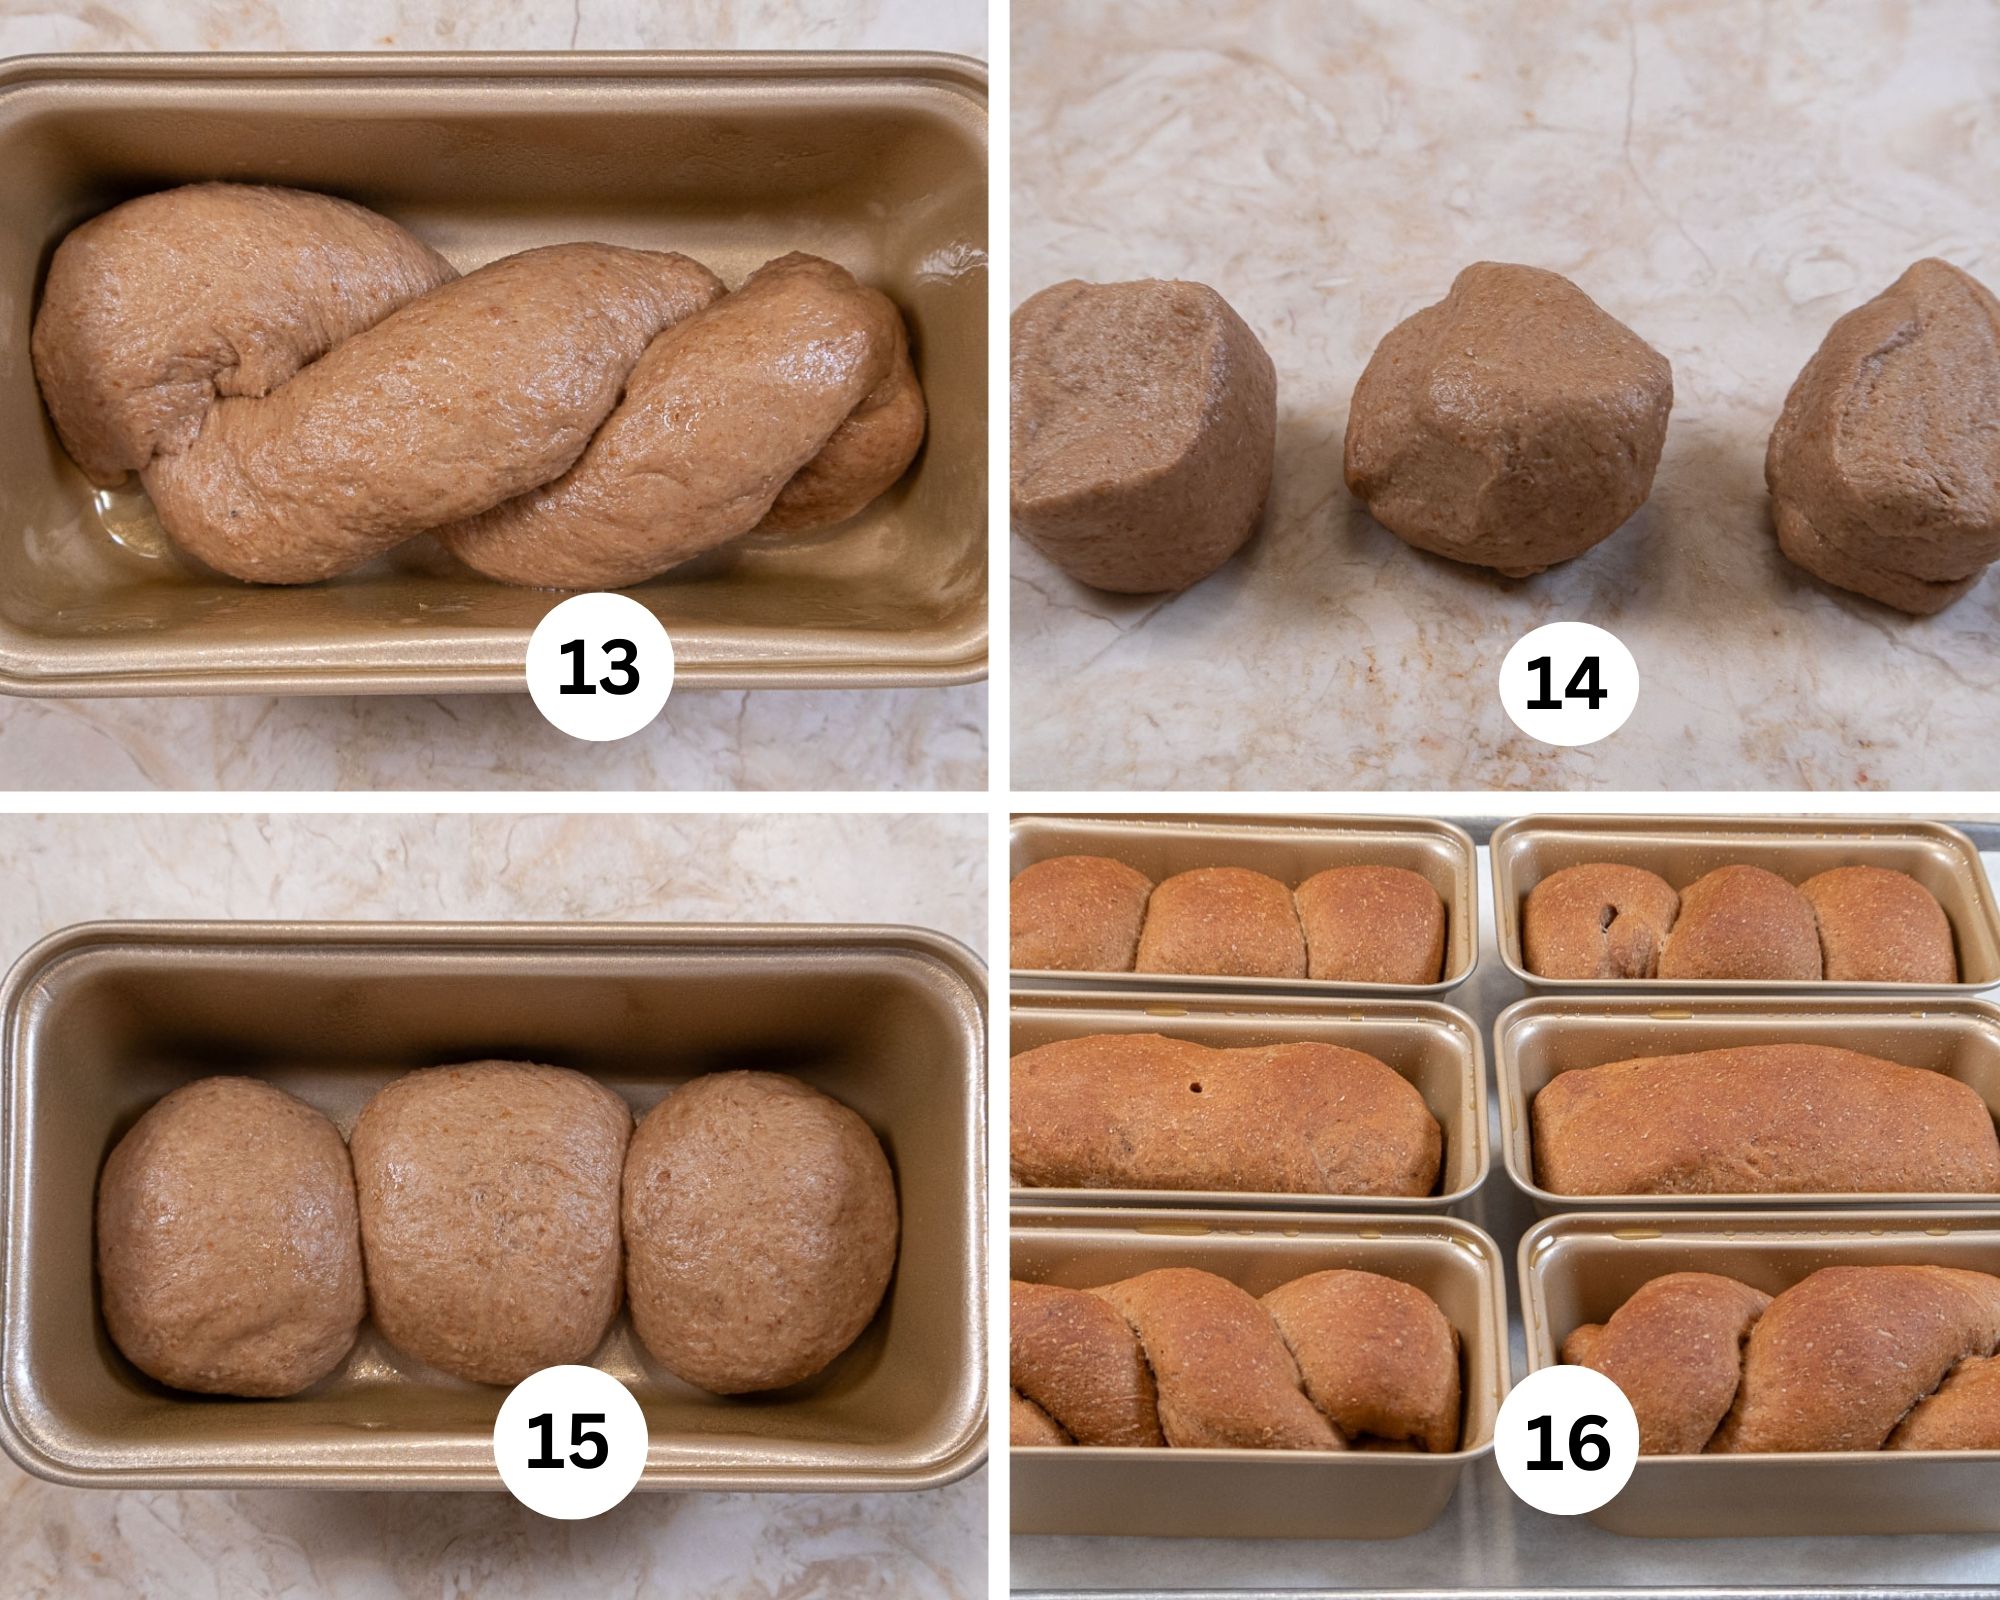
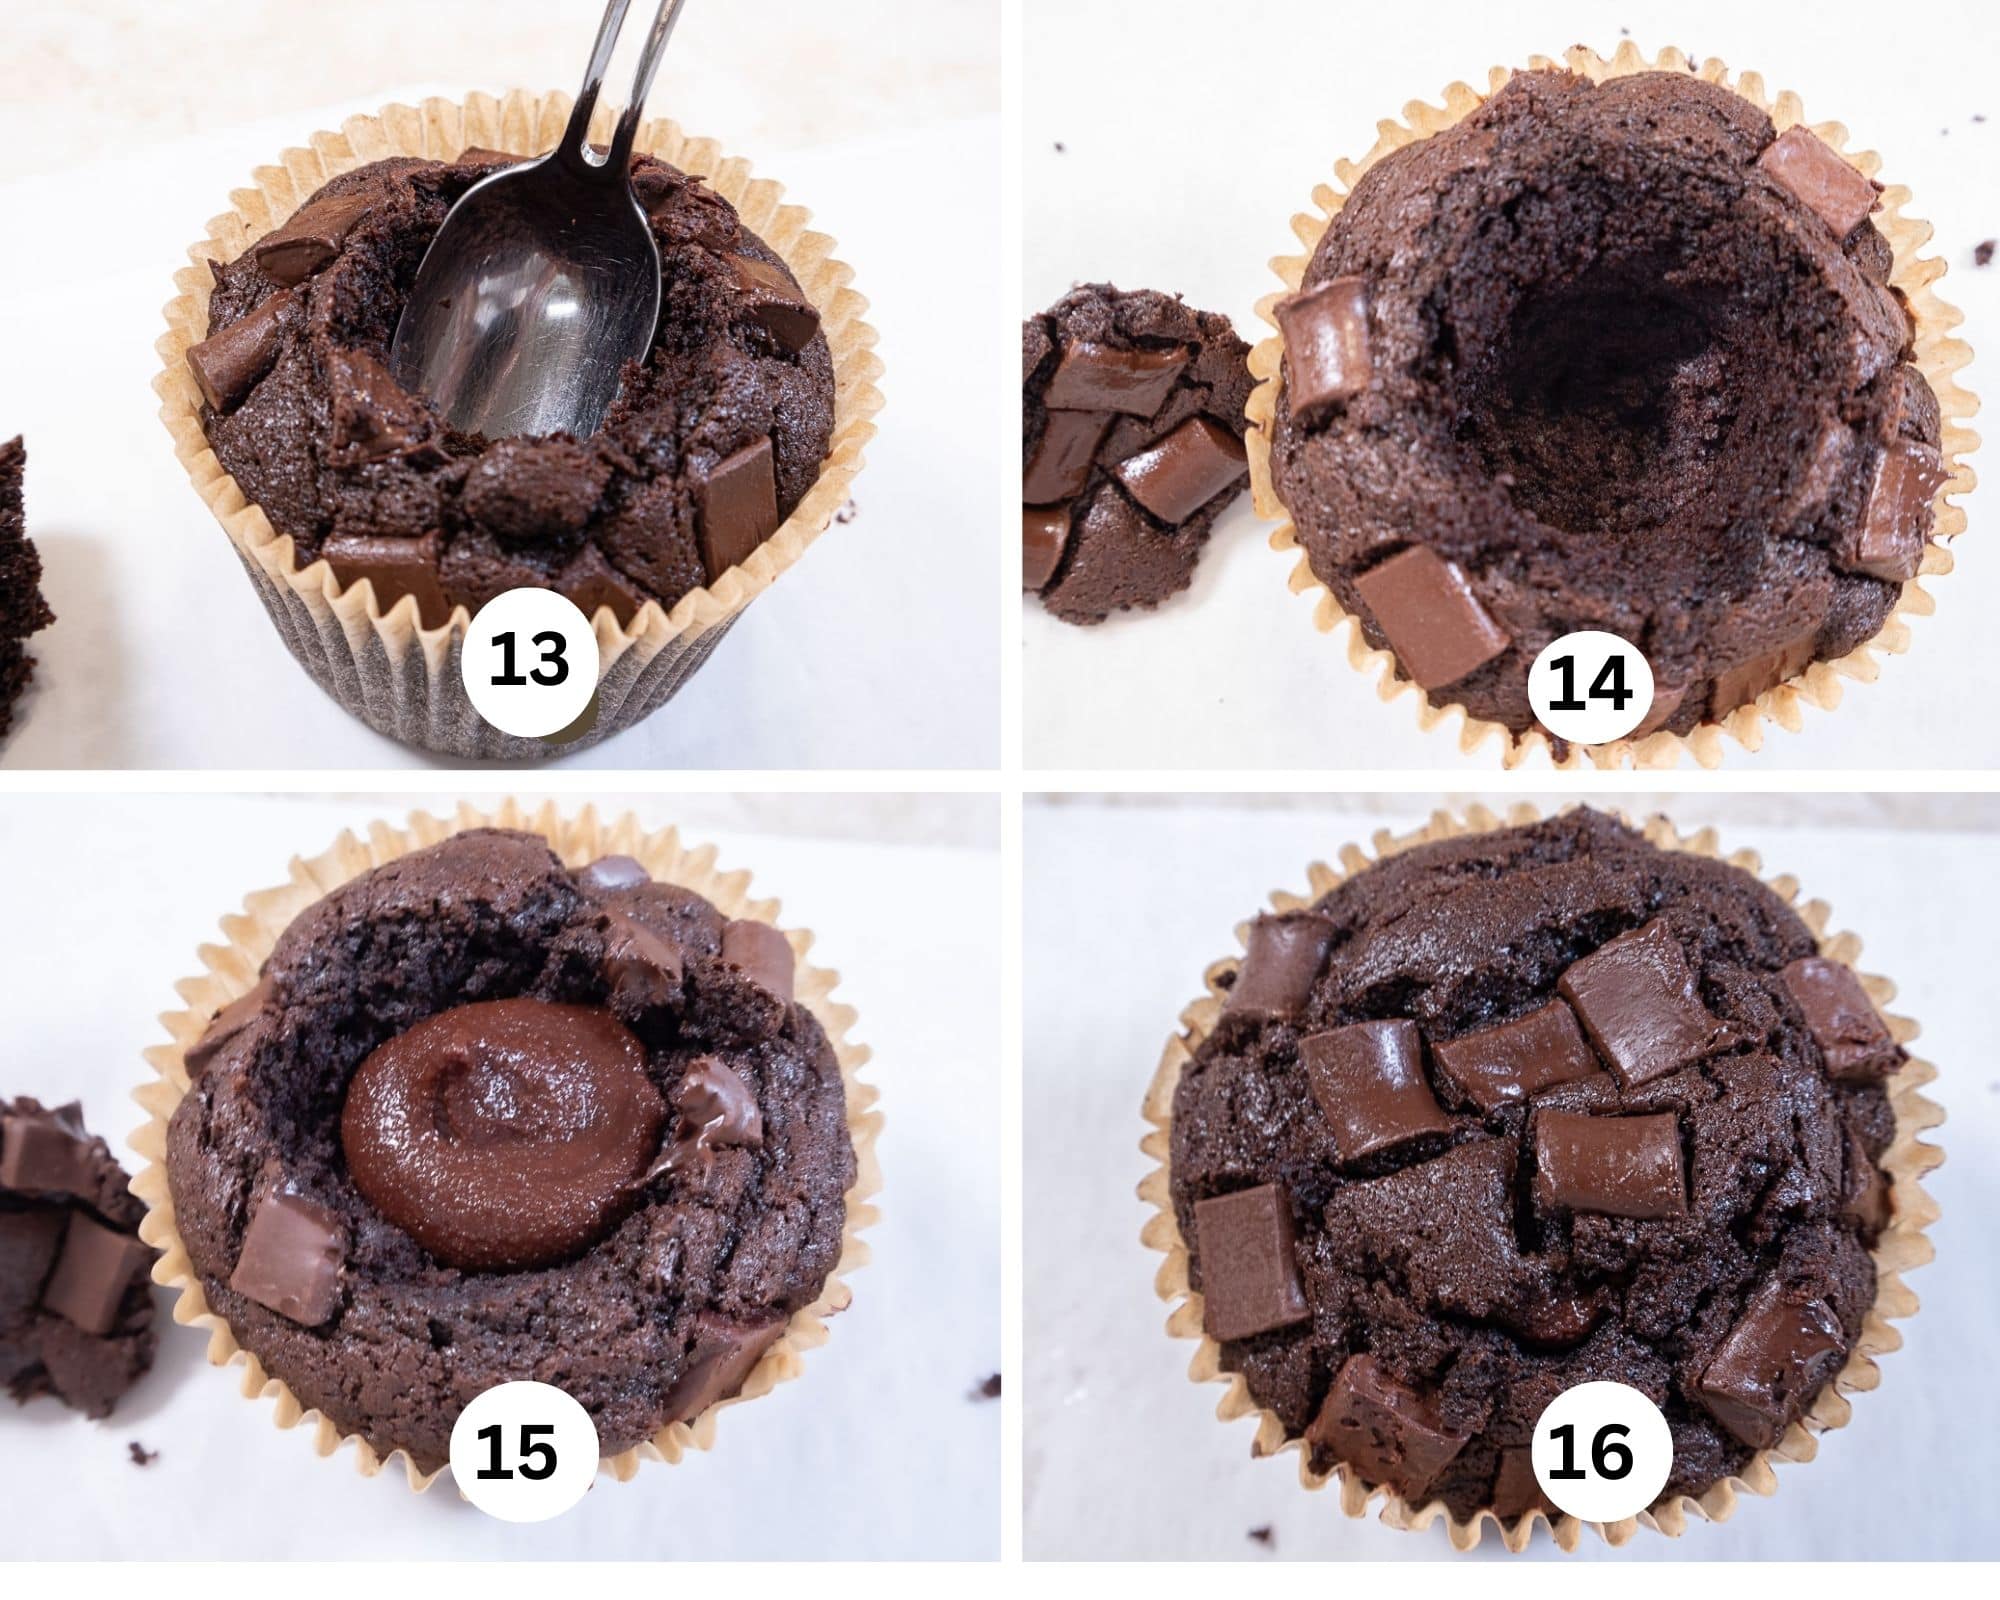
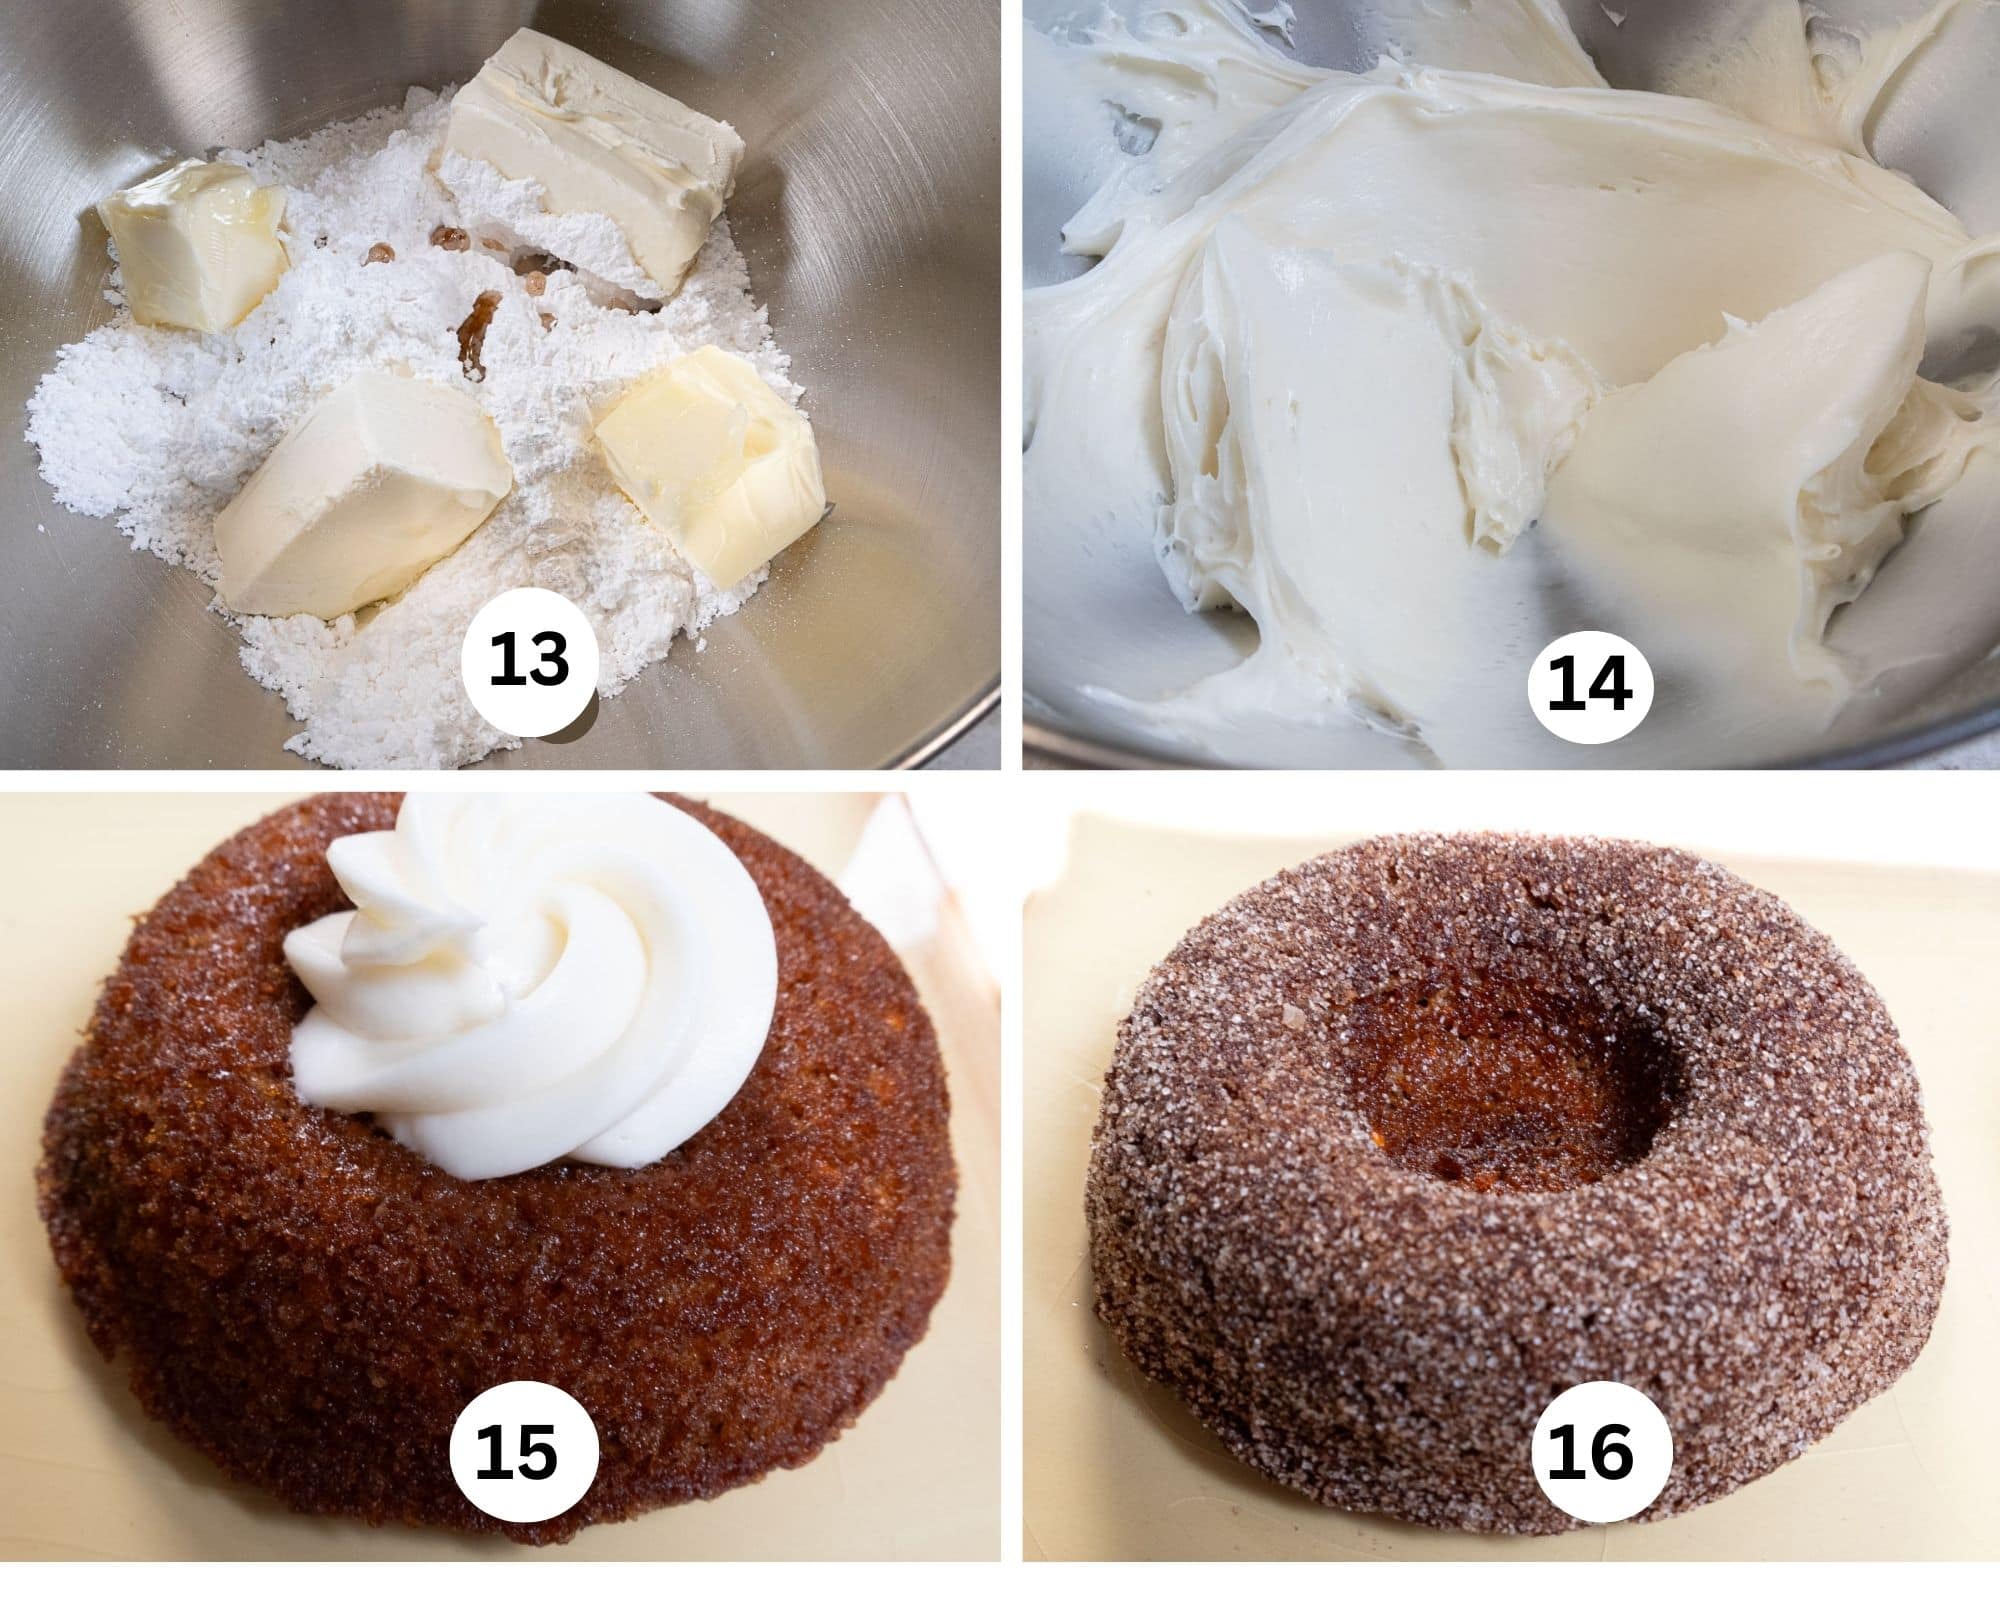
Step 13. Press about 2 tablespoons of crumbs firmly into the bottom of a regular size muffin tin if not using the donut pan. Step 14. Fill the piping bag with the batter and pipe it to cover the crumbs in whichever pan you are using. Step 15. Bake as directed. Cool completely. To easily release them, go around the outer edge with a small, flexible spatula, to lift them out. Place them on a rack over parchment paper. Step 16. Sprinkle heavily with powdered sugar.
Recipe FAQS
The regular donut is made with yeast and fried and the cake donut uses baking powder or baking soda and is baked. Cake donuts are often smaller also.
They are quite fast since they don't have to rise a couple of times as do yeasted donuts. They can normally be made and baked in about 30 to 40 minutes.
The cake donut is better since it is baked. The yeasted donuts are generally fried which adds many more calories.
Expert Tips
- When adding the flour to the crumb mixture do not over-mix or it will form a paste. Stop as soon as the crumbs form.
- Whole or 2% milk can be used in the batter.
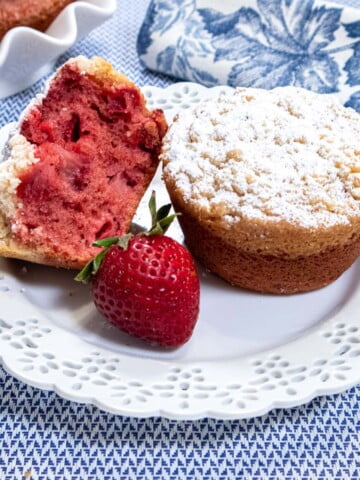
- Change out the nutmeg for cinnamon, cardamom, or a combination. This is quite variable. Add mini chocolate chips or even finely ground nuts.
- Press the crumbs firmly into the molds so they stick to the batter.
- If you don't have a donut pan use a regular muffin pan. They taste just as good without a hole.
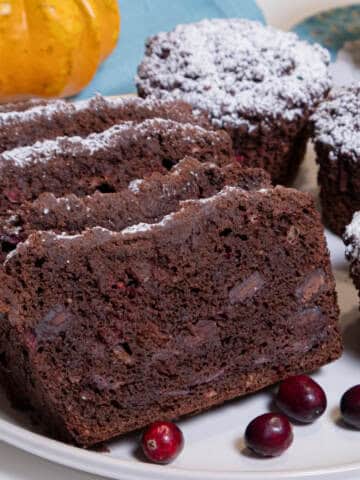
Other Tasty Treats to Try
Love this Crumb Baked Cake Donuts Recipe? It would be hugely helpful and so appreciated it if you would take a moment to leave a star rating. Thank you.
Crumbed Baked Cake Donuts Recipe
Equipment
- Donut pans or regular size muffin tins
Ingredients
Crumb Topping Ingredients
- 4 tablespoons unsalted butter, softened (60 grams or ½ stick)
- 2 tablespoons granulated sugar (28 grams)
- 2 tablespoons dark brown sugar (28 grams)
- ⅛ teaspoon salt
- ¾ cup cake flour (90 grams)
Donut Batter Ingredients
- 1 cup all-purpose flour (140 grams)
- 1 ½ teaspoon baking powder
- ¼ teaspoon baking soda
- ¼ - ½ teaspoon nutmeg
- ¼ teaspoon salt
- 4 tablespoons unsalted butter, softened (60 grams or ½ stick)
- ¼ cup granulated sugar (50 grams)
- ¼ cup dark brown sugar (50 grams)
- 1 large egg
- 1 teaspoon vanilla
- ½ cup milk, whole or 2%
- Powdered sugar as needed
Instructions
Crumb Topping
- Combine the butter,, granulated and dark brown sugars in the bowl of a mixer. Cream until very light.
- Combine the salt and cake flour; add it all at once and mix on medium just until crumbs form. Scrape the sides down and the bottom. Mix briefly.
- Do not over mix or it will form a paste. Store the crumbs in the fridge while you make the donutbatter.
Donut Batter
- Preheat the oven to 350°F. Spray 9 donut wells in the pans with a non-stick baking release or use regular size muffin tins. Set aside,
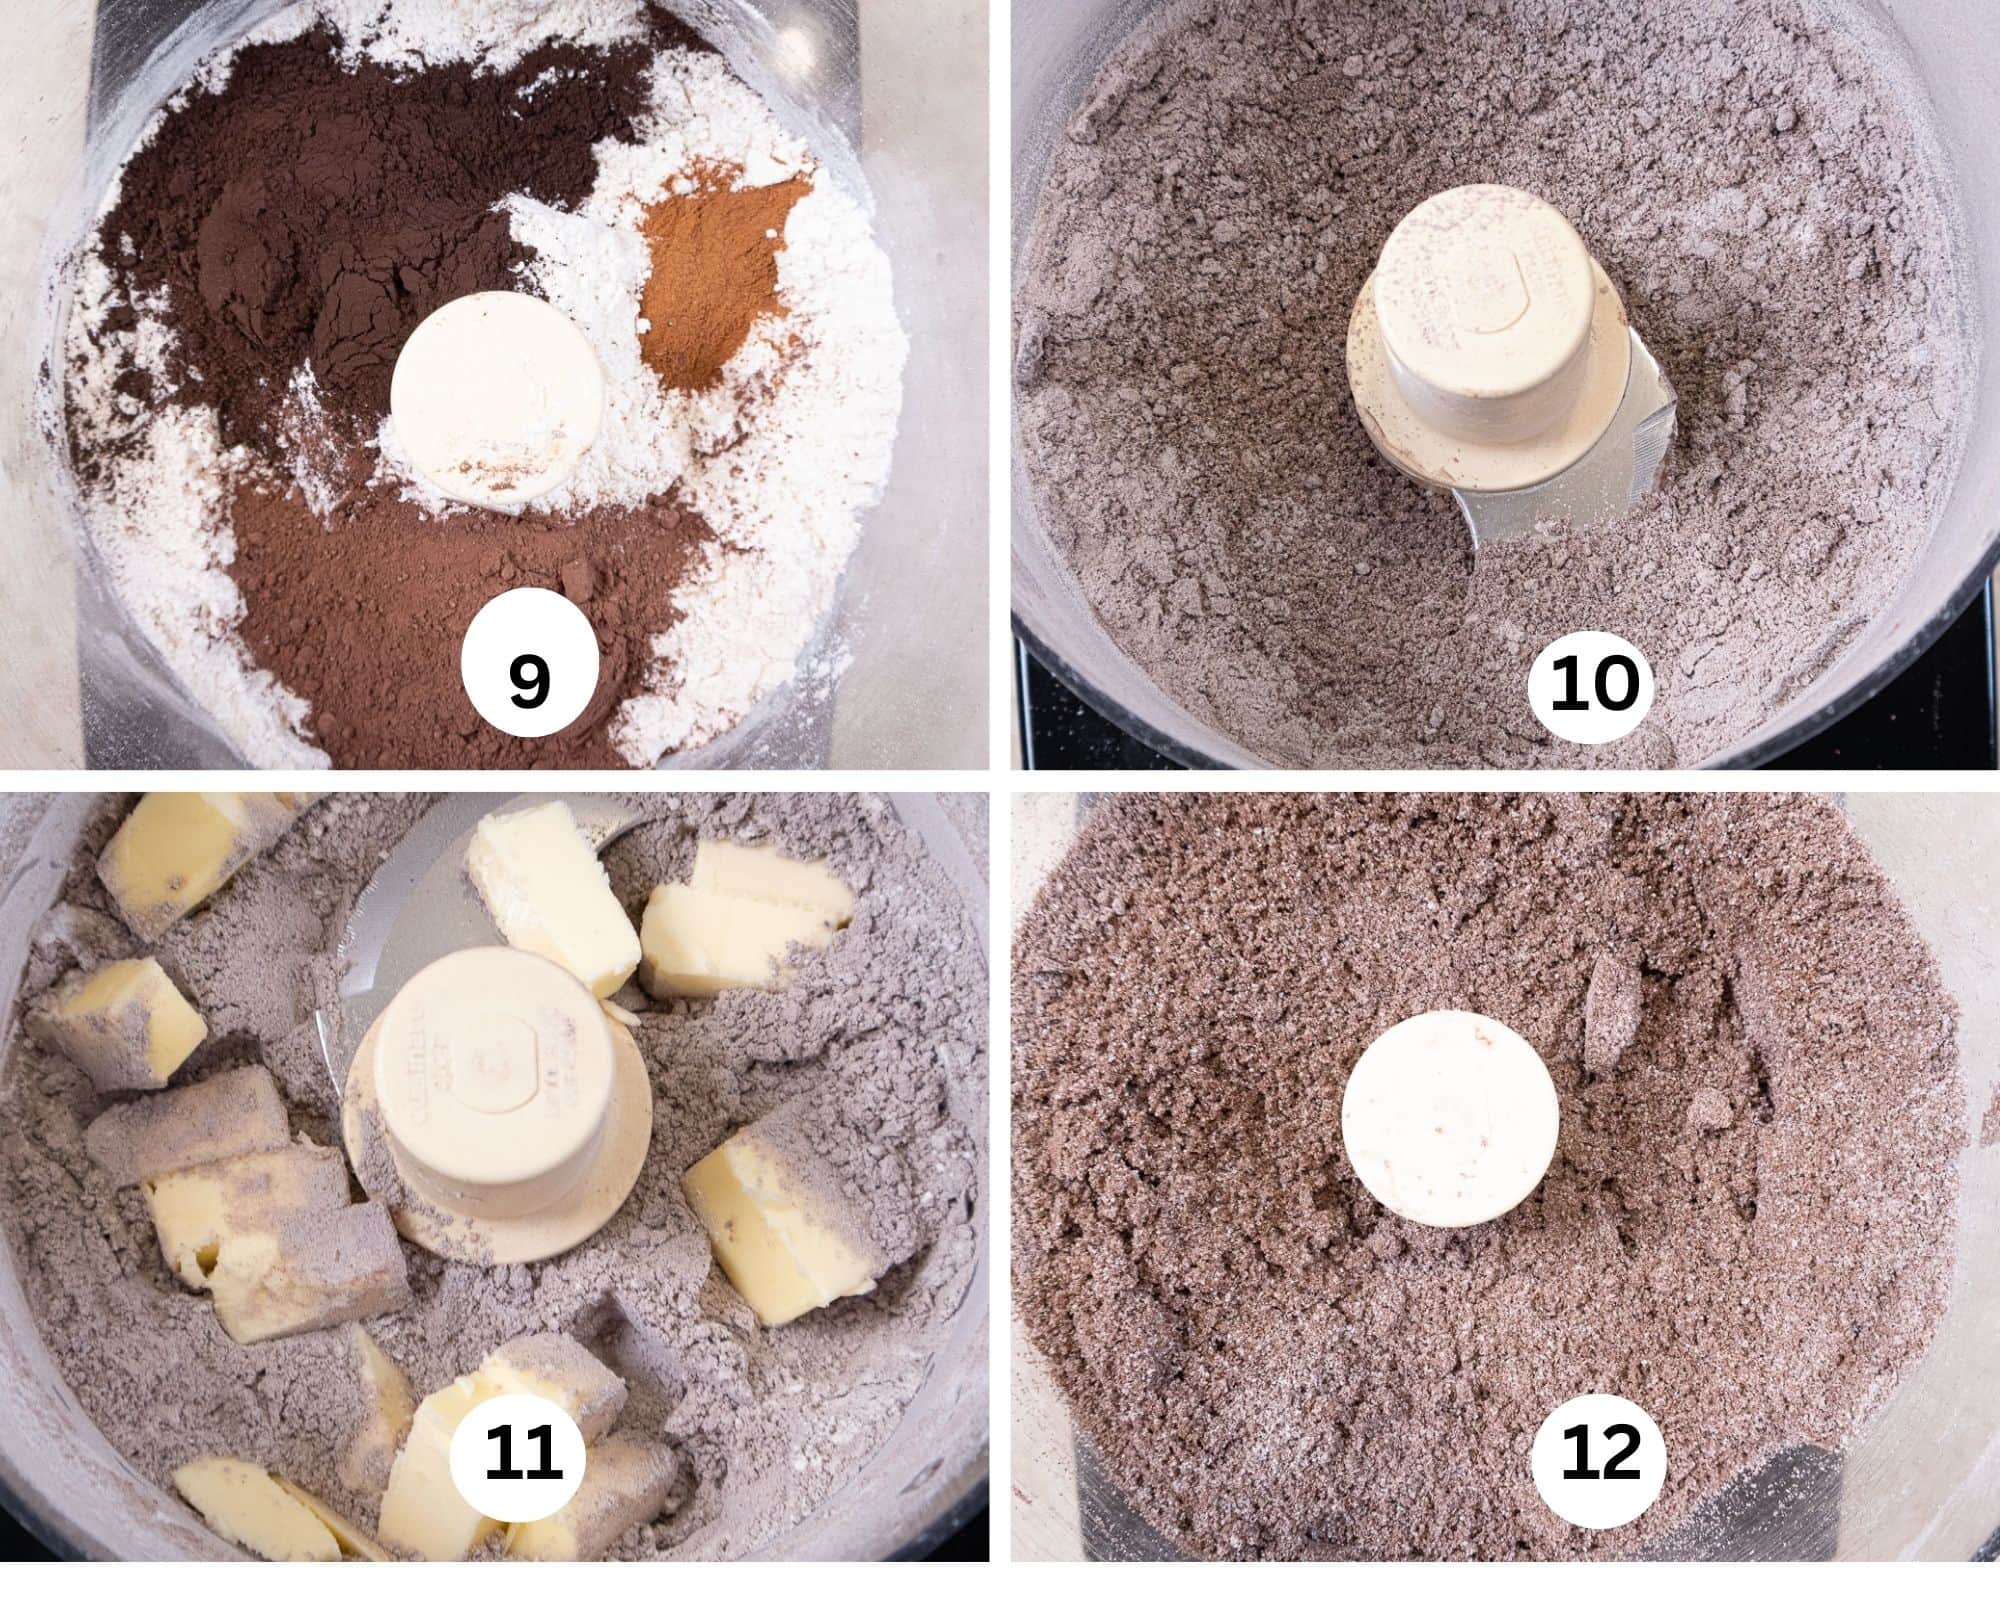
- Whisk together the flur, baking powder, baking soda, nutmeg and salt. Set aside.
- Beat the butter granulated and brown sugars until very light. Mix in the egg and vanilla. It will probably curdle but that's fine. See my post on How to Avoid Curdled Cake Batter for detailed information.
- Alternate the flour and sugar starting with the flour. Add the flour 3 times and 2 times for the milk. Add ⅓ of the flour mixture and mix it into the creamed mixture. Follow by half the milk. Then another ⅓ of the flour and the rest of the milk. Add the remaining flour, incorporating everything completely. The batter will be very thick.
- Remove the crumbs from the fridge and divide them between 9 donut or muffin wells using about 2 tablespoons per well. Press them into the bottoms firmly.
- Fit a piping bag with a ¾" plain pastry tip. Pipe the batter over the crumbs coming to the top of the donut pan. Divide equally if using the muffin tins.
- Bake for 12 to 15 minutes until a tester comes out clean and the edges of the donuts are browning.
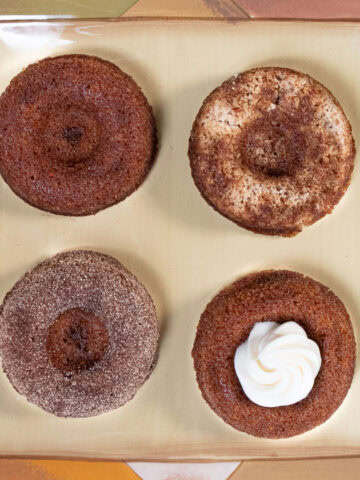
- Cool completely in the pans. Place the cooling rack over a piece of parchment or waxed paper. To keep the crumbs in tact, carefully go around the edges of the wells with a small flexible metal spatula. Lift each donut out of its well and place bottom side up on a cooling rack whic
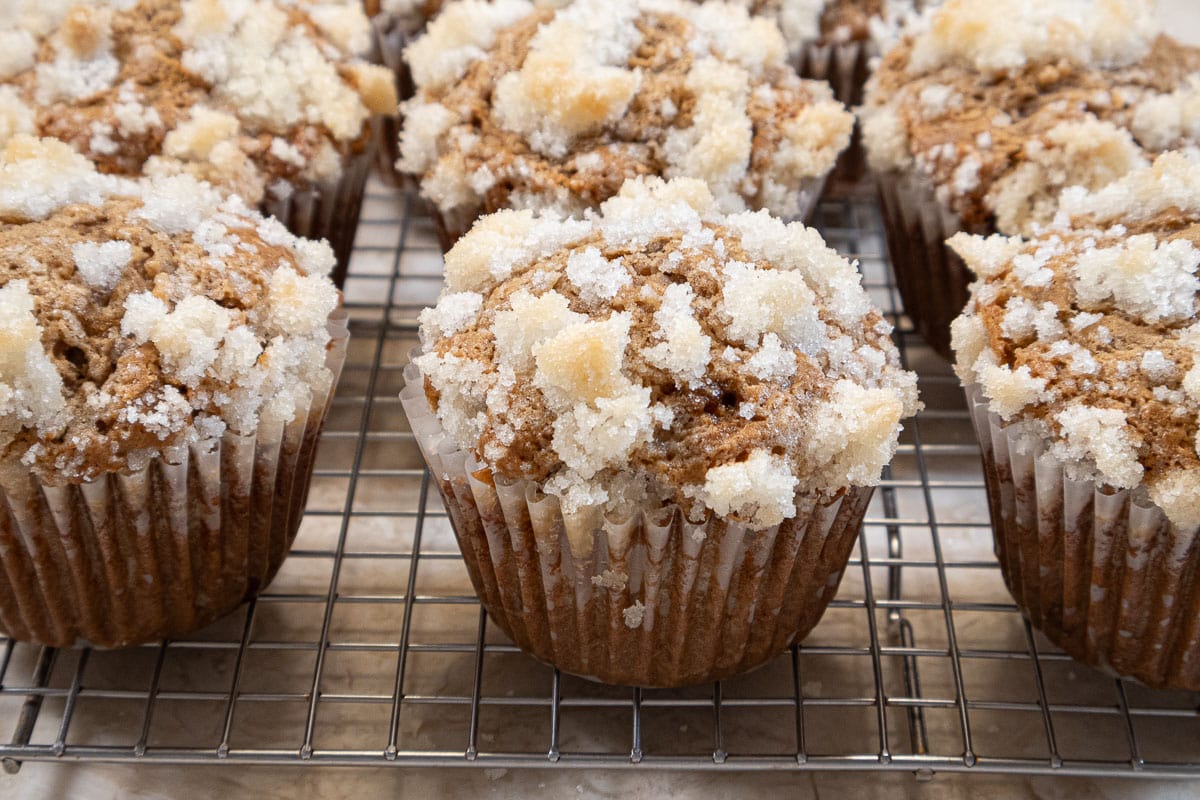
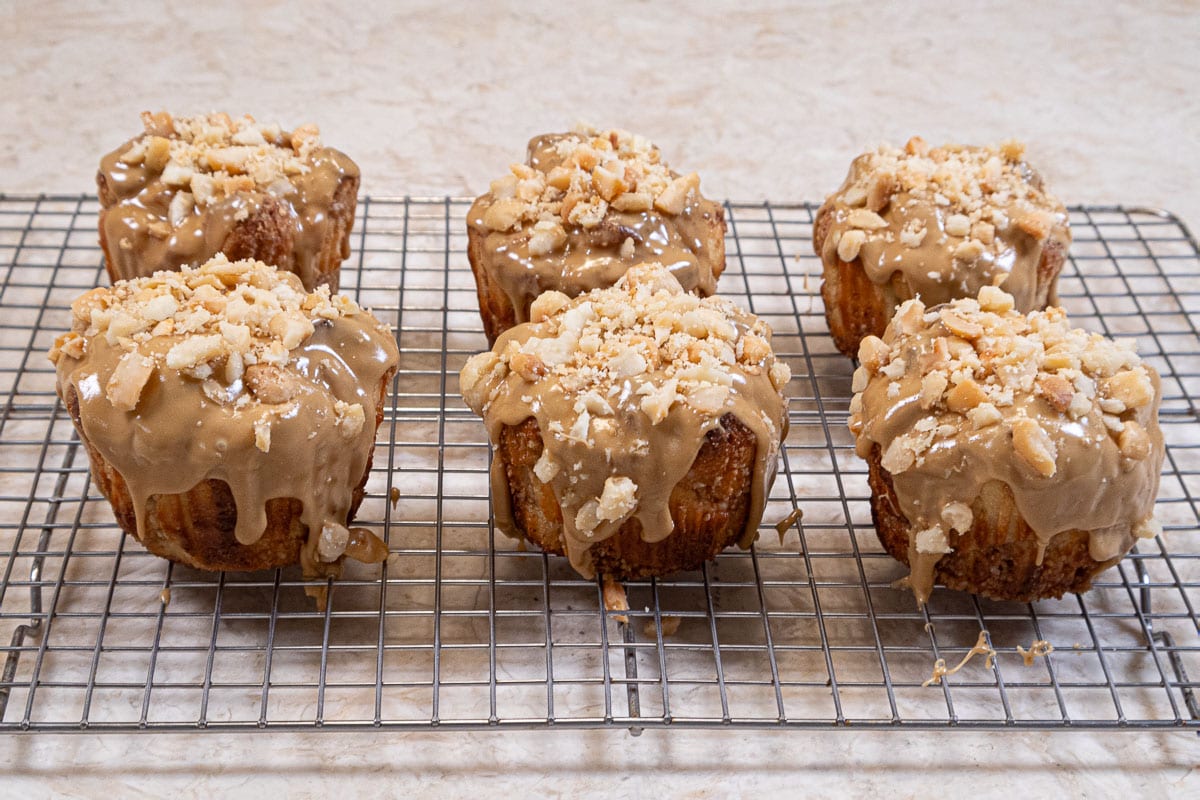
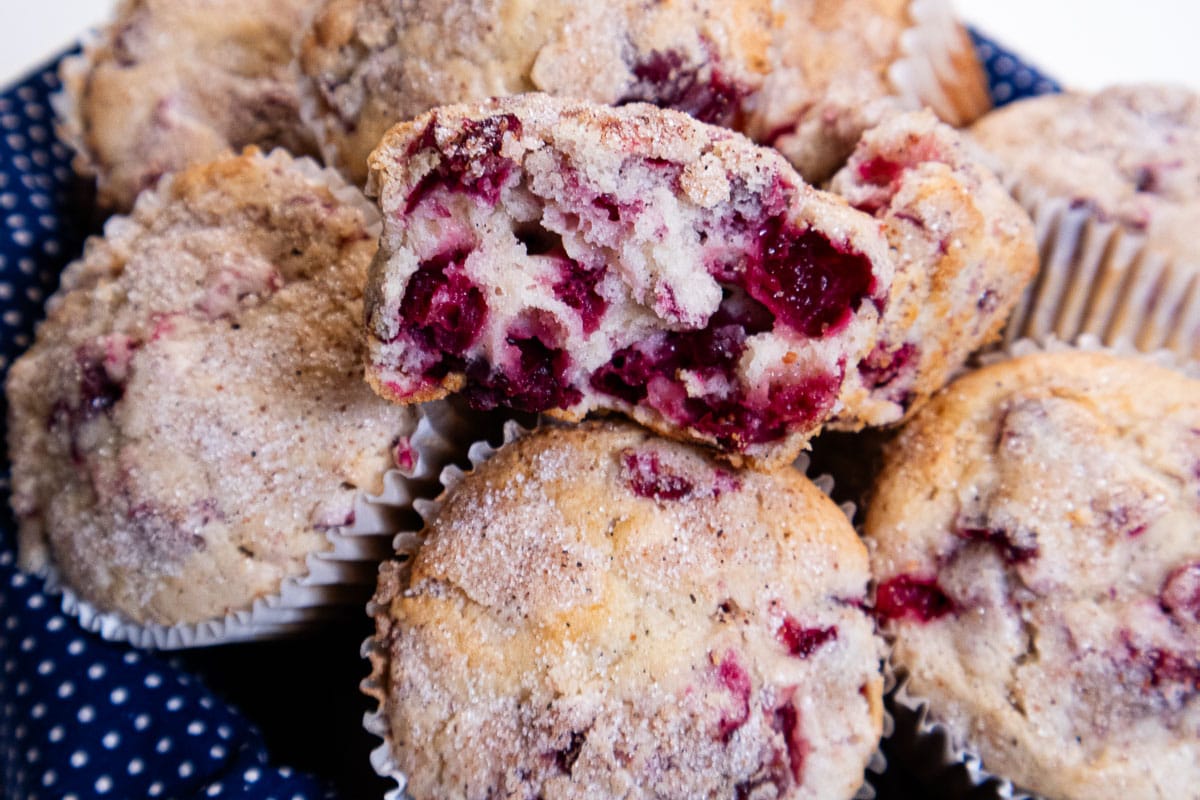
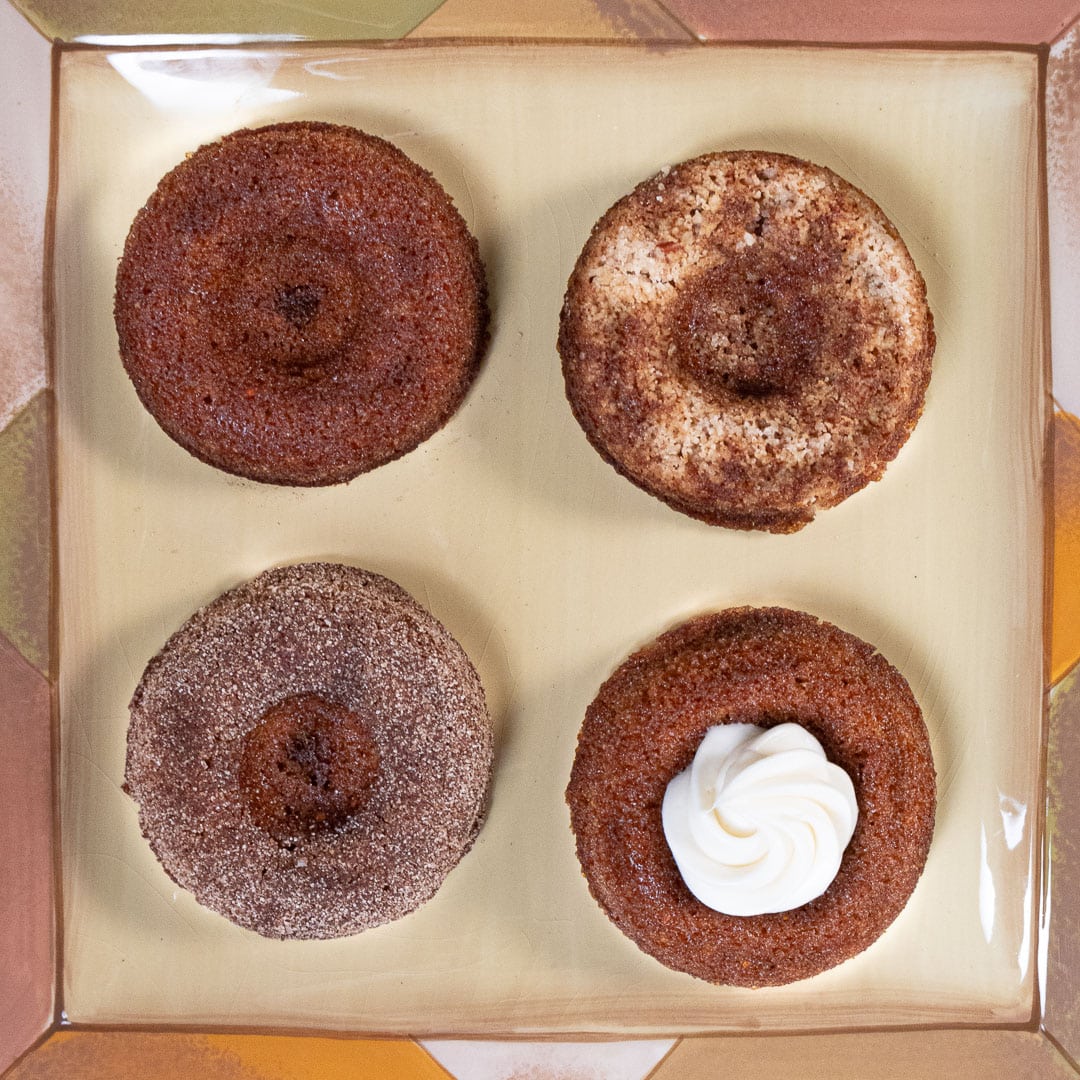
- To keep the crumbs in tact, carefully go around the edges of the wells with a small flexible metal spatula. Lift each donut out of its well and place bottom side up on a cooling rack. The crumbs are now on top. Dust heavily with powdered sugar.
- These will keep for several days if covered. They will need to be redusted with powdered sugar. Freeze without the powdered sugar, well wrapped for several months. Thaw on a cooling rack and sprinkle with powdered sugar.