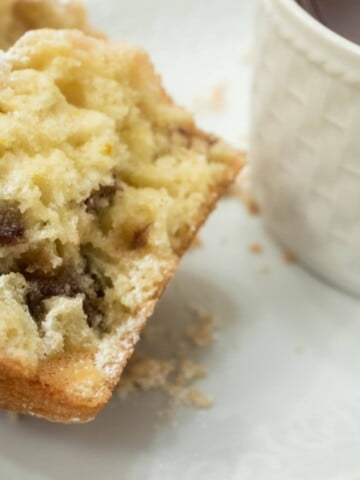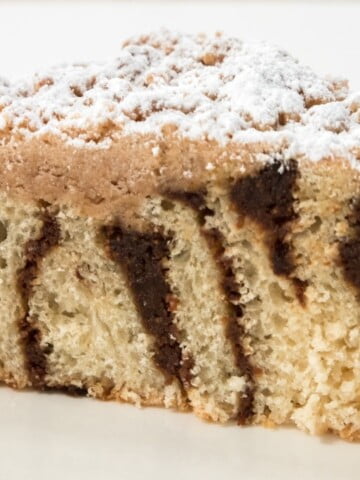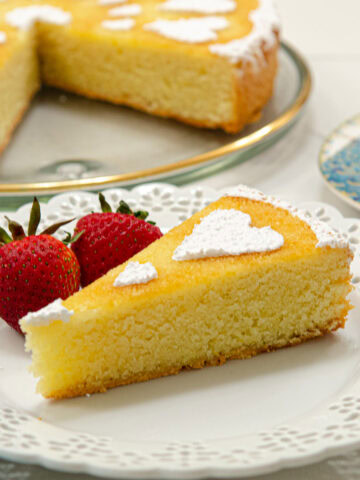
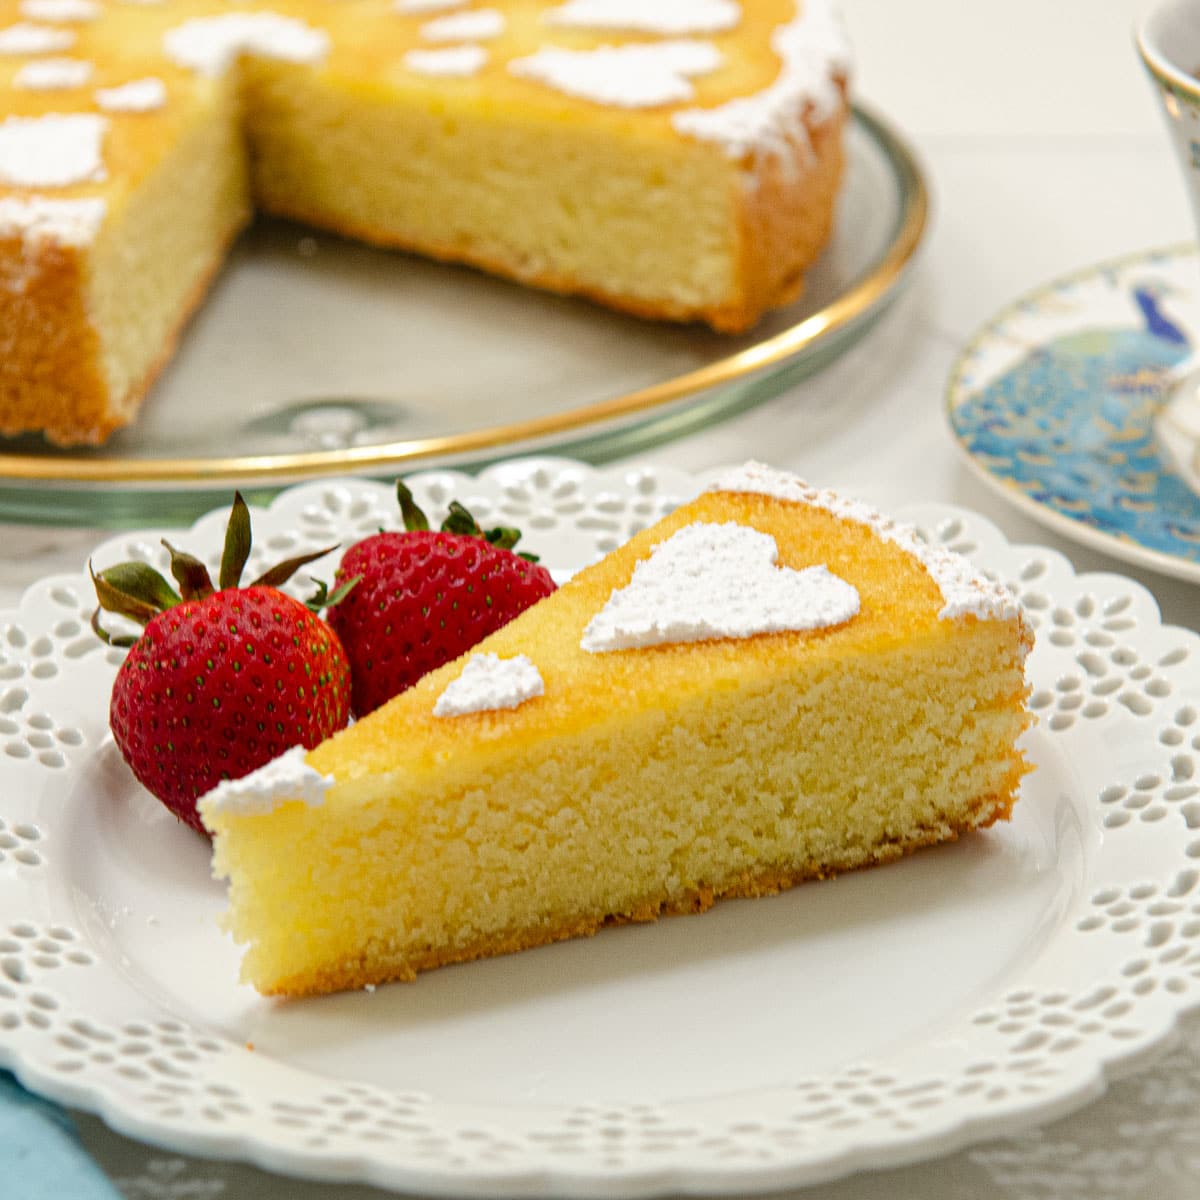
This Orange Almond Tea Cake is one of the simplest, easiest cake you'll ever make. Redolent of almond paste and orange rind with few other ingredients, this cake has incredible flavor like no other.
This marvelously moist and flavorful cake was inspired by a recipe from the late Flo Braker’s book, The Simple Art of Perfect Baking - one of the earliest and best books on baking to be found.
Oranges and almonds have an affinity for each other. I first used this flavor combination in my first book, The New Pastry Cook and it remains one of my favorites. I have included a processor version and a mixer version – both work equally well.
Be sure to take a look at How to Make Almond Paste to make your own. There are two recipes. My favorite is the one with the simple syrup.
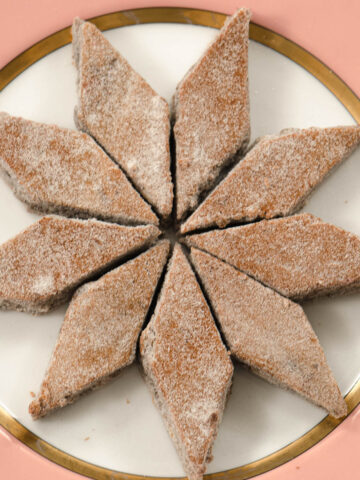
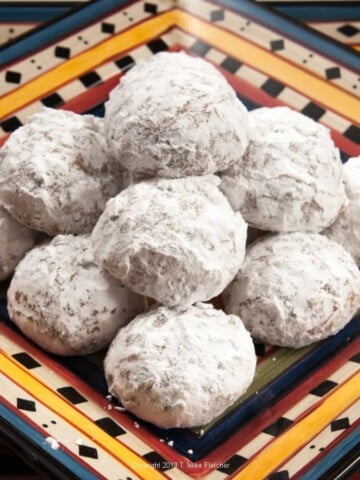
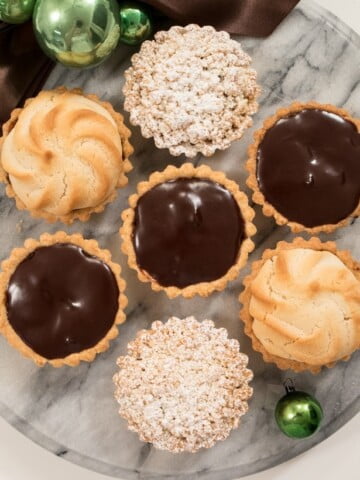
If you are a lover of almond paste, be sure to check out: Apricot Crumb Coffee Cake, Orange Almond Petit Fours, Almond Macaroons, Blueberry Crumb Muffins, Caramelized Peach Tart, Brandied Chocolate Cherry Almond Garmish, A Quick and Easy Summer Teacake, Twice Baked Brioche, Amaretti Cookies.
And if you're a lover of orange, check out my Orange Pistachio Loaf Cake and Orange Is An Underrated Flavor In Baking.
Why is it called a Tea Cake
A Tea Cake is what it sounds like. In the olden days when the pace of life was a lot slower, afternoon tea was often served. While English tea cakes include buns of some kind, the cake version is usually a single layer of a straight forward cake simply finished which is why it needs to be perfectly balanced and packed with flavor, which this cake is. Now it is, most likely, a snack or dessert cake.
Why You'll Love This Tea Cake
- It is super simple and fast to make, especially in the food processor.
- The depth of flavor is amazing.
- It stays moist for days and days if it lasts that long due to the almond paste
- It has only a few ingredients.
- It makes a great gift sure to please.
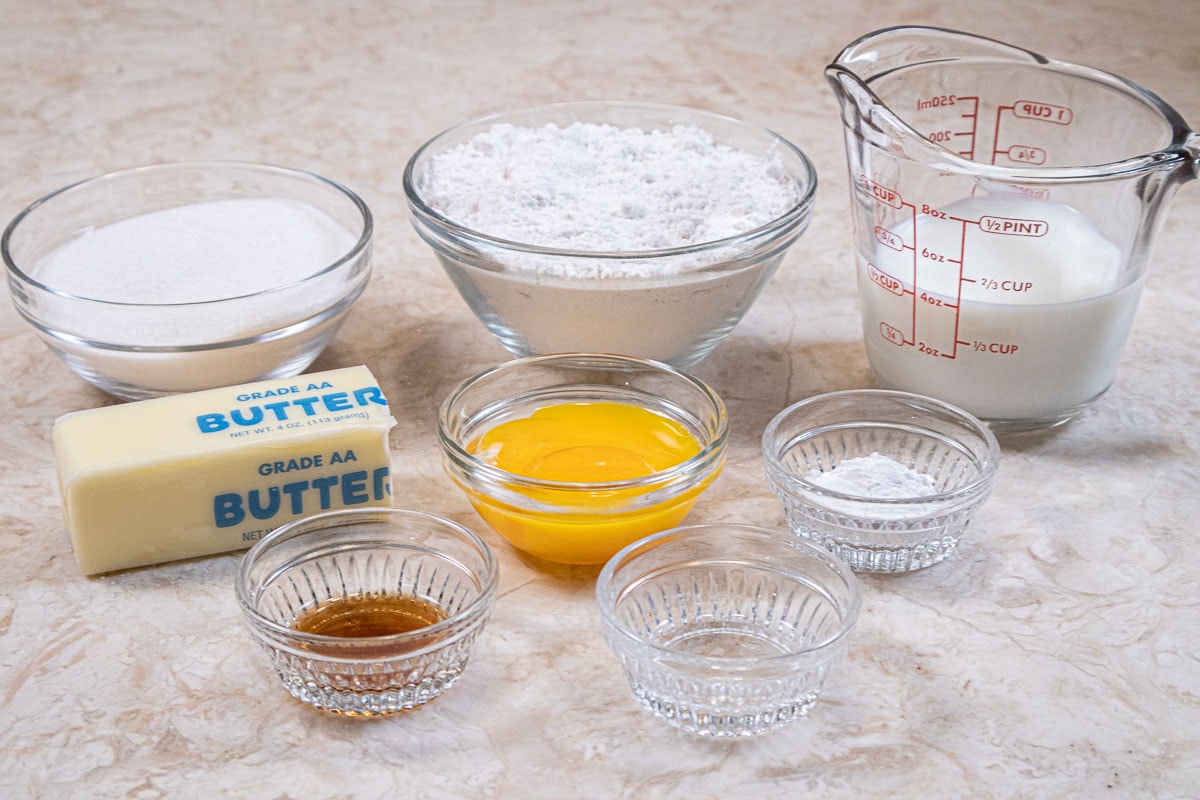
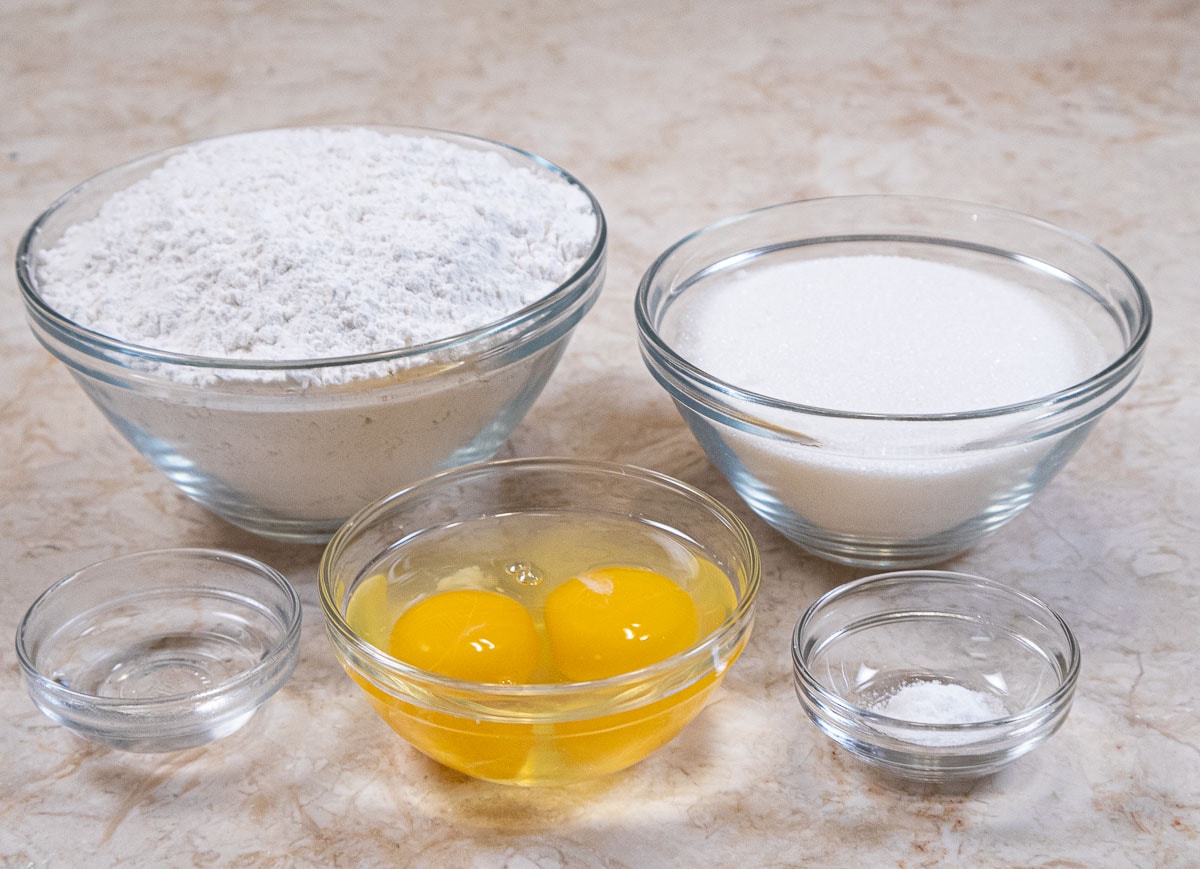
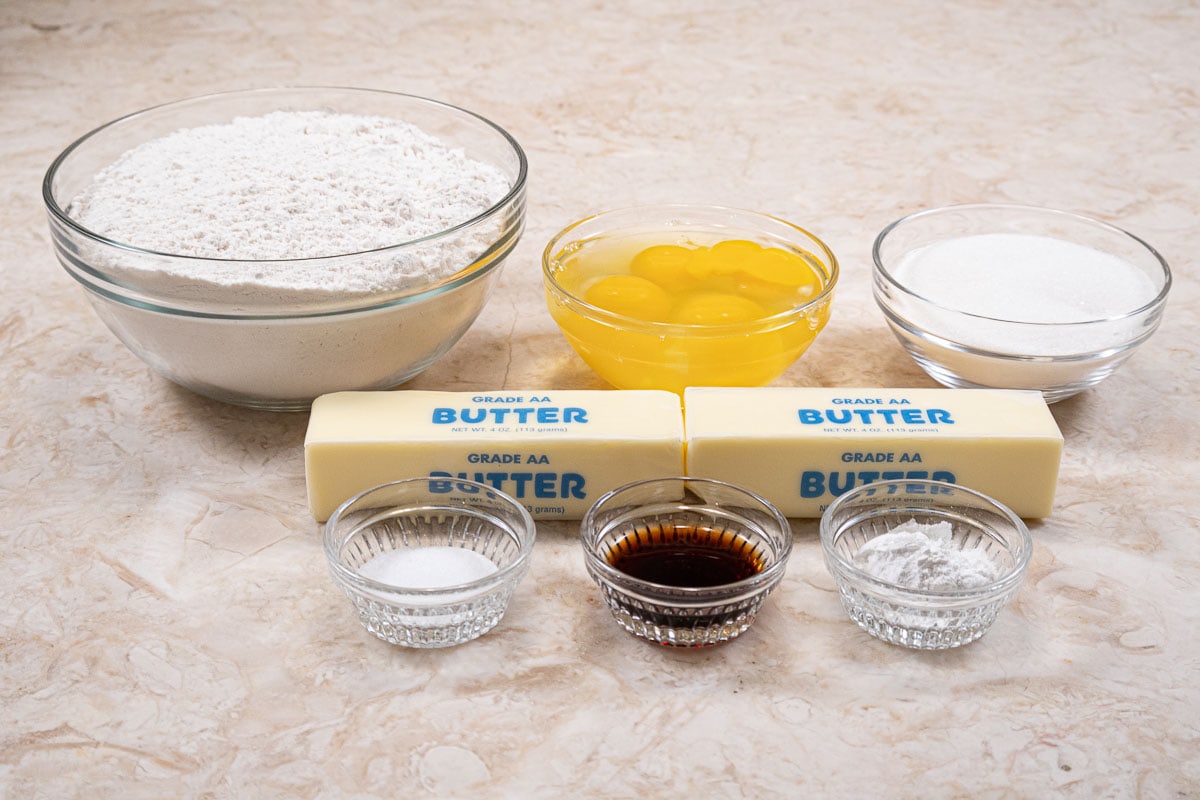
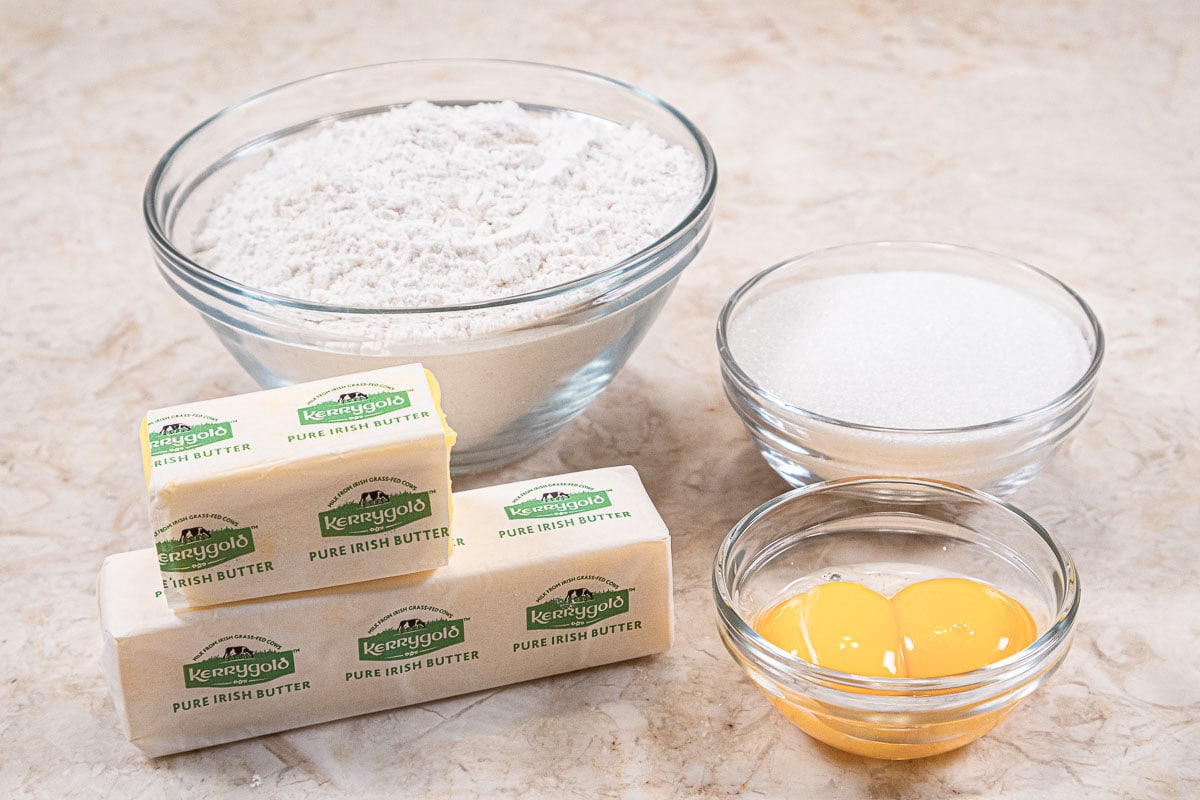
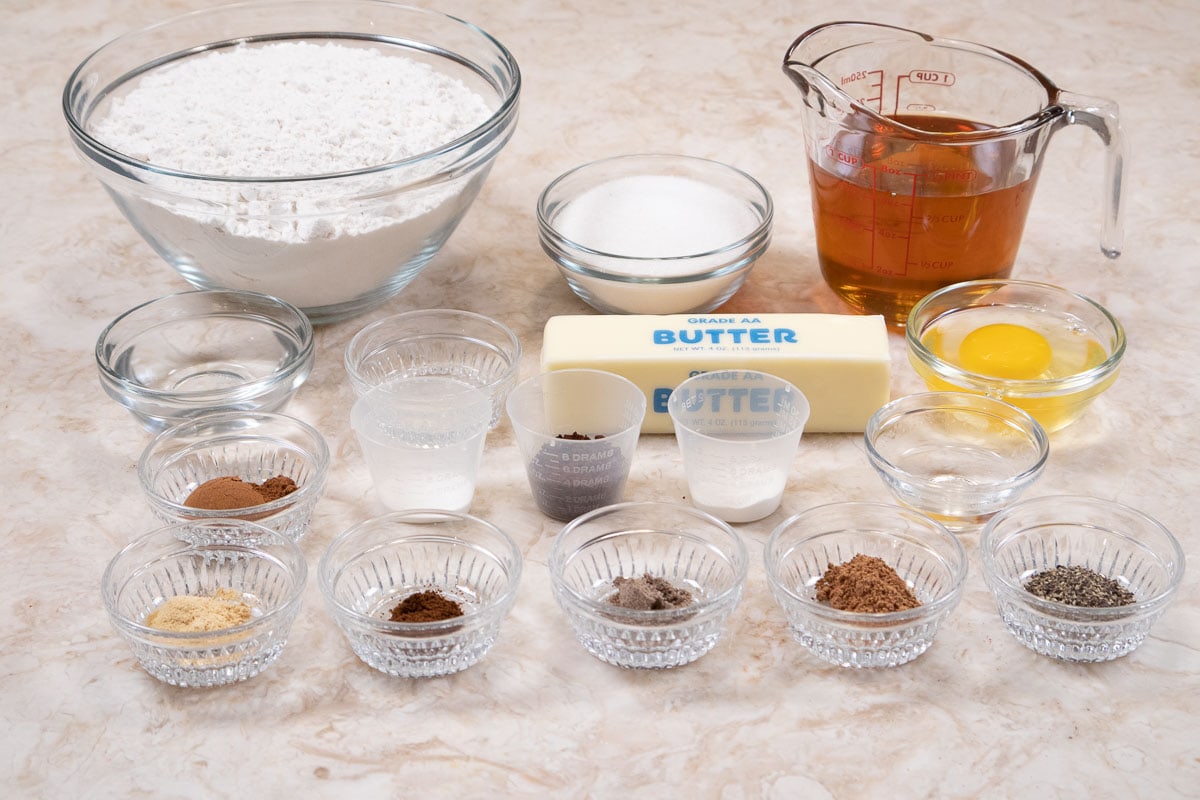
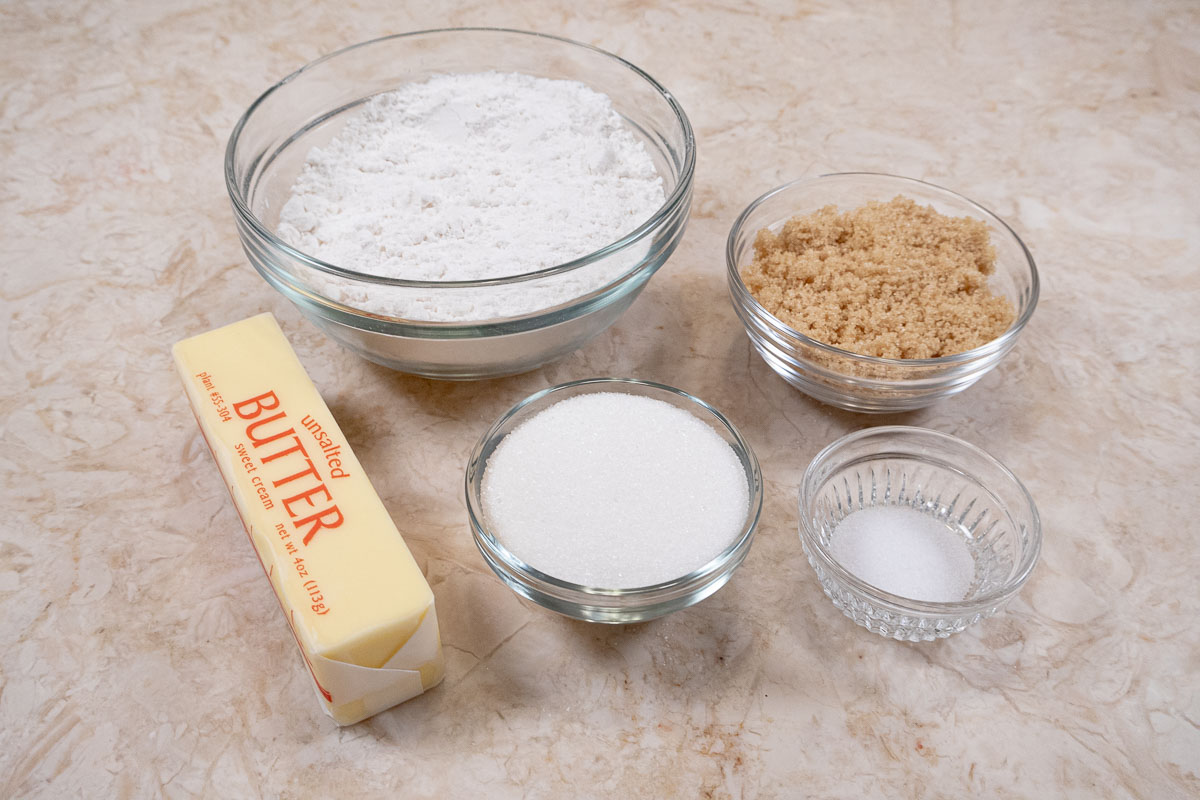
Recipe Ingredients
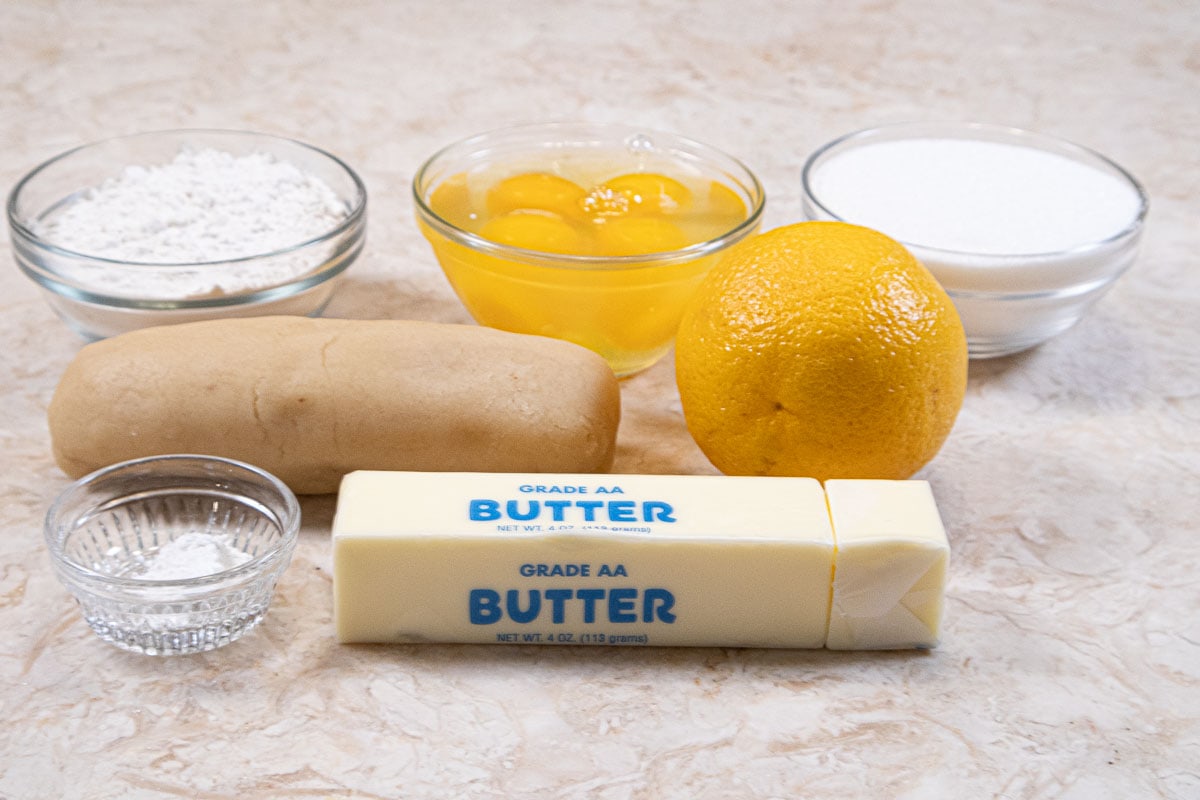
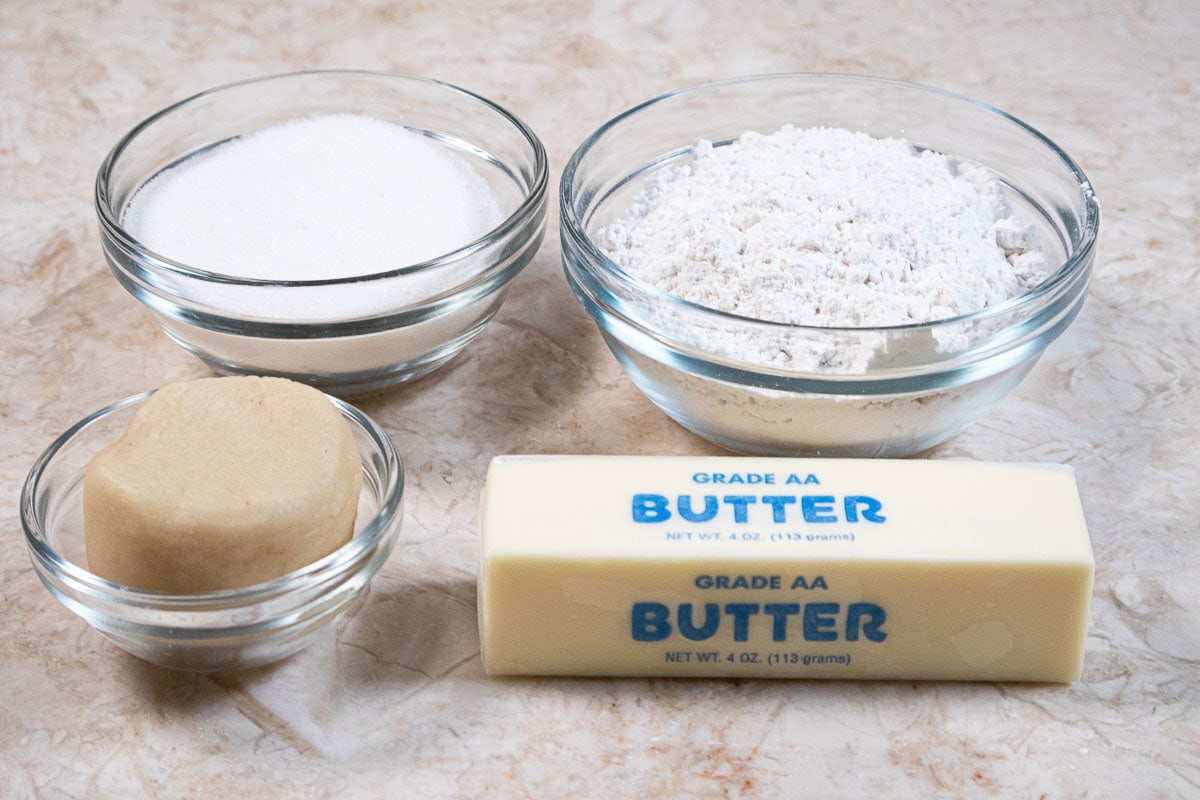
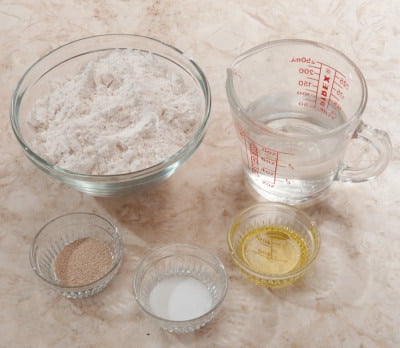
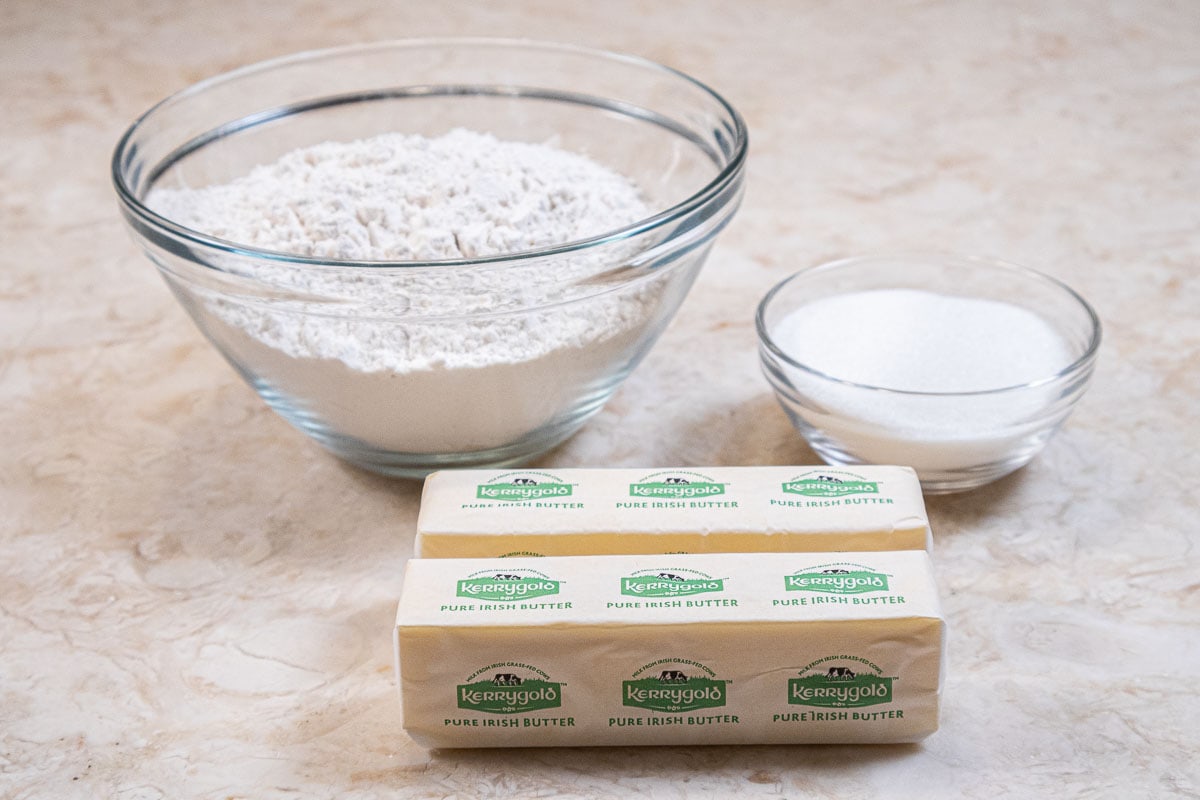
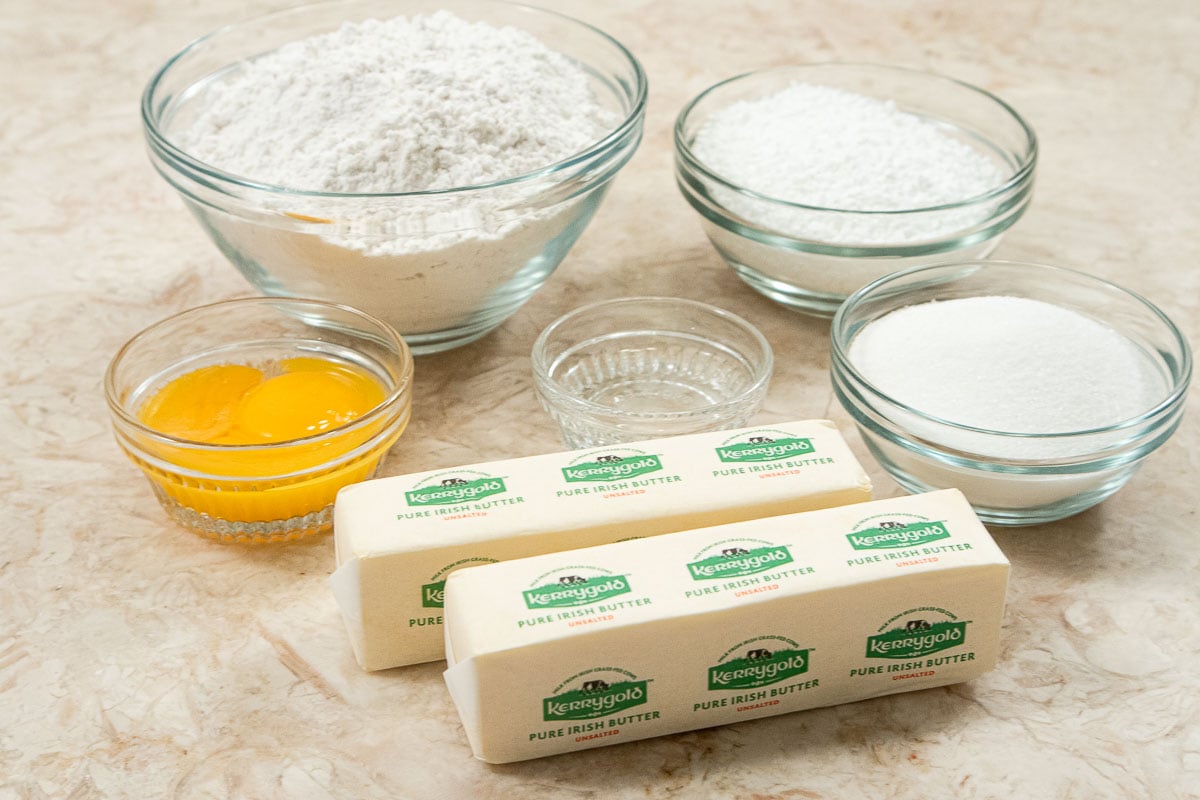
FRONT ROW: Baking Powder, unsalted butter
MIDDLE ROW: Almond Paste, orange zest
BACK ROW: All-purpose flour, eggs, granulated sugar
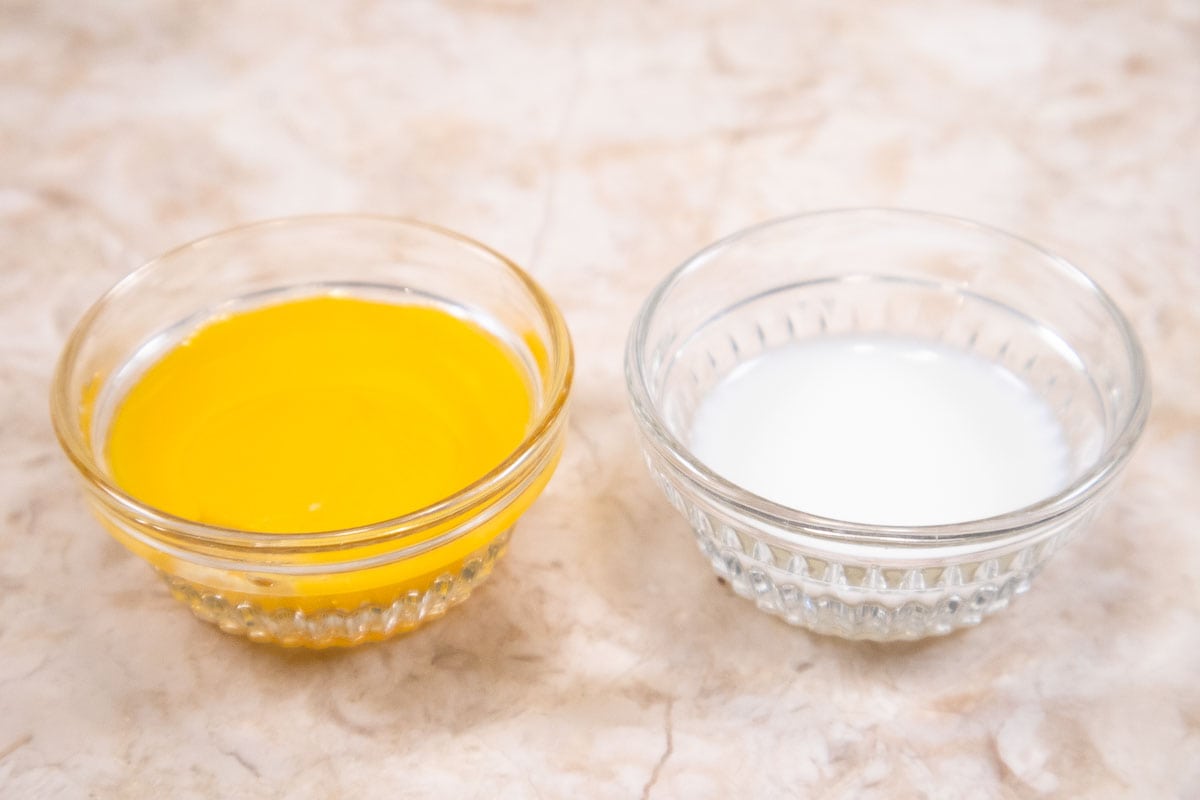
Key Ingredients
The almond paste can be purchased or easily made at home. My post on How to Make Almond Paste - or Not shows you two ways to make it. My preference is the simple syrup method.
Finely grated zest of an orange gives this tea cake a deeply satisfying flavor.
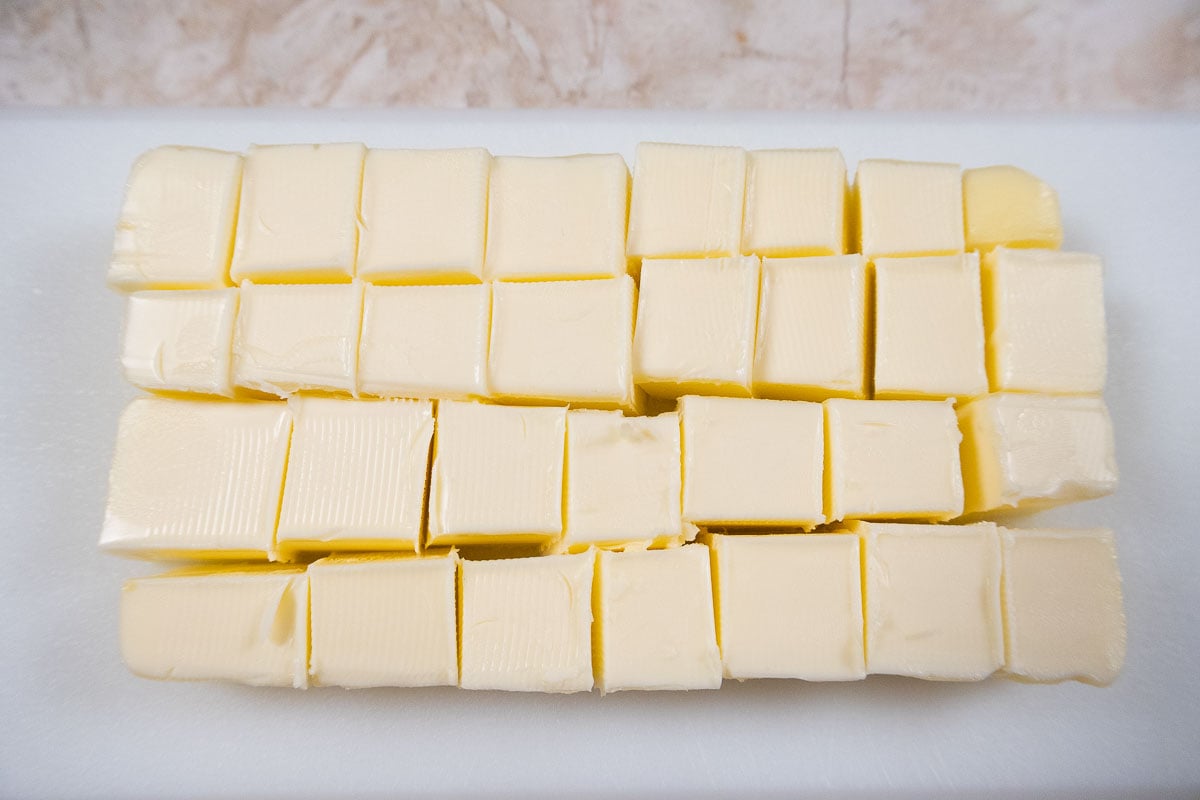
Unsalted butter gives the purest taste and is recommended.
Be sure to see the recipe card below for the exact ingredients & instructions.
Step by Step Instructions
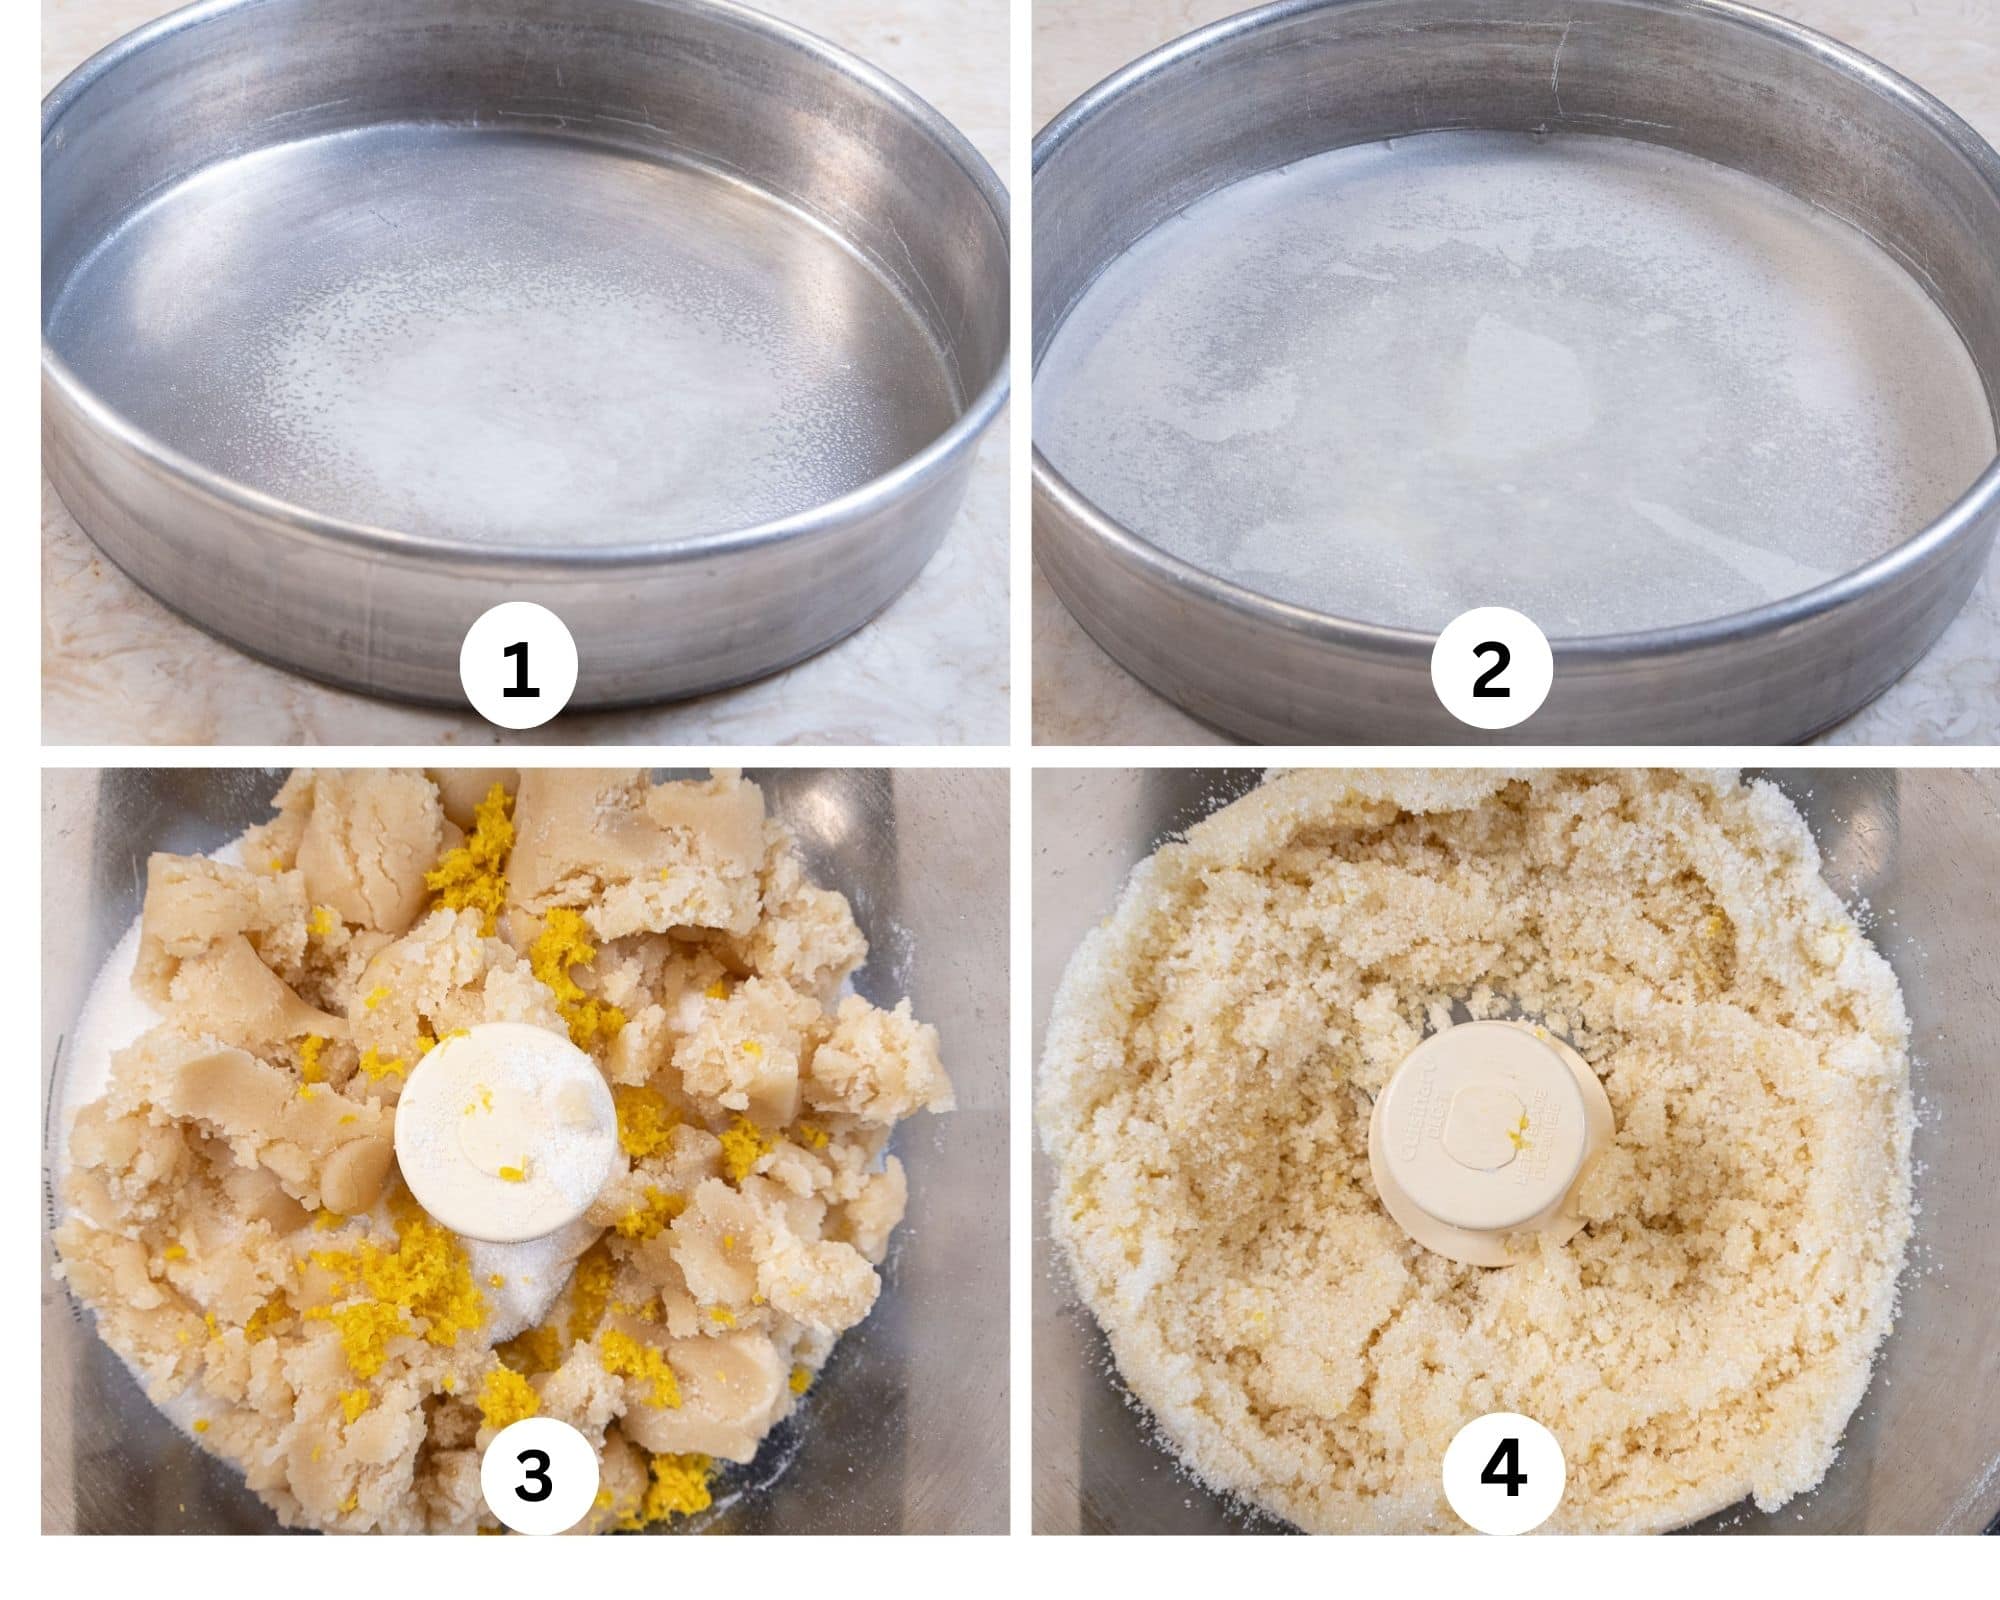
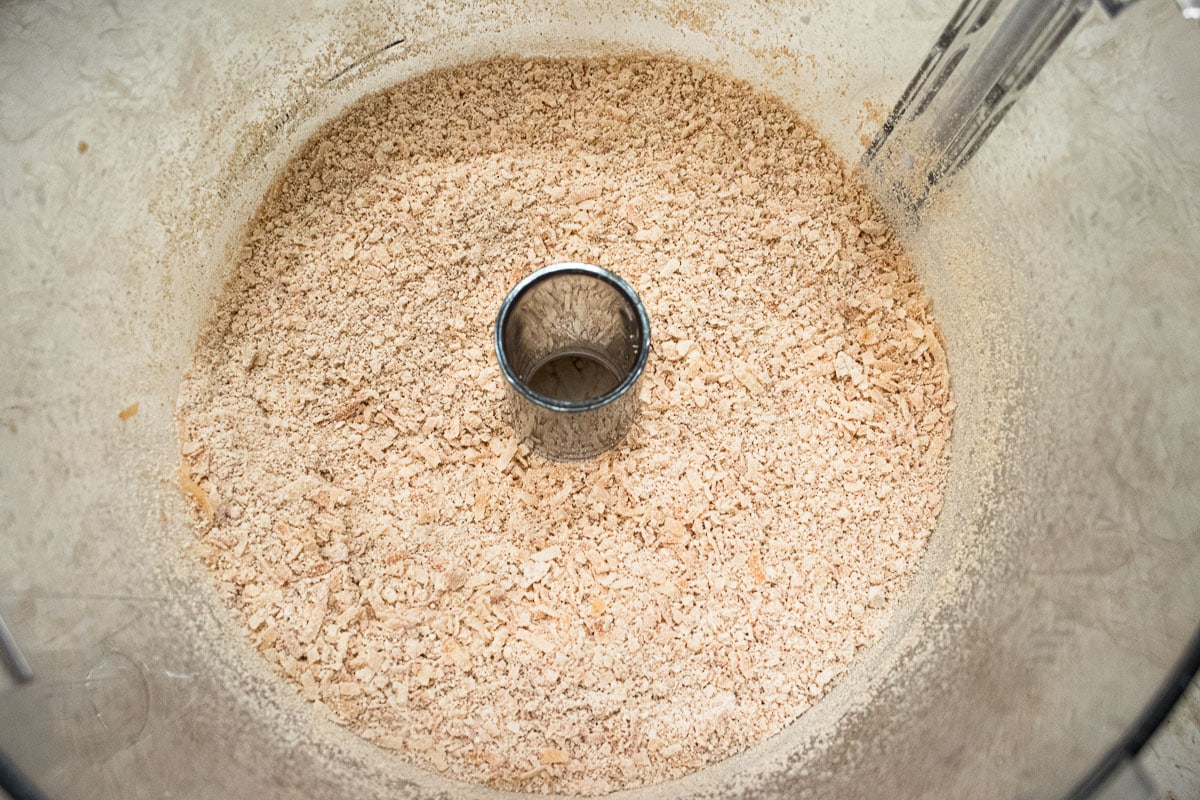
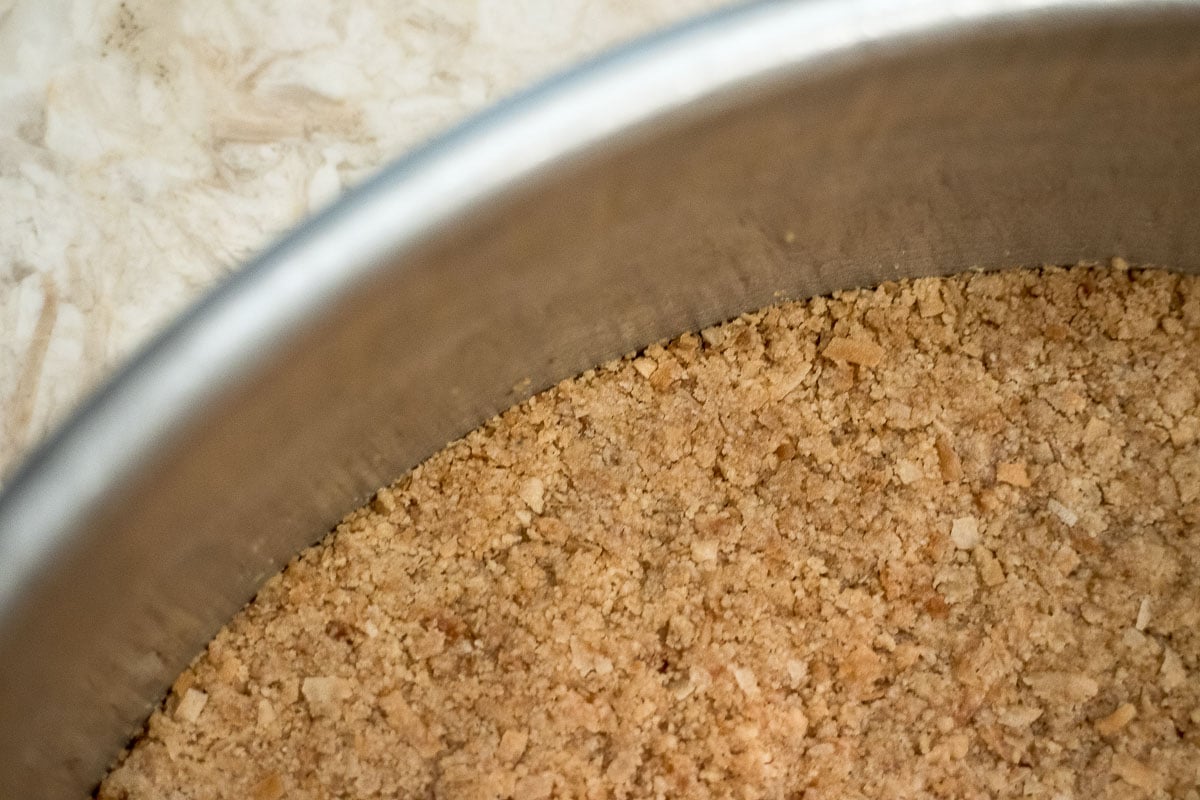
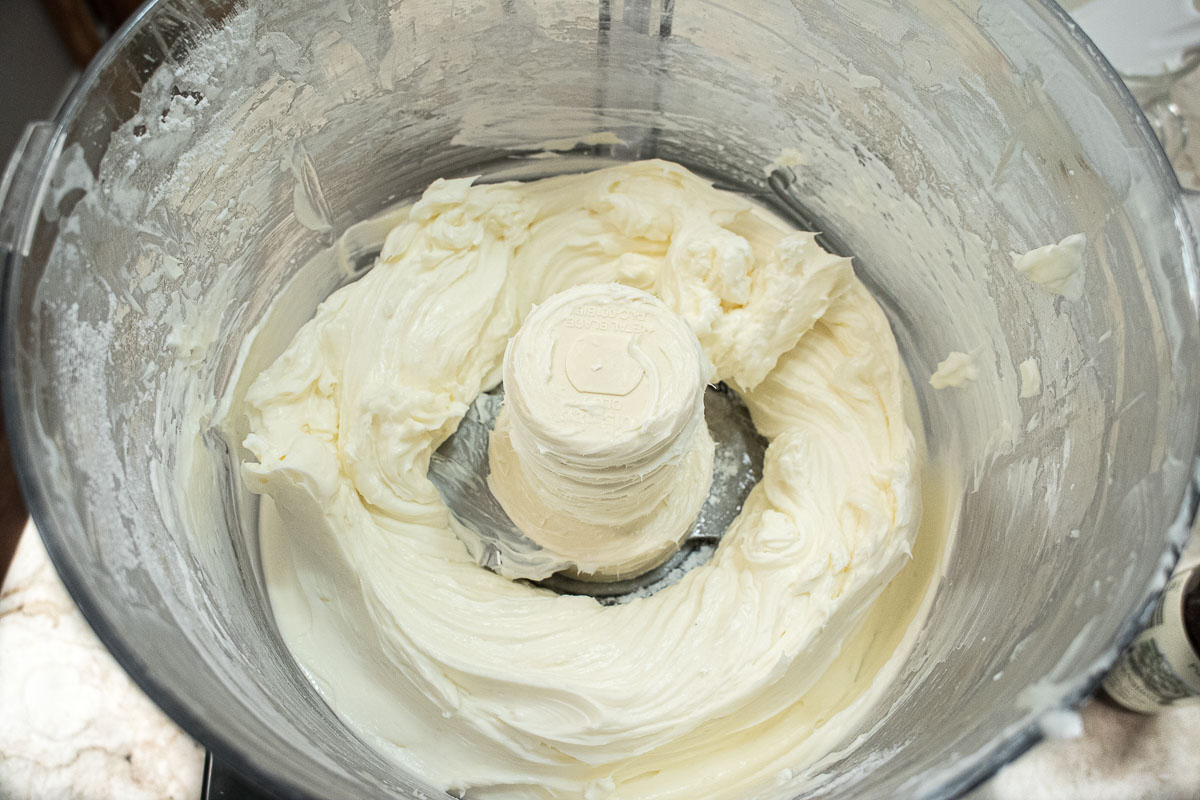
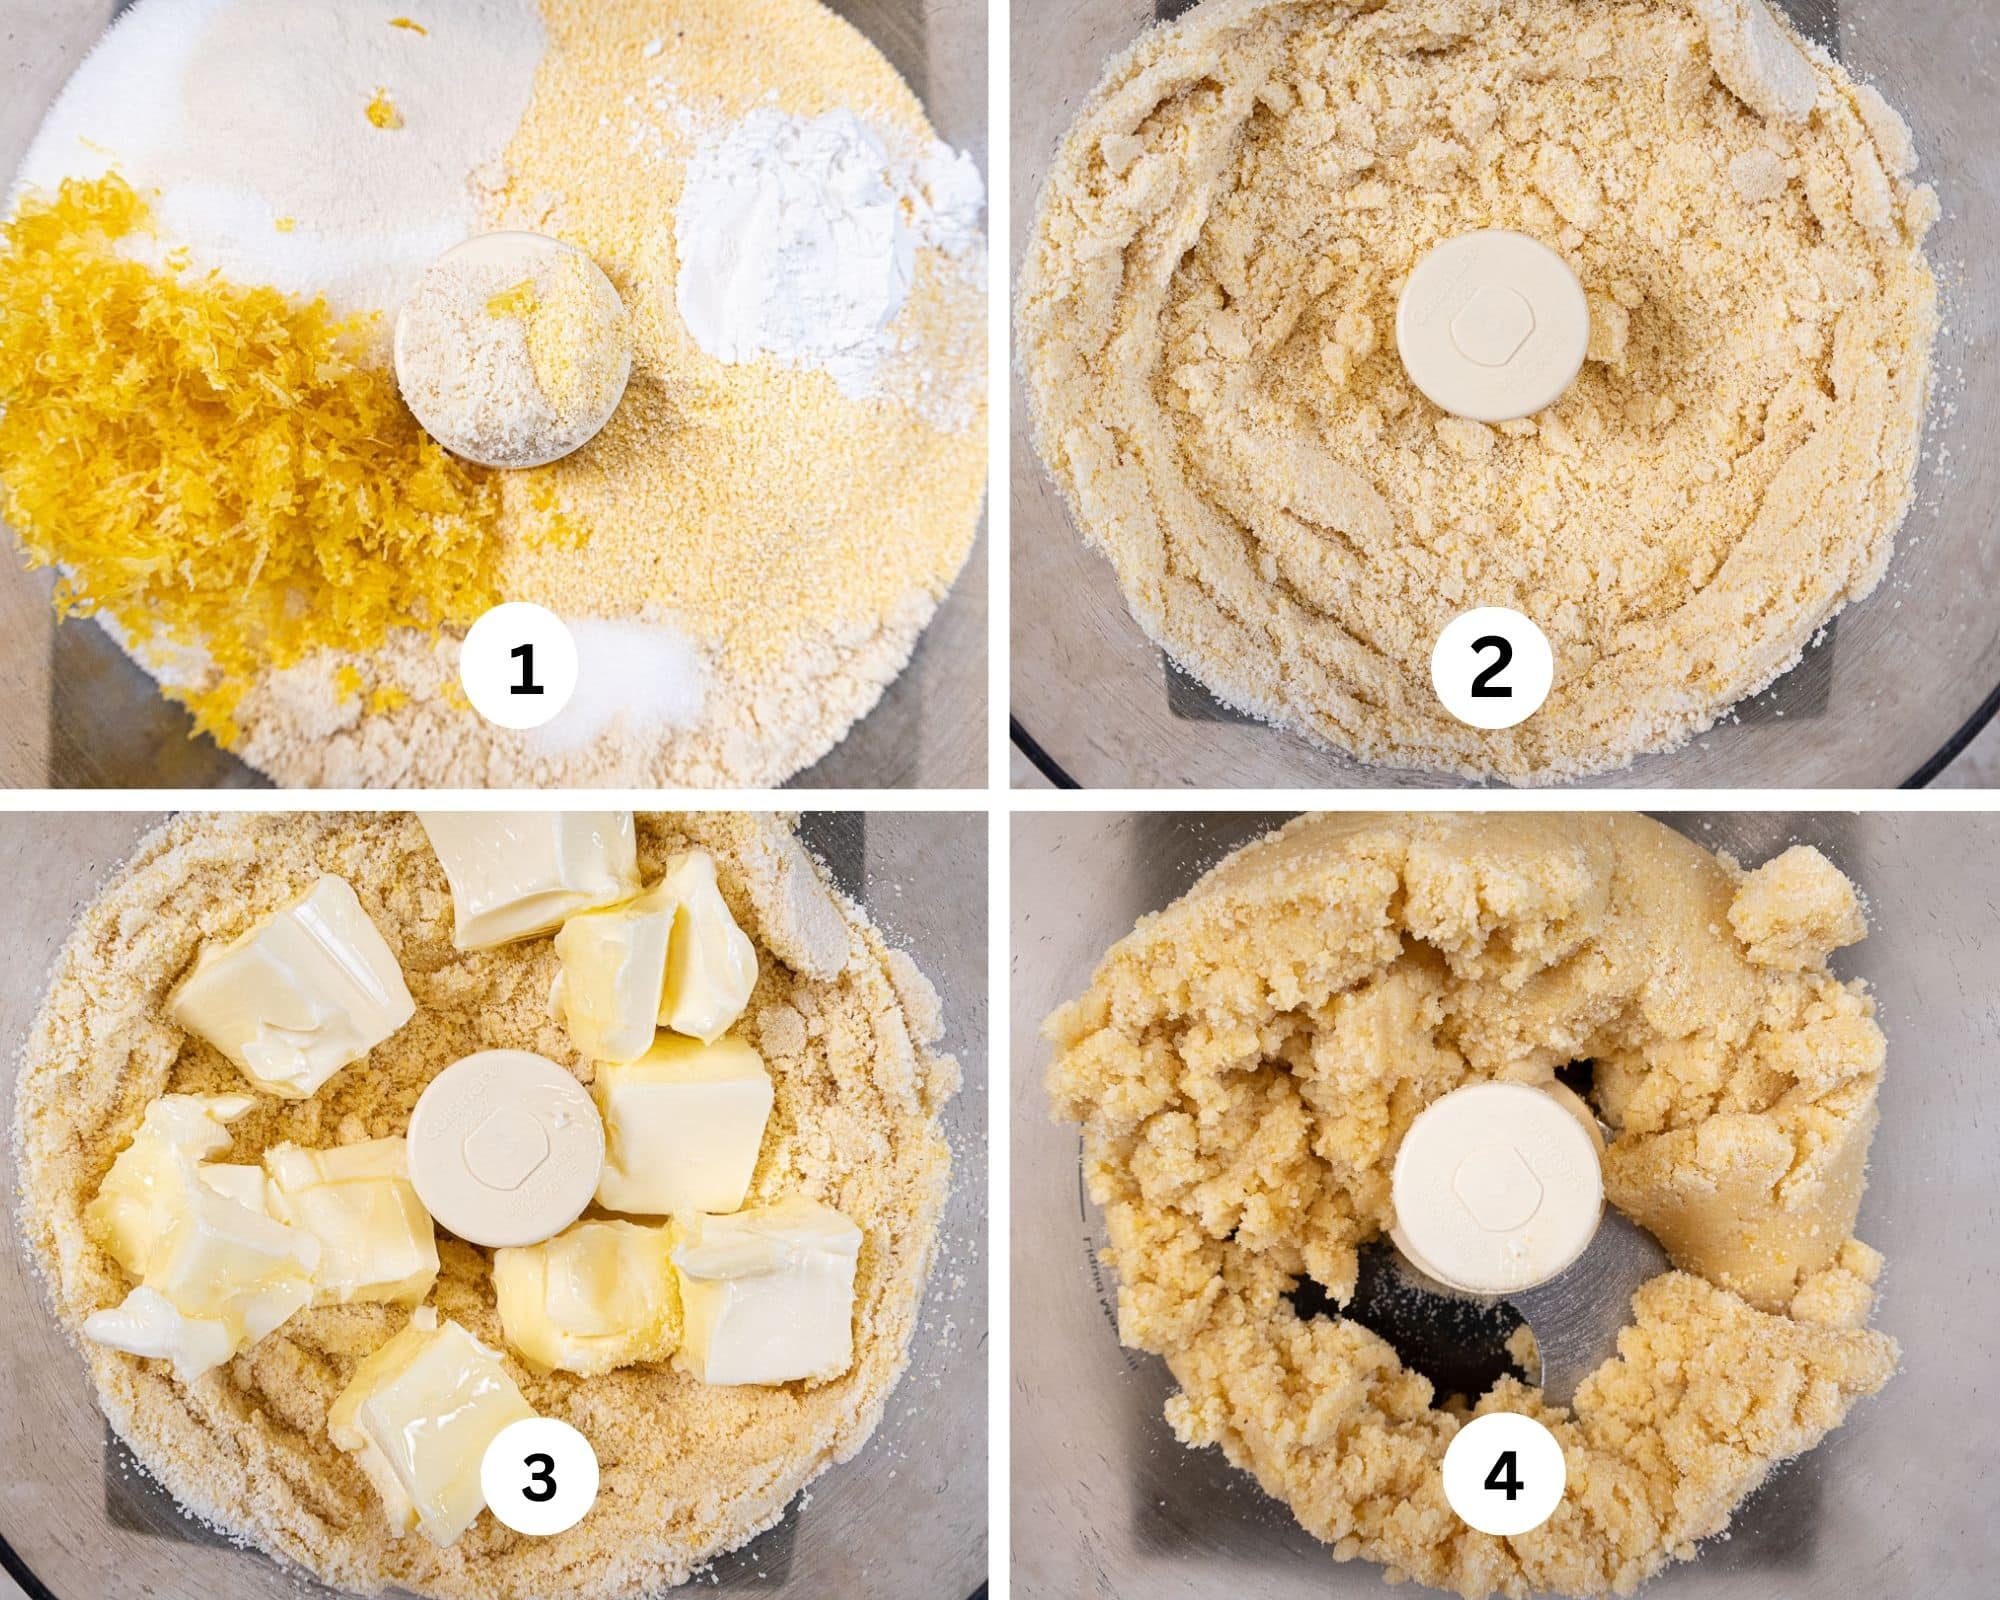
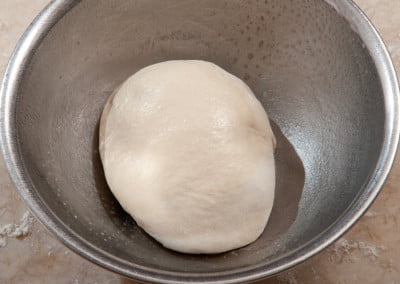
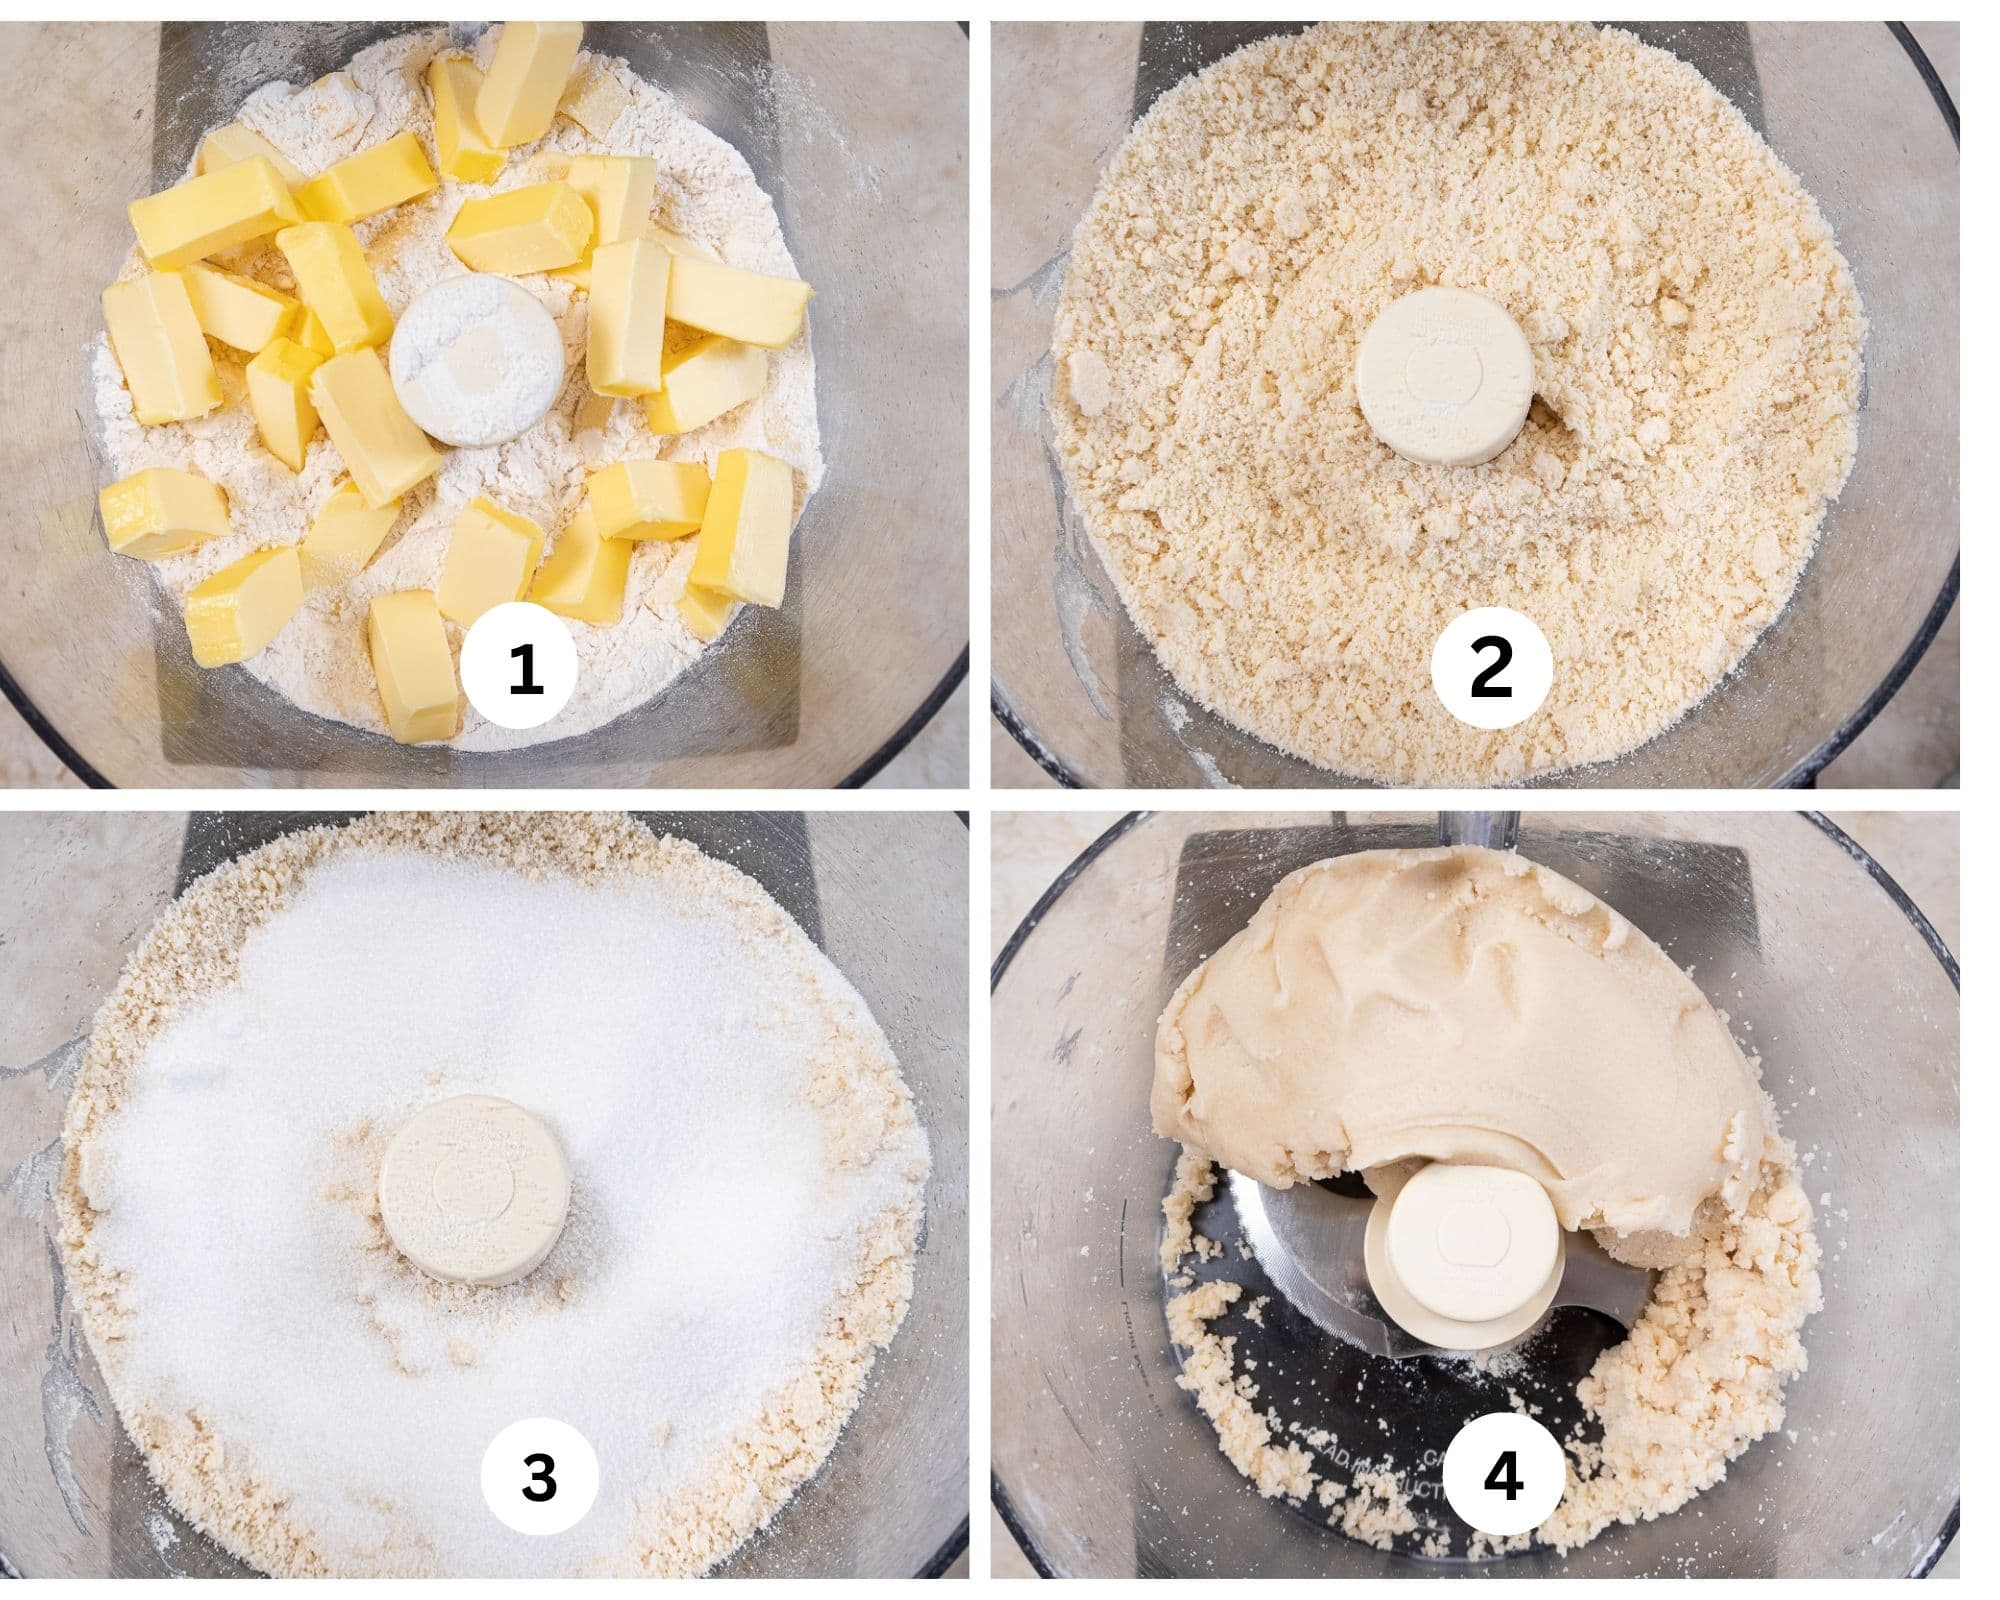
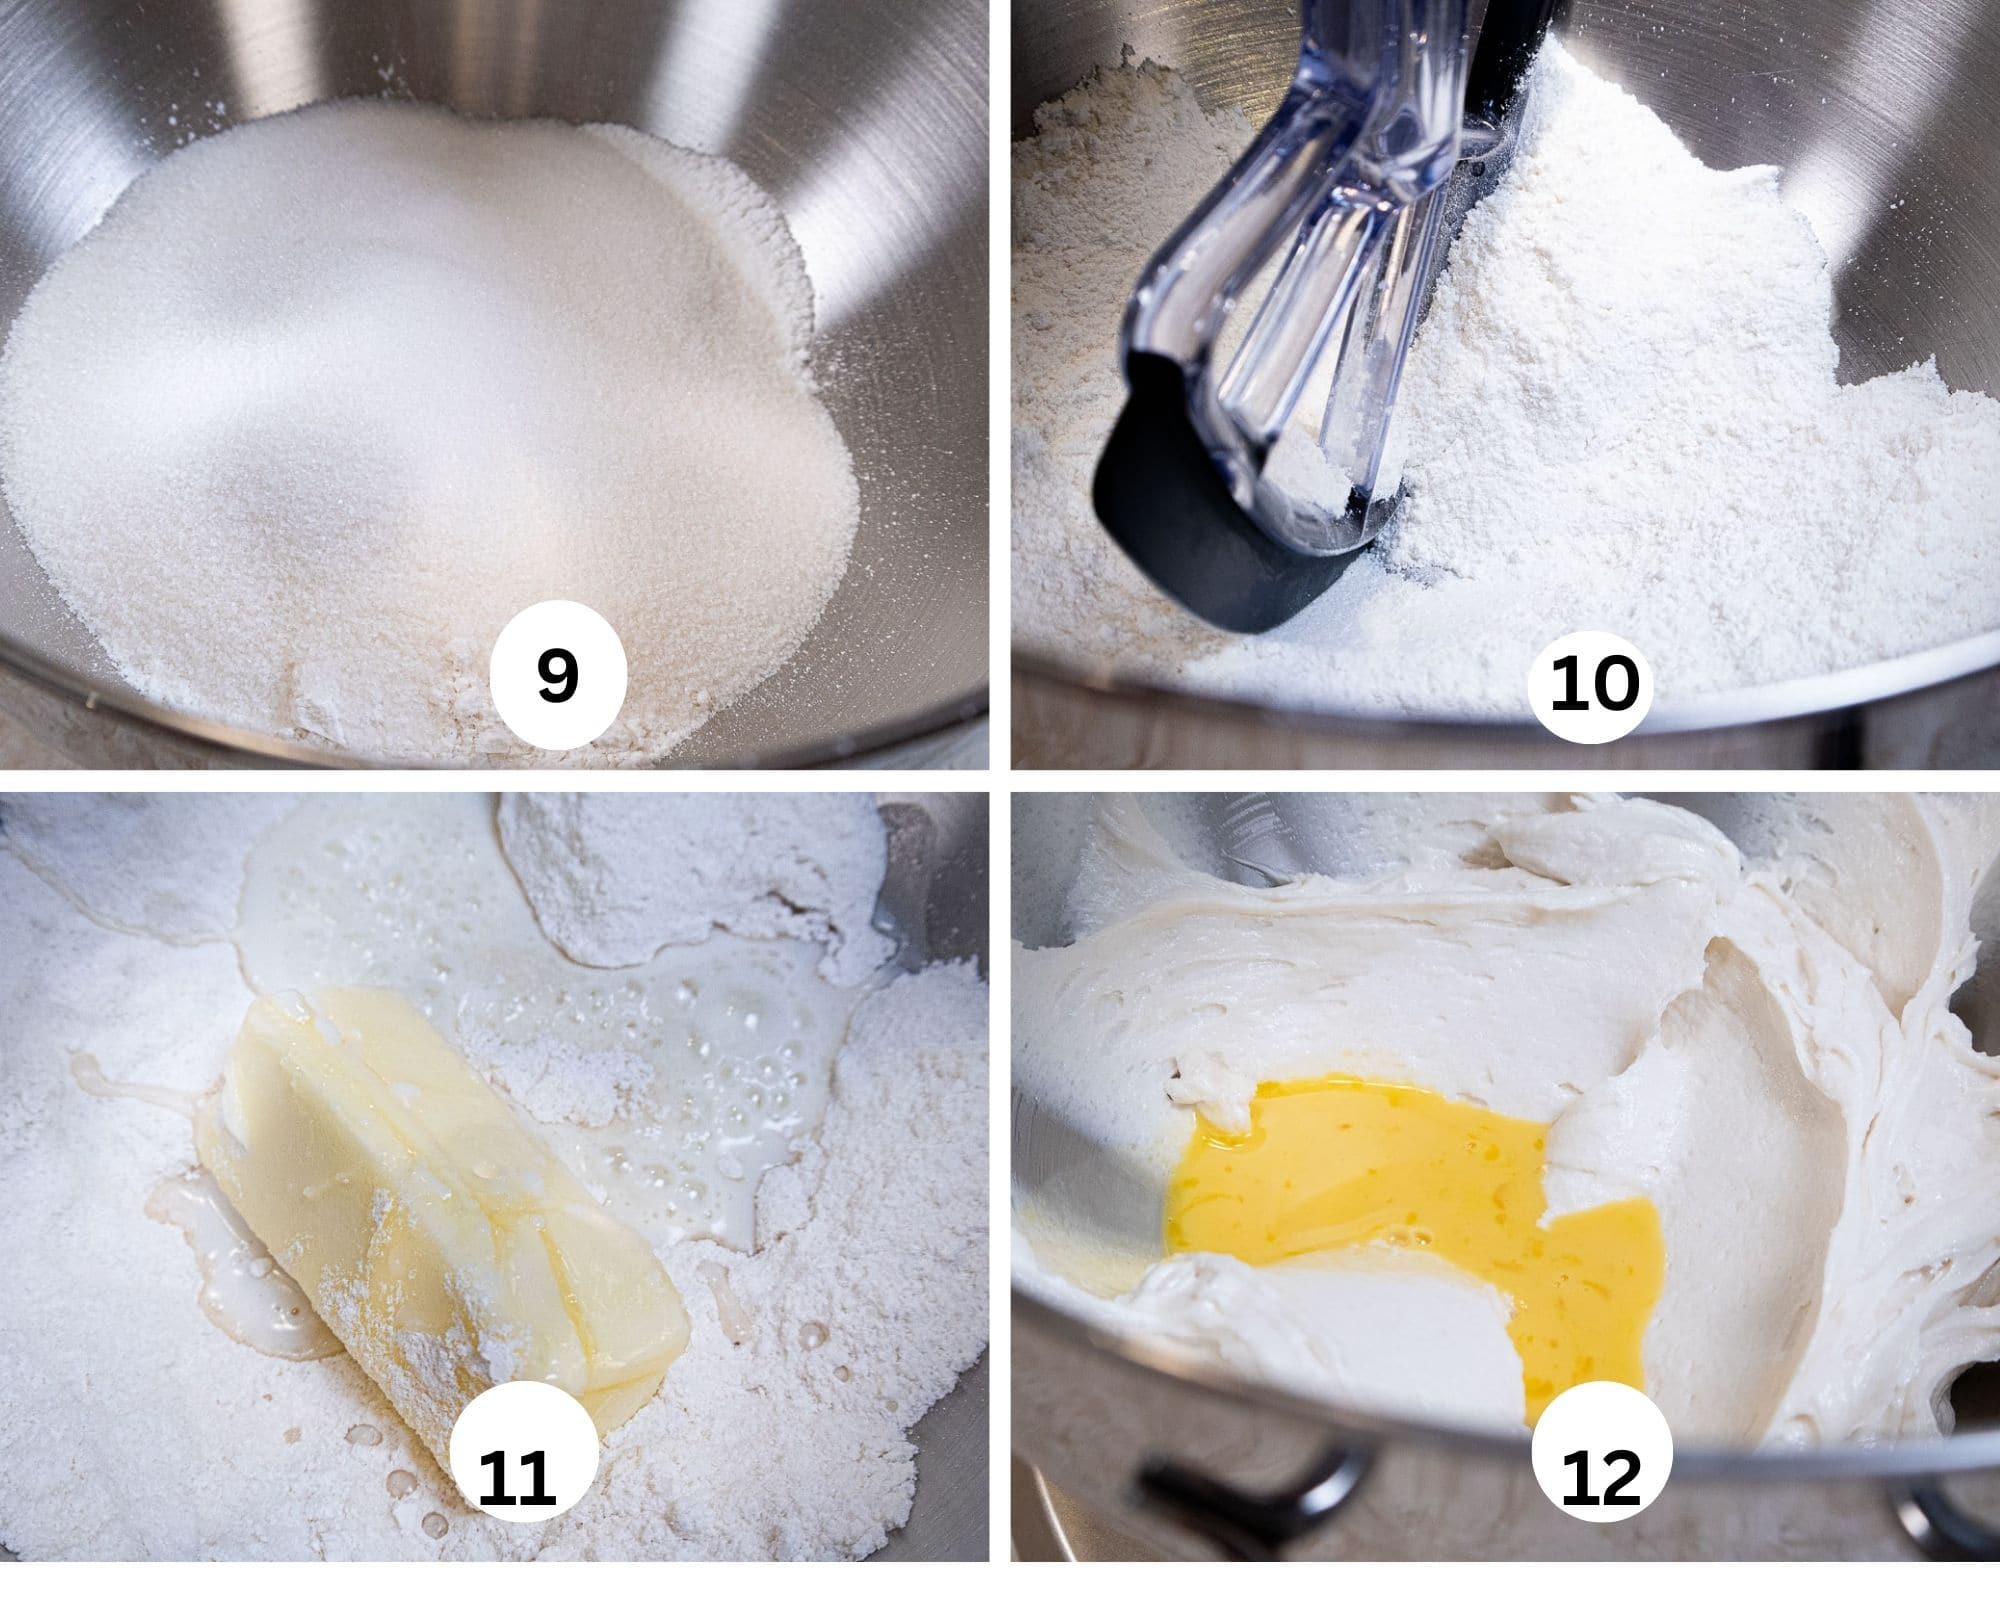
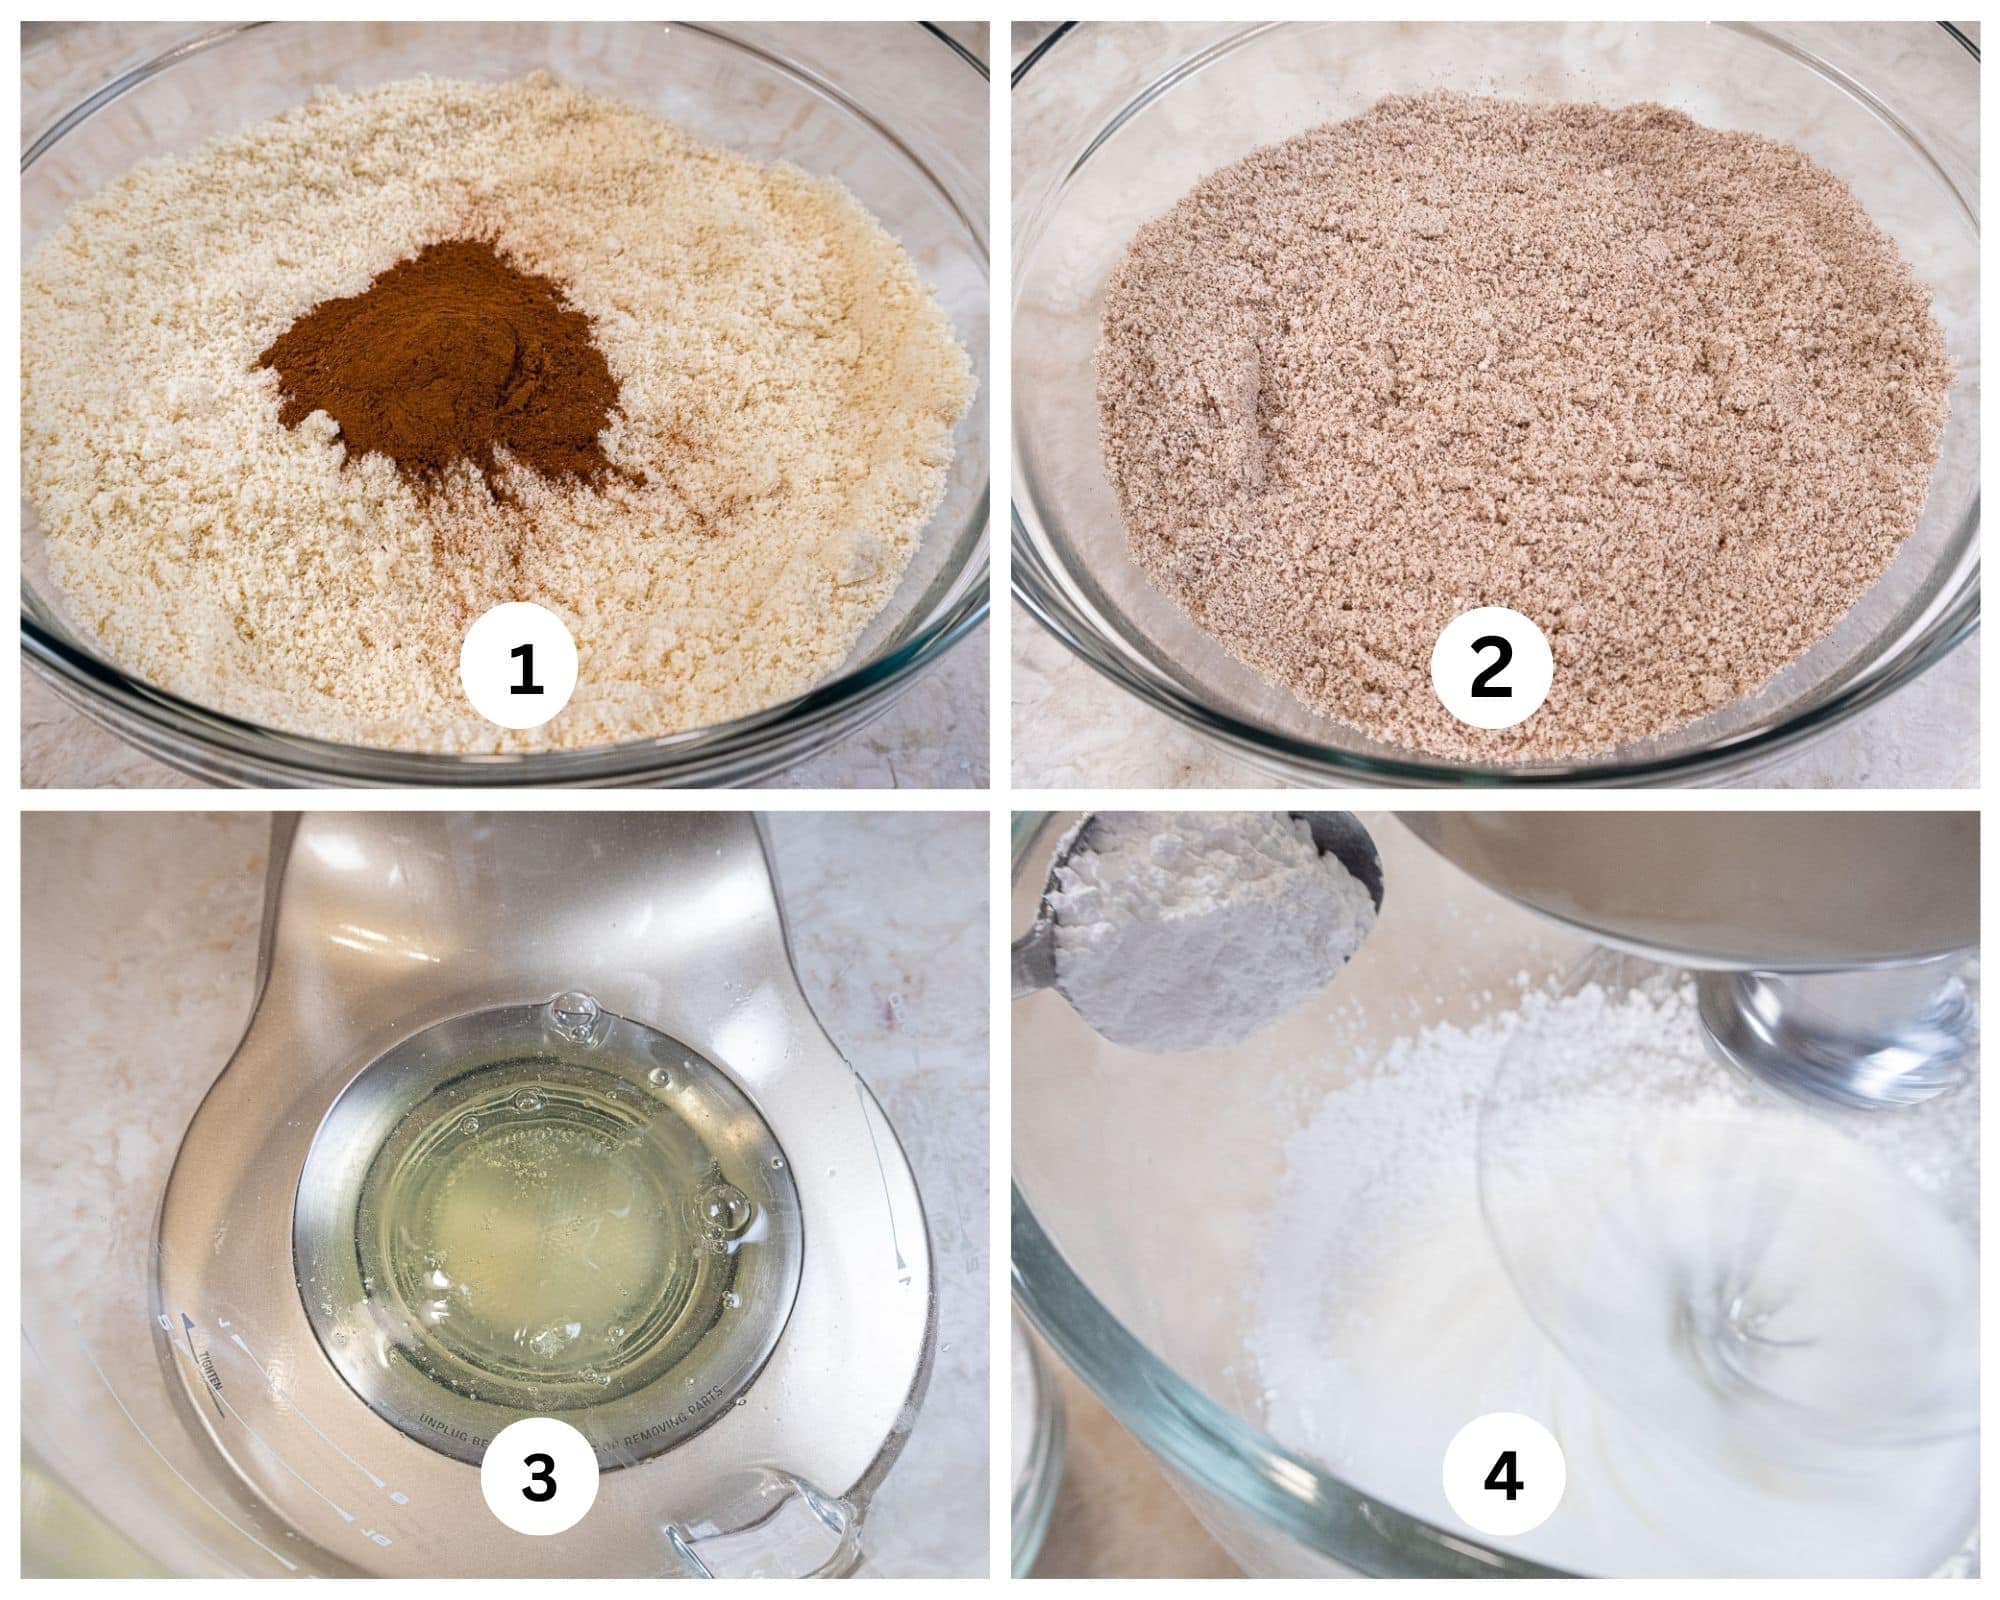
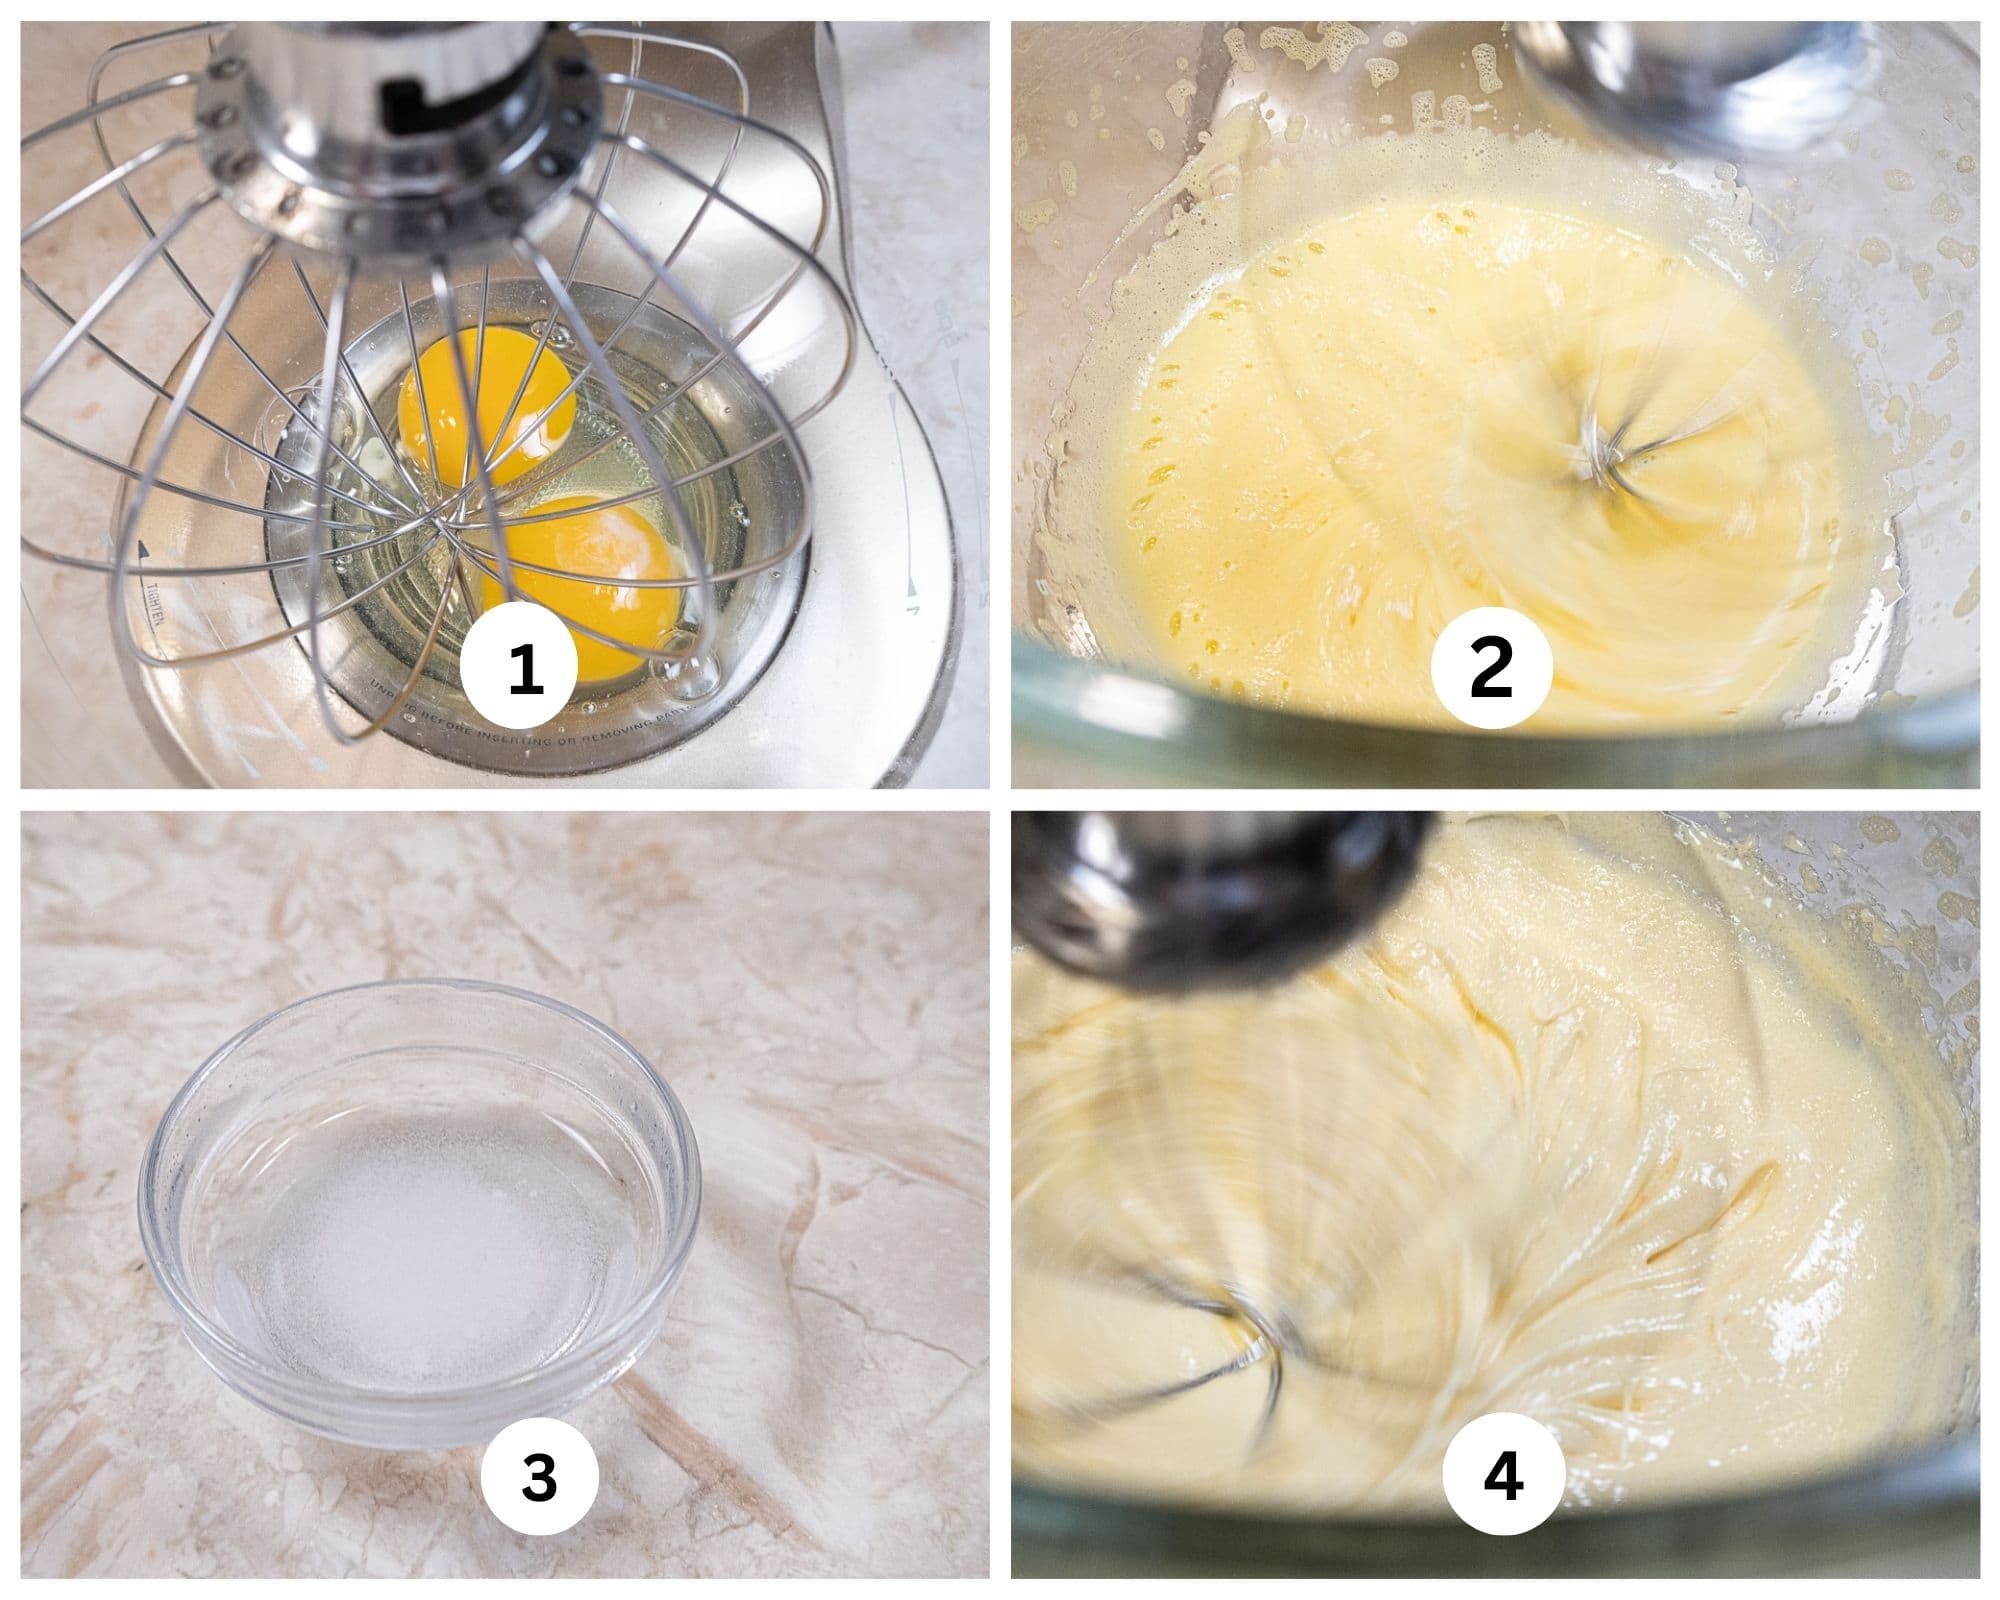
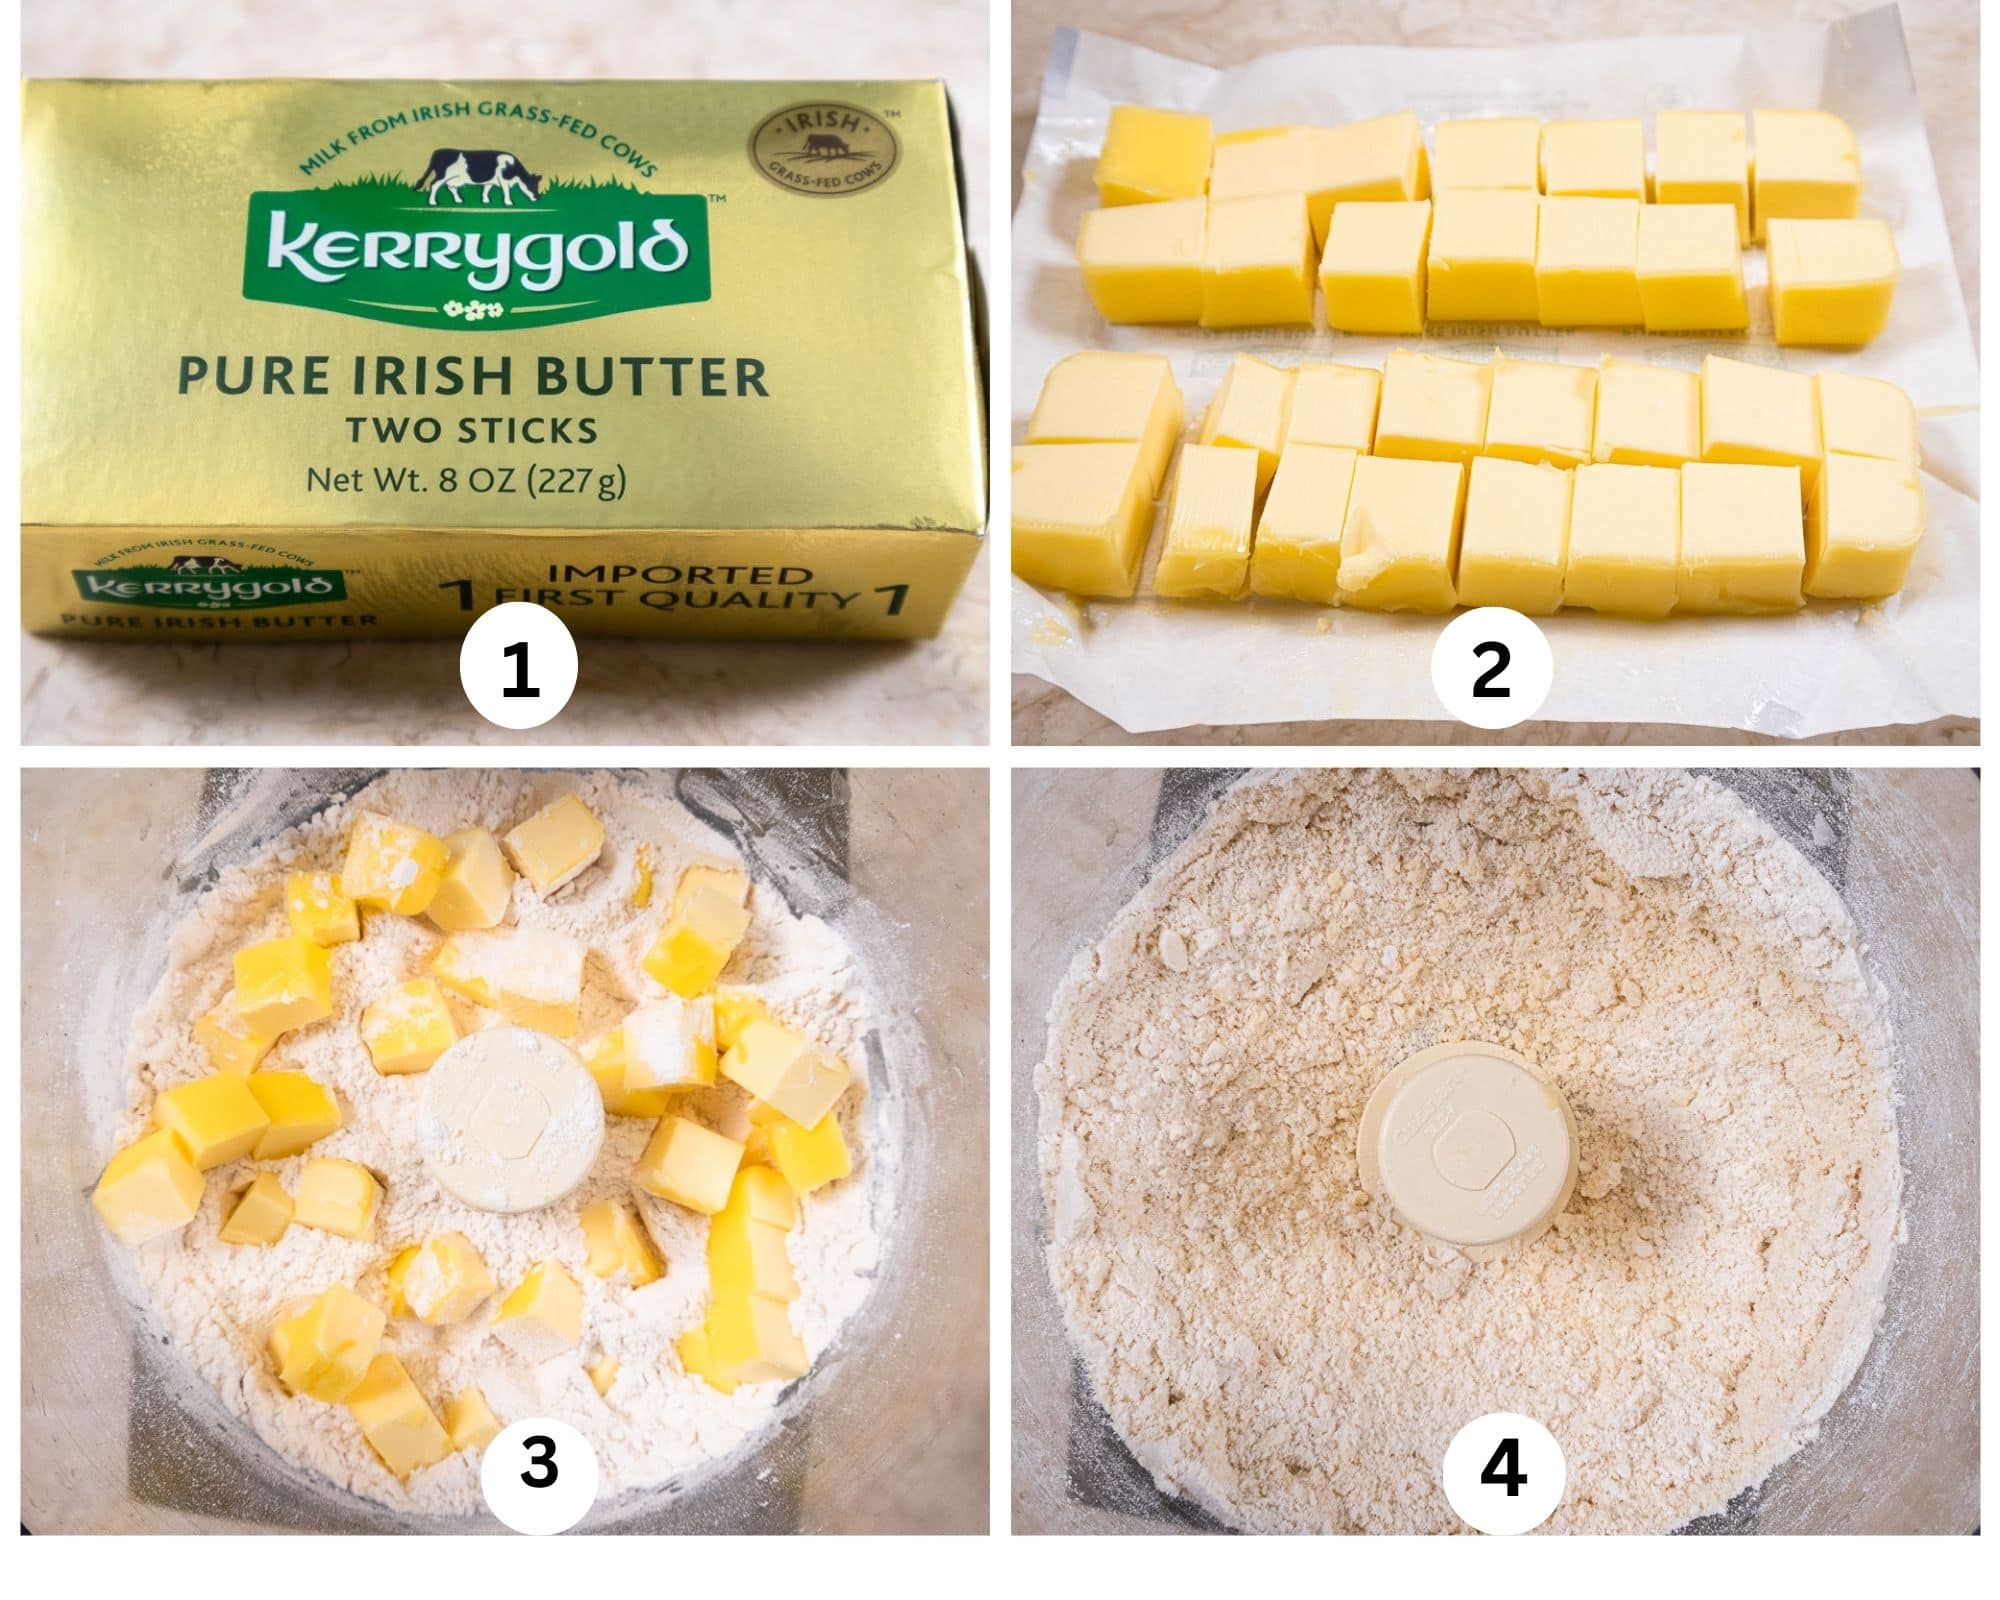
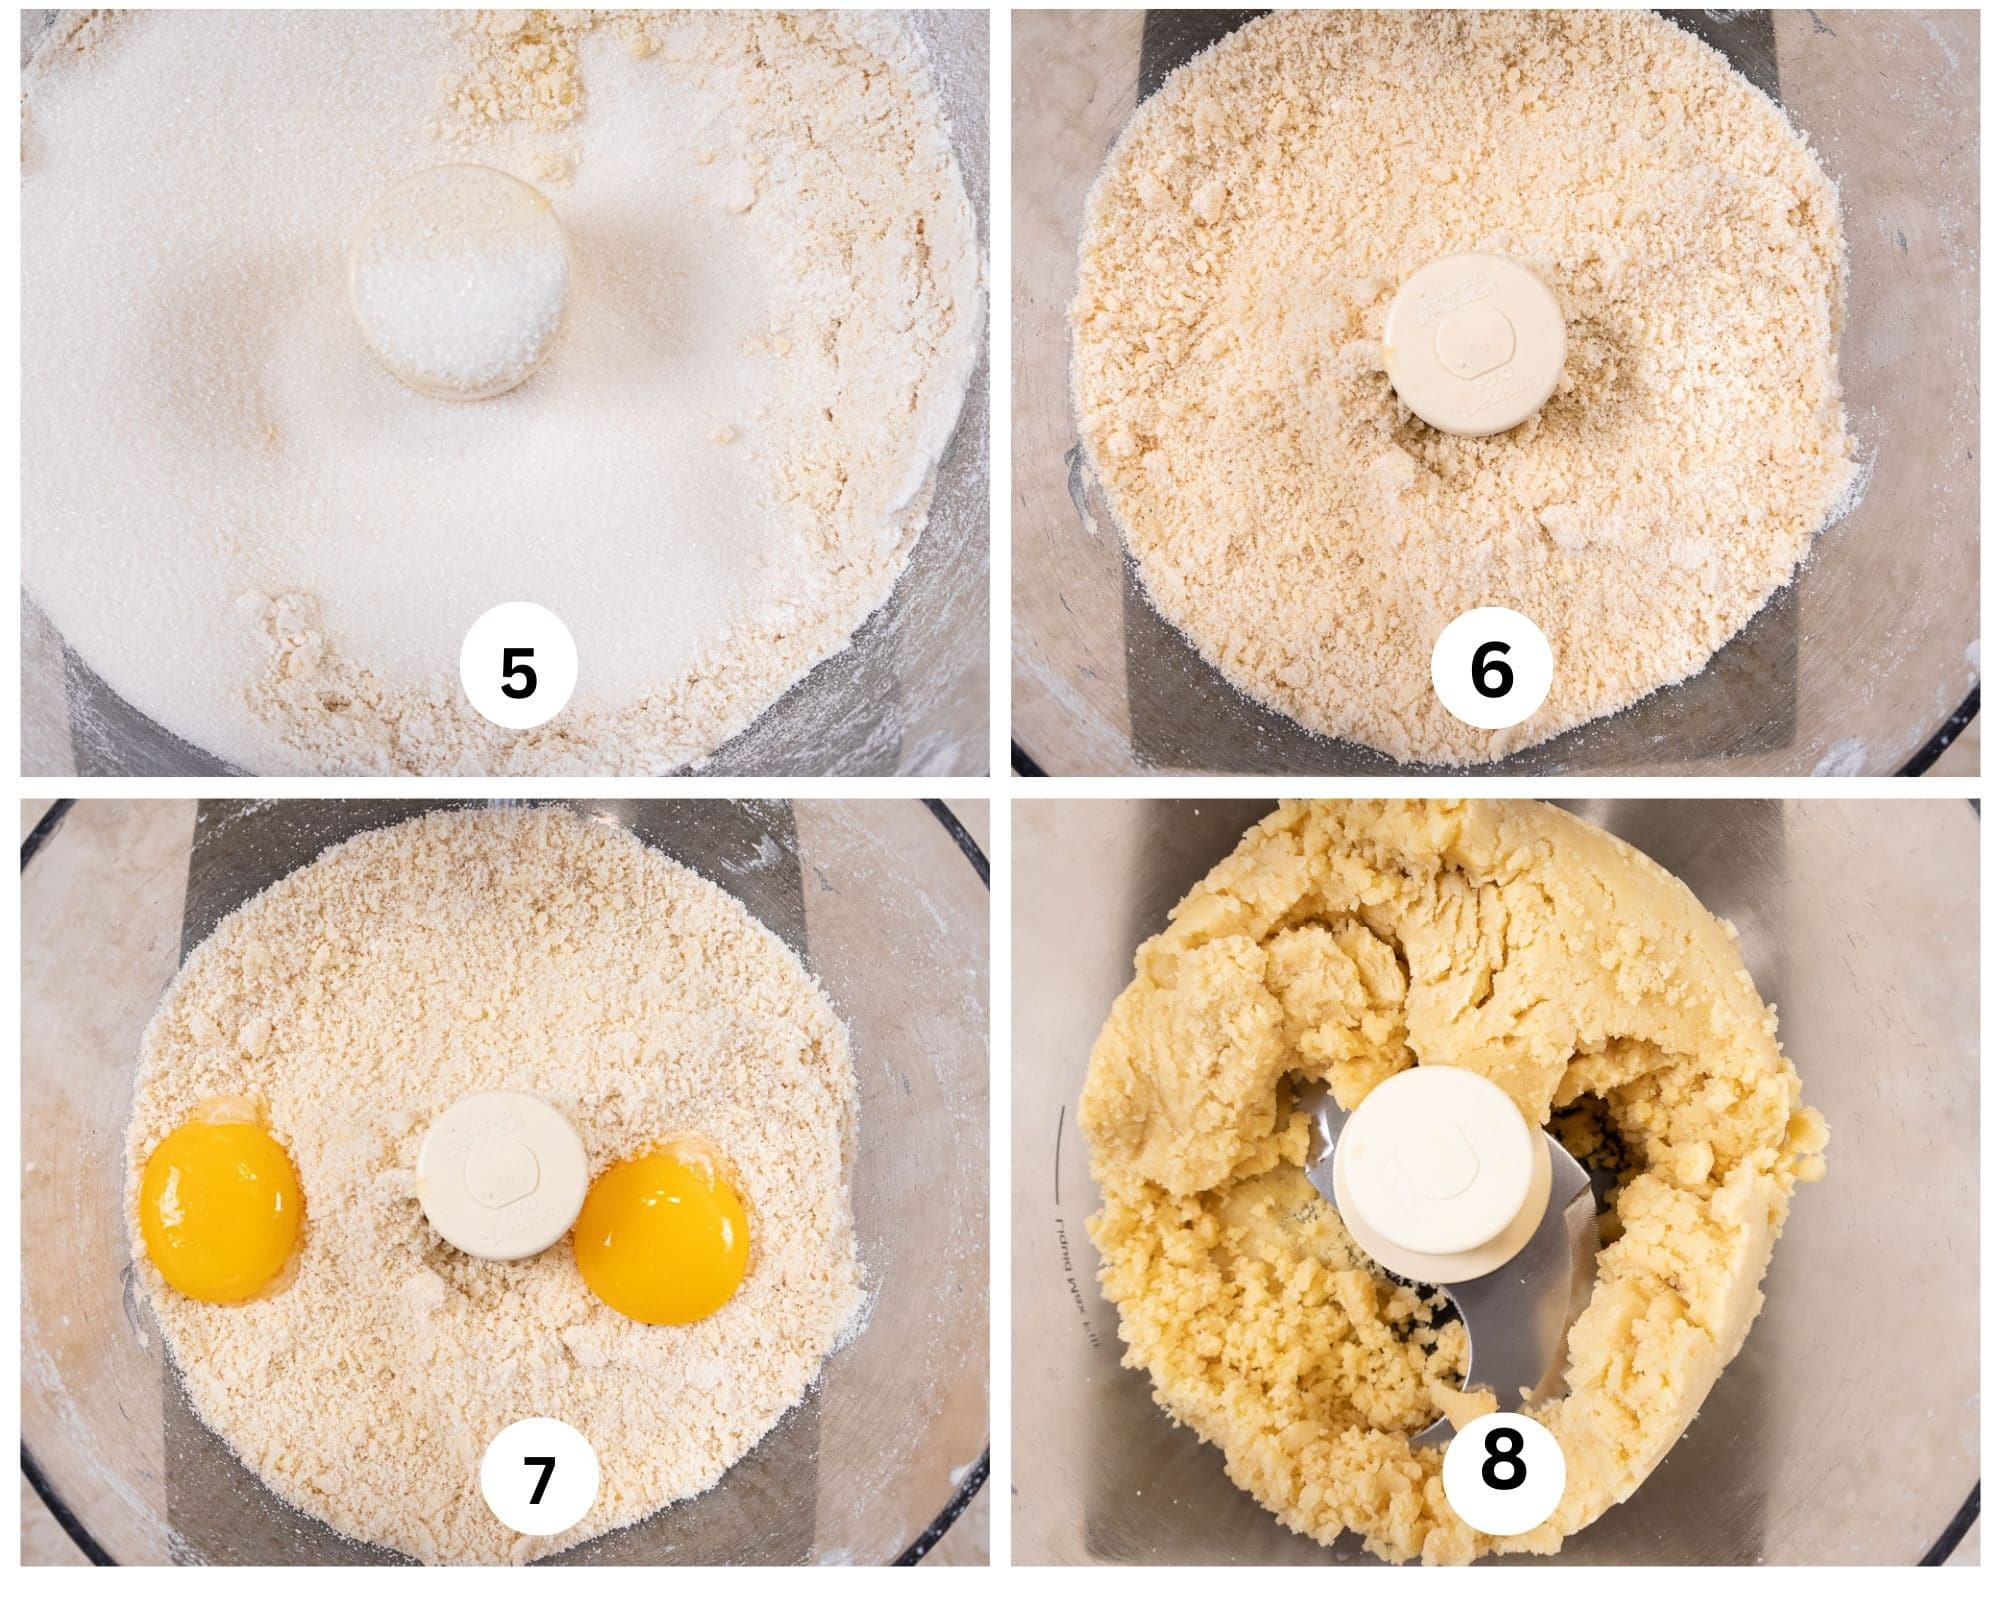
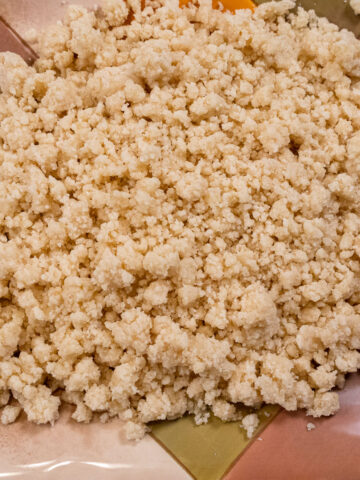
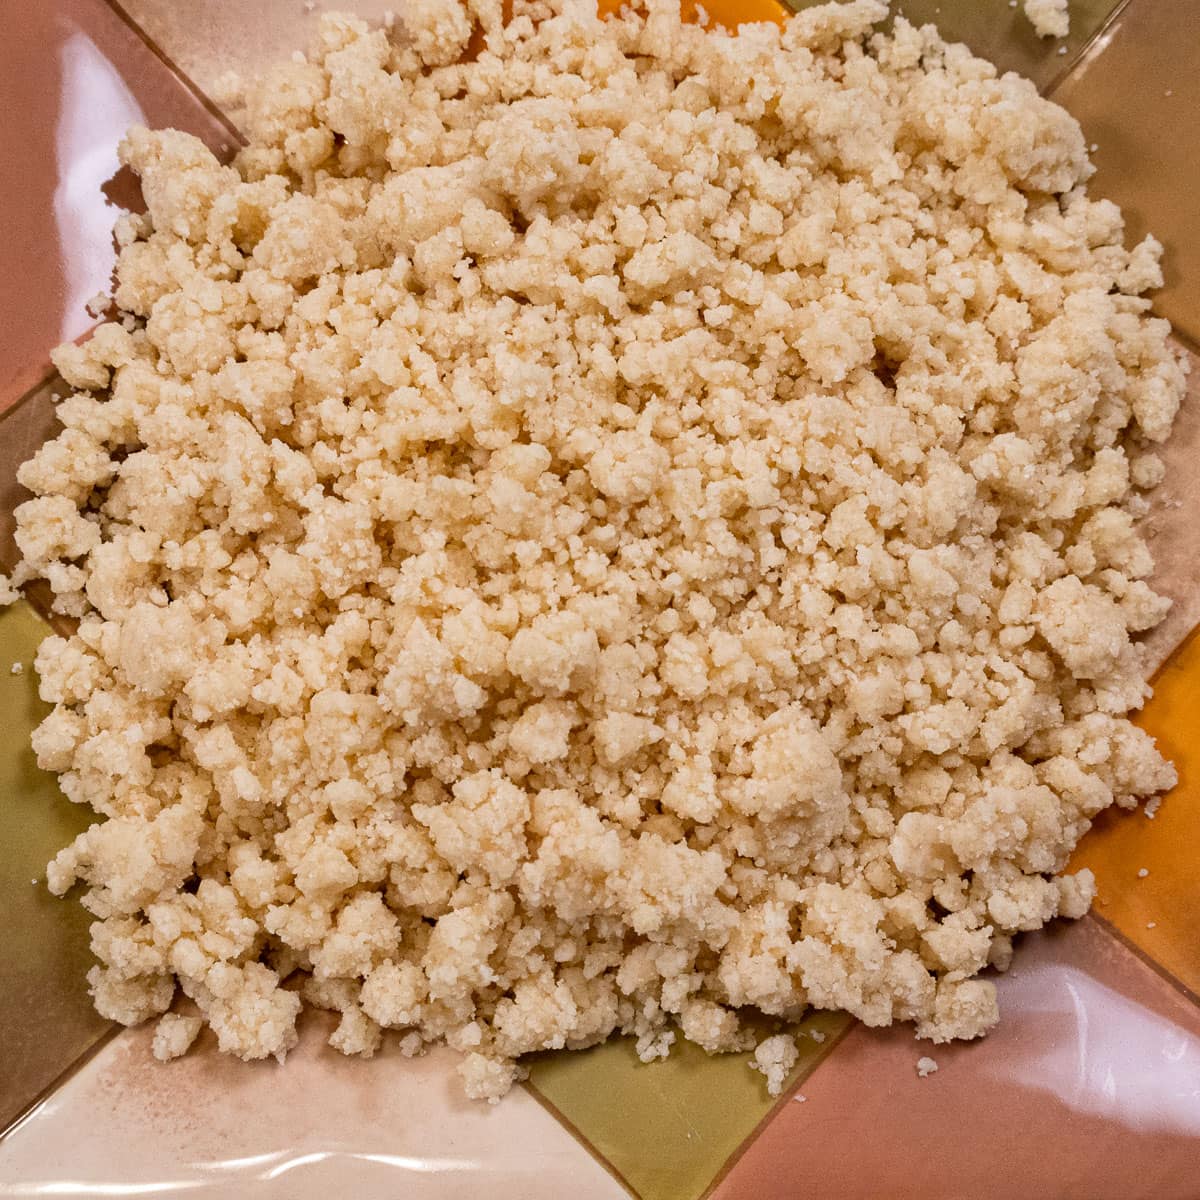
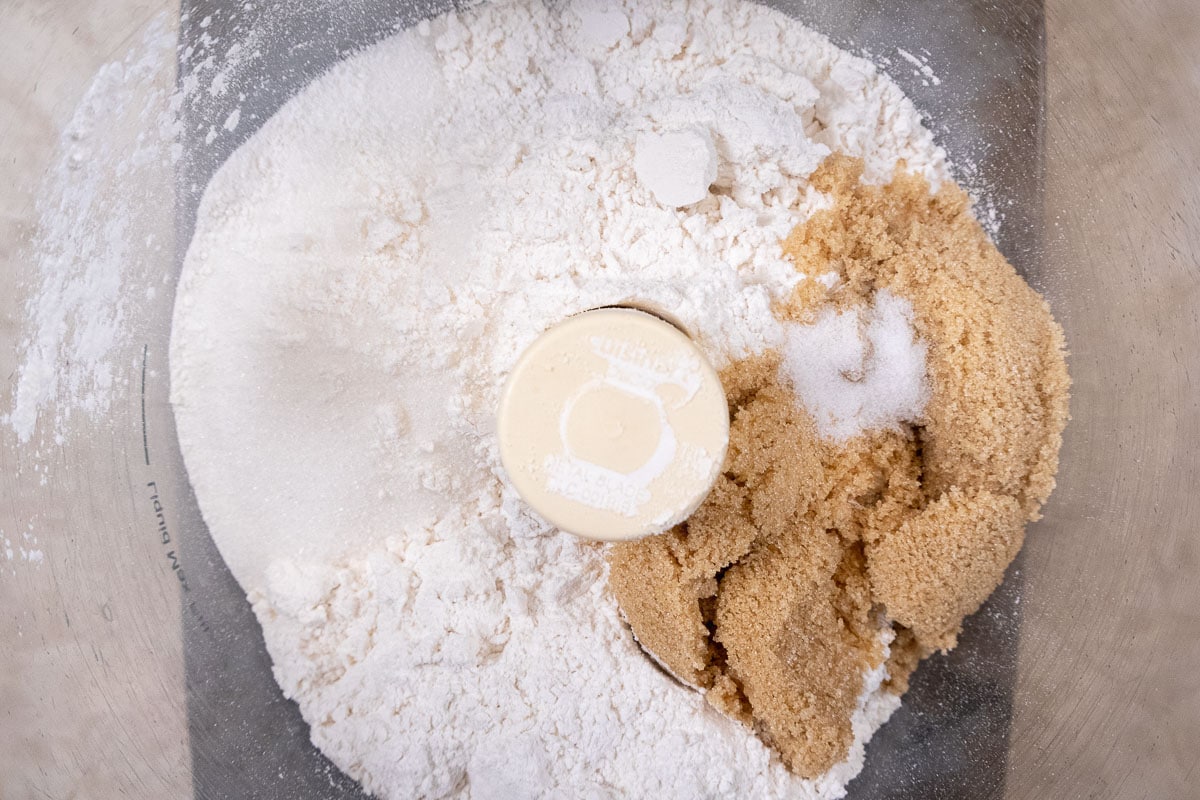
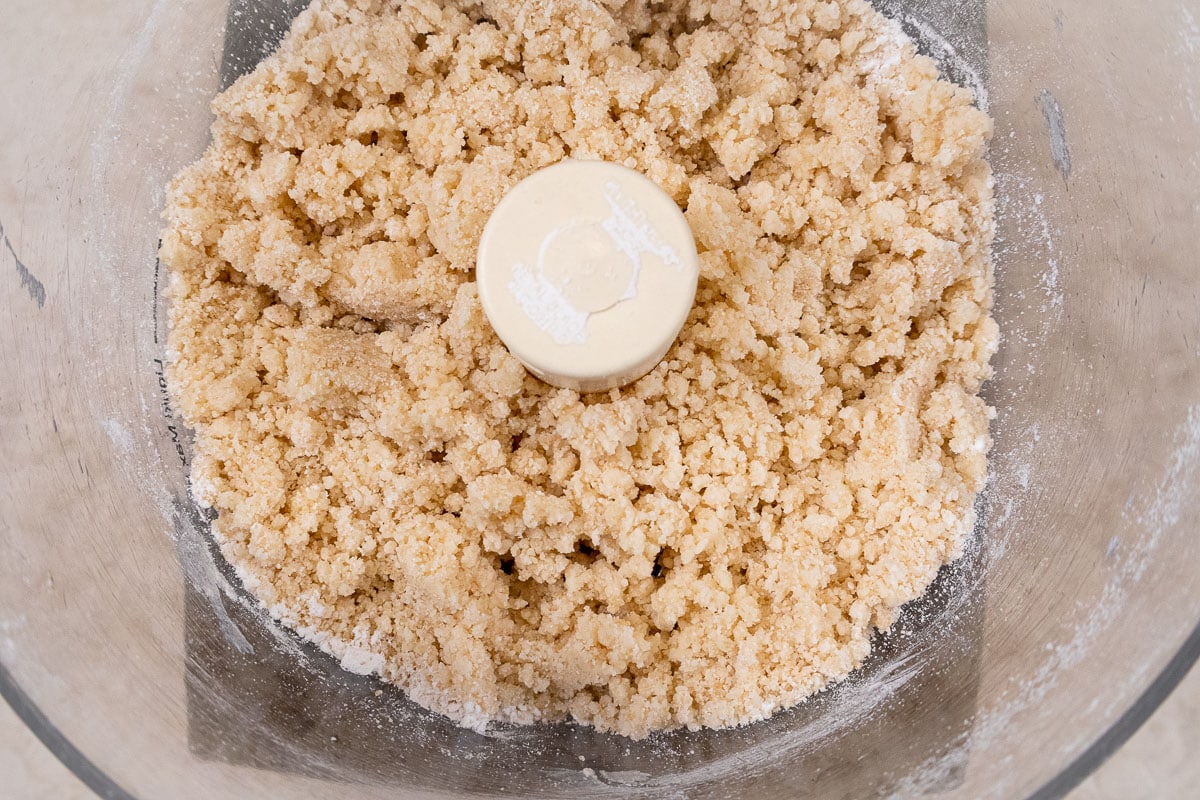
Step 1. Spray the center only of a 9" round cake pan with a non-stick baking release. Step 2. Line it with parchment paper and spray the center of the paper. For a complete explanation of how to bake flat cake layers, please see my post on How to Bake a Flat Cake. Step 3. Tear the almond paste in pieces and place it along with the sugar and orange zest in the bowl of a processor. Step 4. Process until it is very fine.
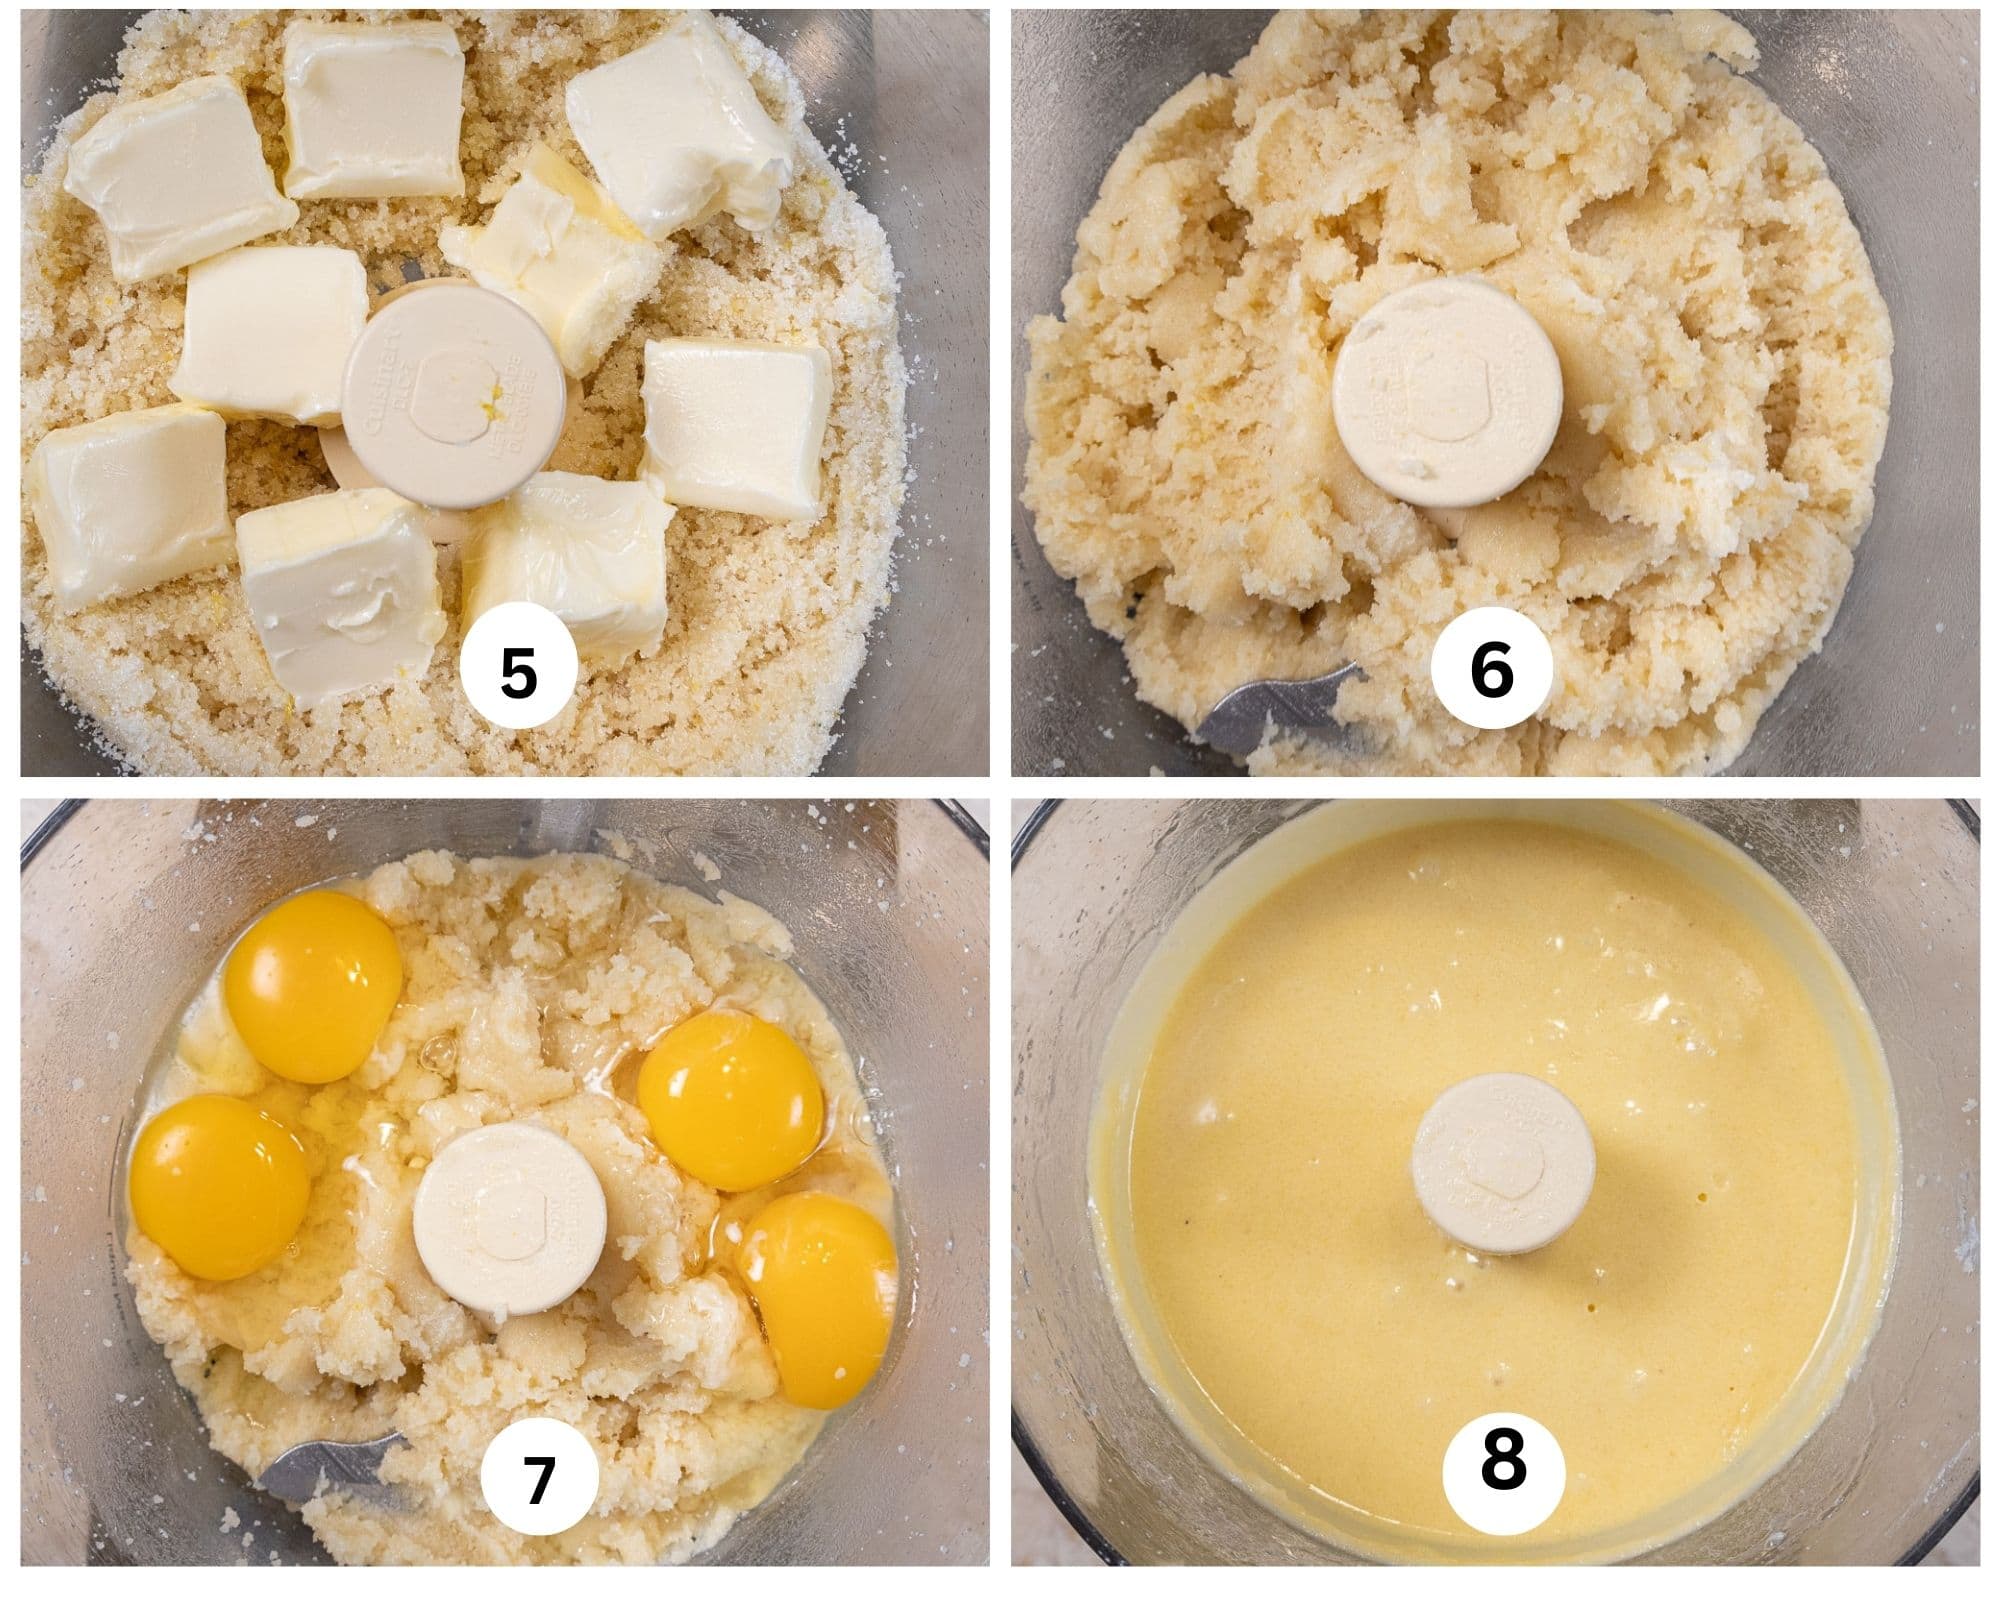
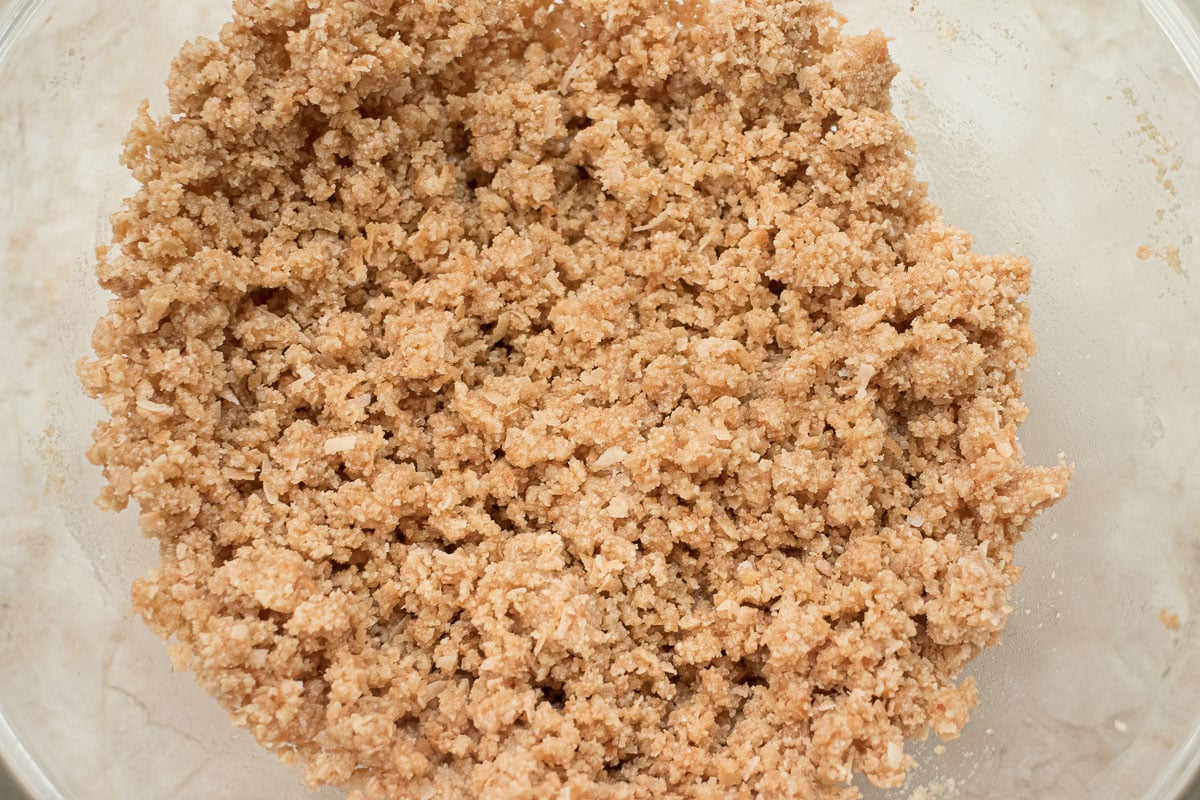
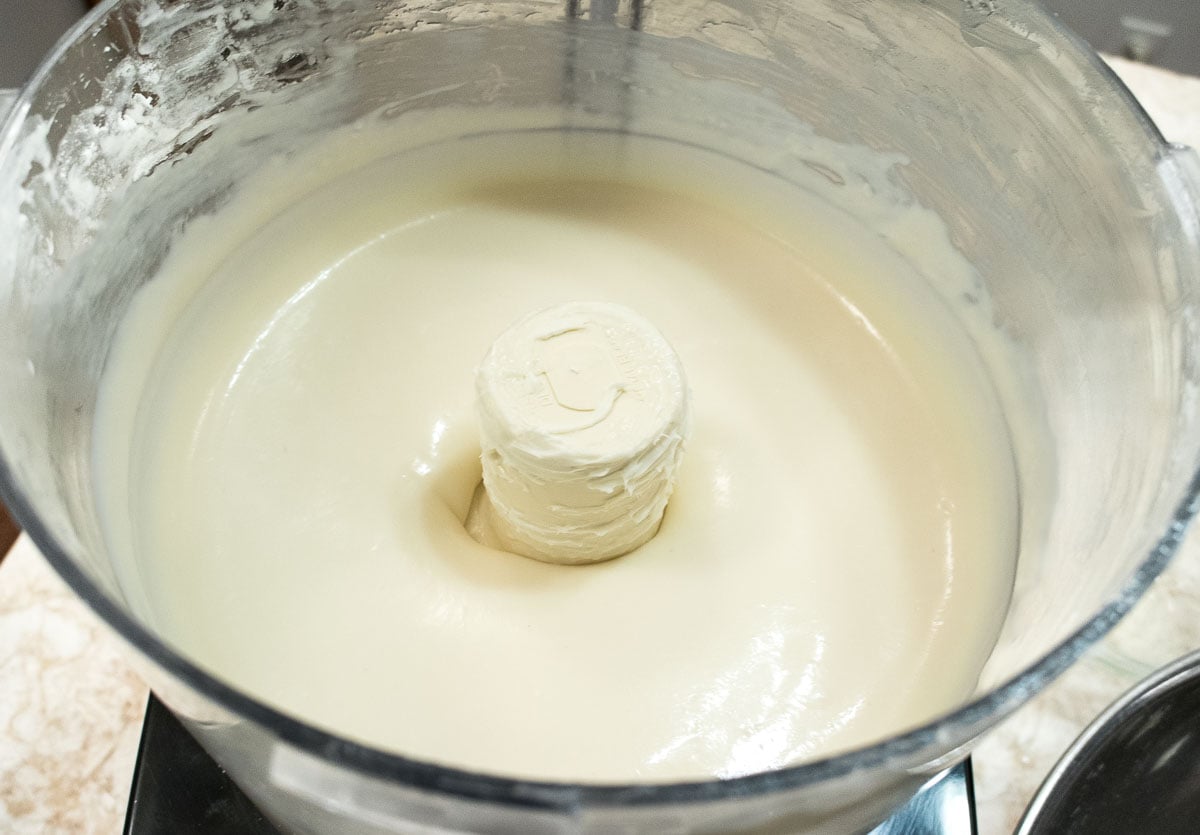
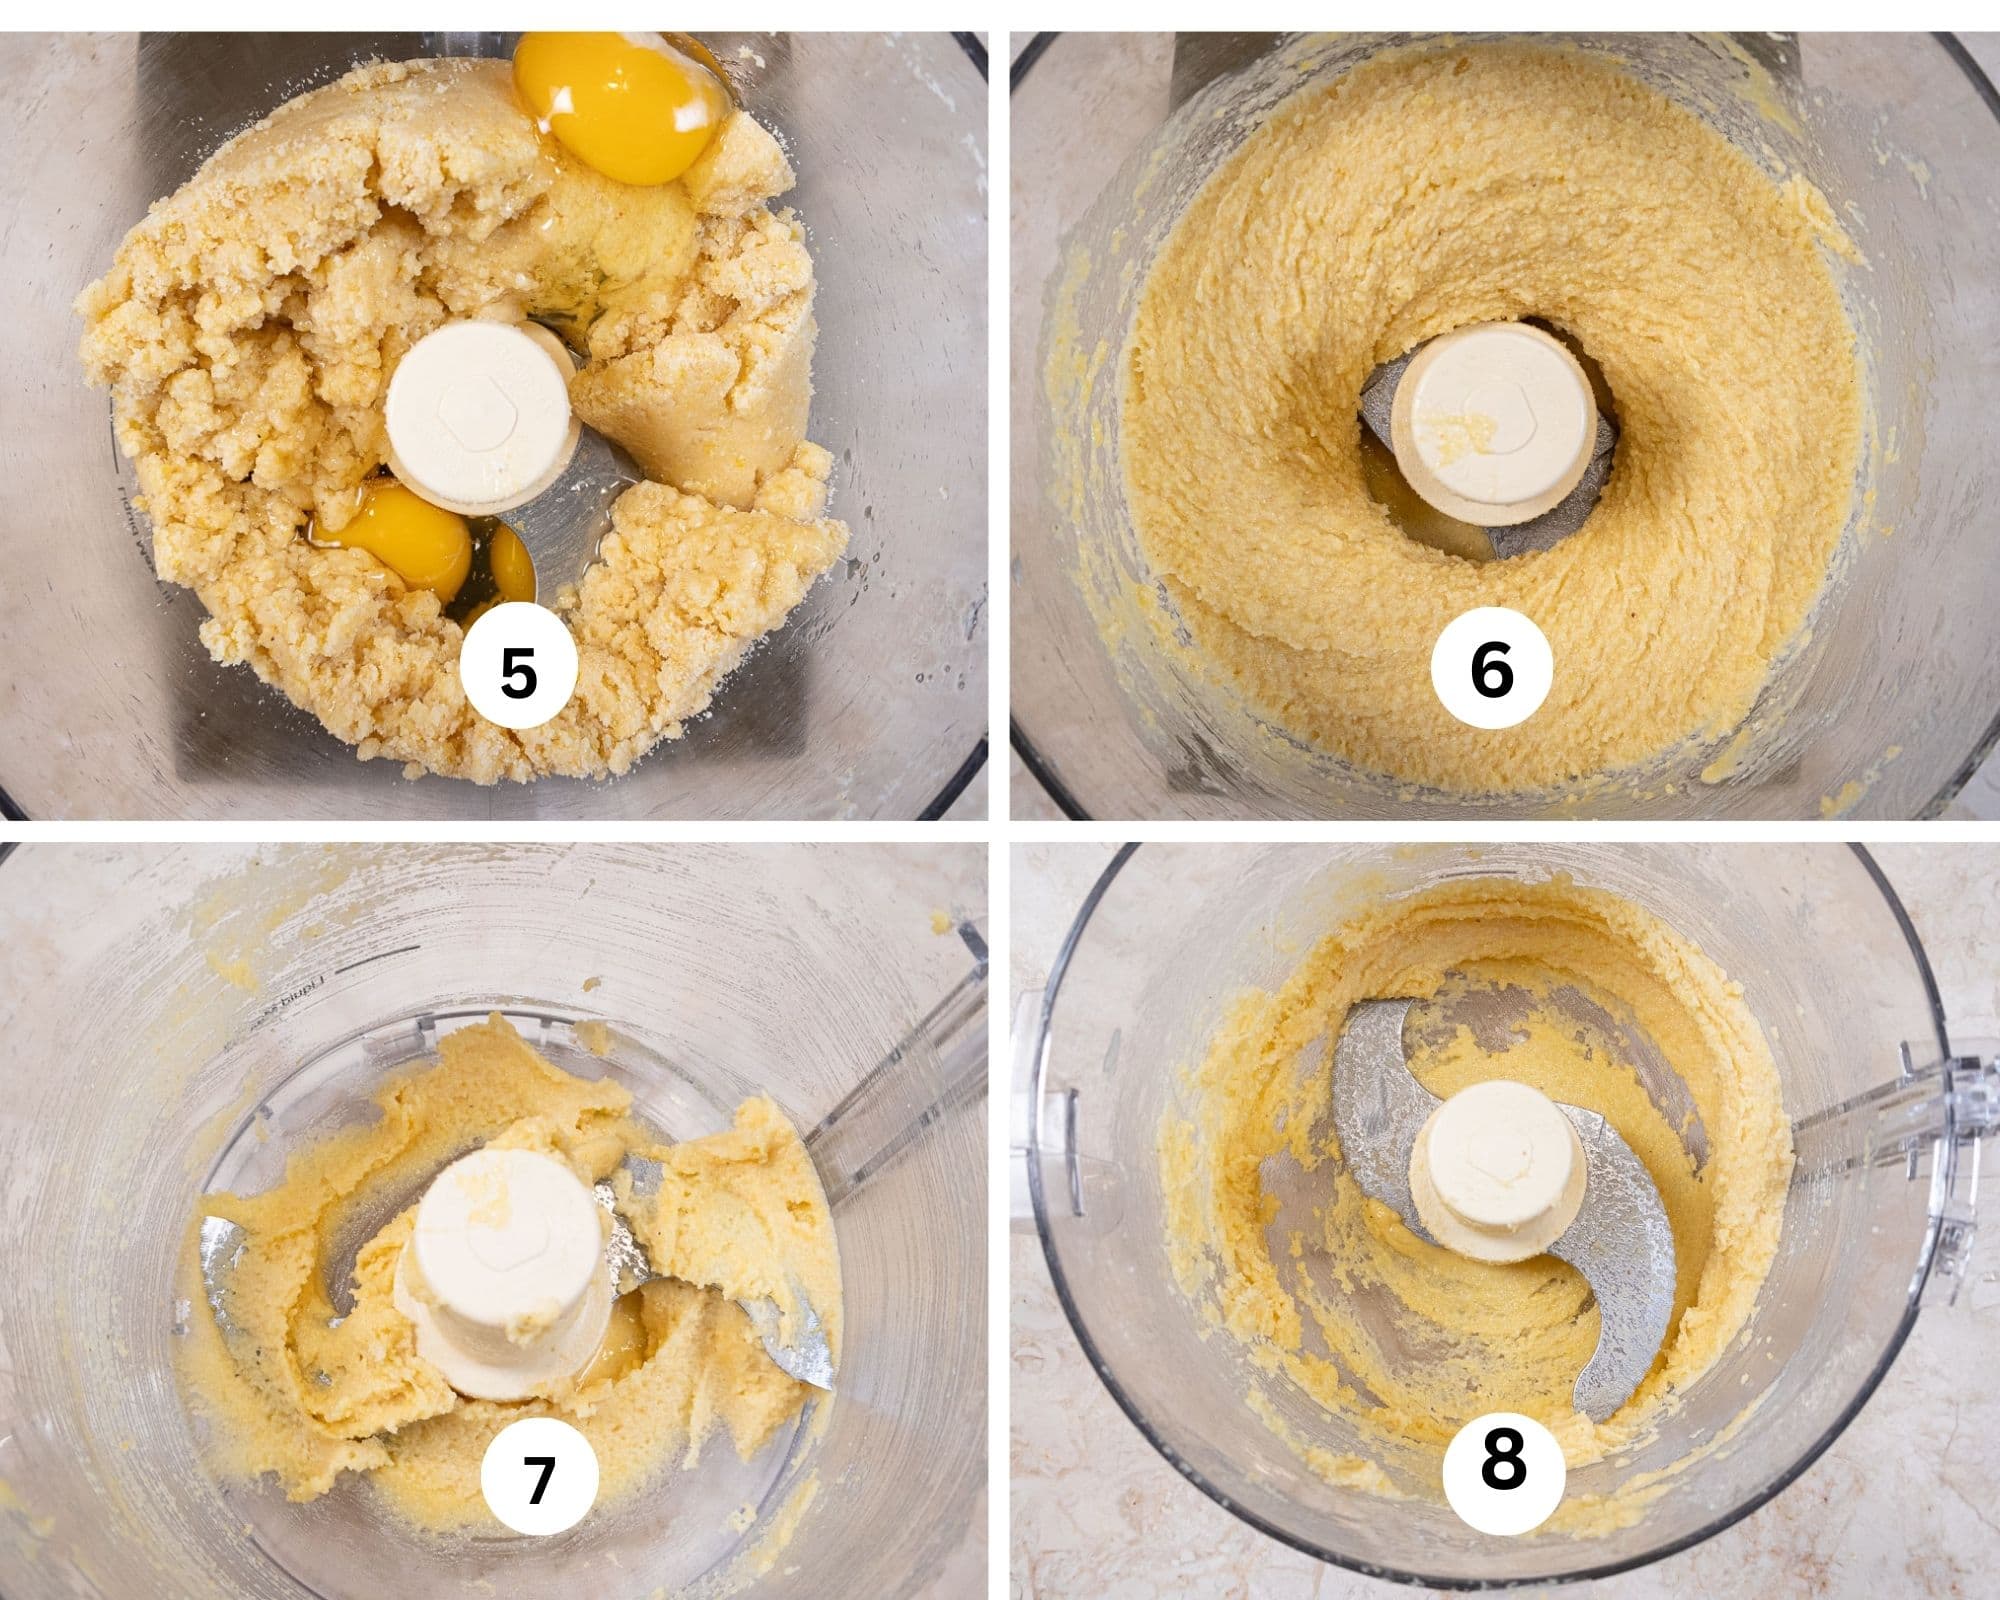
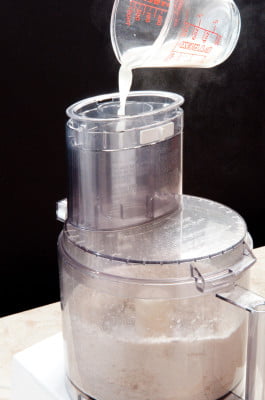
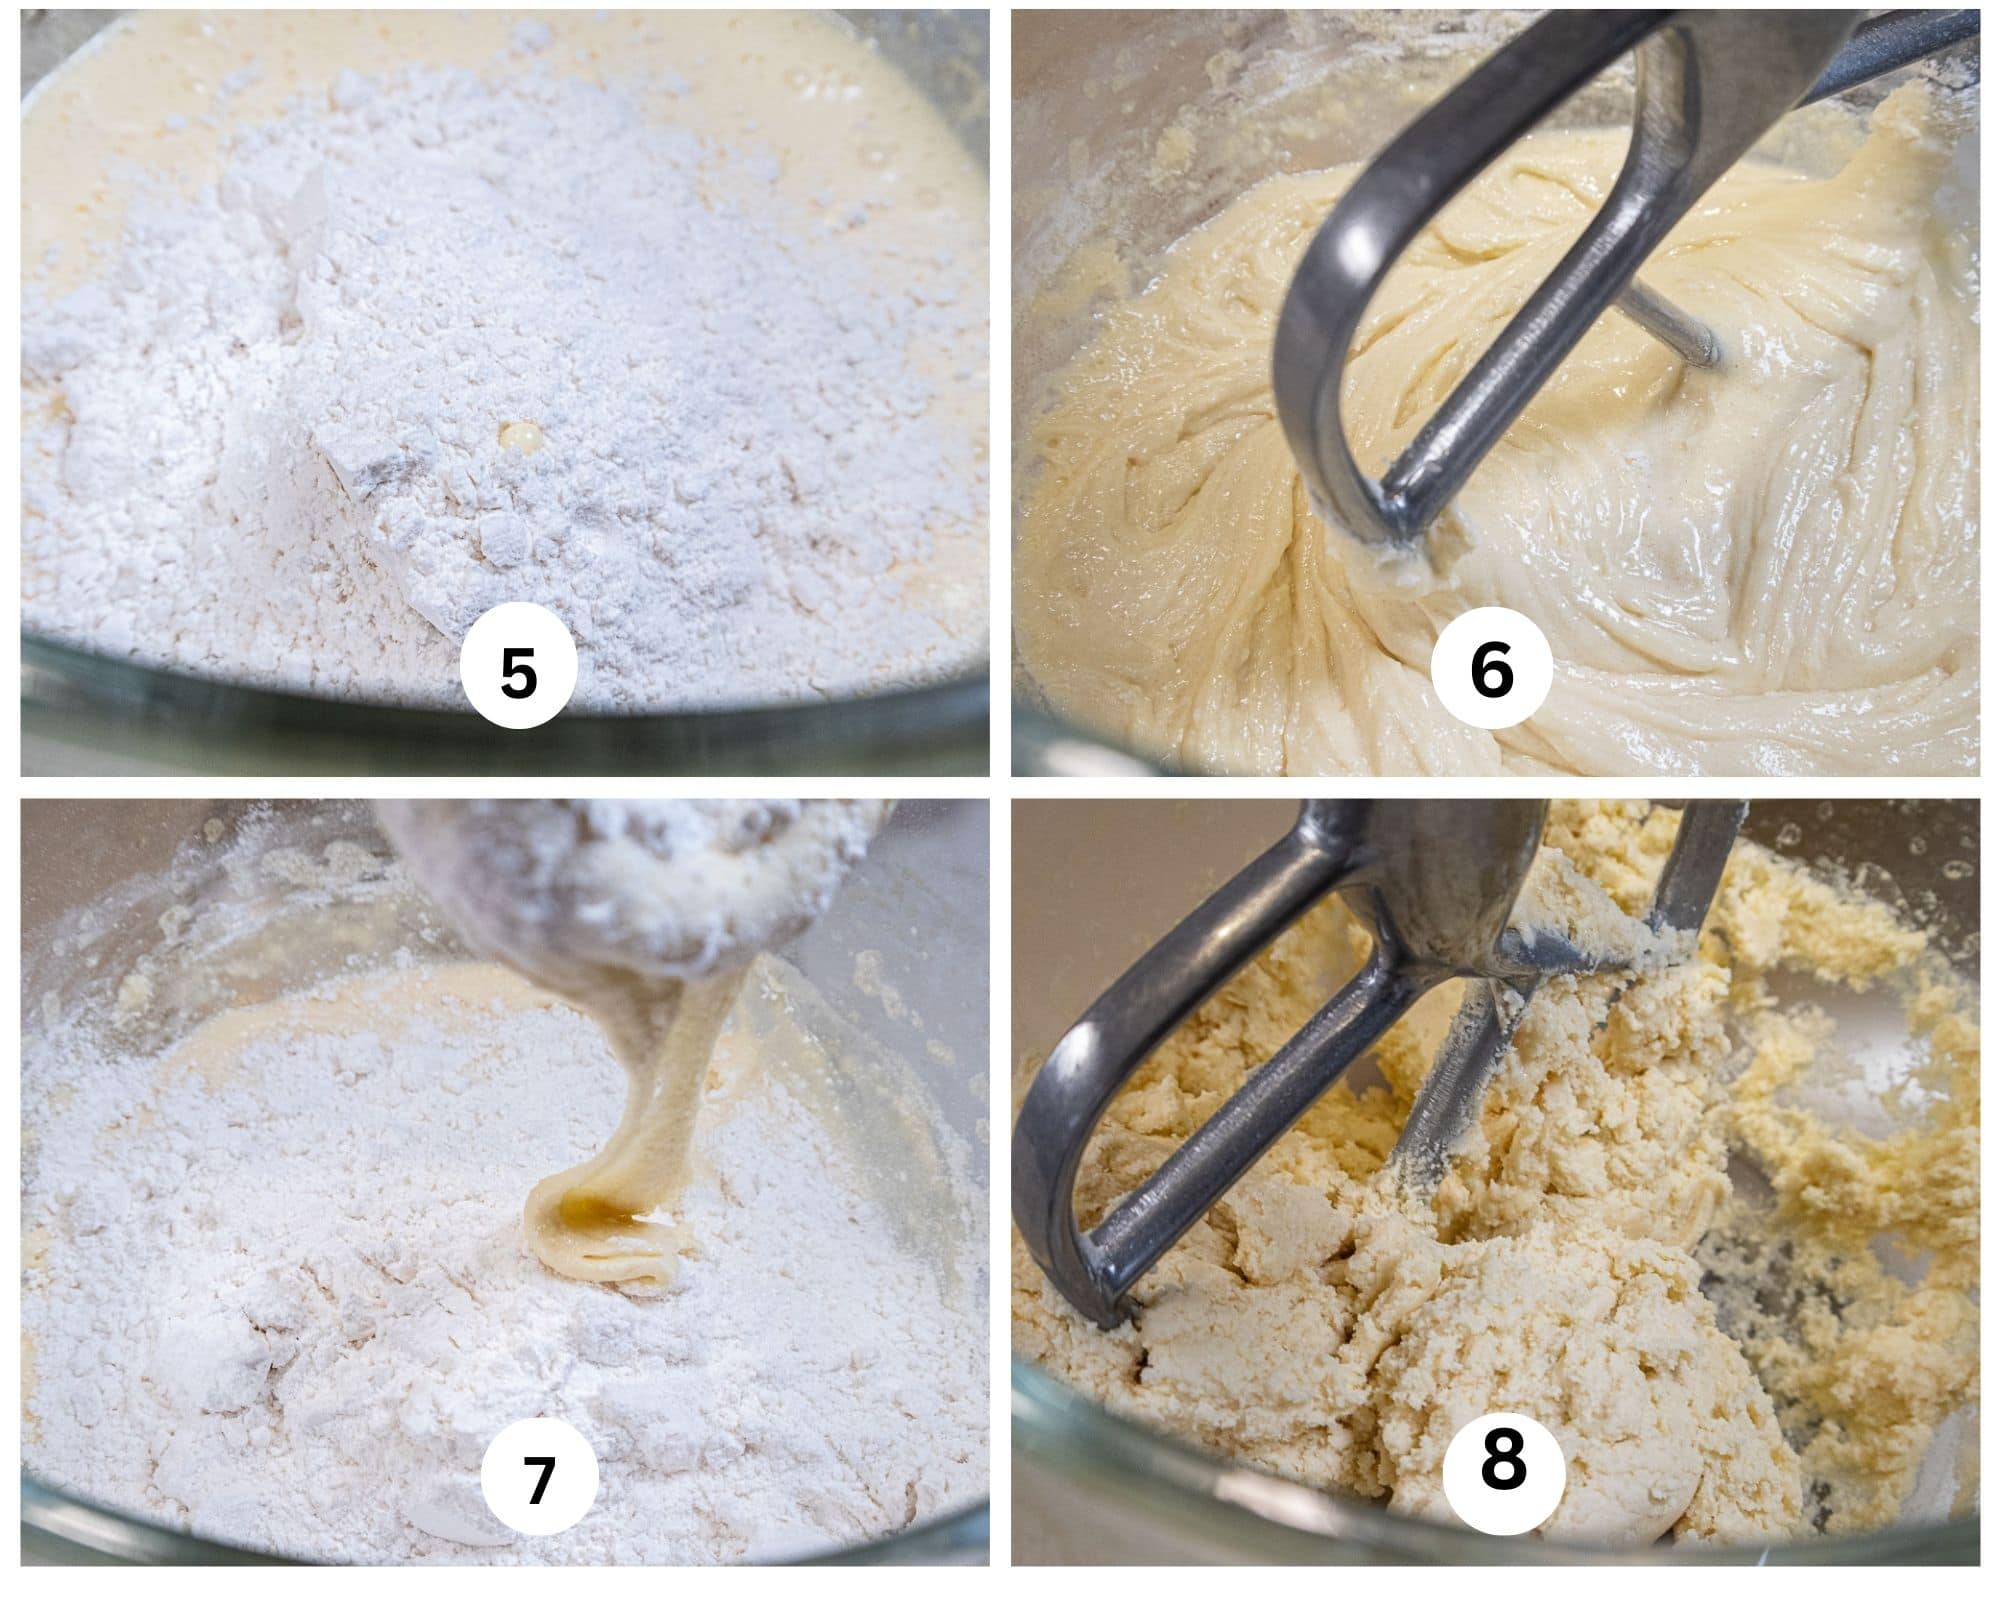
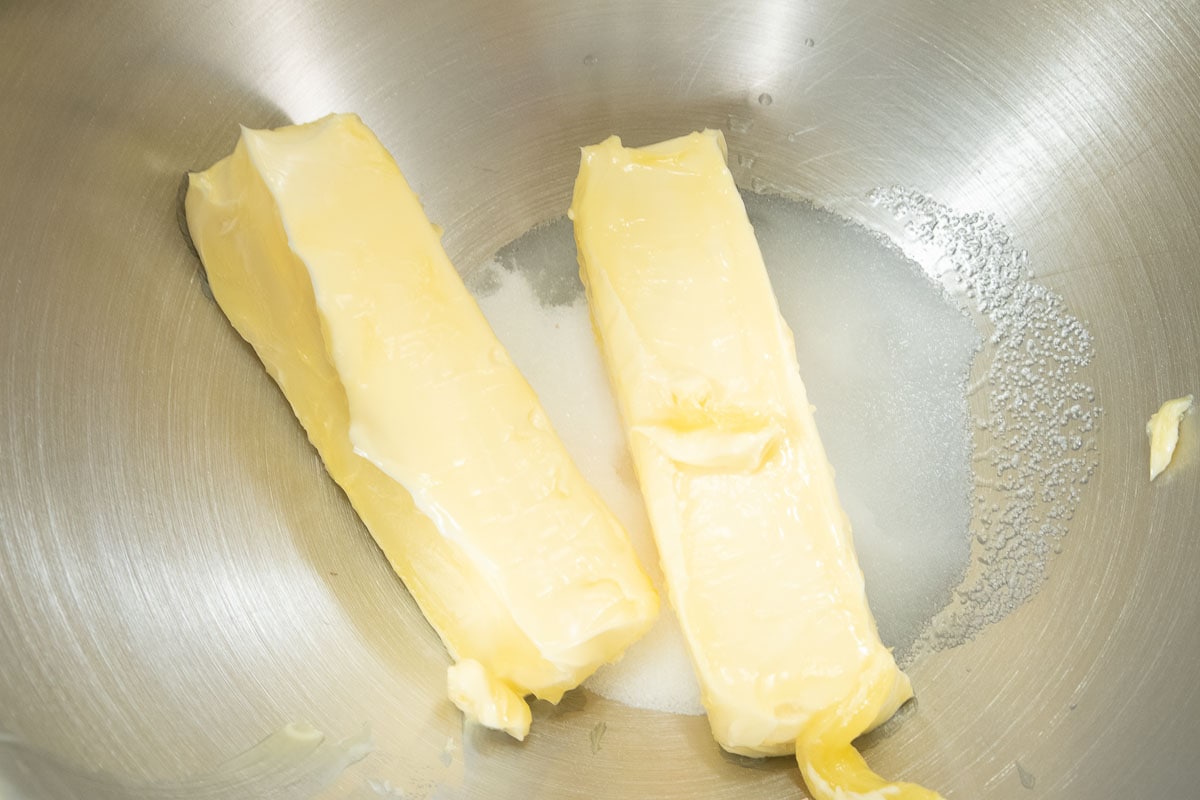
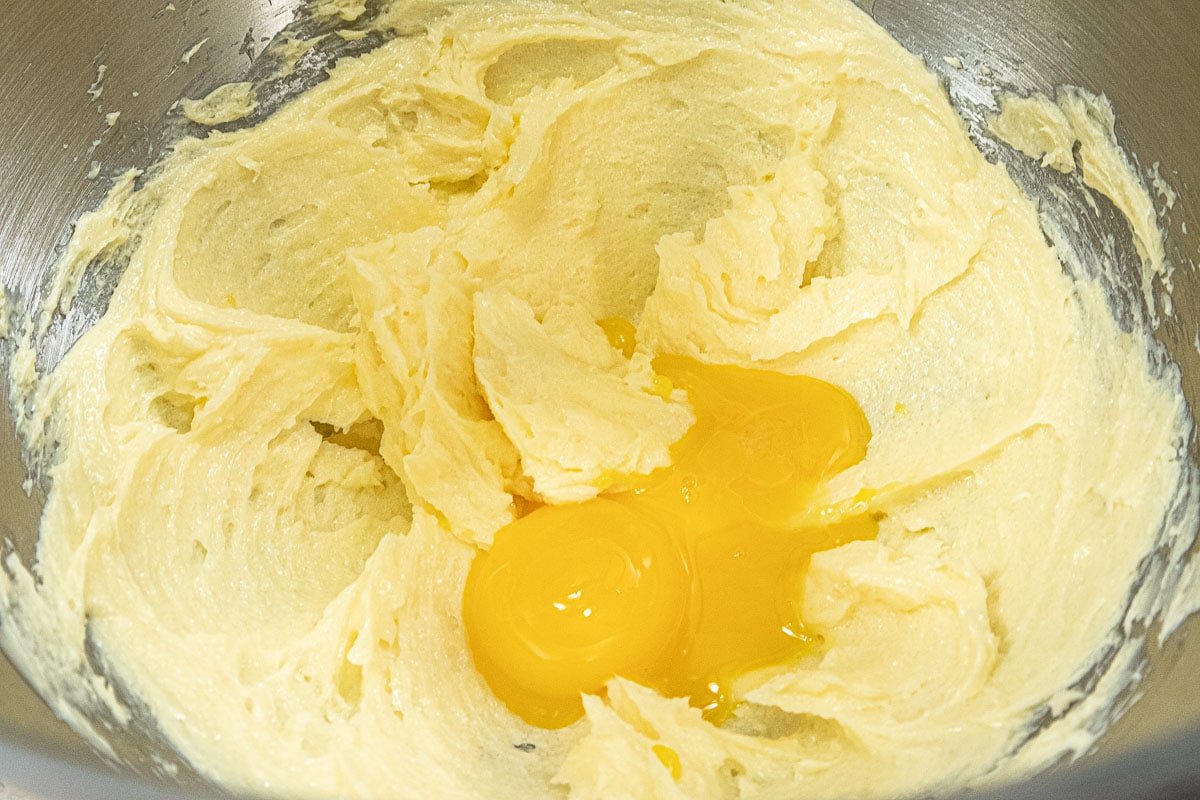
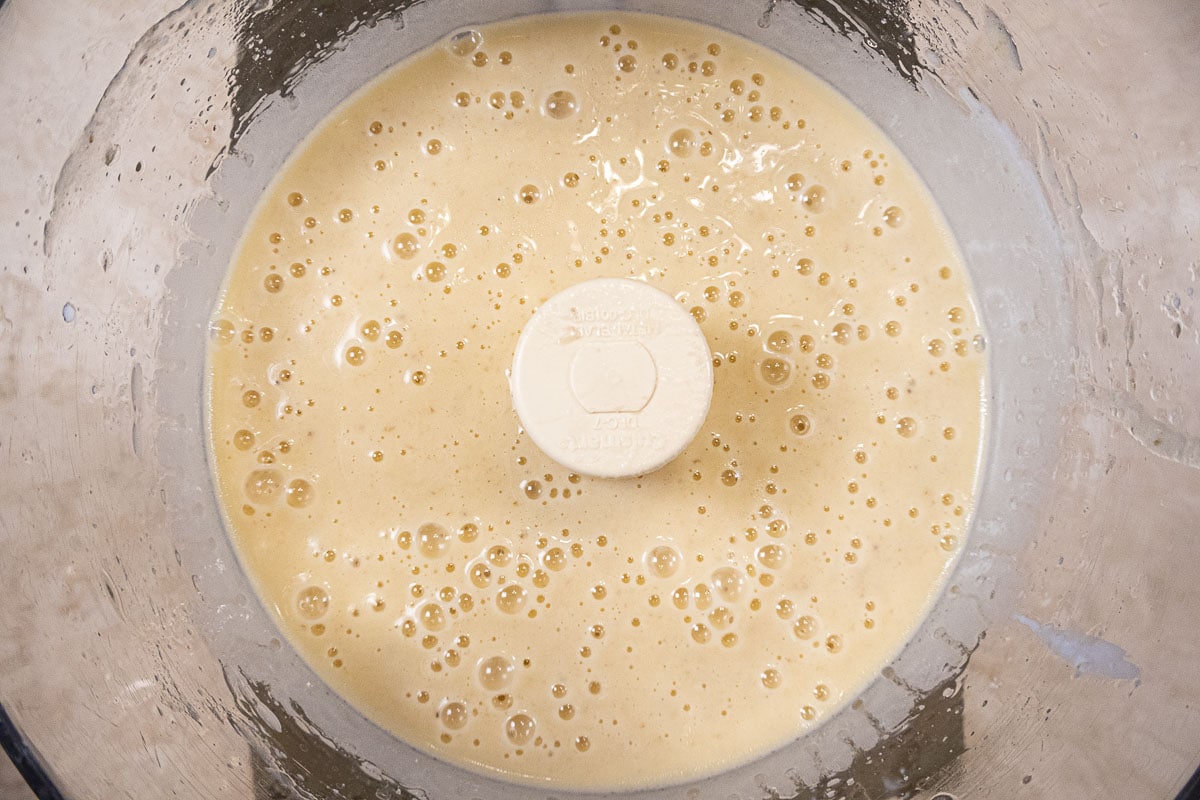
Step 5. Cut the butter into pieces and add it to the processor. Step 6. Process until the butter is completely mixed in. Step 7. Add the eggs. Step 8. Process to incorporate.
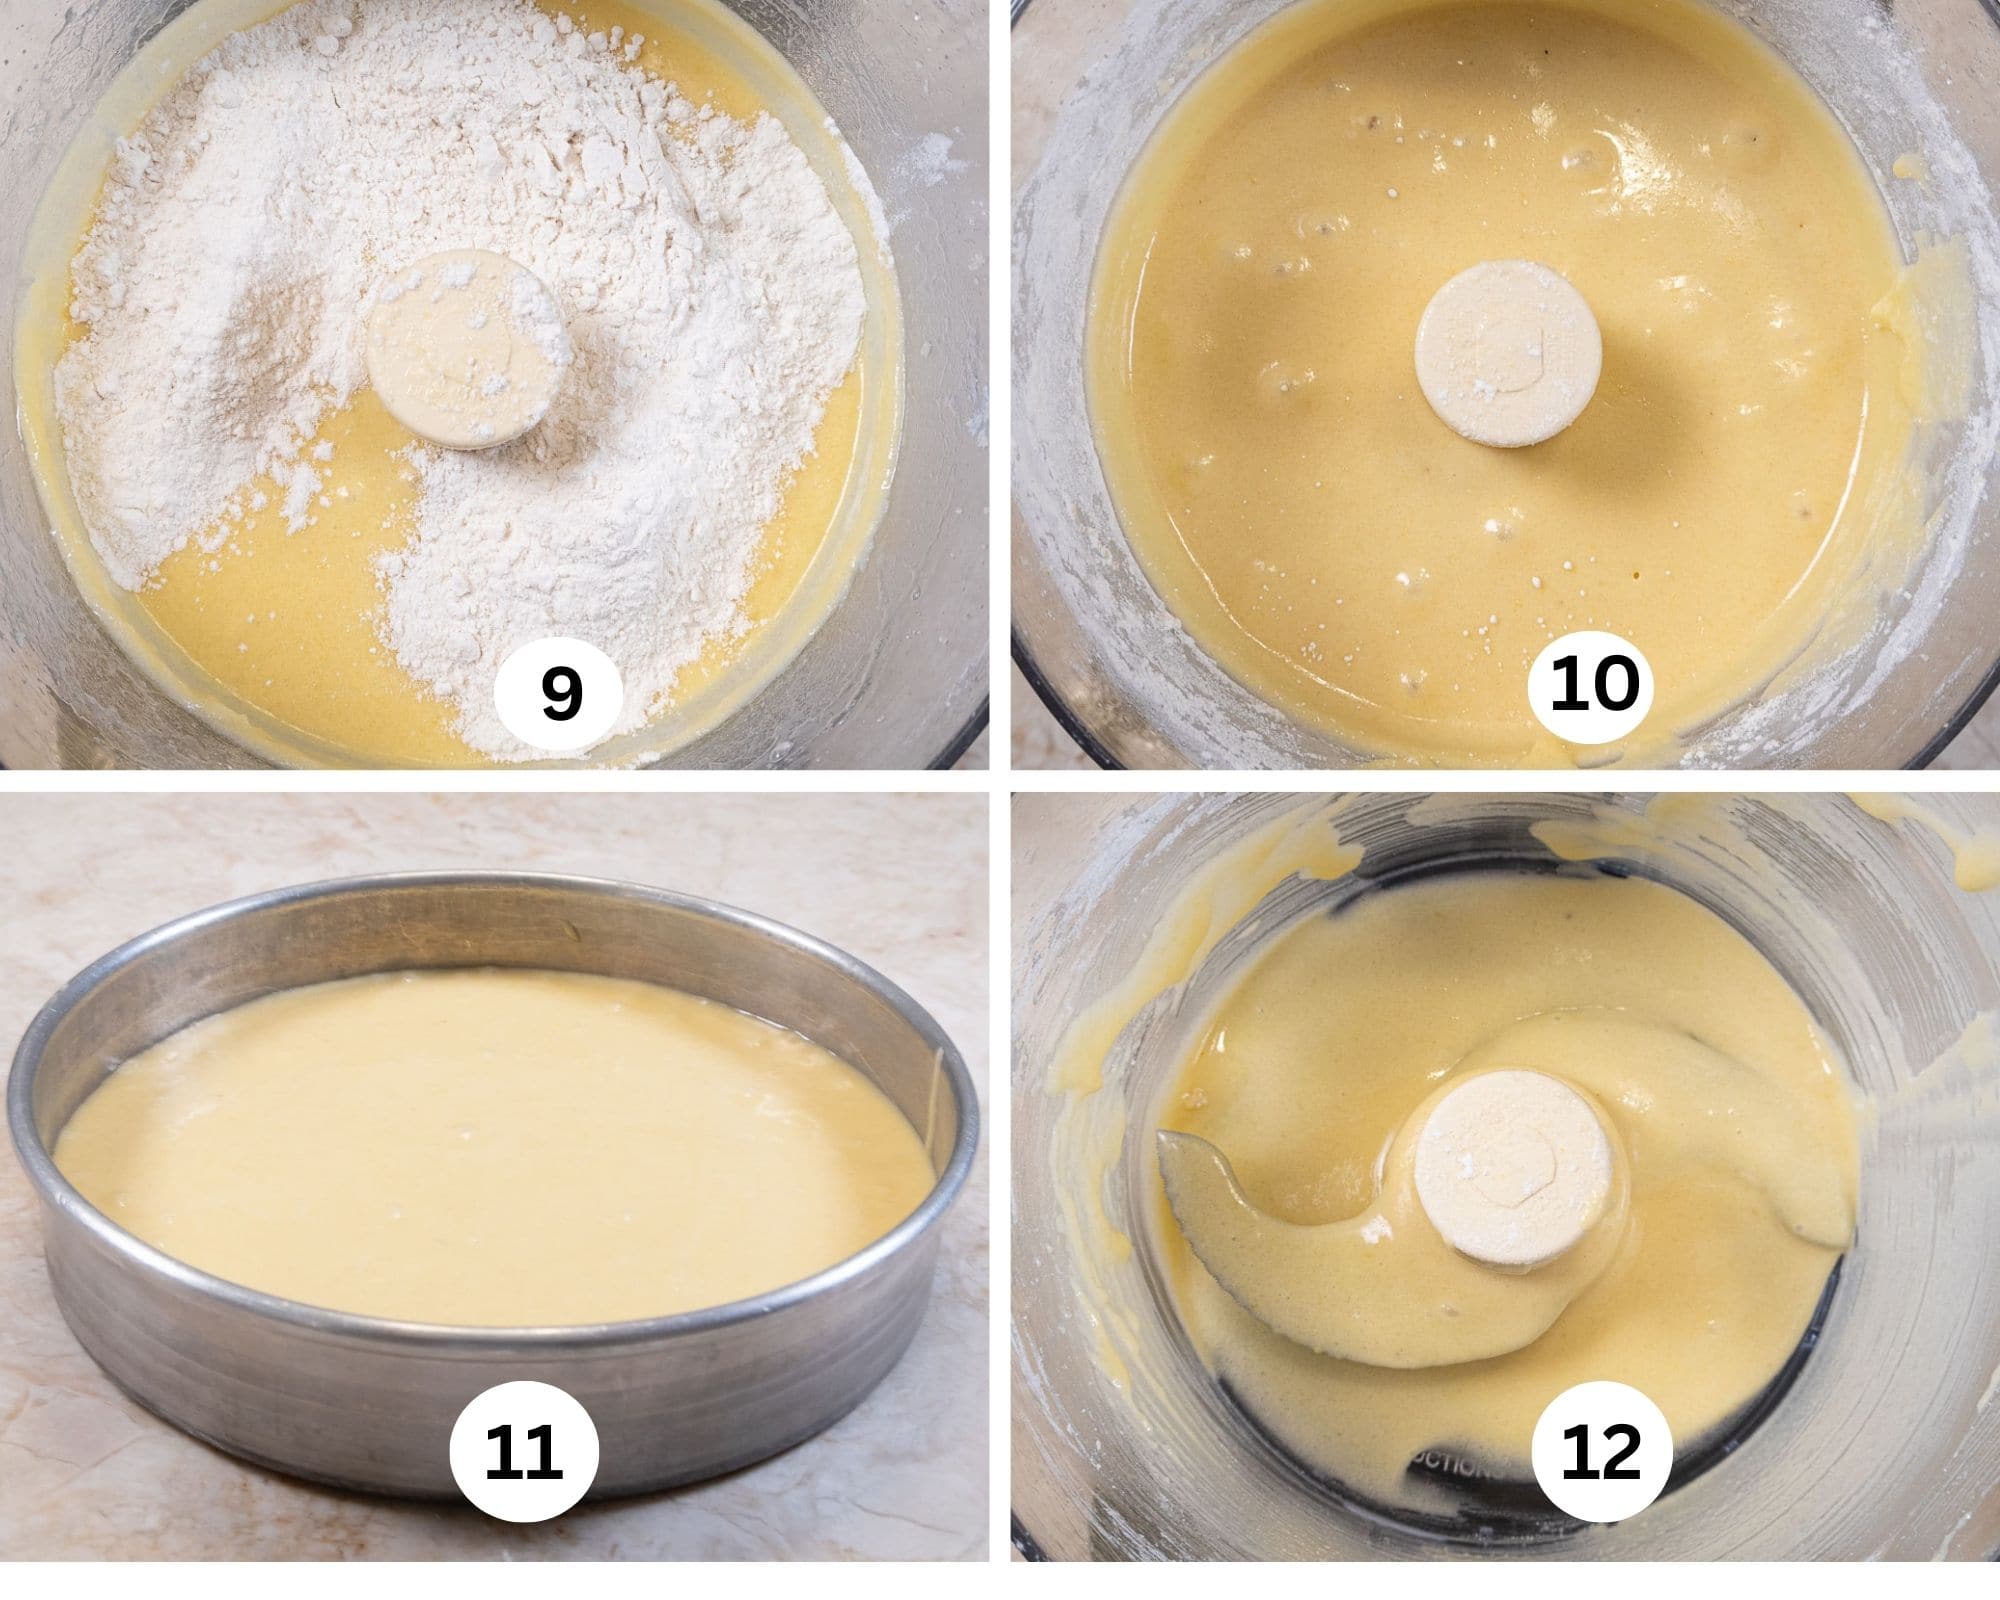
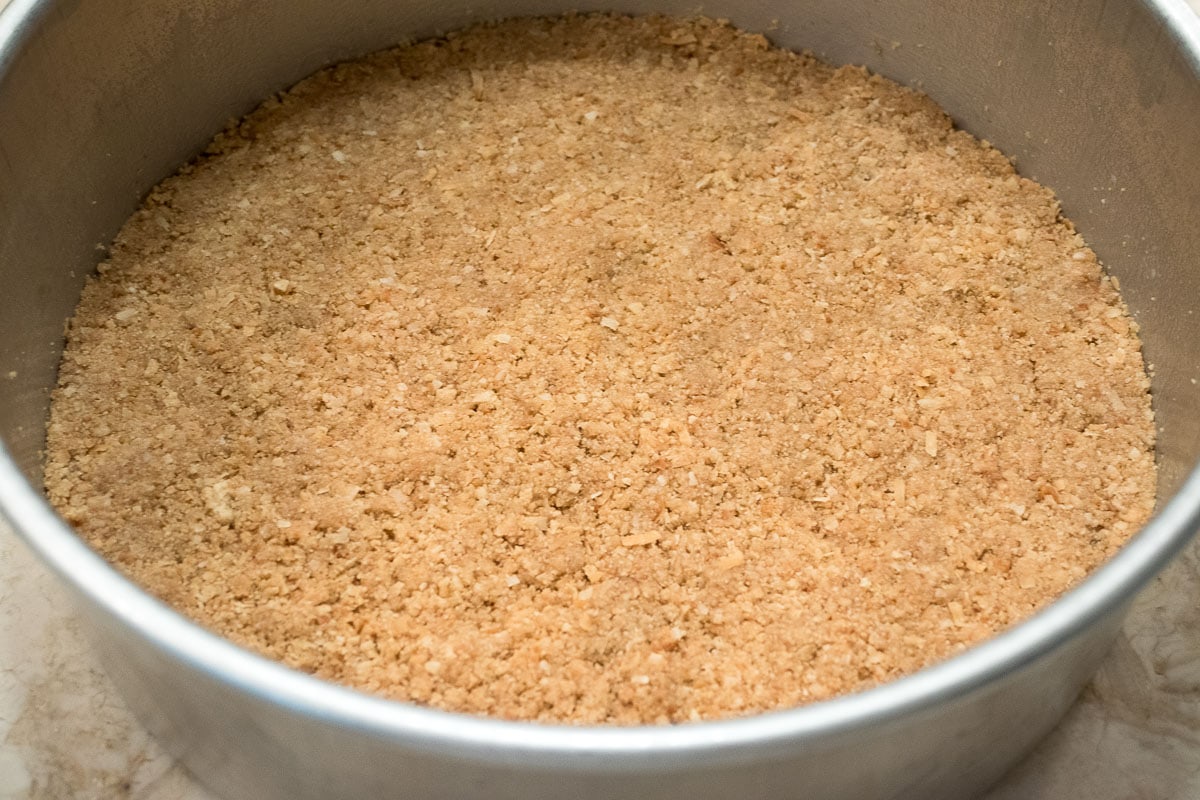
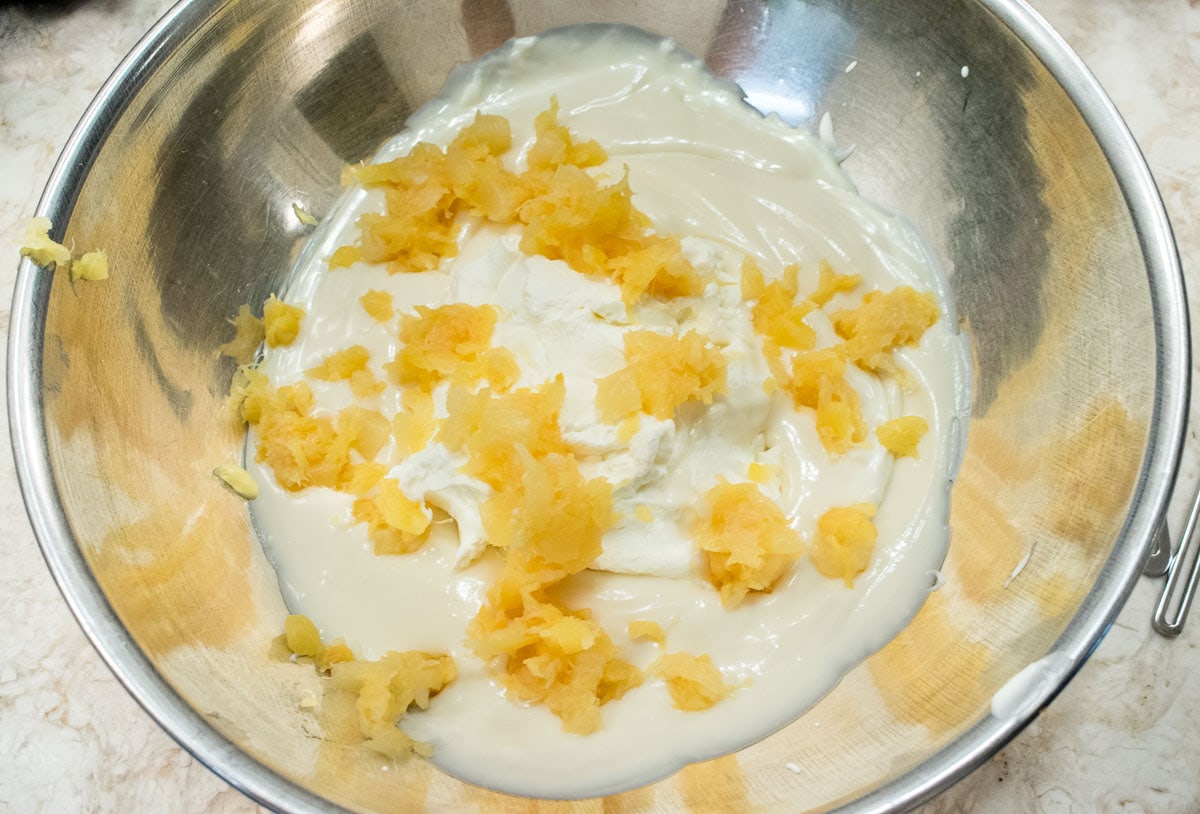
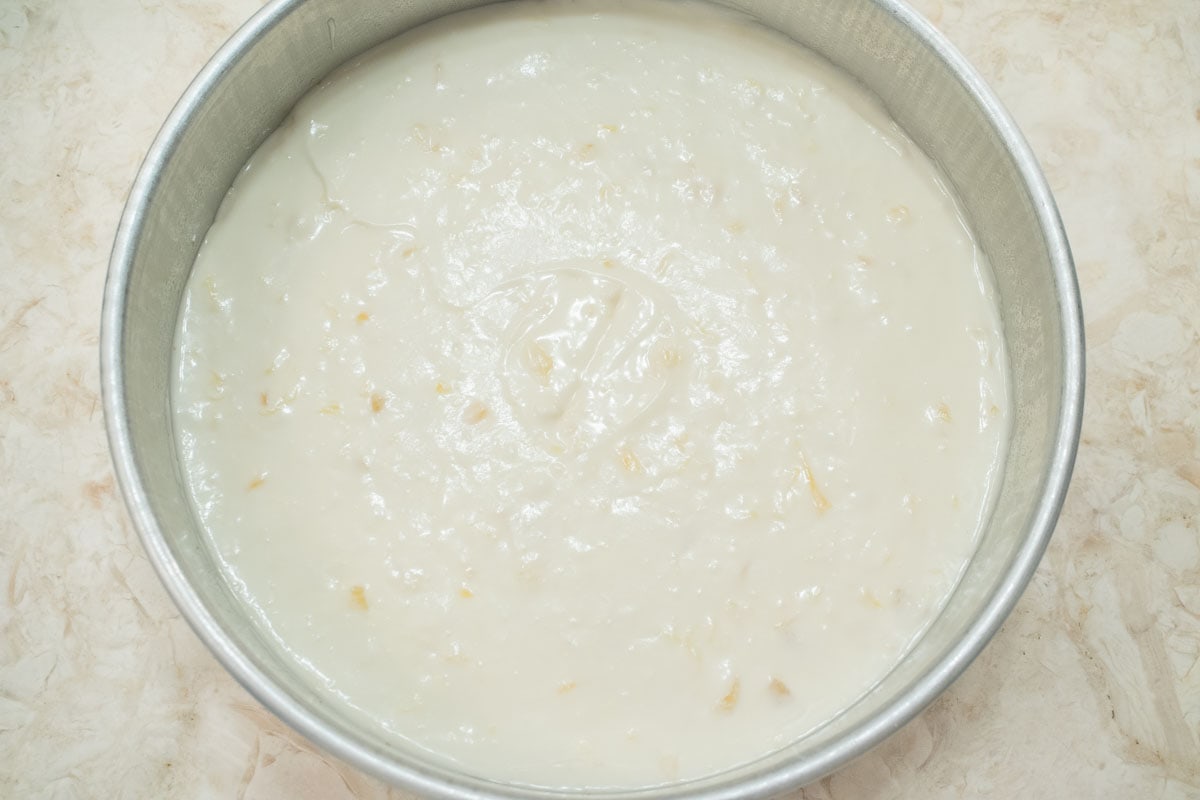
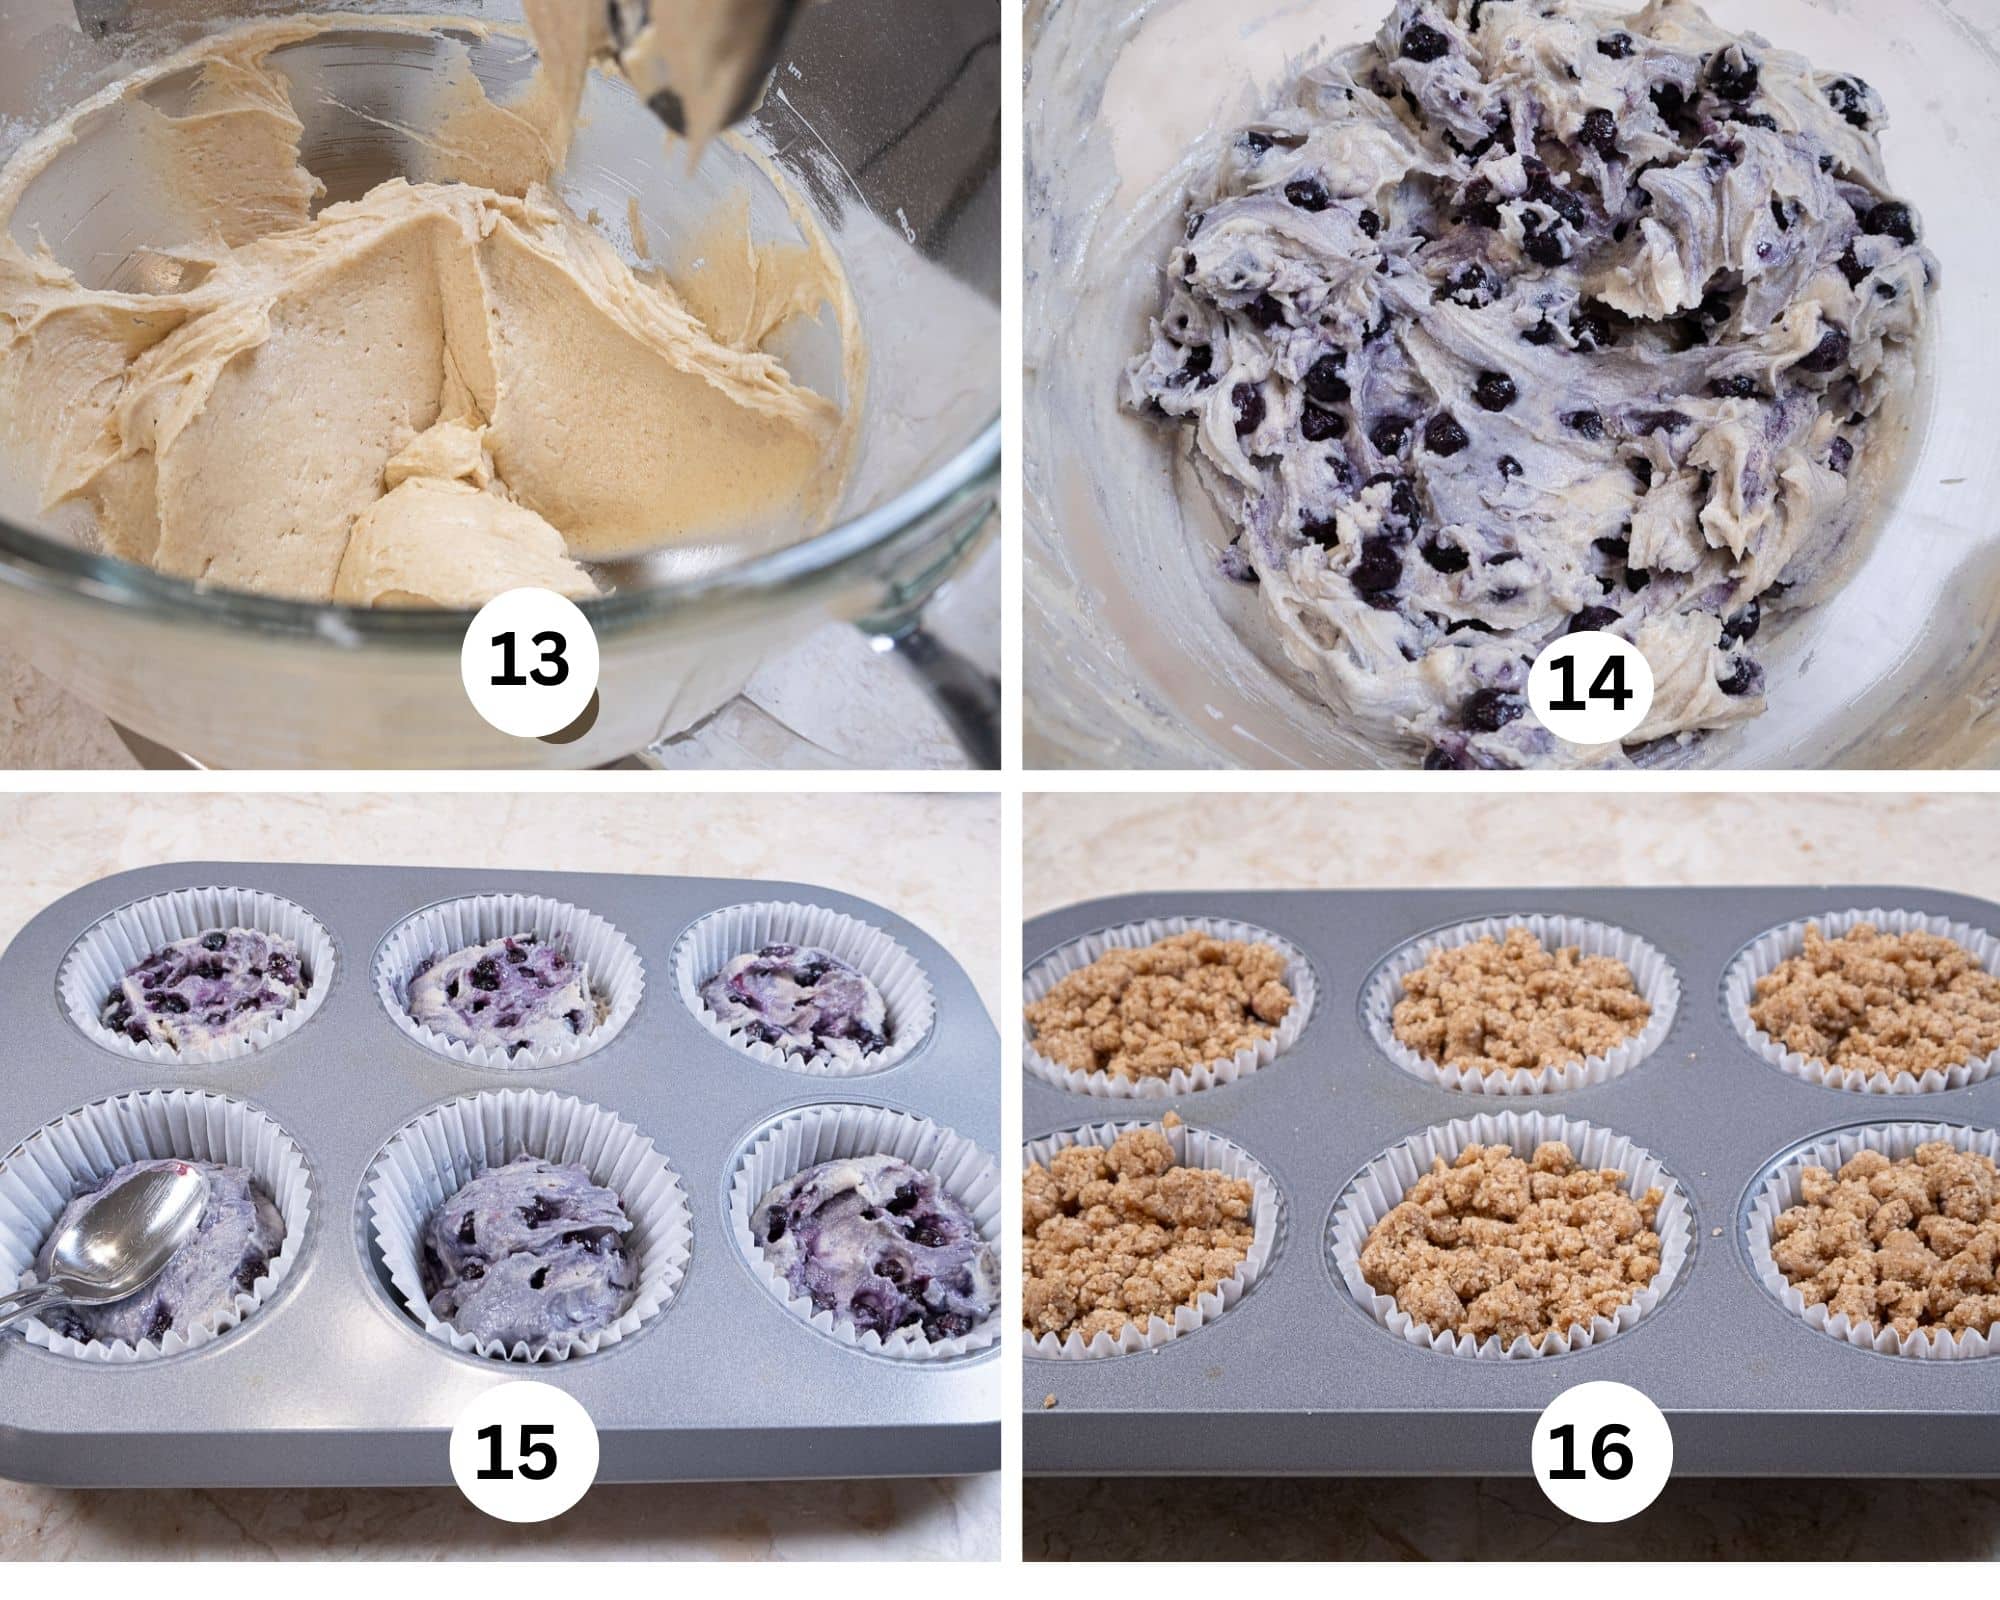
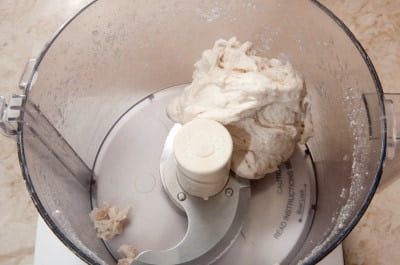
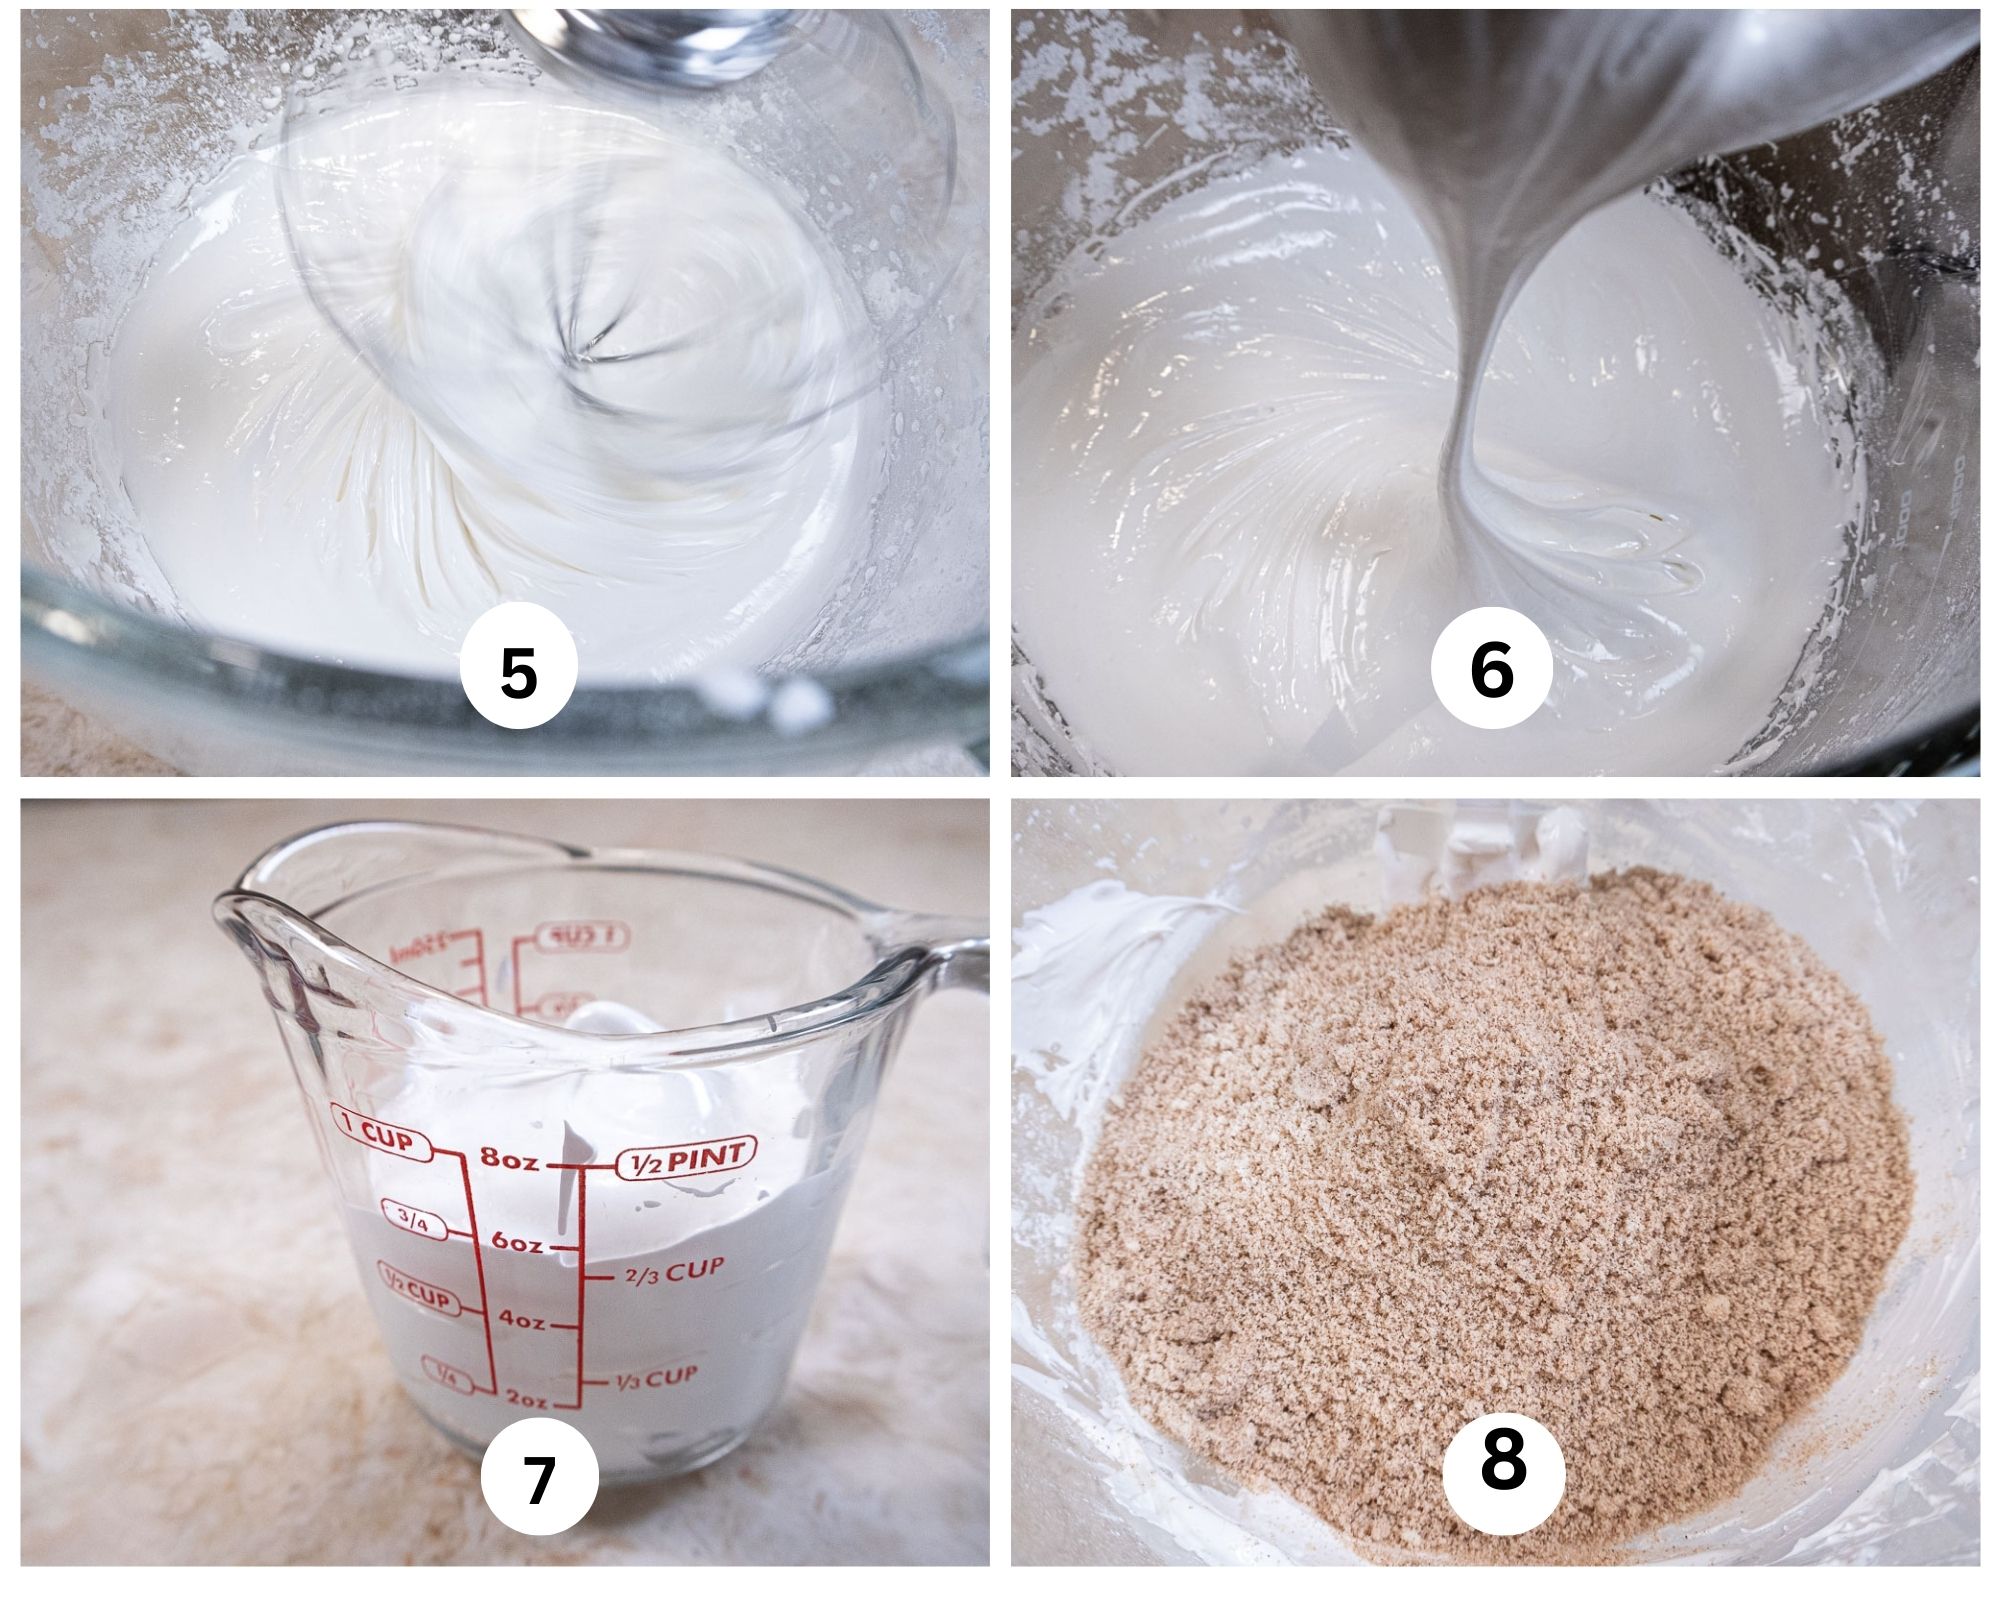
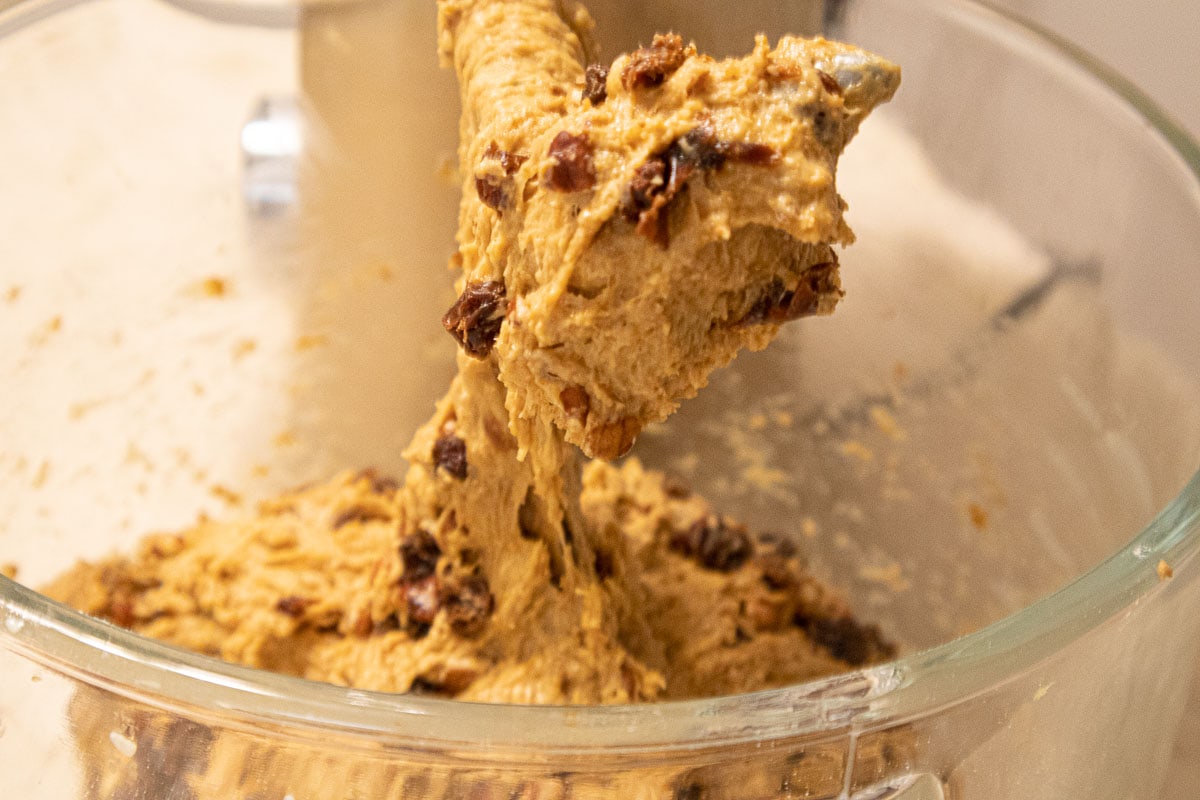
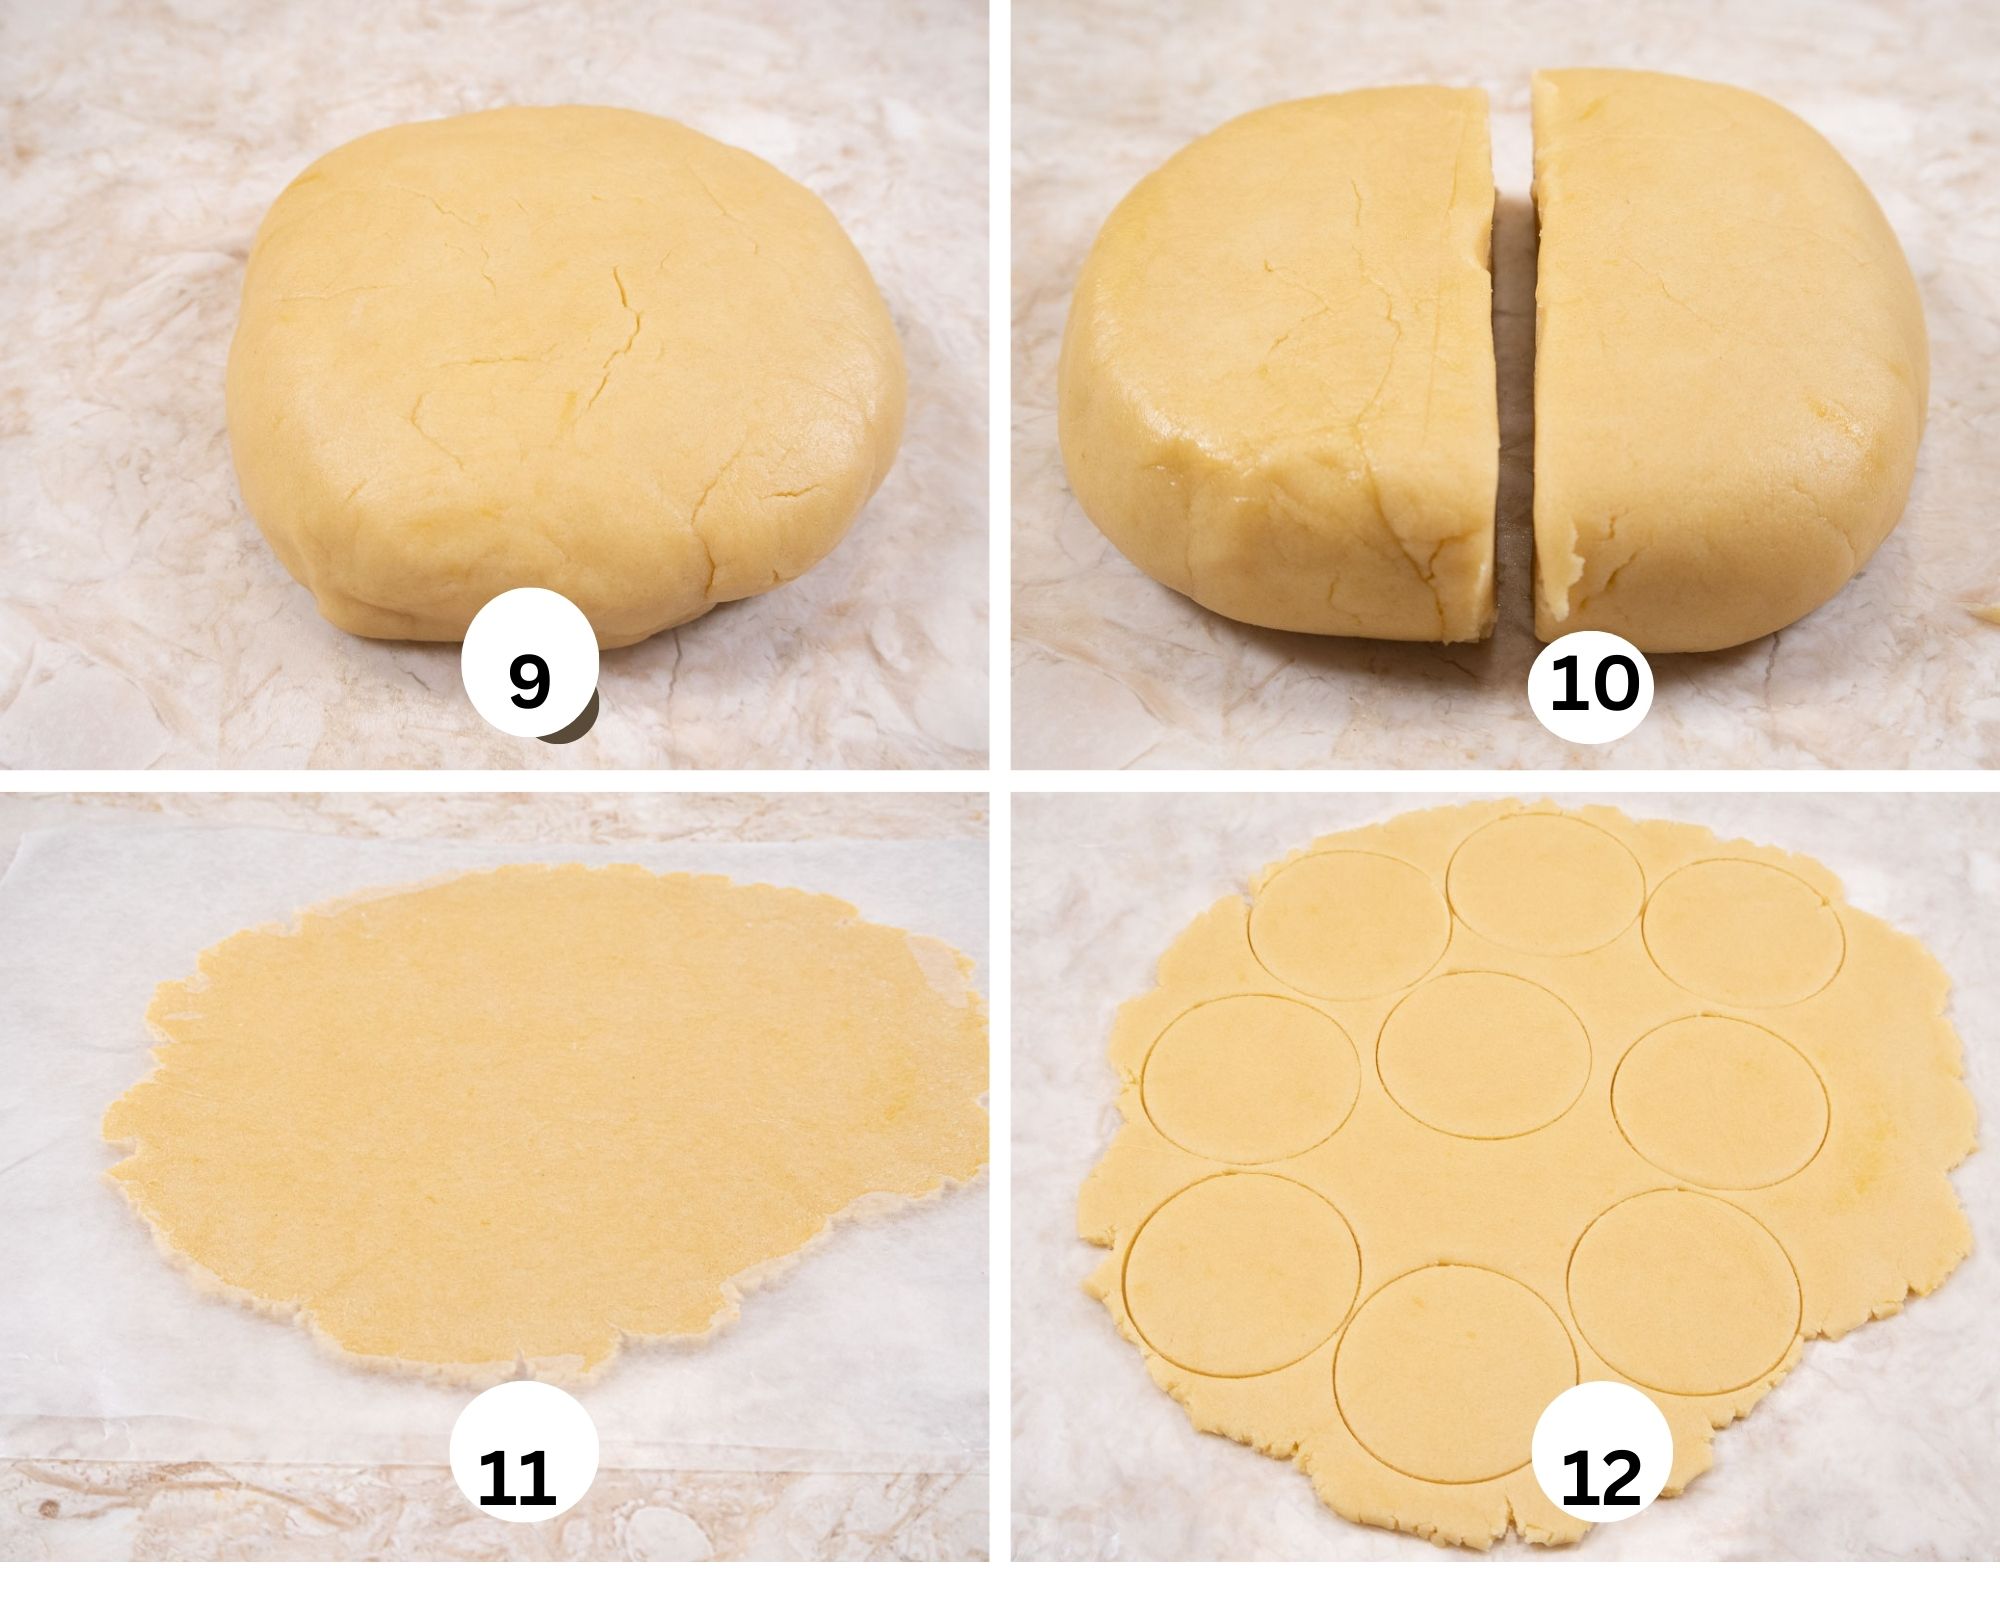
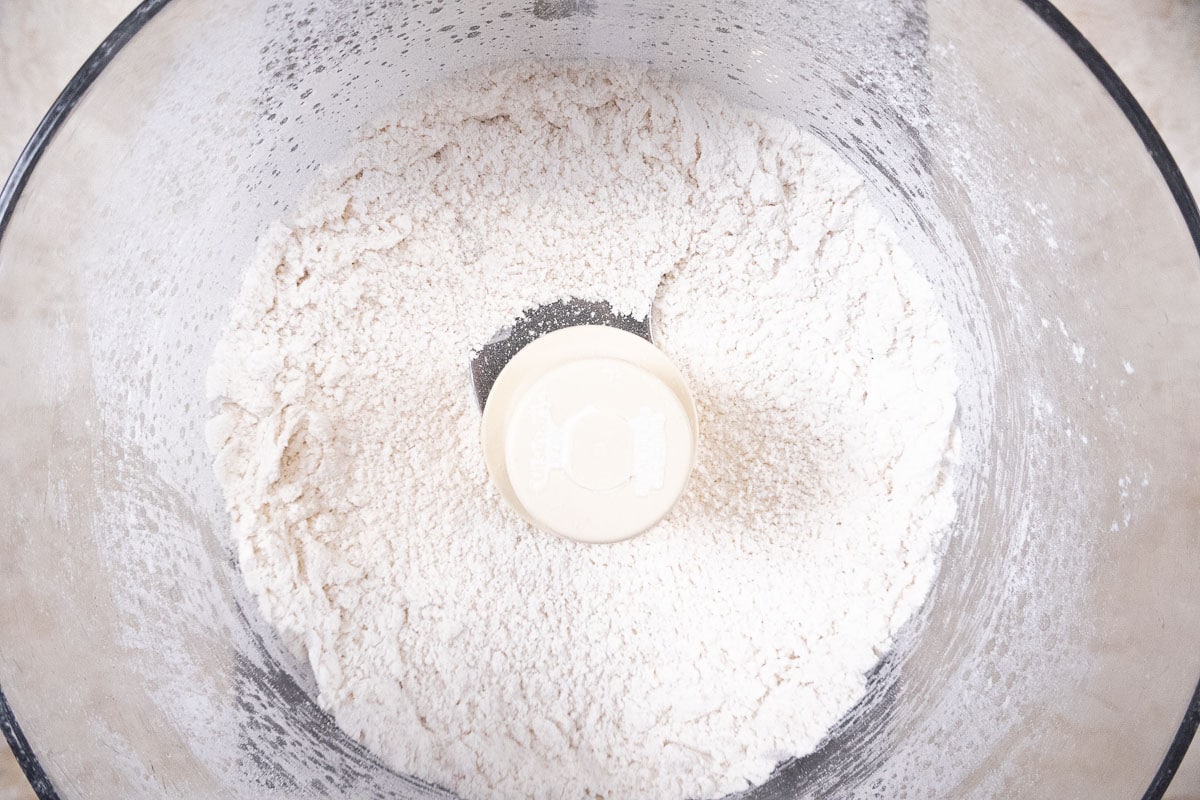
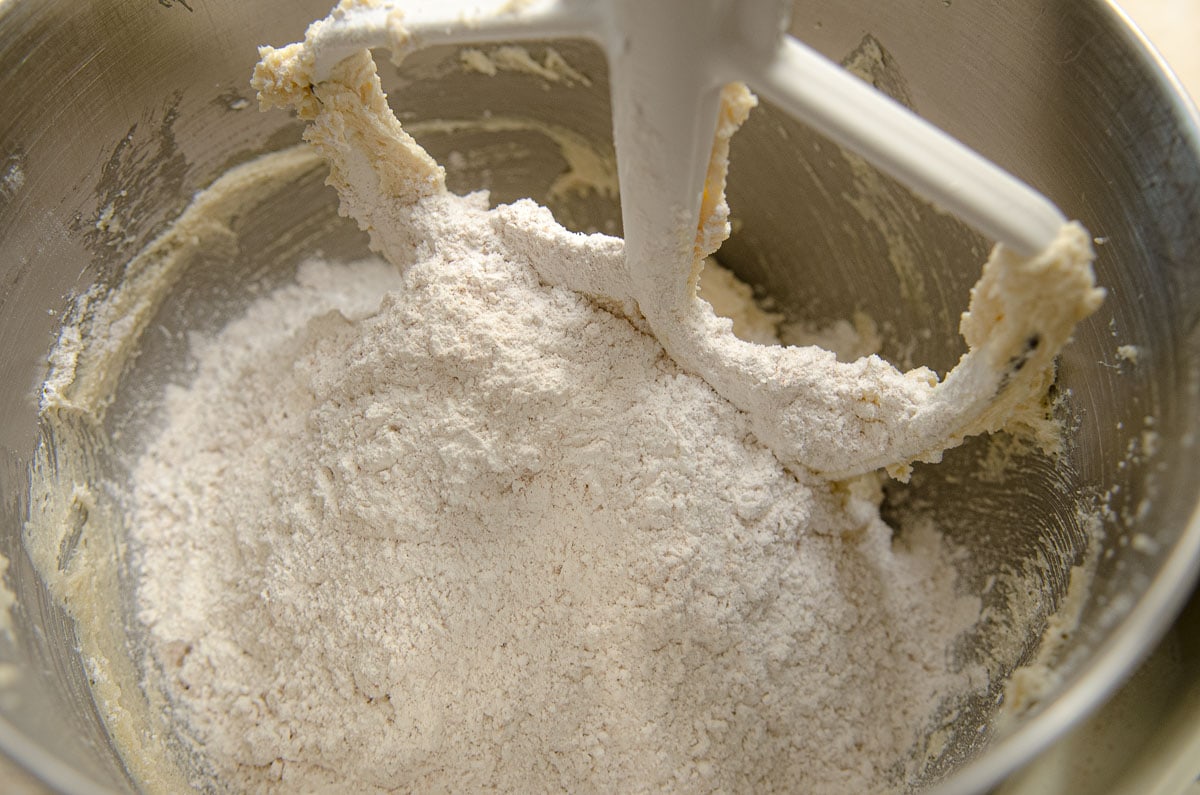
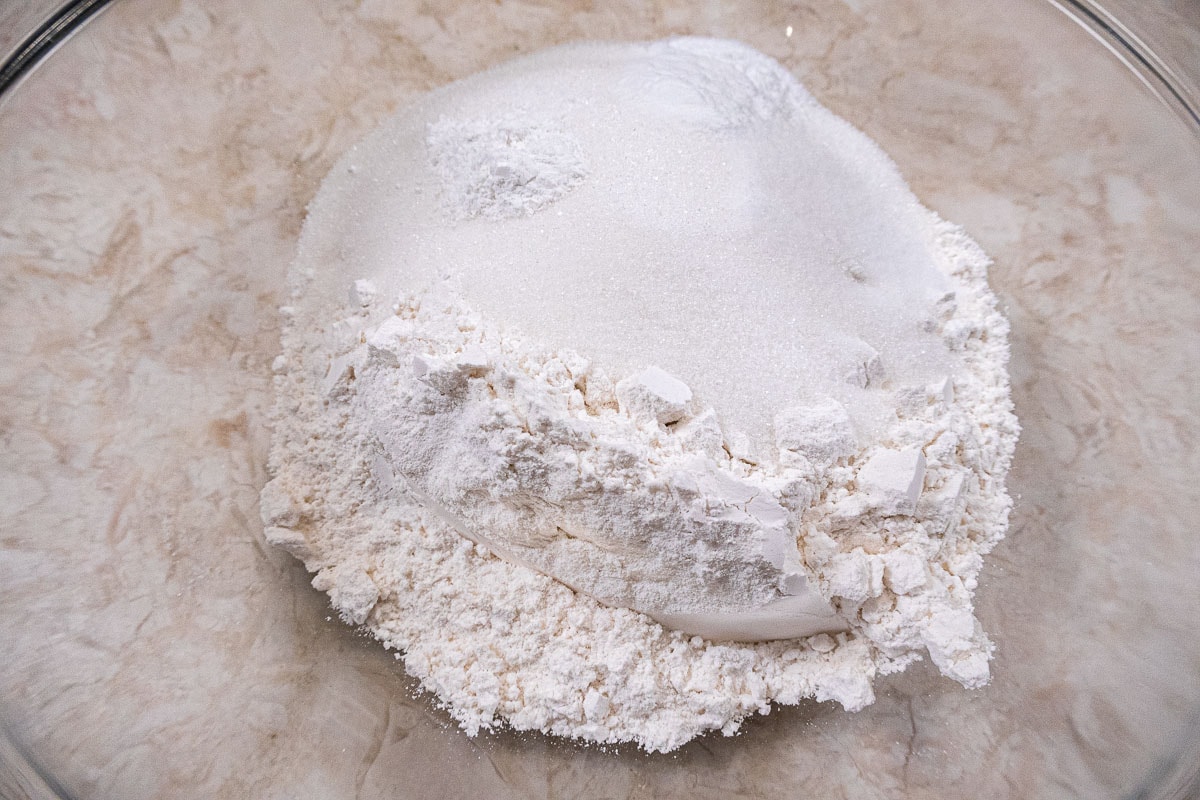
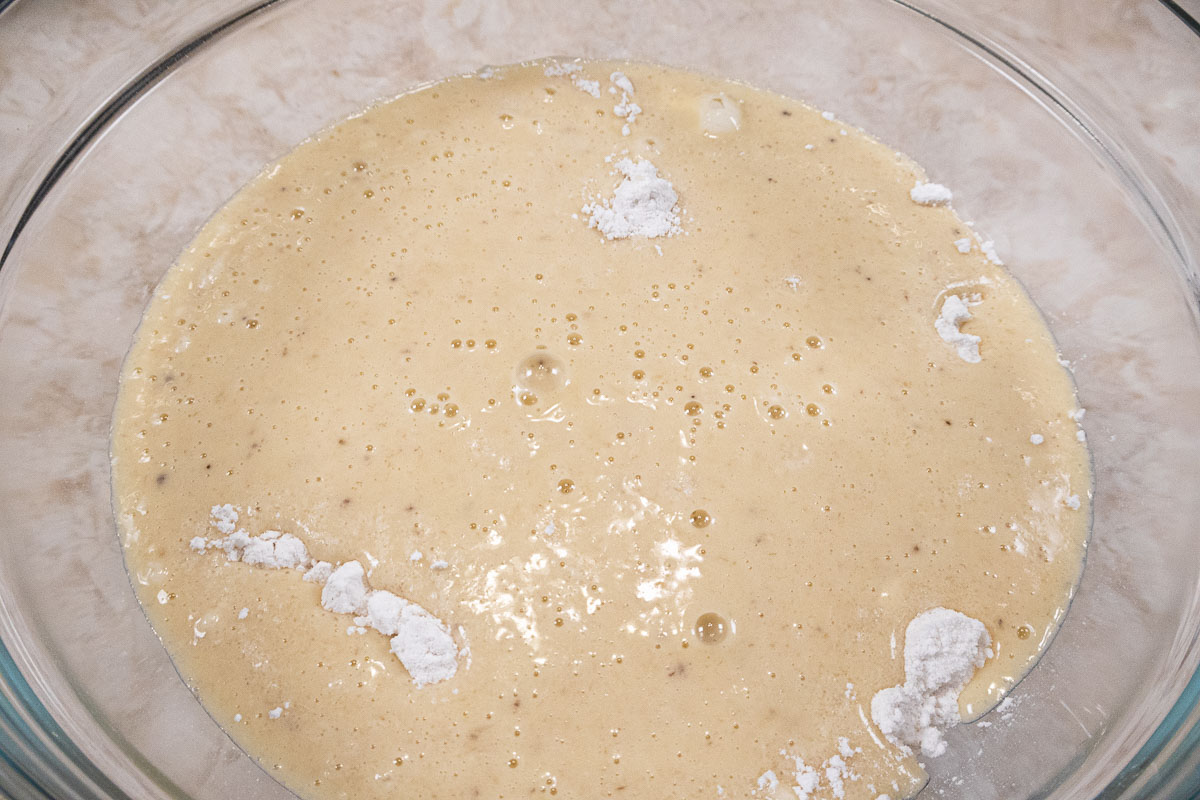
Step 9. Add all of the flour and baking powder to the processor bowl. Step 10. Process to combine. Step 11. Pour the batter into the prepared pan. Step 12. Some of the batter will want to remain in the bowl.
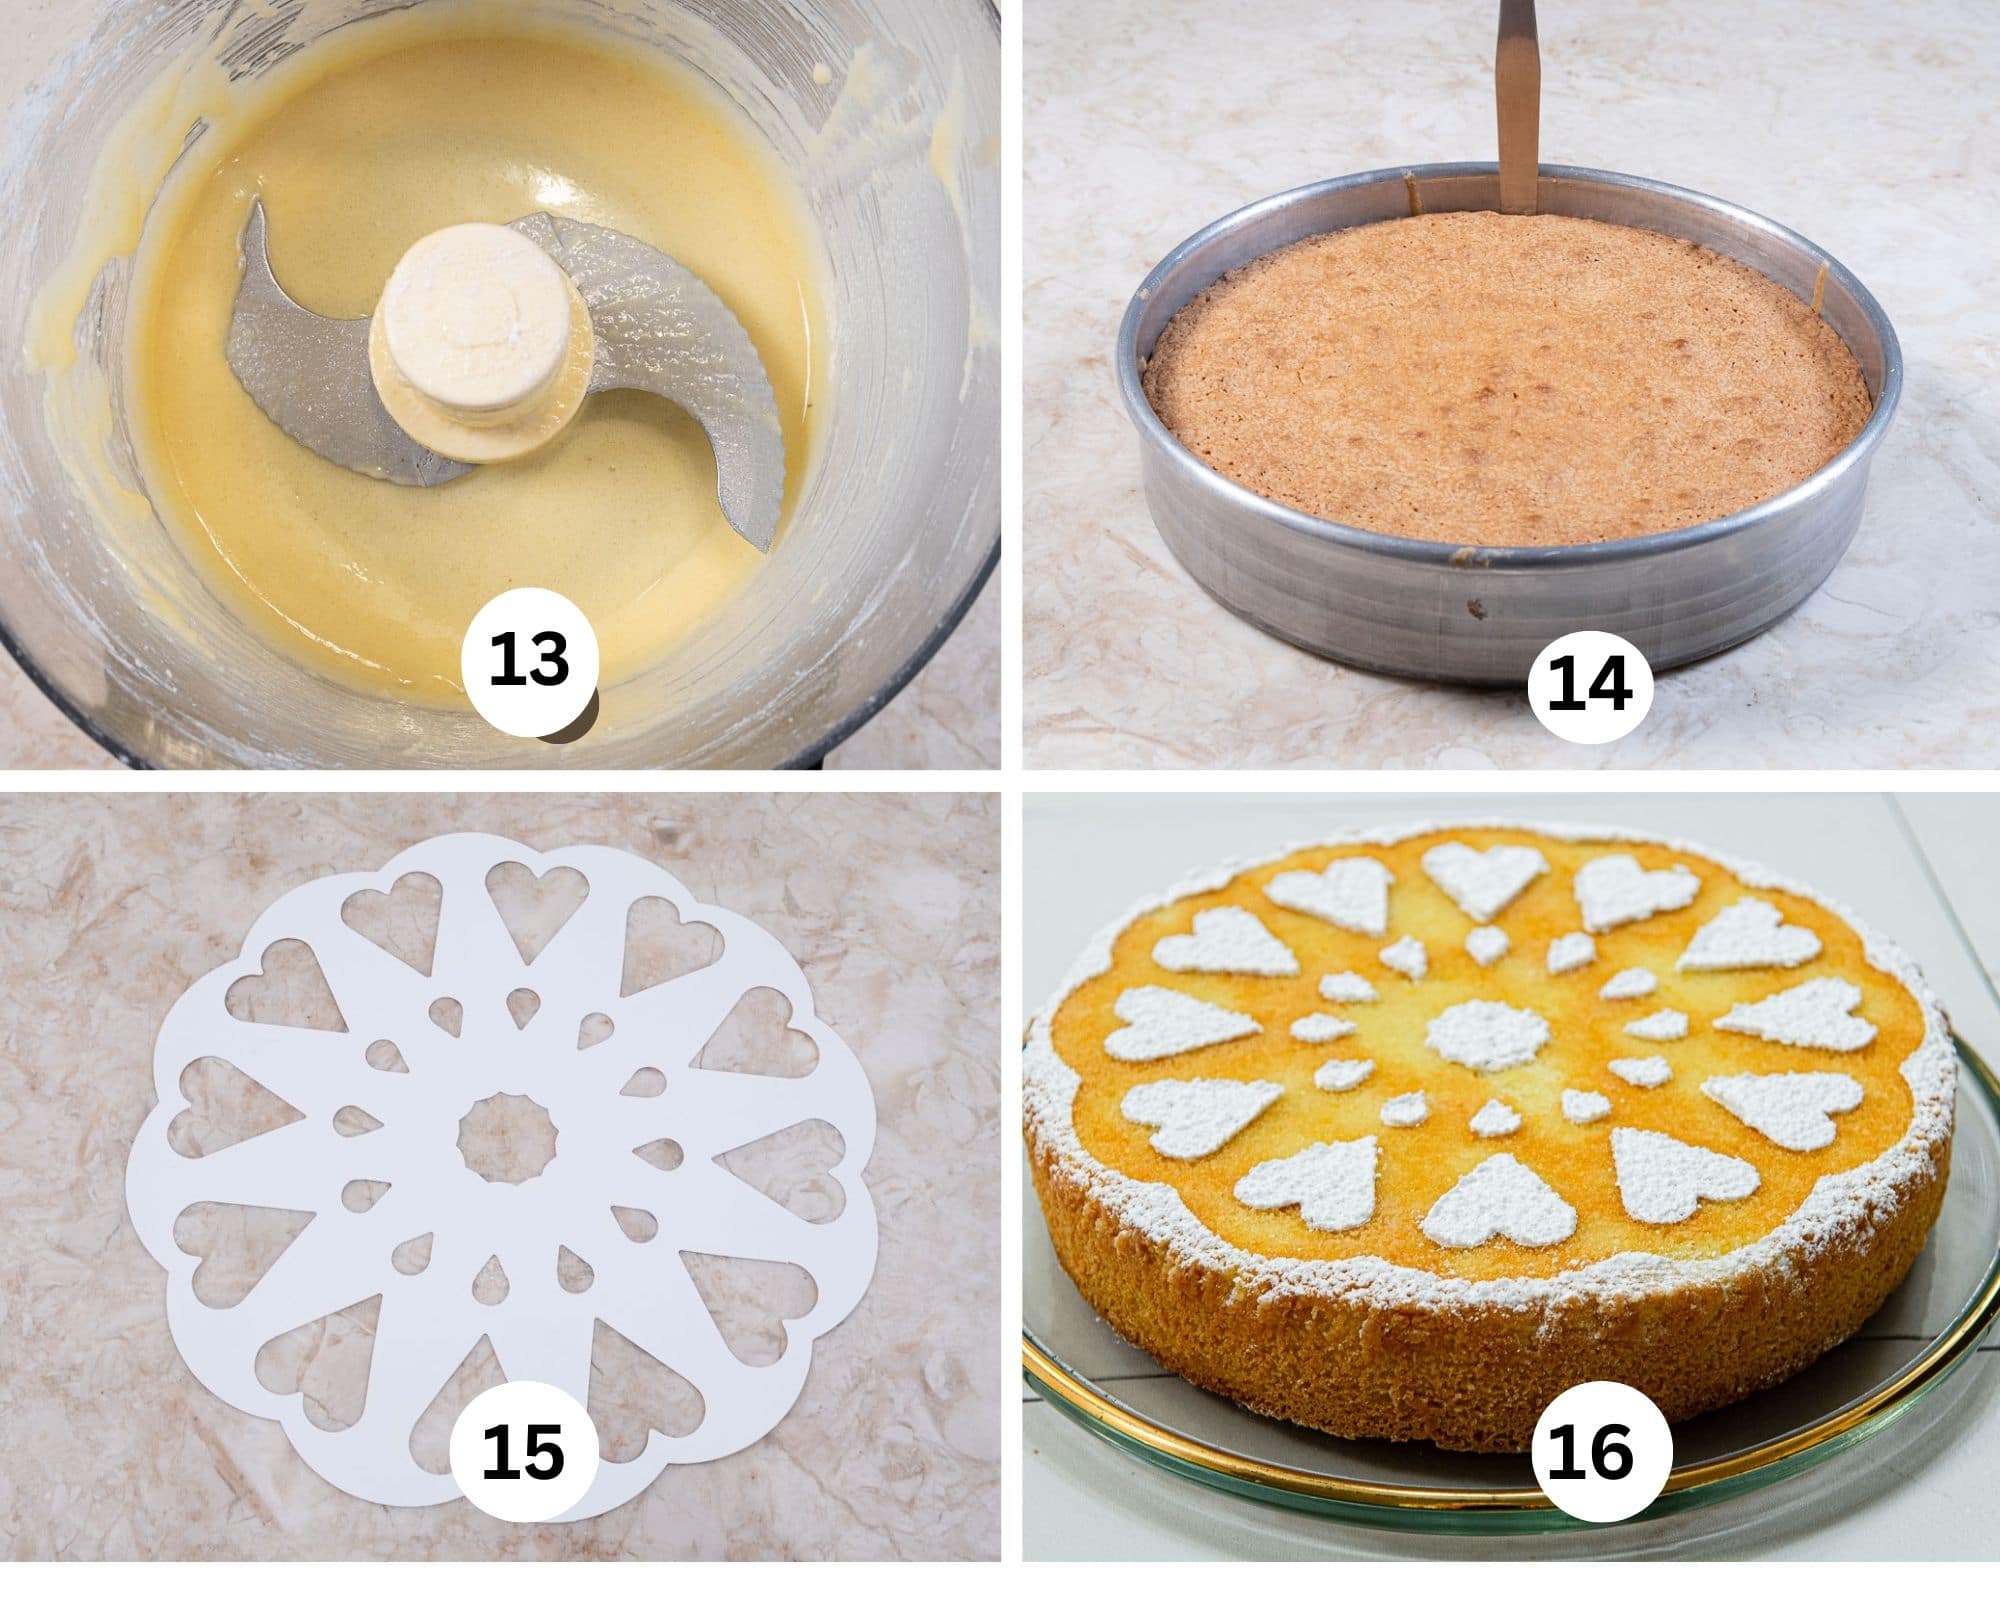
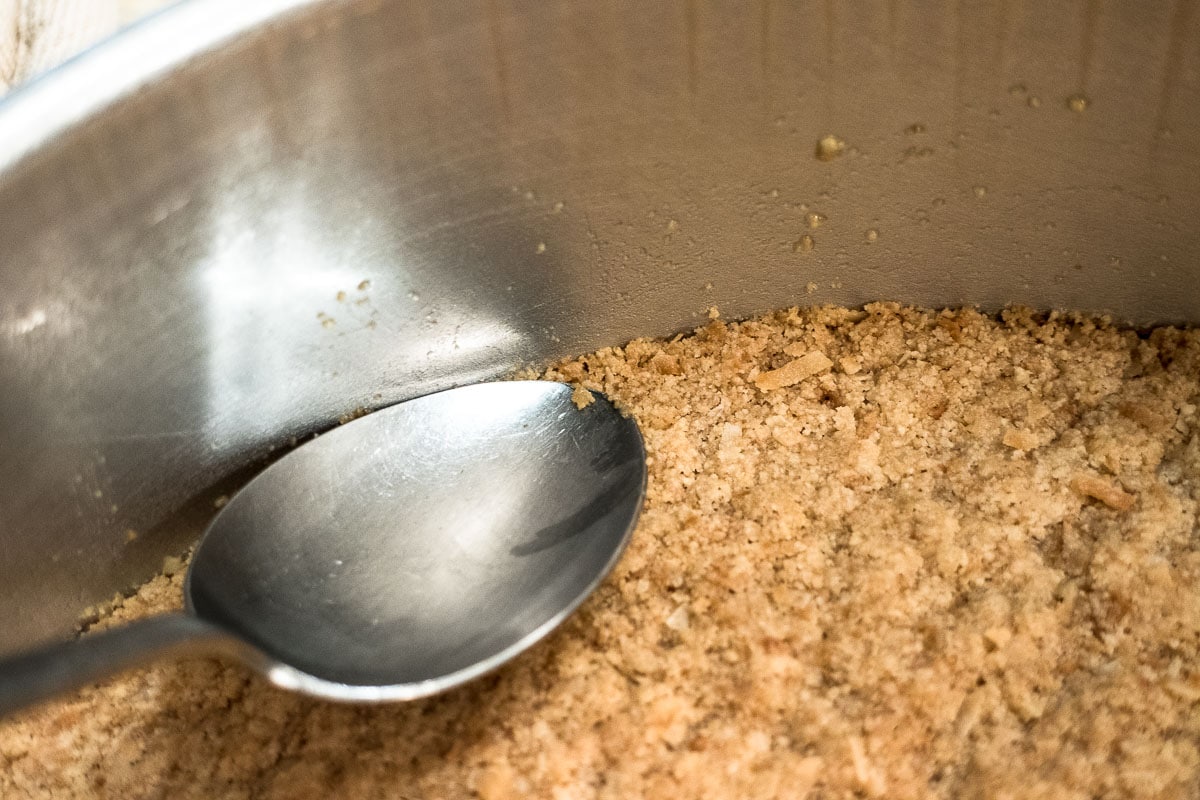
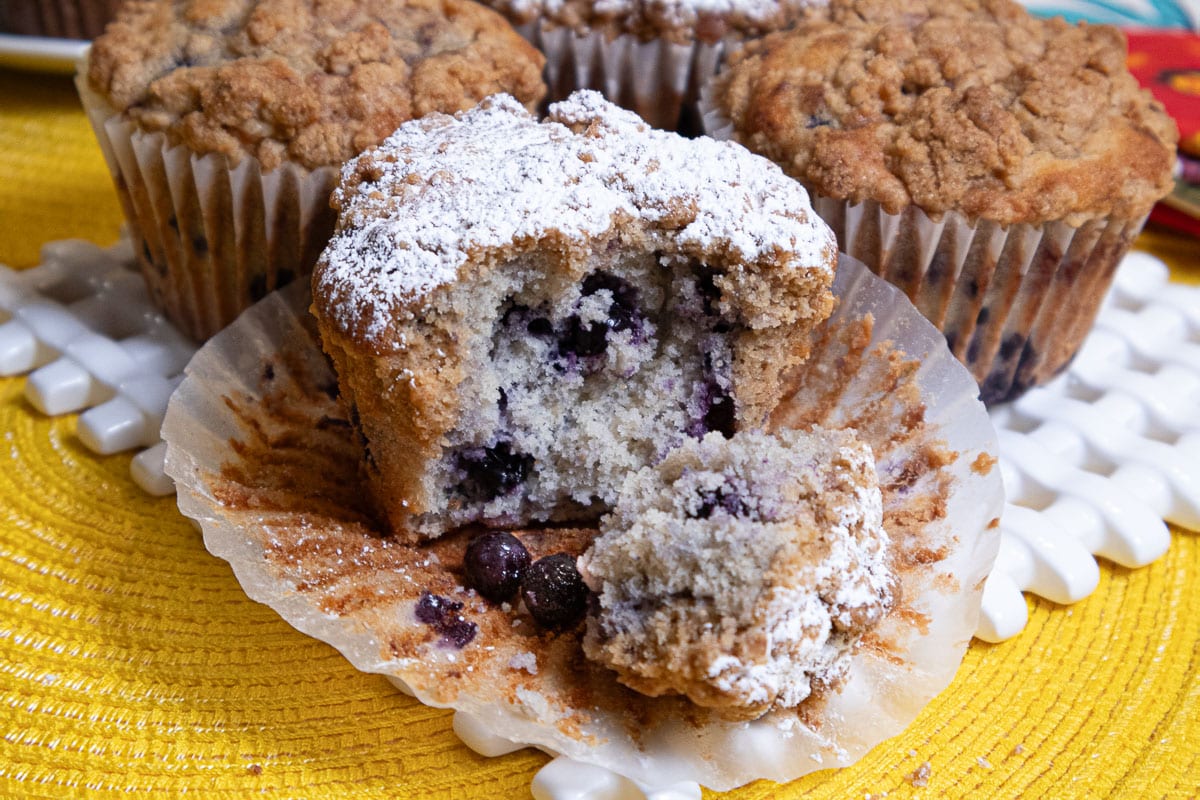
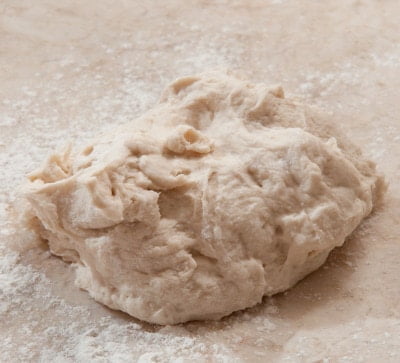
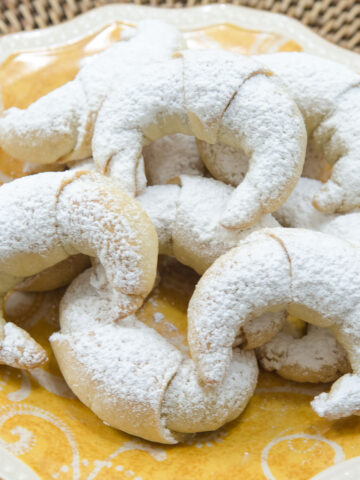
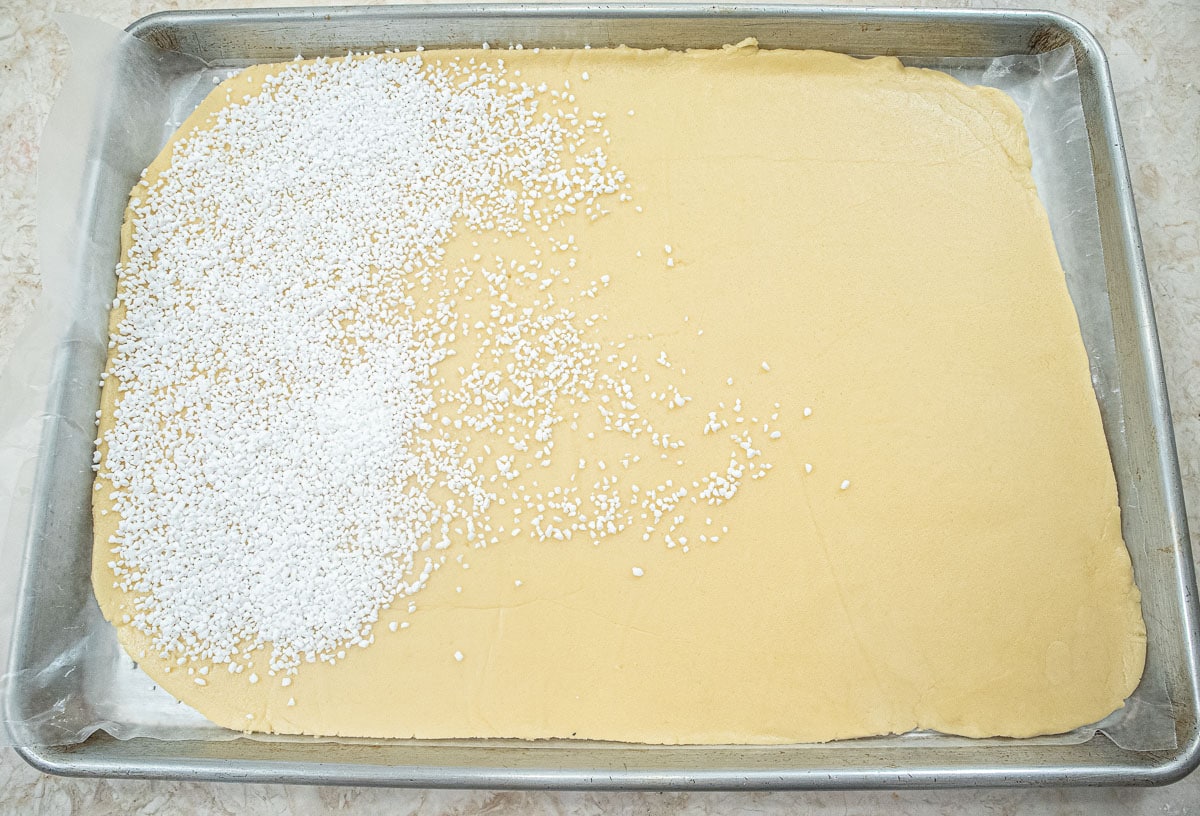
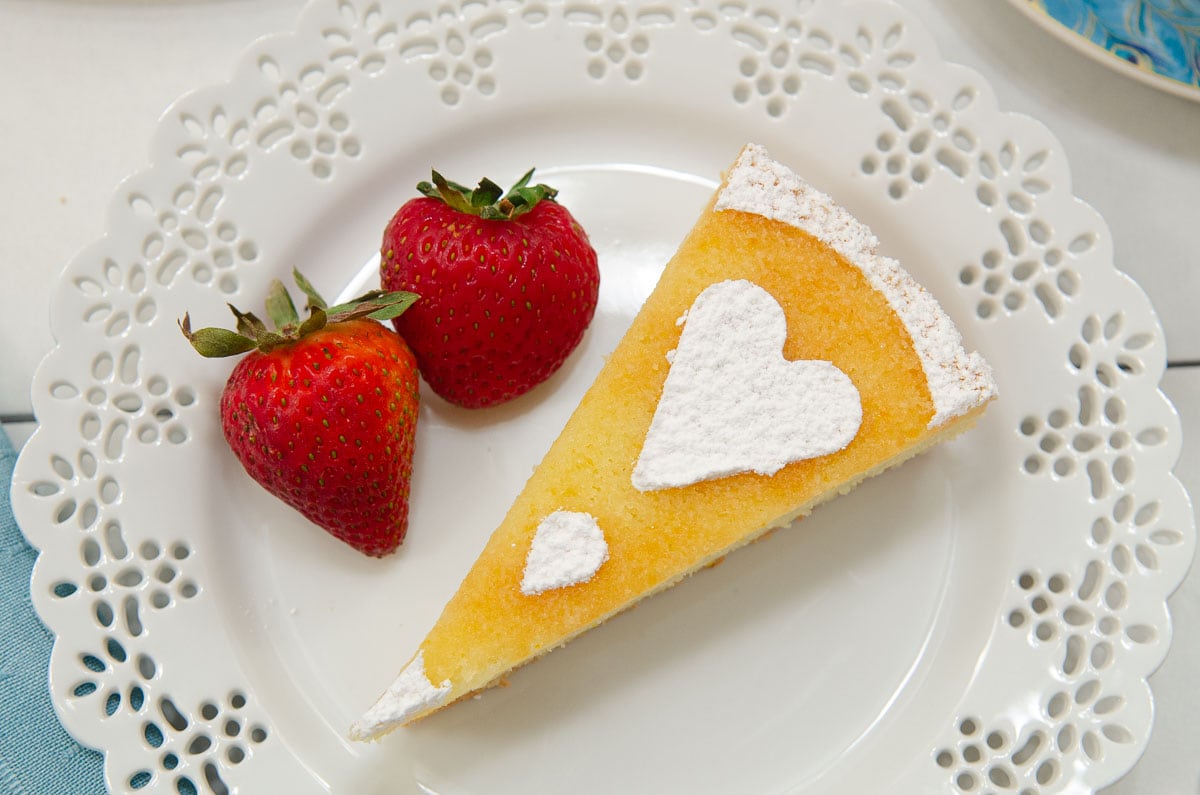
Step 13. To easily remove the batter, place the top back on the processor and pulse several times. The batter will be slung off the blade. Remove the blade and add the remaining batter to the cake pan. For more really useful information see my post on Food Processor Tips When Baking. Step 14. Using a small, flexible metal spatula go around the edge of the baked cake being careful to keep the spatula to the edge of the pan so it doesn't tear the cake. Release the cake onto a serving dish keeping it upside down. Step 15. For a pretty finish to the top of the cake, a cake stencil can be used. I have a set of Kaiser stencils that can be found on Amazon. Step 16. Place the stencil on top of the cake, dust powdered sugar fairly heavily covering the stencil. Carefully, lift the stencil, leaving only the design on top. A paper doily can also be used. No stencil? Just dust it with powdered sugar.
Recipe FAQS
In the 1840's simple cakes known as tea cakes which were served with tea, hence the name, were served in the afternoons to keep hunger at bay until the dinner meal.
Tea cakes are generally more dense than regular cakes and made in single layers.
The name tea cake is also given to cookies, small cakes, buns or simple sweet rolls.
Storage and Freezing
The cake, without the powdered sugar, can be frozen, wrapped well and kept frozen for several months. Thaw at room temperature, then apply the powdered sugar.
The cake can also be held, covered, for several days at room temperature.
Expert Tips
- The cake can be made in a food processor or a mixer.
- For the mixer version, follow the same directions as for the processor but in a mixer.
- Either purchased or homemade almond paste can be used.
- The cake can be served as is or with fresh fruit.
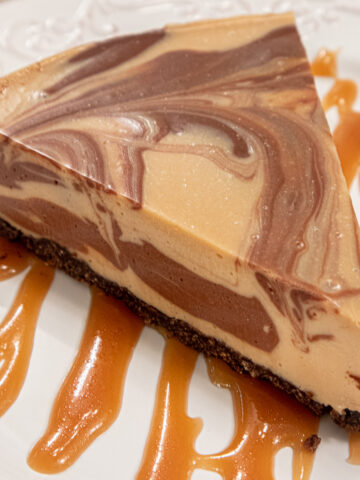
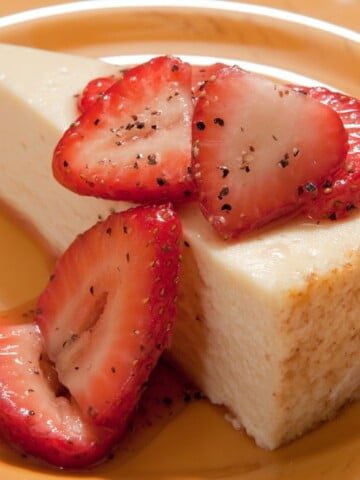
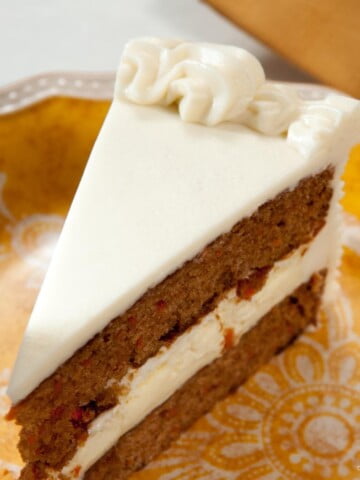
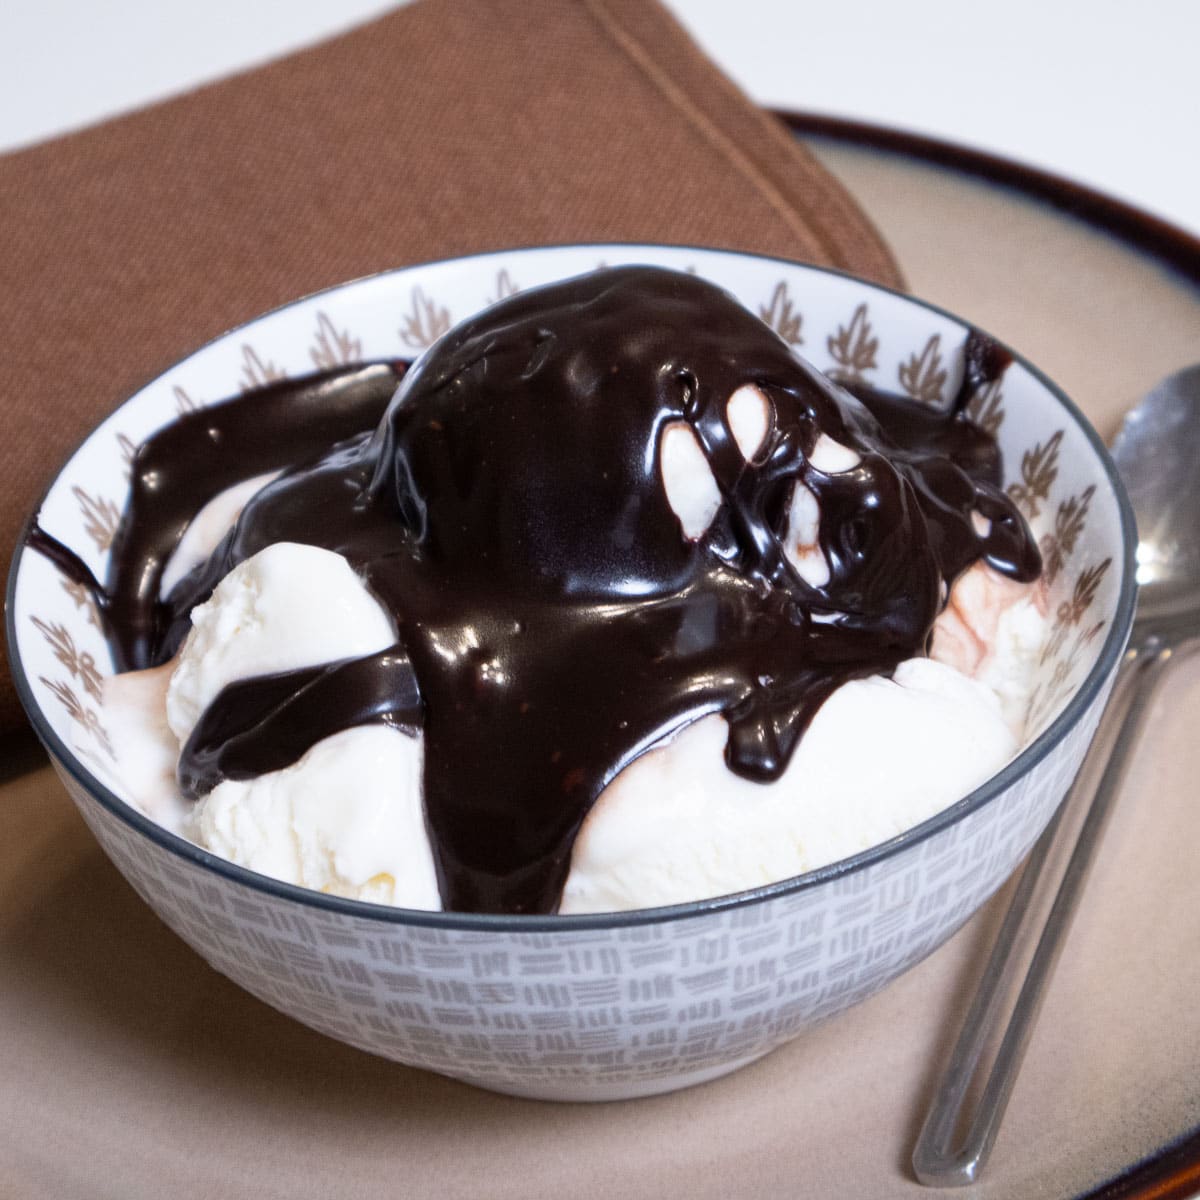
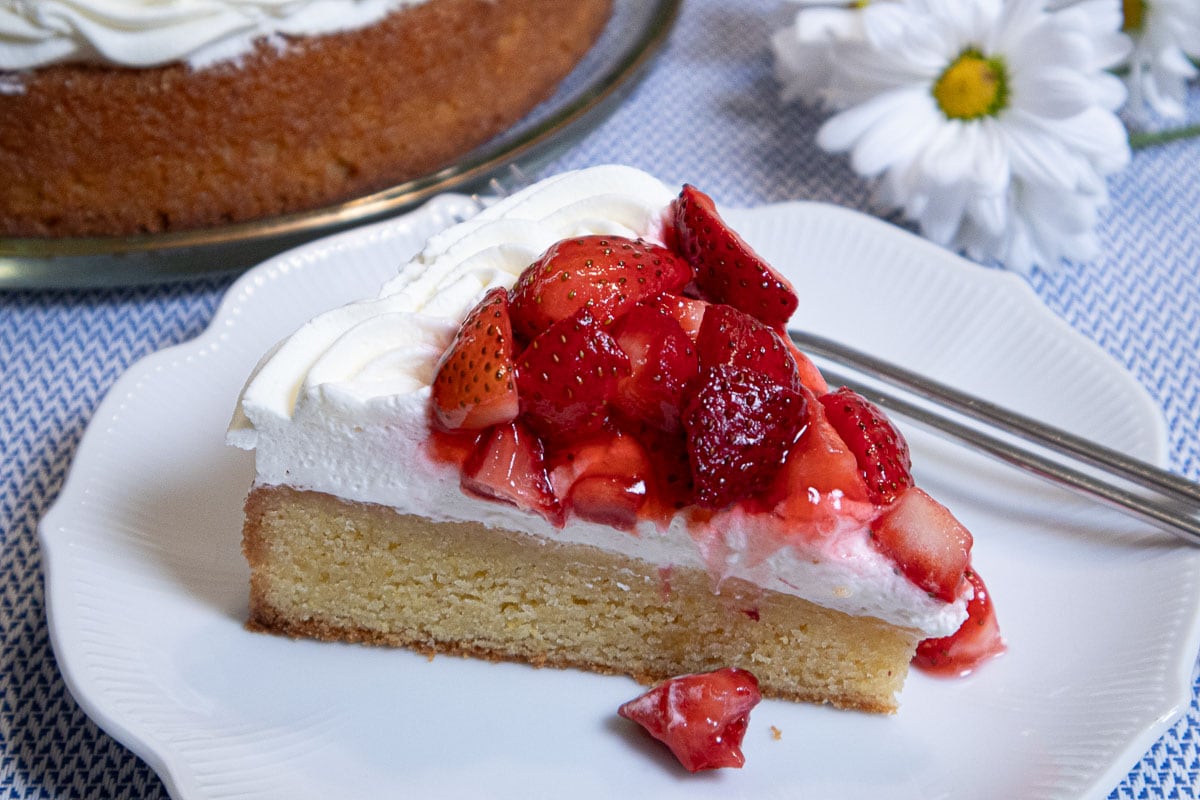
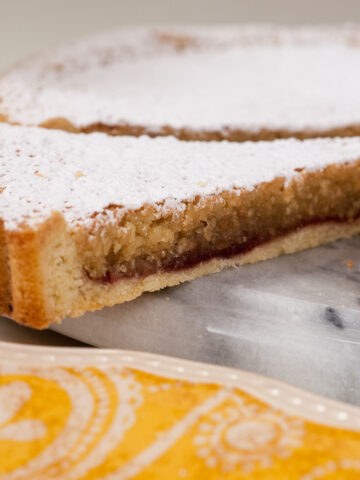
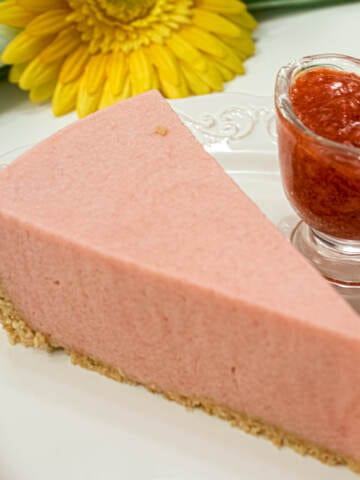
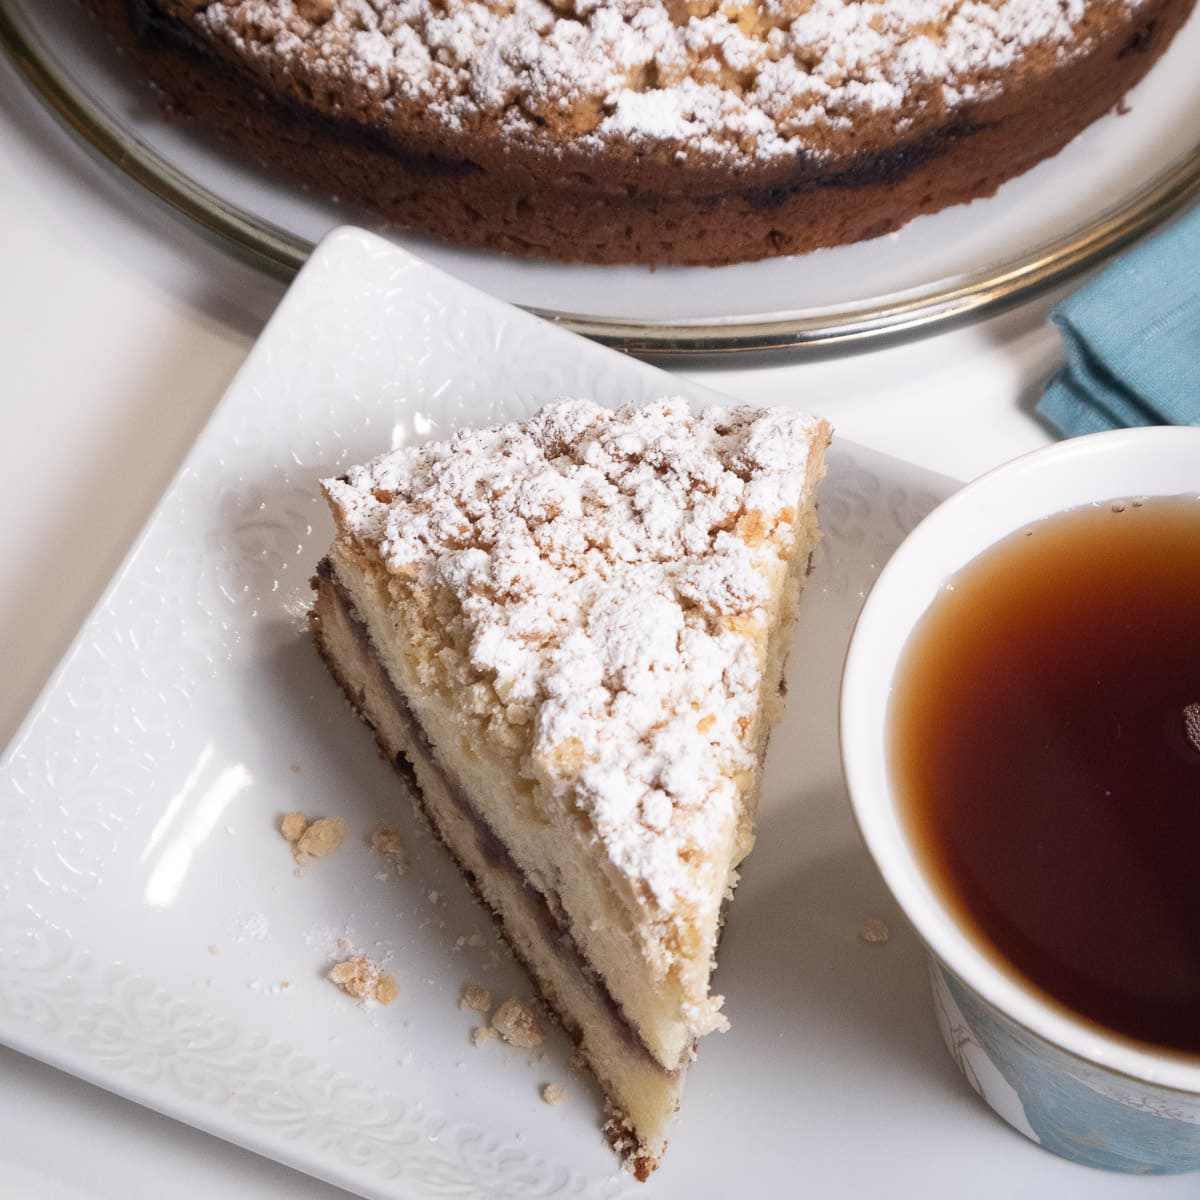
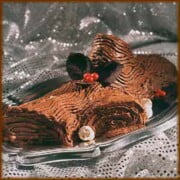
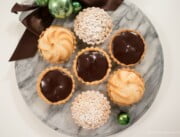
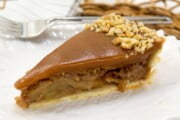
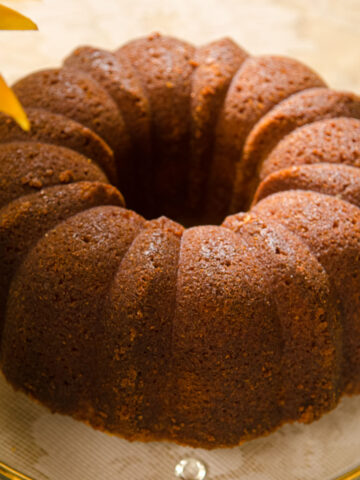
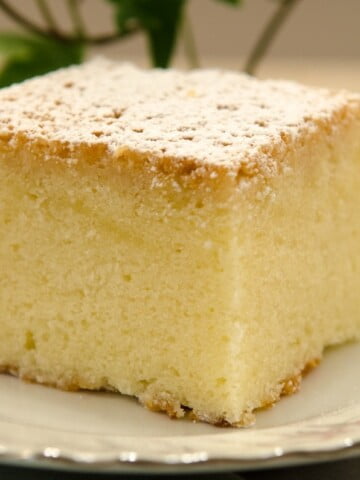
More simple but delicious cakes
If you love this Orange Almond Tea Cake, It would be hugely helpful and so appreciated it if you would take a moment to leave a rating below. Thank you.
Orange Almond Tea Cake
Ingredients
- 1 cup +2 T almond paste (290 grams)
- 1 cup granulated sugar (200 grams)
- 10 tablespoons unsalted butter, room temperature (140 grams)
- 4 large eggs
- ½ cup +2T all-purpose flour (85 grams)
- ½ teaspoon baking powder
- 1 orange zest
Instructions
- Preheat the oven to 350 degrees. Spray the center bottom of a 9x2 inch round cake pan. Line the bottom with parchment; spray the center only and set aside.
Processor Method
- Place the almond paste, sugar and orange rind in the processor bowl. Process until mealy. Add the butter; process until mixed. Add all the eggs at once and process until smooth. Lastly add the flour mixture and process until completely combined. Pour into the prepared pan, level and smooth the top.
Mixer Method
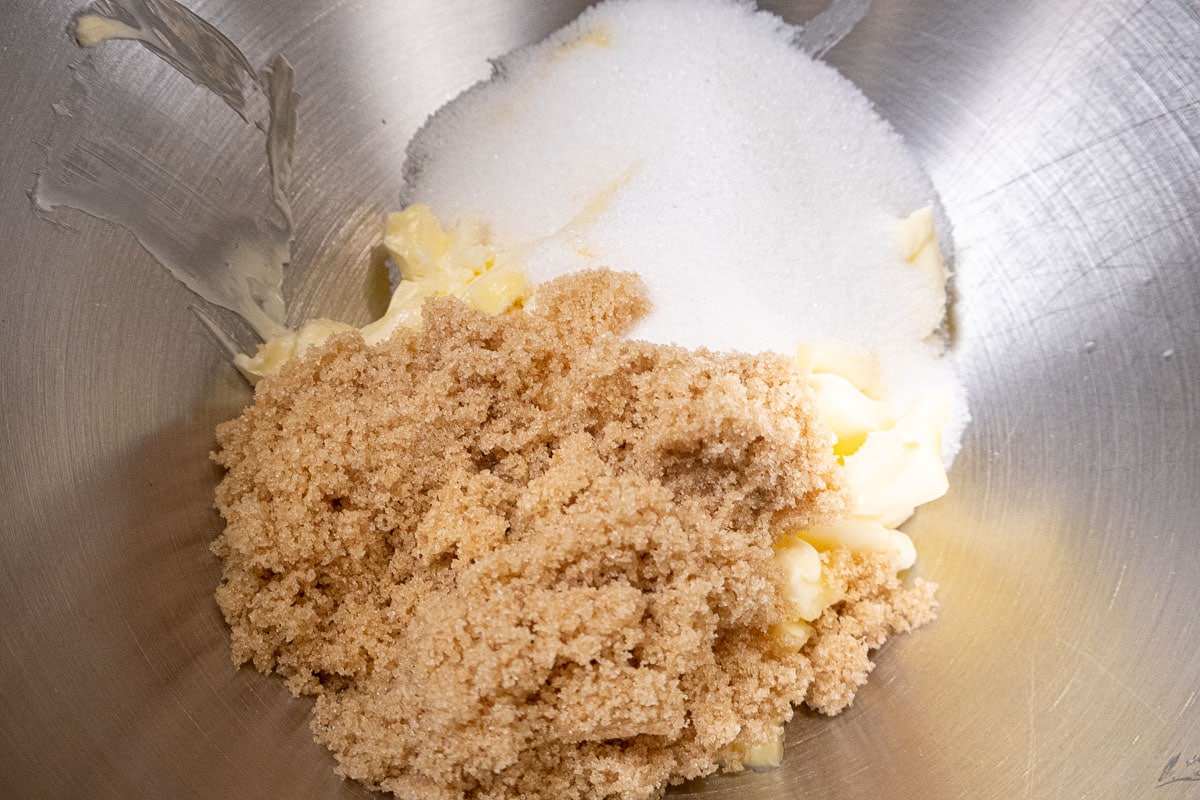
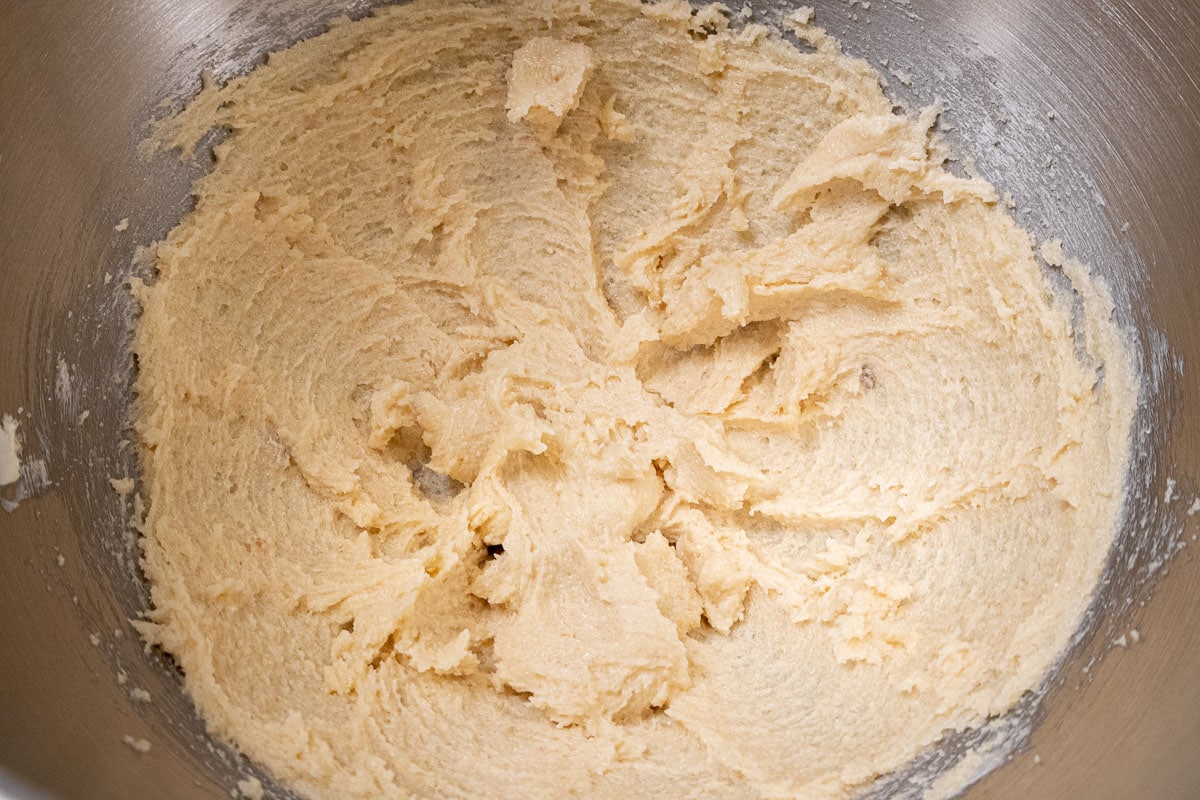
- Place the almond paste and sugar in a mixing bowl fitted with the paddle. Beat until large crumbs form. Add the butter and orange rind beating until well combined. Add the eggs, one at a time and beat until smooth. Combine the flour and baking powder whisking to mix. Add all at once to the above and mix on low just until completely combined. Pour into the prepared pan, level and smooth the top.
- Bake for 35 to 40 minutes until a tester comes out clean.
- Cool for 15 minutes, release edges and remove from the pan. Place on a rack, bottom side up to cool completely.
- Place a stencil or doily on top of the cake and sprinkle with powdered sugar fairly heavily. Carefully remove the stencil or doily to retain the design.