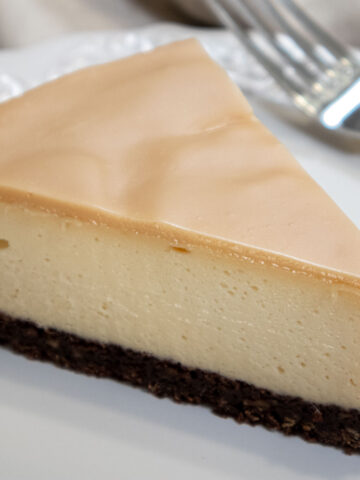
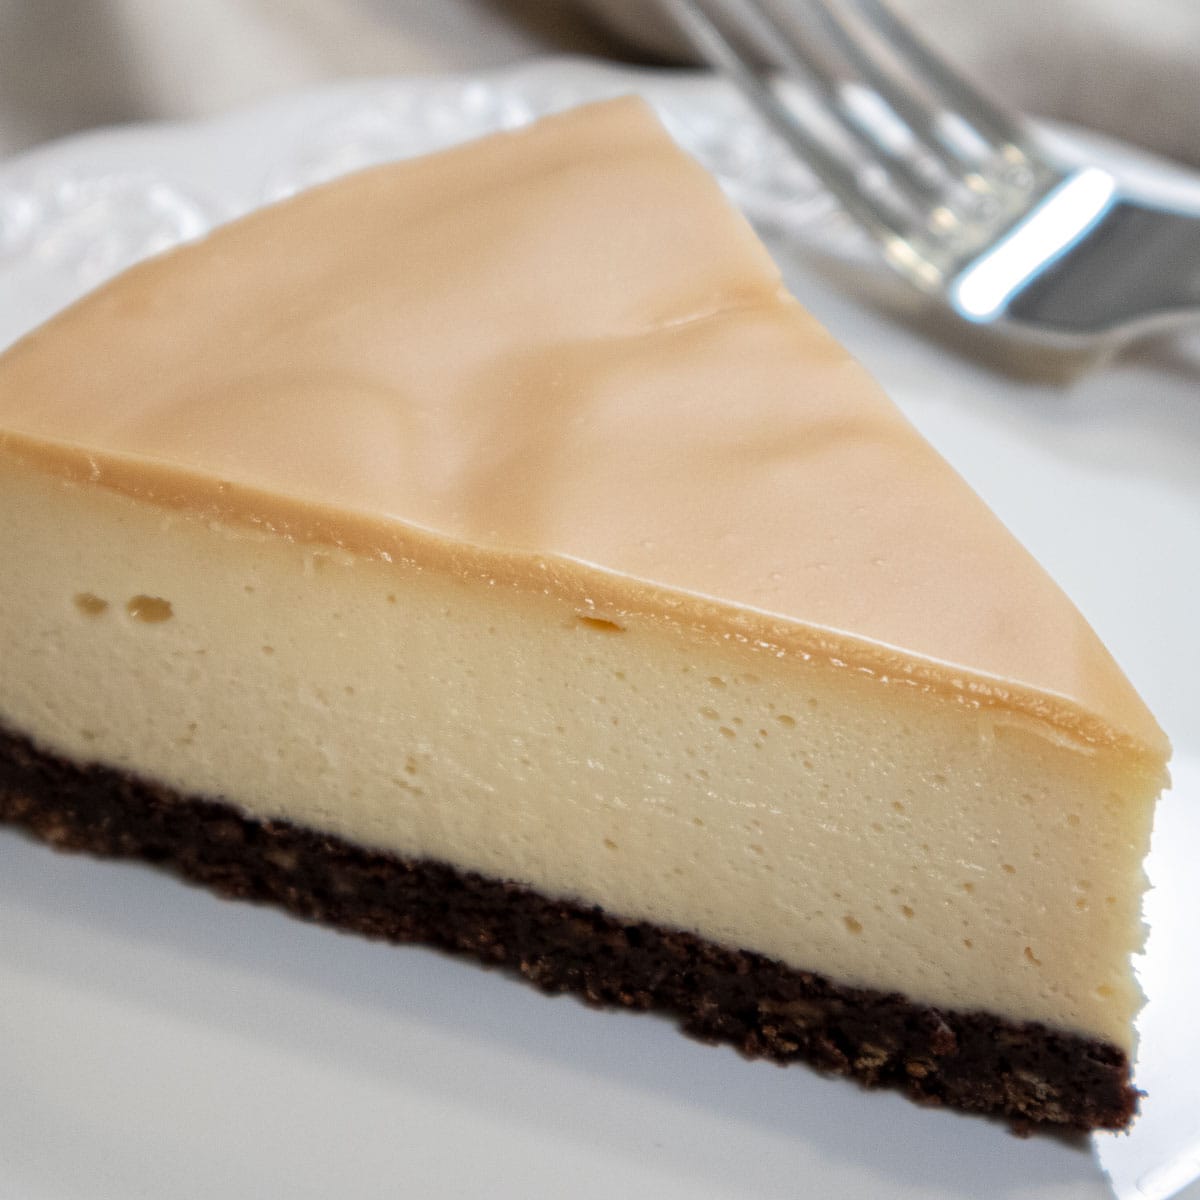
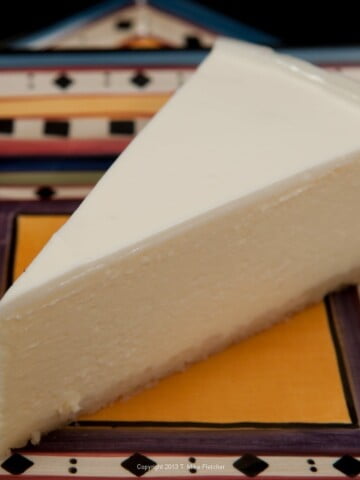
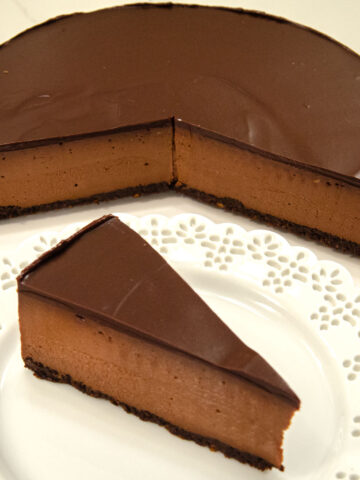
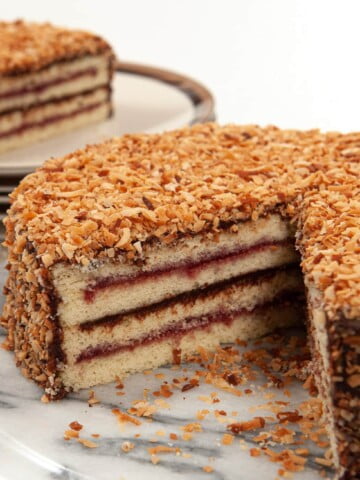
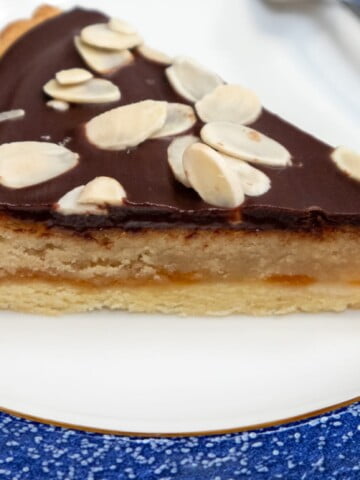
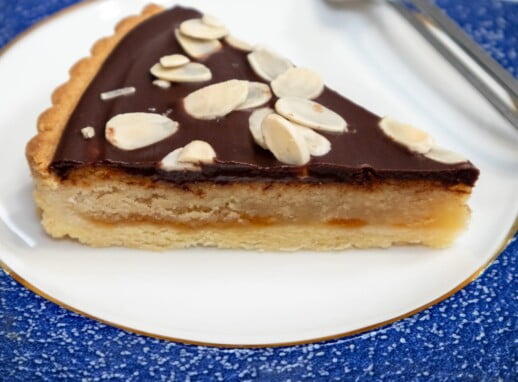
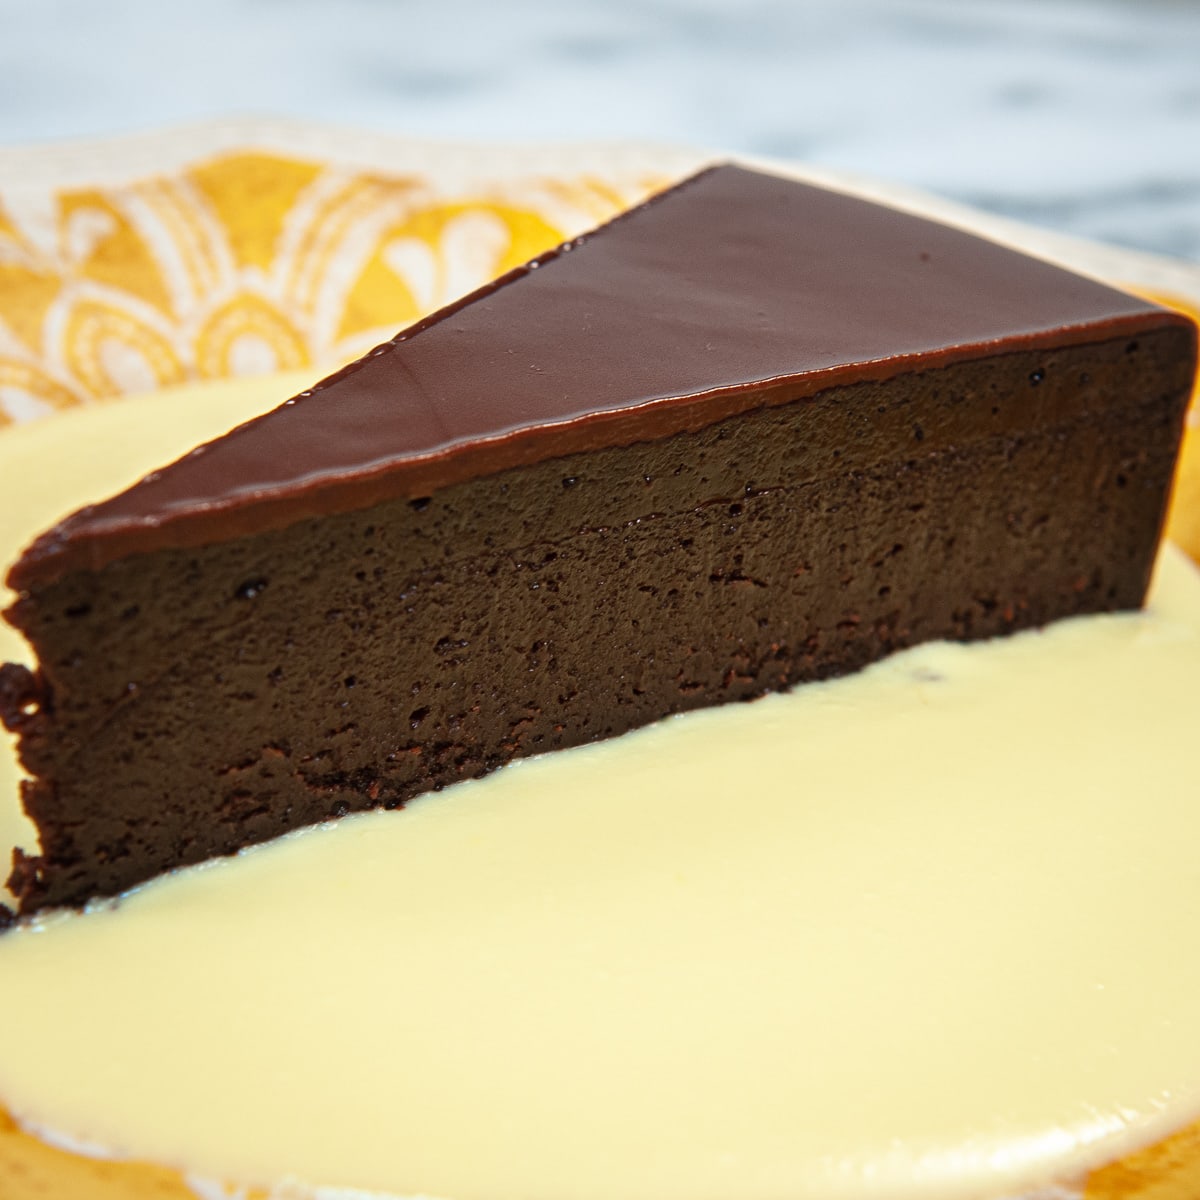
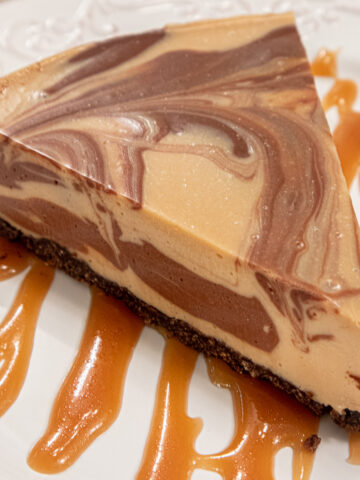
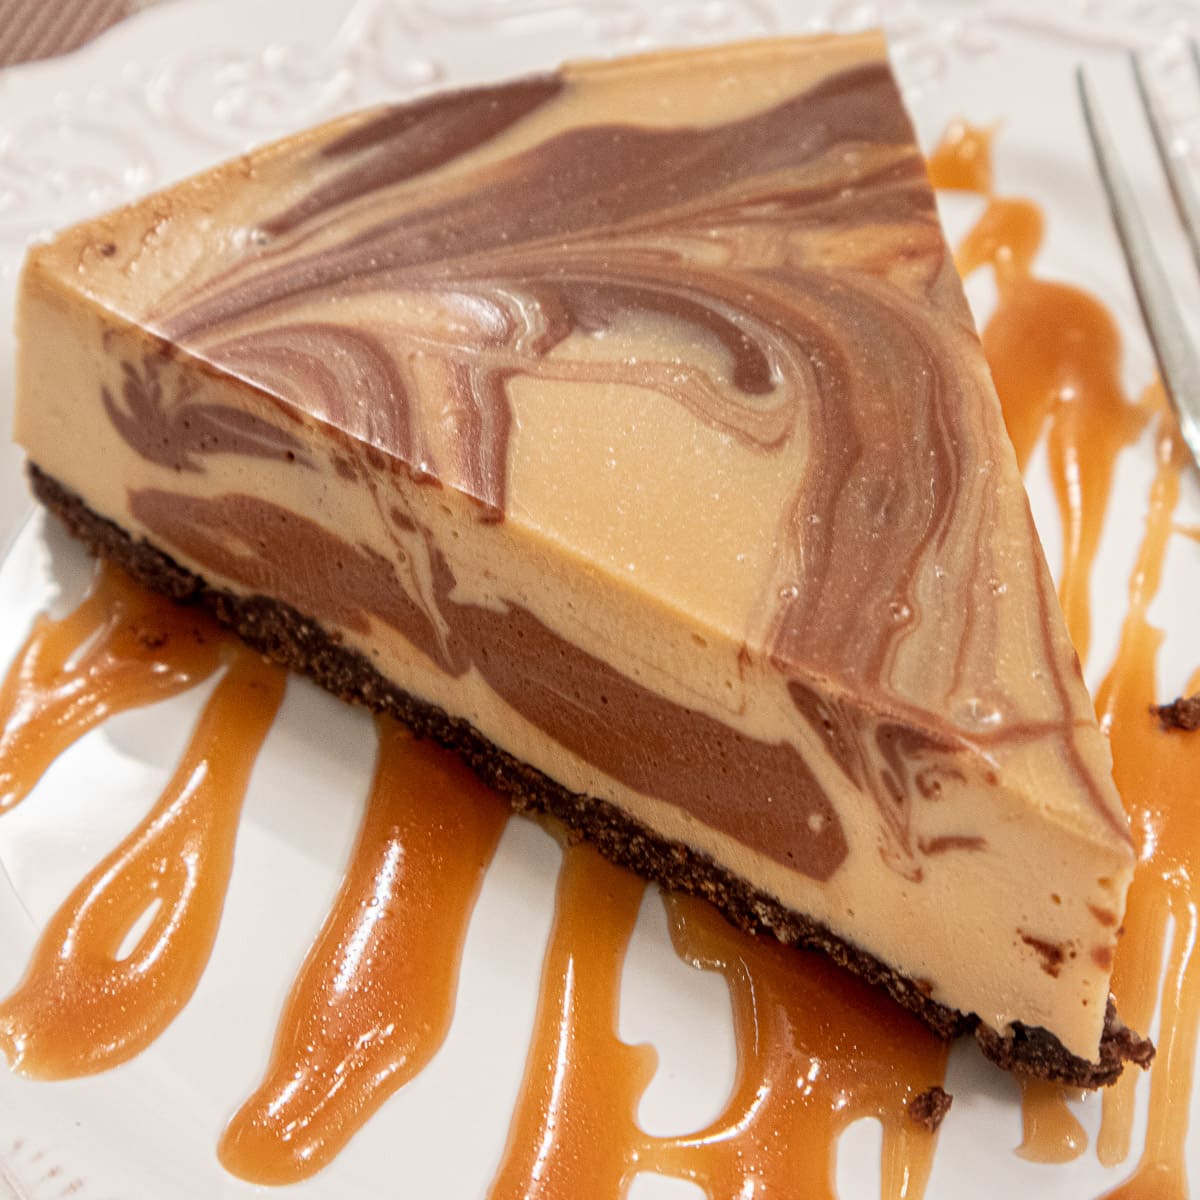
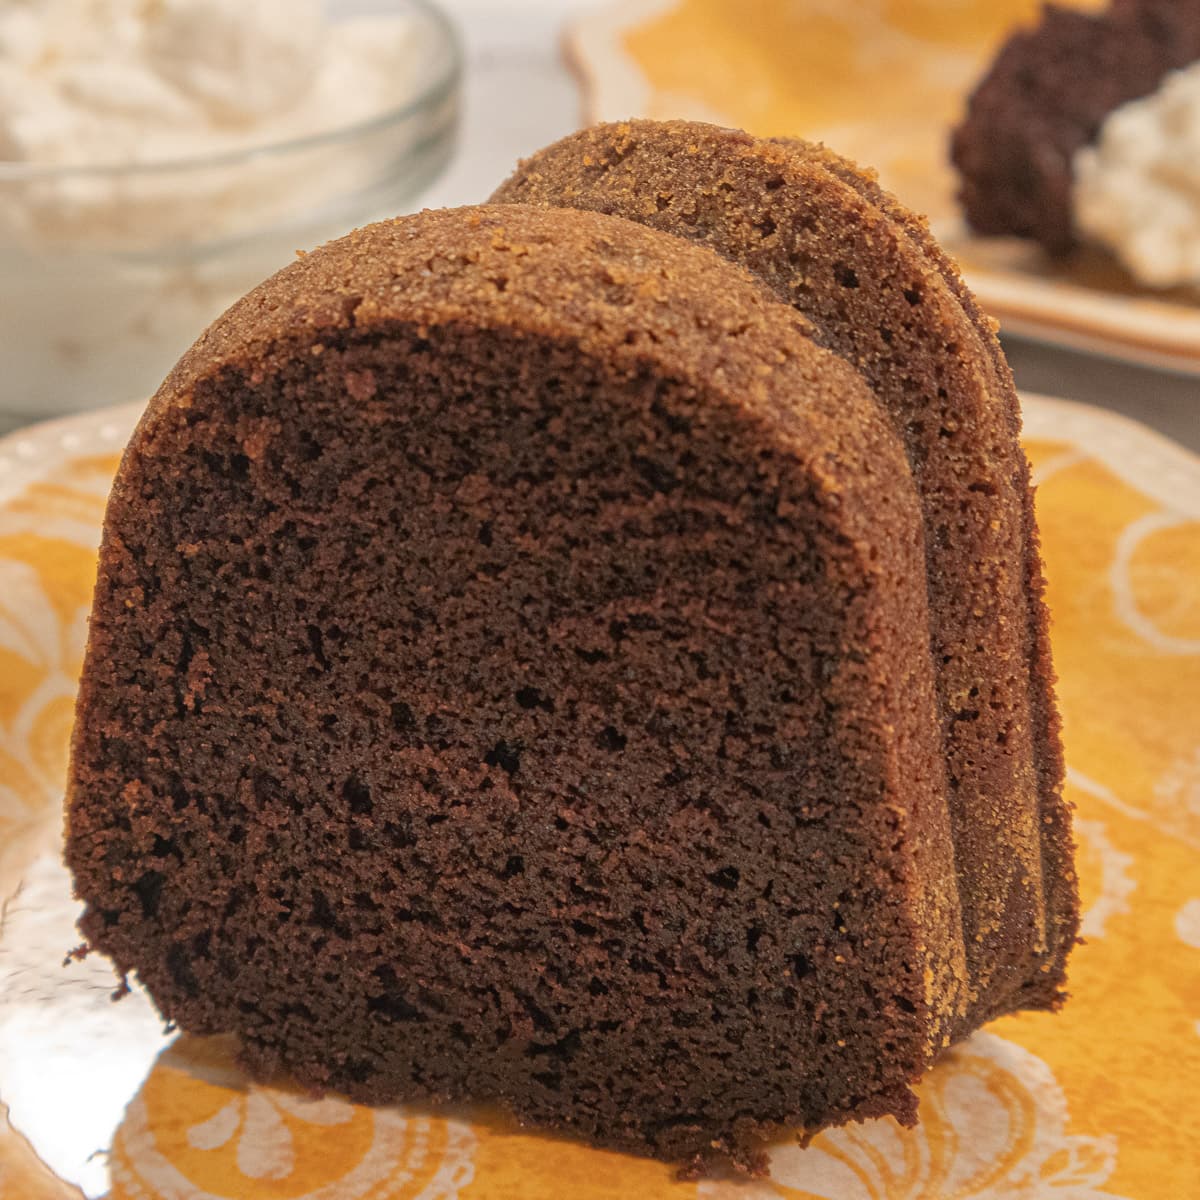
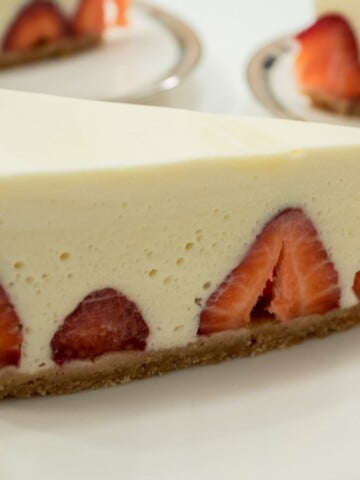
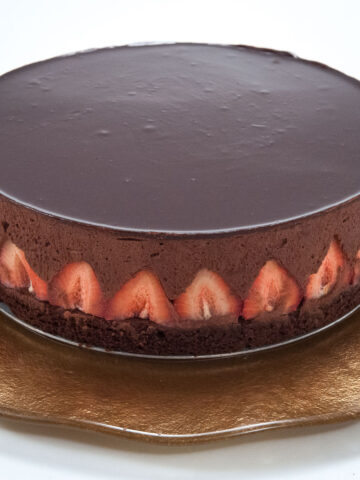
This Bailey’s Cheesecake, is everything a cheesecake should be - creamy, easy to make and full of flavor. To reinforce the Bailey's flavor, a Bailey's White Chocolate Glaze finishes the cheesecake.
But the best thing about this cheesecake is that it is super simple and a great place to start if just getting into cheesecakes. Within minutes it will be in the pan and going into the oven.
This cheesecake is based on my Unbelieveable Cheesecake using the same 4 ingredients but water instead of Bailey's.
A few other cheesecakes include the White Chocolate Mocha Cheesecake, Easy Pina Colada Cheesecake and the Triple Chocolate Cheesecake. Another take on cheesecake is the Easy Lemon Cheesecake Bread Pudding.
[feast_advanced_jump_to]Cheesecake Pans vs. Springform Pans
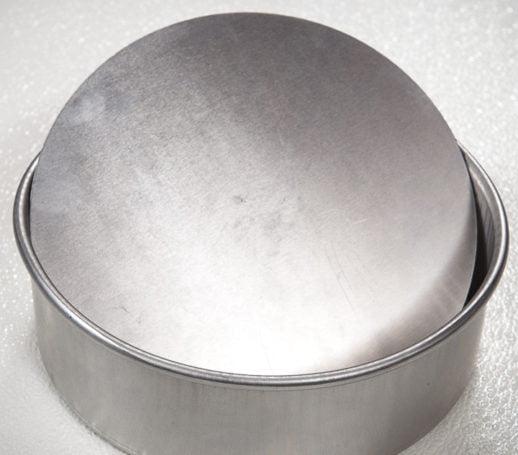
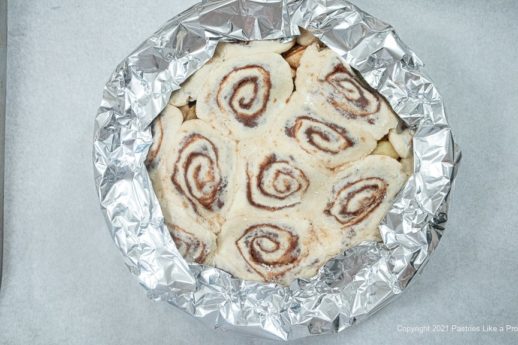
The difference between a cheesecake pan and a springform pan is how the sides are made. The cheesecake pan has a solid rim and a perfectly flat removable bottom. While it requires a different method to release the cheesecake, it is easily and quickly done. The flat removable bottom allows for easy removal of the cheesecake. When we made cheesecakes requiring water baths, we simply wrapped these pans in aluminum foil to keep the water out. Parrish's Magic Pan line has this pan in different sizes.
Parrish's Magic Pan line is the one we used at the bakery. I am still using some that are 30 years old. They last forever, are easier to clean and are reasonably priced compared to others. We used their cake pans, wedding cake pans, and cheesecake pans in different sizes. We literally had 100's of their pans. Here are a couple of sources: Sweet Treat Supply or Charlies Fixtures. Be careful to get the cheesecake pans and not the regular cake pans.
Most springform pans do not have a perfectly flat removable bottom making it more difficult to remove the cheesecake. Also, after years of use or if not stored properly, the spring can get sprung making it unusable.
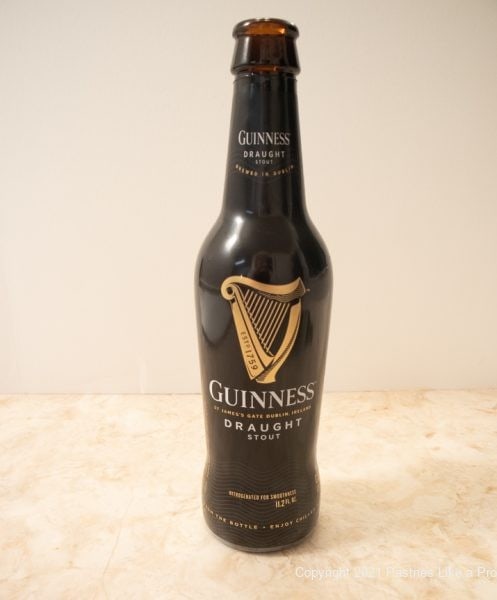
What is Bailey's?
Baileys is a type of alcoholic liqueur called Irish cream.
While know as just Bailey's, the proper name is Baileys The Original Irish Cream. Irish cream was first developed in 1974 in Ireland. Original Baileys Irish Cream contains Irish dairy cream, Irish whiskey, vanilla and chocolate flavors.
Baileys is designed to be served neat (without ice or mixers) or used as a flavoring in foods like Irish coffee, ice cream toppings, baked goods, and confectionery. The uses of this popular liqueur are endless.
White Chocolate vs. White Coating Chocolate
The glaze is made with White chocolate which is made of cocoa butter, sugar, milk solids, vanilla, and a fatty food additive called lecithin. That's it!
White melting wafers or coating chocolate is made by several companies and can include: Sugar, Palm And Palm Kernel Oil, Nonfat Dry Milk, Whole Milk Powder, Sorbitan Tristearate, Soy Lecithin, Salt, Natural Flavor. As you can see there is no cocoa butter. While they melt, they are not white chocolate and they don't taste like white chocolate.
Melting White Chocolate for the Bailey’s Cheesecake
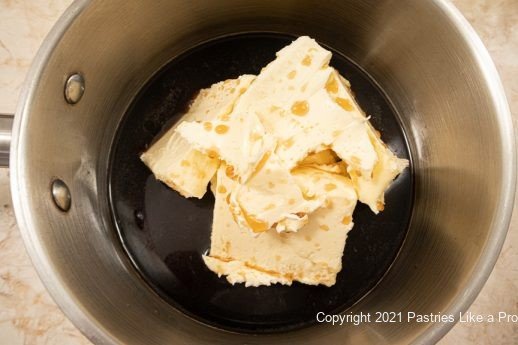
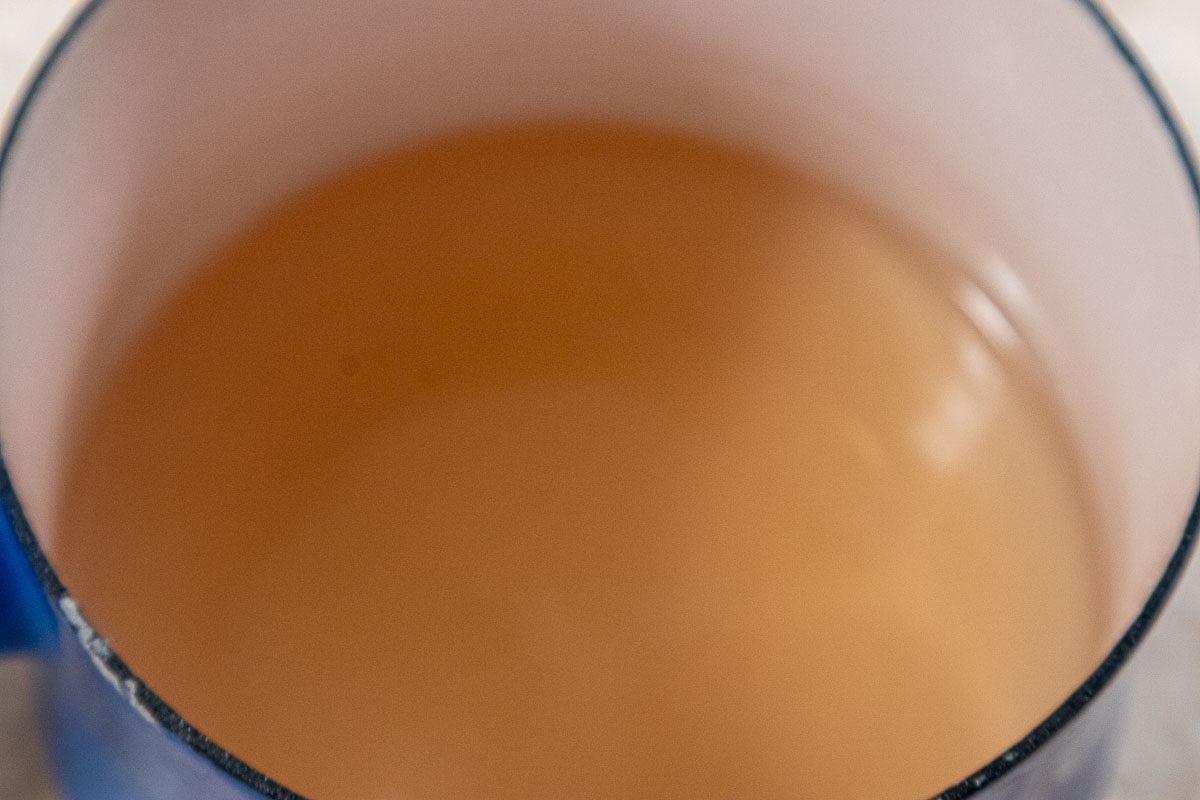
It can be tricky to melt white chocolate because it seizes easily and quickly if too high a heat is used to melt it.
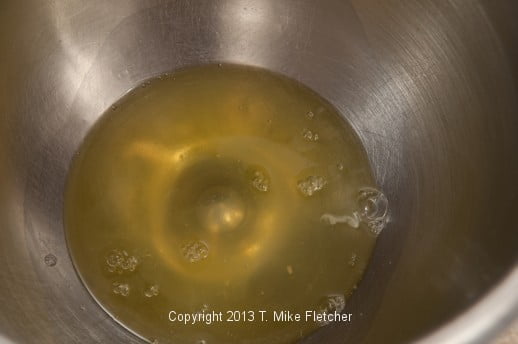
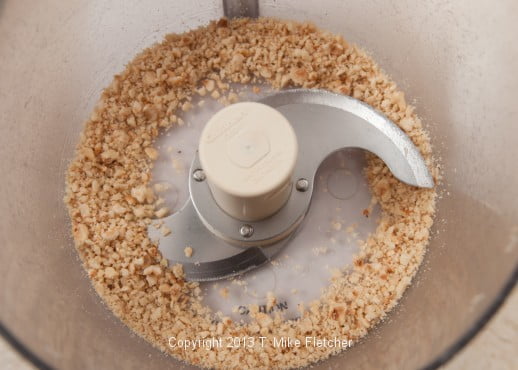
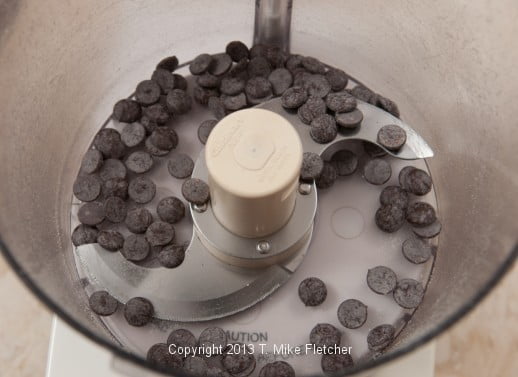
First, the chocolate needs to be chopped in small pieces. That will allow the heat to melt it more uniformly.
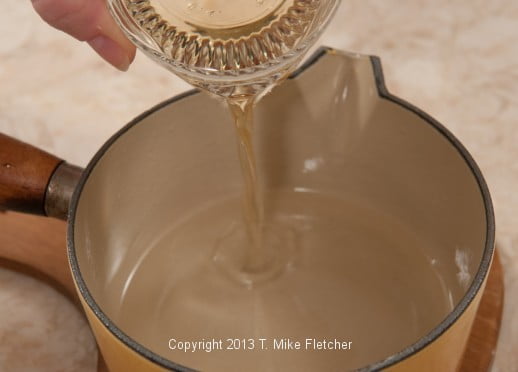
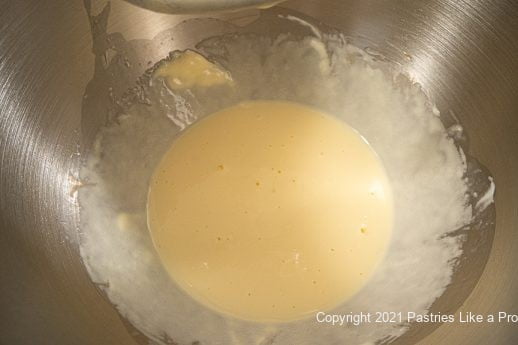
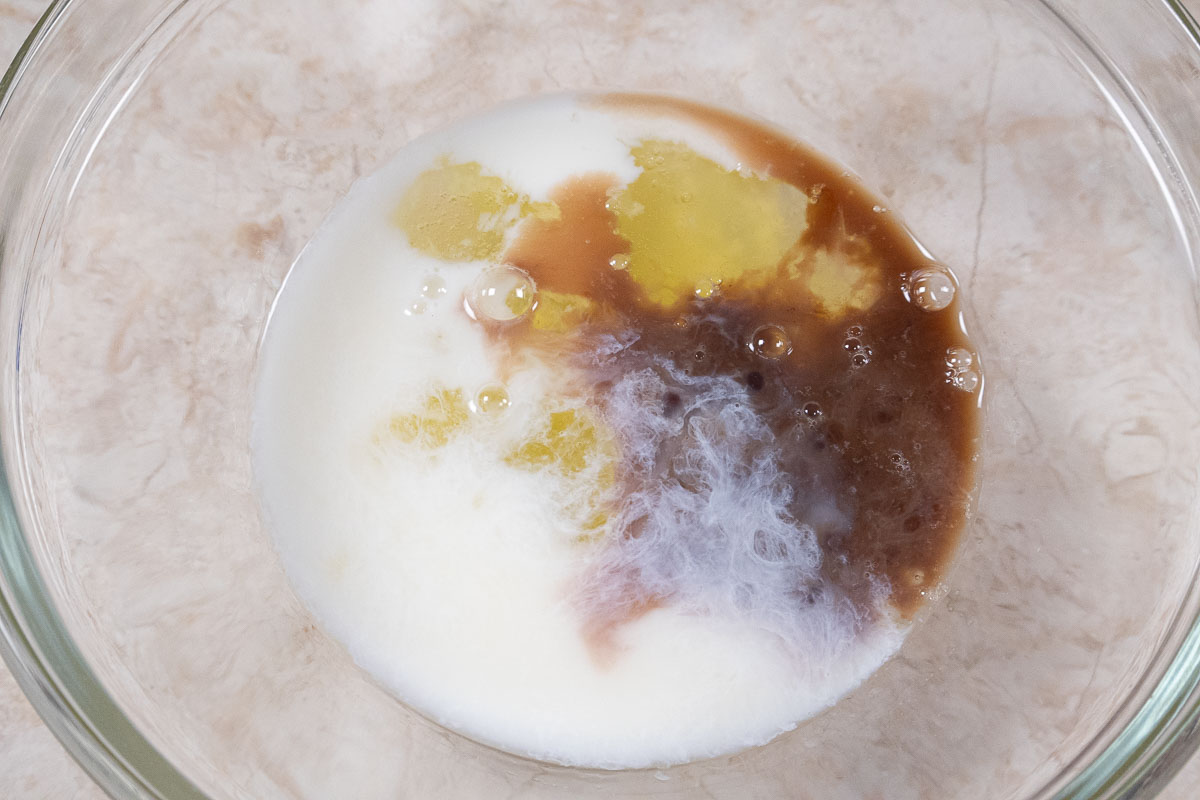
Next, place the Bailey’s in the top of a double boiler or a bowl that fits snuggly into the pan below. Make sure the water beneath it is only simmering, not boiling, and the bottom of the pan doesn’t touch the water. Add the chopped white chocolate. At the first sign of melting, stir gently and constantly until it’s melted. It's ok to use a whisk if you use it to stir very slowly so air bubbles don't form. If in doubt, use a spoon.
While I love the microwave for many things, I don’t like using it to melt white chocolate. It is very finicky and burns really easy. If you asked me why I know this, it’s because I have burned more than once even using half power.
Why You'll Love this Recipe
- It is really, really easy to make.
- This cheesecake is a great way to get into cheesecakes if new to them.
- There are only 4 ingredients in the crust, 4 in the cheesecake and 2 in the white chocolate glaze.
- This is so professional looking, everyone will think you bought it.
- The Bailey's really comes through in the flavor.
- This is one of the best, easiest cheesecakes you'll ever make.
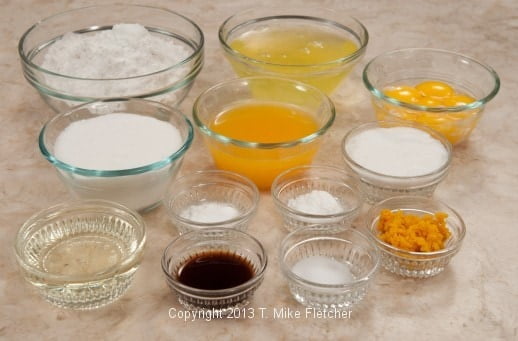
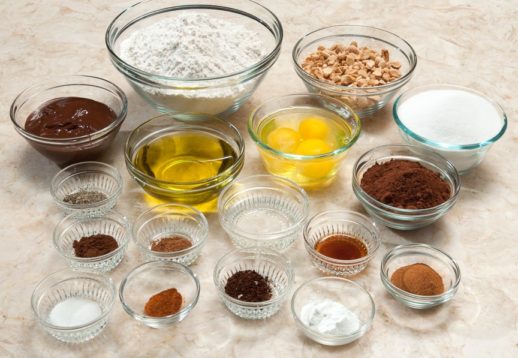
Recipe Ingredients
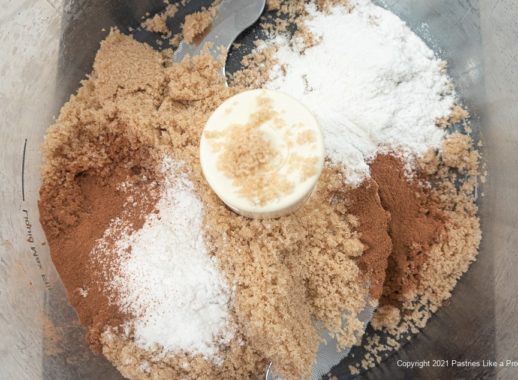
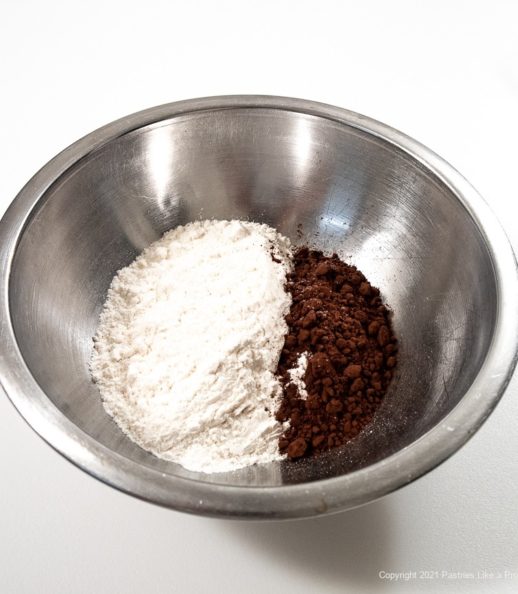
The Crumb Crust
This is the same crust we used at the bakery for cheesecakes using a chocolate crumb crust.
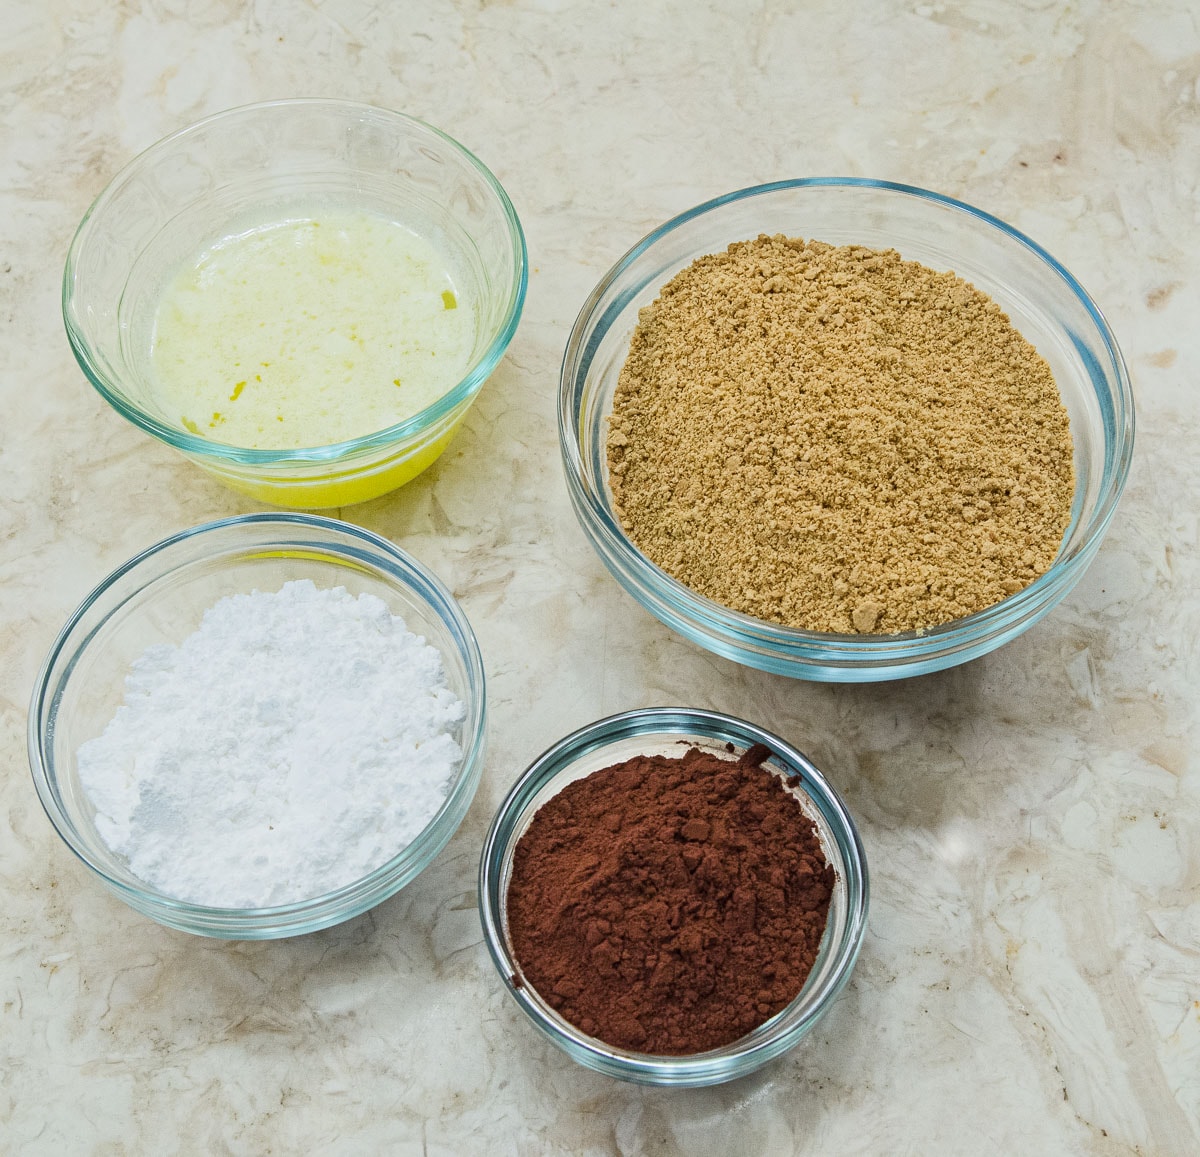
CLOCKWISE: Melted butter, graham crackers, cocoa, powdered sugar
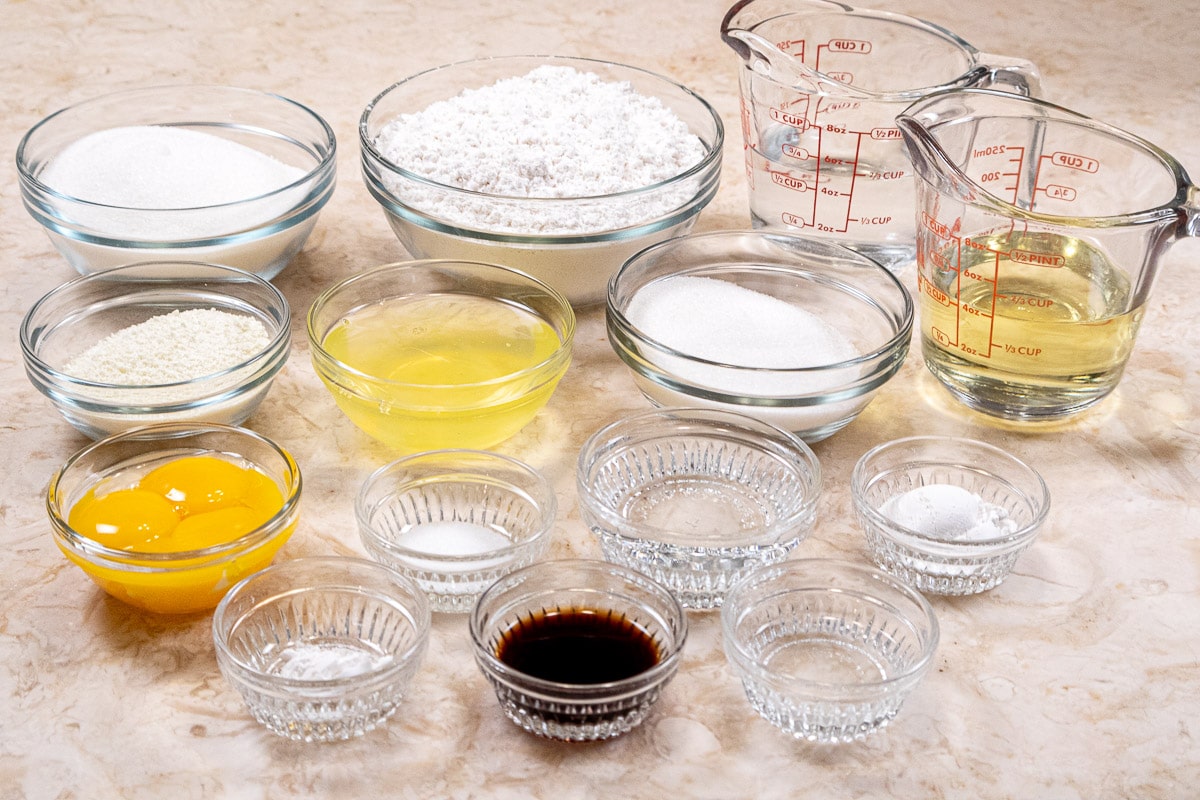
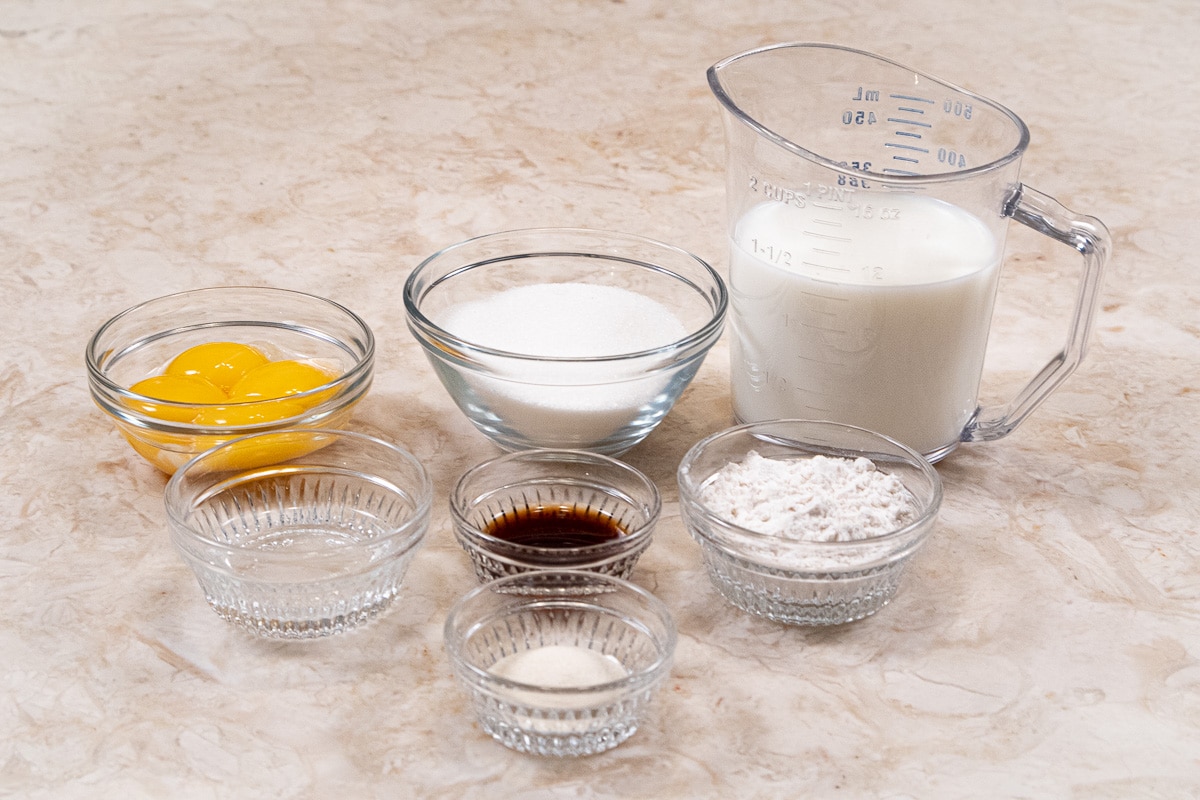
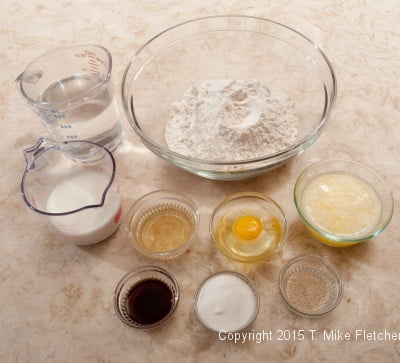
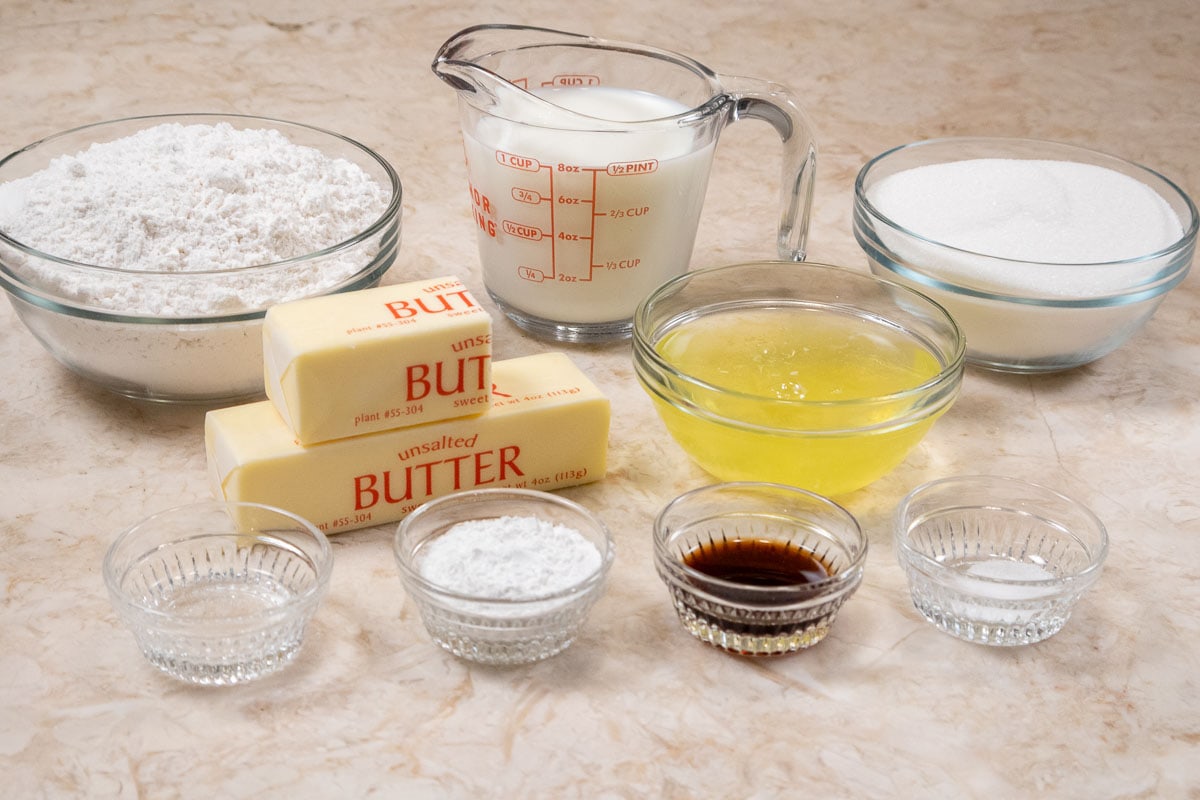
The Cheesecake Filling
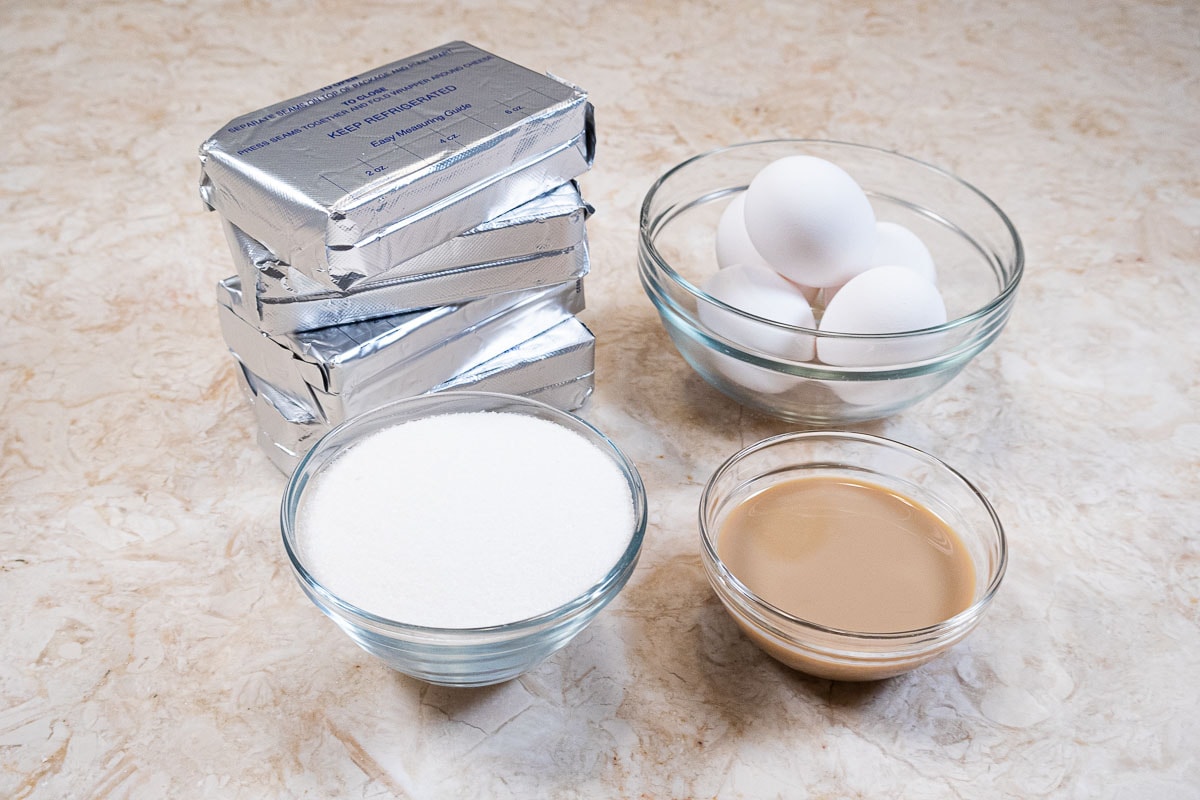
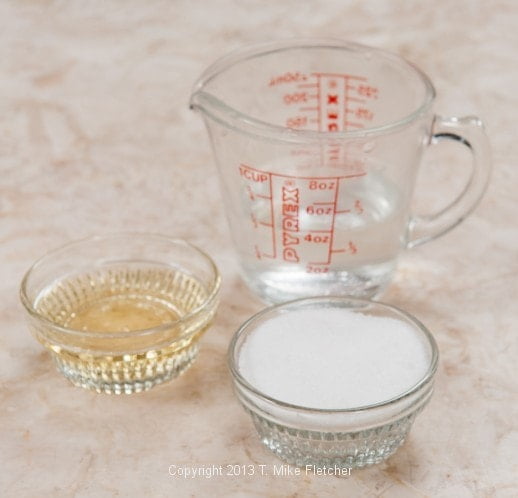
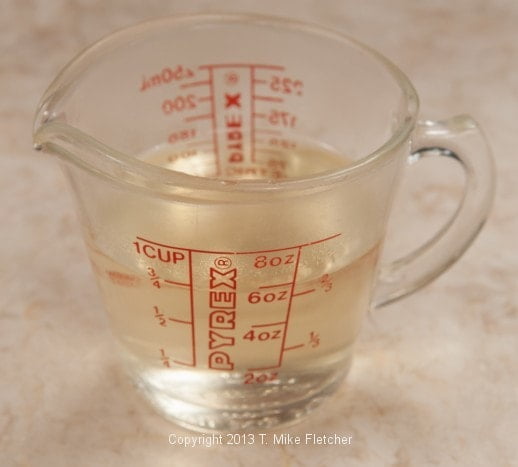
FRONT ROW: Granulated Sugar, Bailey's liqueur
BACK ROW: Cream Cheese, eggs
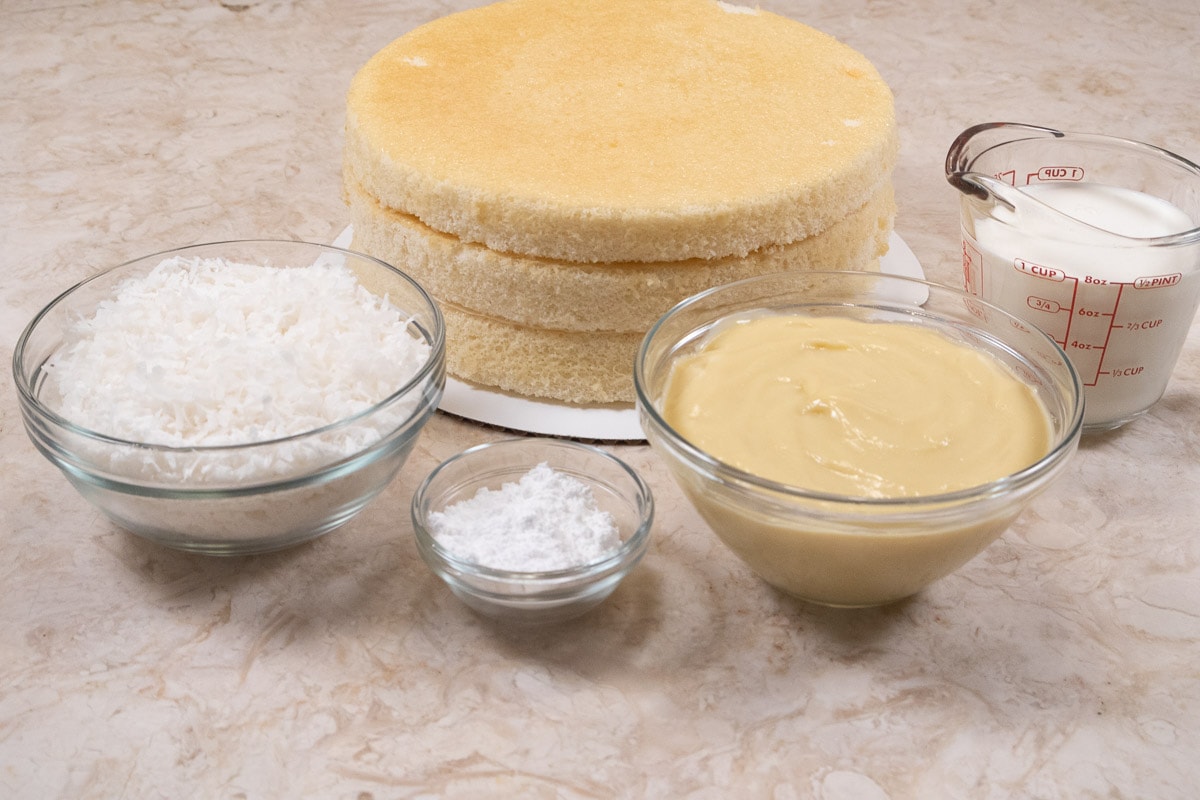
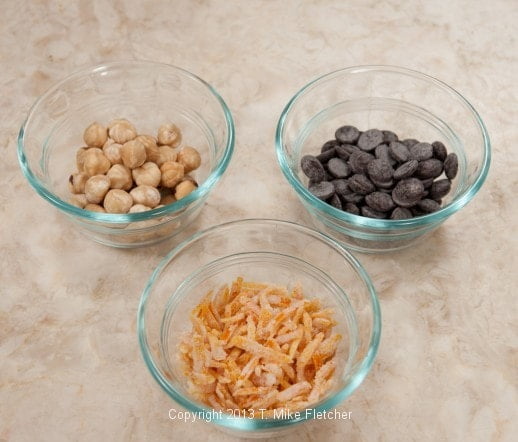
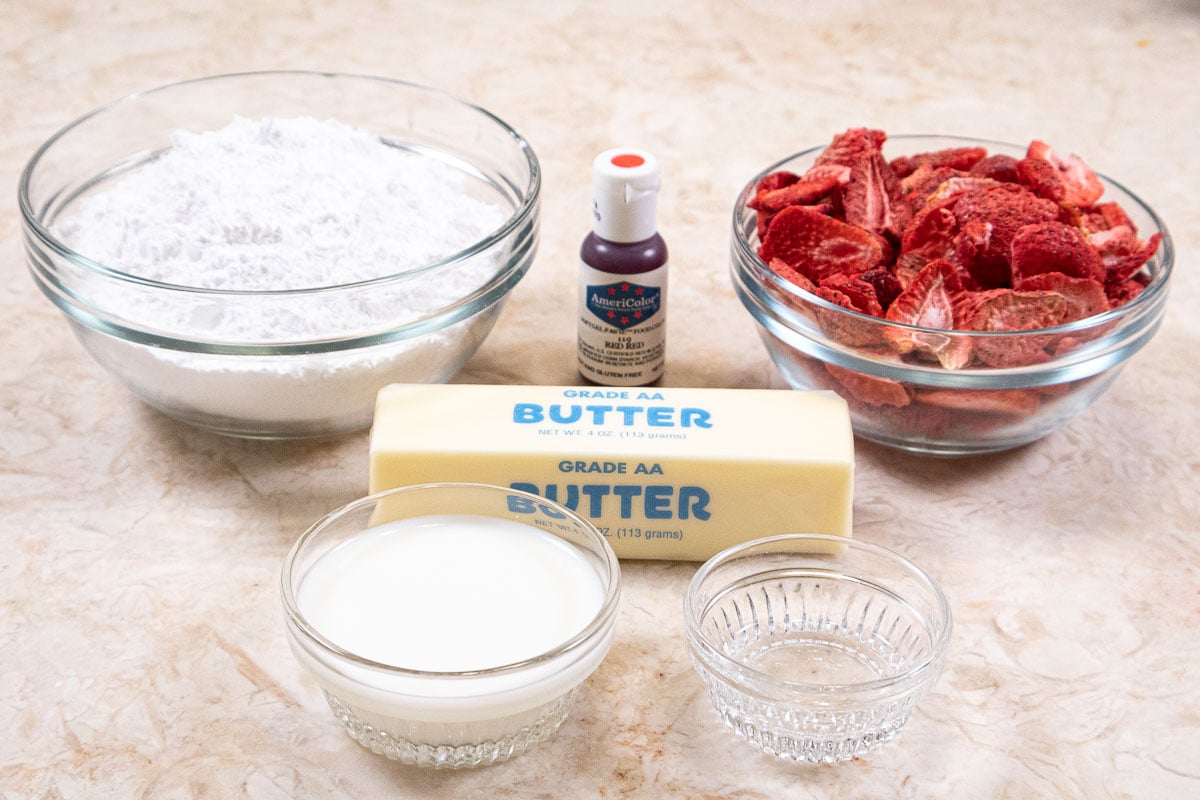
Bailey's White Chocolate Glaze
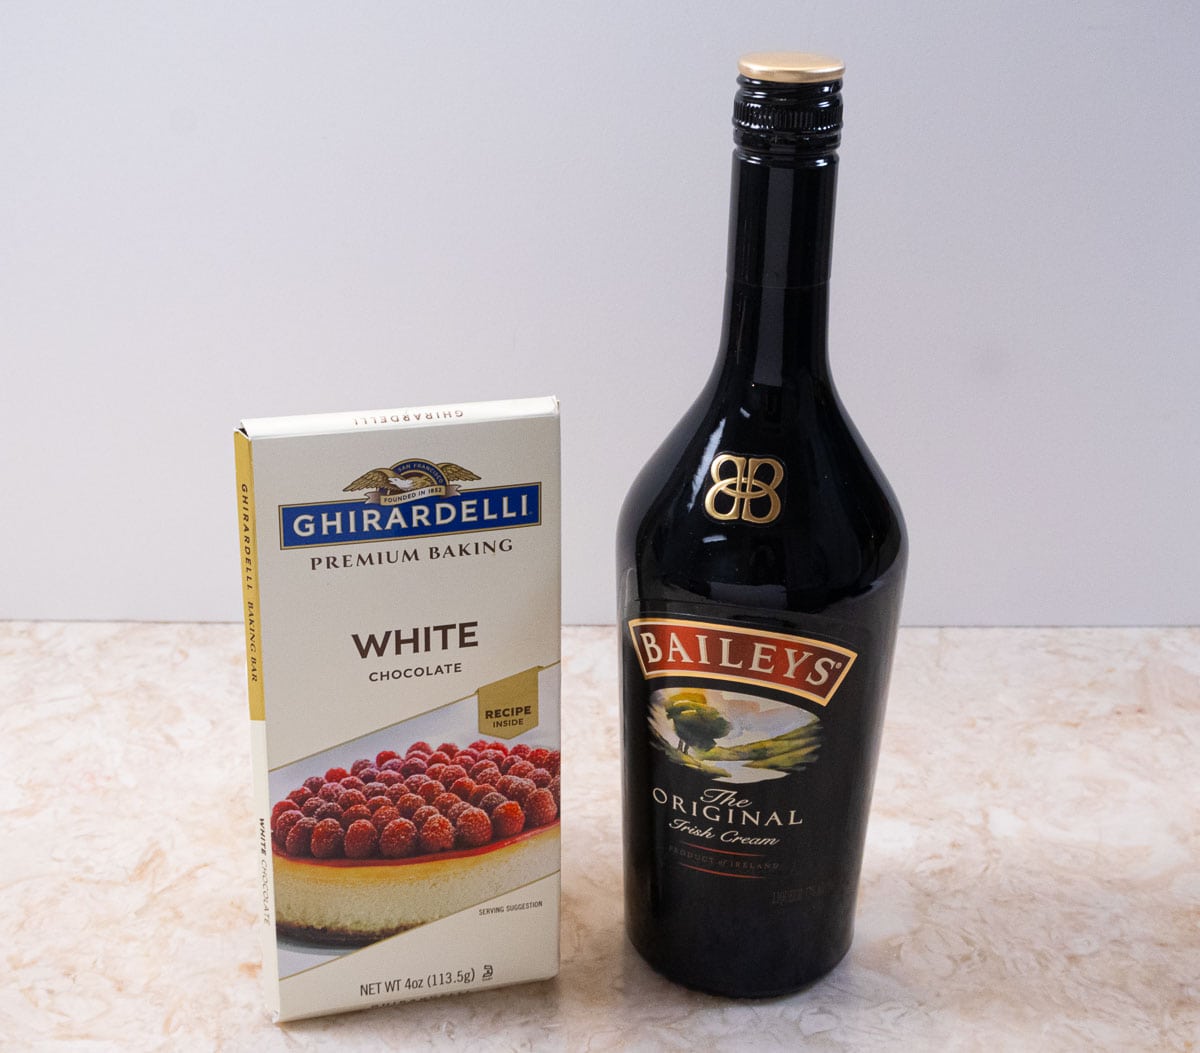
Left to right: White Chocolate (do not use if the ingredients incude palm oil, or other ingredients), Bailey's liqueur
Variations and Substitutions
- ⅓ less fat cream cheese can be used in place of regular cream cheese.
- Any liqueur can be substituted for the Bailey's.
- For a plain graham cracker crust, omit the cocoa
Be sure to see the recipe card below for the exact ingredients & instructions!*
Step by Step Instructions
Chocolate Crumb Crust
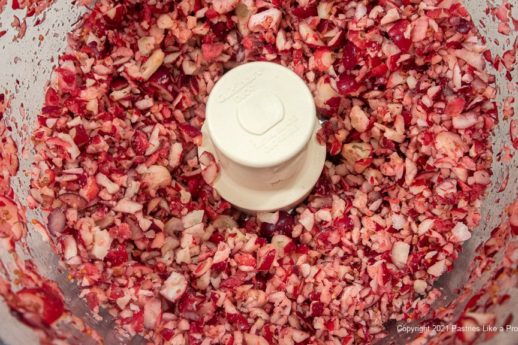
Over the years, I have found there is a distinct difference in how the cheesecake is mixed. When using the processor, it is much easier to mix the cream cheese without lumps. Using the processor also makes a very creamy, but firmer cheesecake that cuts beautifully.
Mixing the filling in a mixer makes a slightly less firm cheesecake that isn't quite the same texture but is also fine.
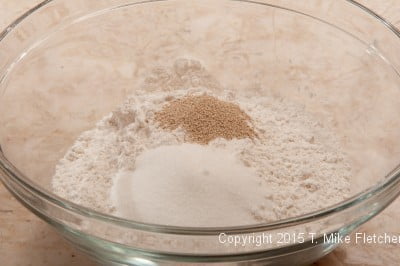
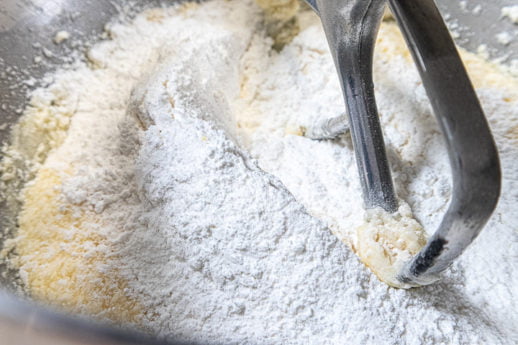
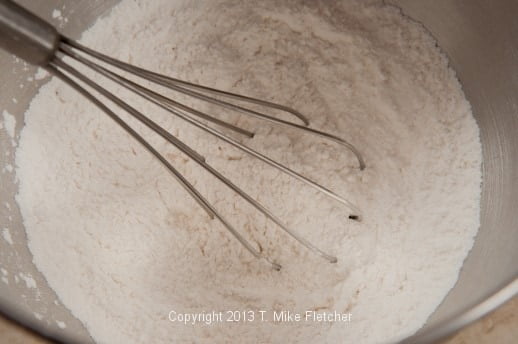
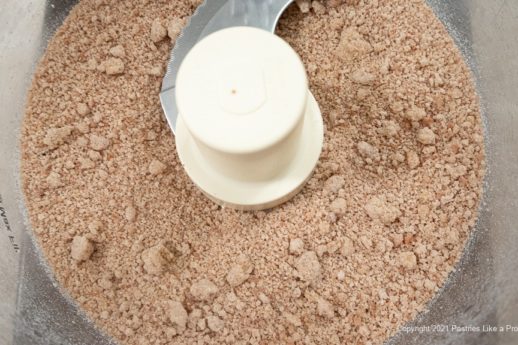
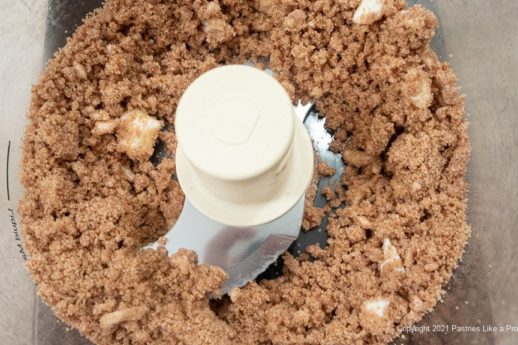
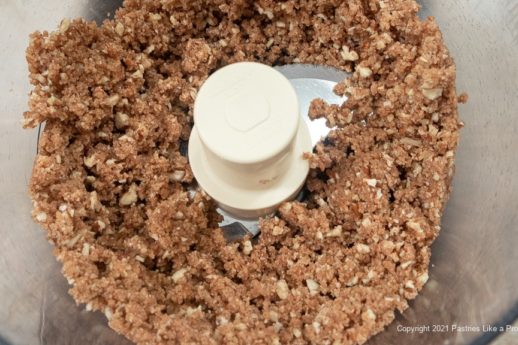
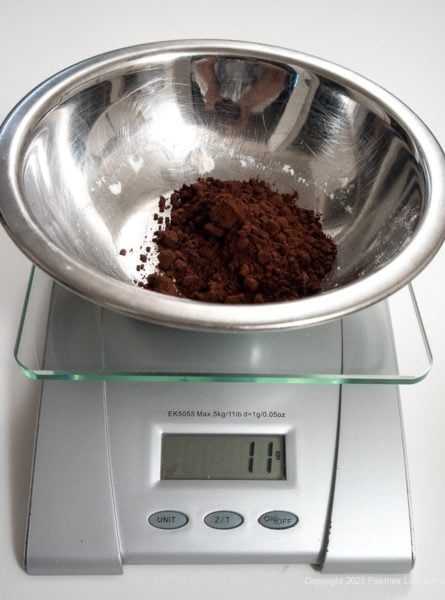
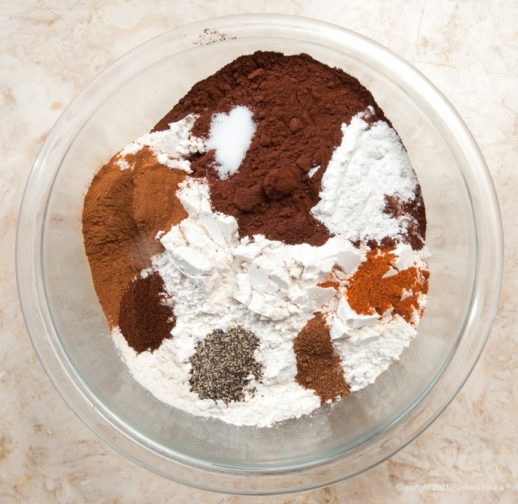
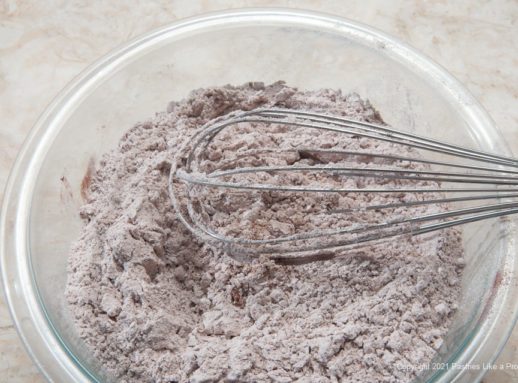
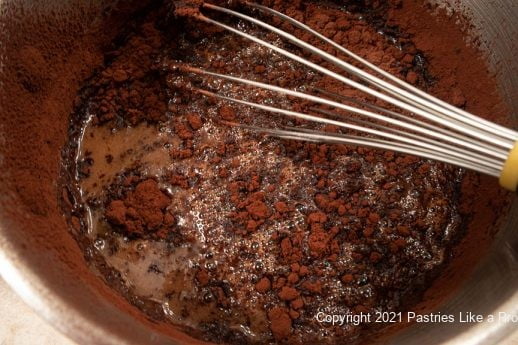
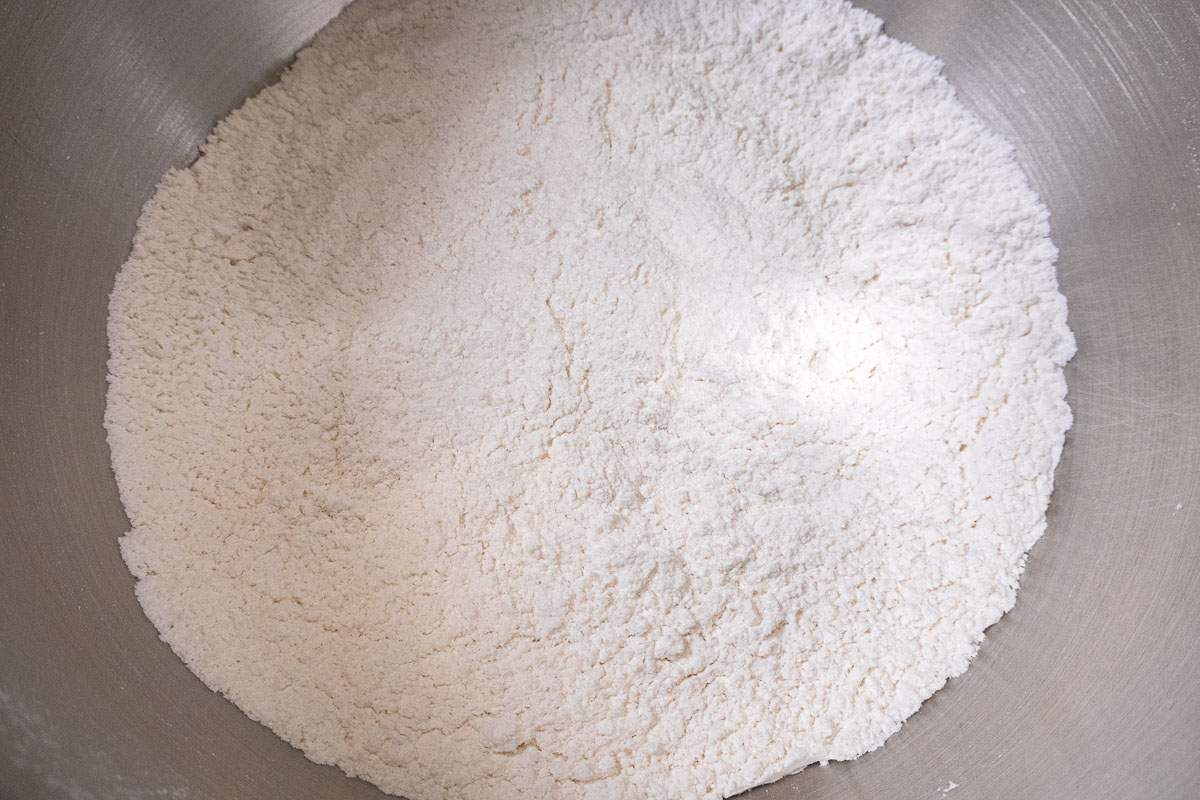
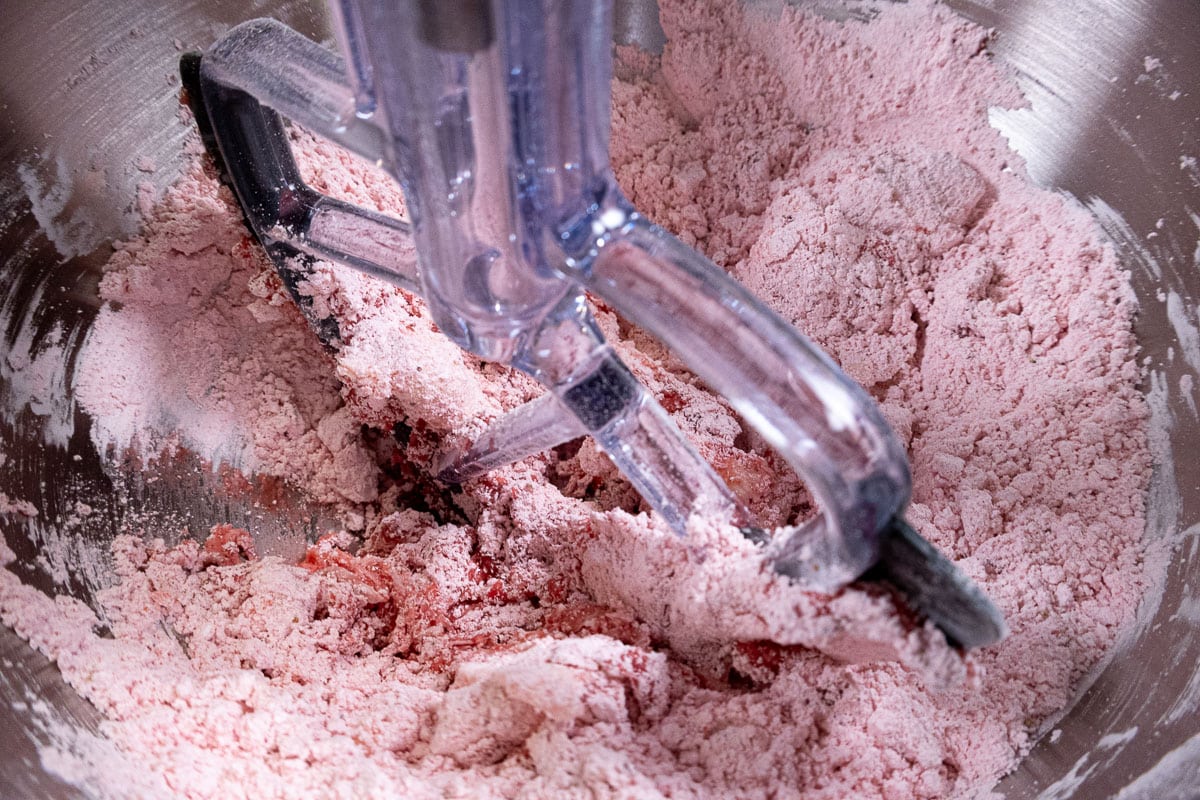
Step 1. Place the graham crackers, powdered sugar and cocoa in a bowl. Step 2. Whisk together to mix. Step 3. Mix together with a fork. Step 4. Make sure all the ingredients are coated with butter and uniformly mixed.
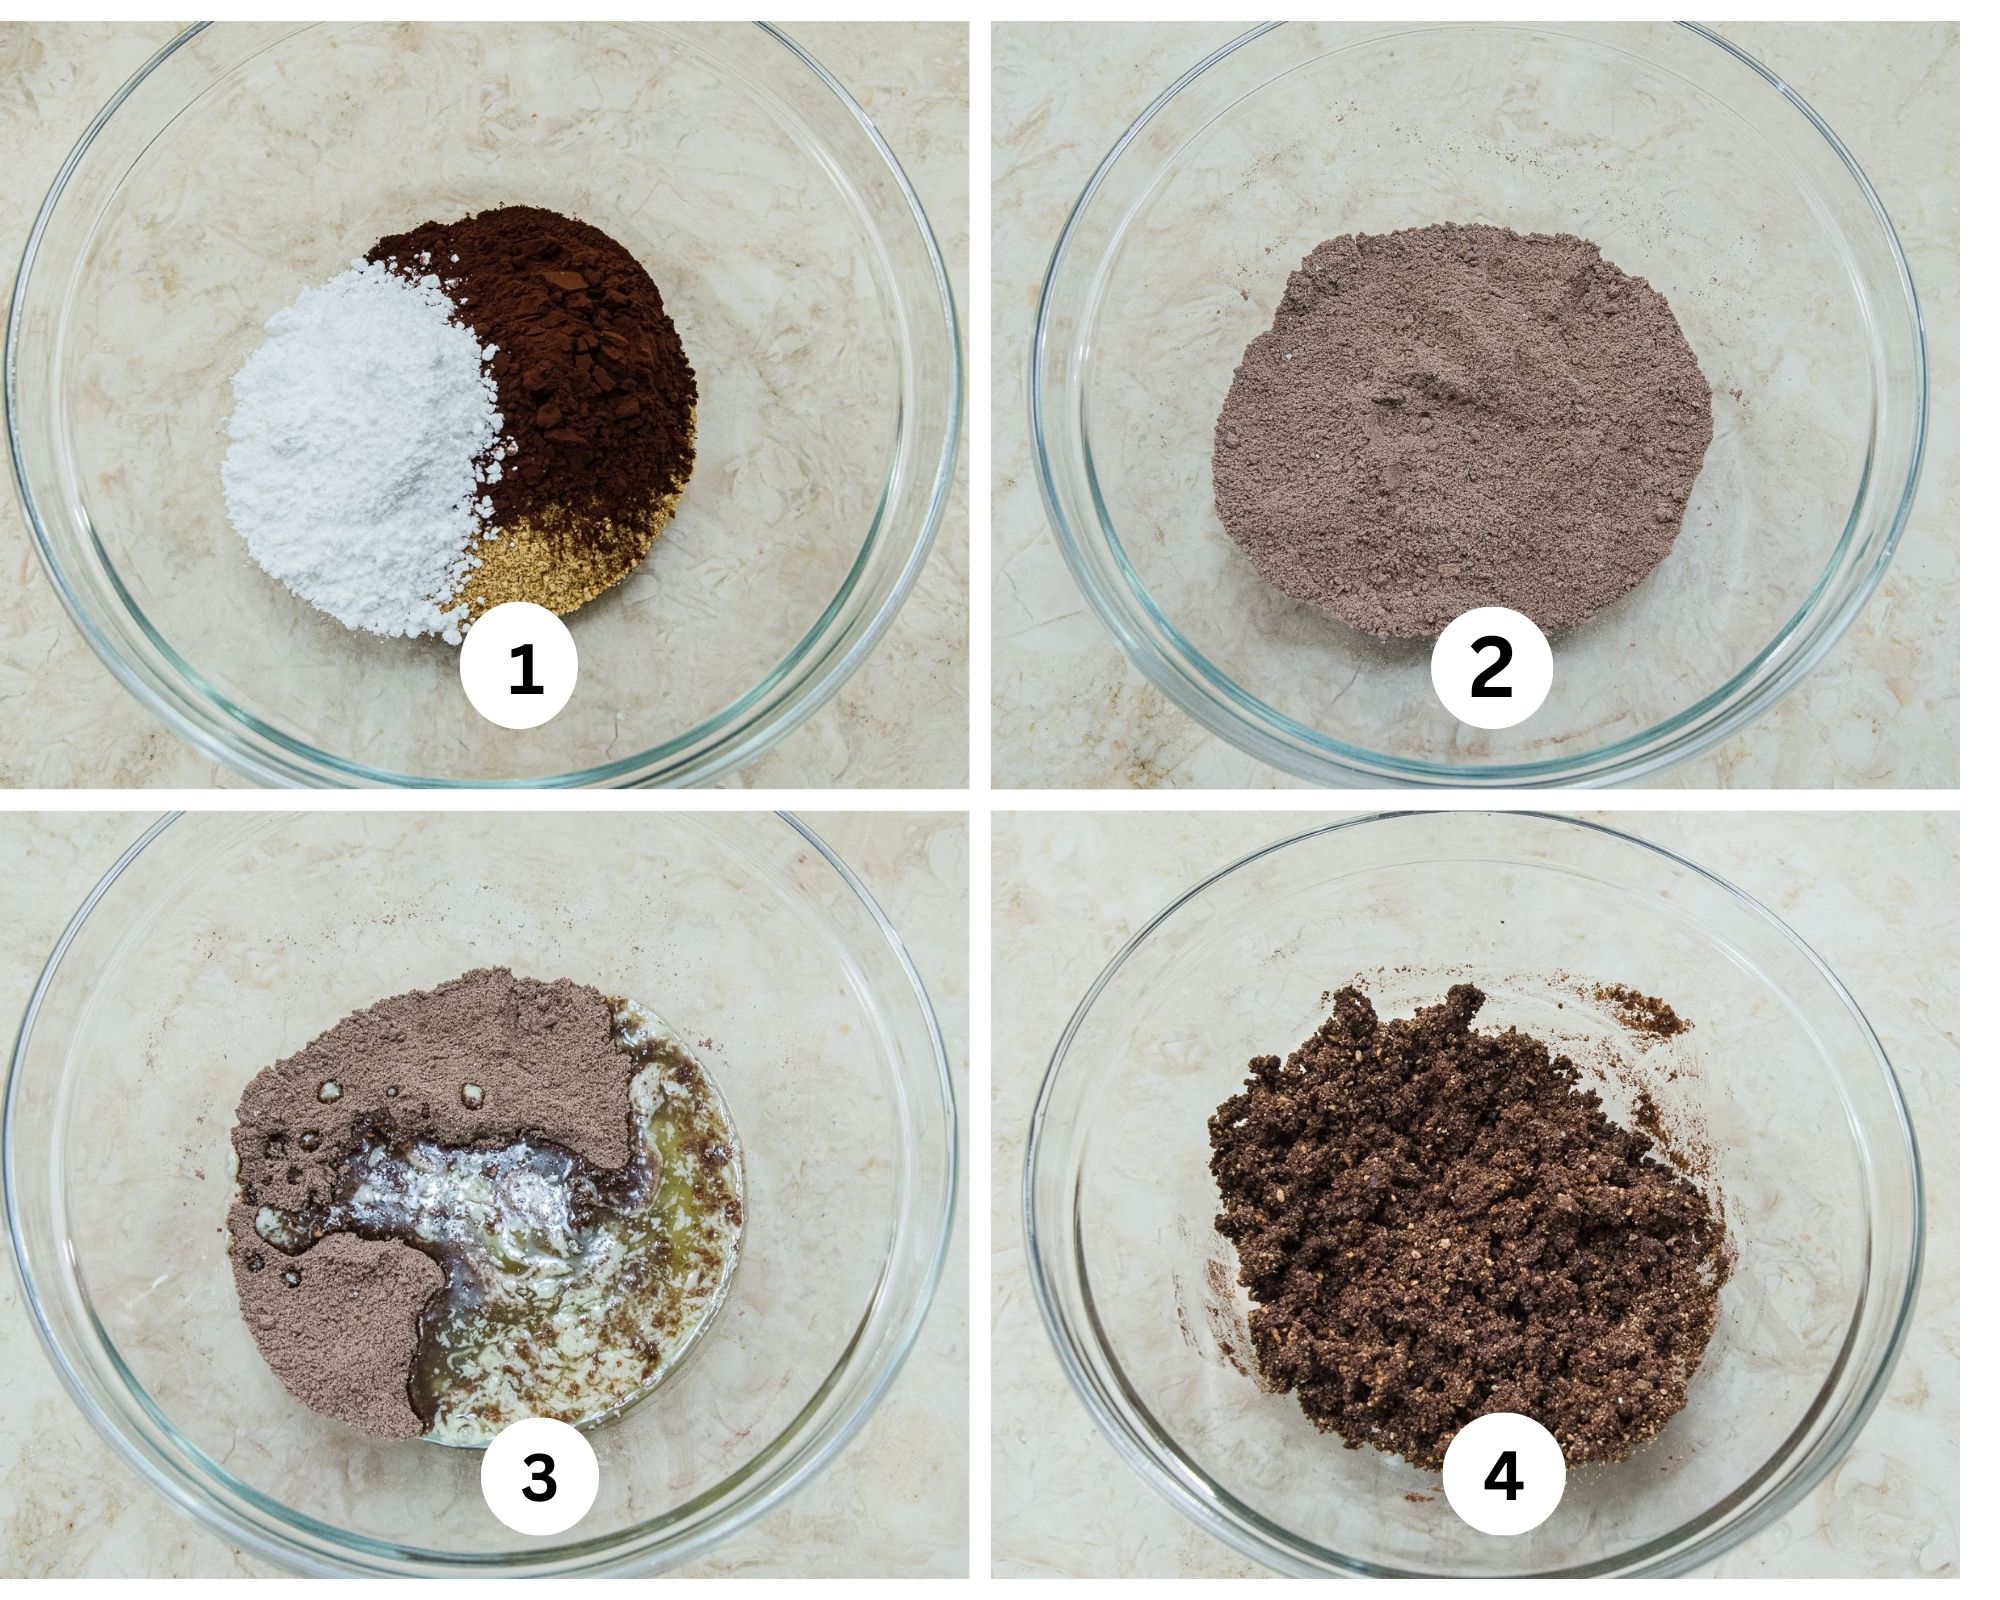
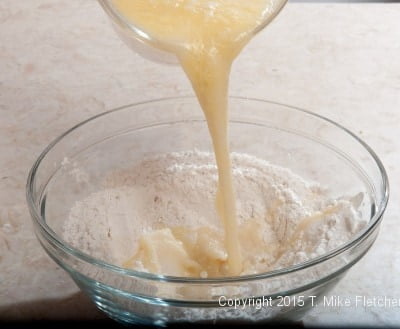
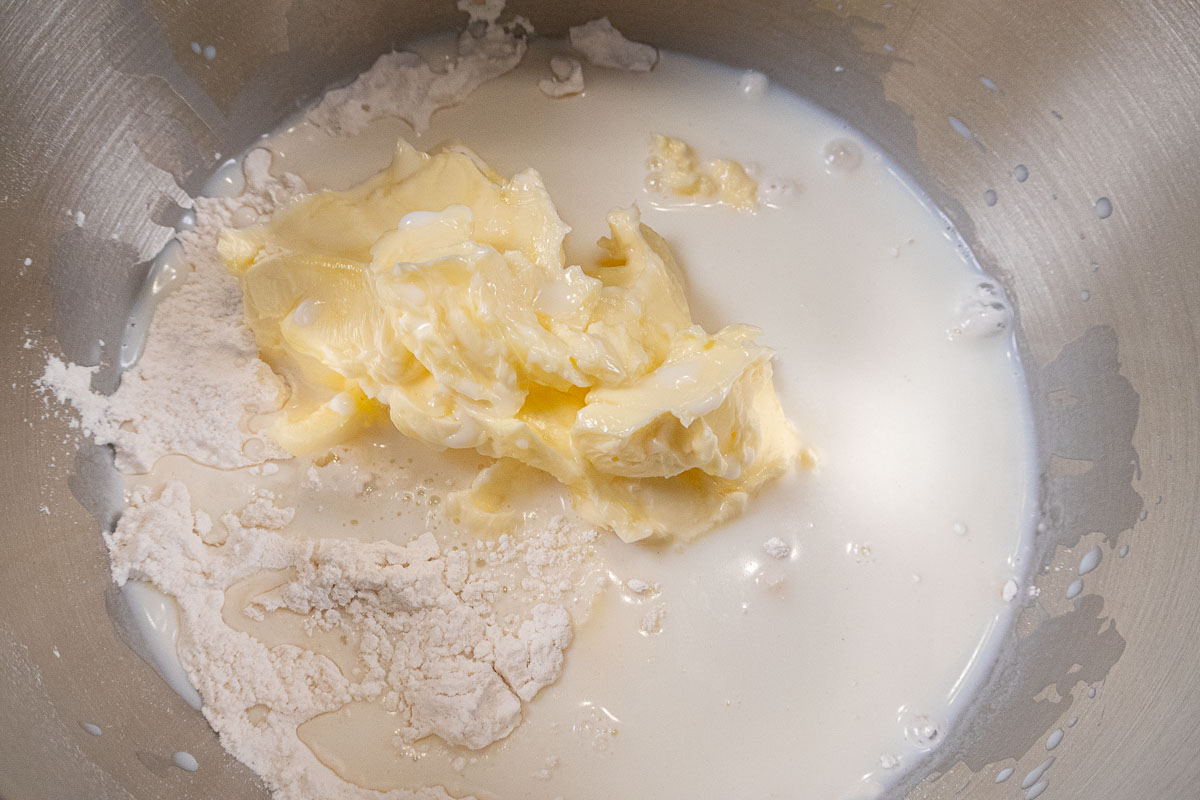
Step 1. Place the graham crackers, powdered sugar and cocoa in a bowl. Step 2. Whisk together to mix. Step 3. Add the melted butter. Step 4. Toss the crumbs with a fork and make sure all the ingredients are coated with butter and uniformly mixed.
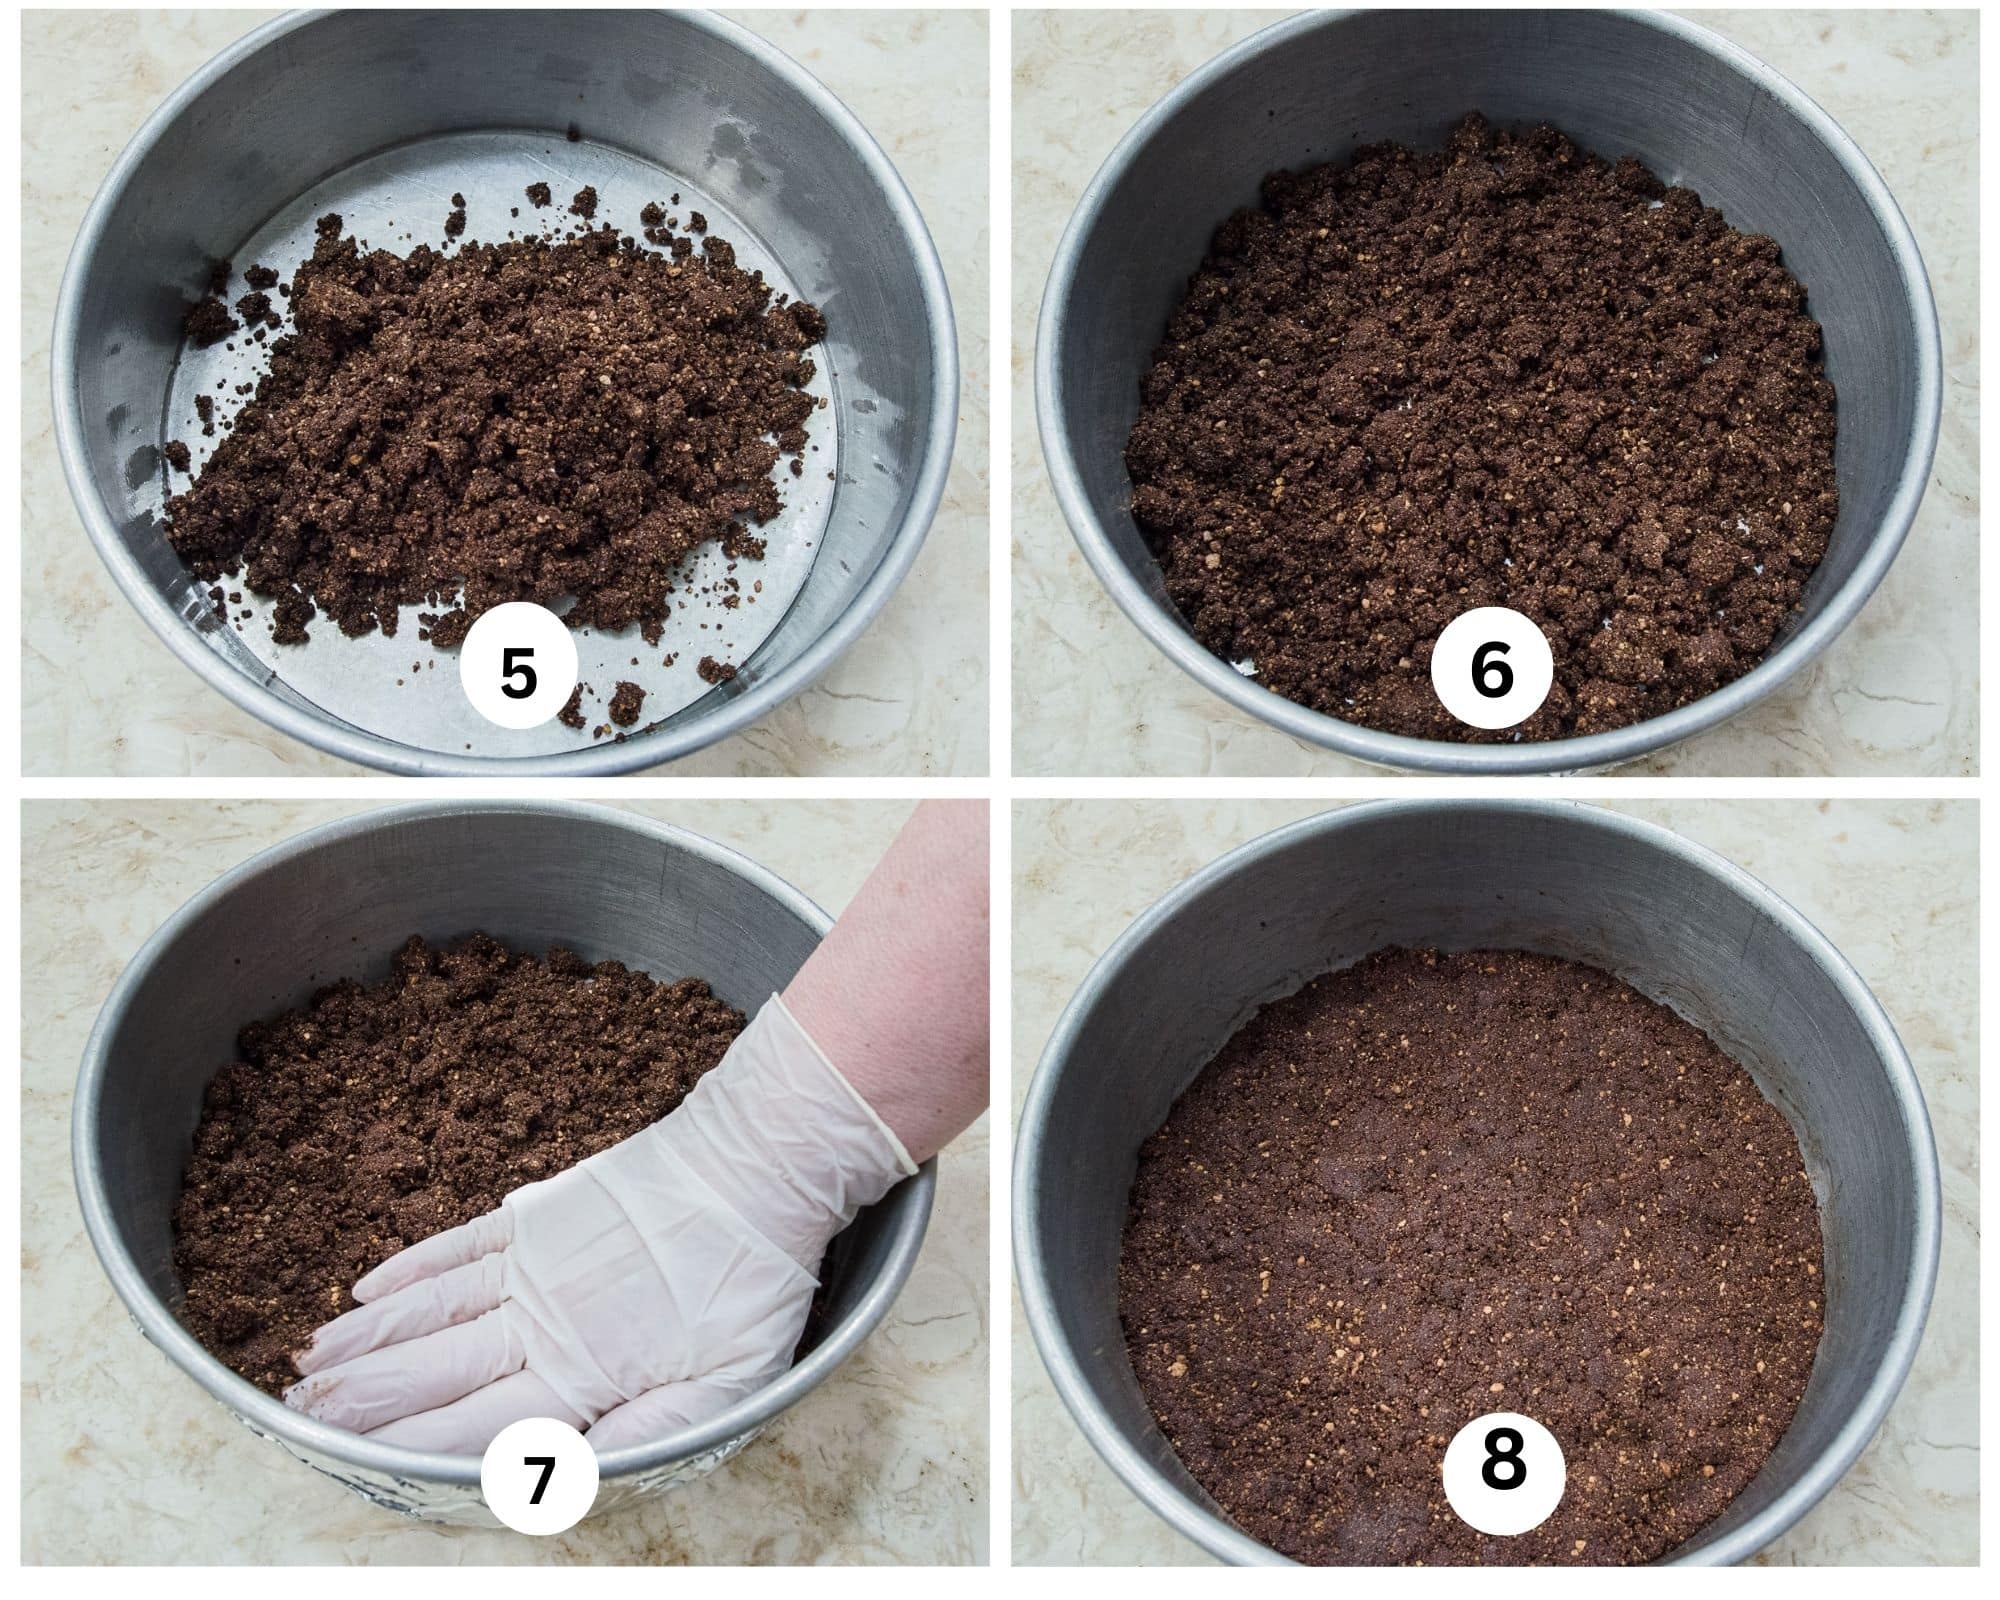
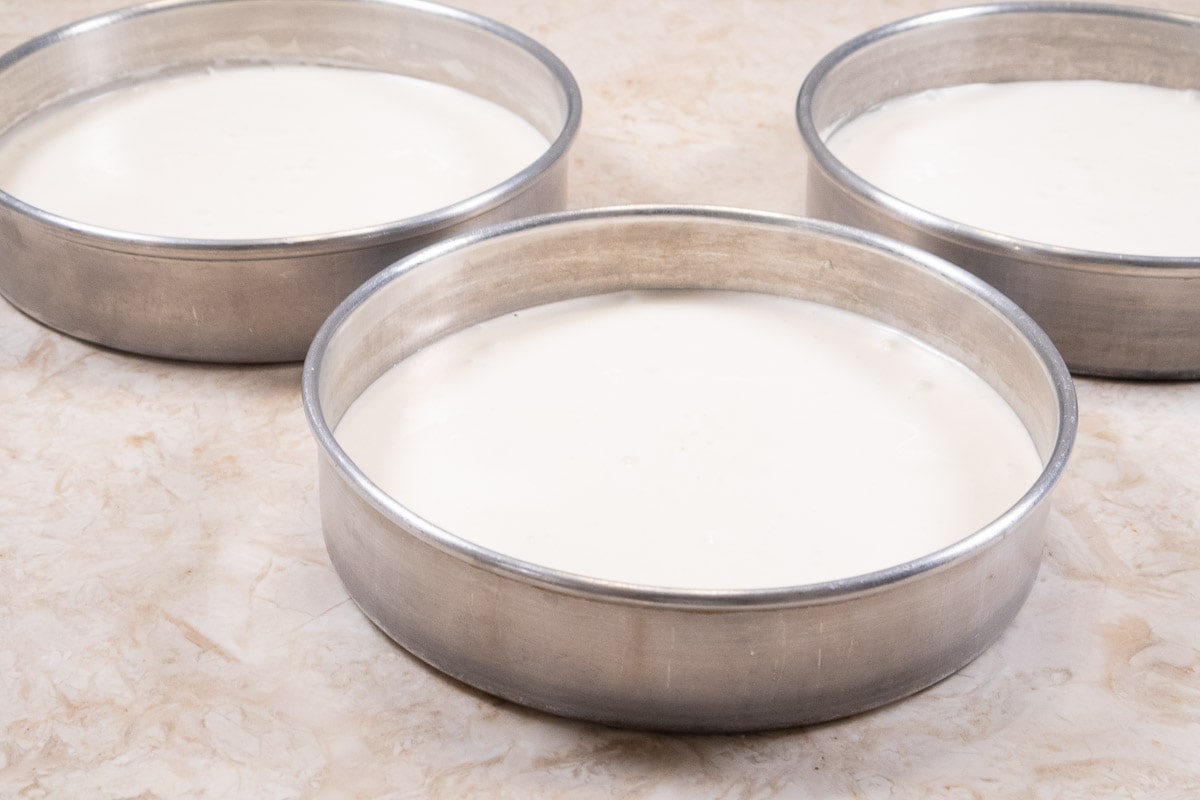
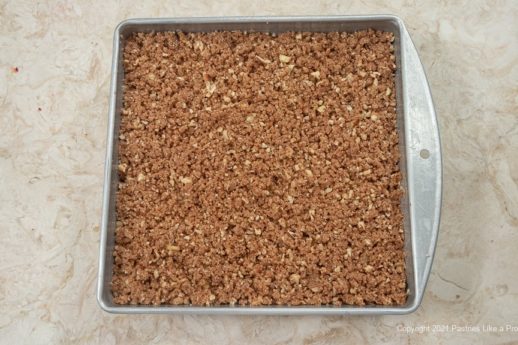
Step 5. Pour the crumbs into the sprayed cheesecake pan. Step 6. Spread them evenly over the bottom. Step 7. Press the crumbs firmly into the bottom of the pan. Step 8. Make sure the crust is pressed up against the sides of the pan.
Bailey's Cheesecake Filling and Glaze
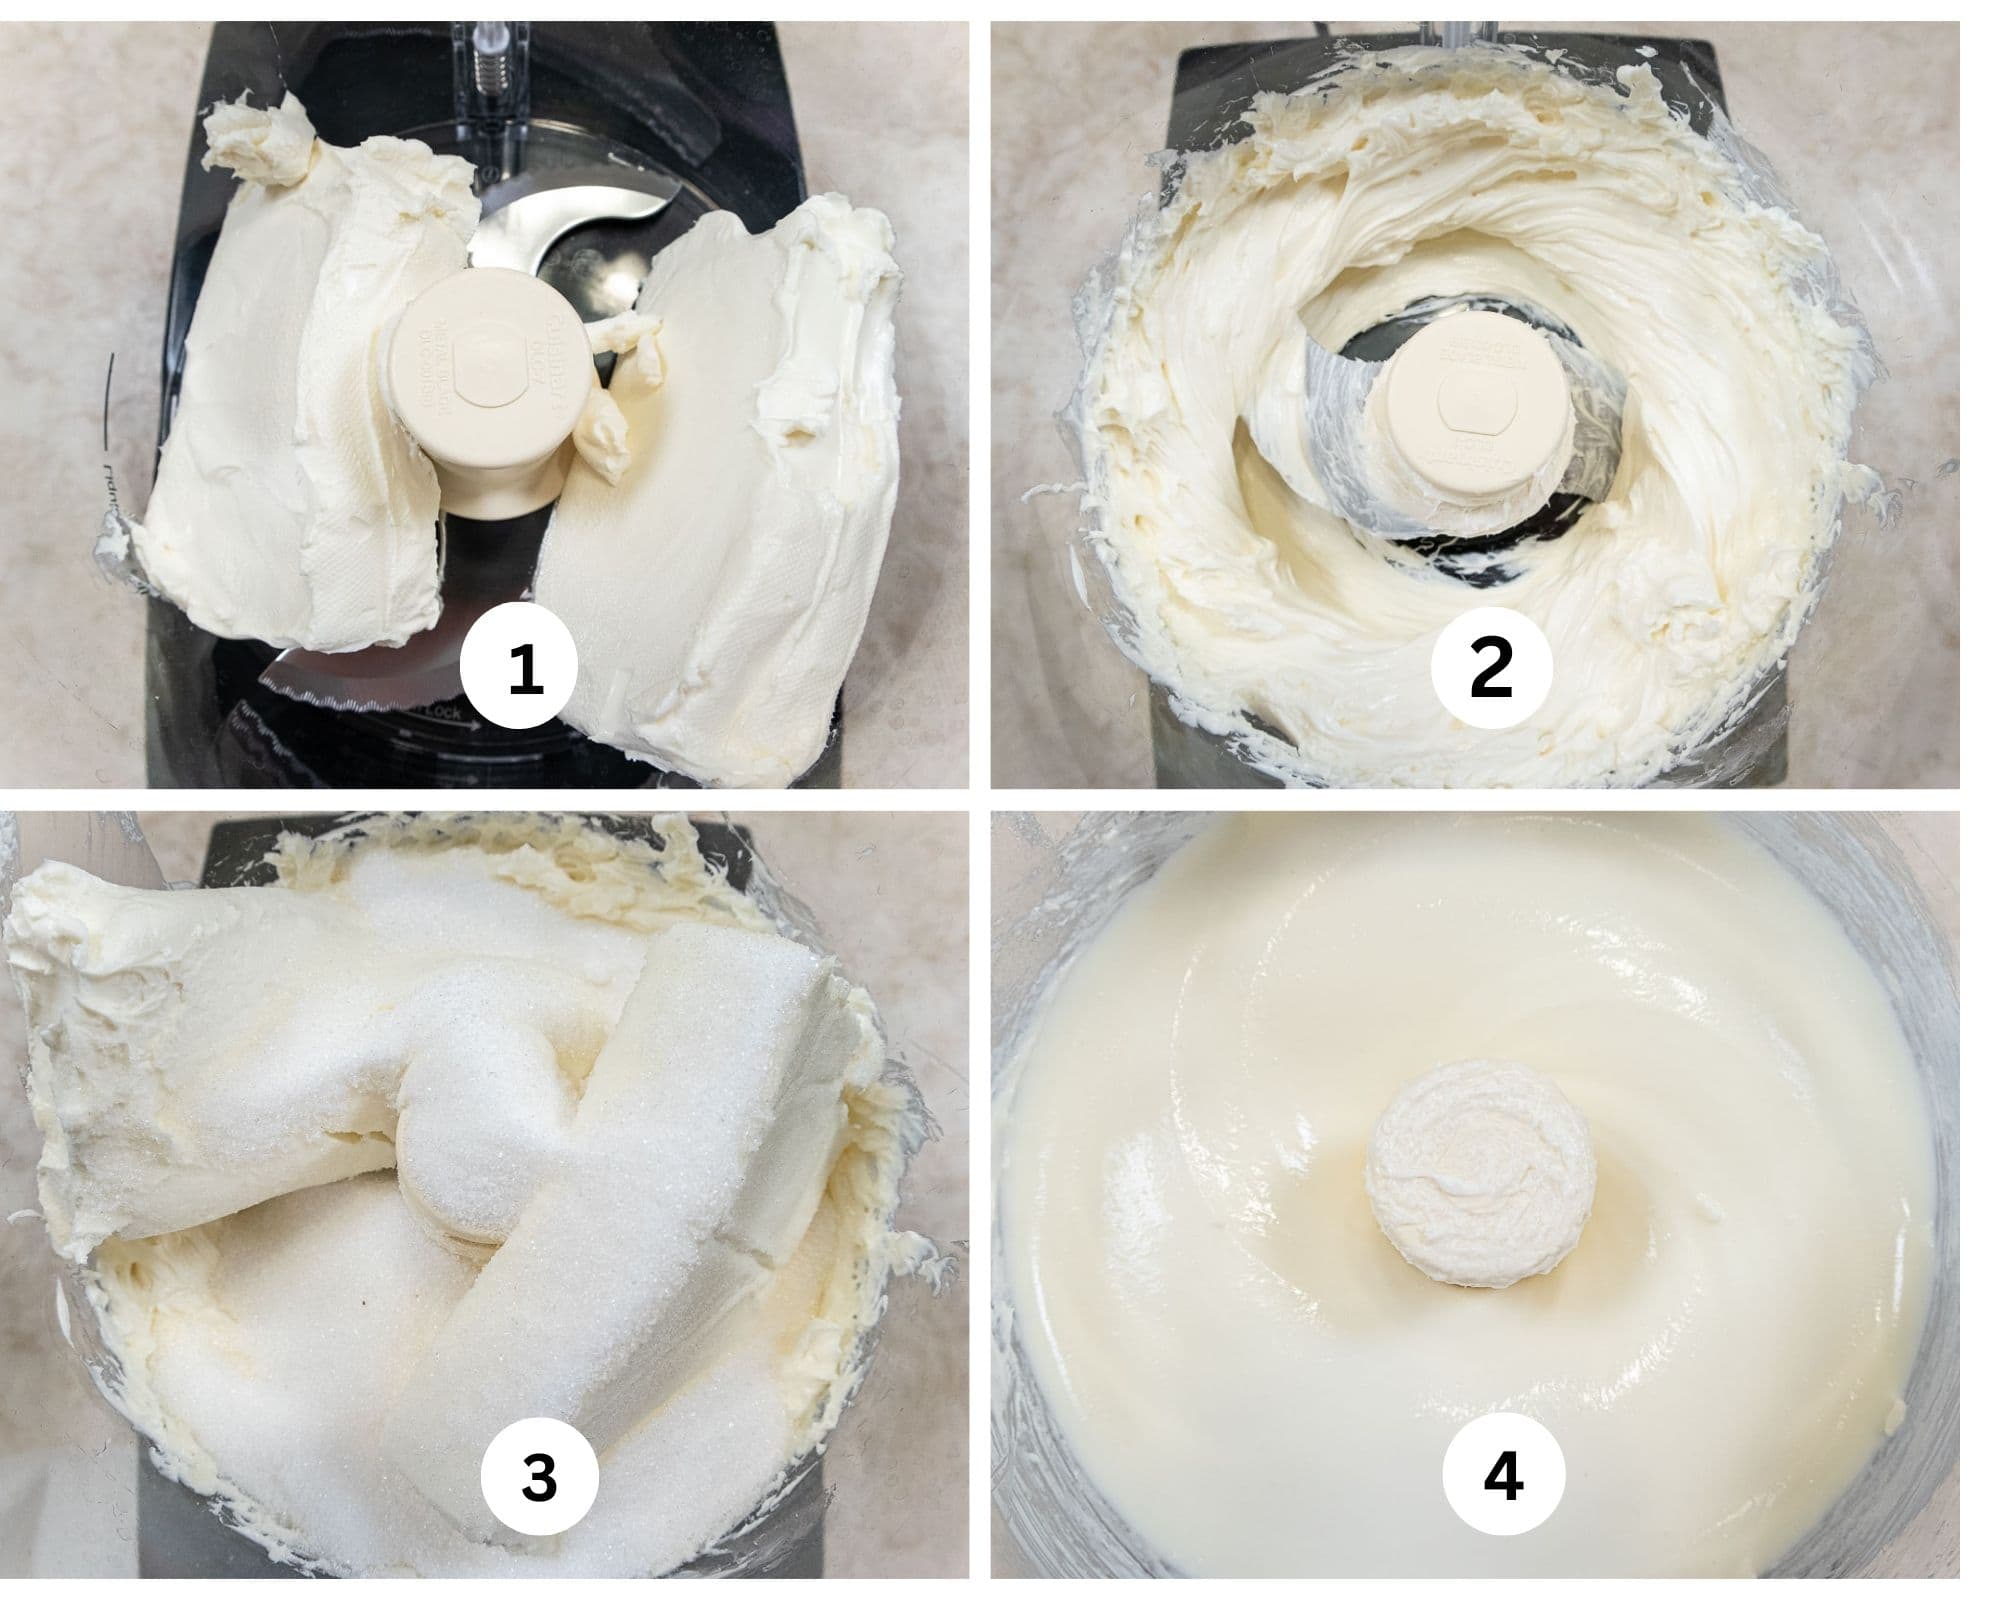
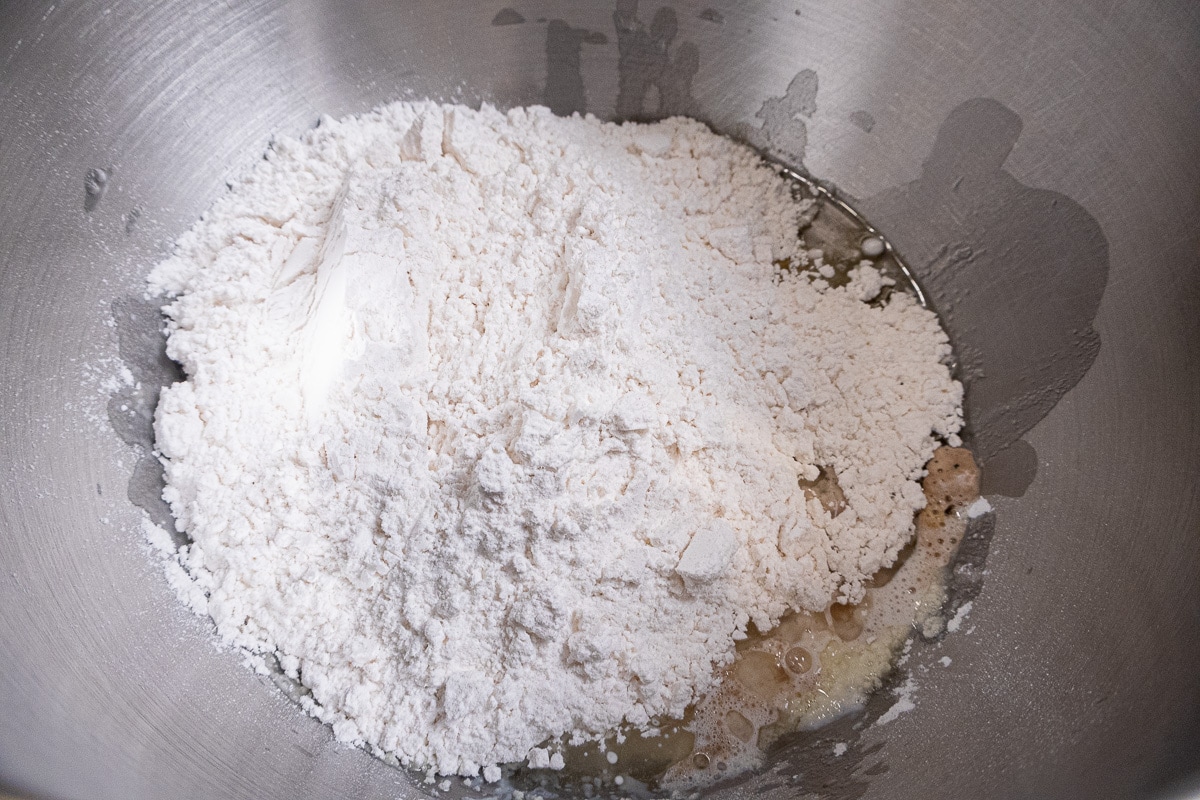
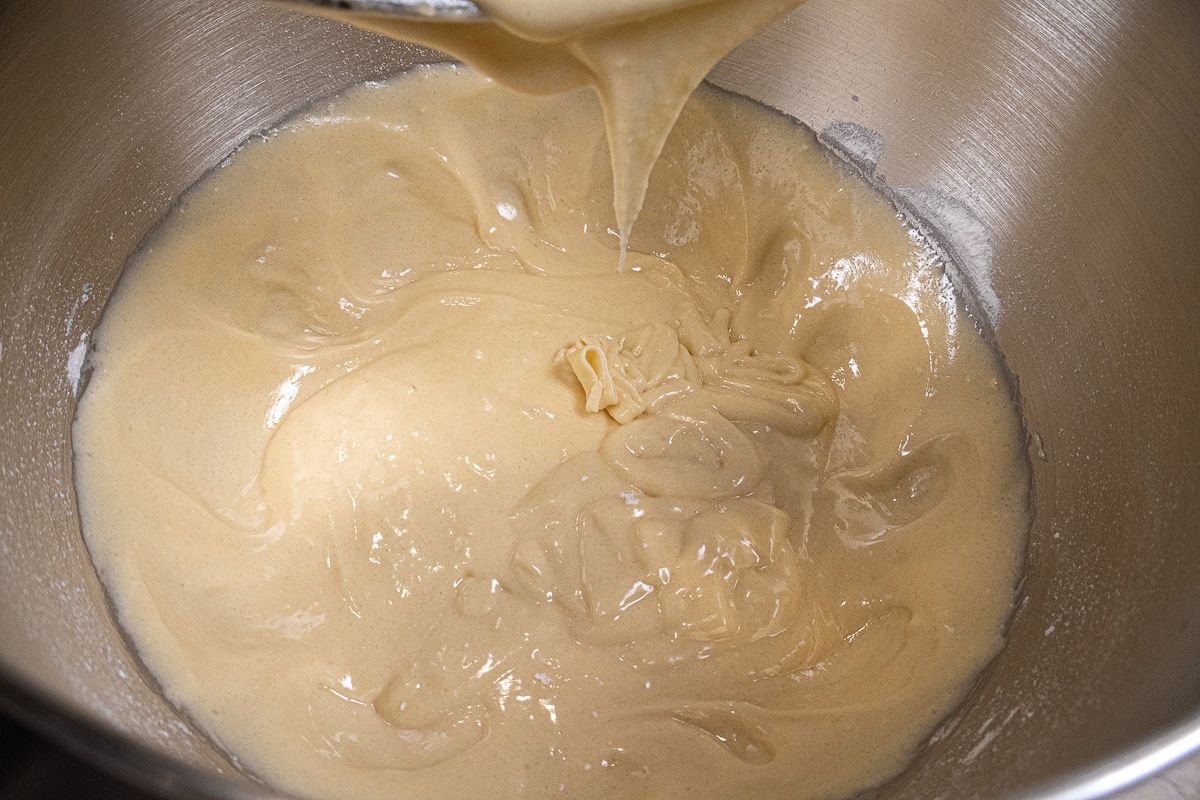
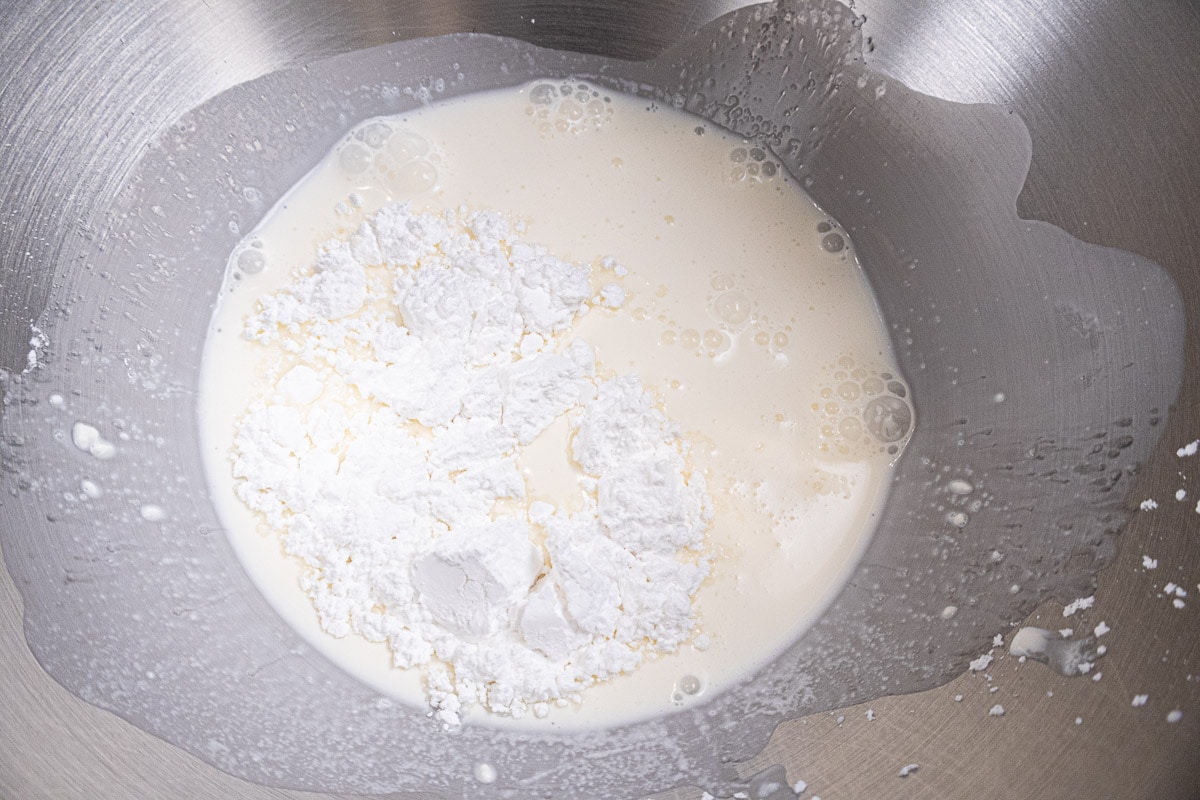
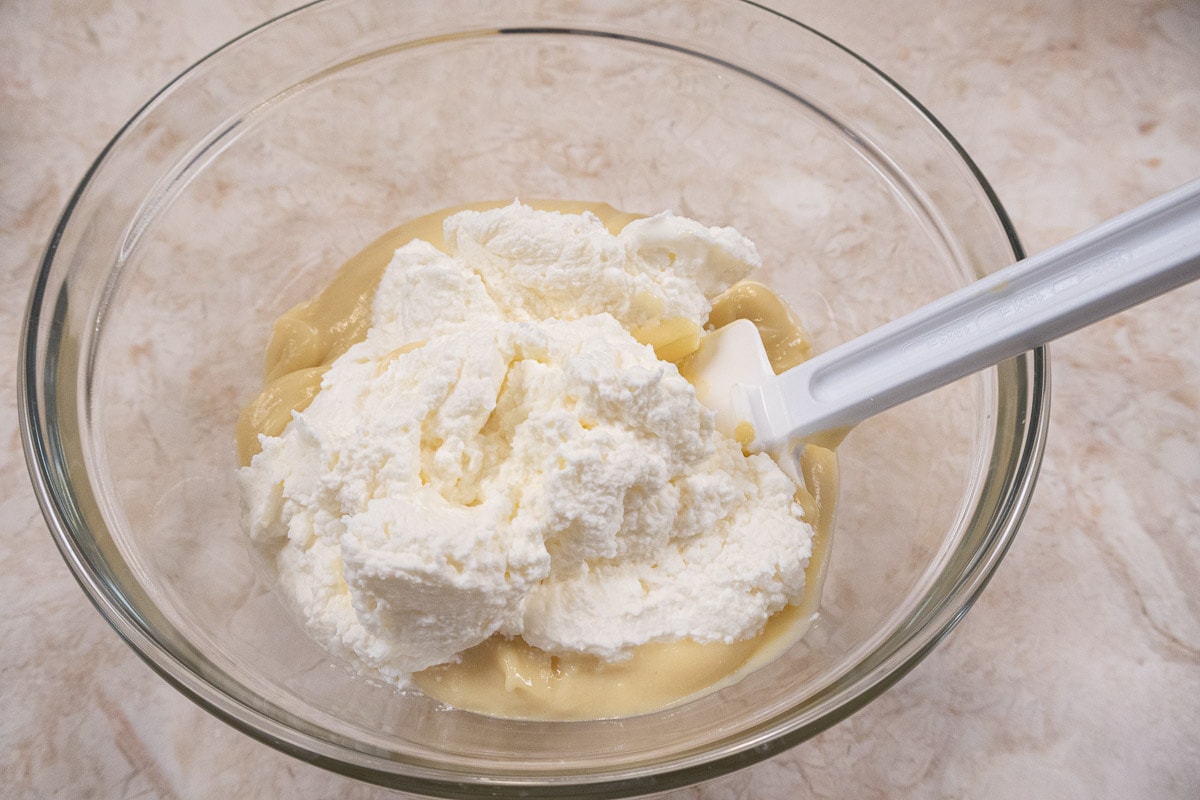
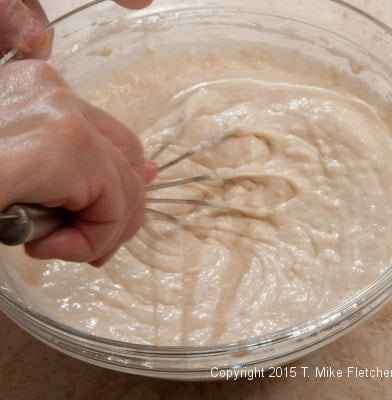
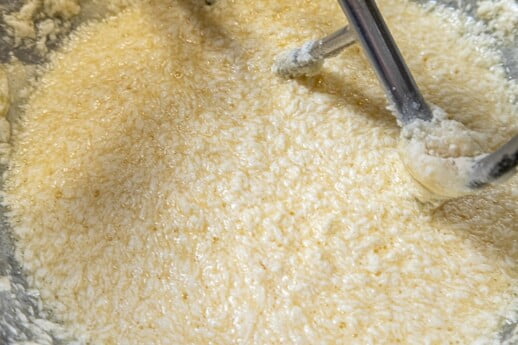
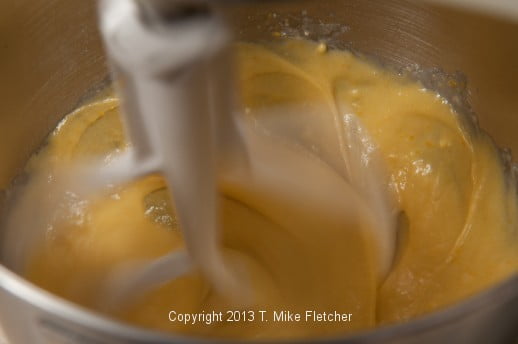
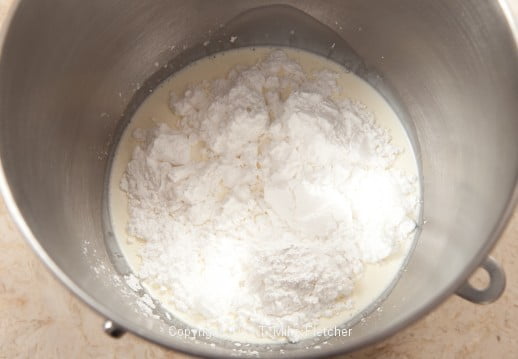
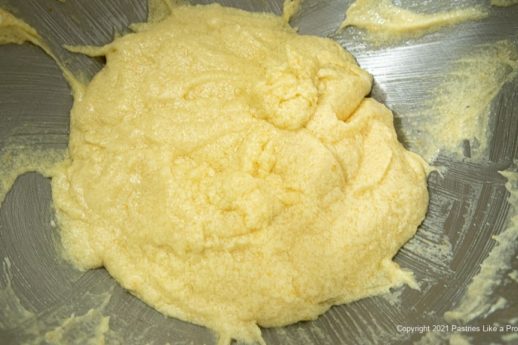
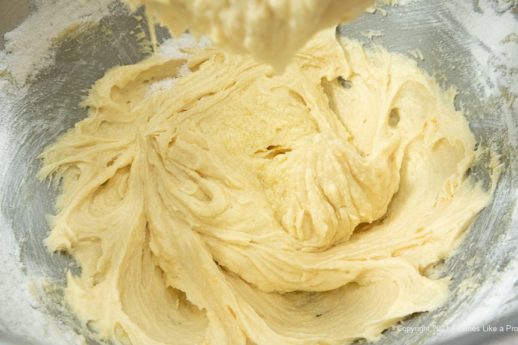
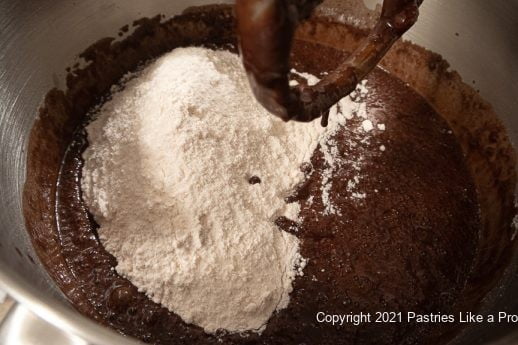
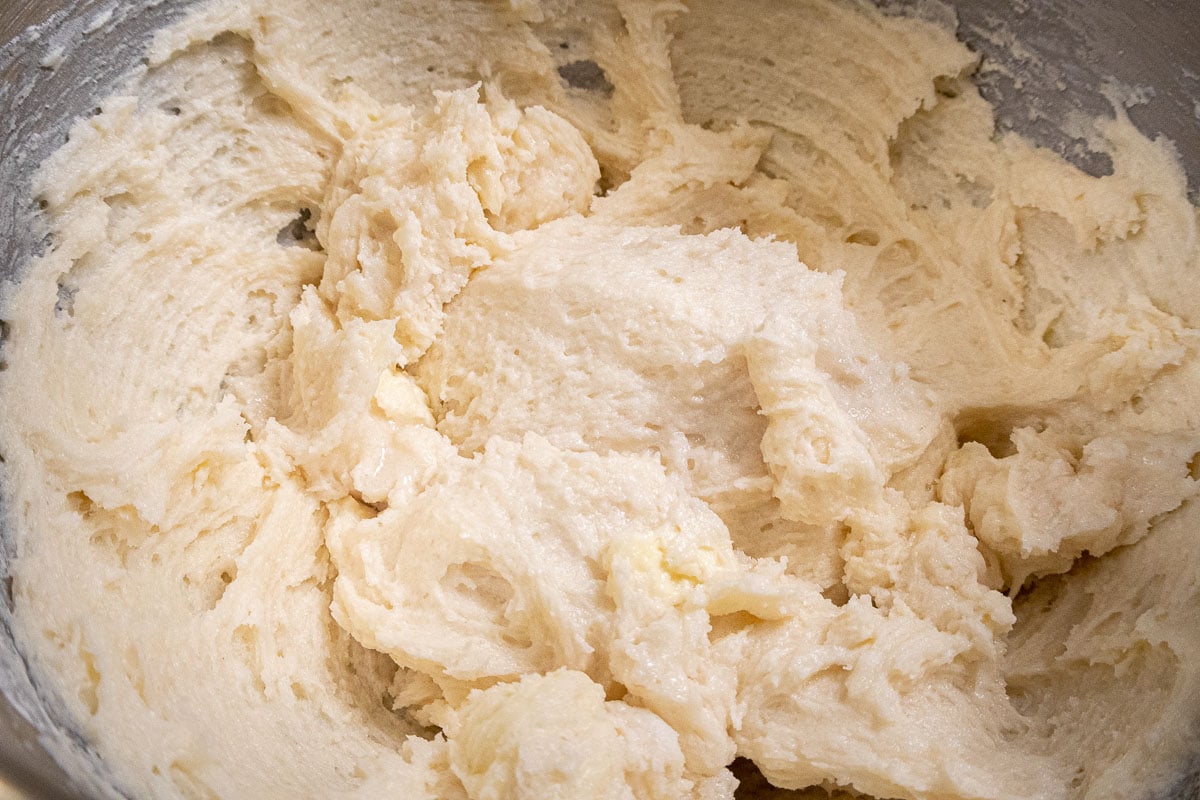
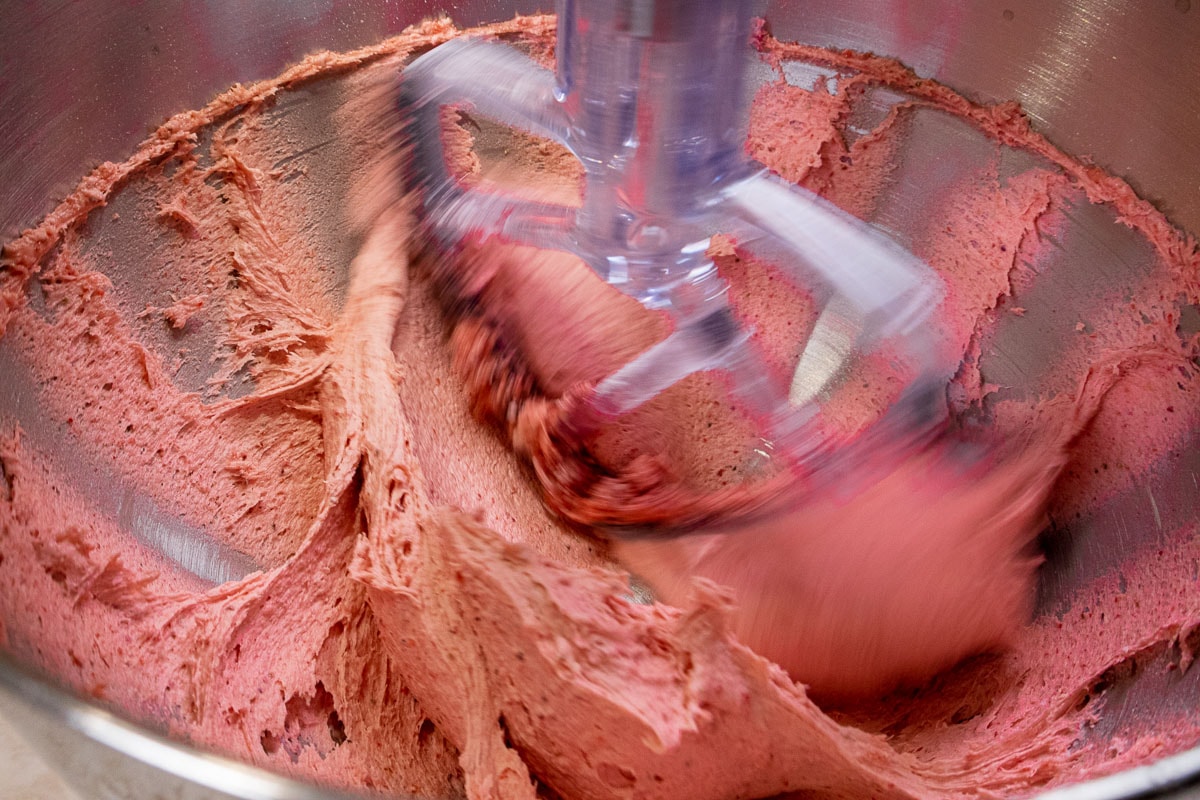
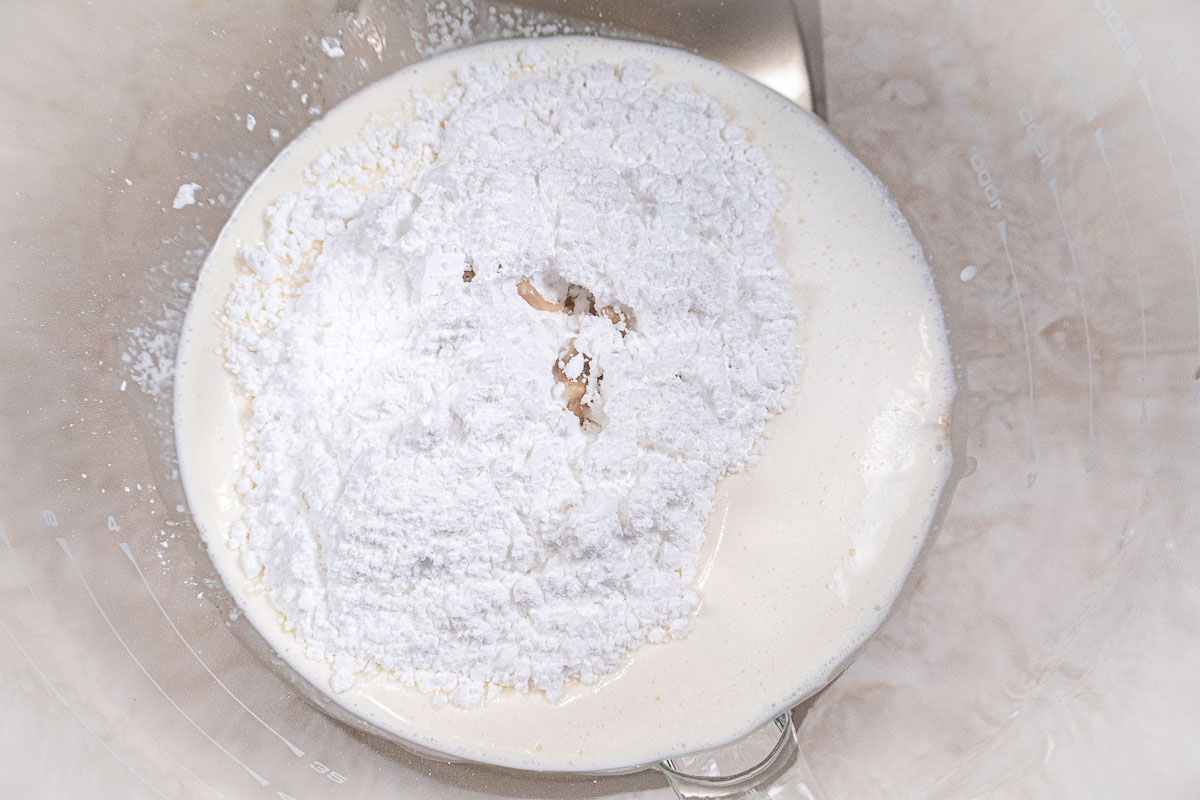
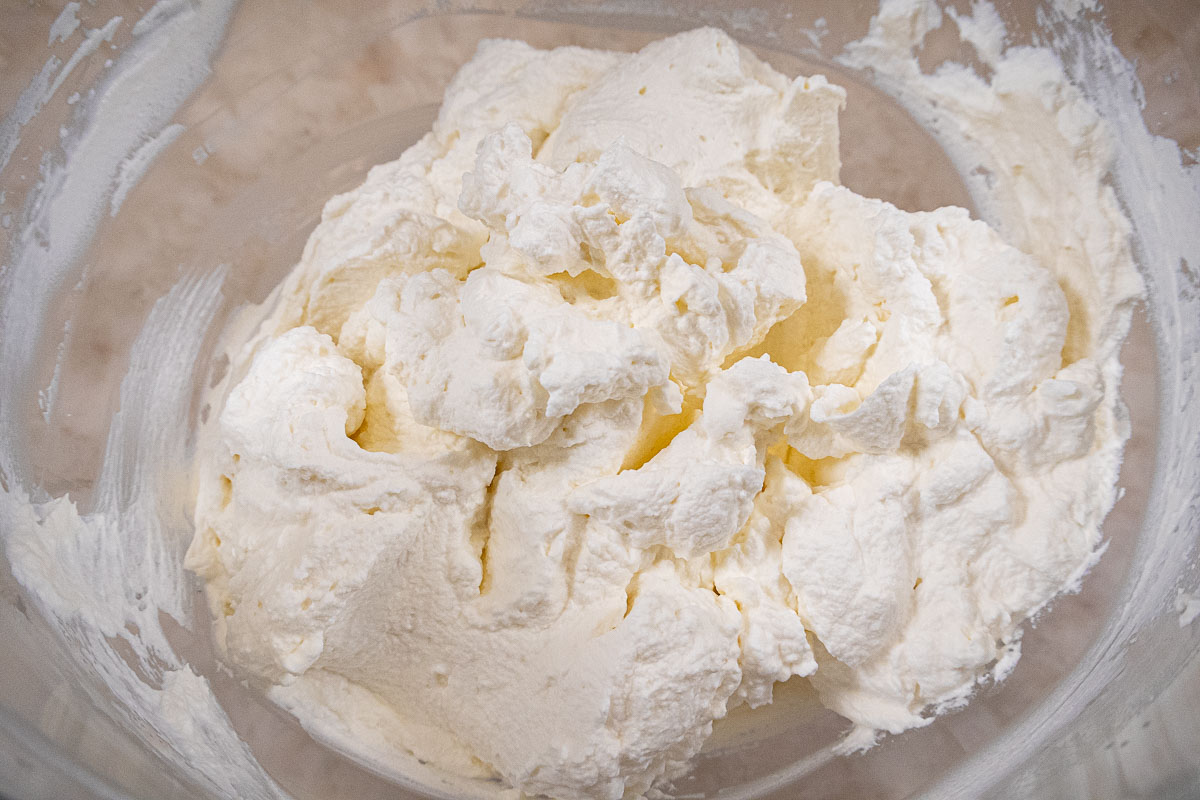
Step 1. Place half the room temperature cream cheese in the processor. Step 2. Process until smooth. Step 3. Add the remainder of the cream cheese and sugar in the processor. Step 4. Process until completely smooth, scraping down as necessary.
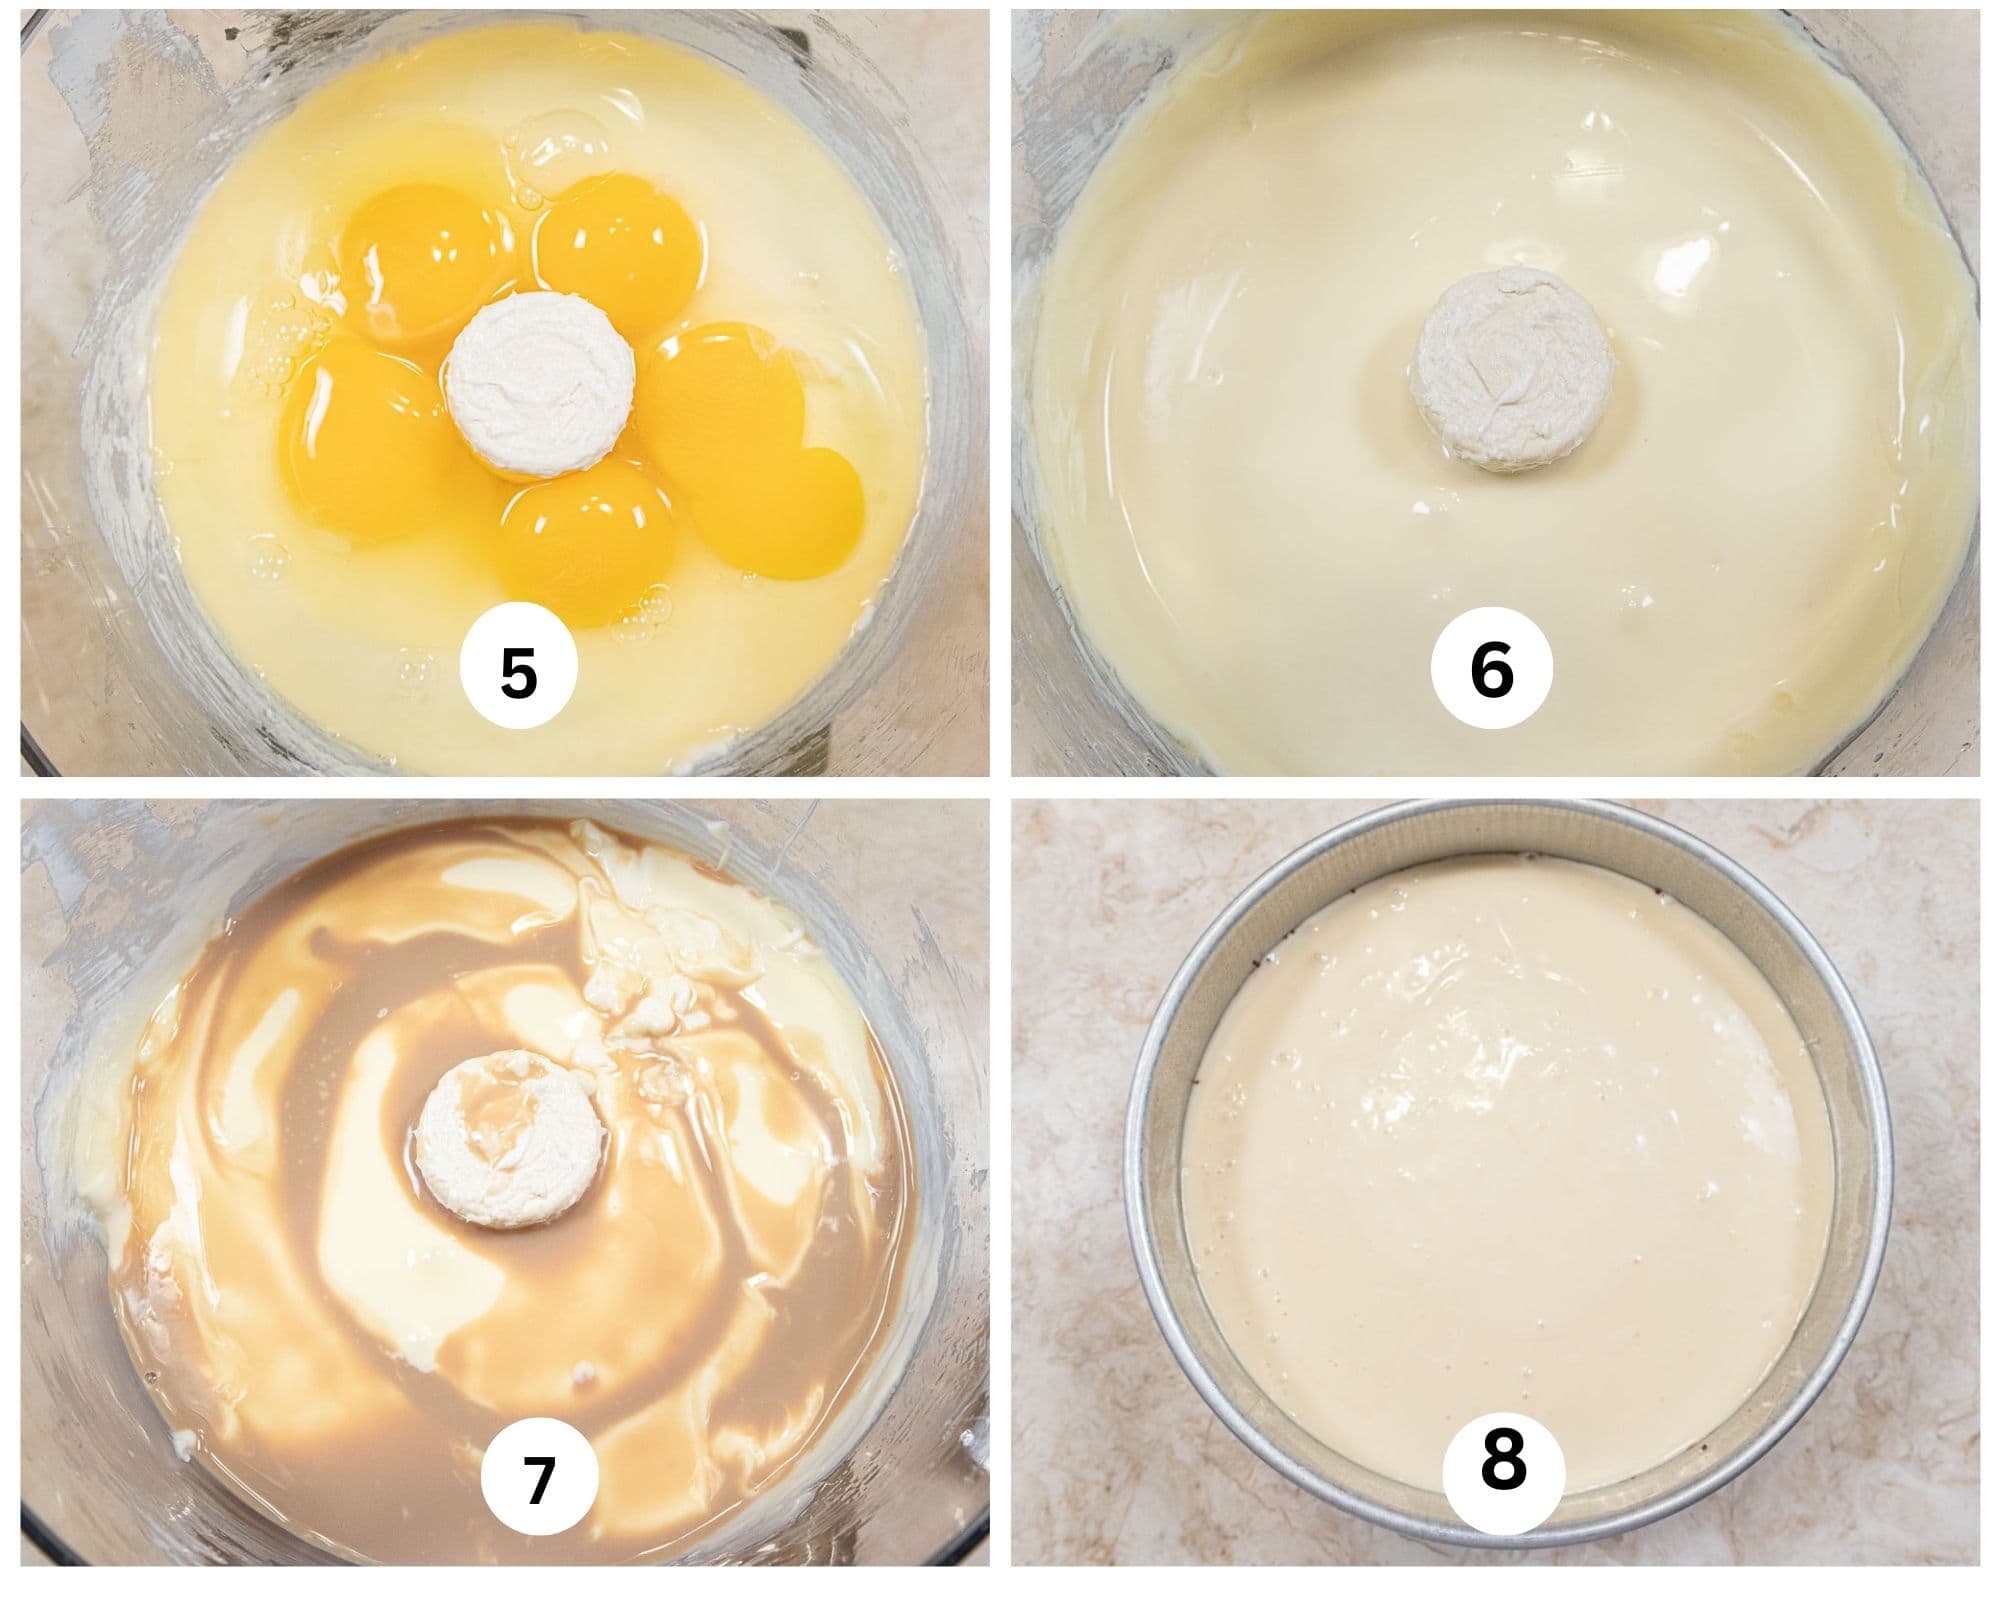
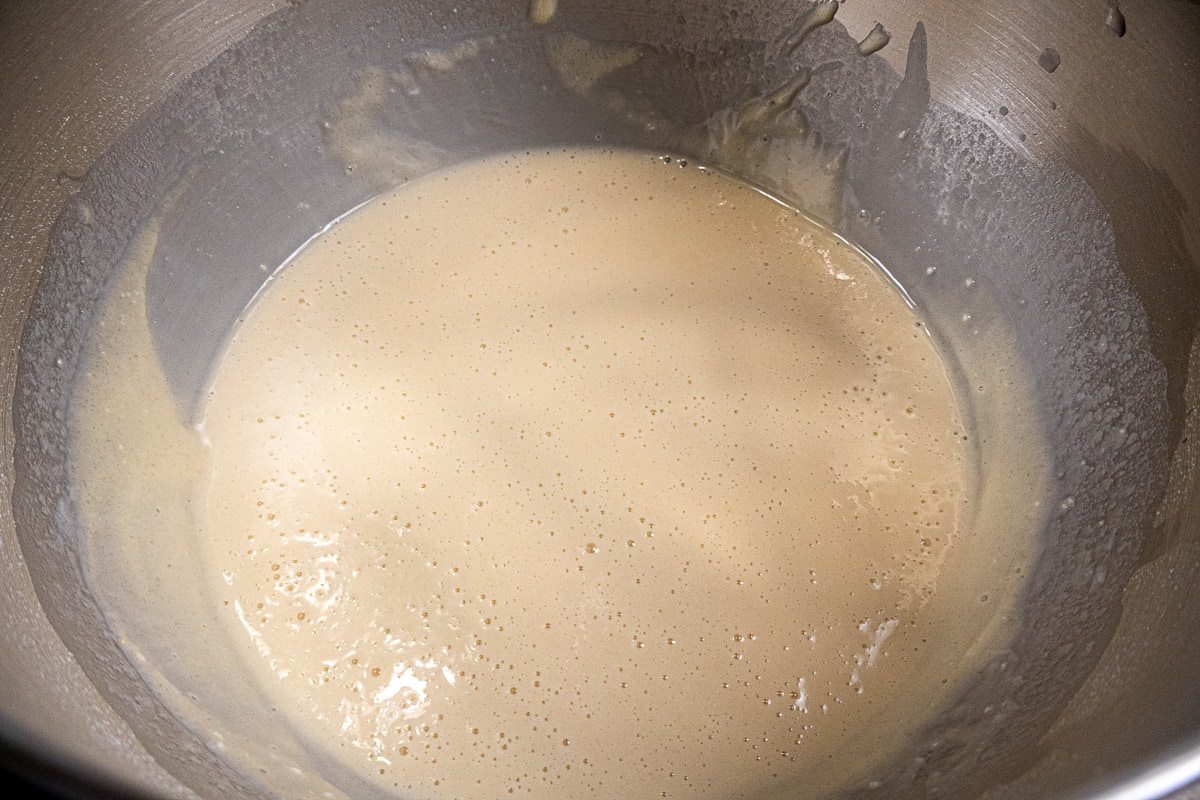
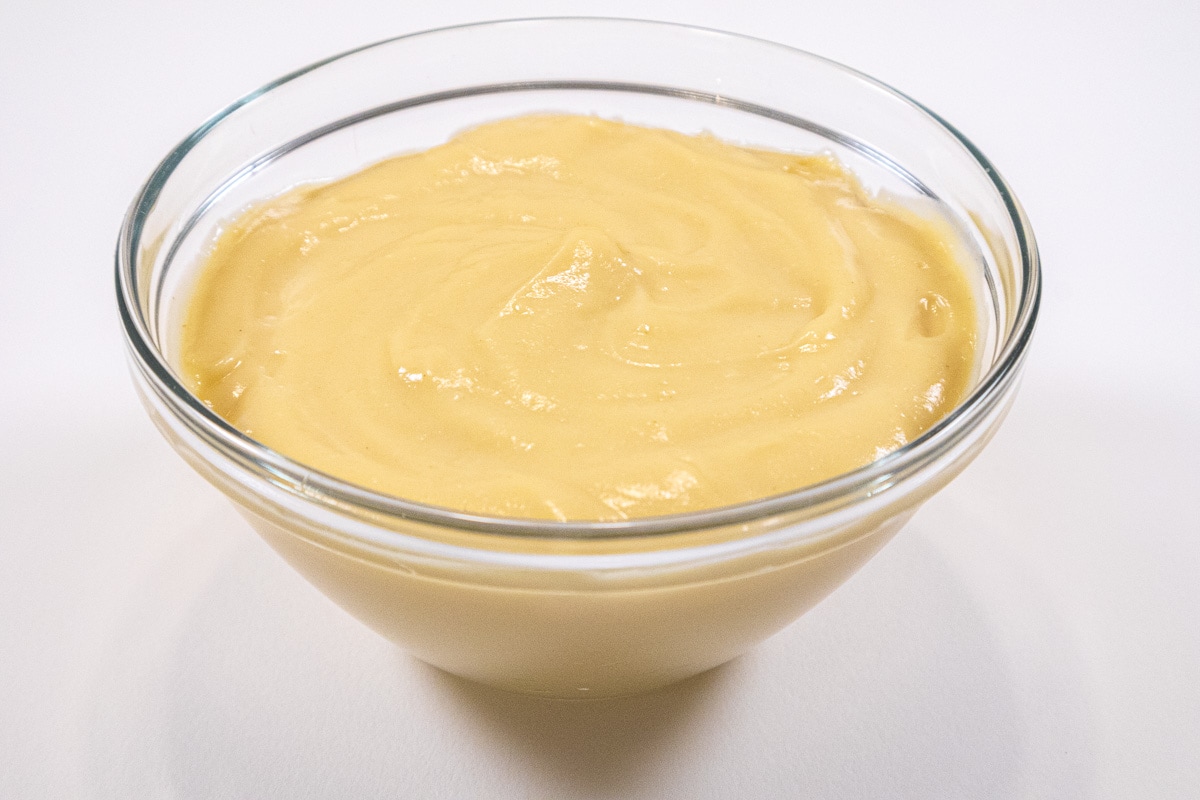
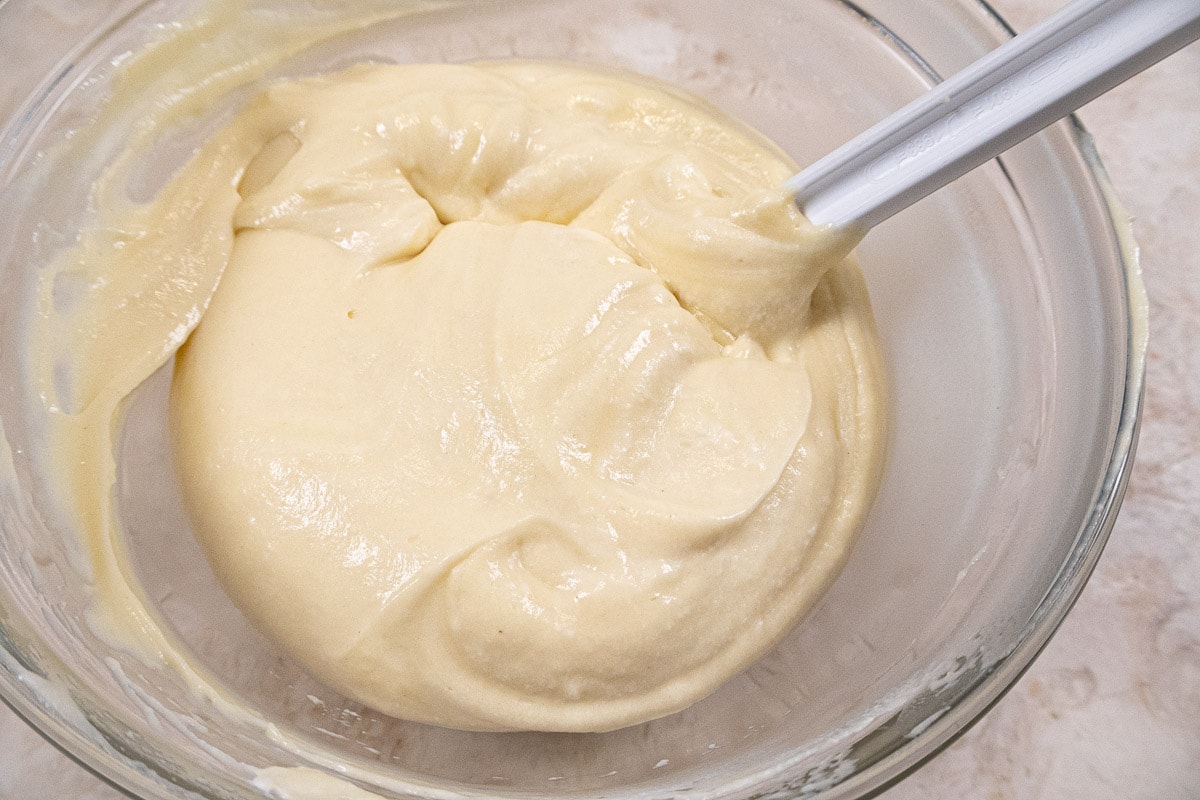
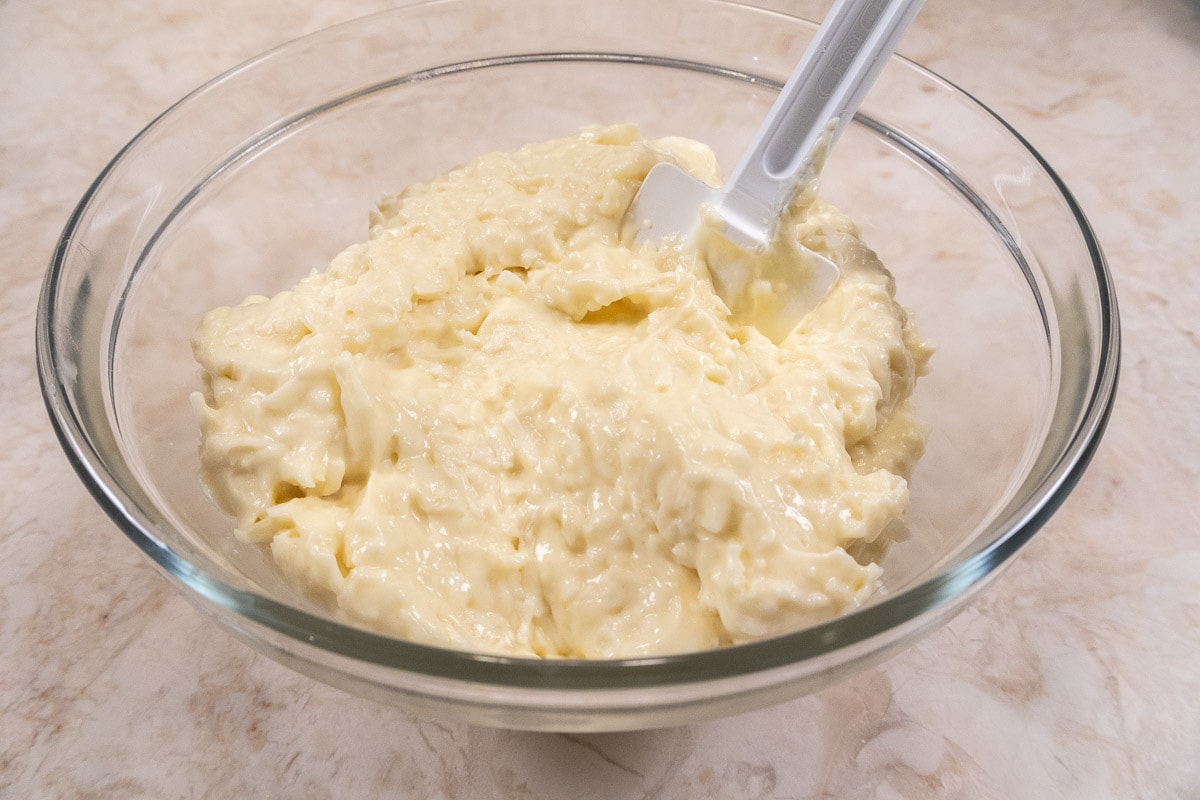
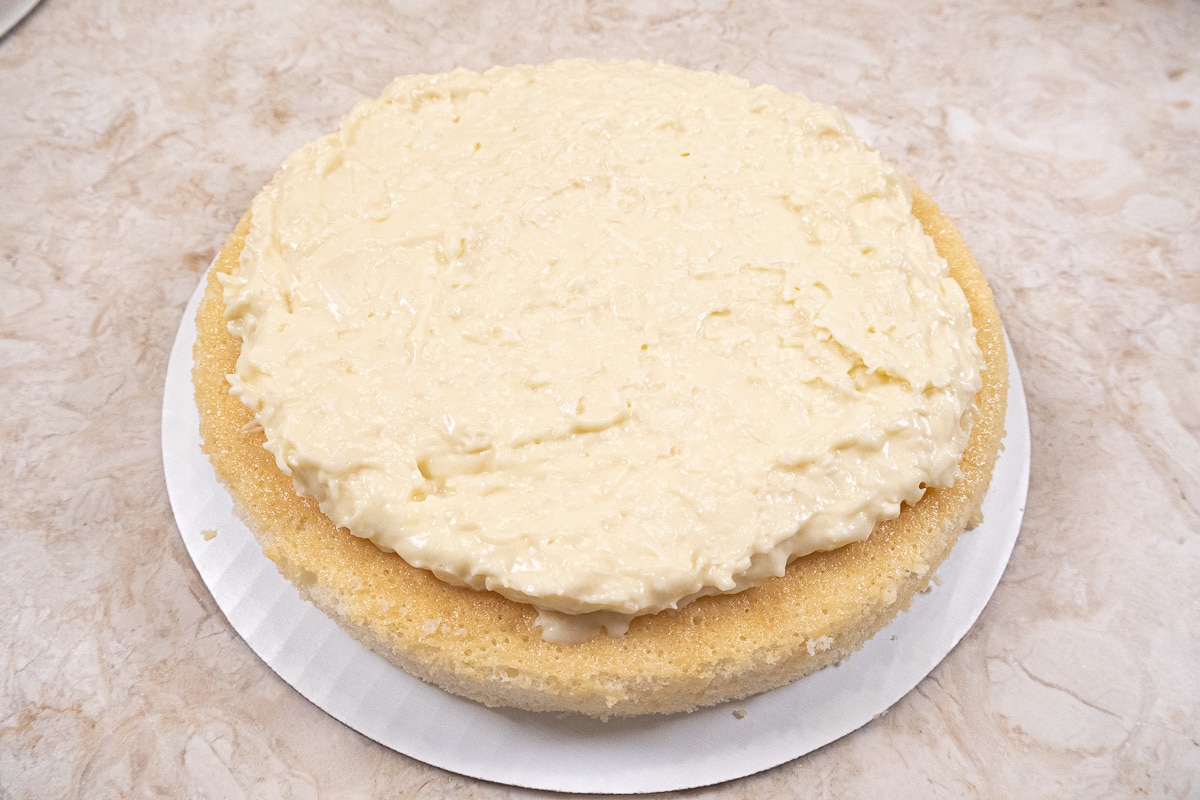
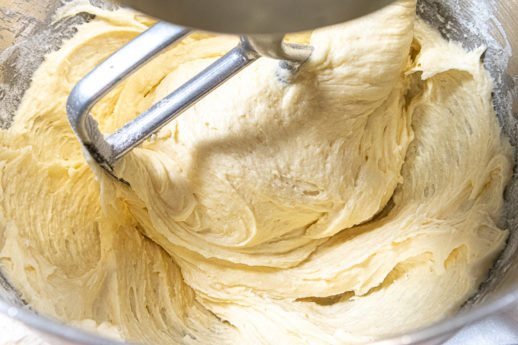
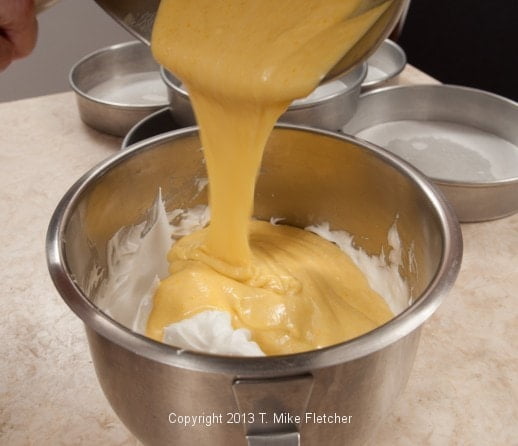
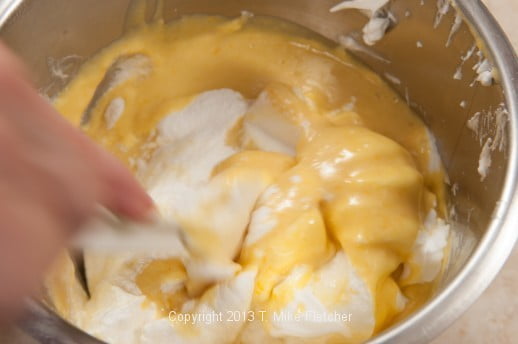
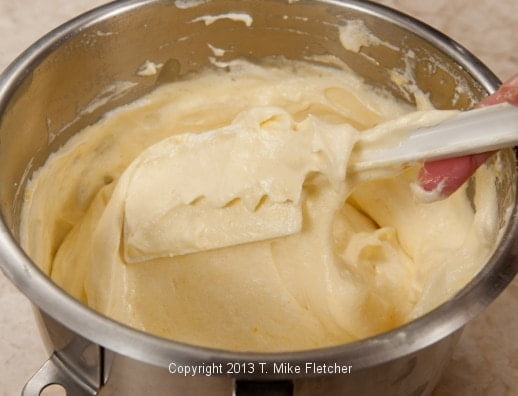
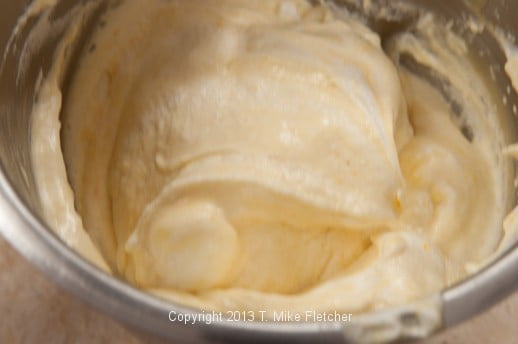
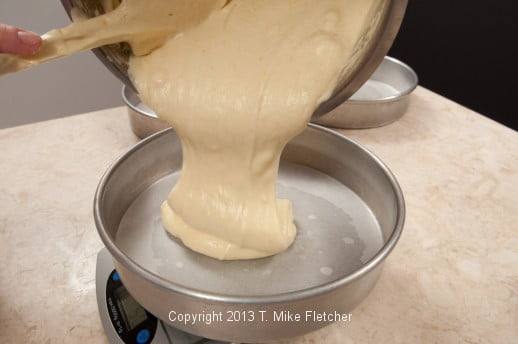
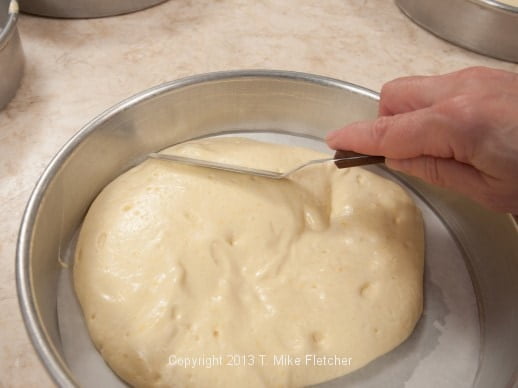
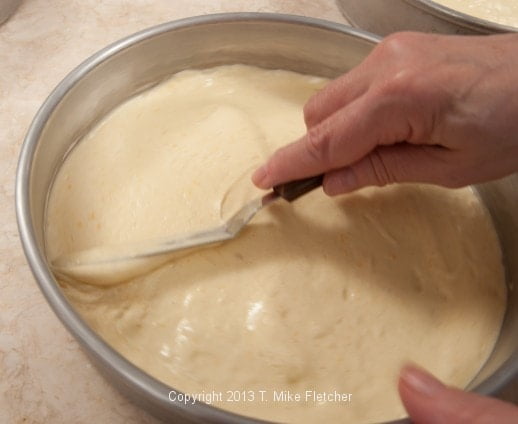
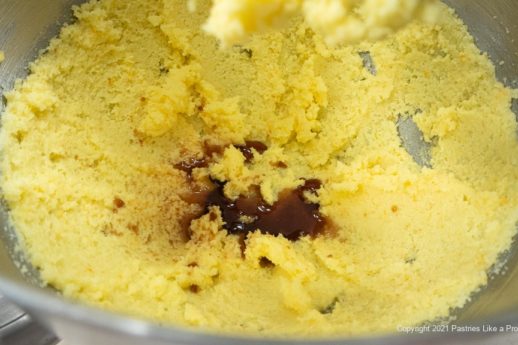
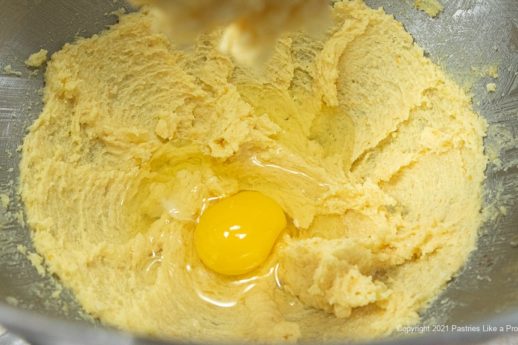
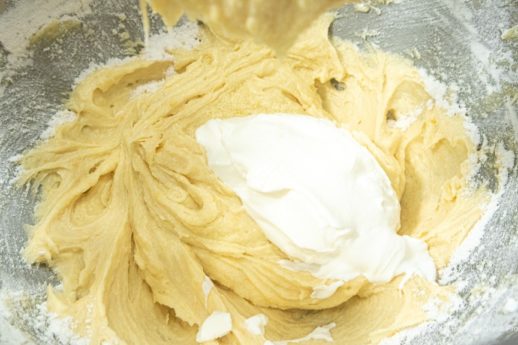
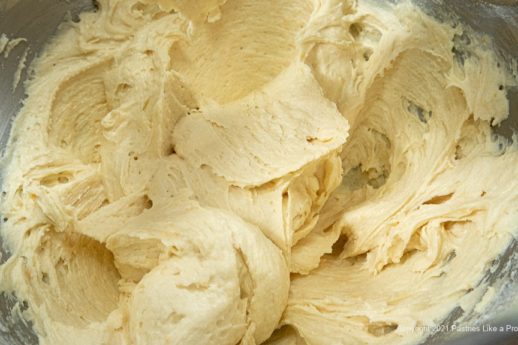
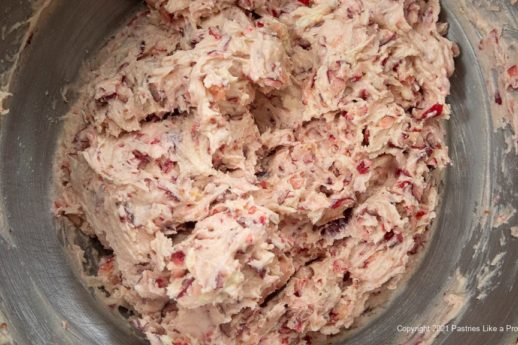
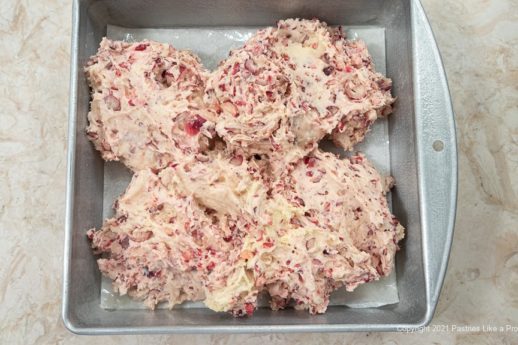
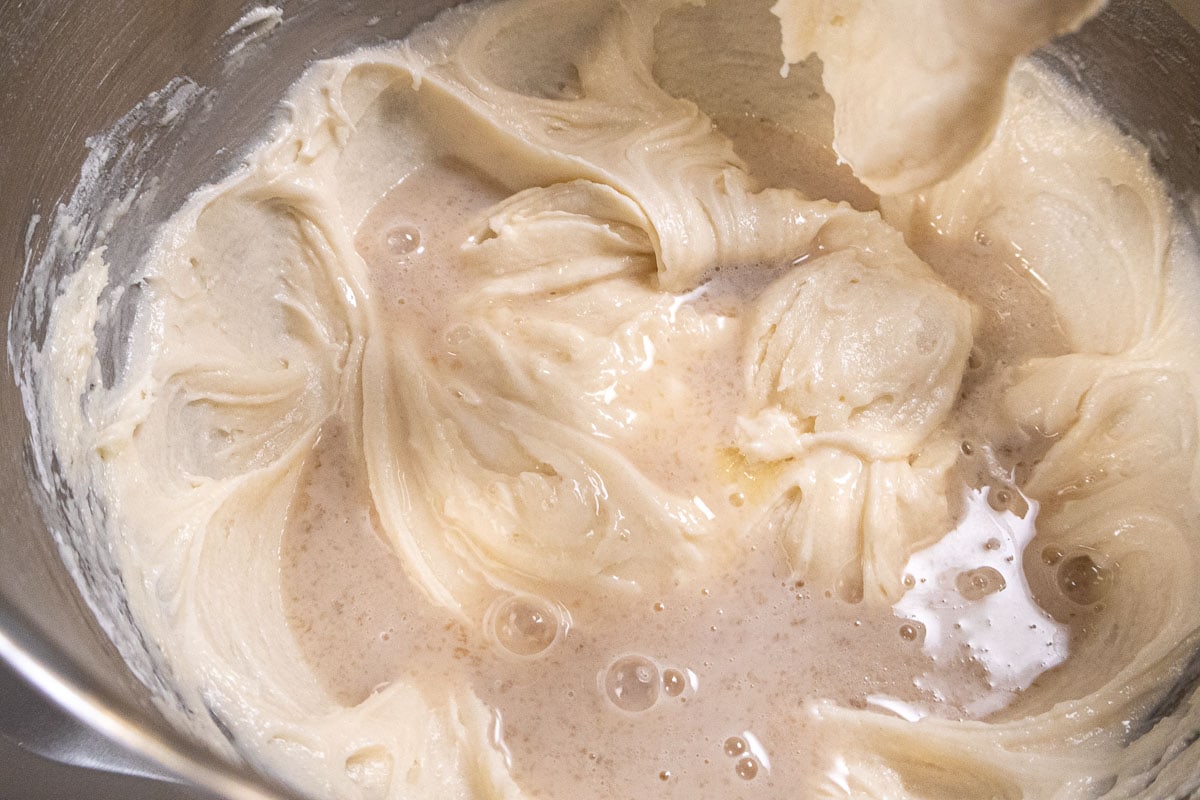
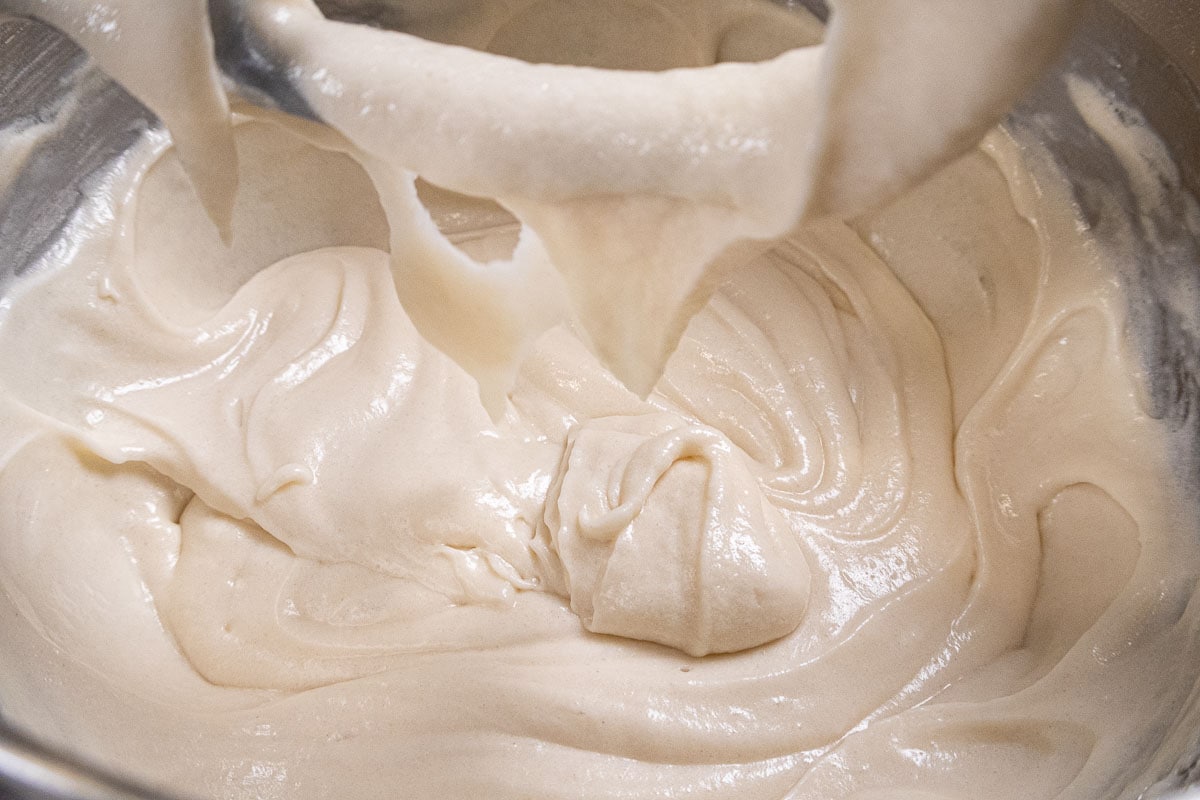
Step 5. Add the eggs to the cream cheese. Step 6. Process to mix. Step 7. Add the Bailey's and process to incorporate. Step 8. Pour over the crust in the pan. Bake as directed, cool to room temperature and chill several hours or overnight until cold.
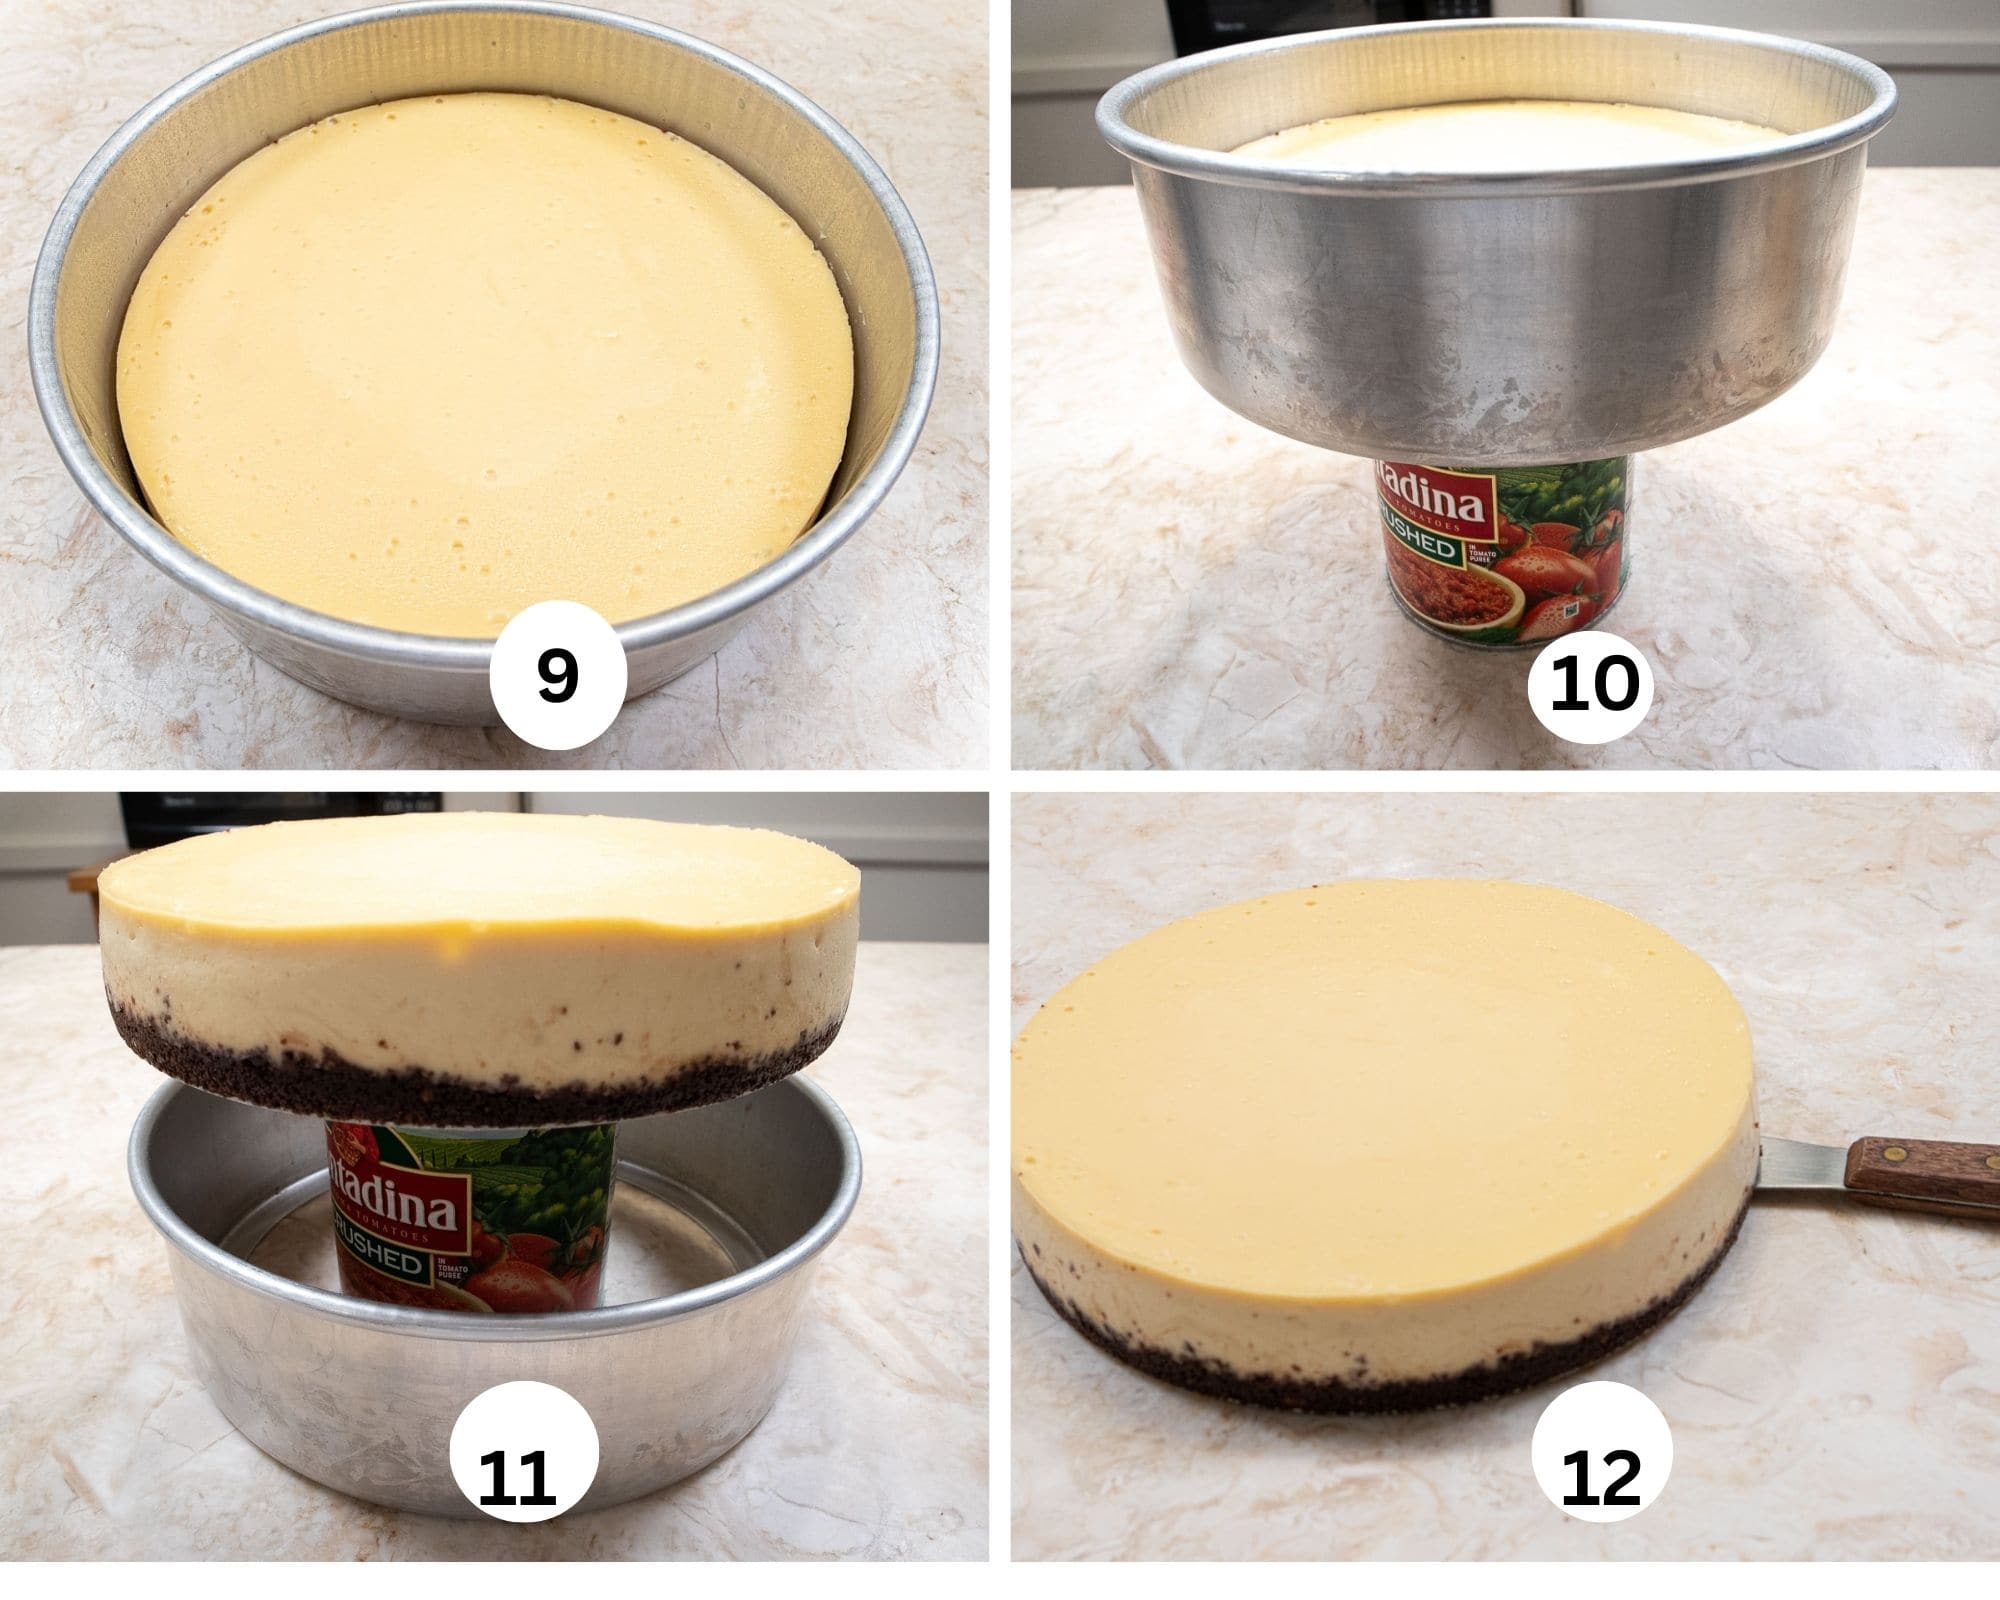
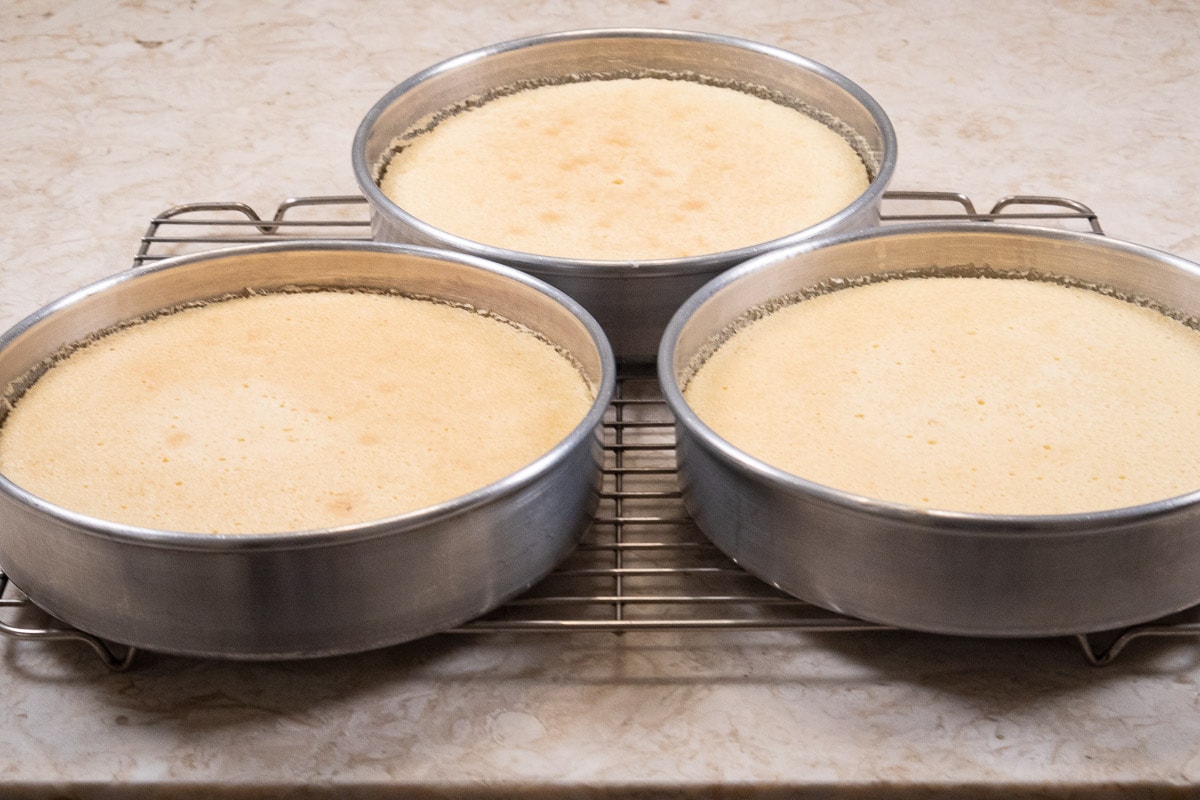
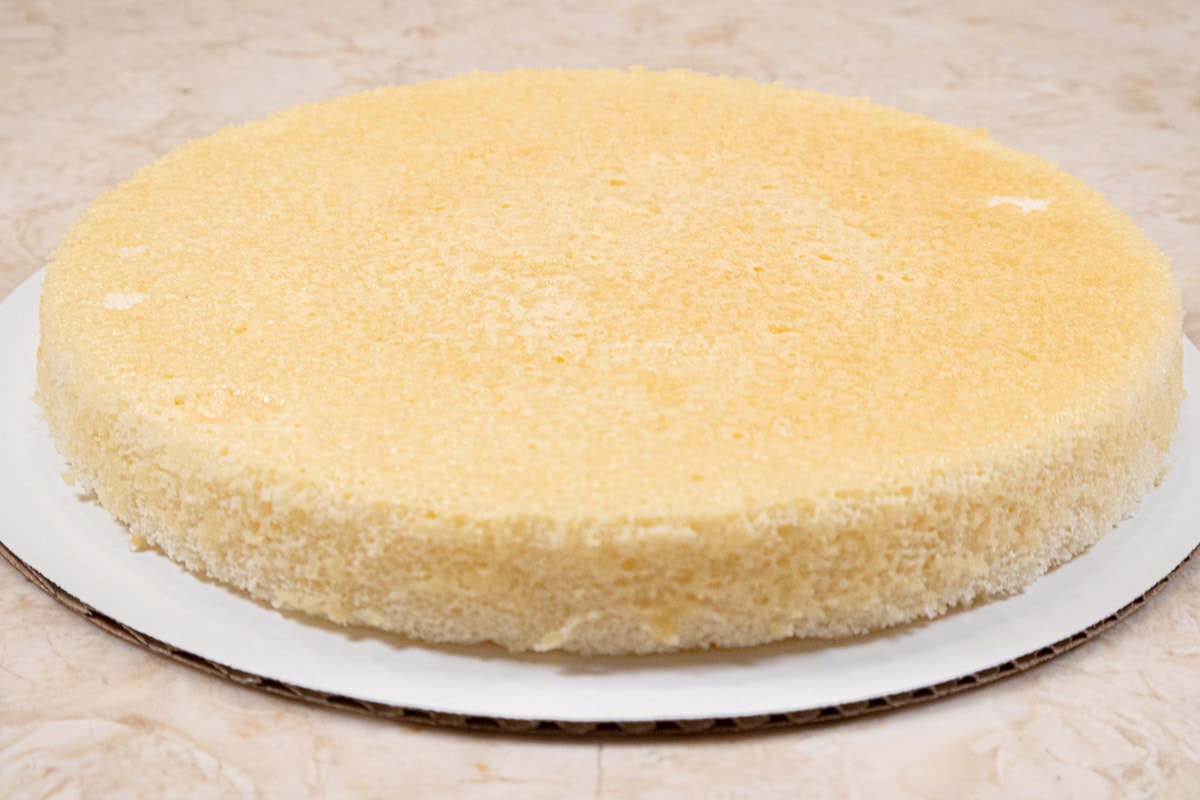
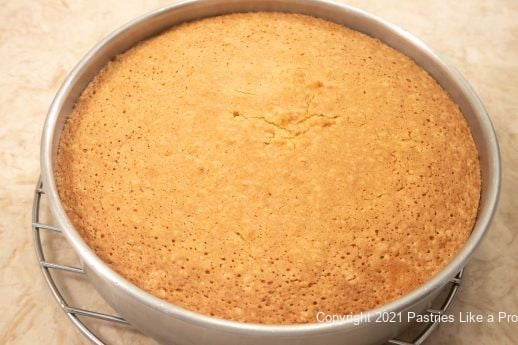
Step 9. The cheesecake baked in the pan. Step 10. Place the cheesecake on a can. Step 11. Using a hair blower on high, go around the outside of the pan to release it. Step 12. Release the bottom using a metal spatula placed between the crust and the metal bottom.

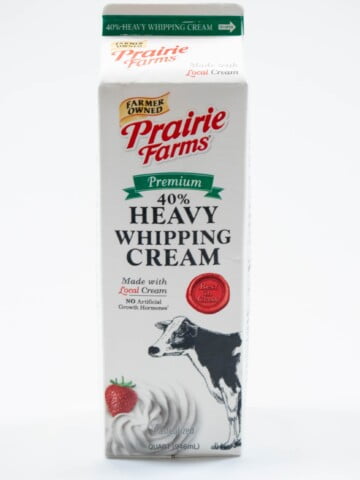
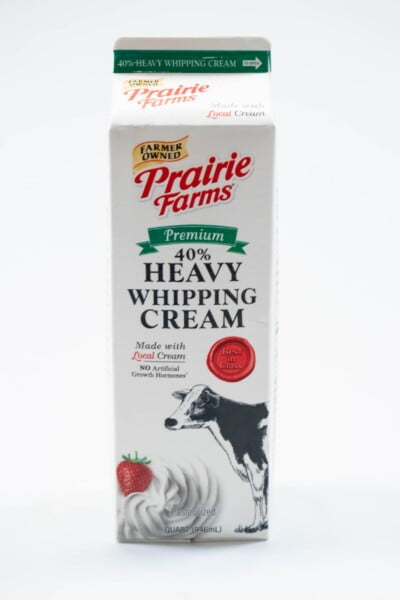
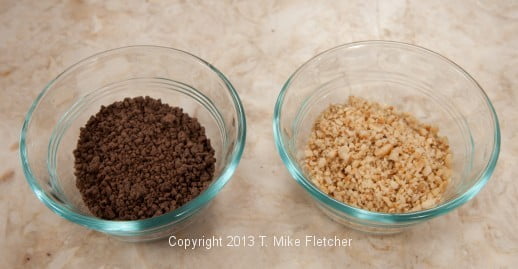
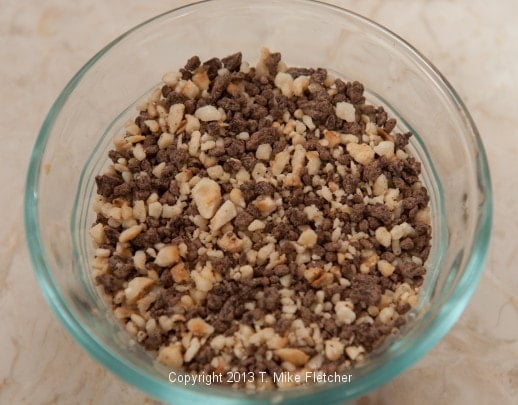
Step 13. Place two pancake turners under the bottom of the cake on both sides. Step 14. Lift the cheesecake from the pan bottom to a cake board or serving plate. Step 15. The package of real white chocolate. Do not use white compound. Step 16. Chop the chocolate.
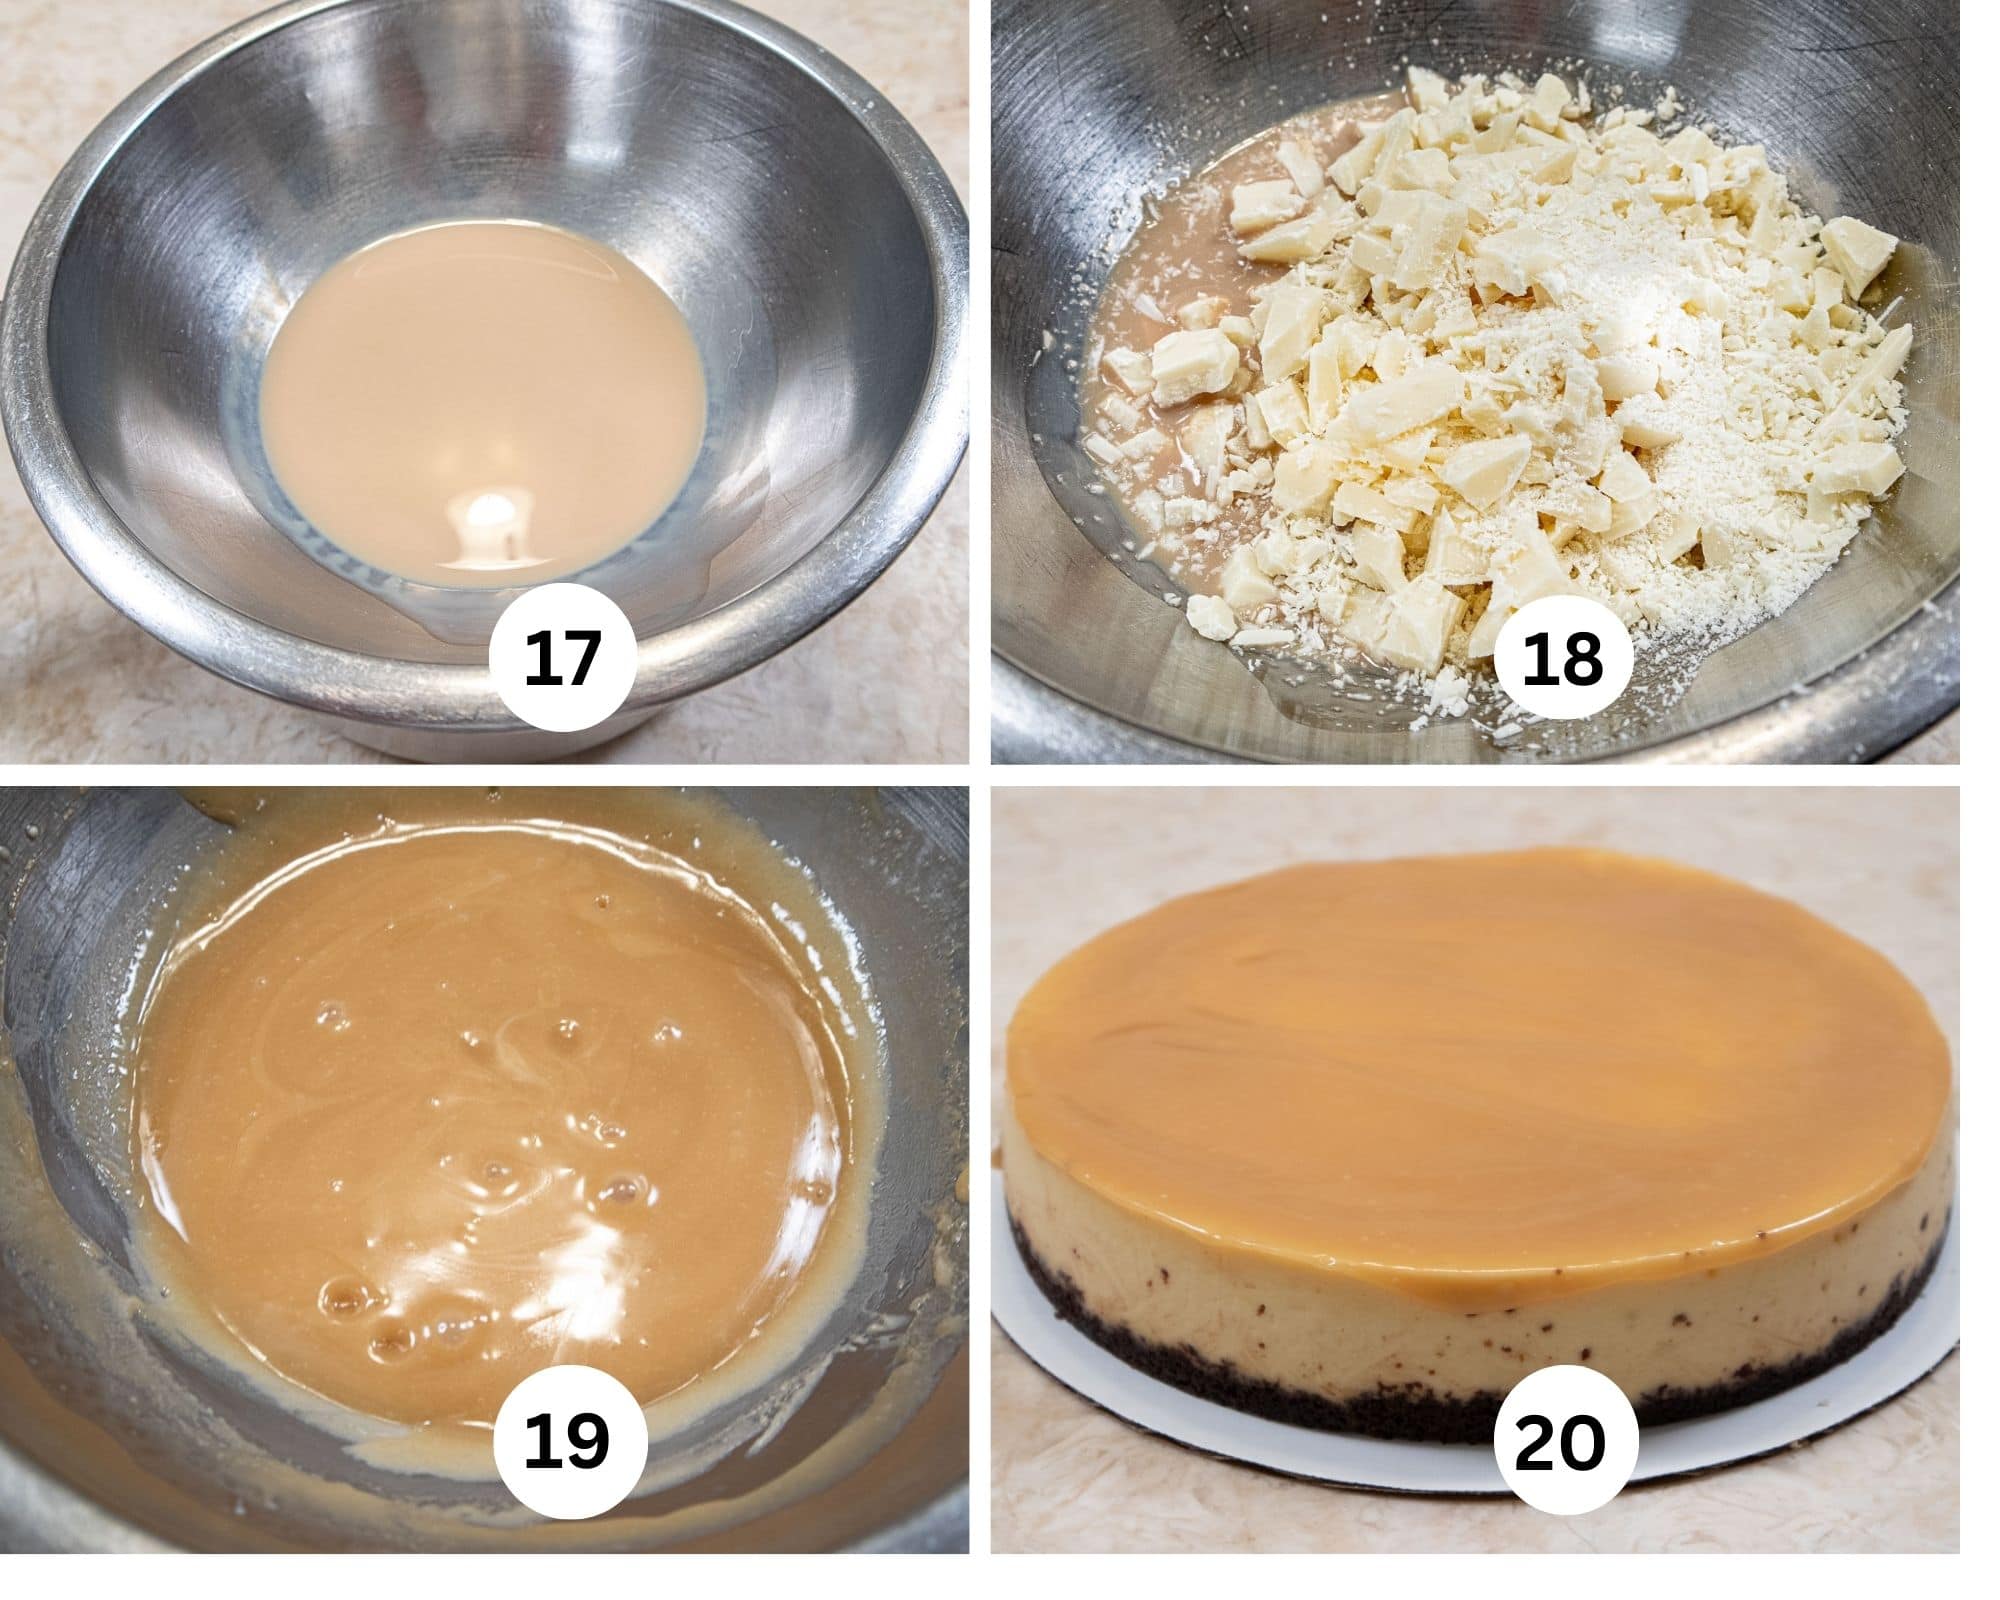
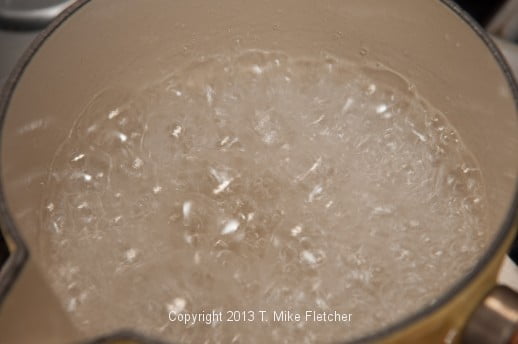
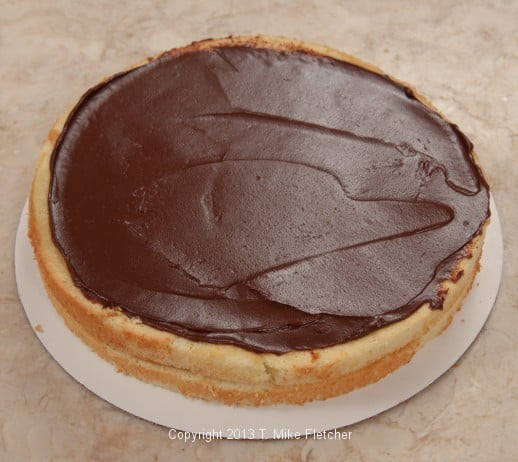
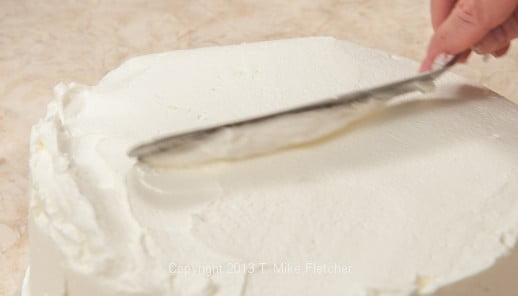
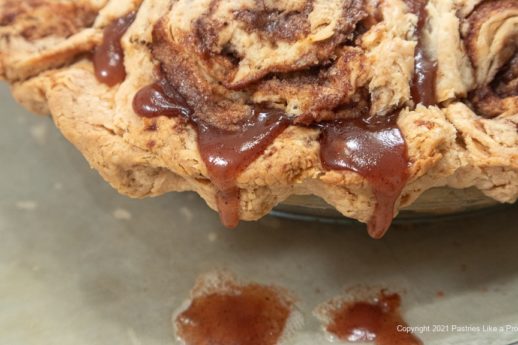
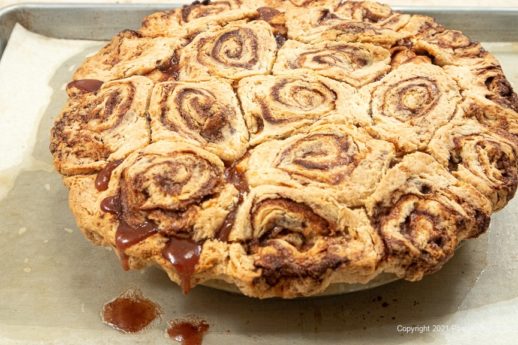
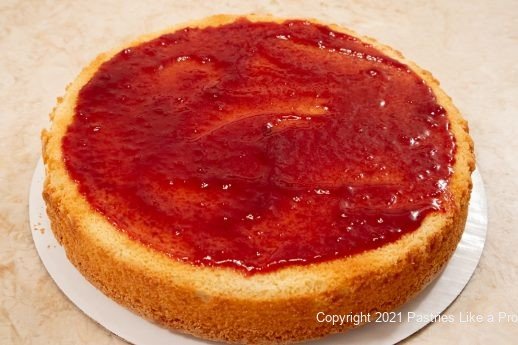
Step 17. Place the Bailey's in a bowl over simmering water. Step 18. Add the white chocolate. Step 19. Bring the water to a bare simmer. Do not let it boil or touch the bottom of the bowl. Heat to melt the chocolate. After the chocolate starts to melt, stir it gently to avoid air bubbles in the finish. Step 20. Pour the glaze over the chilled cake and spread it out to the sides. If some drips down the sides, that's fine. Refrigerate to set.
Recipe FAQS
Yes but less than 0.5% by volume which is much lower and liquors.
Because of the very low alcohol content and the fact this cheesecake is cooked, it is probably ok, but check with your doctor to make sure.
Pour over ice cream, mix into coffee, or enjoy it with ice for other ways to enjoy this liqueur.
Expert Tips
- Make cheesecake in a food processor takes this dessert to a whole new level. It is creamier, smoother and more dense. I don't make them any other way now, even at the restaurant. The recipe gives a mixer version also, but if possible use the processor.
- One of the best things about this cheesecake is not having to place it in a water bath. The very slow, steady baking makes this extra step unnecessary.
- While room temperature cream cheese and eggs are often recommended for cheesecakes, it isn't necessary if using the processor. Just make sure to scrape the bottom and sides from time to time to prevent lumps. If using the mixer, it is helpful to room temperature the cream cheese and eggs as a mixer doesn't have the power of a processor.
- Cool the Bailey's cheesecake in it's pan and refrigerate until cold or overnight.
- For maximum flavor, allow the cheesecake to sit at room tempoerature 15 to 20 minutes before serving.
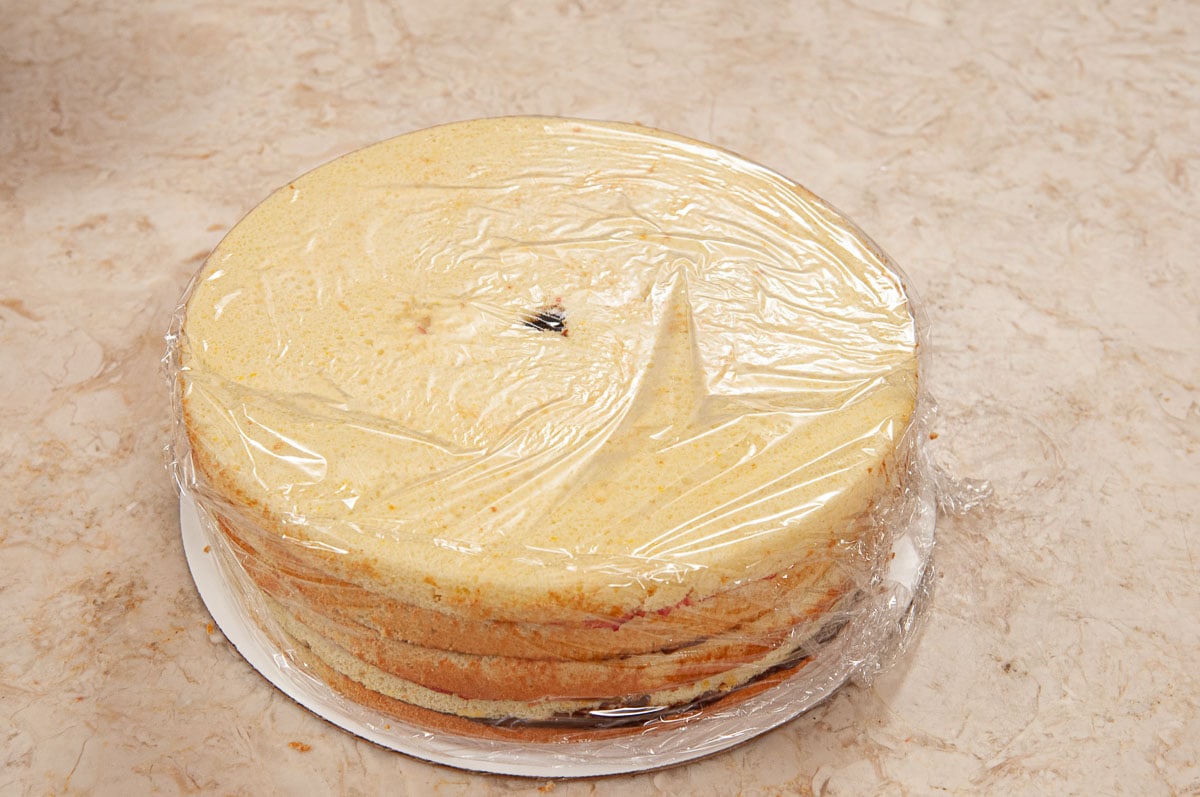
- This cheesecake freezes extremely well. Freeze it in the pan, without the glaze, well wrapped in several layers of foil for several months. Thaw it in the refrigerator overnight, leaving it covered. If there is condensation on top of the cheesecake, pat it dry with a paper towel. Release it as shown in the step-by-step photos, make the glaze and finish the cheesecake. It can be stored for several days in the fridge
YouTube Video
For over 6 years I was on the local CBS TV station demonstrating a recipe in 4 minutes. It was a challenge much of the time. You can see the last segment I did making this cheesecake without the liqueur. It was a really fun time in my life as you can see.
Other Cheesecakes You're Sure to Love
If you love this Bailey's Cheesecake or any other recipe on my website, please leave a 🌟 star rating in the recipe card and let me know how it went the in 📝 comments below. Thank you and I appreciate each of you being here!

The Definitive Bailey's Cheesecake
Ingredients
Chocolate Crumb Crust
- 1 ⅓ cups graham cracker crumbs (150 grams)
- ¼ cup cocoa (24 grams)
- ½ cup powdered sugar (45 grams)
- 6 tablespoons unsalted butter, melted (80 grams)
Cheesecake Filling
- 2 pounds cream cheese, regular or ⅓ less fat, room temperature (910 grams)
- 1 cup sugar (200 grams)
- 5 large eggs
- ⅓ cup Bailey’s Liqueur
Bailey’s White Chocolate Glaze
- 4 ounces white Chocolate*
- 3 tablespoons Bailey’s Liqueur
- *It is important to use real white chocolate and not white chocolate coating. See notes above.
Instructions
Chocolate Crumb Crust – go here for how to pictures for crumb crust
- Preheat the oven to 200 degrees.
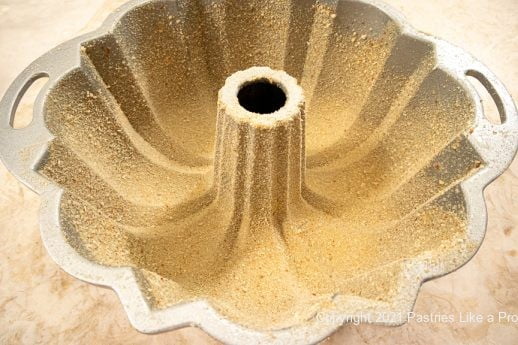
- Spray a 9x3 inch cheesecake pan or a springform pan with non-stick baking release. Set aside.
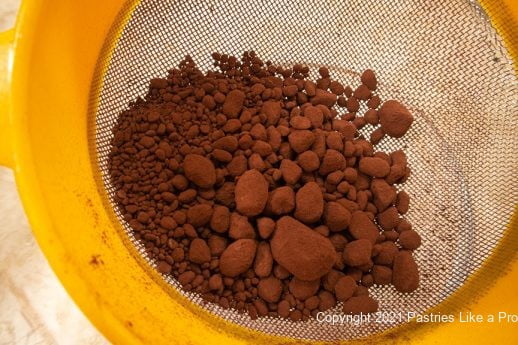
- Place the graham cracker crumbs in a bowl. Sift the cocoa and powdered sugar over them. Whisk together.
- Add the melted butter and combine with a fork so the crumb mixture is equally coated.
- Press evenly into the bottom of the pan. Set aside.
Cheesecake Filling - Processor Method
- Place half the cream cheese in the processor and process until it is smooth. Scrape down.
- Add the remainder of the cream cheese and the sugar, processing until completely smooth. Scrape down several times and process again to make sure there are no lumps.
- Add the eggs, process and scrape down.
- Add the Bailey’s. Process to make sure it is smooth.
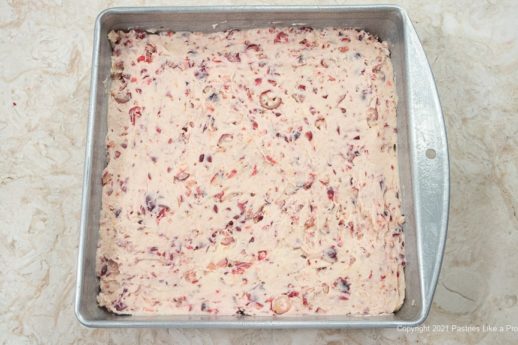
- Pour it into the prepared pan and place it in the oven.
Cheesecake Filling - Mixer Method
- It is best to have the cream cheese and eggs at room temperature if using the mixer.
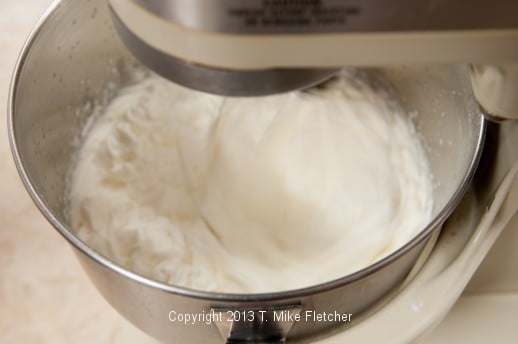
- In a mixer bowl, combine the cream cheese and sugar, beating until smooth. Scrape the sides and bottom often to prevent lumps.
- Add the eggs, one at a time. Scrape down every two eggs.
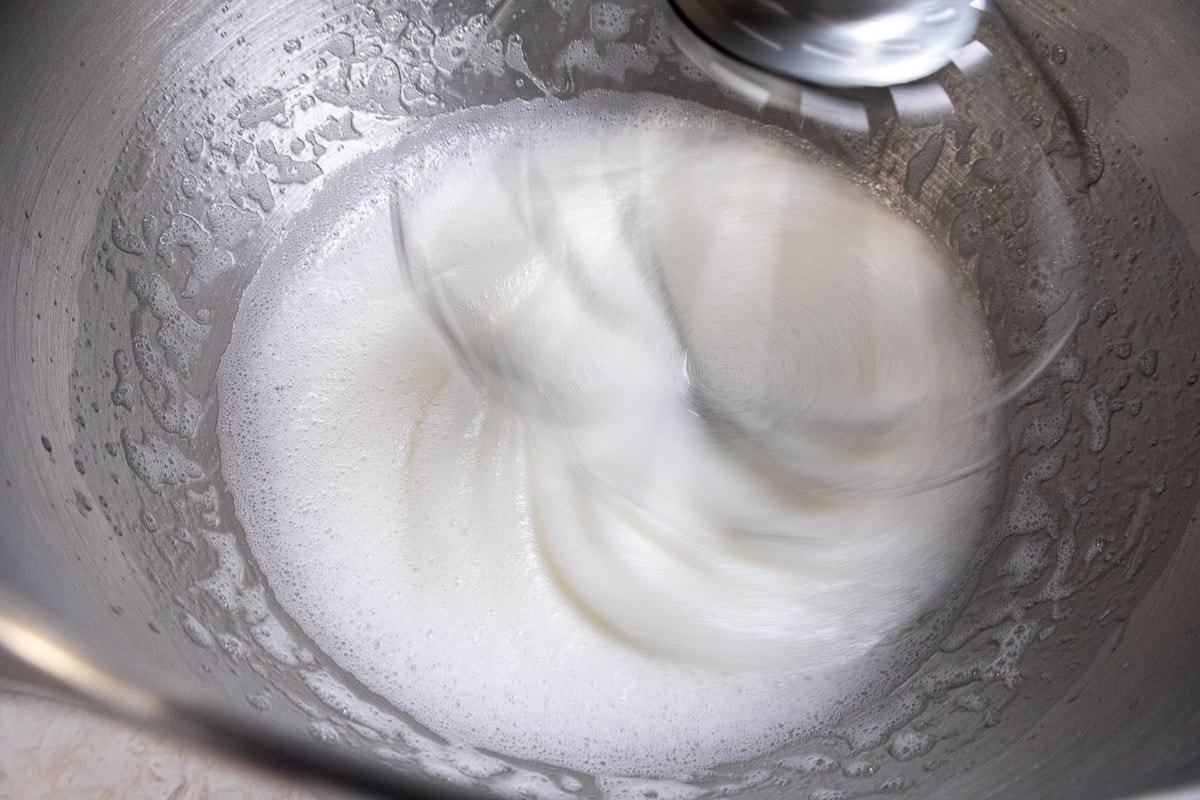
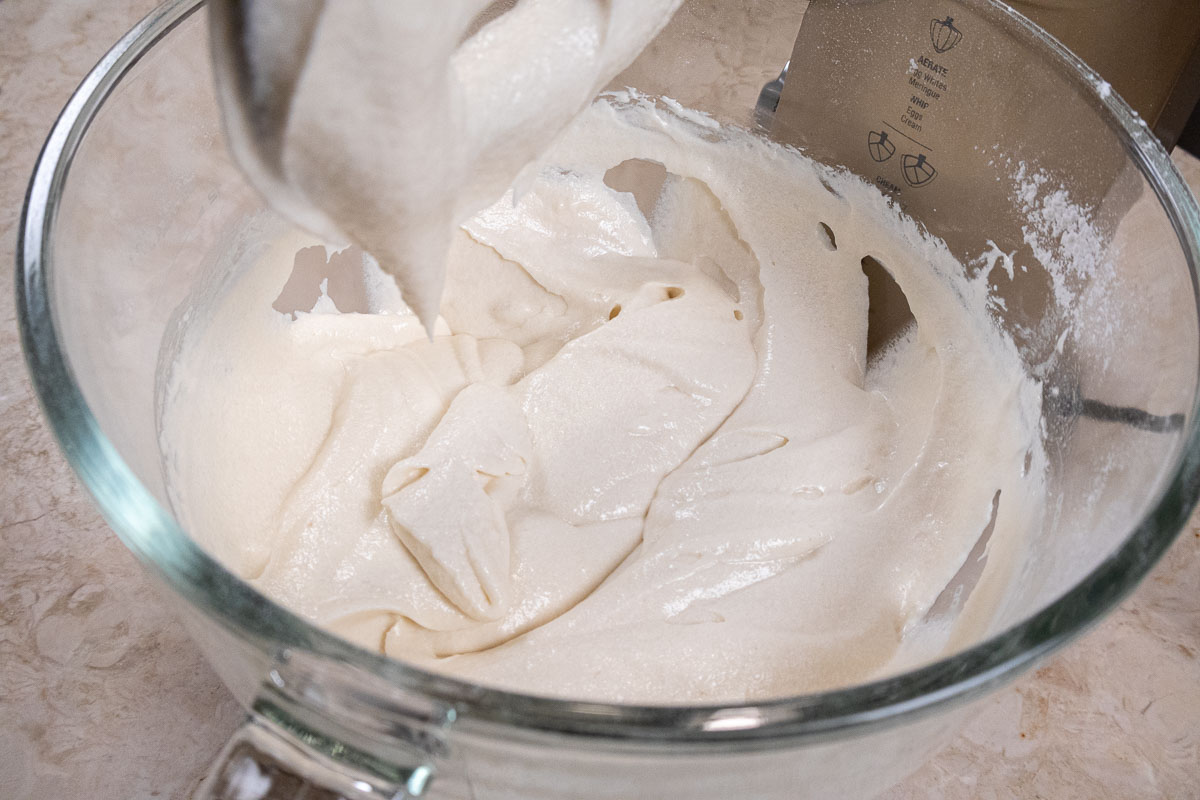
- Add the Bailey’s. Beat to just combine. You do not want to incorporate air into the mixture at this point.
- Pour into the prepared pan and place in the oven.
Baking the Bailey’s Cheesecake
- Bake for 2 ½ hours until the cheesecake has a very slight “jiggle” in the middle.
- Cool in the pan and refrigerate until cold or overnight.
Releasing the Cheesecake
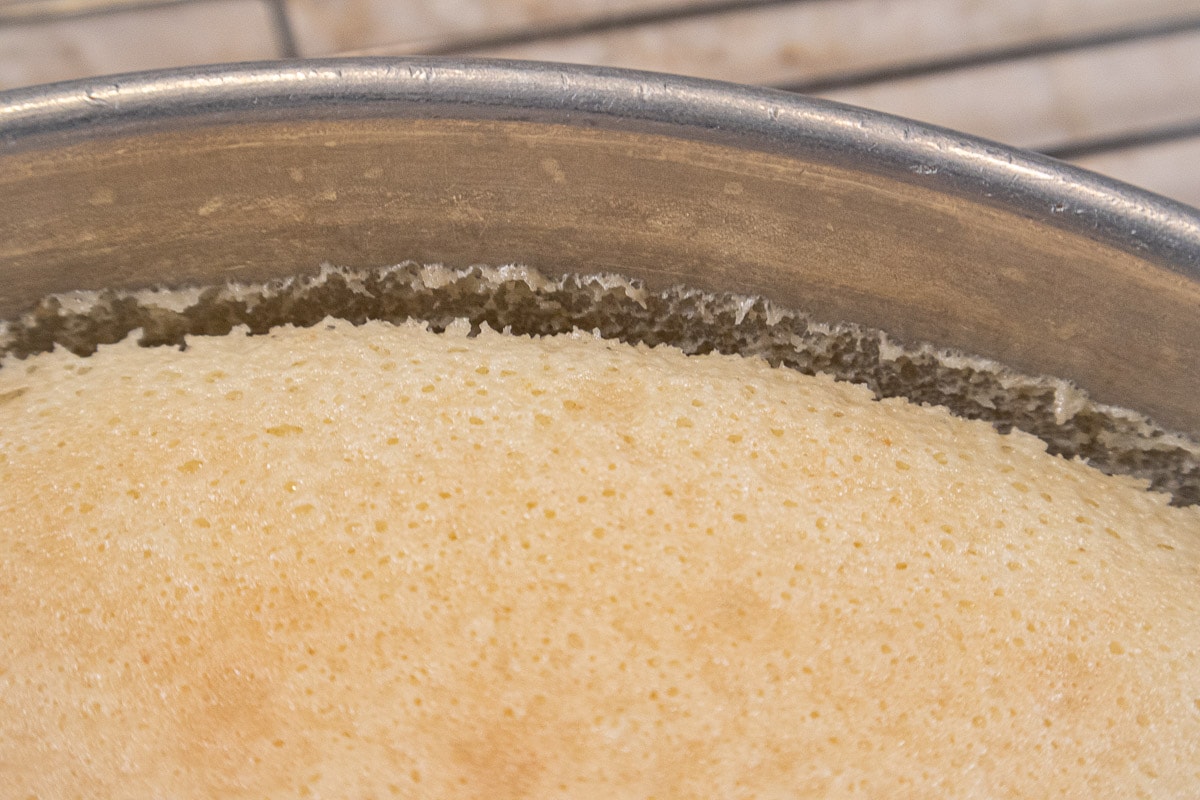
- This cheesecake usually pulls away slightly from the edge of the pan. If it doesn't, briefly heat the sides of the pan with a blow dryer.
- If using a cheesecake pan, place it on top of a wide can such as a 28 ounce can of tomatoes.
- Slide the rim down.
- If using a springform pan, release the side of the pan.
- Using a straight, metal spatula, loosen the bottom by slipping the spatula between the cake and the bottom of the cheesecake pan. Go around the entire bottom to make sure it isn't sticking anywhere.
- Using two pancake turners, one on each side of the cake, lift the cheesecake onto a cake board or serving plate.
- If using a springform pan, you cannot loosen the bottom because of the lip.However, the cheesecake should be firm enough to lift off using the pancake turners.
Bailey’s White Chocolate Glaze
- Chop the white chocolate into small pieces.
- Place the Bailey’s in the top of a double boiler or a bowl that will fit over simmering water in a pan.
- Add the chopped chocolate.
- Bring the water to a simmer. Do not let it boil and do not let it touch the bottom of the pan.
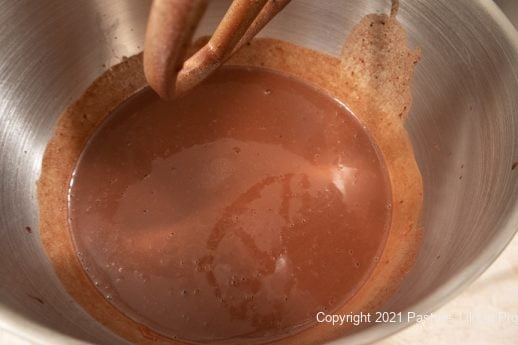
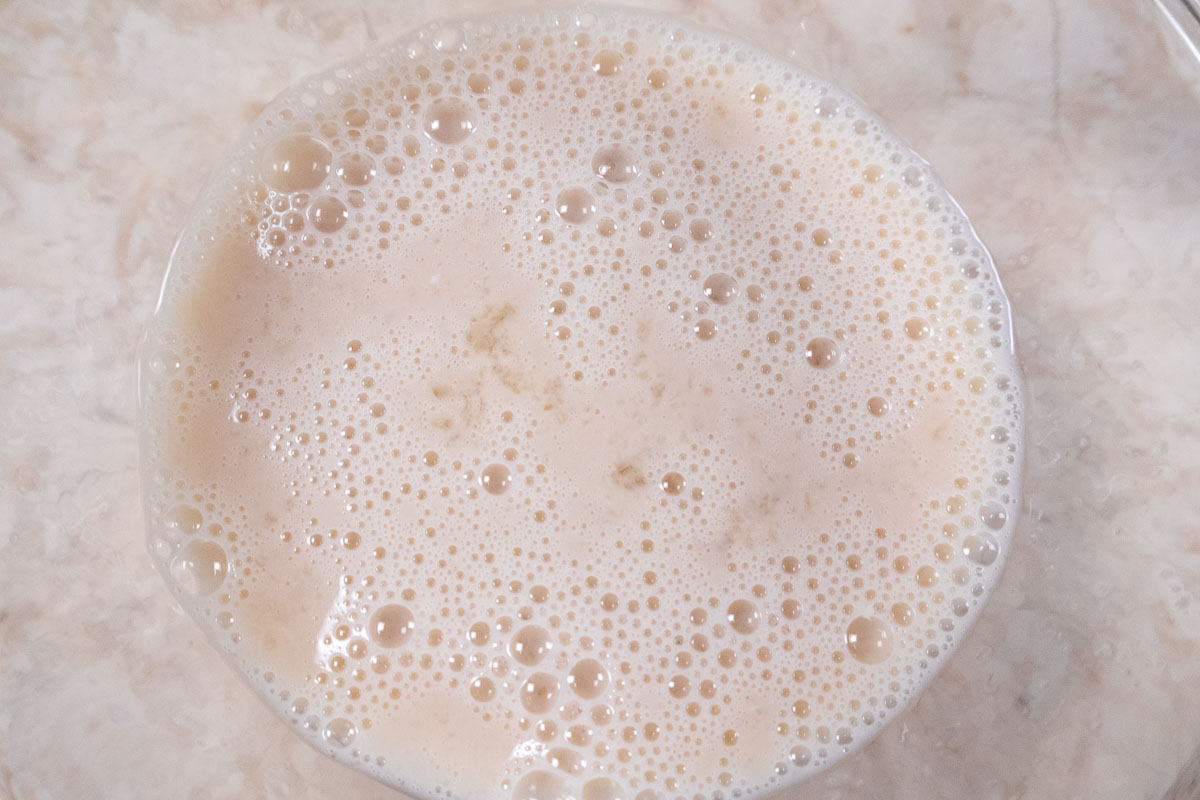
- Heat slowly to melt the chocolate. After the chocolate starts to melt, stir or whisk gently to avoid air bubbles in the finished glaze.
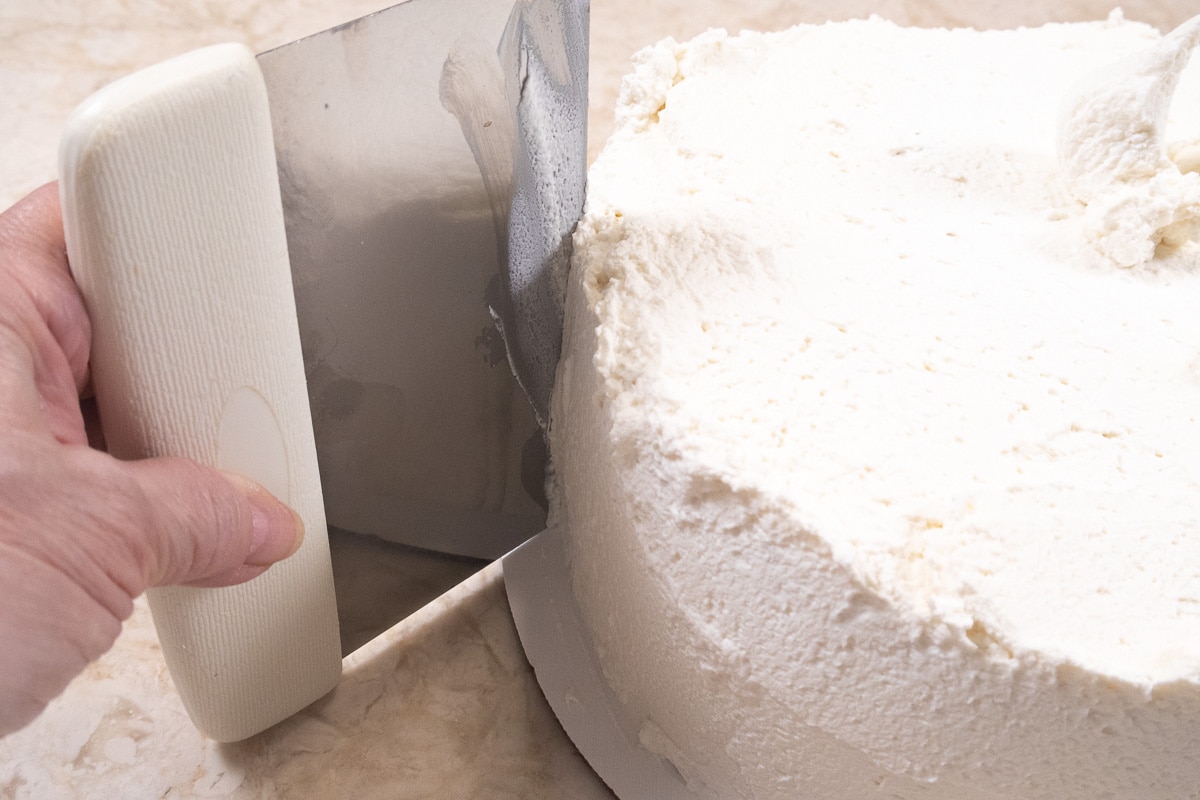
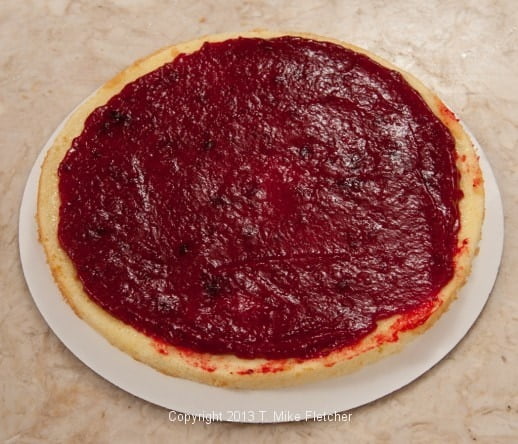
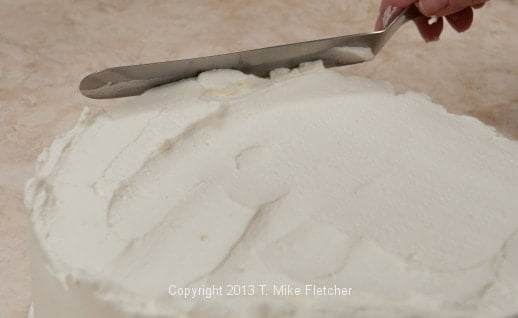
- After the glaze is completely smooth, pour tit over the chilled Bailey’s Cheesecake and spread out to the sides. If some drips down the sides, that’s fine.
- Refrigerate to set.


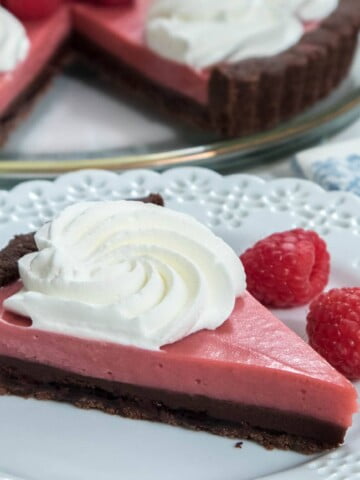
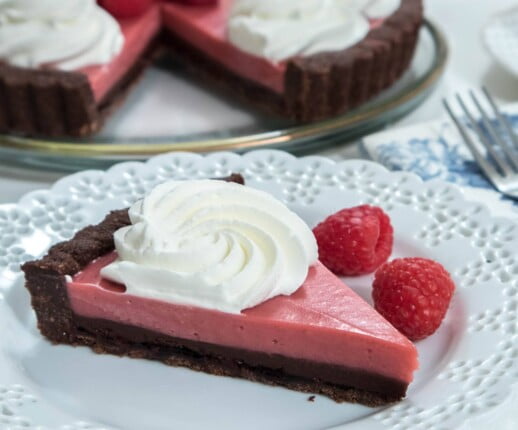
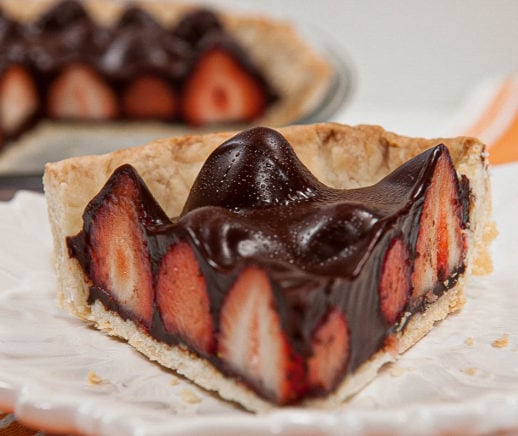


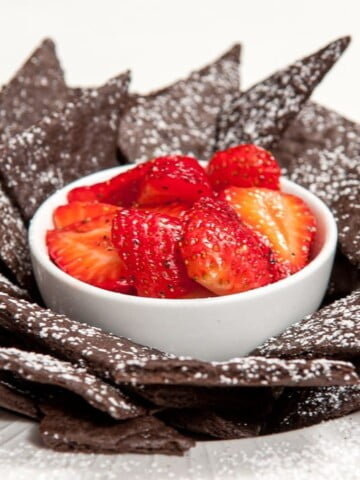
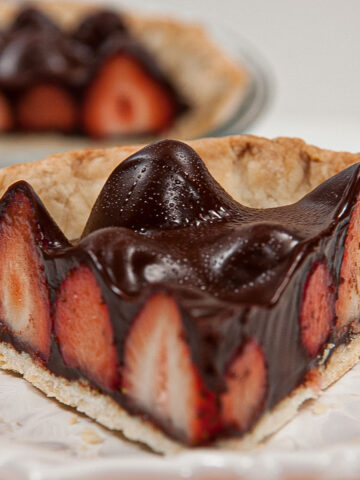
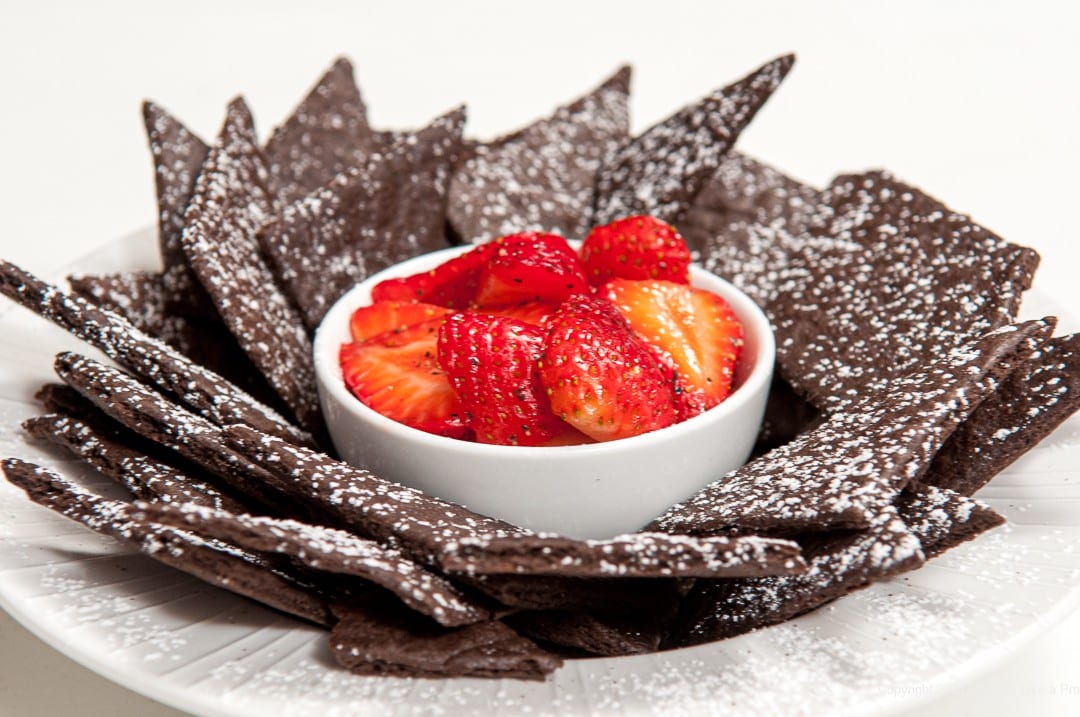 These Oreo "Tacos with Strawberry Salsa" are a delightful, whimsical dessert that comes to us from season six Top Chef winner, Michael Voltagio of Ink Restaurant in L.A. While I loved the “tacos”, I added more excitement to the strawberry salsa. This is really easy and such fun.
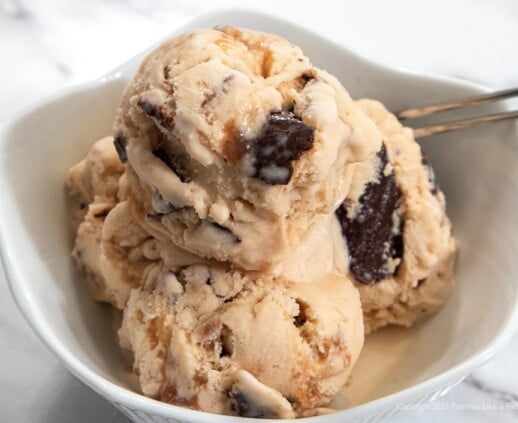 One day, my son brought me this Caramel Cone Ice Cream from Häagen-Dazs®. It instantly became my favorite ice cream. Caramel ice cream, swirled with caramel and then loaded with chocolate sugar cone bits, is better than eating a cone of caramel ice cream.


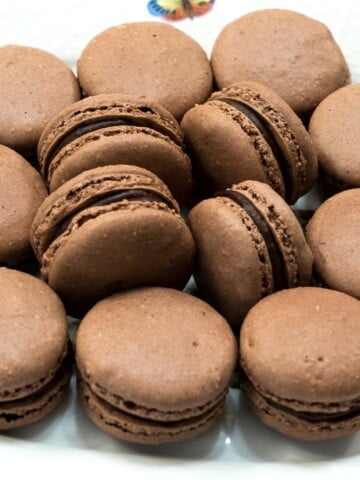
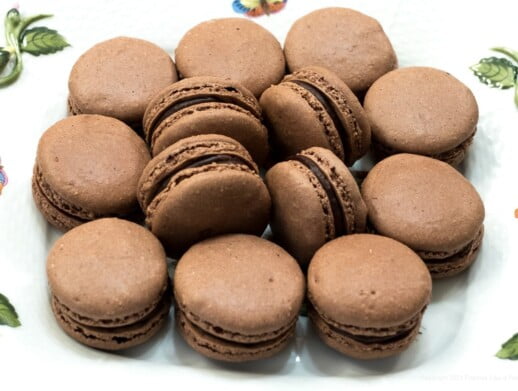 These chewy Chocolate Orange Macarons were inspired by candied orange rinds dipped in chocolate. Stiffly whipped egg whites, powdered sugar, almonds, and cocoa form perfect circles of chewy chocolate cookies that are naturally gluten-free. Then, sandwich two of these macarons with a