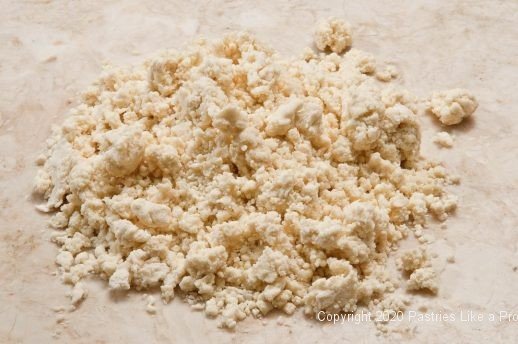
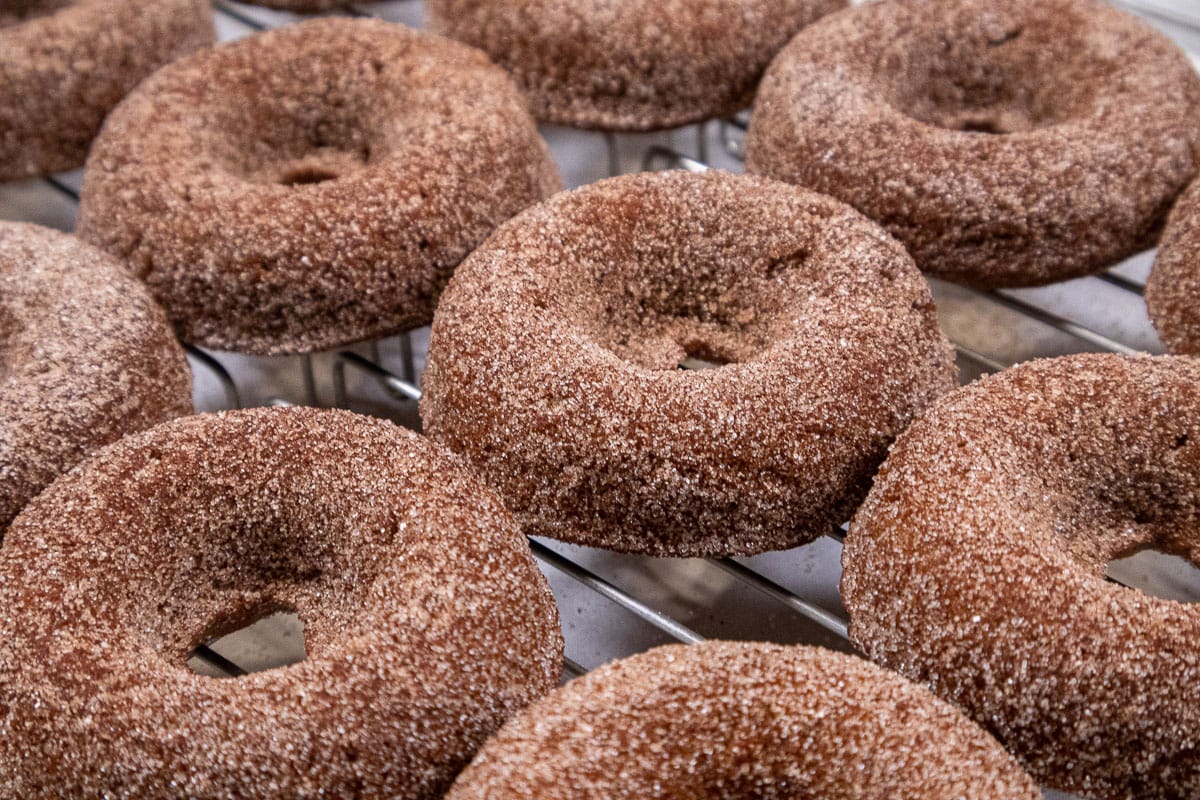
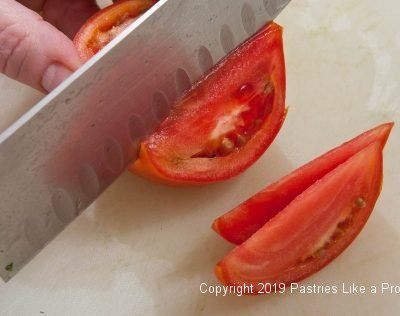
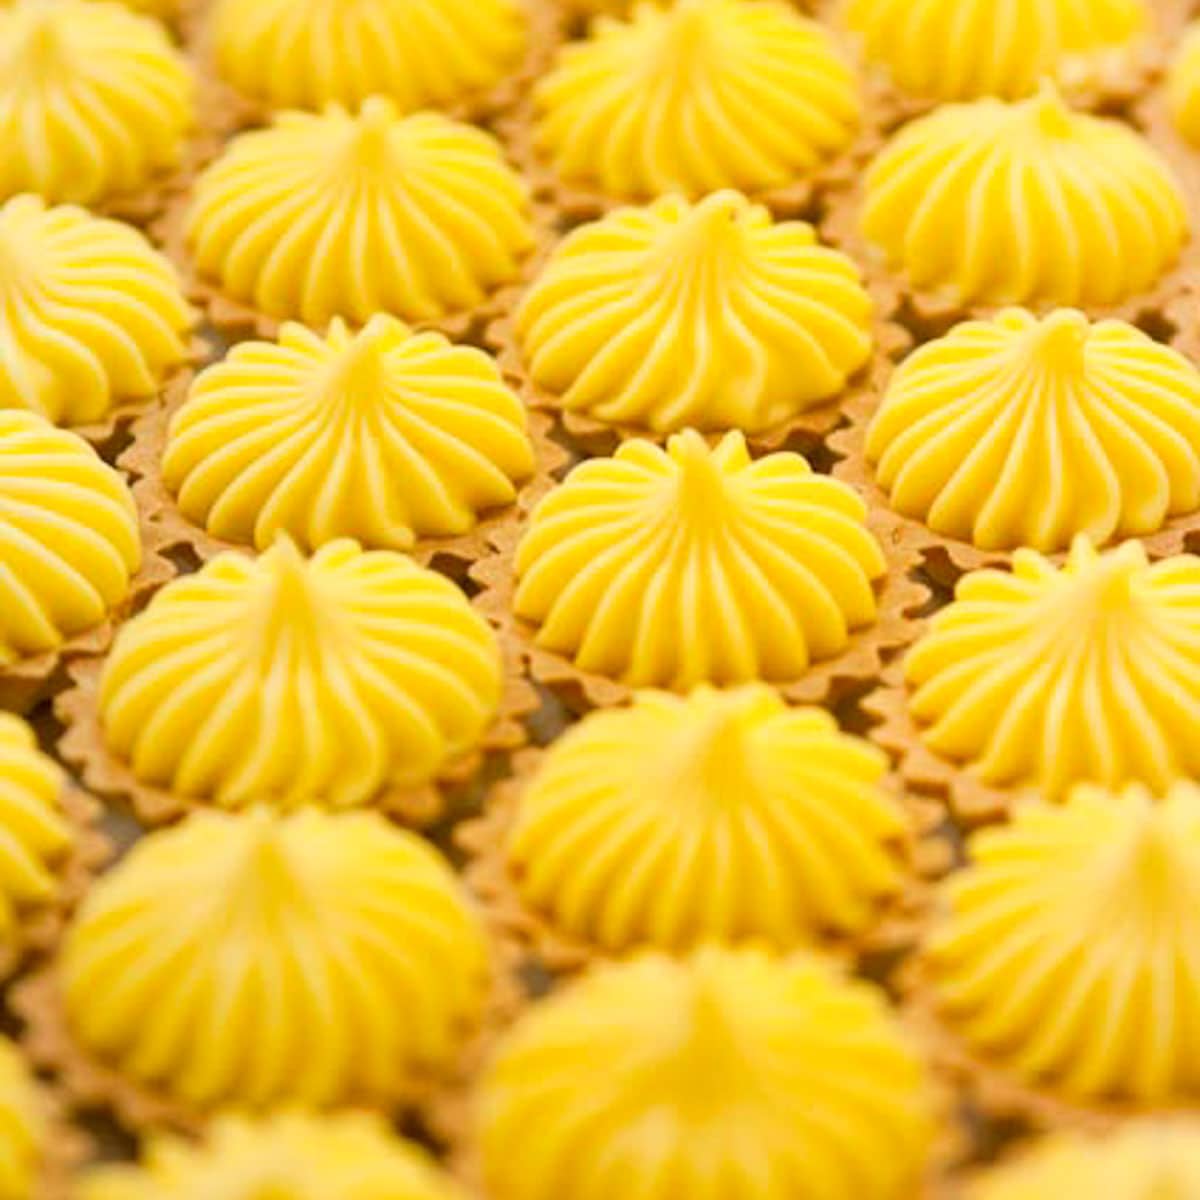
Cut out cookies are always the most time consuming to make but they are most often, the prettiest. They can be challenging depending upon the dough used and how the cookies are rolled and cut. But they needn't be if you use the technique below.
I have seen a variety of methods to roll out these cookies. Flouring the work surface is always present but this method, especially if a lot of flour is used, is something I don't do. The unincorporated flour stays on the bottom of the cookie when baked. Additionally, if the cookie dough is soft, it can be problematic to get the cookies onto the baking sheet without distorting the shapes.
Parchment Paper

Rolling dough between parchment paper is recommended a lot on the internet. While I couldn't bake without this kitchen staple, I never use it for rolling cut out cookies. Parchment paper is a chemically treated, cellulose-based paper that is non-stick making it perfect for lining baking sheets and pans for easy removal. It's a durable paper that is heat and water-resistant. It also used for the French cooking technique called "en papilliote" where food is enclosed in parchment and baked. The term "en papilliote" means to cook in paper.
But I don't use it for cut out cookies. I find the very strength and thickness of the paper and the fact it is not translucent makes it difficult to roll the cookies without excessive wrinkling of the bottom sheet or being able to see how the rolling is going.
Parchment paper can be found in grocery stores in rolls. Kitchen shops and the internet also sell it cut in half sheets and various size parchment circles used to line cake pans.
Plastic Bags or Plastic Wrap
The problem with plastic bags is they are usually too small to be effective. The problem with plastic wrap is it is hard to get it and keep it straight without severe wrinkling.
Wax Paper
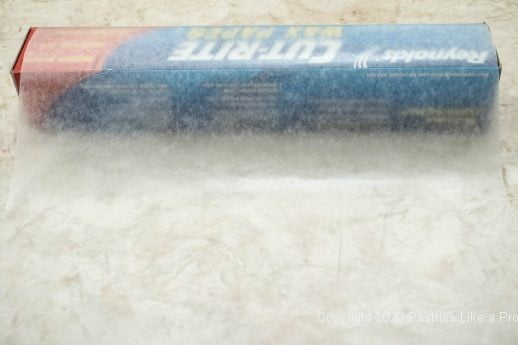
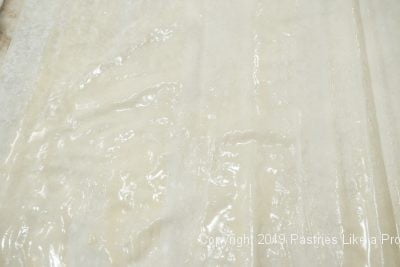
So that brings us to wax paper. Wax paper is coated with a very thin layer of paraffin. It is water-resistant, but not heat-proof, so it should never be used as a liner for baking sheets and pans. But it is the perfect vehicle for rolling the dough for cut out cookies because it is translucent and flexible. Placing the dough between two sheets of wax paper enables you to see what is going on when you are rolling. Is one side too thick or one end to thin?
In addition, because the paper is thin and flexible, running your hand over the top piece of paper allows you to feel for thick or thin spots and correct them. But there is a definite technique for the perfect cut out cookies.
The same pieces of paper can be used as long as there are no tears in it. If it is wrinkled when itis turned over, just smooth out the wrinkles whe the paper is replaced over the dough. If there are, the paper needs to be replaced.
One thing that can happen when rolling between paper, is the dough stalls and refuses to move out when rolling. The chances of that happening are reduced if the steps below are followed.
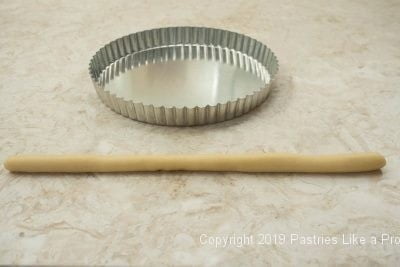
One of the other things I find wax paper is perfect for rolling dough to a certain size or shape. Simply draw a pattern on the wax paper, preferably with a heavy marker such as a black sharpie. Keep this side of the paper up so it doesn't touch the dough. You can now see where you need to roll to keep it within that shape.
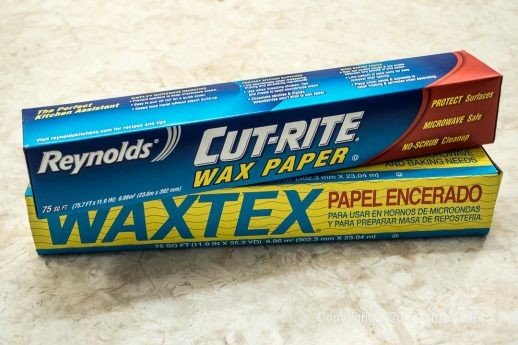
Wax paper can be found on the shelves of grocery stores. It comes in a roll.
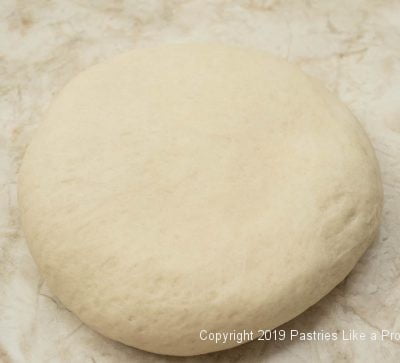
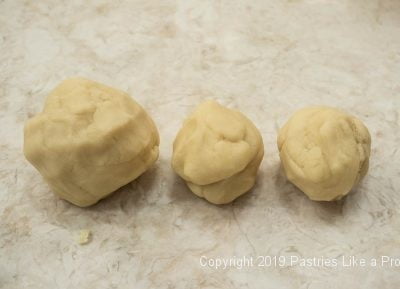
1. Divide the dough into several portions. it is easier to roll smaller pieces of dough than to try to get it done all at once.
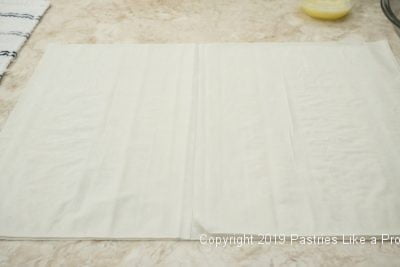
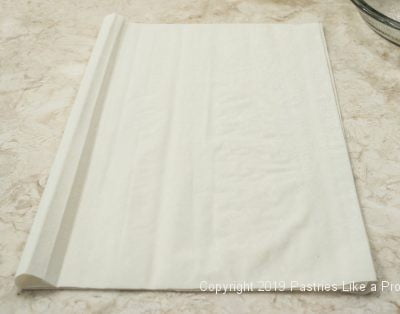
2. Tear off two large pieces of wax paper. I usually use about 18" to 20" pieces. It is better to have too much than too little. Position the paper so the long side is vertical or going away from you.
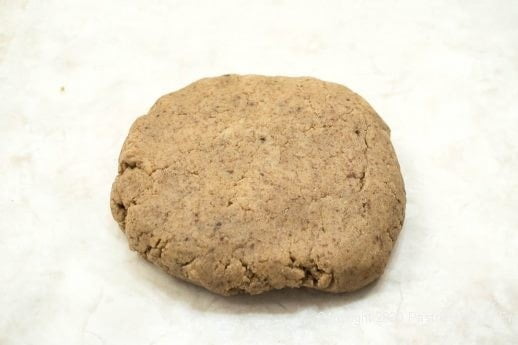
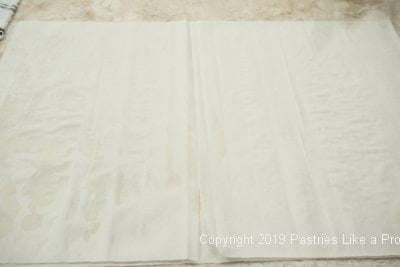
3. Place the dough on the bottom piece of paper.
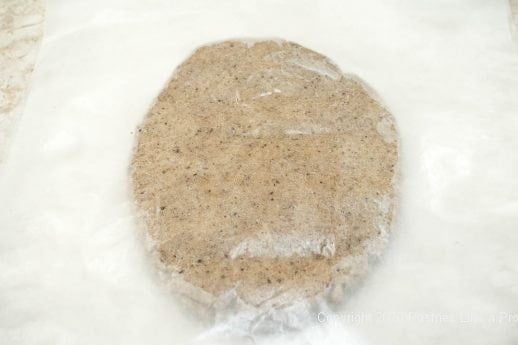
4. Place the top piece of paper on the dough. Flatten the dough with either the rolling pin or the palm of your hand.
5. Roll the dough from the center away from you. Turn the paper around so the unrolled portion is nearest you.
6. Roll away from you again. Roll side to side also.
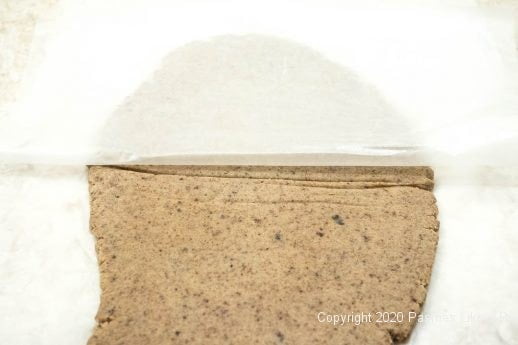
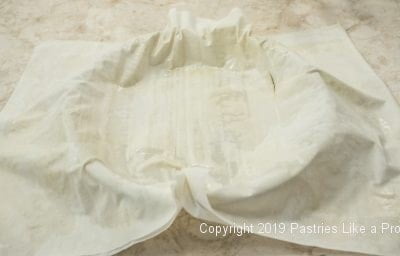
7. Carefully remove the top piece of wax paper by keeping it very close to the dough. If the paper is pulled straight up, the dough can stick to it especially if it is soft and tear away. Keeping the paper close helps alleviate this.
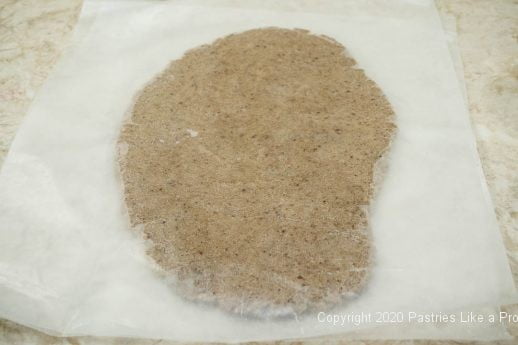
8. Note the wrinkled dough. It can be much worse than this if the dough is soft. Replace the paper, making sure it is smooth.
9. Flip the dough over keeping it between the wax paper. Remove the paper as above. Replace the paper smoothing out any wrinkles it may have. Roll the dough out from the ends and sides.
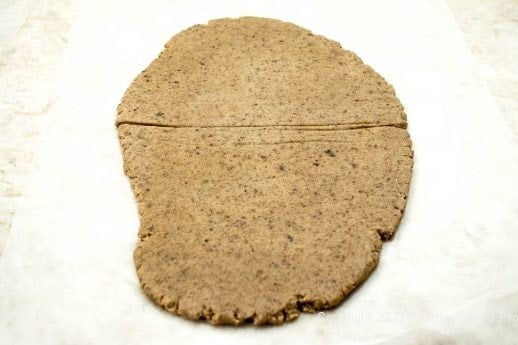
10. Repeat removing the top paper, replacing it flipping the dough, removing the bottom paper, replacing it and smoothing out any wrinkles every 3 or 4 times you roll the dough or if the dough stalls and won't move out anymore. Roll to the desired thickness.
Wax Paper Technique for Perfect Cut Out Cookies
The cookie dough should be of rolling consistency. If it has been refrigerated and is very hard, rest it at room temperature until it is firm, but not hard. Should it be really soft, refrigerate to firm it up. If at any point, the dough becomes overly soft, refrigerate or freeze it, on the paper, briefly to firm it up.
I have numbered the steps to make it easy to follow. Don't be put off by the number. They go very fast and having done it a couple of times, it will become second nature and go quickly. Writing this post made me think about what I was doing, but in reality, it's very simple.
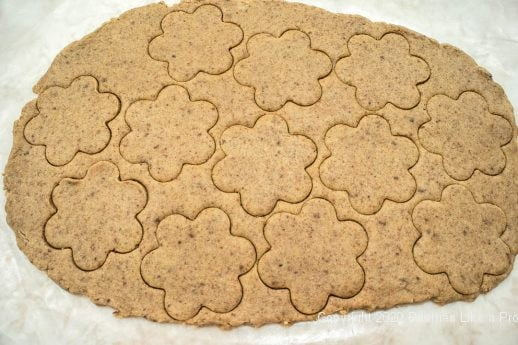
1. If using multiple cutters, place them as close together as possible, touching is best. If using a single cutter, place it as close as possible to the previous cutter to get the maximum amount of cut out cookies.
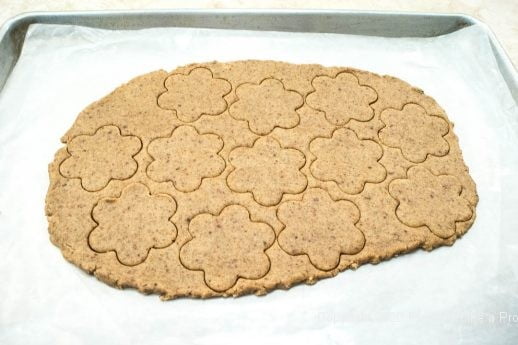
2. Place the paper, with the cut out cookies, on a baking sheet and freeze hard. This only takes a few minutes.
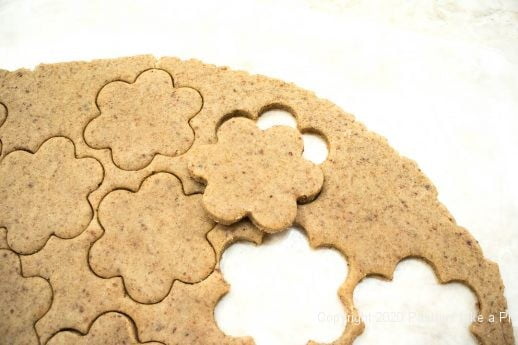
3. When frozen, push the cookies up using the bottom piece of paper. They will pop right out. If they soften too much at any point, freeze them again.
4. Place them on a parchment-lined baking sheet as you remove them and bake as directed. I usually let mine soften a bit before baking especially if finishing with sanding sugar to make sure it sticks. They can also be baked directly from the freezer by adding a few minutes to the baking time called for in the recipe.
5. Combine all the scraps from the first roll-outs. Follow the above steps for more cookies.
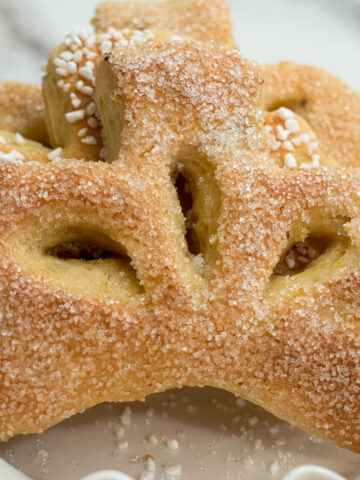
A good example of cut out cookies on my blog is the Tropical Shortbread Cookies. I have since used the frozen cookie method of transferring them to the baking sheets.
If you have never used this technique, I hope you do. If you have used parchement before, I encourage you to try wax paper. I think you will find it much easier.


 There's a
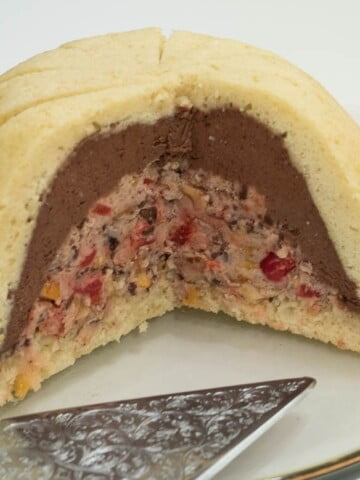
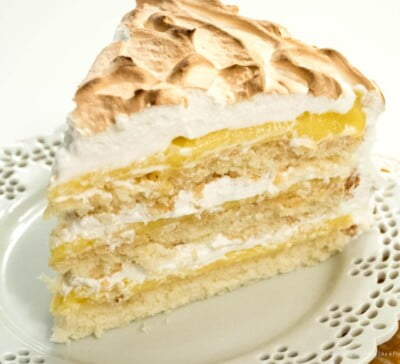
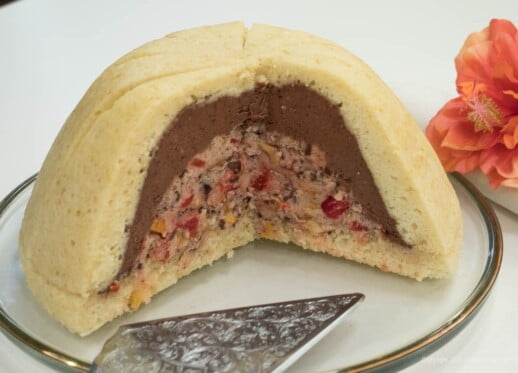 Zuccotto has everything going for it so I'm not sure why it isn't up there in the ranks of famous Italian desserts. But I have rarely come across it. Not exactly a cake, although it includes sponge cake, not exactly not a cake so we'll settle on dessert.
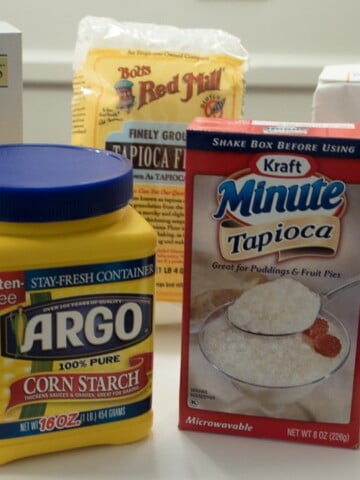
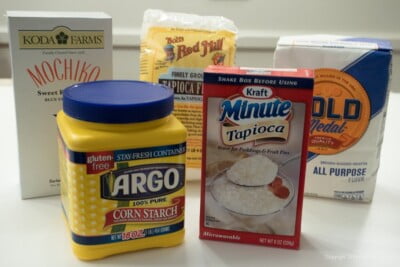
 Different types of corn flour are increasingly being found in markets and in recipes. They can be confusing and often people substitute one for the other which sometimes works, sometimes doesn't.
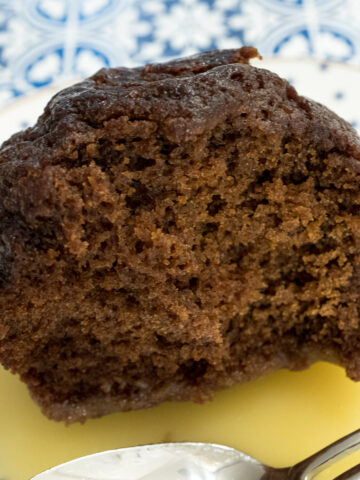


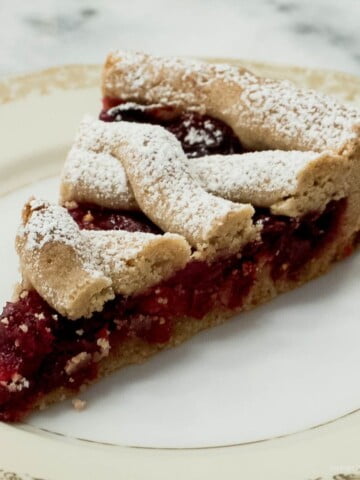
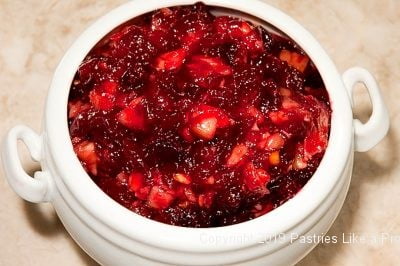
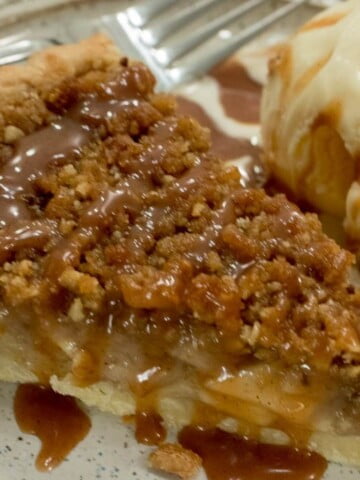
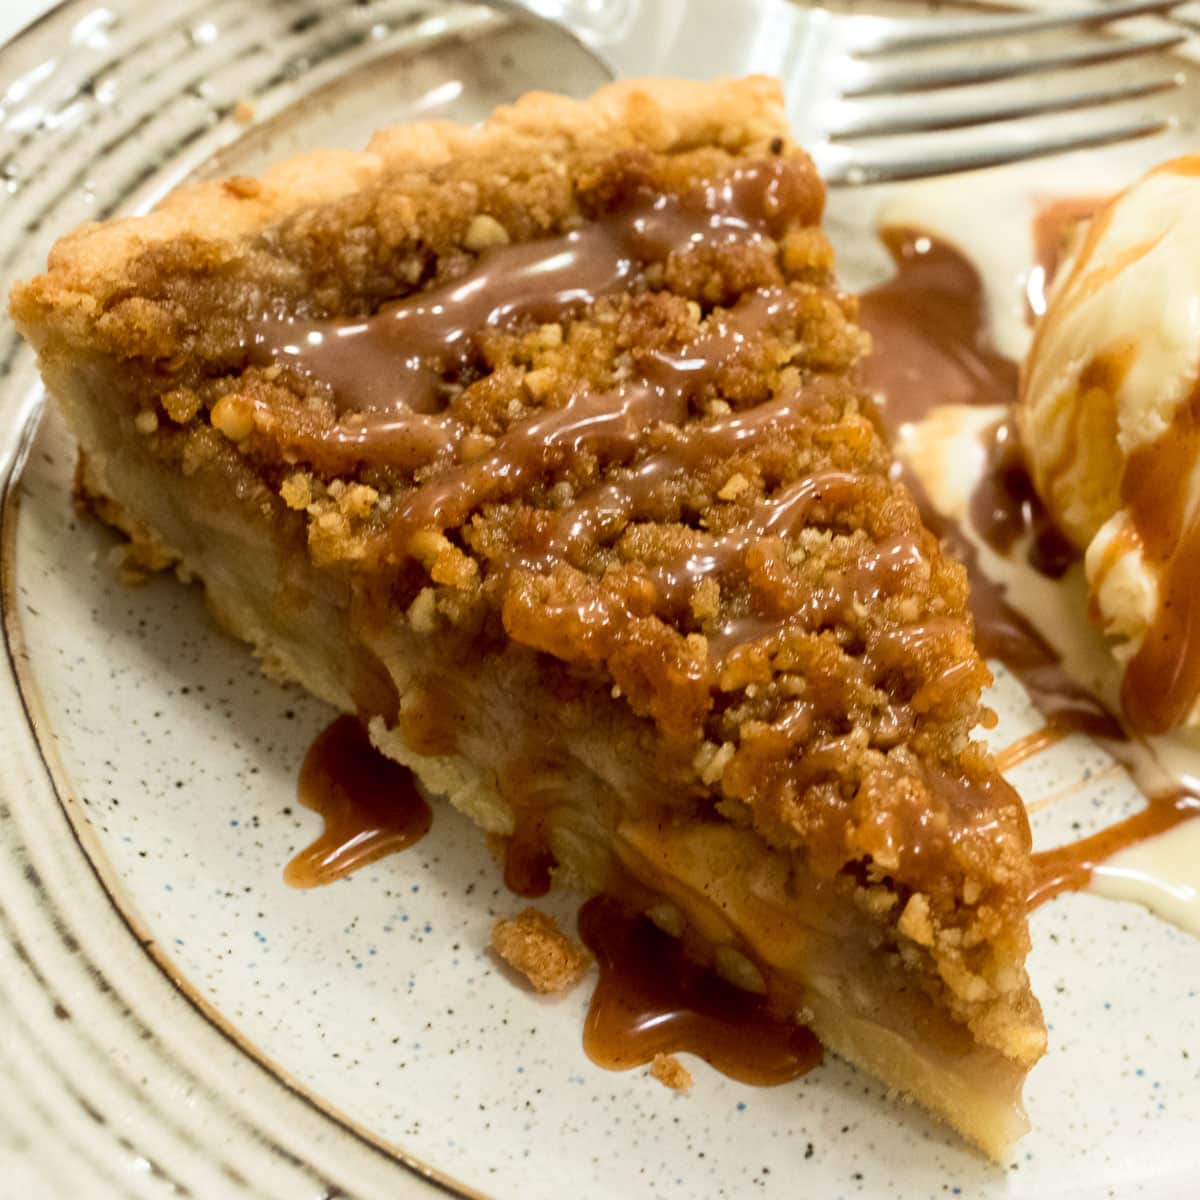
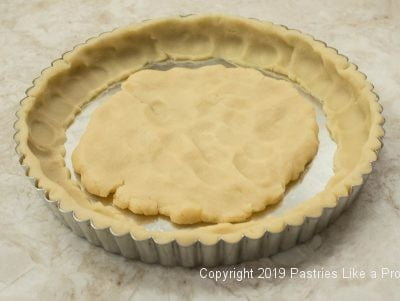
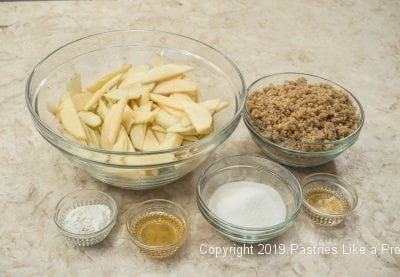
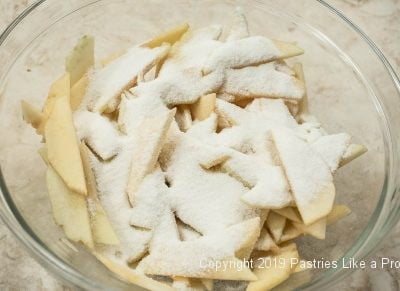
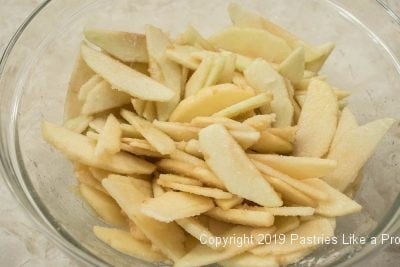
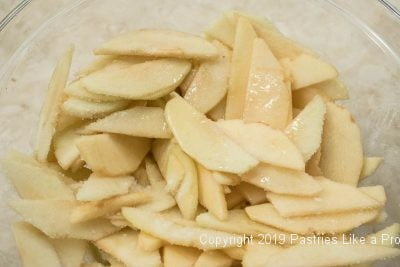
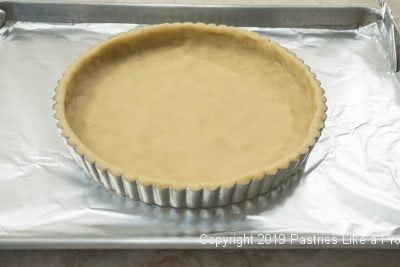
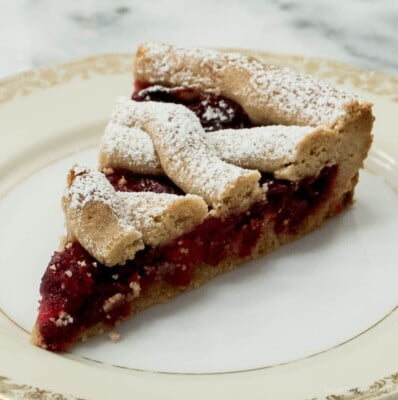 Cranberry Linzer Tart with its bright deep red, vibrant, cranberry filling is a variation of the Viennese Linzer Tart with raspberry filling. The spiced Linzer pastry is a perfect partner with the cranberries. It is best made ahead so the flavors can blend making this a natural for the holiday season. It can also be baked and frozen until needed.

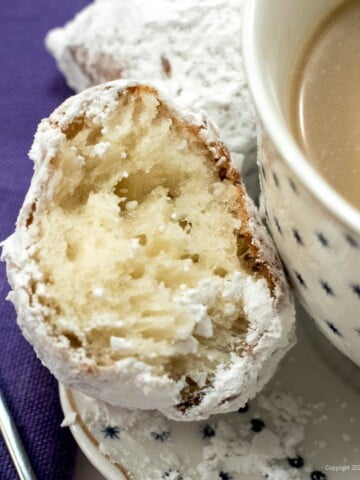
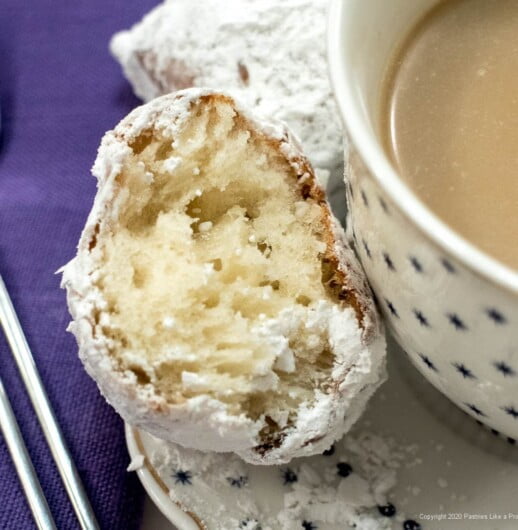
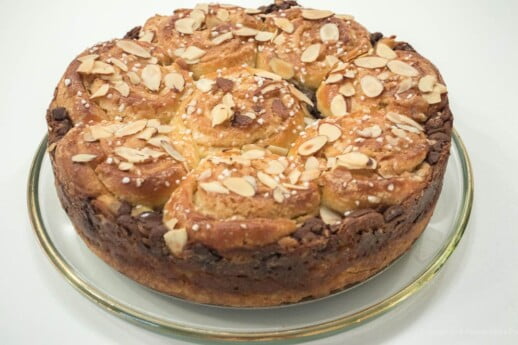
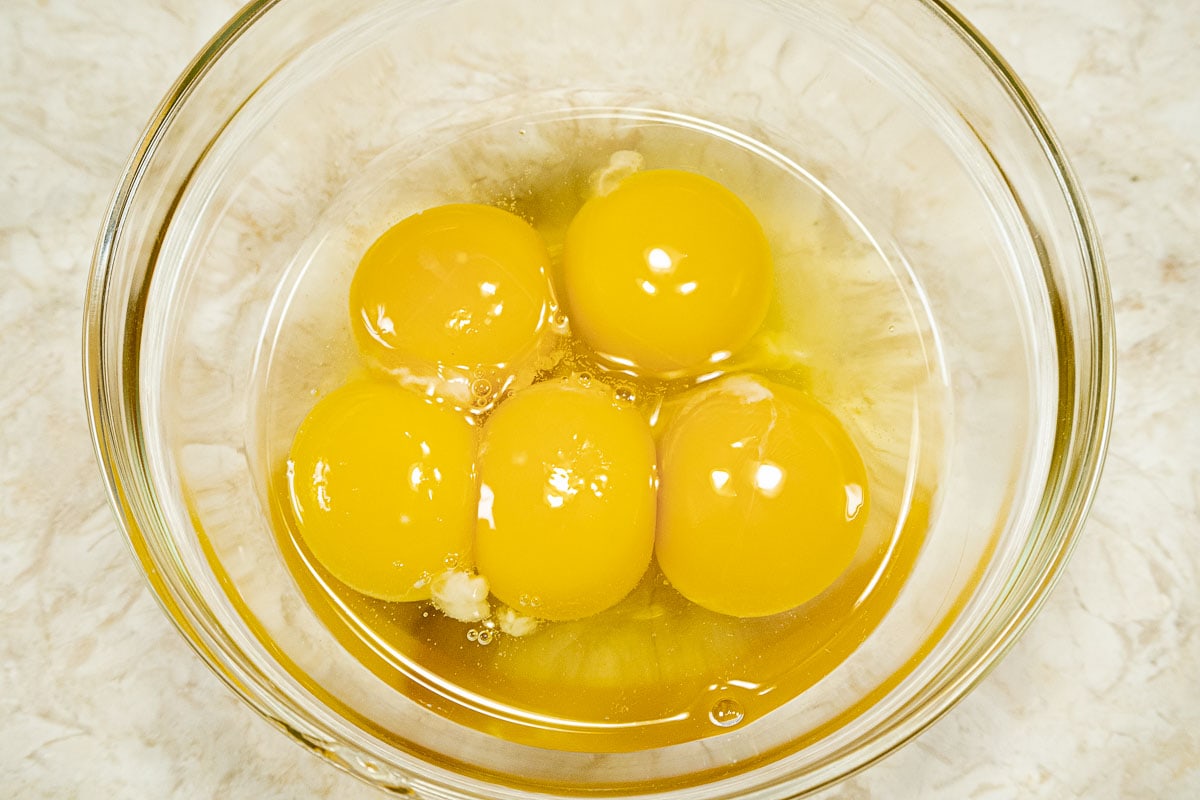
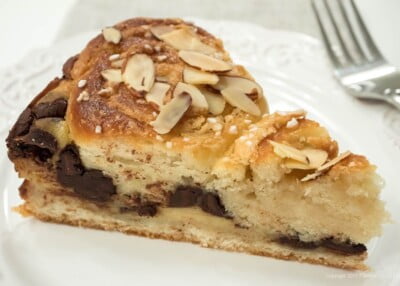 As promised, here is the Danish Butter Cake. This is good any time of the day from breakfast as a coffeecake, to evening as a dessert or, if you're like us, any time of the day. How can you possibly go wrong with almond filling, pastry cream, remonce, and chocolate? If you are not fond of almond paste, omit it from the remonce.
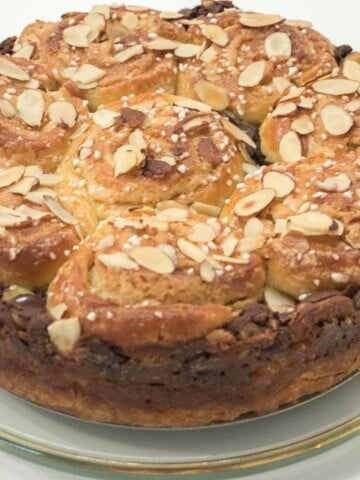
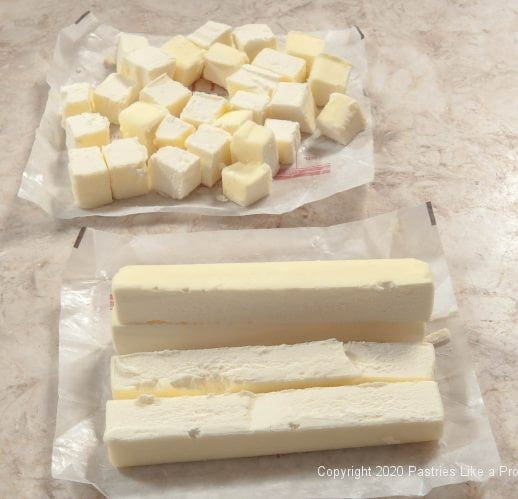
 Quick Danish Pastry dough is based on the same technique I found for making faster
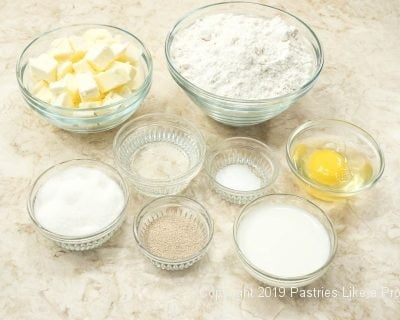
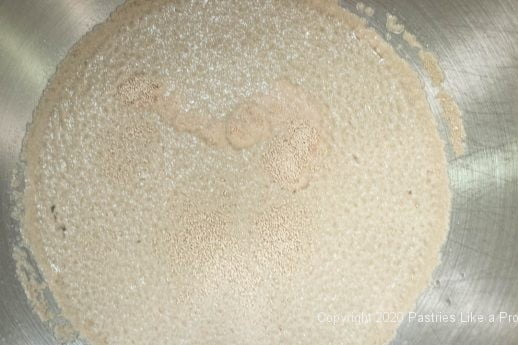
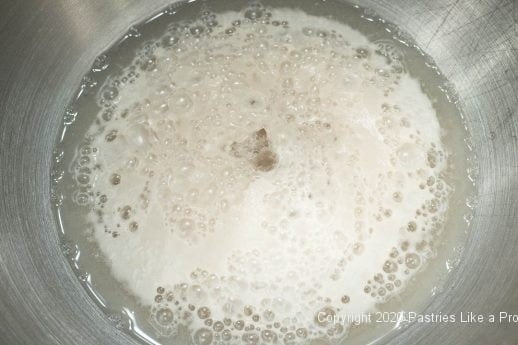
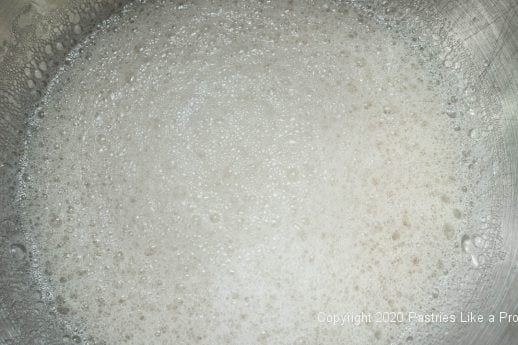
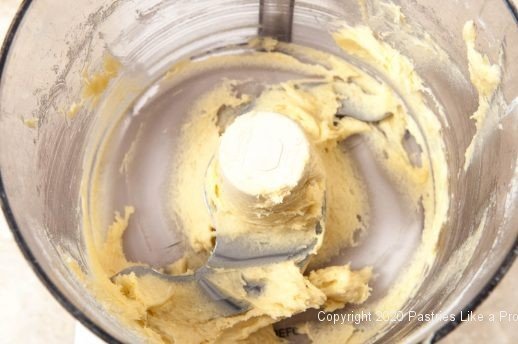
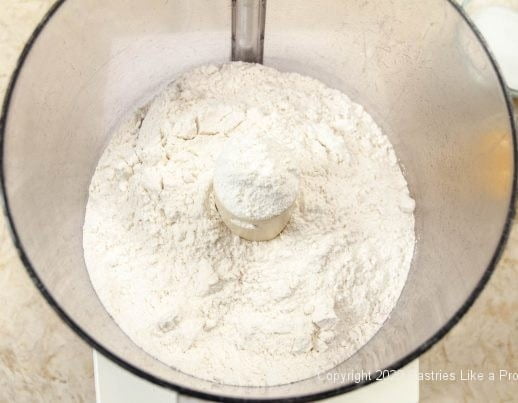
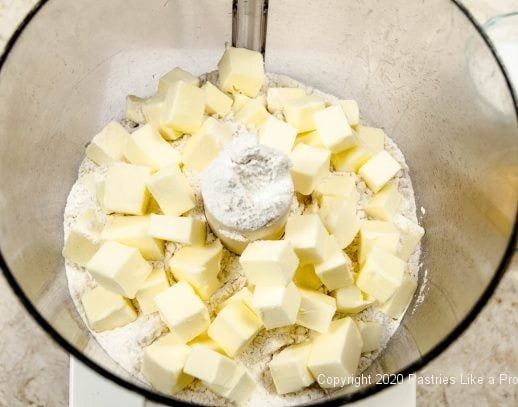
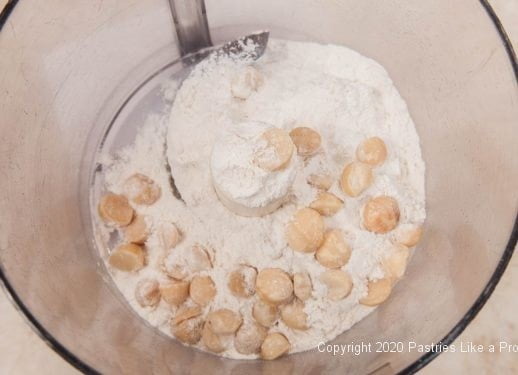
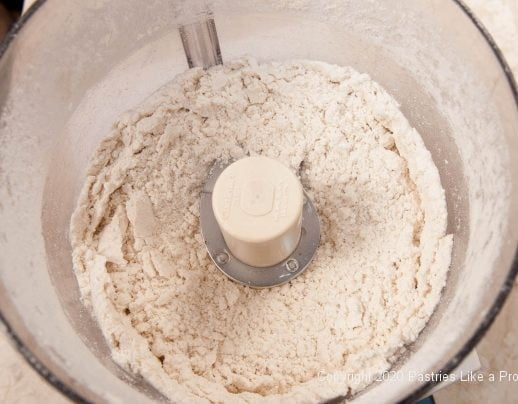
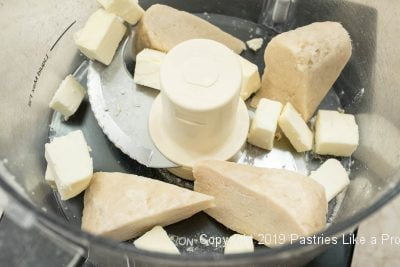
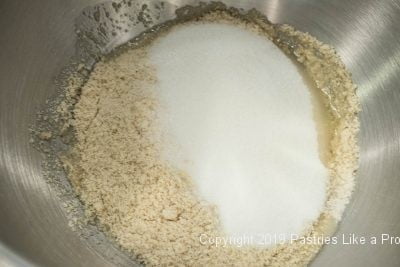
 Place the flour, sugar, yeast, and salt in the bowl of a processor. Process about 5 seconds to mix.
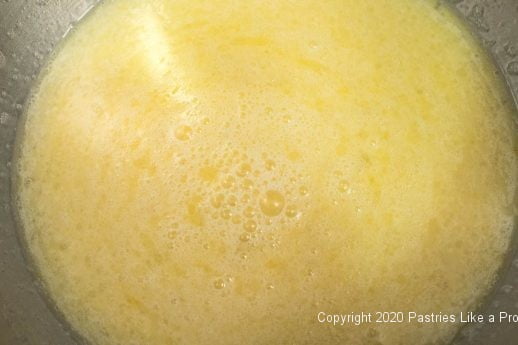
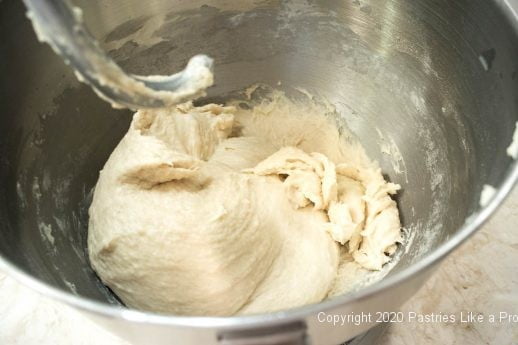
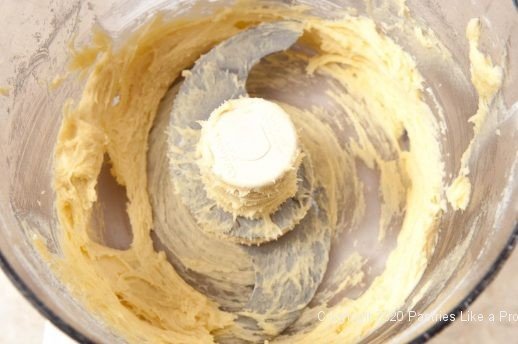
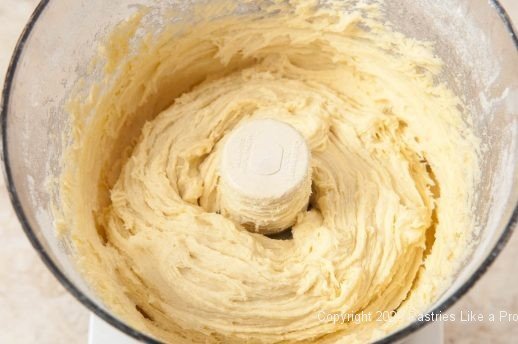
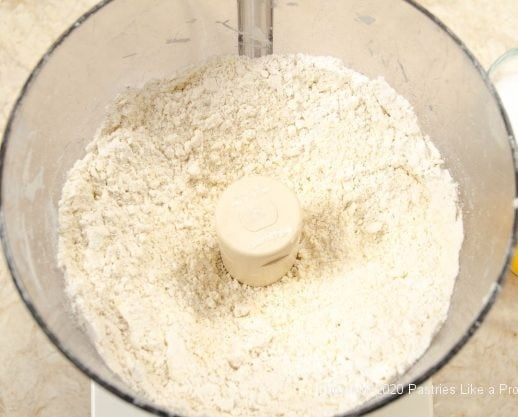
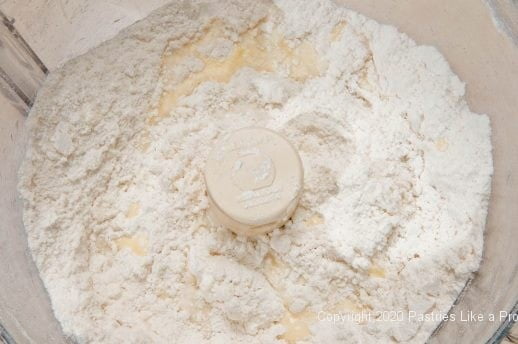
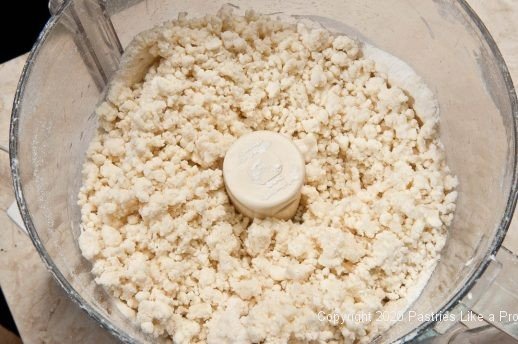
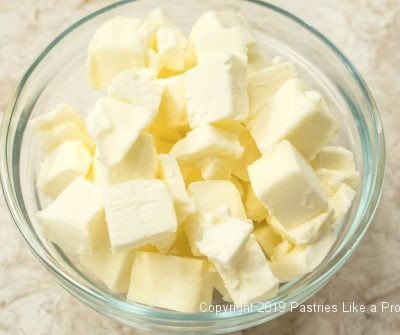
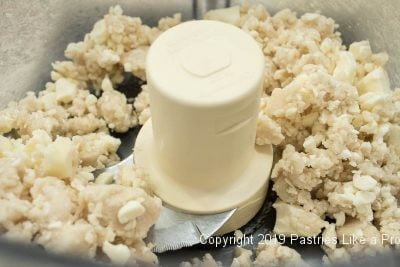
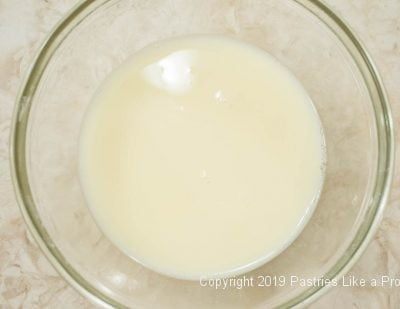 Pour it over the dry ingredients and process until the dough comes together into a ball.
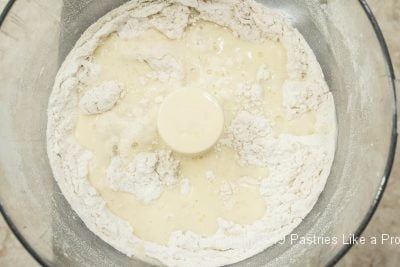

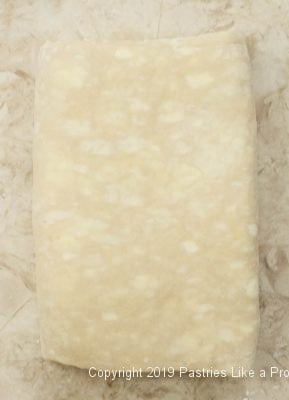
 Wrap in plastic wrap and freeze for about 2 hours or until it is frozen about an inch in from the edge. Do not freeze the entire disc.
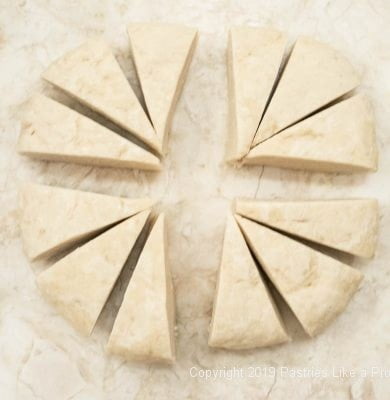
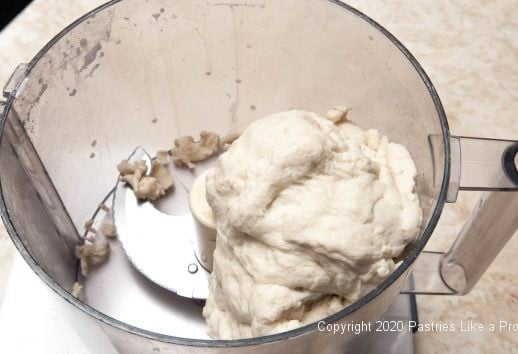
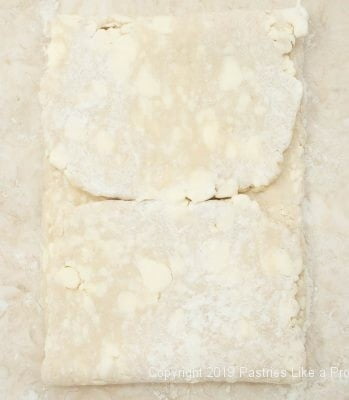
 Pour onto a work surface.
 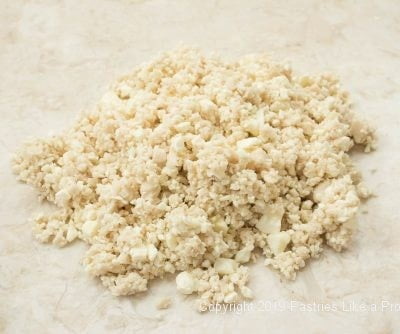 Repeat twice more with the remaining ingredients.
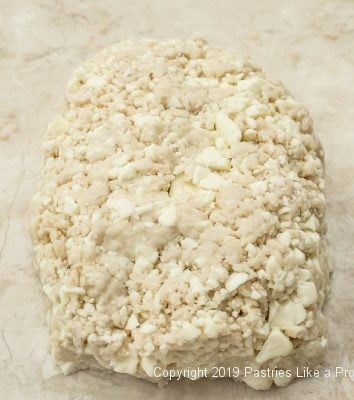

 Fold the top down make a book turn. The butter will look very ragged at this point. That's as it should be.
 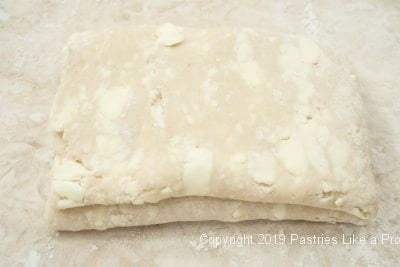 Turn the dough package 90° with the seam on your right.
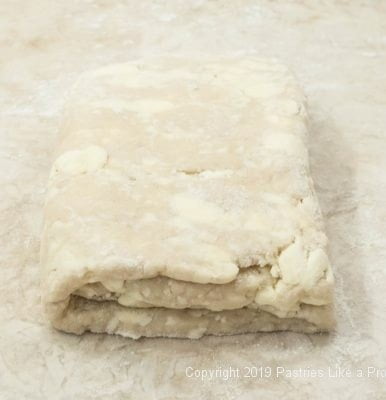


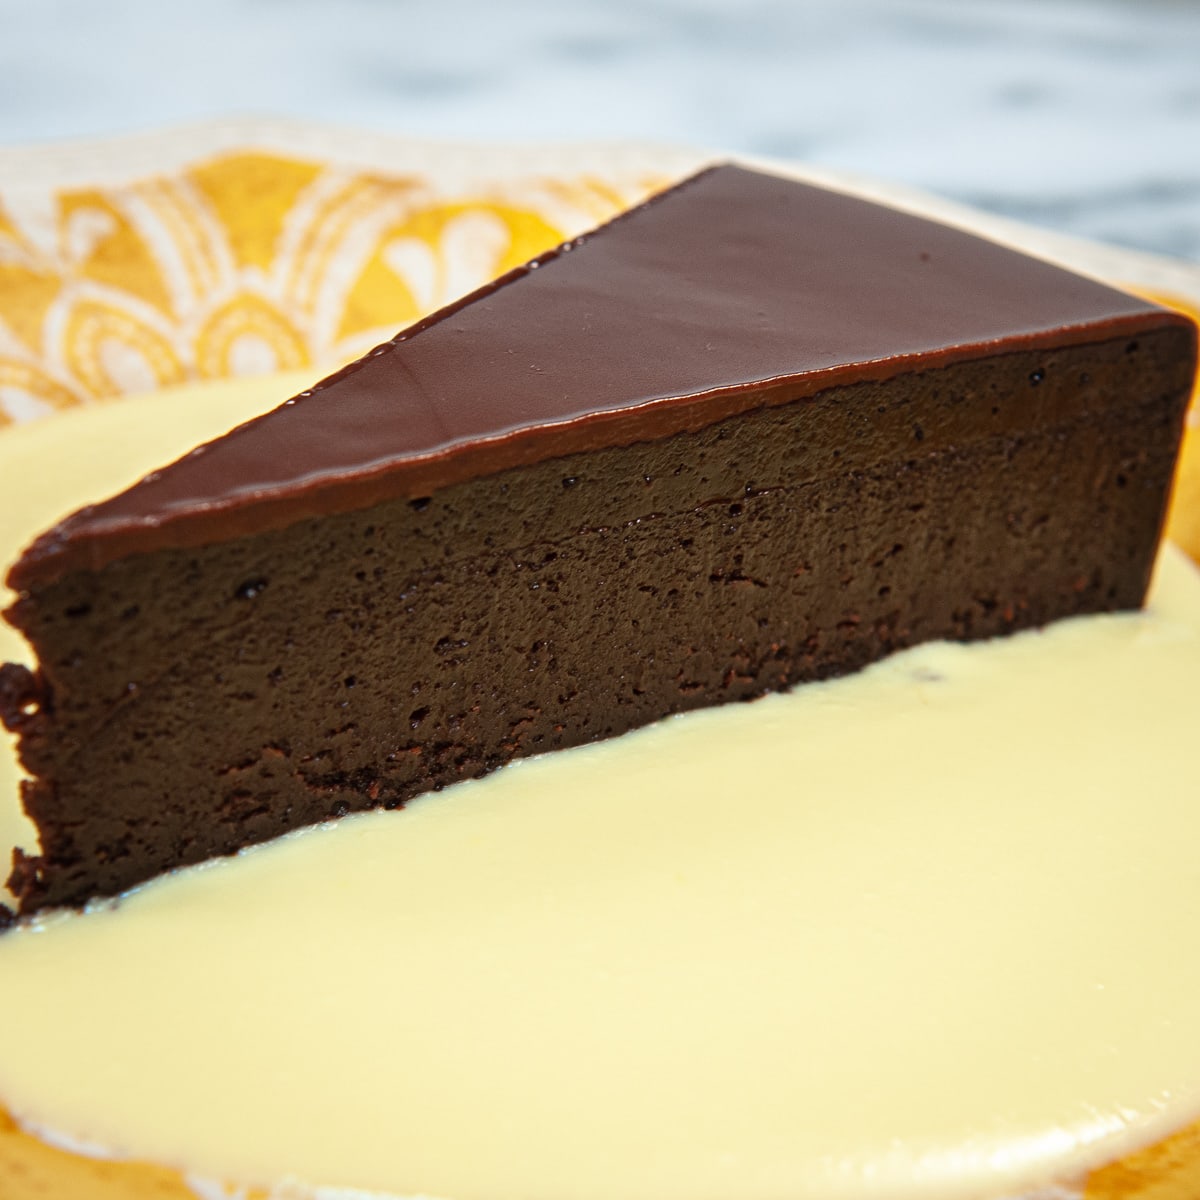


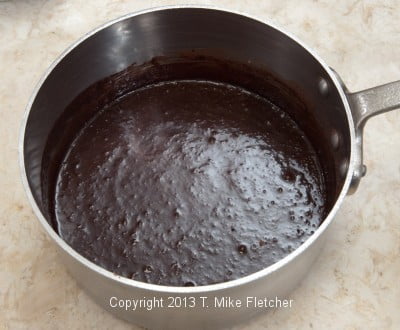
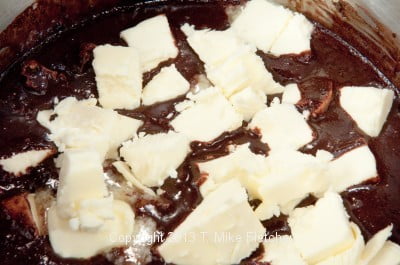
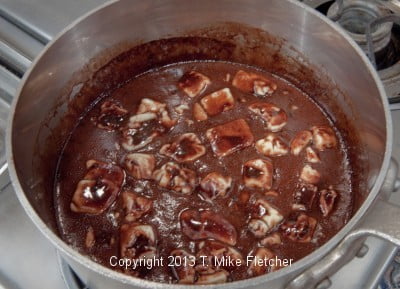
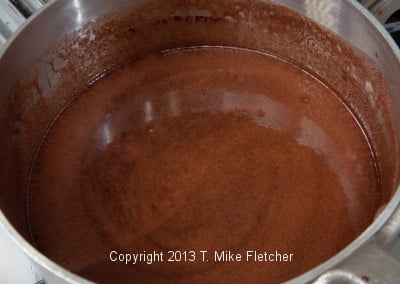
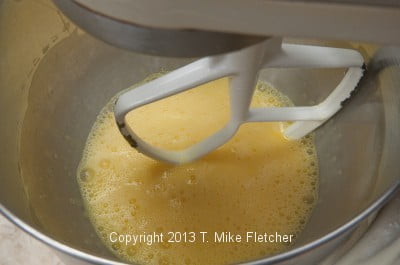

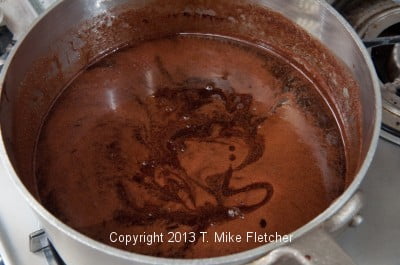
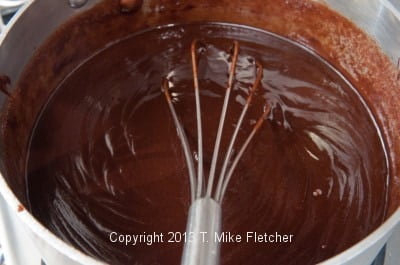
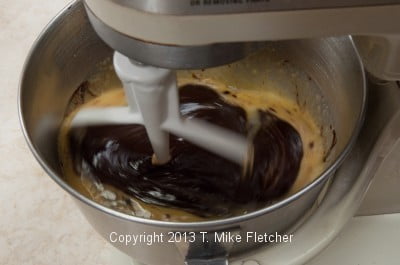
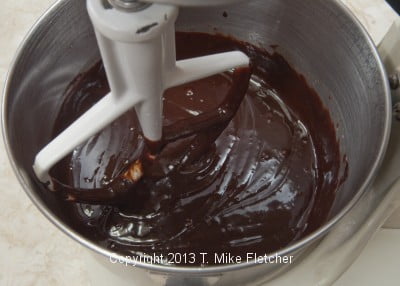
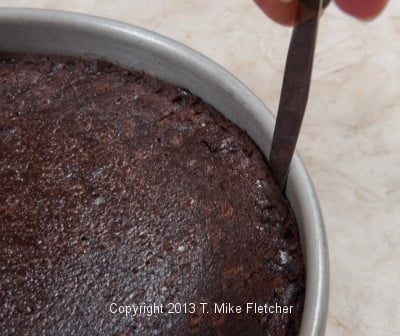
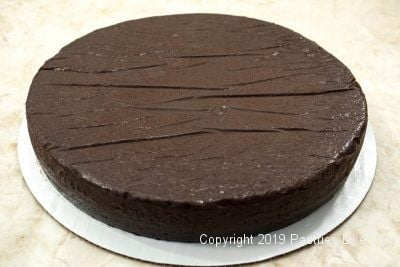
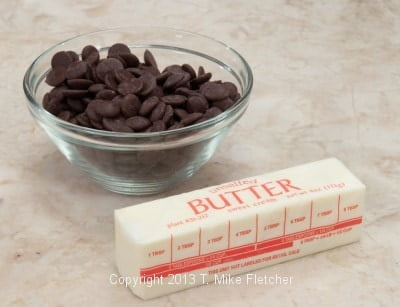
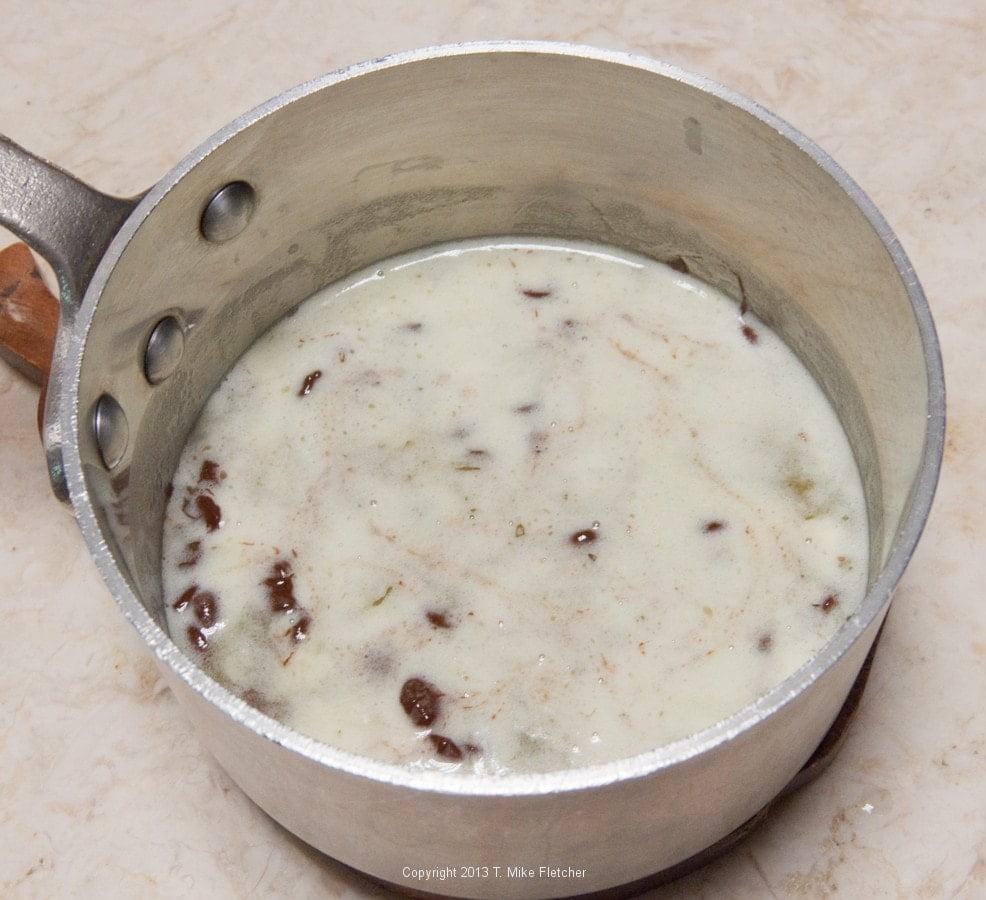
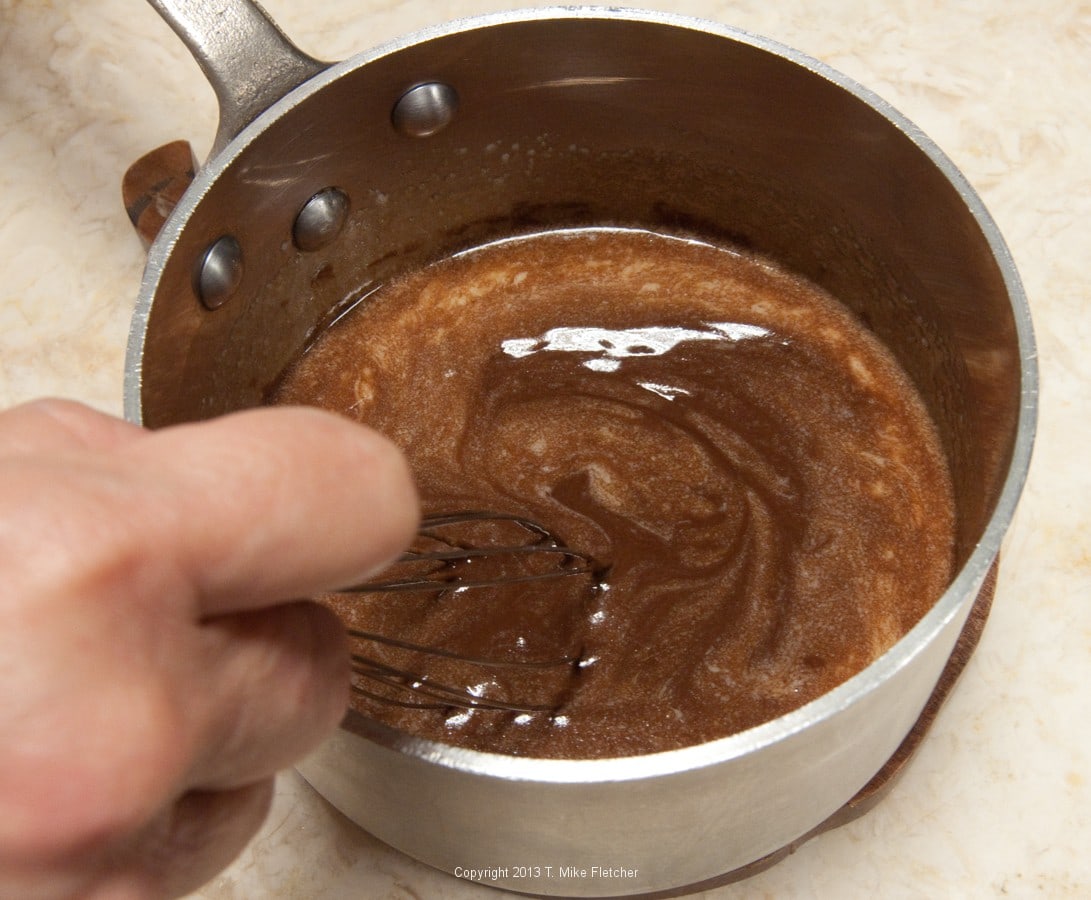
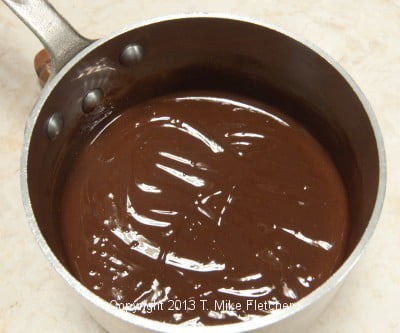
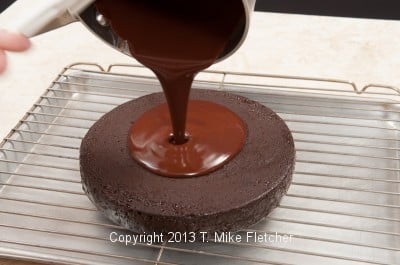
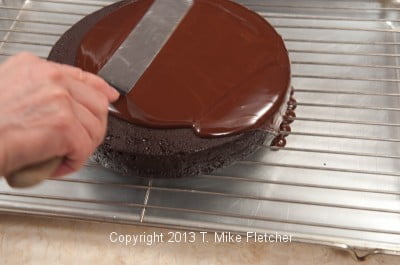


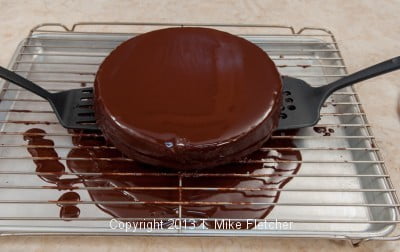
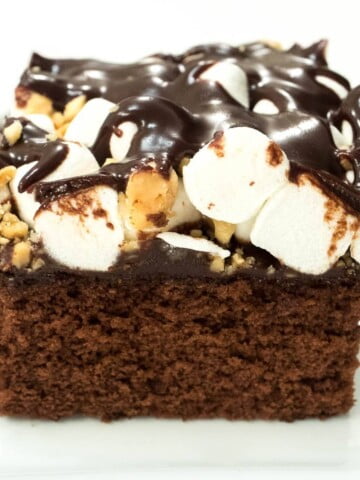
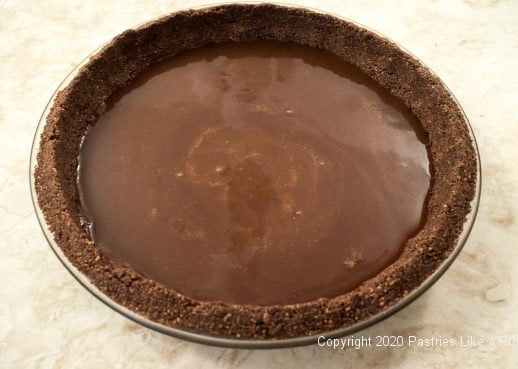
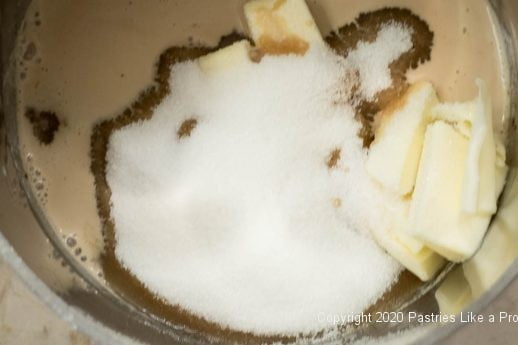
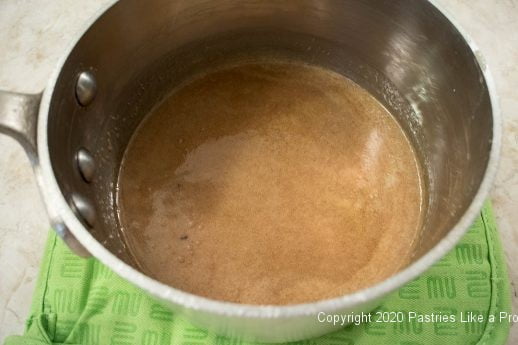
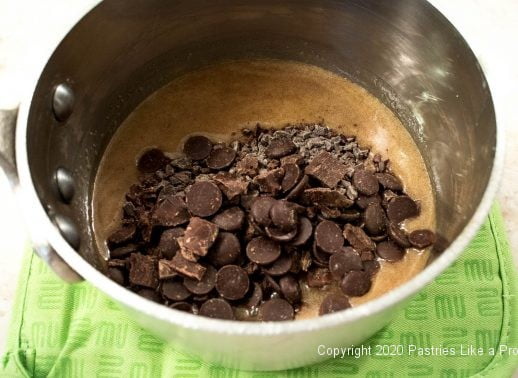
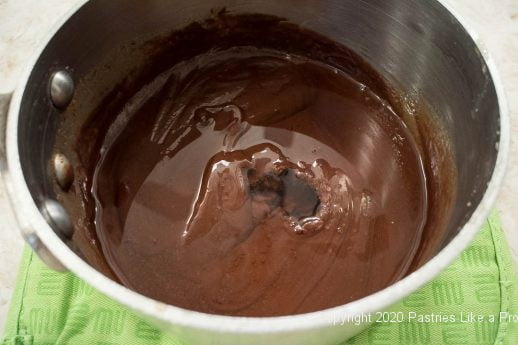
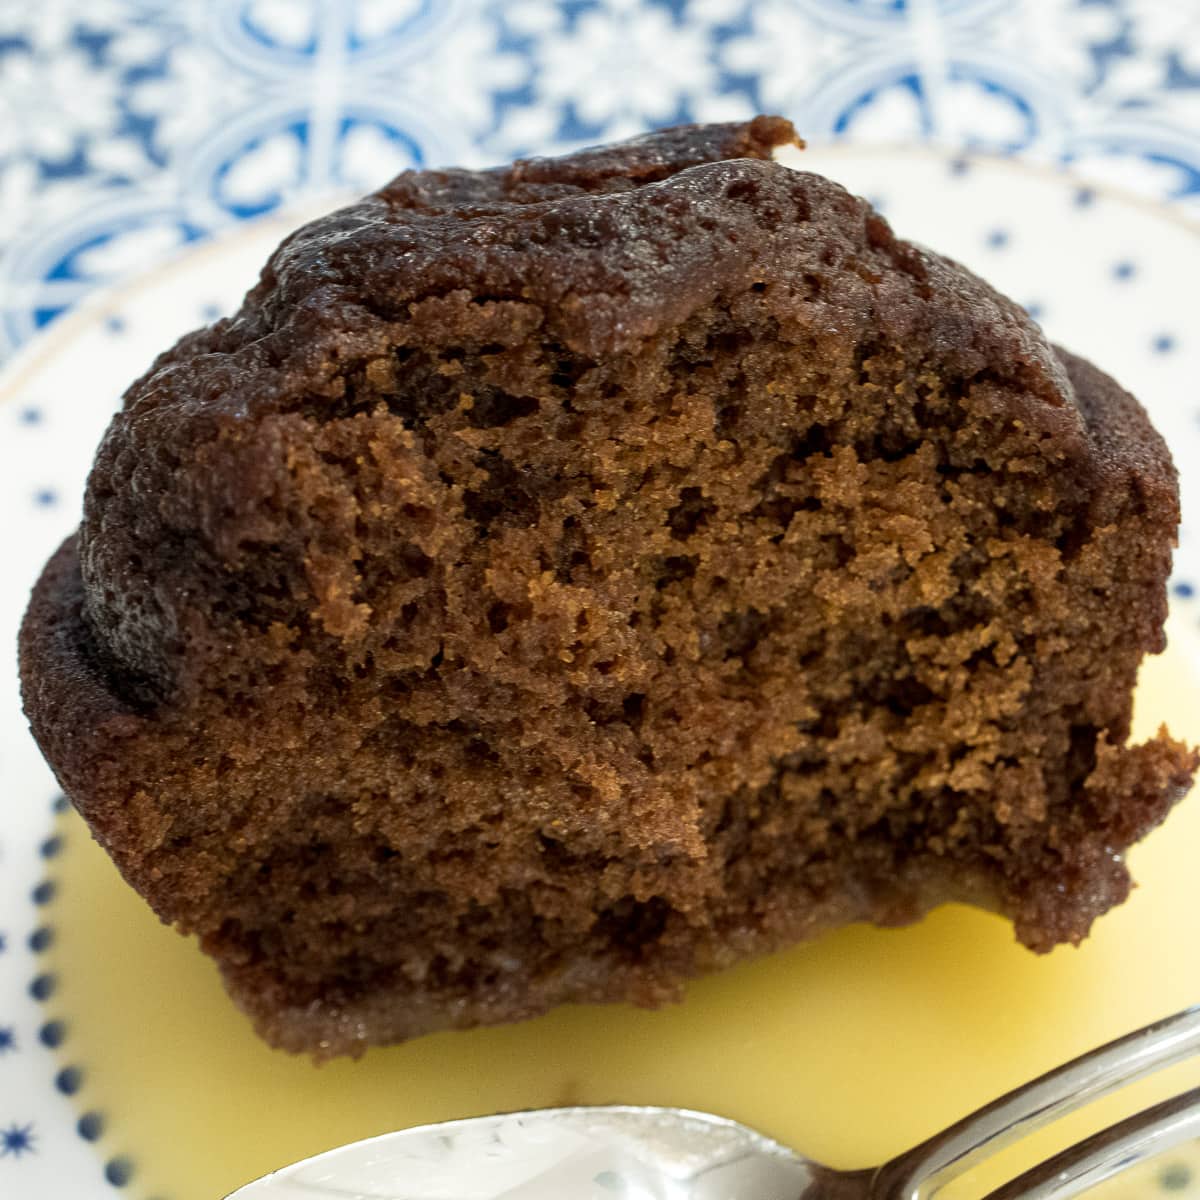
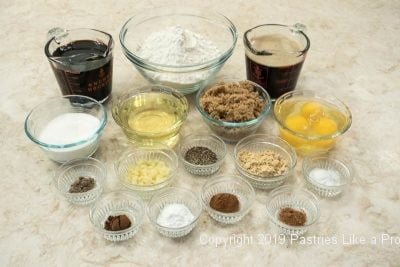
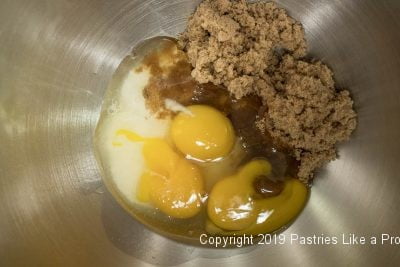
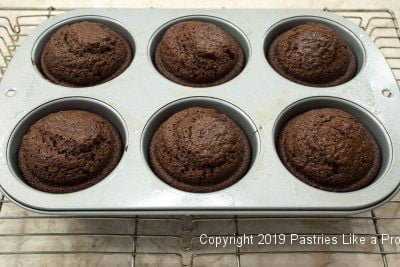
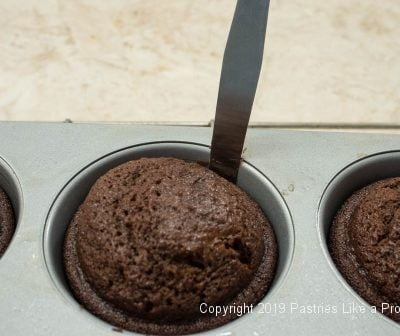
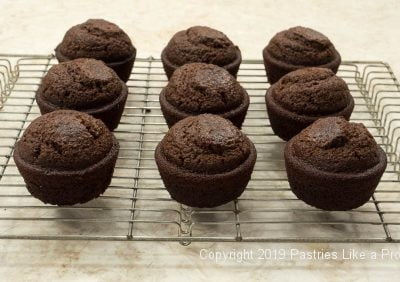
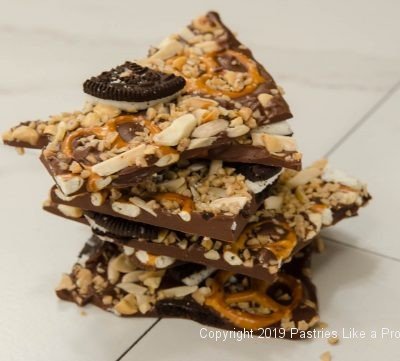
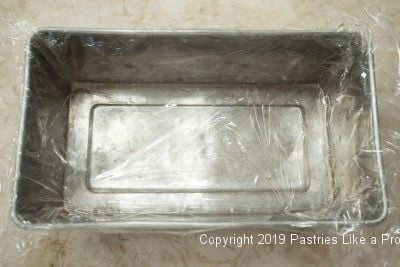
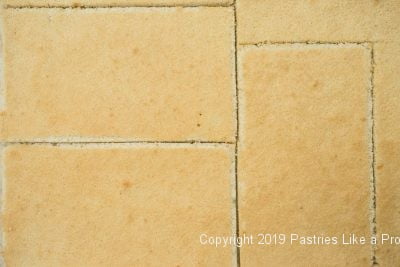
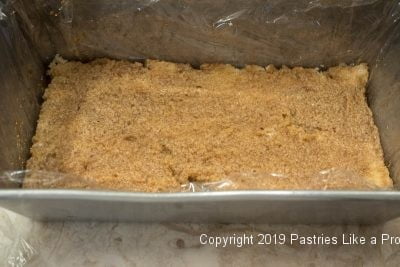
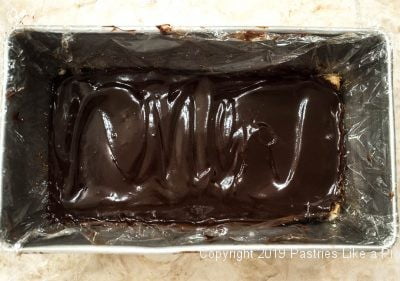
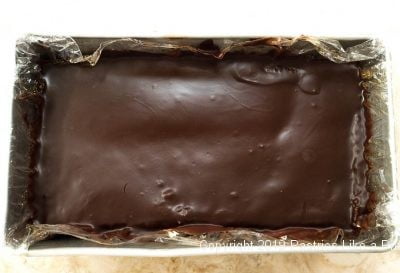
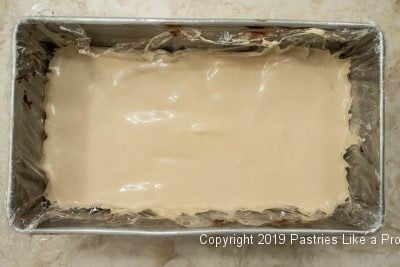
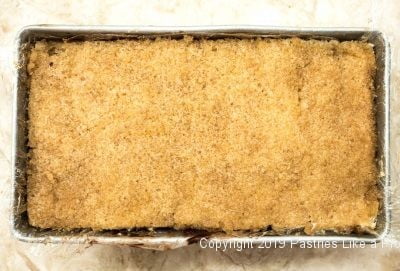
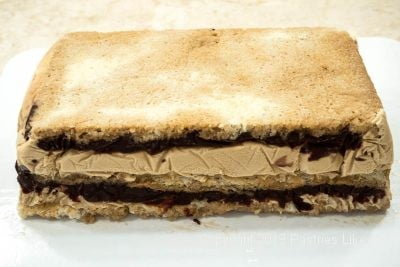
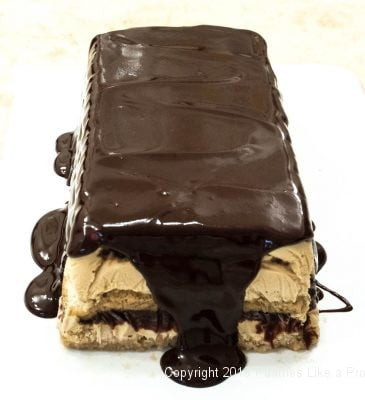
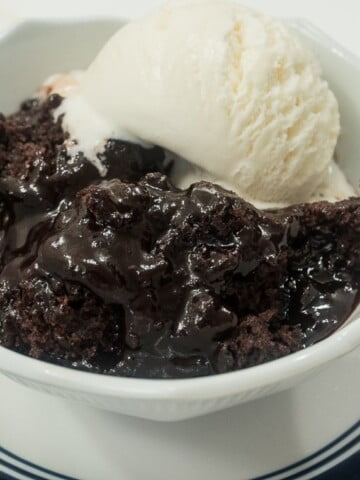
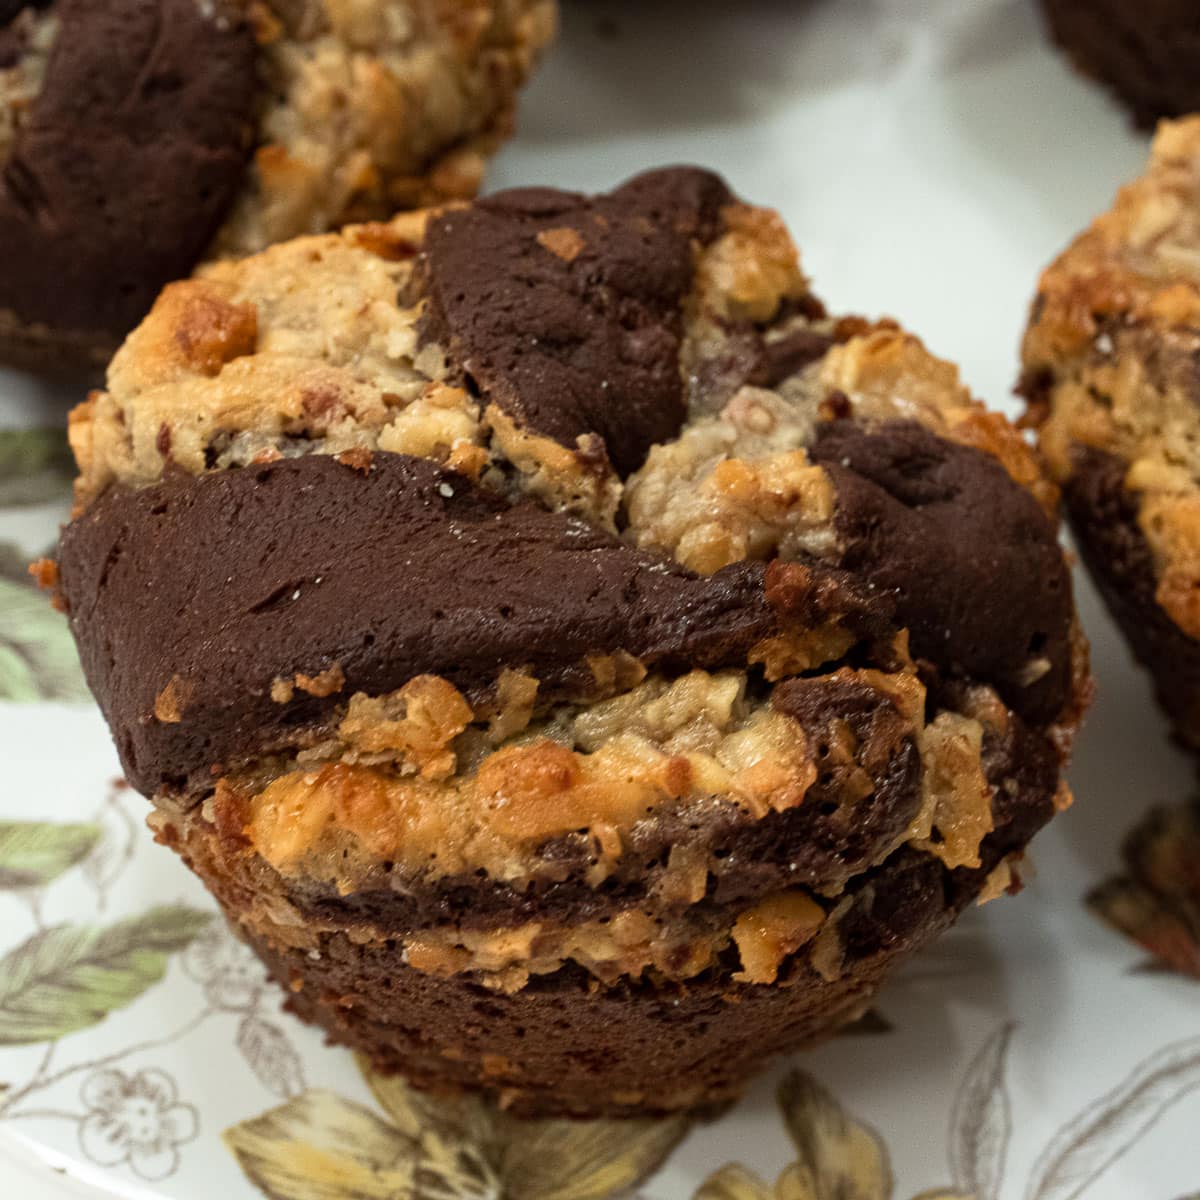
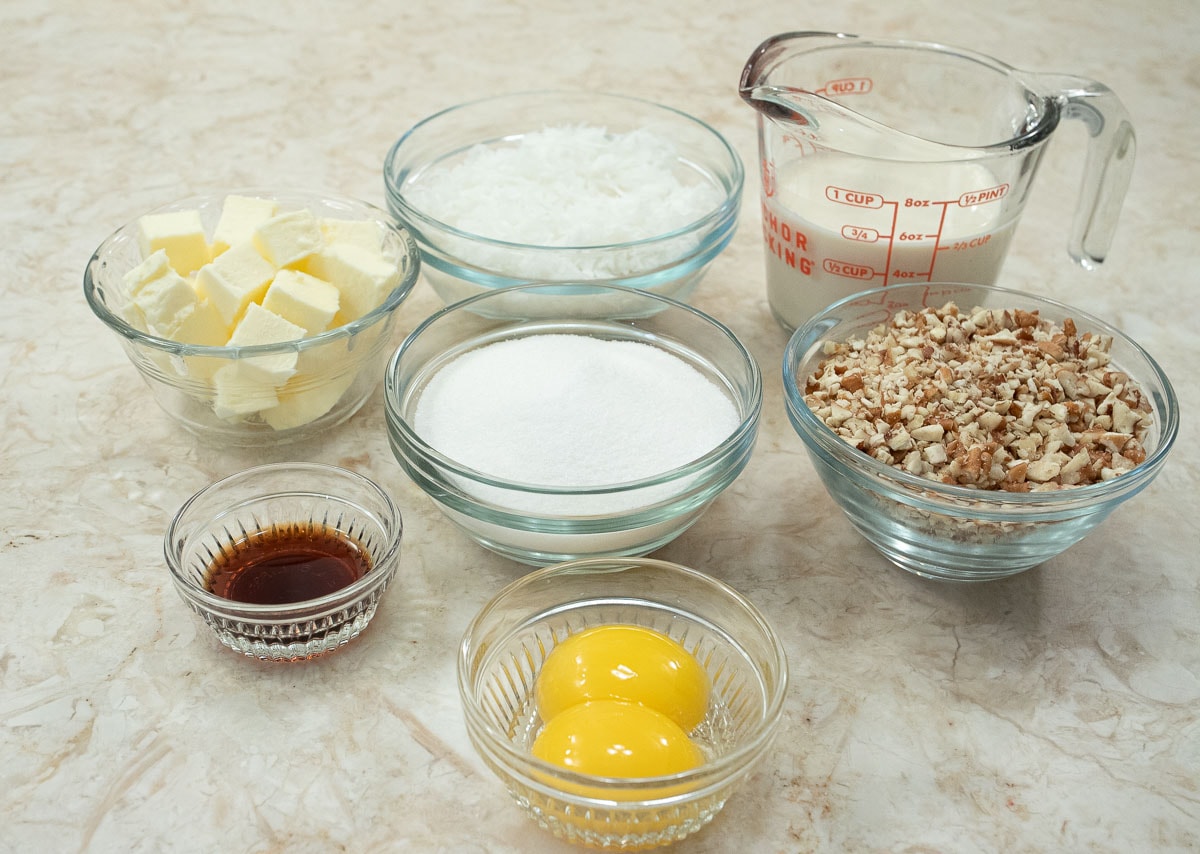
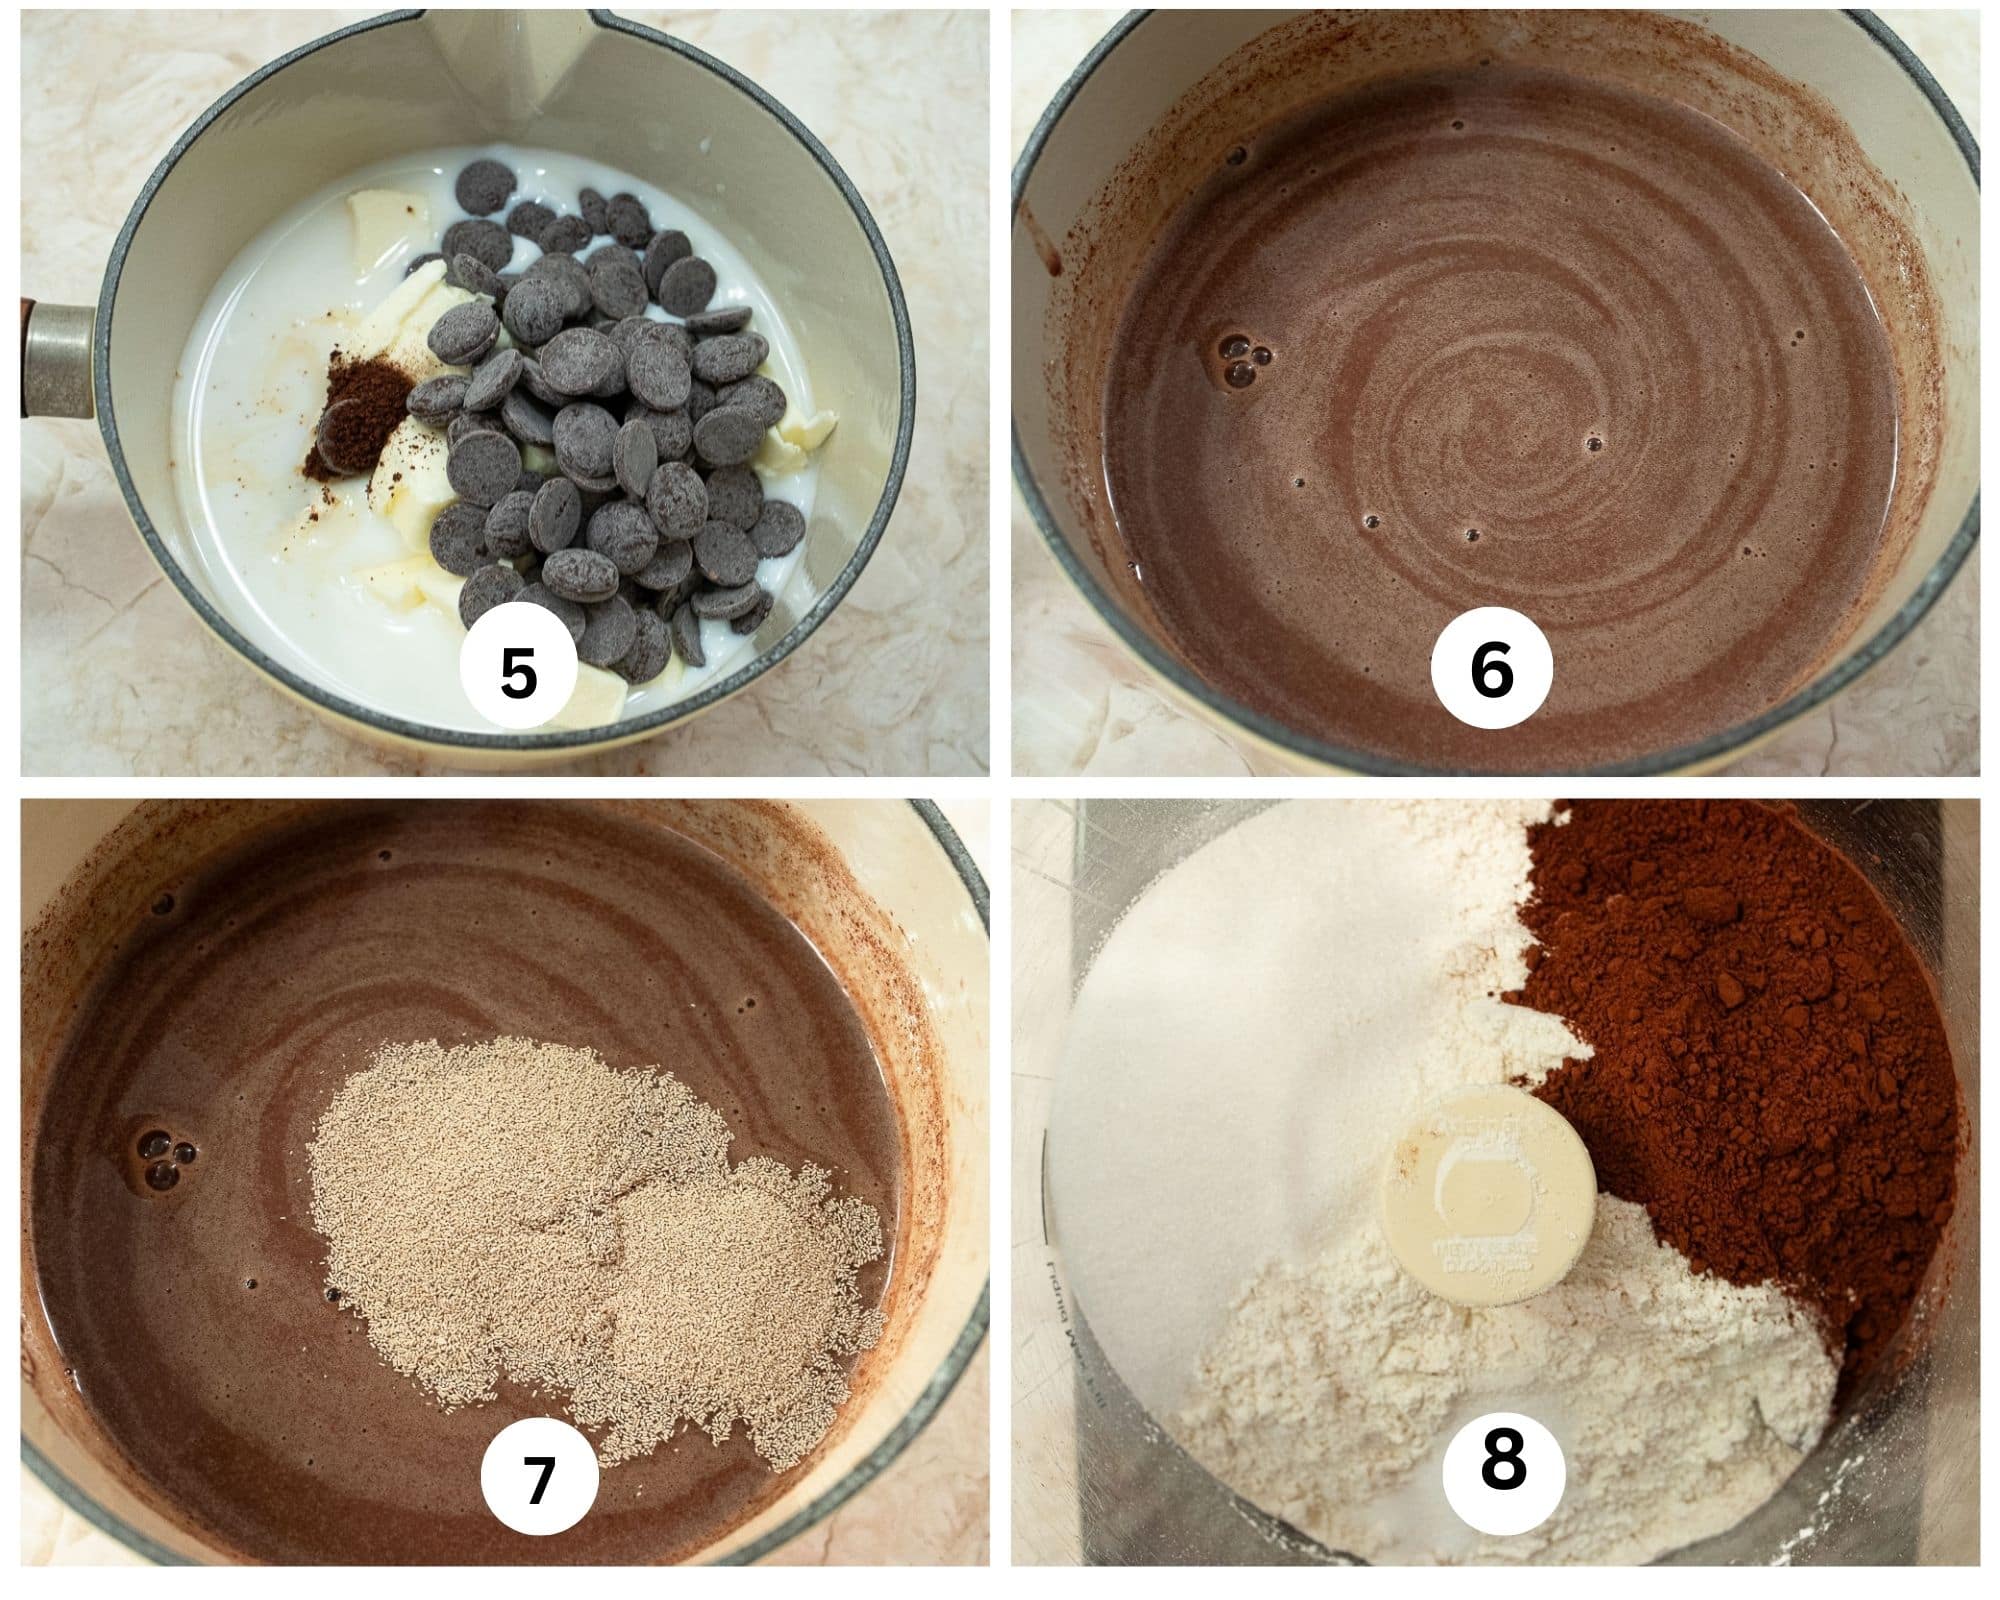
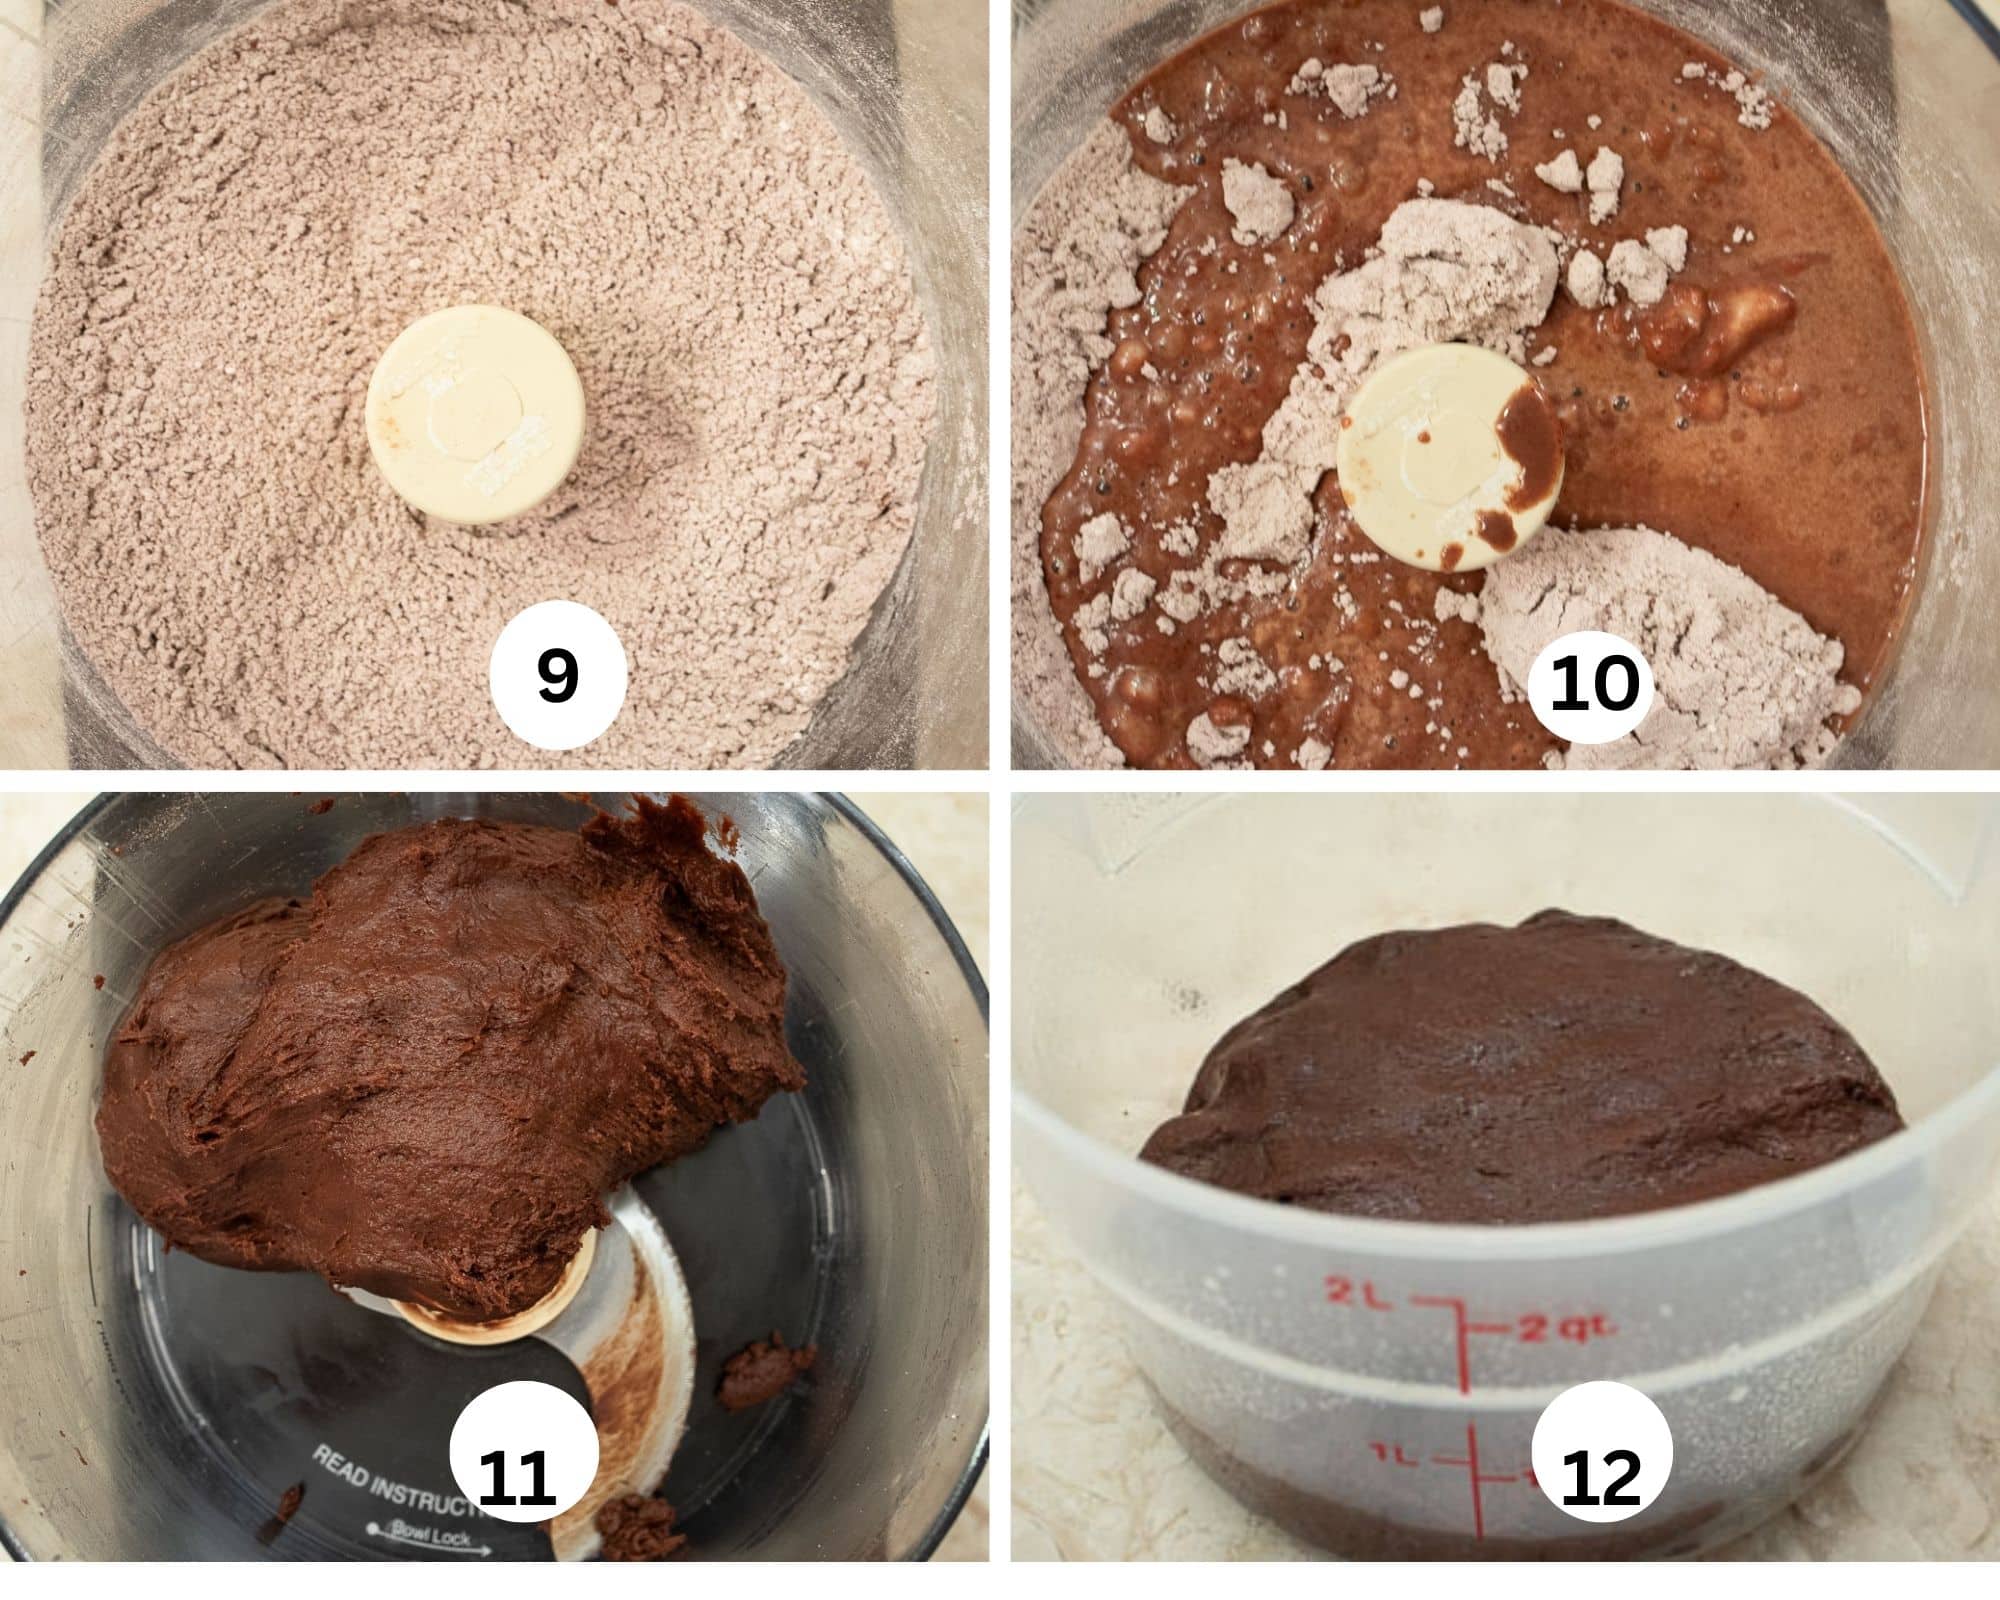
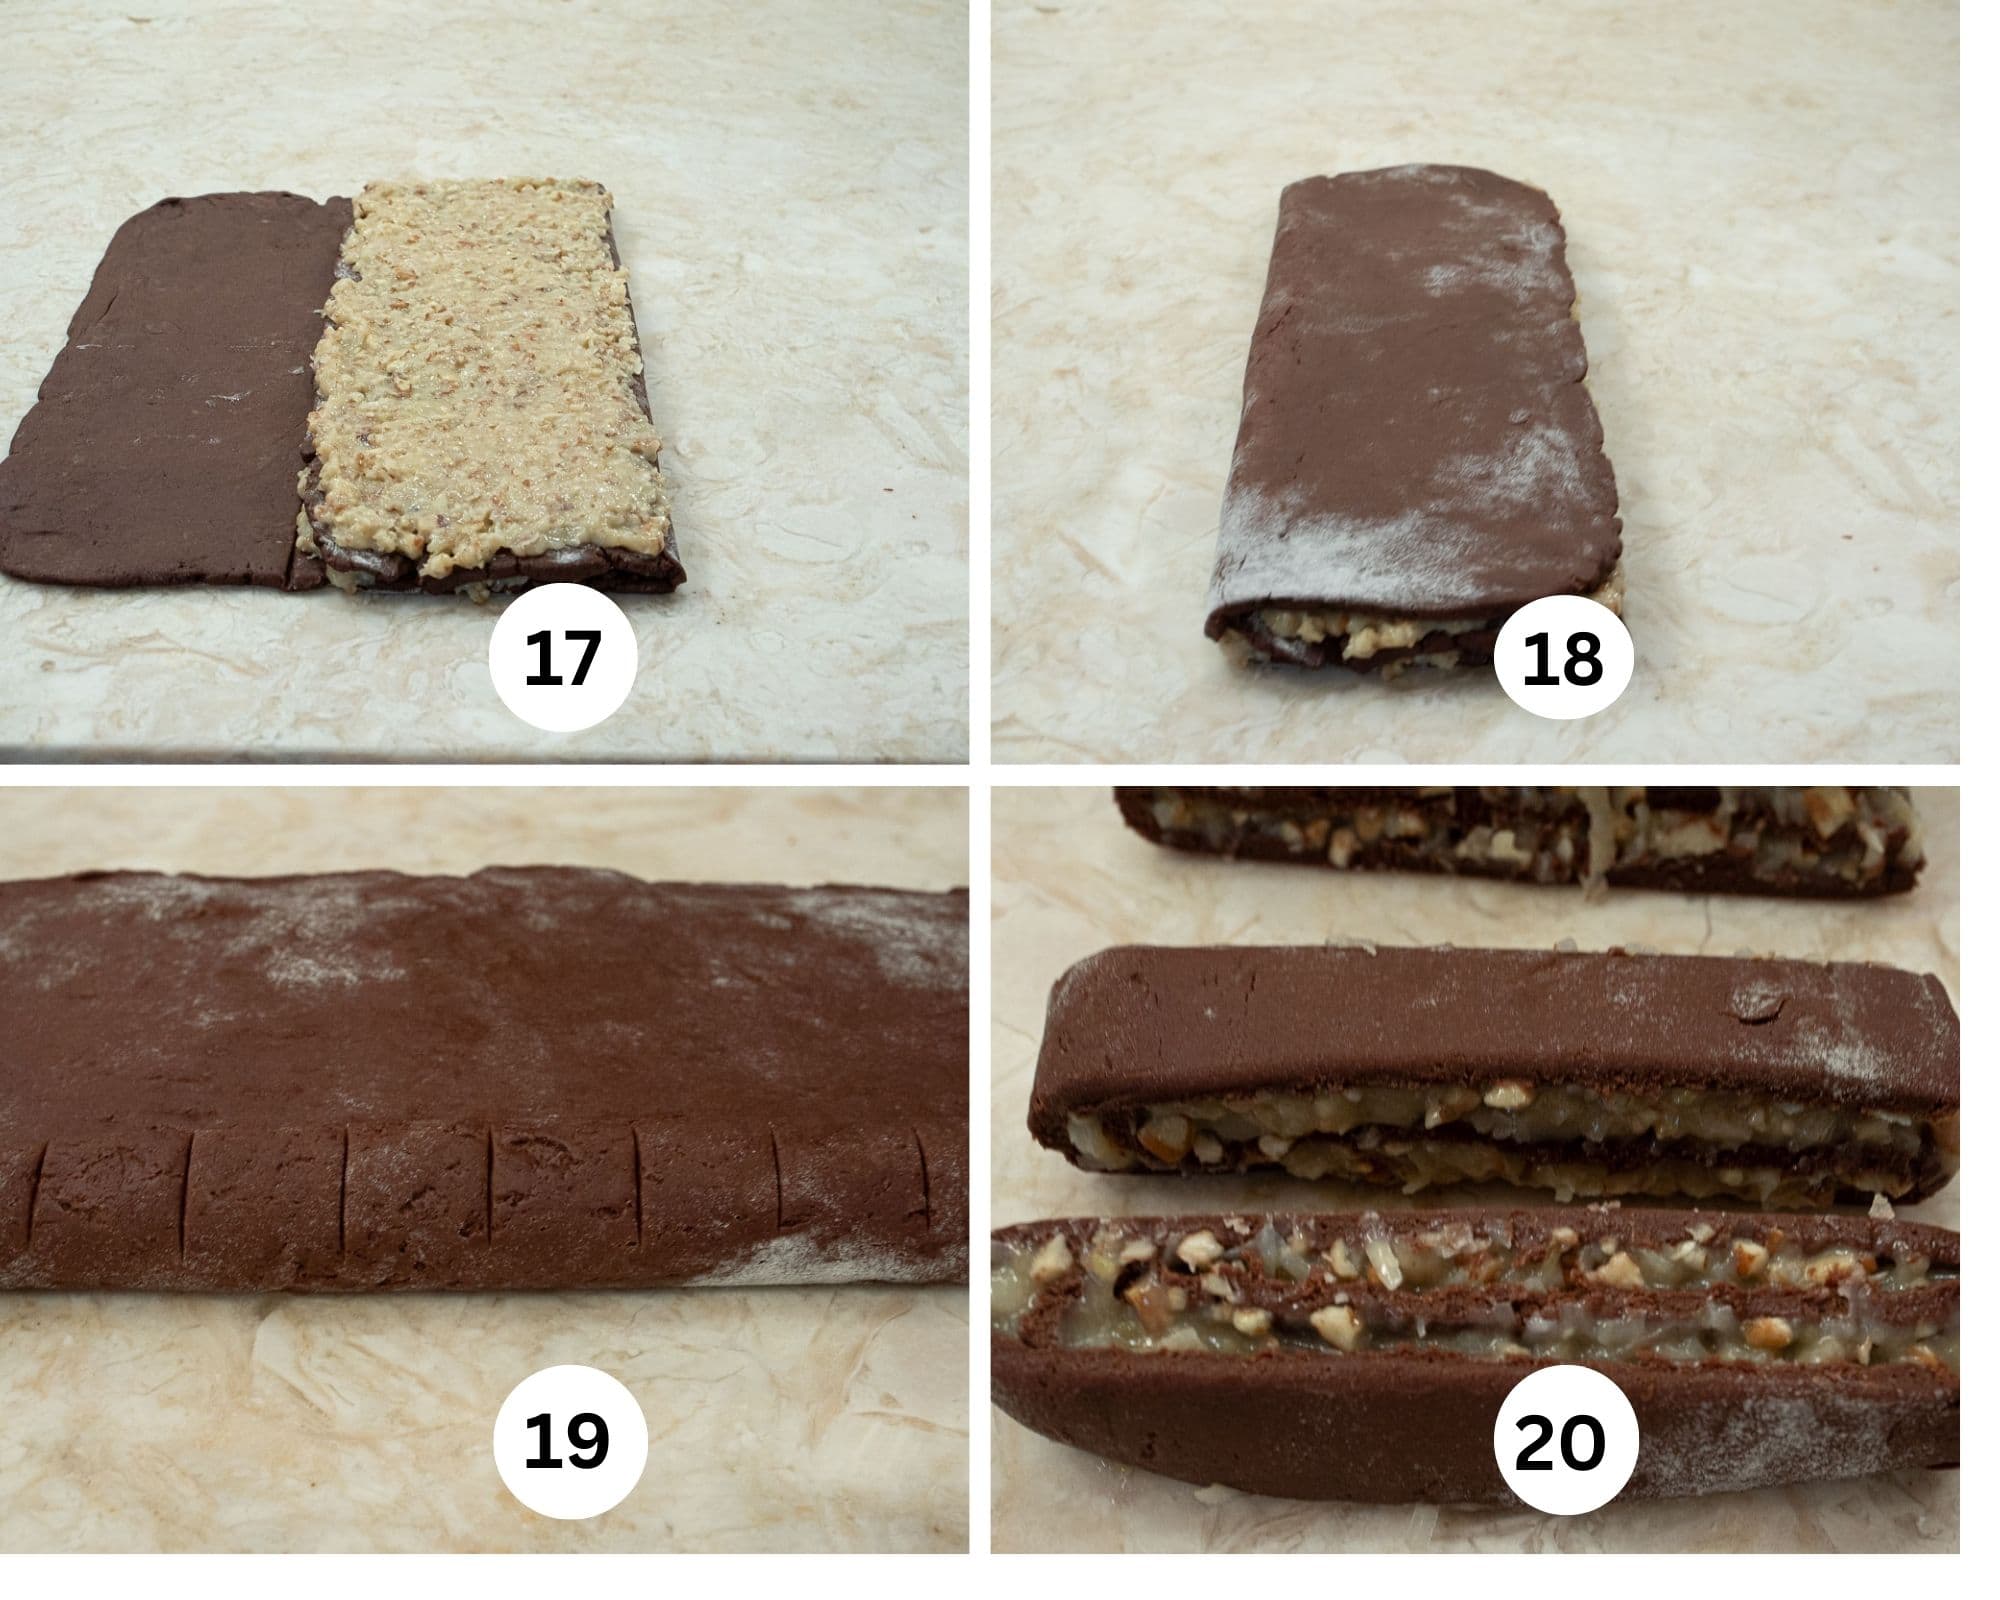
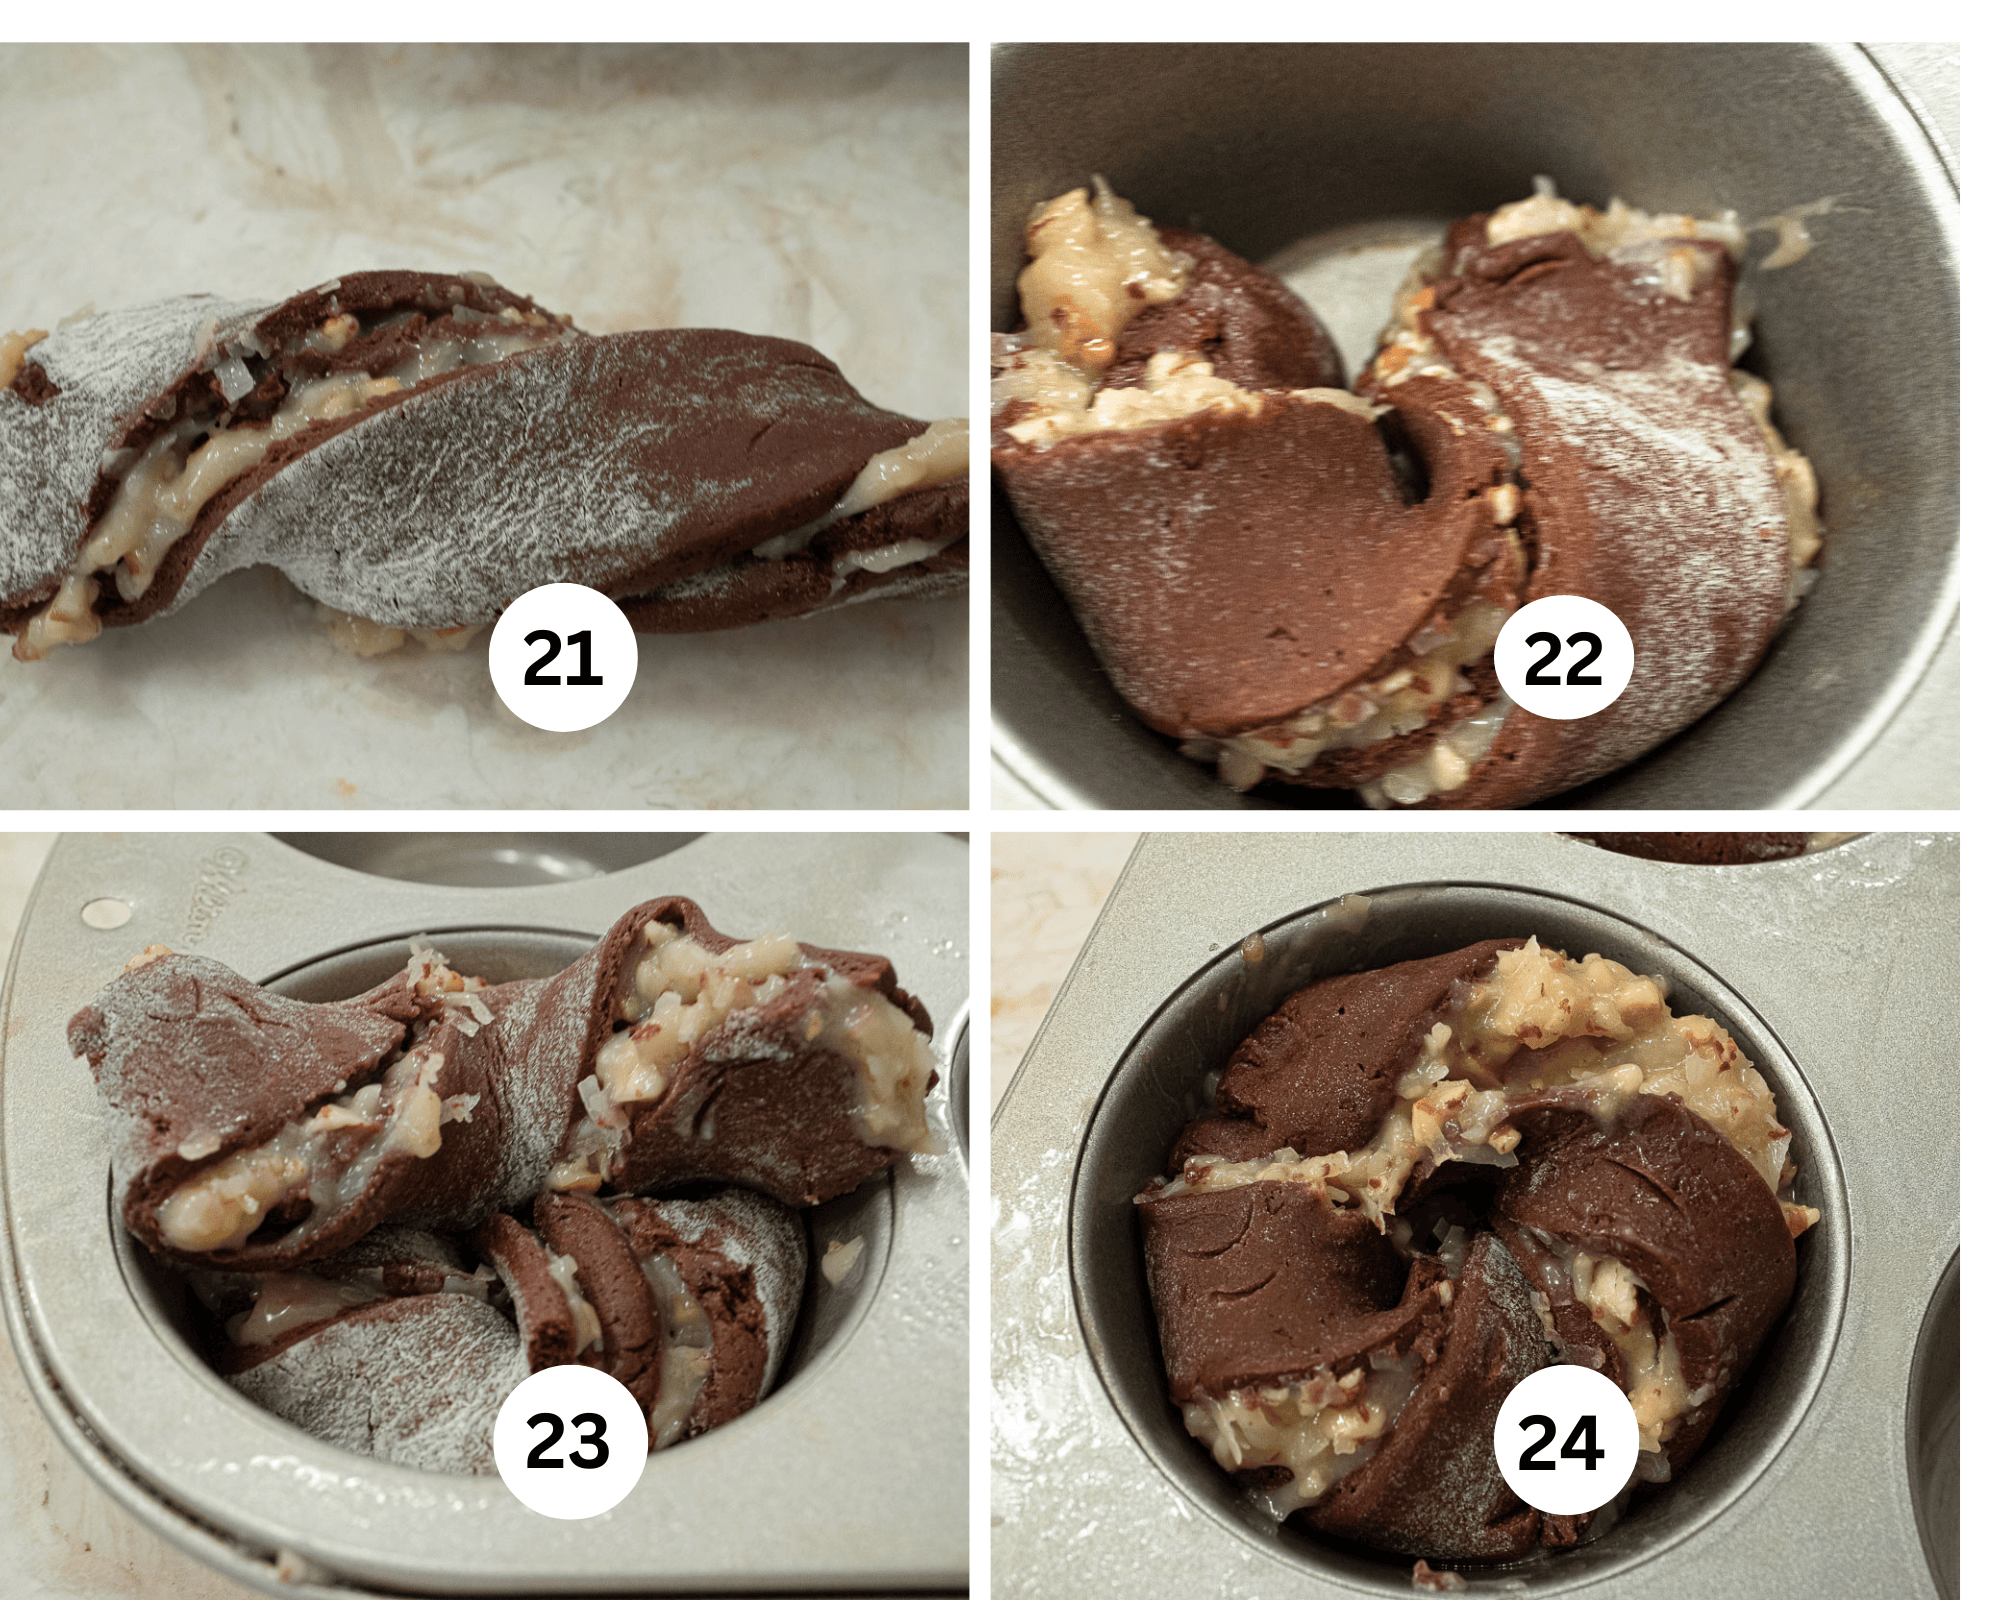
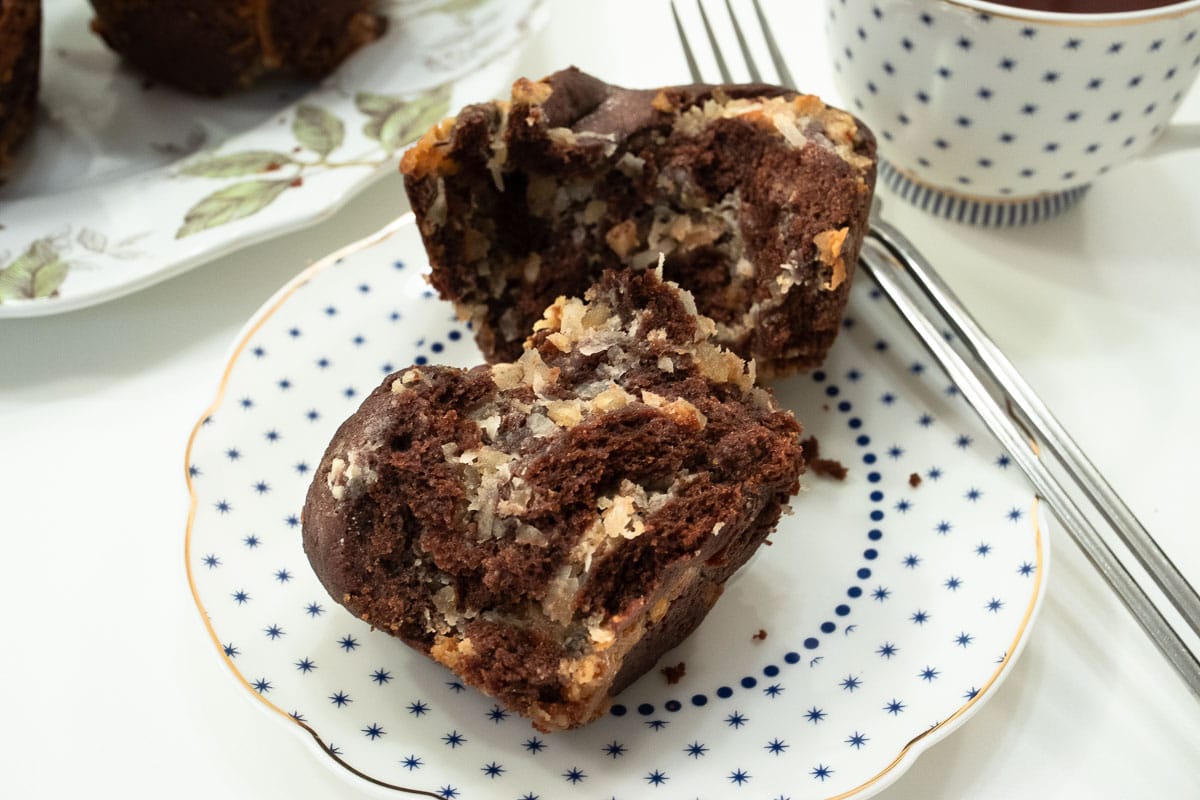
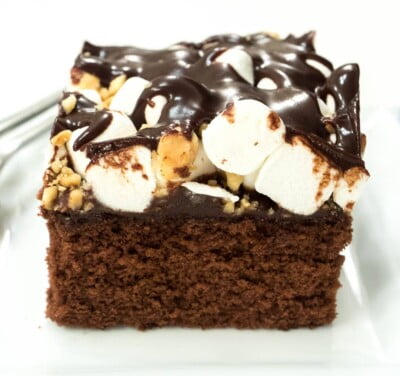 As a committed chocoholic, this Rocky Road Snack Cake fills the bill. I noticed recently that I haven't posted a chocolate recipe for a while and being short on time came up with this really fast snack cake.
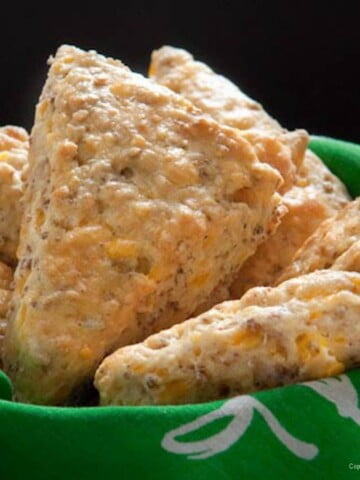
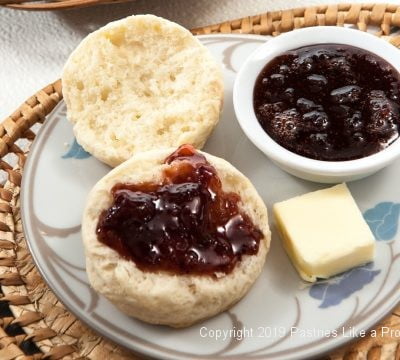
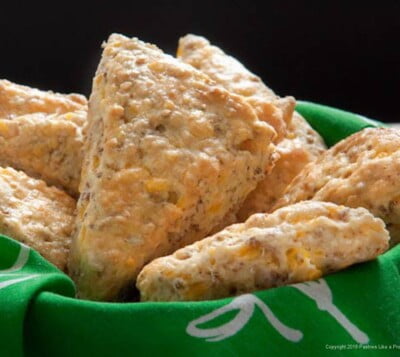 Scones are a welcome treat anytime, but Breakfast Scones area a special treat.


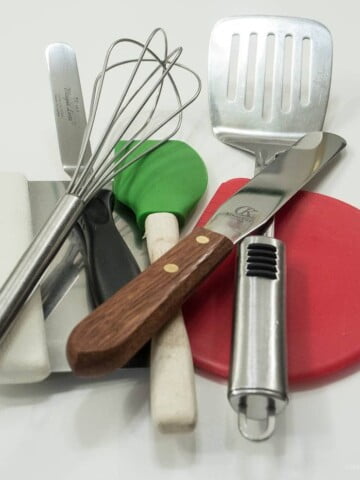
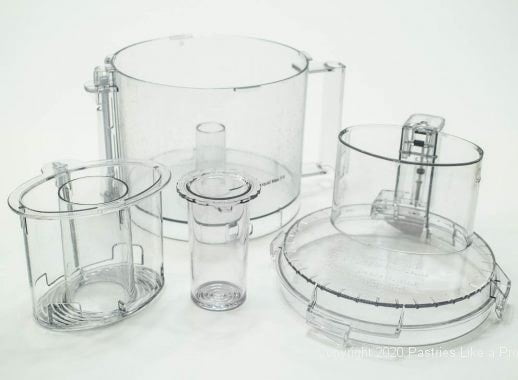
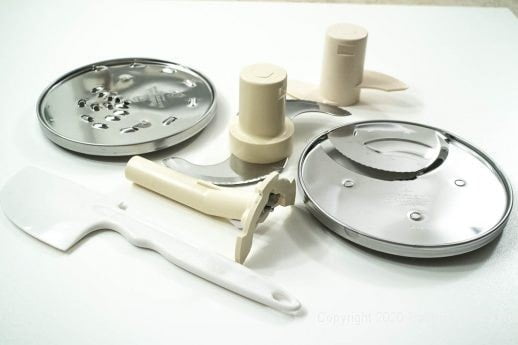
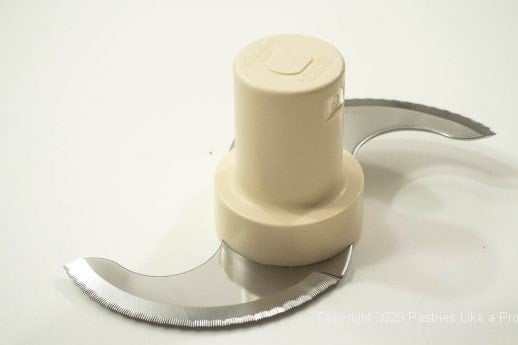
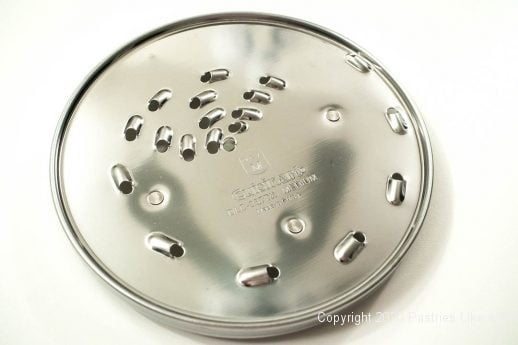
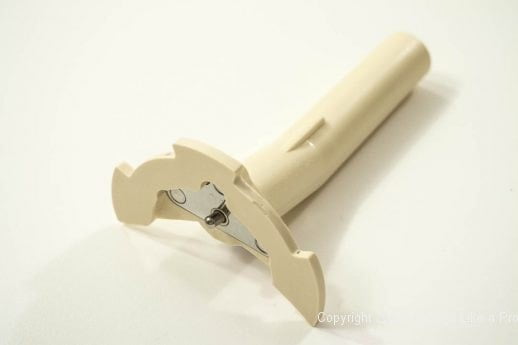
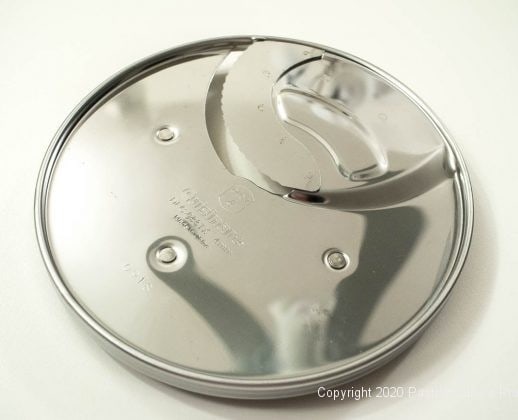
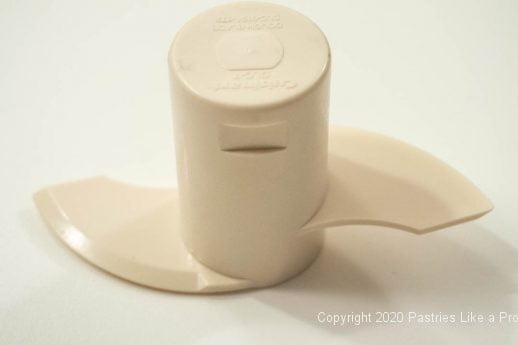
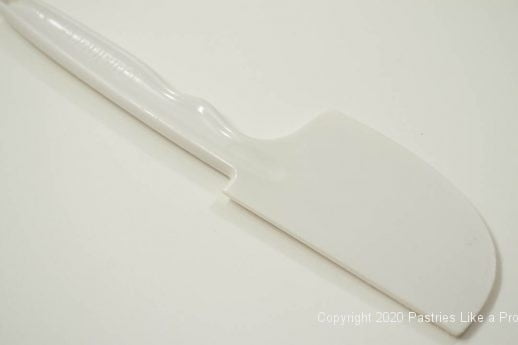
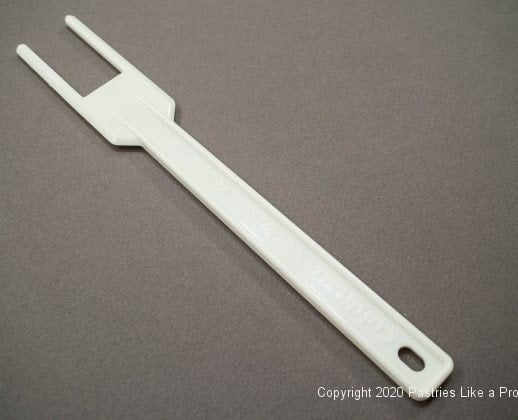
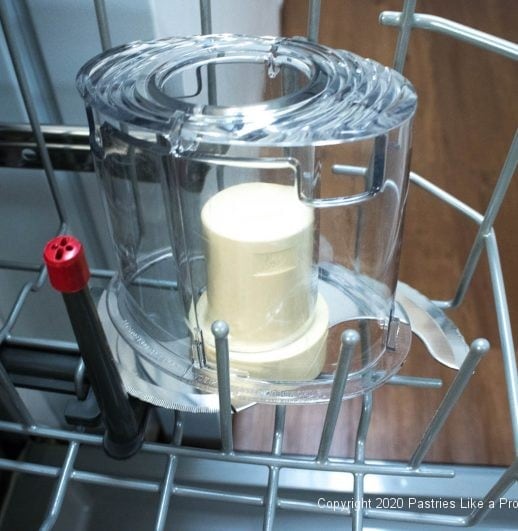
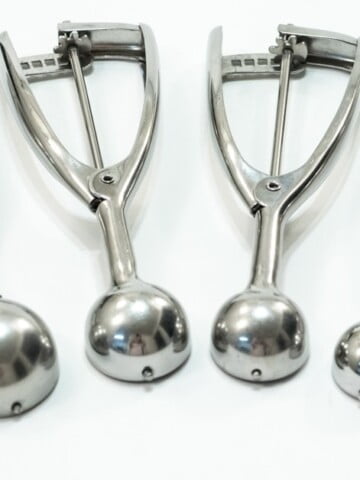
 When I think of Indispensable Kitchen Tools, I think of smaller pieces of equipment that make baking and pastry so much easier. These aren’t mixers and processors but the handheld equipment that makes it easier to do a task.


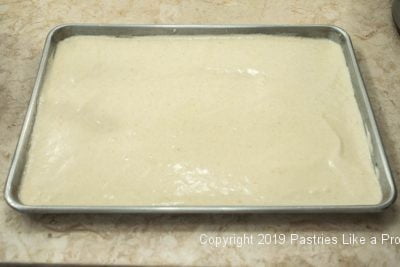
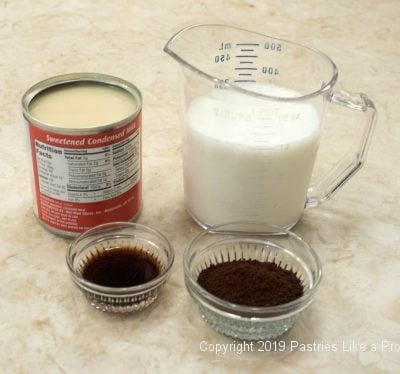
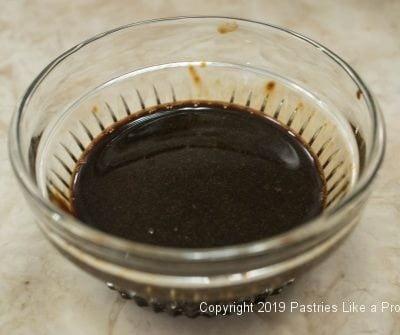
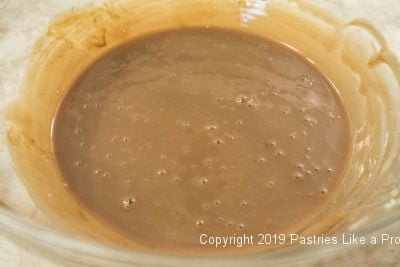
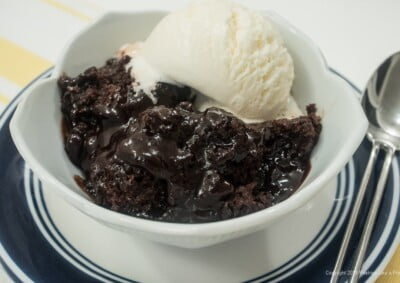 Chocolate Orange Pudding Cake is perfect for a summer chocolate fix. No matter what time of the year I love chocolate. This cake goes together in minutes after the ingredients are assembled. It uses a bowl and a whisk as well as a few measuring tools.
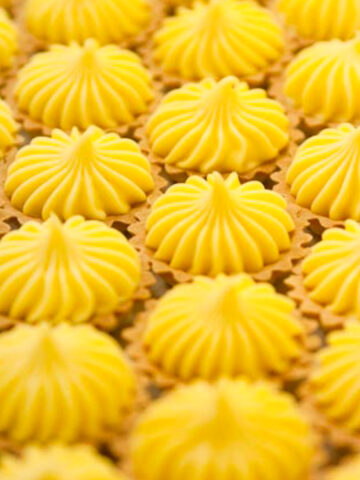

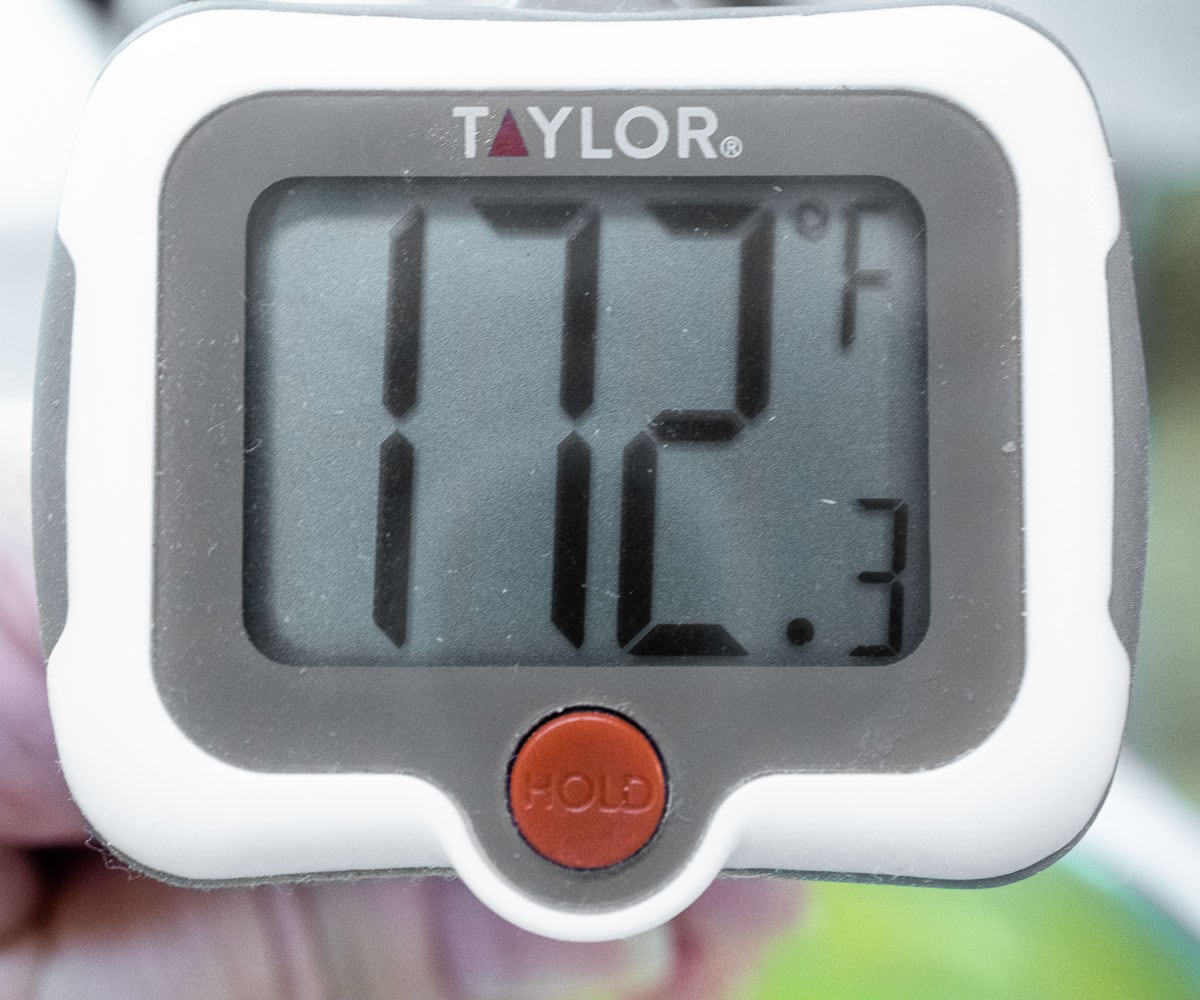
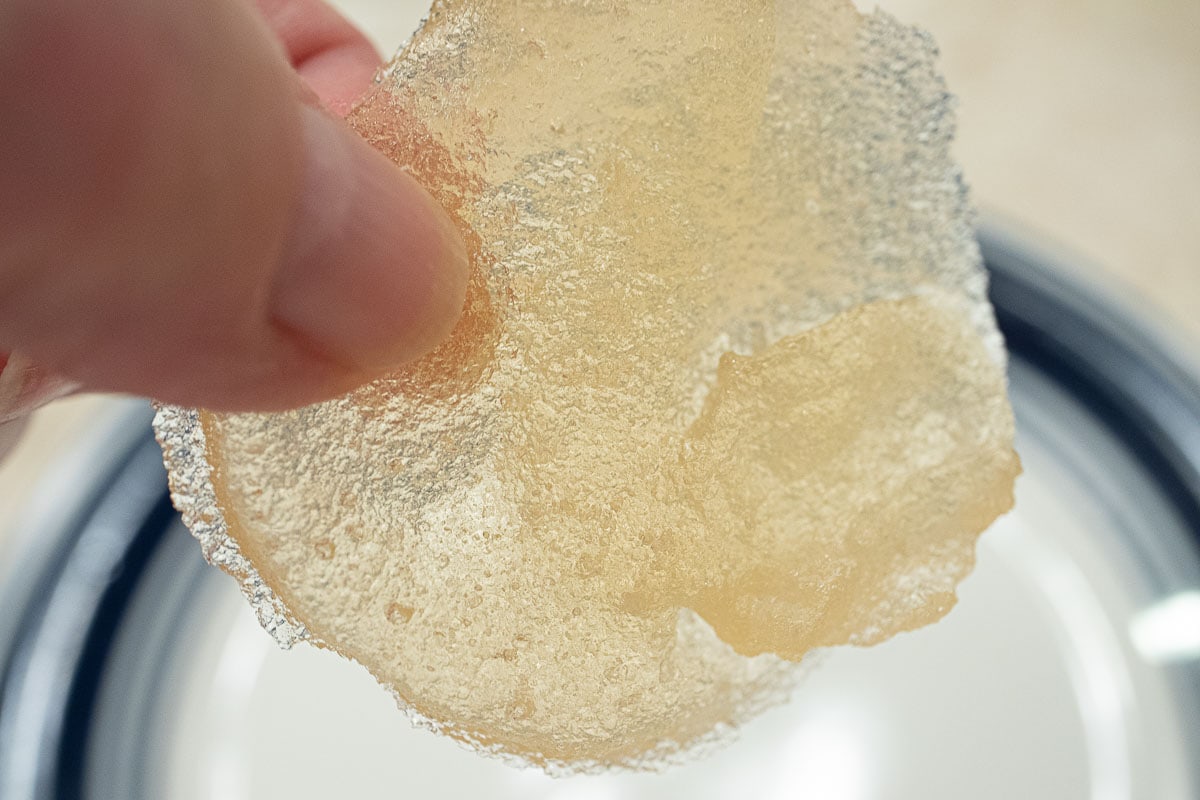
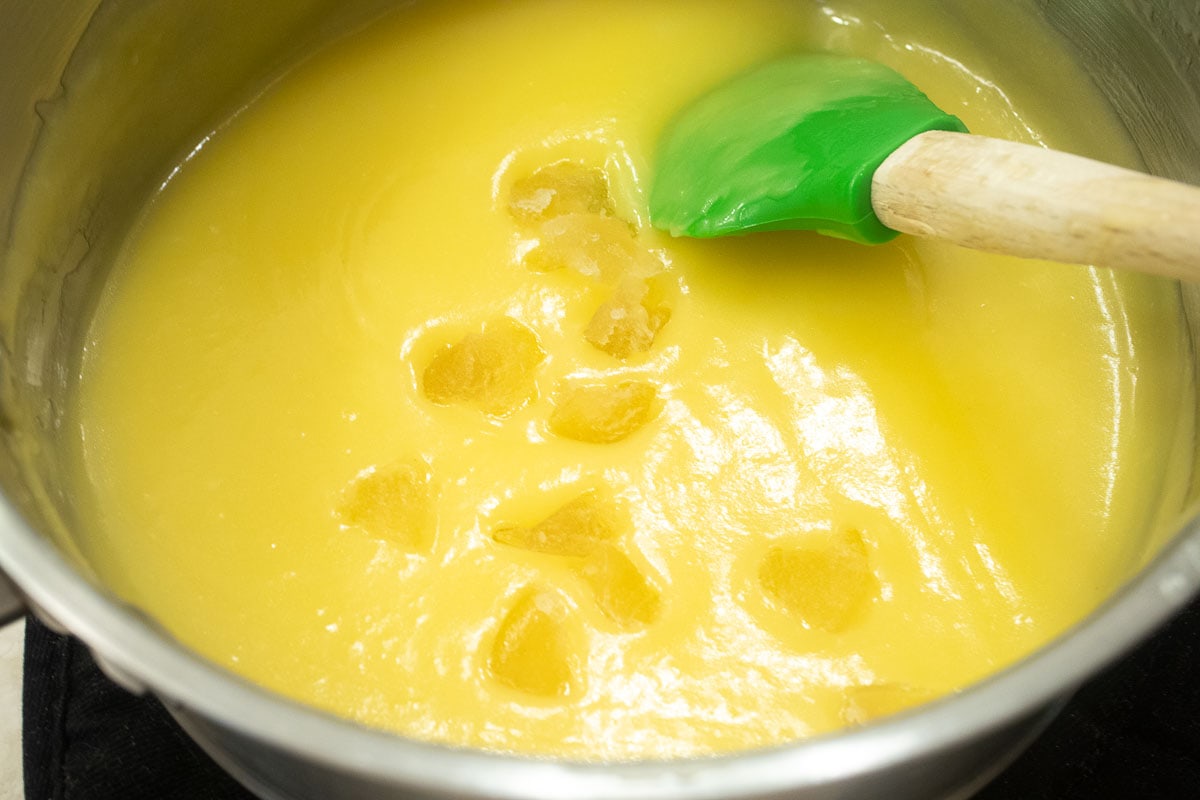
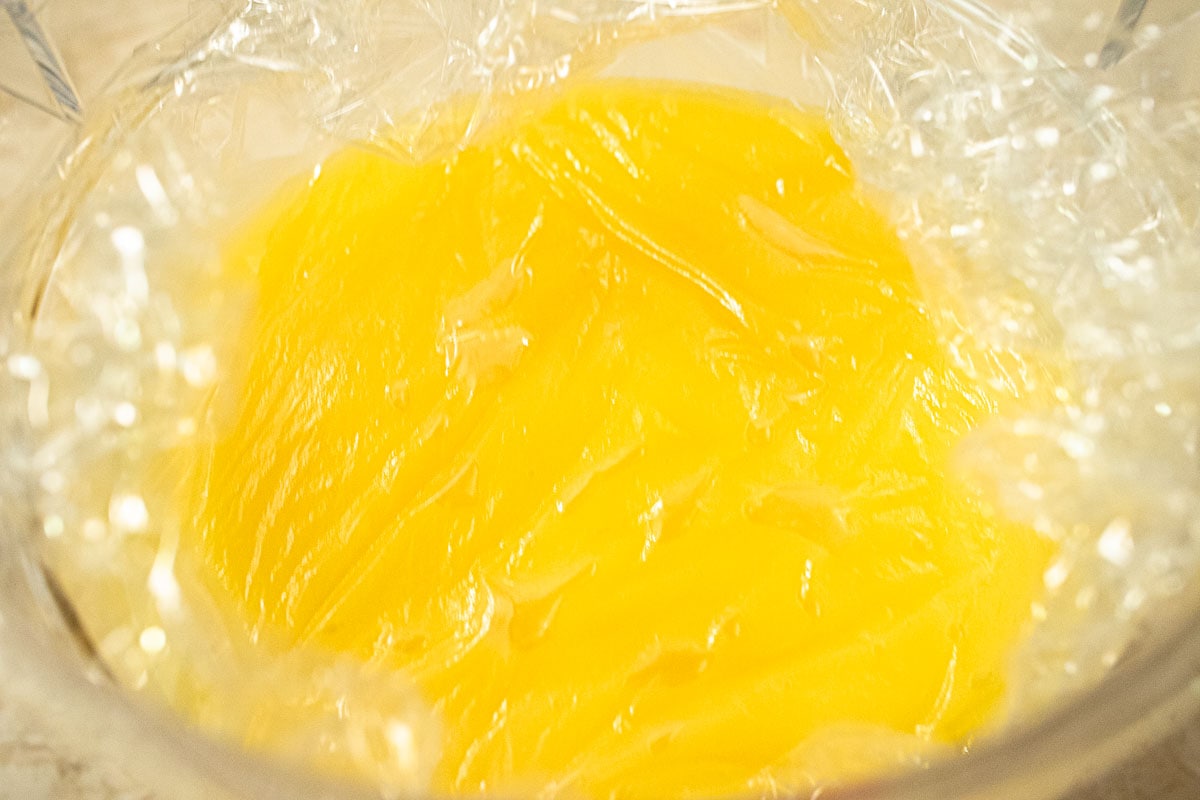
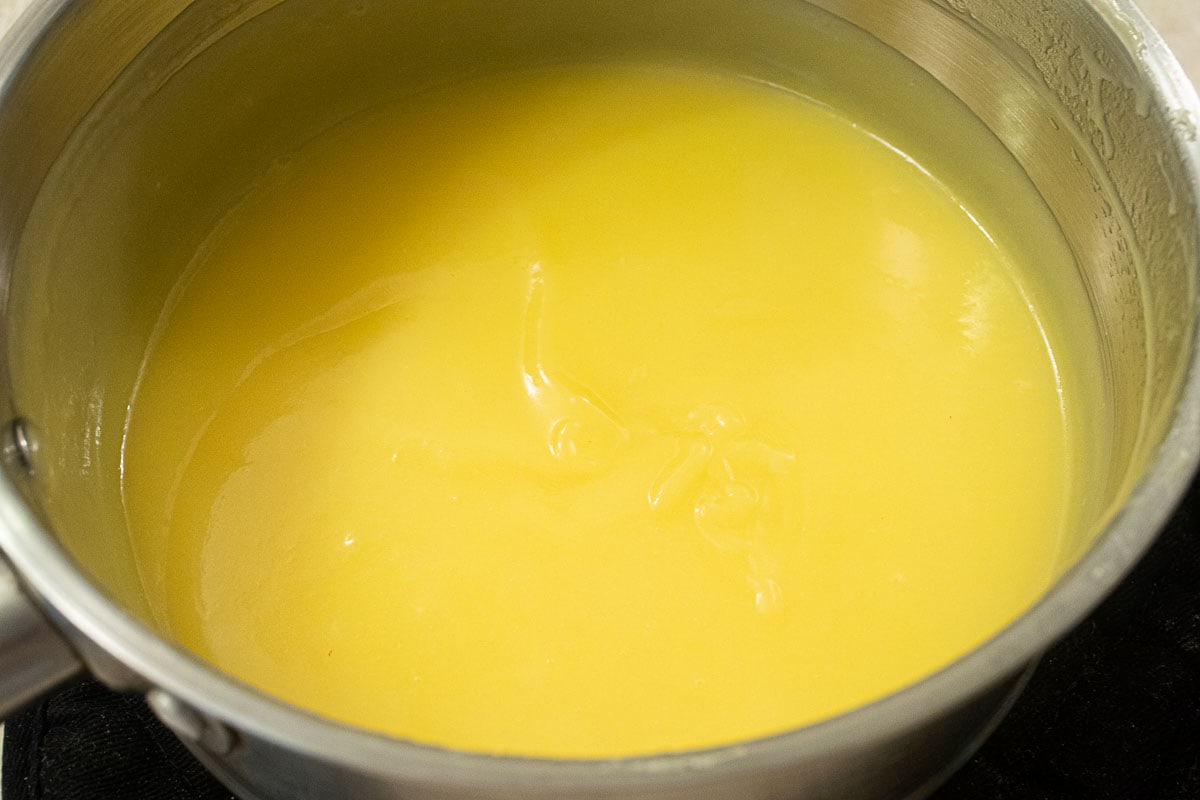
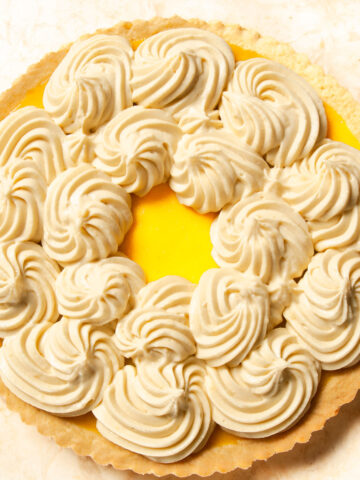
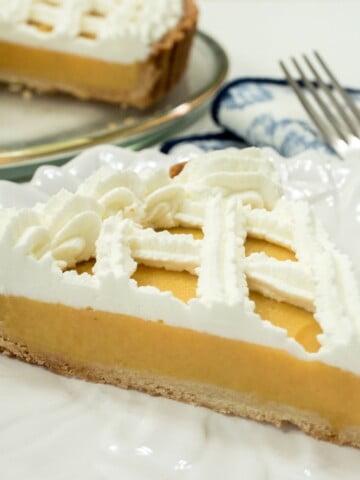
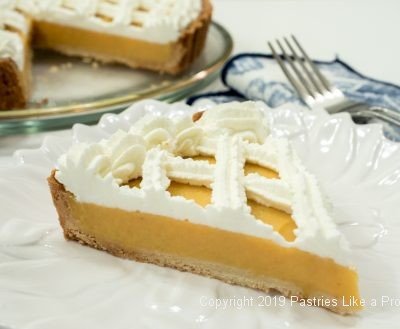 The other day, it occurred to me that a Peach Curd Tart would be perfect for the summer. The Georgia Peaches have been so good this year I have used them every way I can think of.
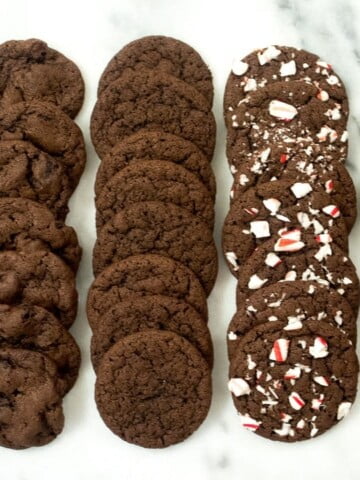
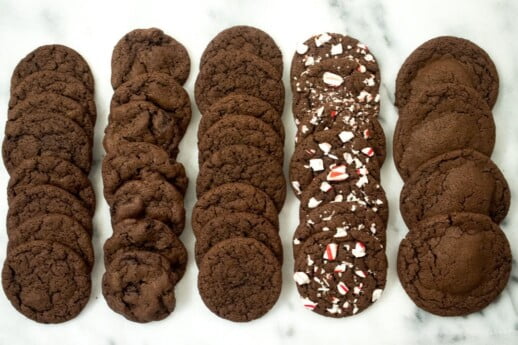 Soft chewy cookies such as this Fudgey Chocolate Cookie are not synonymous with under-baked cookies. Altering the way the cookie is normally put together and changing one ingredient makes the difference. When making a soft, chewy cookie the retention of moisture is the key; so, instead of creaming the butter and sugar, which is the normal procedure, the butter is melted before combining it with the sugar.
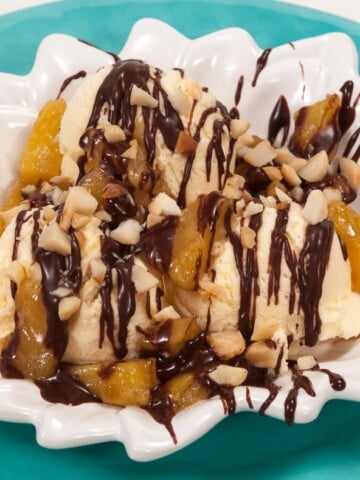
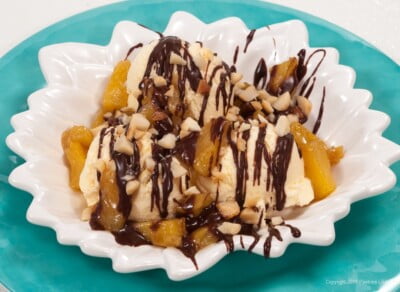 This Easy Hawaiian Sundae, is a special endding for a grilled dinner. Fresh pineapple and a coconut cream chocolate sauce are topped with salted, toasted macadamia nuts which can be found in the snack aisle of my grocery store.


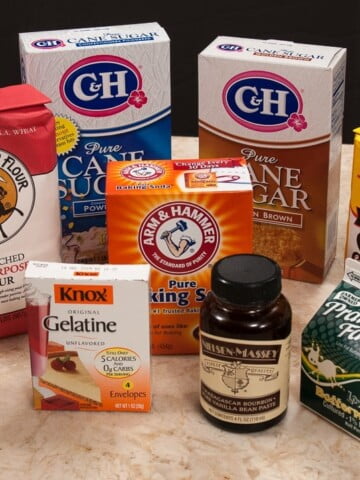
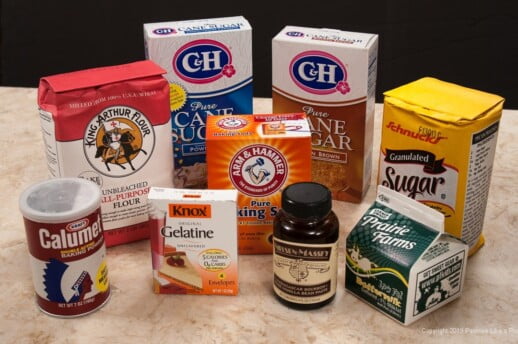 Becoming a better baker depends upon understanding the ingredients that go into baking. On my blog, I have a Baking Information tab on the navigation bar that has loads of information to help you become that better baker.


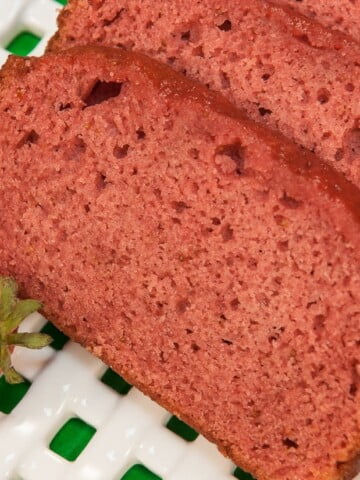
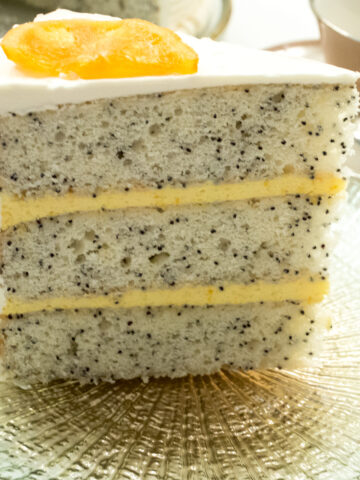
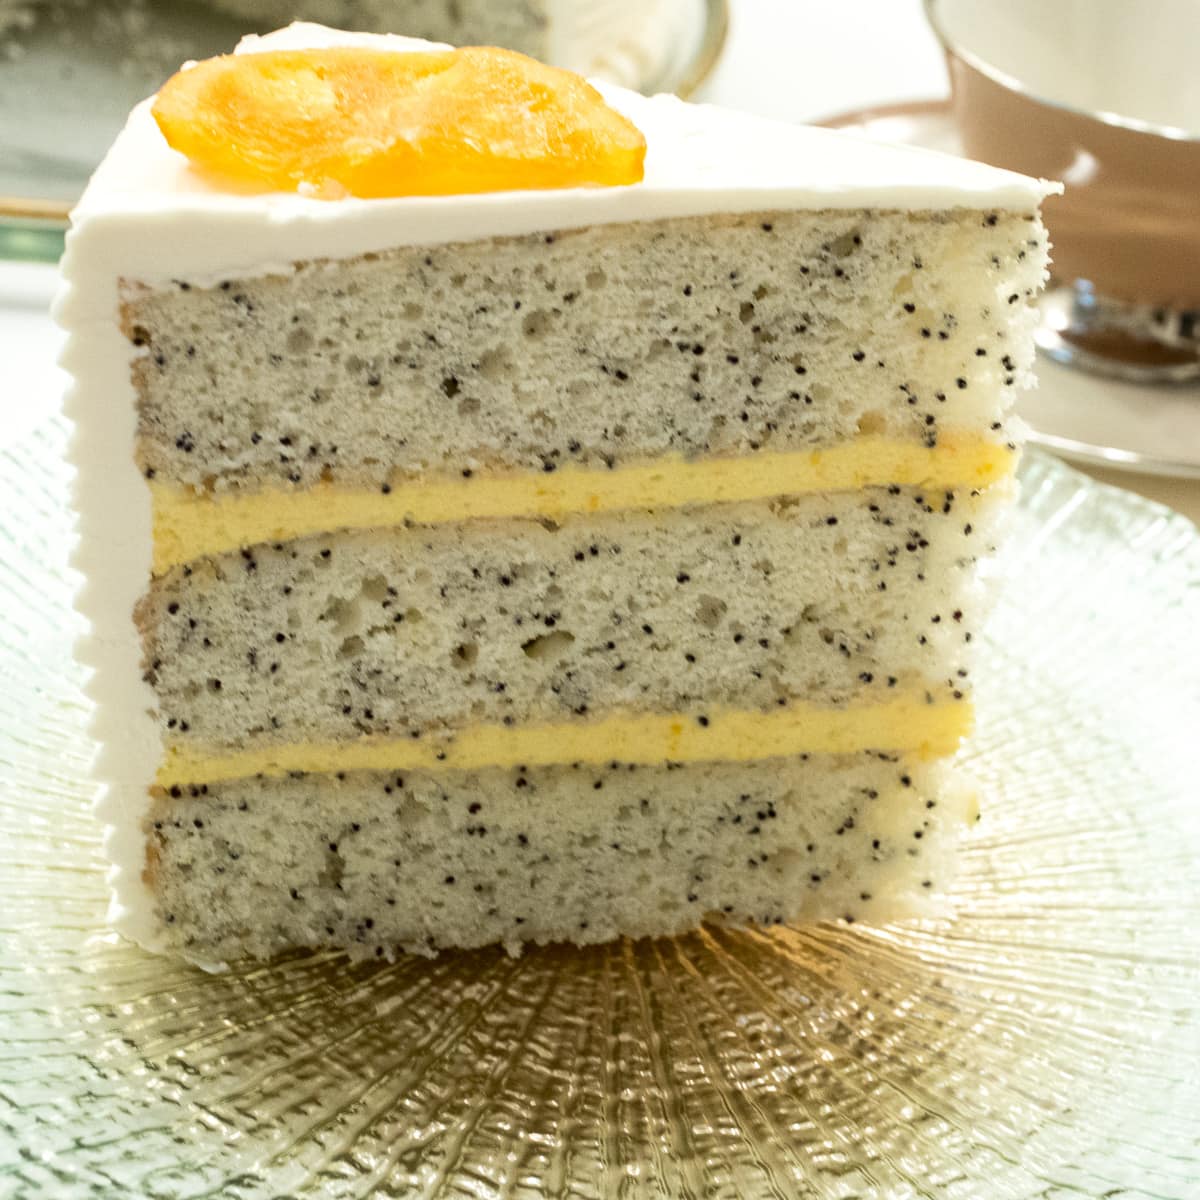
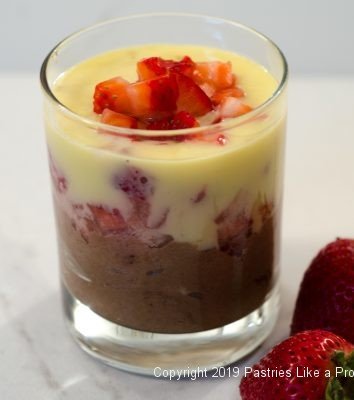
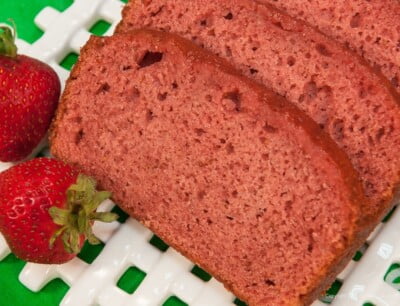 While the month of May is designated Fresh Strawberry Month, you can hardly miss it as you grocery shop. We love strawberries and eat them plain, on ice cream, in smoothies, yogurt parfaits, on cereal - any and every way.
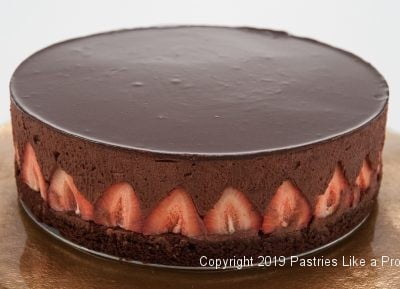

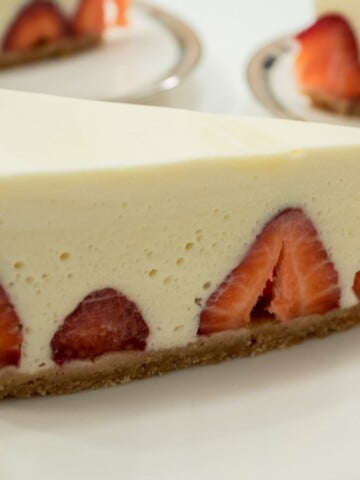
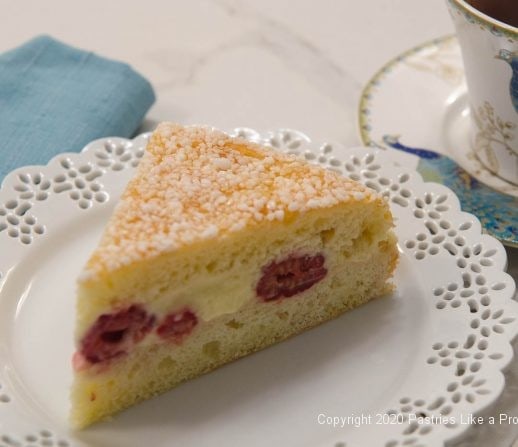
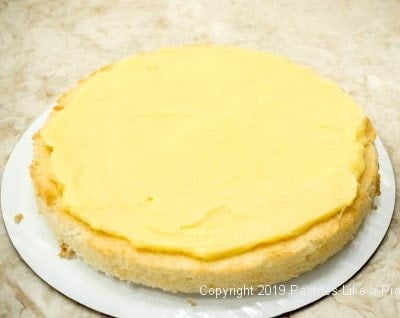
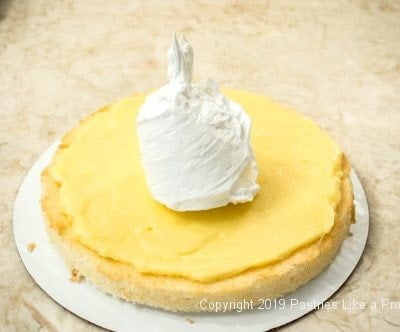
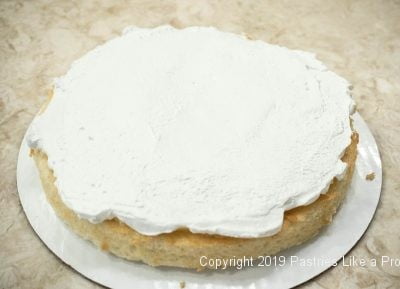
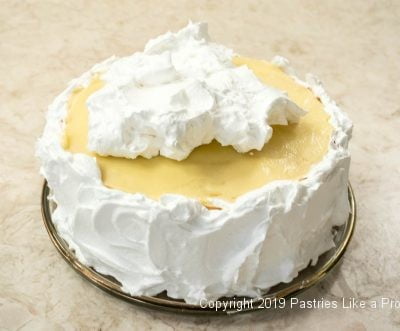
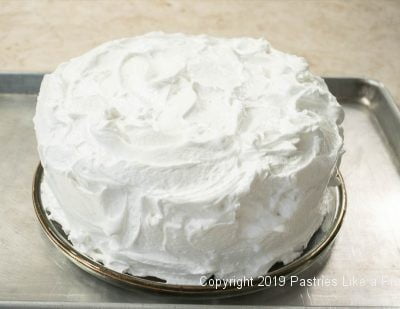
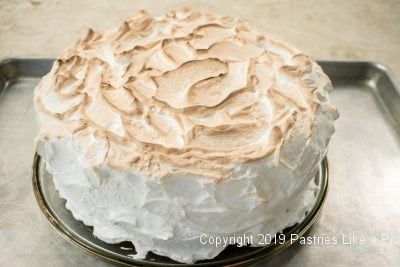
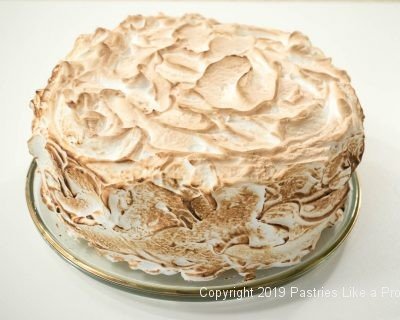
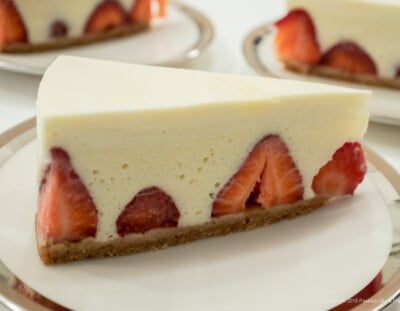 With Mother’s Day upon us, this Vanilla Mousse Torte with Strawberries is a perfect do-ahead dessert to honor her. It is light, full of flavor, not too sweet, beautiful, easy to make and almost no bake. I’m not sure what more could be asked of a dessert.
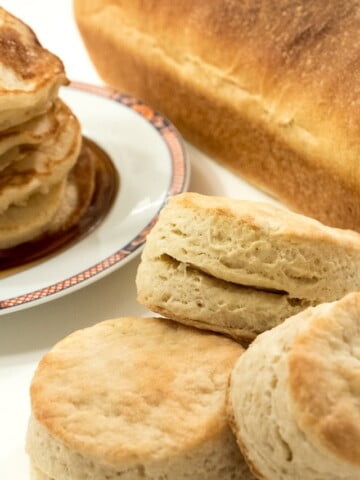
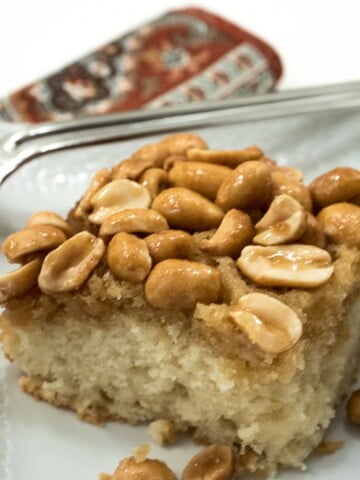
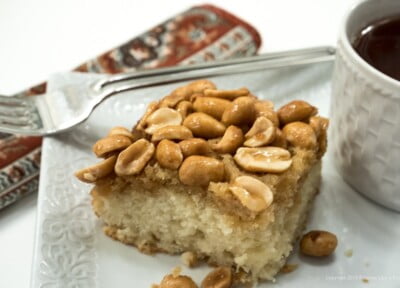
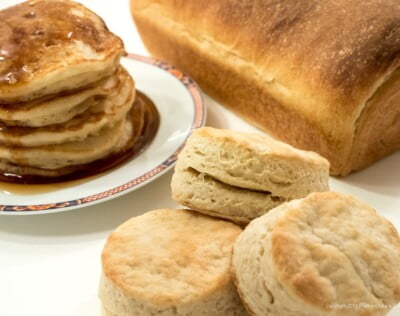 Buttermilk is what we call a “rounder” in food service. It is a person, or in this case an ingredient, that can do almost everything. Buttermilk makes unbelievably tender pancakes, the flakiest biscuits, superior bread, and extraordinarily moist cakes. It can do all of this because of the presence of lactic acid.