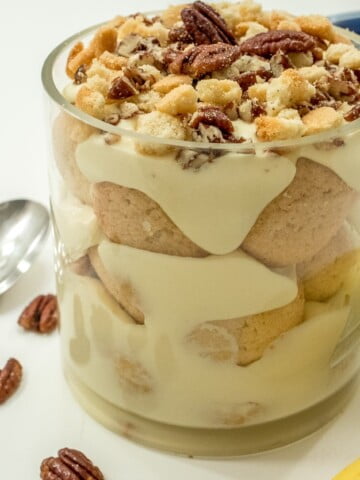
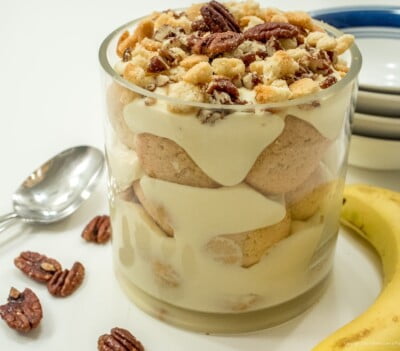
 Banana Pudding is a favorite southern dessert usually made with purchased vanilla wafers and vanilla pudding mix. Before I became the pastry chef at Tony’s, I worked briefly at the Hyatt Hotel which was a client of the bakery. I wanted to see how a big bakery department worked.
I remember making 10-gallon jars of Banana Pudding for a southern convention at the hotel. I was surrounded by cases of vanilla wafers, and pudding that was premade. After a while, I couldn’t even remember the order in which the jars were assembled because my mind was so numb. I don't think I looked at another banana for years. [Read more...]
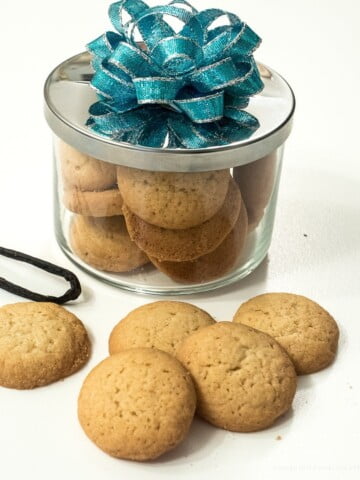
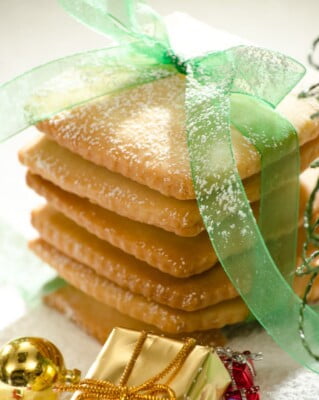
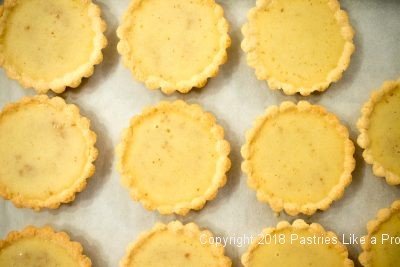
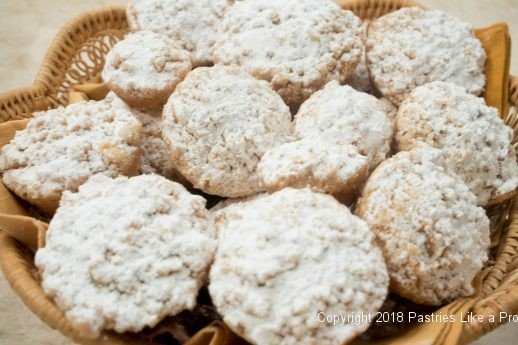
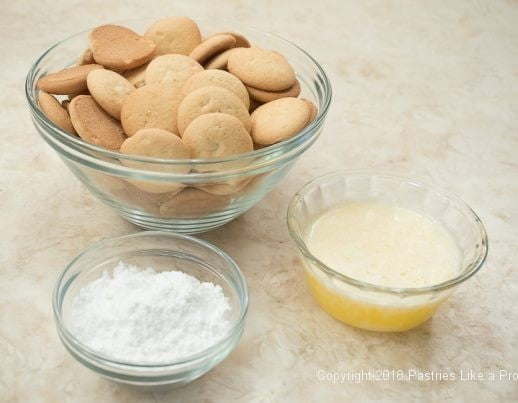
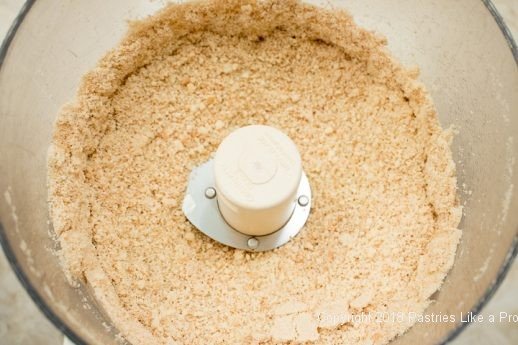
 If you read this recipe for Vanilla Wafers really early, please check again, as some of the instructions have changed.
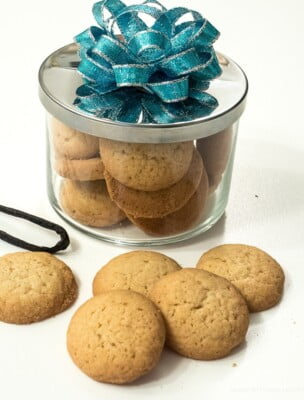
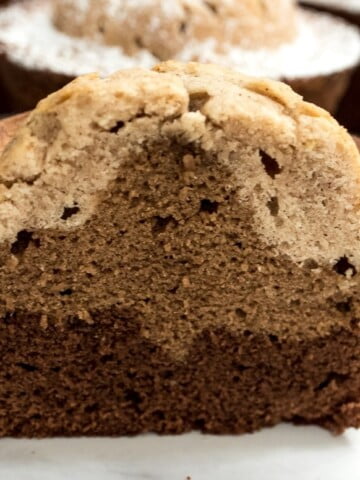
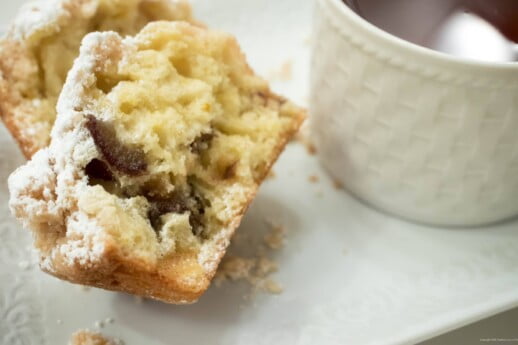
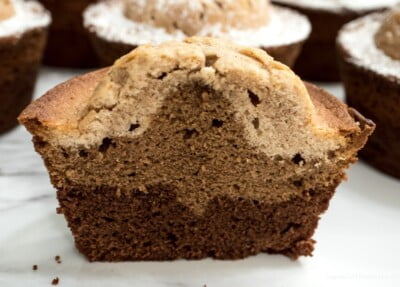 These Individual Variegated Pound Cakes were an idea born out of boredom waiting for my doctor appointment. I picked up a well-worn women’s magazine and leafing through it I found what they called a Triple Pound Cake in a loaf pan. After seeing it, I couldn’t get it out of my mind. The more I thought about it, the more I couldn't wait to make them.


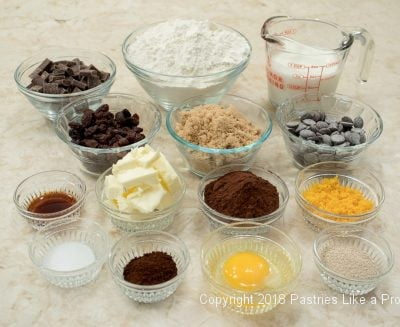


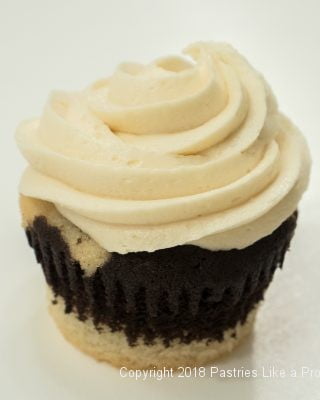
 Special Note for Malted Milk Frosted Cupcakes: A friend of mine recently had a problem with the frosting for the cupcakes. As we explored the problem it came down to the malt powder that was being used. I had used Carnation Original Malted Milk powder with no problem. However, when Janet couldn't get the Hoosier Malted Milk powder she always uses, she ordered the 40 ounce (not the 13 ounce bottle I had used) and after, two attempts the frosting failed. It became loose and runny no matter what she did. A little research found a huge difference between the three bottles. Almost all the comments on Amazon referring to the 40 ounce container of Carnation were negative, very negative. However the comments for the 13 ounce bottle were positive. Everyone loved the Hoosier.
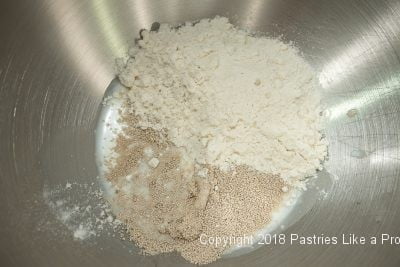
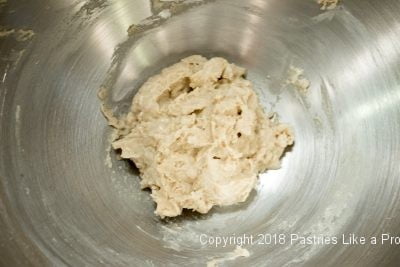
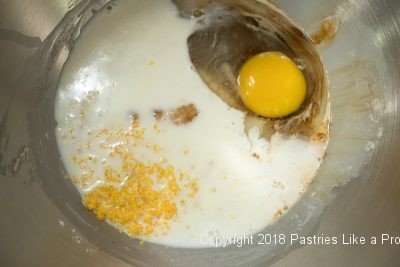
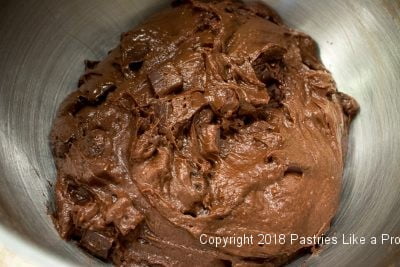
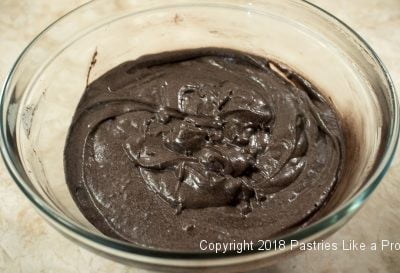
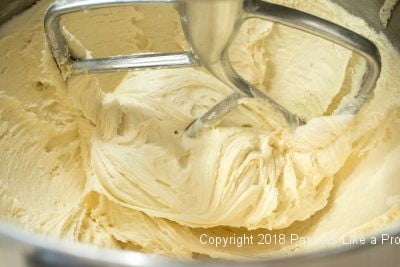
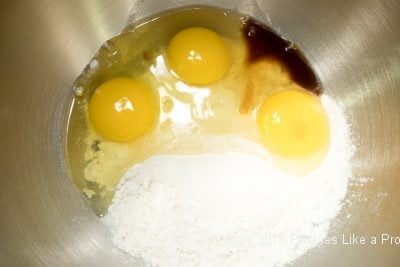
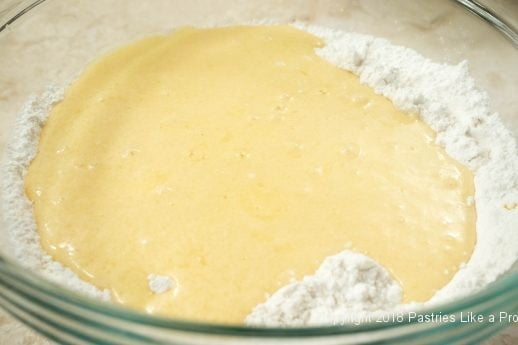
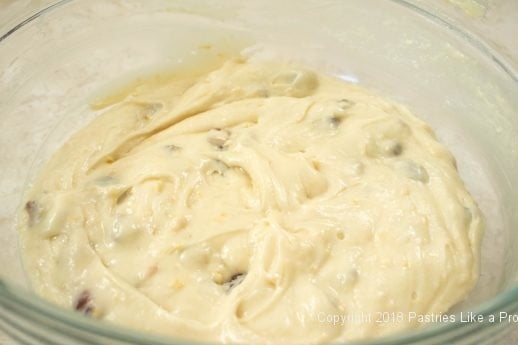
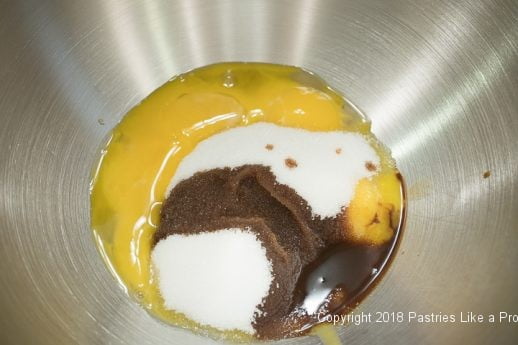
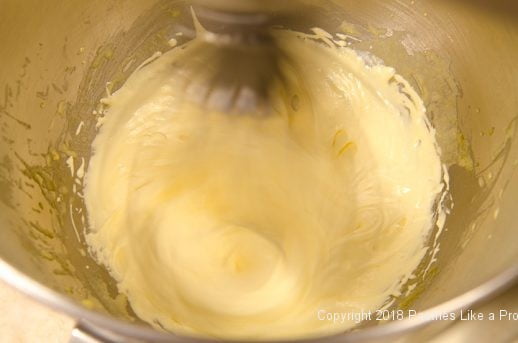
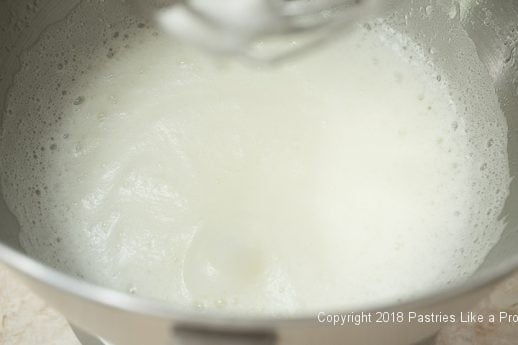
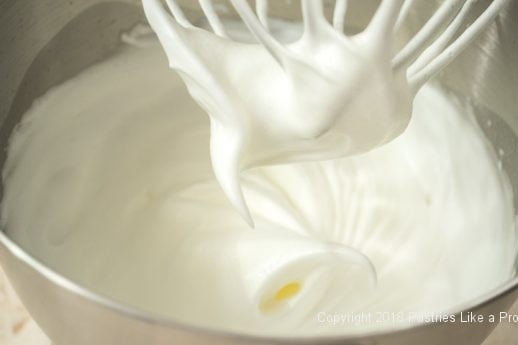
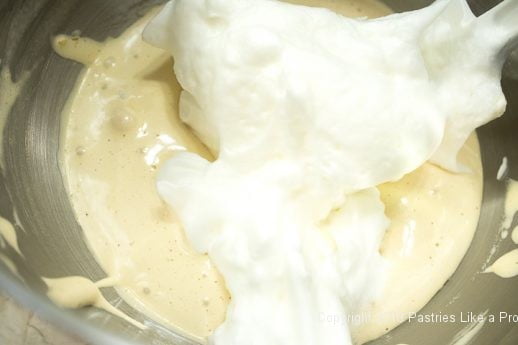
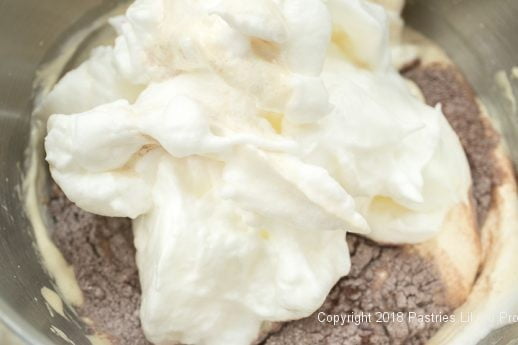
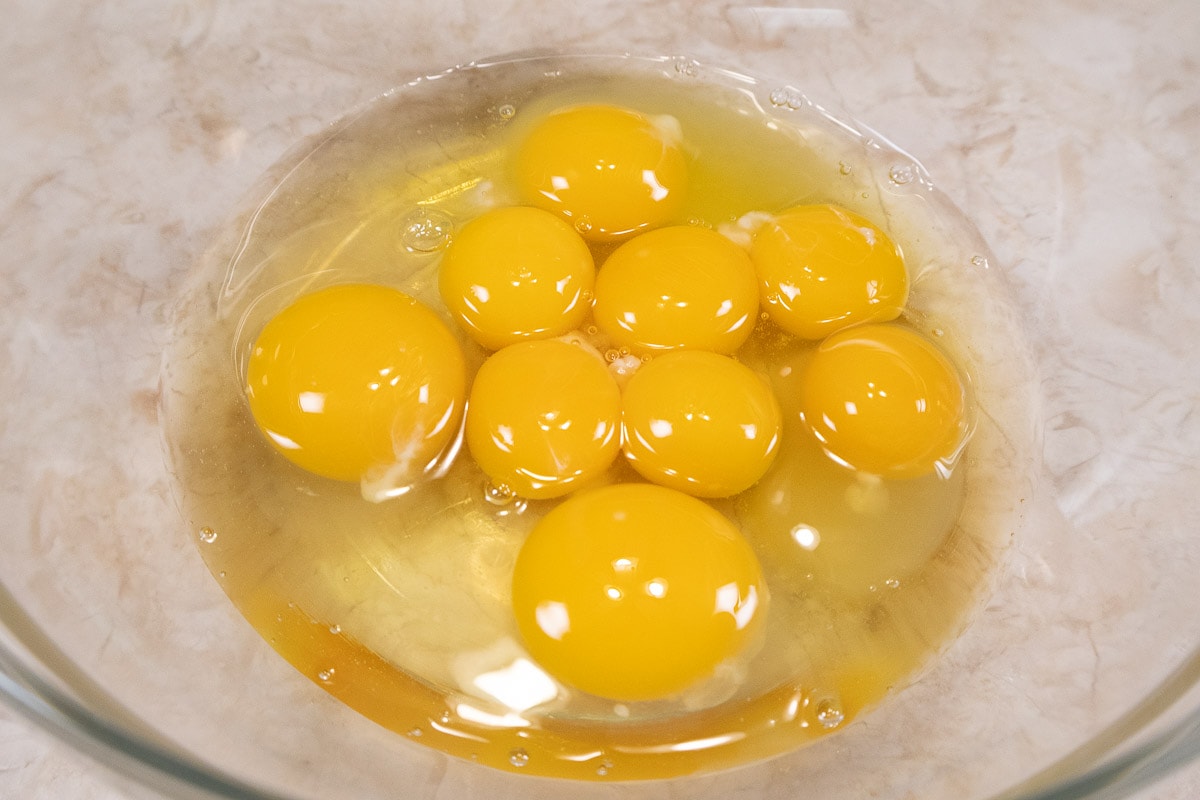
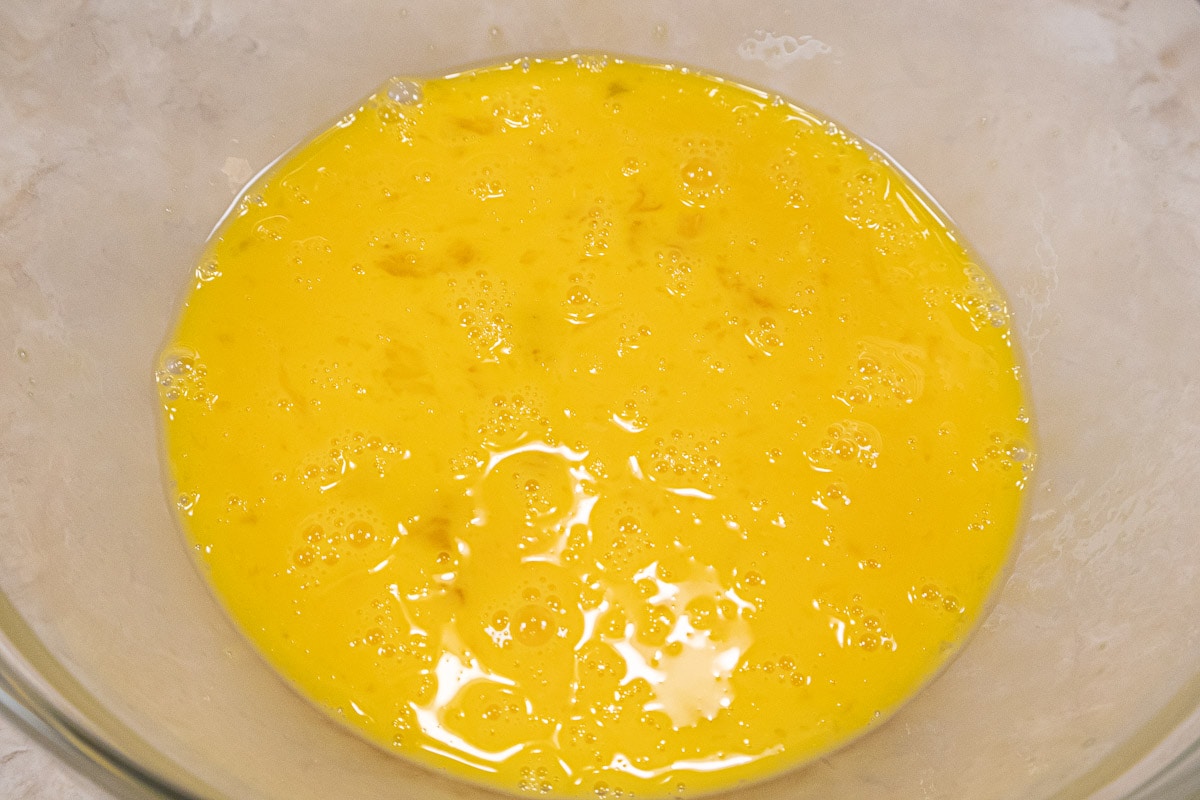
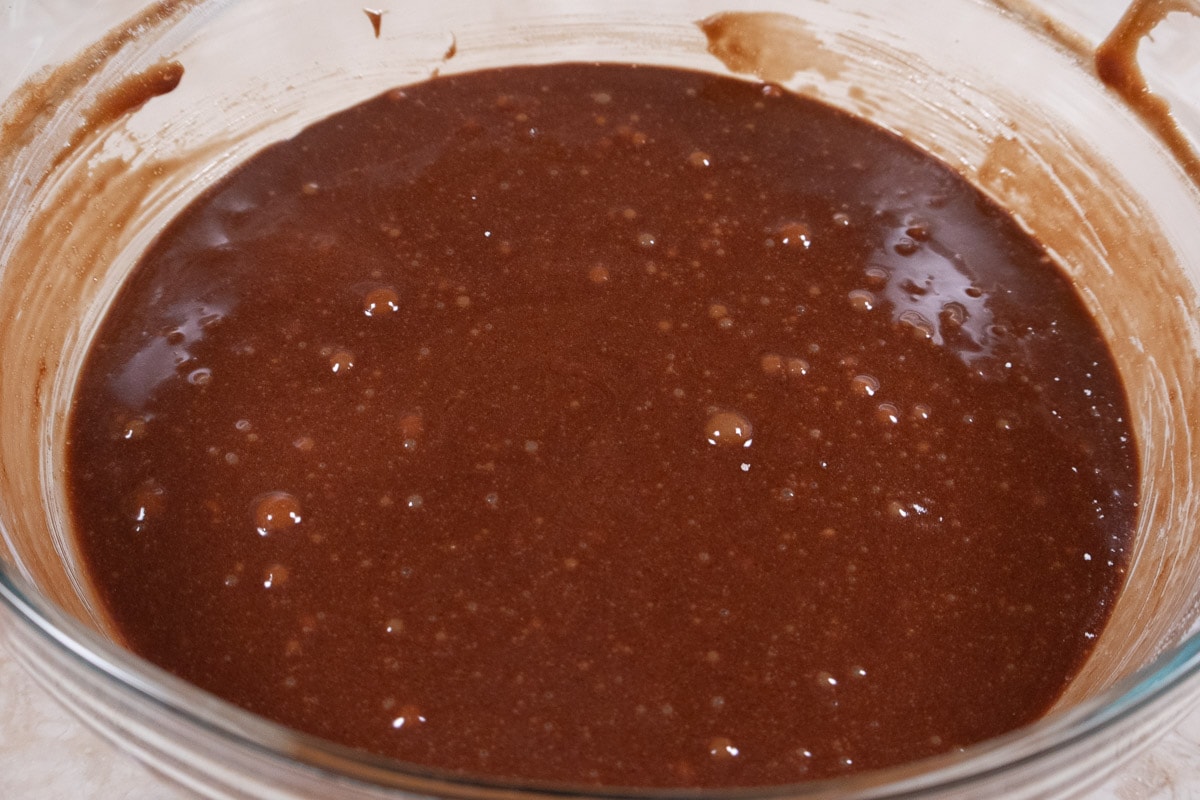
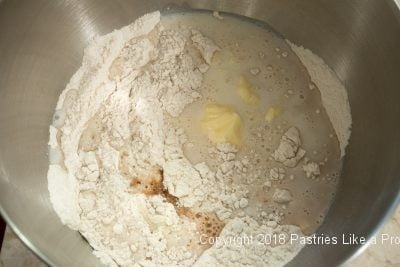 Beat on low speed for 30 seconds. Raise the speed to high and, scraping the bowl occasionally, beat for 2 minutes. Add the egg whites and beat on high for 2 minutes, scraping from time to time.
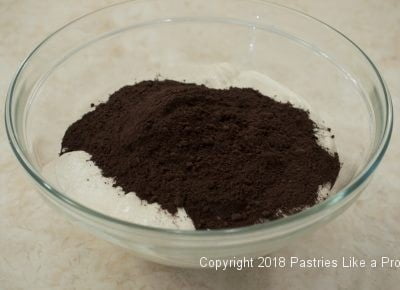
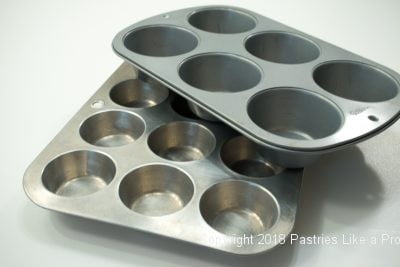
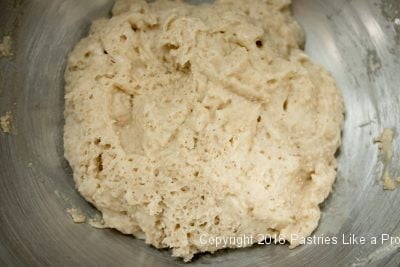
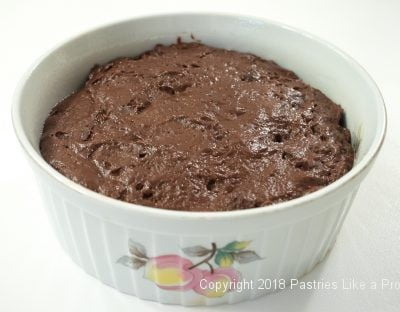
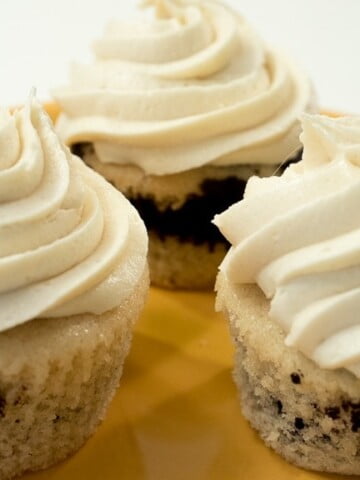
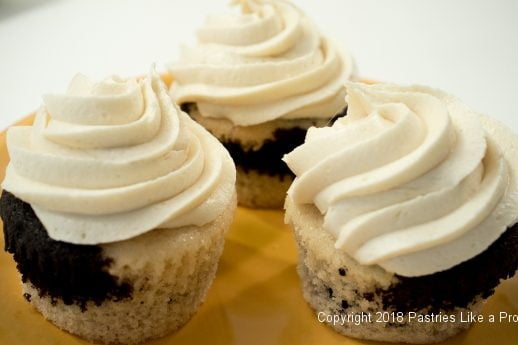
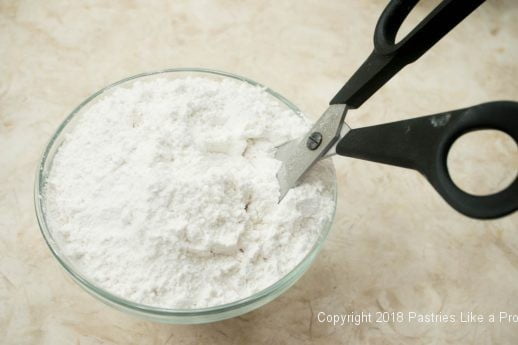
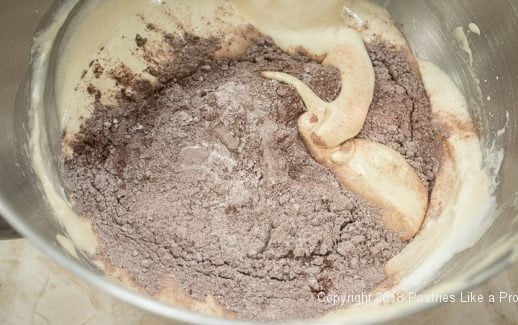
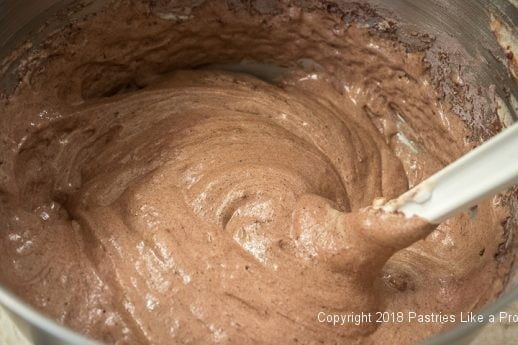
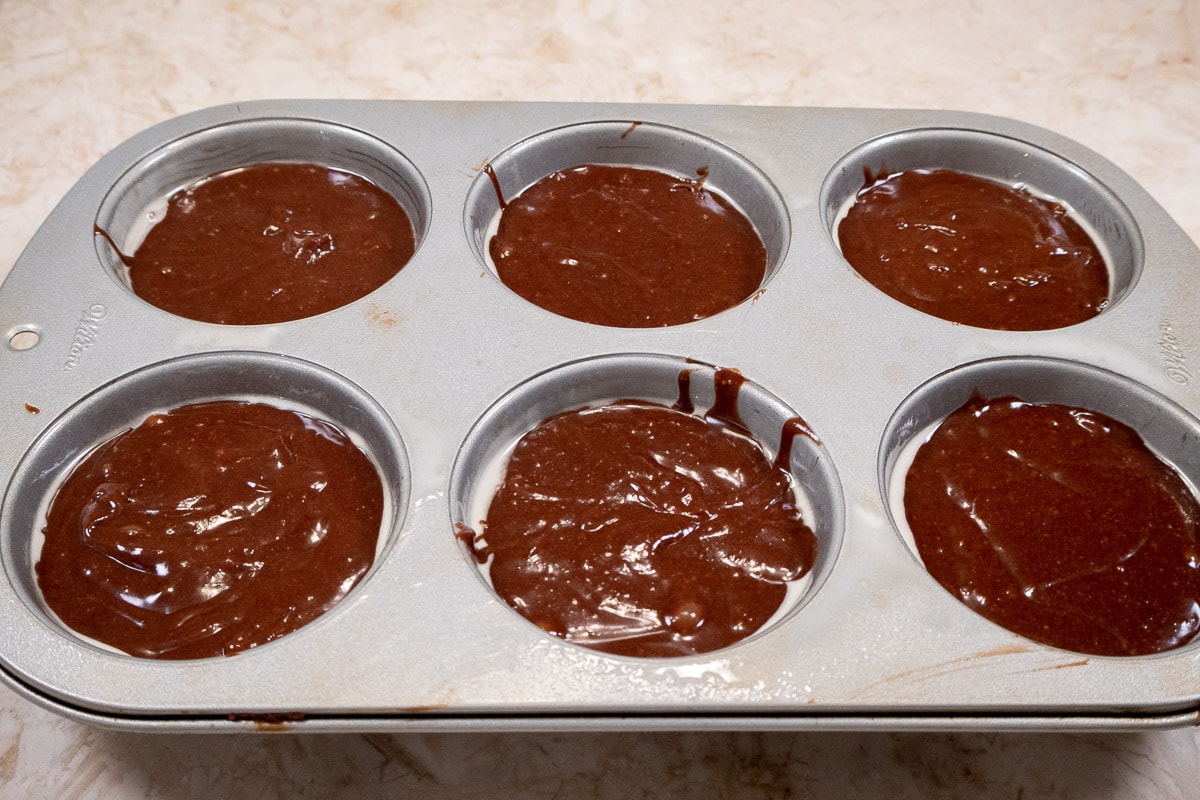
 With a number 40 disher/scooper, drop the white batter in the bottom of the cups.
 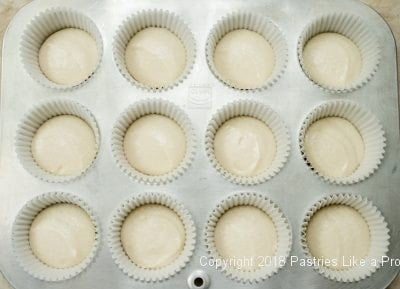 Wash the disher/scooper and drop the cocoa batter on top.
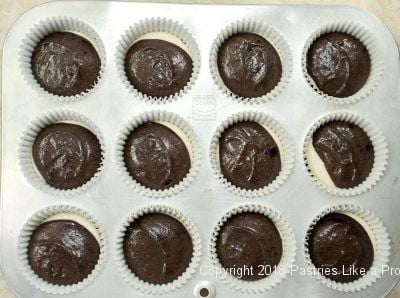 Alternatively, drop about 1 ½ tablespoons of batter into the bottom of the paper liner and again into the top. The cups will be about ¾ full.
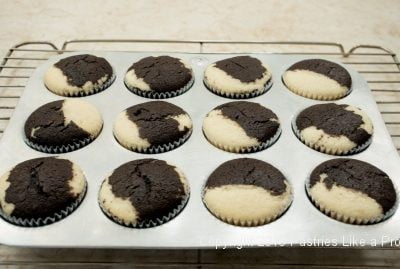

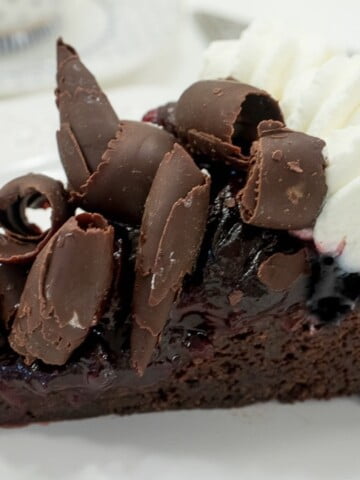
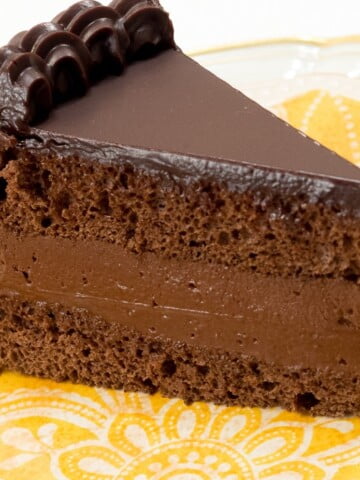
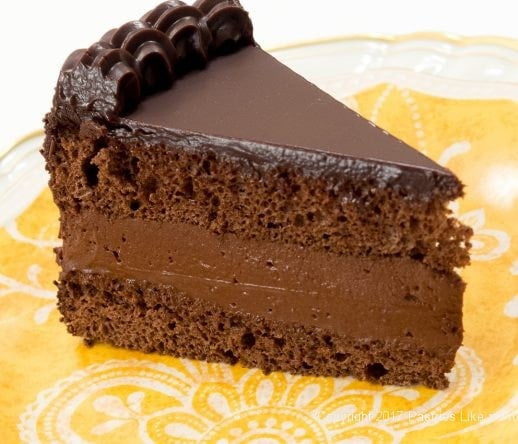
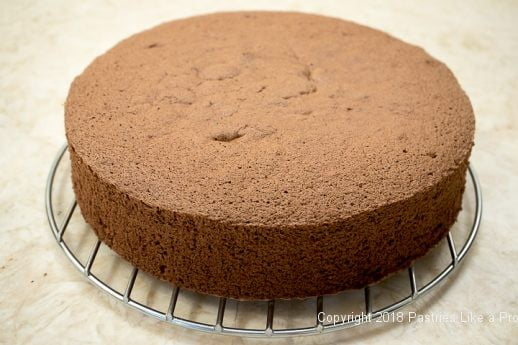
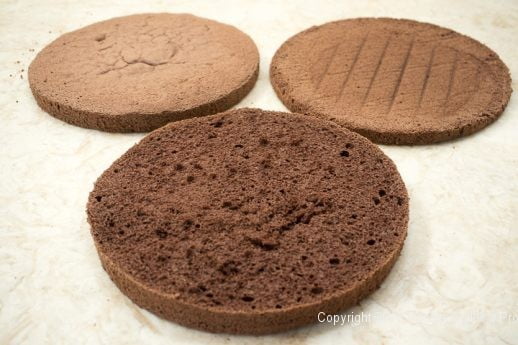
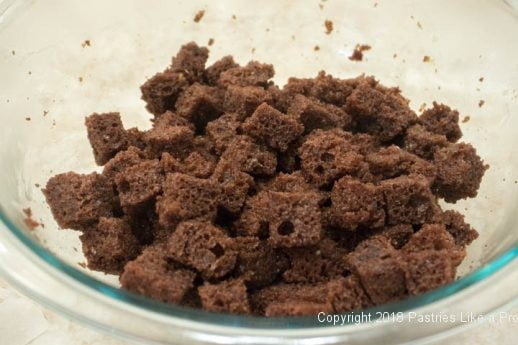
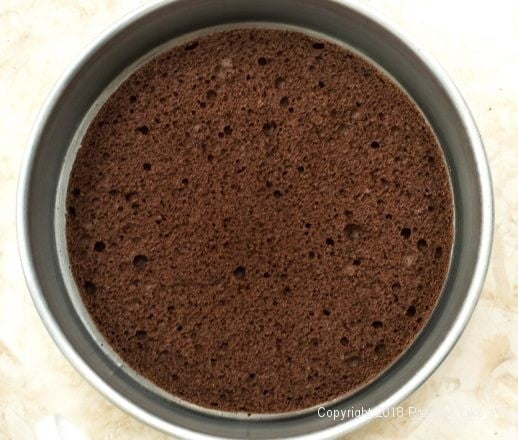
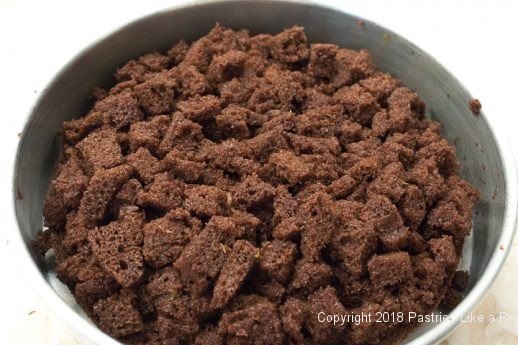
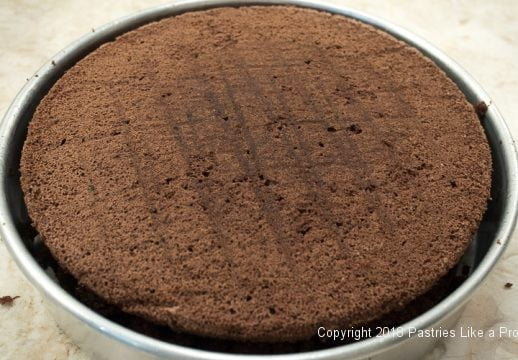
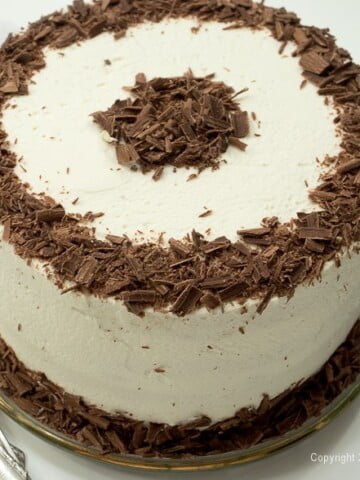
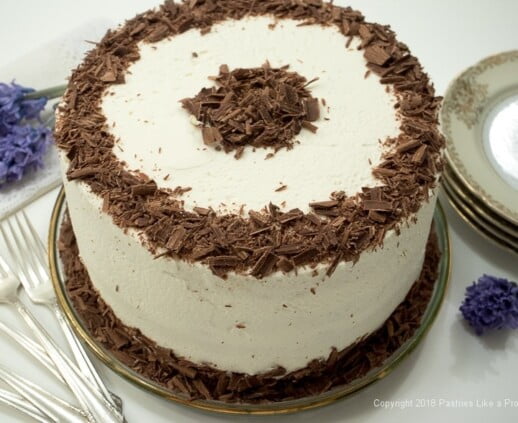
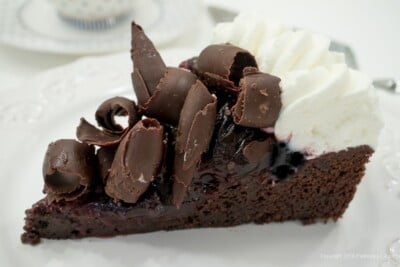 Black Forest Torte is a classic cake from Germany. Layers of chocolate cake are filled with whipped cream and cherries are strewn over the cream. The Black Forest Torte is then finished with more whipped cream and usually decorated chocolate, often chocolate curls.
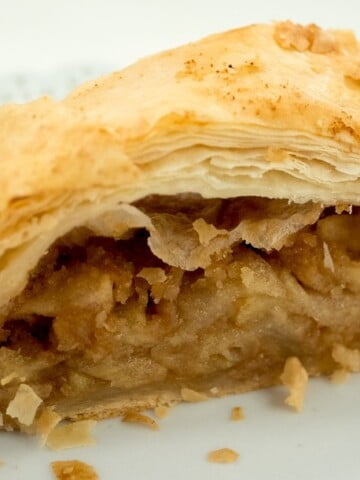
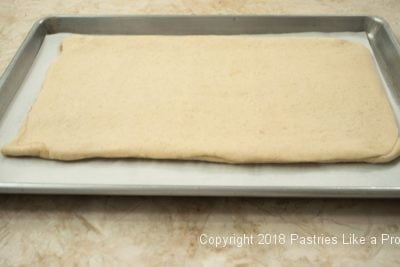
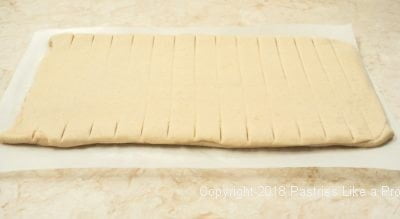
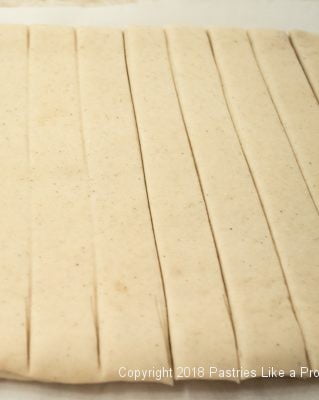
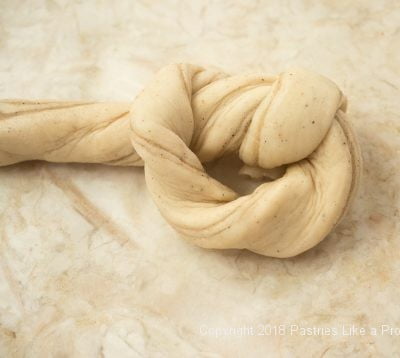
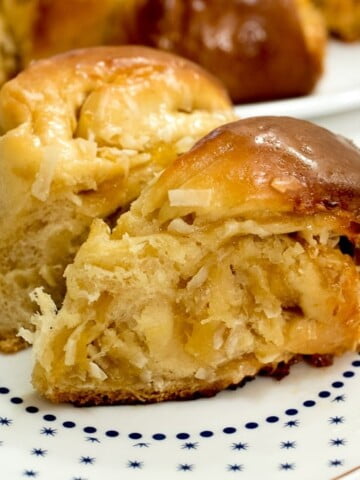
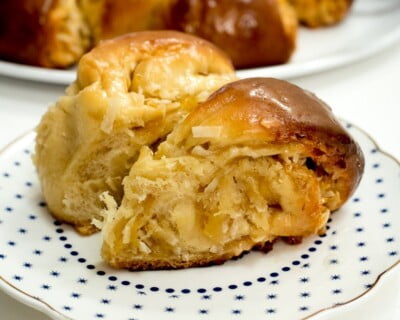
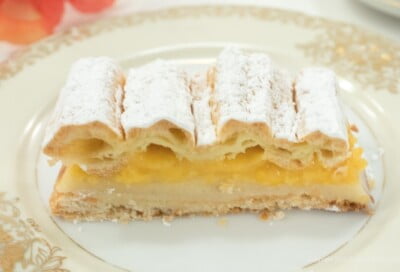
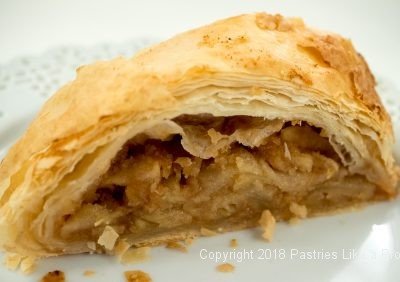 I grew up eating apple strudel. My mother and grandmother, who came from Yugoslavia would make the strudel dough from scratch on Sundays’ and pull the dough out so thinly you could read a paper through it.
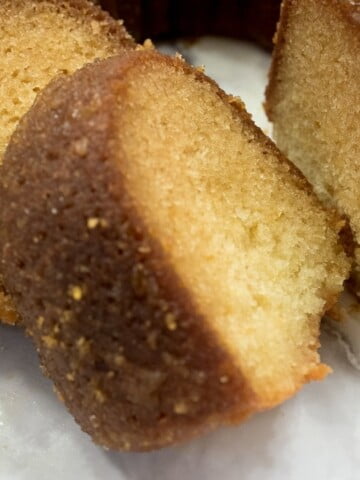
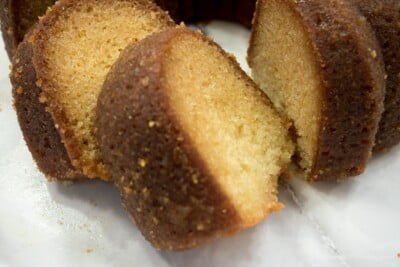 This Citrus Pound Cake is a simple sour cream cake enhanced with lots of orange and lemon zests. It is straightforward, quick to make and yields a large, moist cake that is soaked two ways to ensure that the entire cake receives this benefit. It is soaked from the top and bottom.


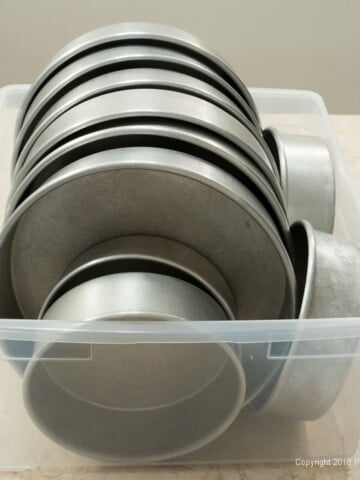
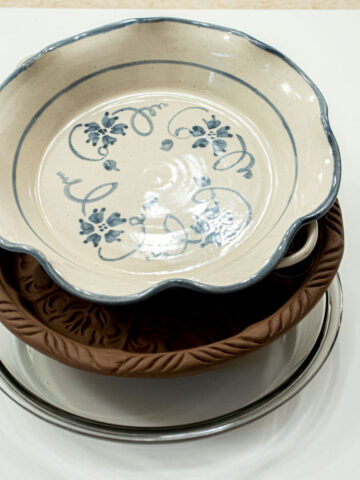
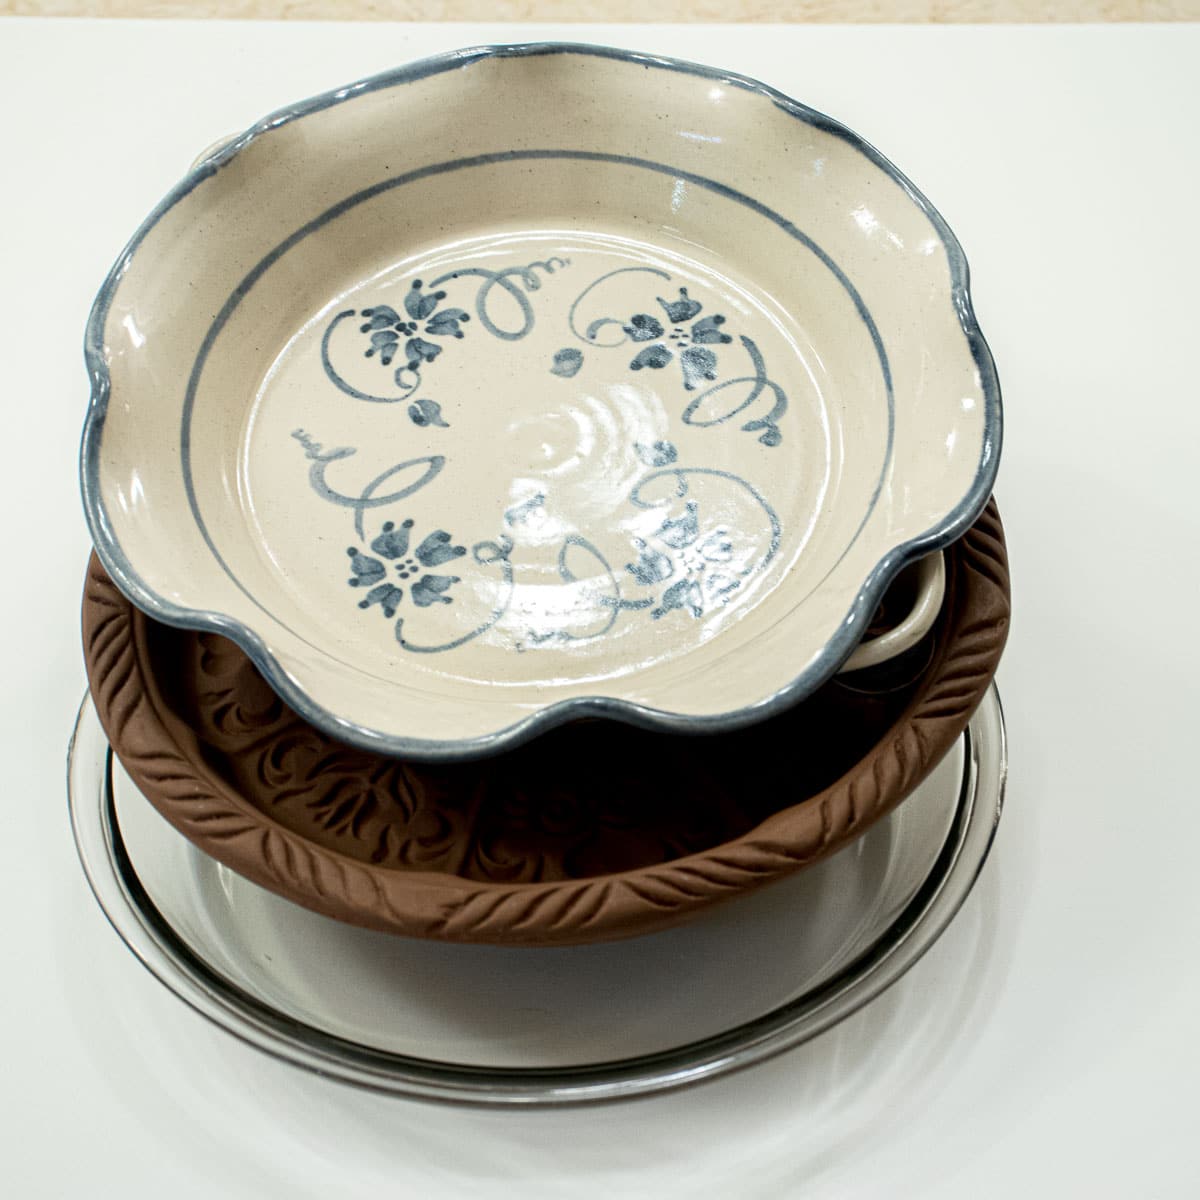
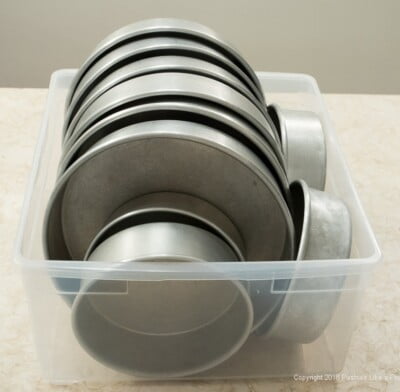 Kitchen Organization is really important to me. Not only because I am in the kitchen all the time, but because I don't like clutter or a lot of things on my counters. I have never wanted a large kitchen. I prefer a smaller kitchen where everything is at hand and easily accessible when I need it. Perhaps it is because the bakery was large and there was a lot of walking around.
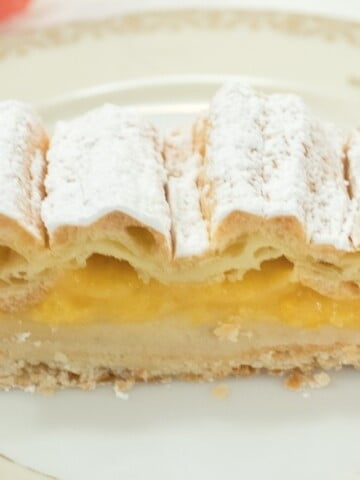


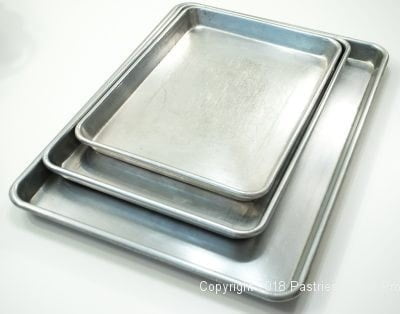
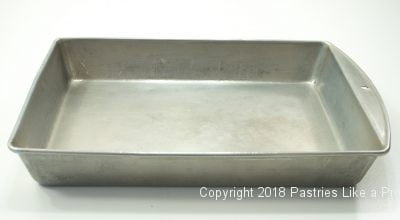
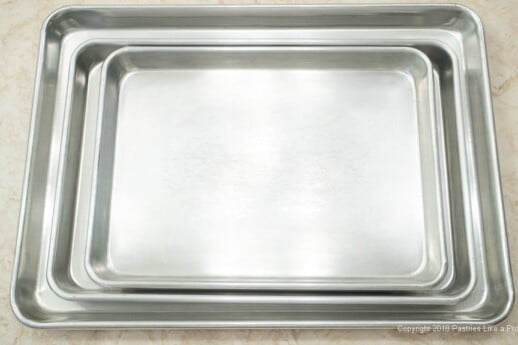 Before I started baking professionally, I didn’t know what sheet pans were. I had cookie sheets which were flat with upturned ends on which I baked my cookies, breads, rolls, etc.
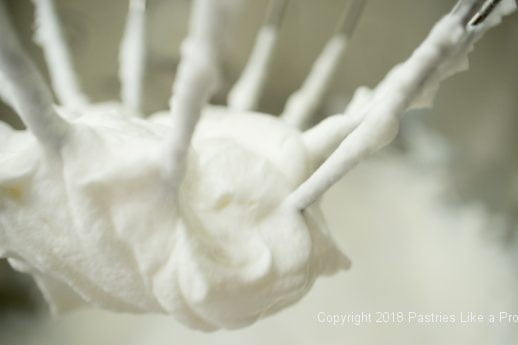
 With a variety of creams available, the cream of the crop is Heavy Cream, also known as 40% cream. This is an update to my blog, Salvaging Whipped Cream.


 Father's Day Desserts seems to be a more casual celebration than Mother's Day, but just as important. I have gathered some blogs that will fit right into a barbecue, brunch or just a special treat.


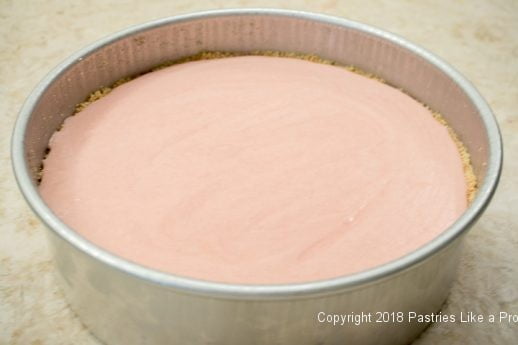
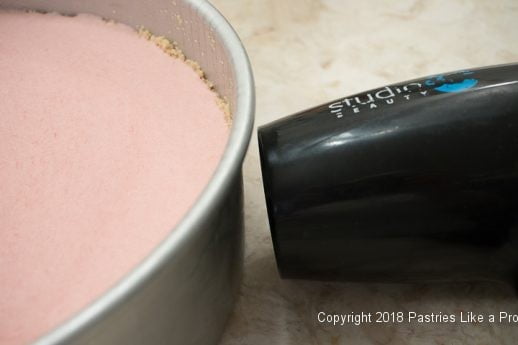
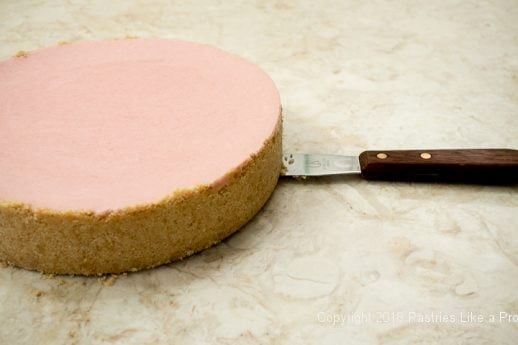
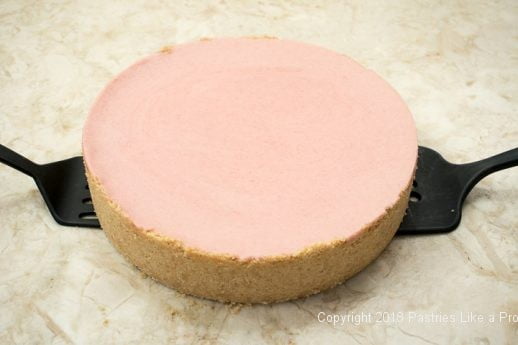
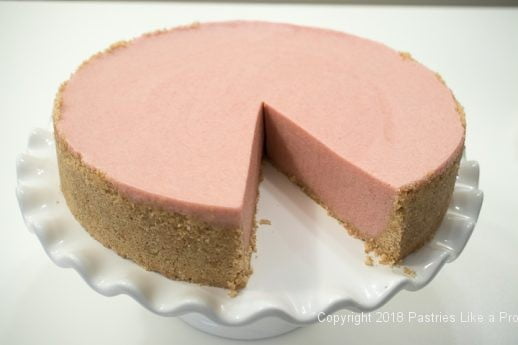
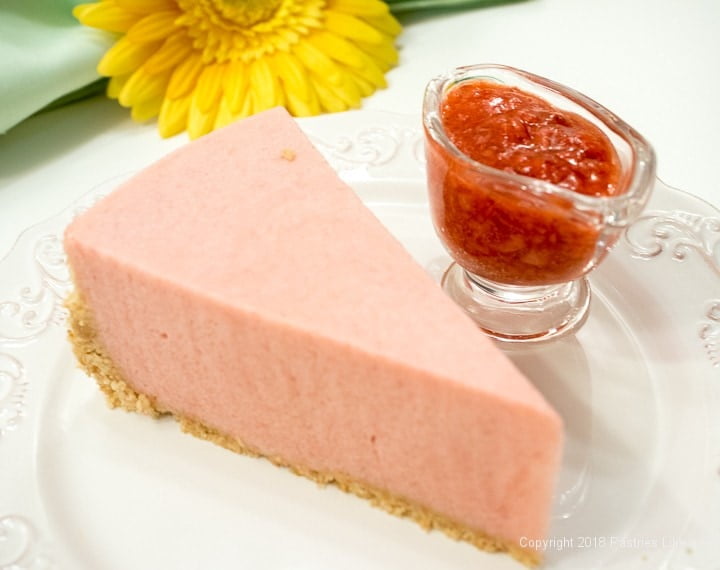
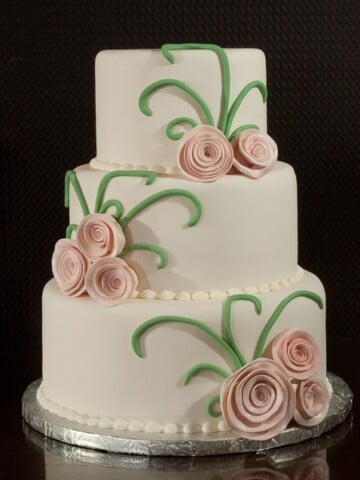
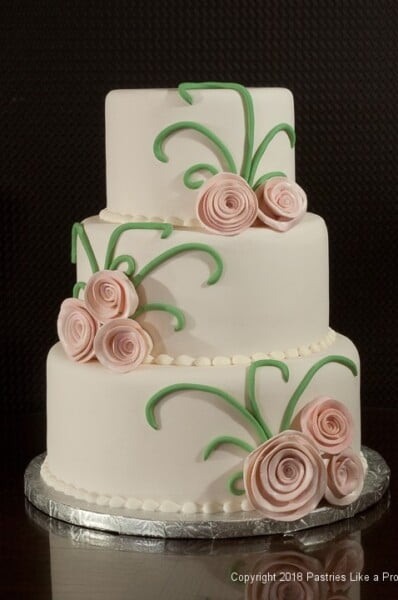
 This Raspberries and Cream Cake comes from the bakery's wedding cake file. It was a favorite spring and summer cake.
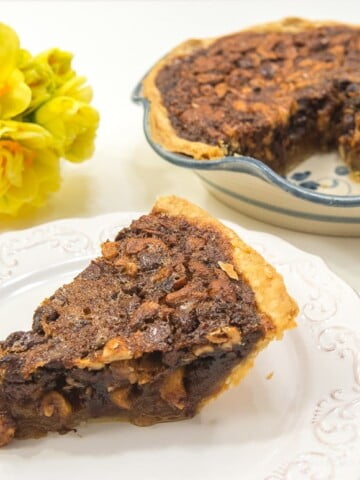
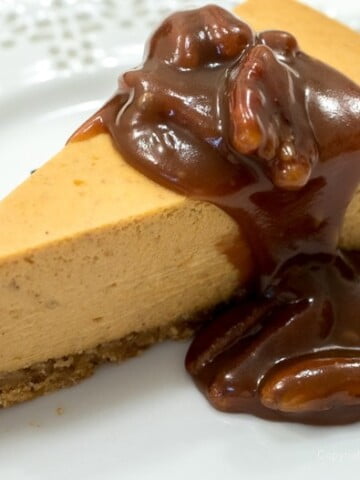
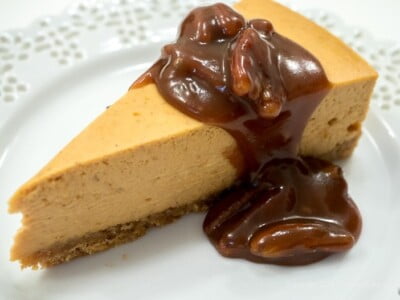
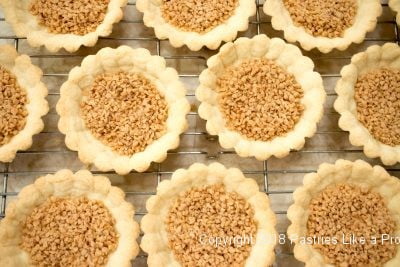
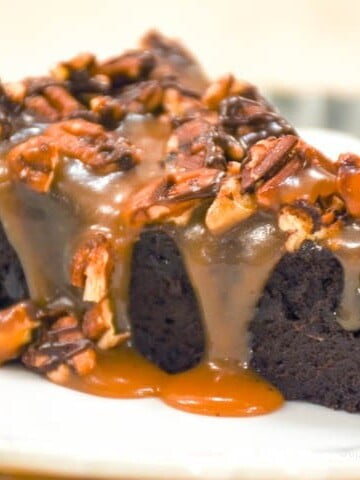
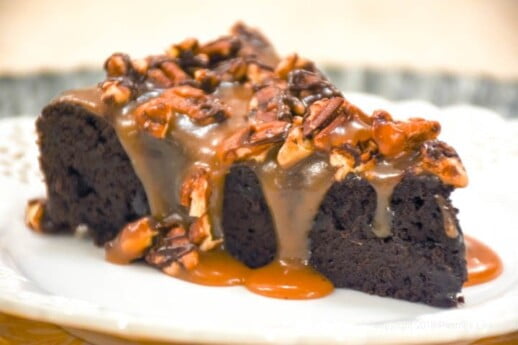
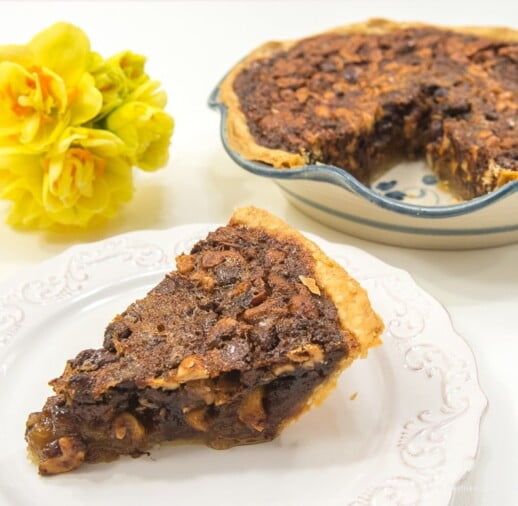 There are a couple of things that make a derby pie special. It is southern, abundant on the first Saturday of May when the Kentucky Derby runs and it features another southern specialty – bourbon.


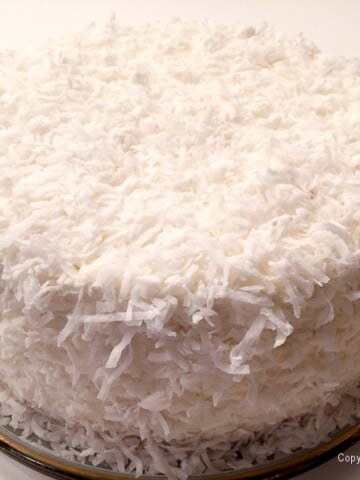
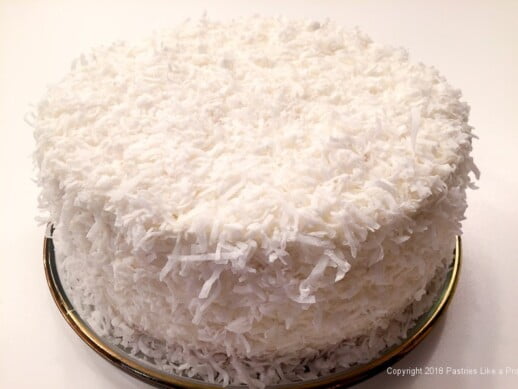 This tall, elegant, Chocolate Coconut Cream Cake is perfect for a change-up Easter cake. I have always wondered why coconut is associated with Easter. My search yielded no help. But it is, and this Chocolate Coconut Cream Cake is a surprise twist on my traditional
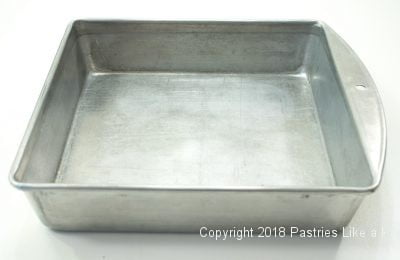
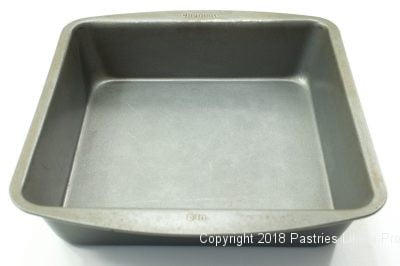
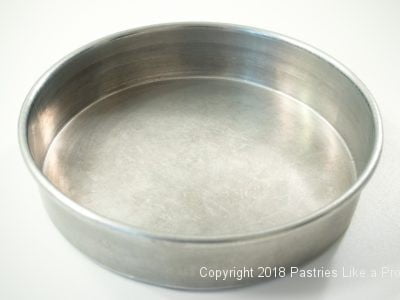
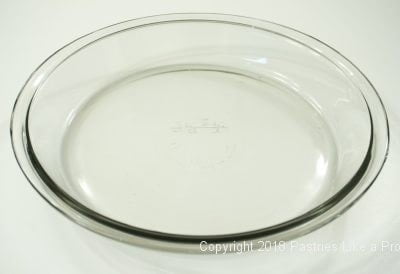
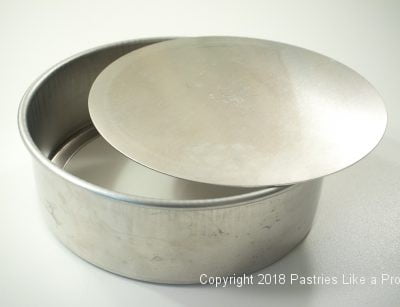
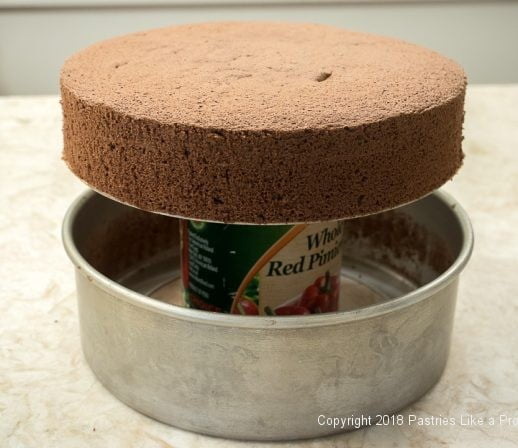
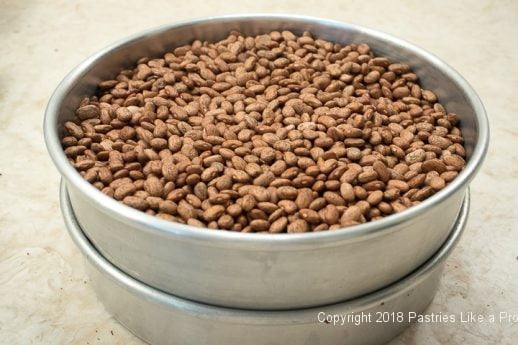
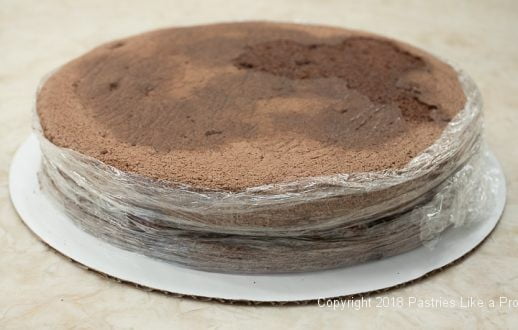
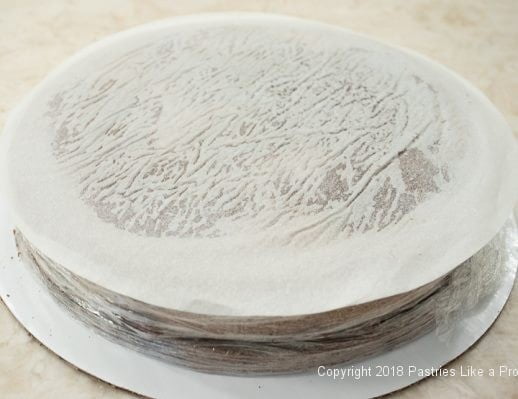
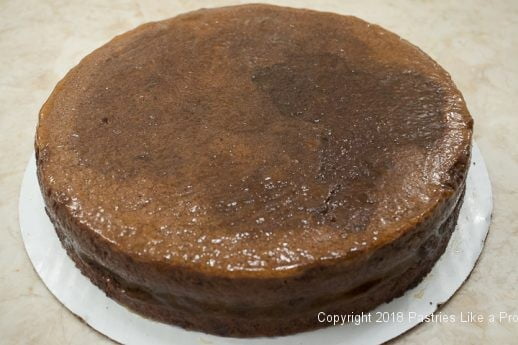
 The Secret of the 9 Inch Cake Pan is excerpted from
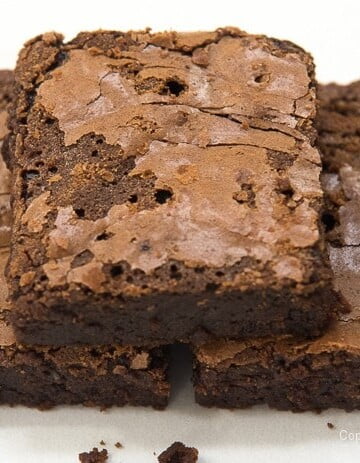
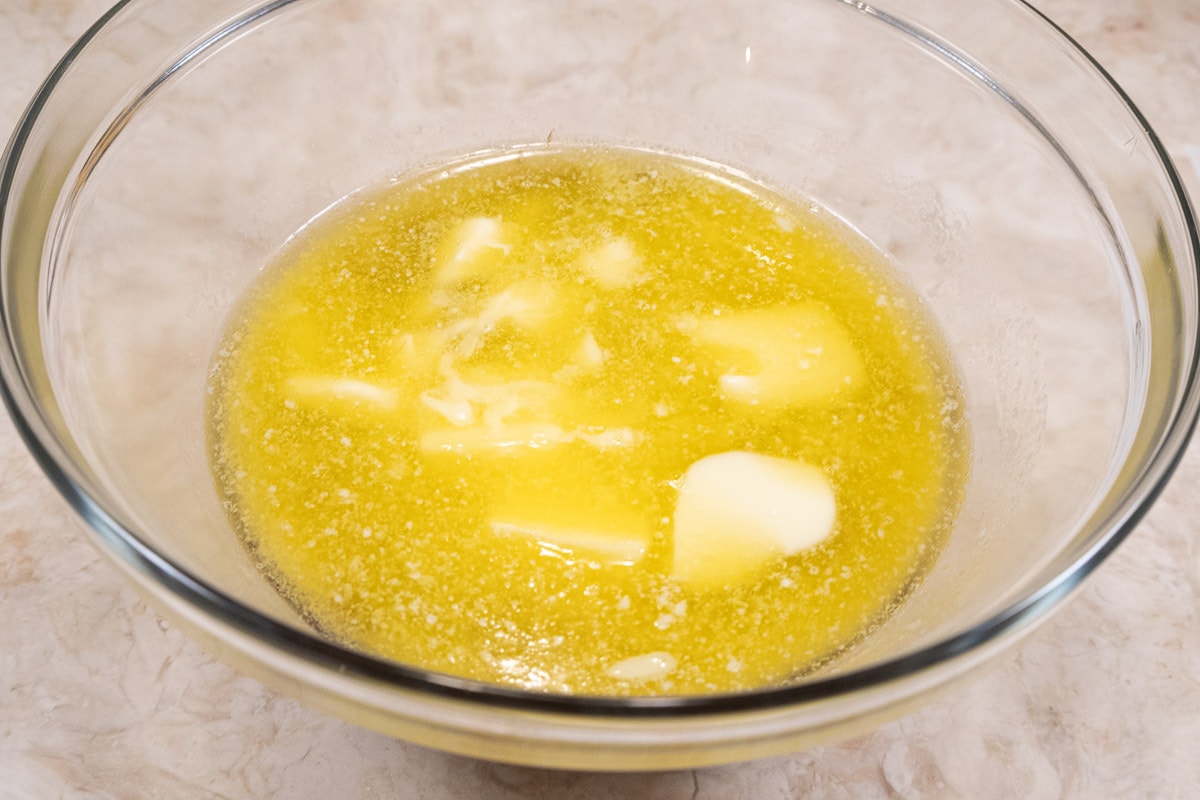
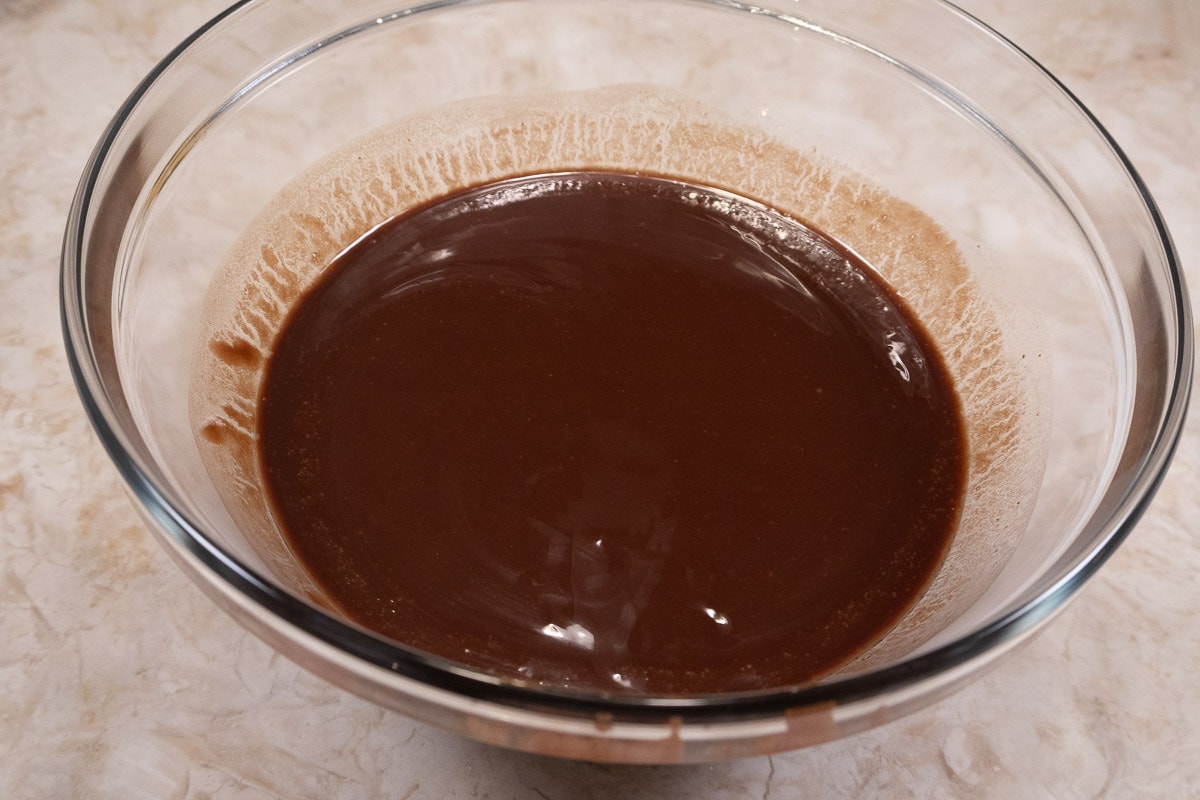
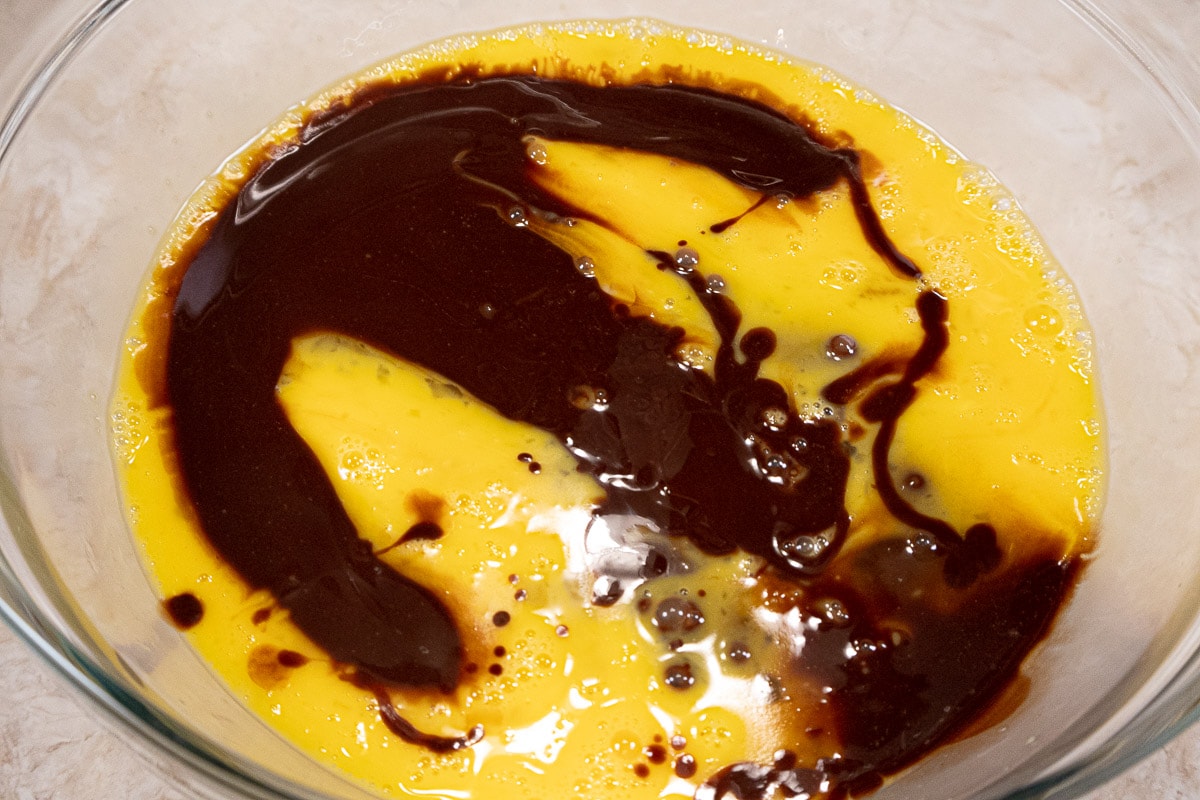
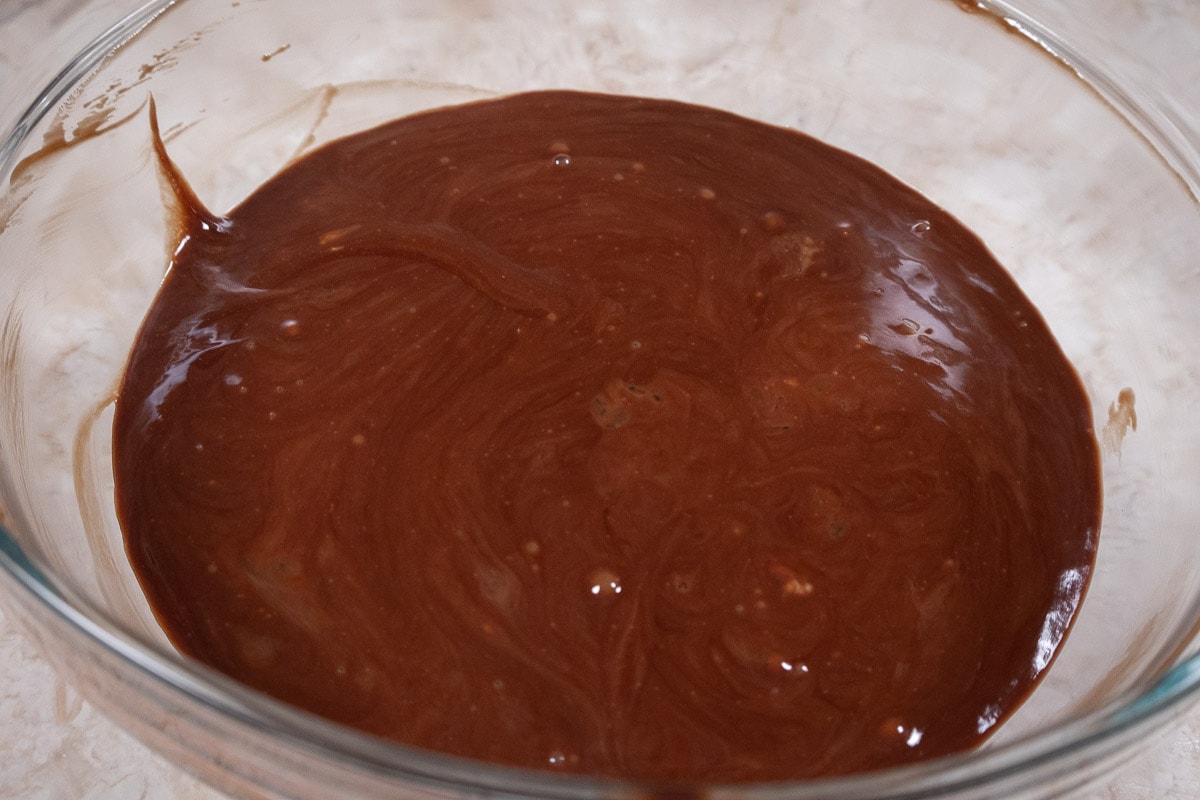
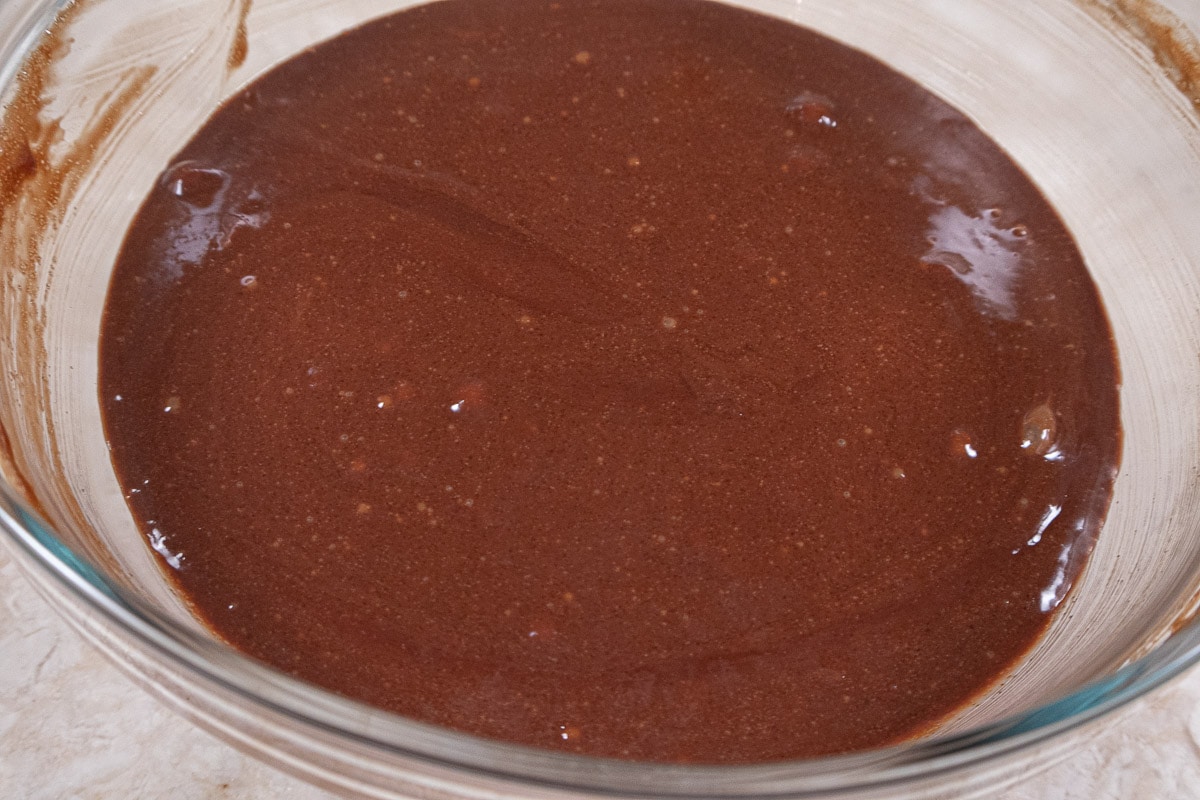
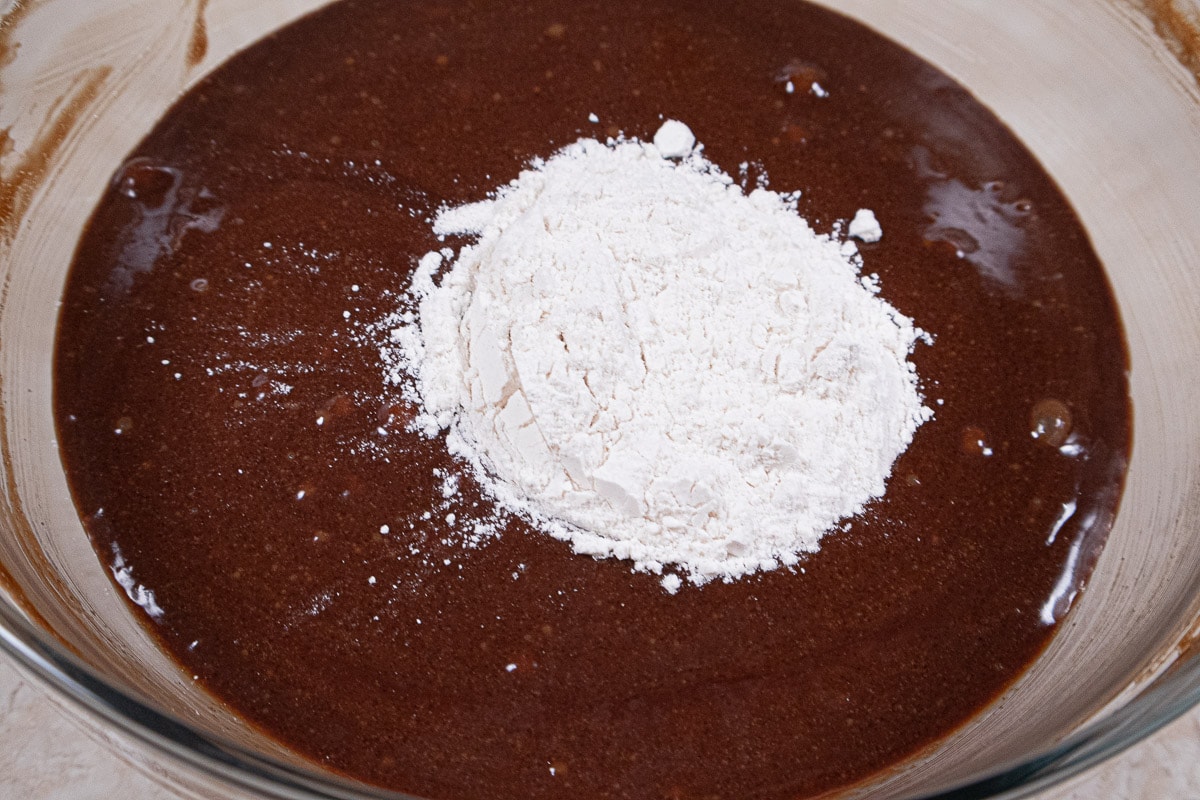
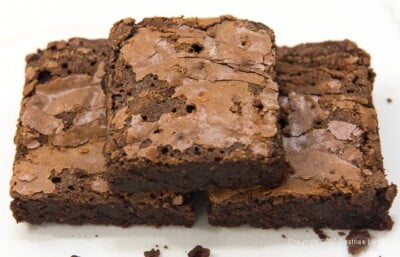 Cocoa Brownies have never been in my wheelhouse and I'm not sure why, although I have a sneaking suspicion I am prejudiced in favor of chocolate. However, while wandering around the internet recently, an article on cocoa brownies caught my eye.
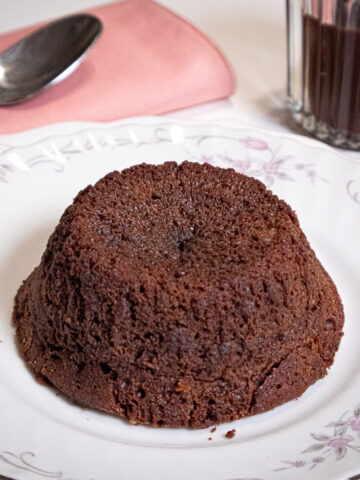


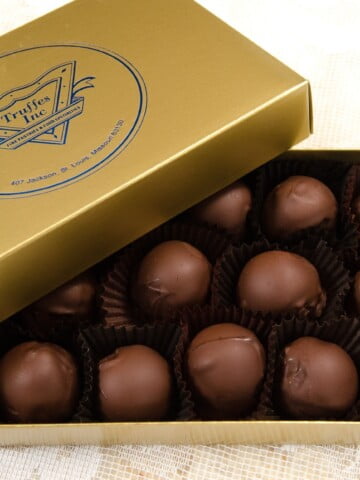
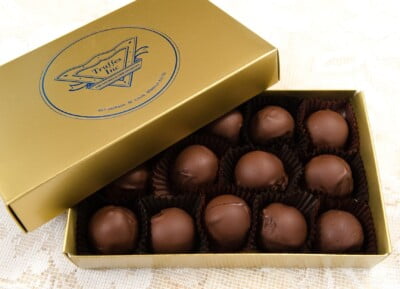
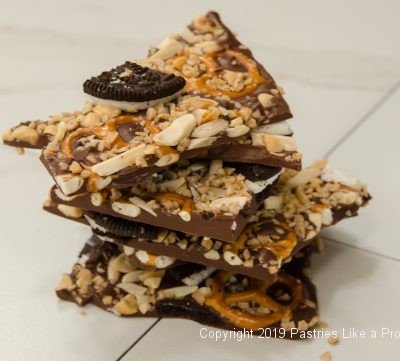
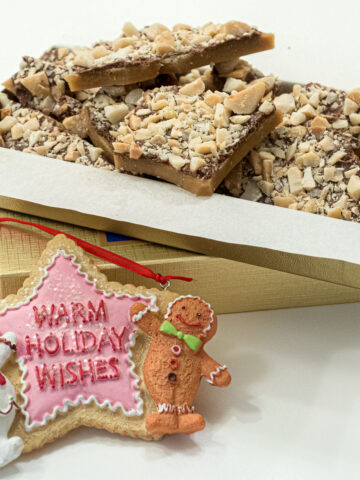
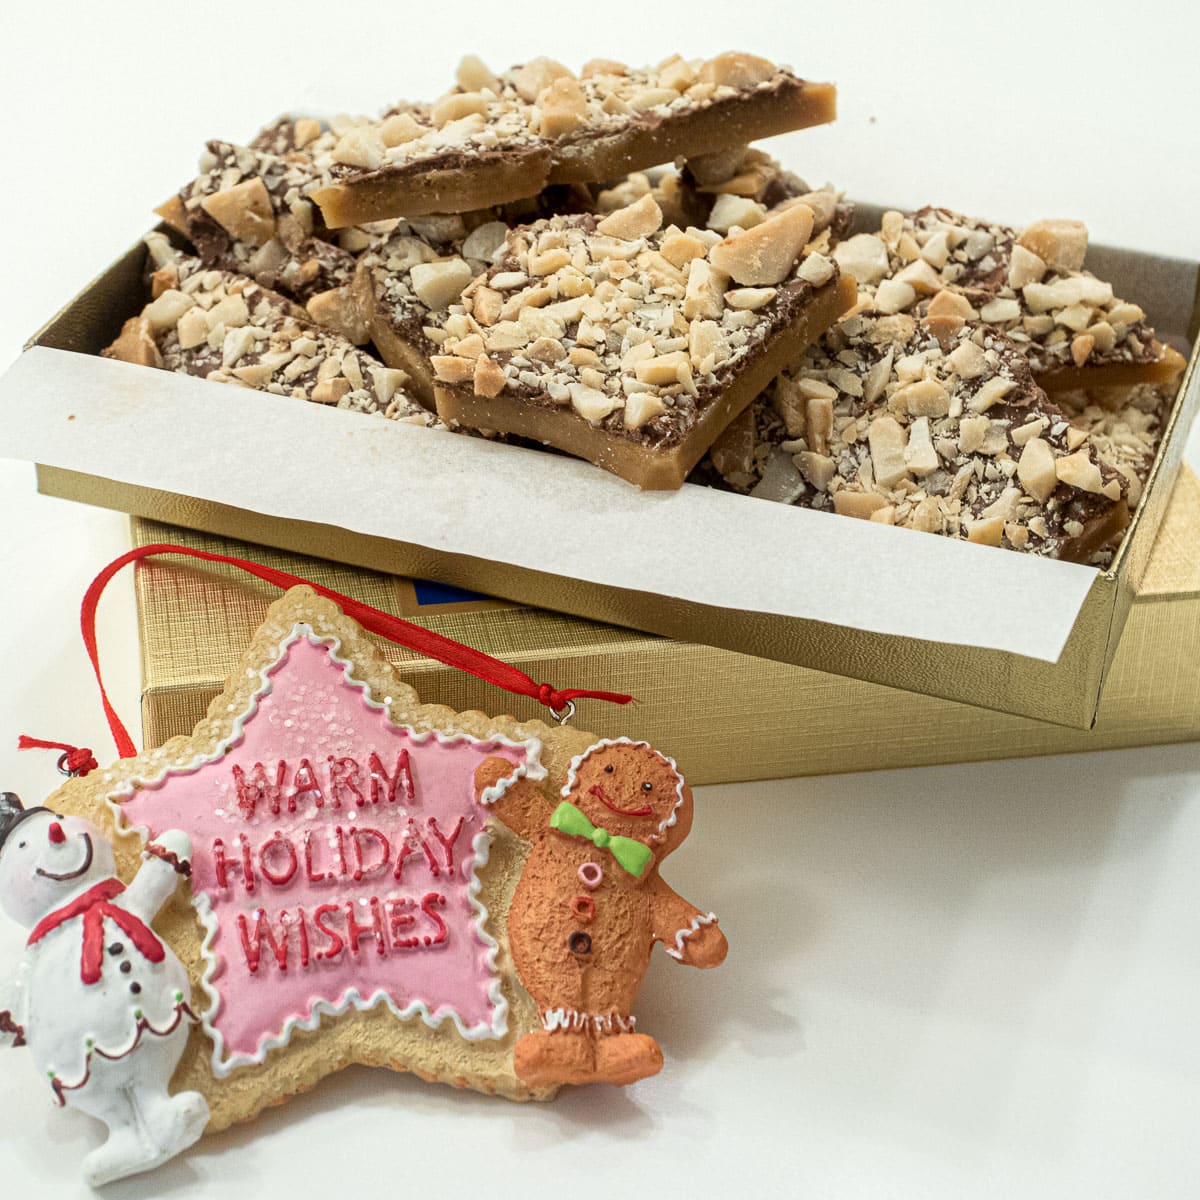
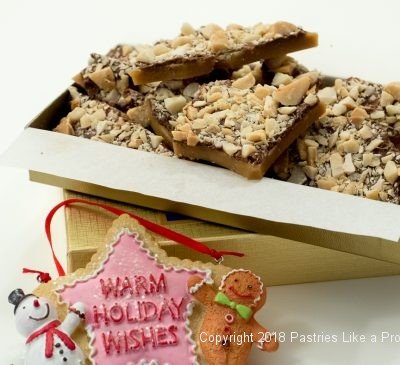
 Food gifts are always welcome, but even more so during the holiday season. Every year the holidays arrive faster and faster. No matter how I try, there is no way to slow them down. When I was a little girl, time could not go by fast enough. Now that I am no longer a little girl, it goes all too fast.