
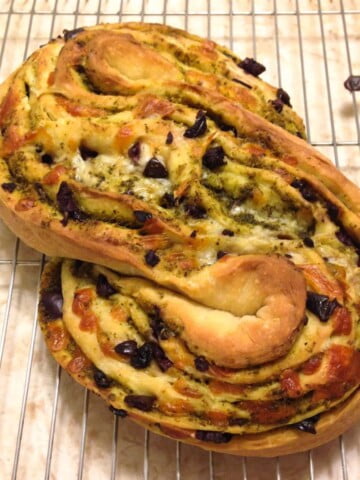
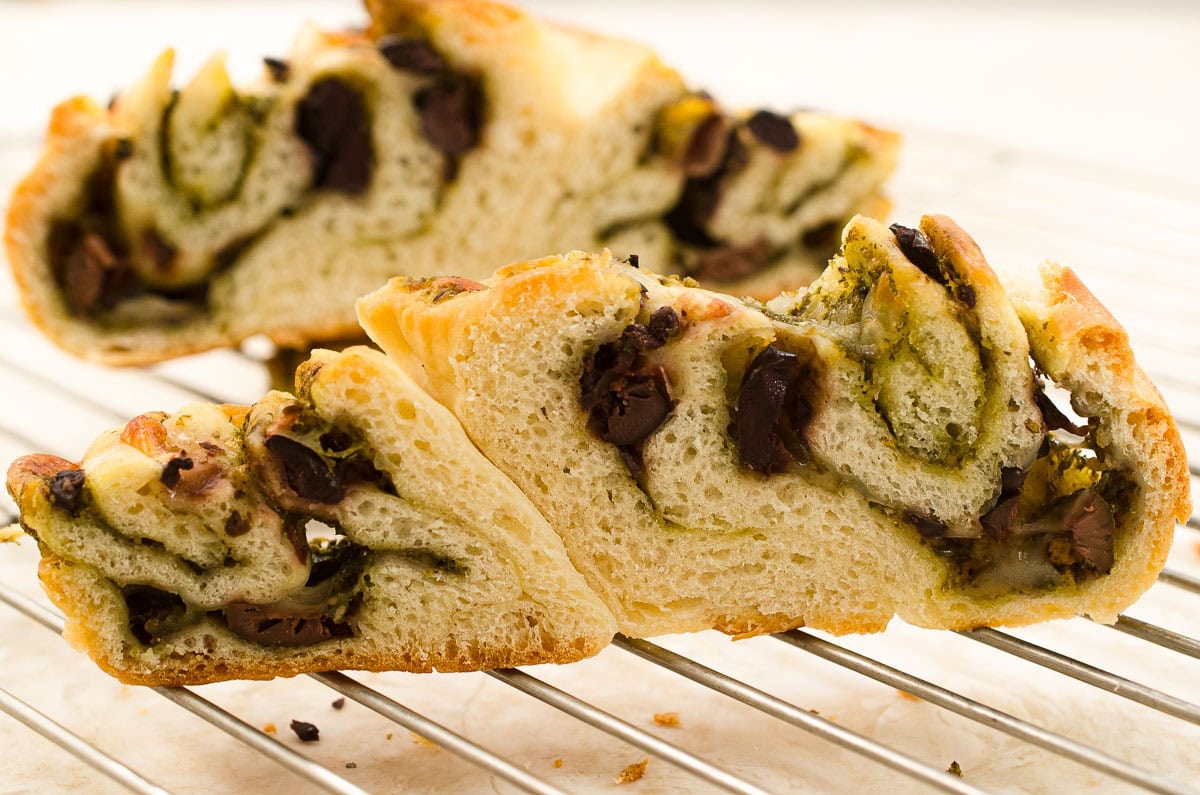
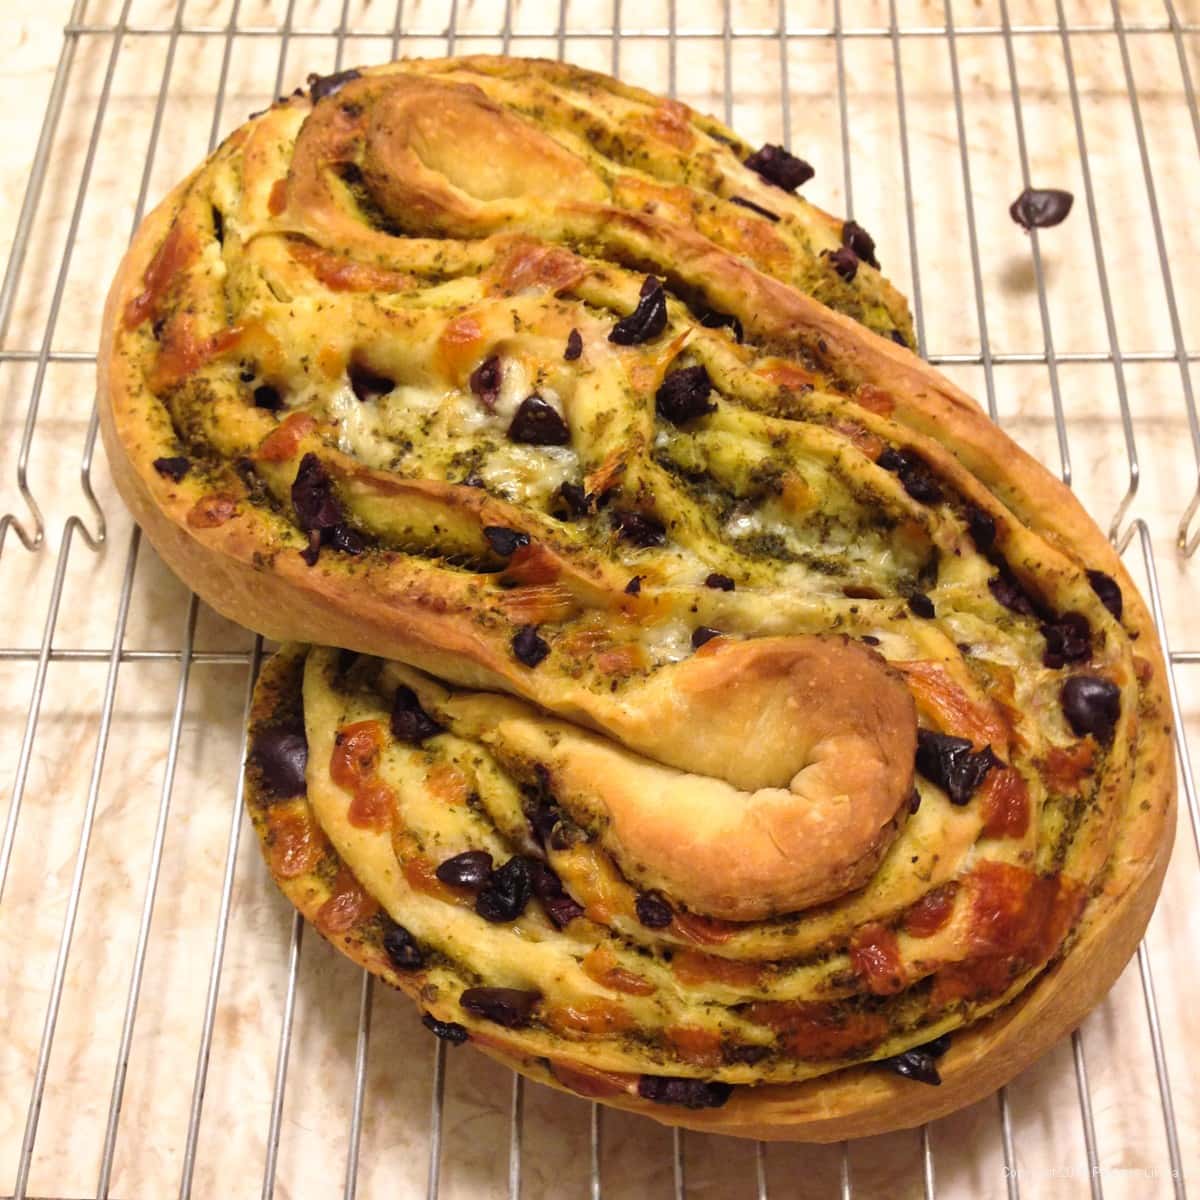
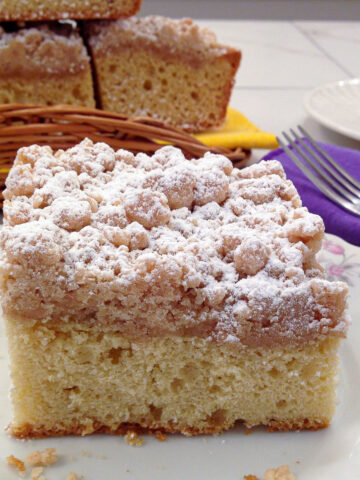
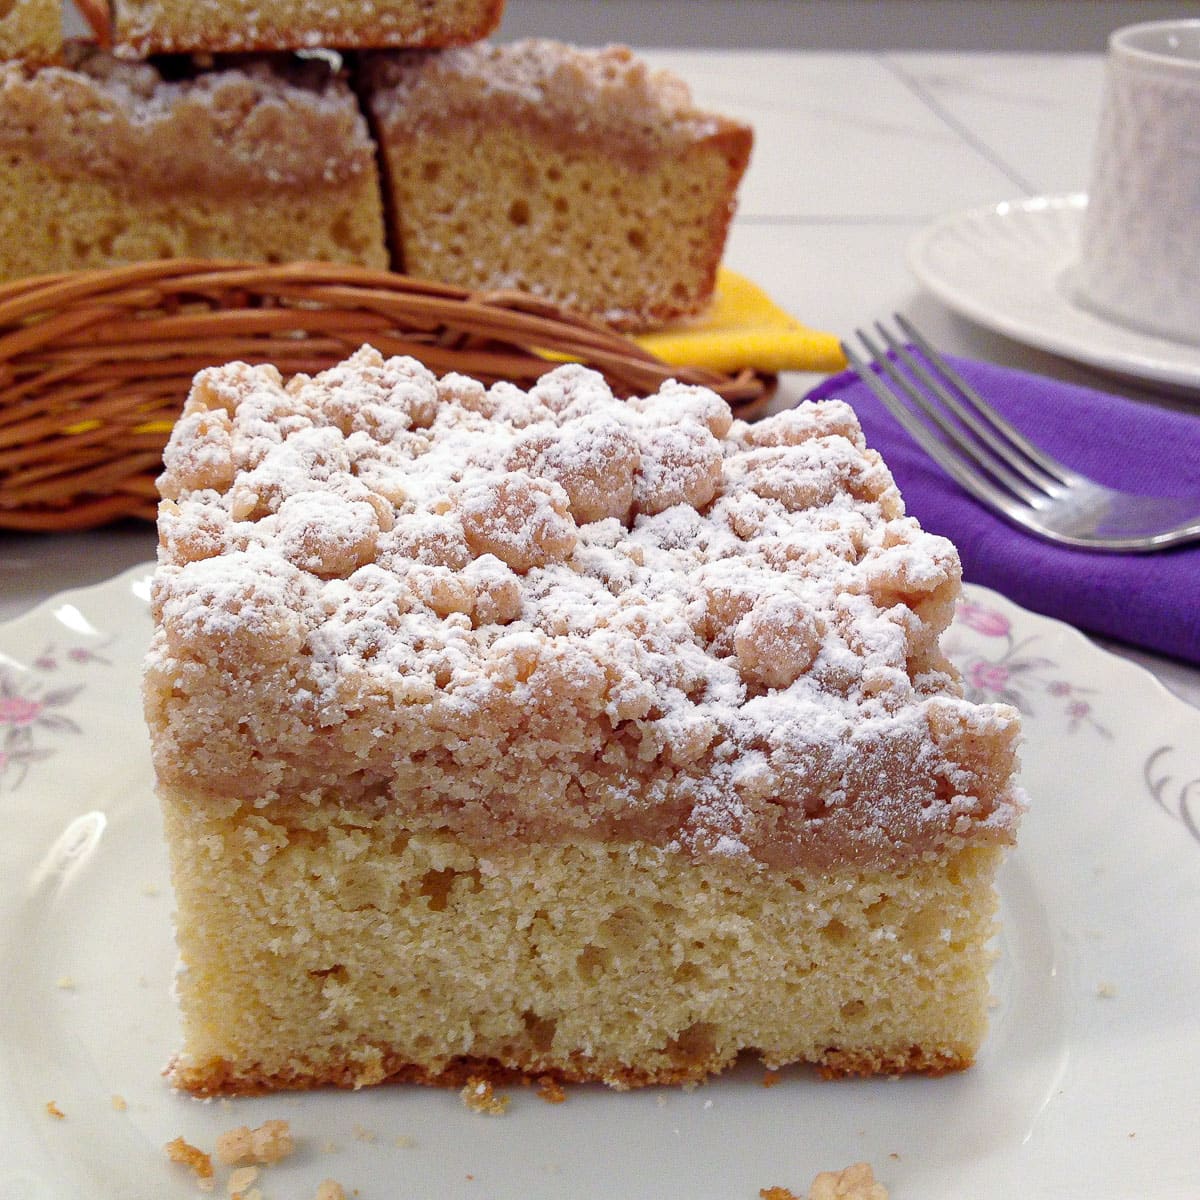
Pane Bianco may look intimidating, but its unique shape is actually easy to achieve and makes an impressive presentation. It is literally stuffed with flavor, in this case zippy garlic oil, pesto, calamata olives, and provolone cheese although almost anything can be used.
While there are a few moving parts to this recipe, everything can be done ahead and in stages. In fact, I recommend making the dough for the bread 3 days ahead in the fridge. The pesto and zippy olive oil can be made a week ahead. The cheese and olives for the filling can be prepared the days before and refrigerated.

I first ran across this huge loaf on the King Arthur website. As I read the introduction, I noticed we have Dianna Wara of Washington, Illinois to thank for this beauty. She took first place with her Pane Bianco in the first-ever National Festival of Breads. No matter where this recipe came from, it should be in every bread baker's repertoire.
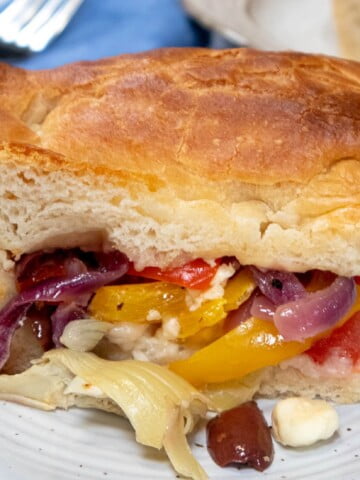
If you love stuffed or flavored yeast breads, the Stuffed Foccacia, International Flatbreads or the Muffaletta Bread which includes a sandwich may just be the thing for you.
[feast_advanced_jump_to]Why You'll Want to Make Pane Bianco
- It's stuffed with all the flavors of the Mediterranean in a soft bread.
- The filling can be changed out as desired.
- If left to rest in the refrigerator for several days, the dough is very easy to roll out with no spring back so often present with yeast doughs.
- The impressive shape, color and texture is one of the best breads you will ever make.
- Despite its appearance, it is actually easy to make. Just follow the photos.
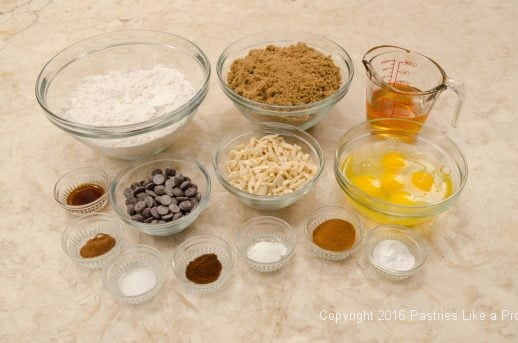
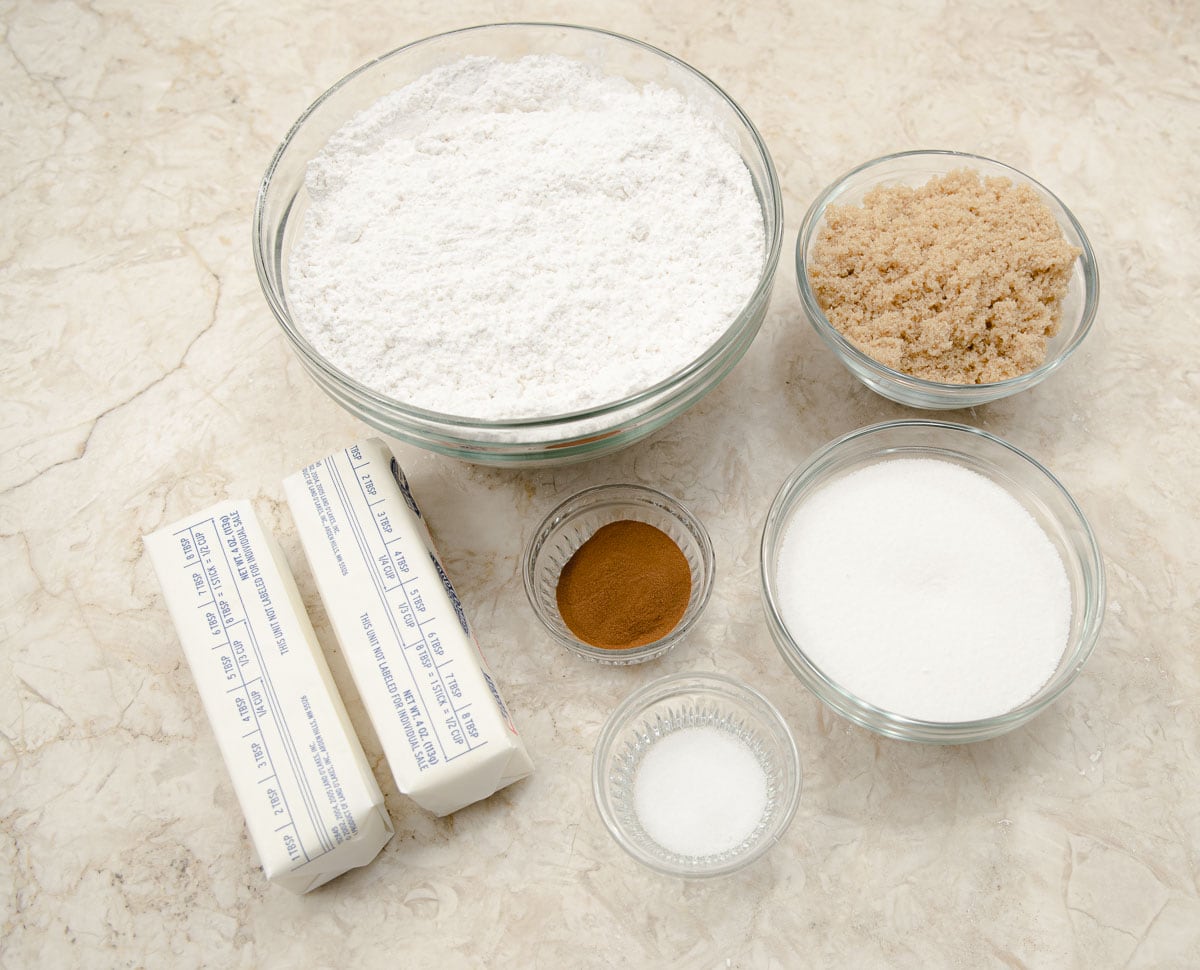
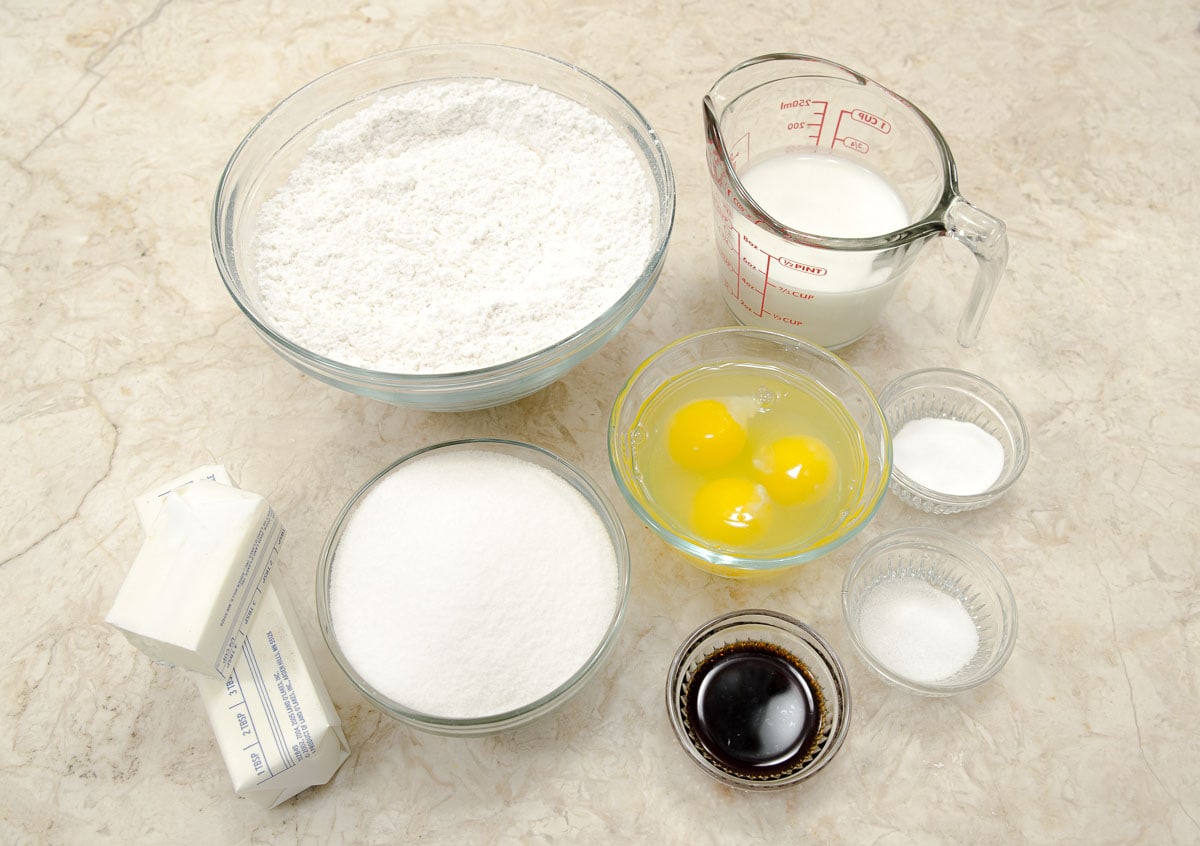
Recipe Ingredients
Pesto
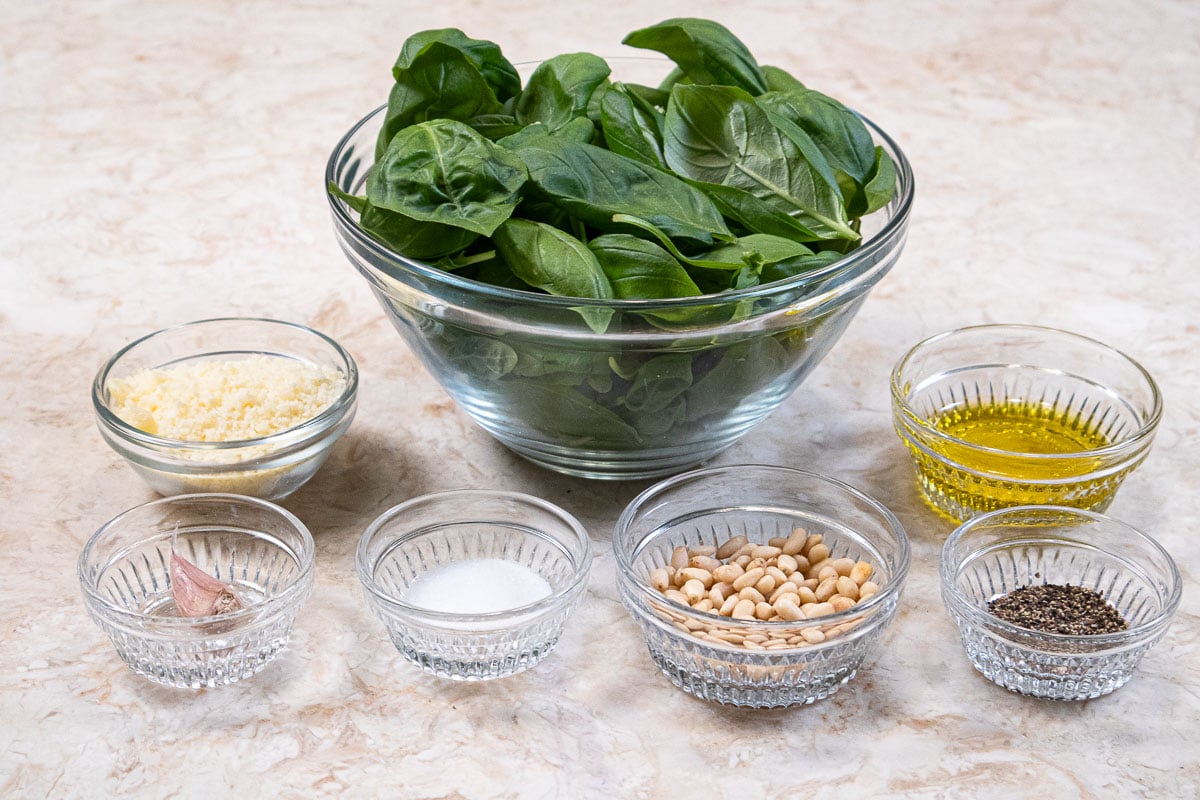
FRONT ROW: Garlic clove, salt, pine nuts, pepper
BACK ROW: Parmesan cheese, fresh basil, olive oil
Zippy Garlic Oil
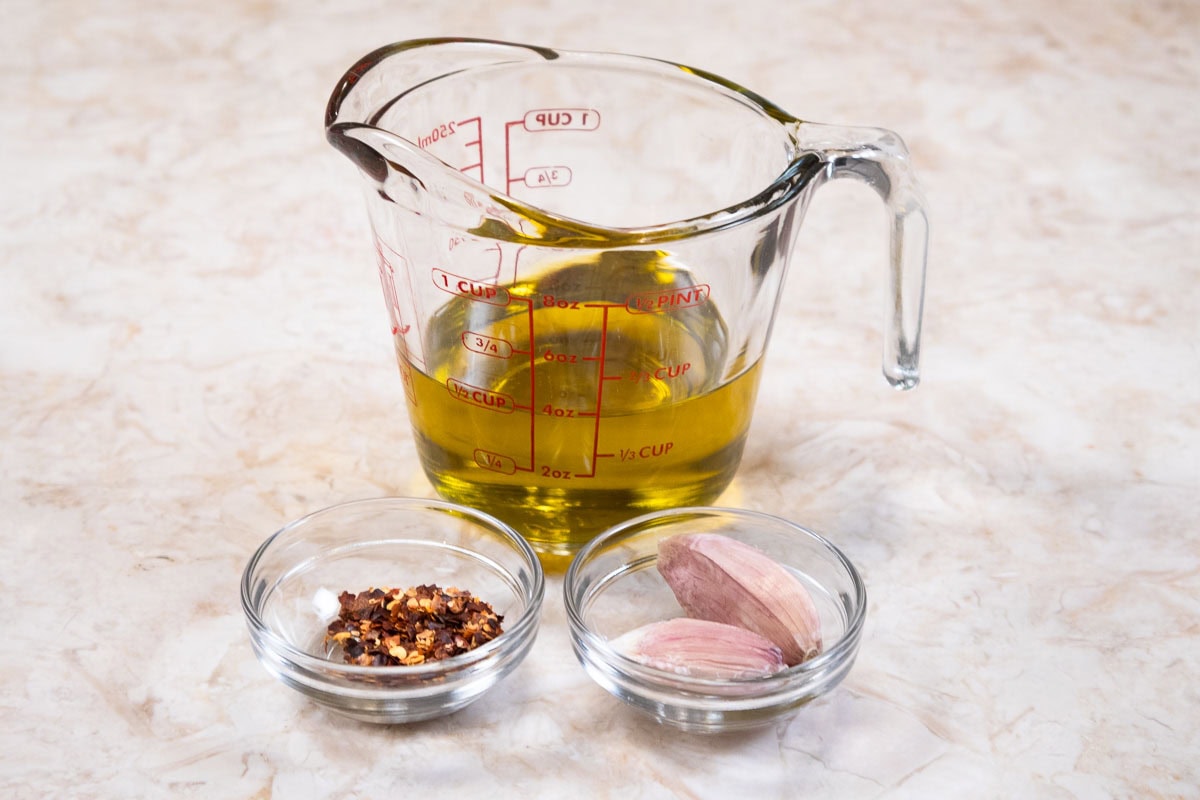
FRONT ROW: Red pepper flakes, garlic cloves
BACK ROW: Olive oil
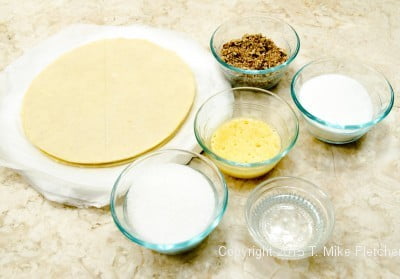
Pane Bianco Bread
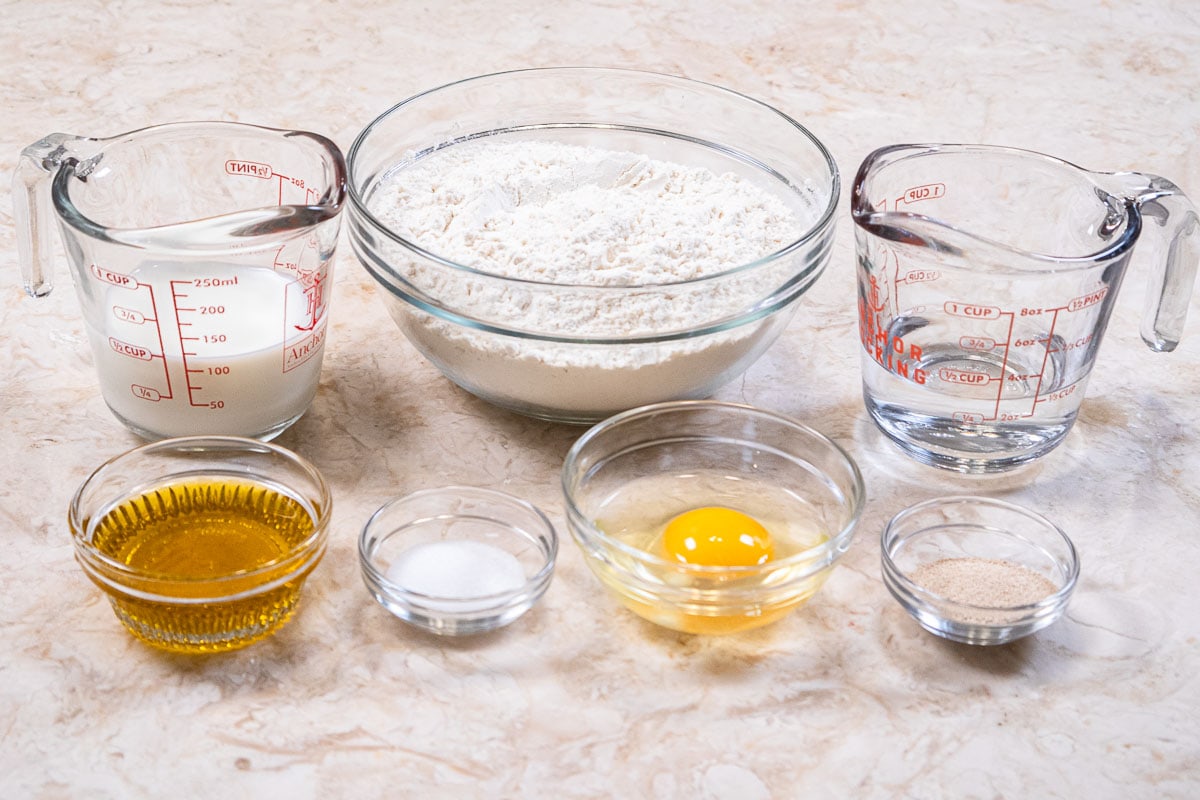
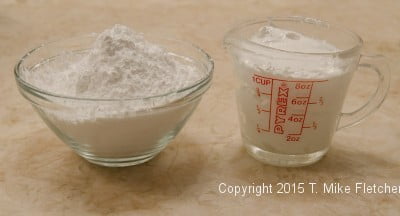
FRONT ROW: Zippy olive oil, salt, egg, instant yeast
BACK ROW: Milk, bread flour, water
Filling for the Bread
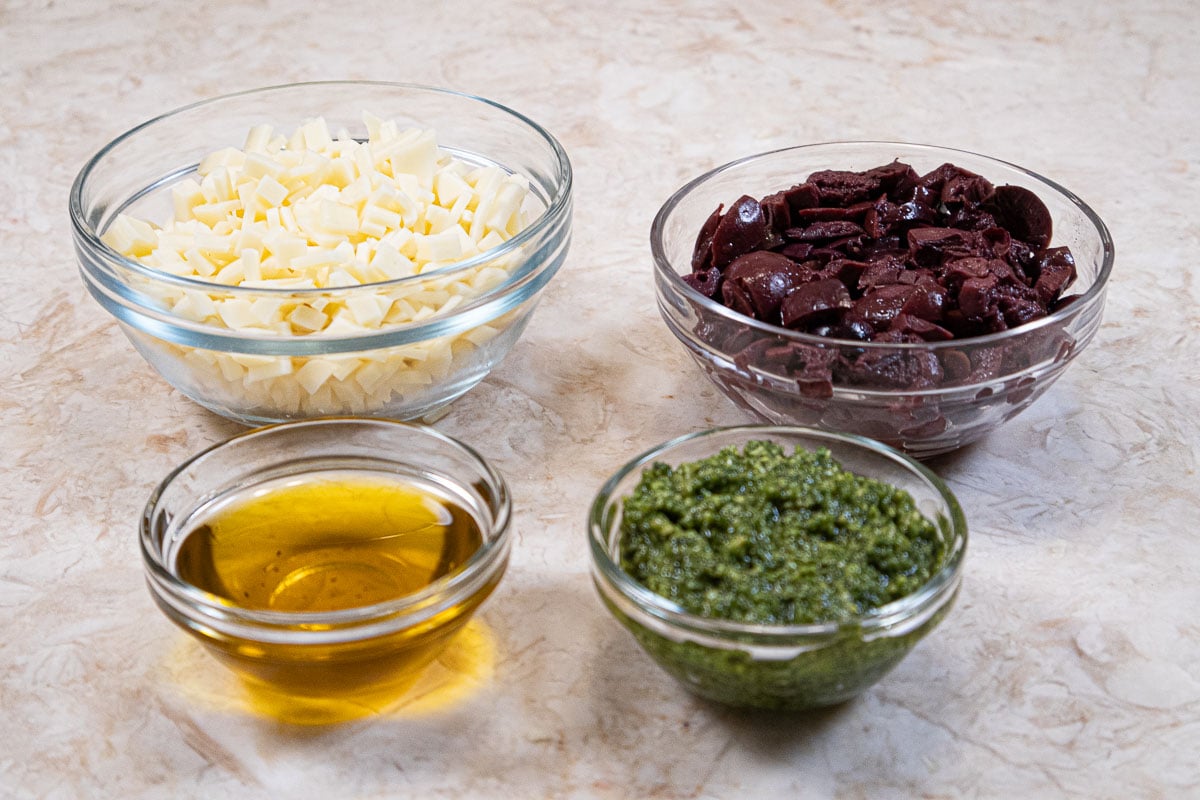
FRONT ROW: Zippy Olive Oil, pesto
BACK ROW: Provolone cheese, calamata olives
Variations and Substitutions
- The pesto can be purchased. Just make sure it isn't too loose. If it is, add extra cheese to tighten it up. If making it, it can be made weeks ahead and stored in the refrigerator or dropped by tablespoons onto waxed paper and frozen for longer storage.
- Walnuts can be substituted for the pine nuts if desire. They should be toasted, as are the pine nuts to bring out their flavor. Toast them in a 350°F oven for 87 to 10 minutes until fragrant and a bit darker in color.
- All-purpose flour can be substituted for the bread flour but bread flour will produce a better result.
- I used Extra Virgin Olive Oil but other grades can be substituted. If olive oil isn't your thing, sub canola oil.
- Other cheese can be substituted for the provolone.
Special Note About the Zippy Garlic Oil
It is important to strain the garlic out as it comes to room temperature. The USDA issued a warning some years back that there is a small possibility of botulism forming if garlic is left in the oil. As long as the garlic is removed the oil will be safe. All of the oil made for this recipe will be used. I usually double or triple the recipe to have on hand for a myriad of uses. However, I store mine in the refrigerator where it will last almost indefinitely.
Be sure to see the recipe card below for the exact ingredients and instructions.
Step by Step Instructions
Pesto
This pesto is a thicker version than most that use a lot of oil. The recipe for the Pane Bianco uses a less runny pesto and this recipe allows you to adjust it as required.
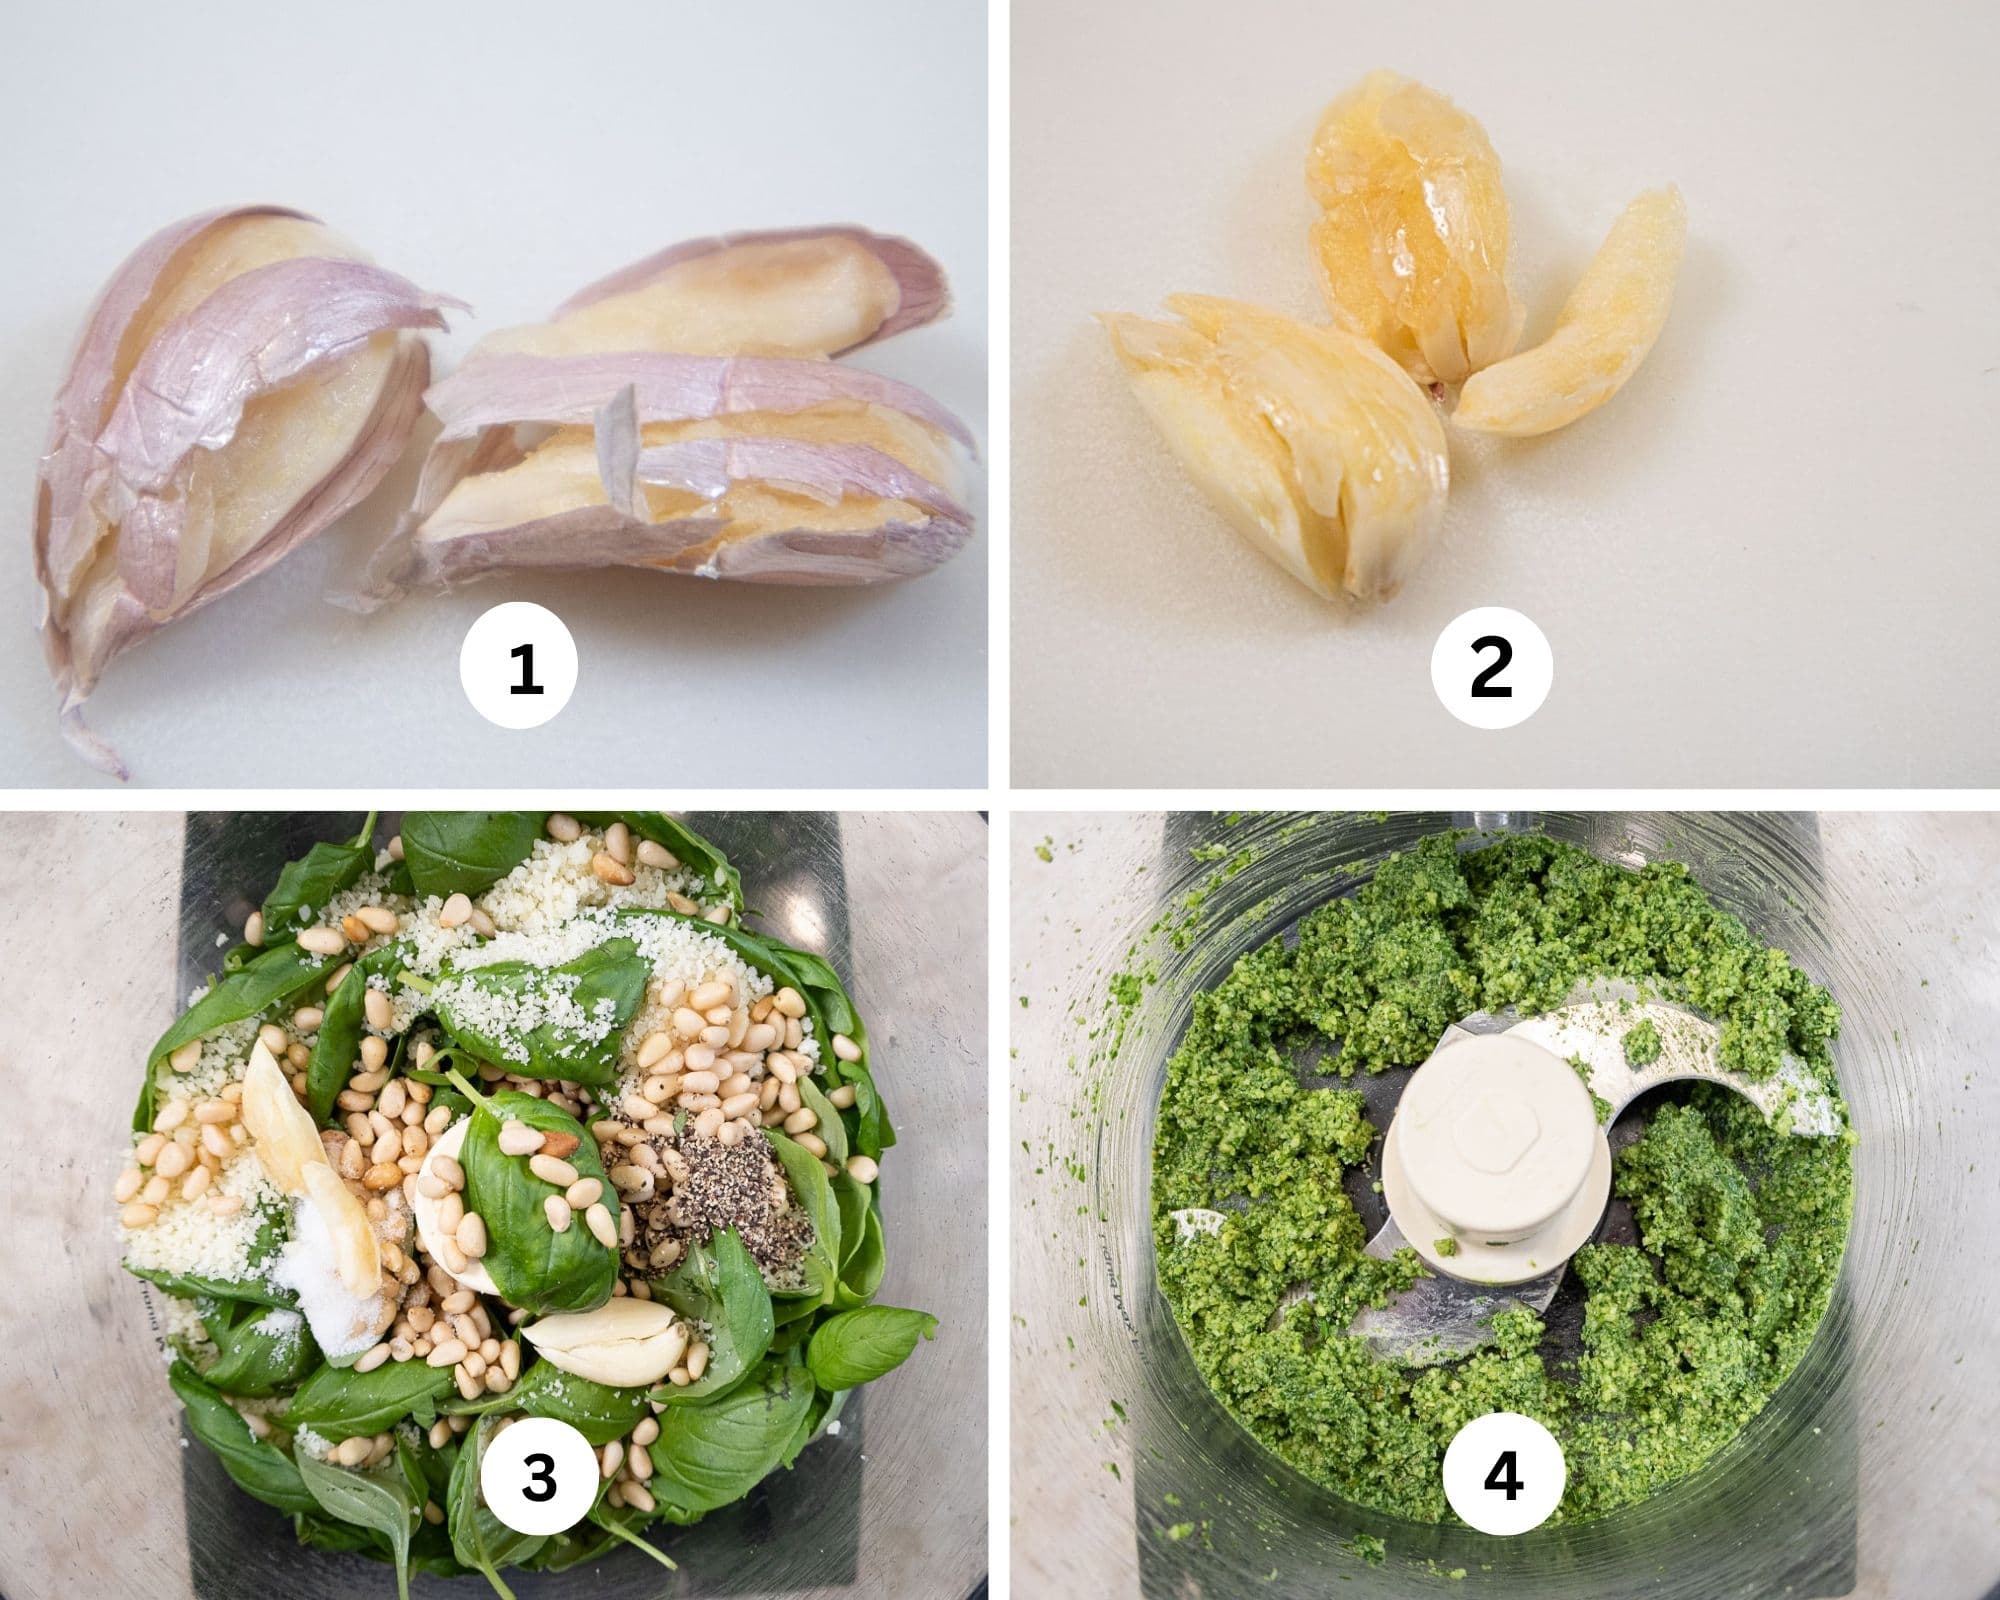
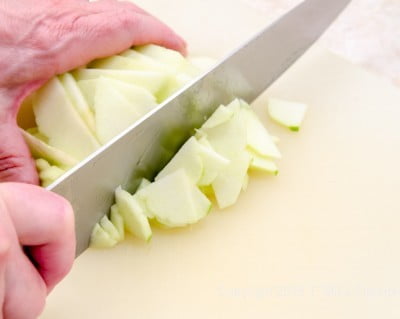
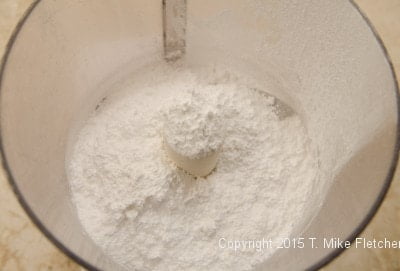
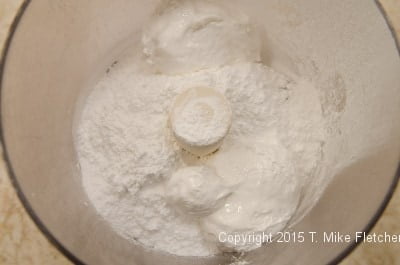
Step 1. To easily remove the skin from garlic cloves, place them on a cutting board and then, with the flat side of a large knife, smash them. Step 2. The skins will pop off, leaving clean garlic cloves. Step 3. Place all the ingredients for the pesto in a food processor or blender. Step 4. Process until smooth.
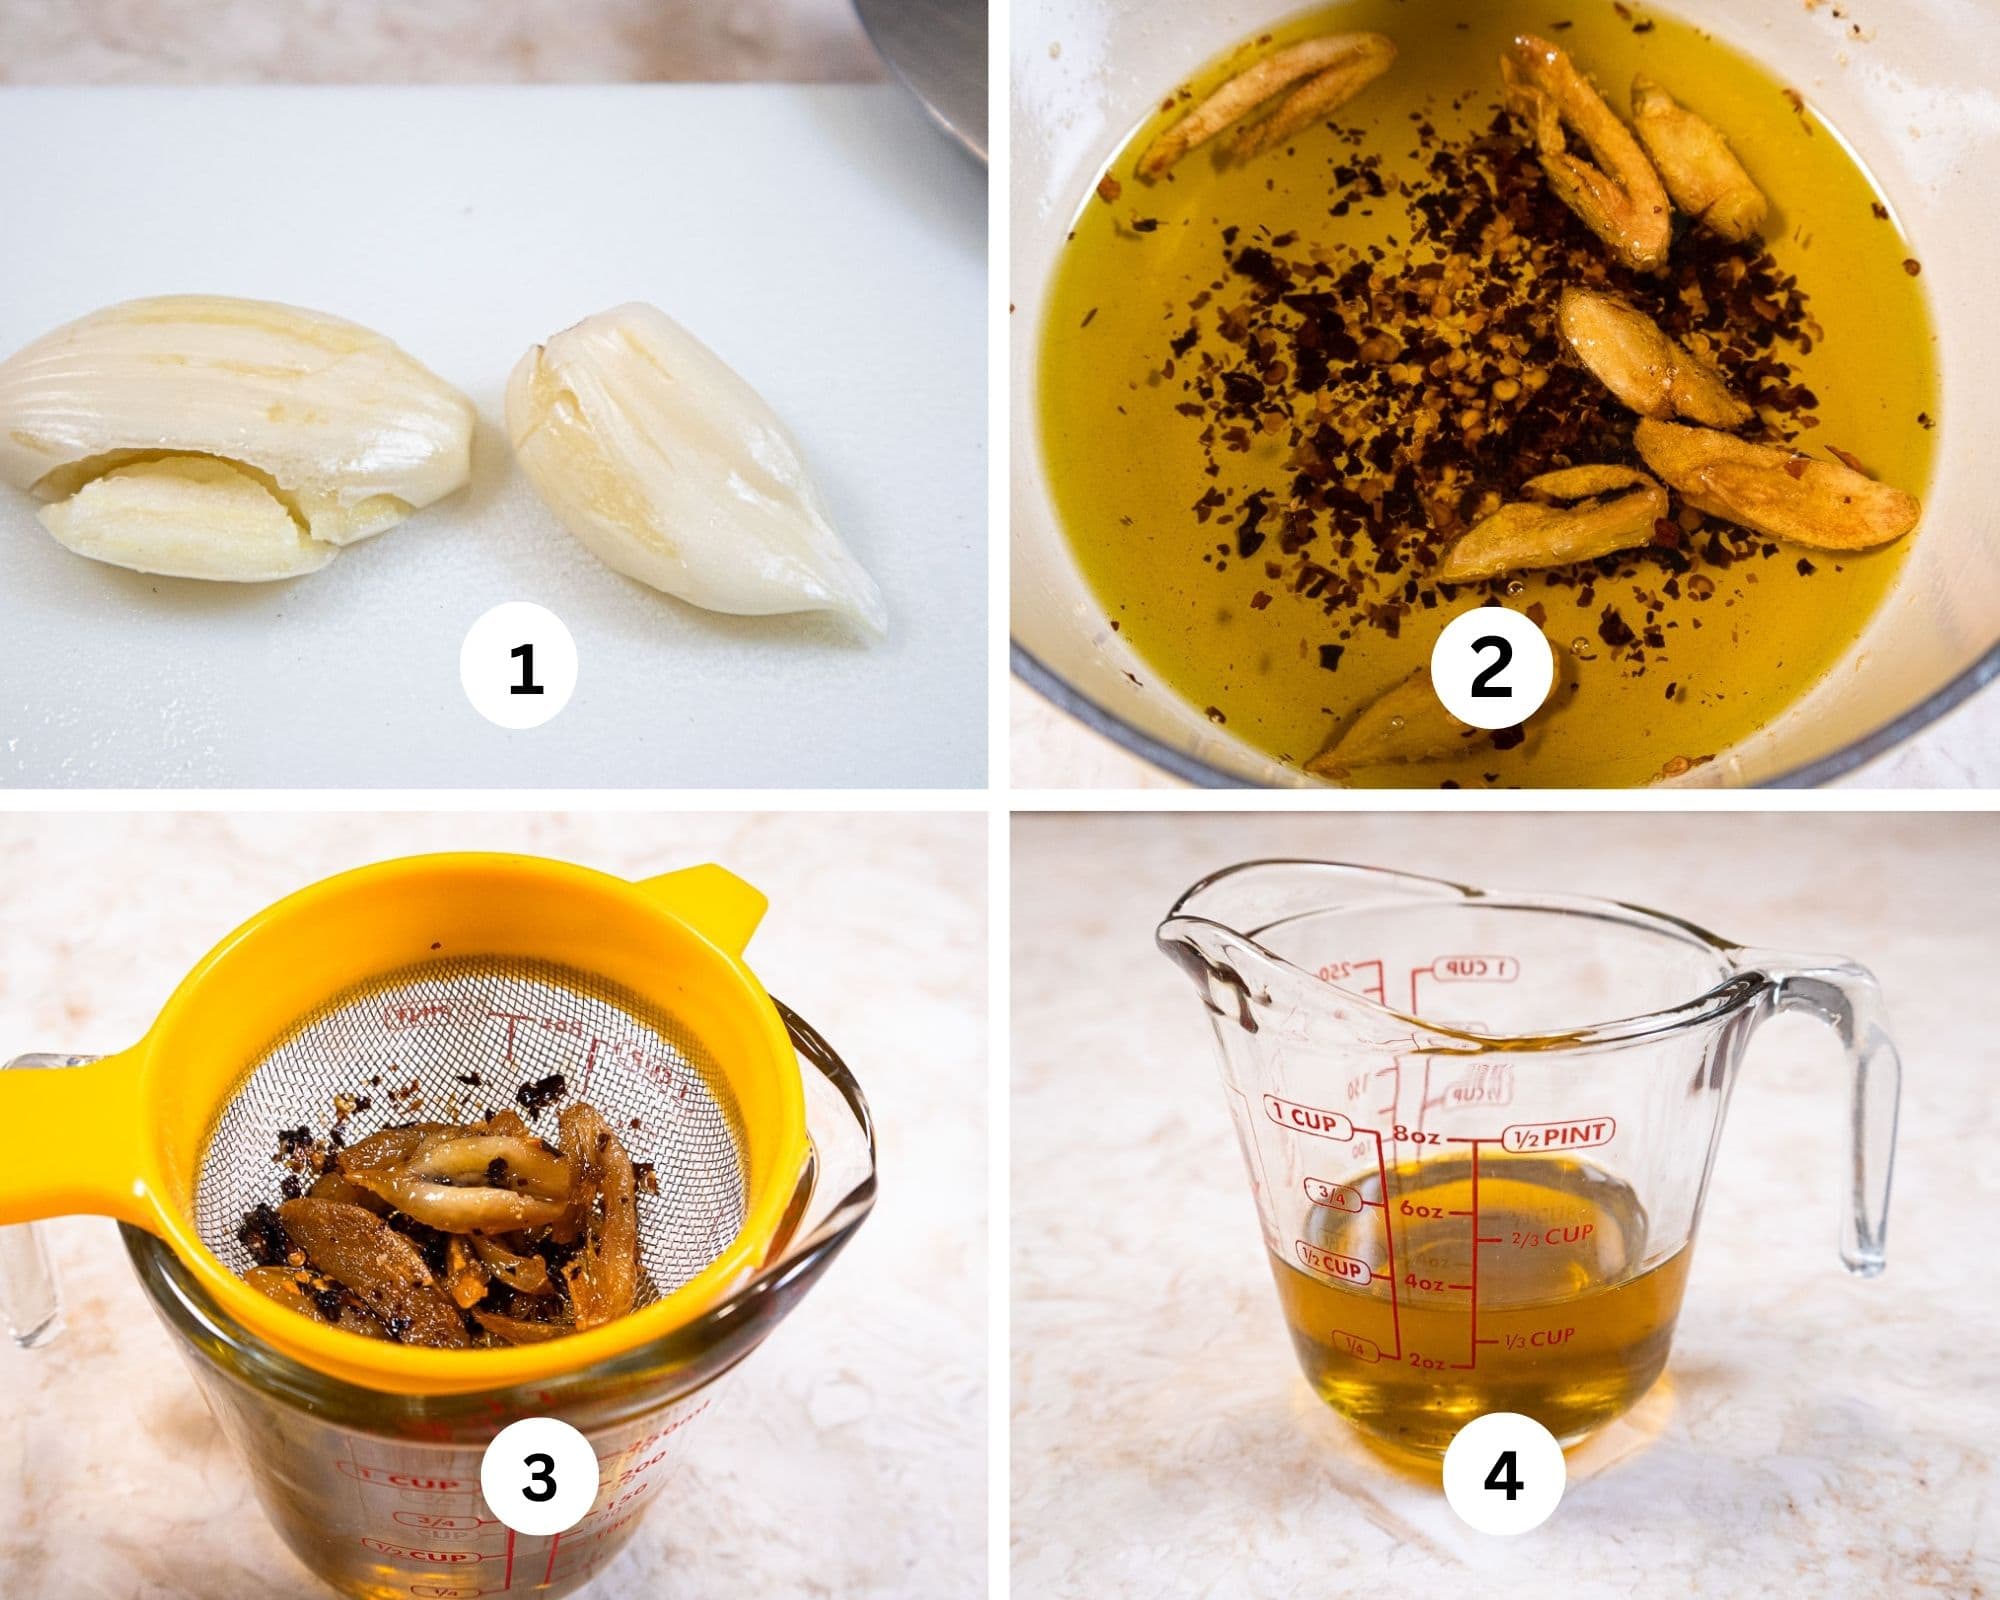
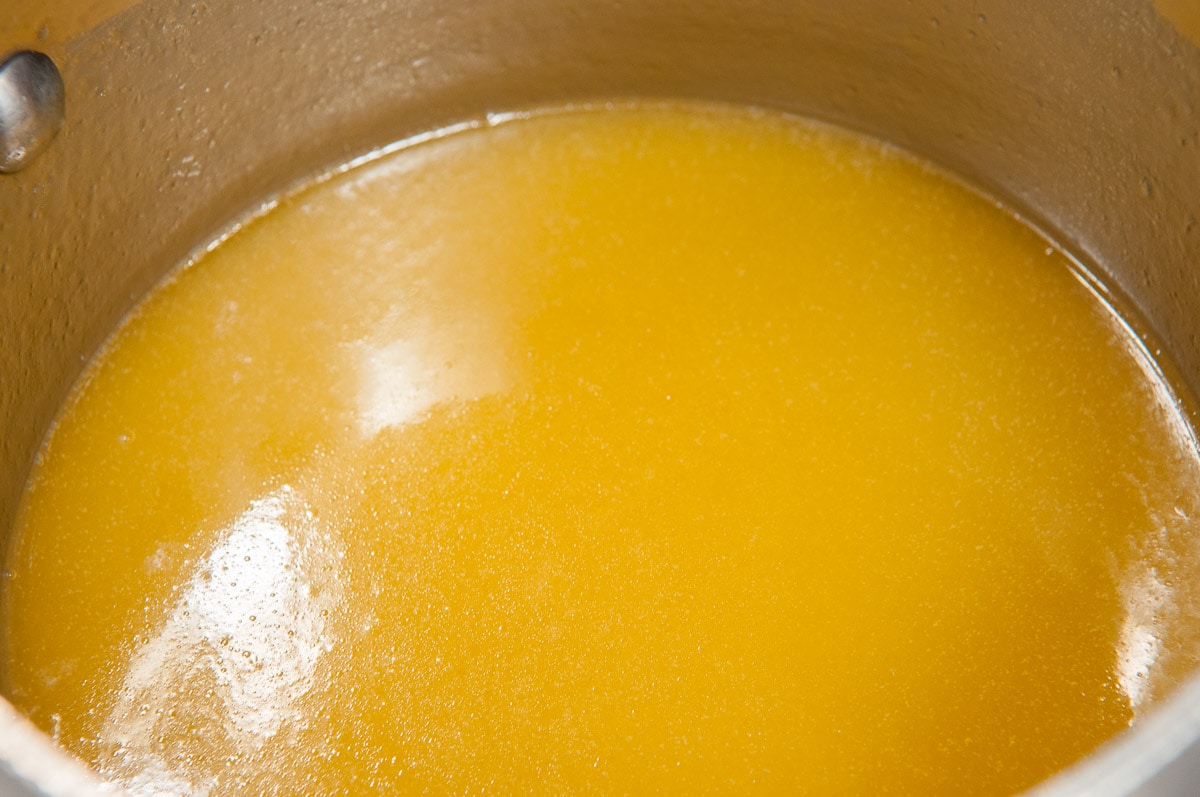
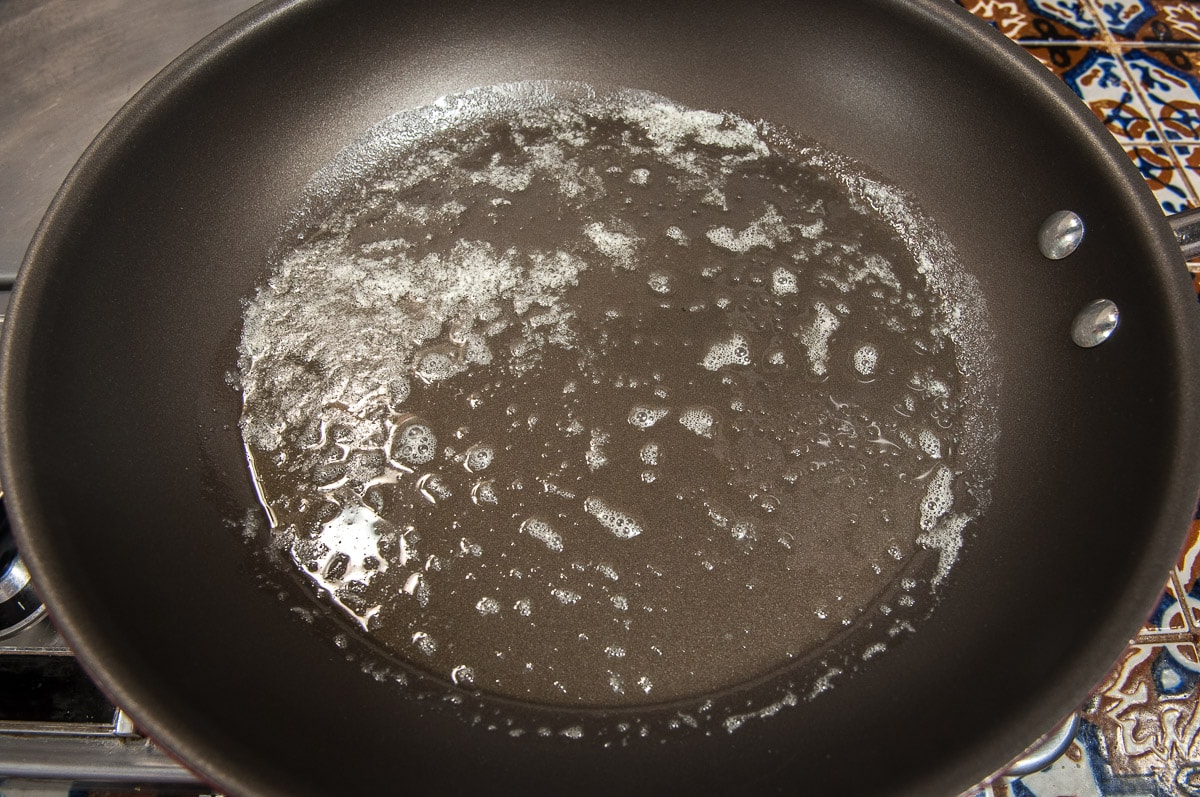
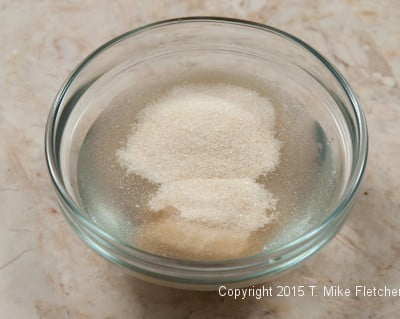
Step 1. Remove the skins from the garlic, chop each clove into about 4 pieces. Step 2. Place the olive oil, red pepper flakes, and garlic in a small saucepan. Heat until the garlic is medium brown. Take care not to burn it. Step 3. When the oil comes to room temperature strain the mixture to remove the solids. Please see the Special Note About Zippy Garlic Oil above. Step 4. There should be almost ½ cup. All of it will be used in various places for this recipe.
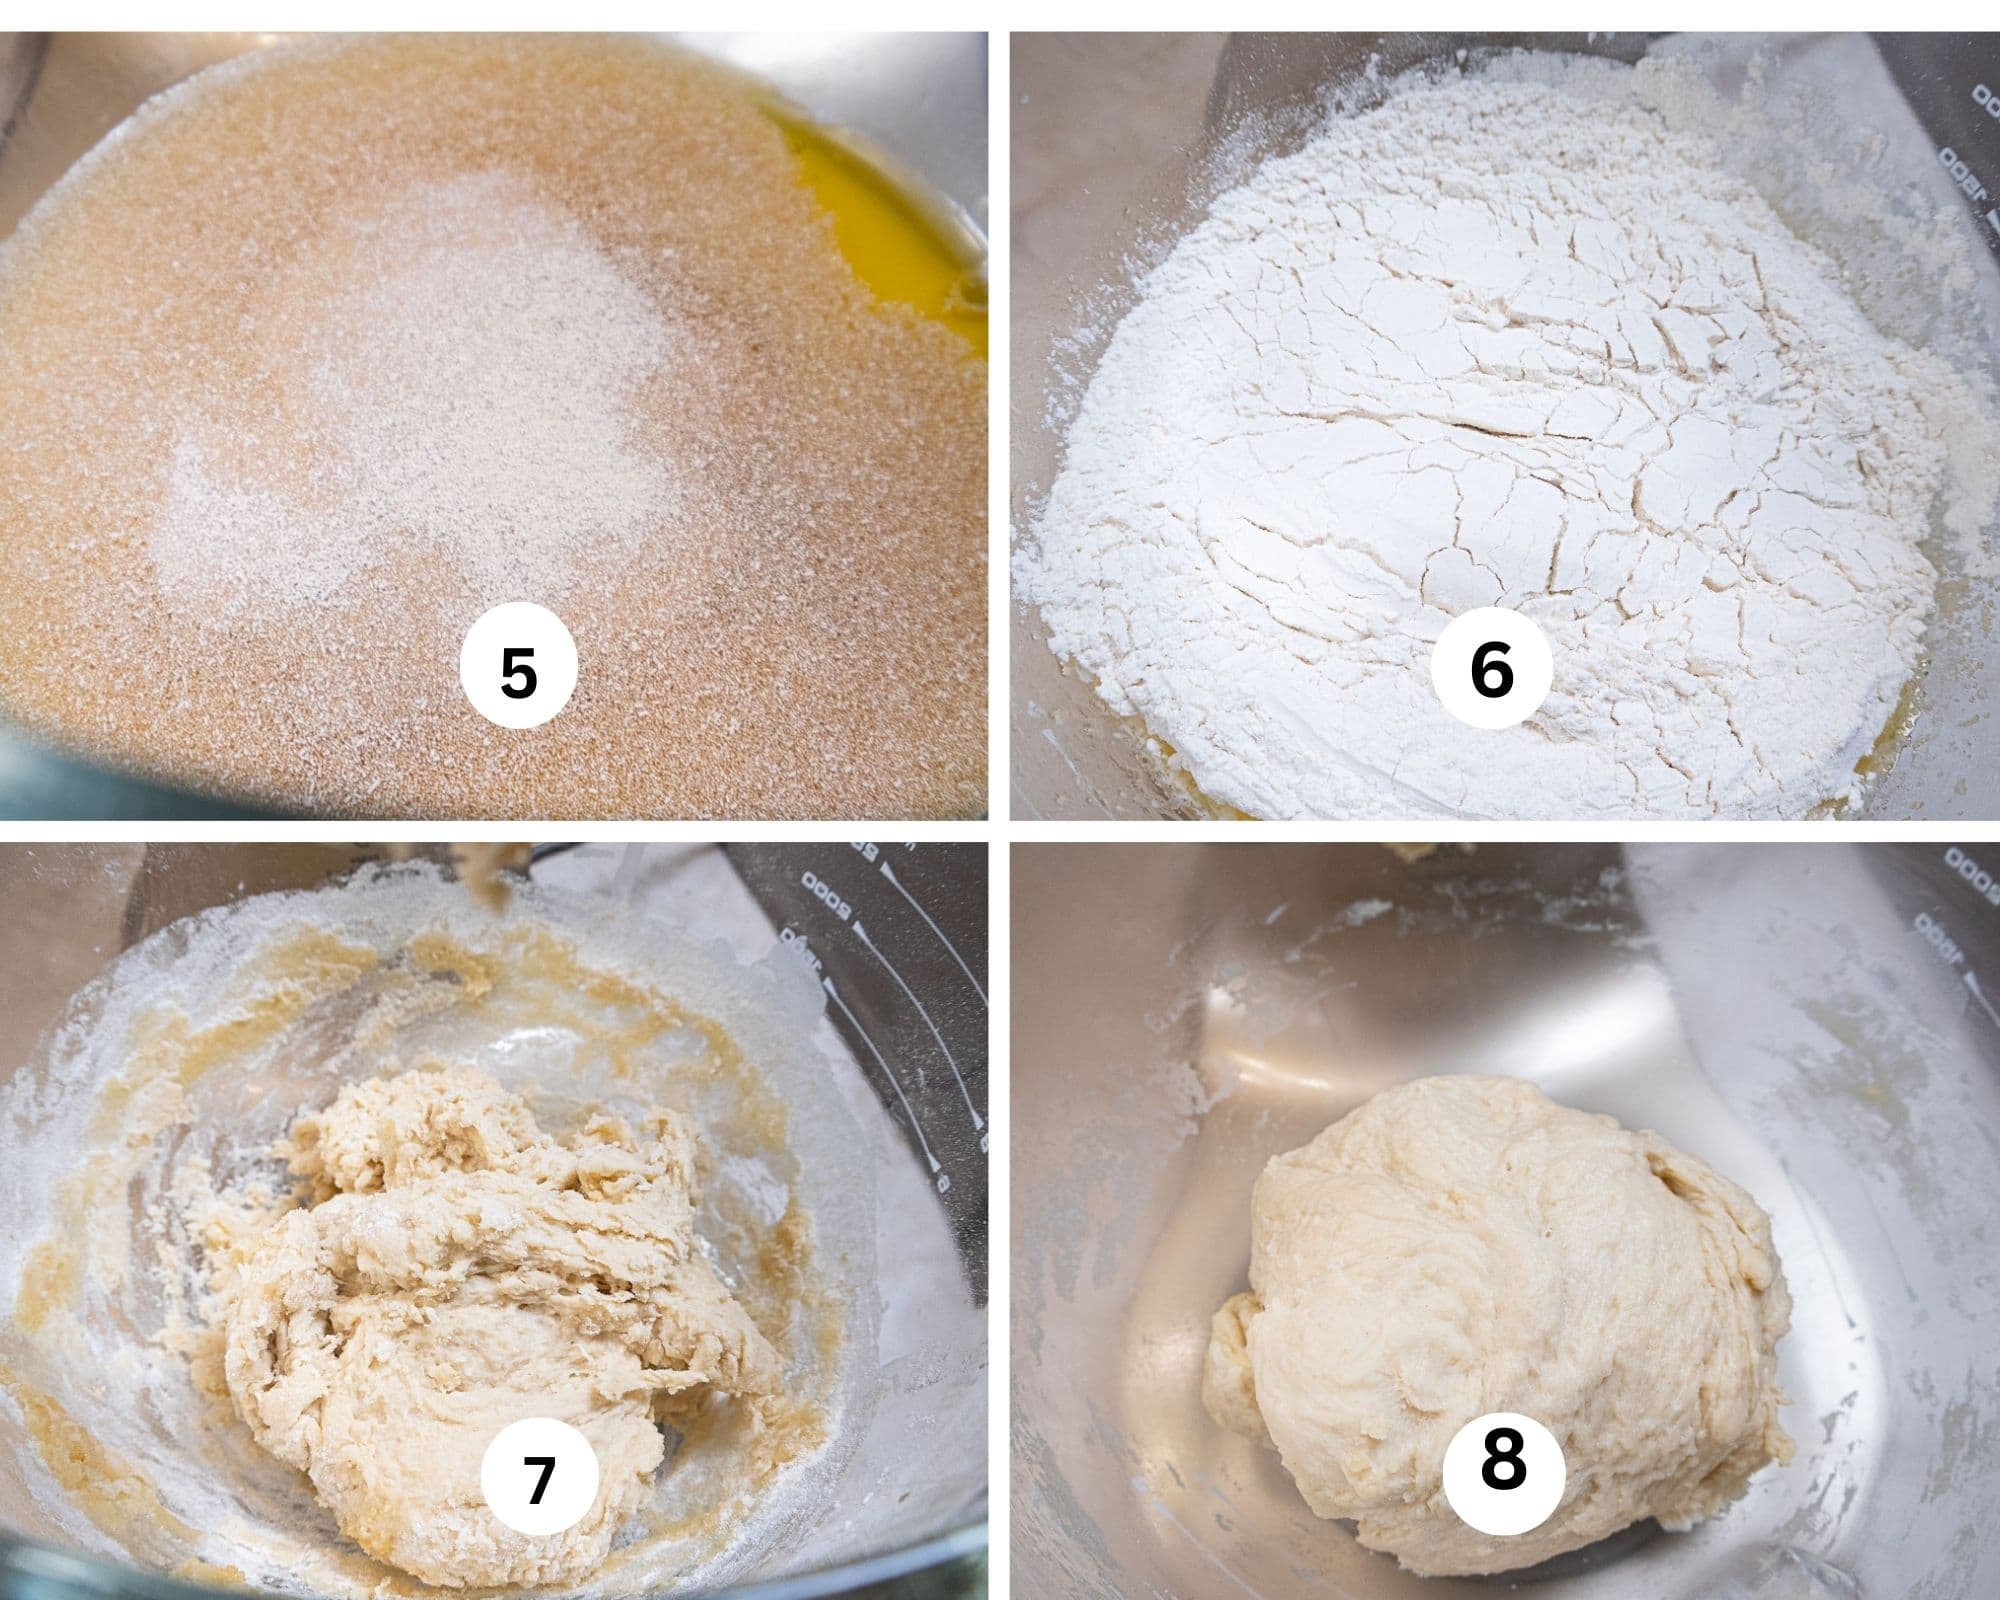
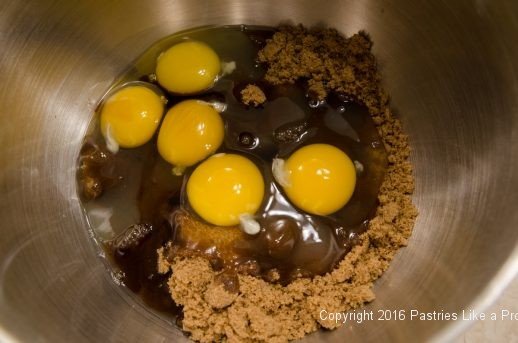
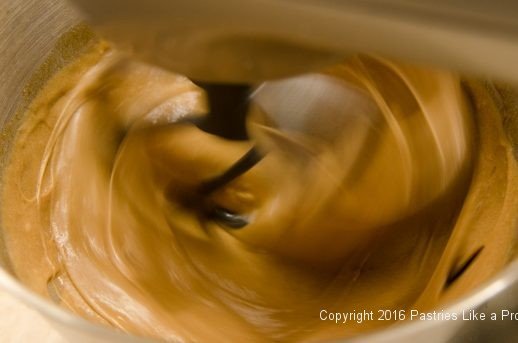
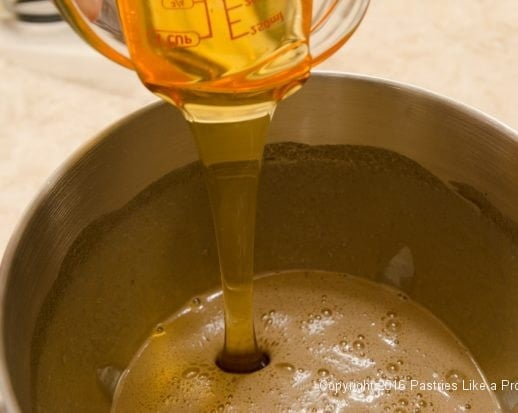
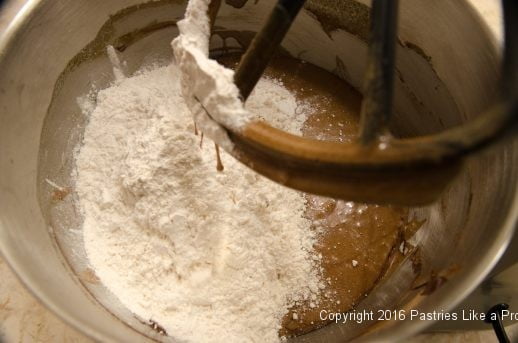
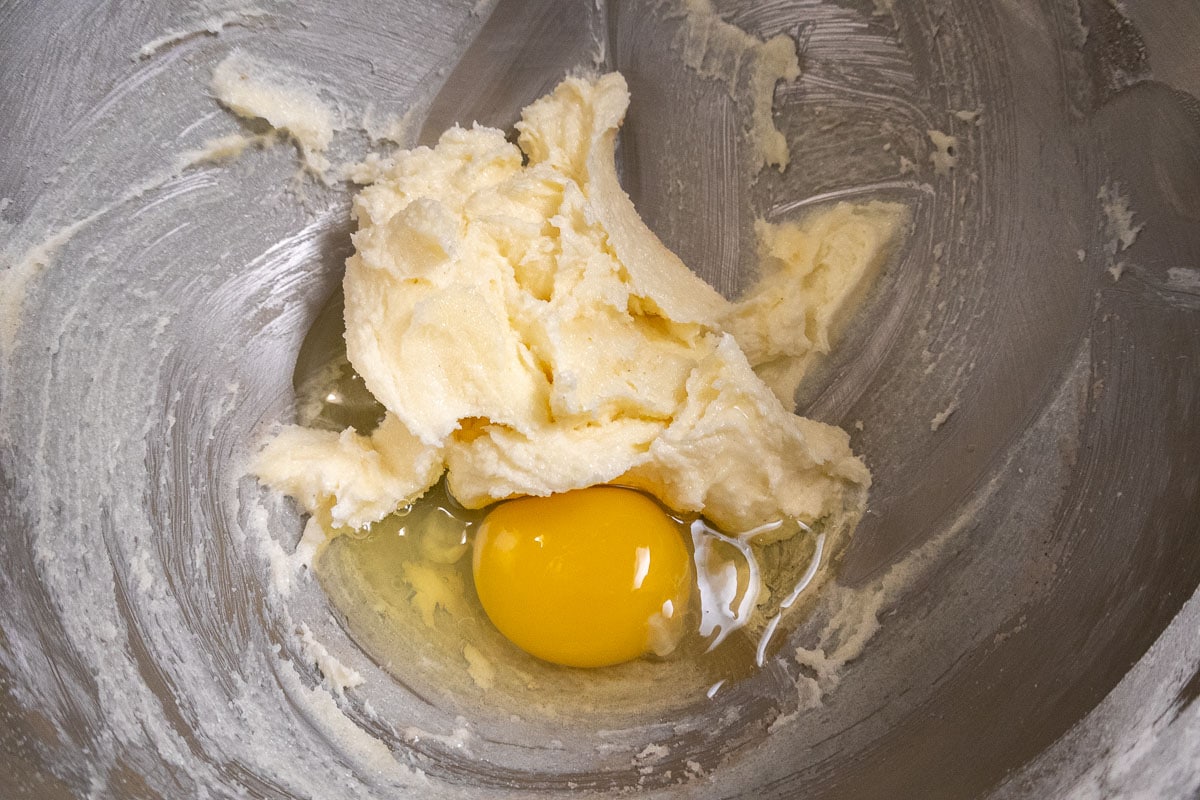
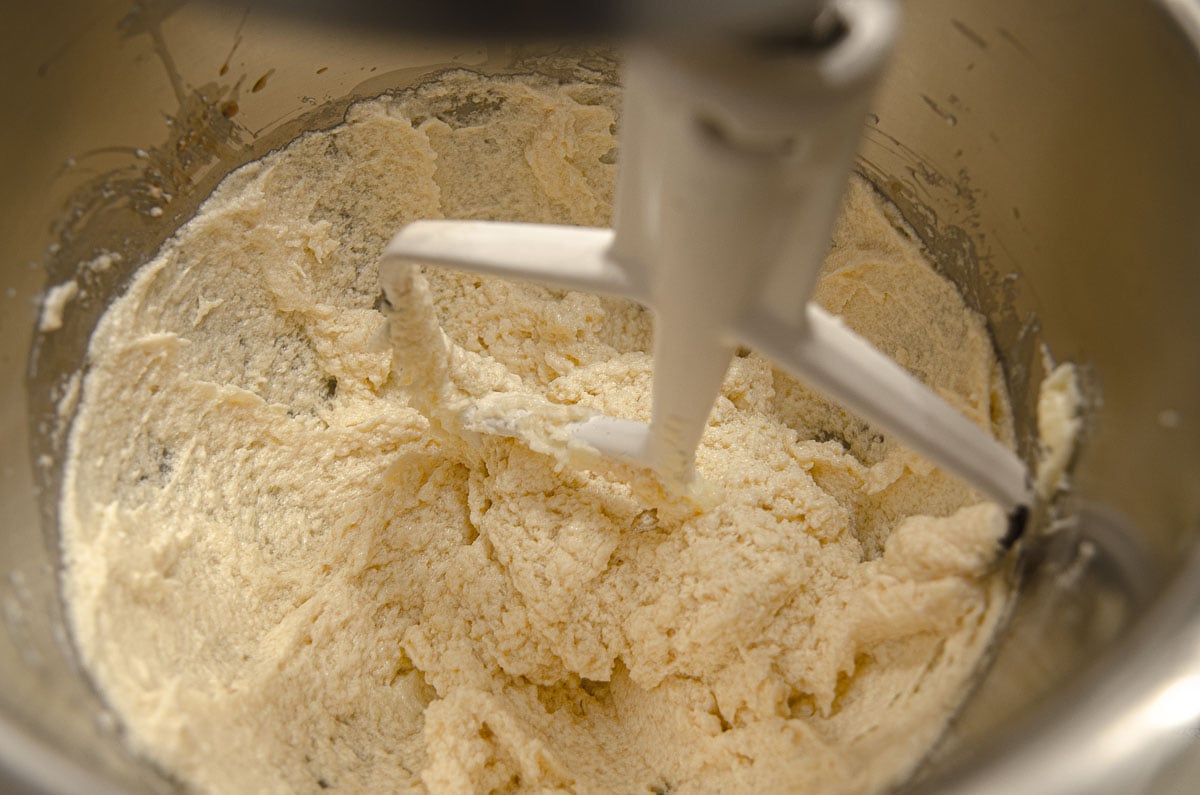
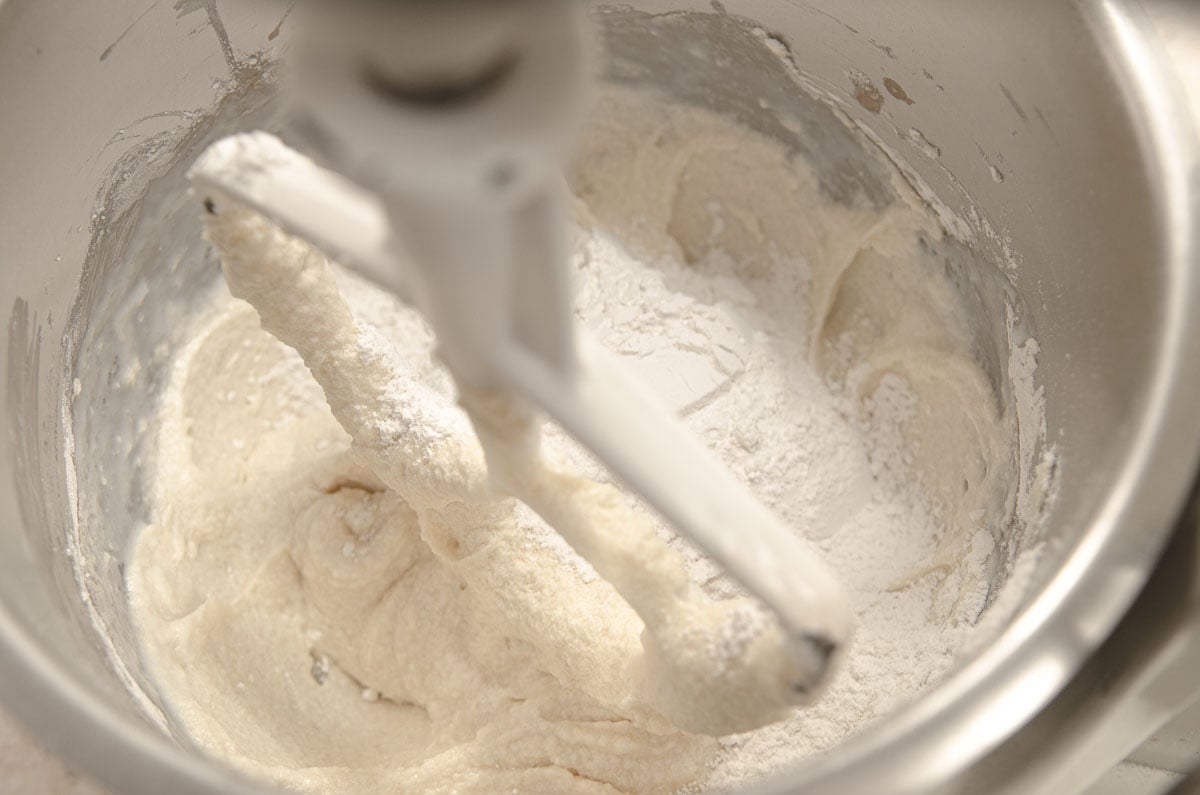
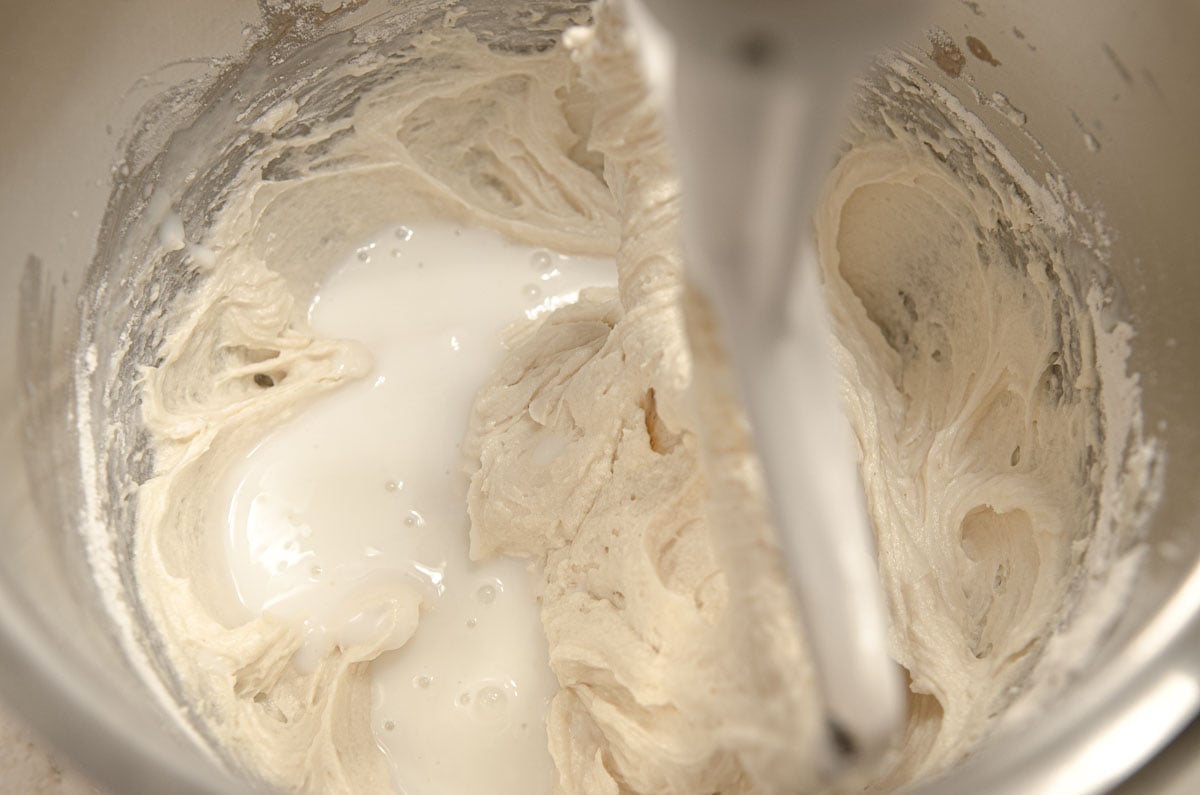
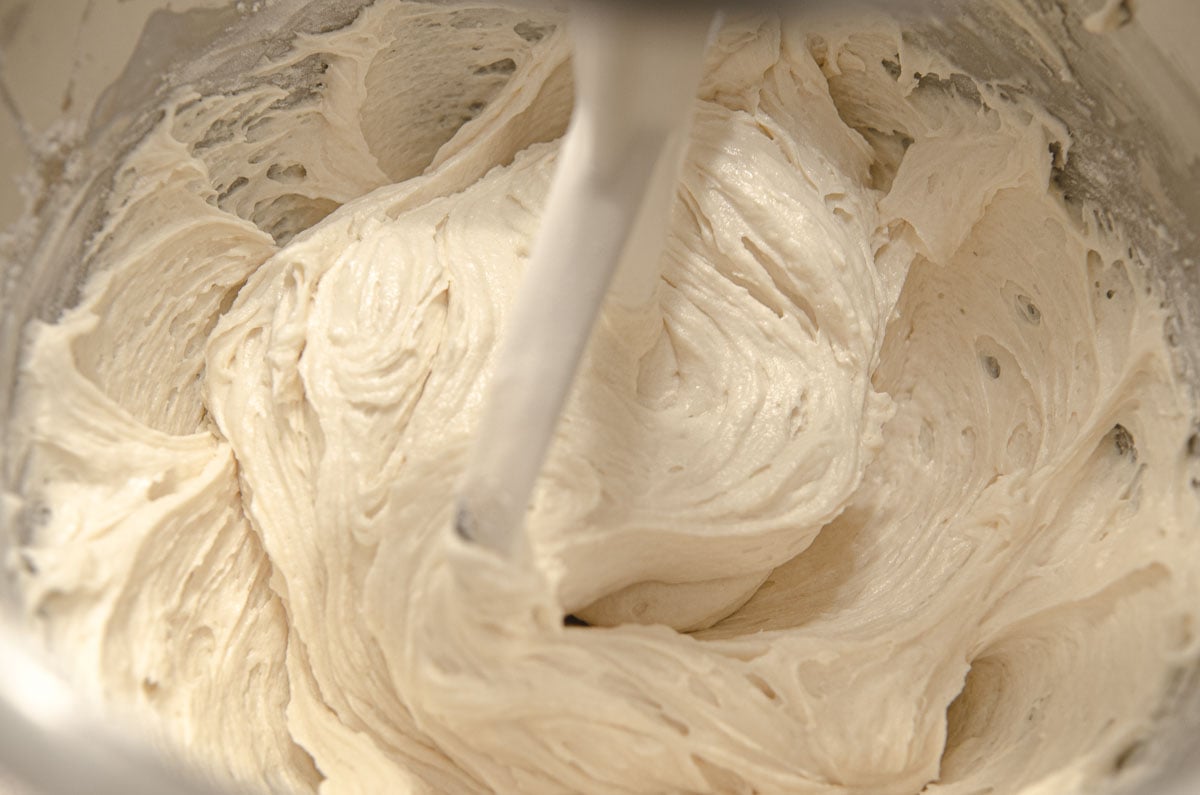
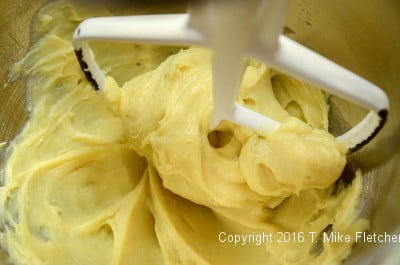
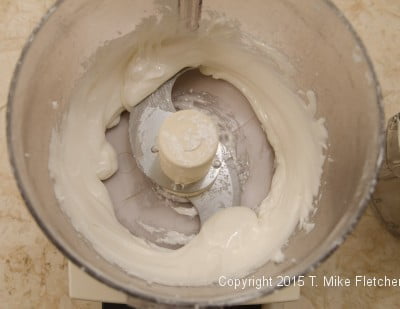
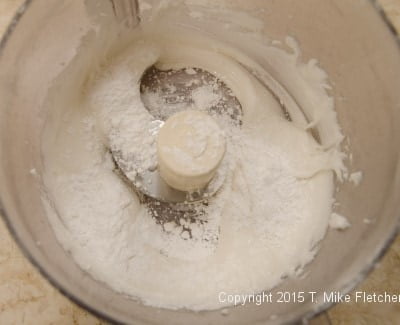
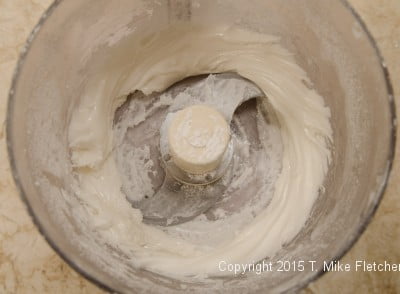
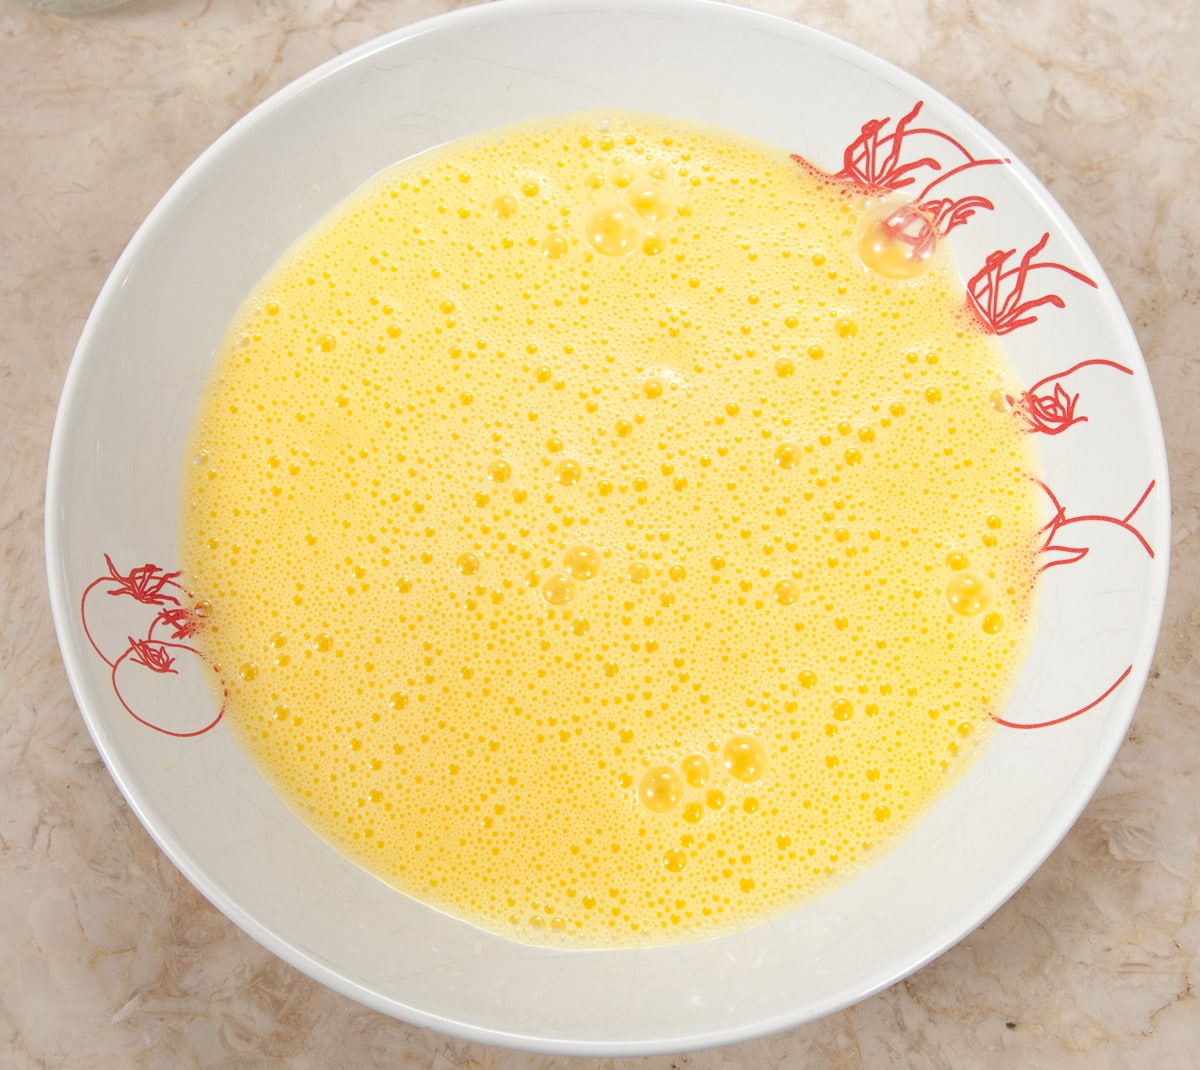
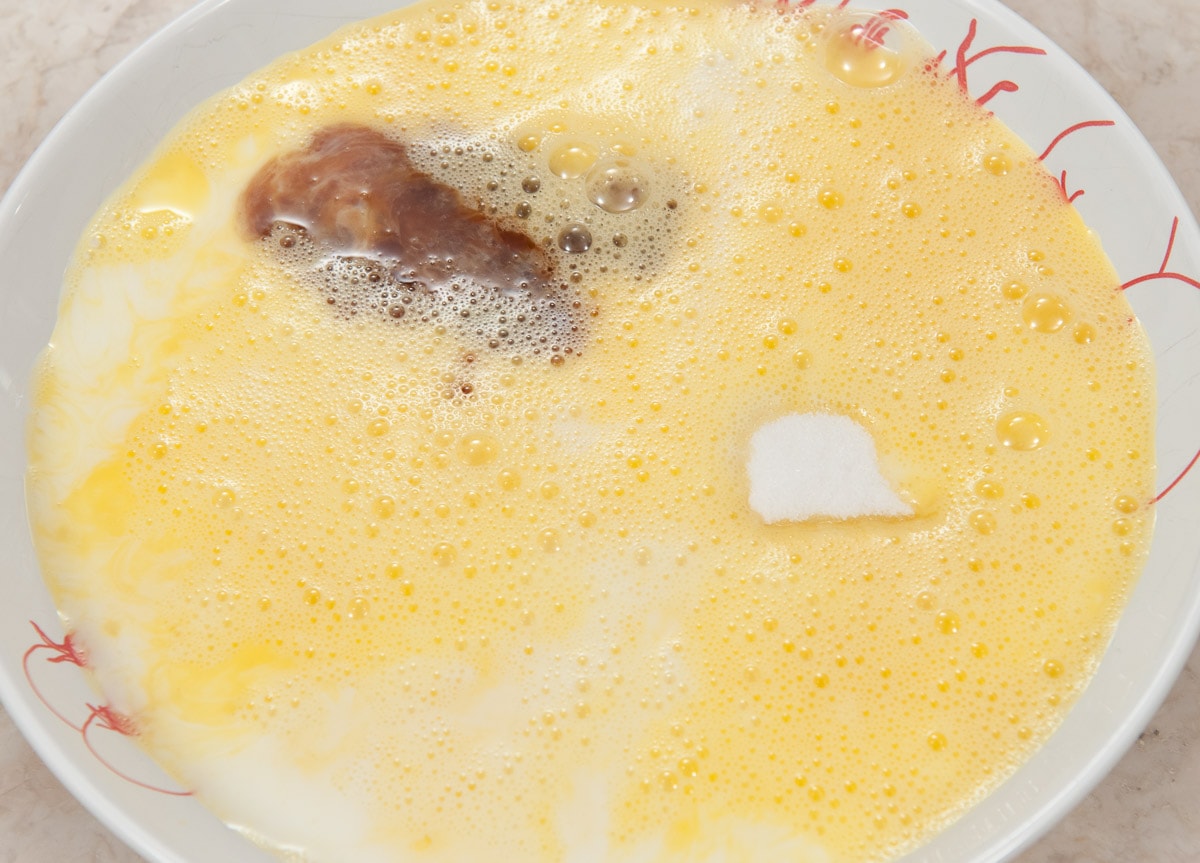
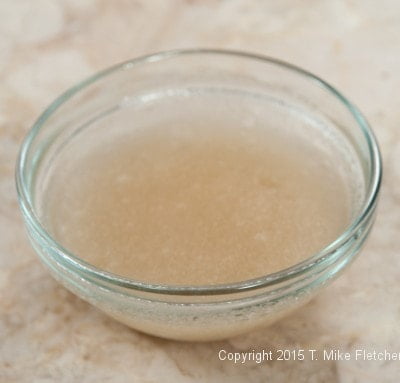
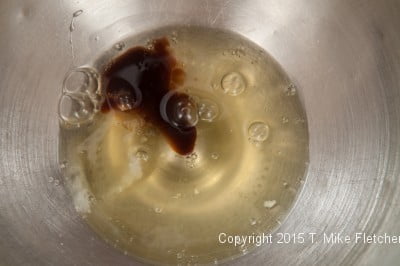
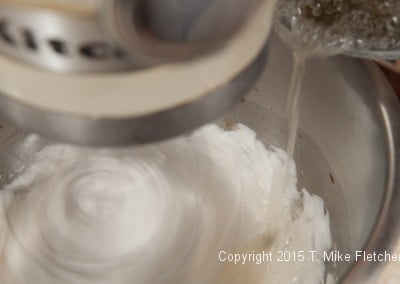
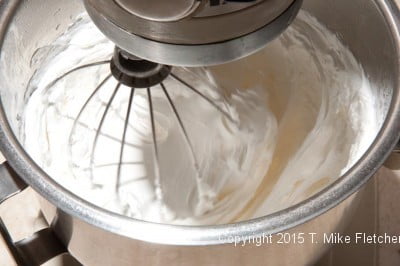
Step 5. Combine the milk, water, egg, zippy garlic oil, salt, and instant yeast in the bowl of a mixer. Whisk together and let sit for several minutes. Step 6. Add the flour. Step 7. Fit the mixer with a dough hook if available. Beat on low to combine the ingredients. Step 8. Continue to beat the dough on the speed recommended by your mixer until the dough cleans the bowl and comes together in a smooth ball.
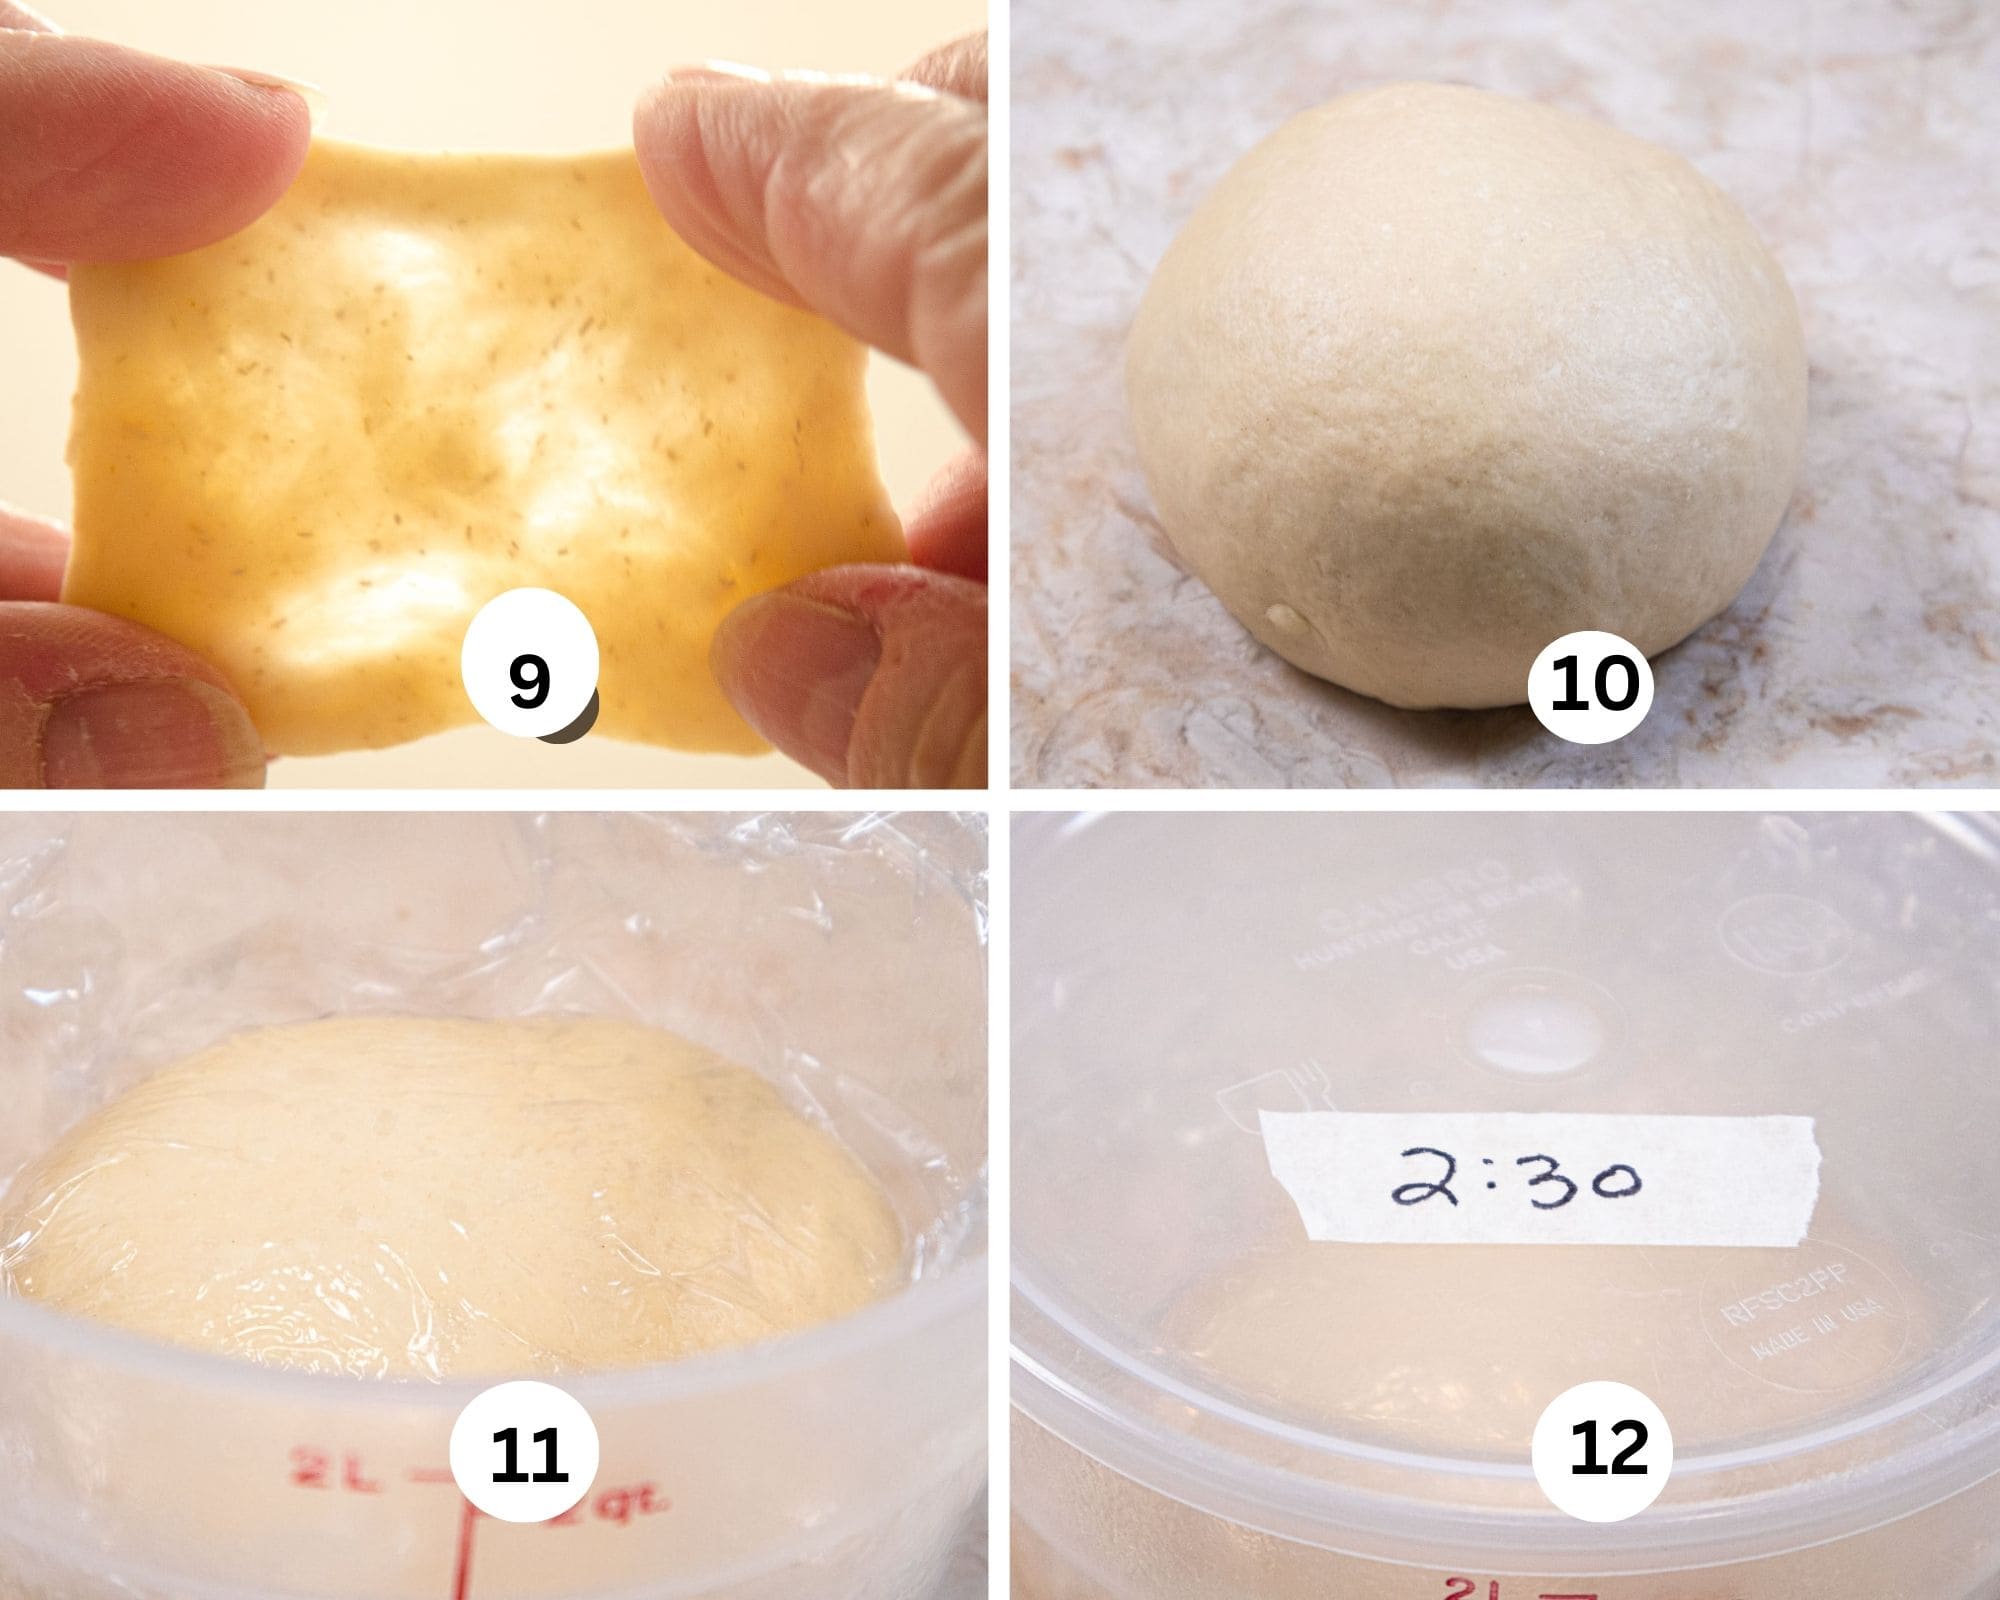
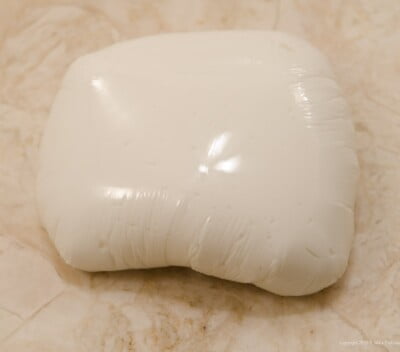
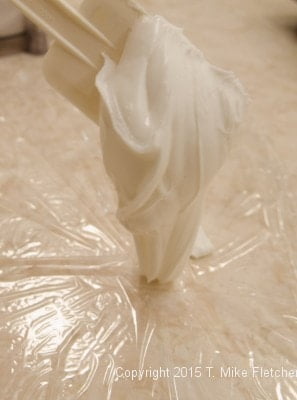
Step 9. Remove a small piece of dough from the mixer. To test for gluten development, hold the dough between two hands and gently stretch it out. If you can see through the dough it has been beaten enough. If it breaks, then it needs to be beaten a bit longer. Repeat the test as needed. This test works on any yeast dough. Step 10. Remove the dough from the bowl and knead it a few times into a smooth ball. Step 11. Place it in a container sprayed with a non-stick baking spray. Cover with plastic wrap. Step 12. Place the lid on the container or cover with a towel. Mark the time on it and let it rise until doubled. Use immediately, or as I suggest let it rest in the fridge for up to 3 days when it will be easier to handle and develop more flavor.
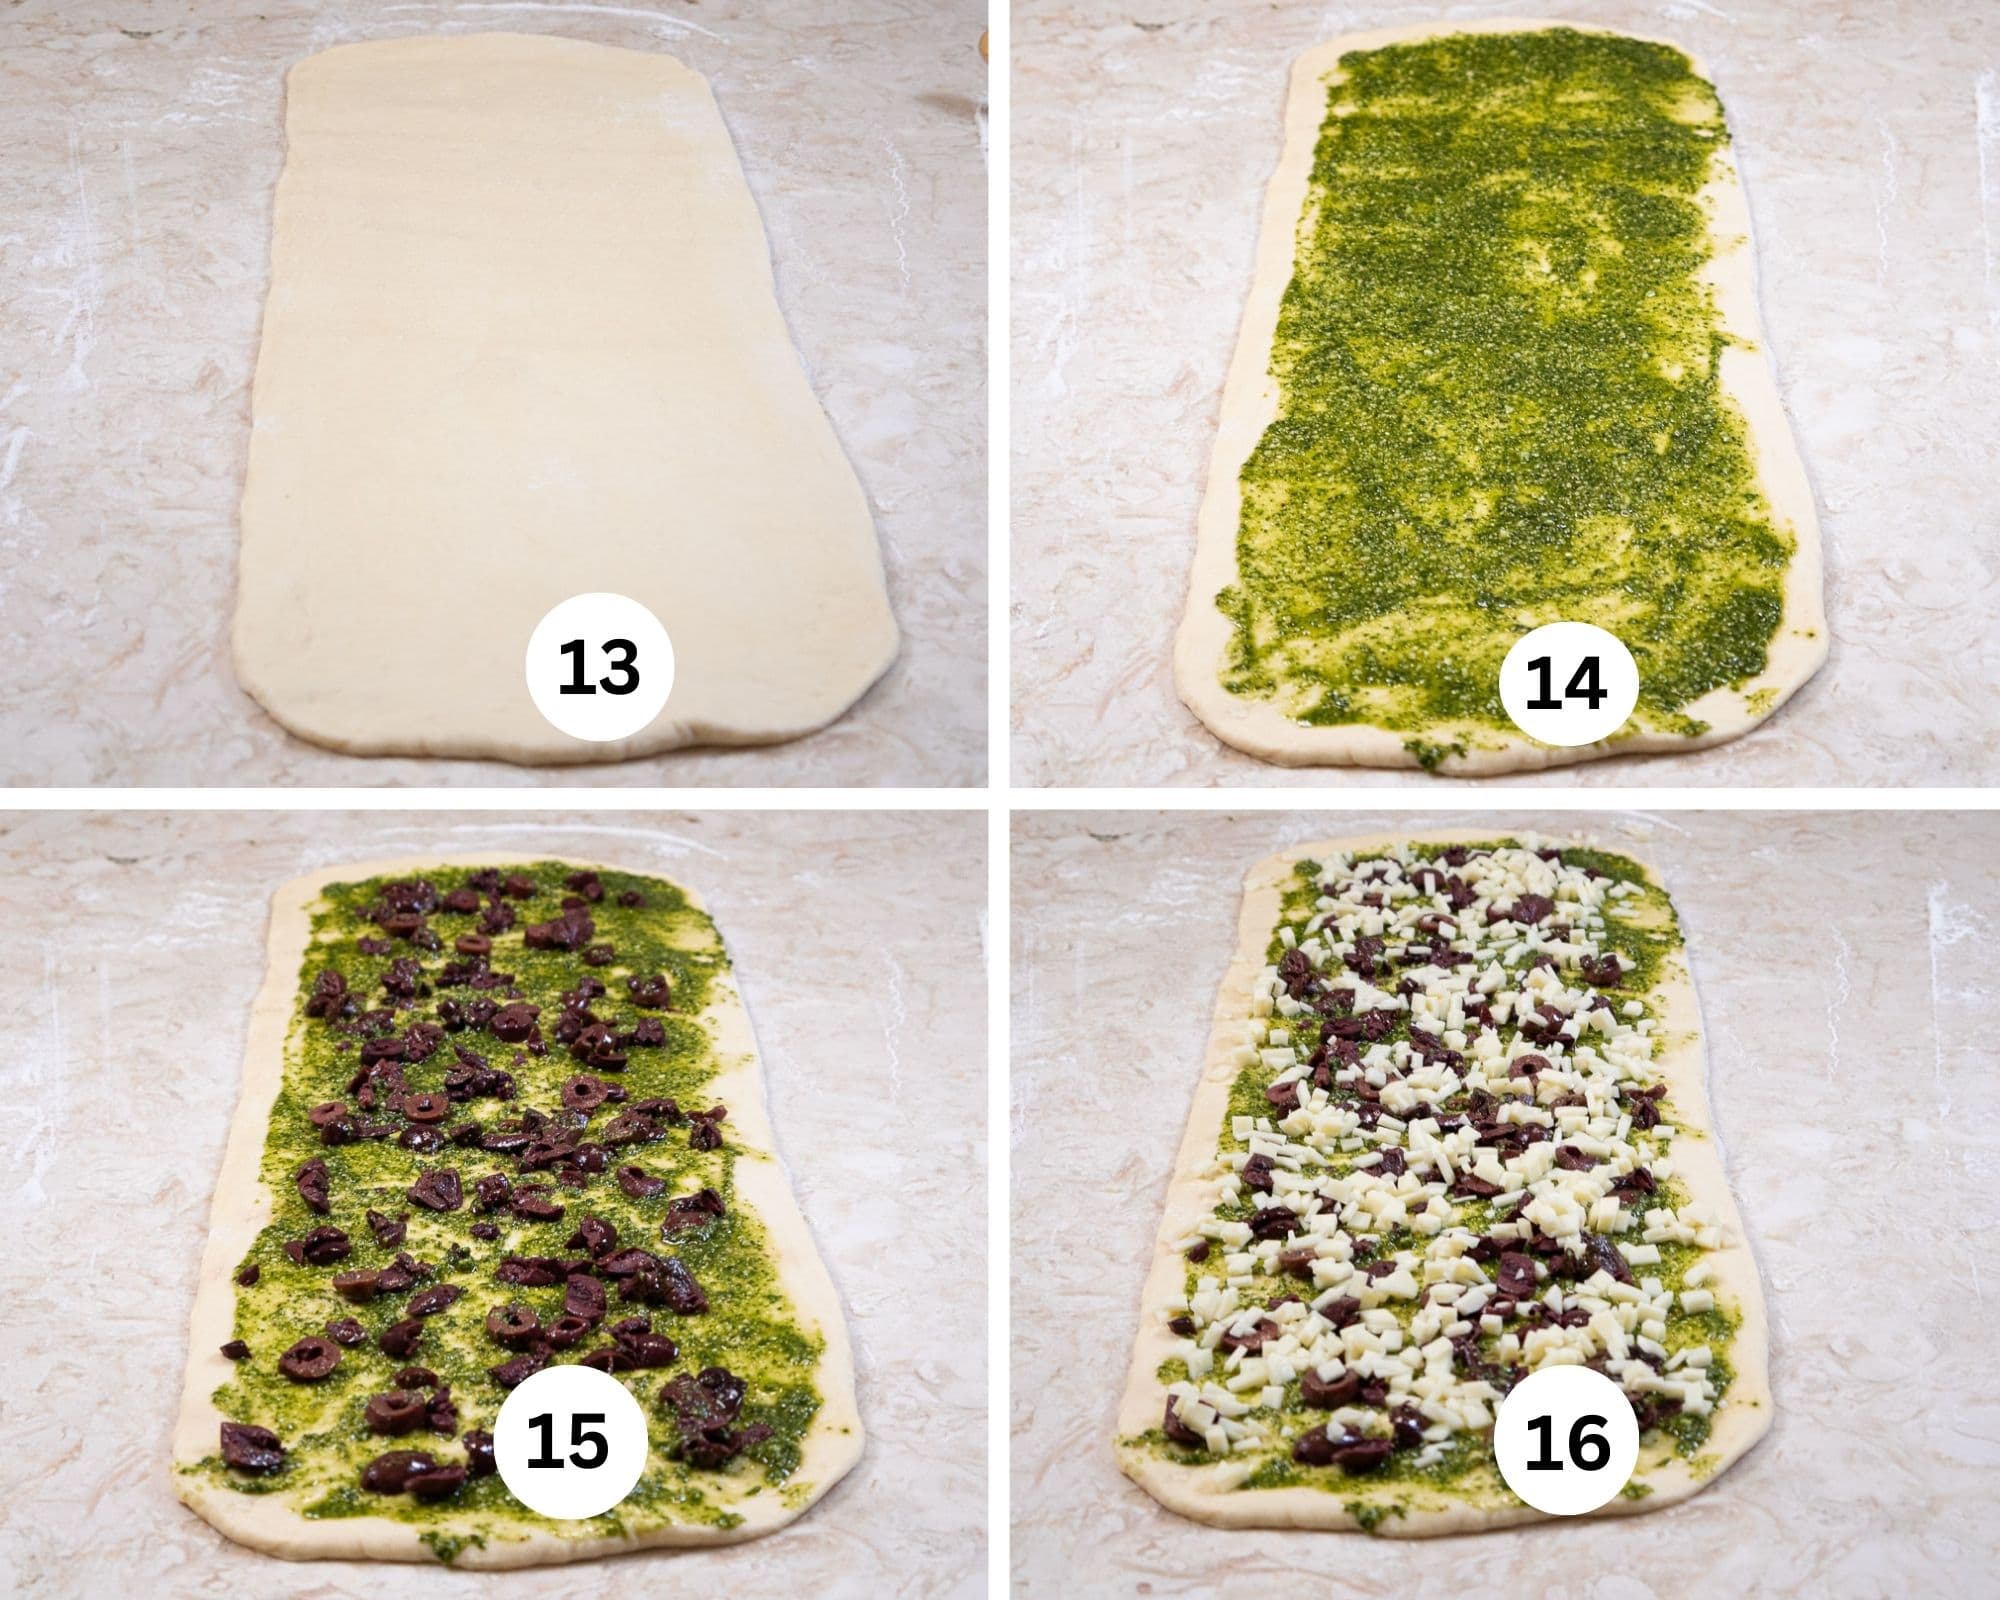
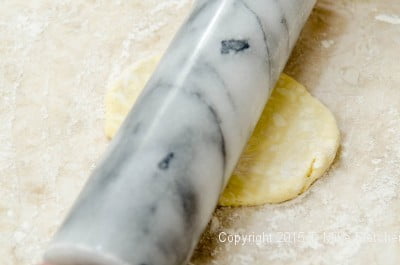
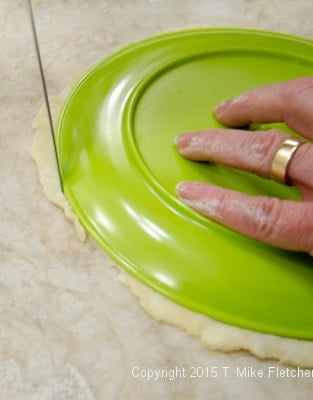
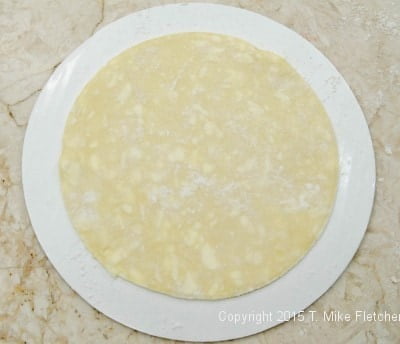
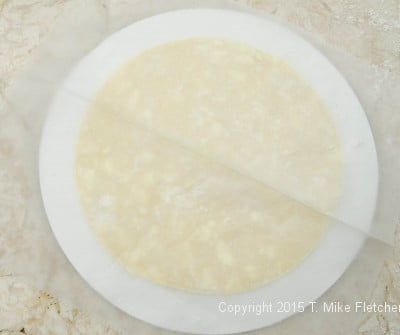
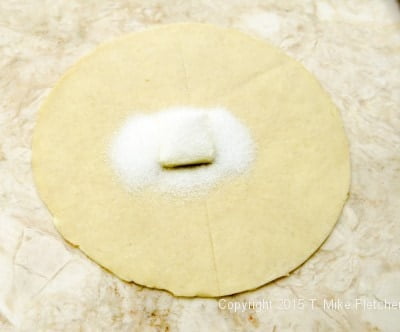
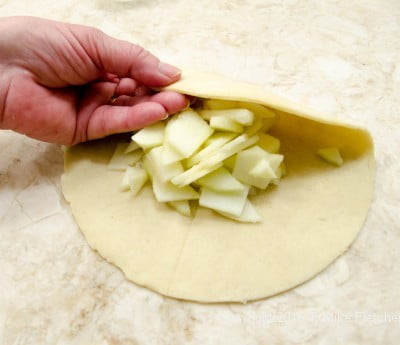
Step 13. Roll the dough out into a 22" x 8" rectangle on a lightly floured board. This is super easy if the dough is cold from the fridge. Step 14. Loosen the pesto to spreading consistency and spread it to within about 1" of the borders. Step 15. Distribute the olives evenly over the pesto. Step 16. Top with the cheese.
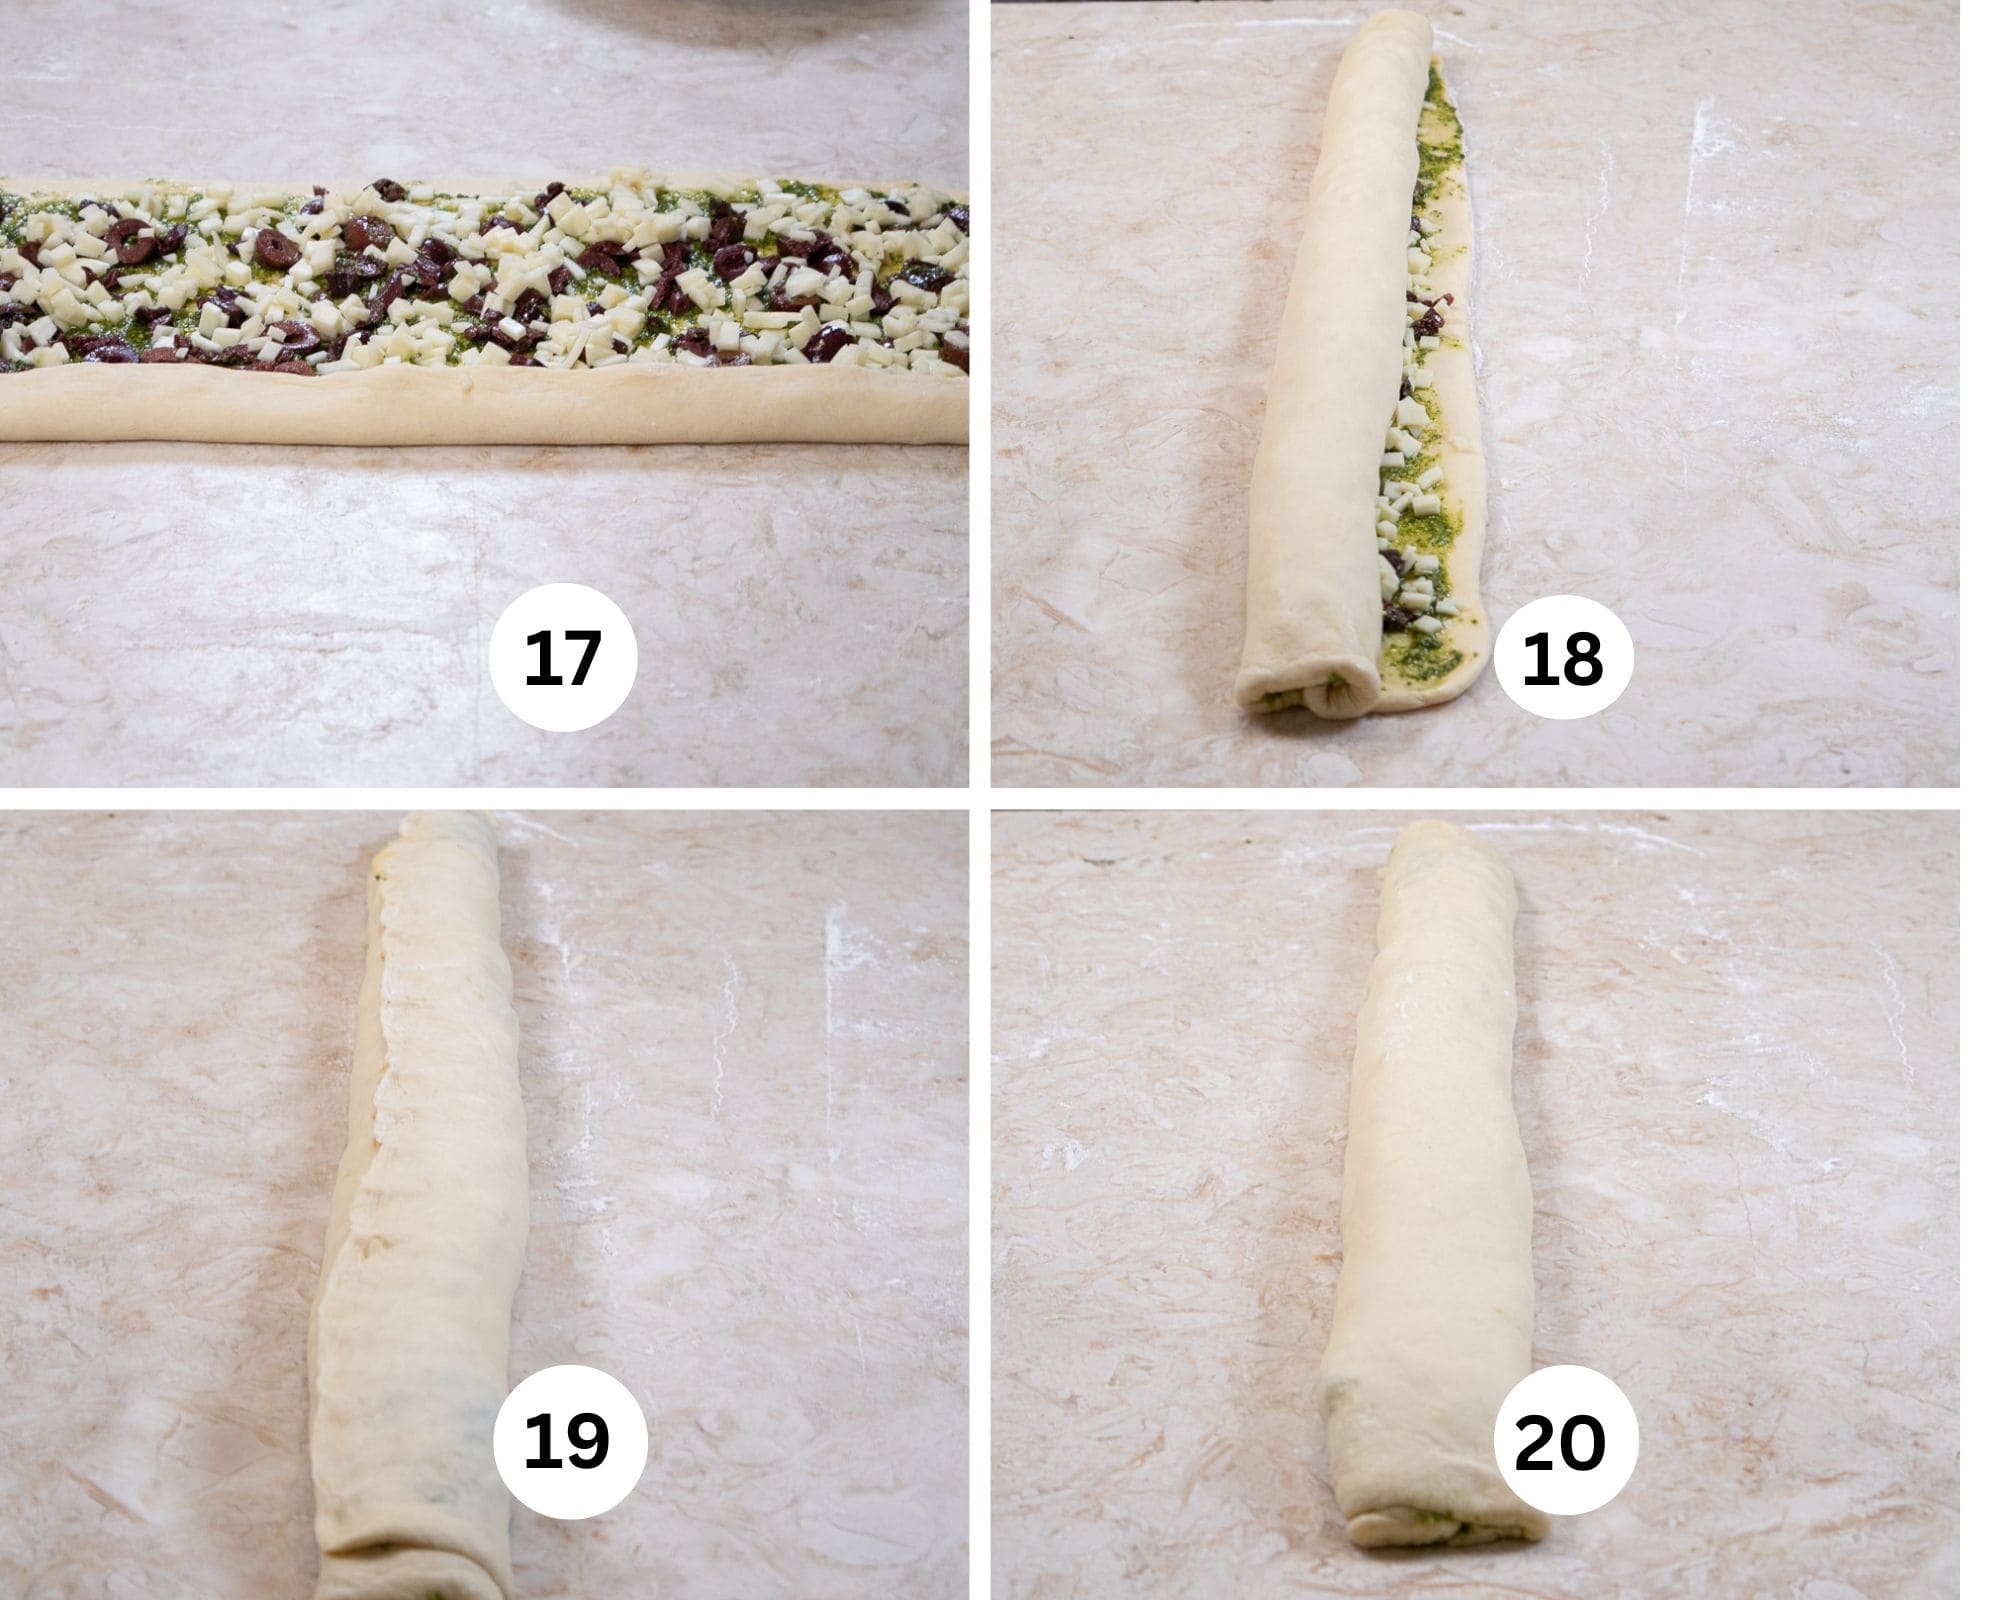
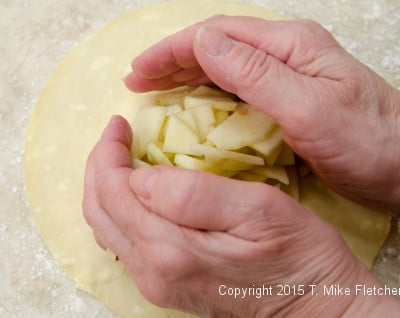
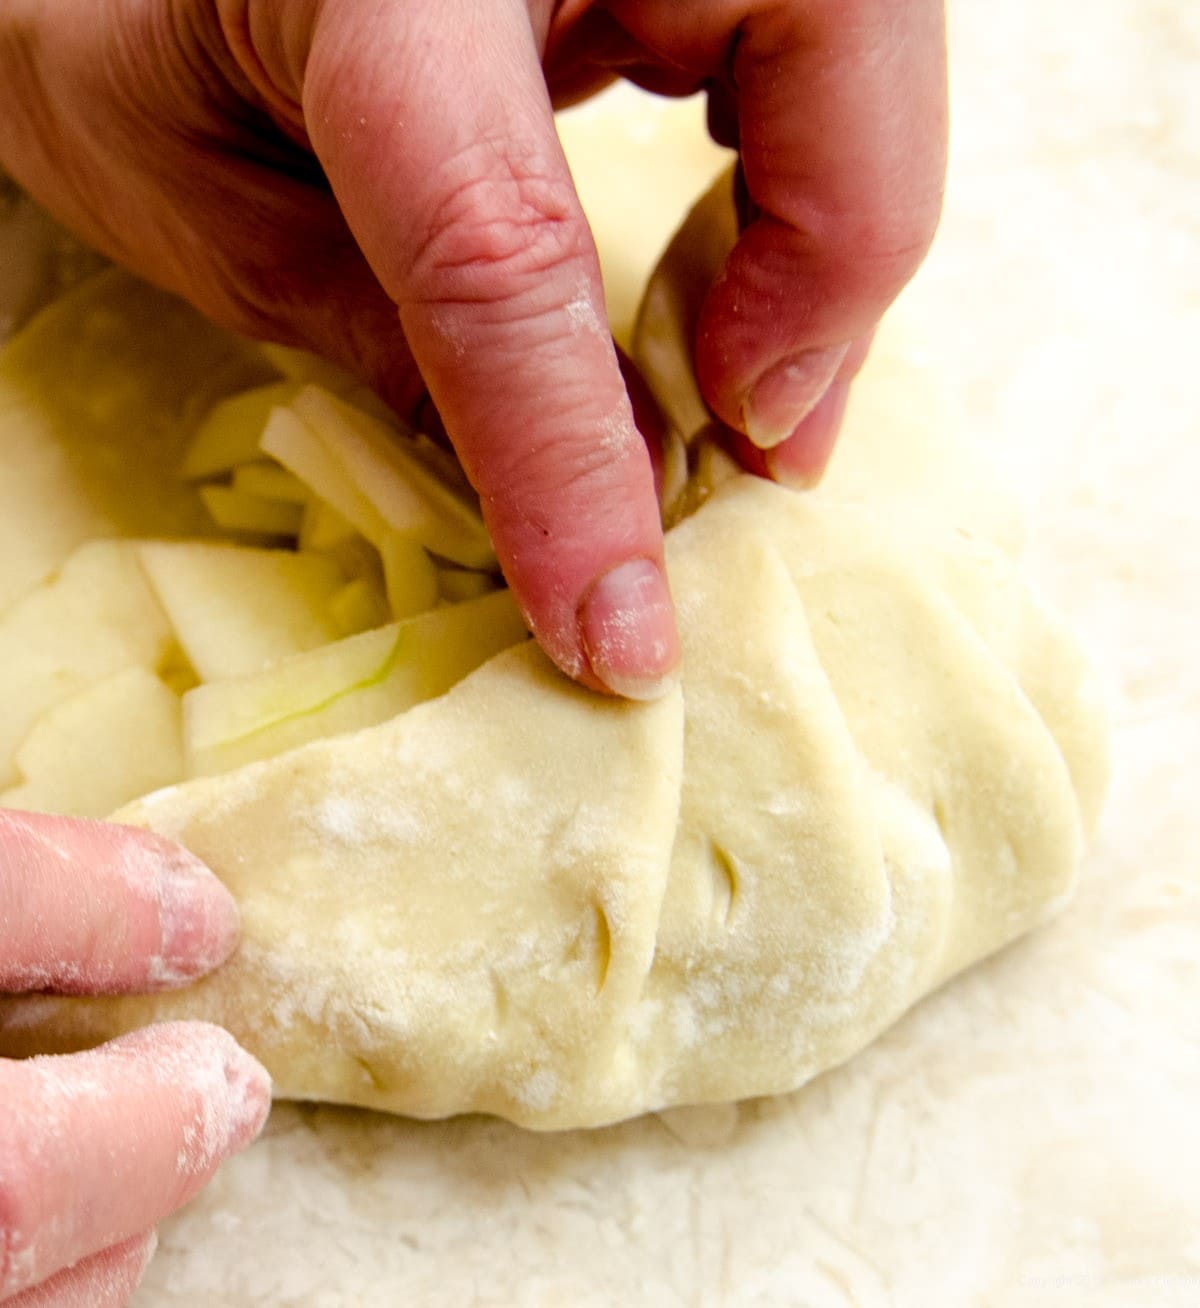
Step 17. Turn the dough in from the long side. Step 18. Roll the dough to the end. Step 19. Pinch the seam closed. Step 20. Turn the roll over so the smooth side is on top.
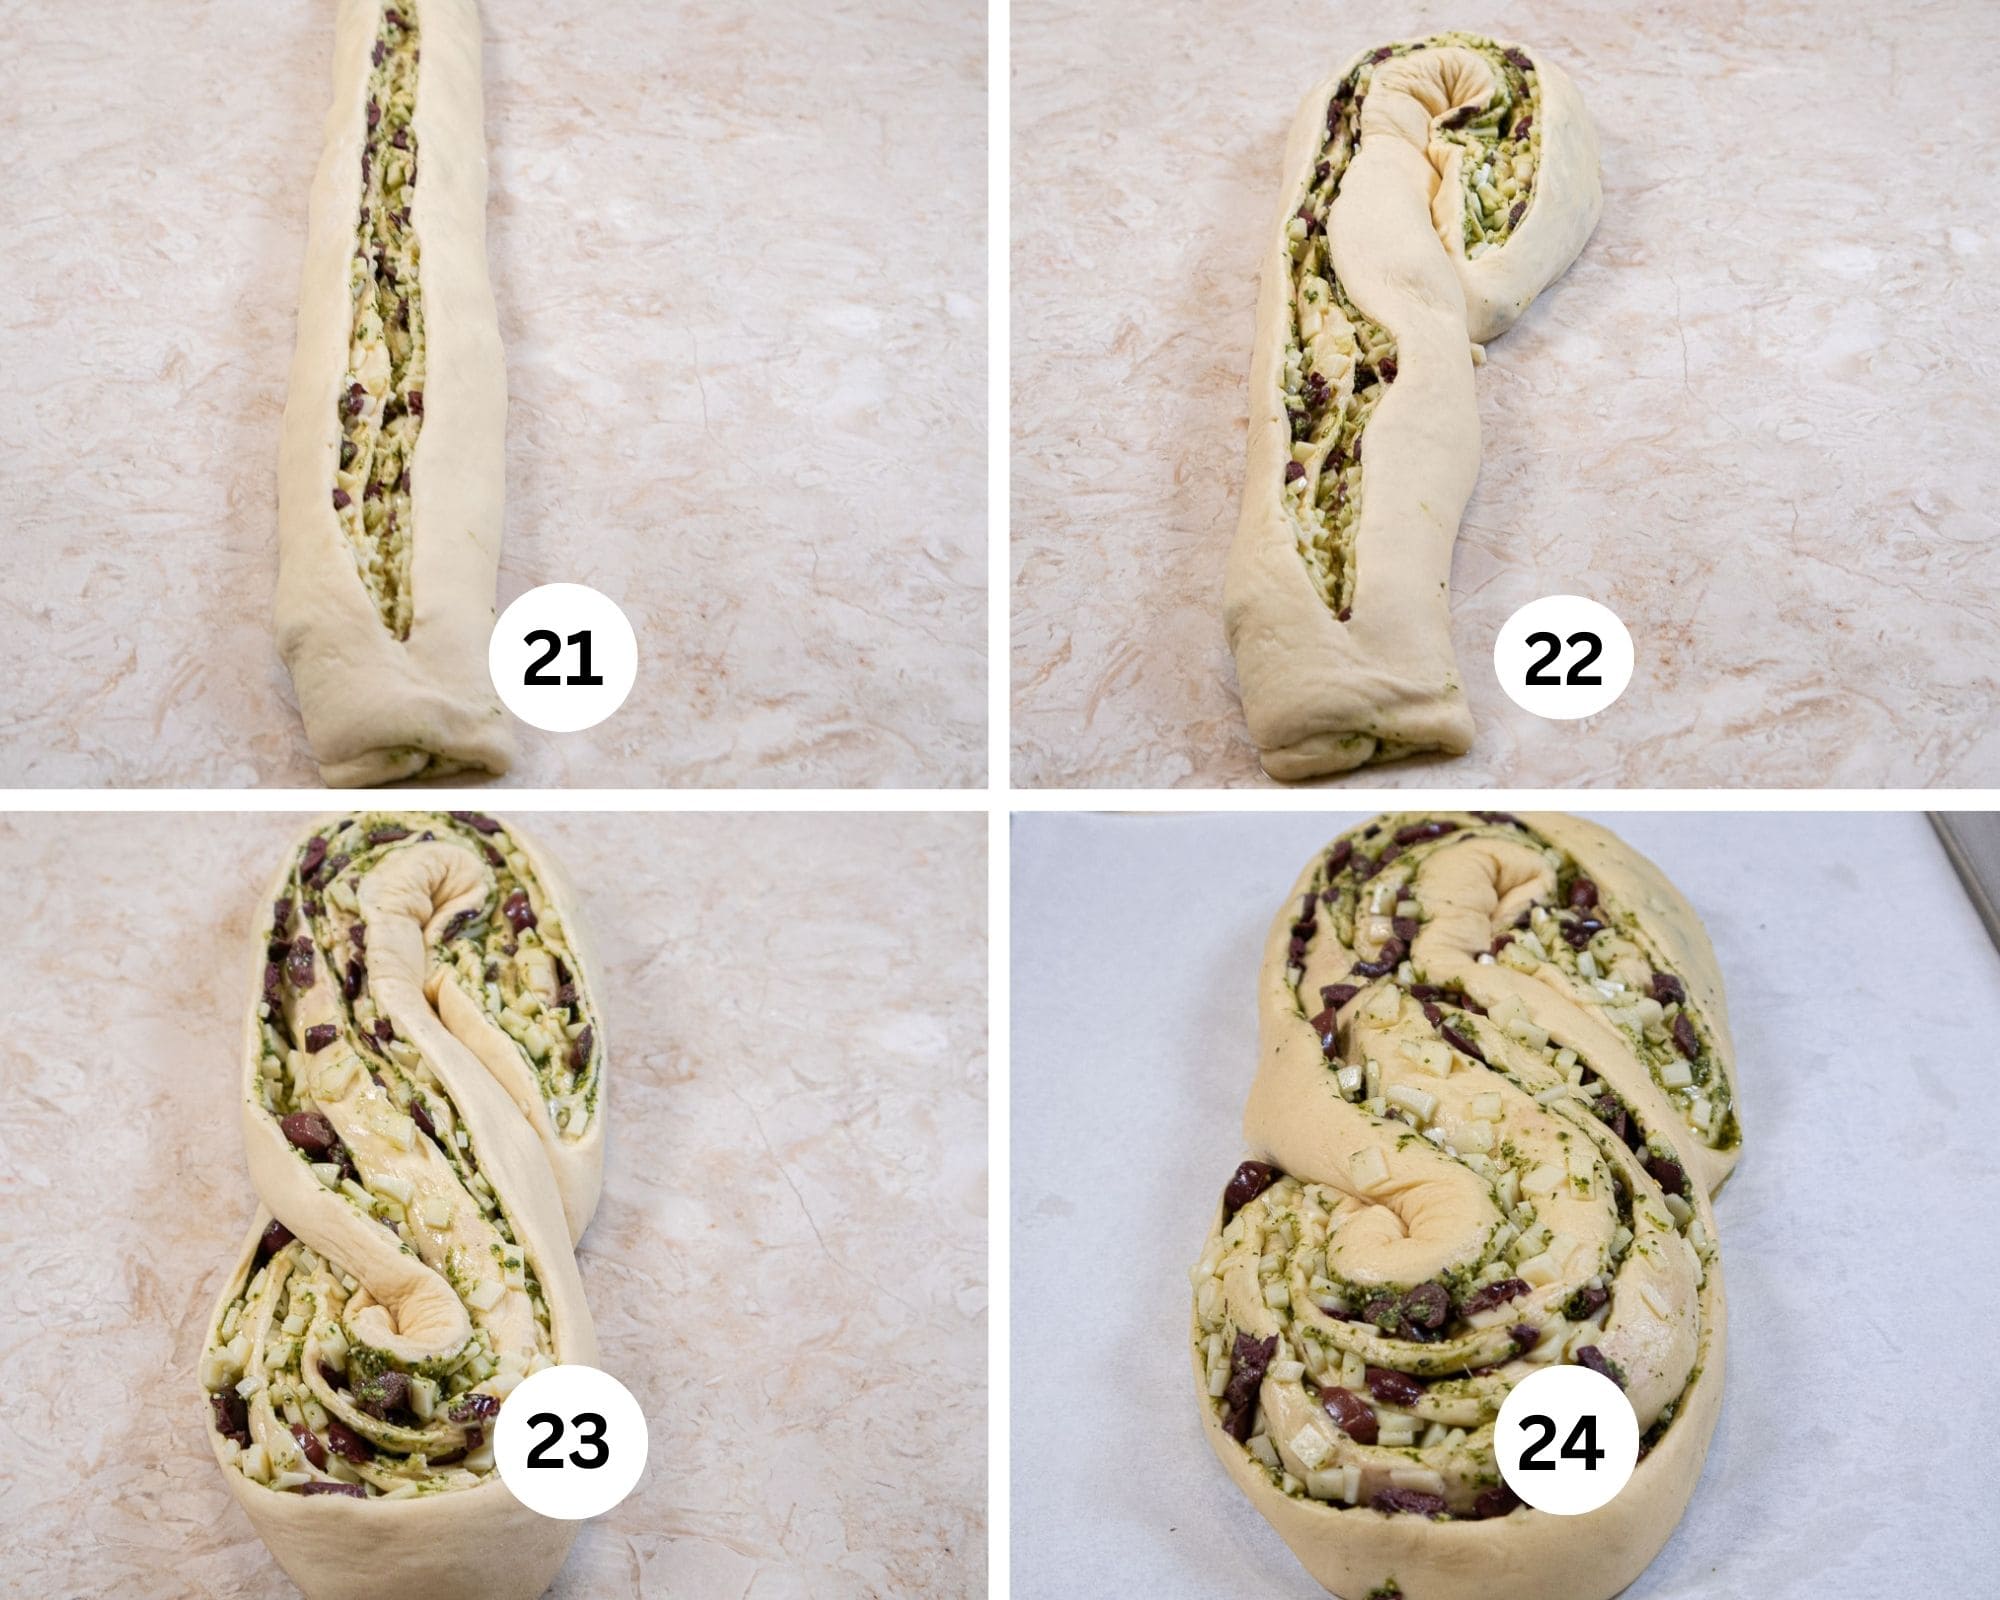
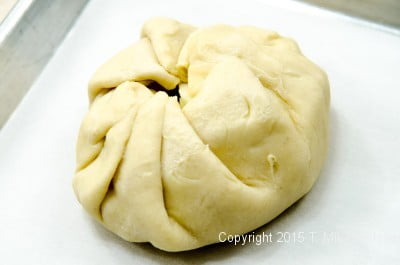
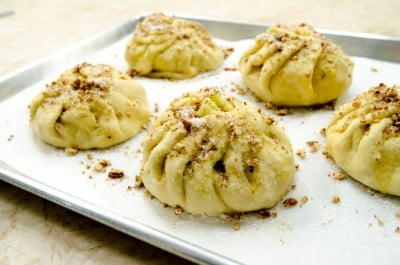
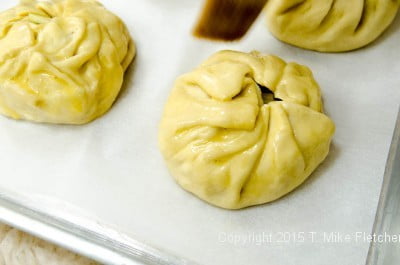
Step 21. With a pair of scissors, cut the roll lengthwise to within 1" of each end. Step 22. Keeping the cut side up, bring the top of the dough down on the right side to the middle and tuck the end underneath. Step 23. Now bring the bottom of the dough up to the left side and tuck the end underneath. (See I told you the shape wasn't hard!). Place the shaped dough on a parchment lined baking sheet. Step 24. Cover with a towel and let rise until doubled in size. Bake as directed.
Recipe FAQS
White bread in Italian.
Almost anything goes as long as it isn't wet. Caramelized onions and guyere cheese would be great or roasted red peppers, artichokes and parmesan cheese would also work well.
No, plain oil is fine but doesn't impart the same flavor or impact.
Expert Tips
- The zippy garlic oil can be used wherever olive oil is used in a recipe to impart more flavor. When making the oil, leave the garlic in large pieces and cook on low heat to extract as much flavor as possible out of the garlic. Just be sure not to burn it. Strain the solids out and refrigerate the oil.
- The filling can be changed to whatever you like as long as it isn't wet. For instance, if you want to use tomatoes use dried tomatoes. Fresh tomatoes can exude a lot of unwanted liquid.
- Refrigerating the dough up to 3 days adds flavor and makes it much easier to roll out and shape.
- Be sure to check out the special note regarding the zippy garlic oil.
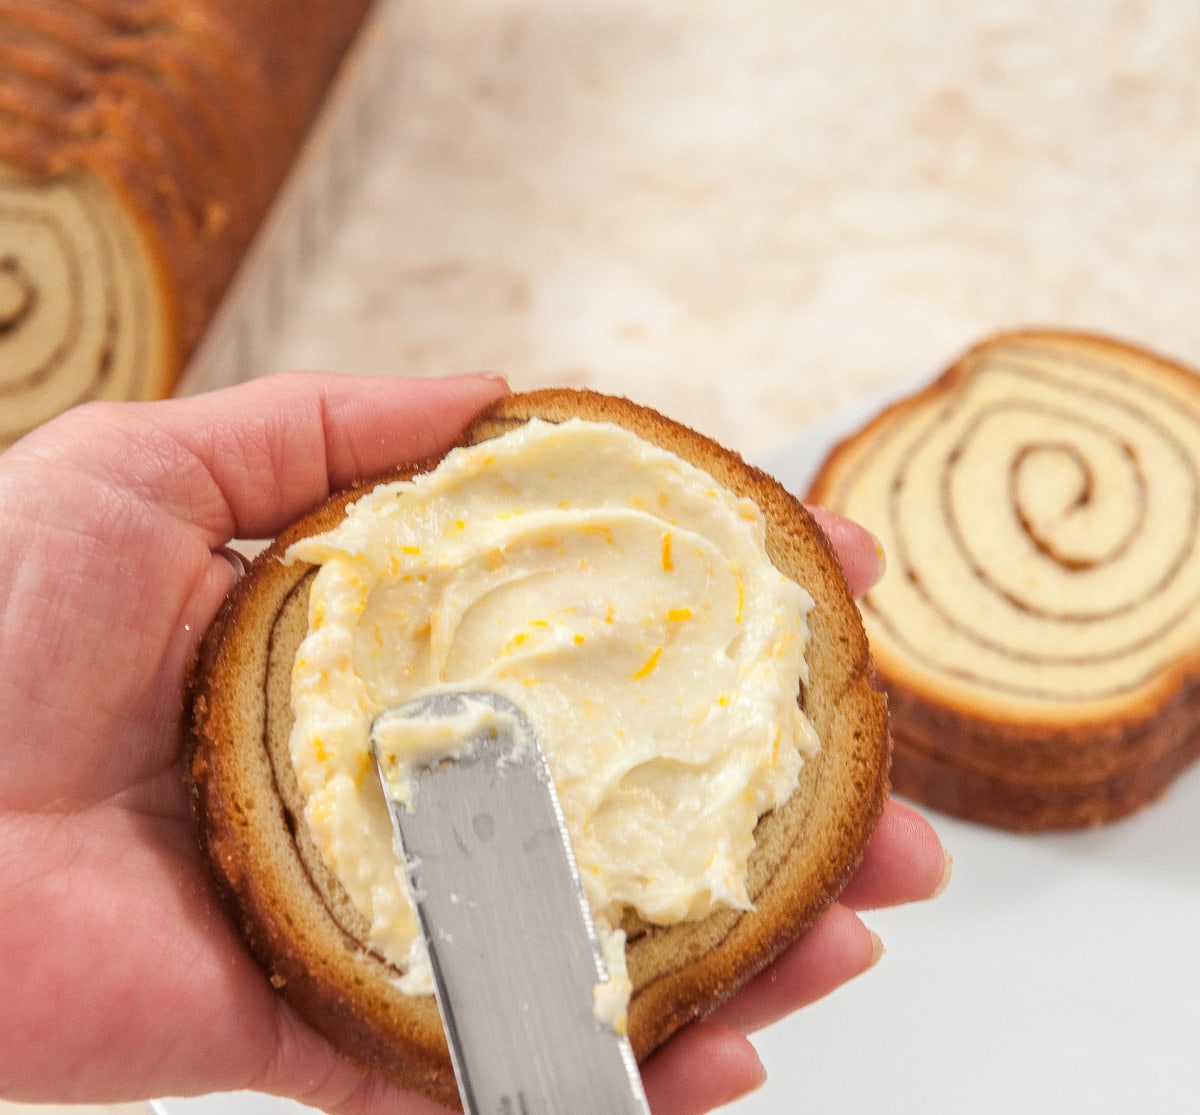
- There will be leftover pesto. It can be stored in the refrigerated if using in the next few weeks. For longer storage, drop by tablespoons onto waxed paper and freeze. Place in a freezer proof container or bag and use within a couple of months. It's great to flavor butter, pasta sauces and salads or an Italian cheese sandwich. Make like a regular toasted cheese sandwich but spread pesto on a slice of bread and top with provolone cheese. Yum!
Other breads You'll Want to Make
If you love this Pane Bianco, It would be hugely helpful and so appreciated it if you would take a moment to leave a rating below. Thank you.
Pane Bianco - Stuffed Italian Bread
Ingredients
Pesto
- 1 ¼ ounces basil leaves (35 grams)
- 2 medium garlic cloves
- 3 tablespoons toasted pine nuts or walnuts
- ½ cup parmesan cheese
- ¼ teaspoon salt
- ½ teaspoon black pepper
- 3 to 4 tablespoons olive oil
Zippy Garlic Oil
- ½ cup olive oil
- ¾ teaspoon red pepper flakes
- 2 large garlic cloves
Pane Bianco
- ½ cup lukewarm milk
- ⅓ cup lukewarm water
- 1 large egg
- 3 tablespoons zippy garlic oil
- 1 ¼ teaspoon salt
- 2 ½ cups bread flour (360 grams)
- 2 teaspoons instant yeast
Filling
- 2 tablespoons zippy olive oil
- ⅓ cup pesto
- ¾ cup chopped calamata olives
- 1 cup grated or finely shredded provolone cheese
Instructions
Pesto
- Pull the leaves off the stems. There should be about 4 cups loosely packed.
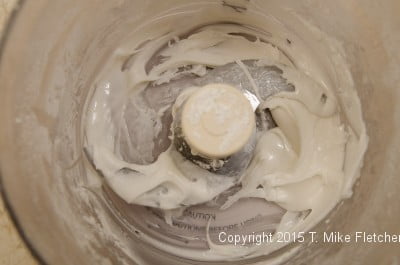
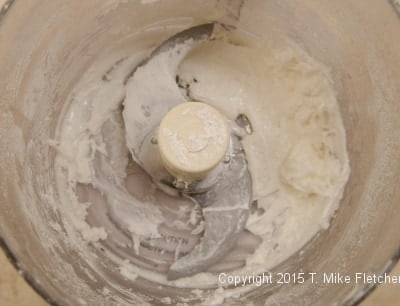
- Place all but the oil in the bowl of the processor and process to finely cut up.
- This makes approximately ¾ cup. Store in the refrigerator until needed or drop by tablespoons and freeze for longer storage.
- When ready to use, thin out with the zippy garlic oil to a spreading consistency. Do not make it too liquid.
Zippy Garlic Oil
- To remove the skins from the garlic easily, smash the cloves with the flat side of a knife. The skins will pop off. Cut each clove in about 3 pieces.
- Place all the ingredients in a small saucepan and heat over low to a bare simmer. Simmer until the cloves turn brown but do not burn them.
- Remove from the heat and let cool until lukewarm. Strain the solids out of the oil. Pour the oil into a container, cool to room temperature then store in the fridge until needed. It appear solid but will liquify if brought out 30 minutes before using.
Pane Bianco Bread
- Add the milk, water, egg, zippy olive oil., salt and yeast in the bowl of a mixer fitted wtih a dough hook if available. Whisk to combine. Add the flour. Beat on low to combine. Raise the speed as suggested by your mixer and continue beating for 3 minutes.
- Take a small piece of dough and stretch it between your hands. If it becomes transparent without breaking, the gluten has been developed enough. If not, return it to the bowl and beat for another minute or so. The bowl should be clean when finished mixing.
- Remove from the mixer and knead several times to form a smooth ball. Place in a container sprayed with a non-stick baking release. Cover directly with plastic wrap, place the top on the container or cover with a towel. Mark the time and allow to double in bulk.
- It can be used immediately but I suggest storing it in the refrigerator for 3 days to allow it to develop more flavor and make it easier to roll out. In any case, deflate the dough.
- Roll the dough into a 22" x 8" rectangle on a lightly floured board.
- Spread the pesto paste over the dough to within 1" of the borders. Spread the olives evenly over the pesto and finish with the provolone cheese.
- Starting on the long side, Roll the dough up tightly. Pinch the seam together to seal it. Turn the dough over so the smooth side is up.
- Place the roll on a piece of parchment paper the size of your baking pan. With a pair of scissors, make a 1" deep cut to within 1" of each end.
- Keeping the exposed cut on top, make an S shape by bending the top down to the middle of the right side of the dough. Tuck the end underneath.
- Bring the bottom of the dough up along the left side of the dough, tucking the end underneath. Carefully transfer the paper to your baking pan.
- Cover and let rise for about 1 hour if the dough was room temperature when you started or up to 2 hours or more if the dough was cold from the refrigerator. In any case, it should be doubled and puffy.
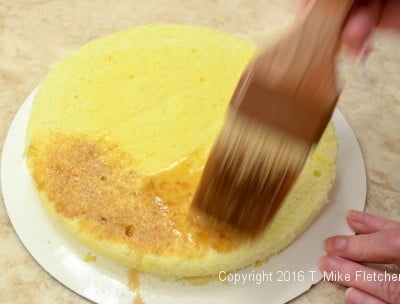
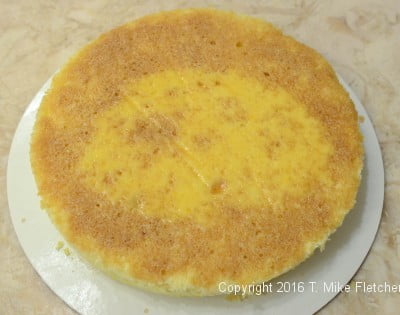
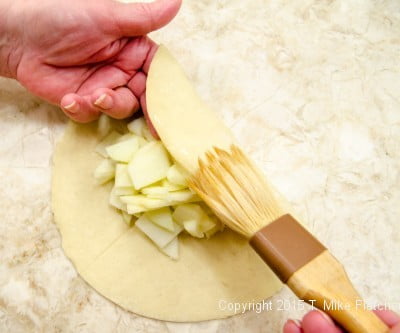
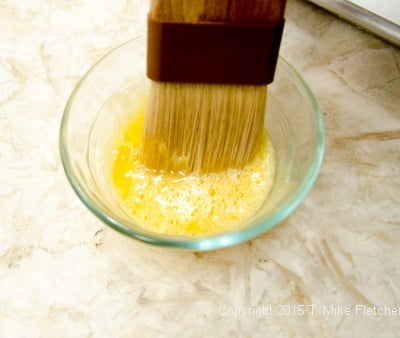
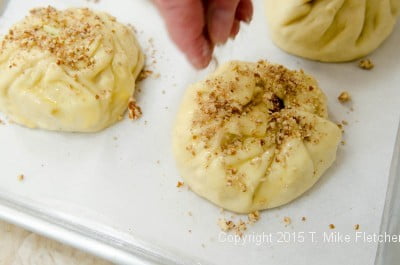
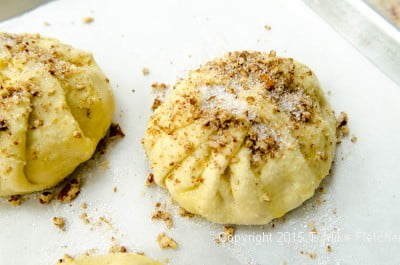
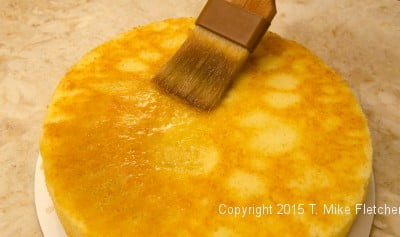
- Preheat the oven to 350°F. Brush the Pane Bianco with the zippy garlic oil. Bake for 35 to 40minutes until deeply golden brown.
- Cool on a rack and serve warm or room temperature.
 Holiday baking is like no other time of the year. With the holidays upon us, I thought it might be interesting to go back into my past blogs and pull up some of the best holiday baking.


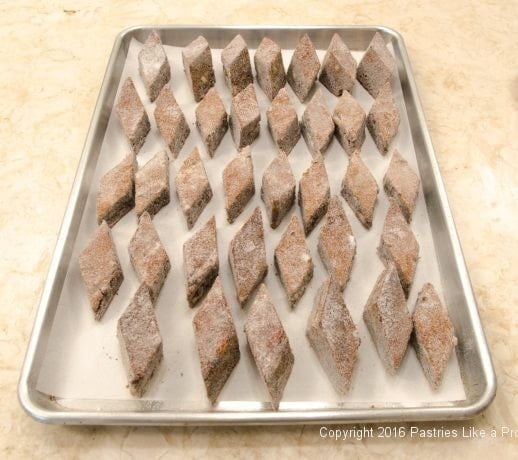
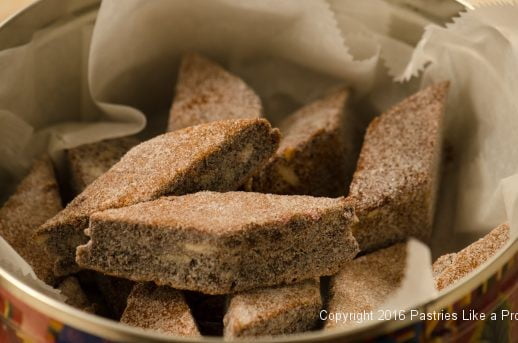
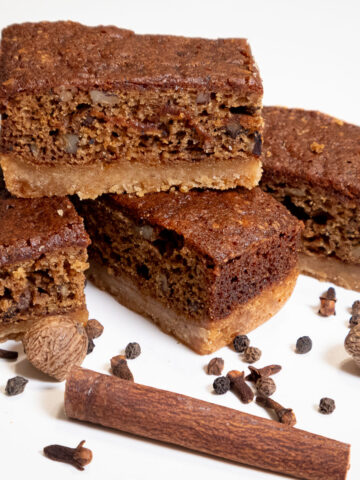
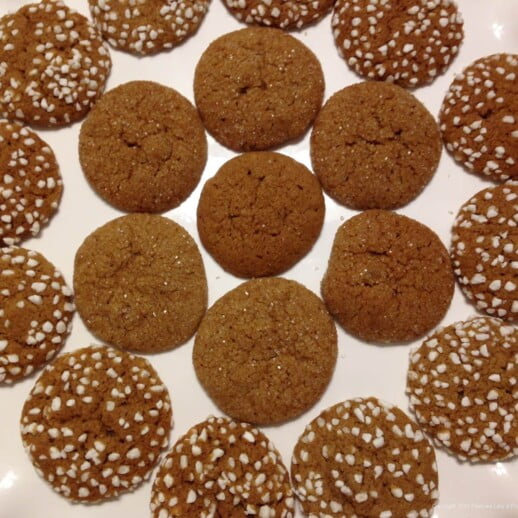 These Triple Ginger Crisps are a mouthful of flavor. They should be very crisp when cooled. These are a make ahead treat as the flavor gets better as they are stored in a tin. The three types of ginger give a bite to the cookies and they leave a lingering taste that makes you reach for one more.
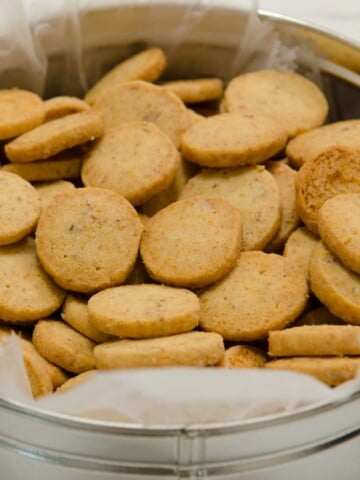
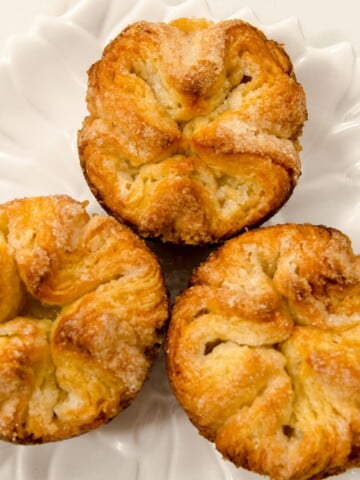

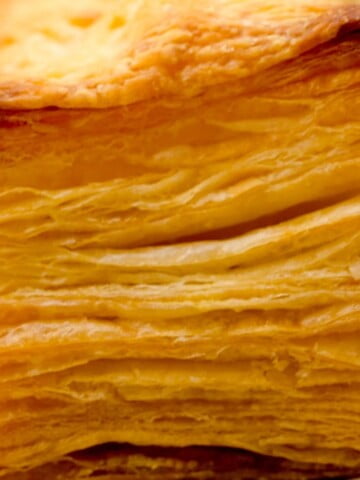
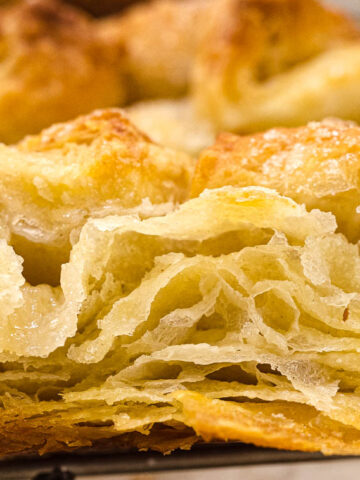
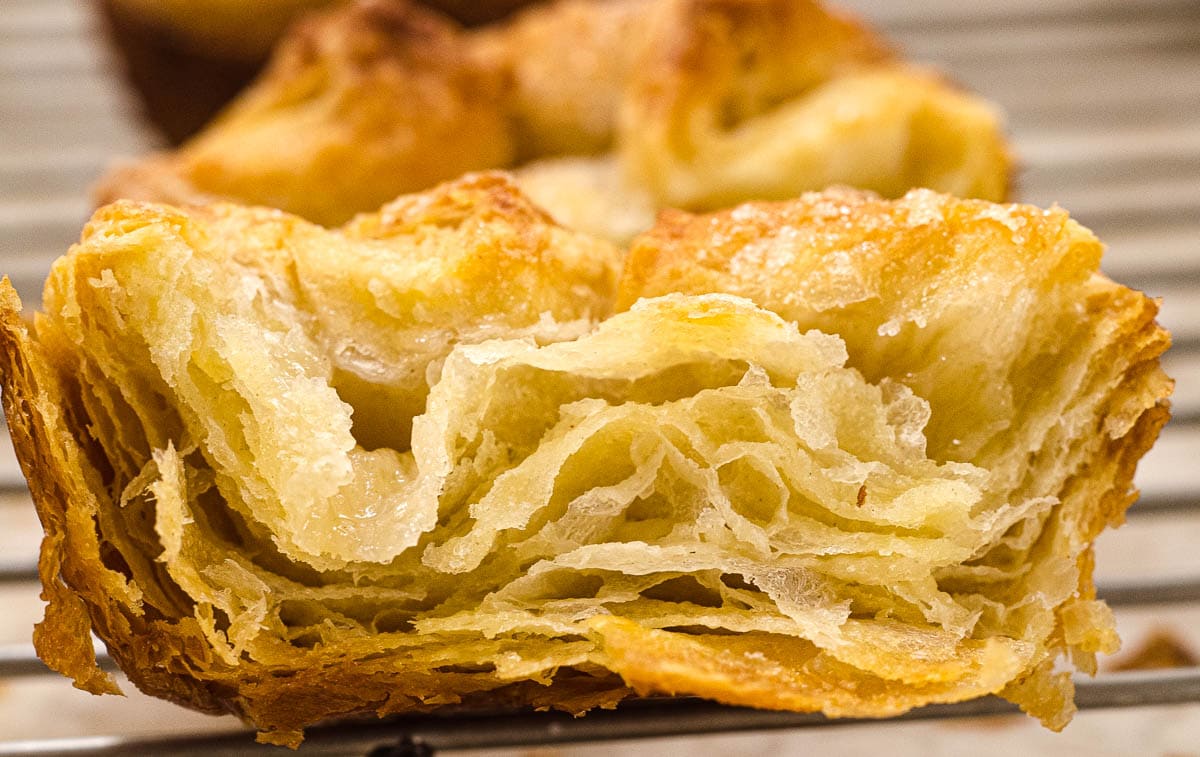
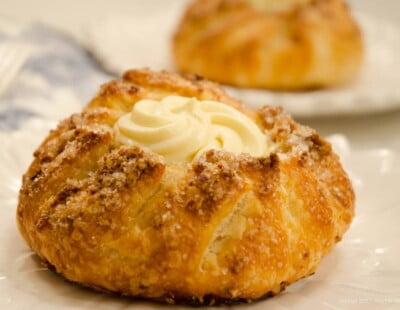
 Butter used to be butter. Cream was churned and separated into butter and buttermilk. While it is still made that way, where in the world it comes from makes a difference, both in taste and its ability to make laminated doughs rise dramatically. The puff pastry above started out as a ⅜ inch rectangle and rose to a dramatic 3 inches.
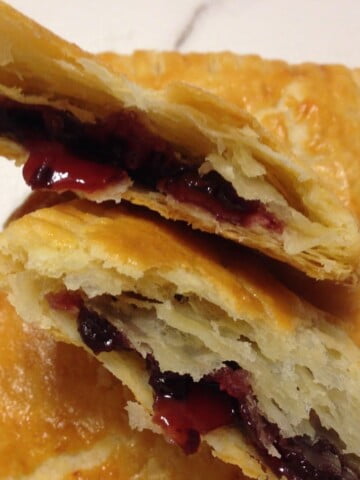
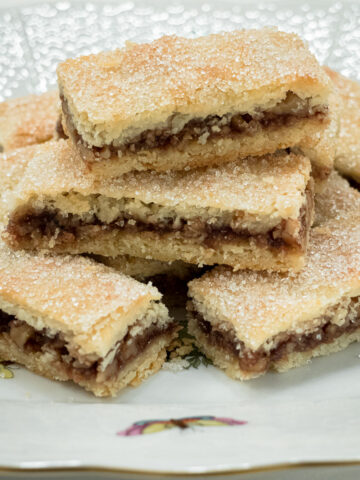
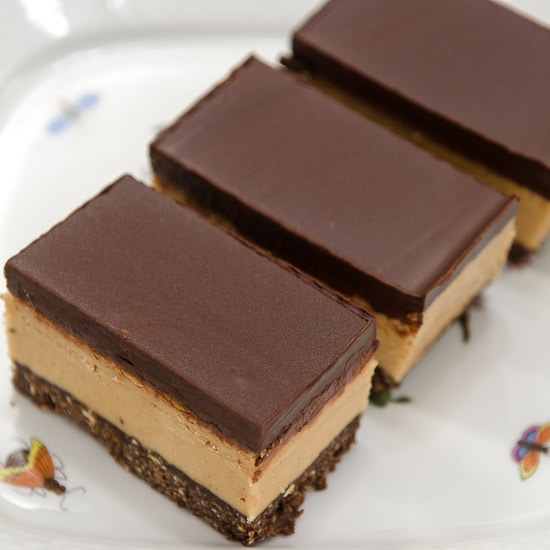
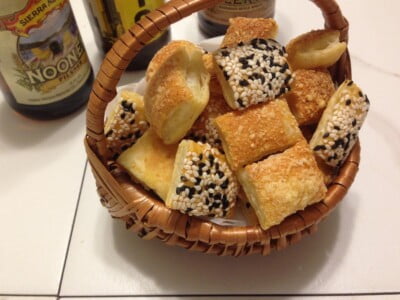
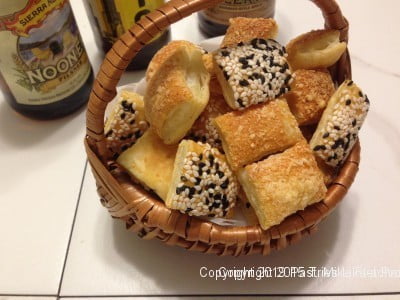
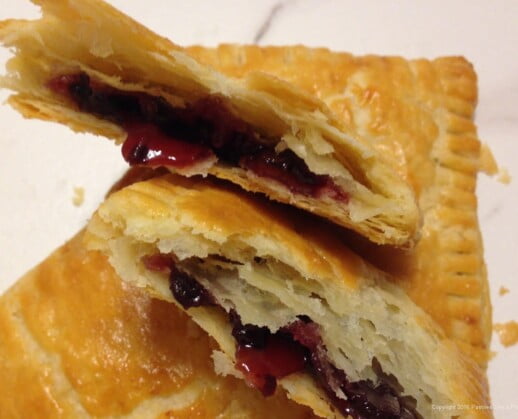 A friend of mine, Danielle Luisi the pastry chef at Annie Gunn's, came up with this version of a pop tarts, but with different fillings. I can't thank her enough because they are easy and a very upscale version of this popular treat. Imagine a thick filling of chocolate and raspberrry sandwiched between two pieces of flaky buttery pastry.
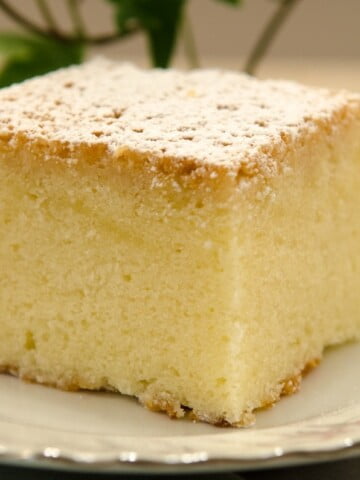

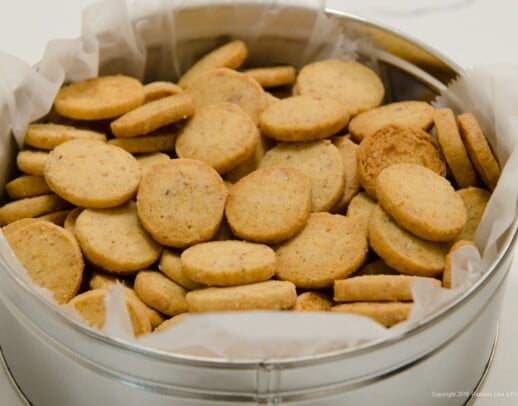
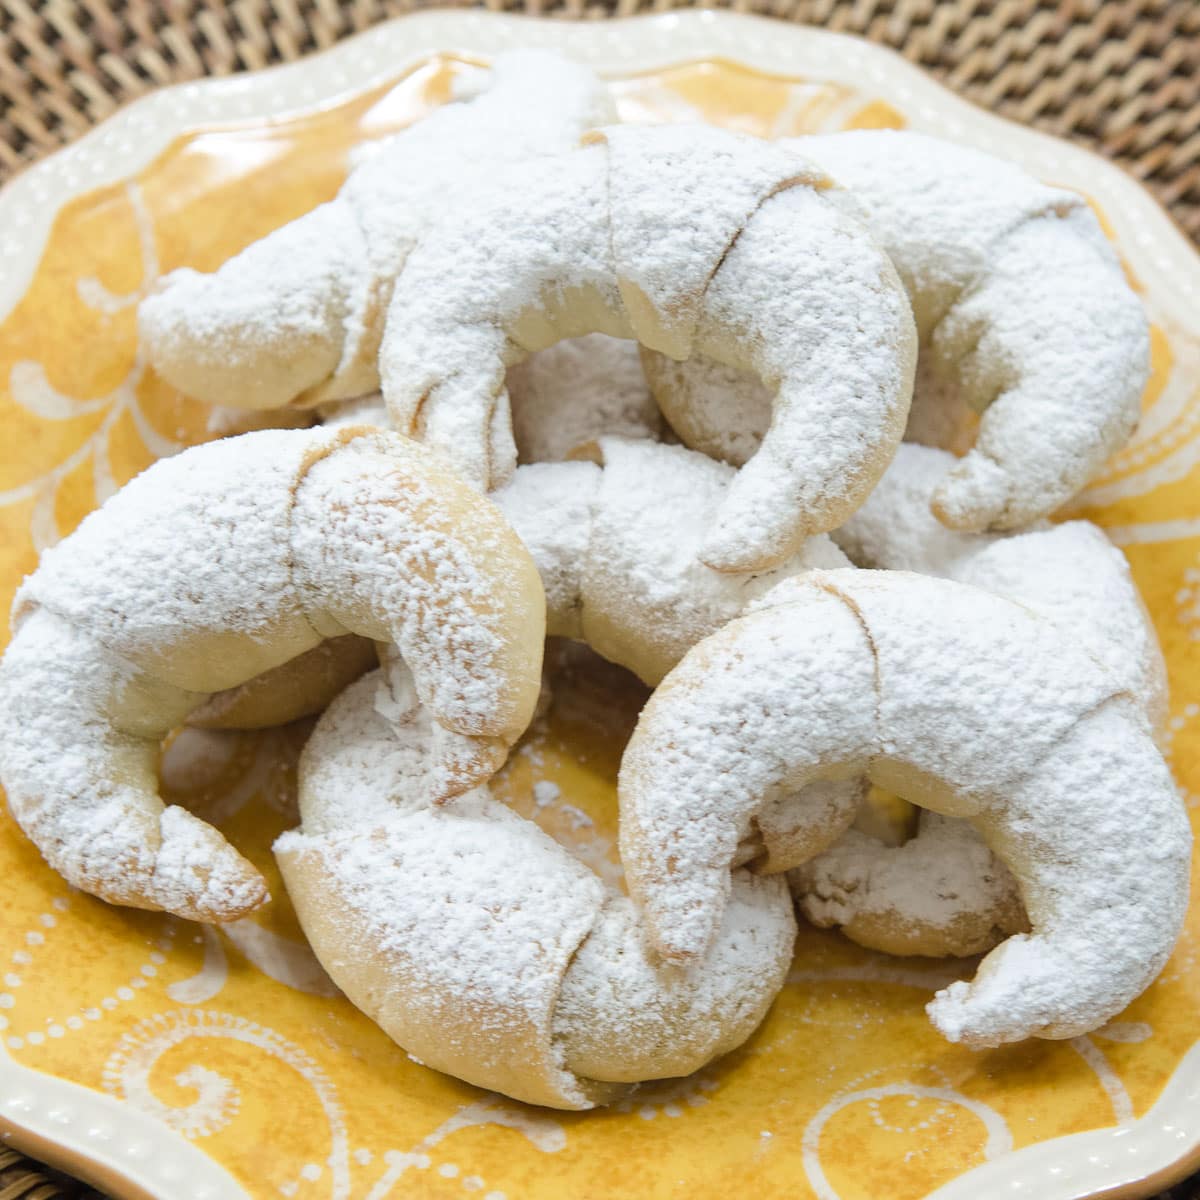
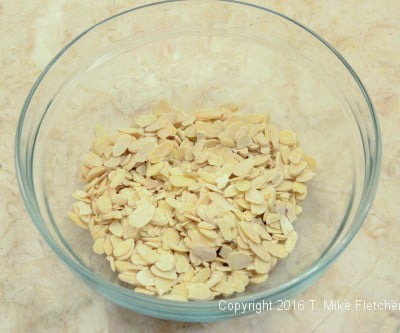
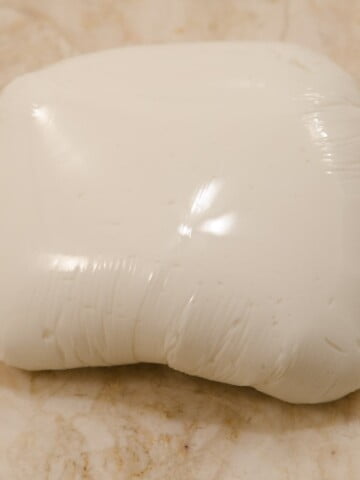
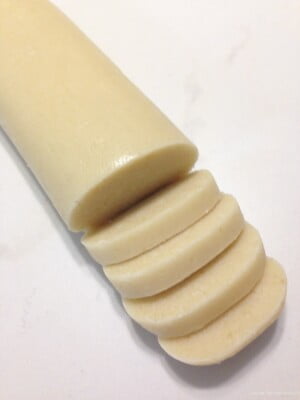 Last week I posted a recipe using almond paste. One of my regular readers asked me if I had a recipe to make almond paste since it is so expensive. At the time I remembered seeing such recipes so I hopped on the internet and found quite a few.
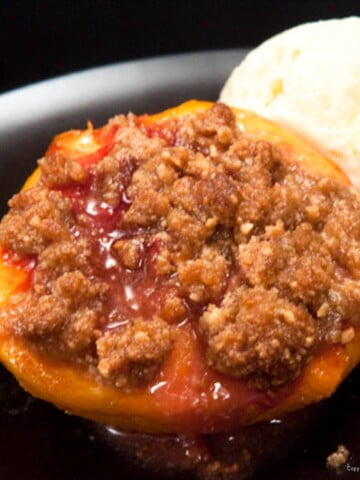
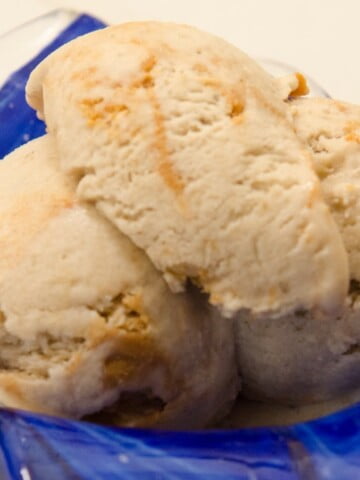
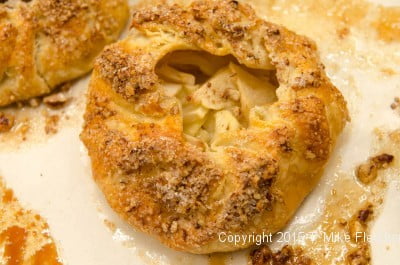
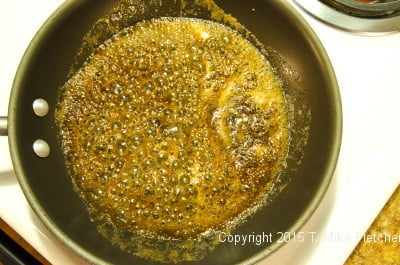
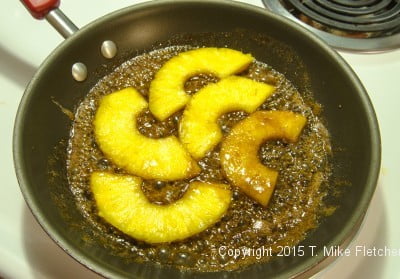
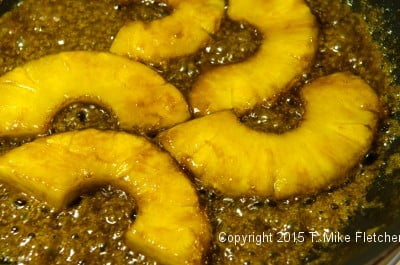
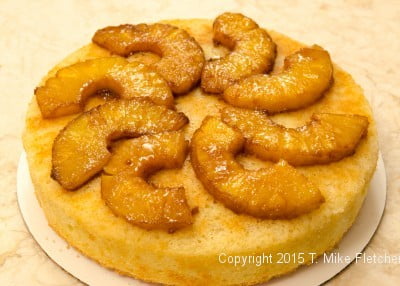
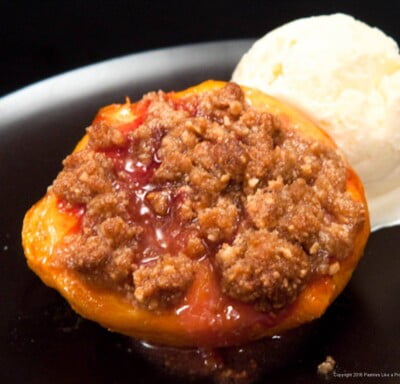 The original recipe for the Roasted Peaches with Amaretti Crisp came from “Bon Appetit” and, of course, I had to dink with it a bit. This topping is so versatile it can be used over other fruit, ice cream or anywhere you want a bit of sweet crunch.
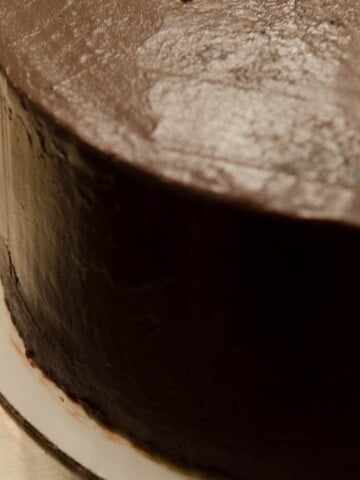
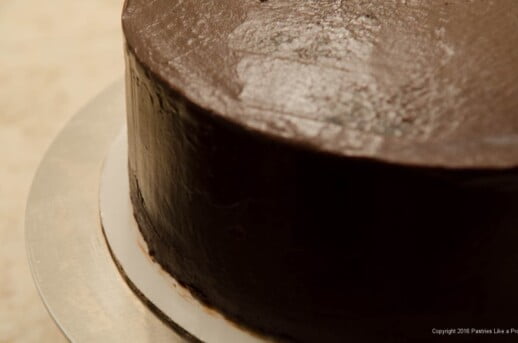
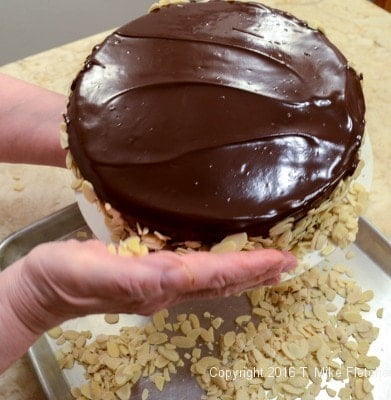
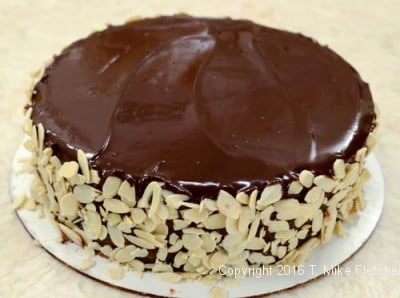
 This Chocolate Strawberry Ruffle Cake came about when a friend of mine was gathering items to auction off to help someone. She wanted a spectacular, showstopper of a cake cake that would draw a high bid. I was happy to donate the cake. I had made the cake, filled it and frozen it a week earlier. The day came to finish it and the night before she was to pick it up, we lost all power - for 19 hours. I couldn't open the freezer or fridge until the power came back on. So this Chocolate Strawberry Ruffle Cake never came to fruition for the auction.


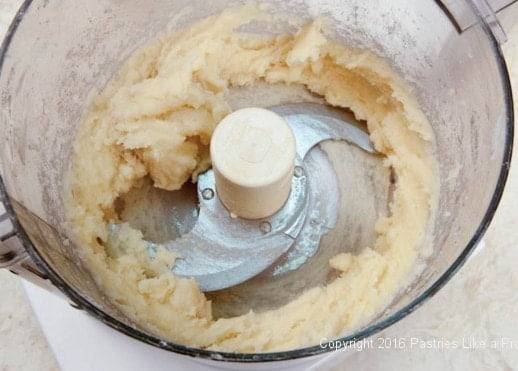
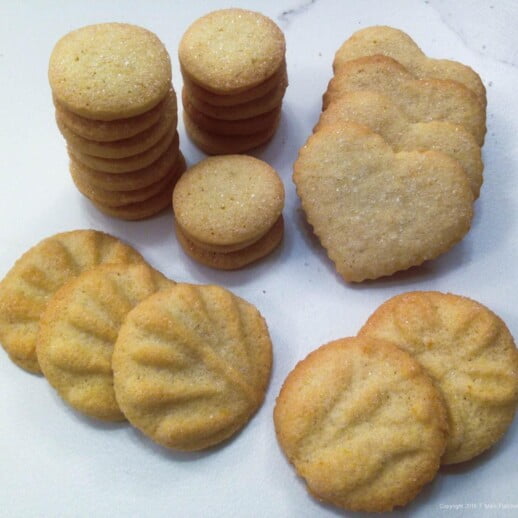
 Almond Macaroons are simplicity itself and one of the easiest, fastest, most delicious cookies you can make.
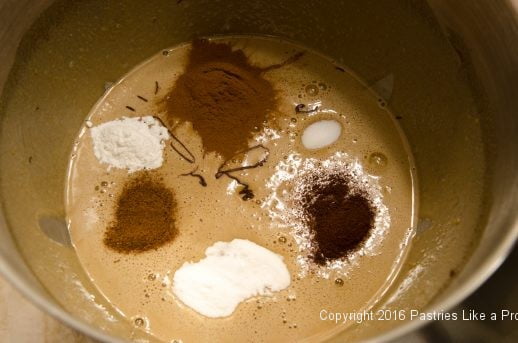
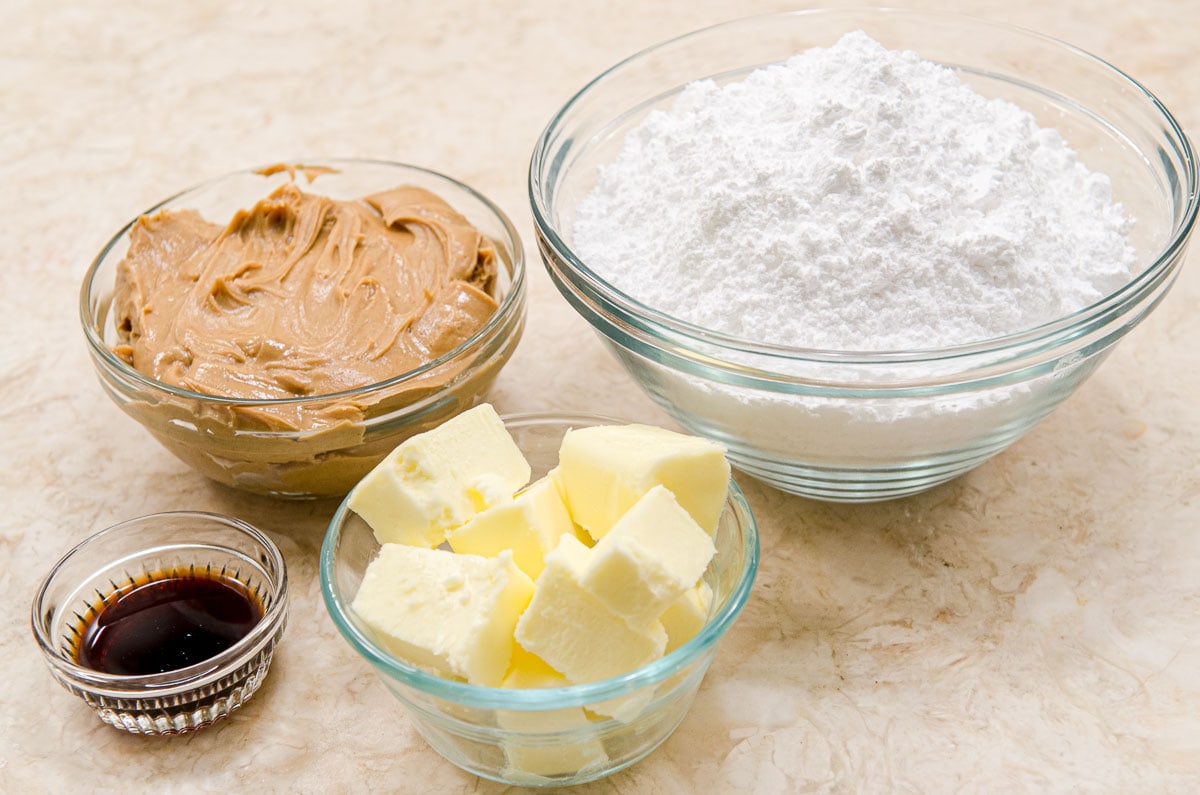
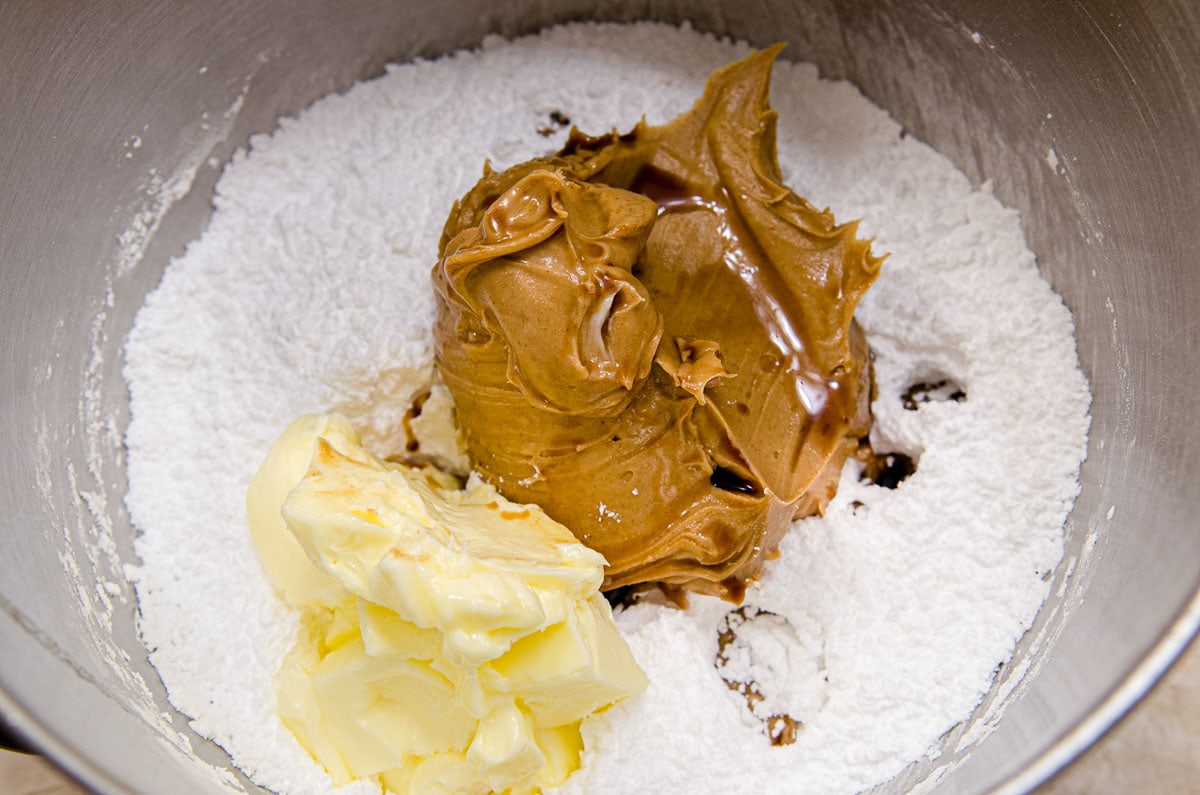
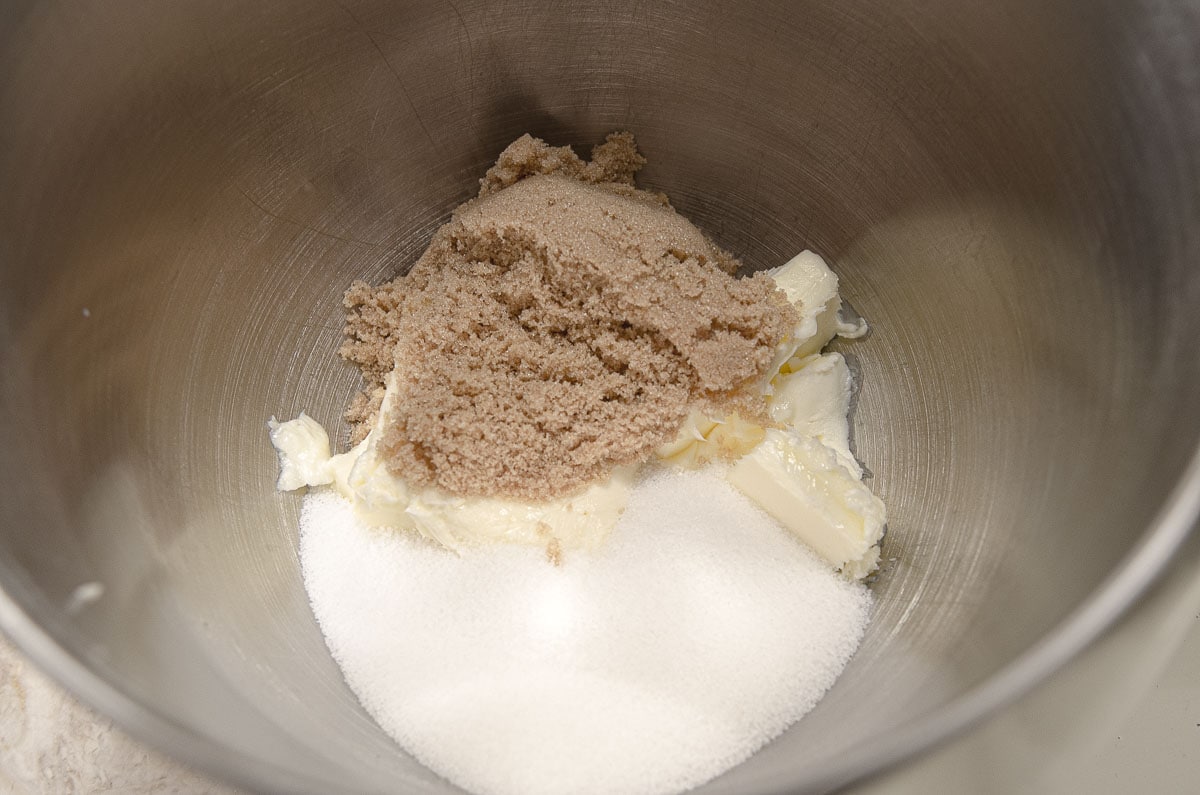
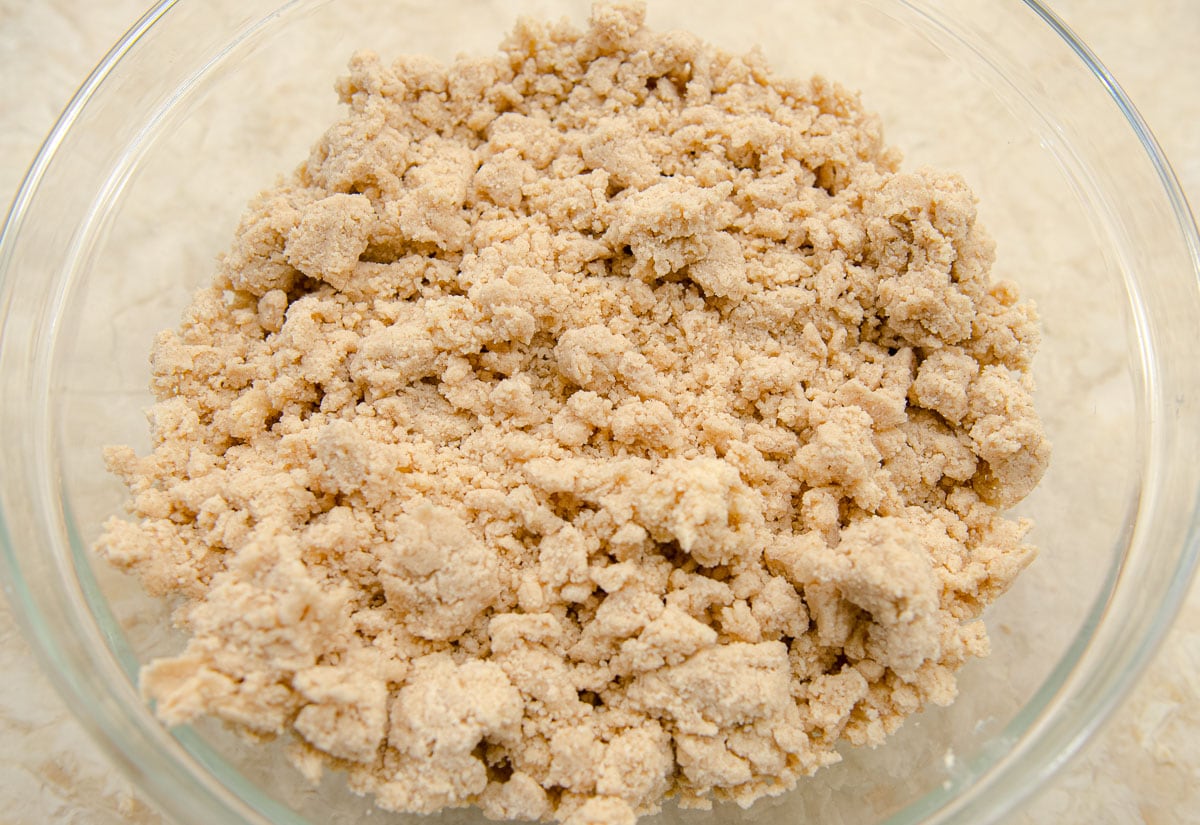
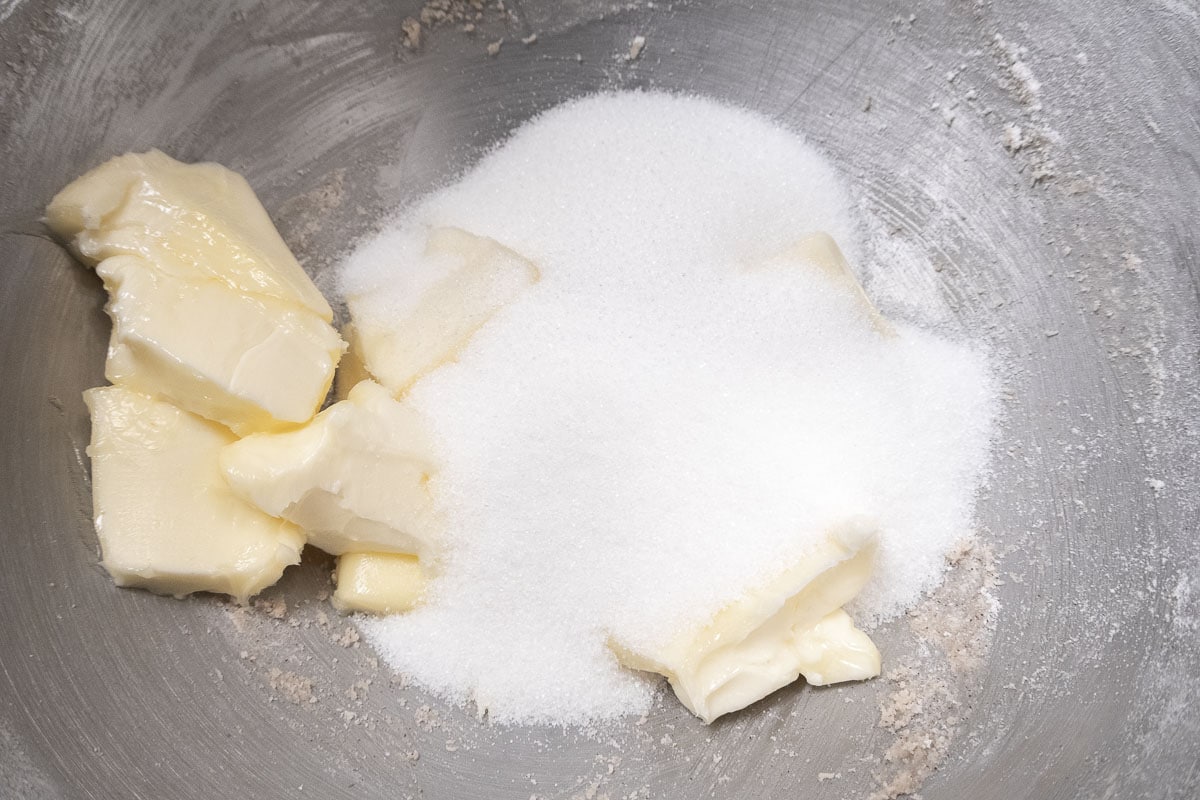
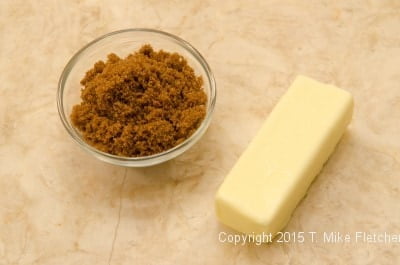
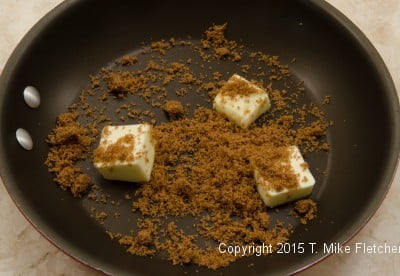
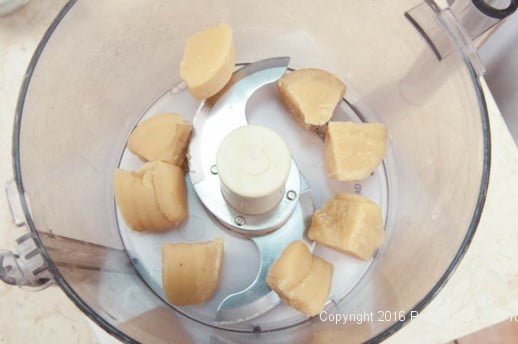 Add both sugars.
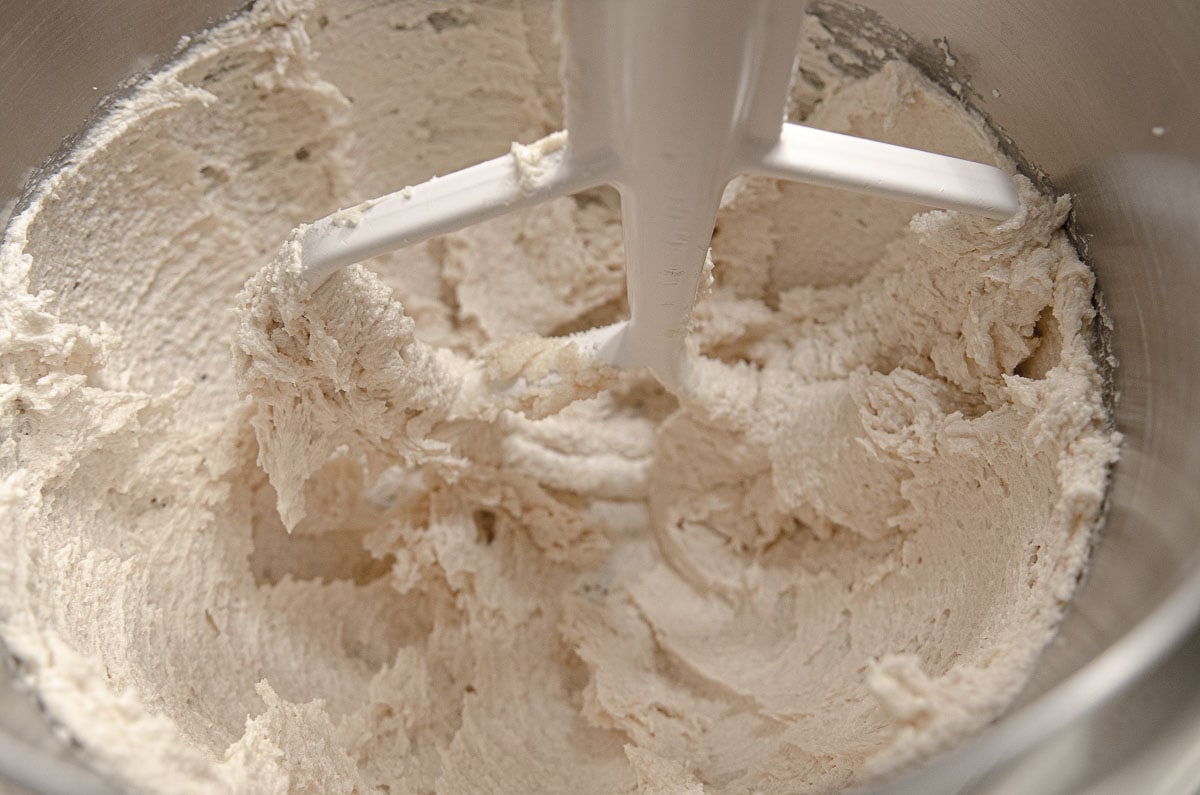
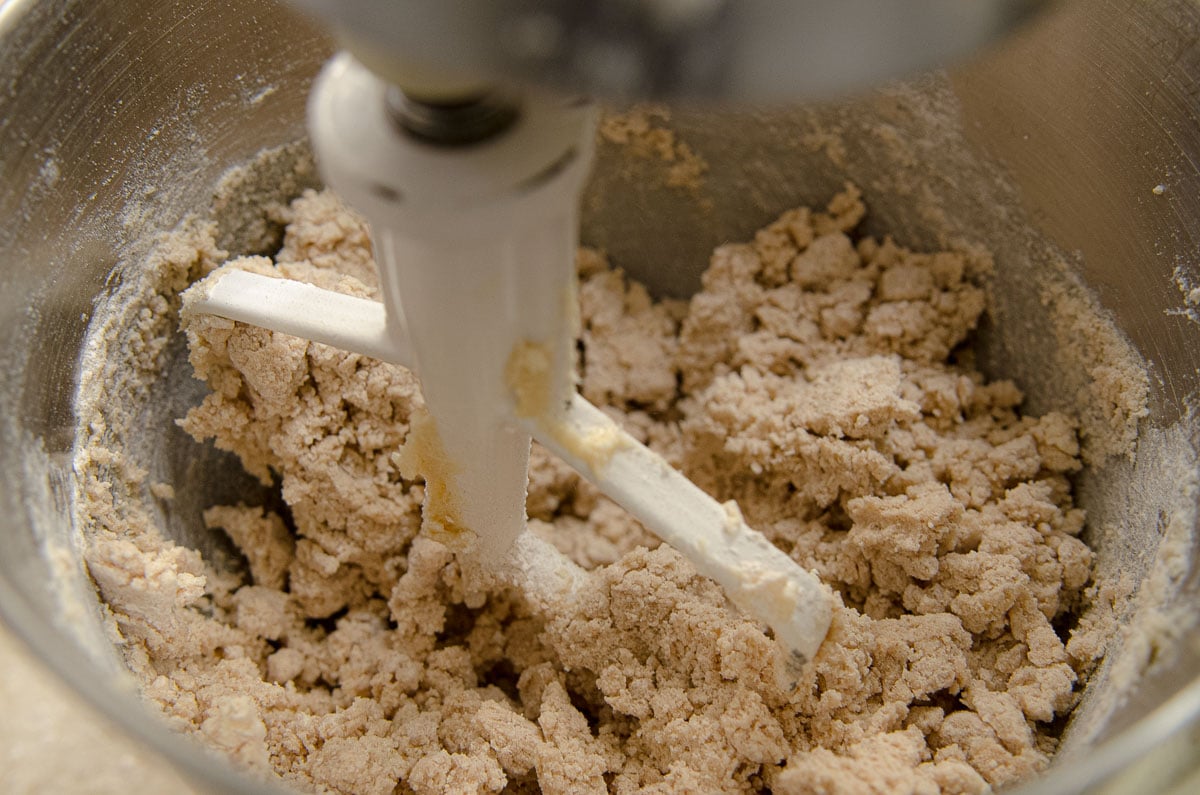
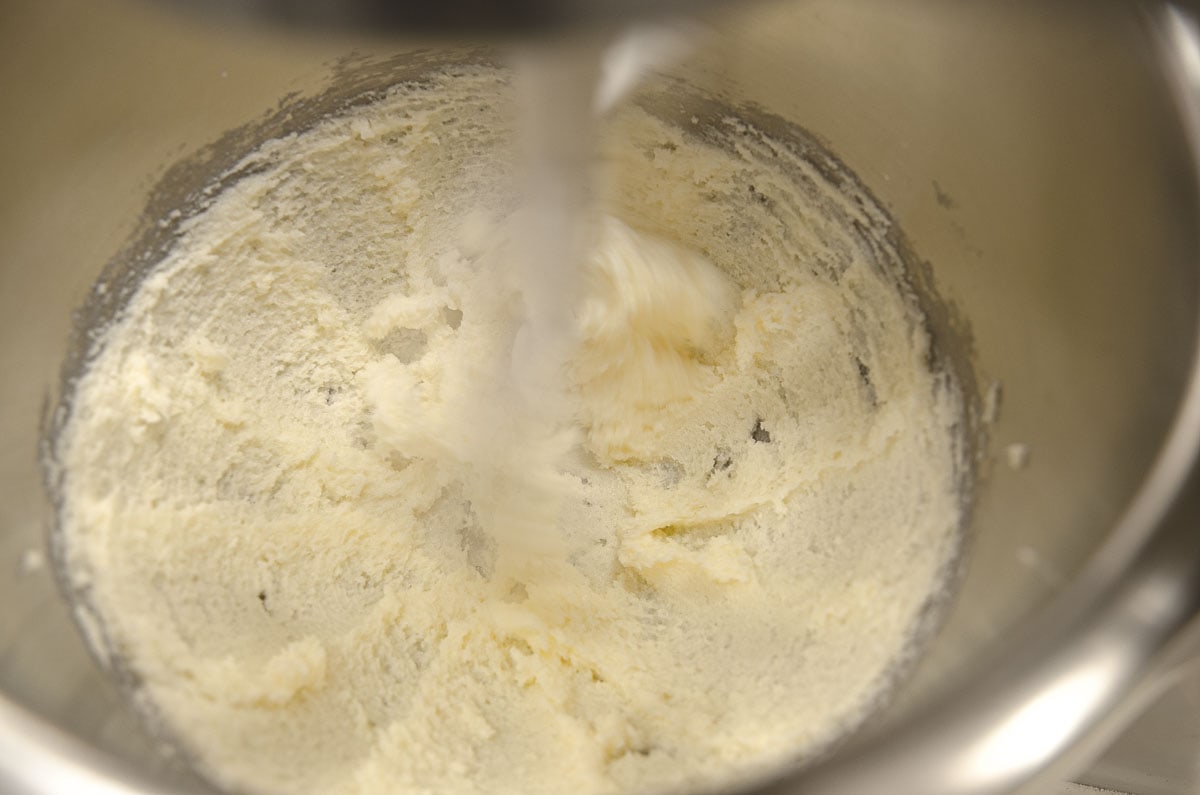
  Process or beat until the mixture is mealy.
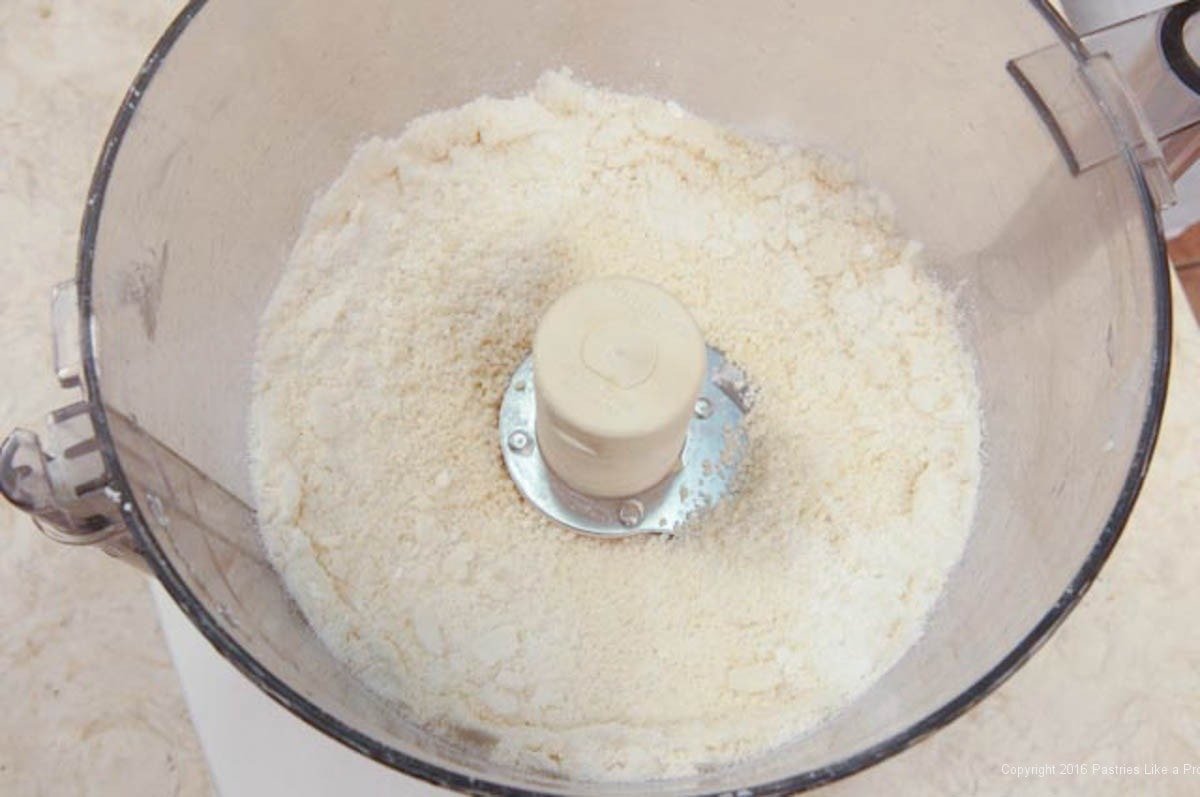
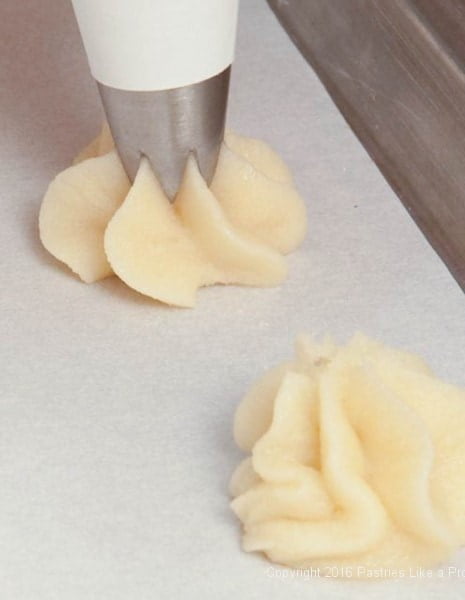 Pipe 25 macaroons about the size of a half dollar onto the baking sheet. Let dry for 30 minutes.
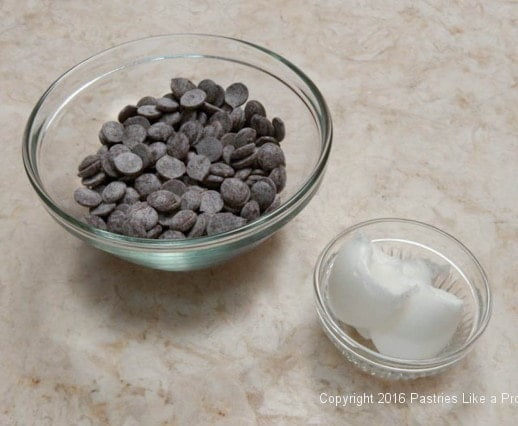 6 ounces semi sweet chocolate, melted (170 grams)
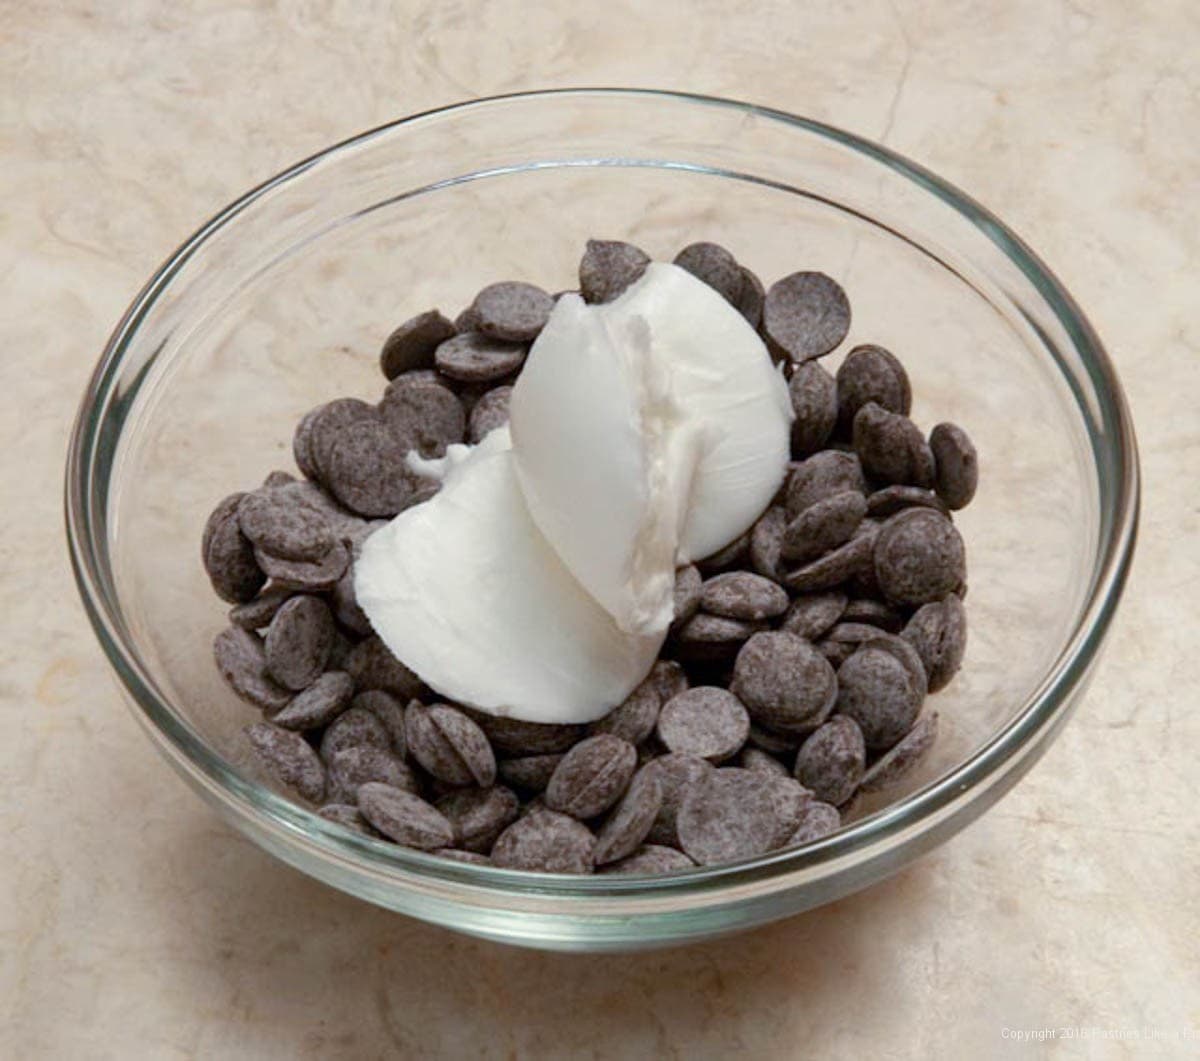
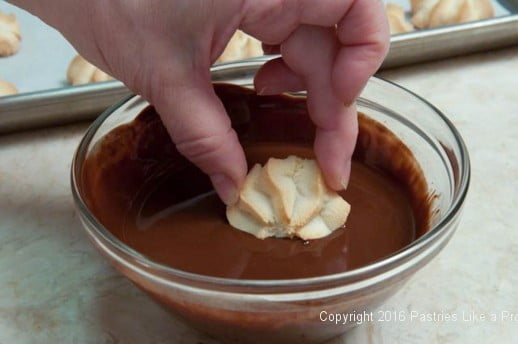 Allow the excess chocolate to drip back into the bowl.
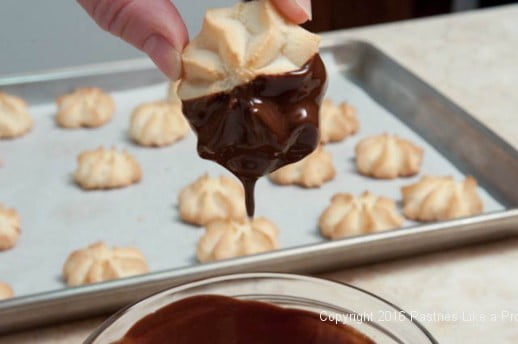


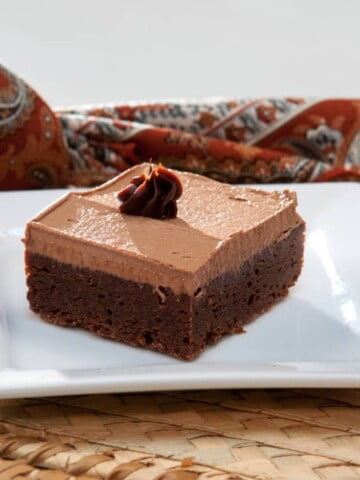
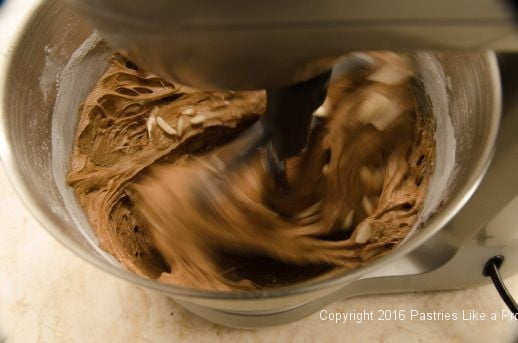
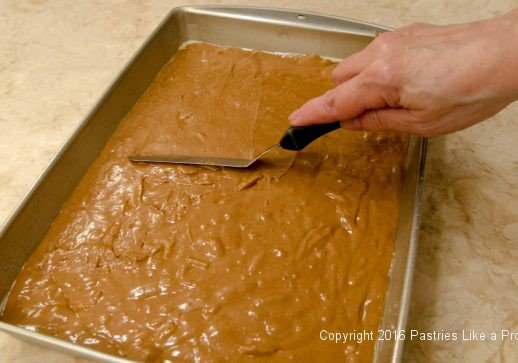
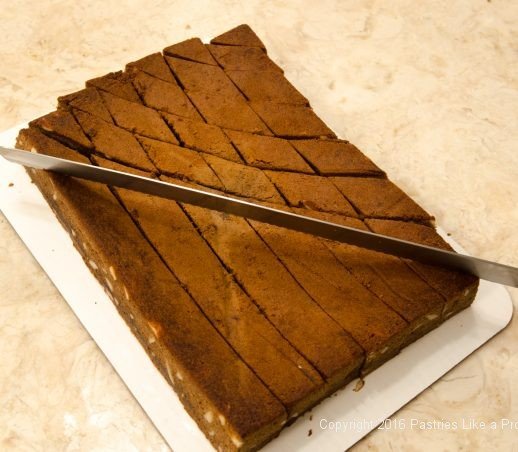
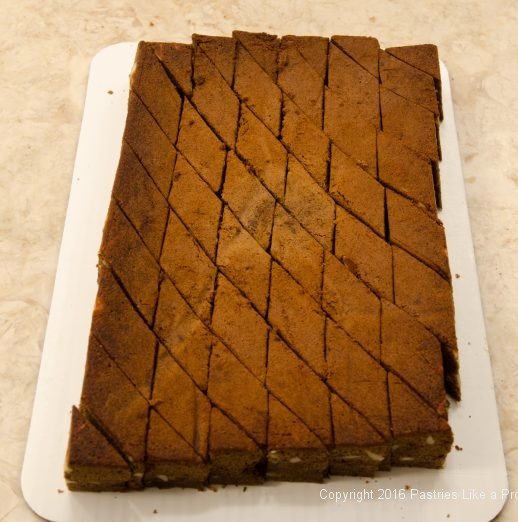
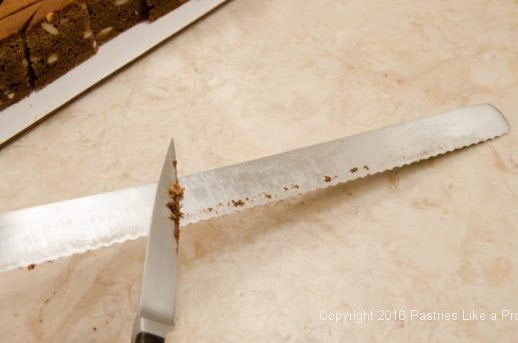
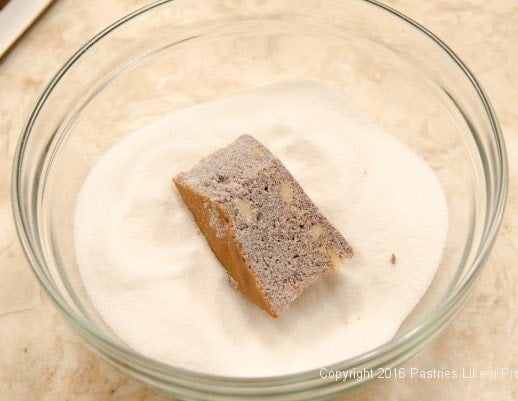
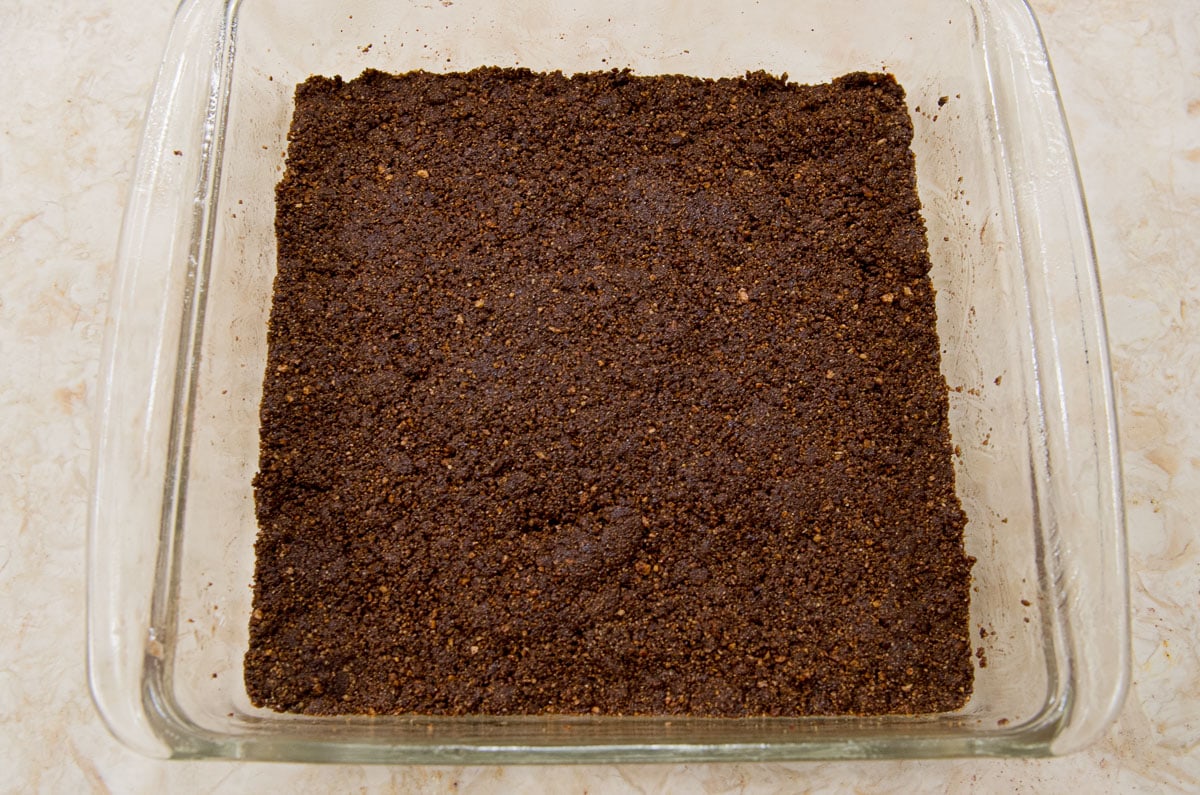
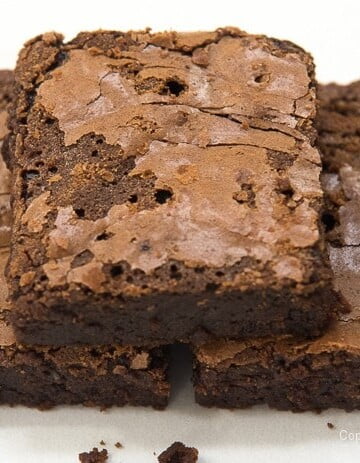
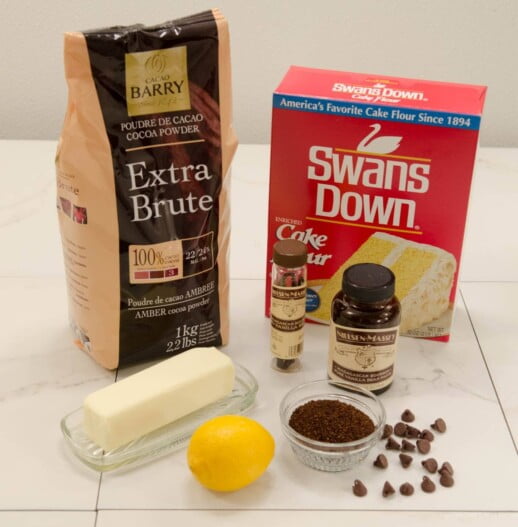
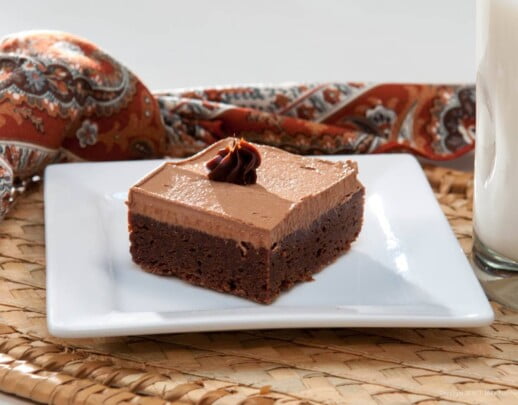 Of all the brownies we made at the bakery or I have ever eaten for that matter, Mocha Kahlua Brownies are my favorite. The brownie itself is of the fudgy variety with a deep, intense chocolate flavor highlighted with coffee undertones.
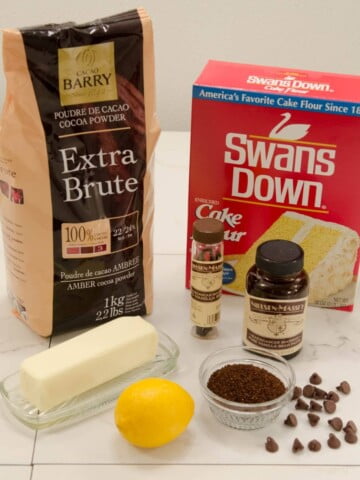
 Additional Baking Tips are a few more things I have found to enhance your baking. If you spend enough time doing anything, I think it is inevitable that newer, better or faster ways will be found without sacrificing quality.
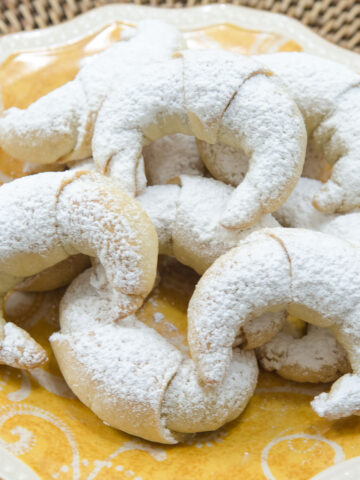
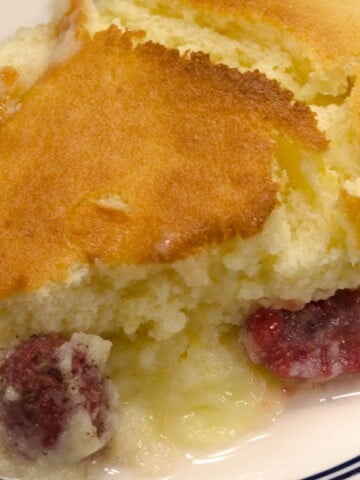
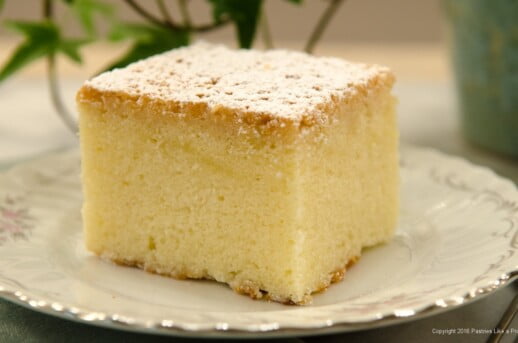
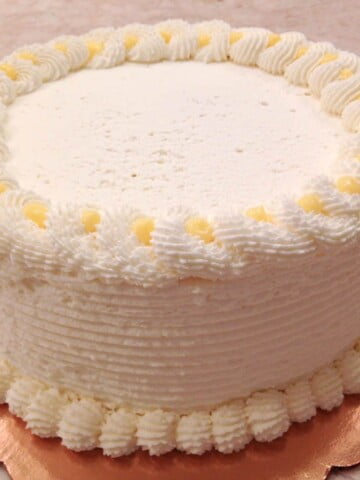
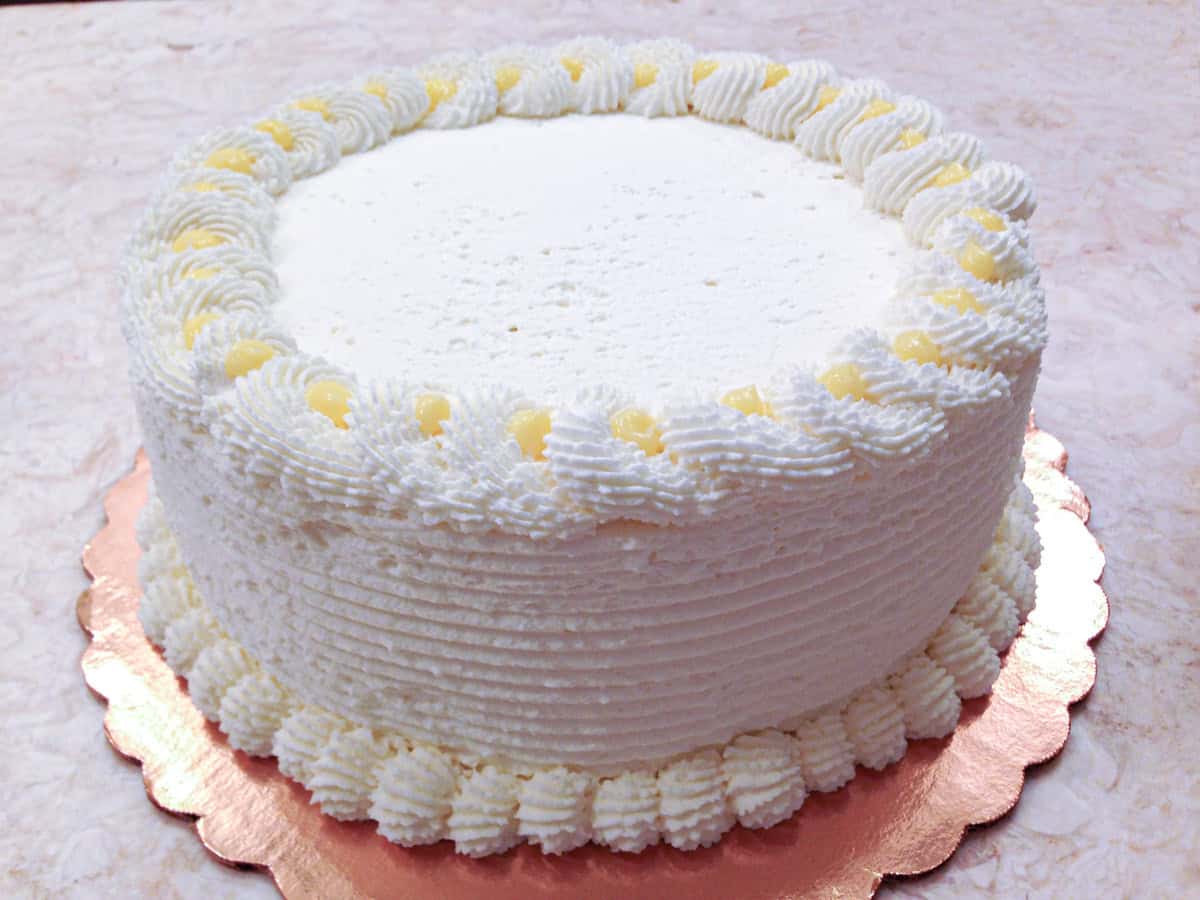
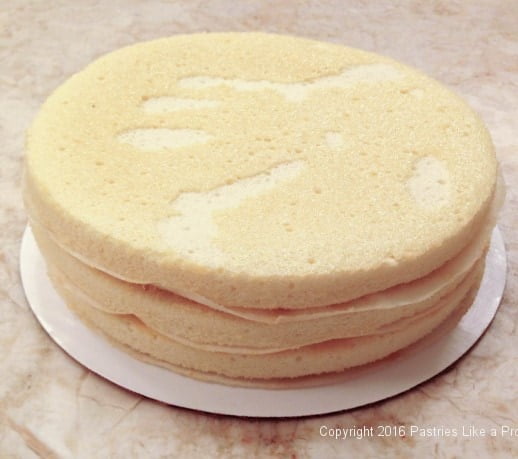
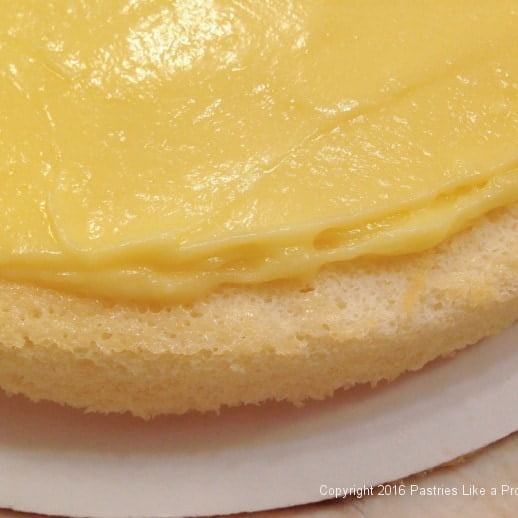
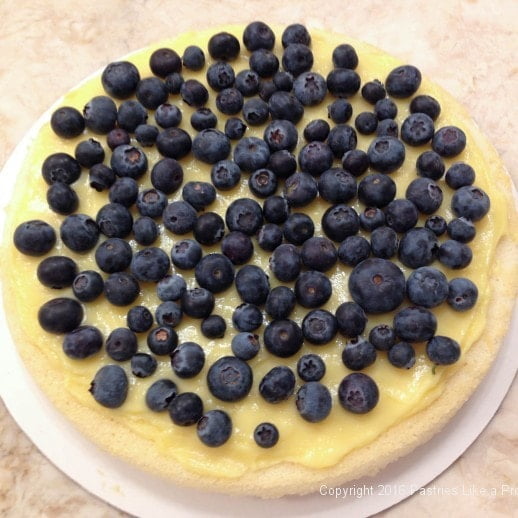
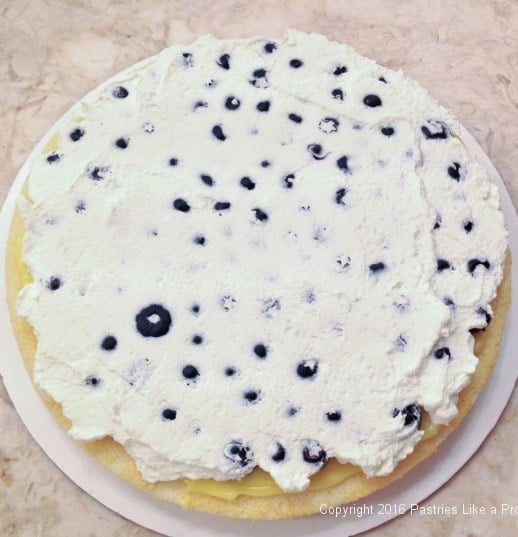
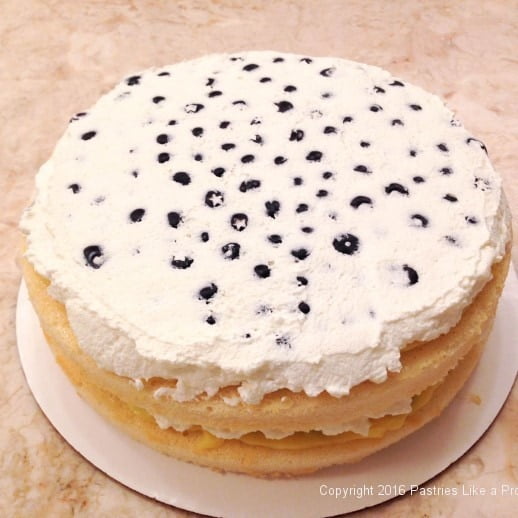
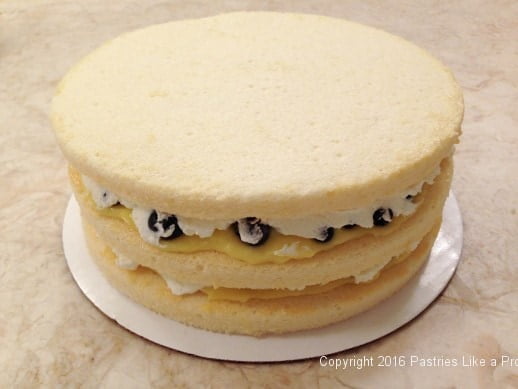
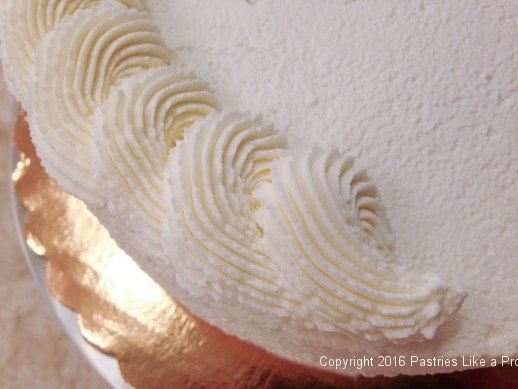
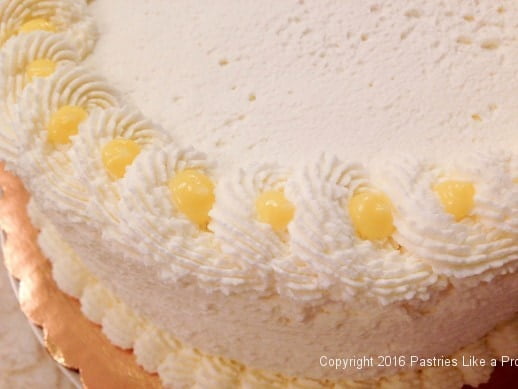
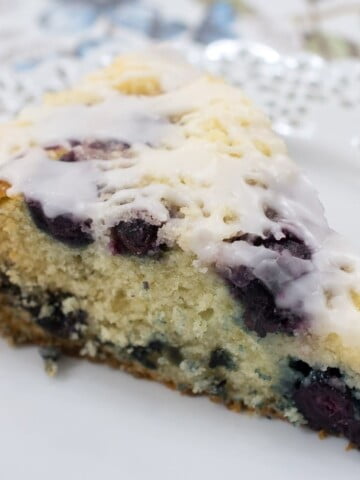
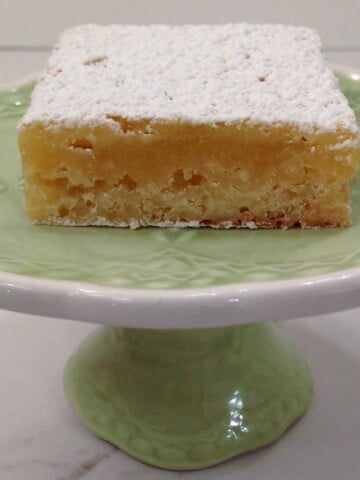
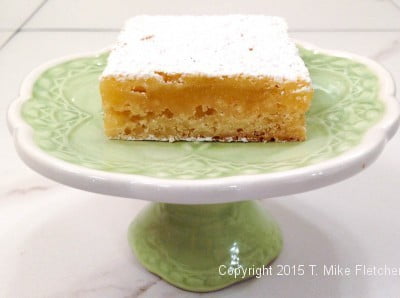
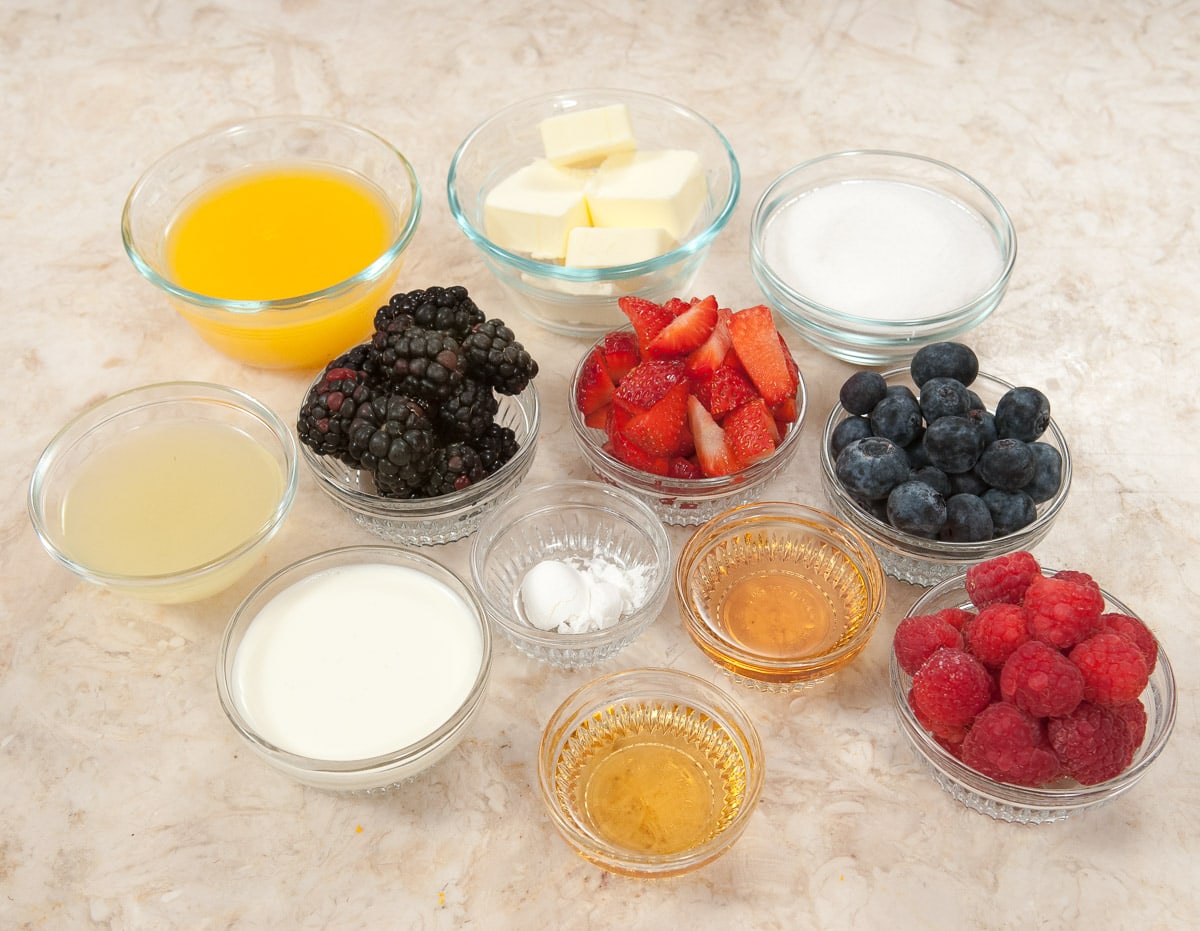
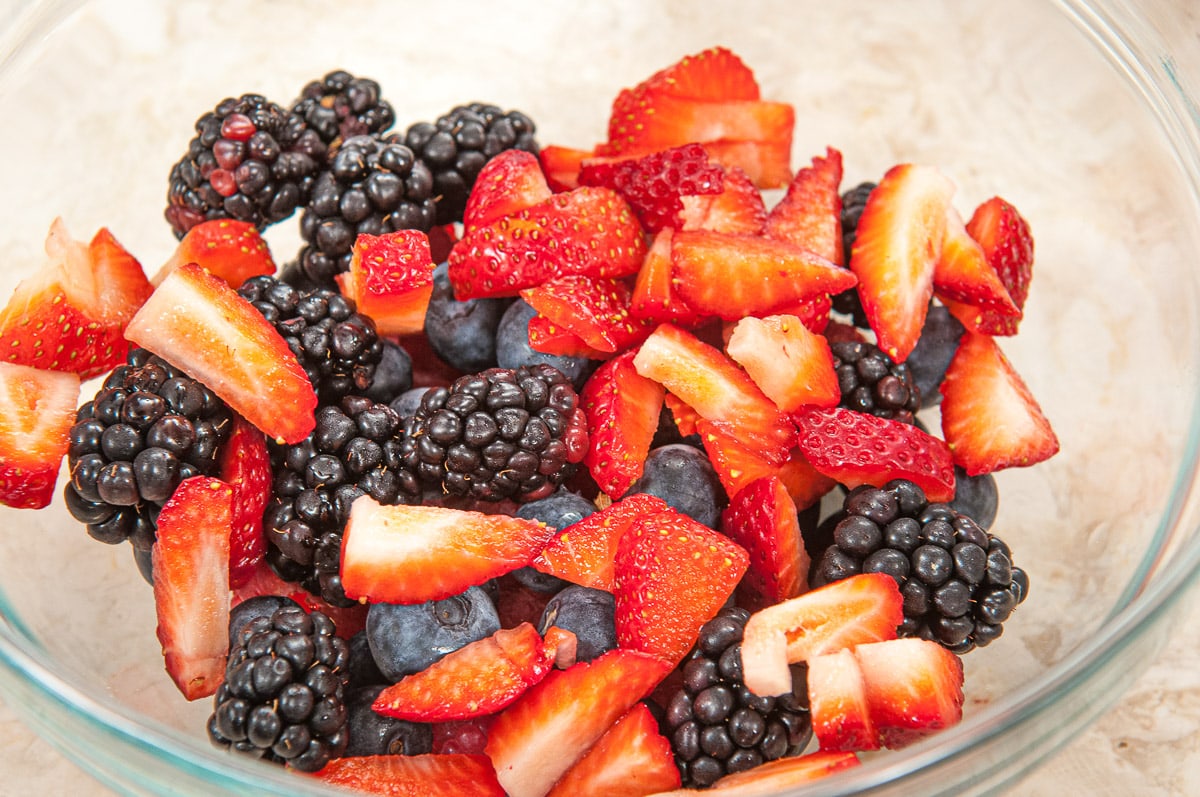
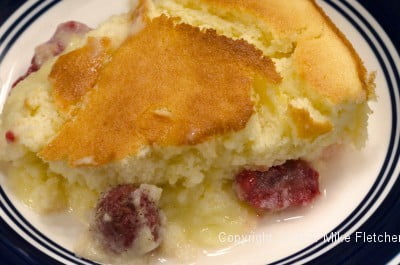 Lemon Raspberry Pudding Cake is a relatively low fat dessert but you can't tell it from the taste. Some recipes for the Lemon Pudding Cake use butter but this recipe from my mother never did. I added the raspberries but blueberries would be great also. It can be made as a whole or individual dessert as you choose.
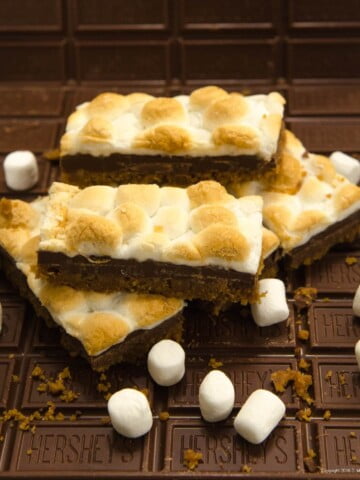
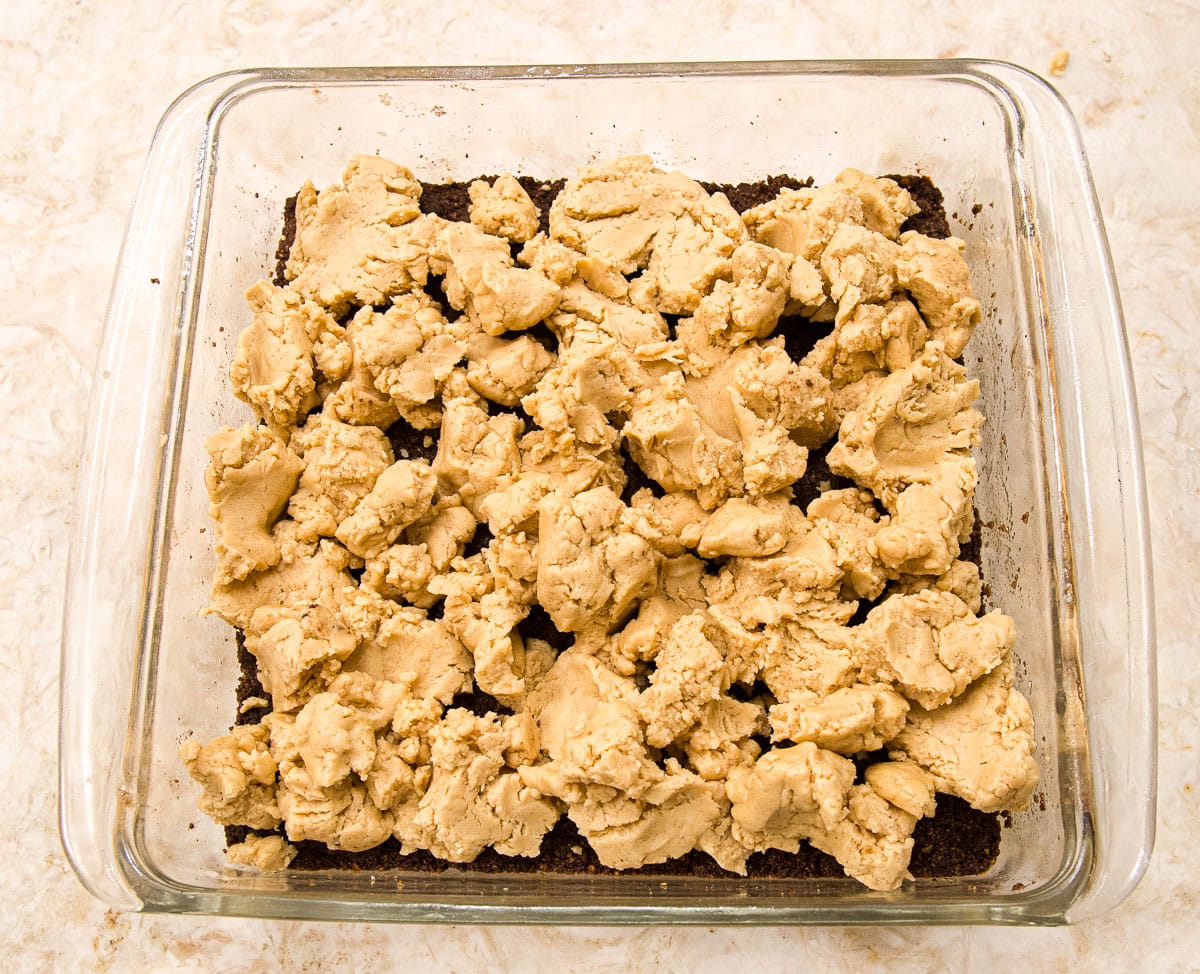
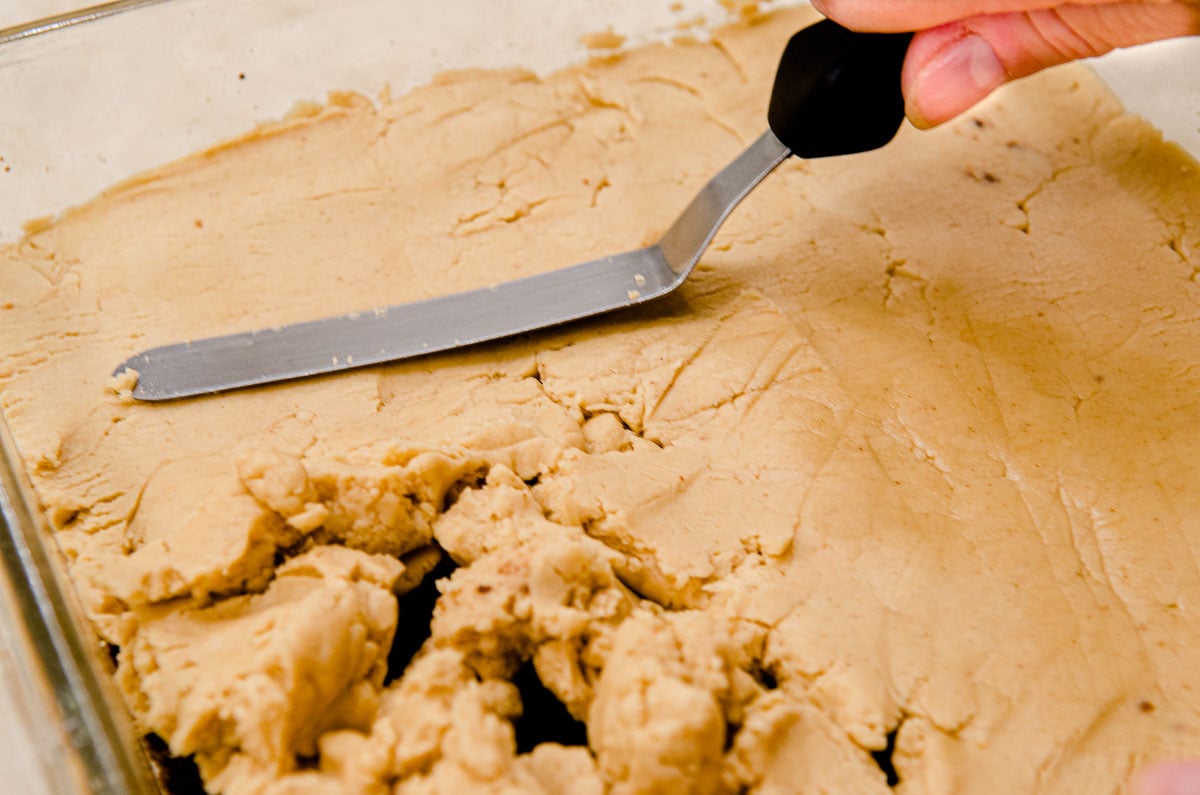
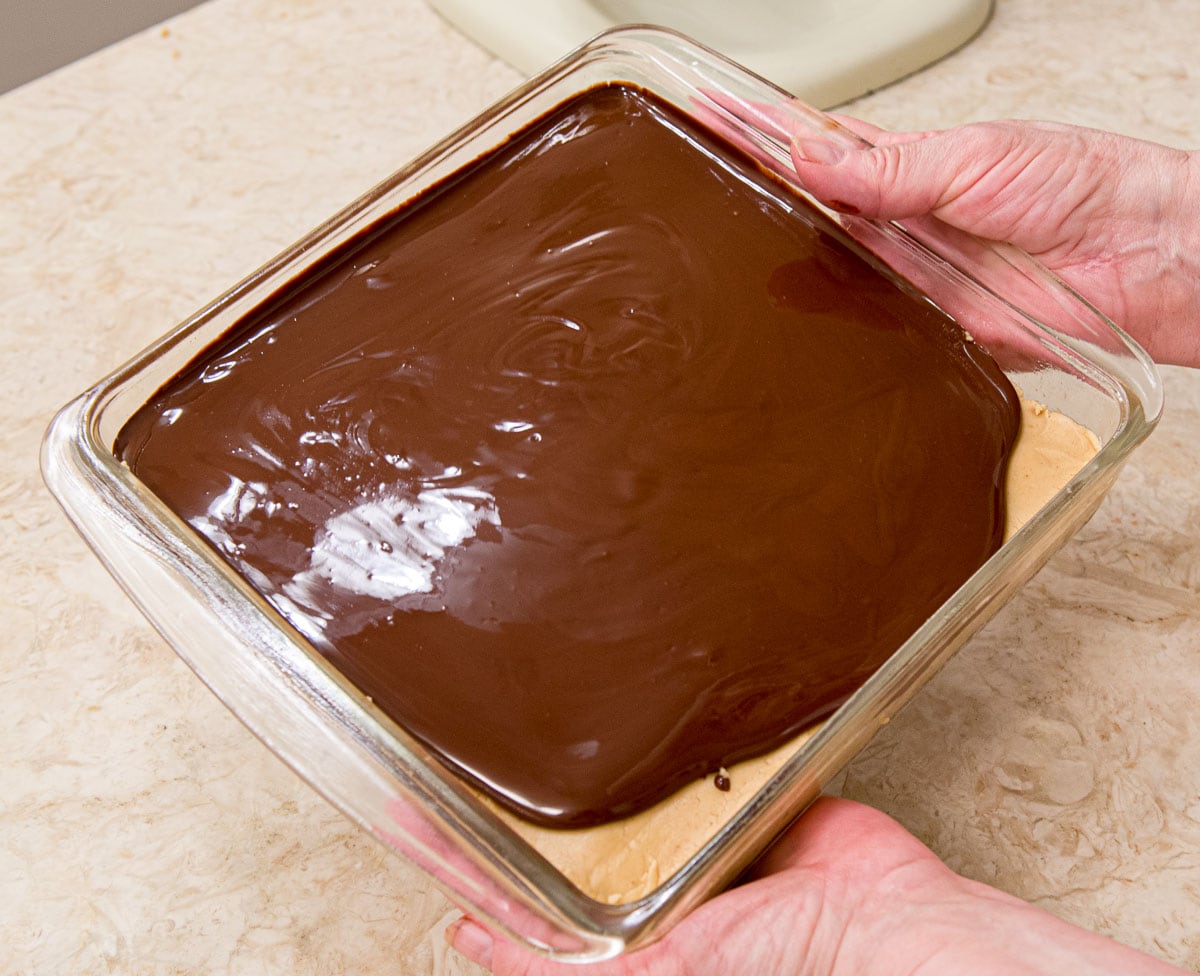
 S'Mores Bars are a cousin of the beloved S'mores summer time treat made over a campfire. But some of us can't wait for campfire weather so here is a version of the beloved S'mores that can be served as a S'Mores Bar cookie anytime the craving hits. Really easy, fast and delicious.
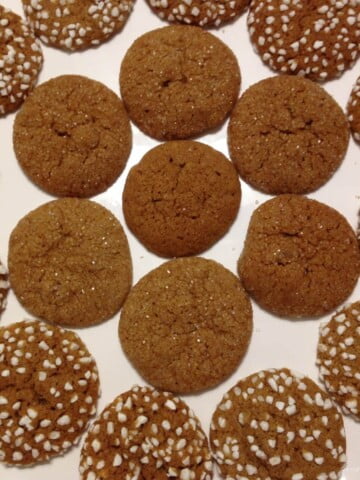
 My perfect chocolate chip cookie has a marvelous crunch around the edges when you bite into them followed by a chewy interior which is why this is my perfect chocolate chip cookie.


 Lemon bars are as American as chocolate chip or
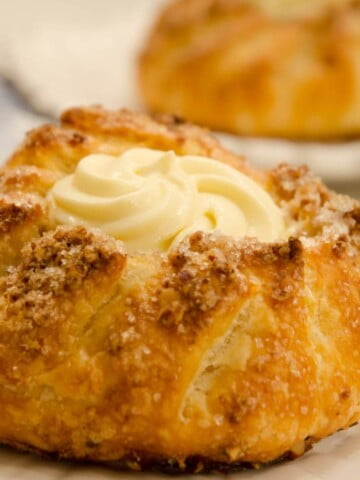


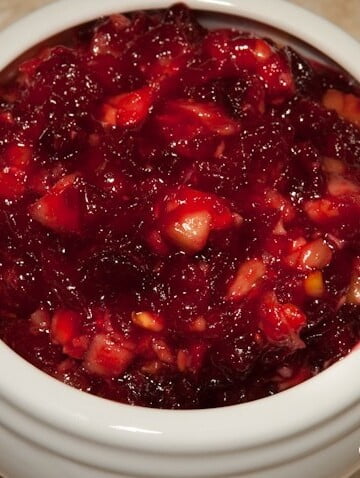
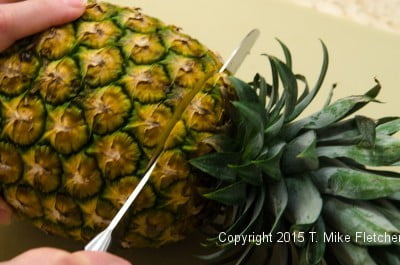
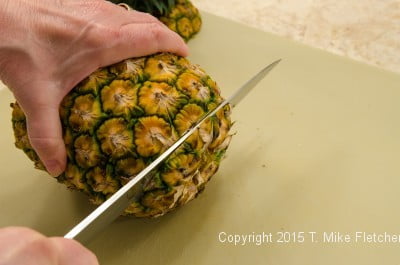
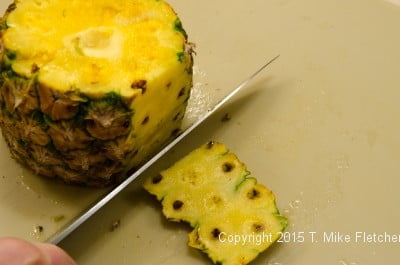
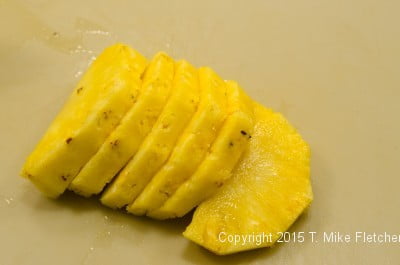
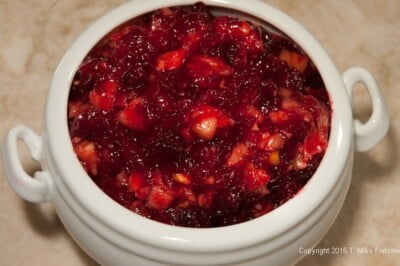 You're right, Cranberry Fresh Pineapple Relish has nothing to do with pastry. However, before I had Pastries Like a Pro, I had another blog for which I am no longer writing. It featured all manner of food and I couldn't help think, as I prepare for the holidays that this Cranberry Fresh Pineapple Relish would be something you would like also. This is one of the most popular recipes from my take out shop and we featured it every year for Thanksgiving. I still do. I think if you try it, it will become one of your traditions also.
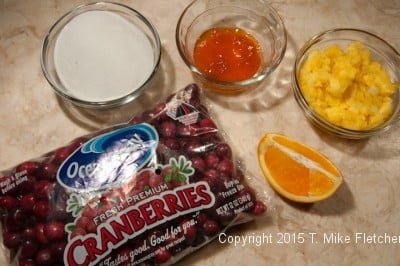 1 -12 ounce package fresh cranberries
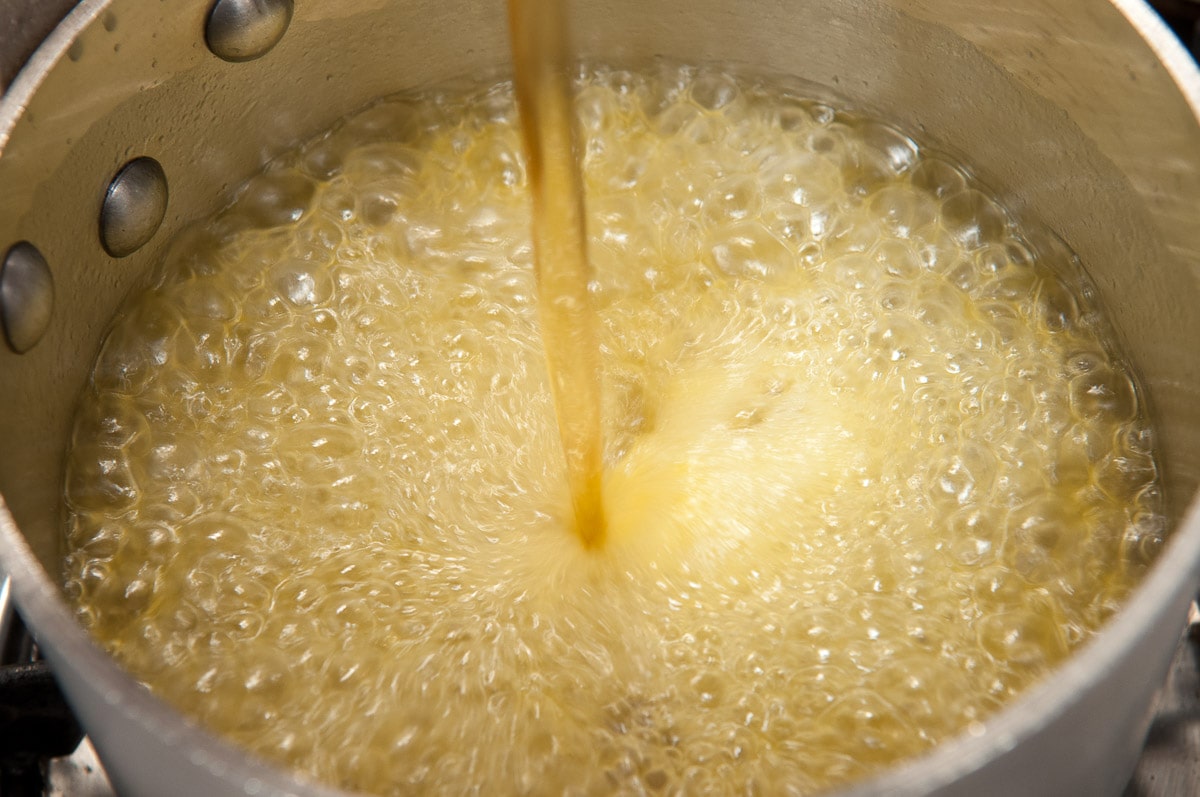
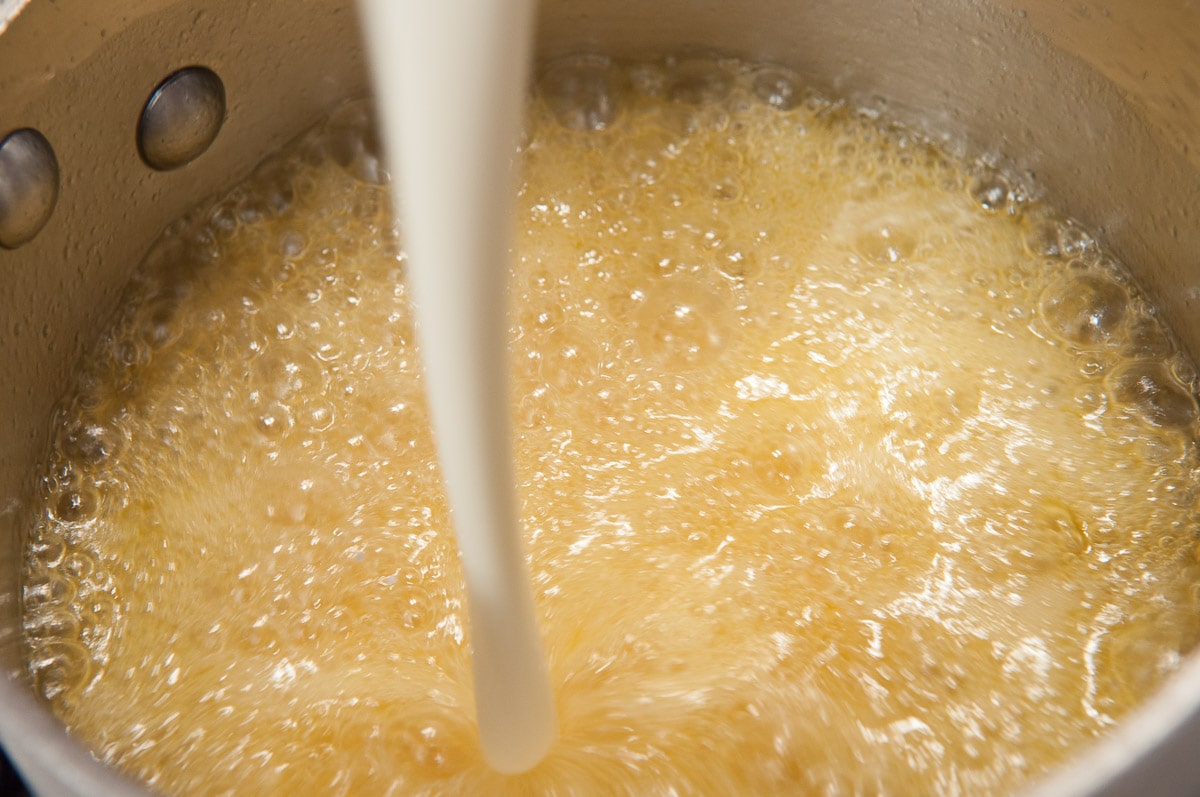
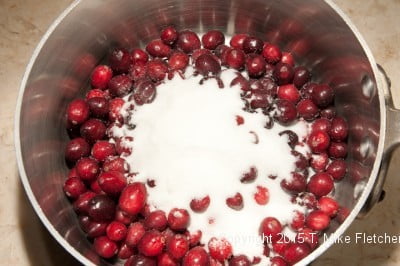 Bring to a boil, over medium heat, stirring frequently.
 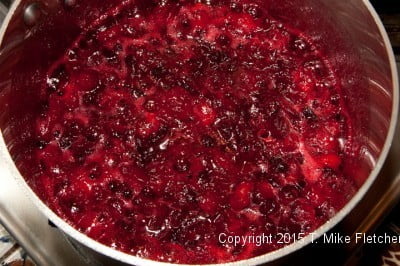 Continue to a full boil, until most of the liquid has evaporated.
 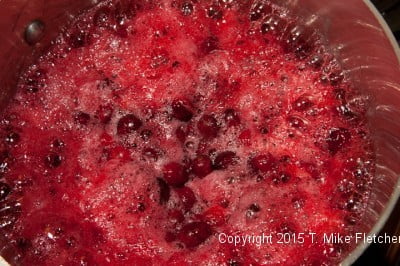 Remove from the heat and add the apricot preserves.
  Cool completely at this point. If you are in a hurry (as I am invariably) quick cool by thinly spreading out on a plate.
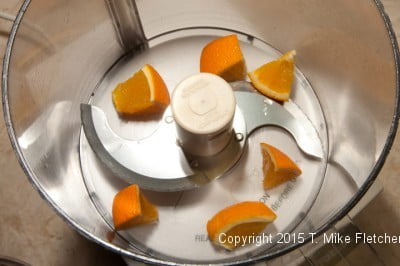 process until very finely chopped.
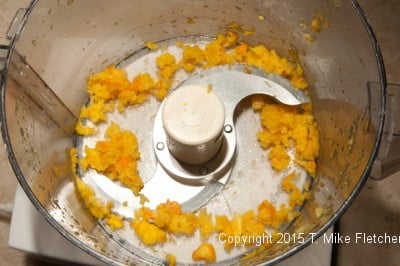 Combine all, stirring well.
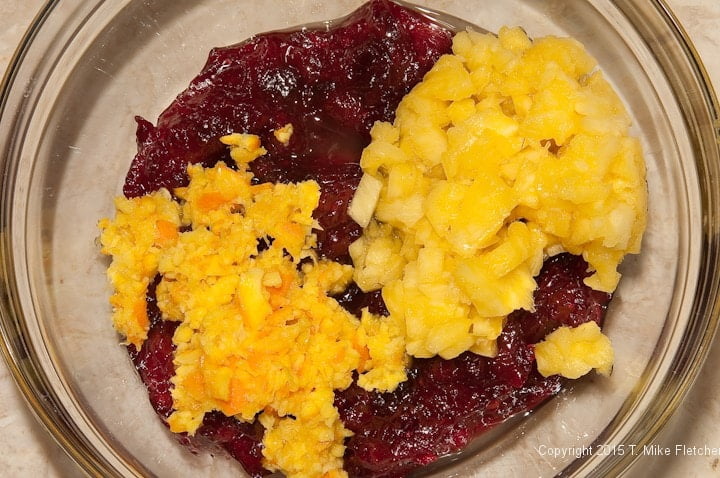


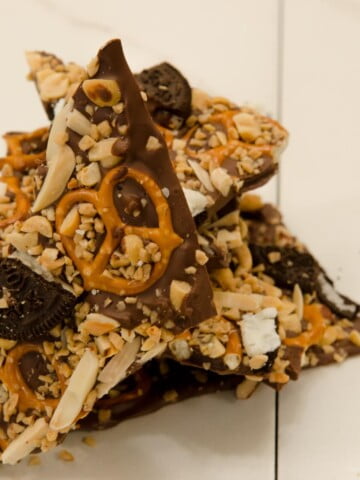
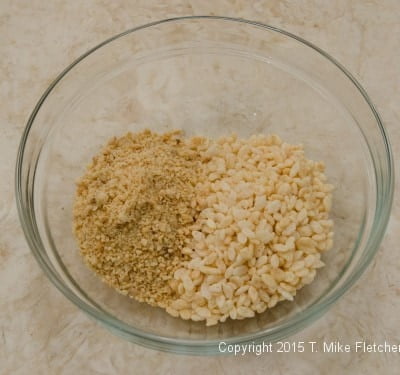
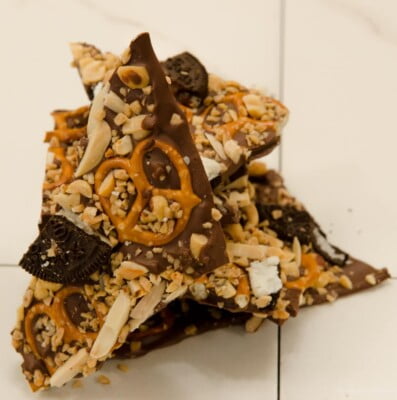 TJ's Cowboy Bark is a perfect segment for TV. Easy, quick and absolutely delicious. Somebody first told me about Trader Joe's Cowboy Bark and I knew I had to try it. A bark is melted chocolate, spread out and almost anything you wish can be sprinkled on top. The nine ounce package of Cowboy Bark costs about $3.69. You get about 4 times that with this version. The thing that is so interesting about this bark is the add ons. How can you go wrong with oreos, peanuts, almonds, toffee bits and pretzels. Sweet and salty all at once.
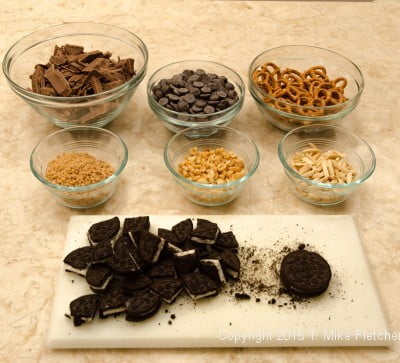 1 pound chocolate, all semisweet or a combination of semisweet and milk chocolate, melted
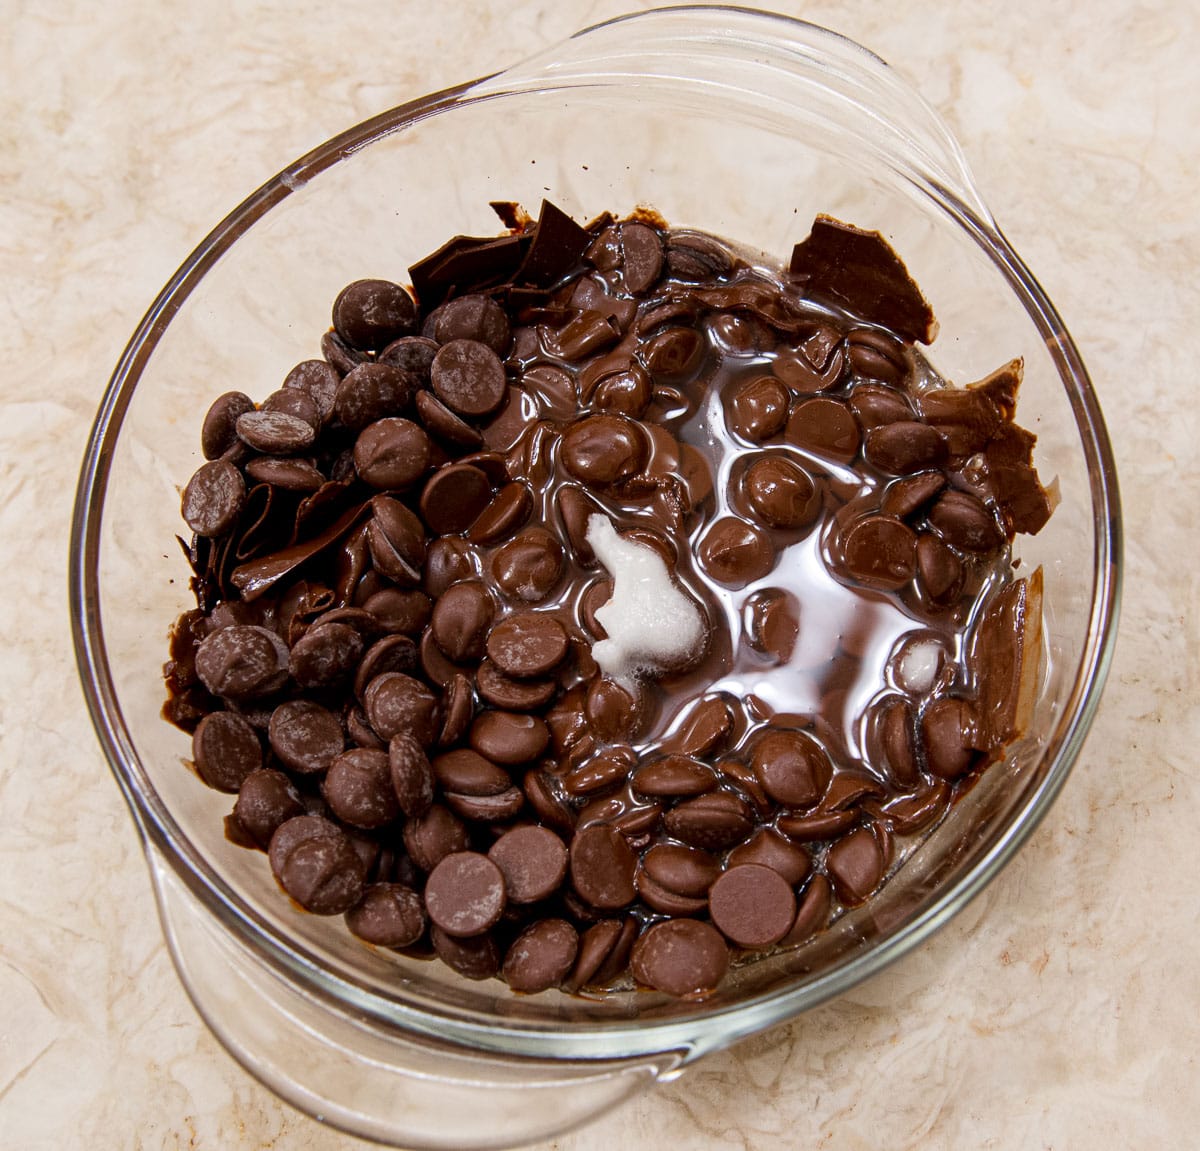
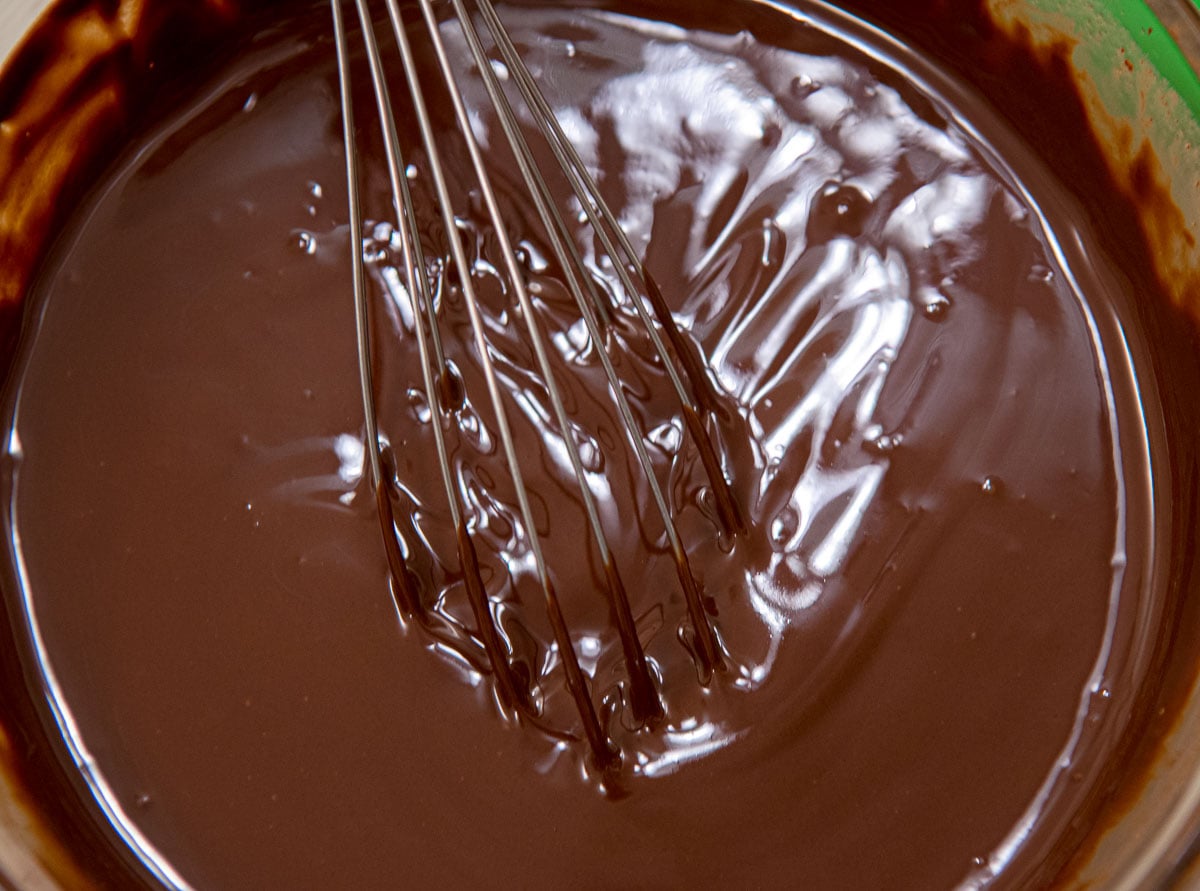
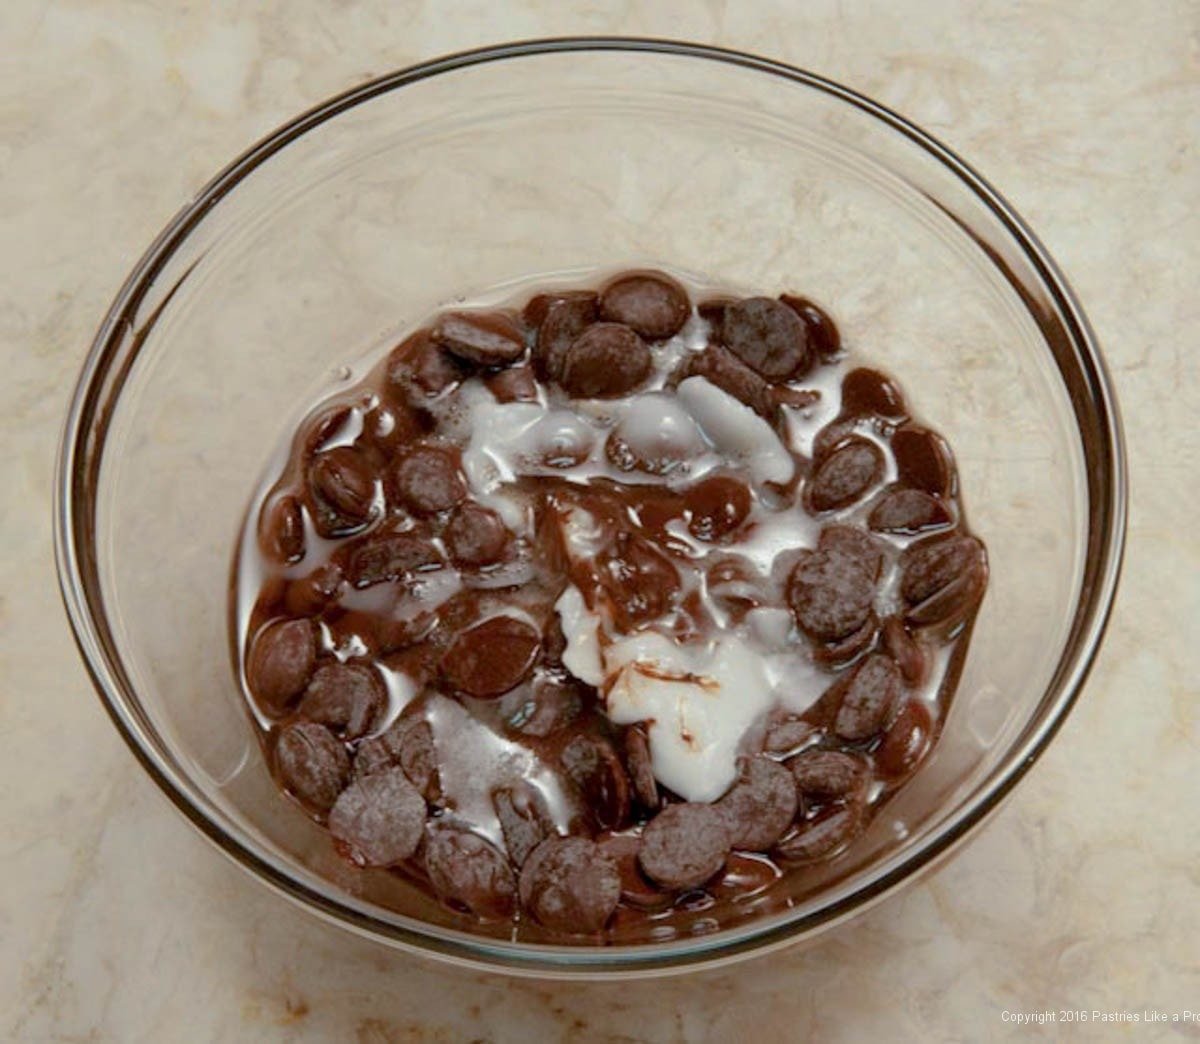
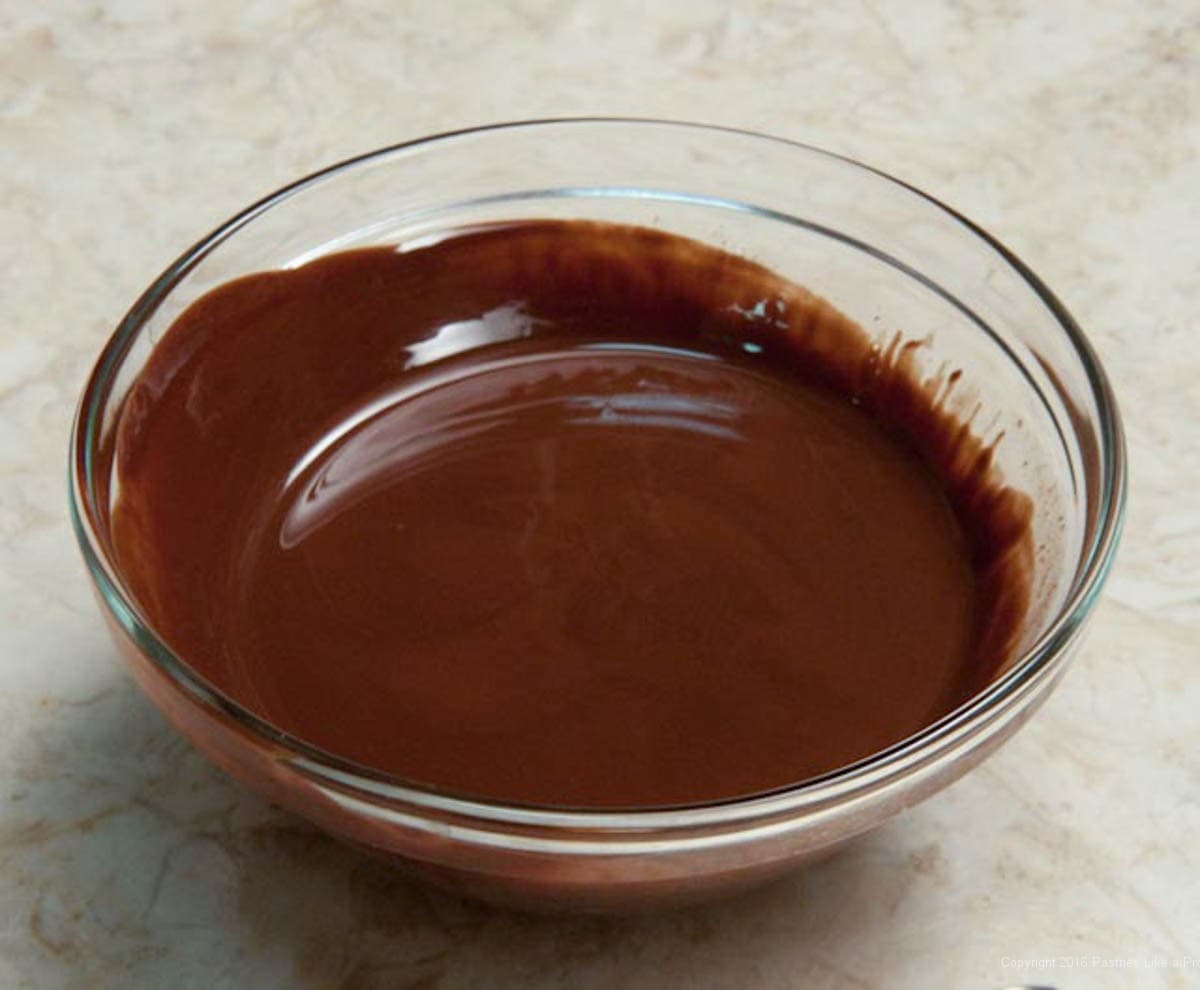
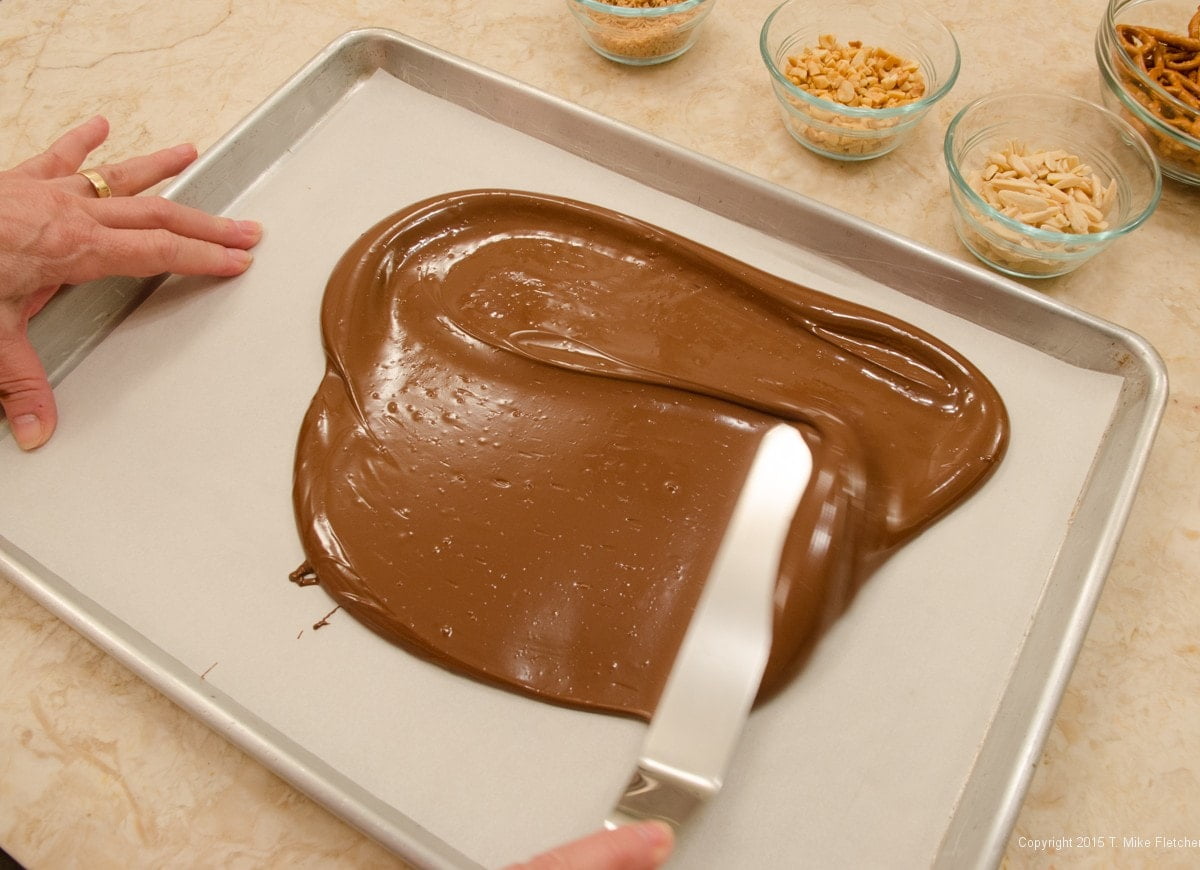
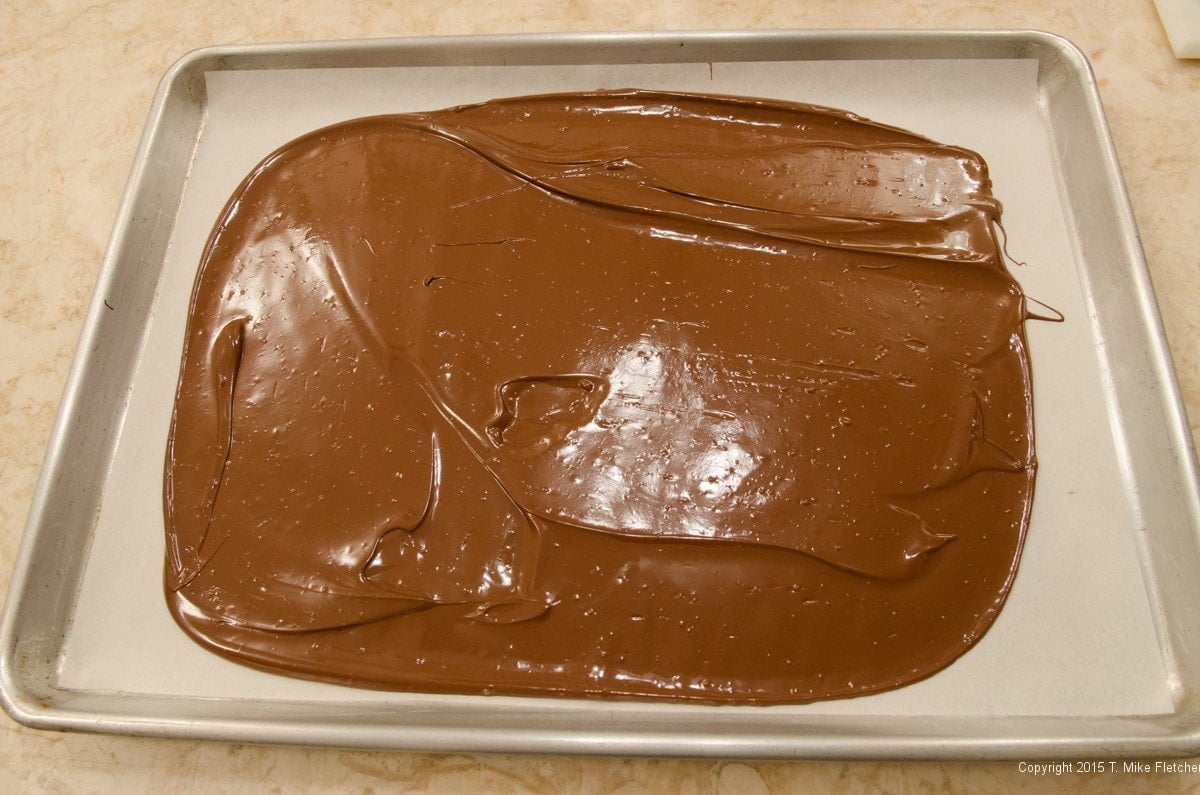
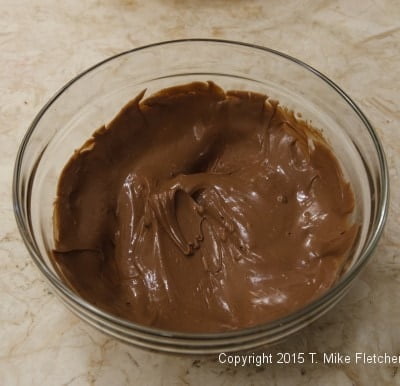
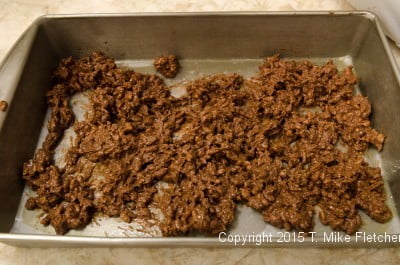
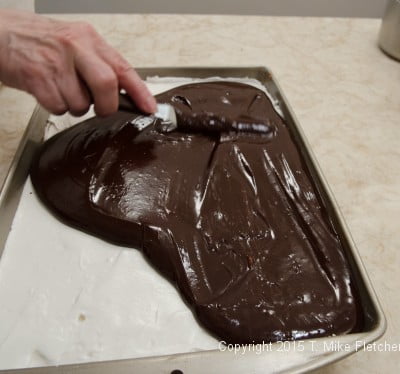
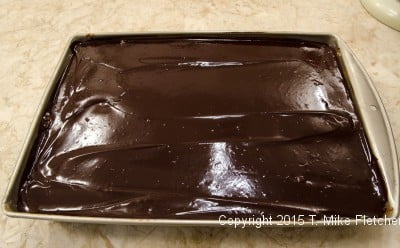
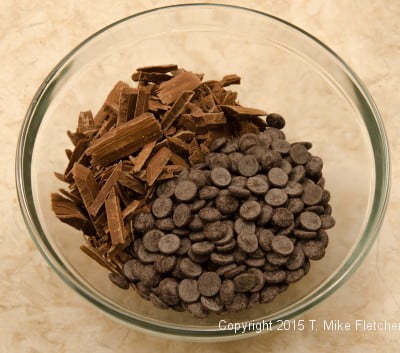 Melt the chocolate or chocolates over a double boiler or at half power in a microwave for 2 ½ to 3 minutes. Start with the shortest amount of time. Stir the chocolate until completely melted. Spread the chocolate within the rectangle on the parchment paper.
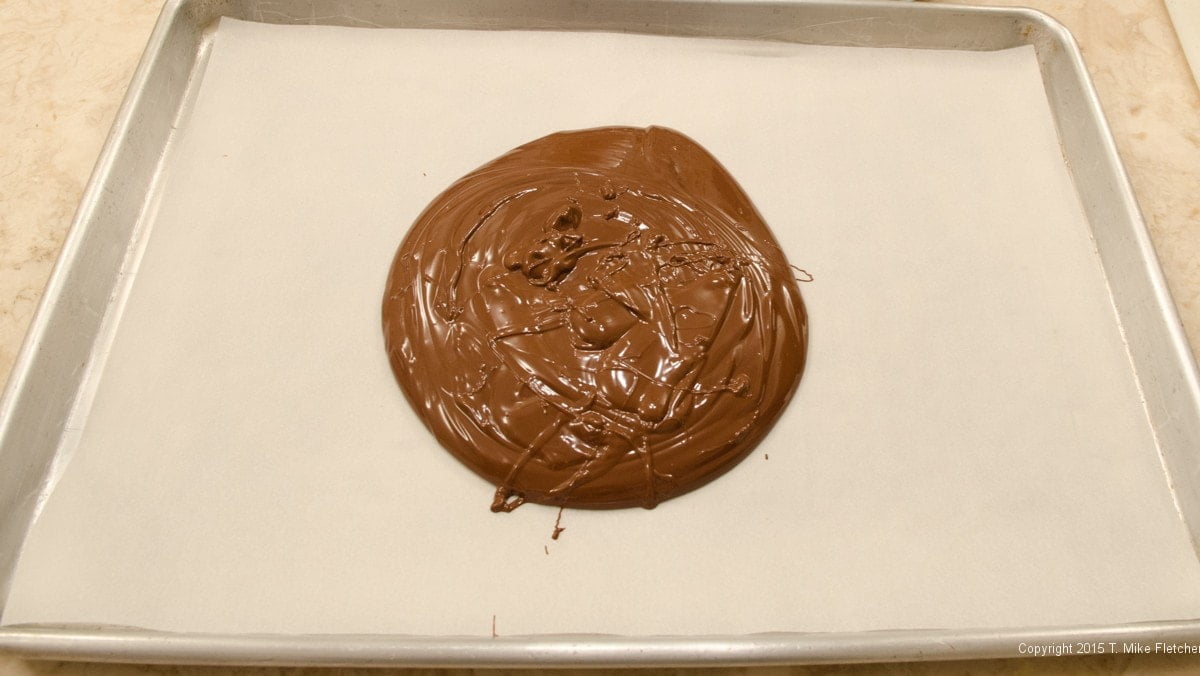
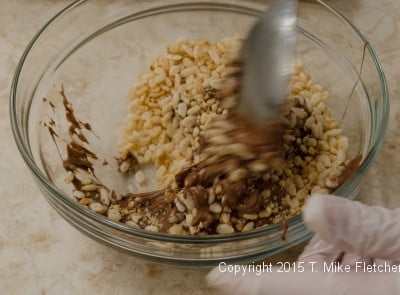
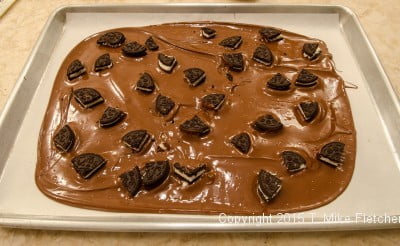 then the pretzels.
  Sprinkle the almonds,
 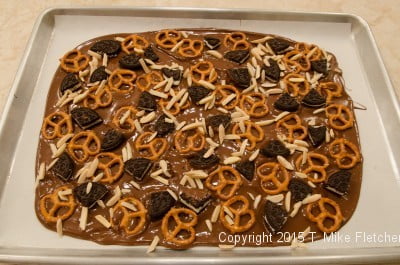 peanuts
 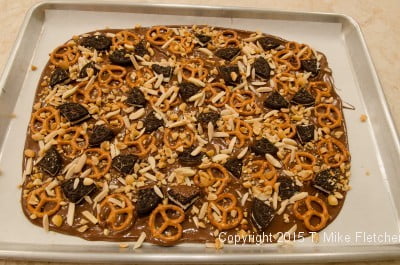 and lastly, toffee over the chocolate in that order.
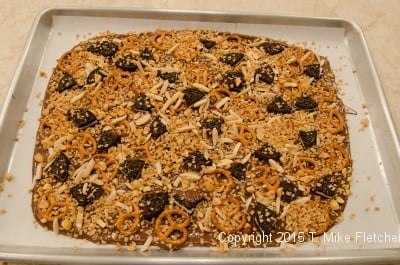
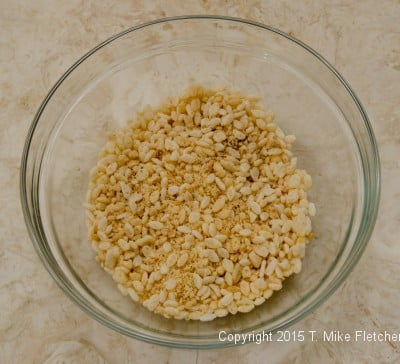
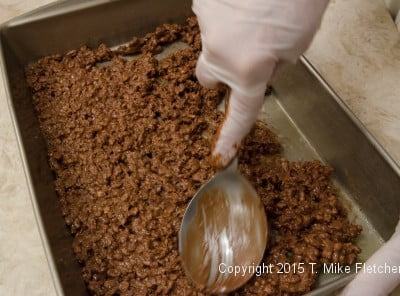
 lightly press all the ingredients into the chocolate.
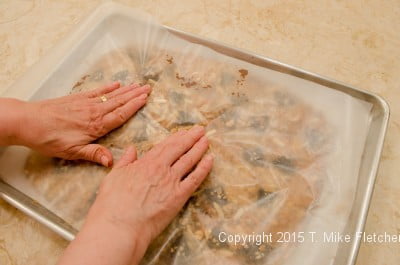 Remove the paper and refrigerate briefly to set the chocolate up
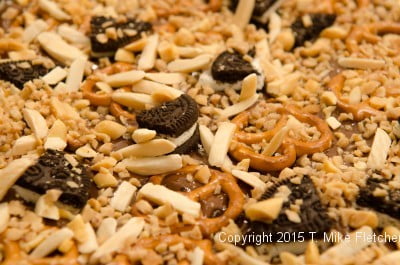


