
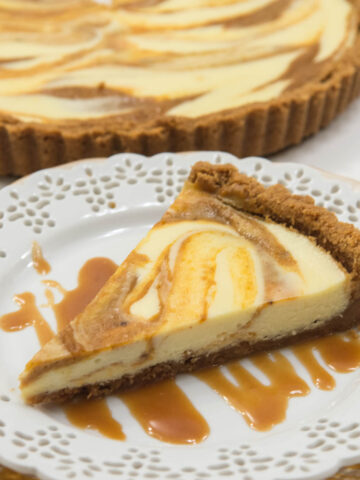
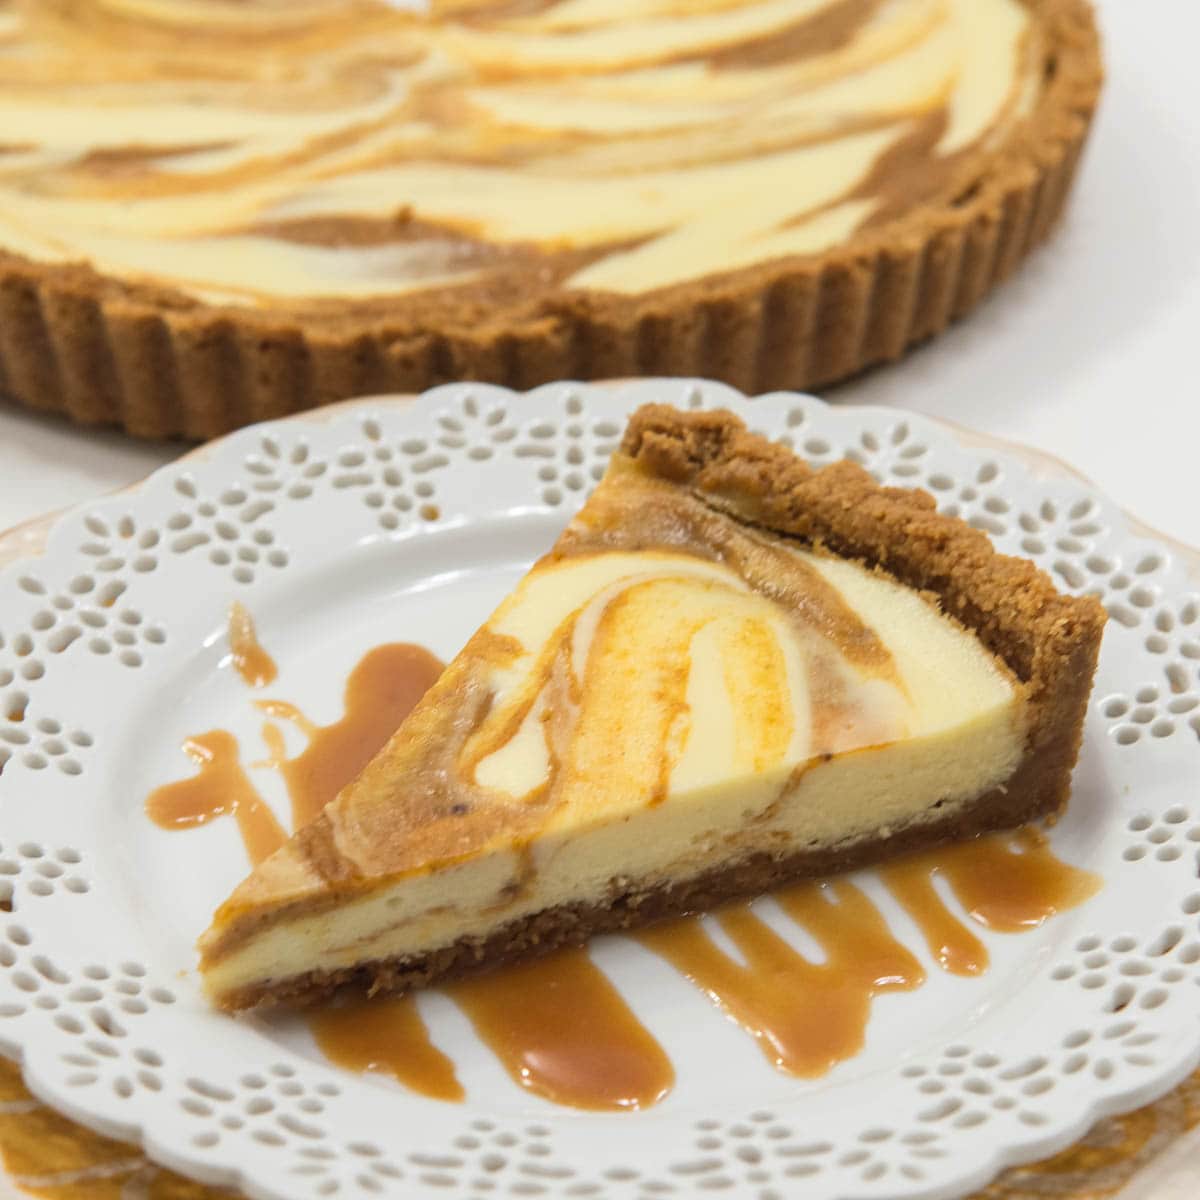
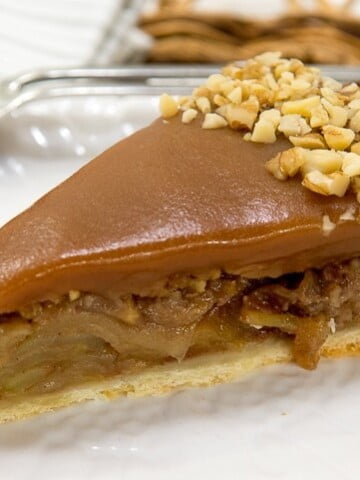
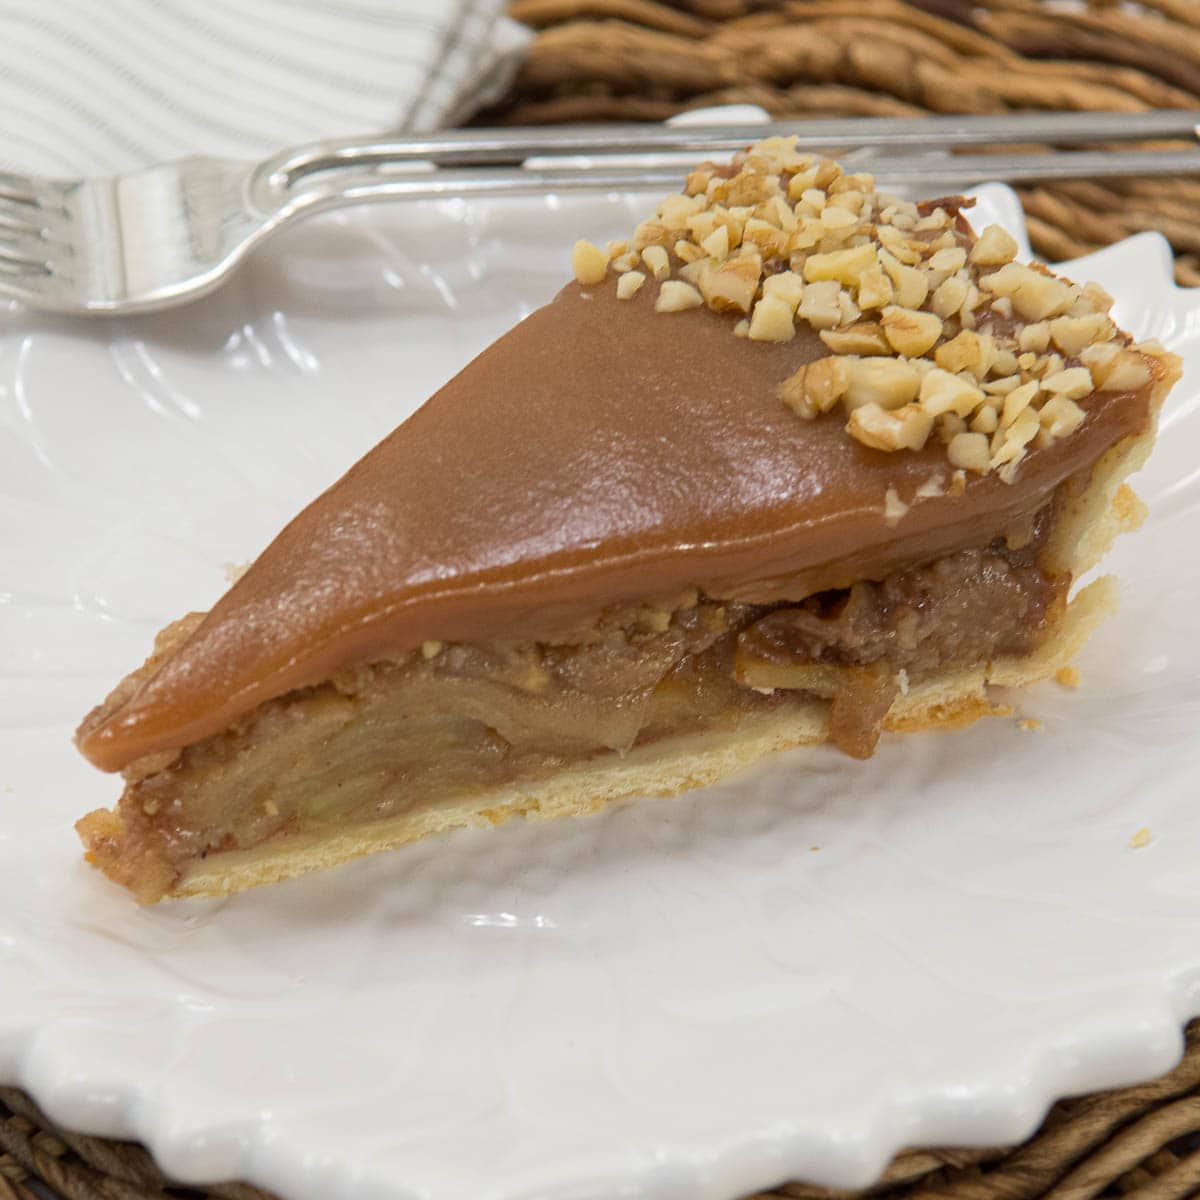
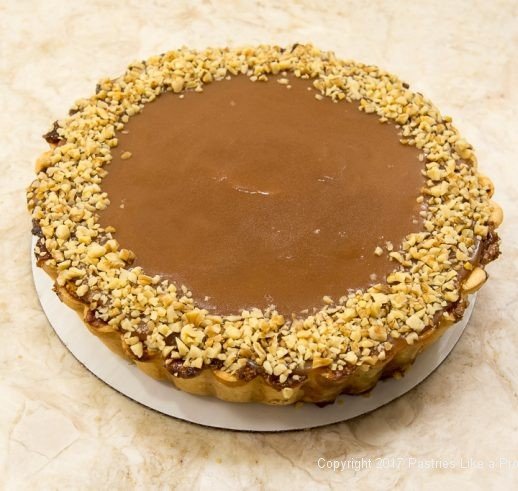
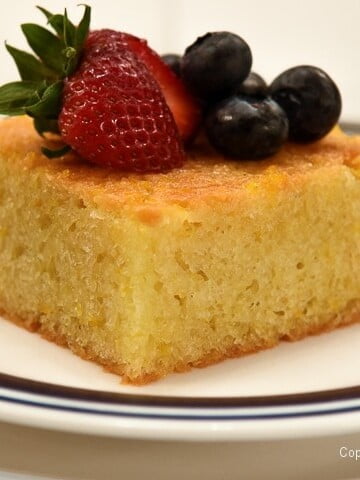
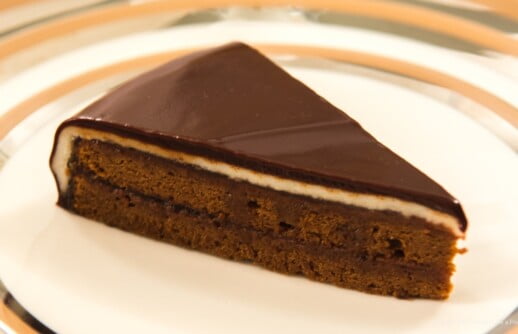
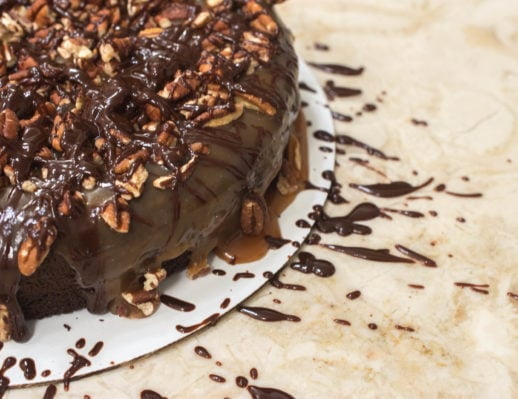
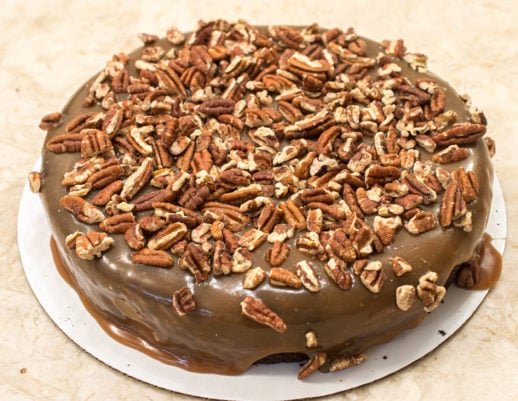
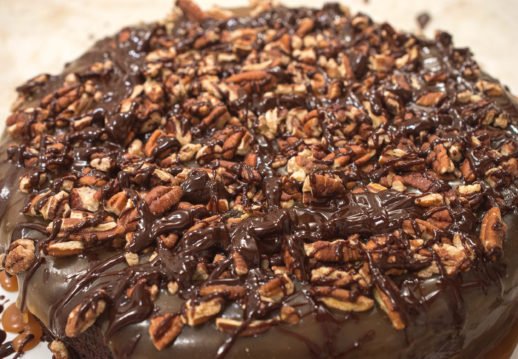
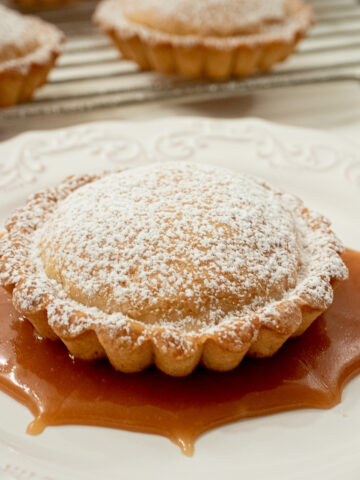
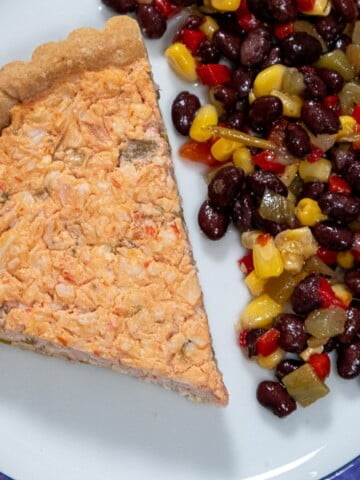
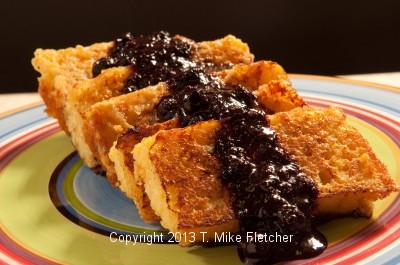
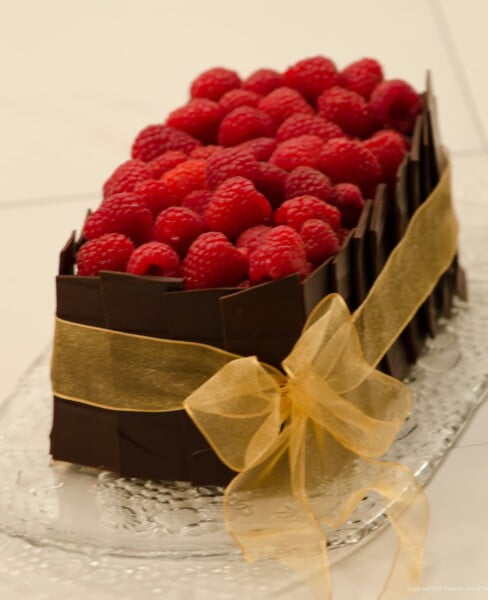
This Pumpkin Cheesecake Tart with Caramel Rum Sauce is ease personified in baking.
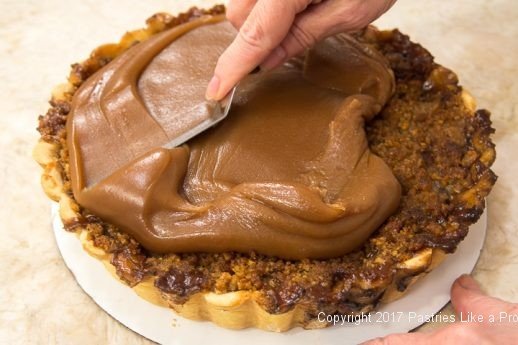
The simple Caramel Rum Sauce can be made weeks ahead and refrigerated.
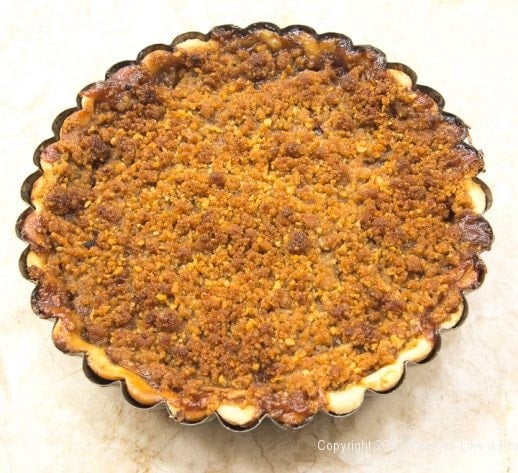
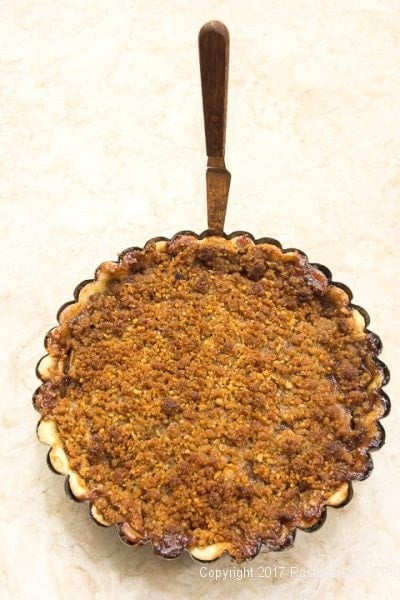
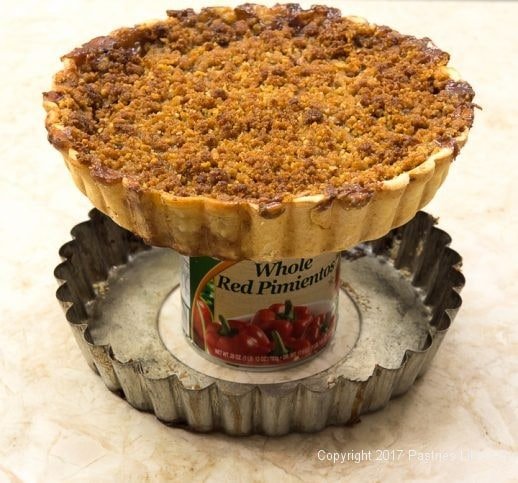
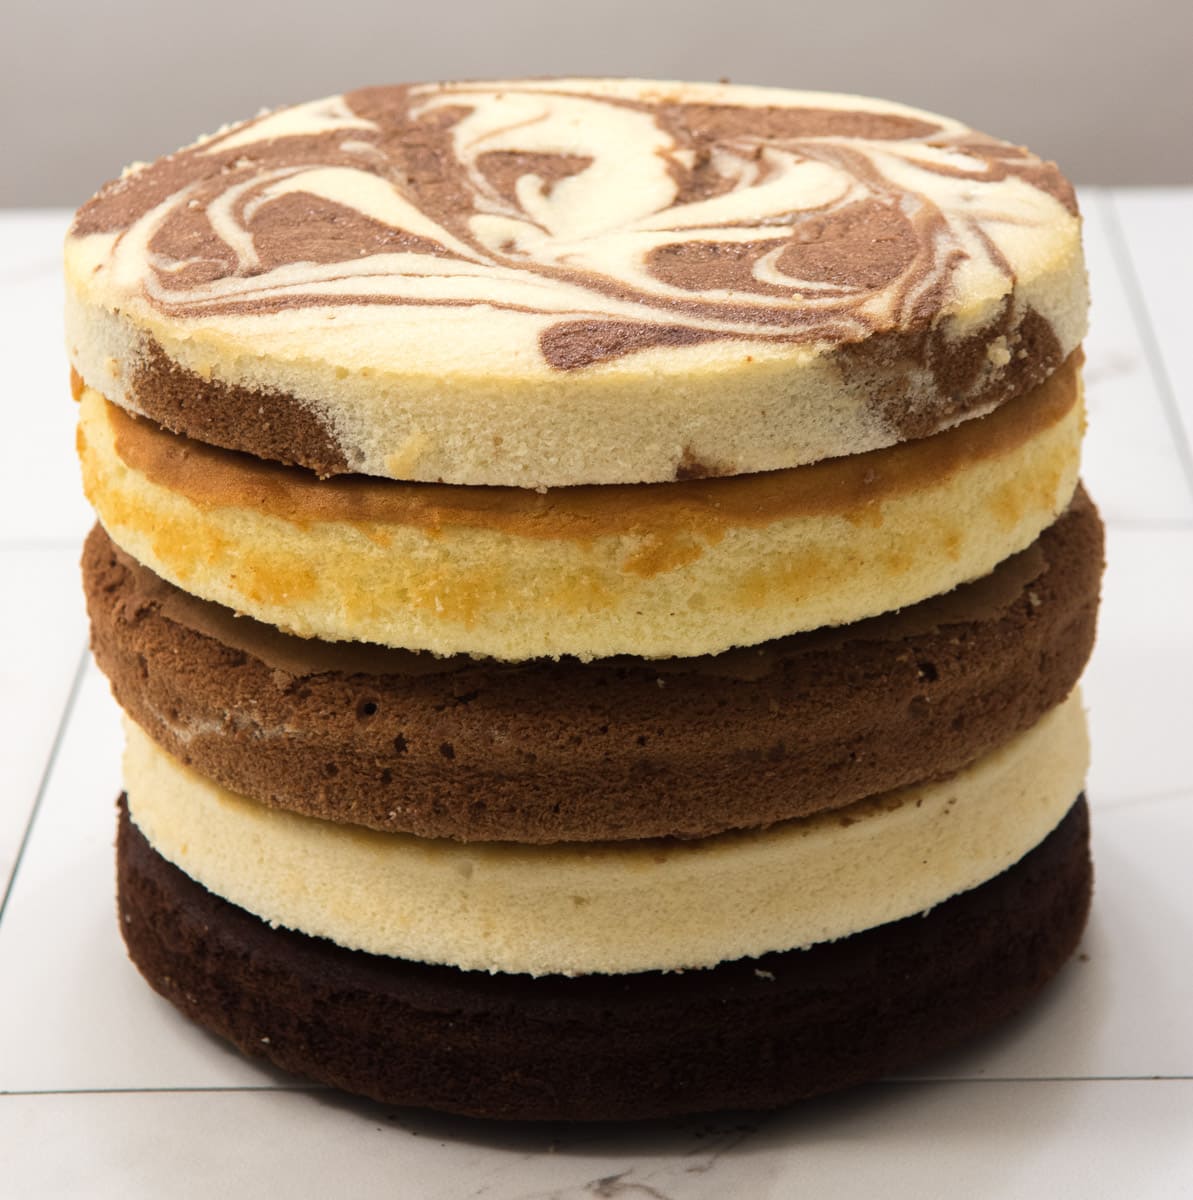
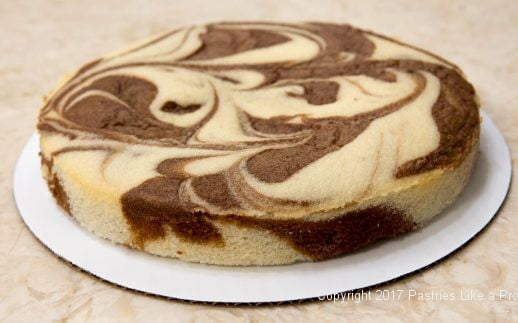
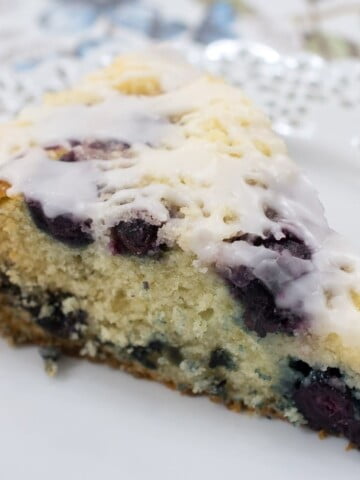
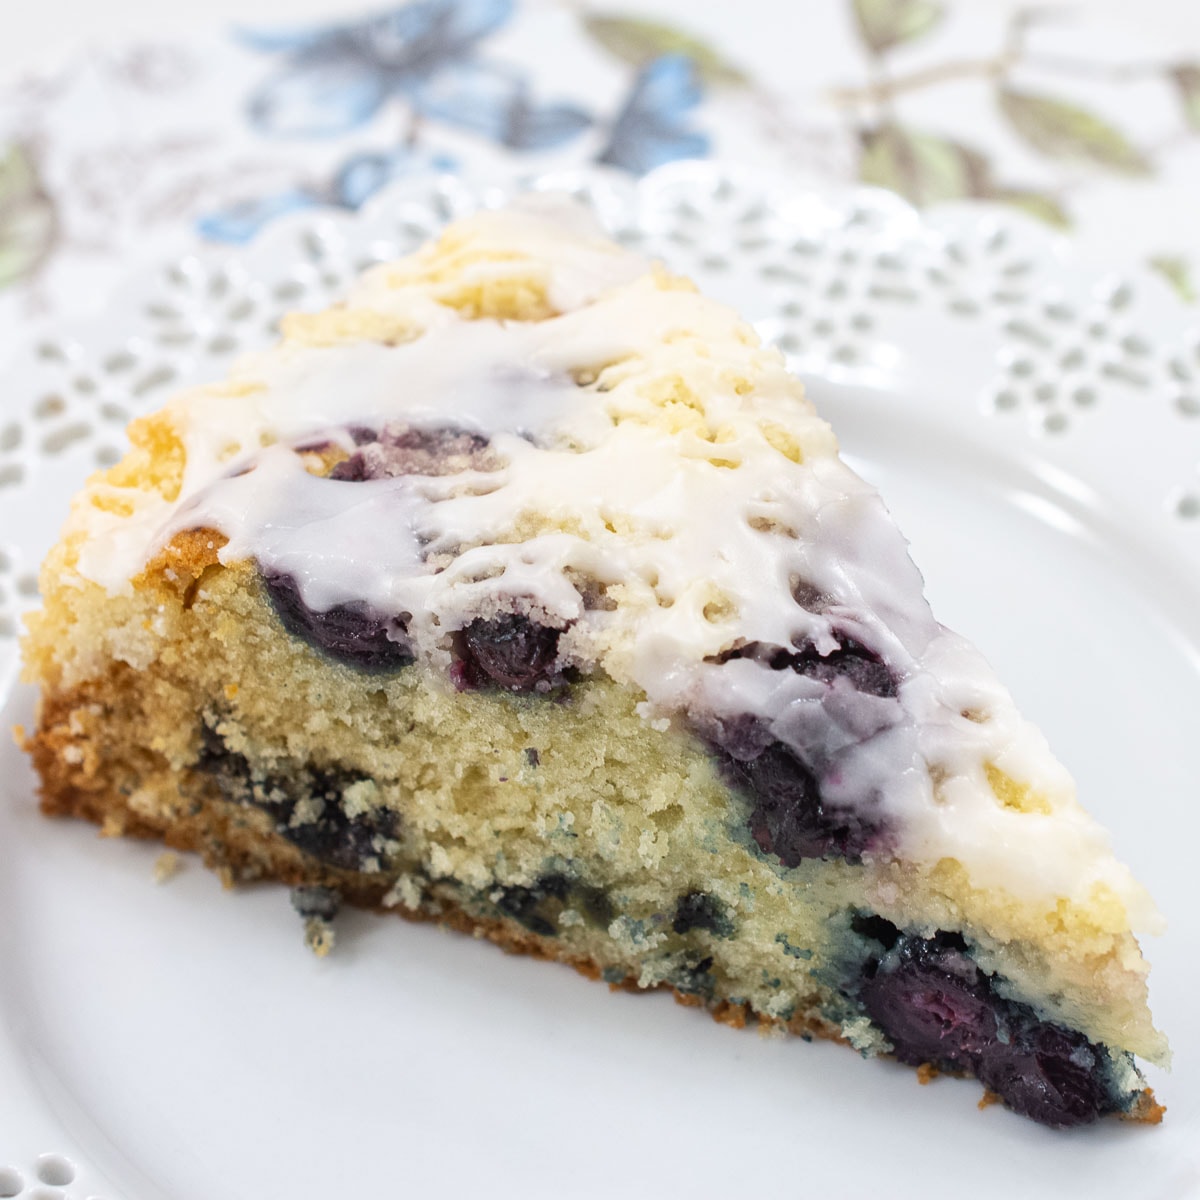
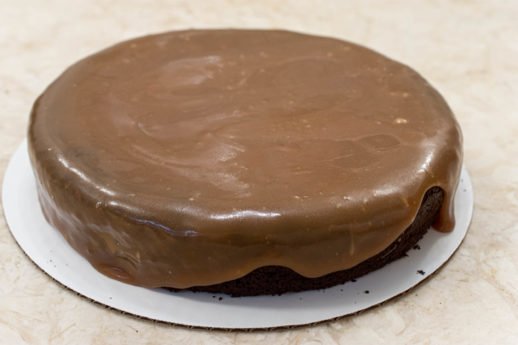
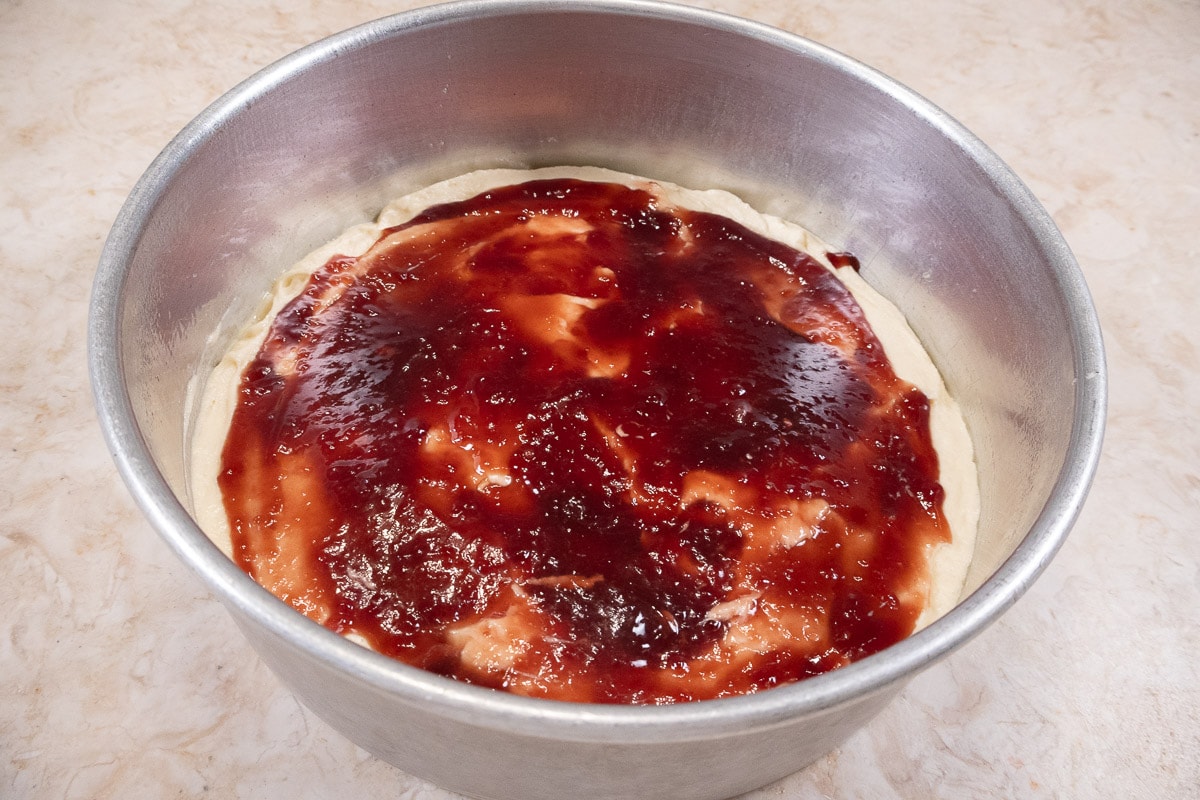
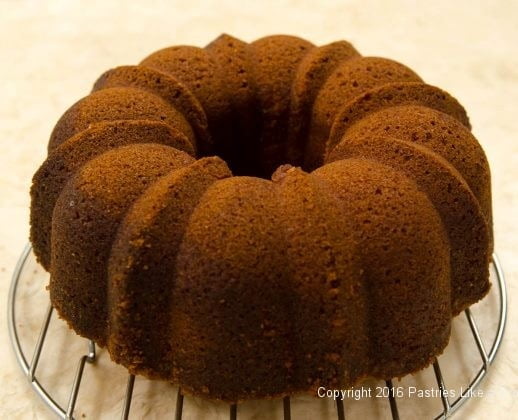
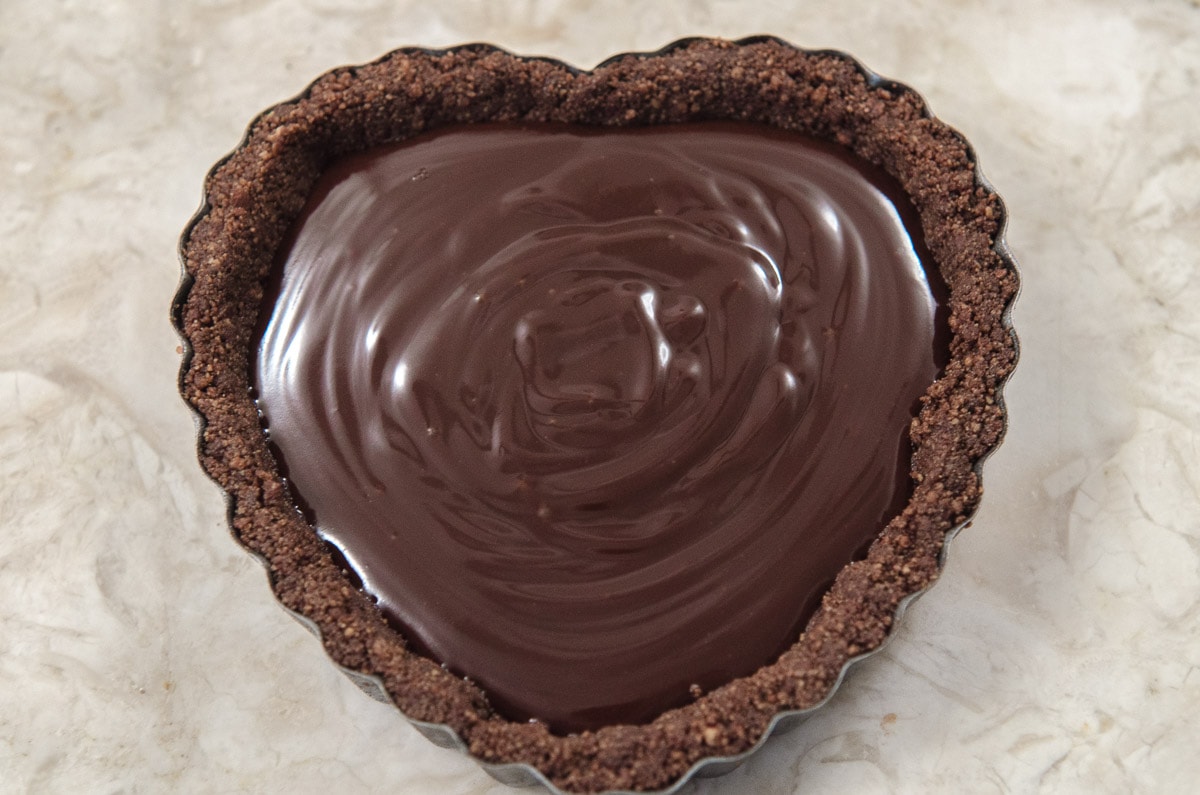
The Pumpkin Cheesecake Tart has a graham cracker crust that is pressed in and filled with a cream cheese mixture alternated with a pumpkin mixture which are swirled together.
The baked tart can be frozen if made ahead.
That's pretty much it - an epic short intro for me! Oh, I couldn't leave without telling you to check out the Pumpkin Mousse Torte for another seasonal pumpkin dessert.
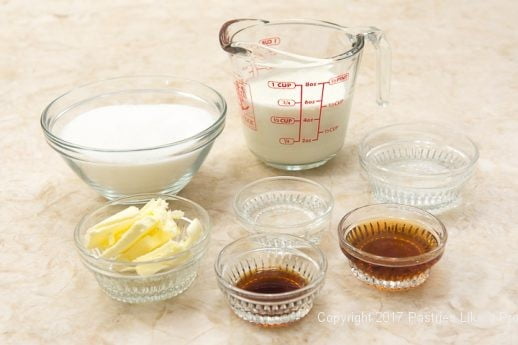
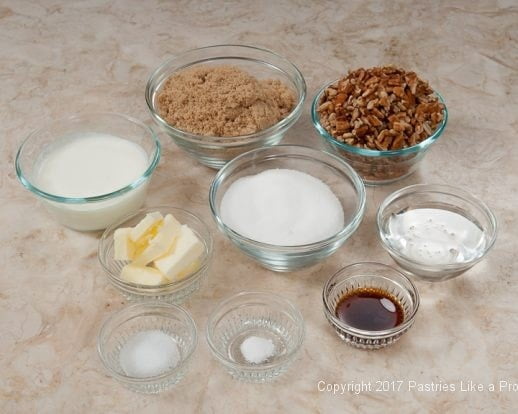
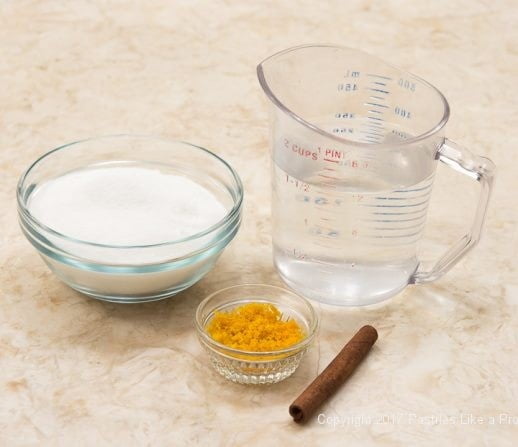
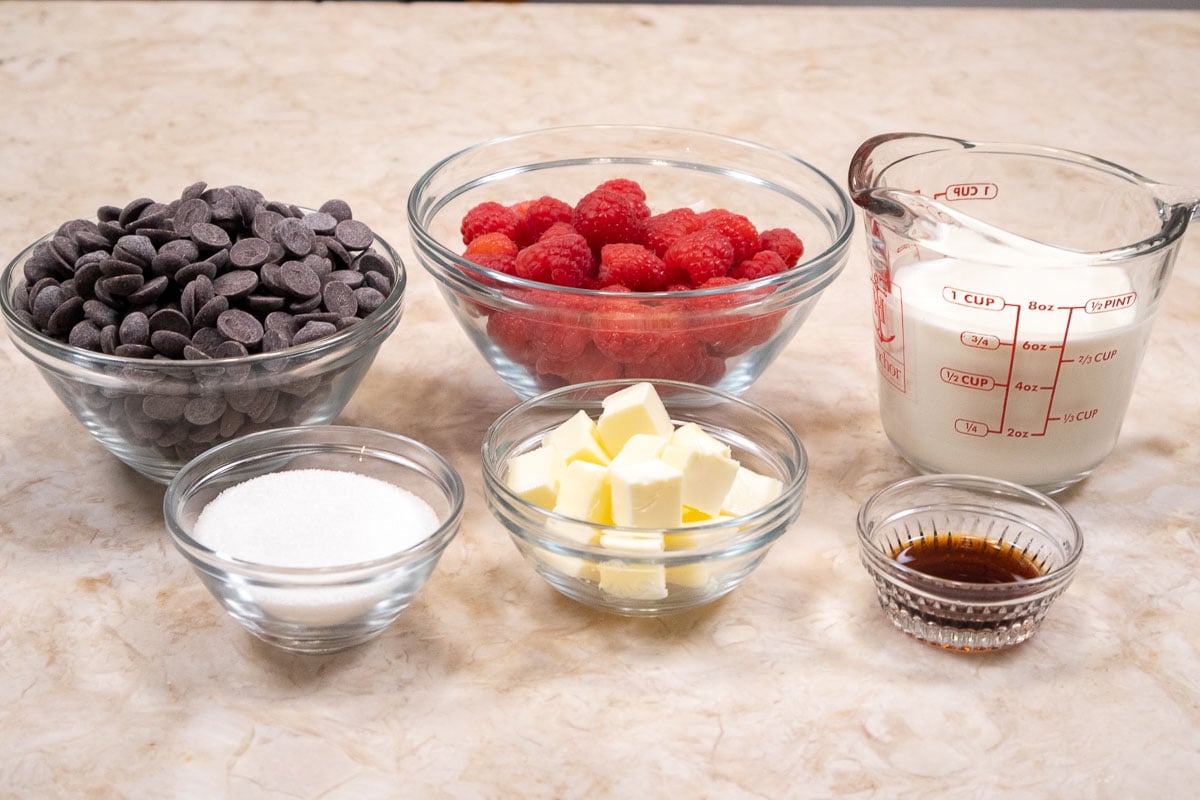
Caramel Rum Sauce
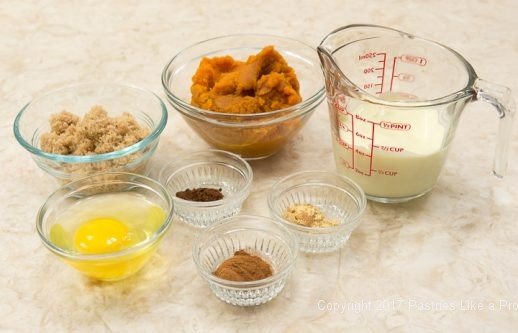
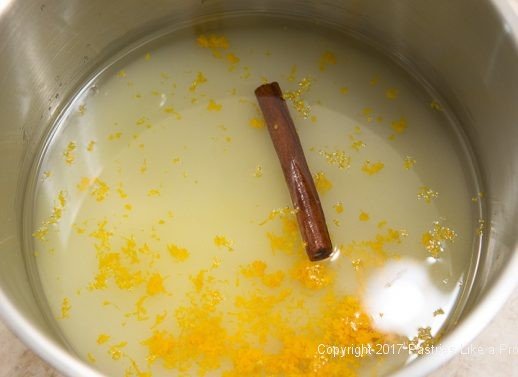
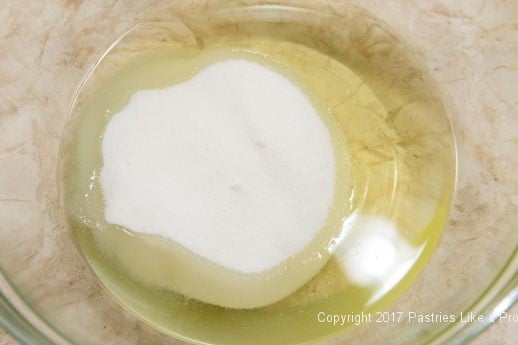
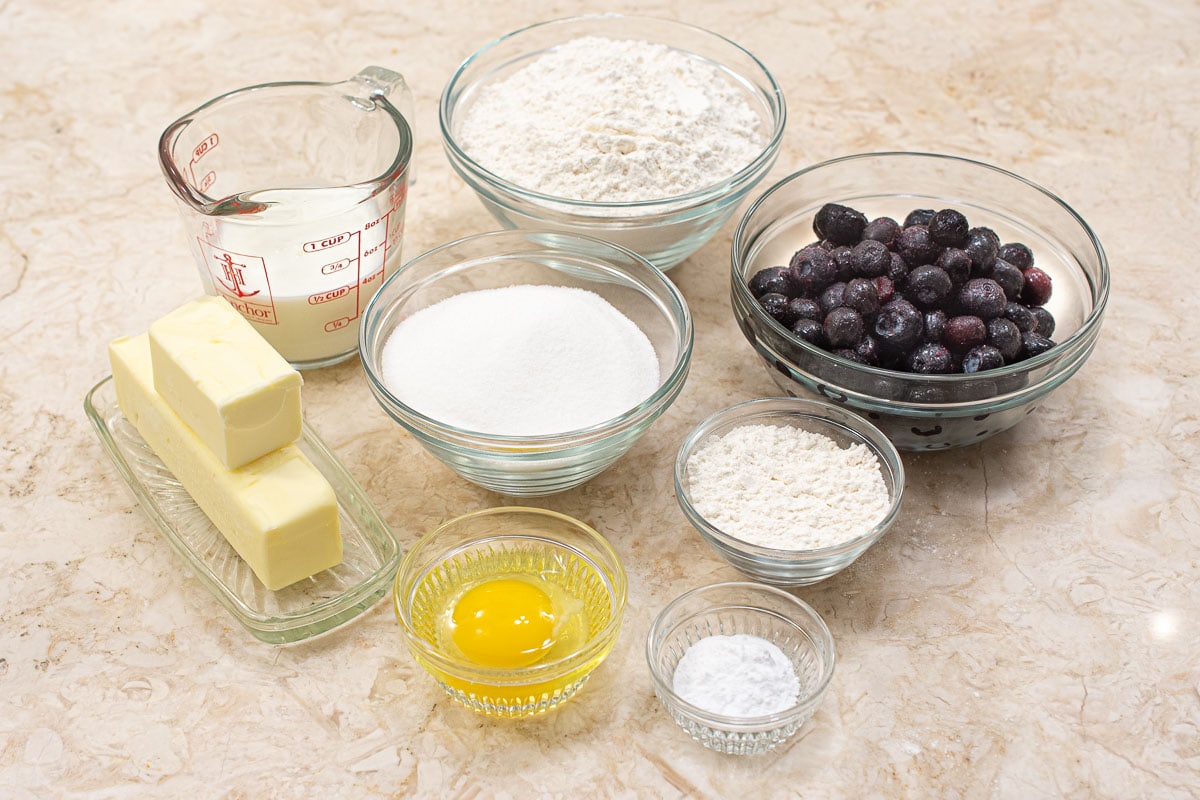
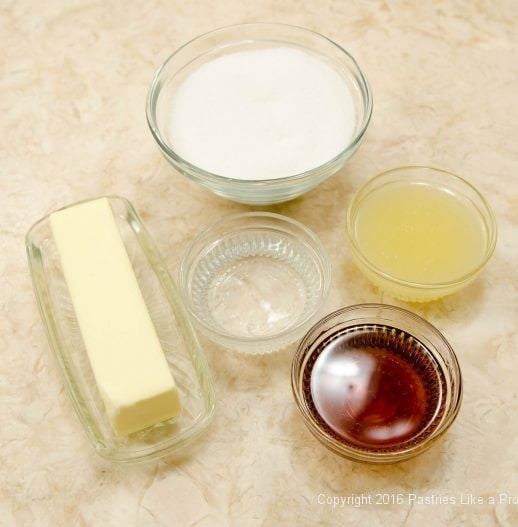
3 tablespoons water
1 cup sugar (200 grams or 7 ounces)
2 tablespoon light corn syrup
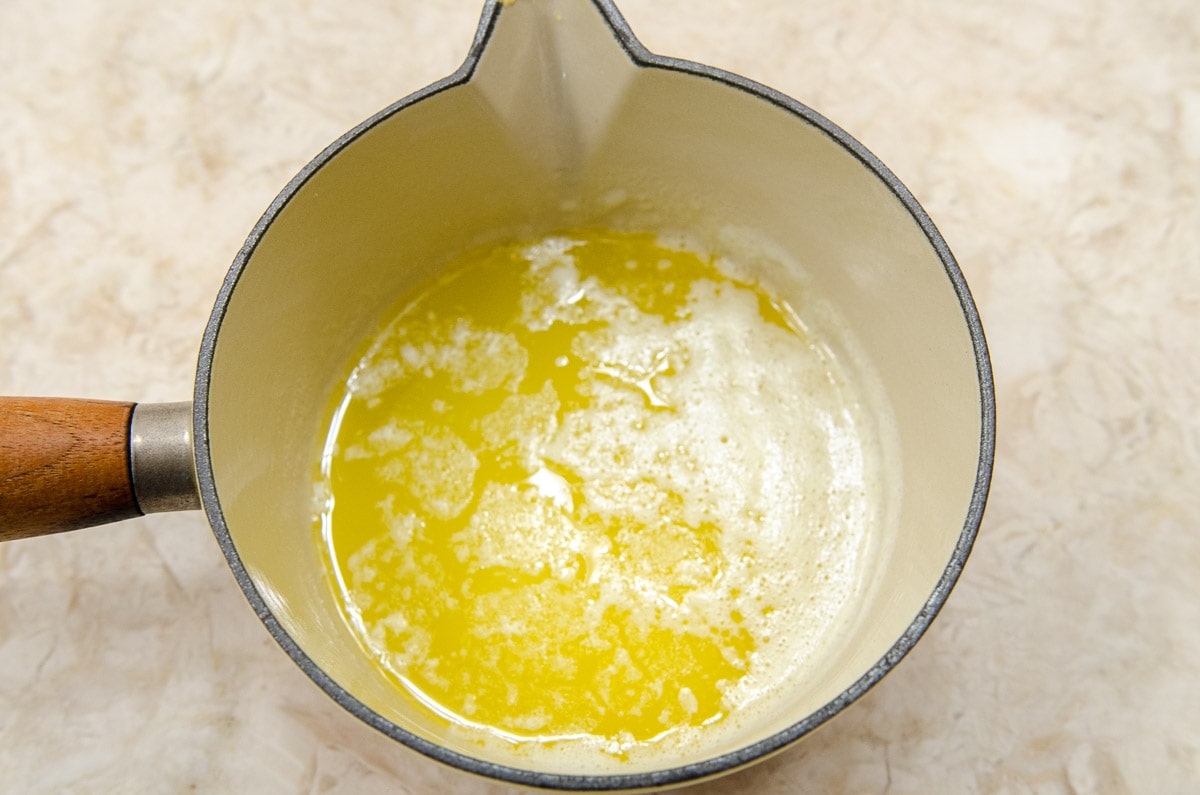
2 tablespoons unsalted butter (30 grams or 1 ounce)
⅔ cup 40% or heavy cream
2 tablespoons rum
1 teaspoon vanilla
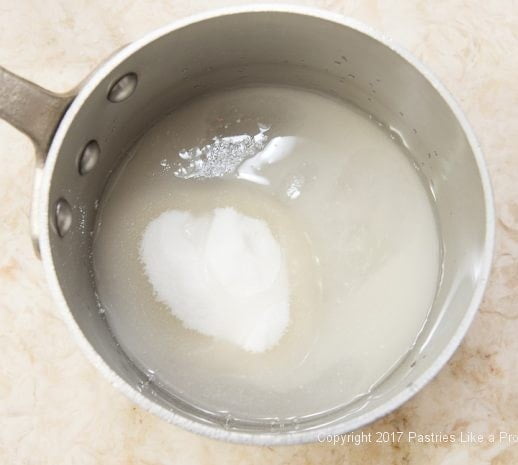
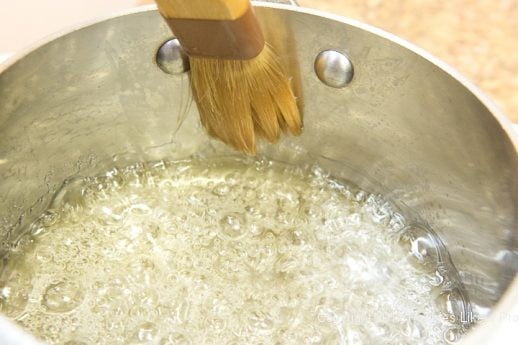
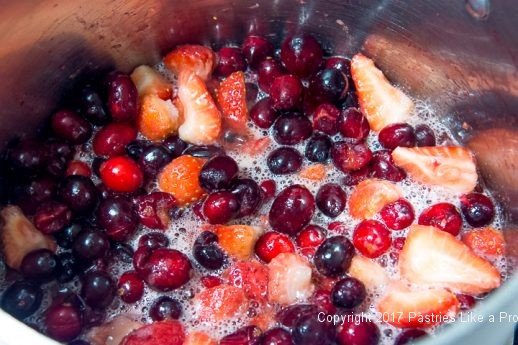
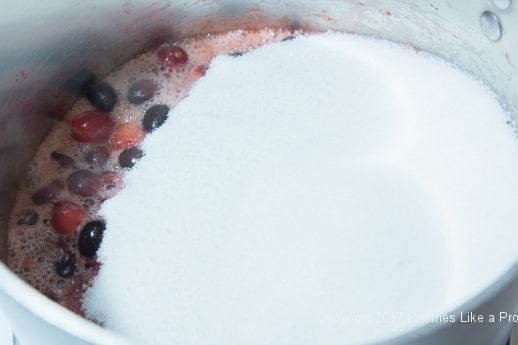
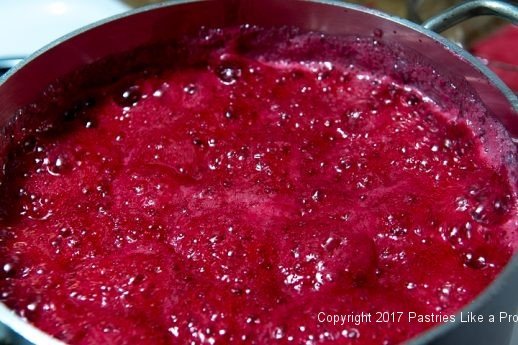
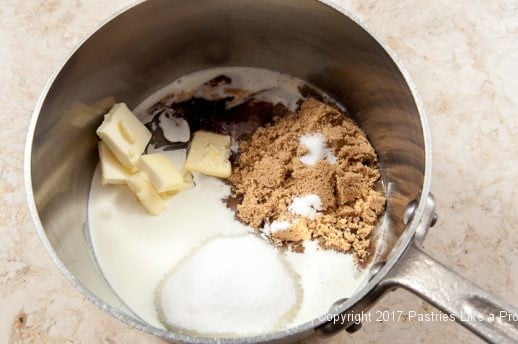
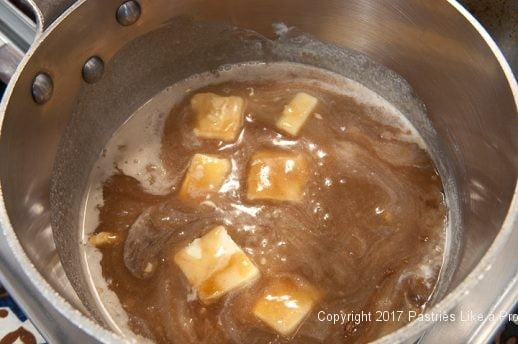
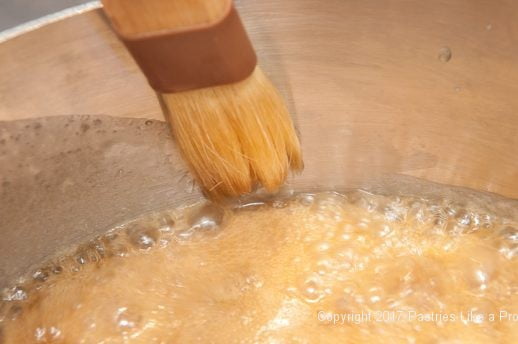
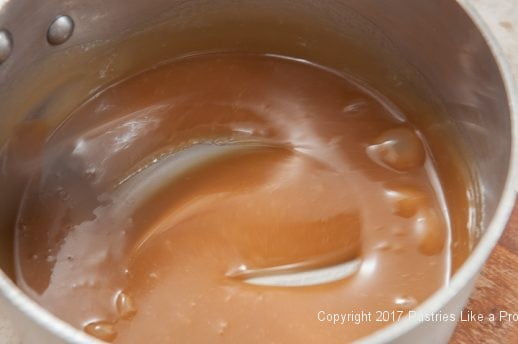
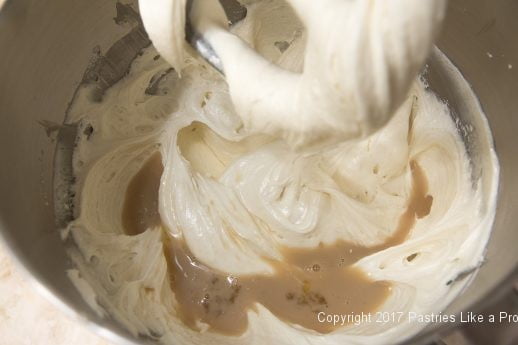
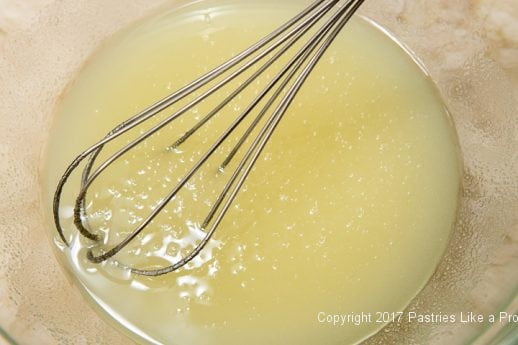
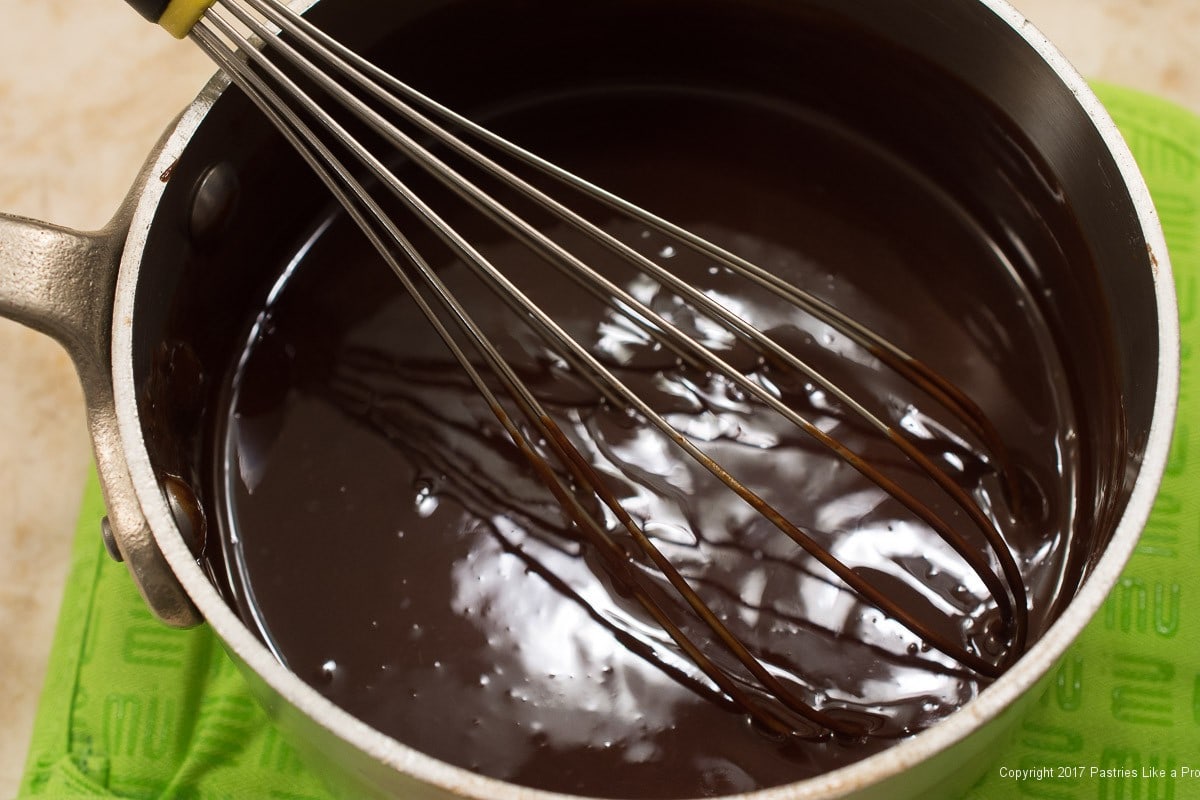
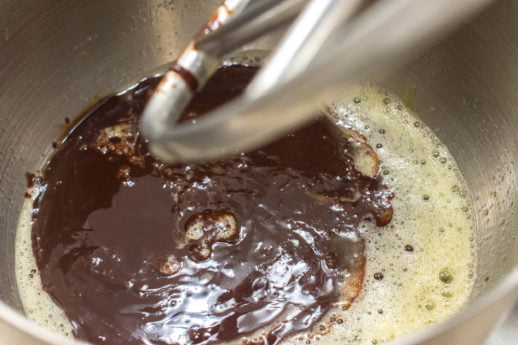
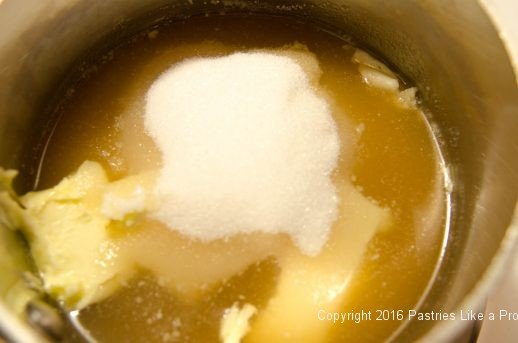
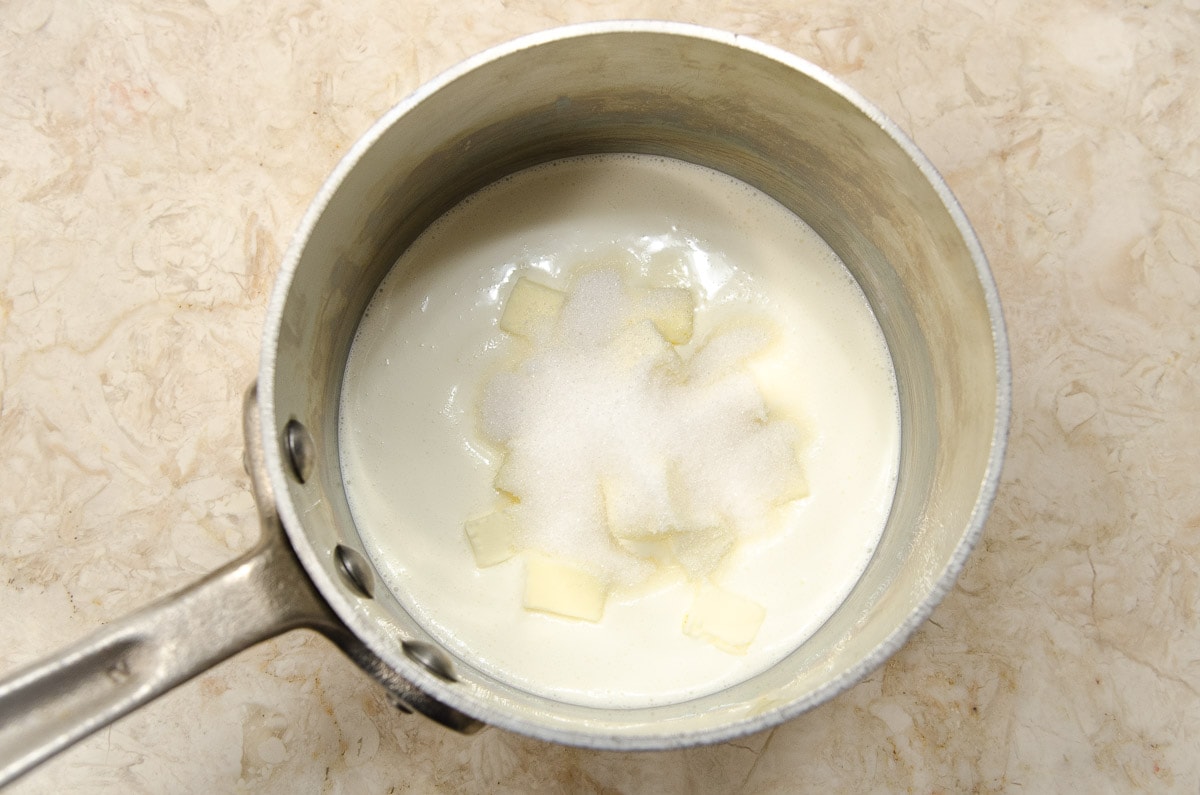
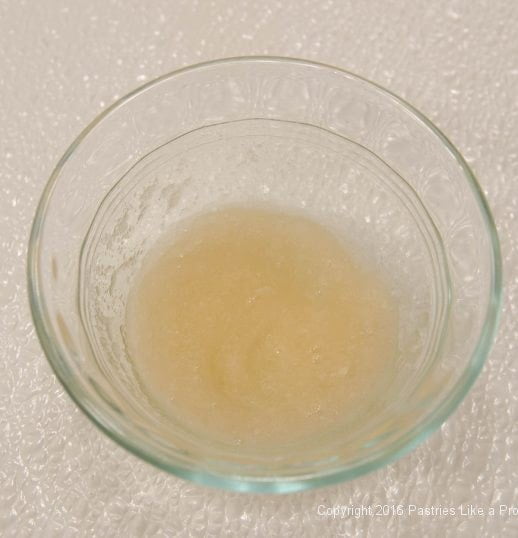
Combine the water, sugar and cornsyrup in a heavy medium saucepan. Place over medium heat and stir until the sugar dissolves. Bring to a boil. Wash the sides down with a brush dipped in cold water.
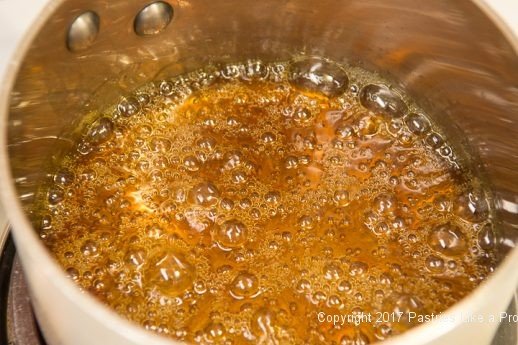
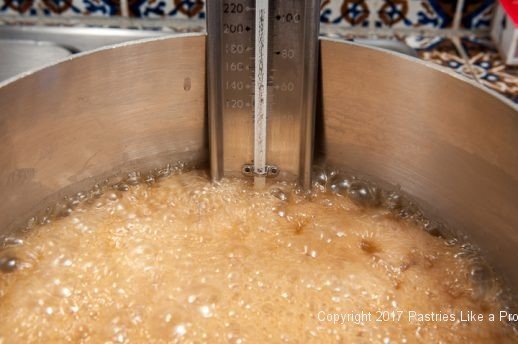
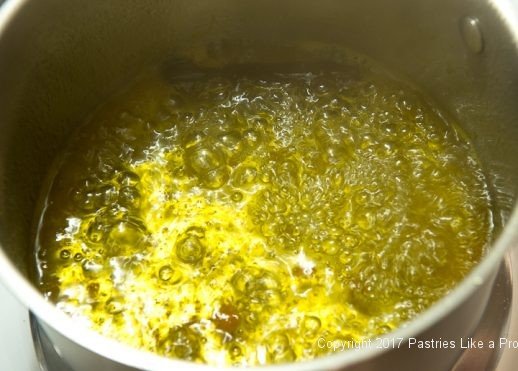
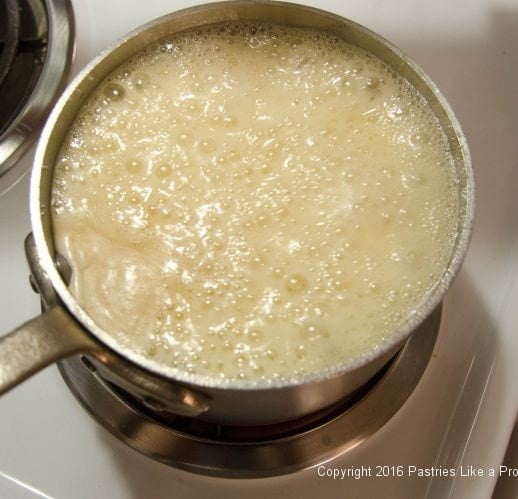
Increase the heat and boil, until the syrup becomes a dark amber brown.
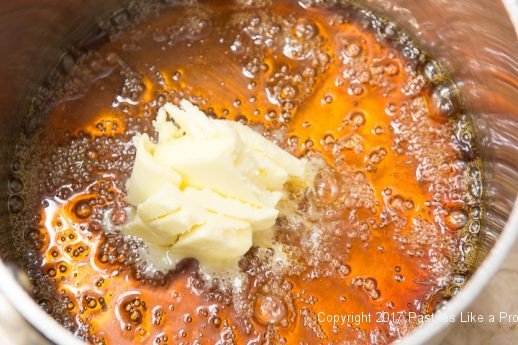
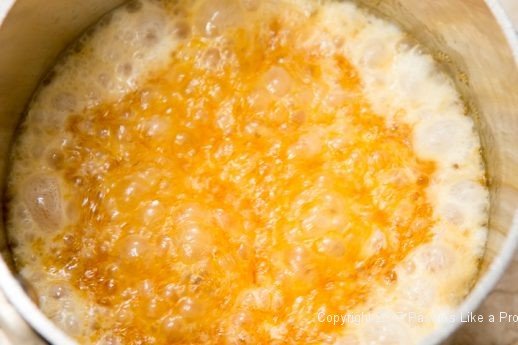
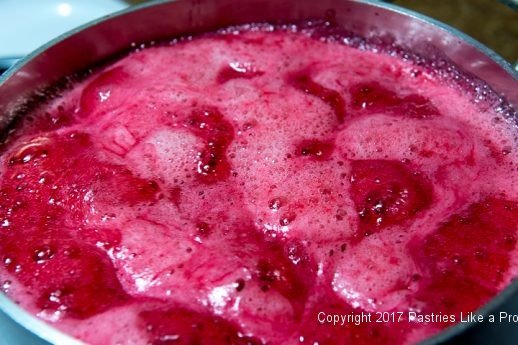
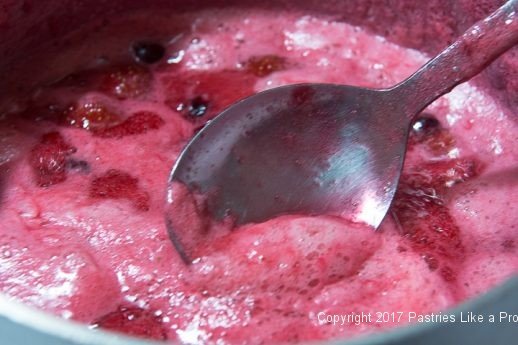
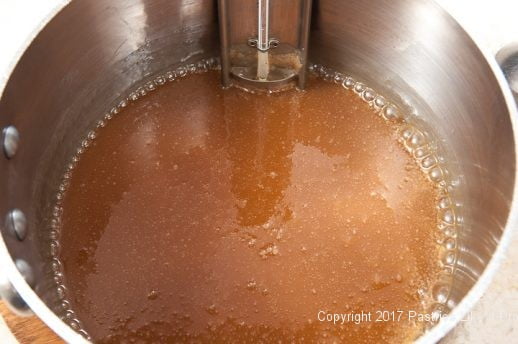
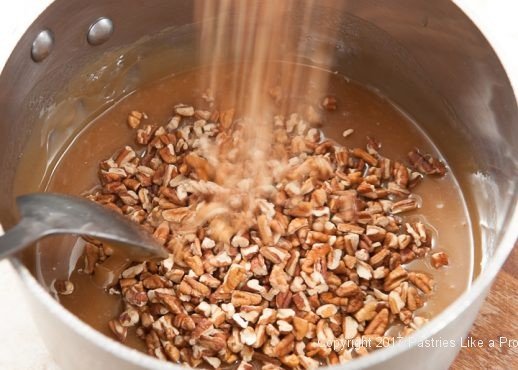
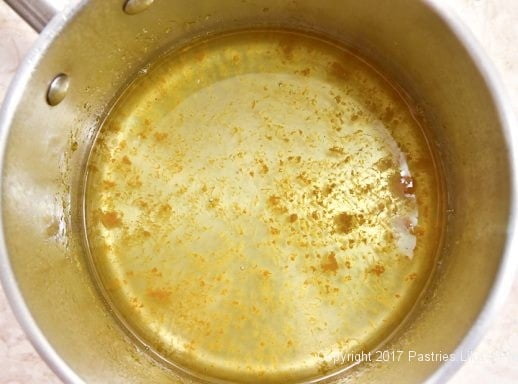
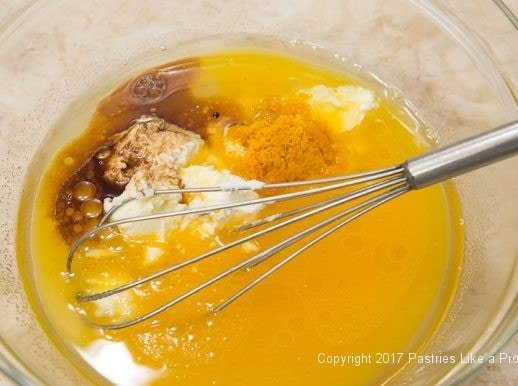
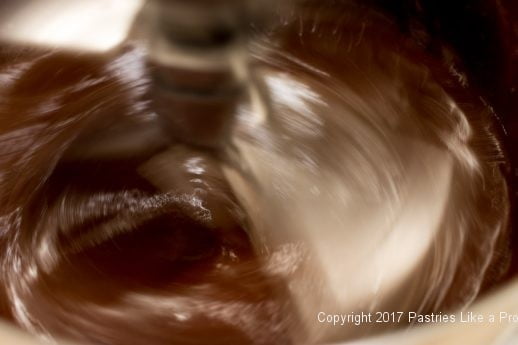
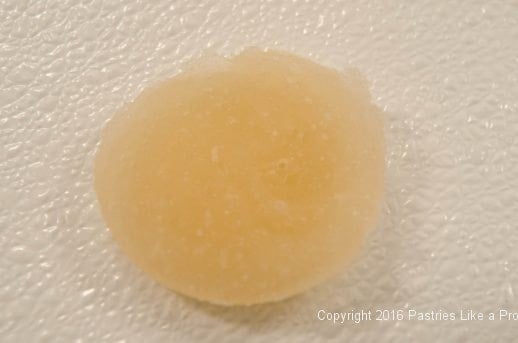
Remove from the heat and the butter. Stir to melt it. Add the cream; it will most likely bubble up like crazy. Finally, stir in the rum and vanilla.
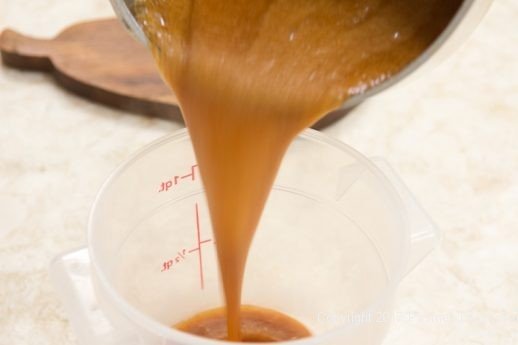
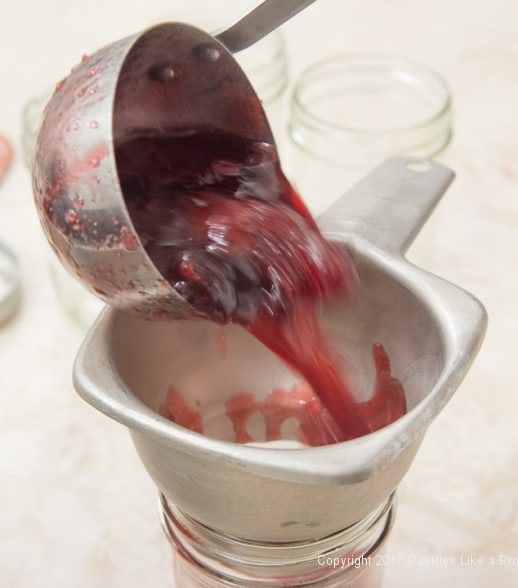
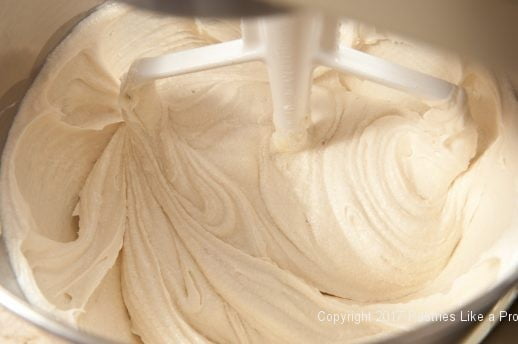
Pour into a container and cool completely.
It can be left at room temperature for a day or two. Refrigerate after that.
Yield: about 1 ⅔ cups
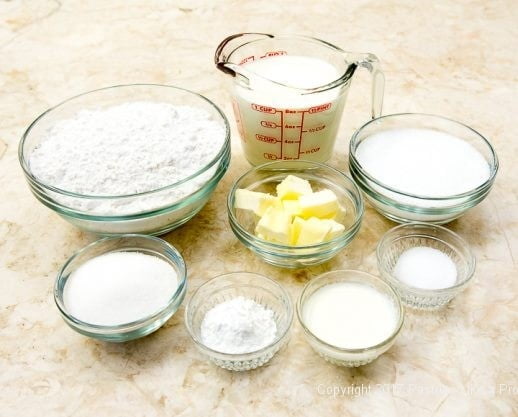
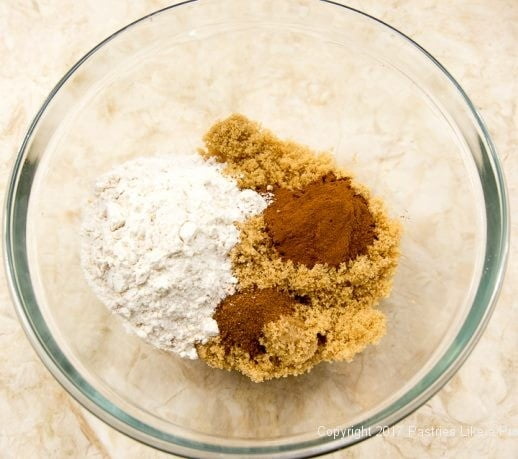
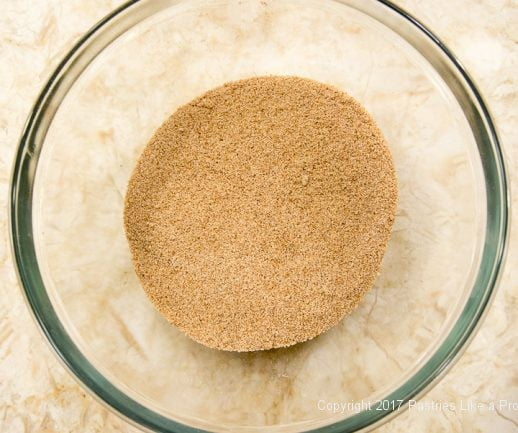
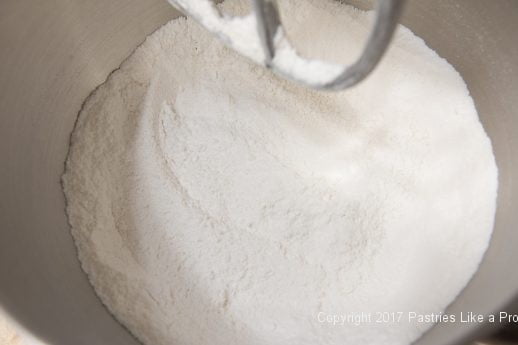
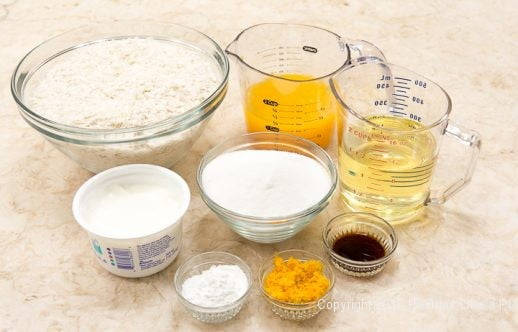
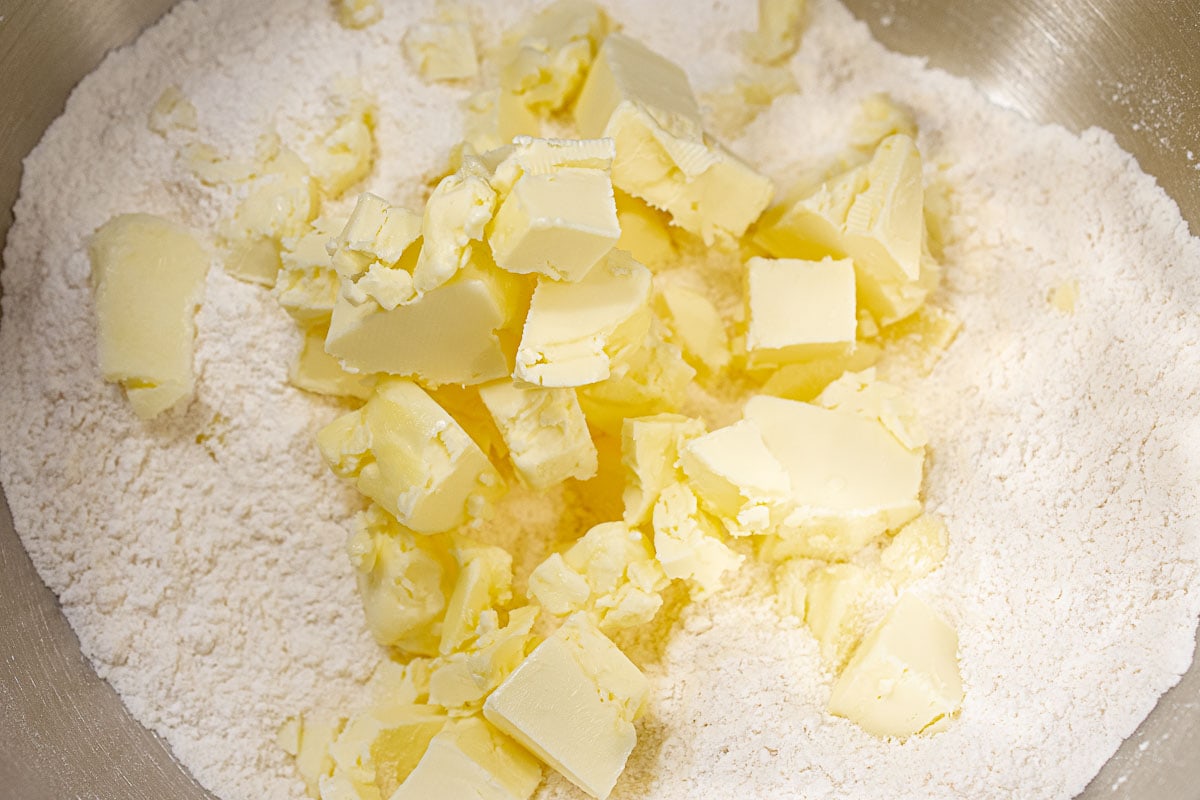
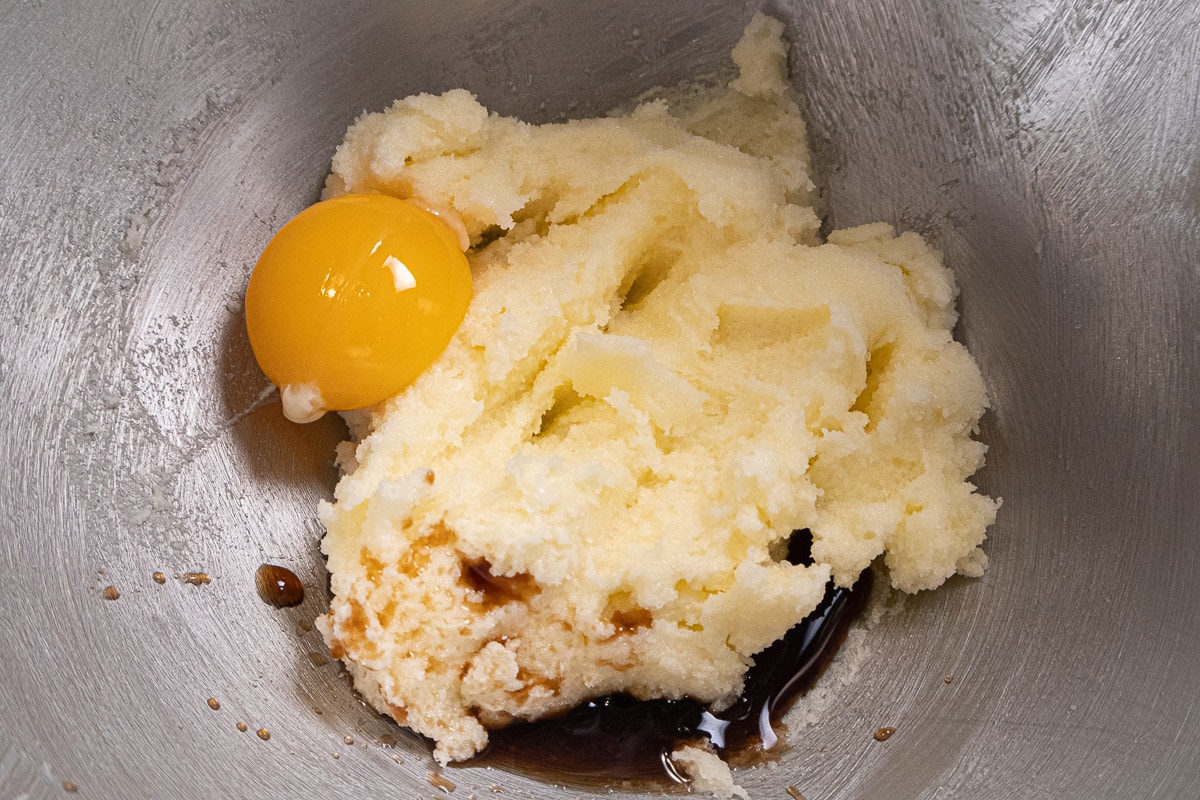
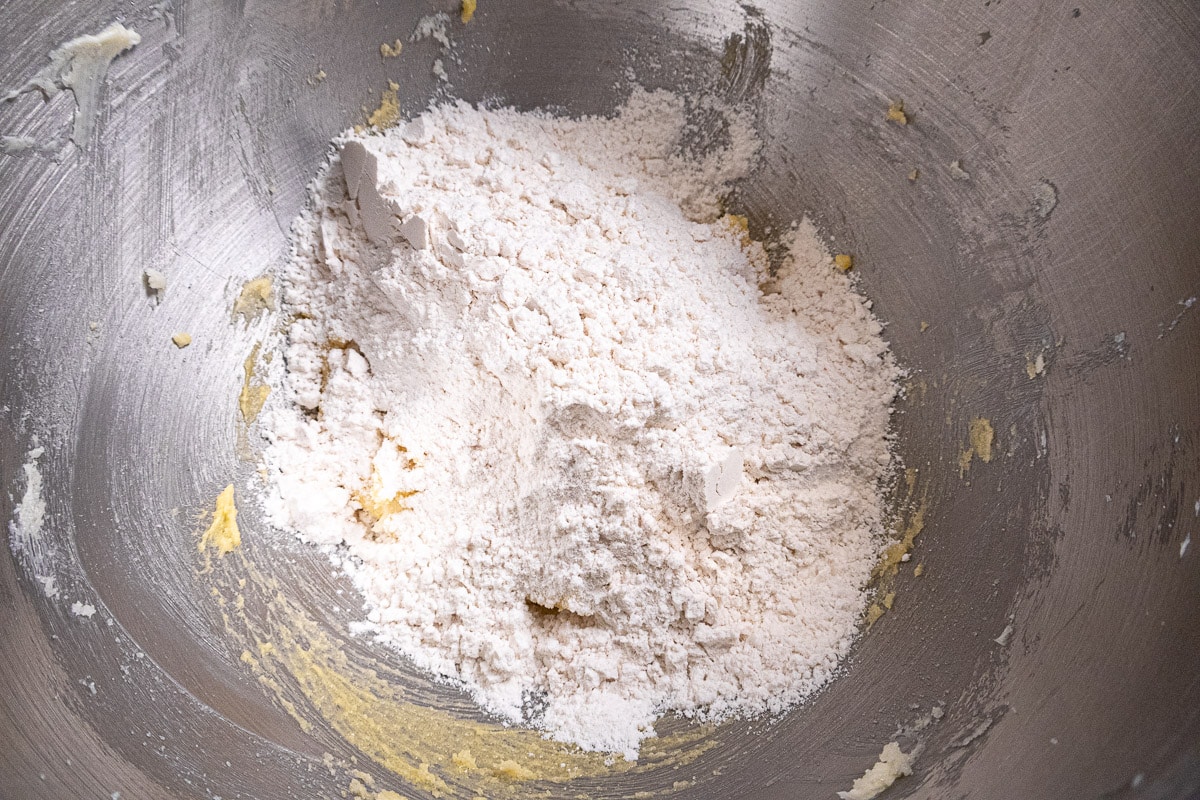
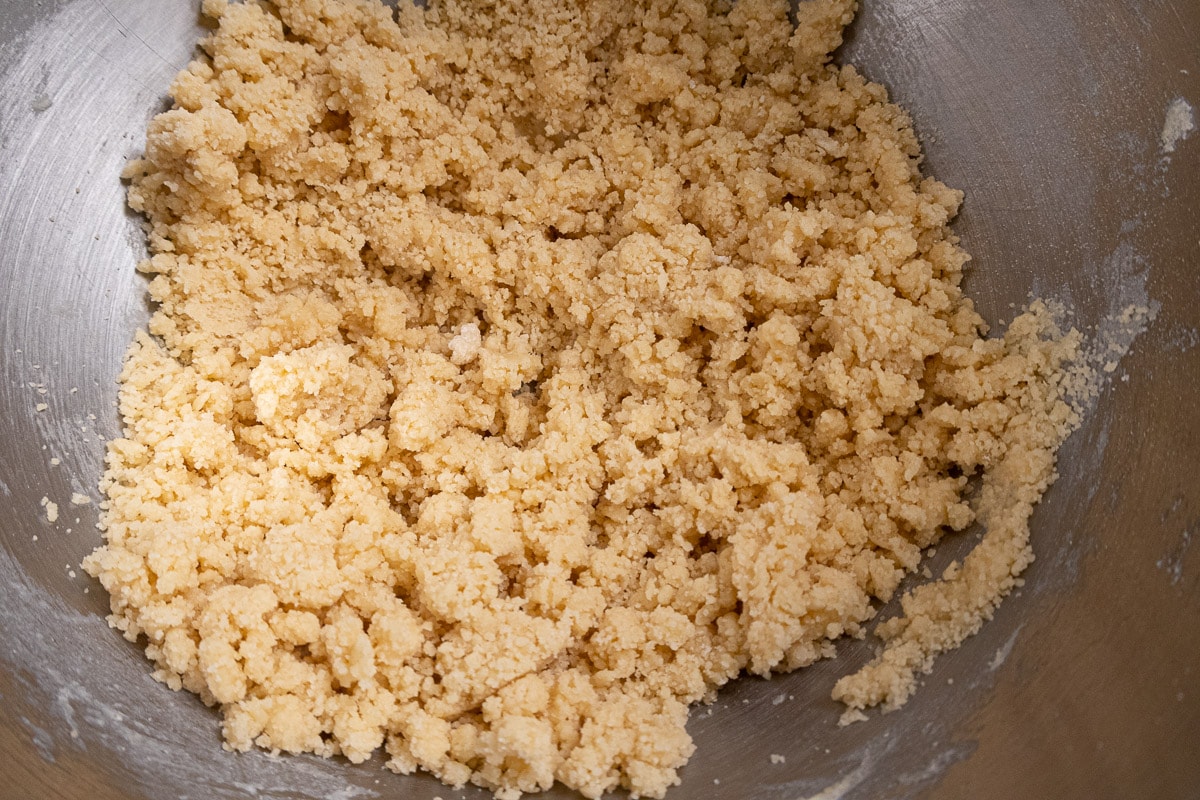
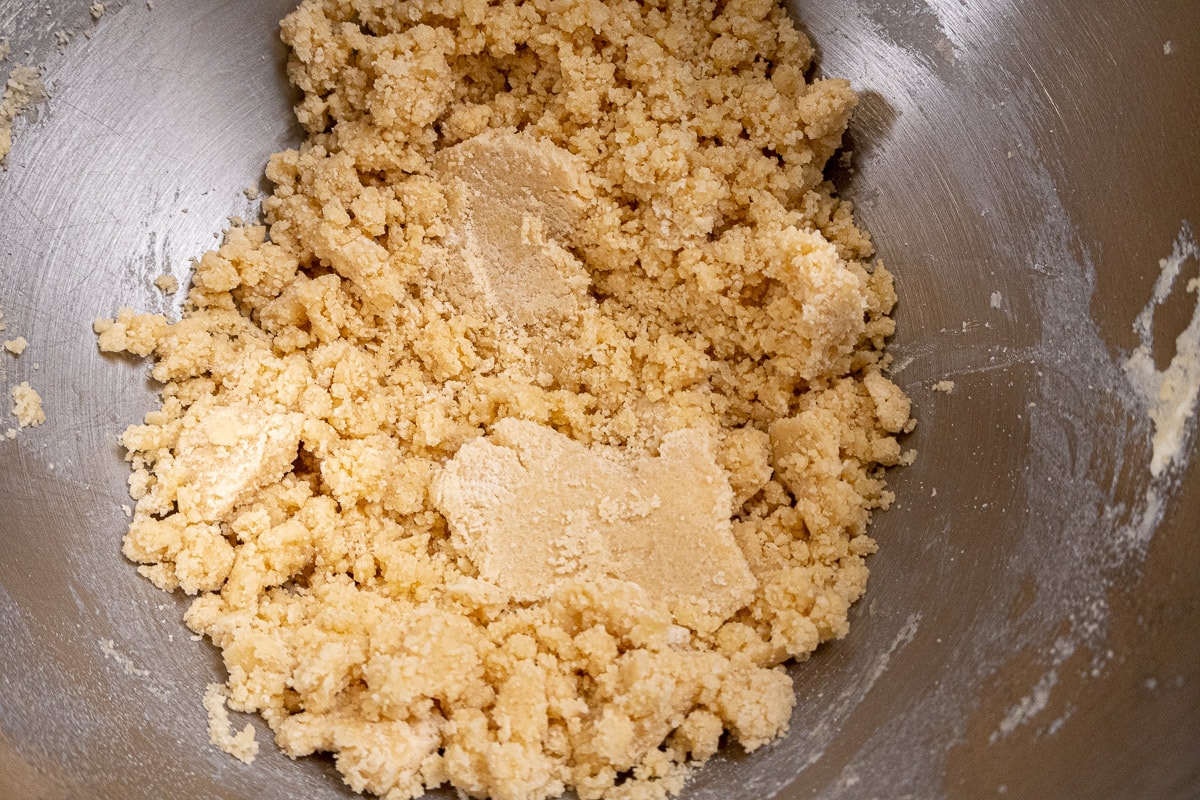
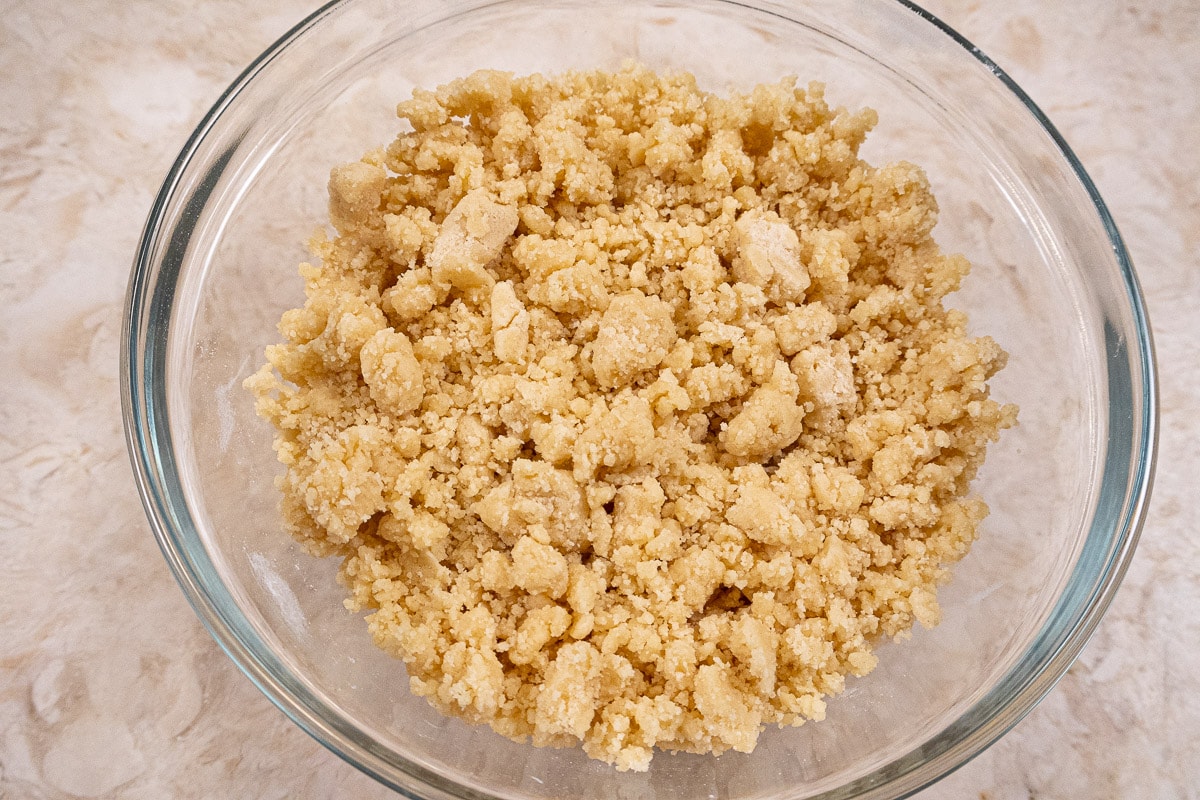
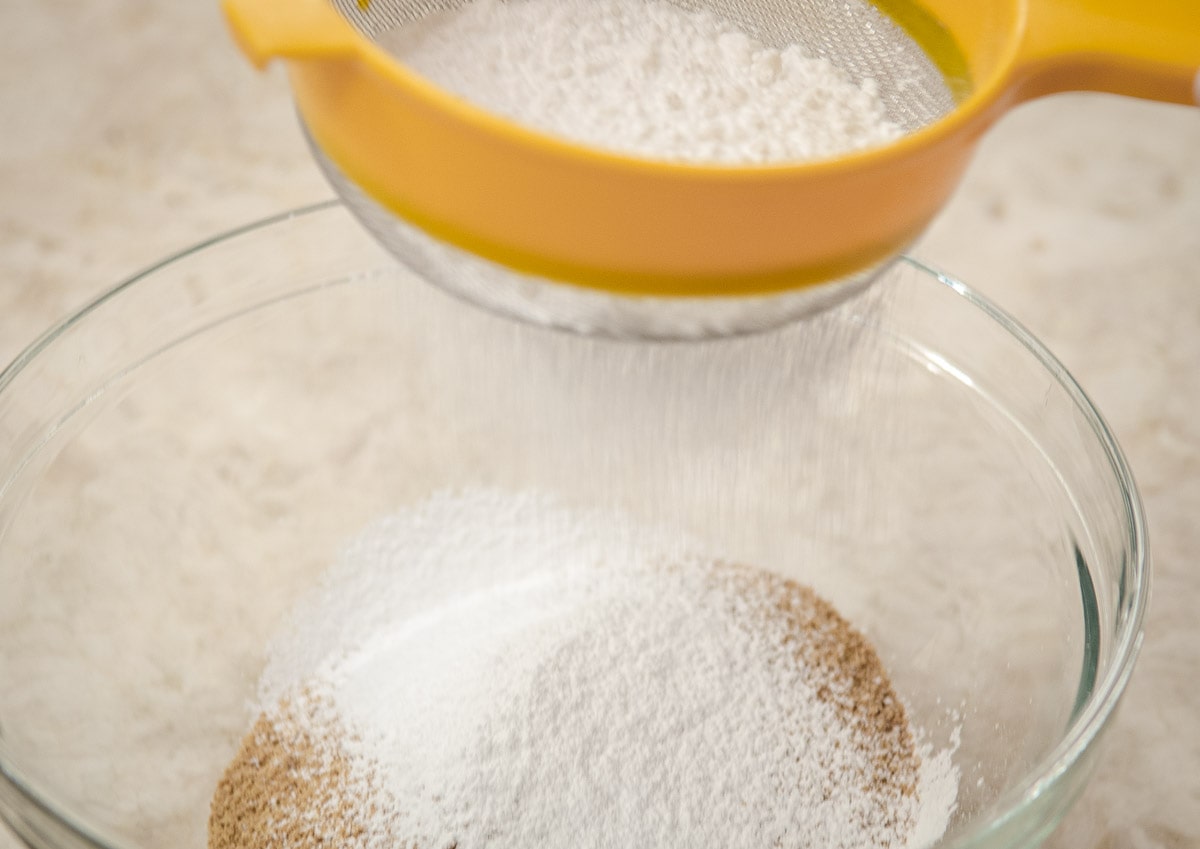
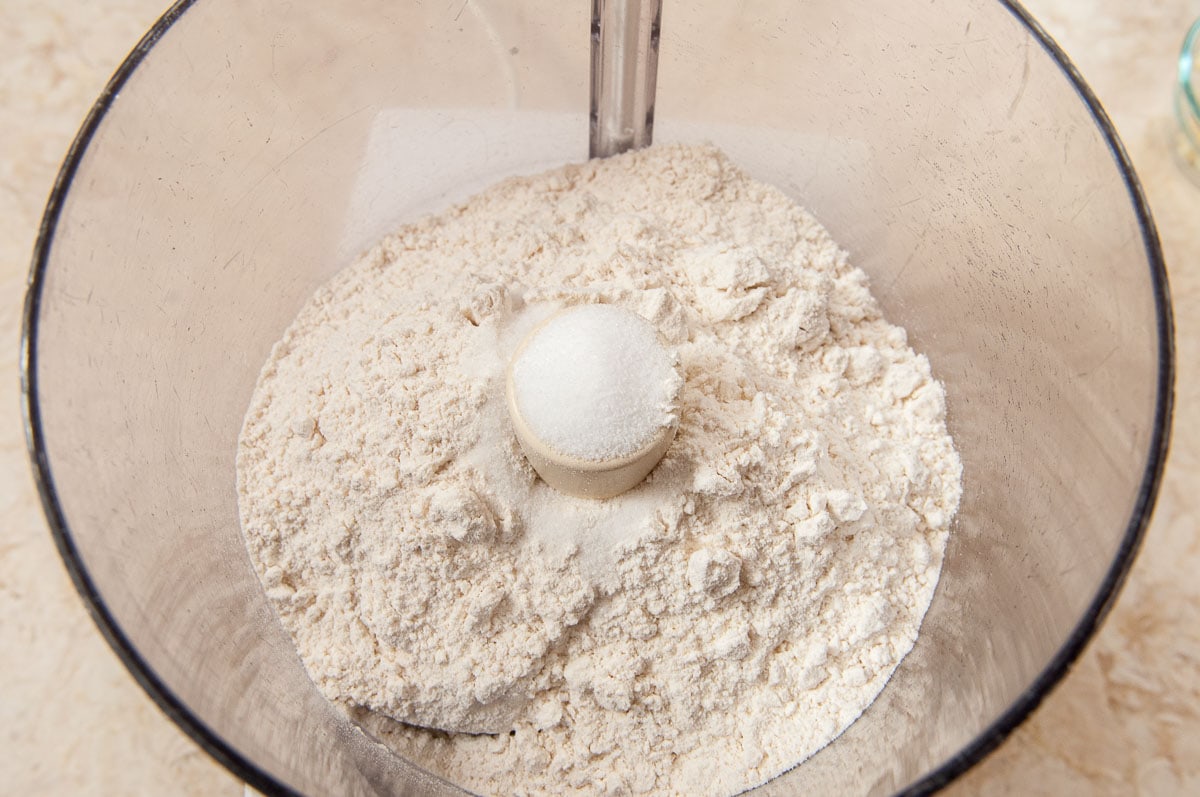
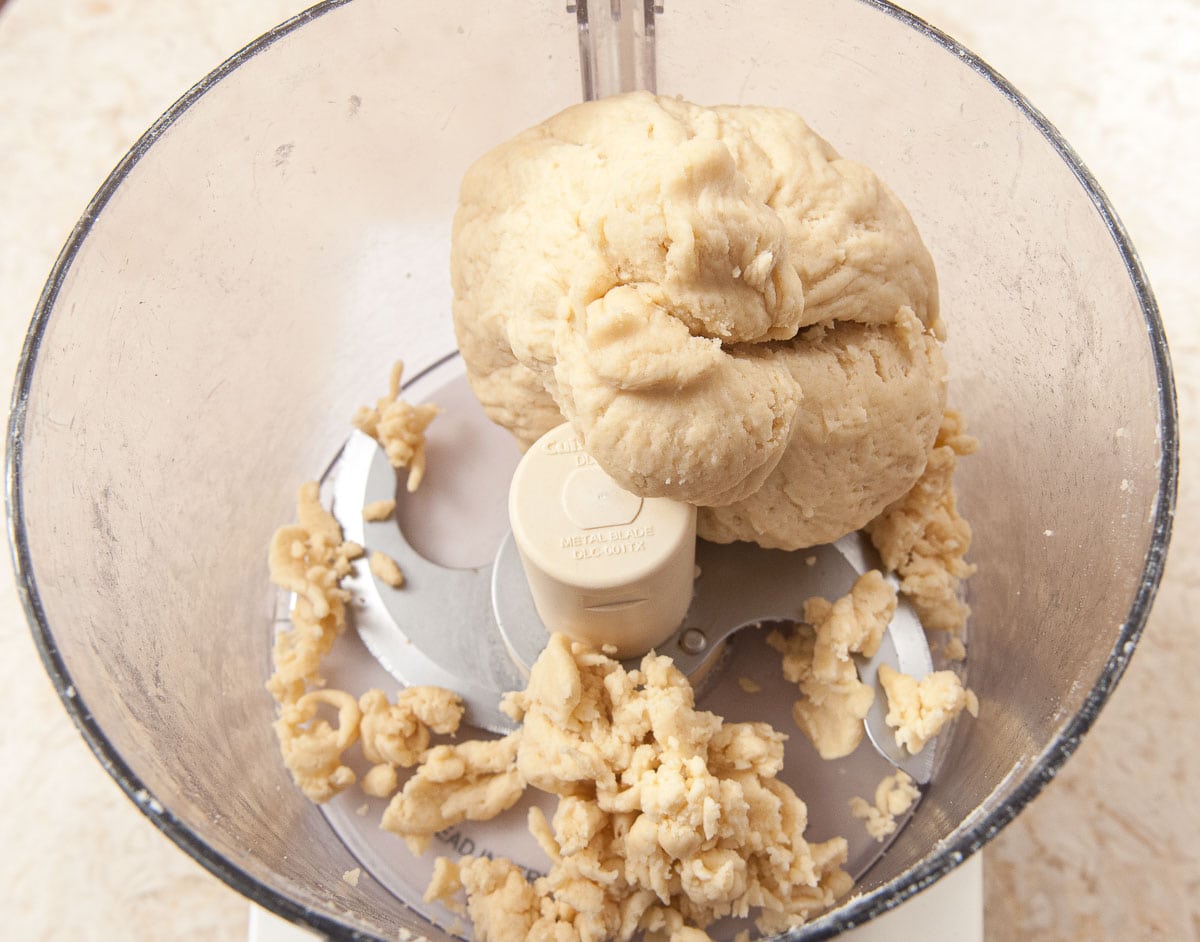
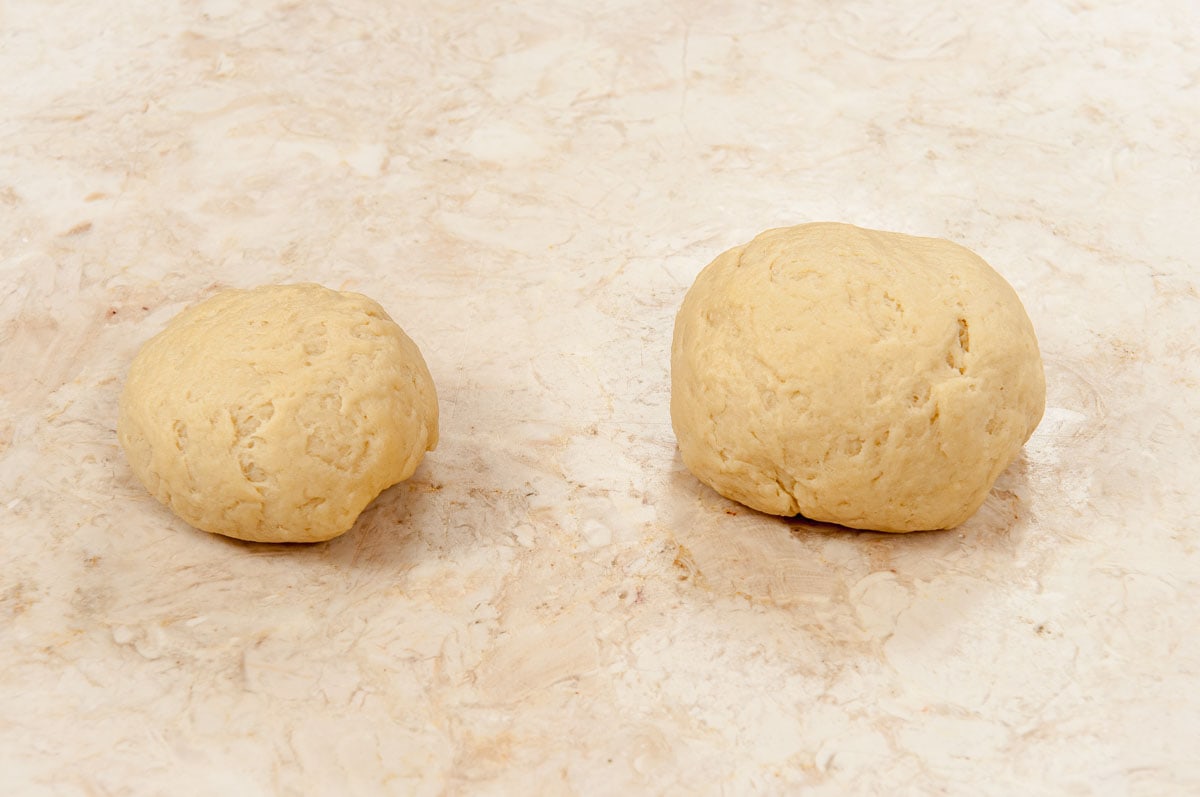
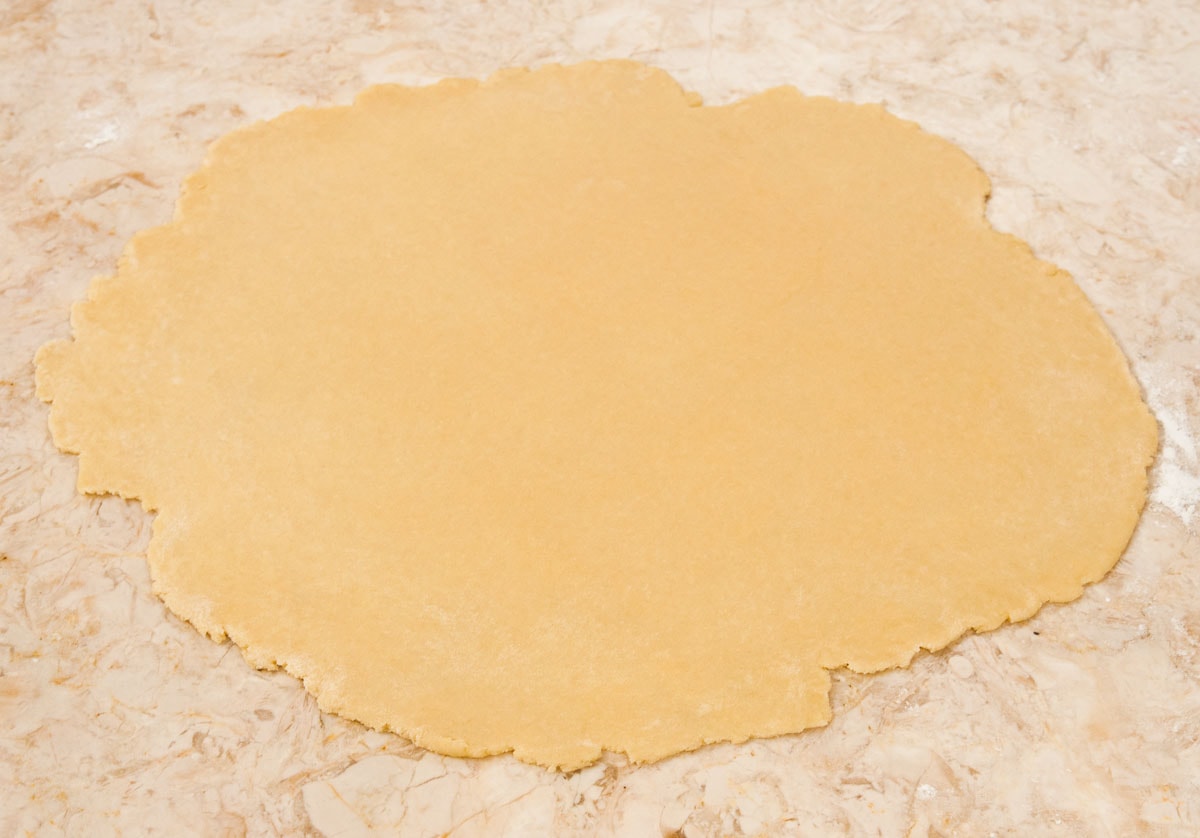
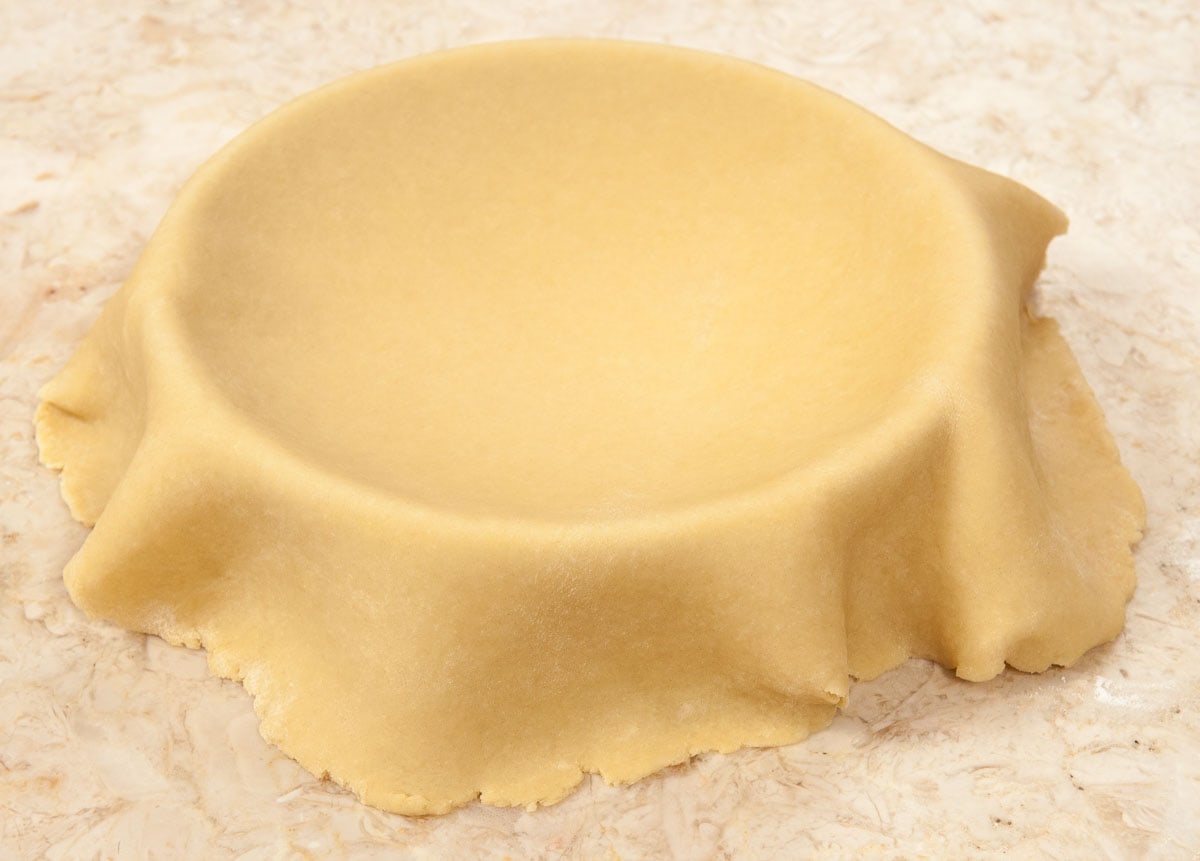
Plain 11" Graham Cracker Crust
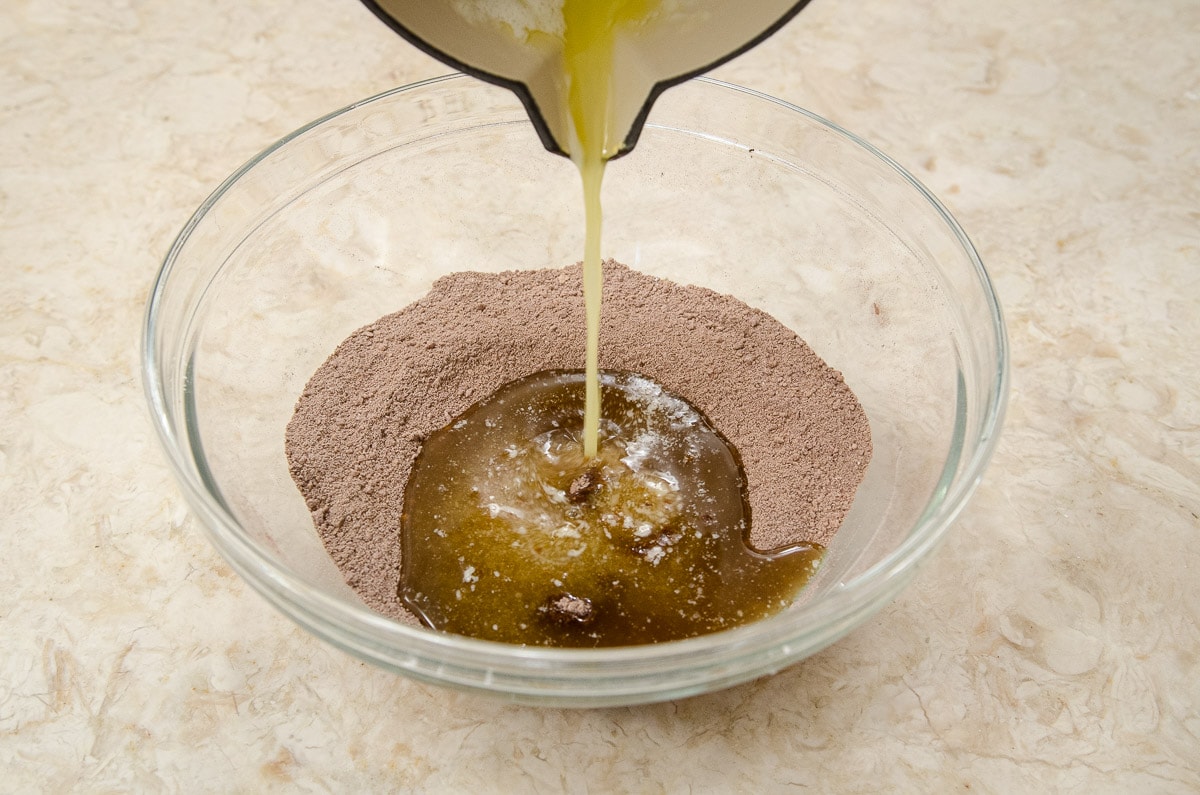
2 cups graham cracker crumbs (buy them in crumbs or run the crackers through food
processor) [225 grams or 8 ounces]
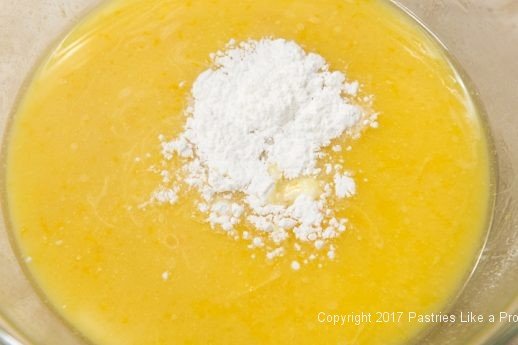
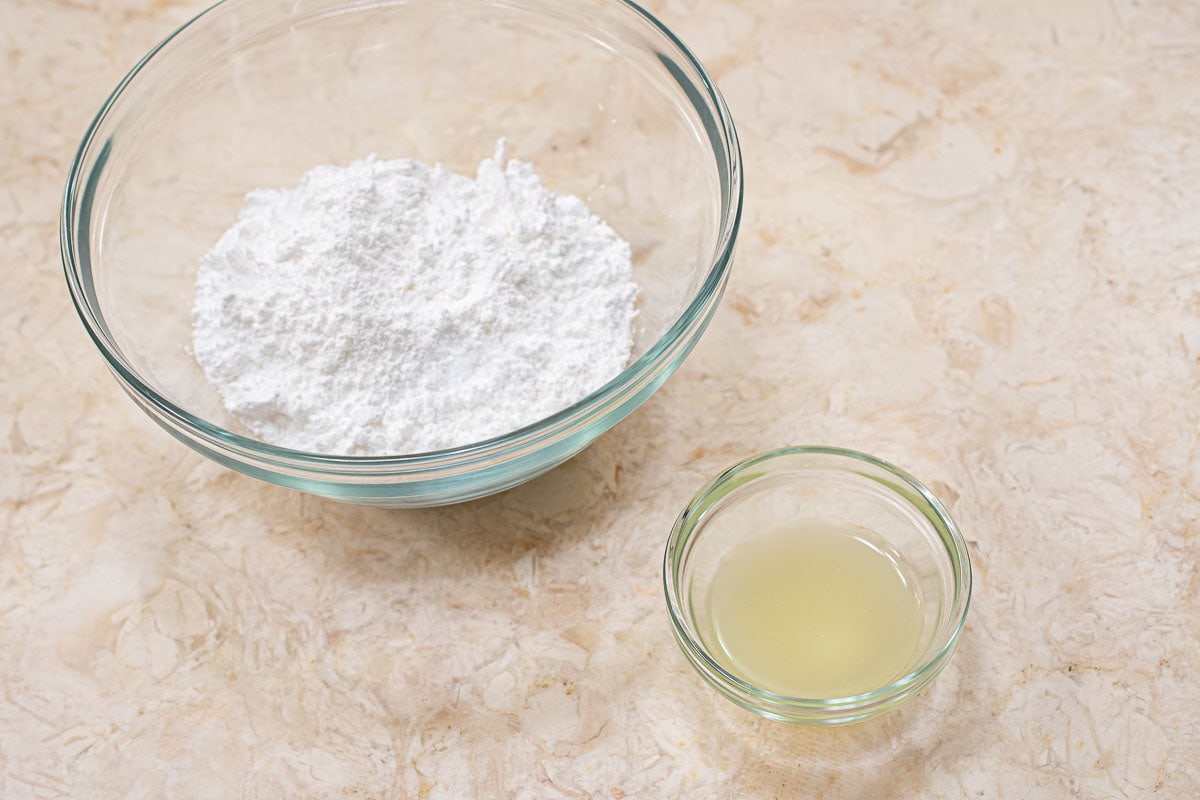
¾ cup unsifted powdered sugar (75 grams or 2 ⅔ ounces)
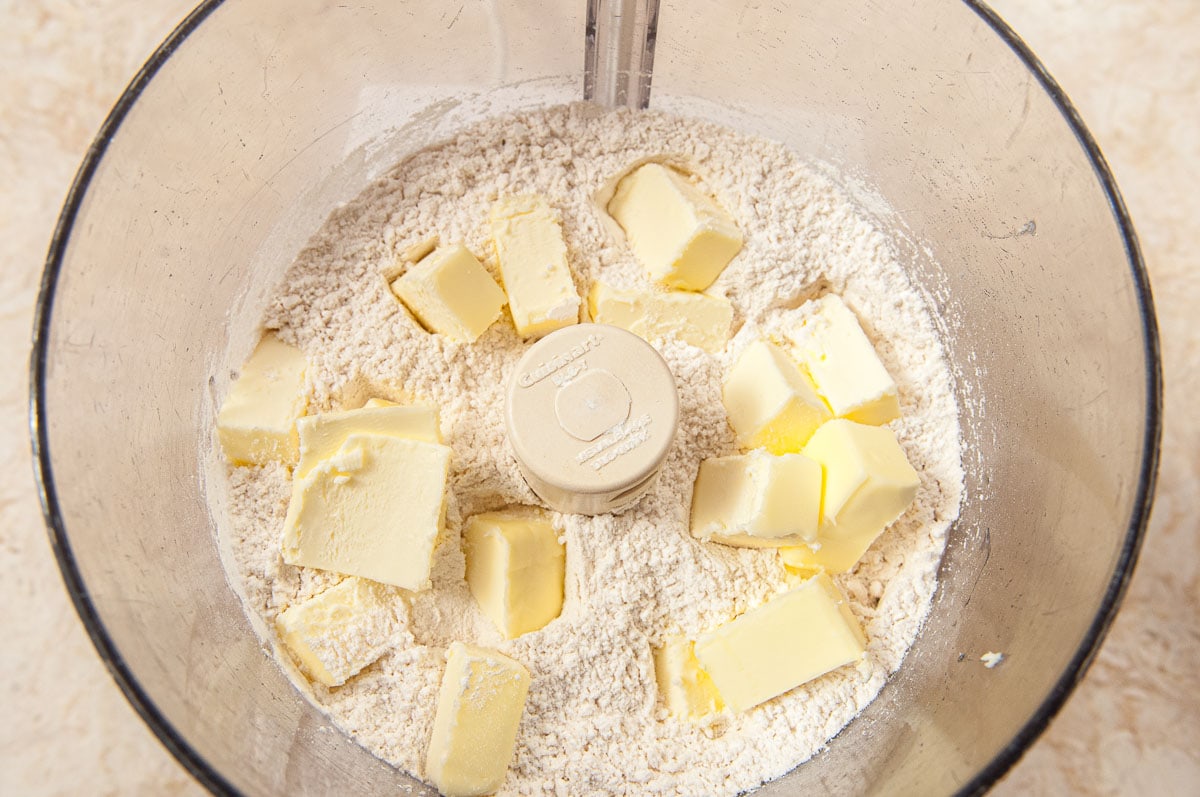
10 tablespoons unsalted butter, melted (150grams or 5 ⅓ ounces)
1 teaspoon vanilla
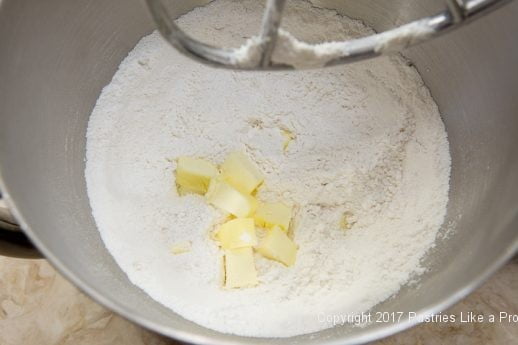
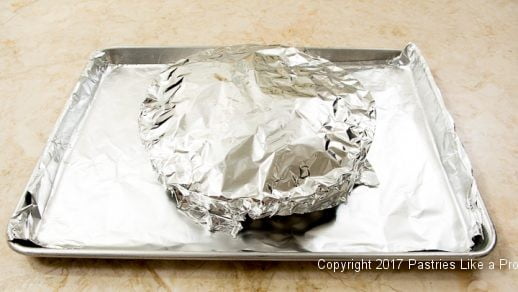
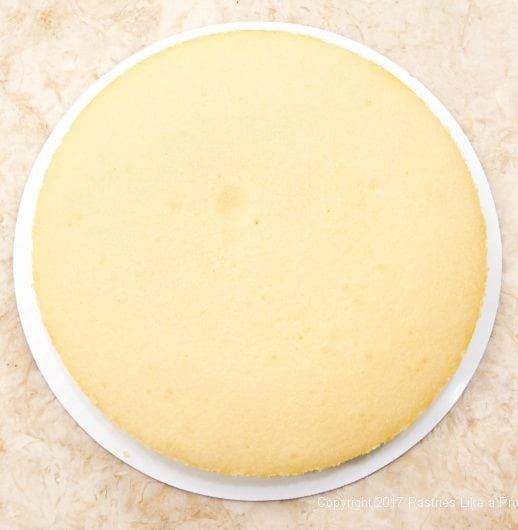
Preheat the oven to 350°F. Line the bottom of a half sheet pan with foil. Set aside.
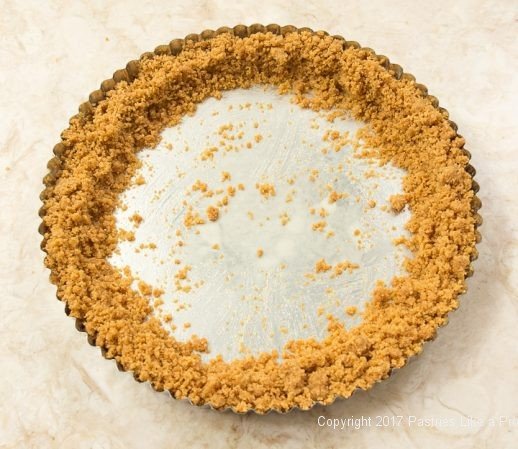
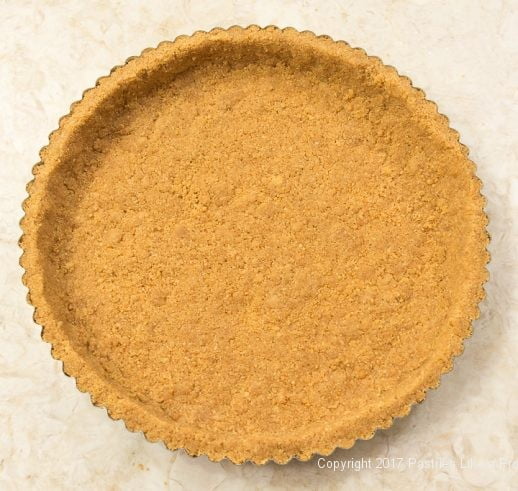
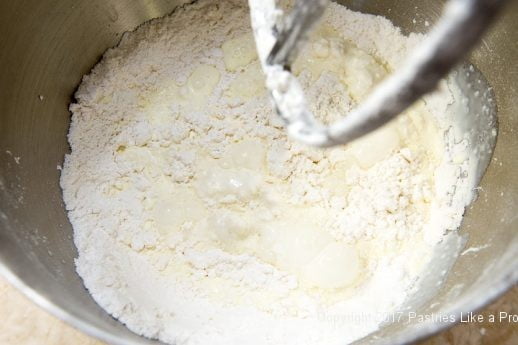
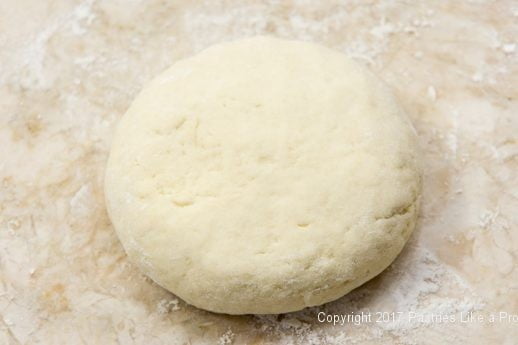
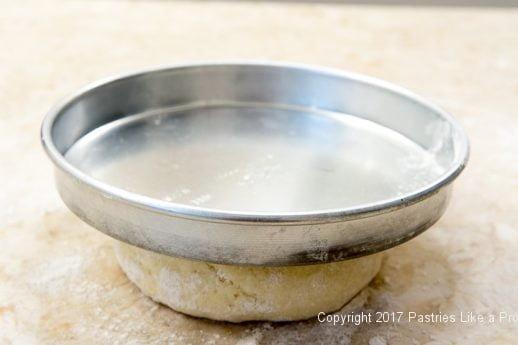
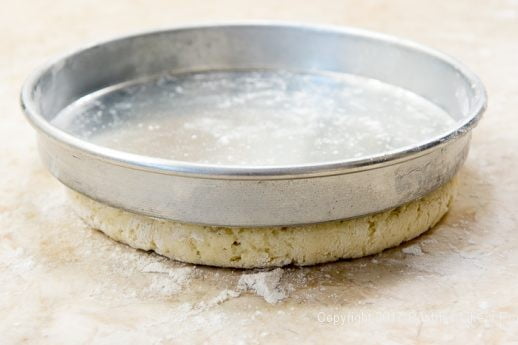
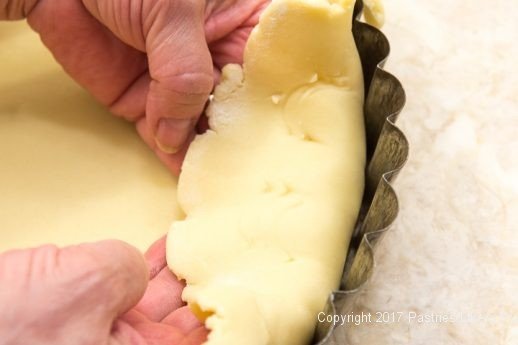
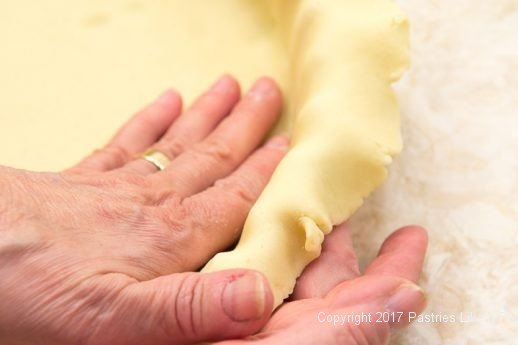
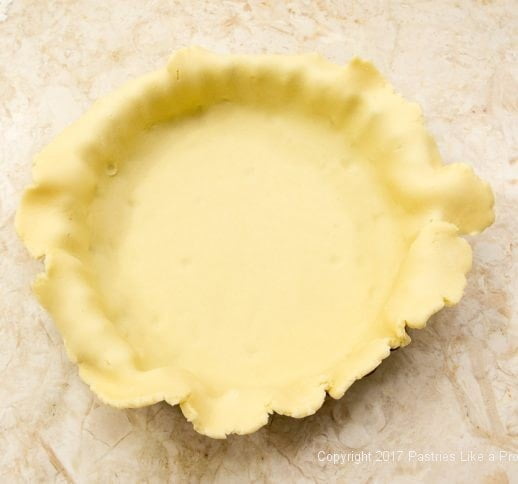
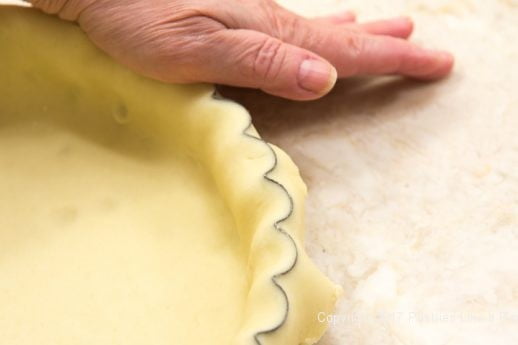
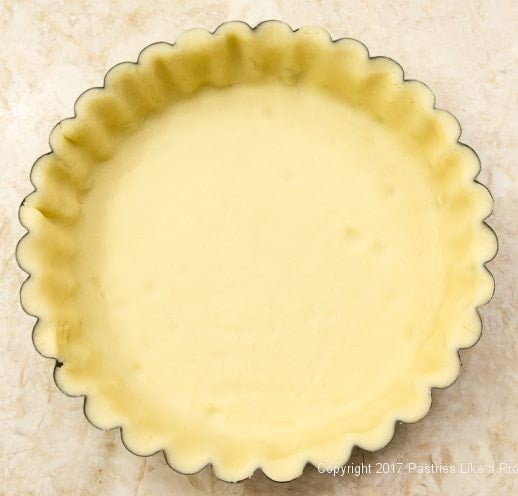
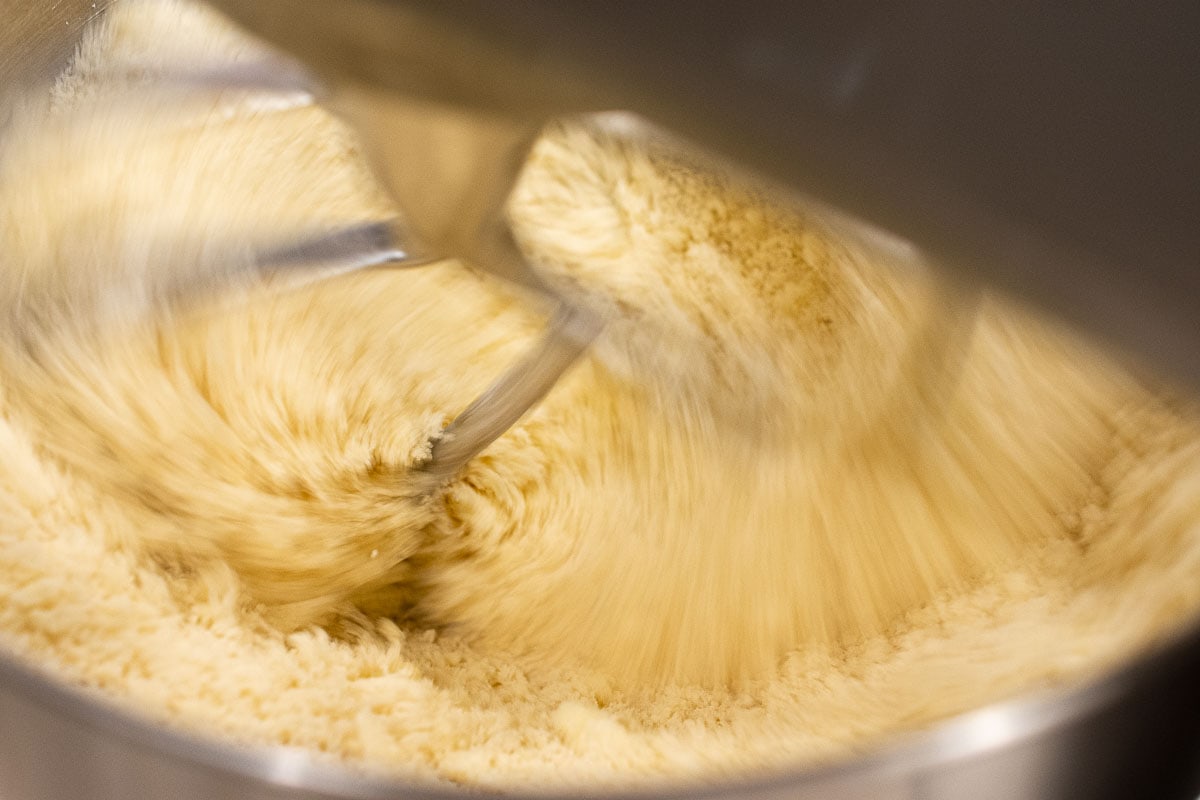
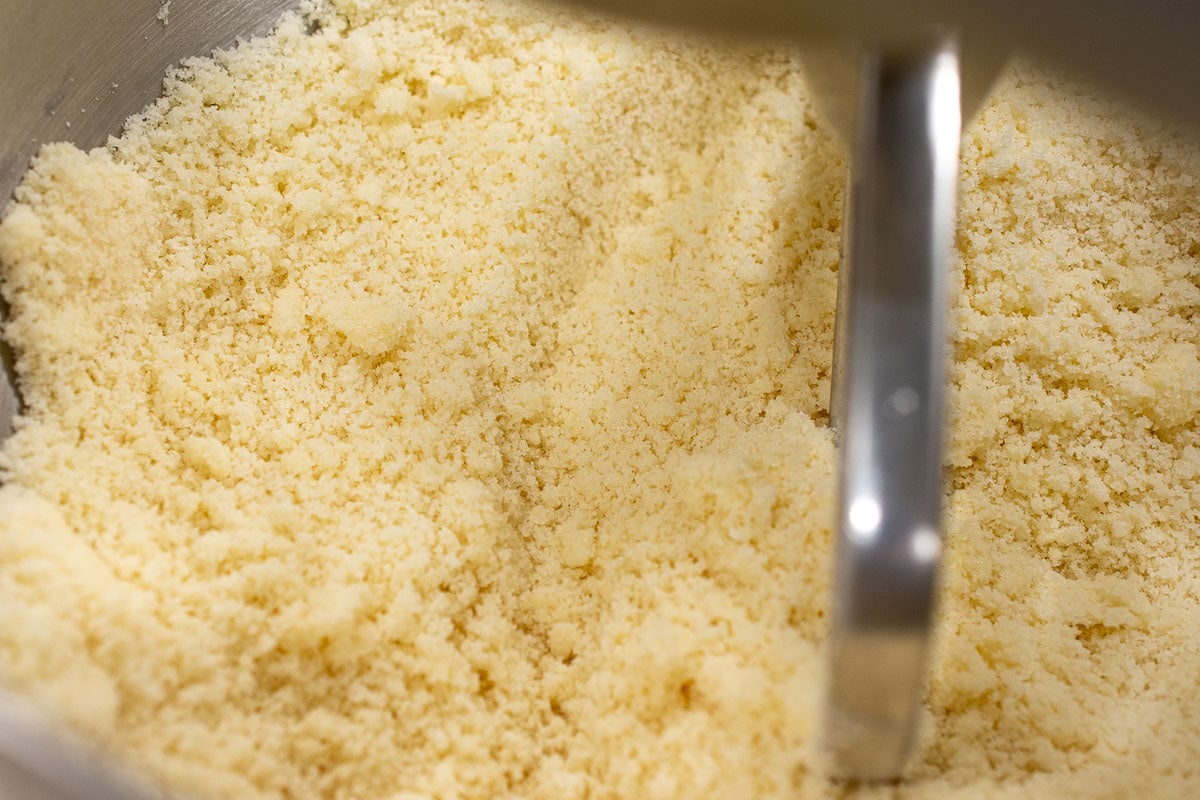
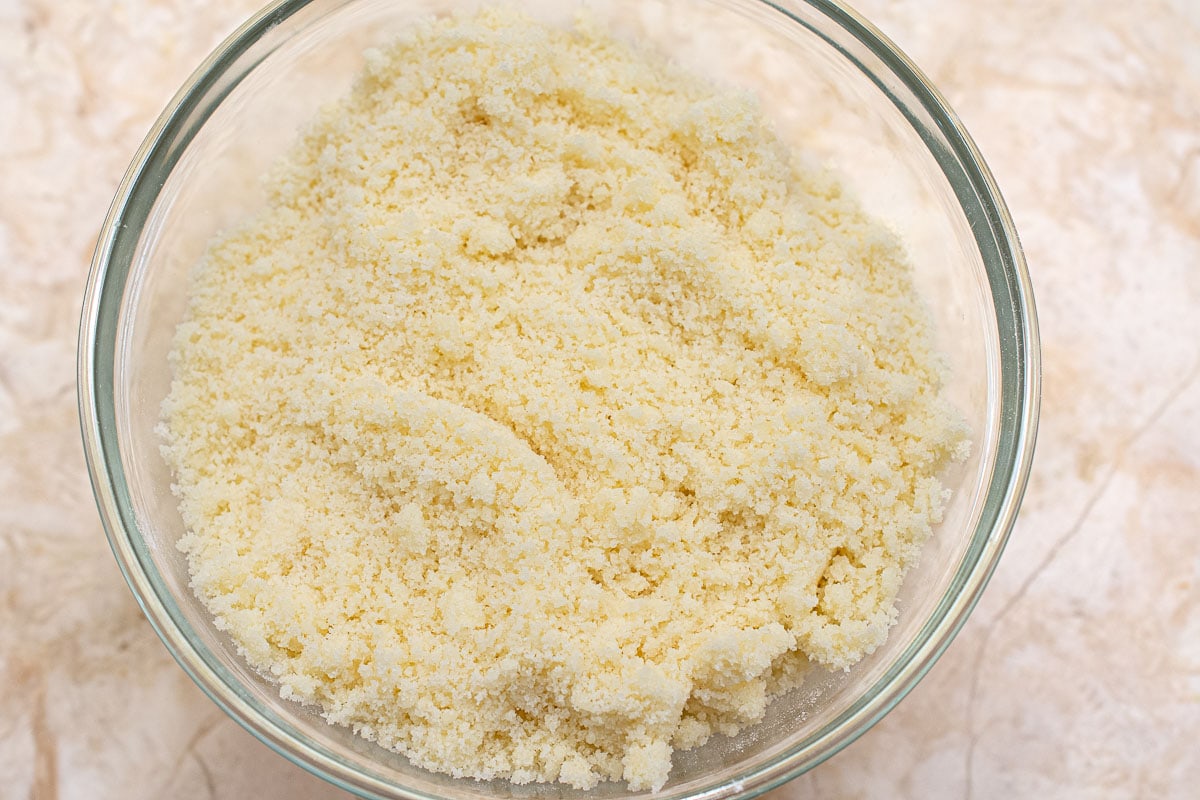
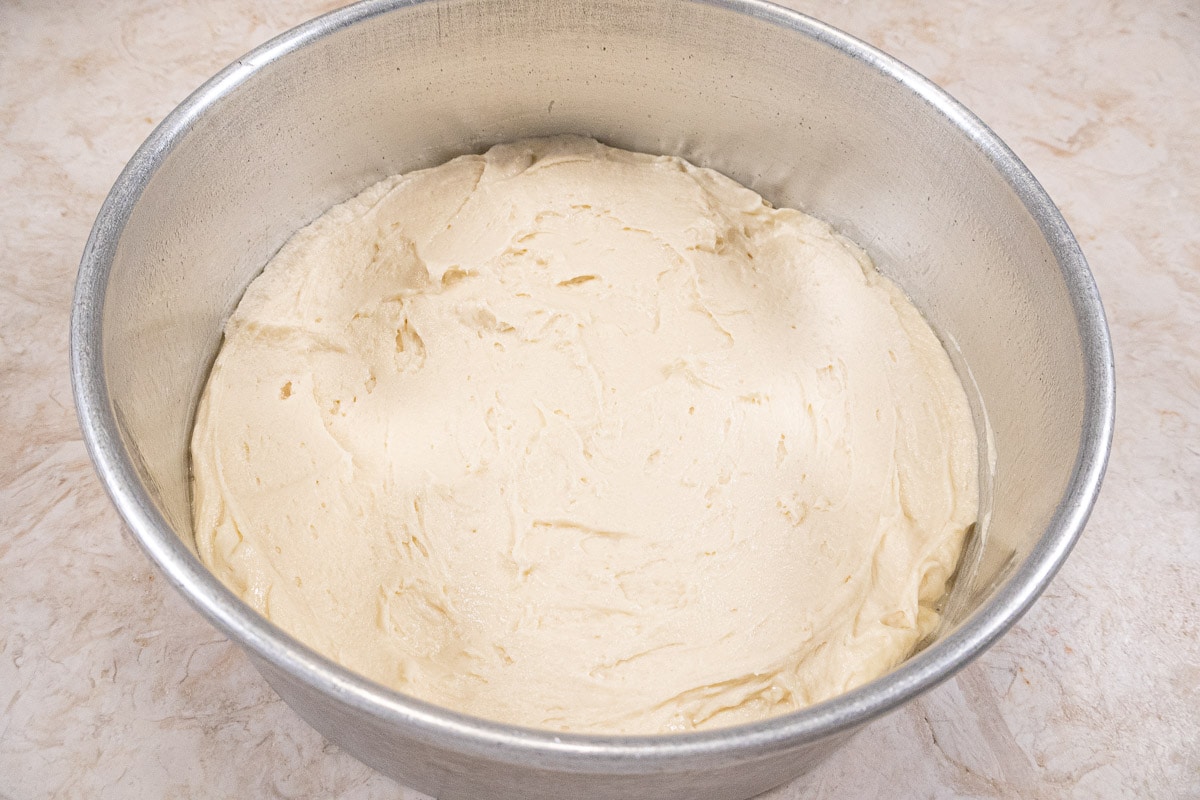
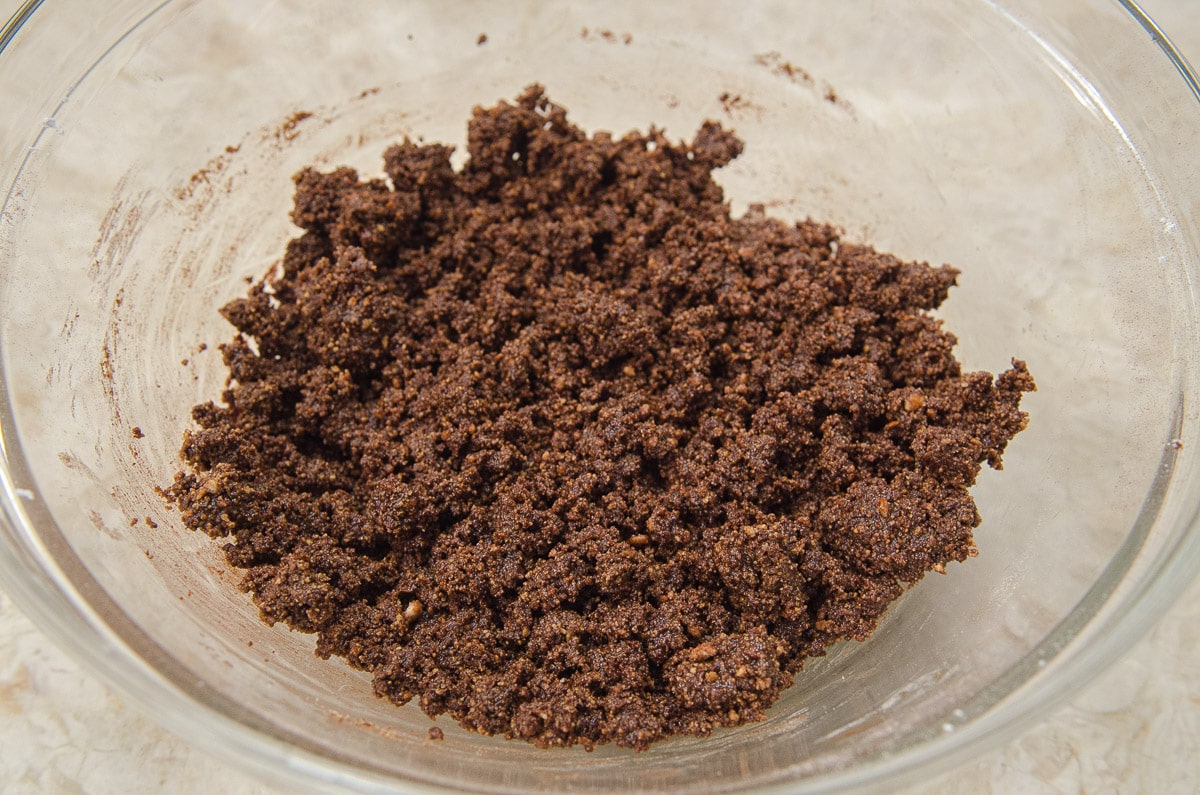
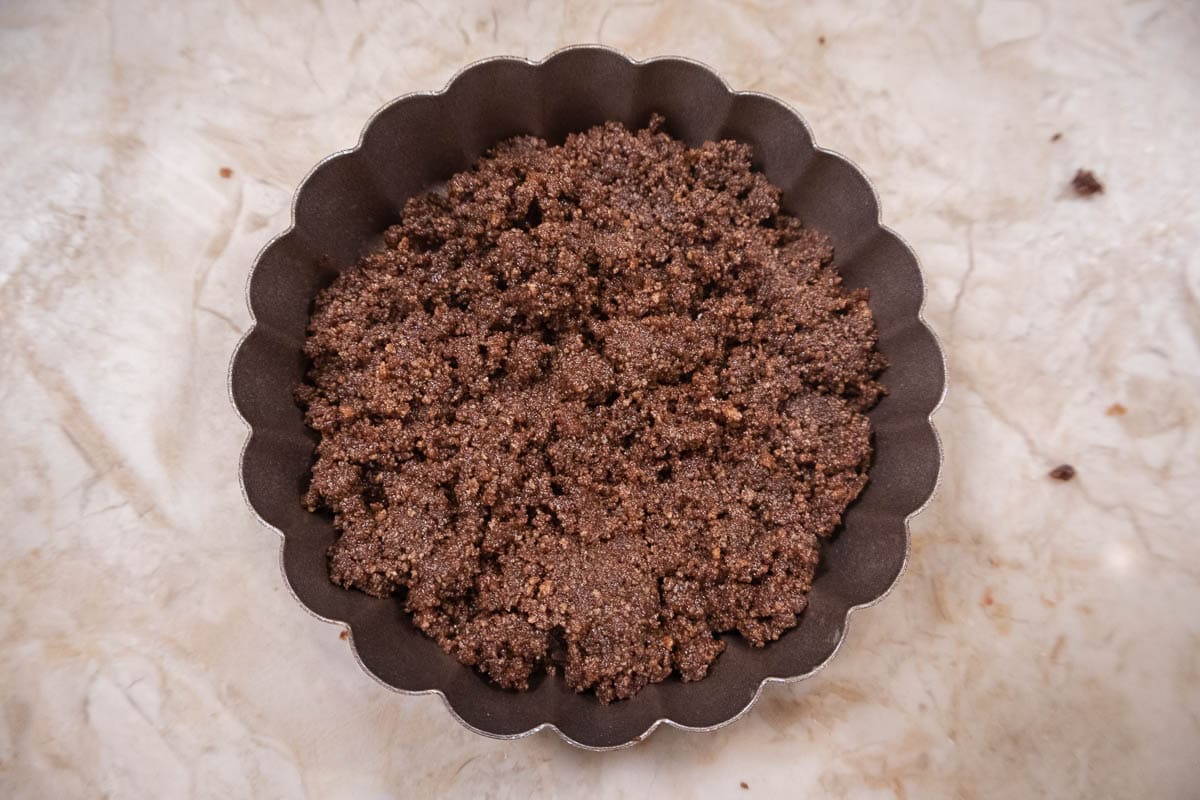
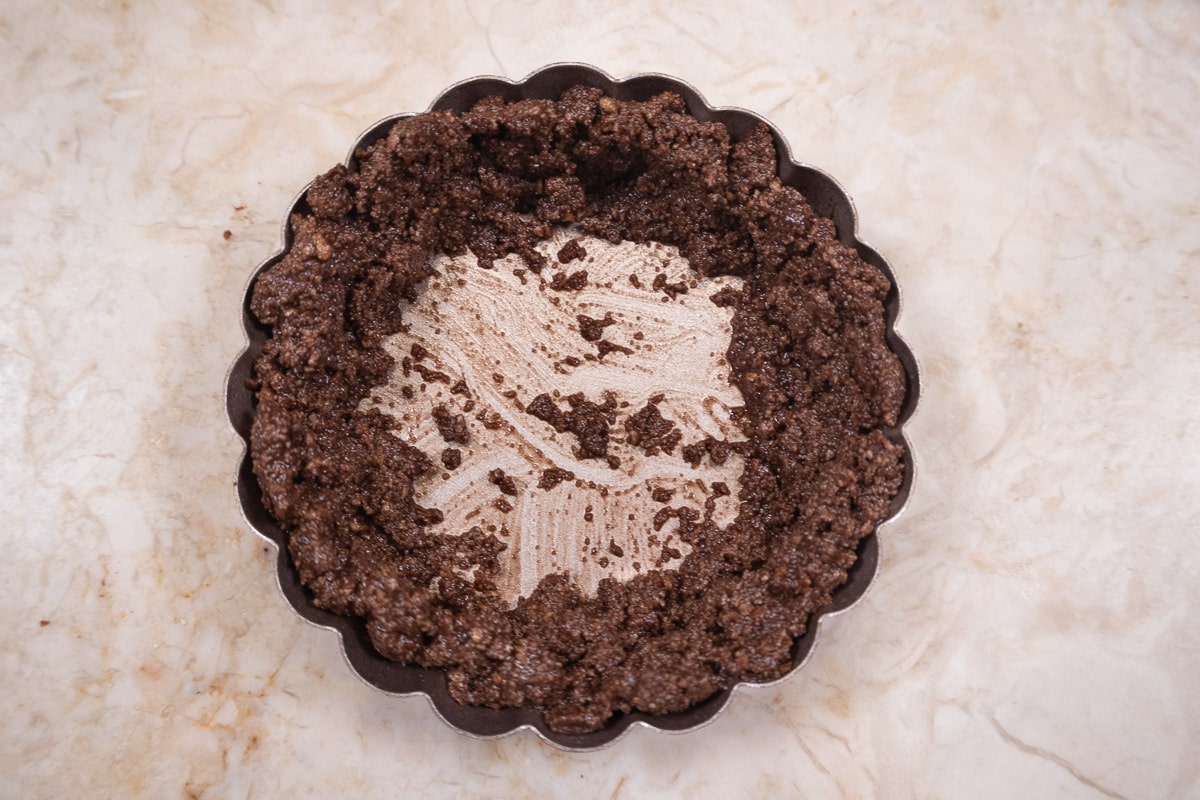
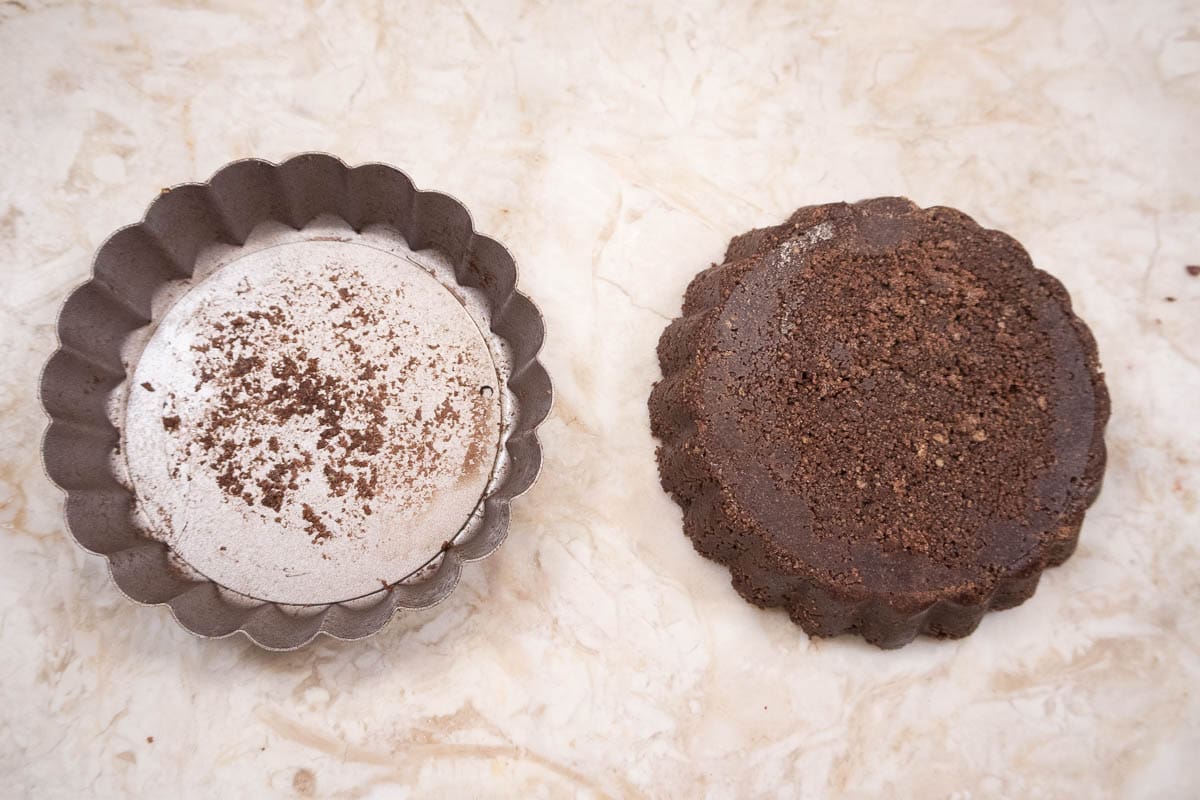
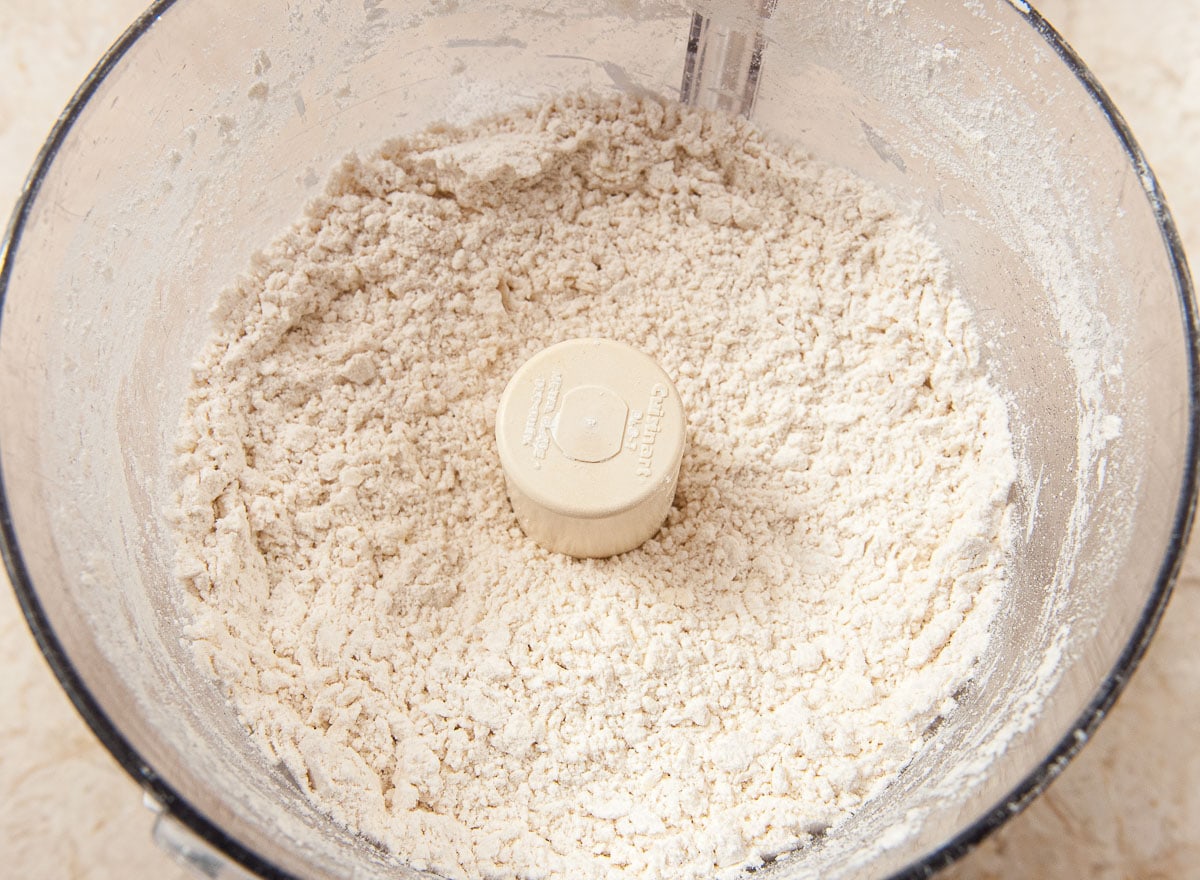
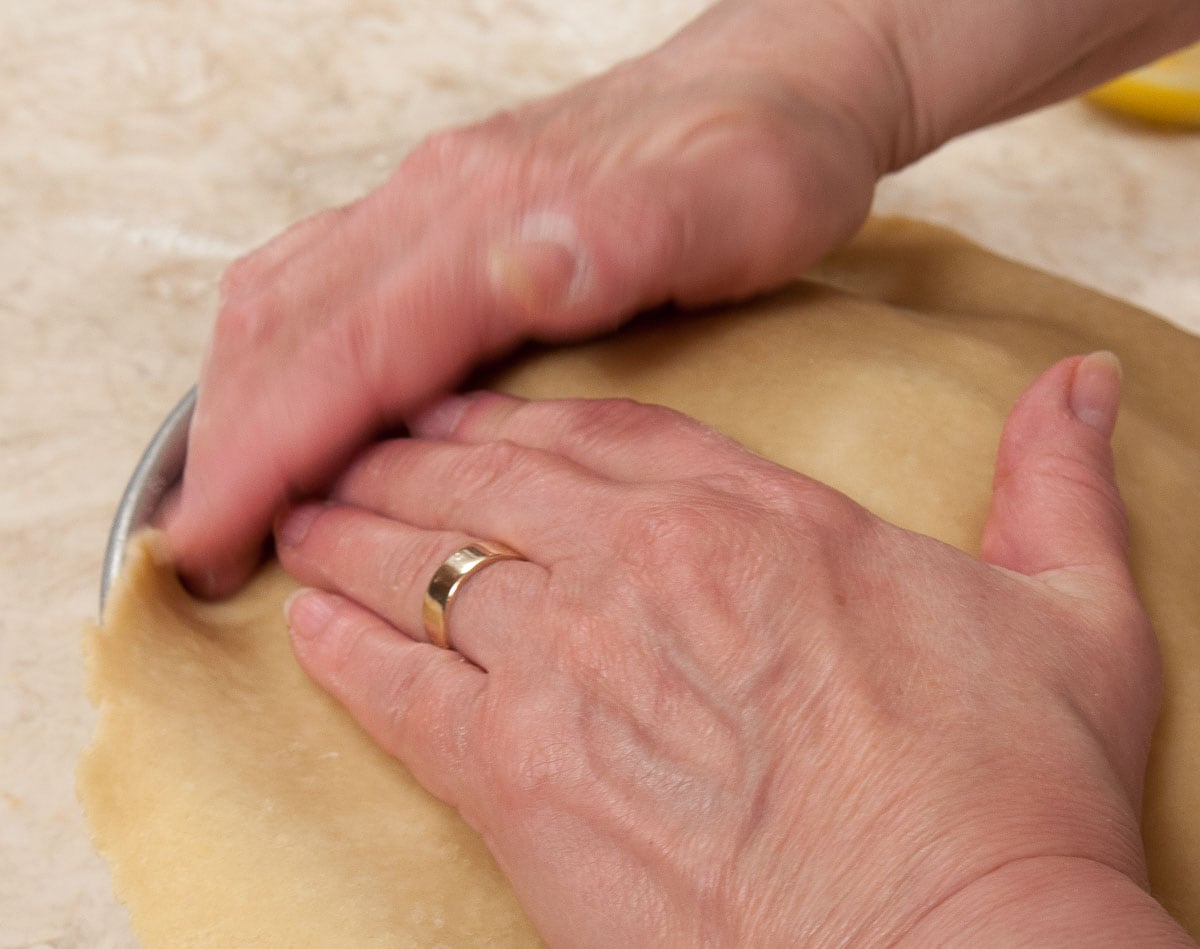
Combine the crumbs and powdered sugar, mixing well. Mix the butter and vanilla together. Add the butter mixture to the crumbs and toss with a fork until the crumbs are completely coated. Spray the bottom and sides of the quiche pan and press about ⅔ of the crumbs (255 grams or 9 ounces) evenly against the sides of the pan, pressing firmly. Press the remainder (170 grams or 6 ounces) onto the bottom of the pan.
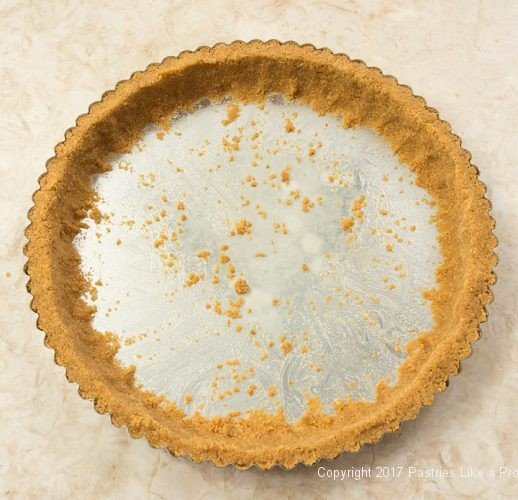
Bake for 10 minutes. Leave the oven on.
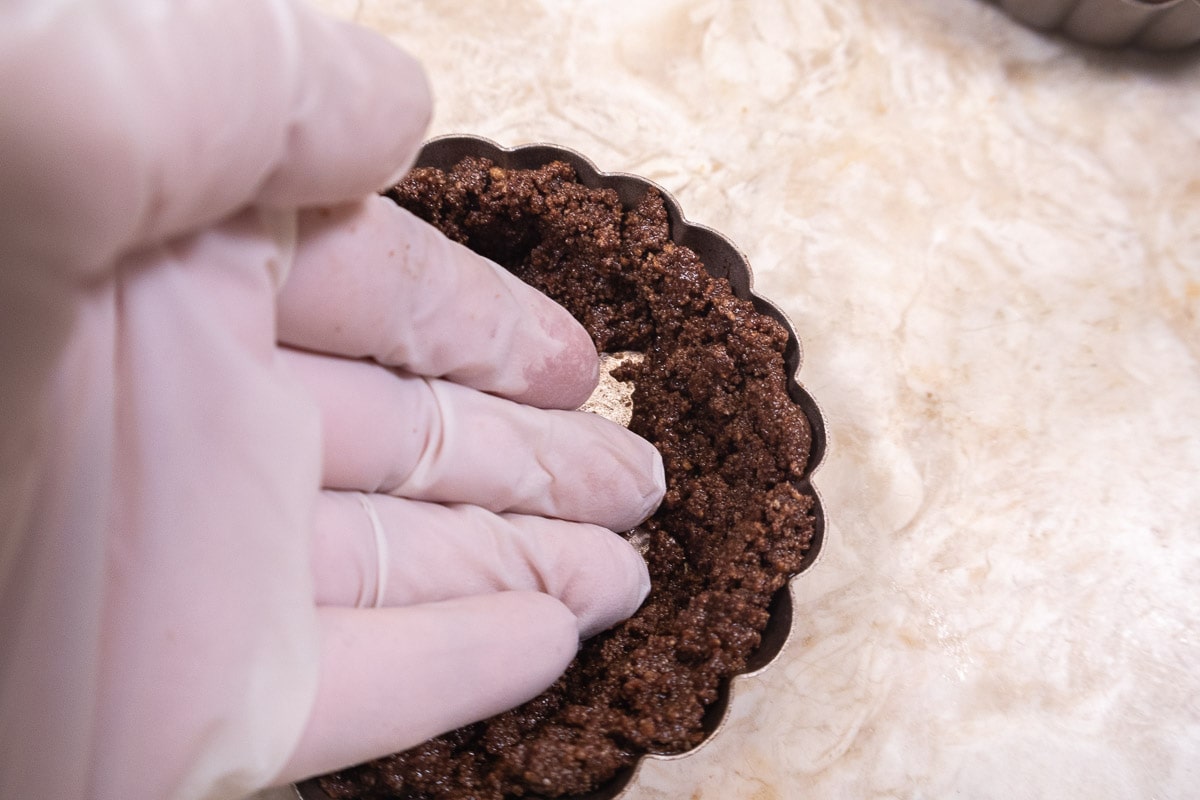
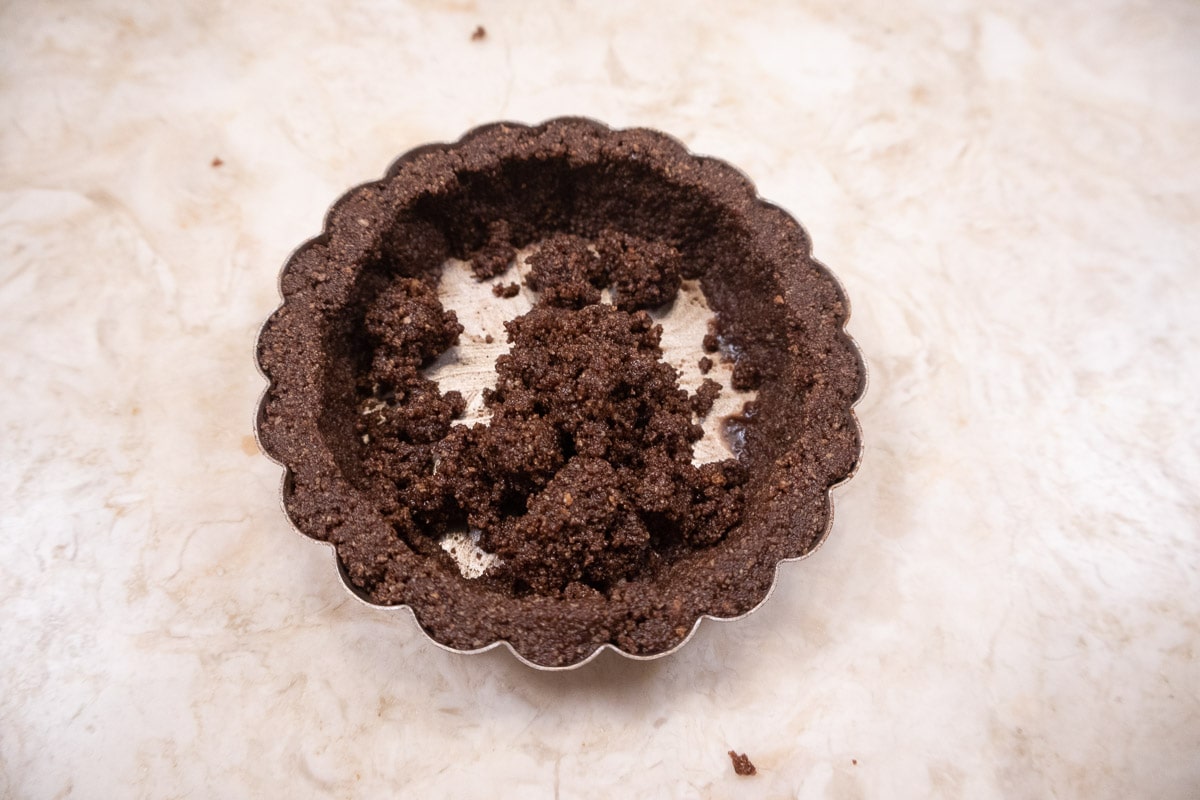
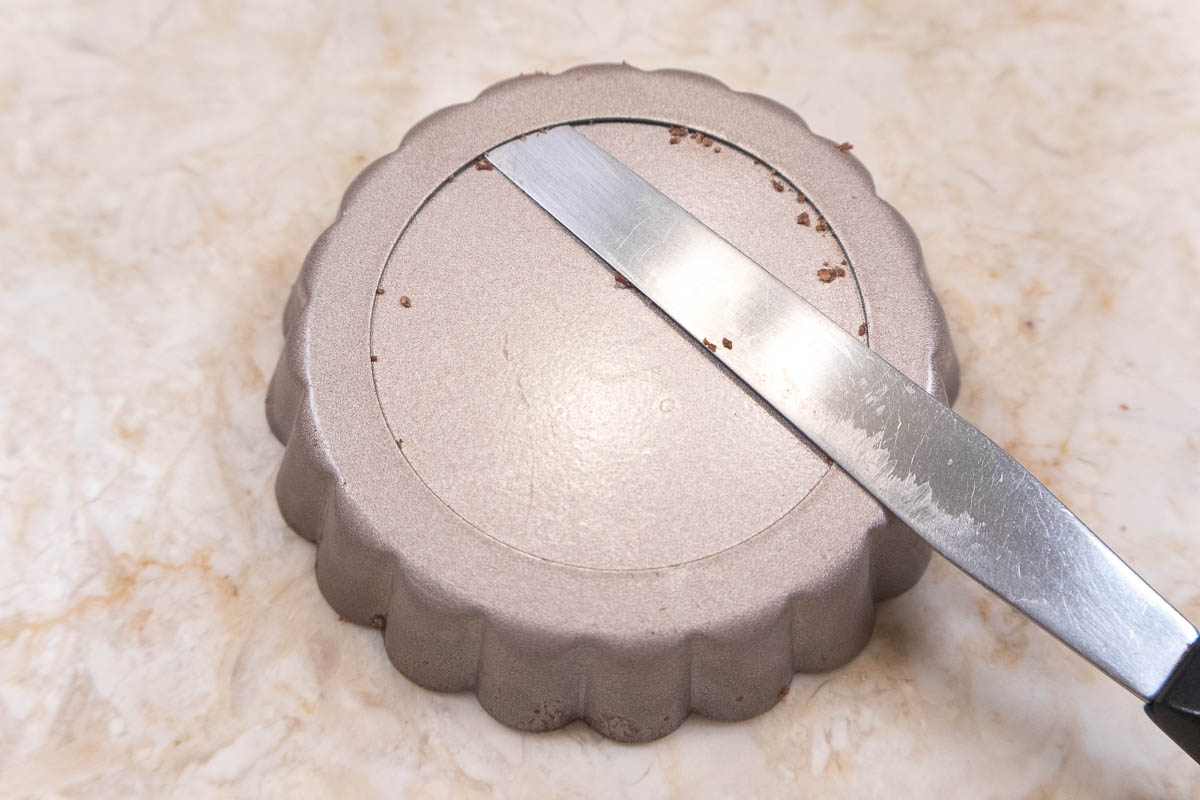
If the sides have slumped, immediately press them back up the sides with the back of a spoon. Be careful as everything will be very hot. Using the back of the spoon again, even out the crust. Set aside.
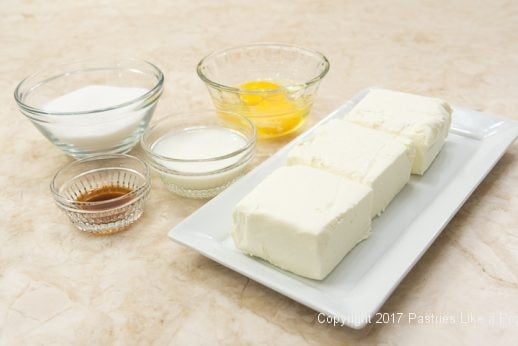
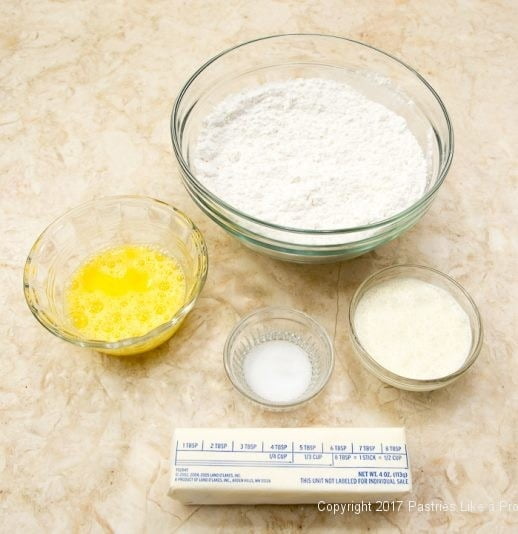
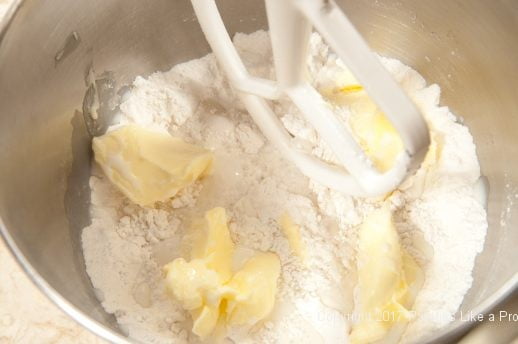
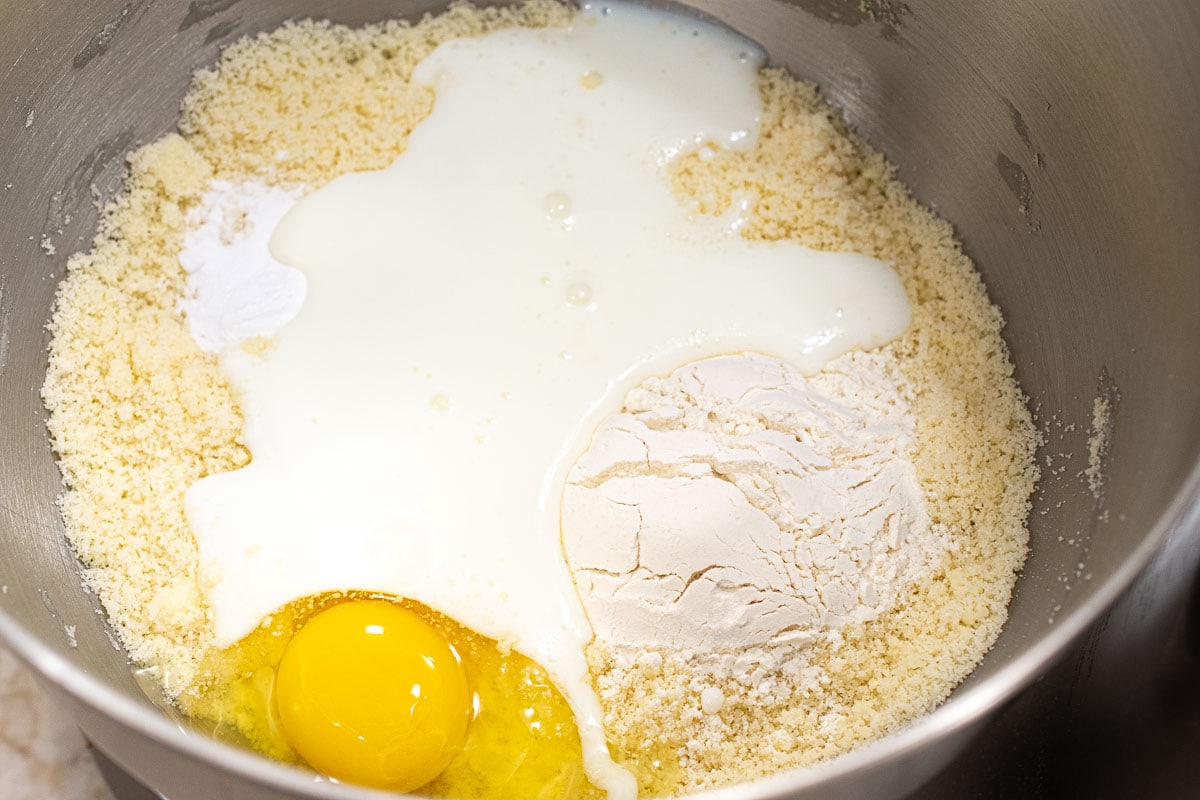
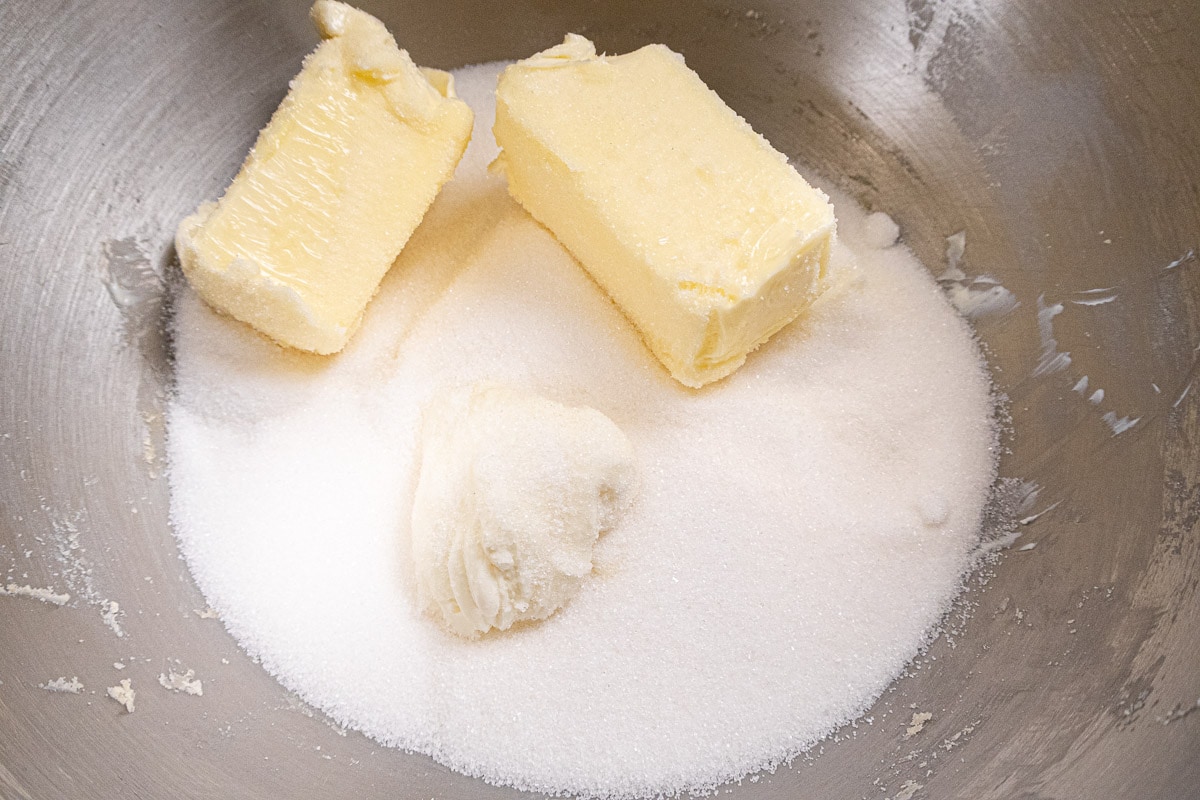
Cream Cheese Mixture
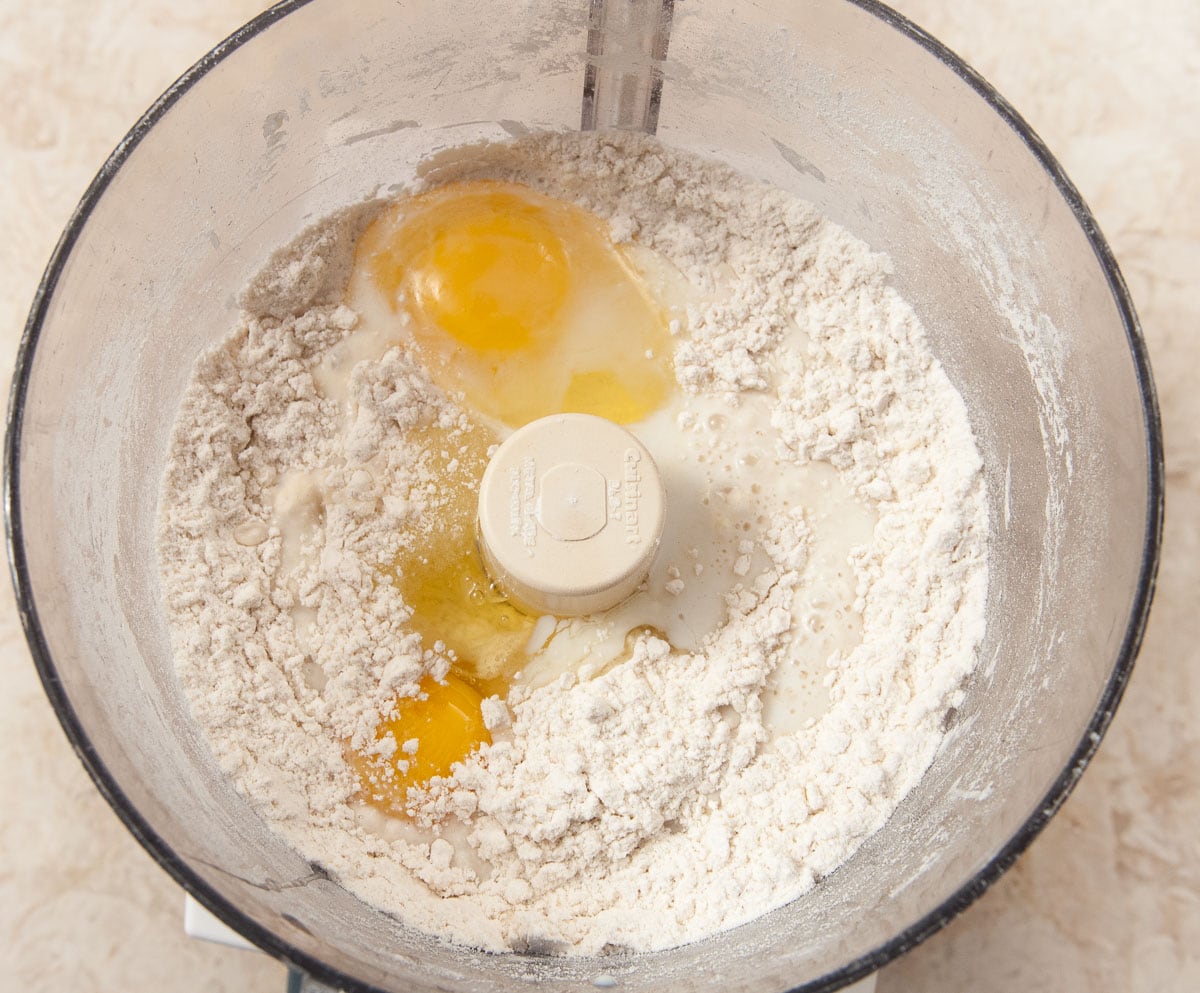
12 ounces cream cheese, room temperature (340 grams or 1 ½ eight-ounce packages)
½ cup sugar (100 grams or 3 ½ ounces)
¾ teaspoon vanilla
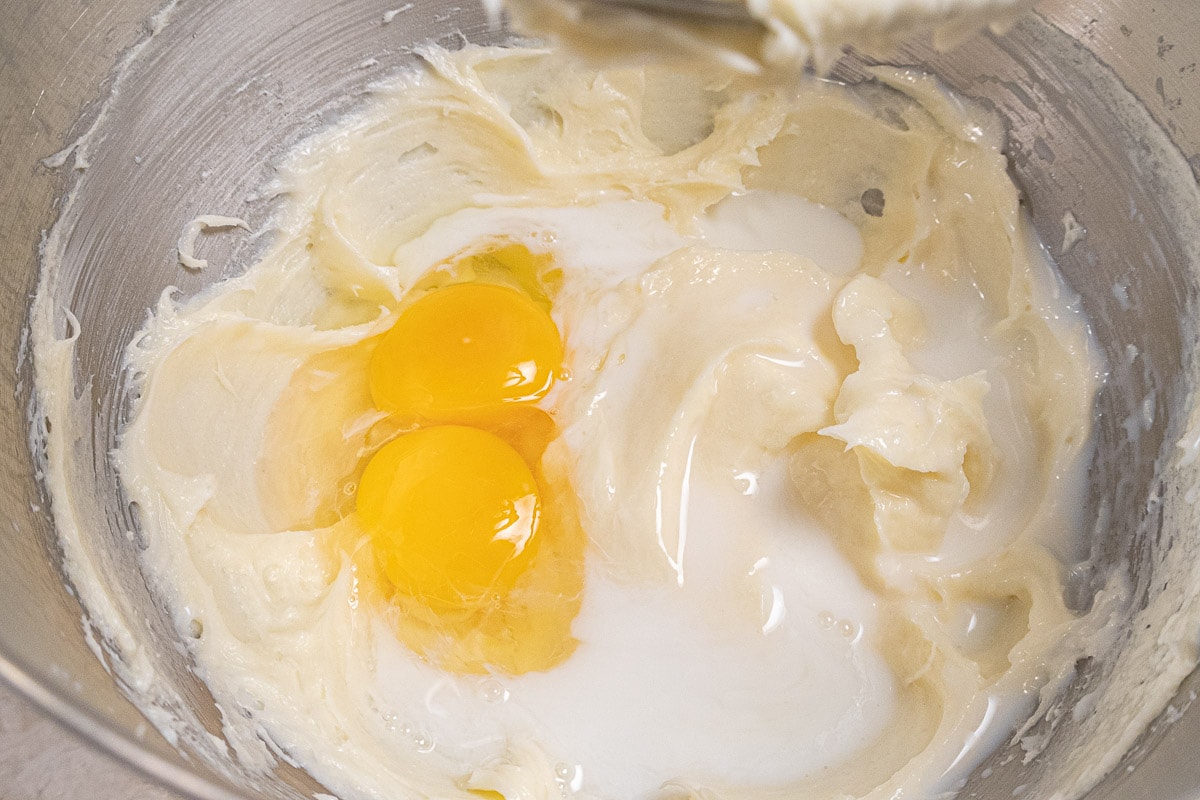
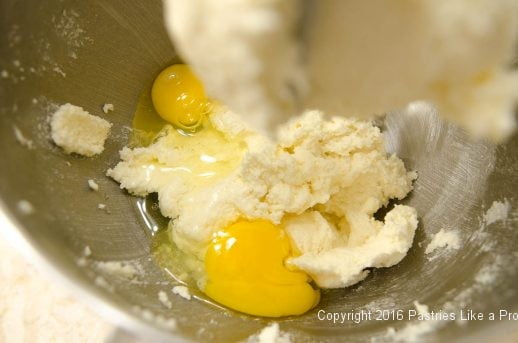
1 egg
1 egg yolk
3 tablespoons milk
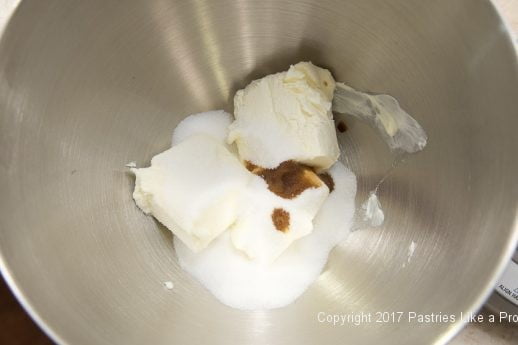
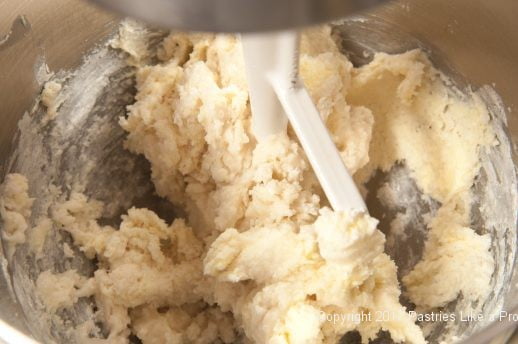
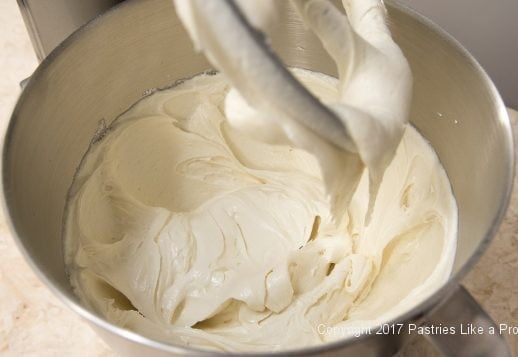
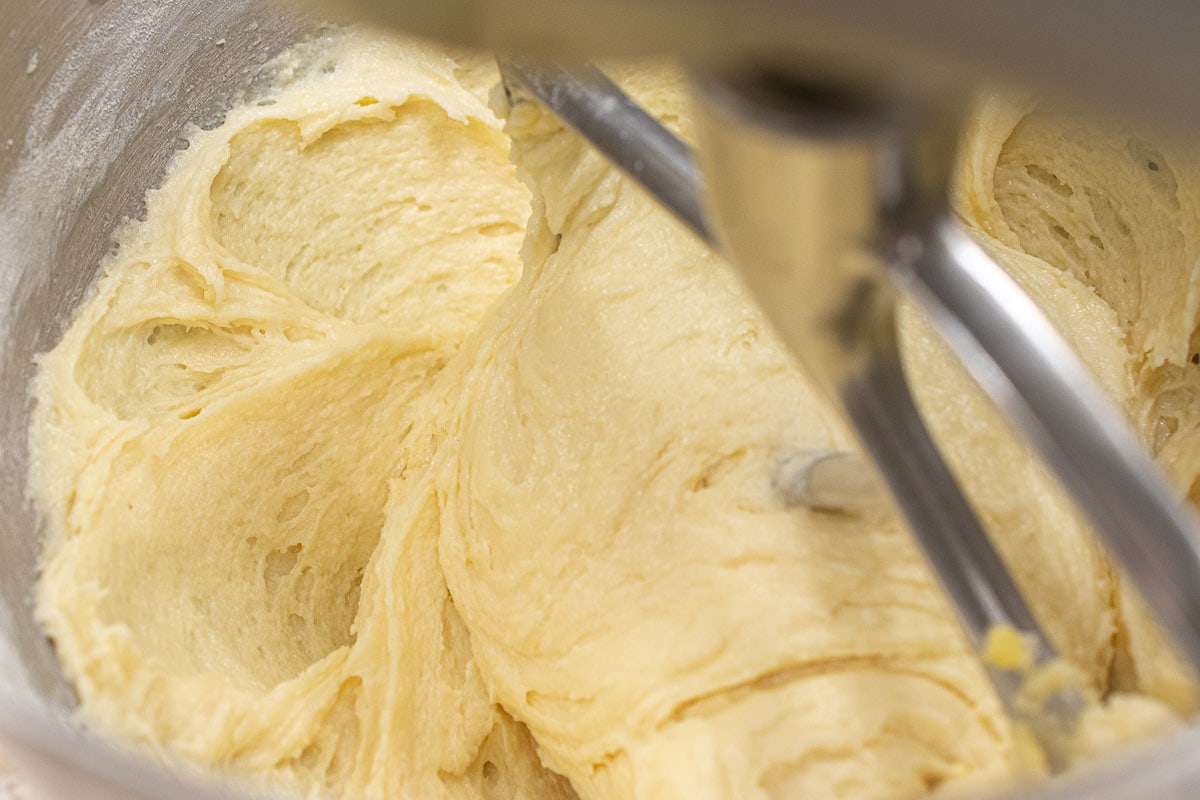
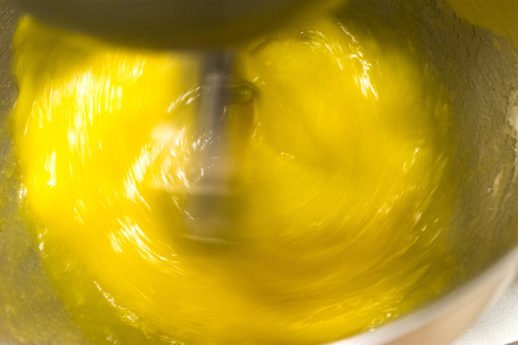
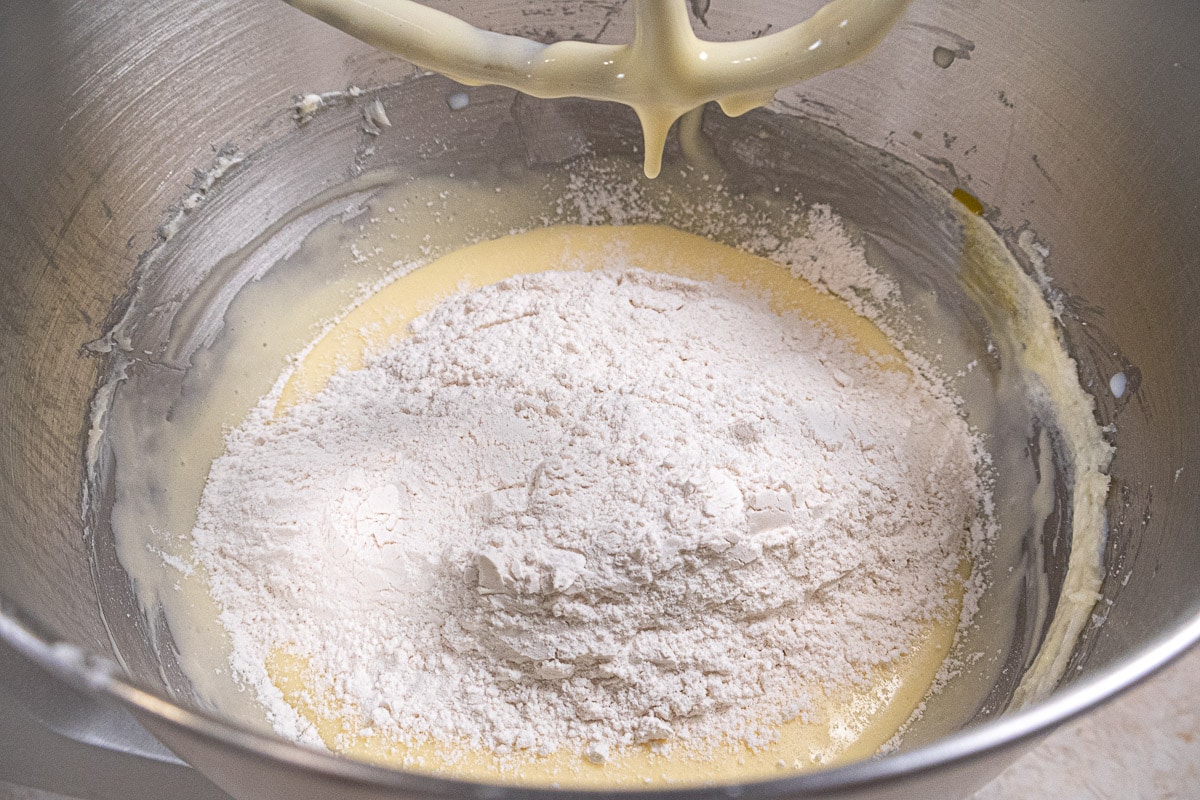
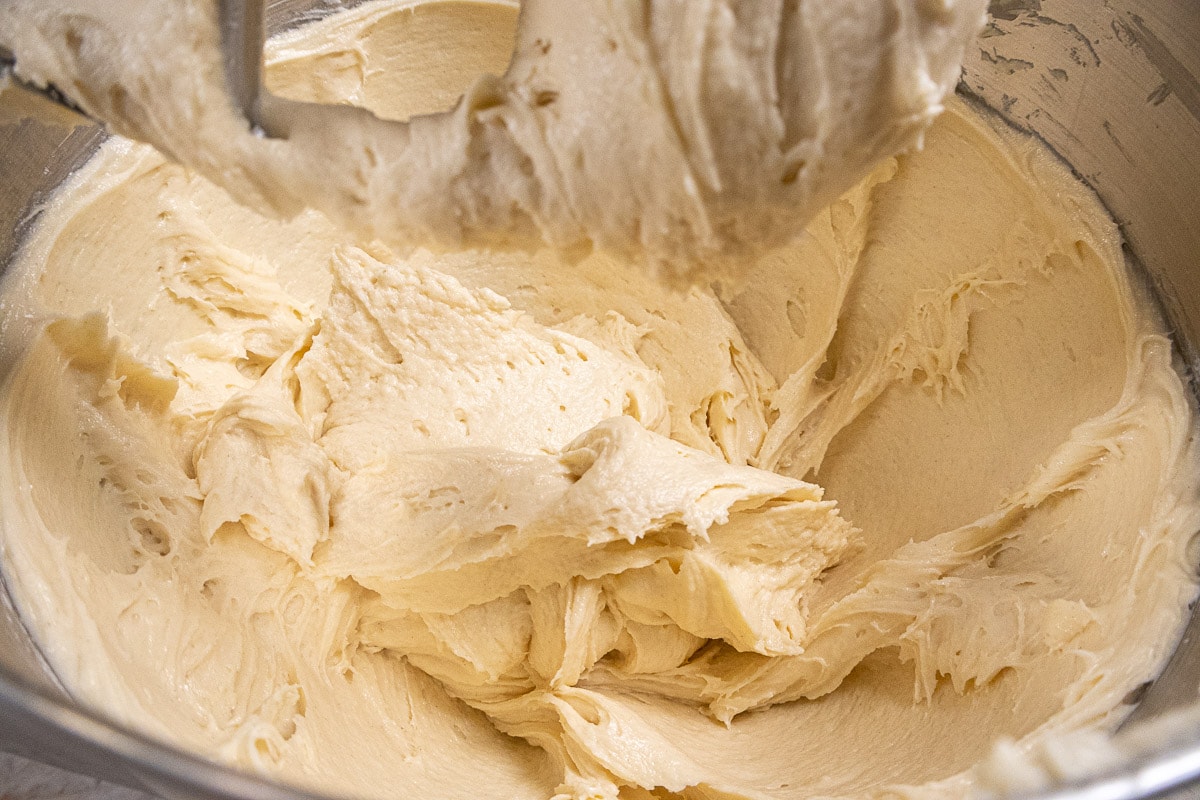
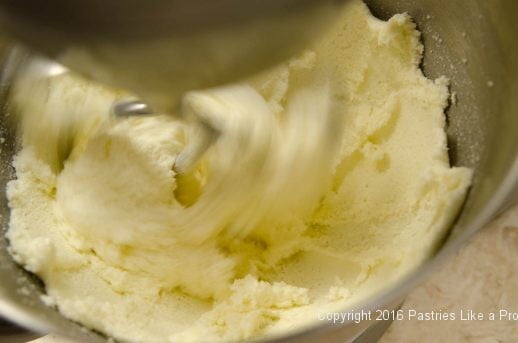
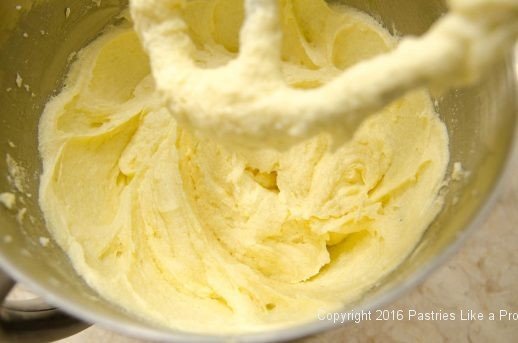
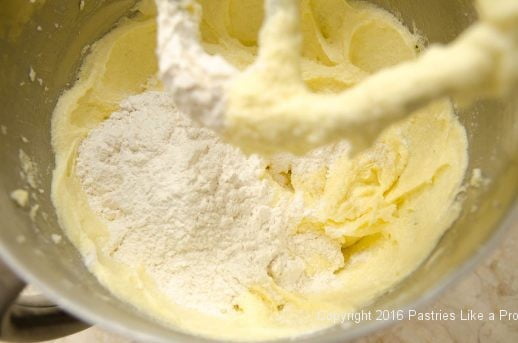
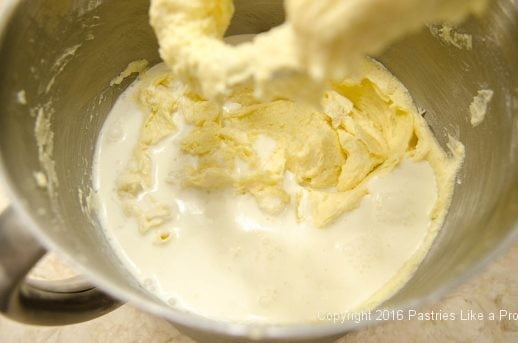
Beat the cream cheese, sugar and vanilla until fluffy, scraping and re-beating often until completely smooth.
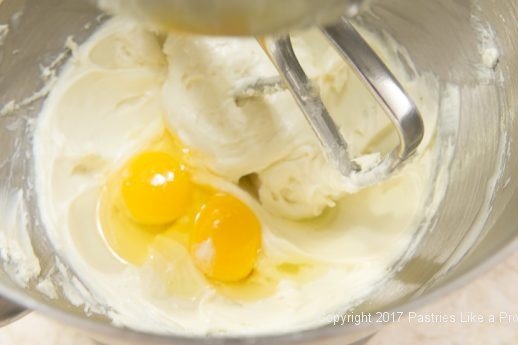
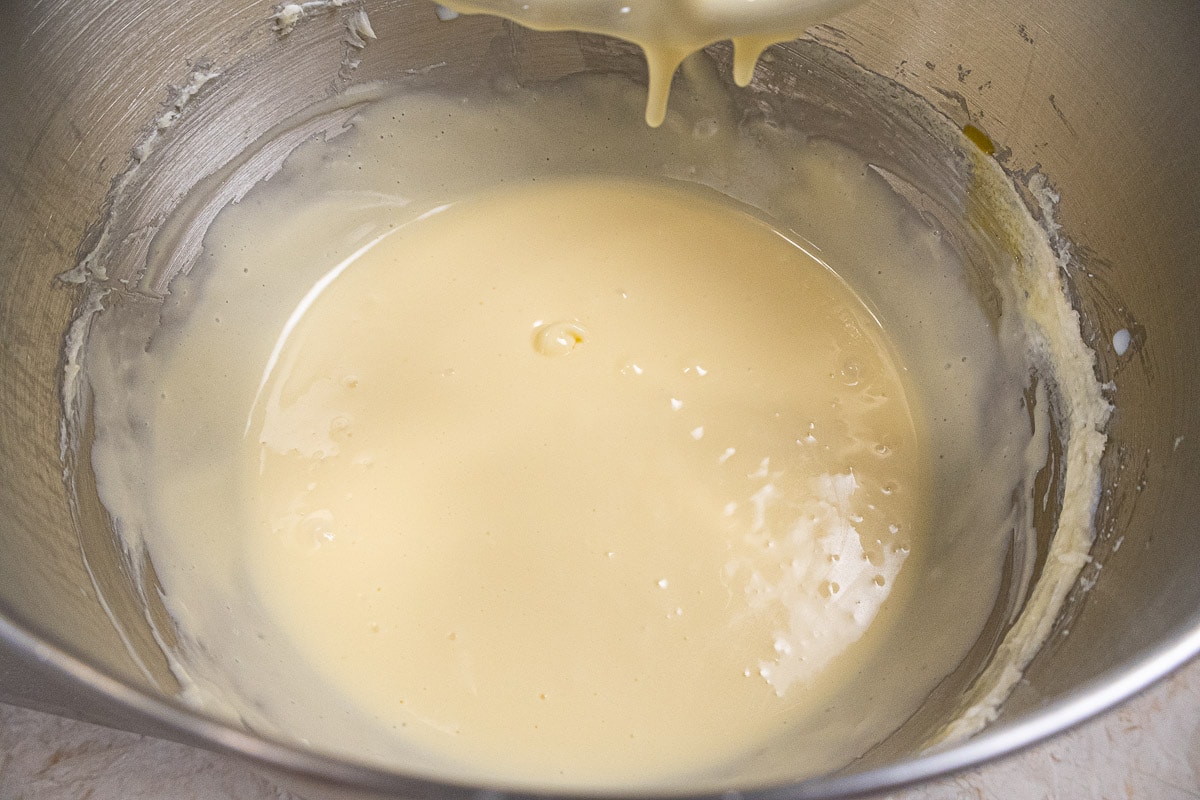
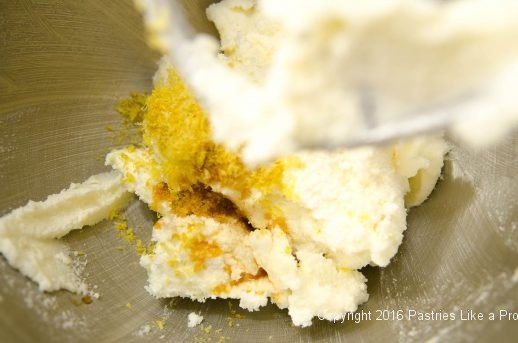
Add the egg, egg yolk and milk, beating to combine completely, scraping often.
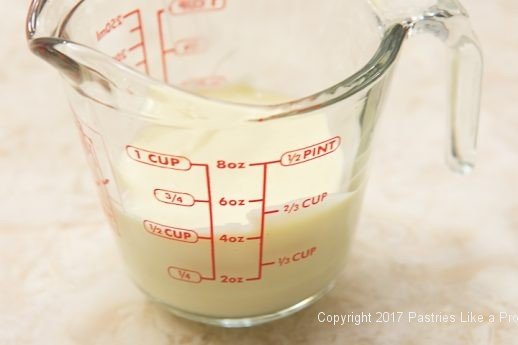
Reserve ½ cup of this mixture. Set the remainder aside.
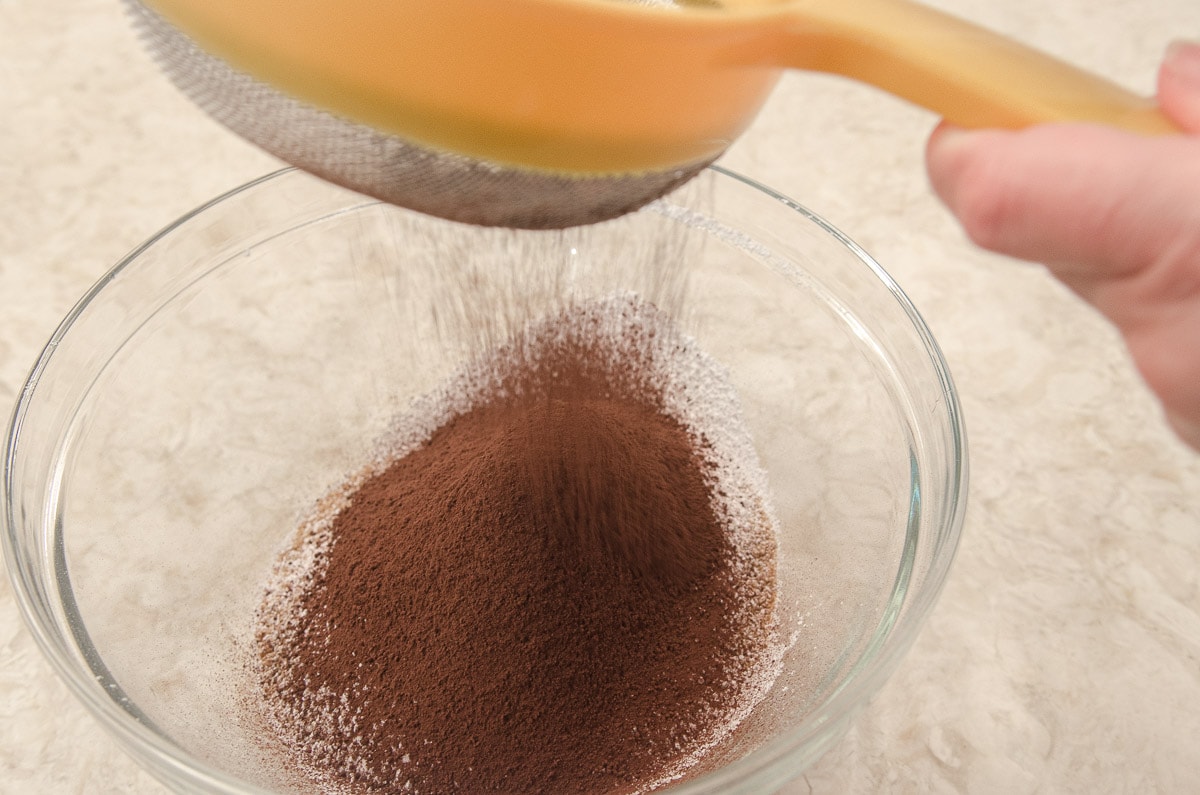
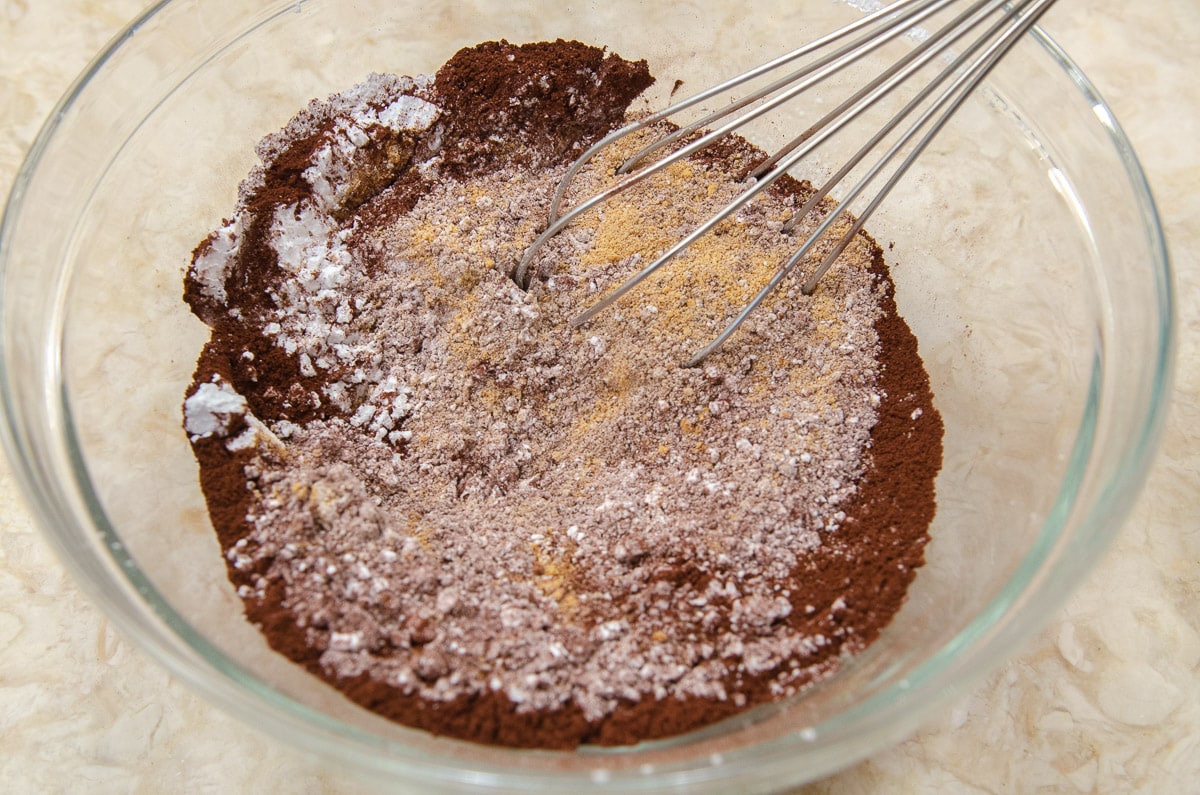
Pumpkin Mixture
1 egg
¾ teaspoon cinnamon
½ teaspoon ginger
⅛ teaspoon cloves
⅓ cup brown sugar packed (65 grams or 2 ⅓ ounces)
½ cup reserved cream cheese mixture from above
1 cup canned pumpkin (225 grams or 8 ounces)
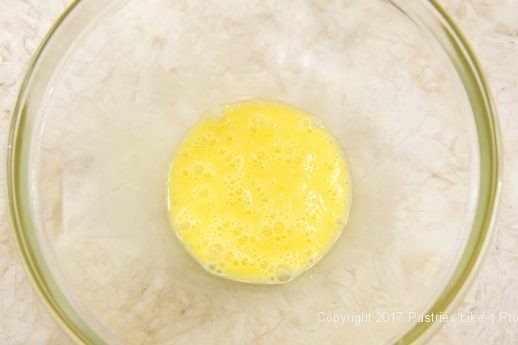
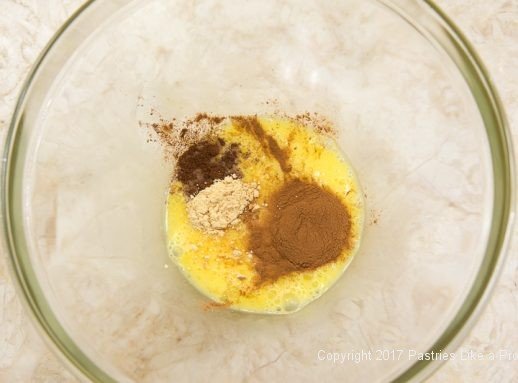
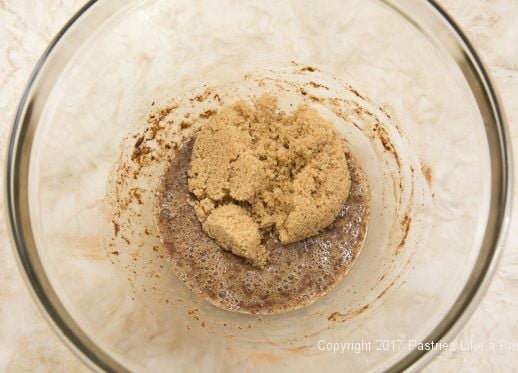

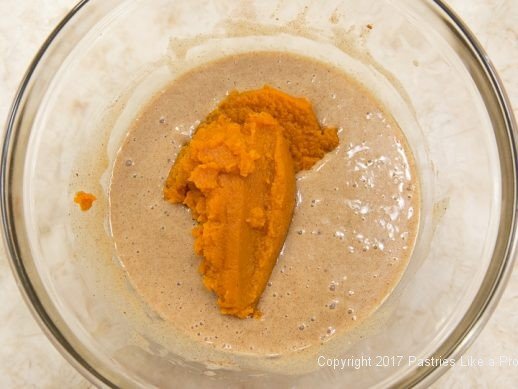
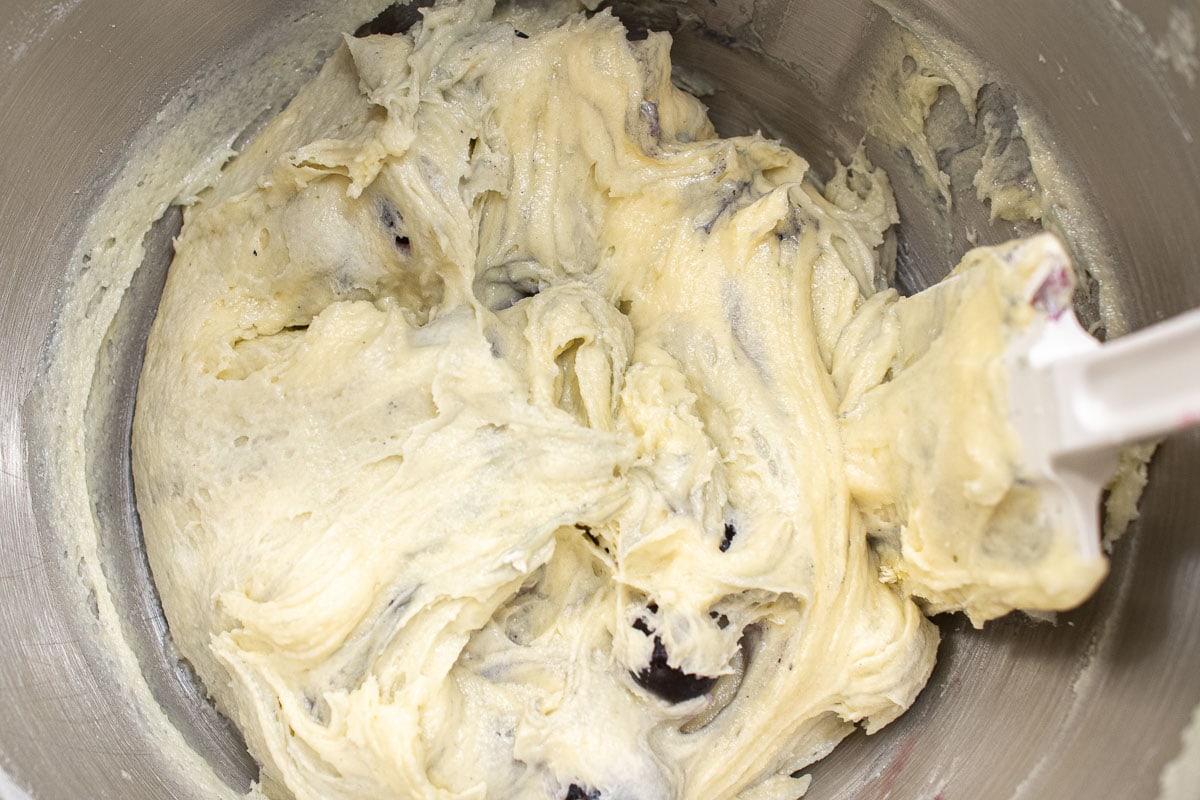
Whisk the egg in a large bowl to mix completely. Add the cinnamon, ginger and cloves, whisking to combine. Add the brown sugar, then the reserved cream cheese mixture. Last, whisk in the pumpkin.
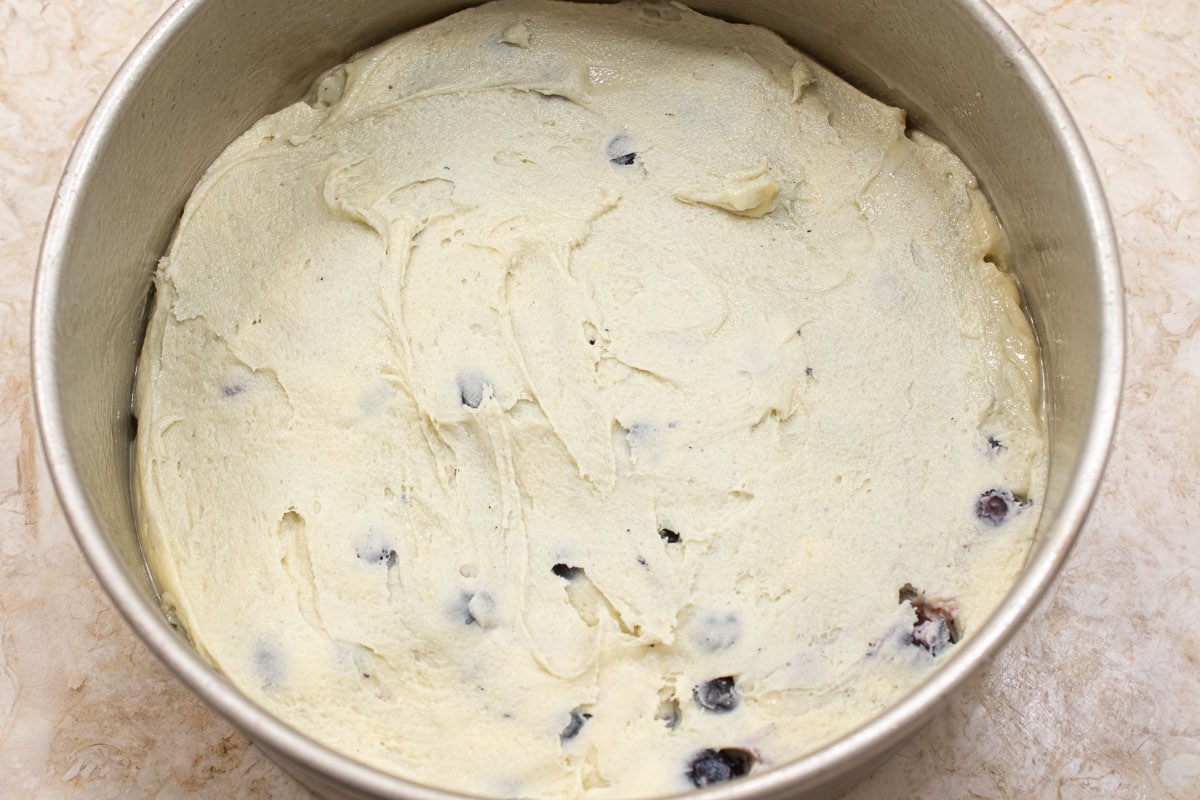
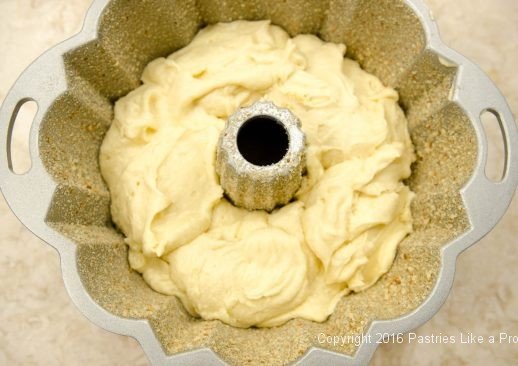
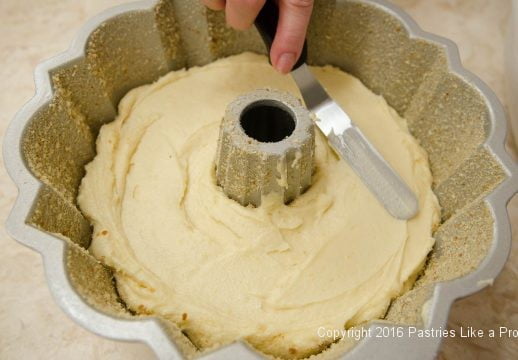
Pumpkin Cheesecake Tart Assembly
11" baked graham cracker crust, baked
Cheesecake mixture
Pumpkin mixture
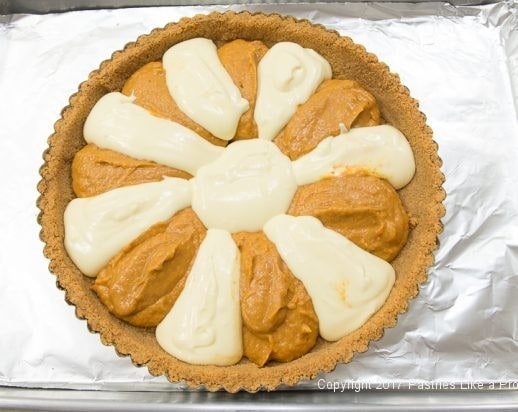
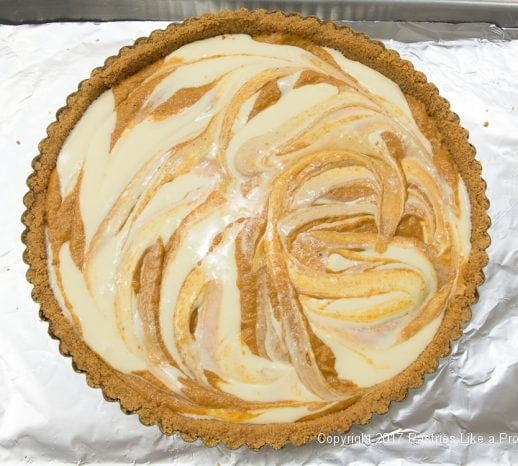
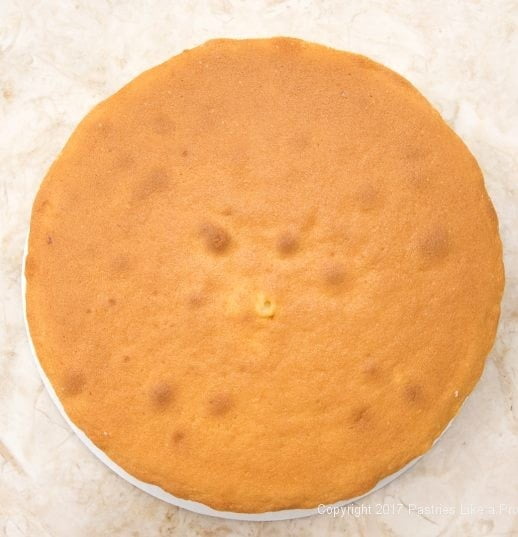
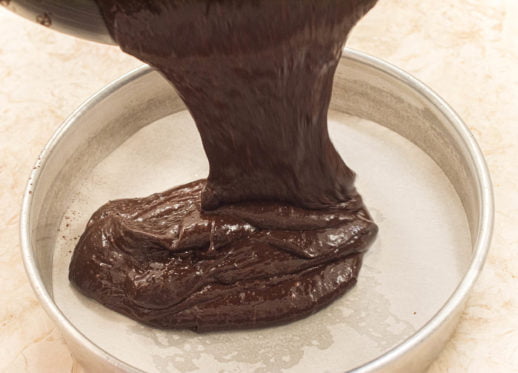
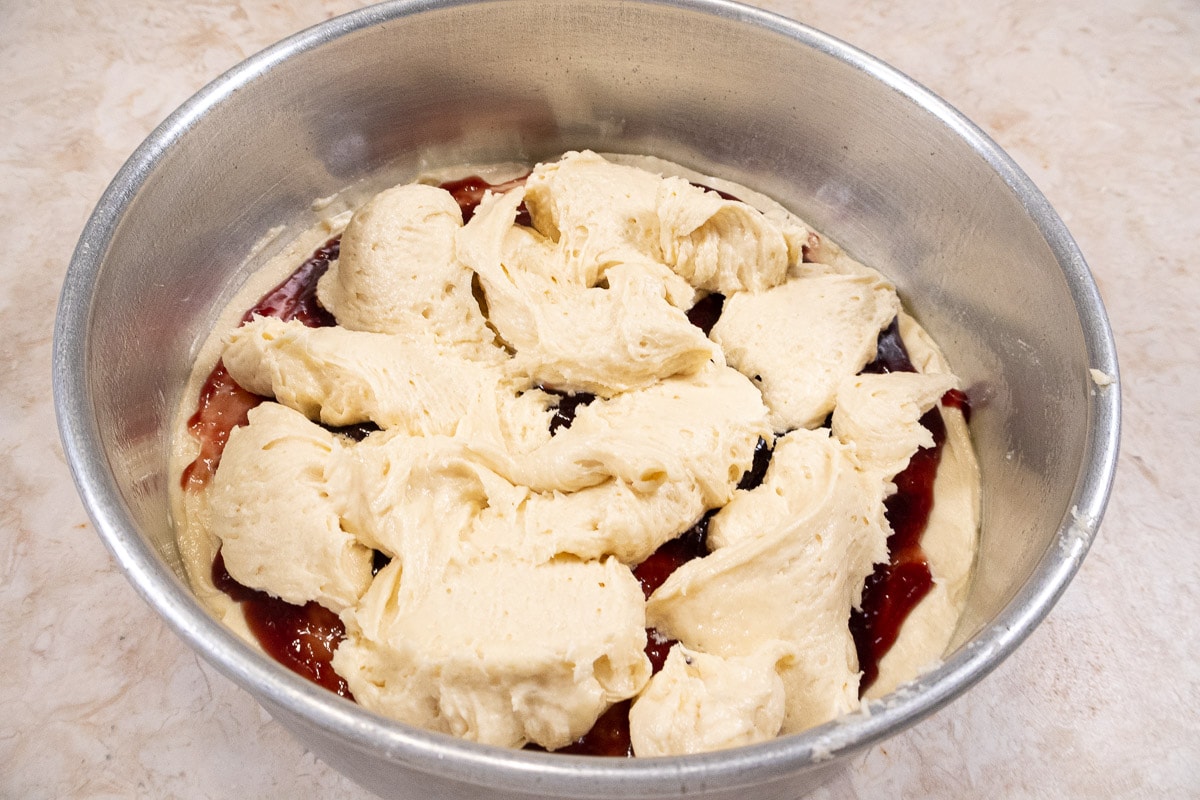
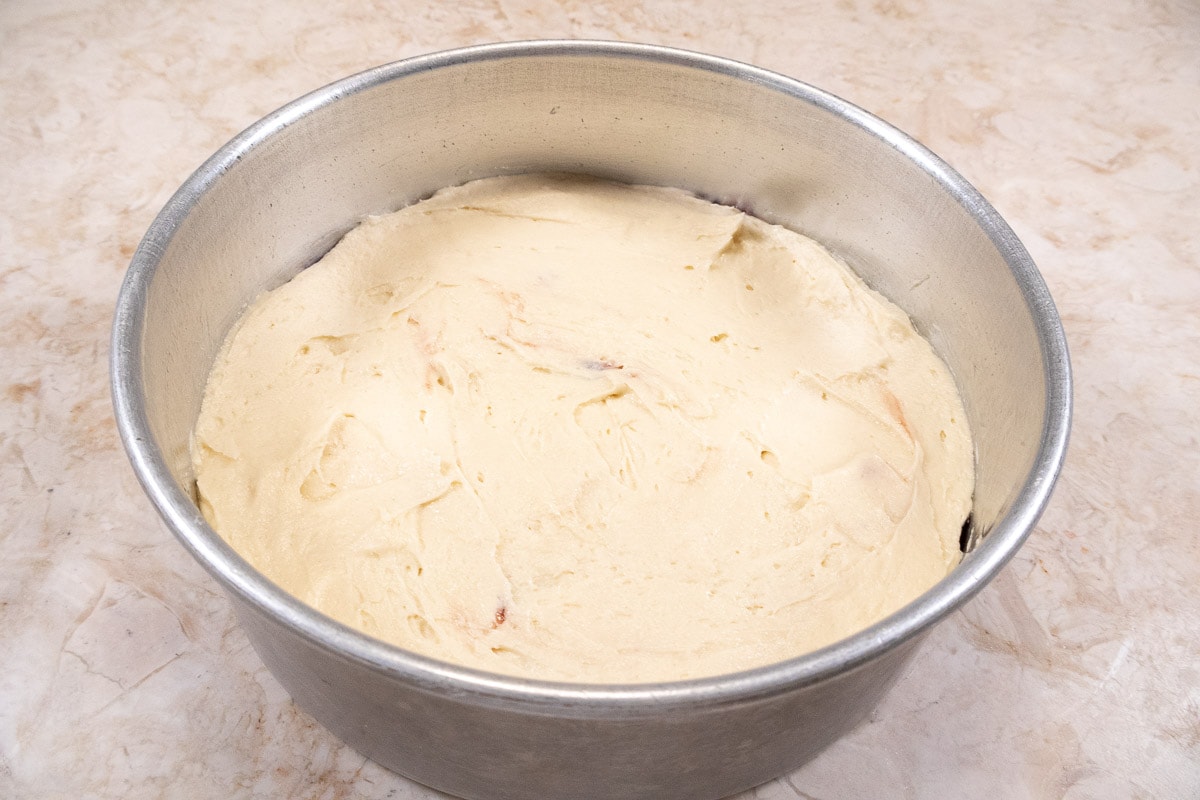
Alternate spoons of the pumpkin and cheesecake mixtures in the shell. Swirl to marbleize.
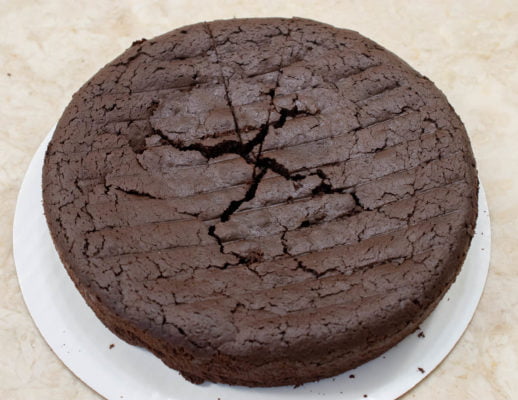
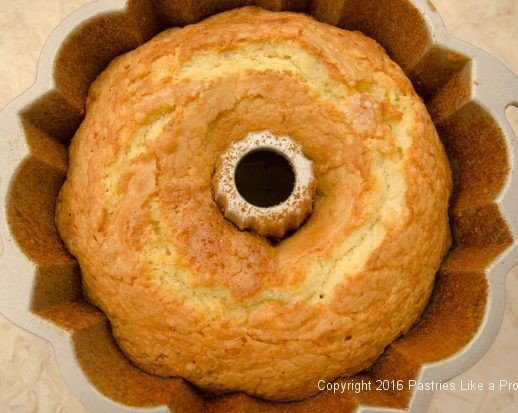
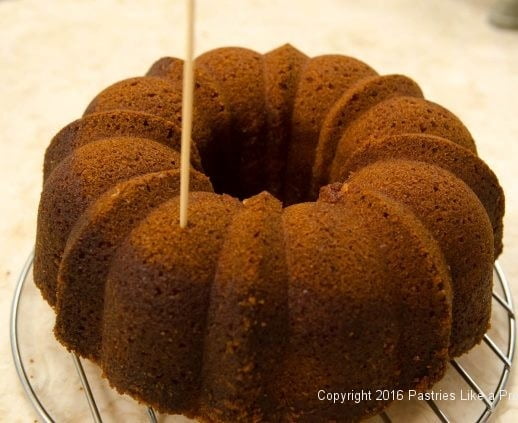
Bake for 20 to 25 minutes just until set.
Remove from the oven. Cool.
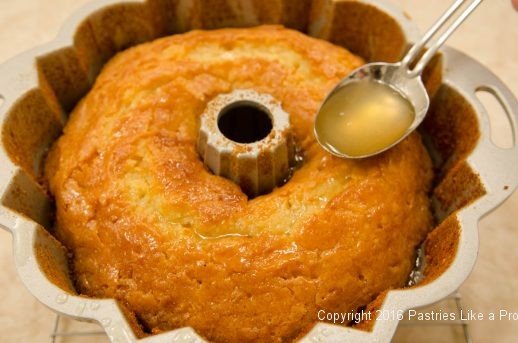
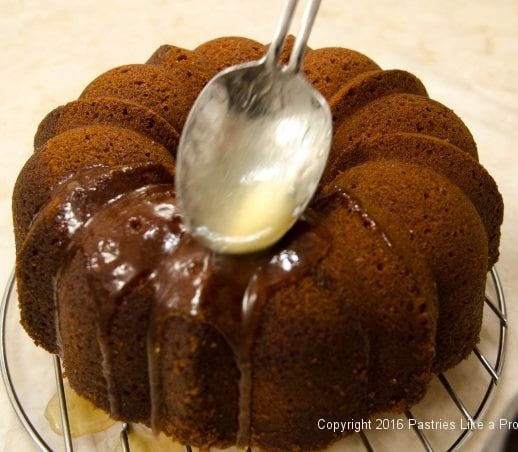
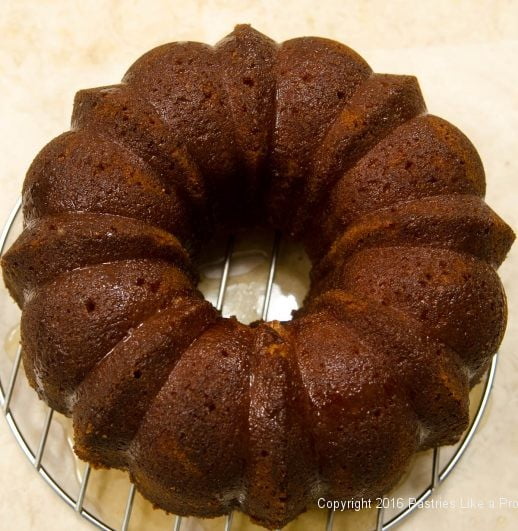
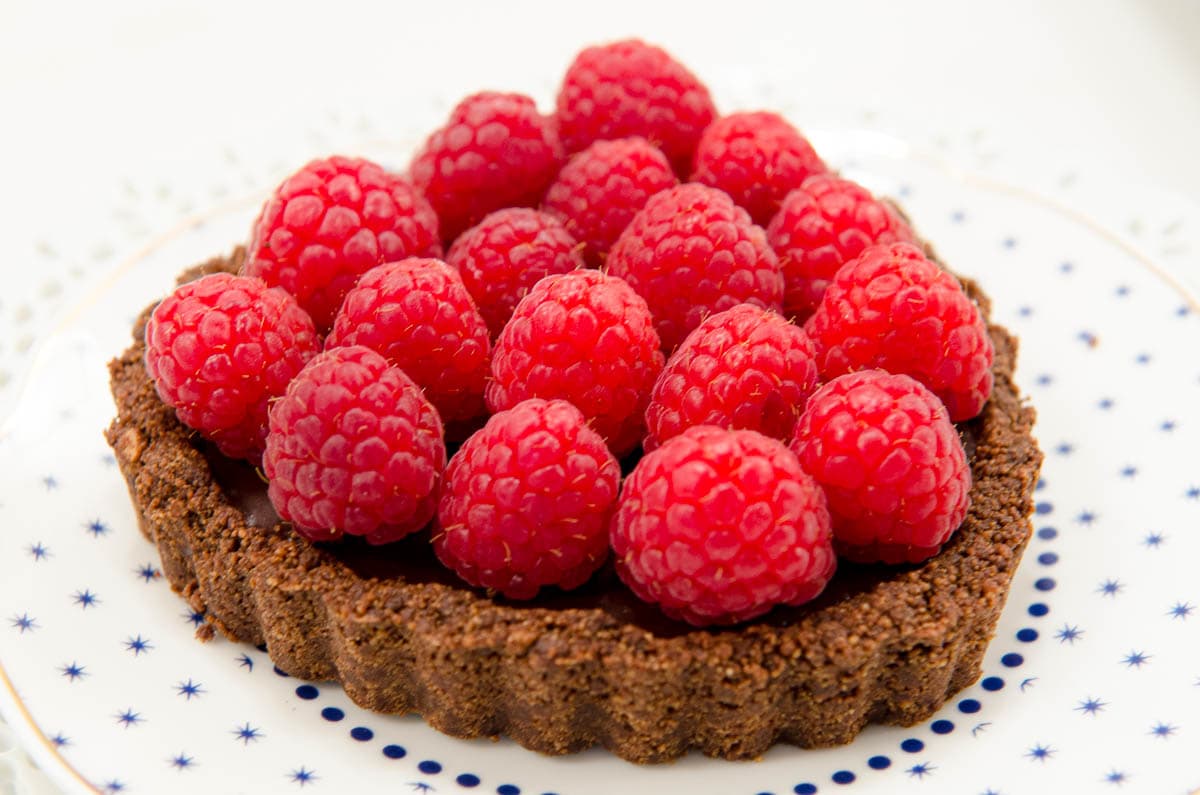
Serve with the Caramel Rum Sauce.
Note: This can be made ahead and frozen for several weeks. The caramel sauce can be made ahead at the same time and kept refrigerated. Bring to room temperature before serving.
The Pumpkin Cheesecake Tart can be frozen after baking for 6 weeks or so. Thaw in the refrigerator.


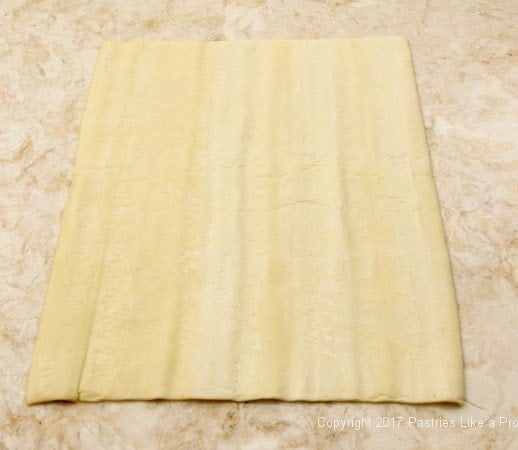
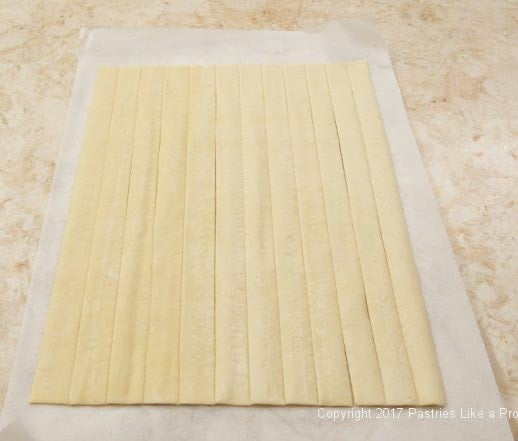

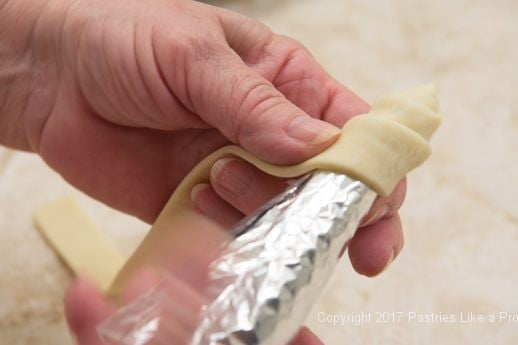
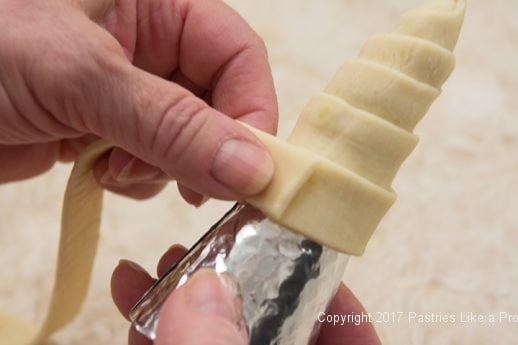
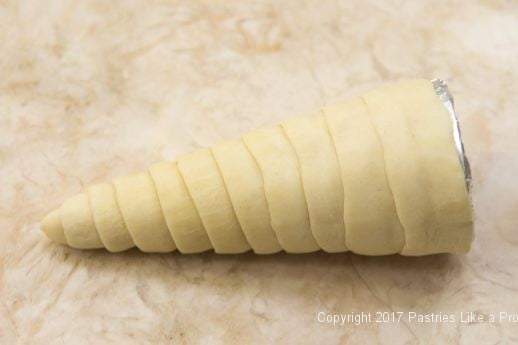
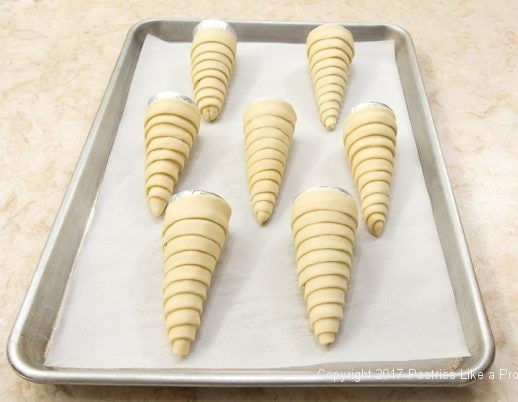
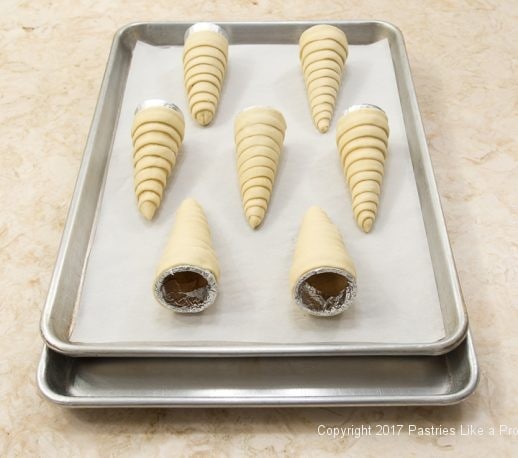
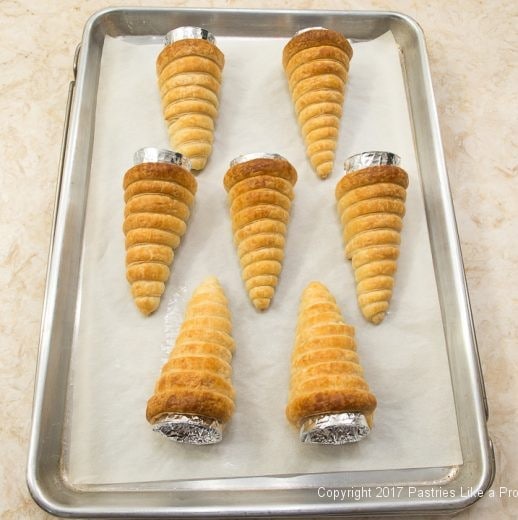
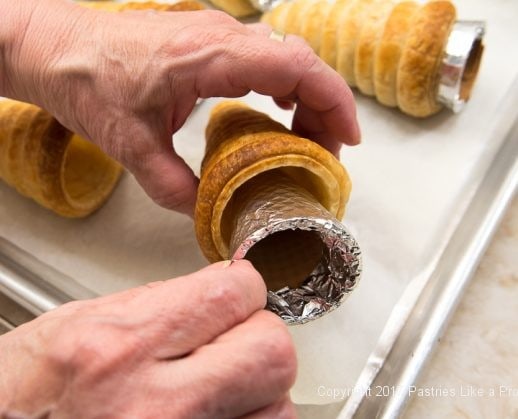
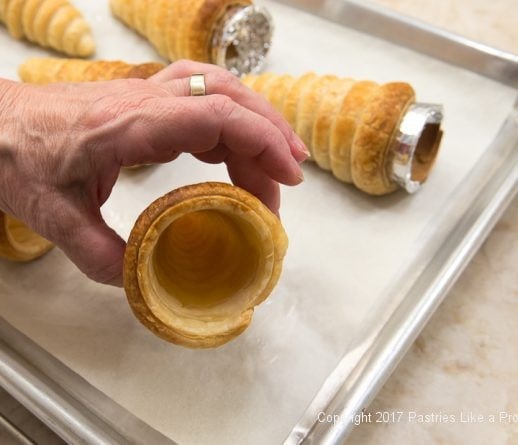

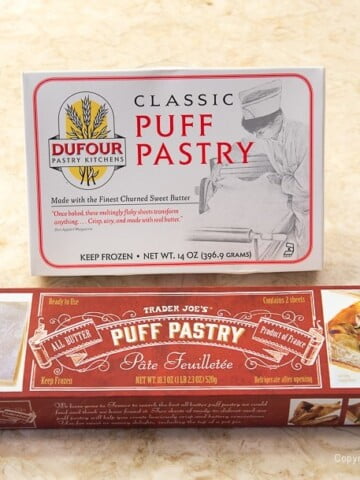
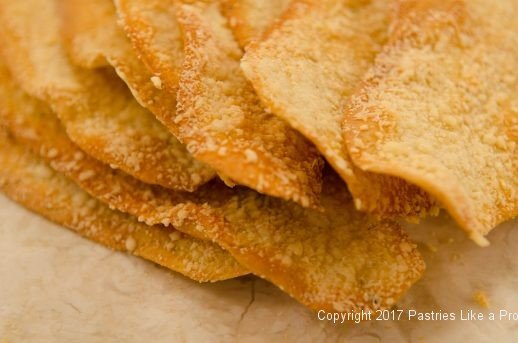
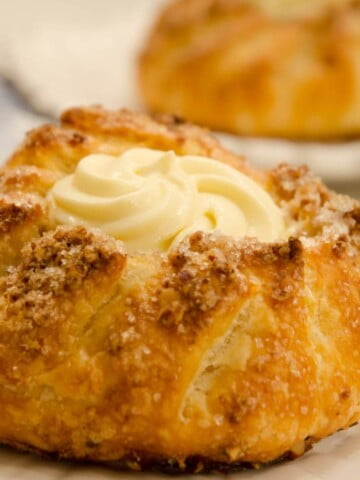
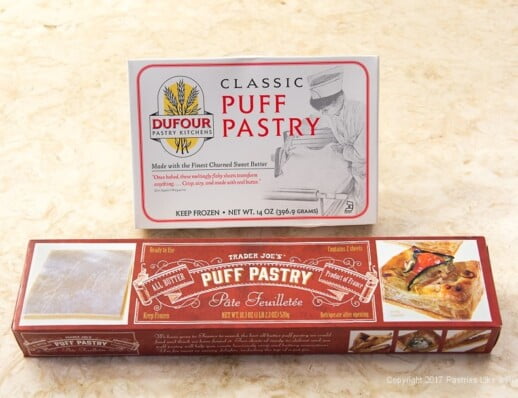 With the holidays approaching, I thought I would test all butter purchased puff pastry. Normally, I would make my own using my blitz puff pastry method but I thought there might be a place for purchased puff pastry when time was of the essence.
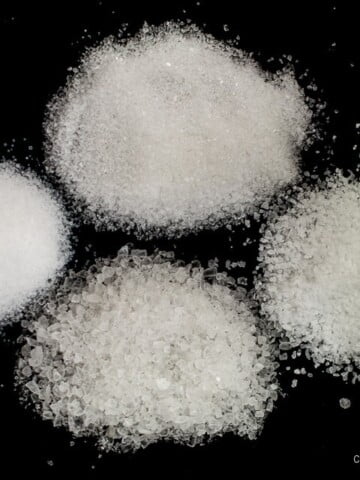
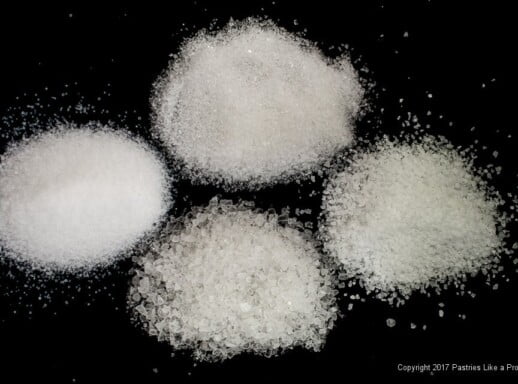
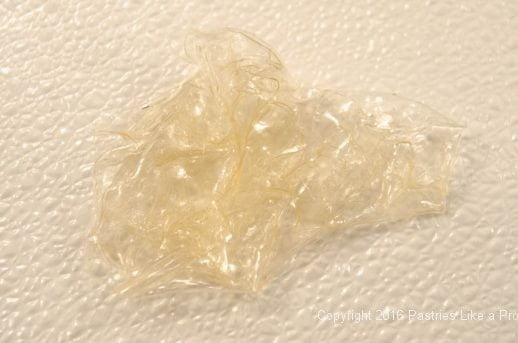
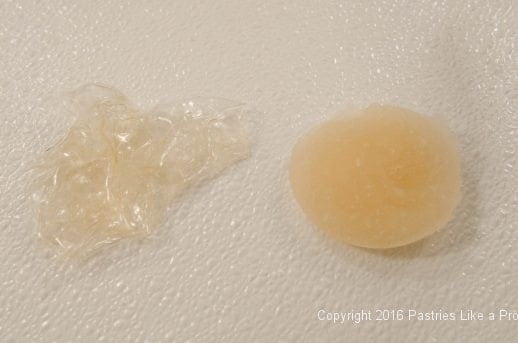
 This is the most common salt available and is usually iodized. It is the saltiest tasting of all and considered to be the densest salt. It is commercially produced today by the use of salt brines and has anti-clumping additives to keep it free-flowing.
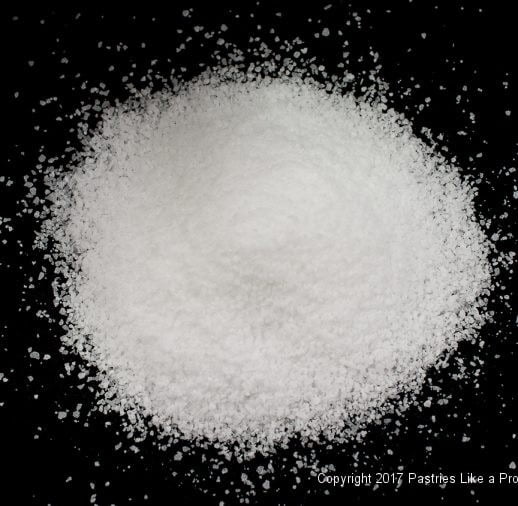 Comes in fine and coarse crystals. It is considered to be less refined than table salt hence the fine and coarse crystals. The only reason it is referred to as Kosher is that it is used in koshering meat as the large grains of salt draw out more liquid.
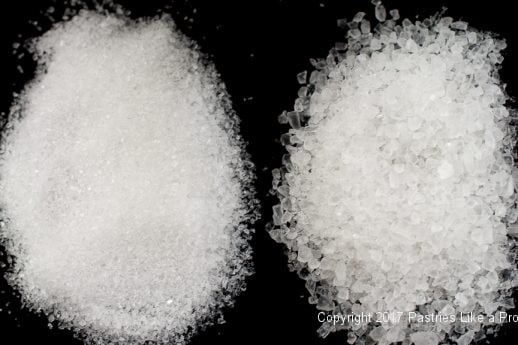 It is exactly what it says. It is the least processed of salts since the flakes are collected from evaporated sea water. It can come in fine or coarse as seen above.


 I was recently toodling around the internet and came across a recipe for
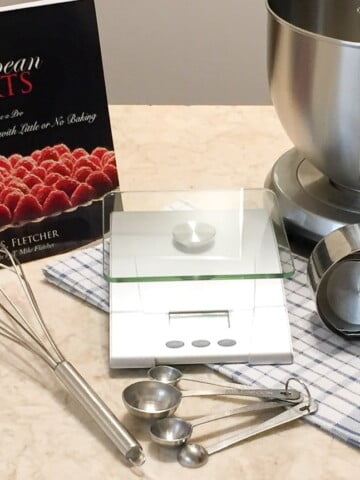
 Reading baking recipes is not as easy as reading a book for pleasure. While it's true, people read cookbooks for enjoyment, that isn't the same as cooking or baking from them. Yet, there are a number of things that will help in understanding what the author of the recipe wants you to do. Well written recipes follow a certain form.
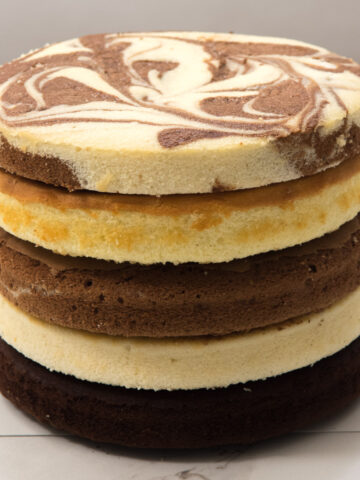
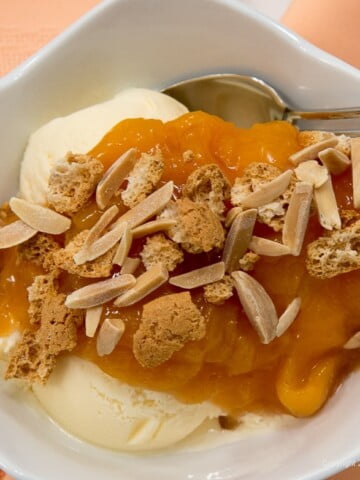
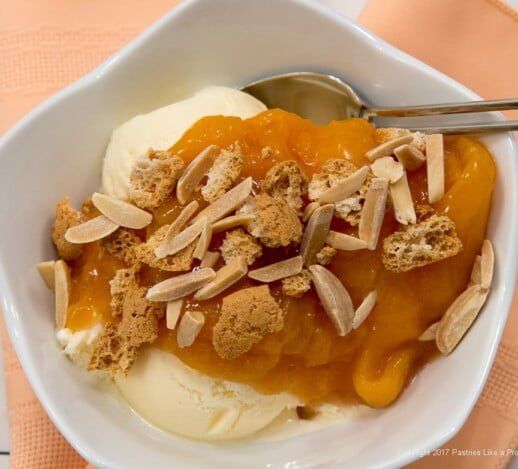 I recently made this White Wine Amaretto Peach Sauce for the restaurant to serve over peach ice cream. As I was peeling the peaches, I thought of all the ways this could be used for a quick summer dessert.
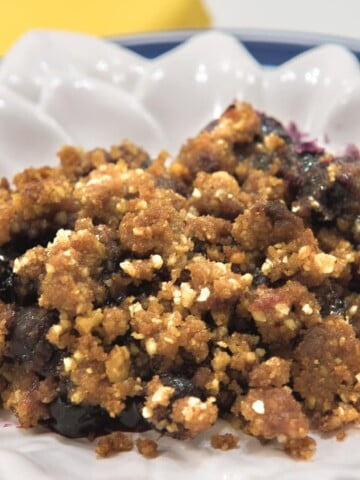
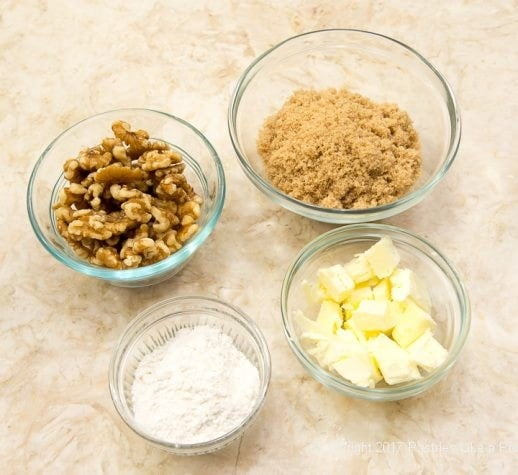
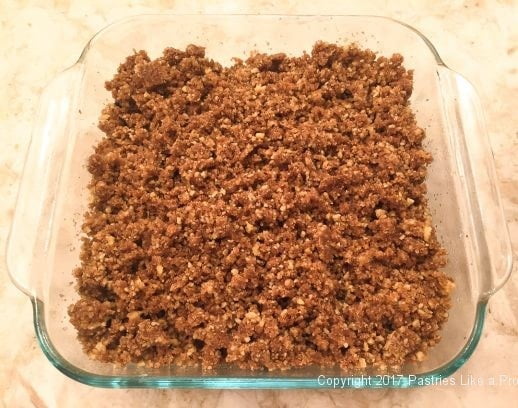
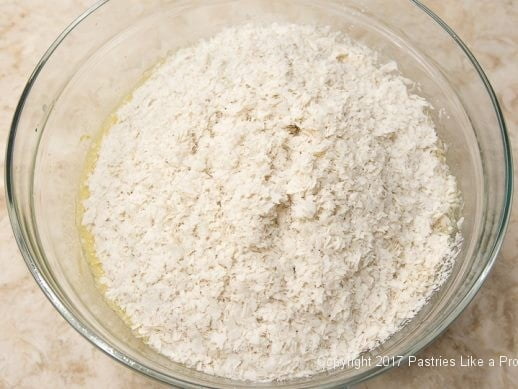
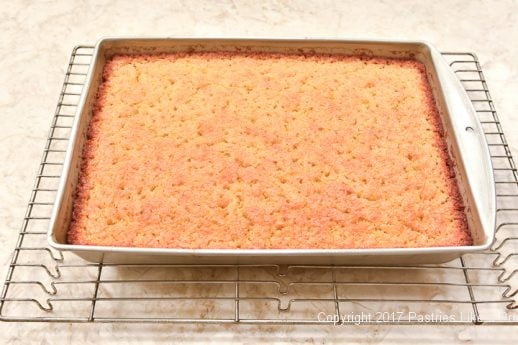
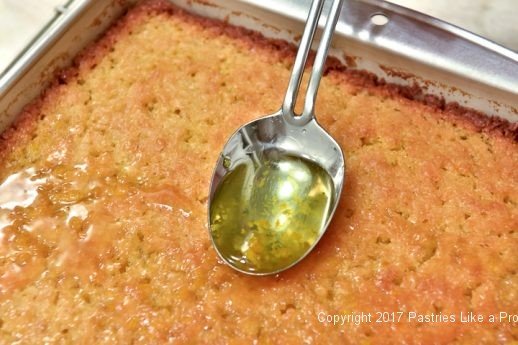
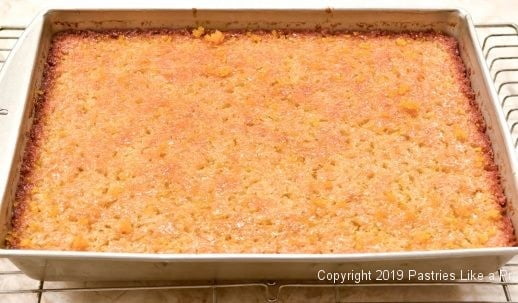
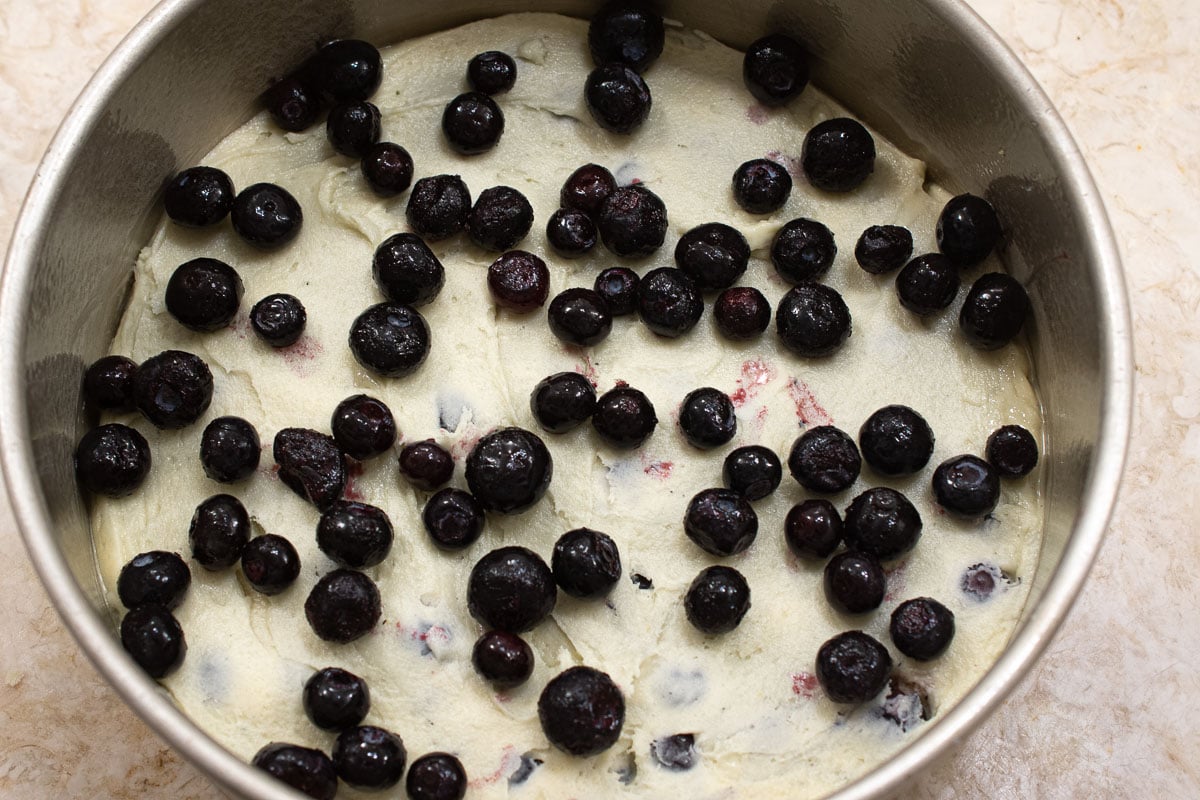
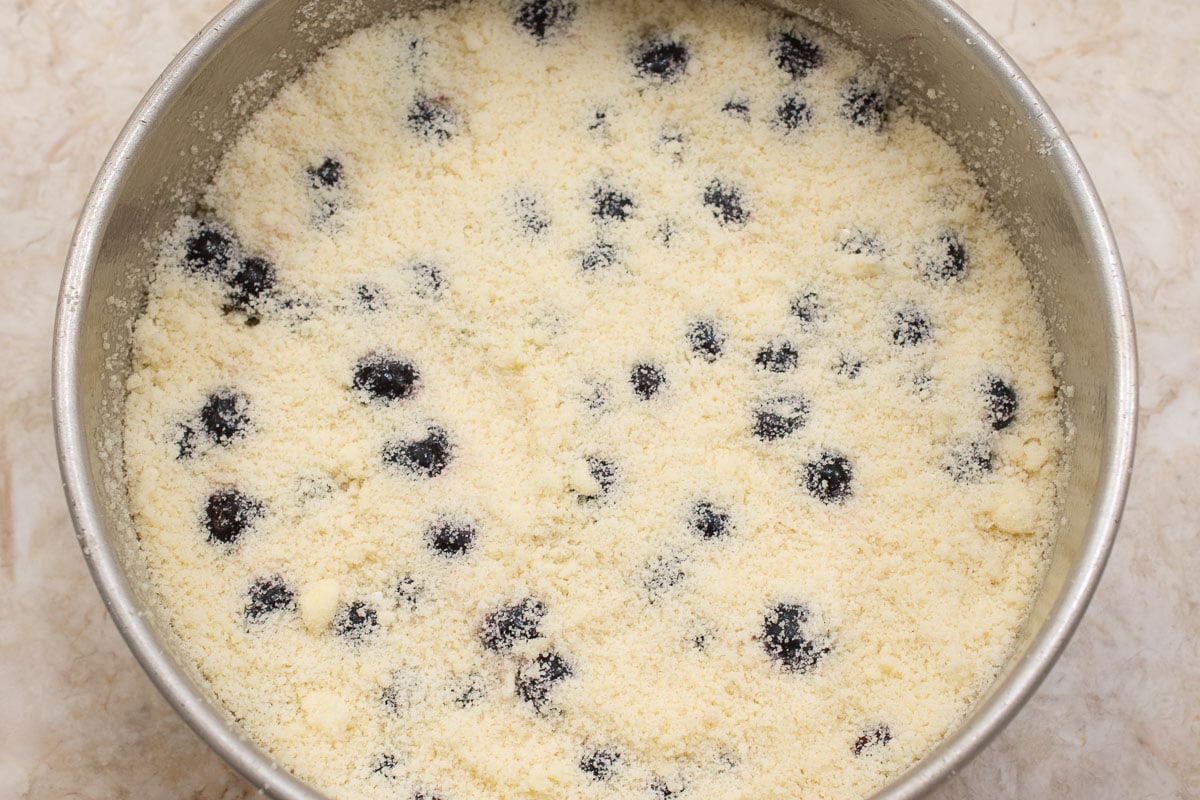
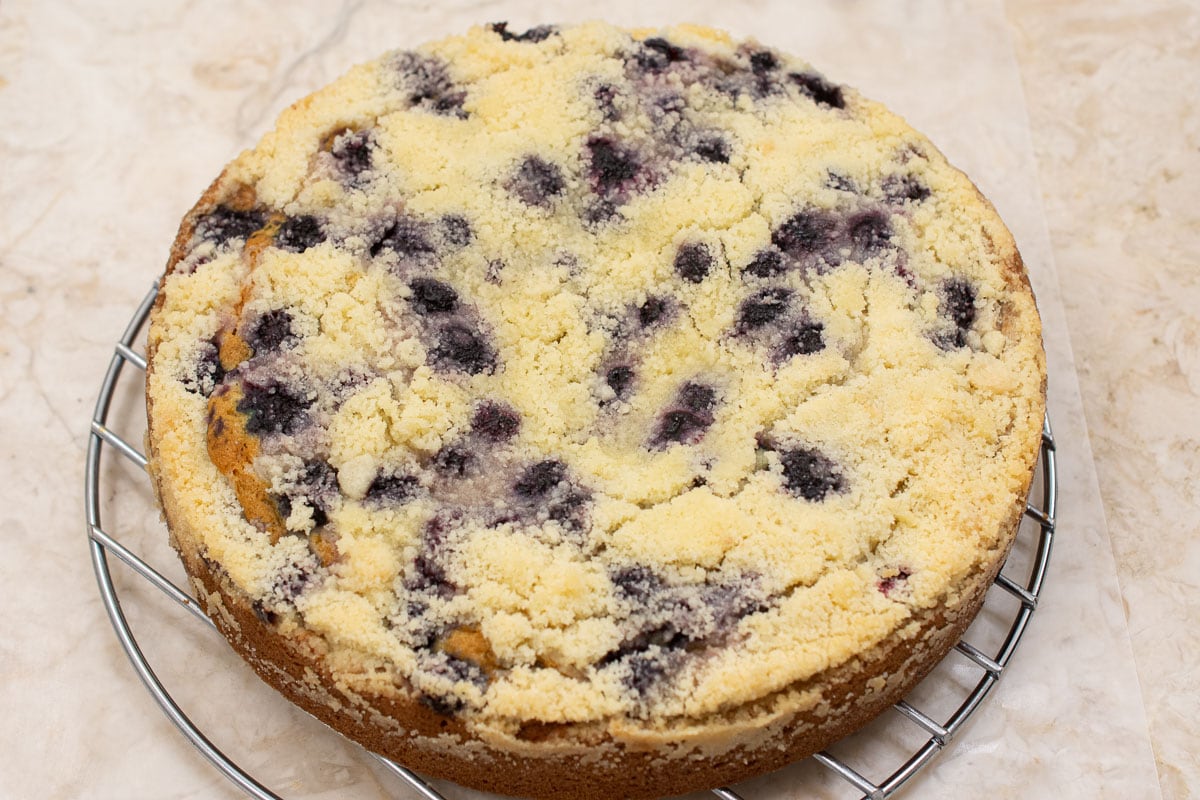
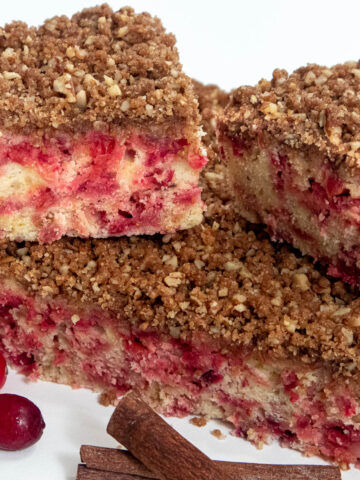
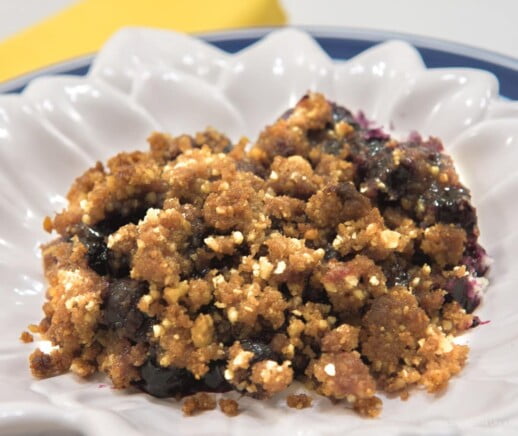 Blueberry Cobbler is great anyway you eat it, but top it with a Walnut Streusel and it takes it to a whole new level.
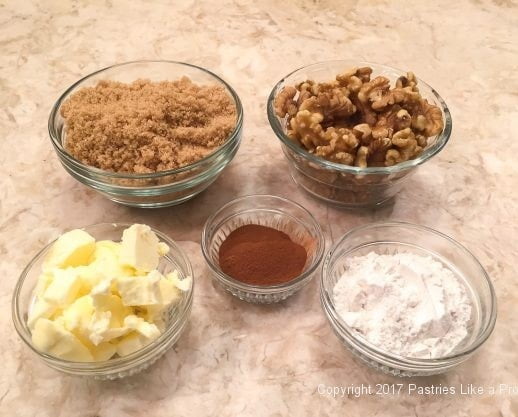
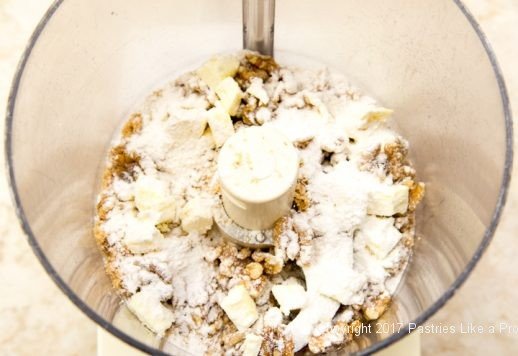
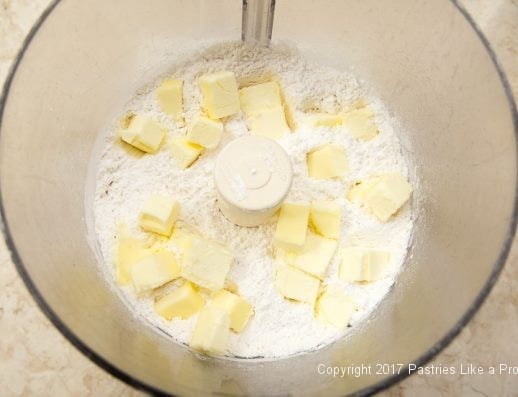
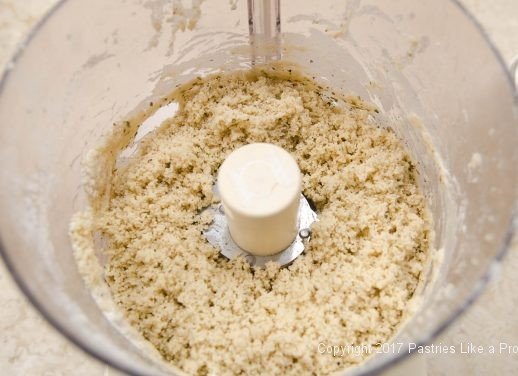
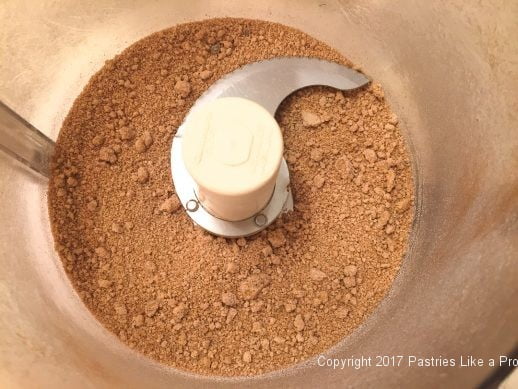 Add the butter and
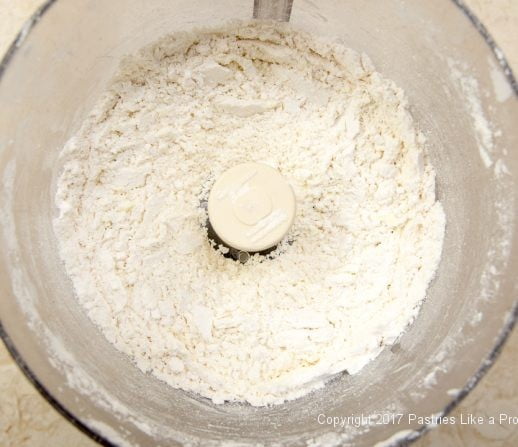
 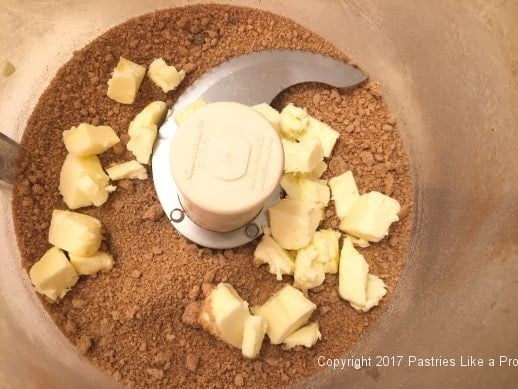 process until it starts making crumbs.
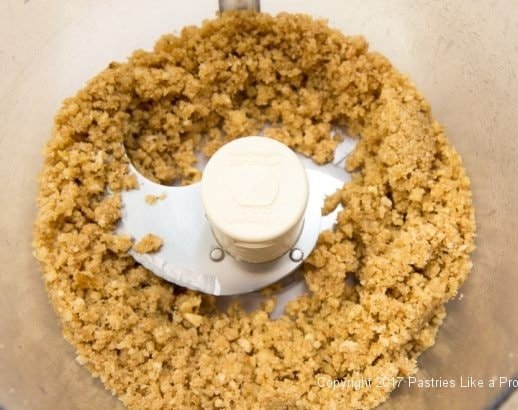
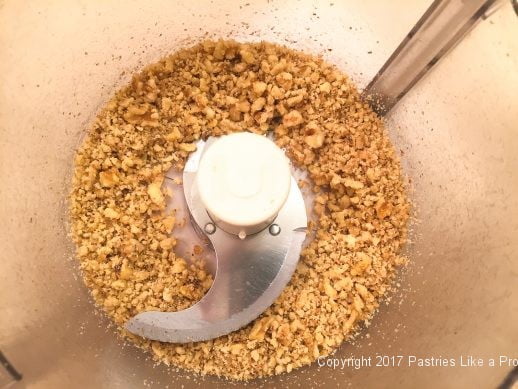
 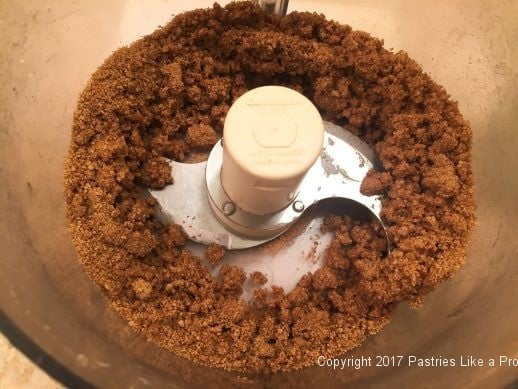 Add the walnuts
 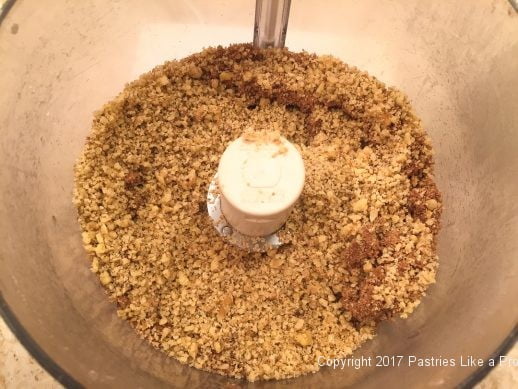 and pulse several times. Set aside.
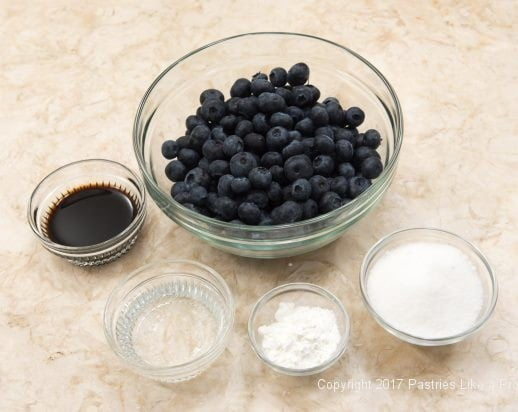
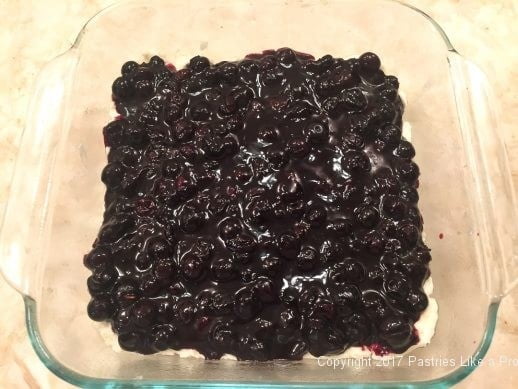
 stir in the water and balsamic vinegar and mix well.
 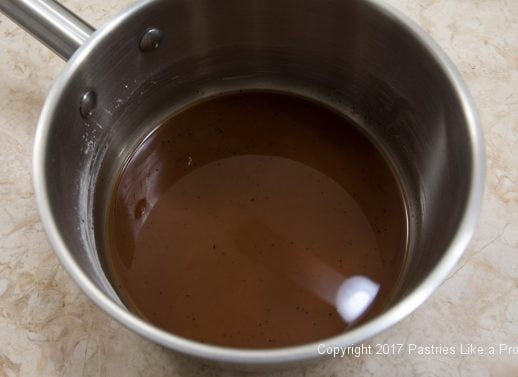 Add the blueberries.
 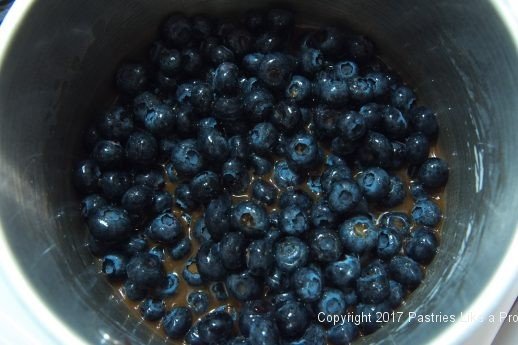 Cook over medium heat, stirring constantly until mixture comes to a boil. Continue cooking and stirring for 1 minutes more. Set aside to cool.
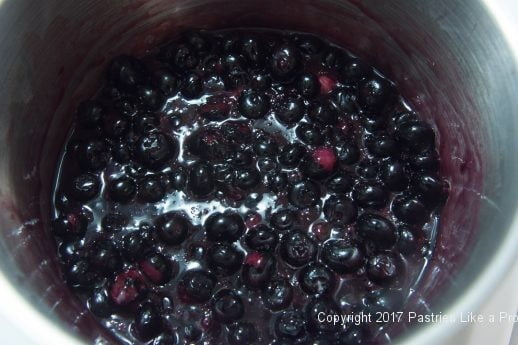
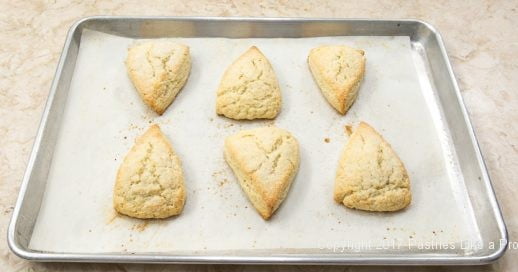
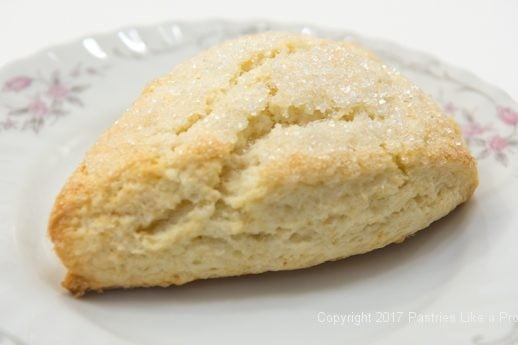
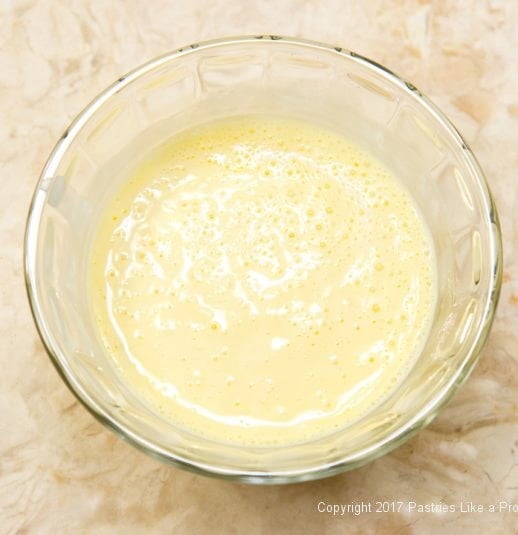
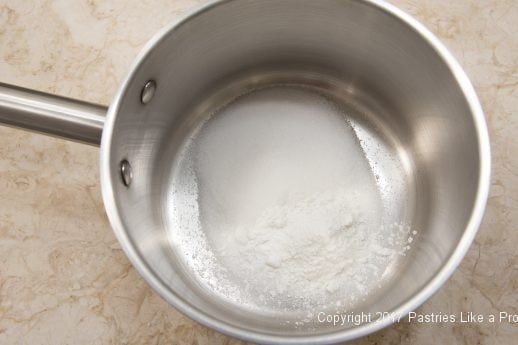
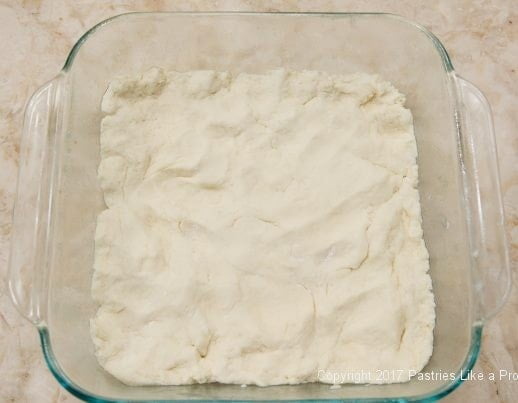
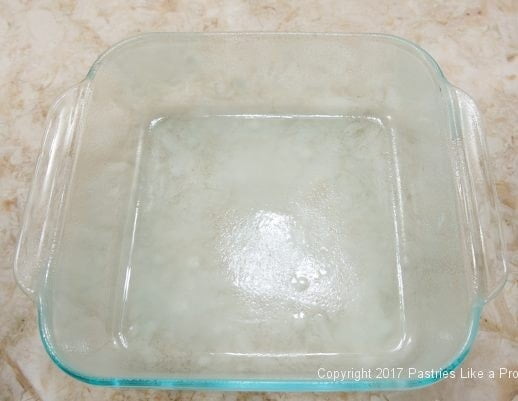 reduce the oven to 400°F. Spray an 8x8 inch square baking pan. Set aside.
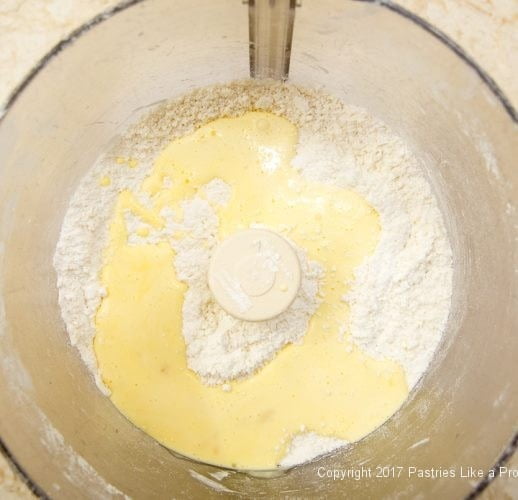
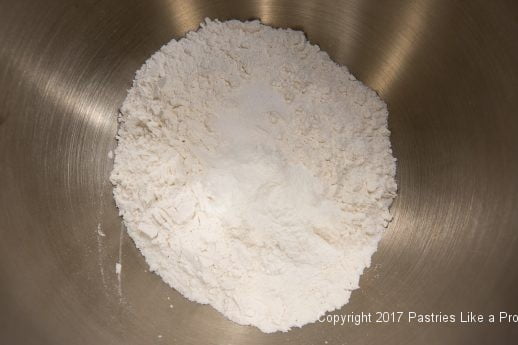 Pour in ¾ cup of cream in.
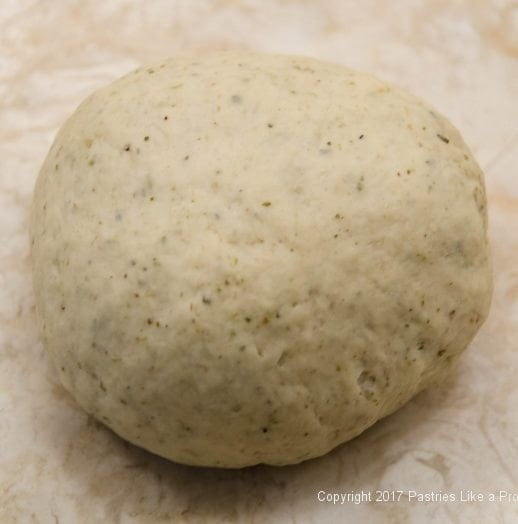
 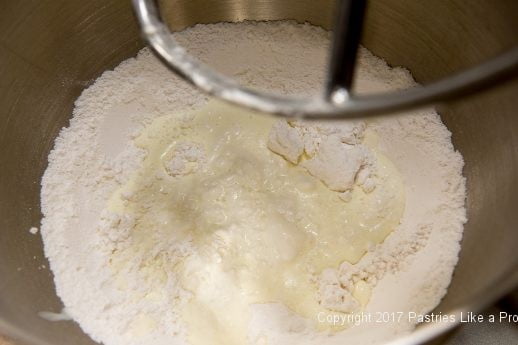 Mix the dough.
 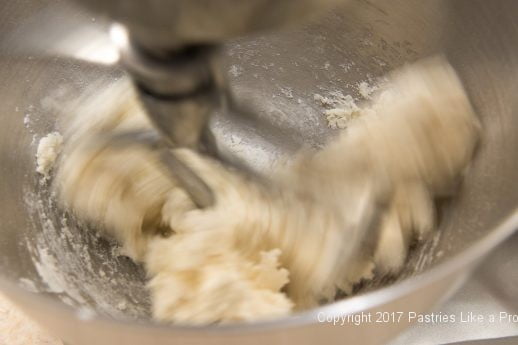 The dough should be somewhat sticky. If it is not, add the remaining cream in 1 tablespoon at a time.
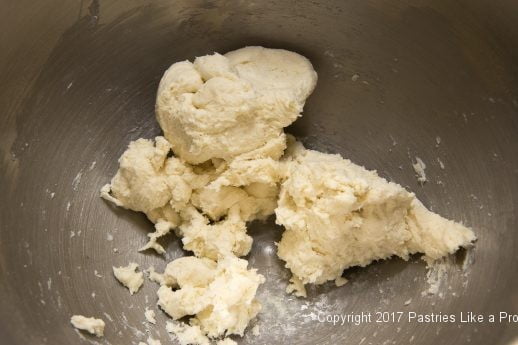


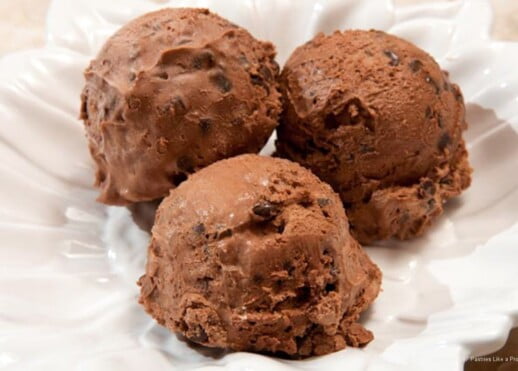
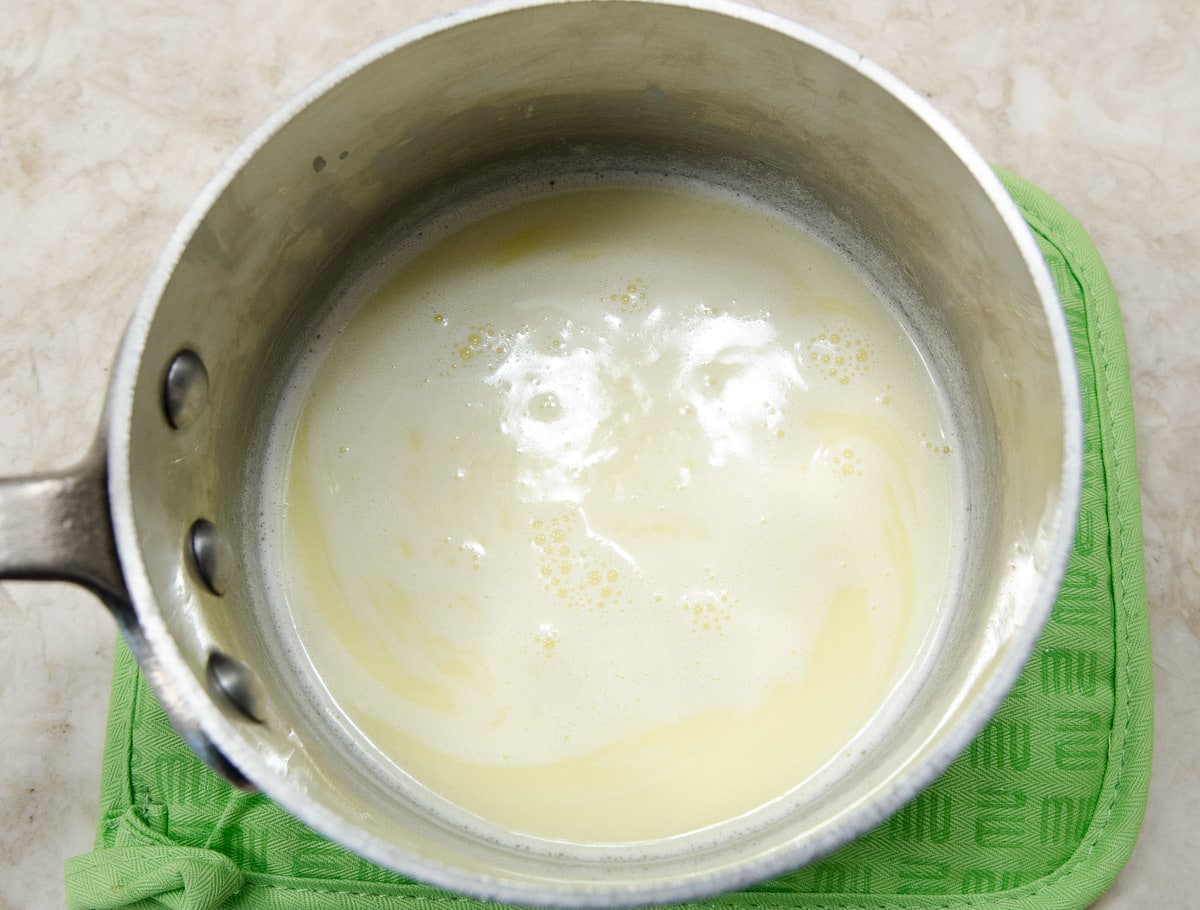
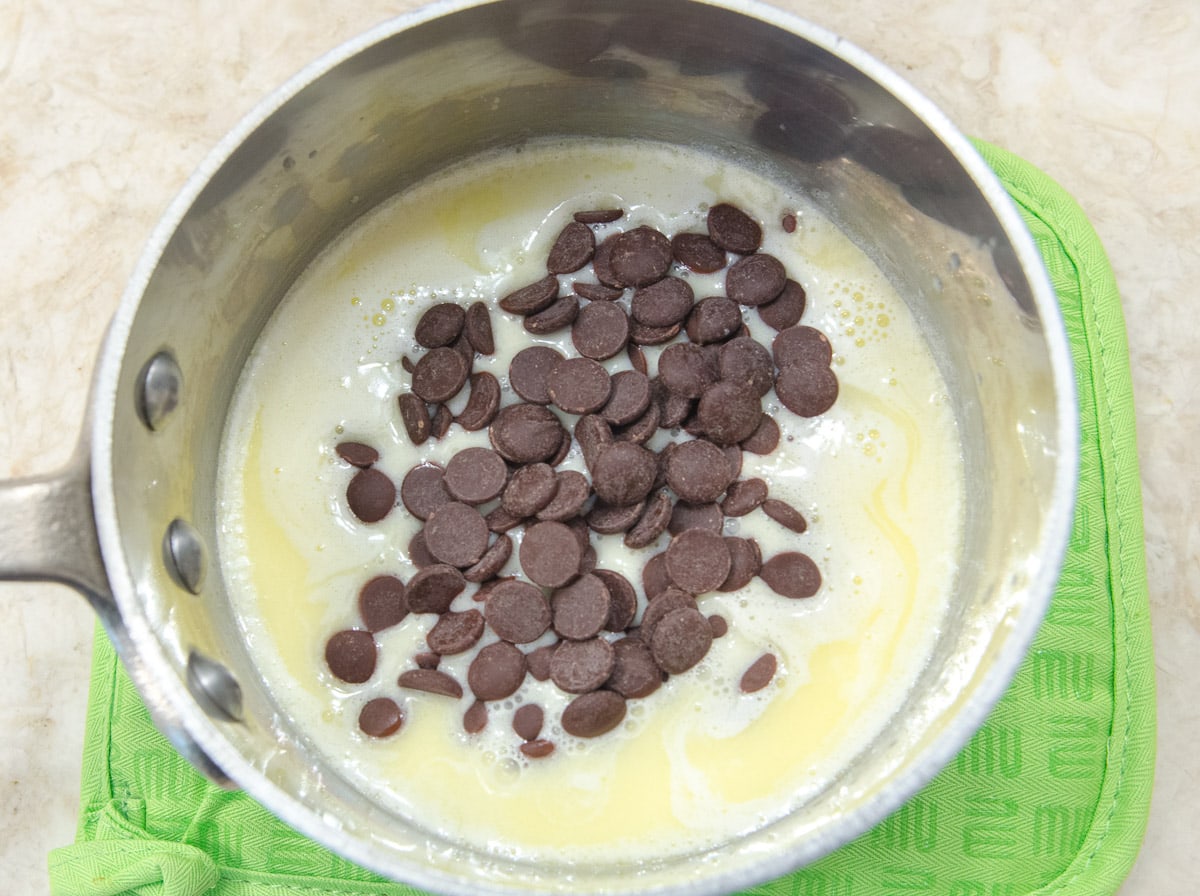
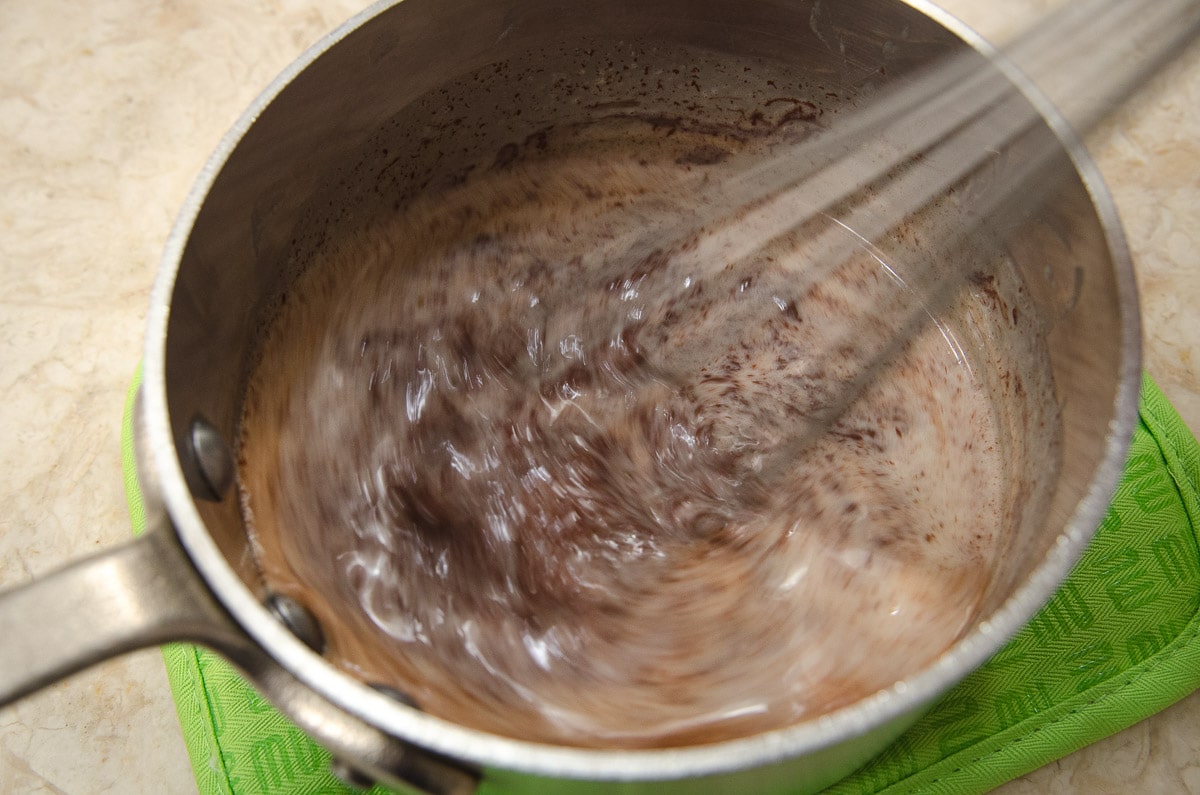
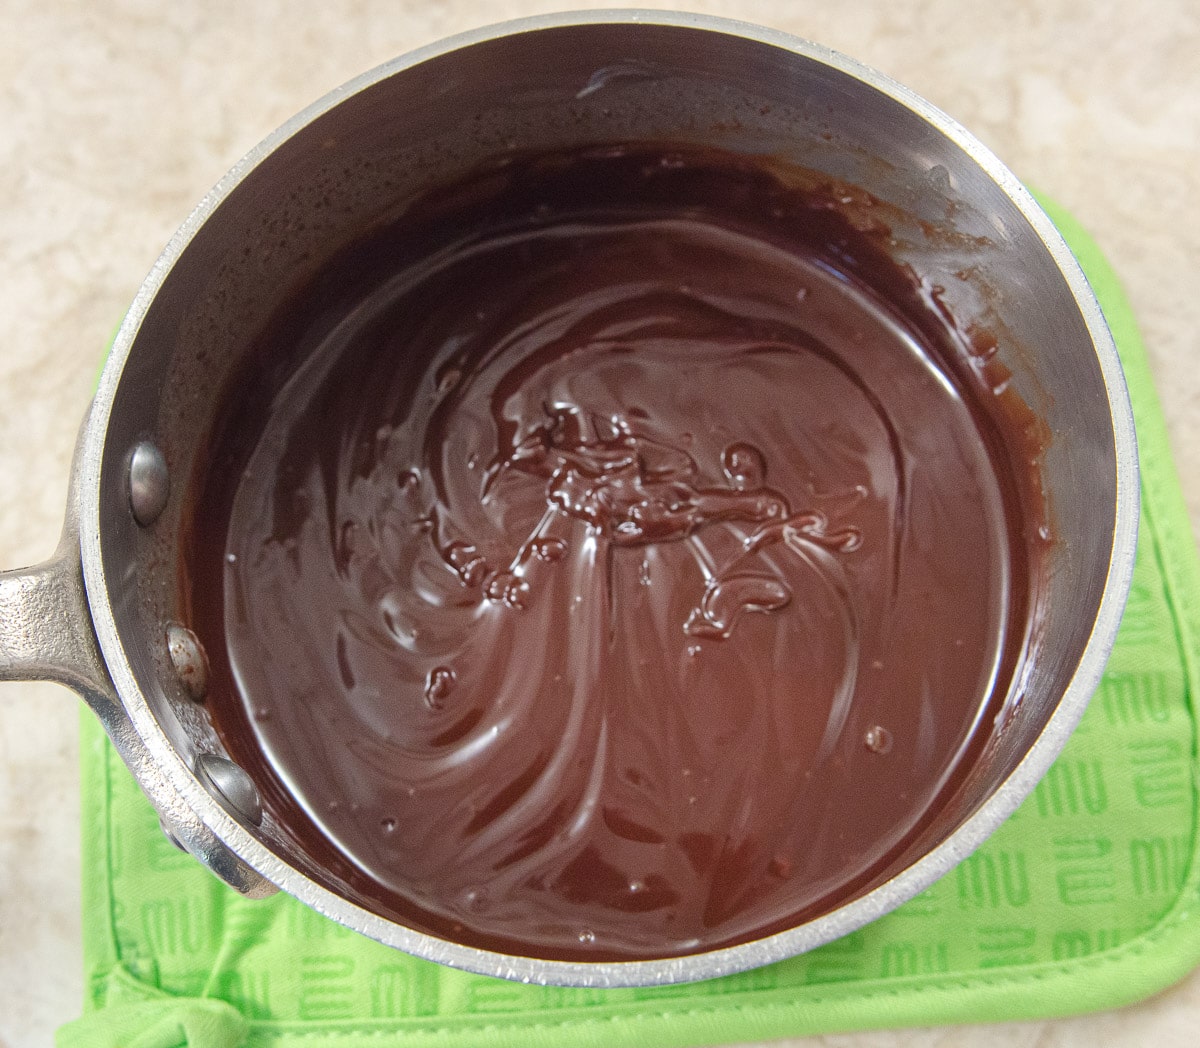
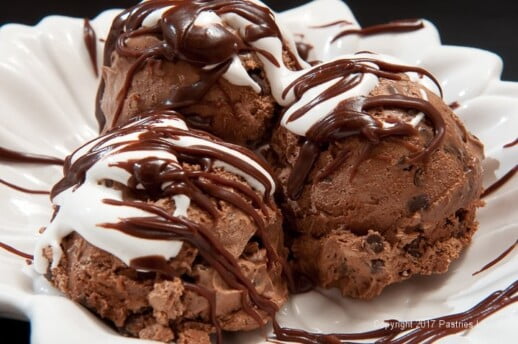 The Ultimate Hot Fudge Marshmallow Sundae is the result of last week's blog on the Double Chocolate No Machine Ice Cream. Several readers questioned what to do with the leftover condensed milk. A 14 ounce can of condensed milk is measured by weight and contains 1 ¼ cups of milk. Using ½ cup in the ice cream leaves ¾ cup left over. What to do with it?
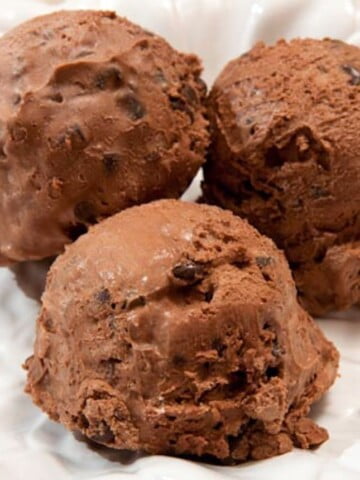


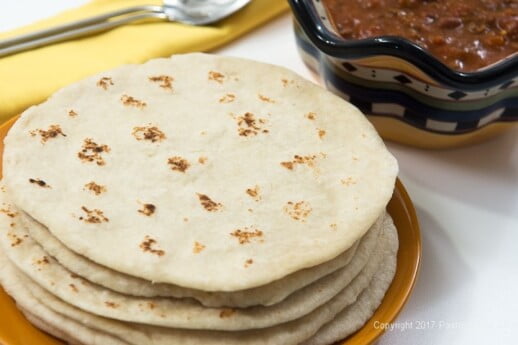
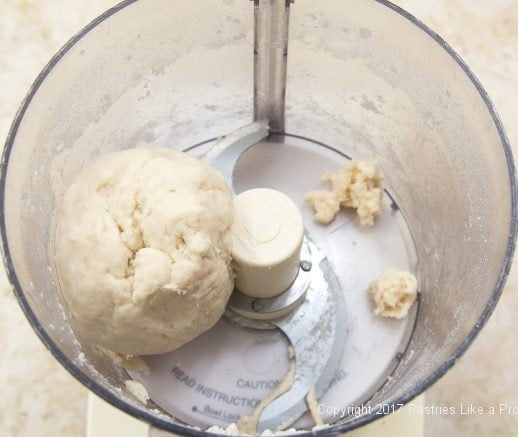
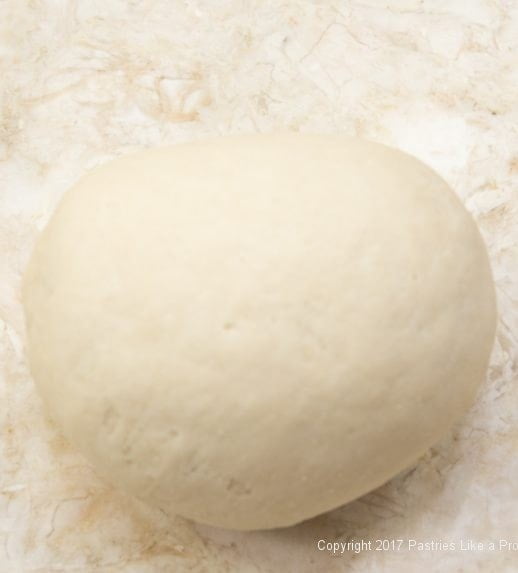
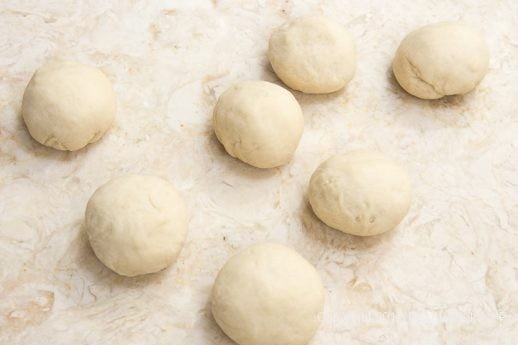
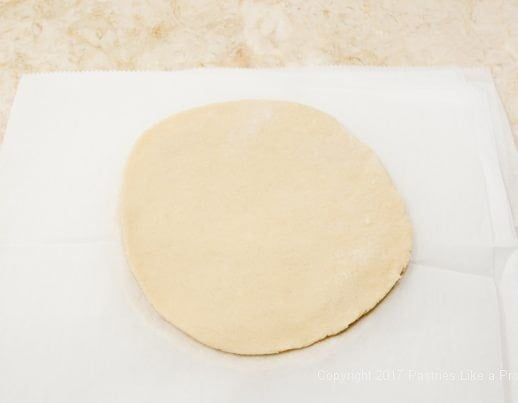
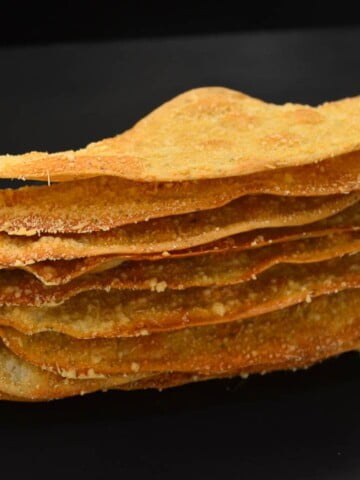
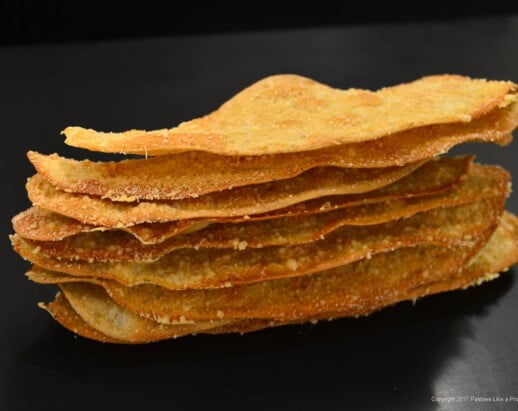
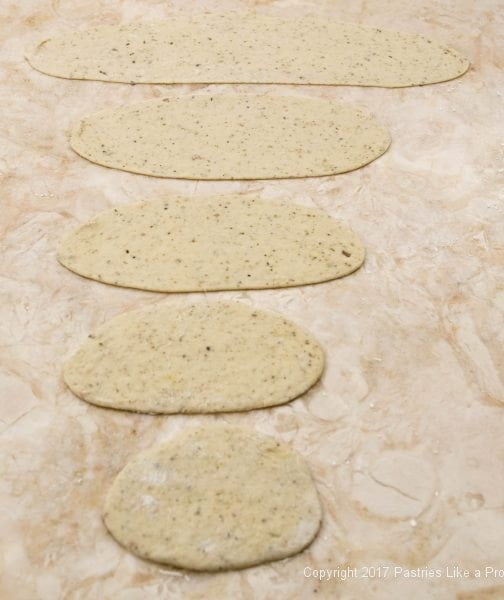
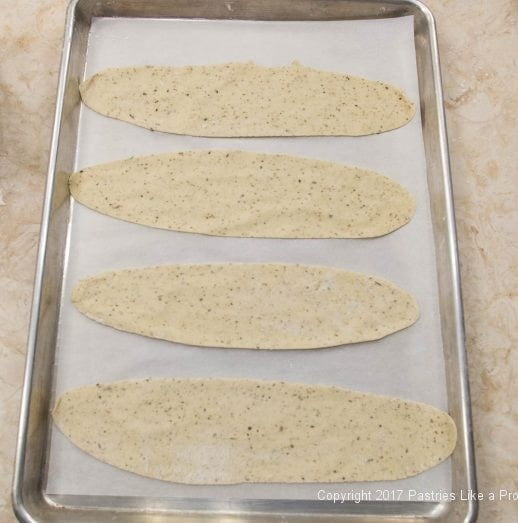
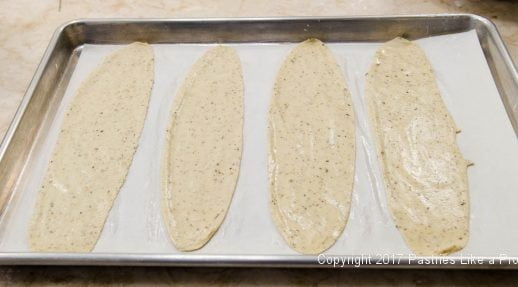
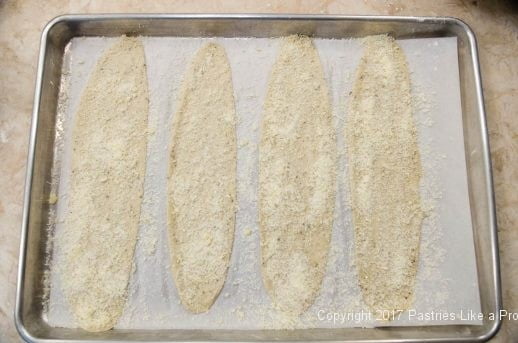
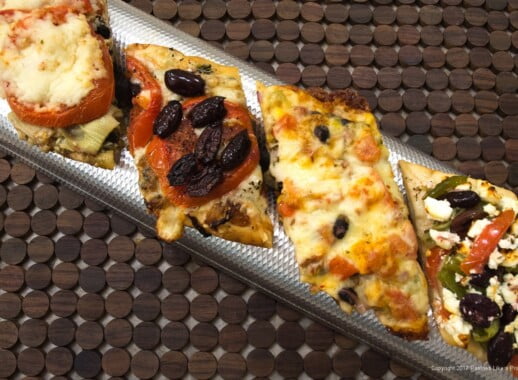 This International Flatbreads post started with my interest in exploring 00 flour. The recipe I chose to work with was for a pizza dough from Roberta's restaurant in New York. The recipe came from the New York Times.
 President Woodrow Wilson certainly knew what he was doing in 1914 when he finally got congress to designate the second Sunday every May as Mother's Day. A special day set aside to honor mothers certainly calls for desserts worthy of that honor.
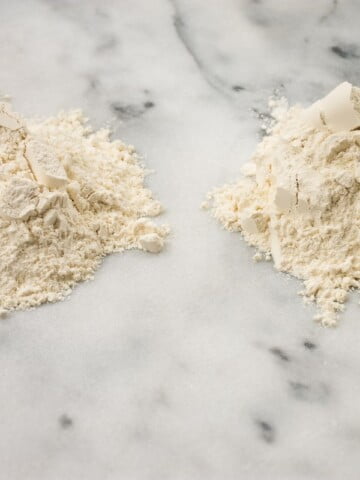
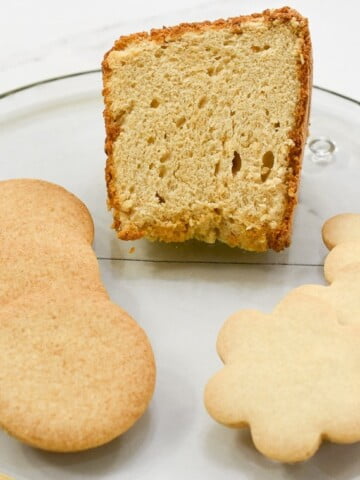
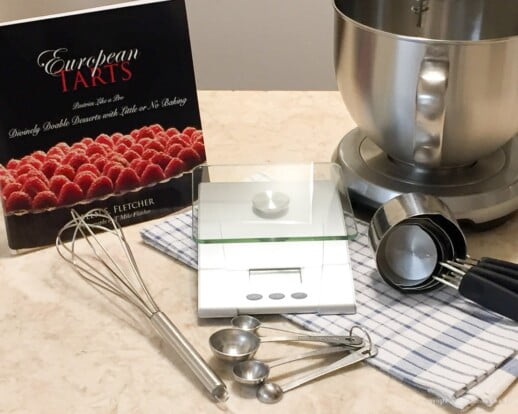
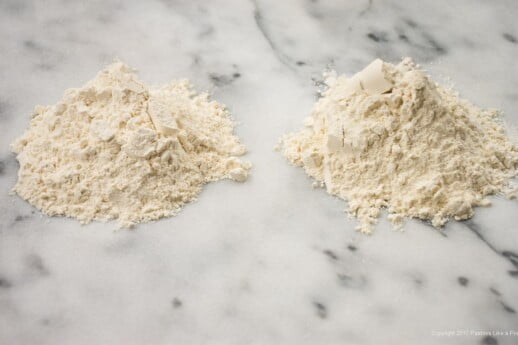 A question in a food group I belong to about measuring flour by weight has sent me on a quest to find out how much a cup of flour weighs. Unfortunately, there is no simple answer, no one answer fits all. And yet, correctly measuring flour is essential for the best outcome of baked goods.
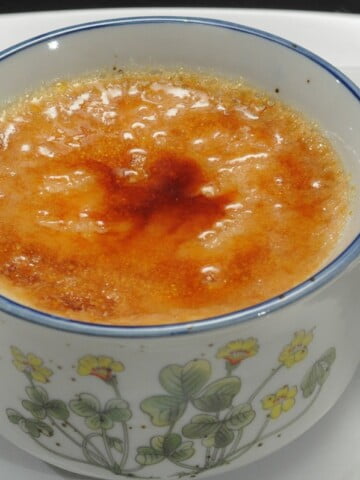
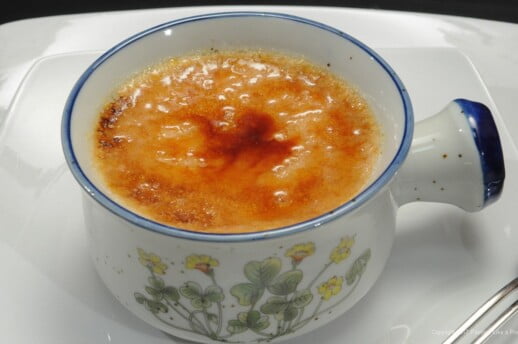 Creme Brulee in French means “burned cream”. As much as I love rich foods, the thought of eating heavy cream and egg yolks (more fat) is too much even for me. However, loving everything of the brulee/flan/pudding family I wanted to find a way to still enjoy this dessert. The cream brulee under the crackling sugar coating can still be enjoyed but with a lighter touch. If you can find Tahitian vanilla, use it by all means for an unforgettable flavor. It can be found on the internet. If not, look for Madagascar vanilla to get the most flavor.


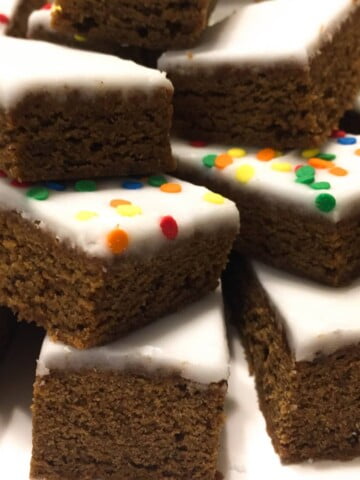
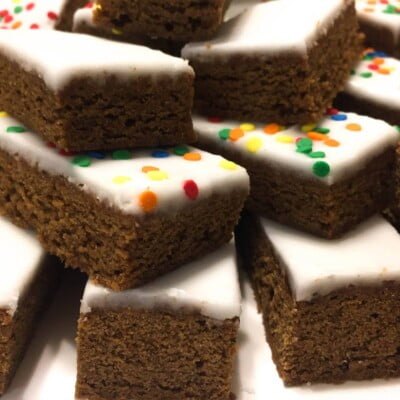 I am a sucker for spiced cookies and these Hermit Bars are one more example. You need only look at the


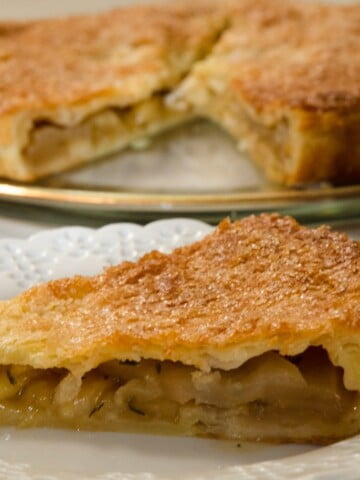
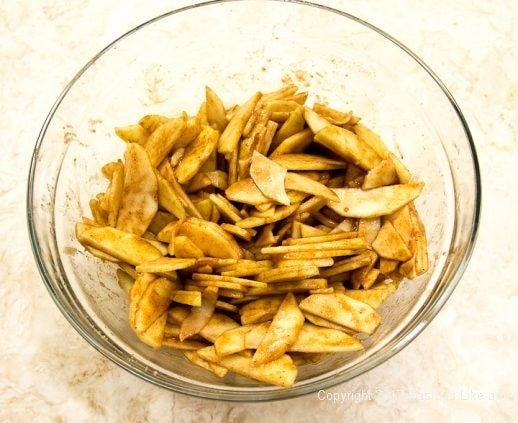
 This simple Honey Thyme Apple Tart came about out of total boredom pressing in forty three pastry shells for a dessert at the restaurant. My mind started wandering around the fifth shell. I knew I wanted something simple, easy to put together with an unexpected element to start the year. It is not only beautiful to look at, it is even better to eat. The little bit of thyme gives this an unexpected note while the honey and balsamic vinegar offset each other.
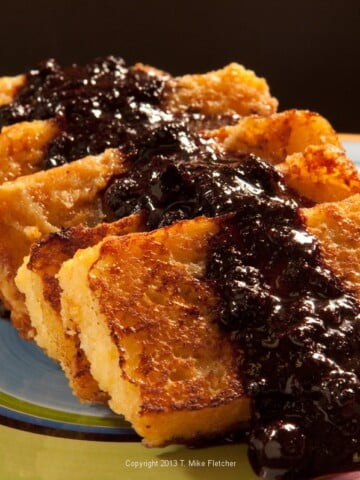

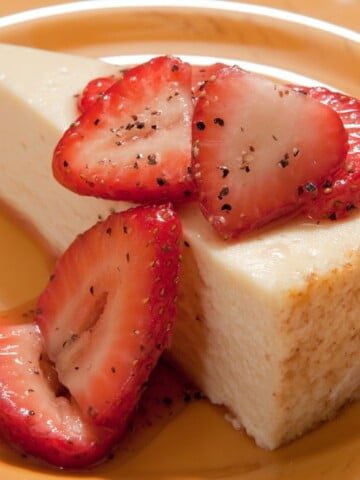
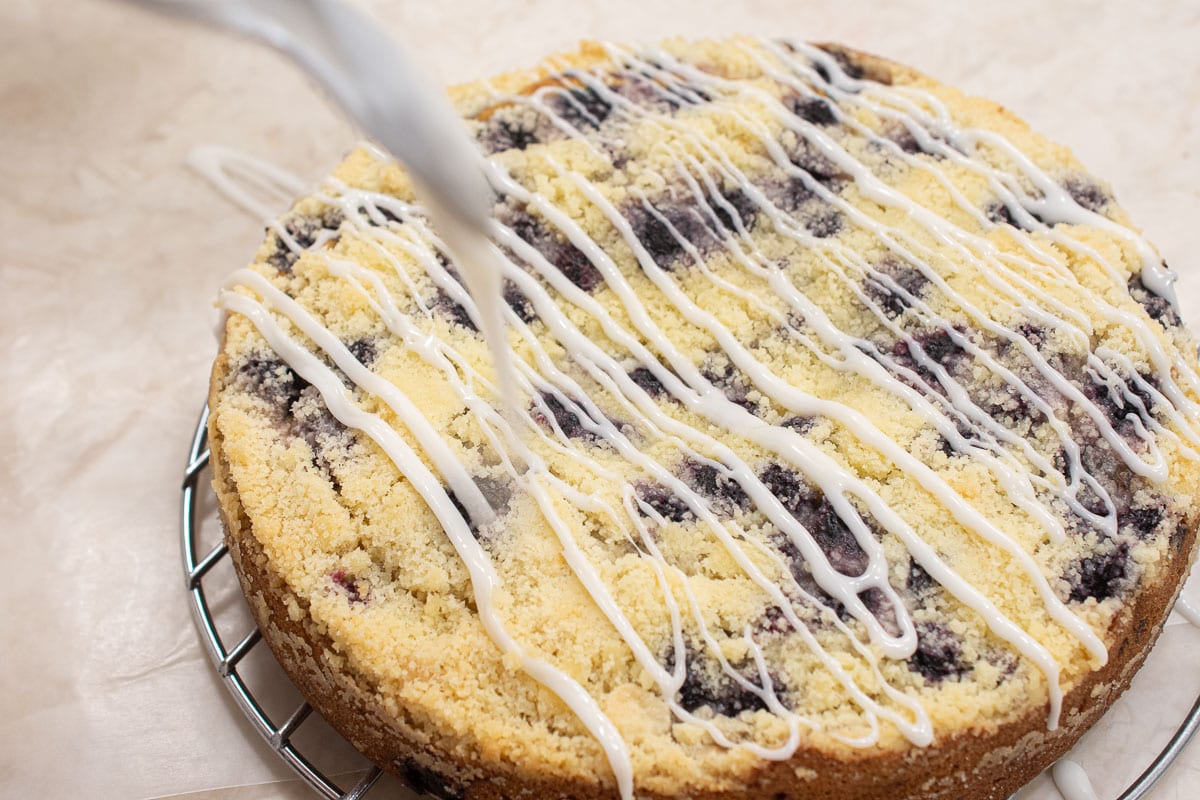
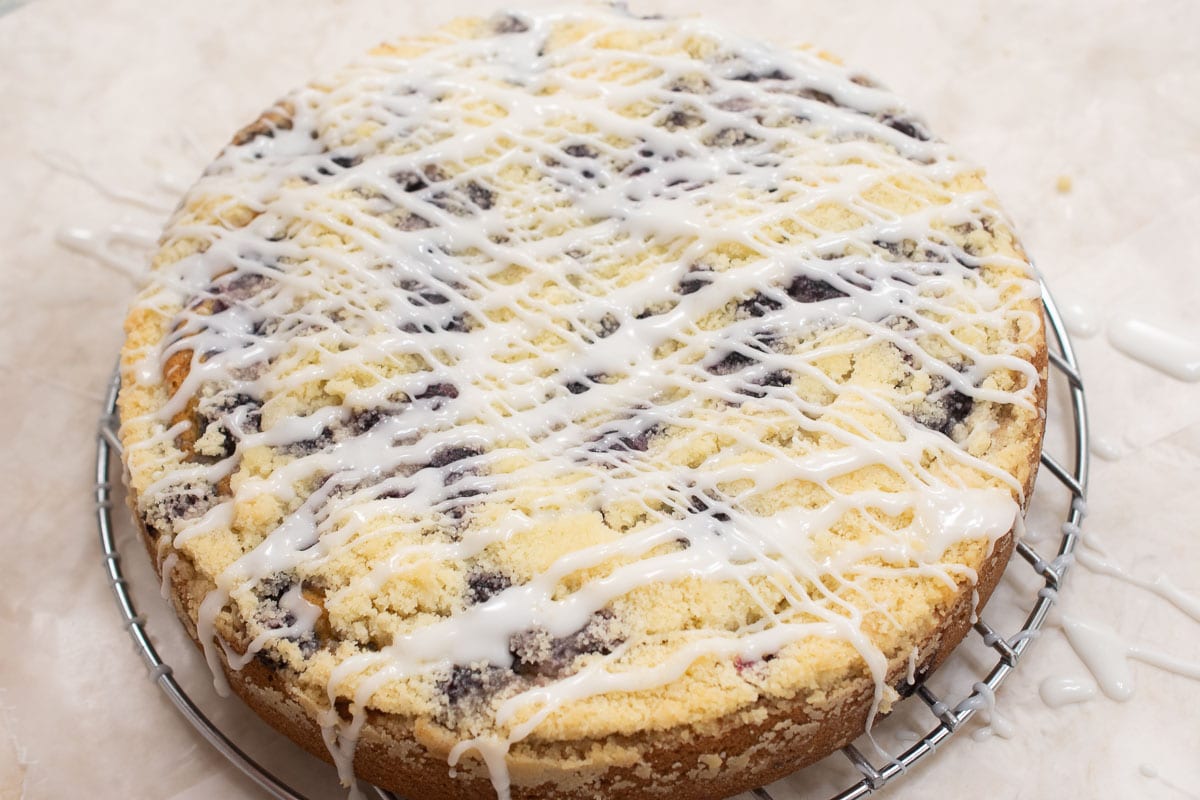
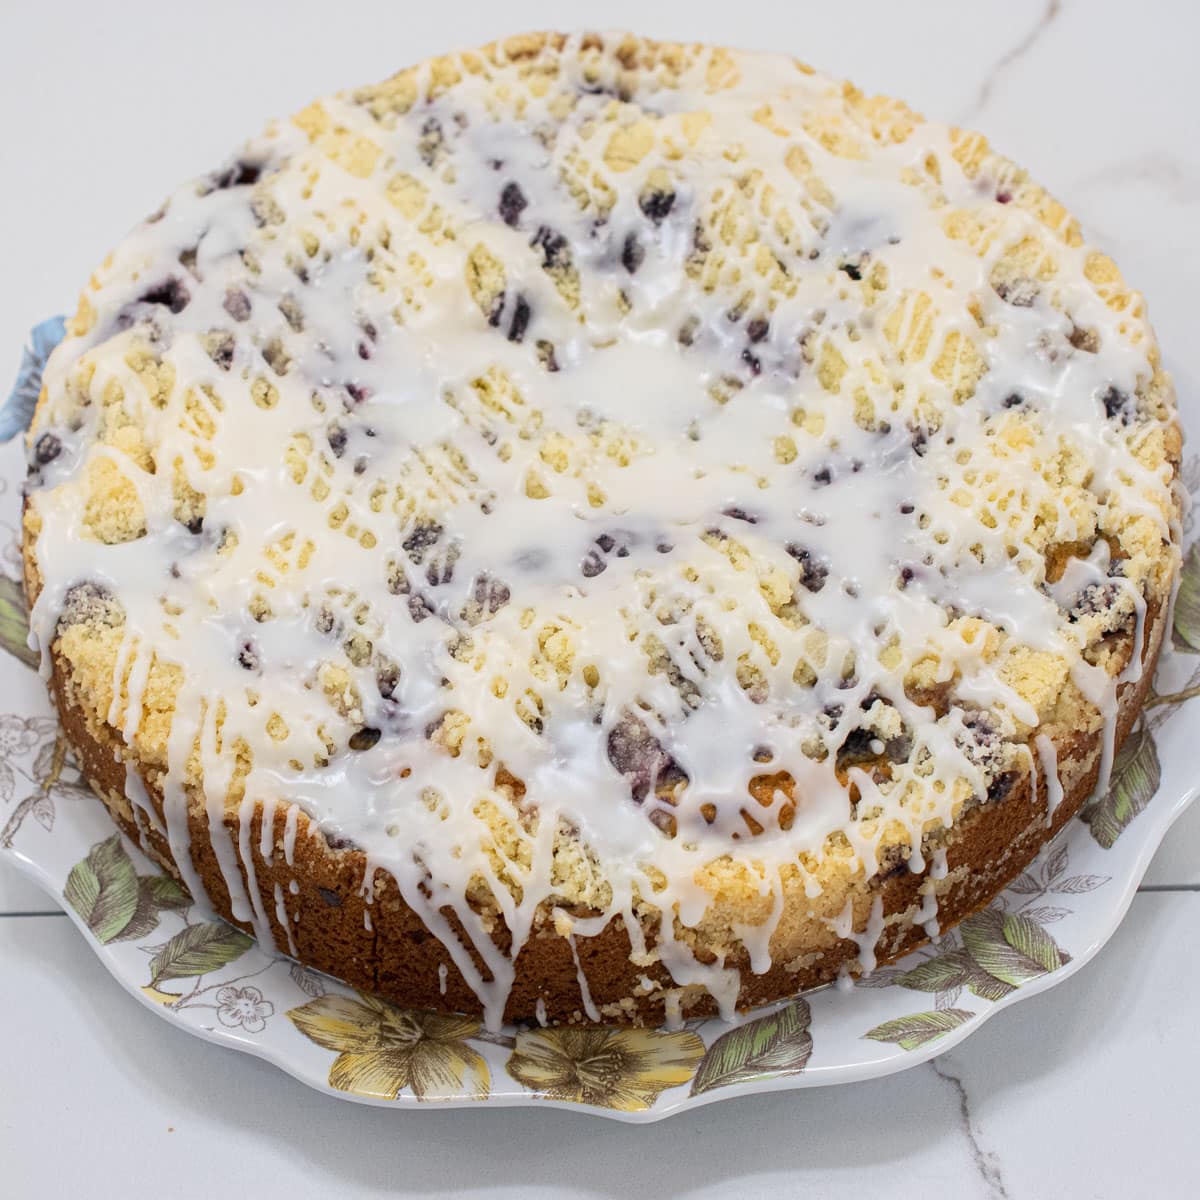
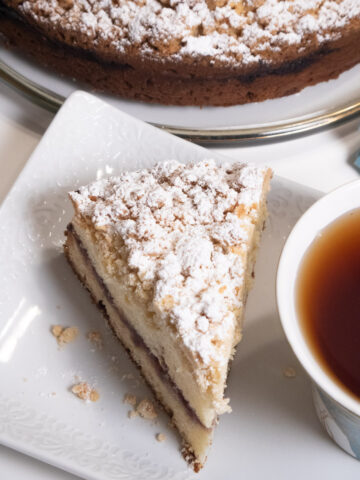
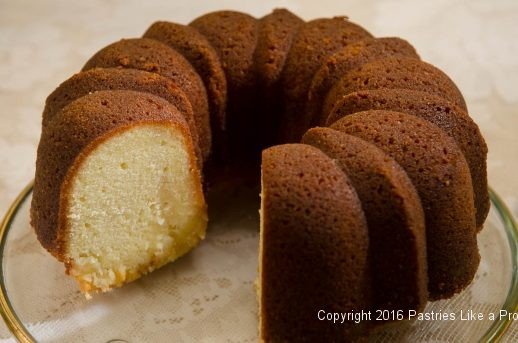
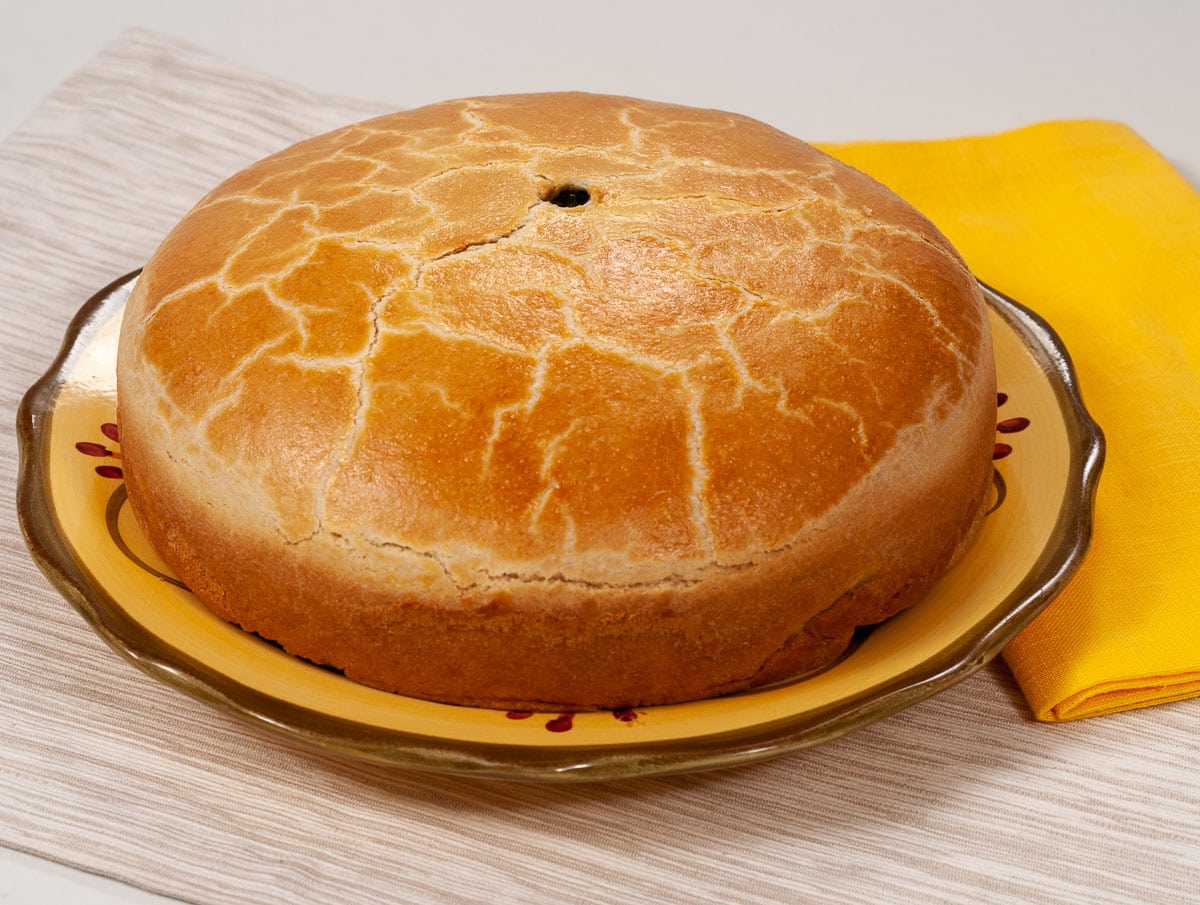
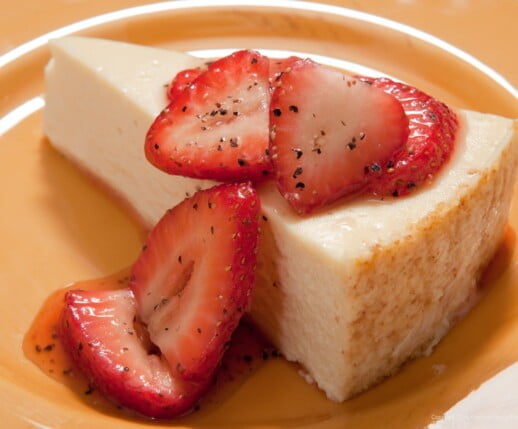 I originally posted this Unbelievable Cheesecake in 2013. However, on this, my last regular appearance on KMOV's Great Day St. Louis, I chose to update it using the food processor. In doing so, this is the fastest and easiest cheesecake I've ever made.