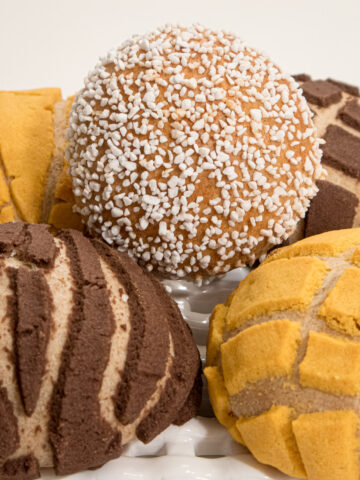
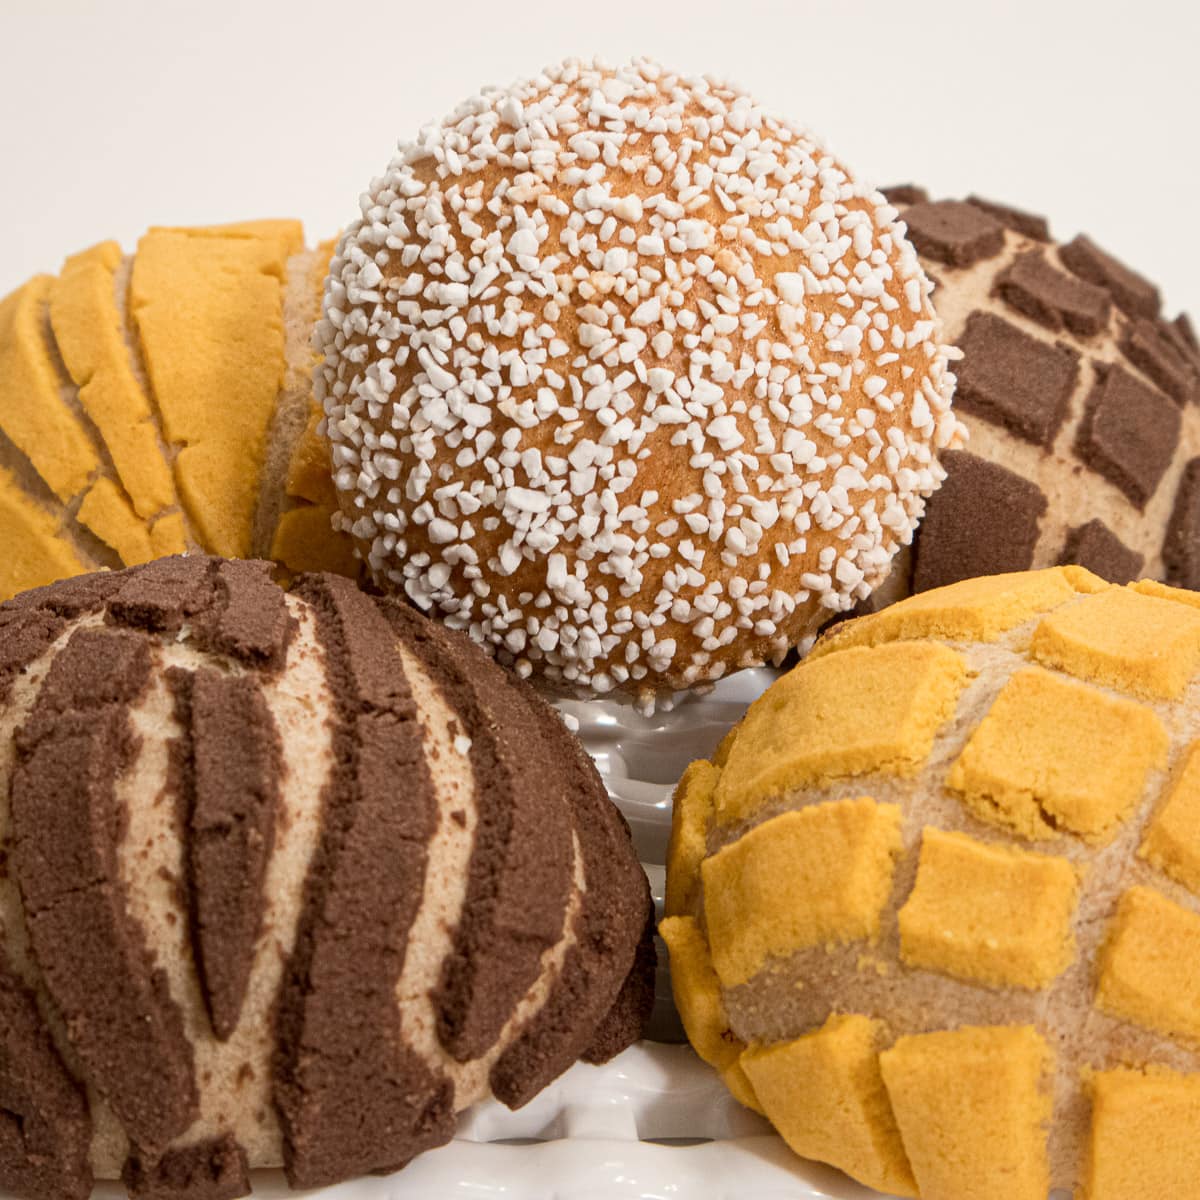
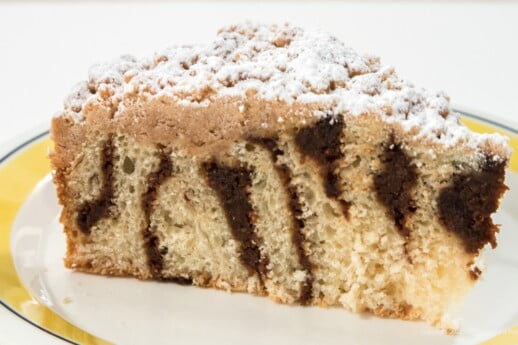
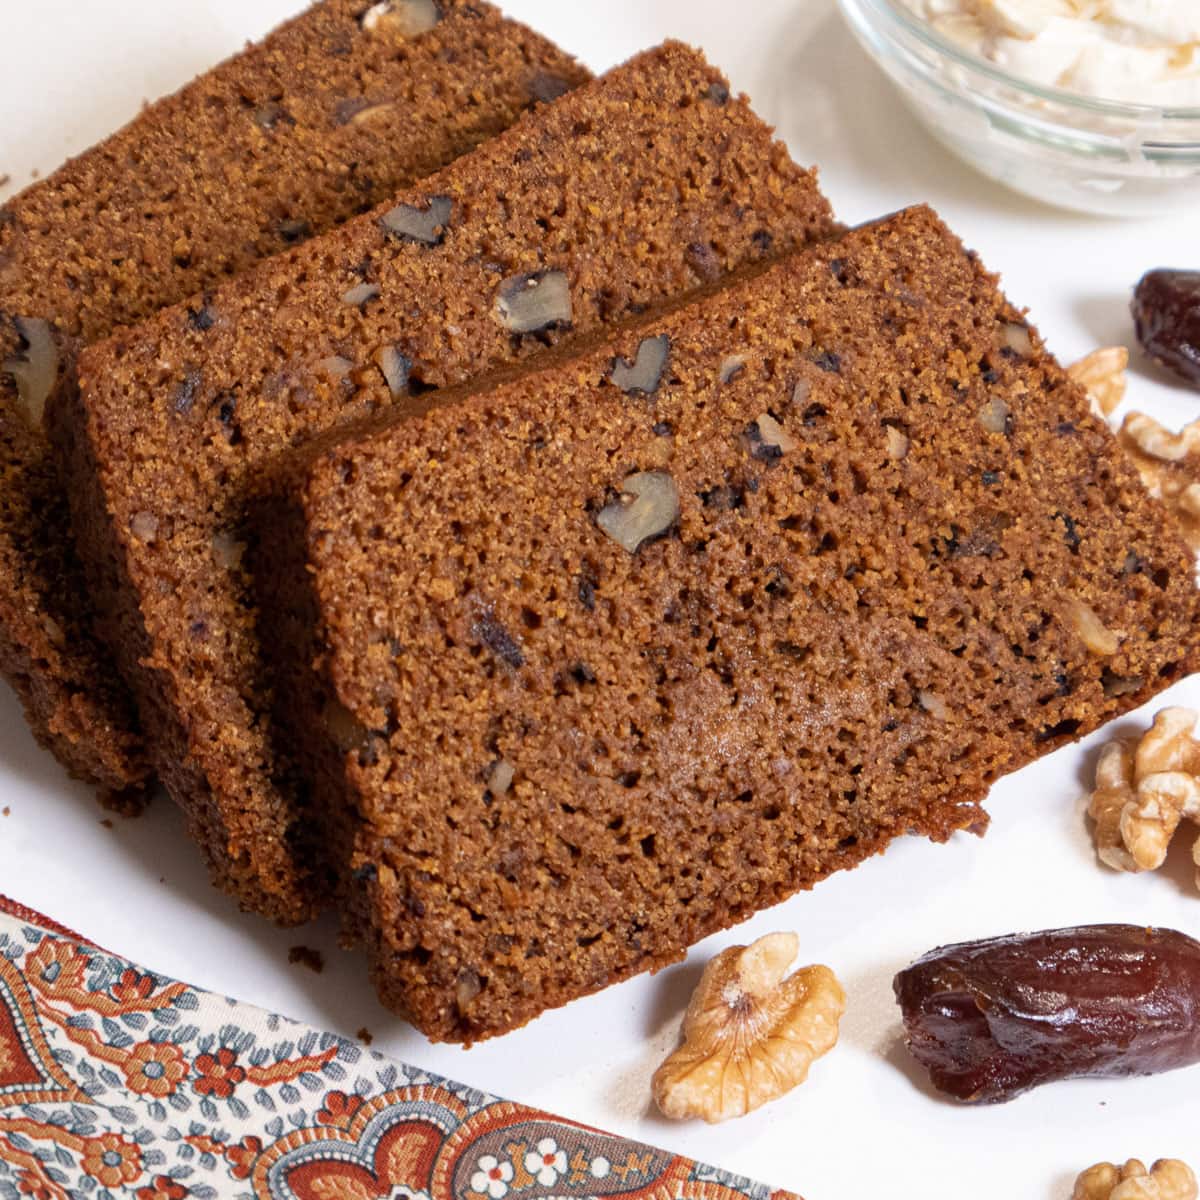
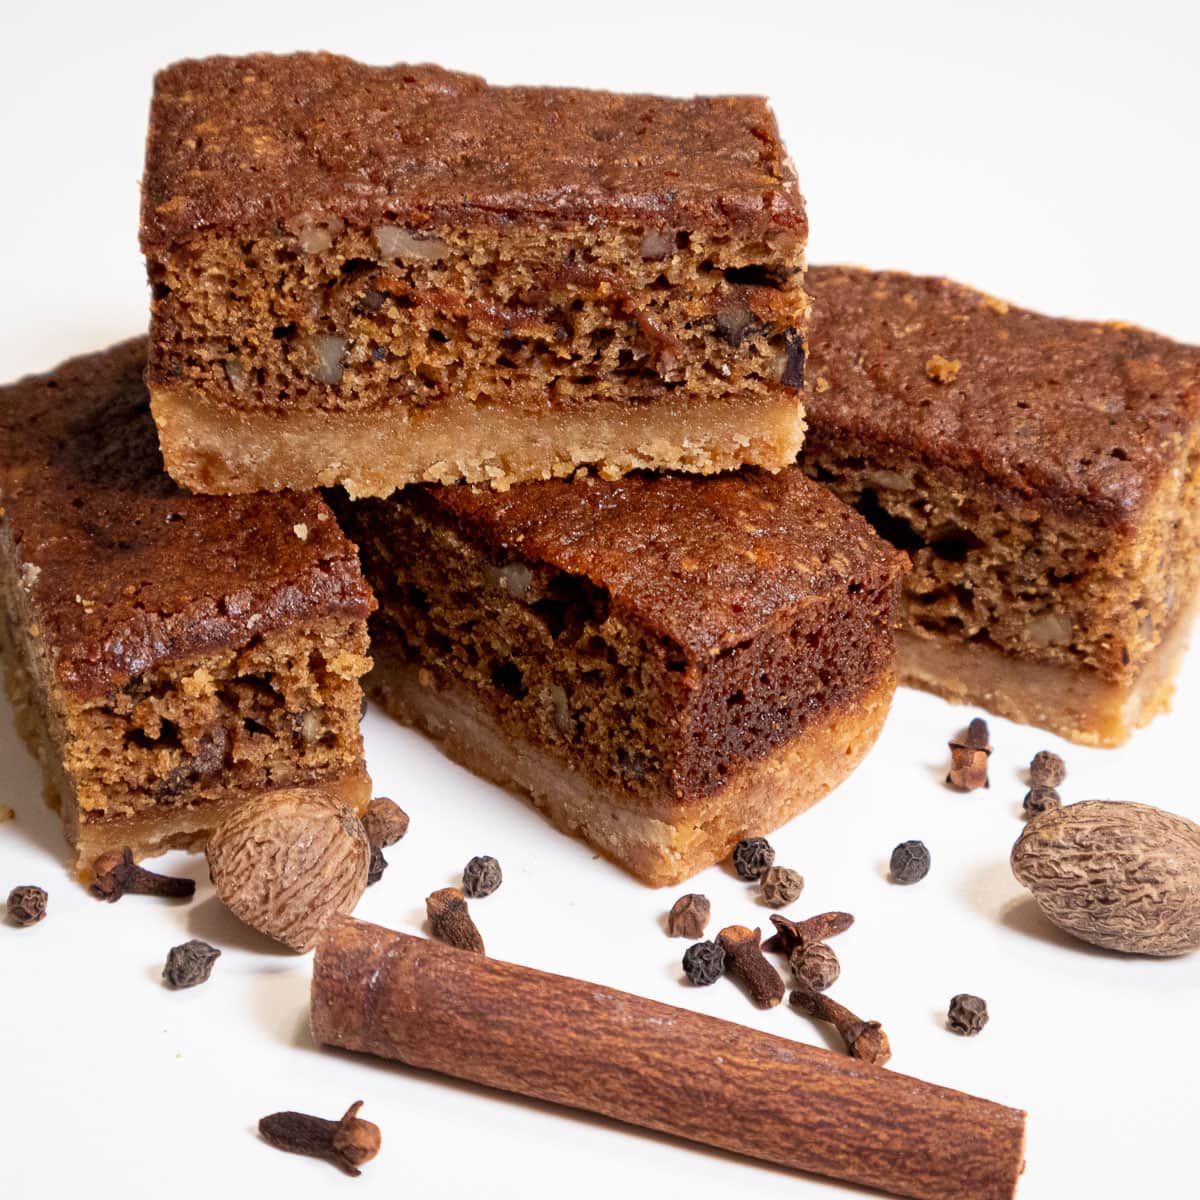
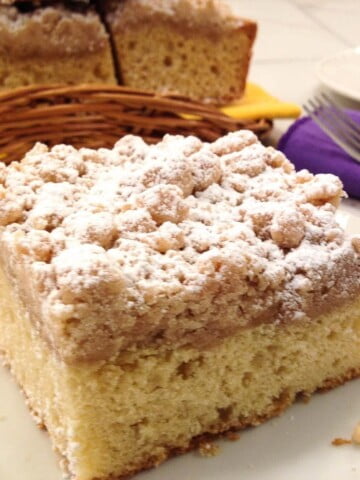
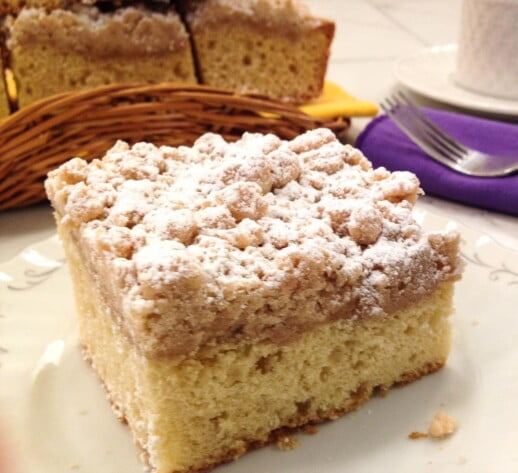
Conchas are a not overly sweet roll often served at breakfast with coffee or hot chocolate in Mexico. While I will admit I haven’t thought of Mexico terms of sweet bakery items, these sweet rolls definitely made me rethink. Also known as Pan Dulce and Sweet Bread this buttery yeast dough is flavored with cinnamon, vanilla and anise.
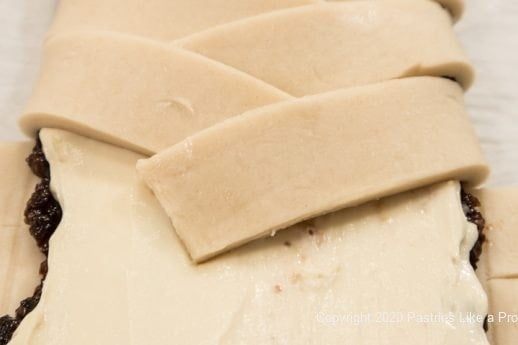
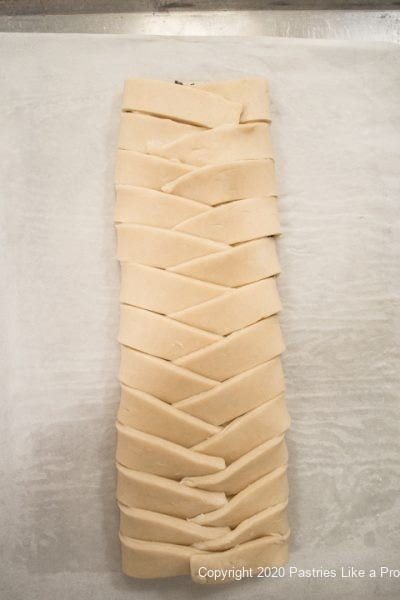
Named for the sea shell, Conchas have a decorative finish that is easy to make although it looks challenging and what is even more special, the finish can be as colorful as Mexican tiles or left white.
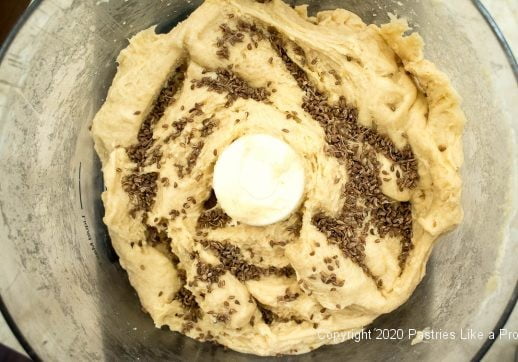
When I researched this recipe, I found a reference to anise, one of my favorite flavors. So, in addition to cinnamon and vanilla, I added anise for an unusual flavor combination that dances in your mouth.
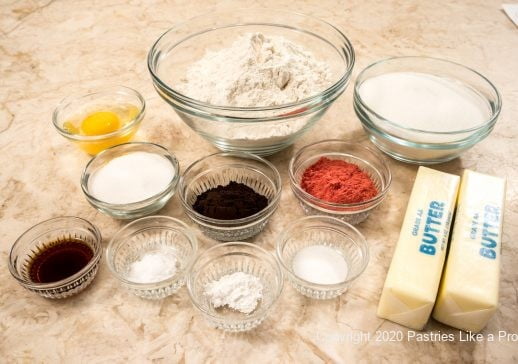
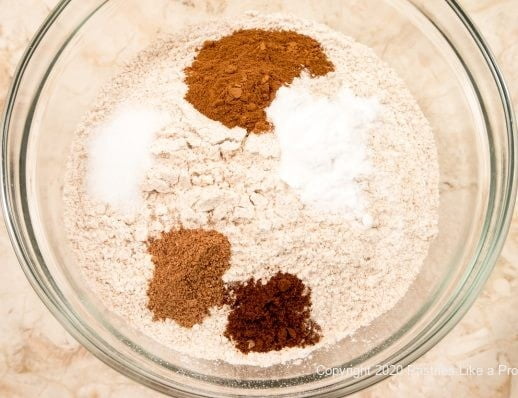
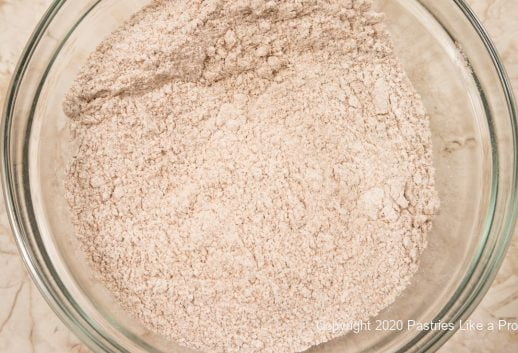
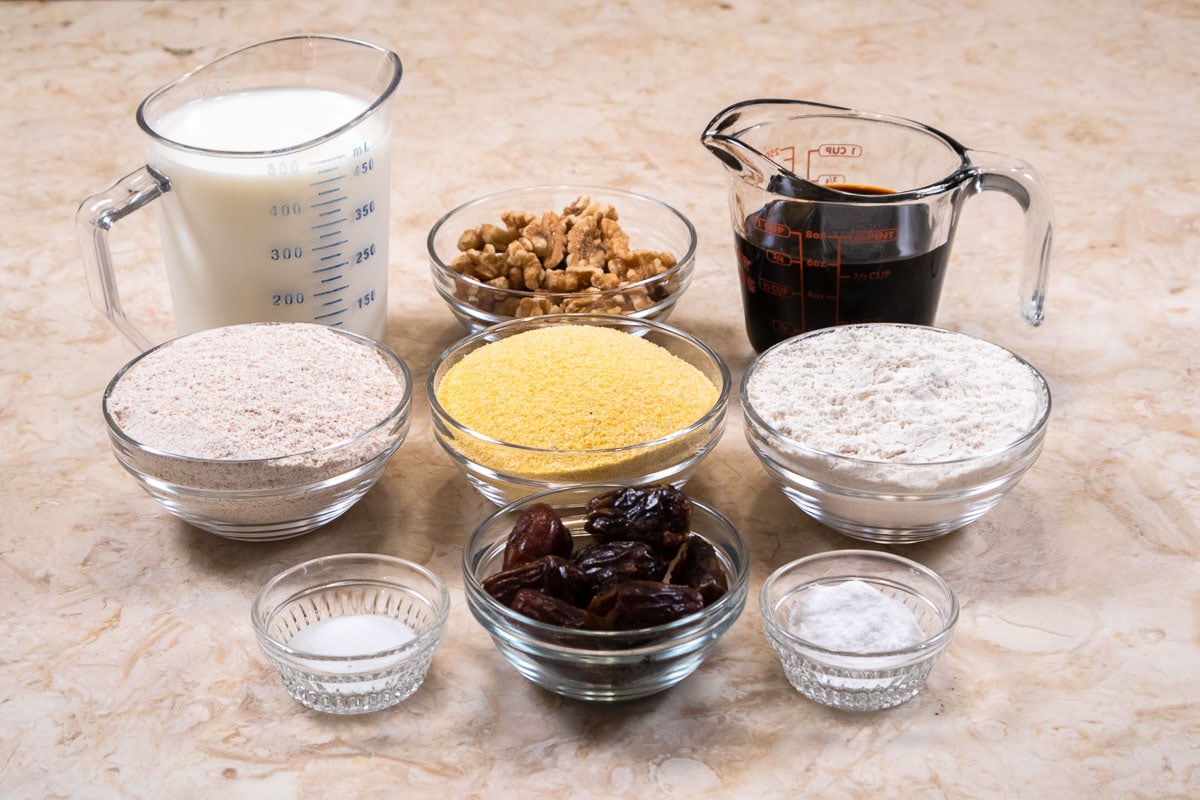
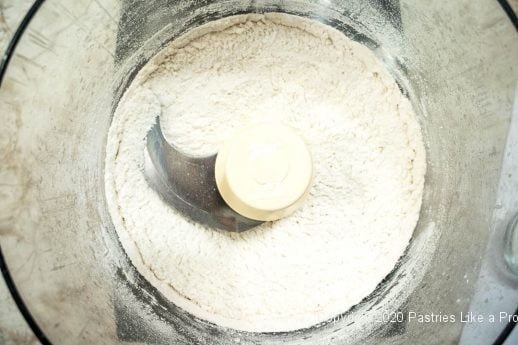
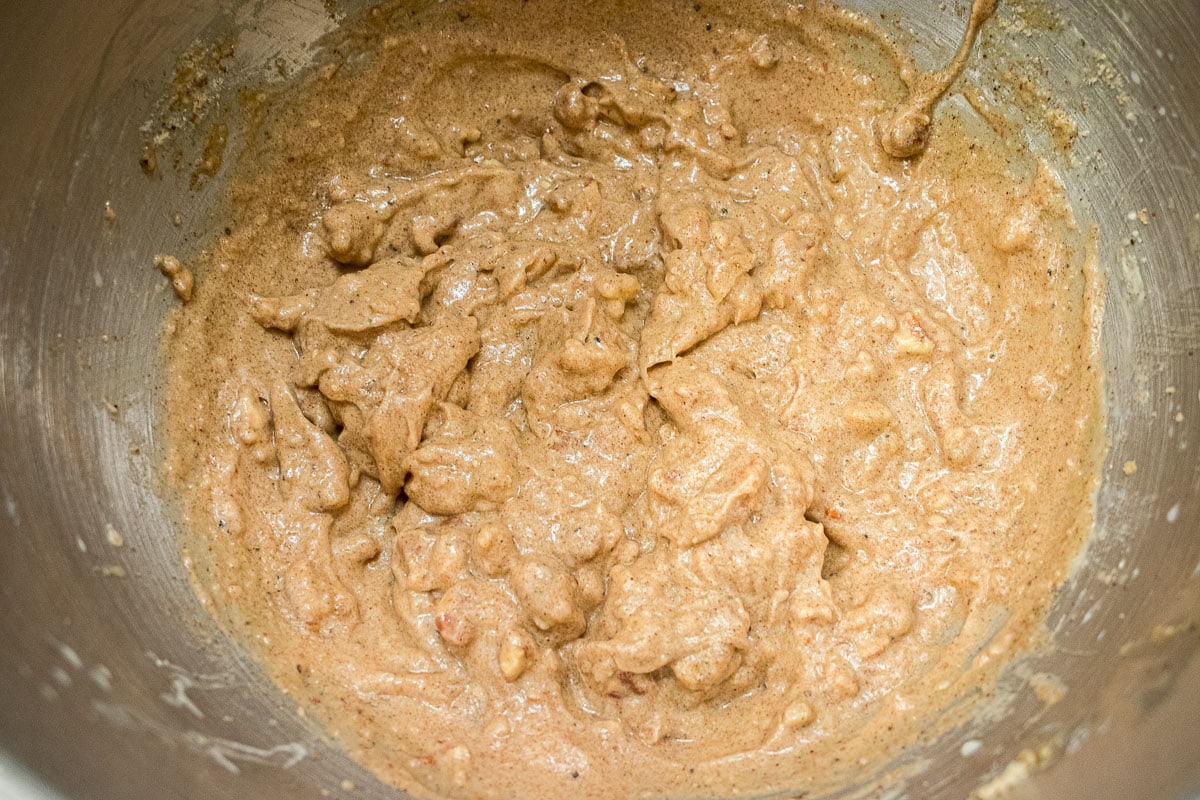
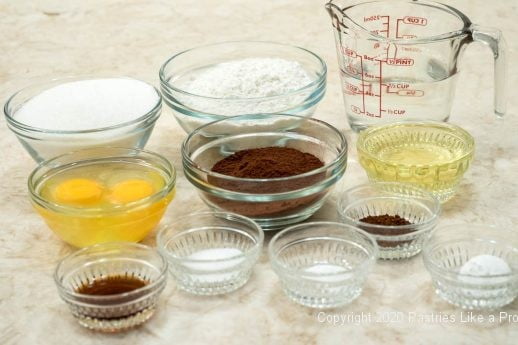
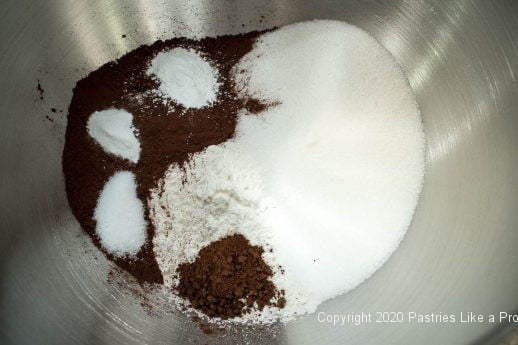
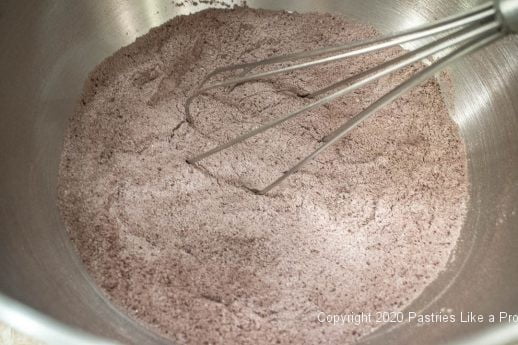
The recipe for Conchas couldn’t be easier or more straight forward. Mix the wet ingredients, mix the dry ingredients and combine them. That’s it.
I’m always excited to find a new recipe, new flavors or something I didn’t know about. I hope you will be as happy as I am to have found these.
Thank you Mexico!
Conchas
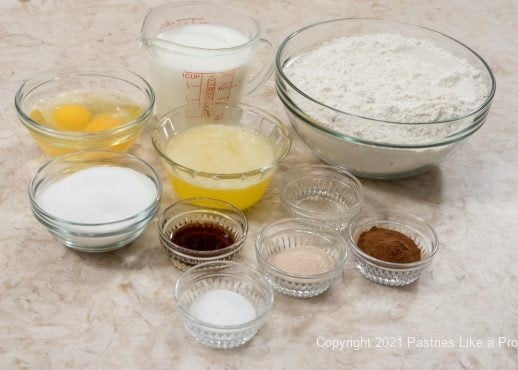
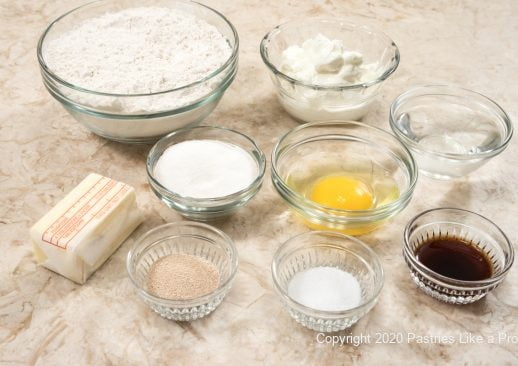
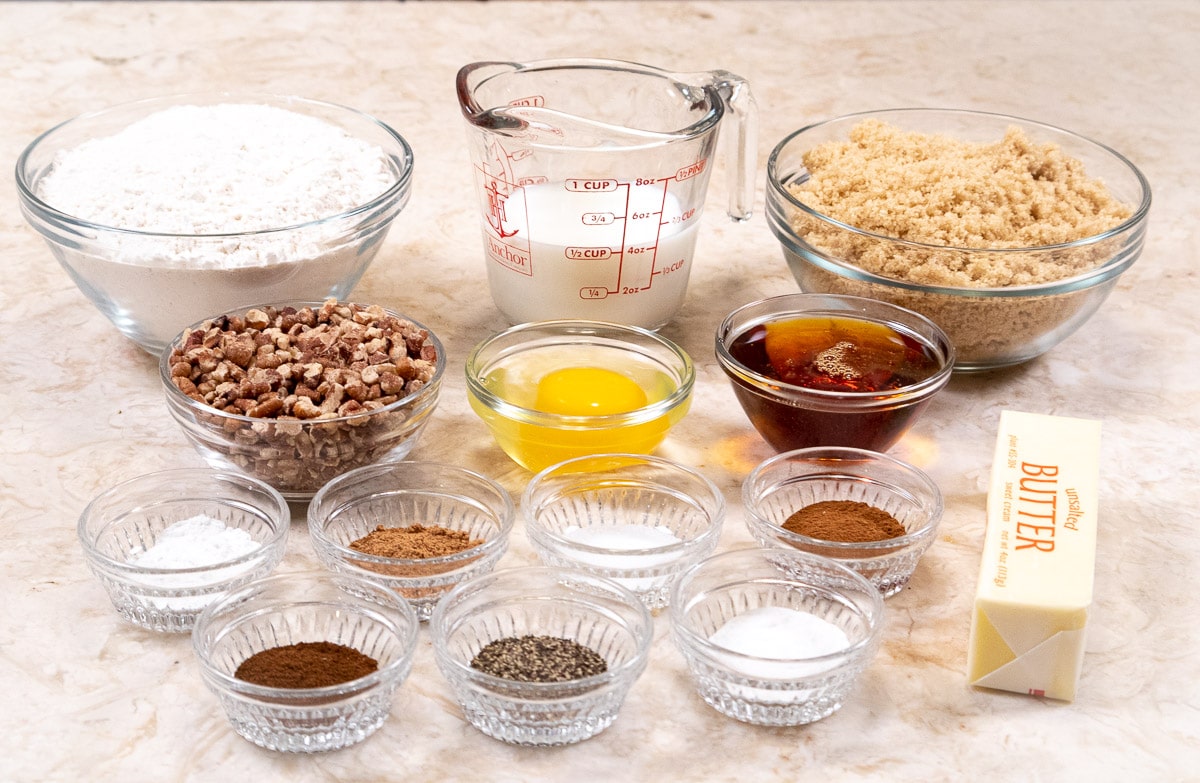
4 cups all-purpose flour (560 grams or 19 ⅔ ounces)
1 ¾ teaspoon instant yeast*
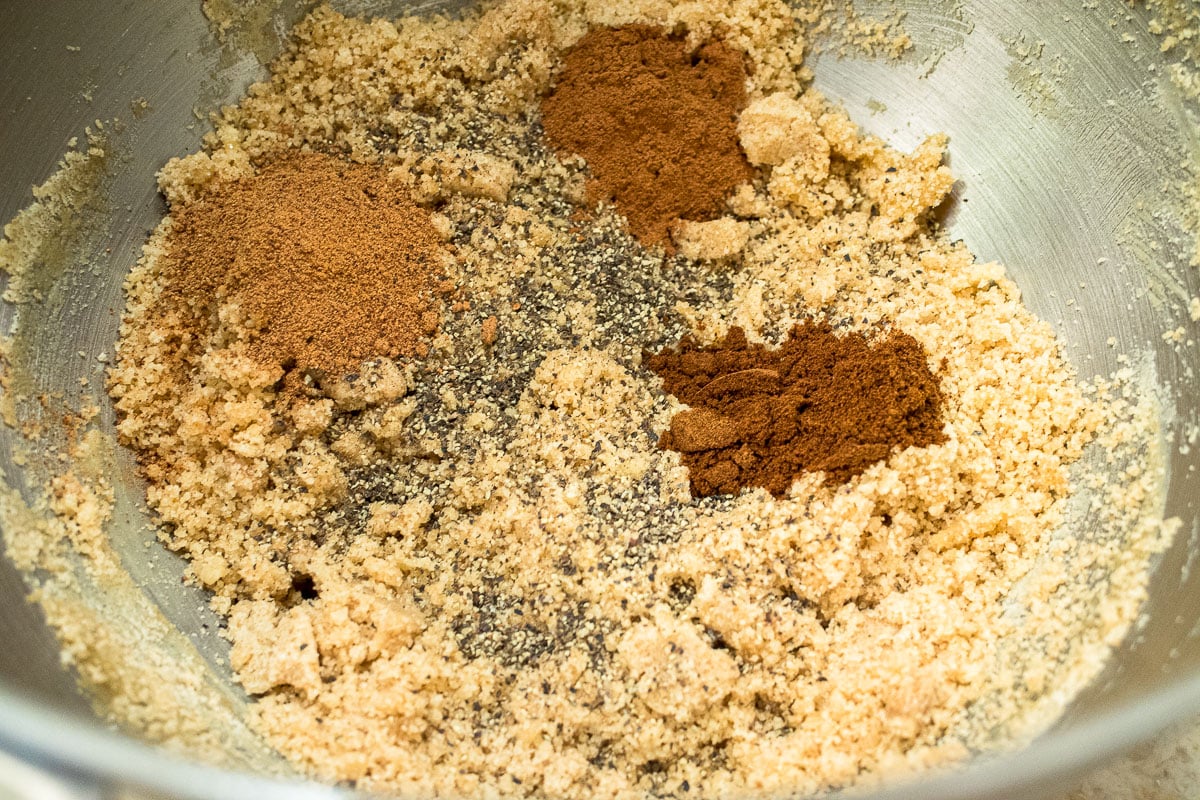
2 teaspoons ground cinnamon
½ cup melted butter (114 grams, 4 ounces or 1 stick)
½ cup granulated sugar (100 grams or 3 ½ ounces)
1 cup milk
2 large eggs
1 teaspoon salt
2 teaspoons vanilla extract
1 teaspoon anise extract, optional
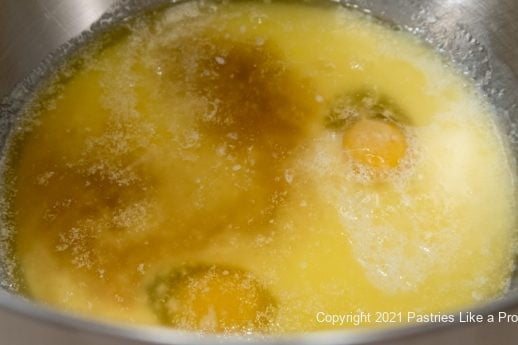
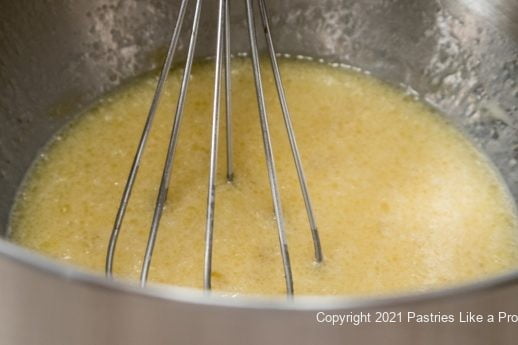
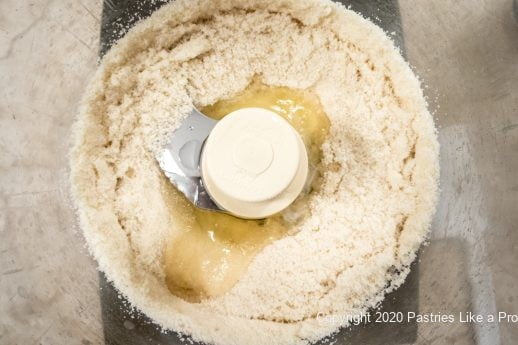
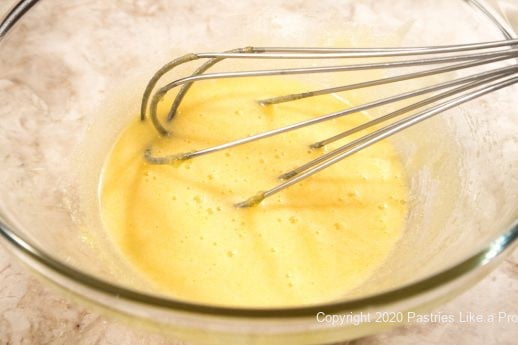
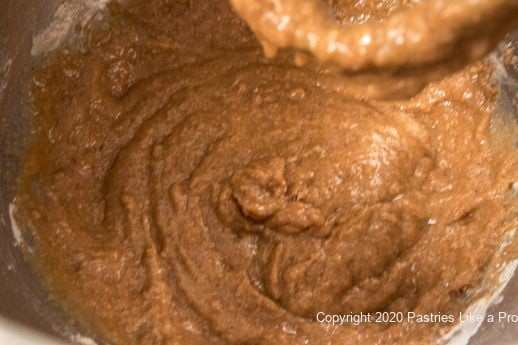
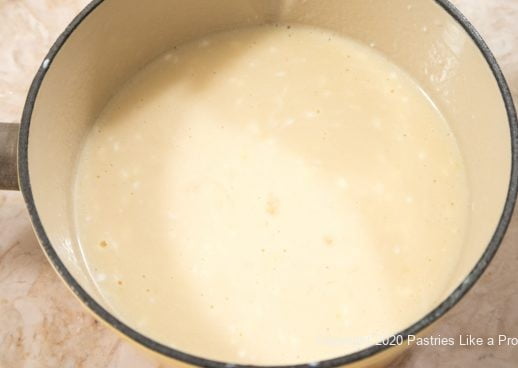
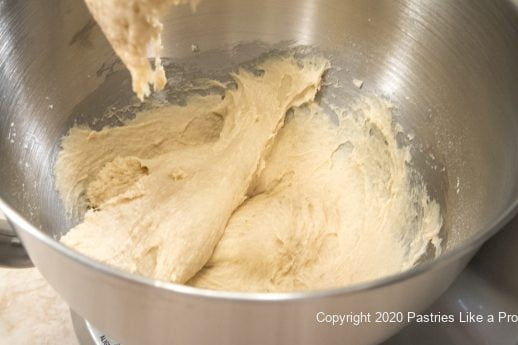
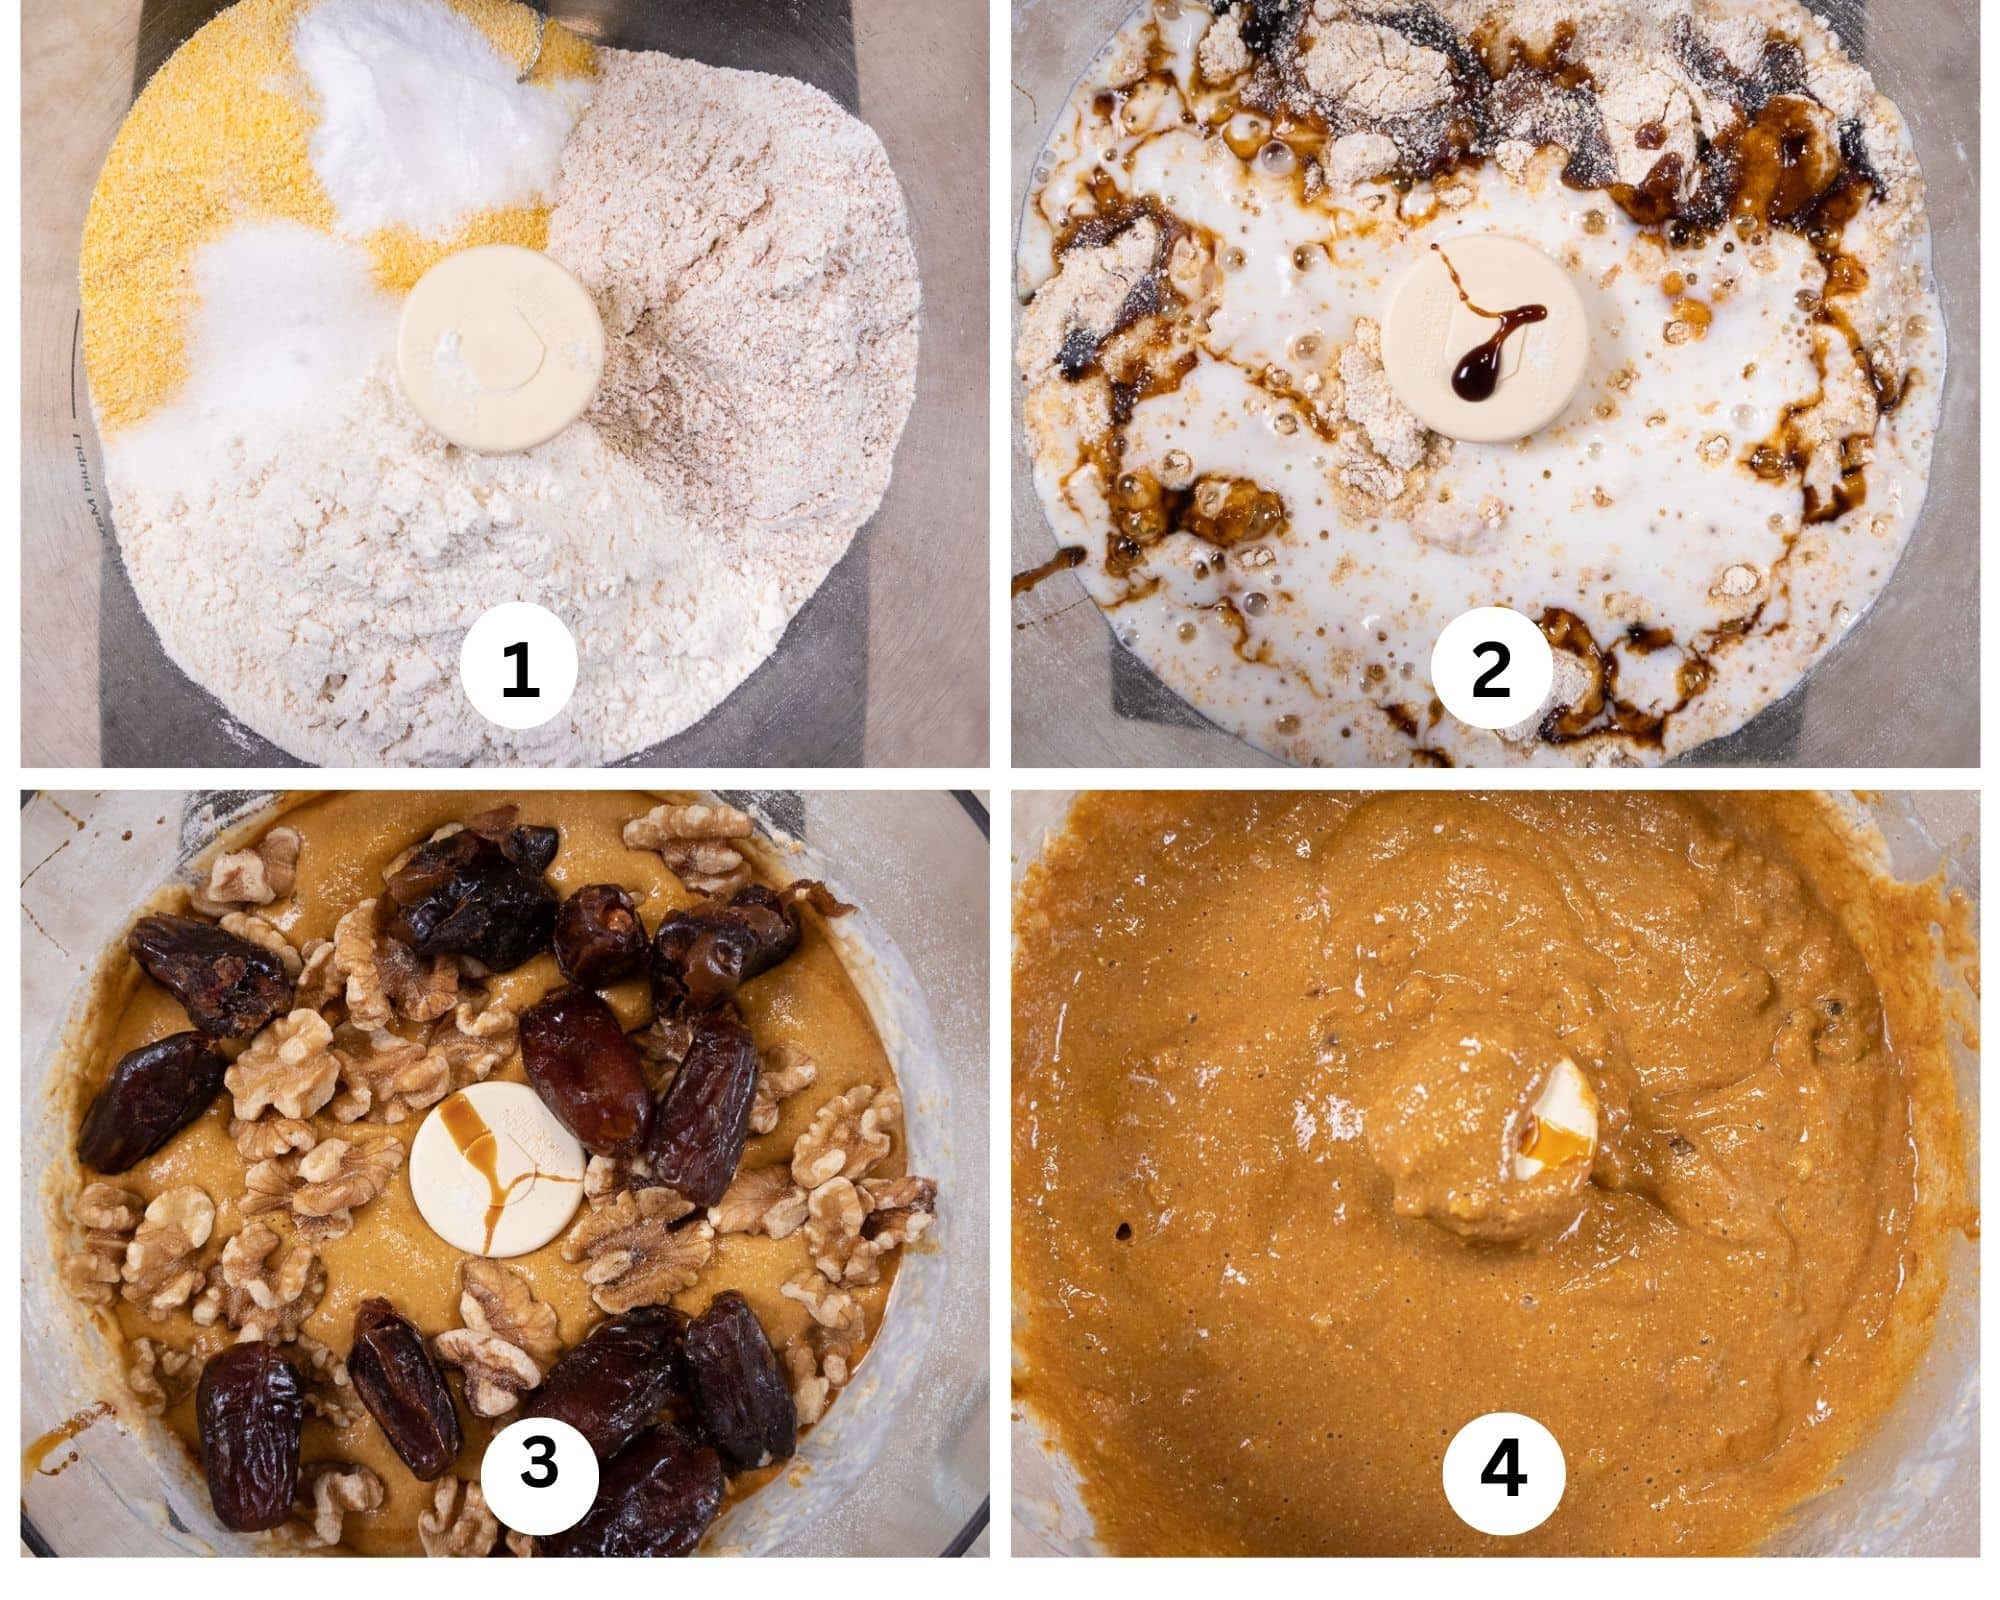
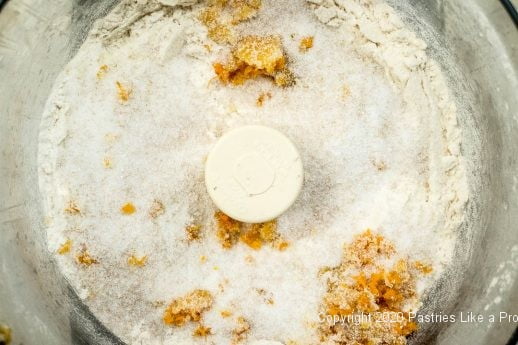
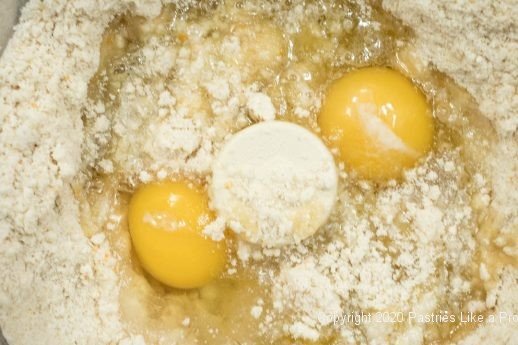
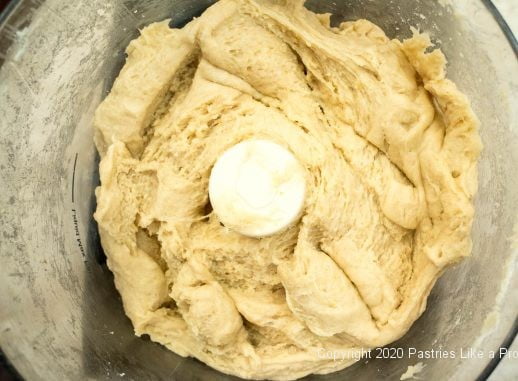
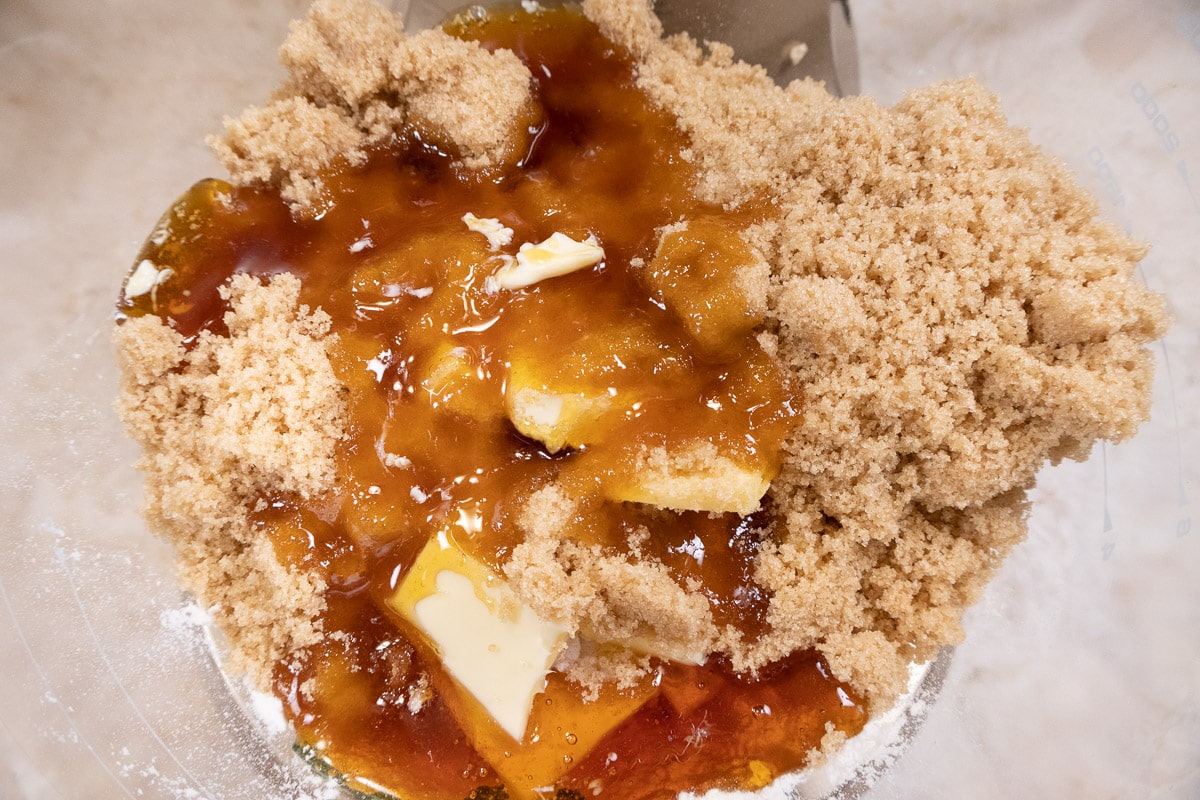
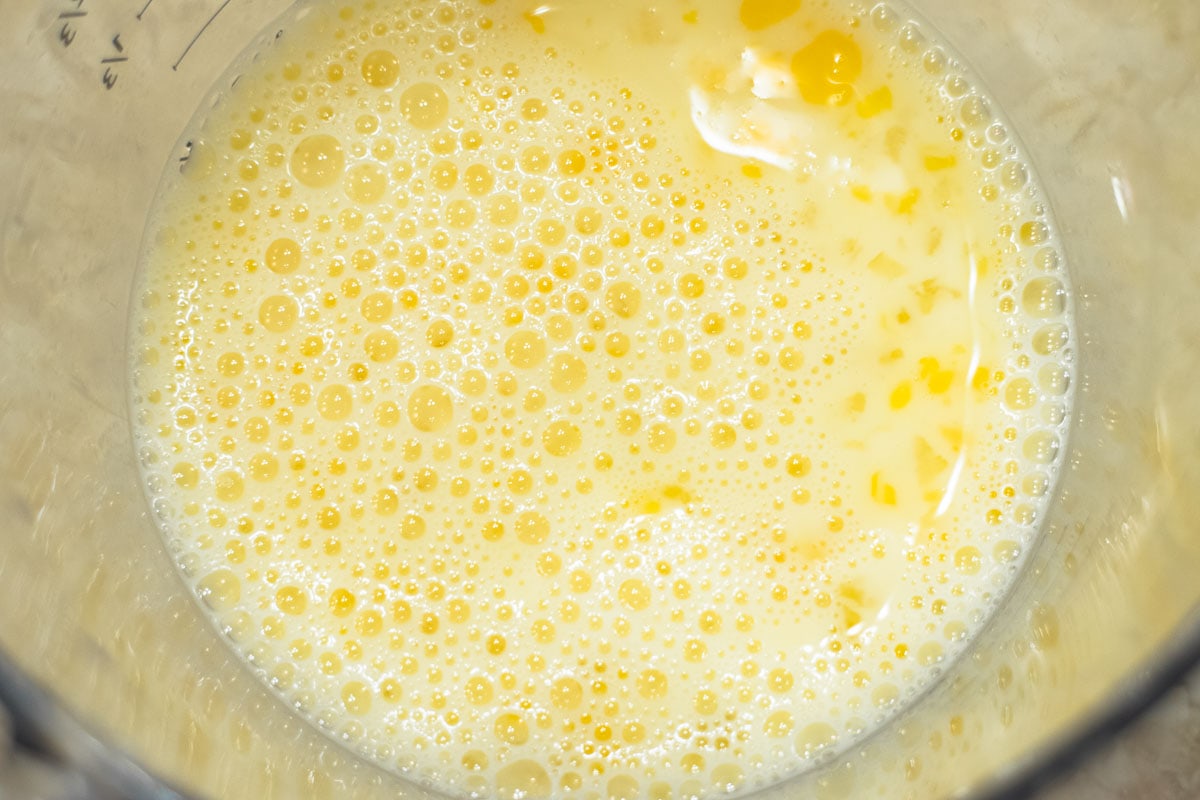
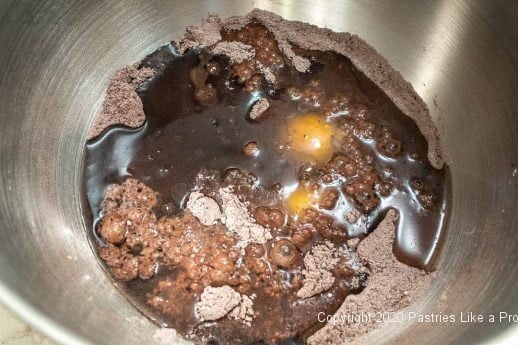
Fit the mixer with a dough hook if available. Combine the butter, sugar, milk, eggs, salt, vanilla, and anise extracts in the bowl of the mixer. Whisk to break up the eggs.
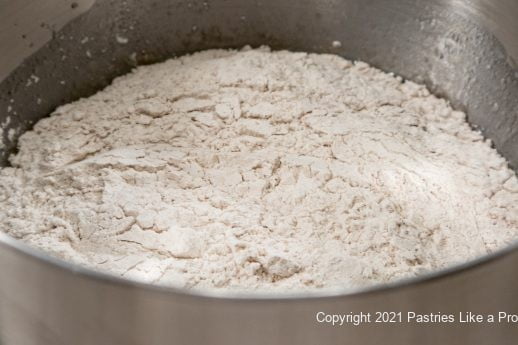
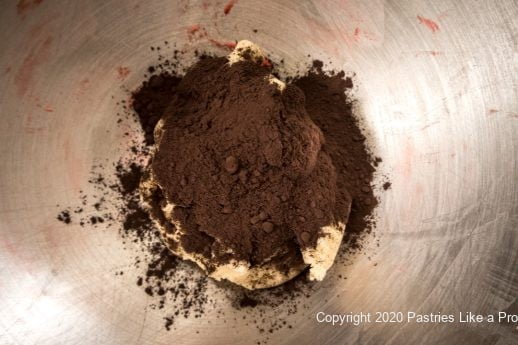
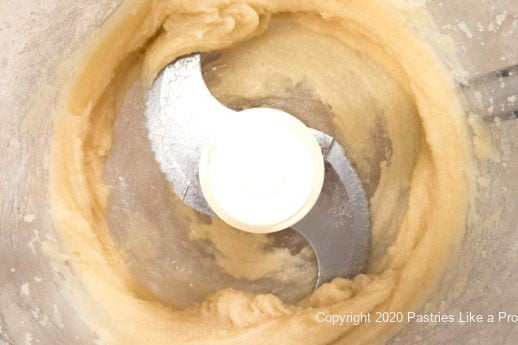
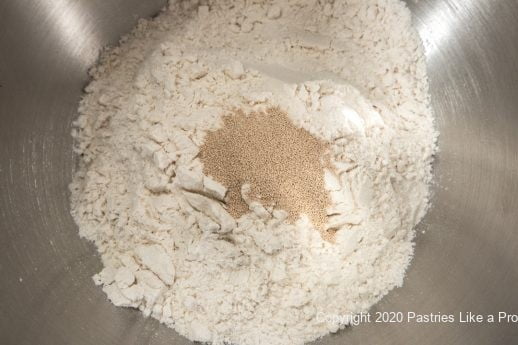
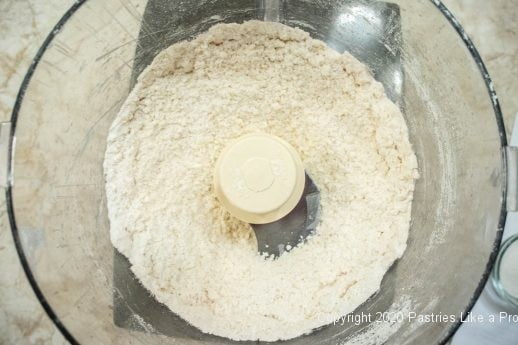
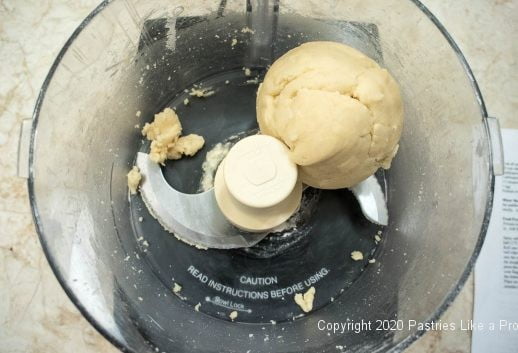
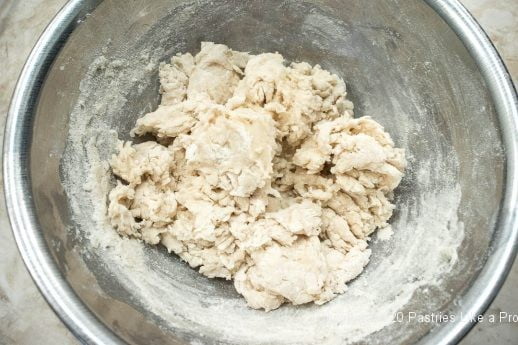
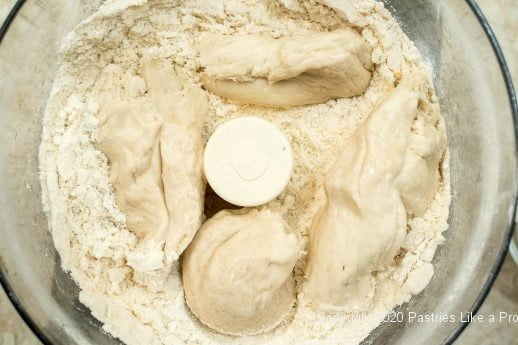
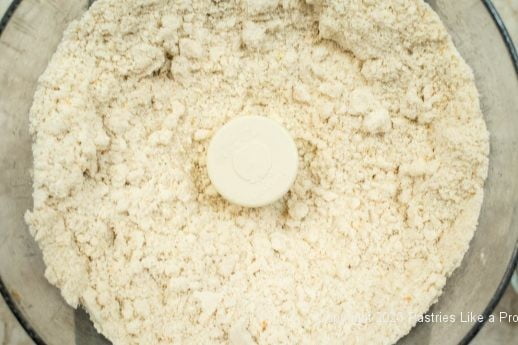
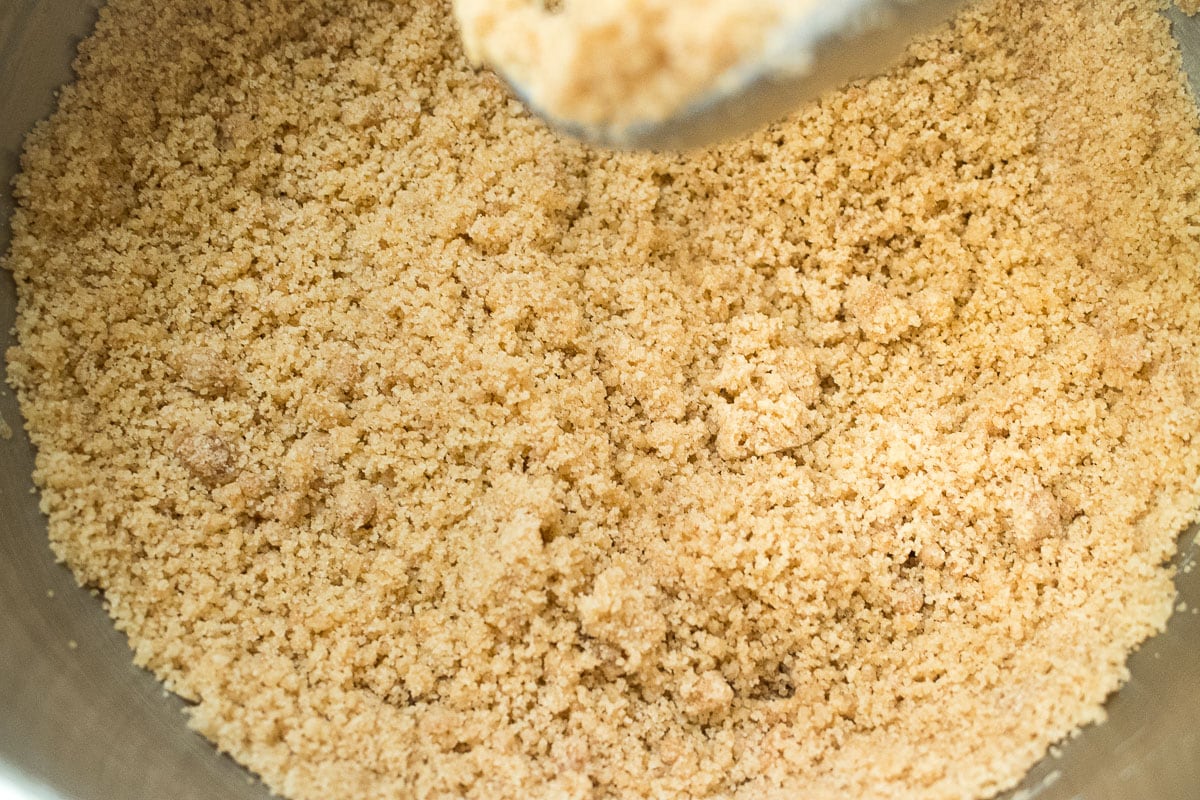
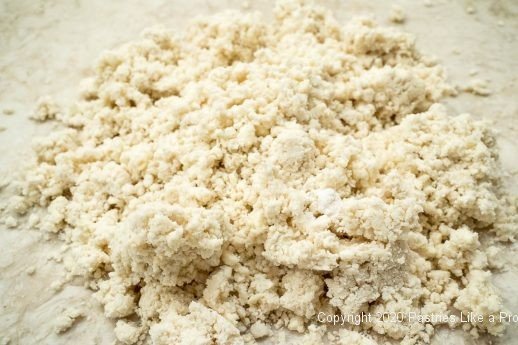
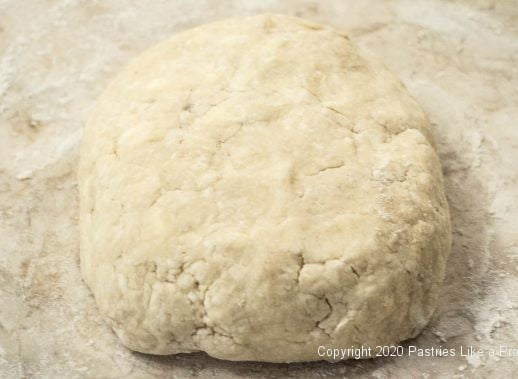
Add the flour all at once, beating on lowest setting until combined. Raise the speed slightly and beat for 3 to 4 minutes until the dough is smooth and soft.
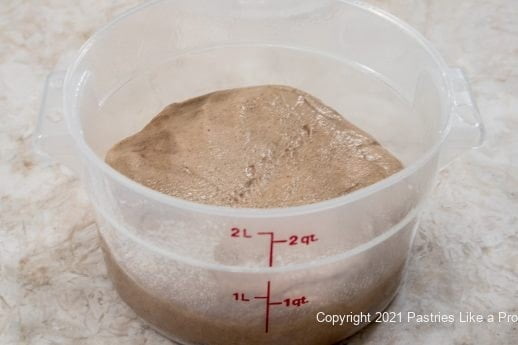
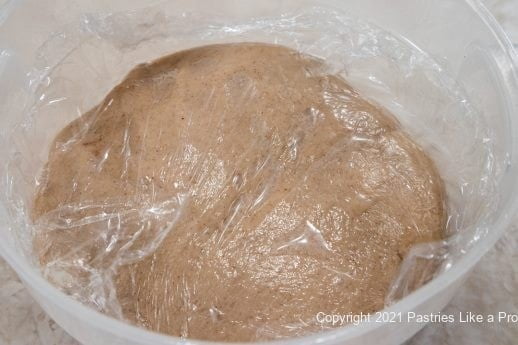
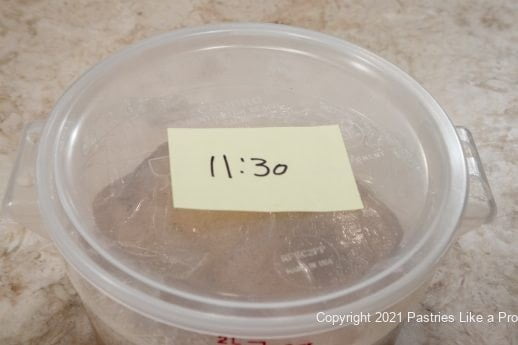
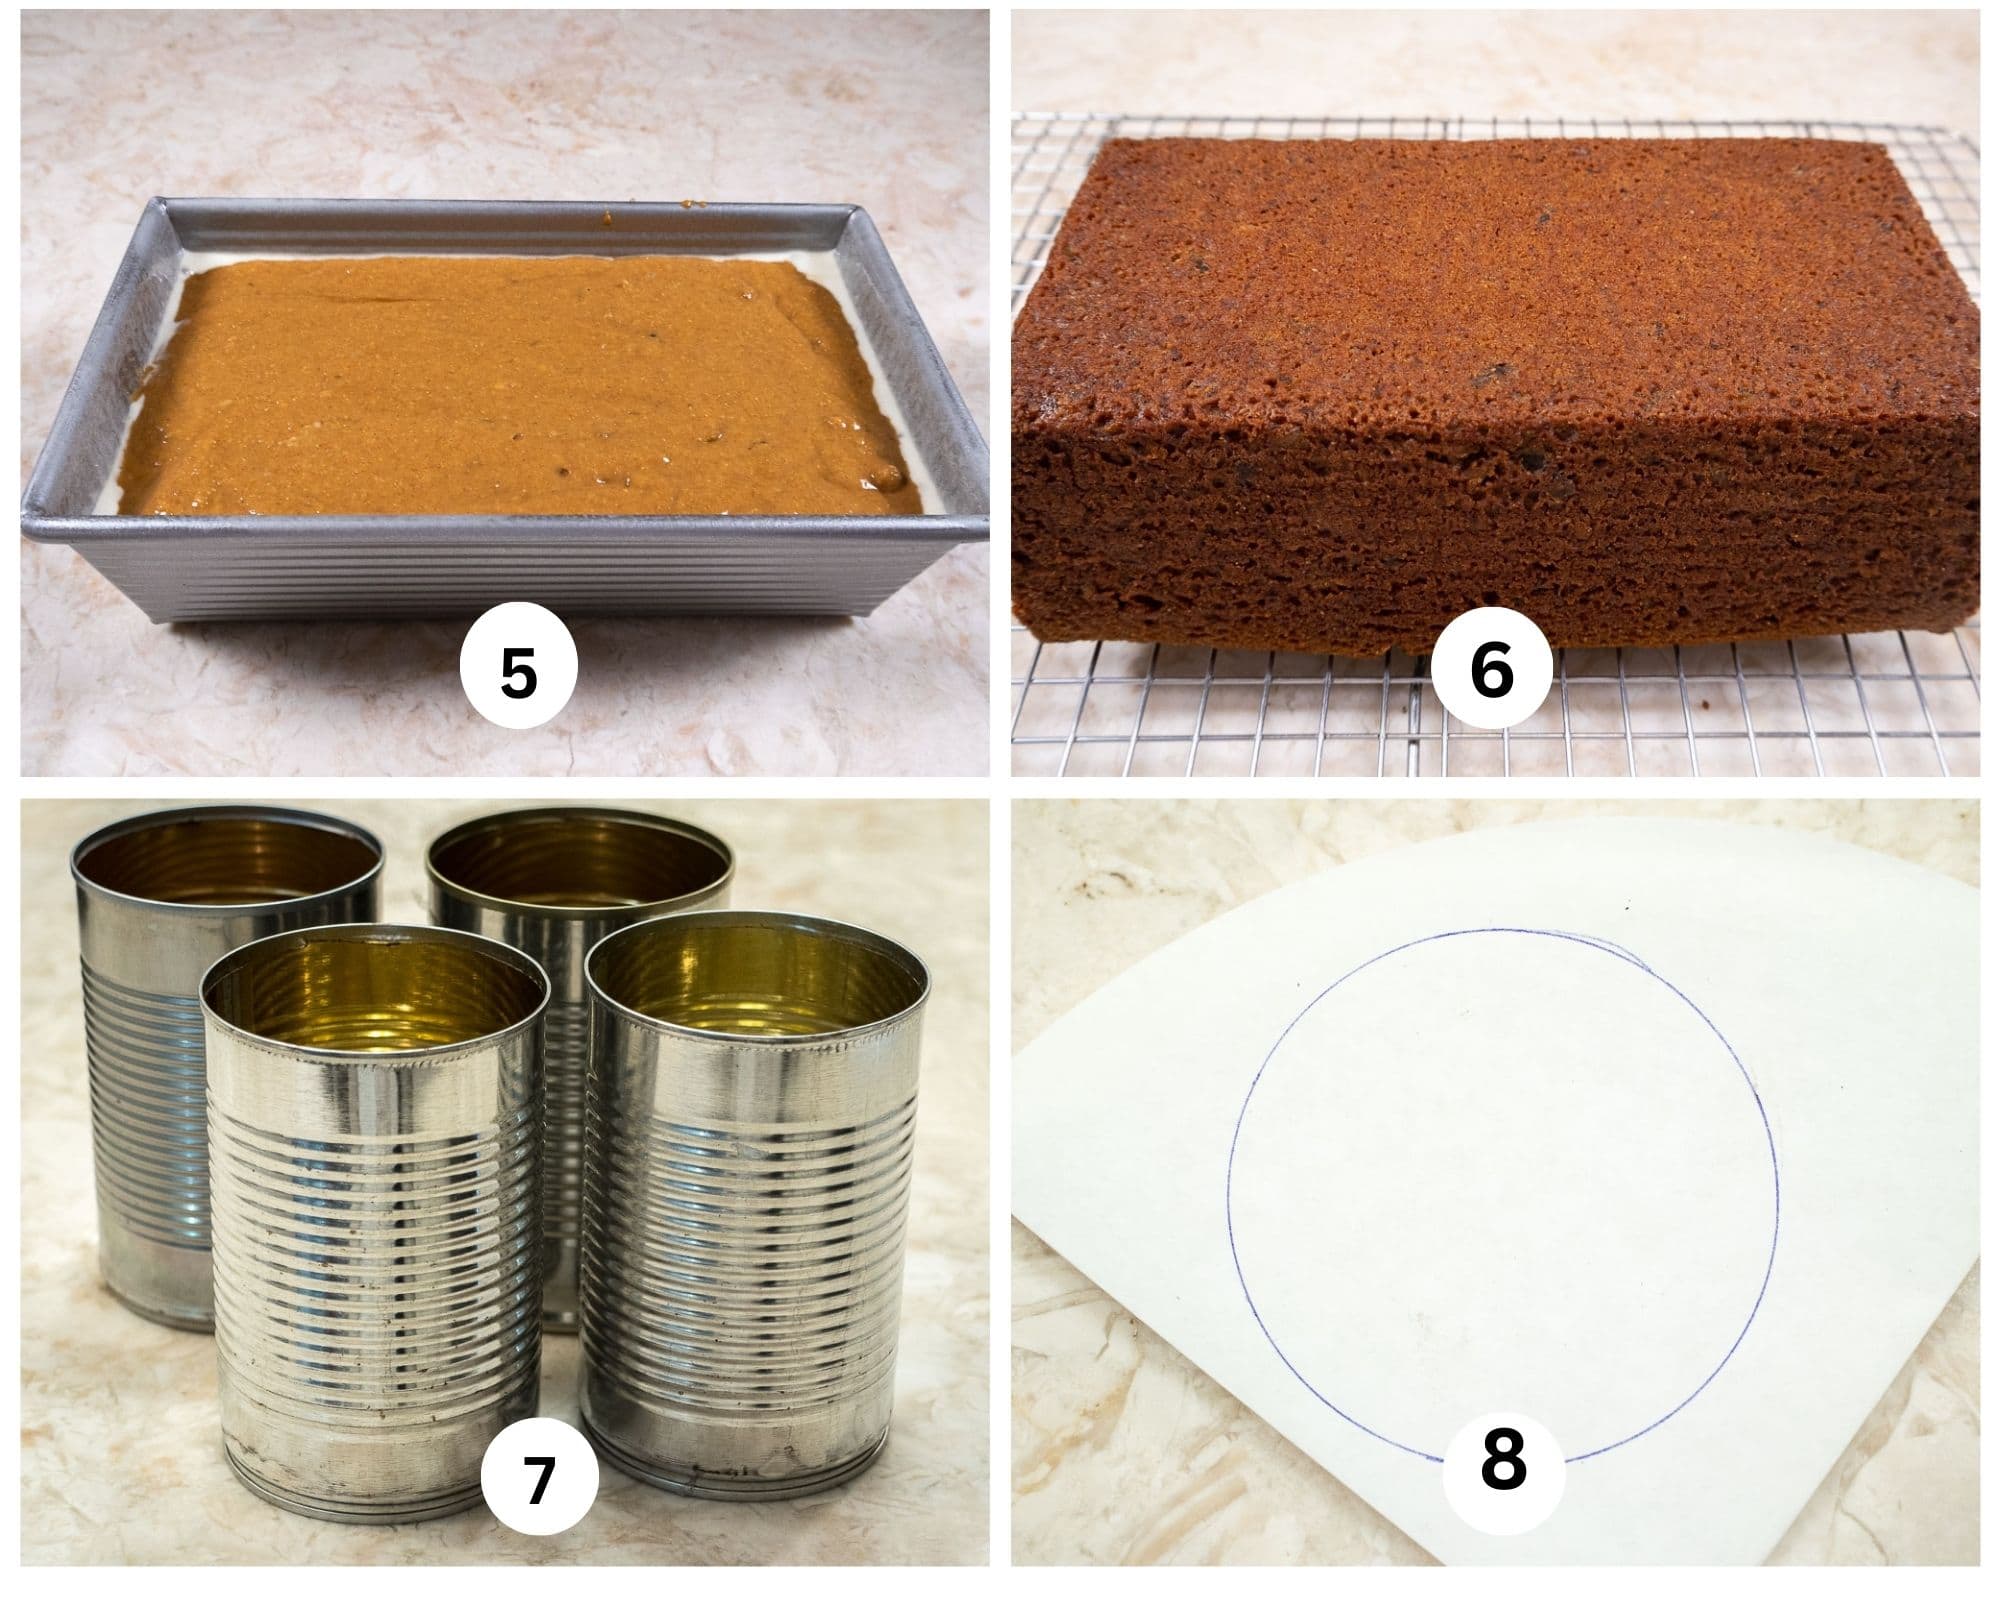
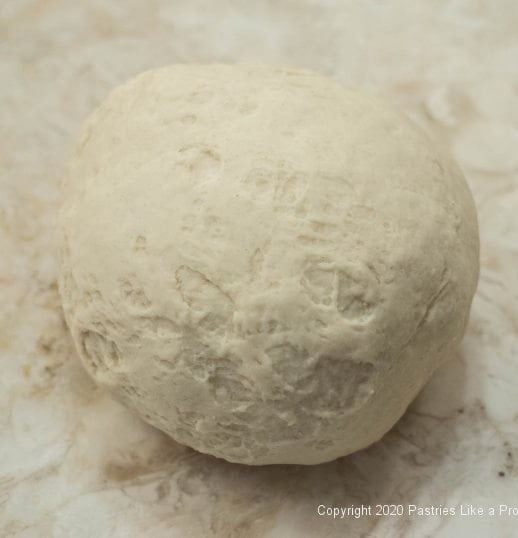
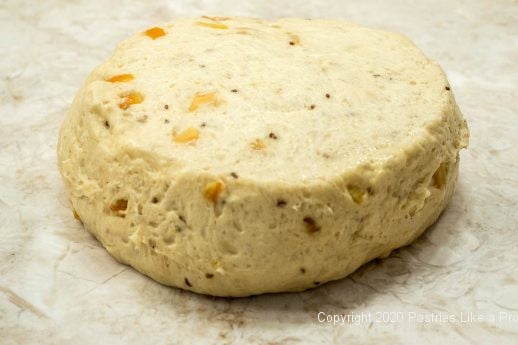
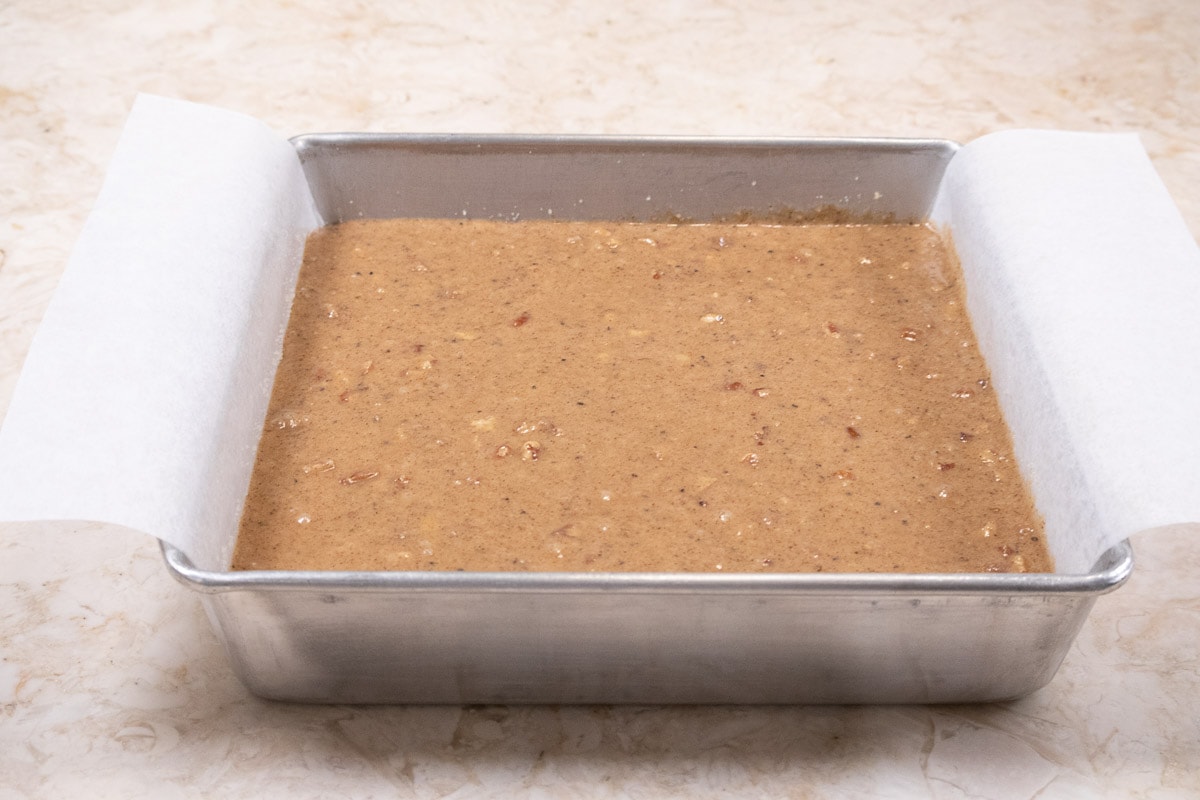
Spray a container at least twice the size of the dough with a non-stick baking release. Place the dough in the container and cover. I place plastic wrap directly on top and then cover with a towel or lid. Mark the time and let rise for an hour or so until doubled.
Because this dough is heavy in butter, sugar and eggs it can be a slow riser, especially if the room is cool. I put mine in the oven with the light turned on to ensure a warm environment.
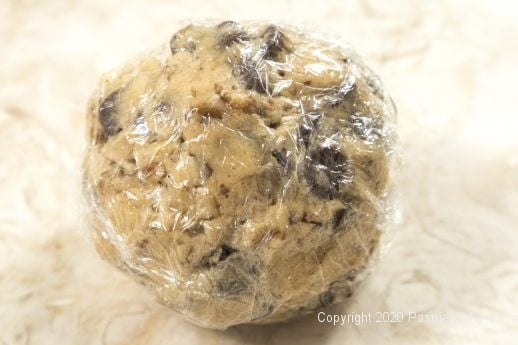
After it has risen, you can continue or deflate the dough and refrigerate overnight. The dough may or may not rise again but it doesn’t matter either way. I find rich doughs much easier to shape if they are cold.
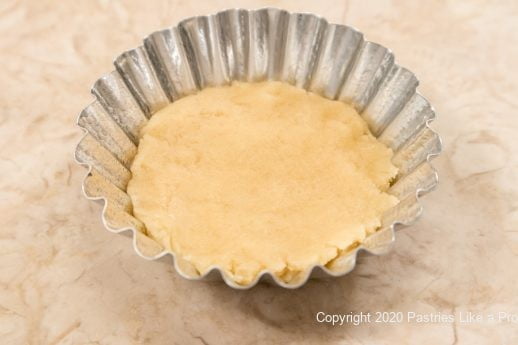
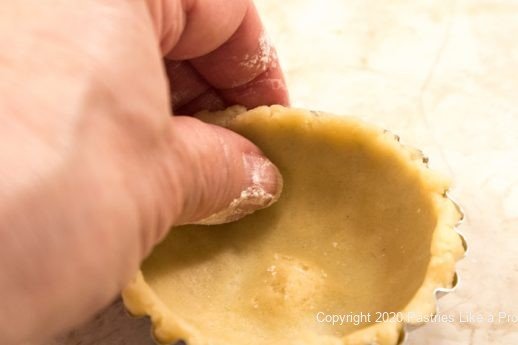
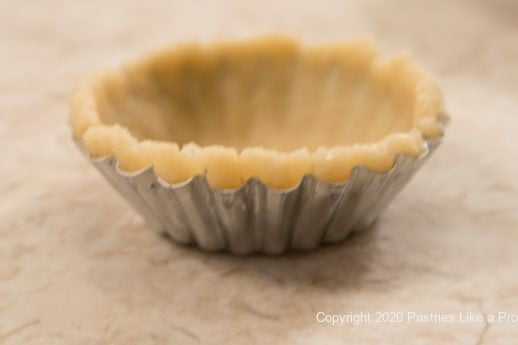
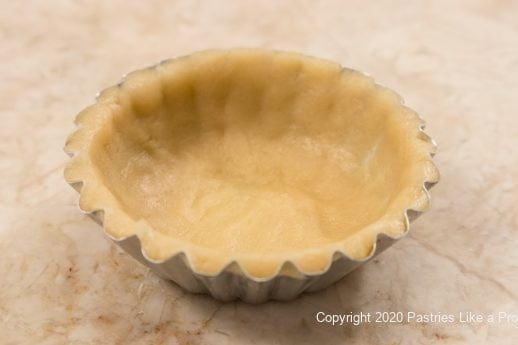
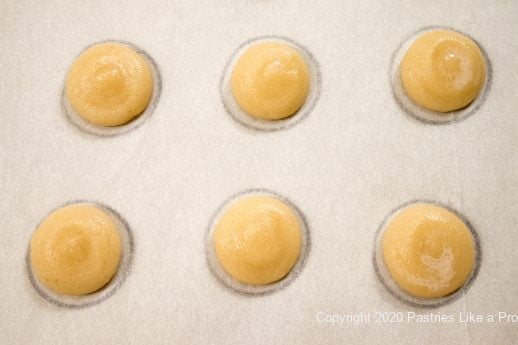
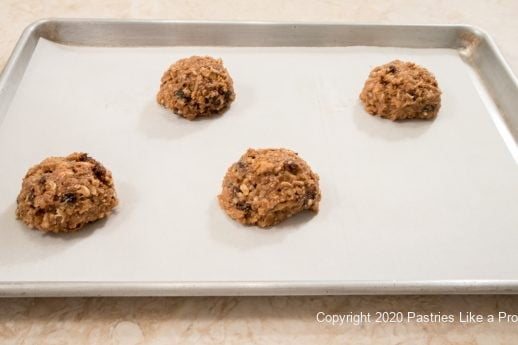
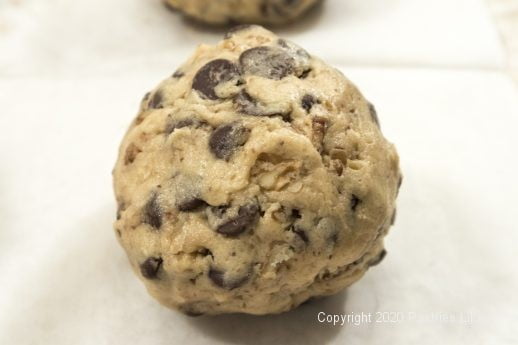
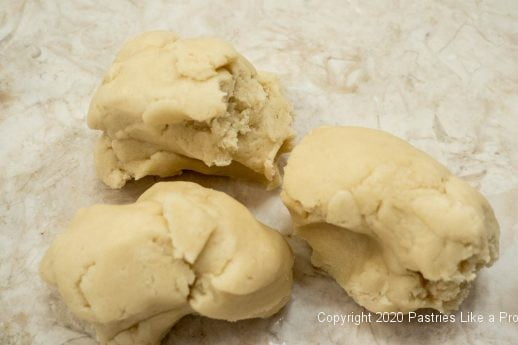
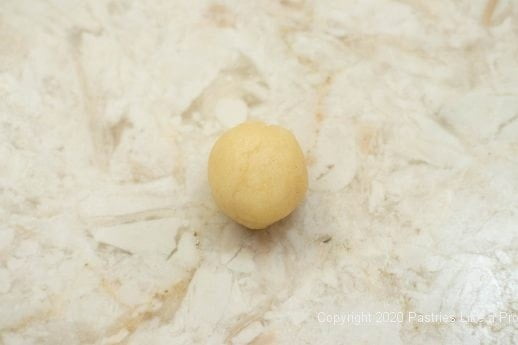
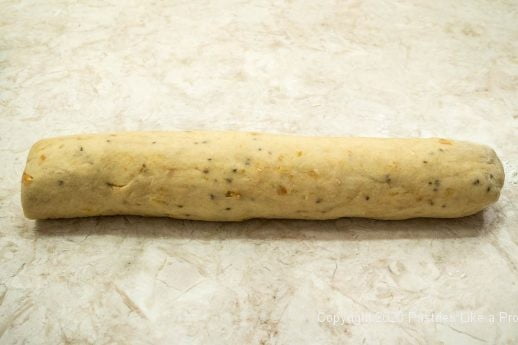
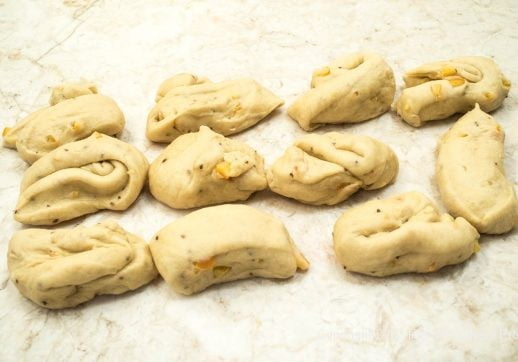
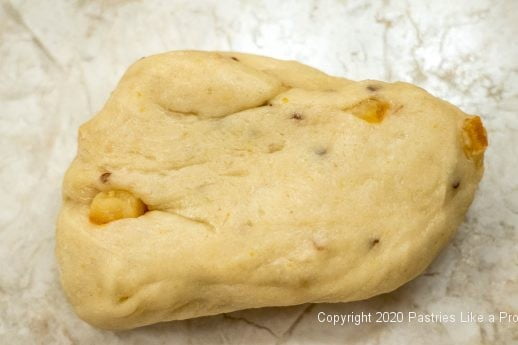
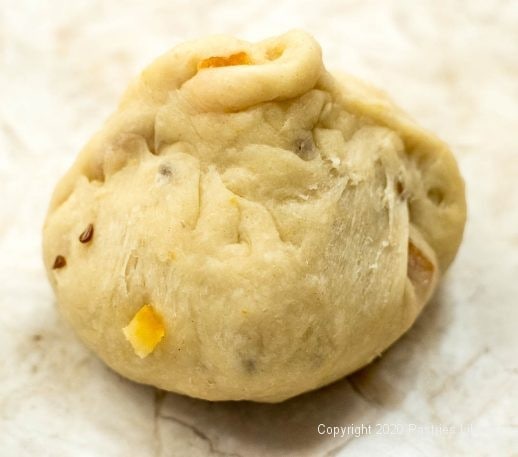
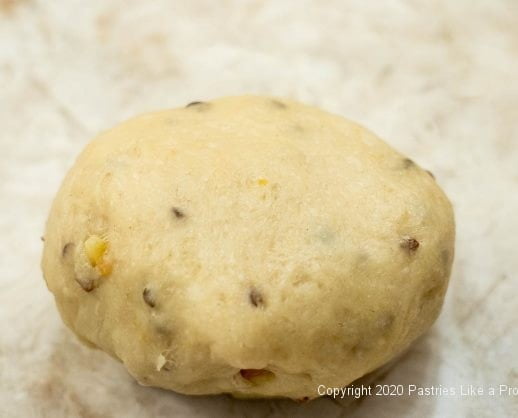
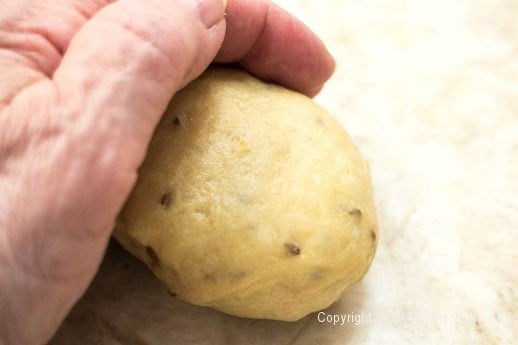
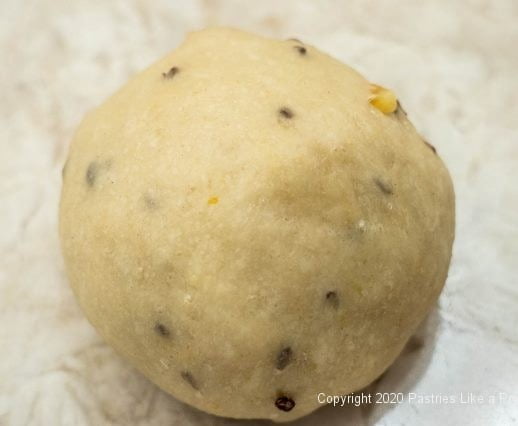
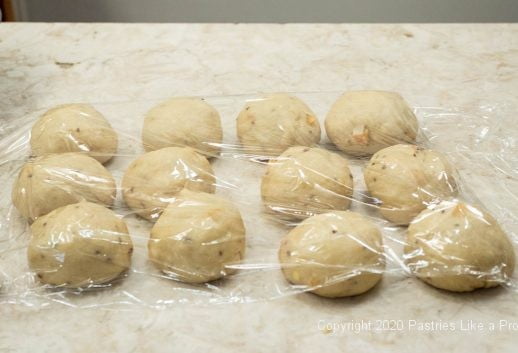
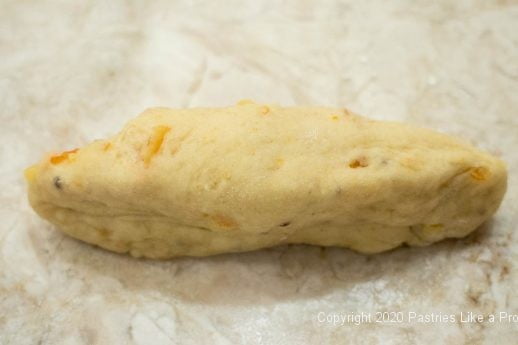
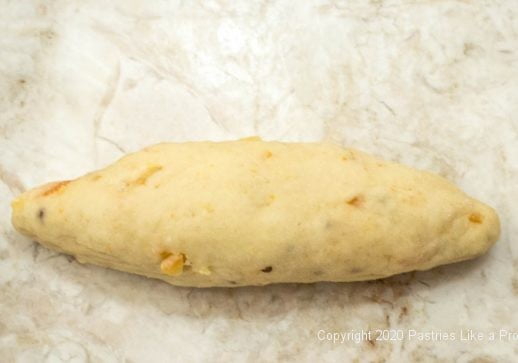
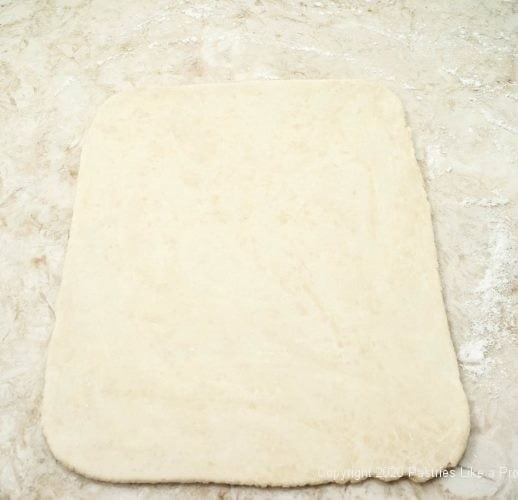
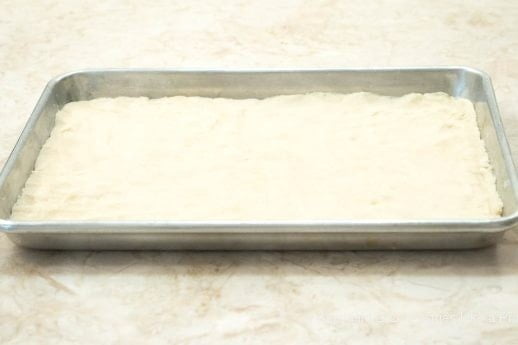
Divide the dough into 12 pieces about 90 grams or 3 ounces each. Shape into rounds, placing the on a parchment paper lined baking sheet.
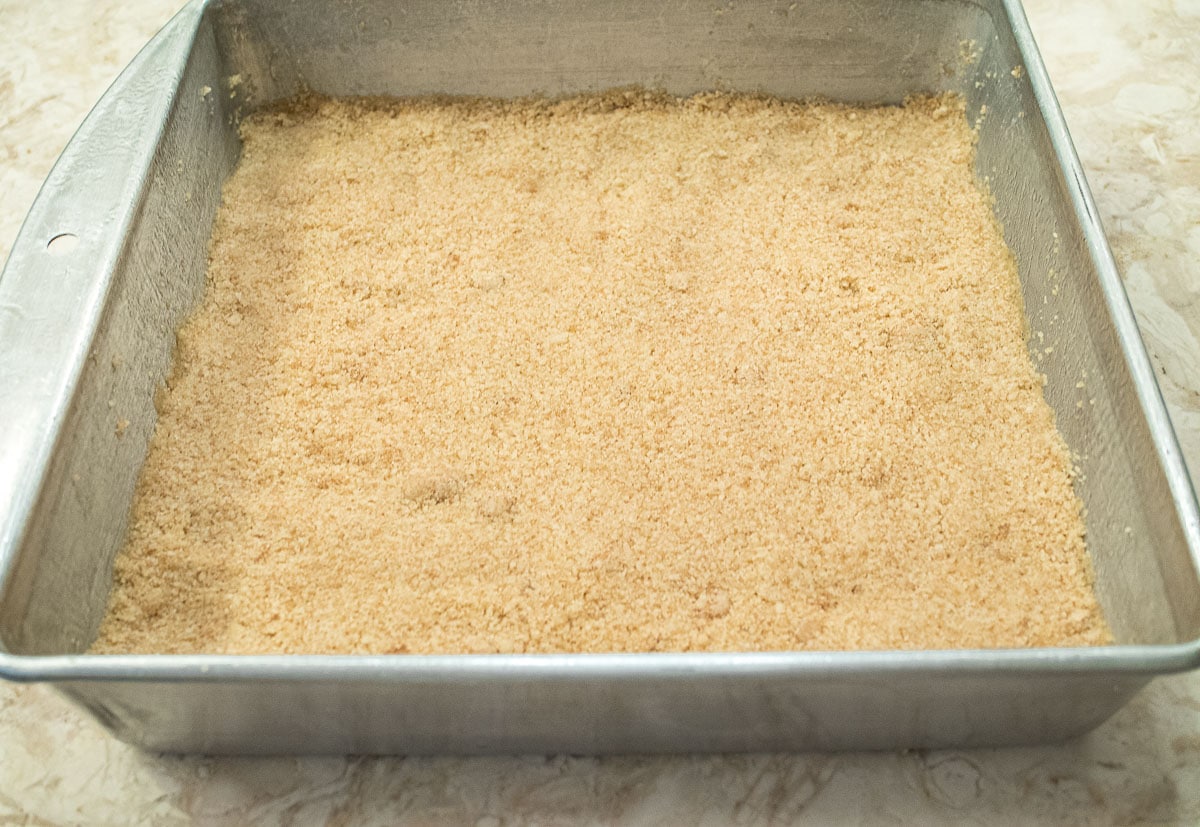
Topping for the Conchas
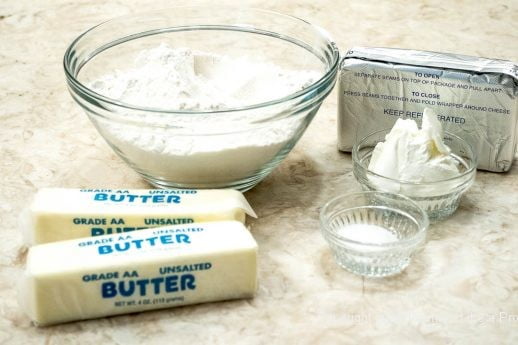
½ cup butter, softened (114 grams, 4 ounces or 1 stick)
⅔ cup granulated sugar (135 grams or 4 ¾ ounces)
1 cup all-purpose flour (140 grams or 5 ounces)
1 teaspoon vanilla
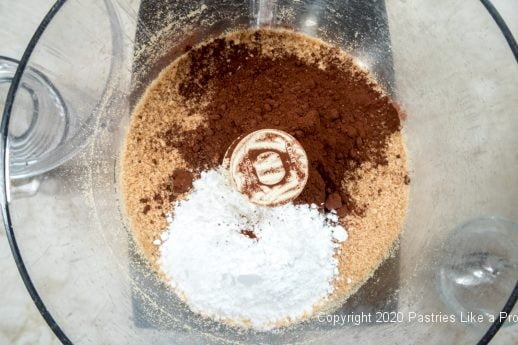
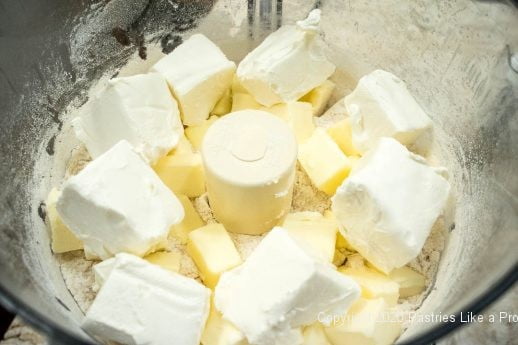
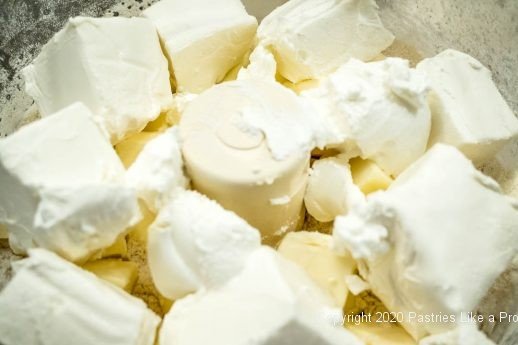
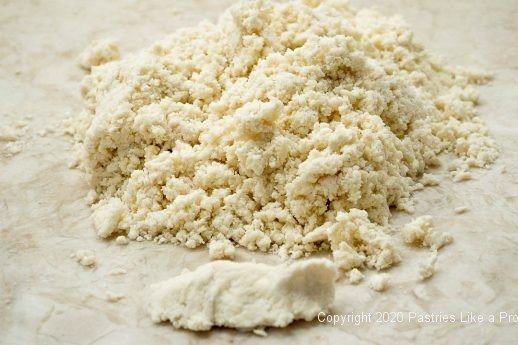
Place all the ingredients in the bowl of a mixer and beat until smooth.
Assembly
Shaped Rolls
Topping, above
Cocoa, optional
Gel Food Coloring as needed, optional
1 egg white, opitonal
Sanding sugar, optional
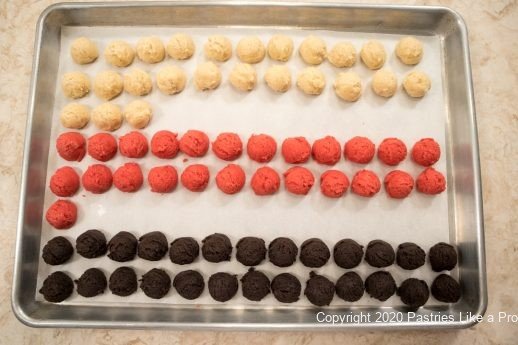
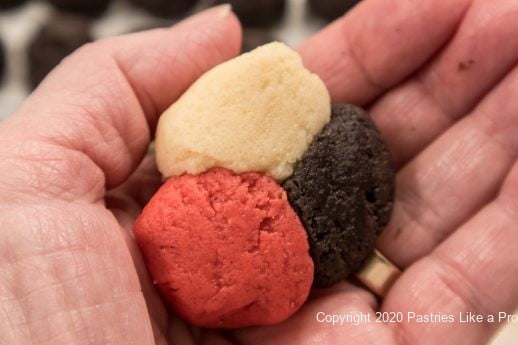
Divide the topping into 2 or more portions if coloring. Color each piece using cocoa for brown. Use gel food coloring of your choice. Knead the coloring into each piece of dough.
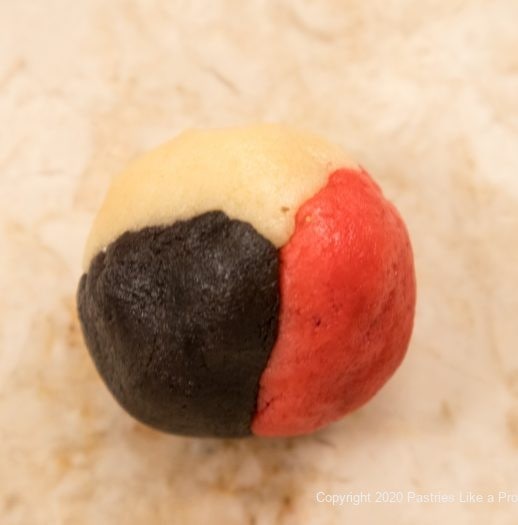
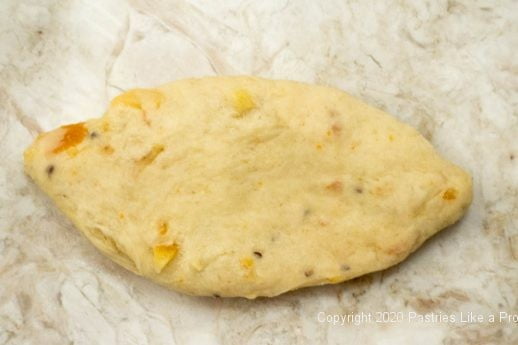
Using a #40 disher/scooper portion out 12 balls for the topping. Alternatively use 2 tablespoons of dough per roll. Flatten one piece into a thin round between the palms of your hands. If it isn't large enough to cover the roll, put it on the work surface and flatten it with your fingers. Drape it over the roll. Pat it lightly in place.
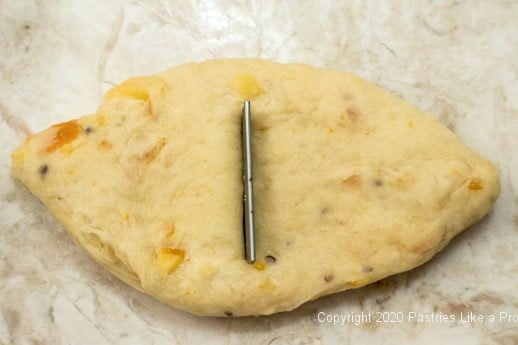
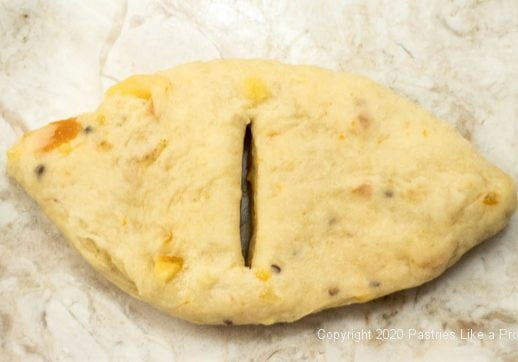
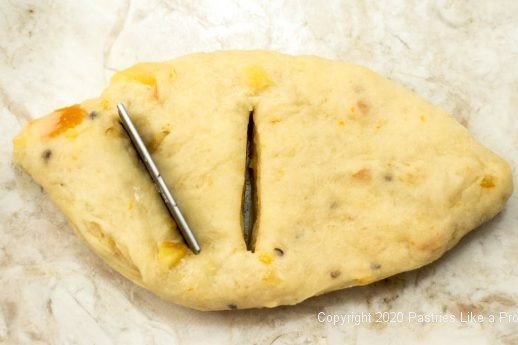
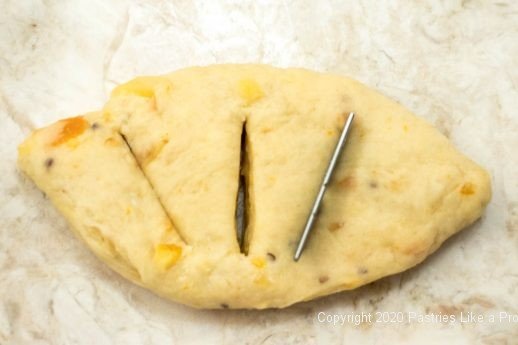
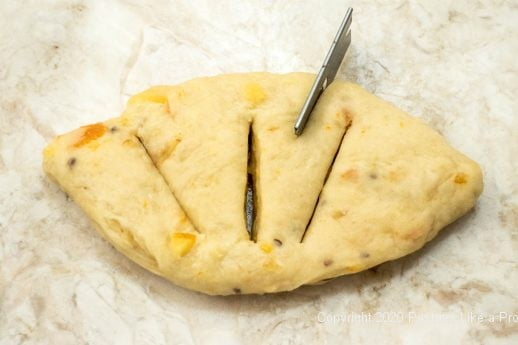
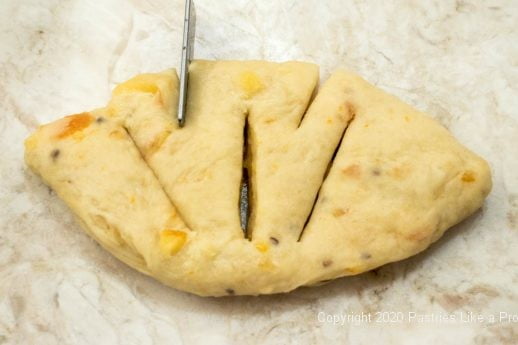
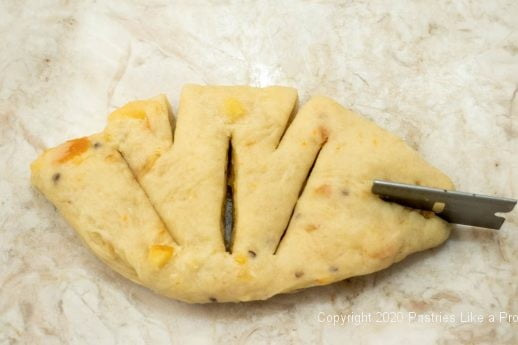
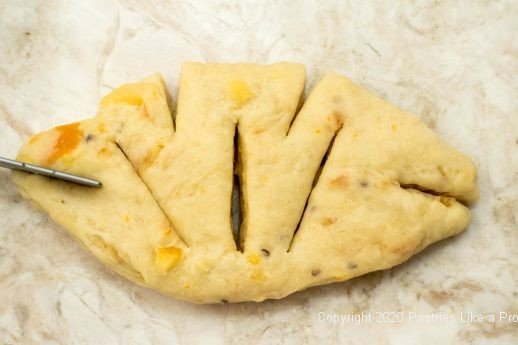
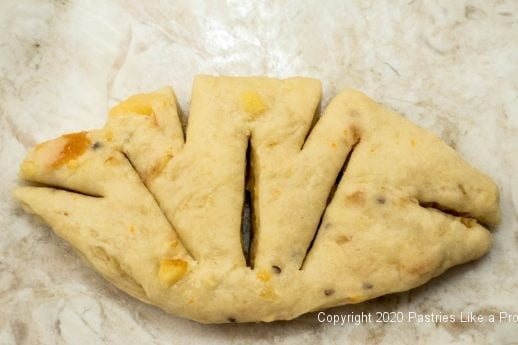
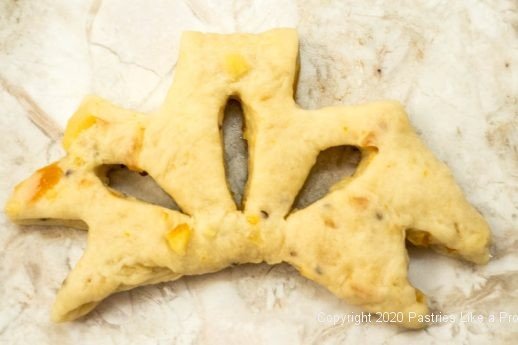
With a knife, cut grooves in the topping in the shape of a clam shell or any other design you like.
Cover and let rise until almost doubled.
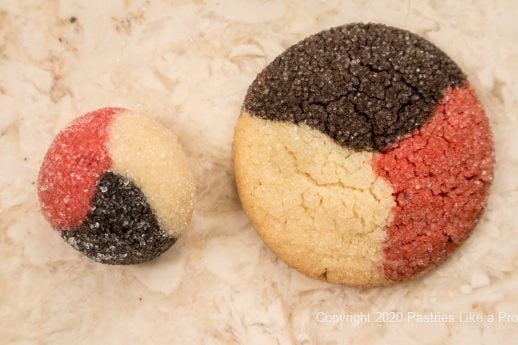
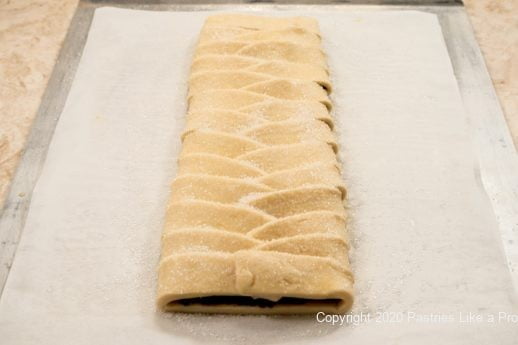
If using the sanding sugar, beat the egg white until foamy. Very lightly brush onto the decoration and immediately cover with sanding sugar.
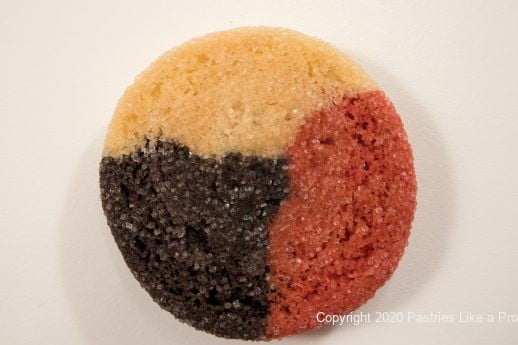
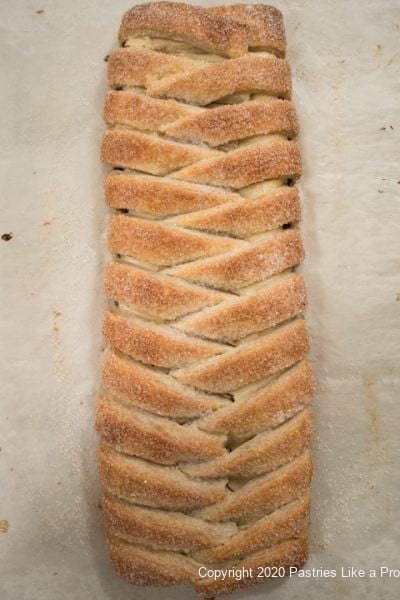
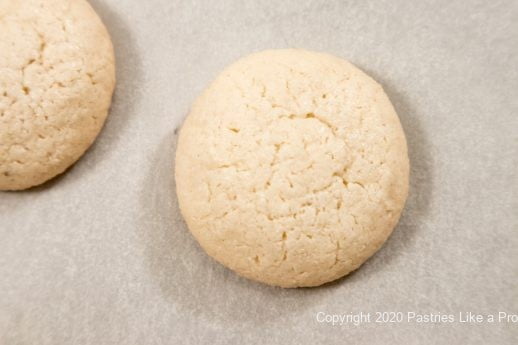
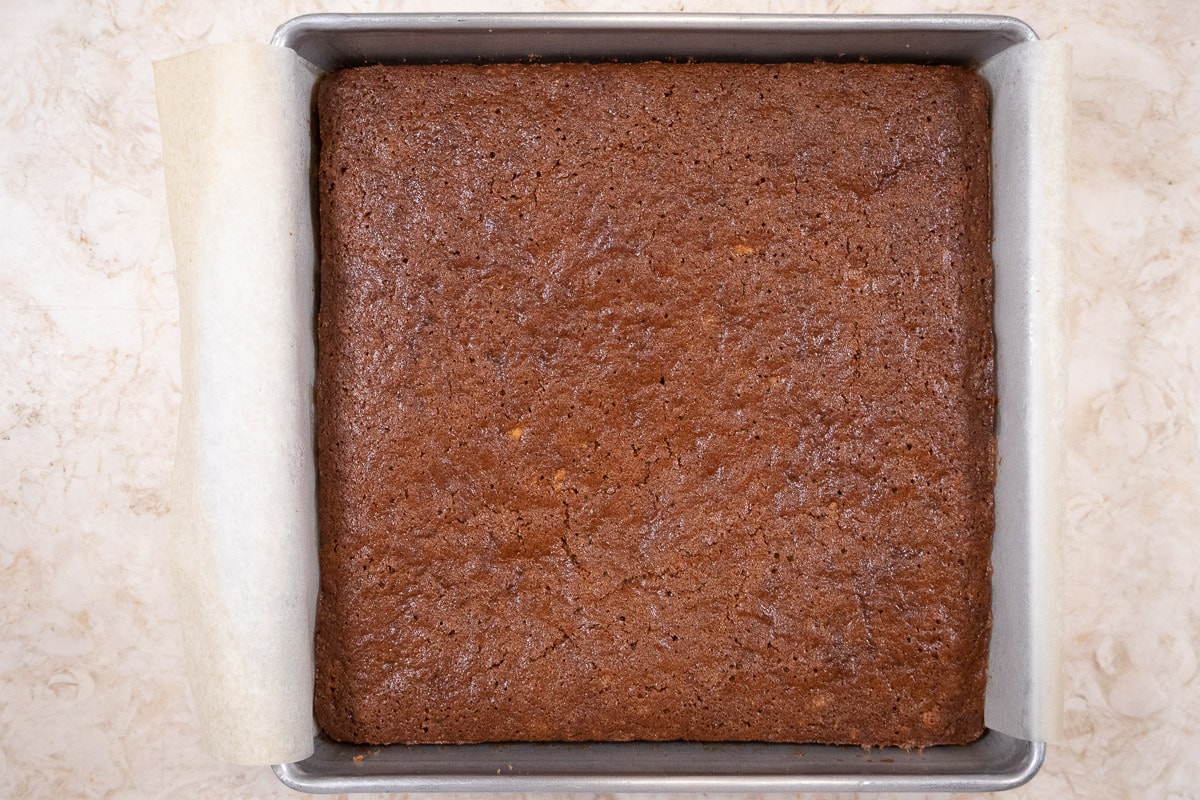
In the meantime, preheat the oven to 350°F. Double Pan and bake for 20 to 22 minutes until lightly golden brown. Cool.
Alternative decoration: If you don't feel like making the topping, brush the rolls with beaten egg white after they have risen and sprinkle heavily with sanding sugar or Swedish Pearl sugar. Bake as directed.
Yield: 12 Conchas
Storage: Best eaten the same day, these can be held at room temperature for a day
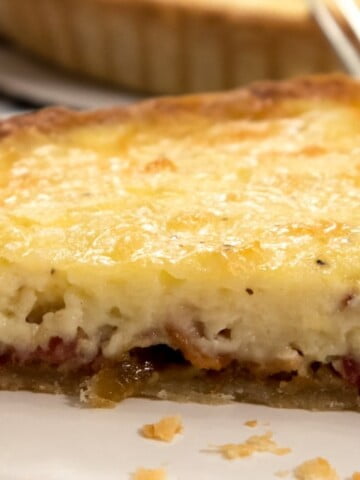
Note: I would like to thank Adrianna of A Cozy Kitchen whose recipe I adapted. I think my decorations cracked more than they should have because I took the topping all the way to the very bottom of the rolls. My suggestion is to keep them about ¼ to ⅓ inch above the bottom of the roll.


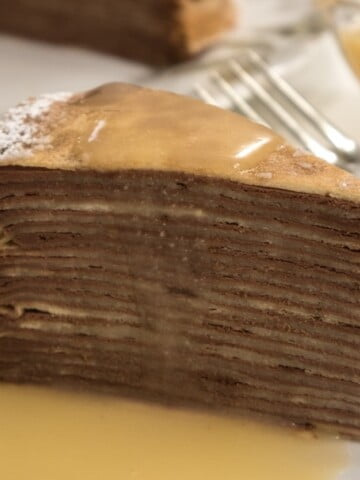
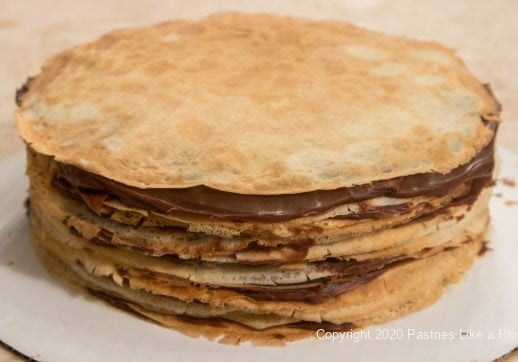
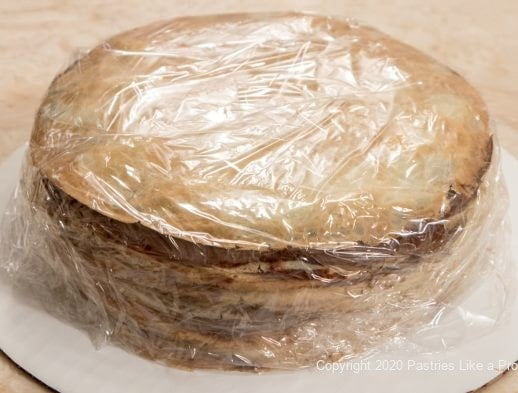
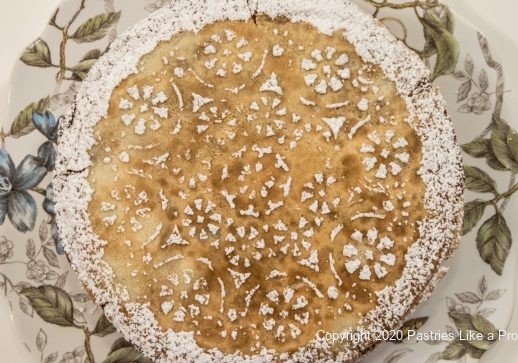
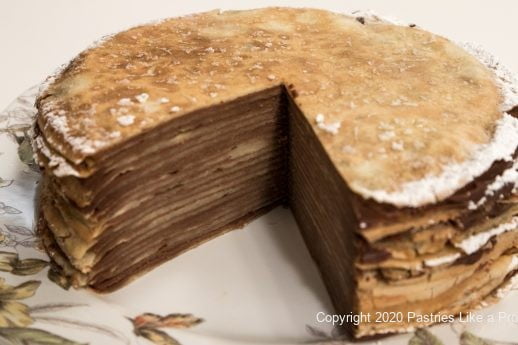
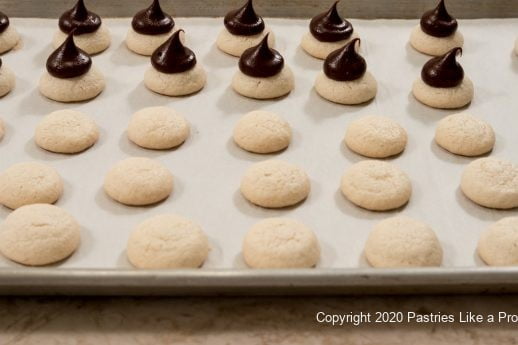
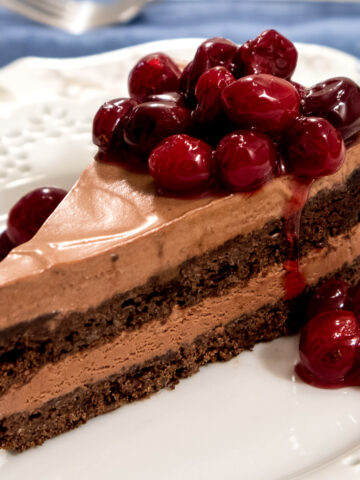
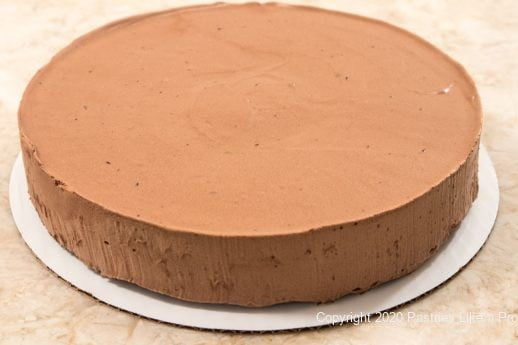
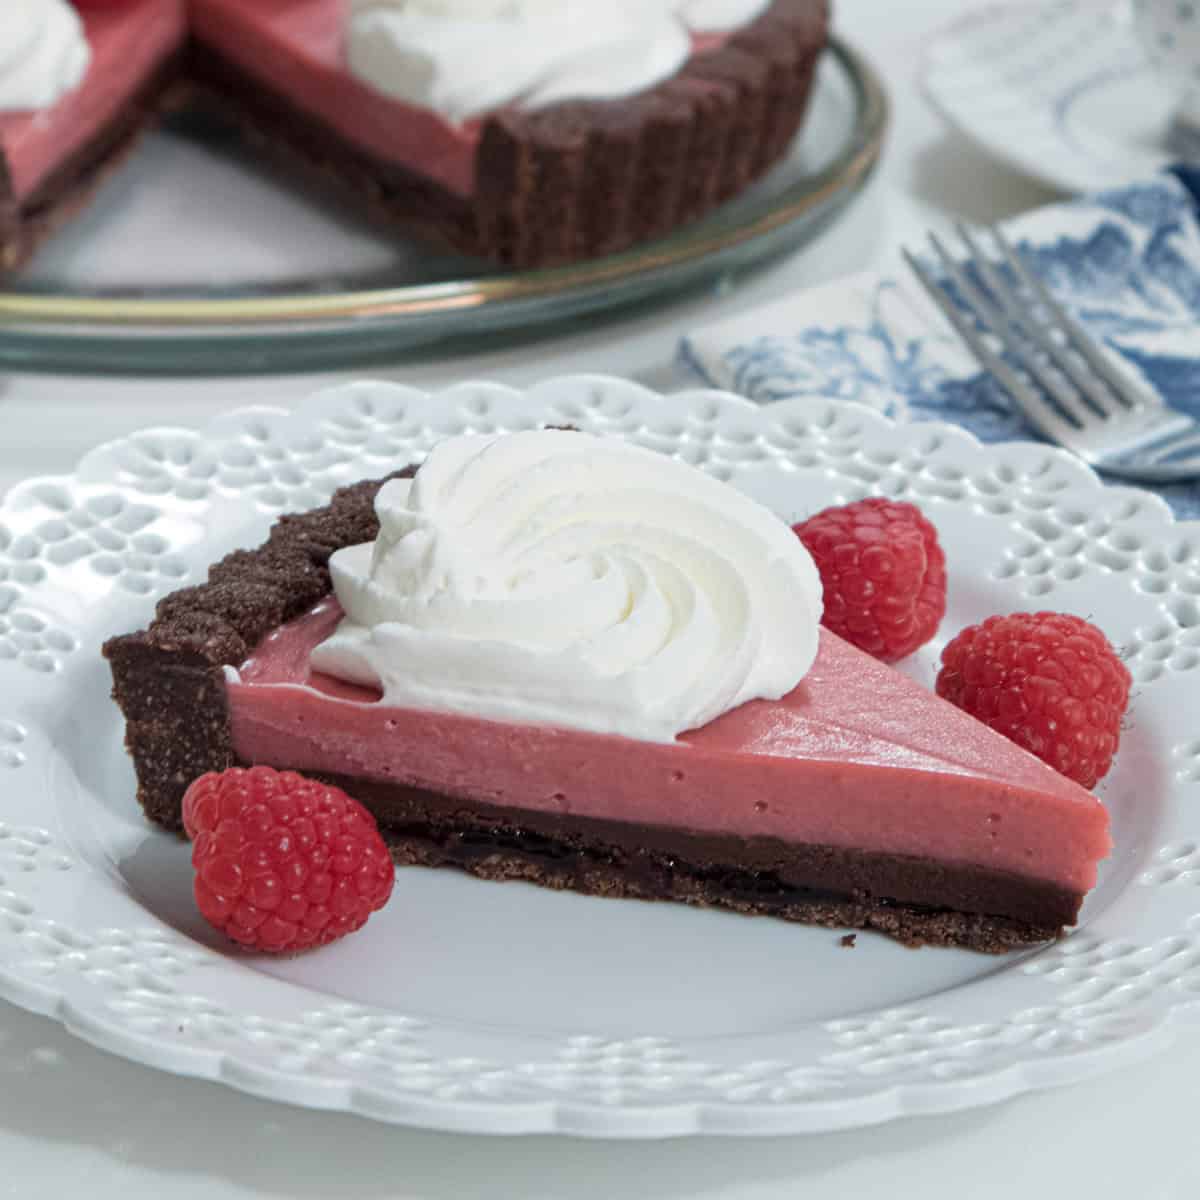
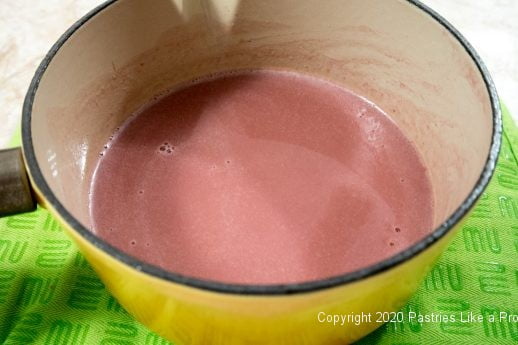
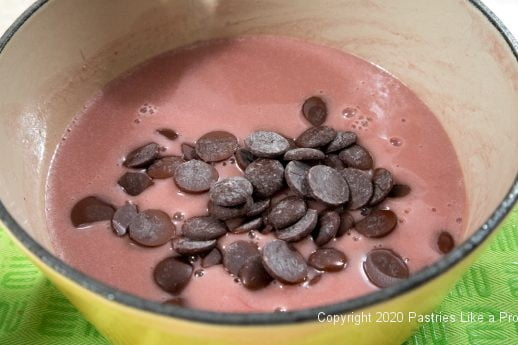
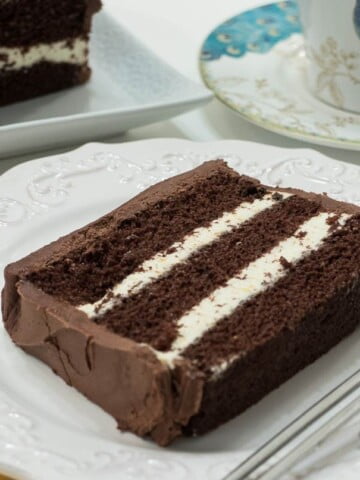
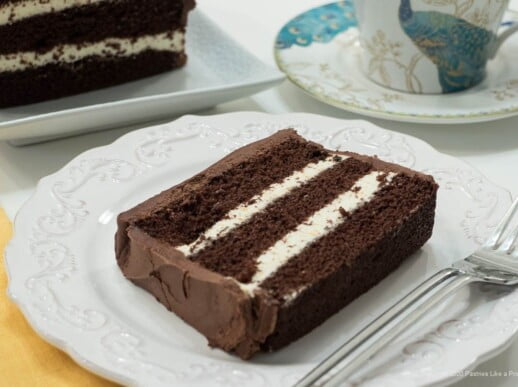
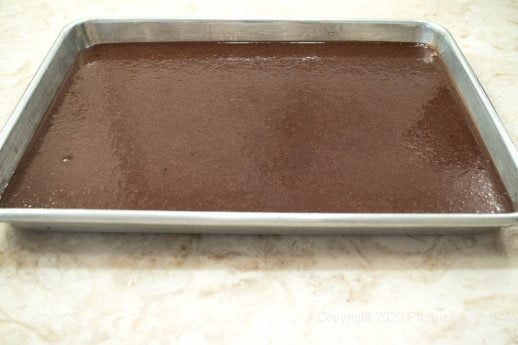
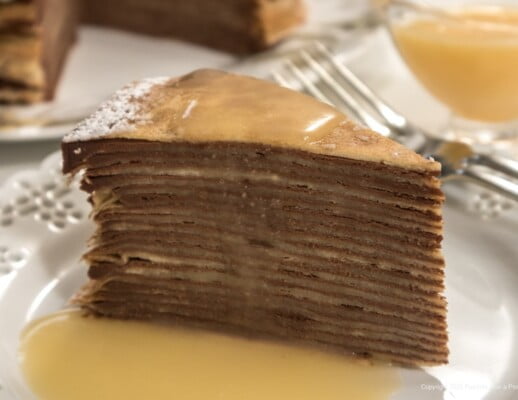 This Café au Lait Crepe Cake with Orange Cream Sauce is my way of sending out a bad year and welcoming in a better New Year. I wanted to do something special to reward all of us for doing our part and sticking it out. Every part of this can be made ahead. It can also be assembled ahead and refrigerated or frozen.
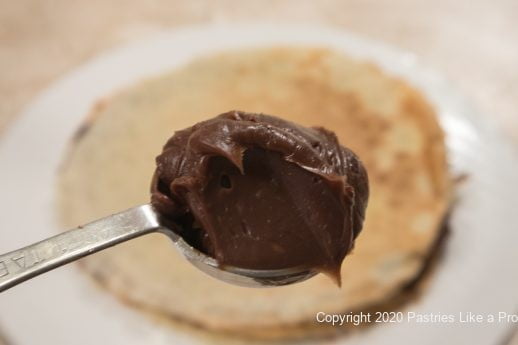
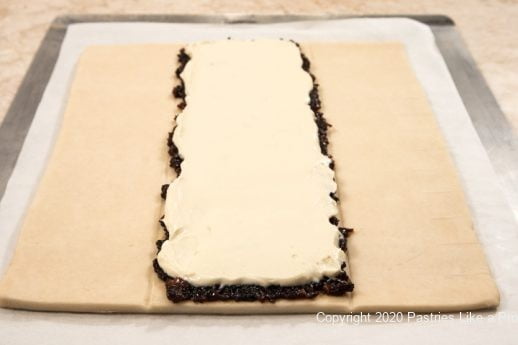
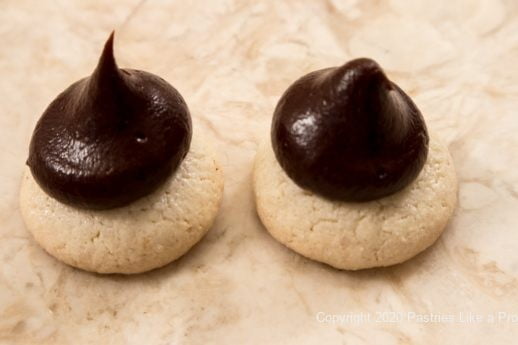
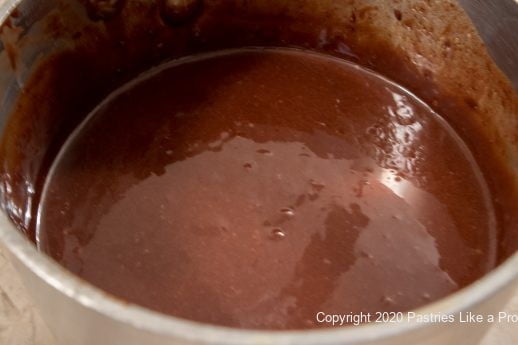
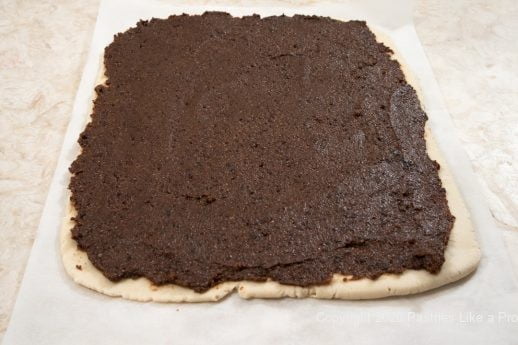
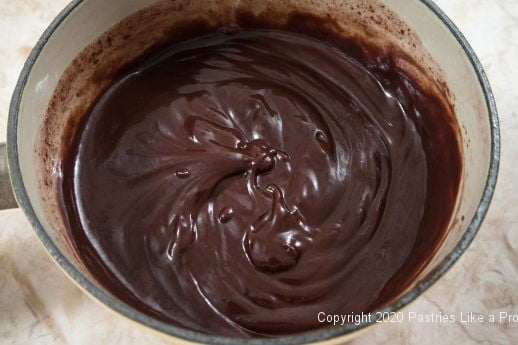
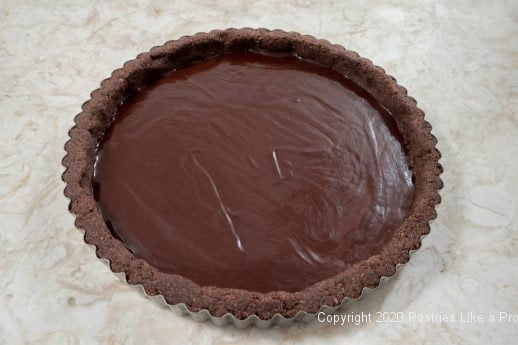
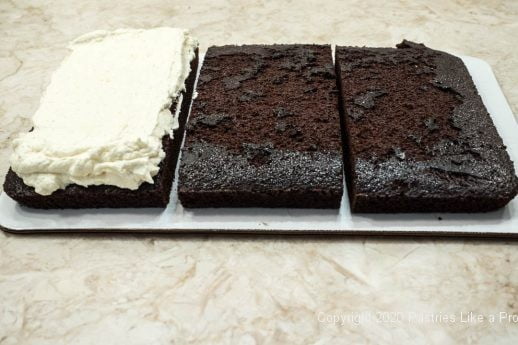
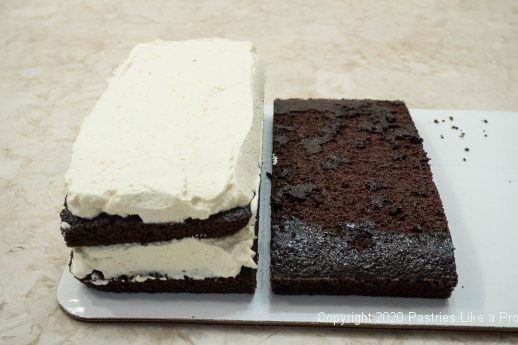
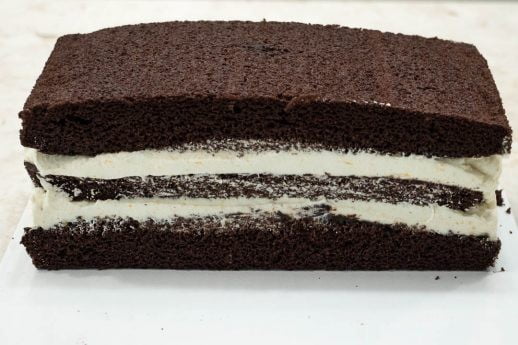
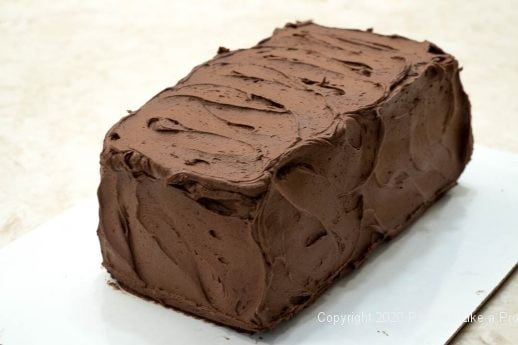
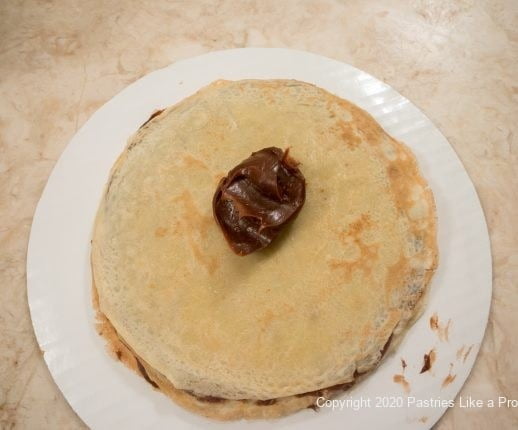 Without delay, spread the it out to the edges, covering it entirely. Because the crepes are frozen and the filling is chocolate it will set up rapidly.
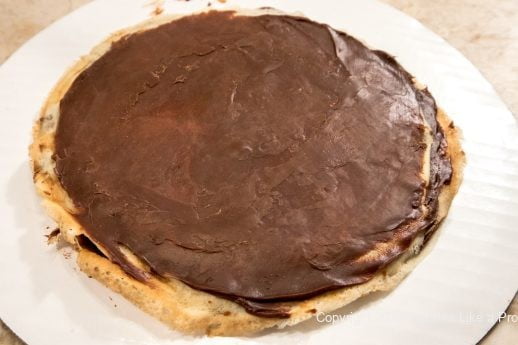


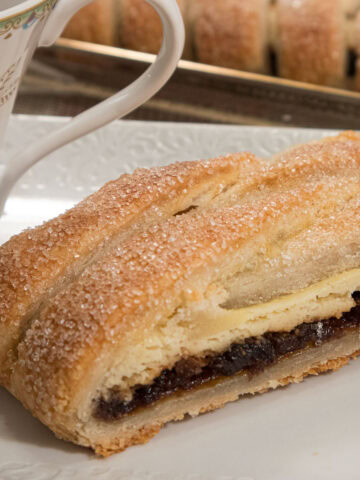
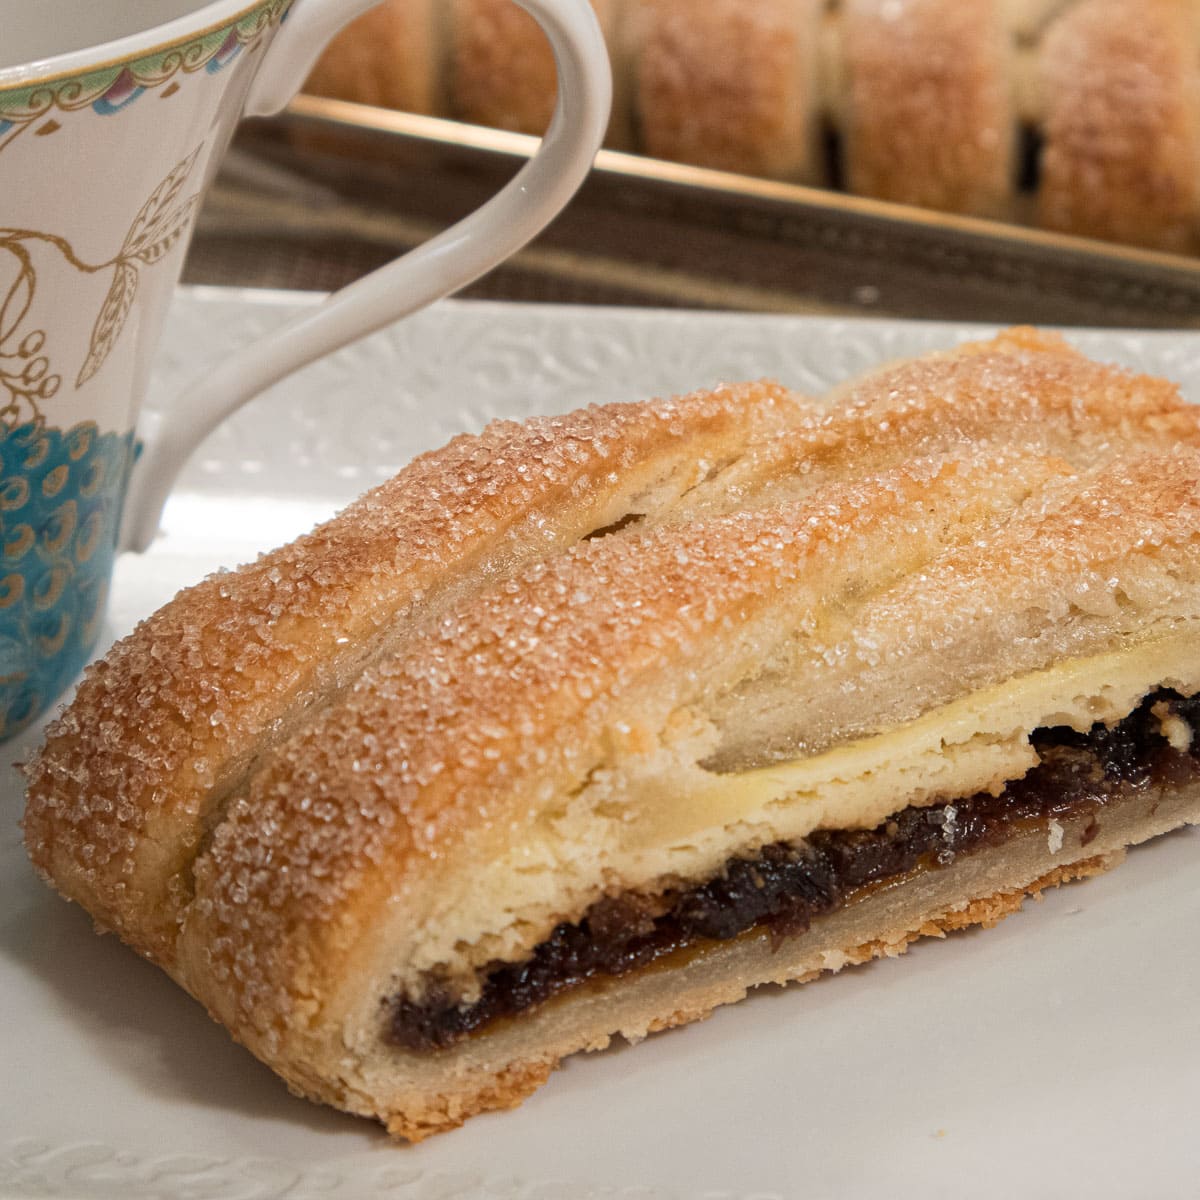


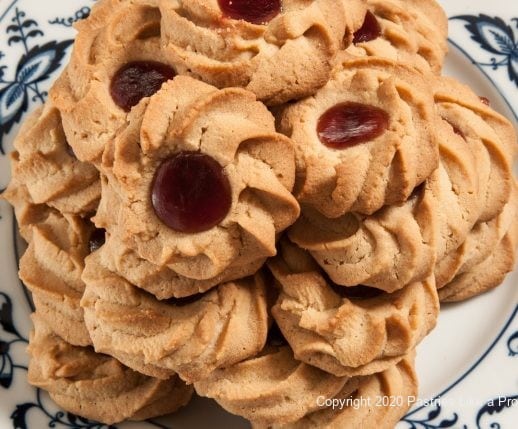


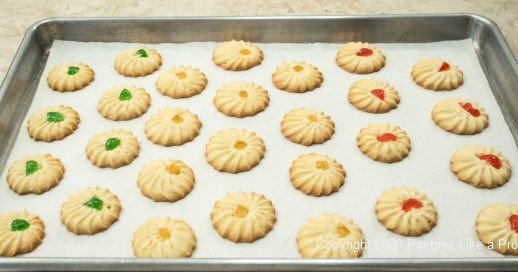


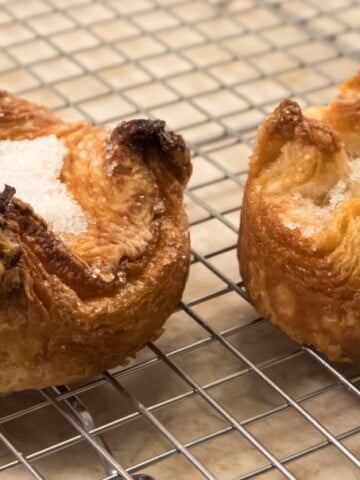
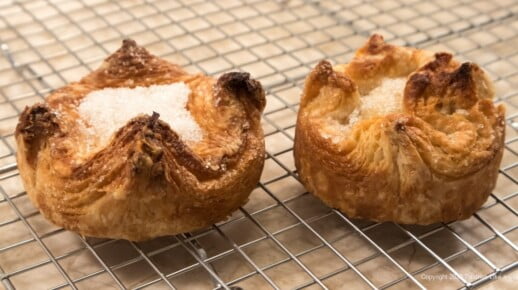
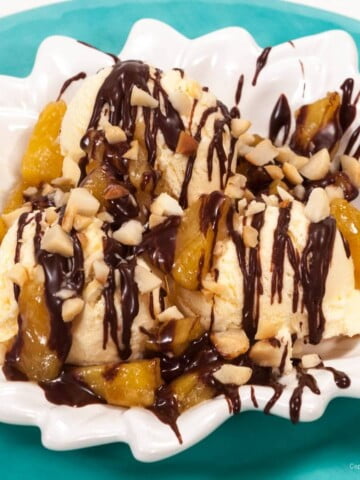
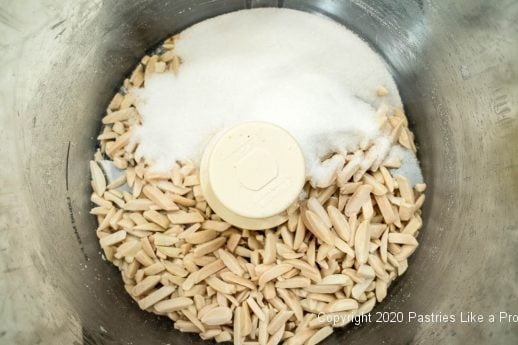
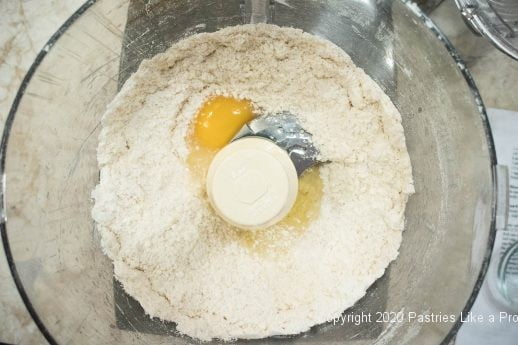
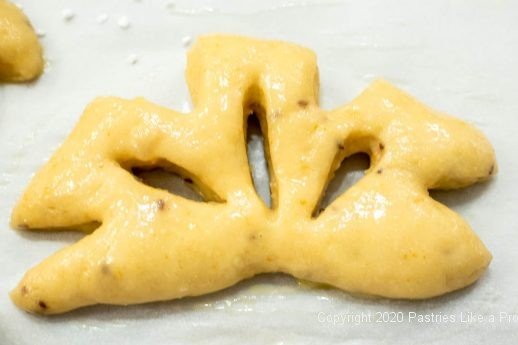
 You might recognize Sunny Side Up Apricot Pastries if you own “Baking with Julia” by Julia Child. Michel Richard, the consummate baker contributed the recipe. These are a playfull French pastry featuring puff pastry, pastry cream and apricots. The finished pastries look just like sunny side up eggs. I told you he is the consummate baker!


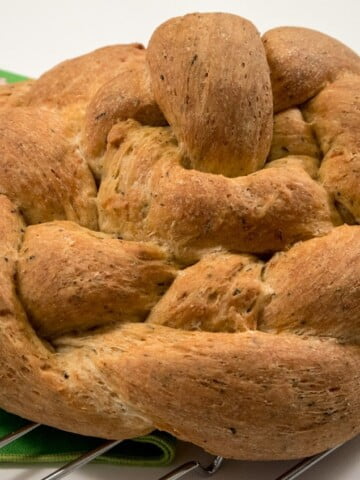
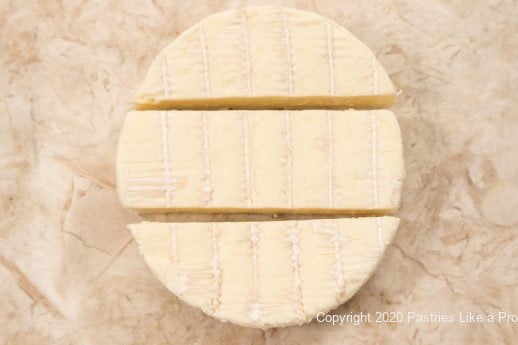
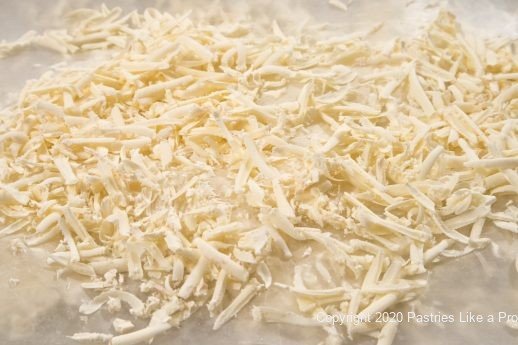
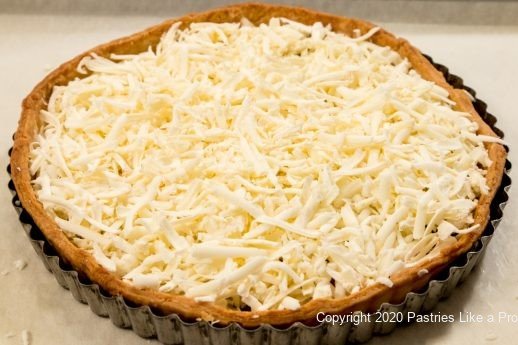
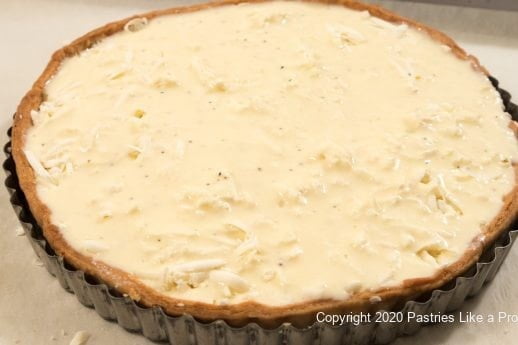
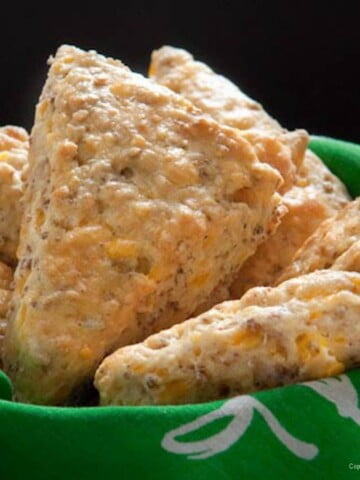
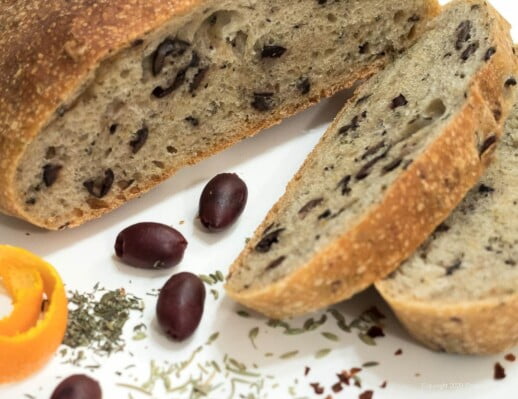
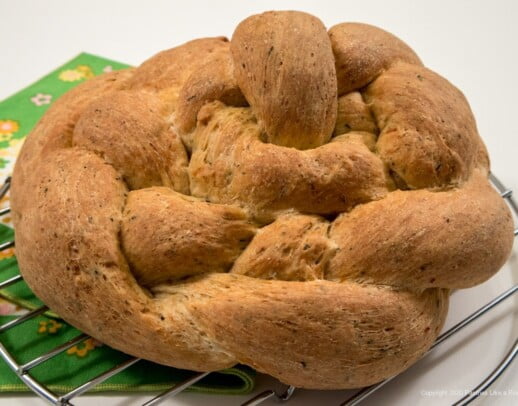 This Herbed Cheese Bread is a great example of why I love to bake bread. Baking bread is infinitely variable and always interesting.


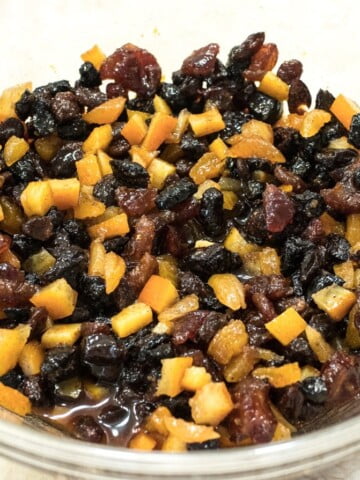
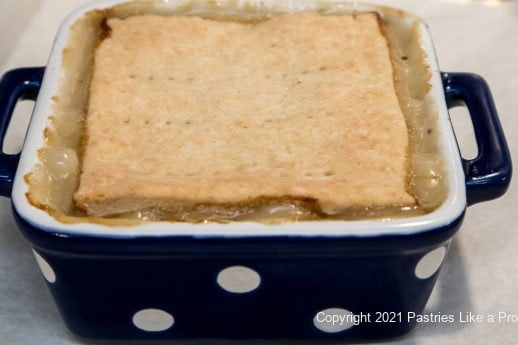
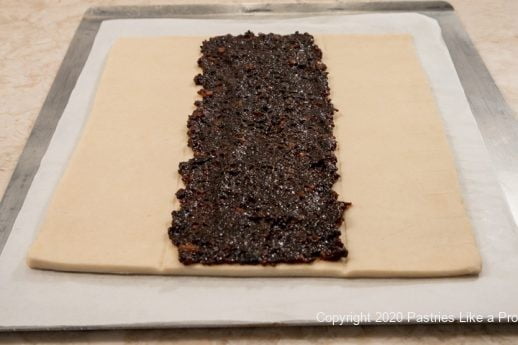
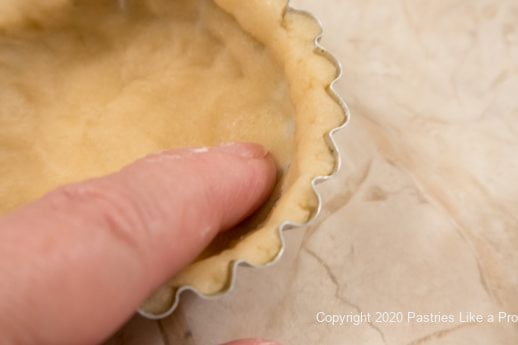
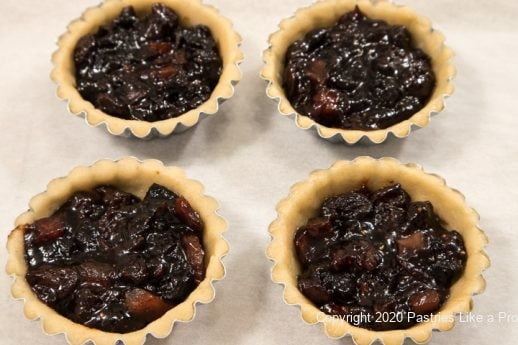
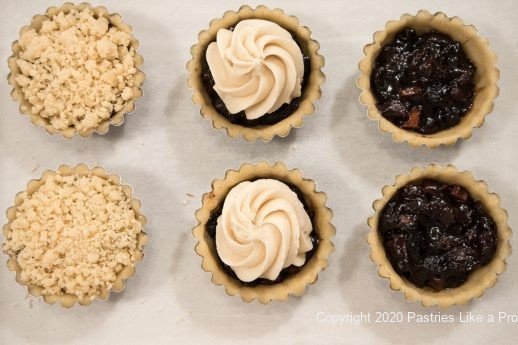
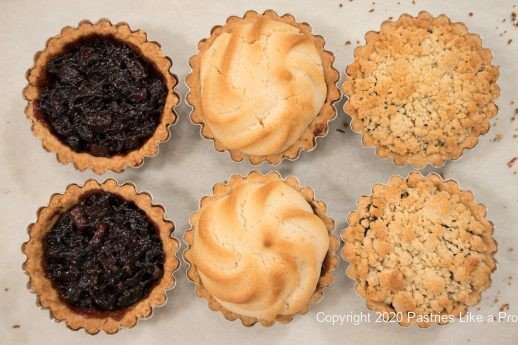
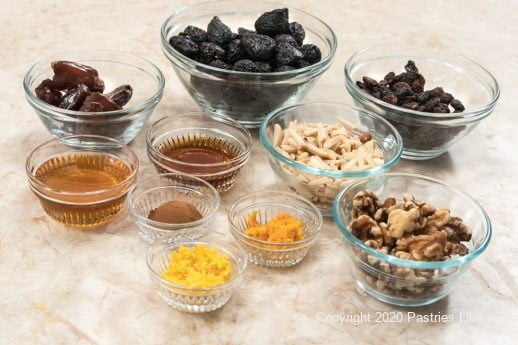
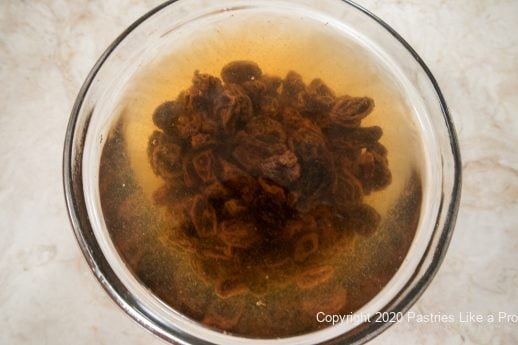
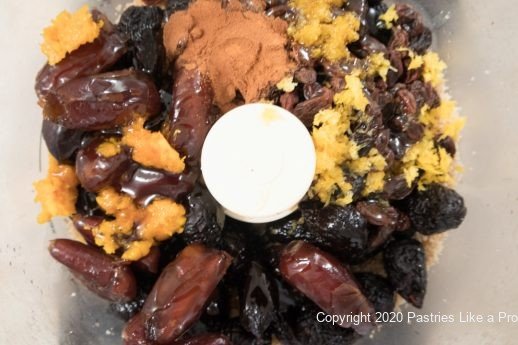
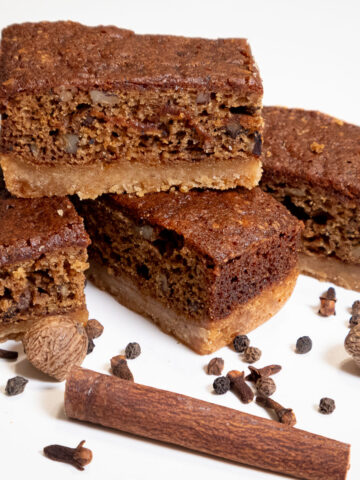
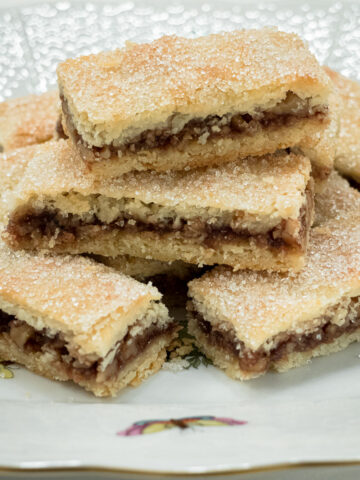
 This Mincemeat is meatless and easily made. Coming from England, it essentially consists of cutting up a lot of fruit and letting it age with citrus, spices, rum, and brandy. As the years have gone by, the meat has been removed and almost anything goes as far as what fruits to include. This is my version, but by far not the only one. You can tell it comes from long ago, when spices and alcohol were used as preservatives.
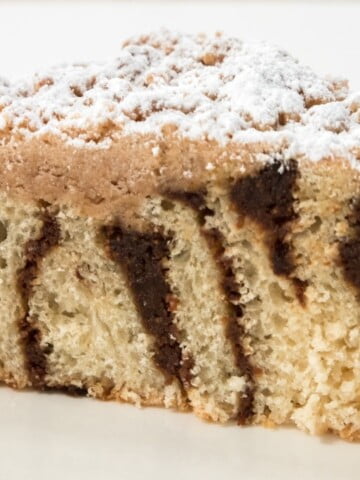


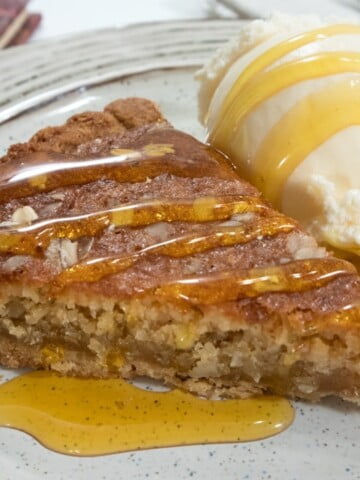
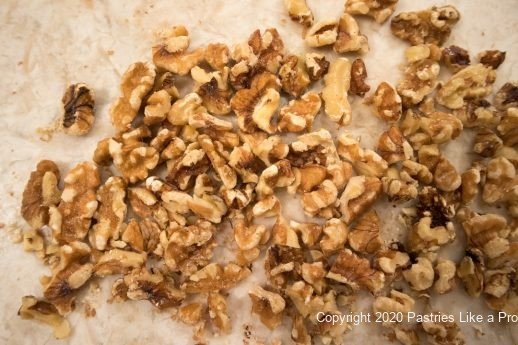
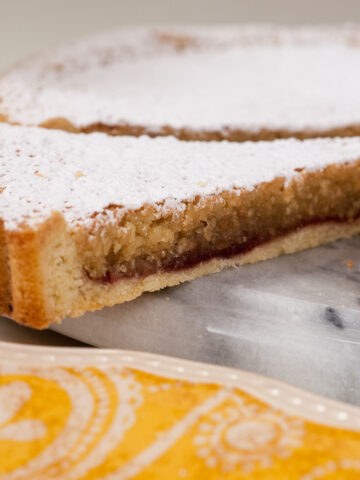
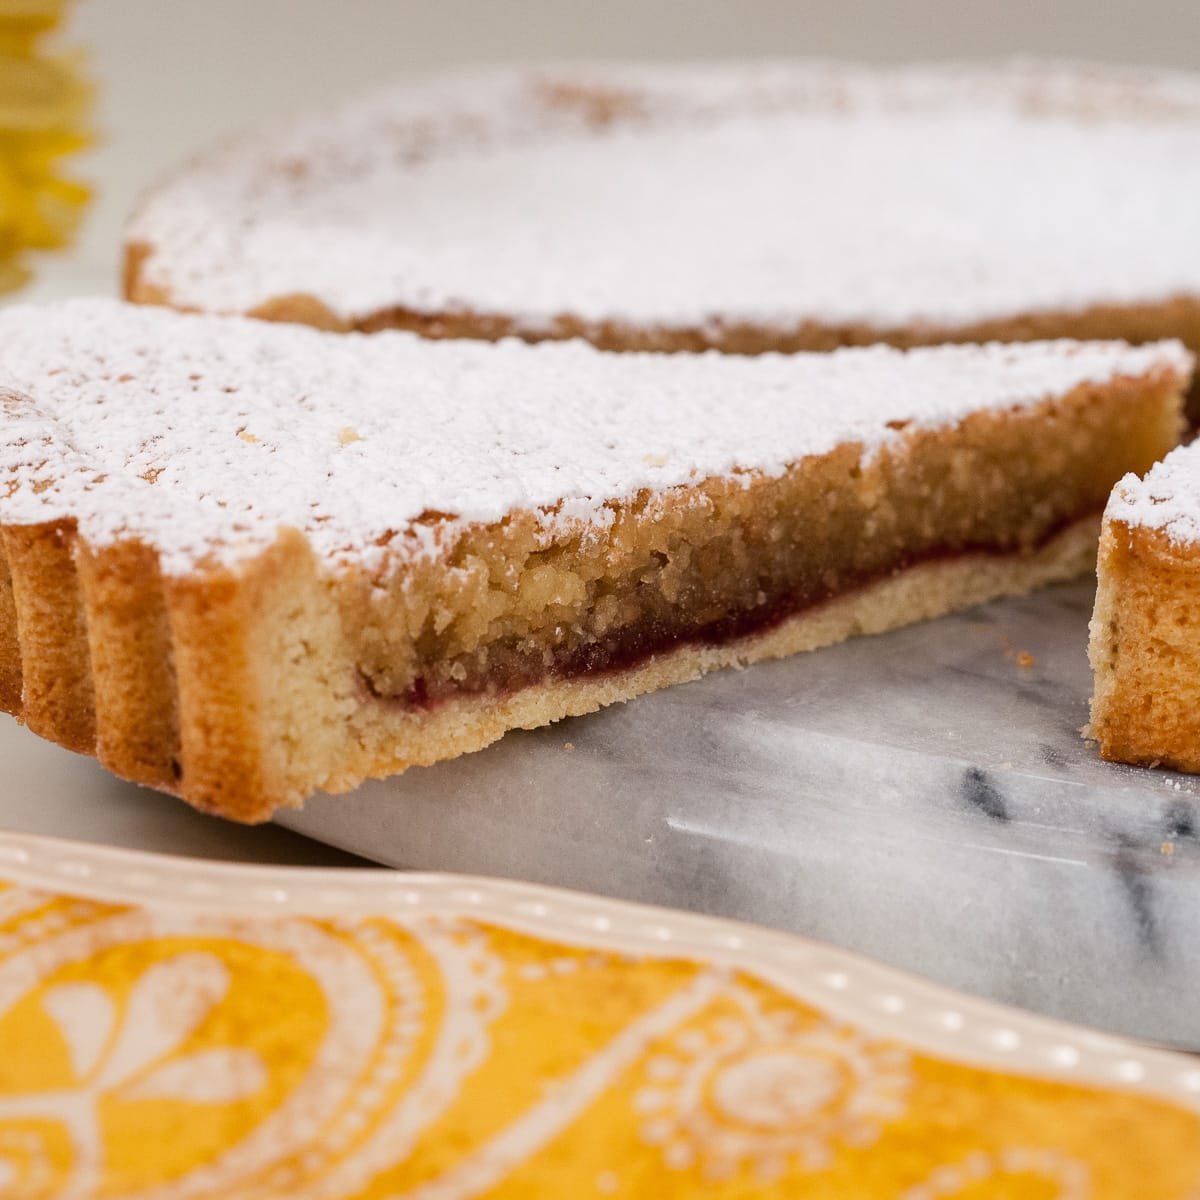
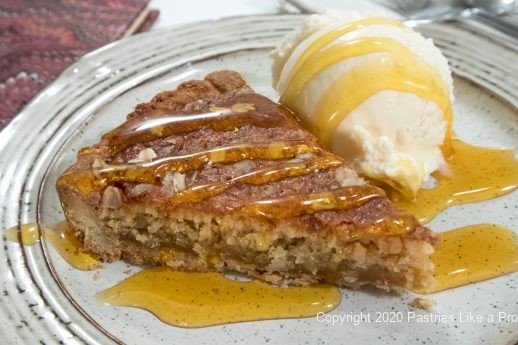 This Macadamia Golden Syrup Tart comes to us from Australia and contains two of my favorite ingredients – macadamia nuts and golden syrup. I fell in love with macadamia nuts when a neighbor would bring them back from Hawaii in various forms.
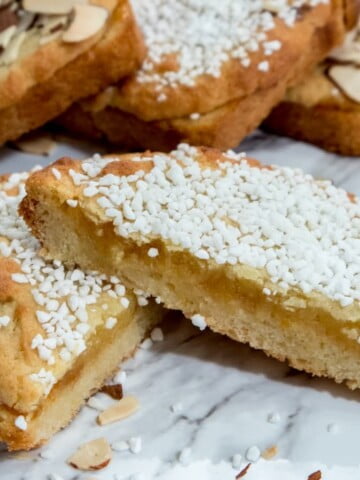
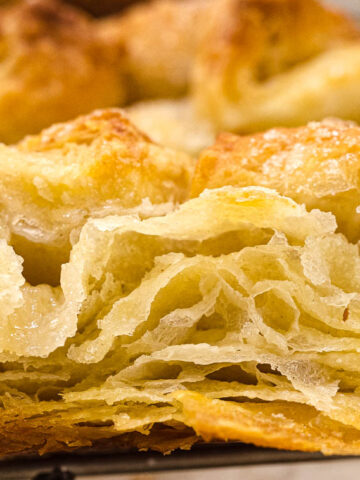
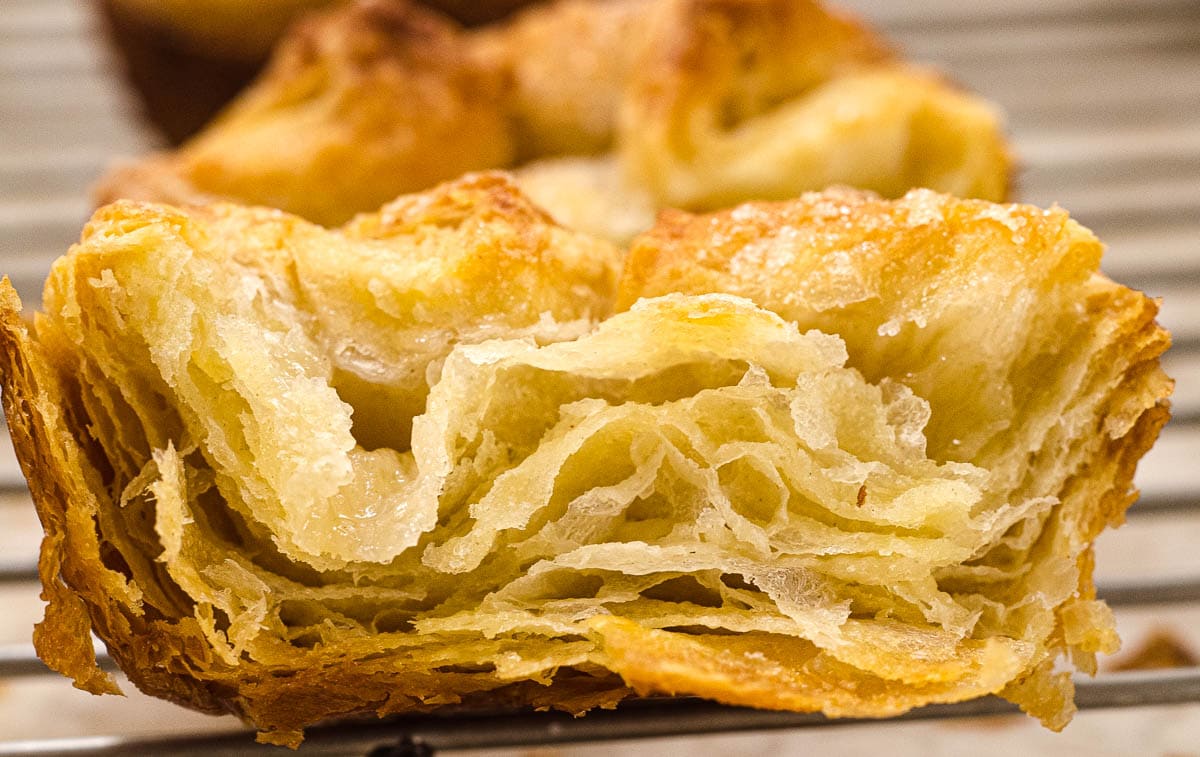
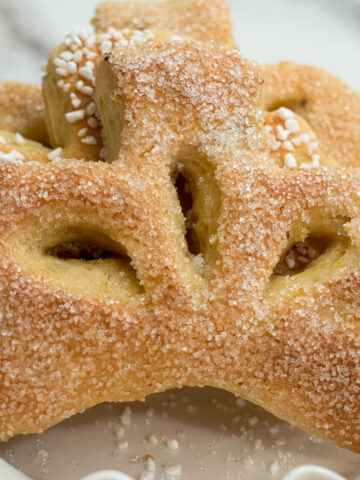
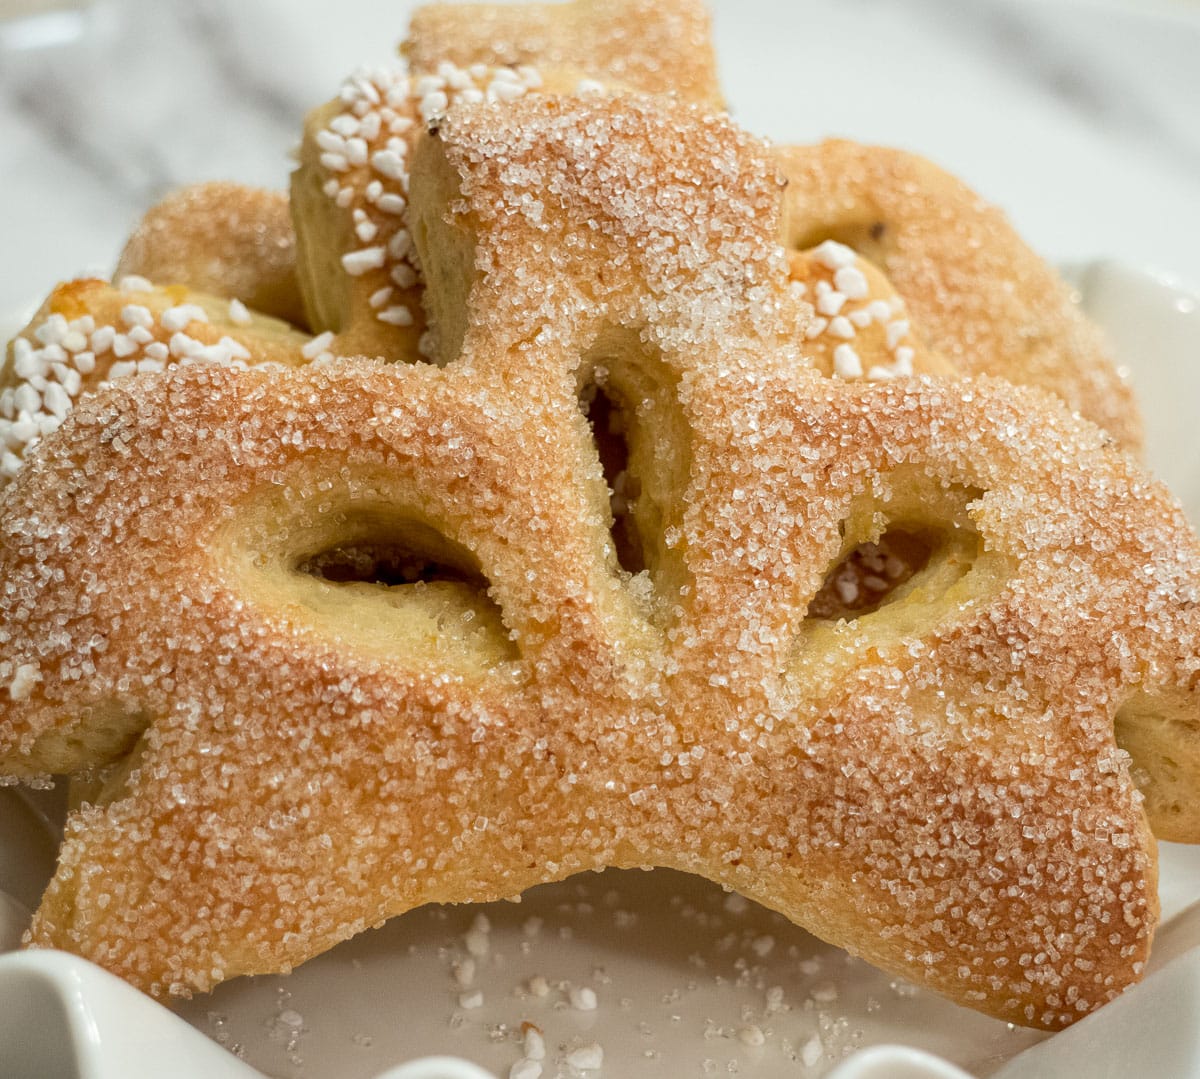
 Twice Baked Brioche is a wonderful way to use a loaf of stale brioche, although for the life of me I don’t know who would keep brioche that long. So, I just used day old brioche and pretended it was stale. Also known as Bostok, this breakfast treat was created by a clever baker who had too much brioche on his hands. Lucky for us!
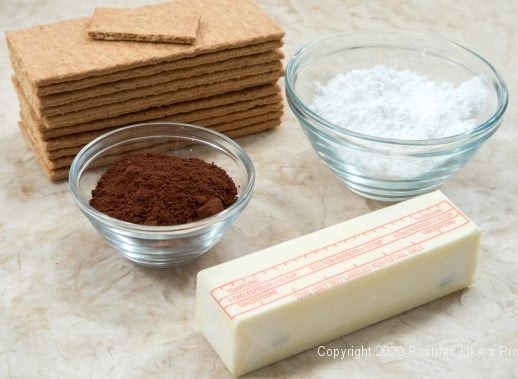
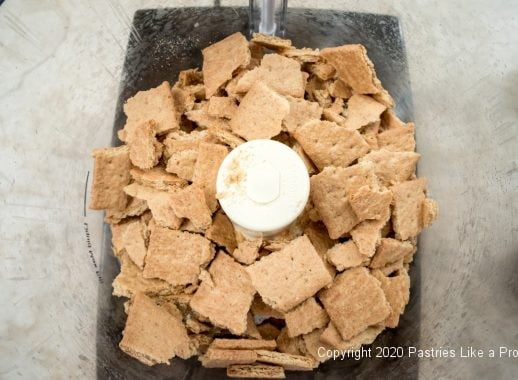


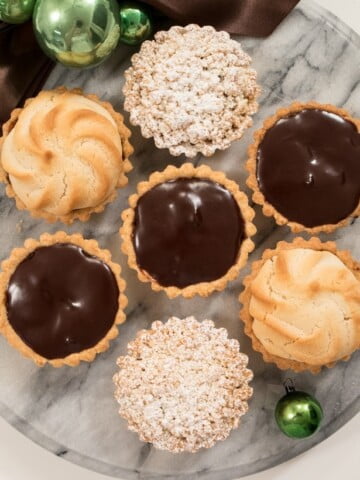
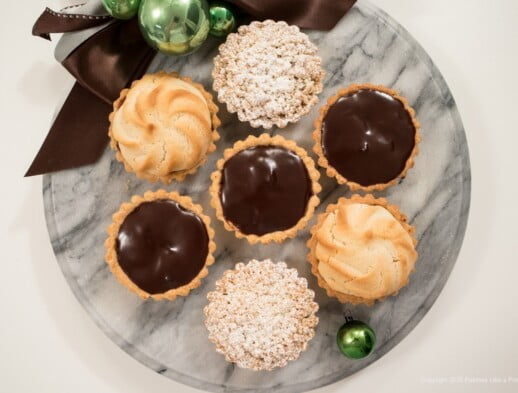
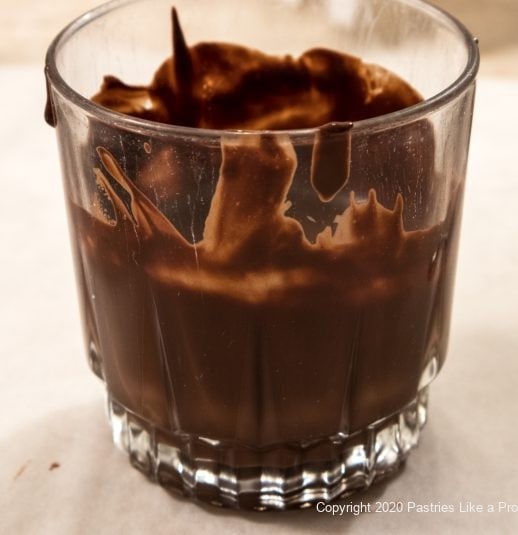
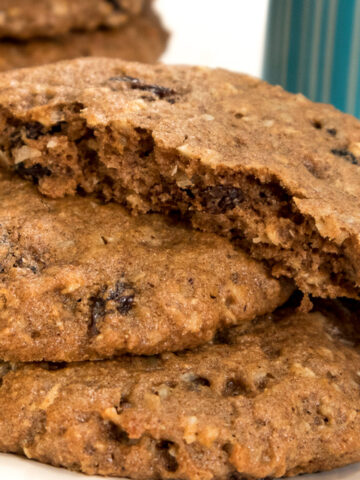
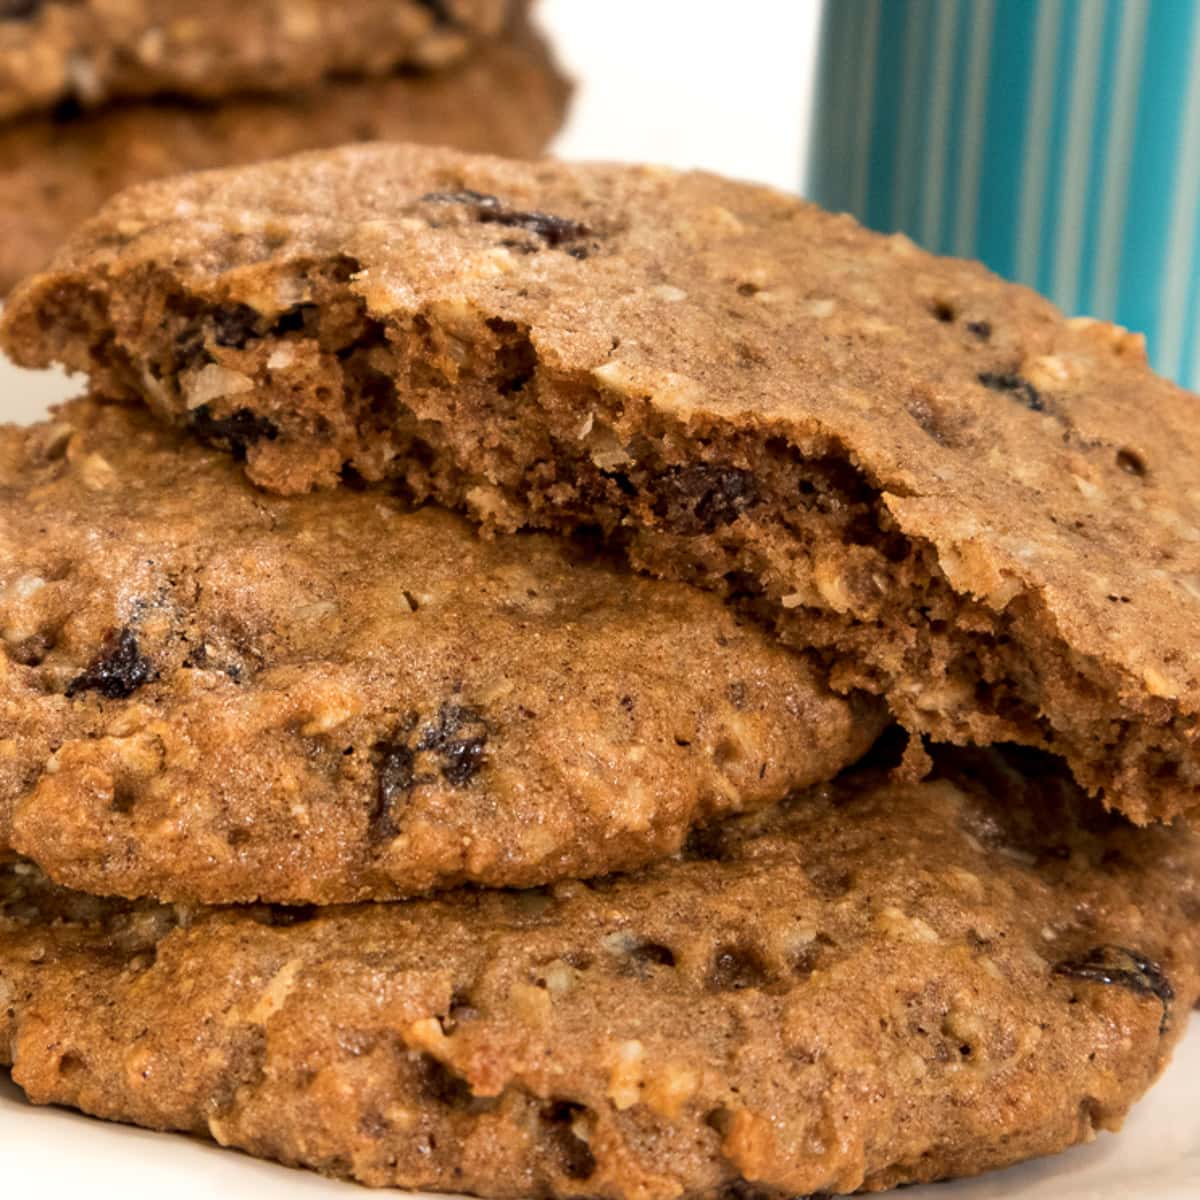
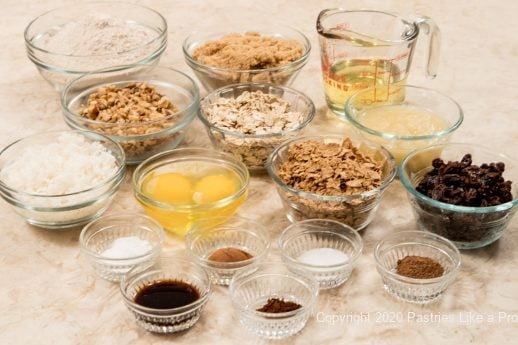
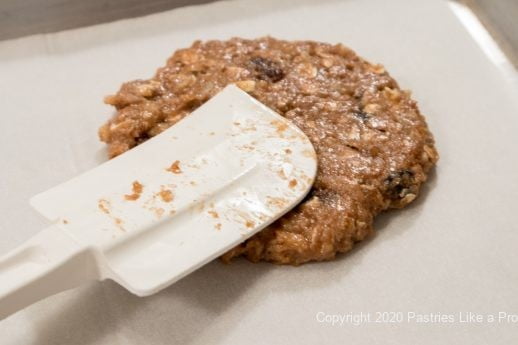
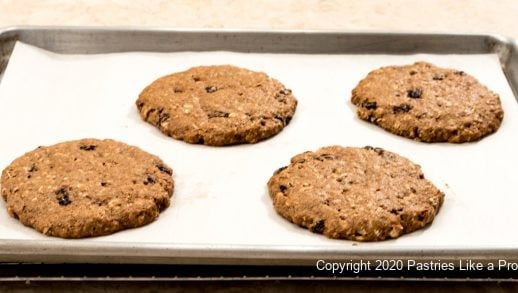
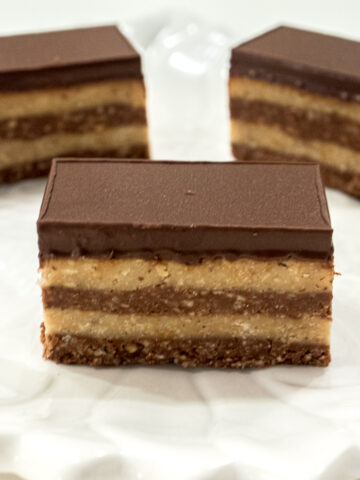
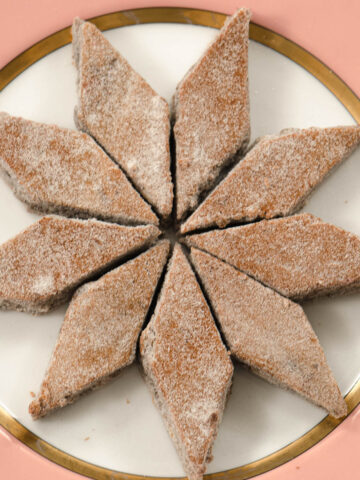
 These No-Bake Sweets come to you as a result of a convulted week. As we all know, things don't always work out the way you would like them to. For sure, they didn't this week.


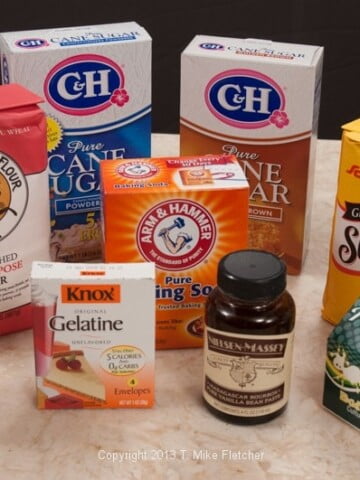
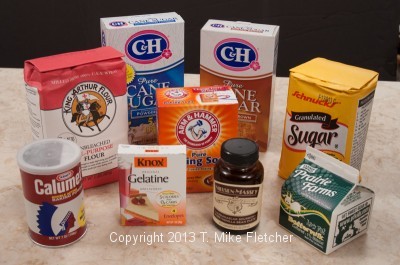 This Top Ingredient Substitutions for Baking article was posted several years ago. Due to the present circumstances, I updated it and thought it would be helpful if you find you are missing a key ingredient. Hopefully, you will find it on this list.
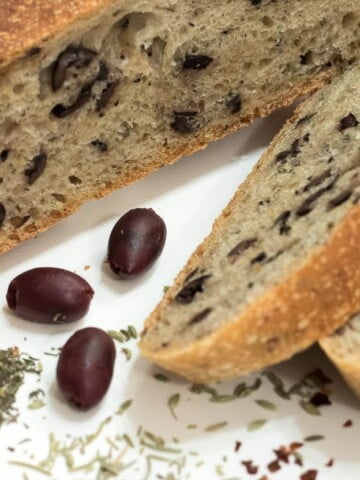


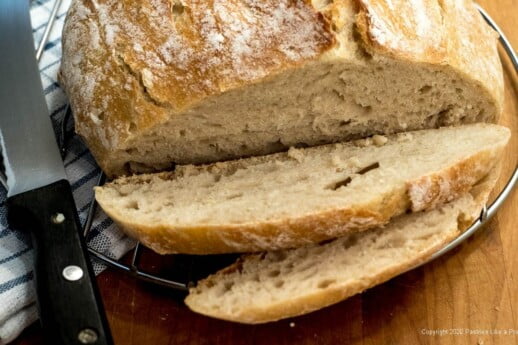 No-Knead Bread took the bread baking world by storm when Jim Lahey introduced a truly revolutionary method of making bread at home in his 2008 book