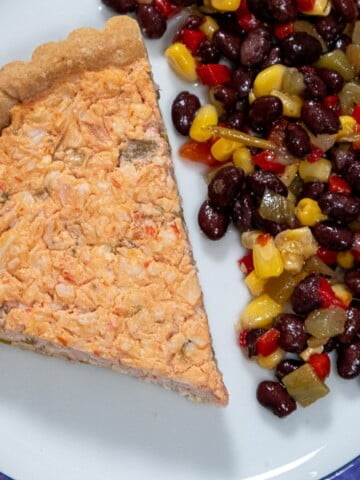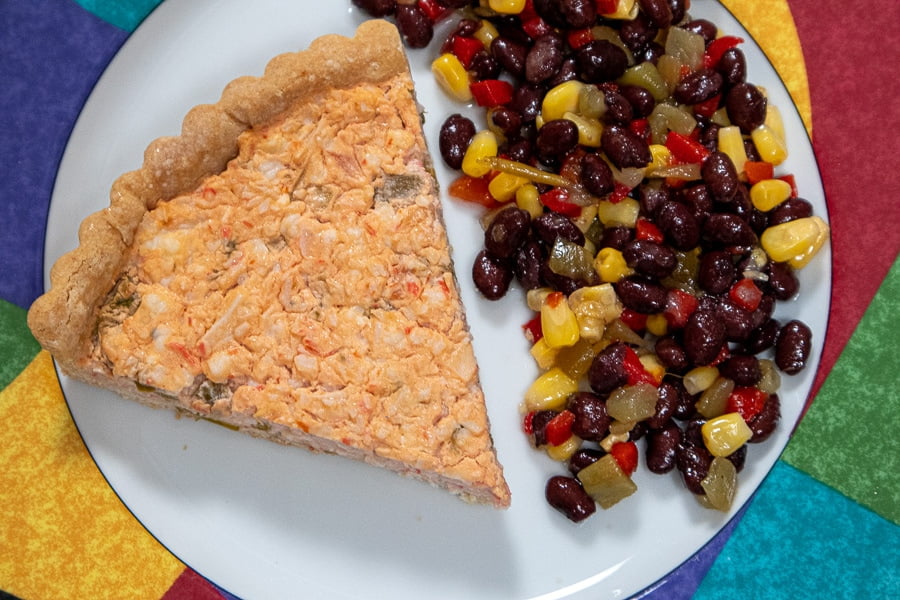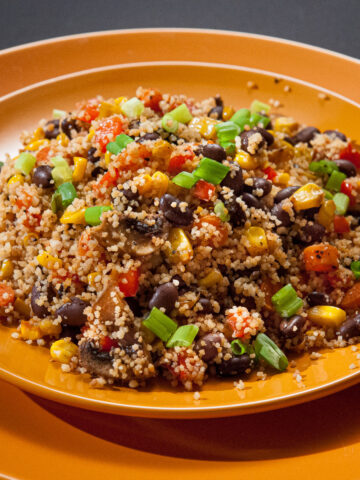
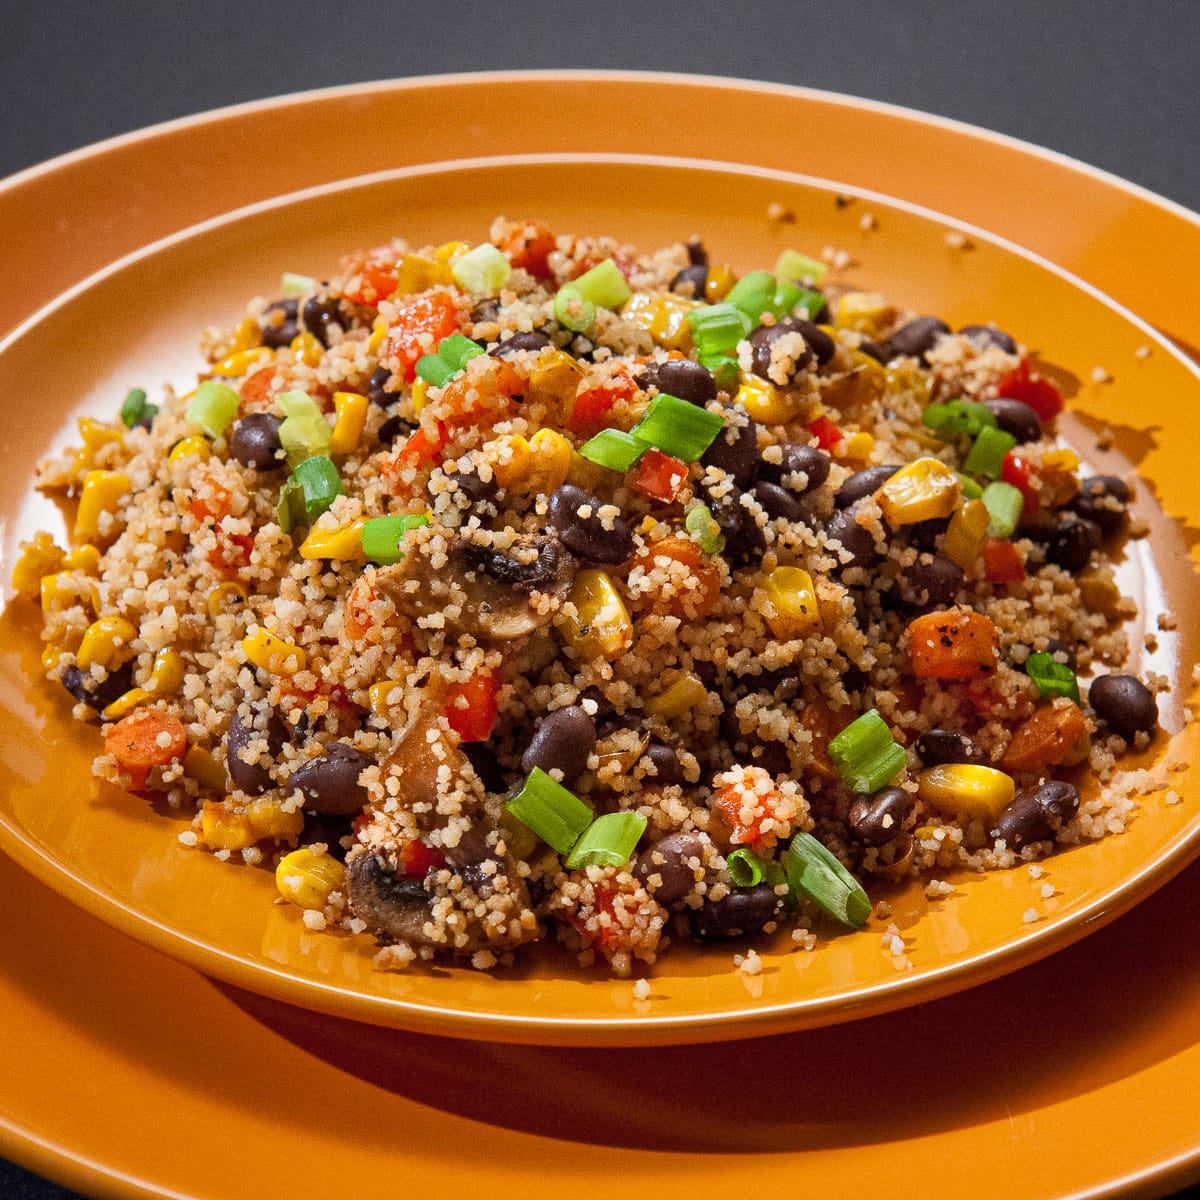
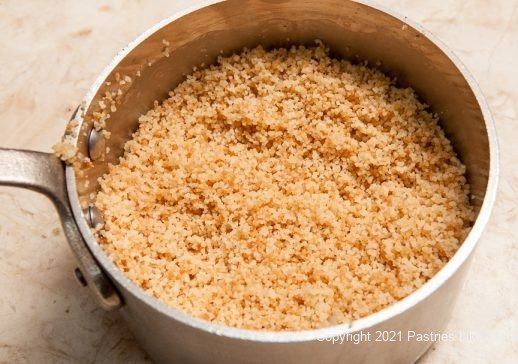
Southwestern Roasted Vegetable Couscous summer side is super easy, super tasty and the vibrant colors want to make you dive right in. Serve it with a grilled or roasted chicken breast or salmon fillet for a complete meal. Toasting the couscous first insures it will not clump together when it’s finished. It’s easily done while you cut up the veggies.
While often thought of as a grain, couscous is actually made of semolina or barley and water and is considered a pasta.
Types of Couscous
There are three types of couscous.
- Moroccan couscous is the smallest—about the size of semolina—and cooks in minutes.
- Israeli couscous, also called pearl couscous, is larger and resembles tiny pieces of pasta. It takes about 10 minutes to cook.
- Lebanese couscous, also called Moghrabieh couscous, is larger than Israeli couscous and takes the longest to cook.
This salad can be made ahead and lasts for days in the refrigerator.
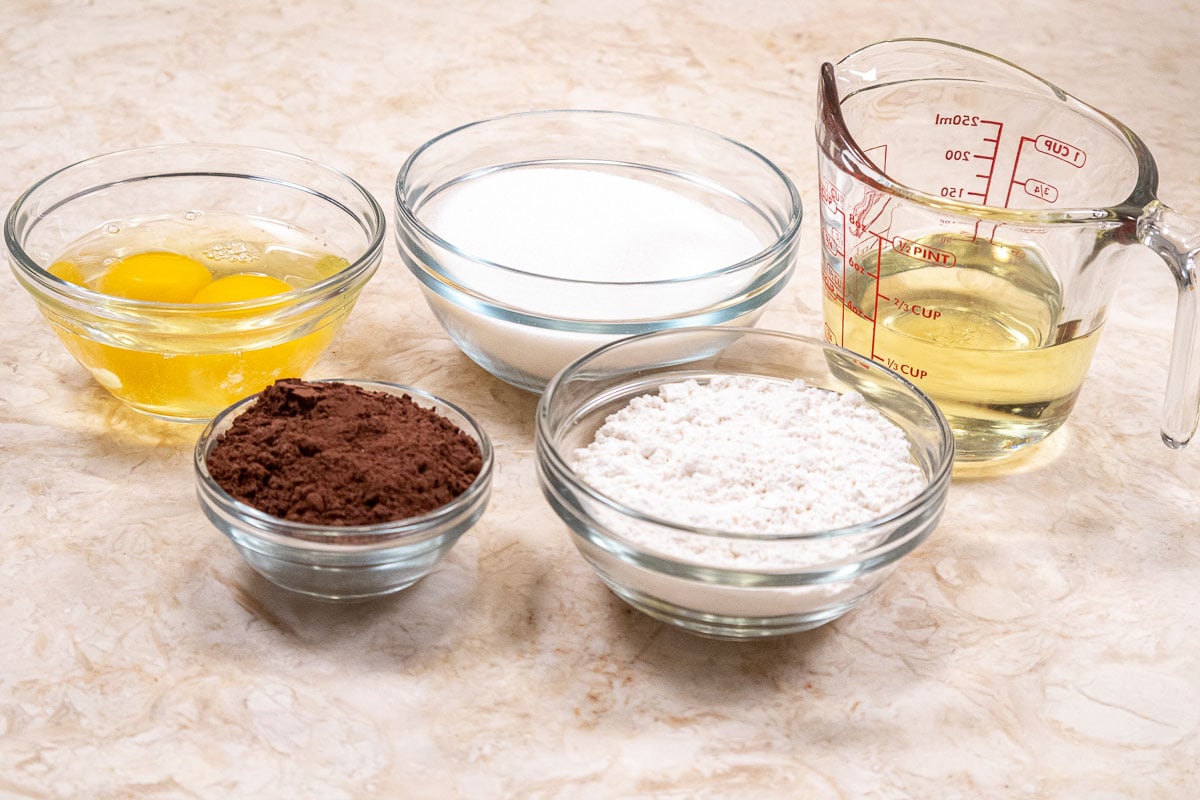
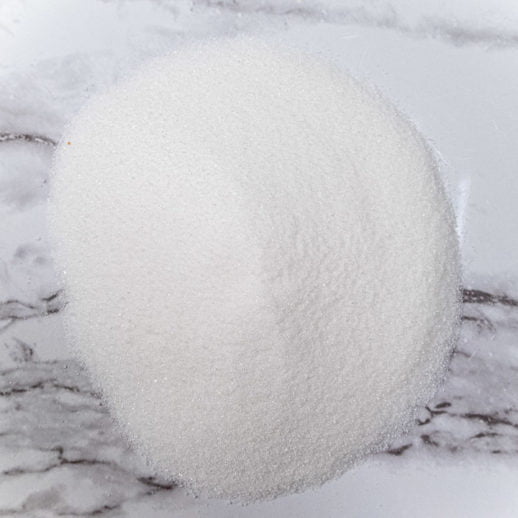
1 cup uncooked couscous
¼ cup water
1 cup chicken stock
1 cup diced red pepper
1 cup sliced mushrooms
½ cup diced carrots
1 - 11 ounce can whole kernel corn drained well ( I use Niblets brand)
1 teaspoon minced garlic
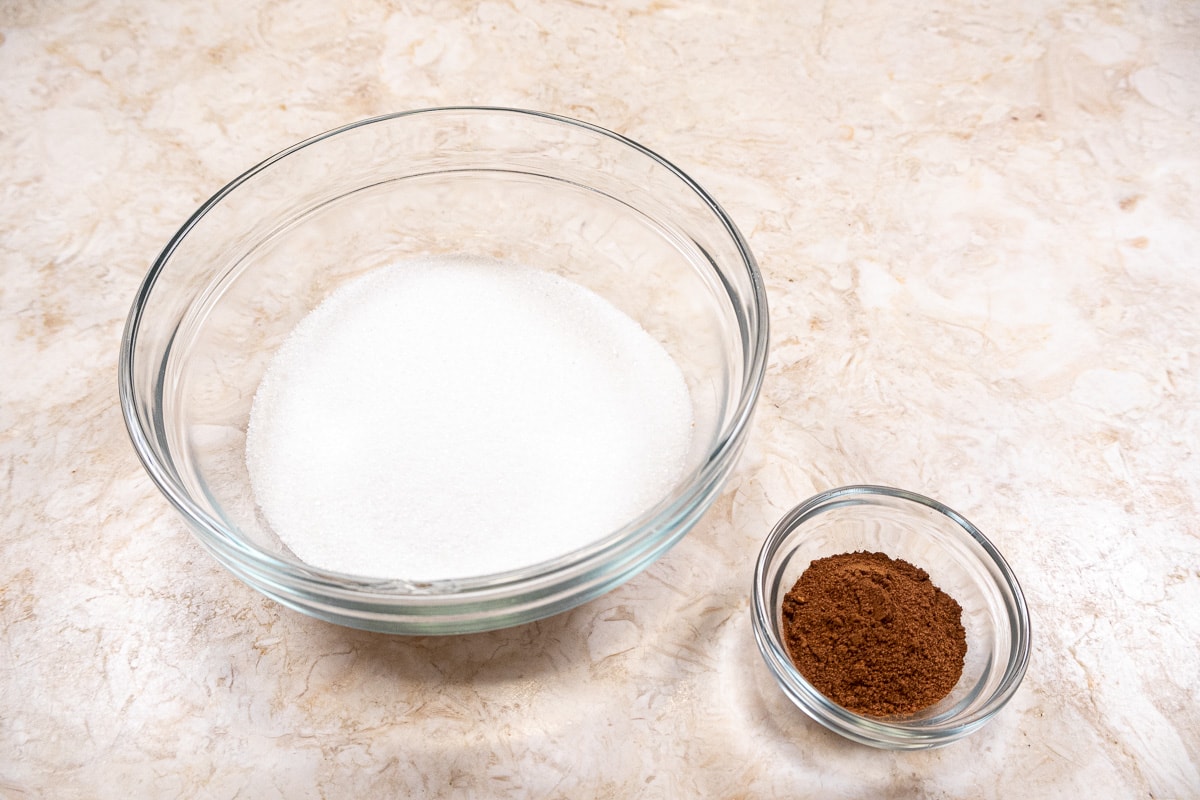
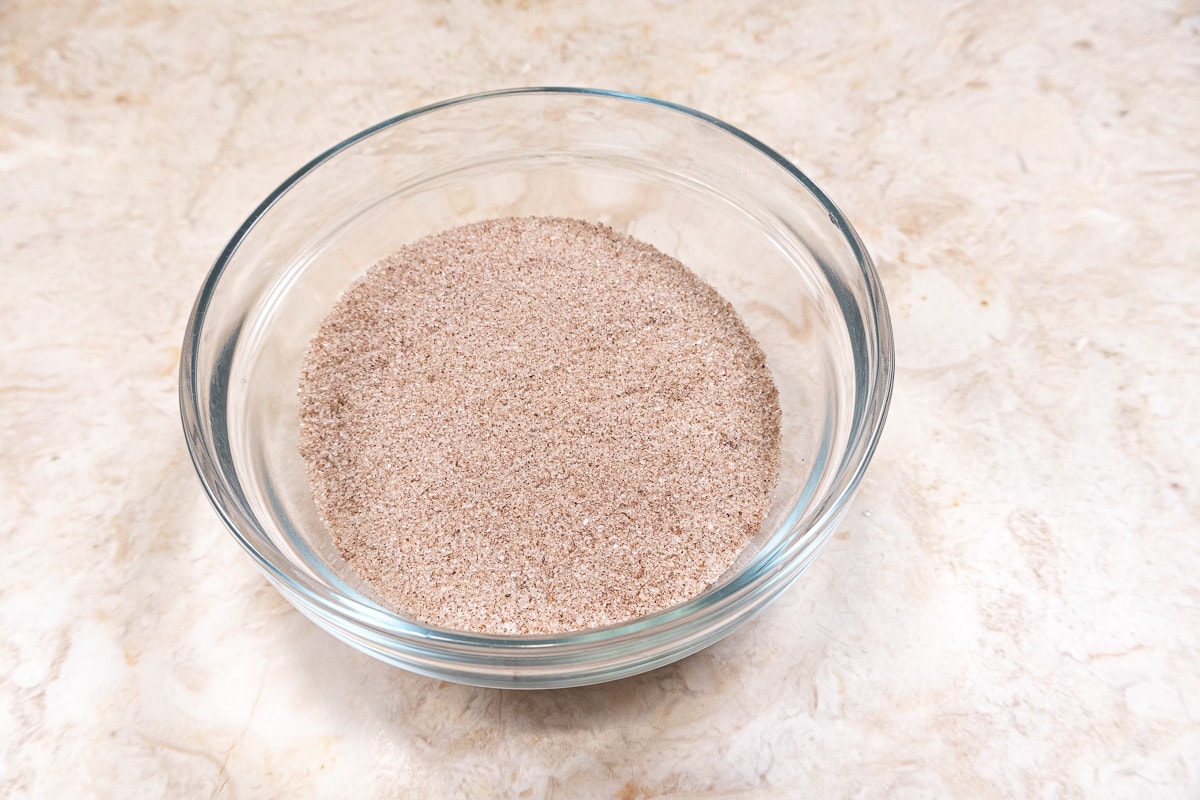
1 teaspoon chili powder
½ teaspoon salt
½ teaspoon black pepper
¼ teaspoon cumin
1 tablespoon vegetable oil
1 – 15 ounce can black beans, rinsed and drained
⅓ cup chopped green onions, green part only
Preheat the oven to 425 degrees.
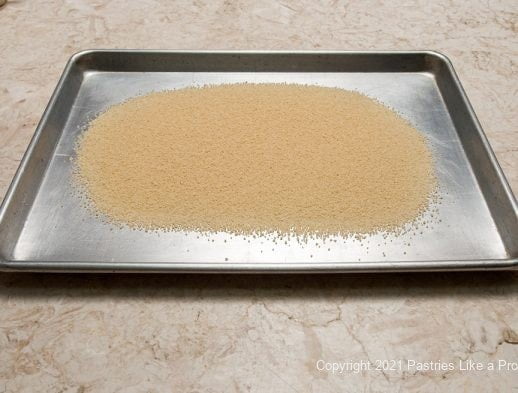
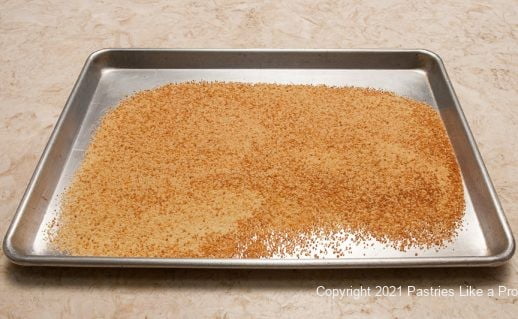
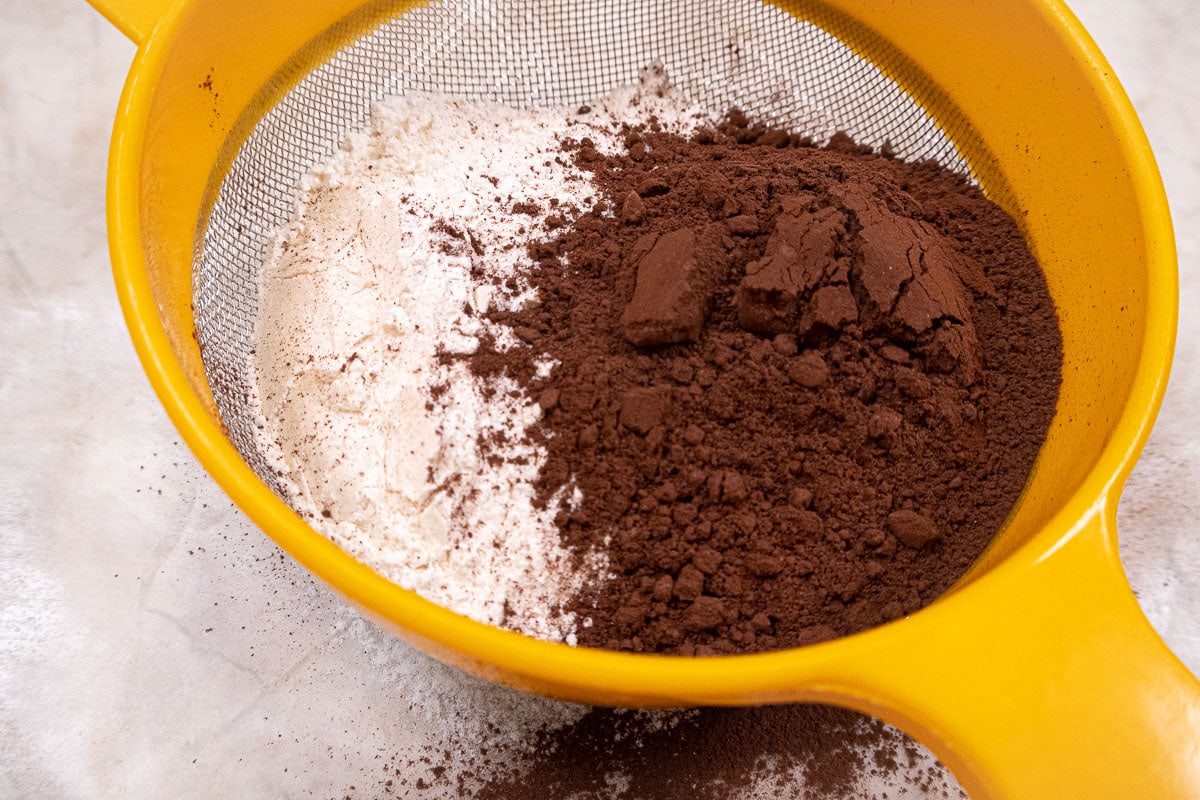
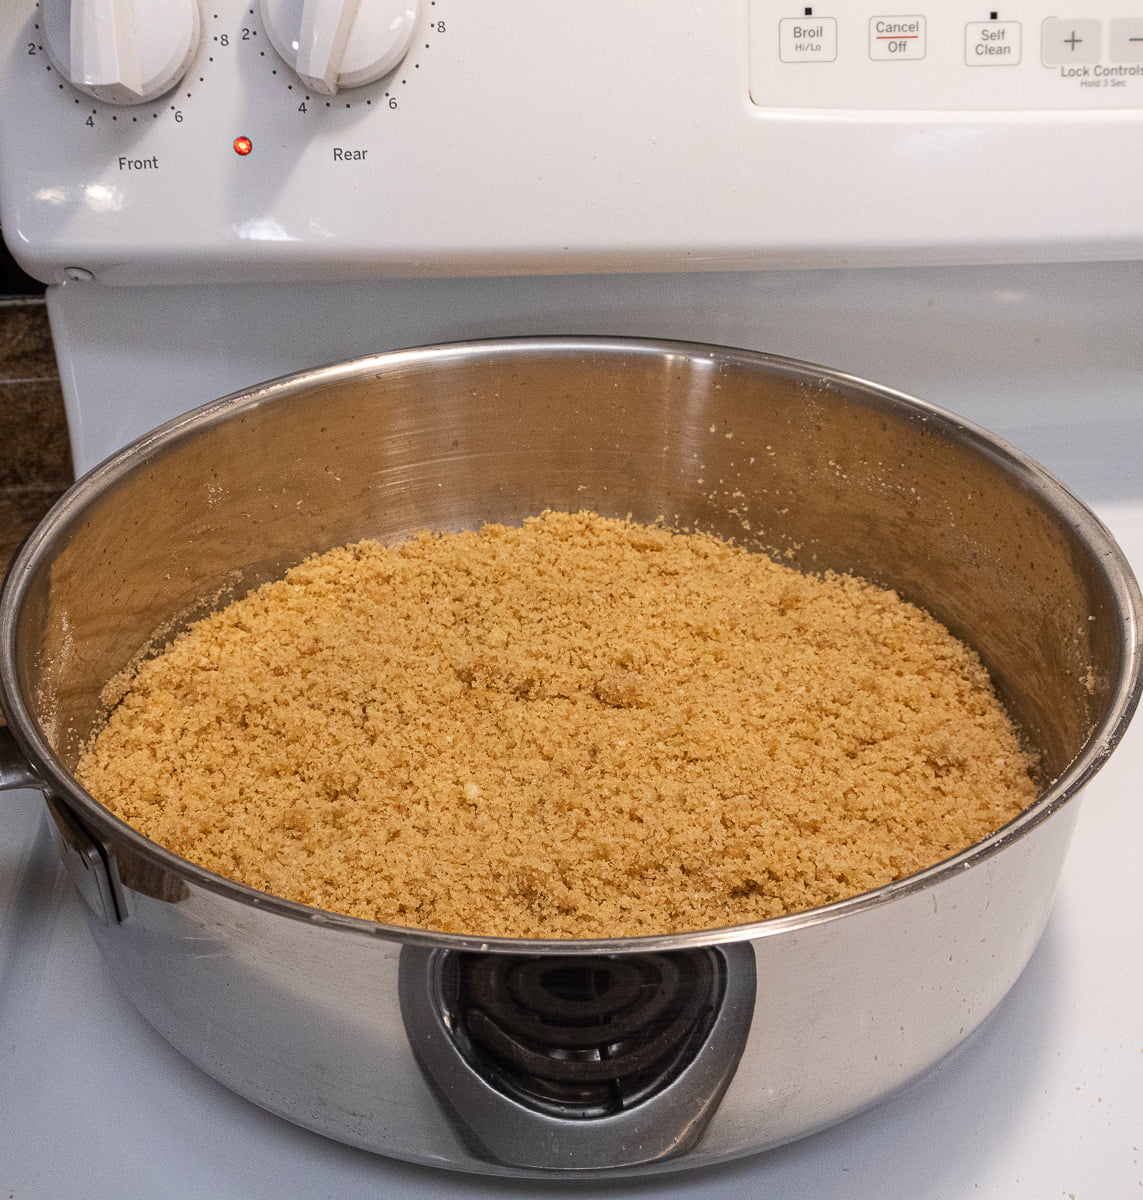
Place the couscous in a rimmed baking pan and shake it to even it out to one layer. Bake for 4 to 5 minutes until lightly browned. The edges will most likely be browner than the middle. Stir the couscous, shake it again and let it brown for several minutes until it is more uniformly colored.
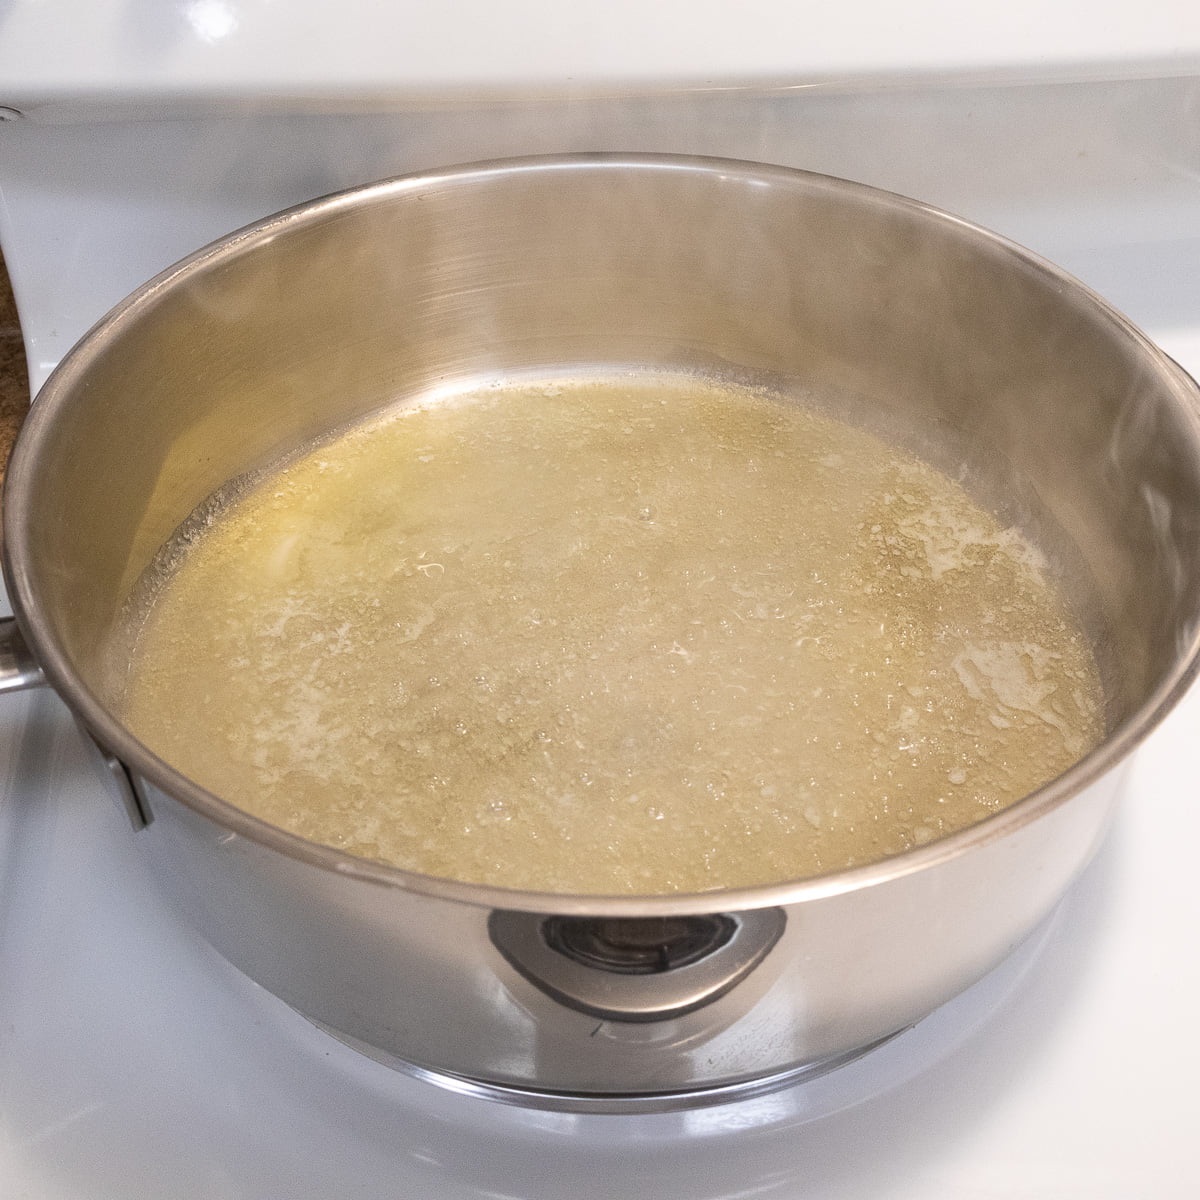
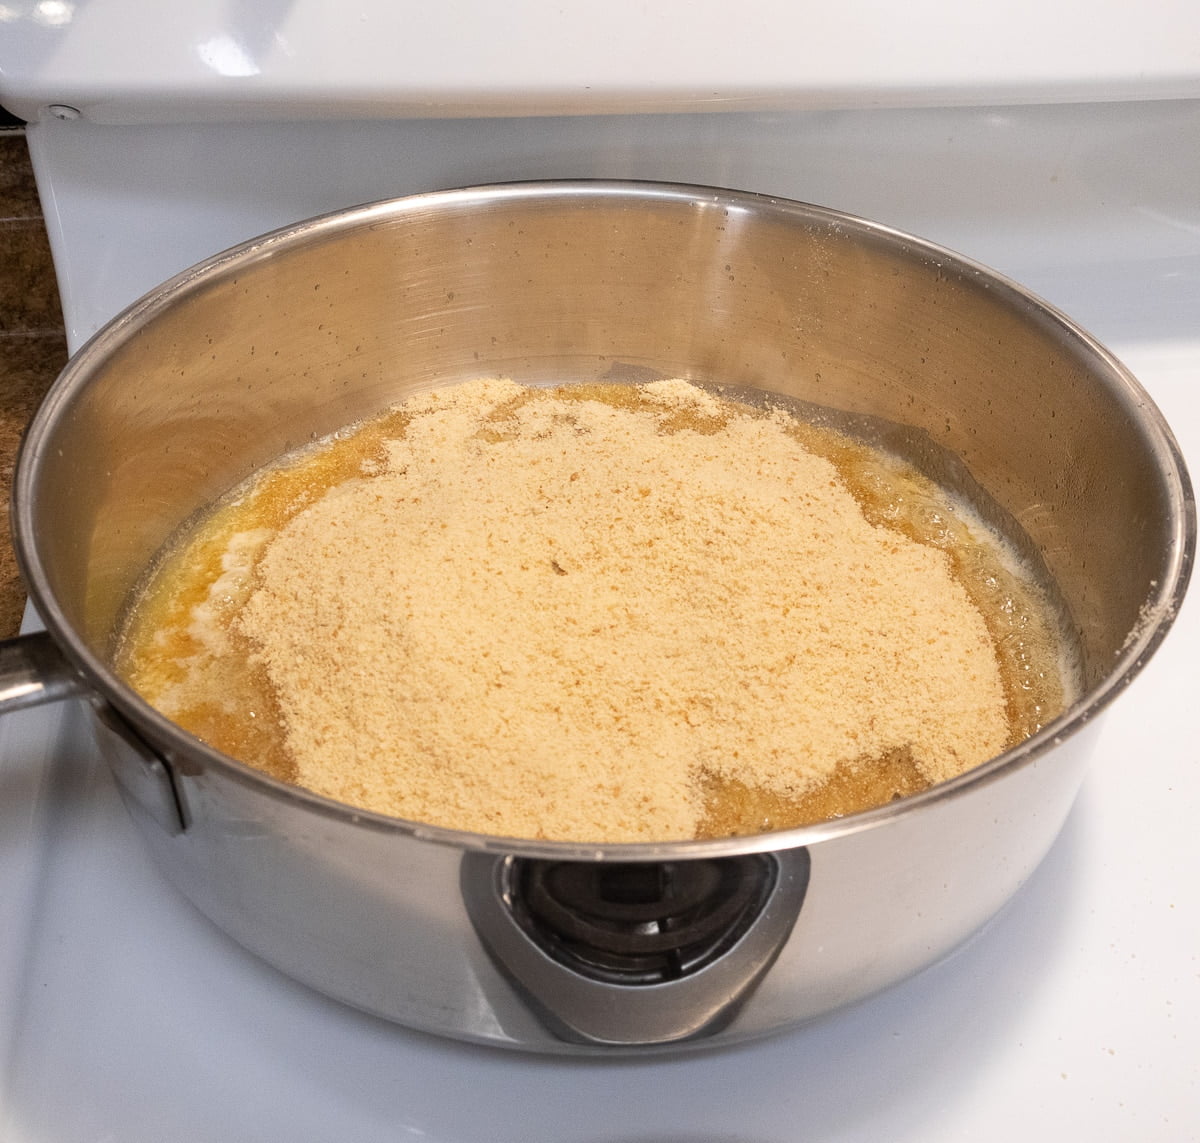
Bring the water and broth to a boil in a small saucepan. Gradually stir in the couscous. Remove from the heat, cover and let sit for 5 minutes. Remove the lid and fluff with a fork; set aside.
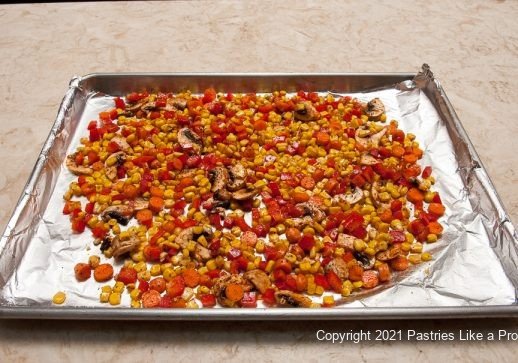
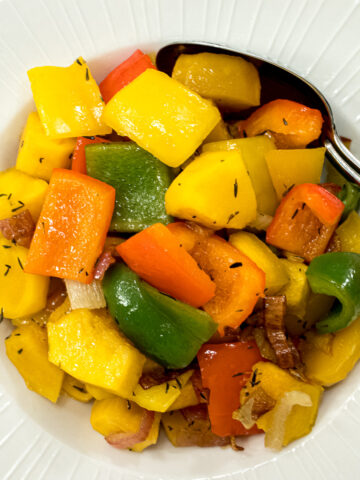
In the meantime, cut the veggies and place the red pepper, mushrooms, carrots, corn, and garlic in a bowl. In a small bowl, combine the chili powder, salt, black pepper, and cumin. Sprinkle over the veggies and stir well. Add the vegetable oil and stir to coat the vegetables. Line a rimmed baking sheet with foil and spray. Pour the vegetables into the pan and shake to distribute evenly in a single layer. Bake for 10 to 12 minutes until nicely roasted.
Combine the couscous with the roasted vegetables and beans. Serve with the onions sprinkled on top.
This summer side can be served hot or warm or room temperature.
Yields: 4 servings.
Other recipes to brighten your summer:
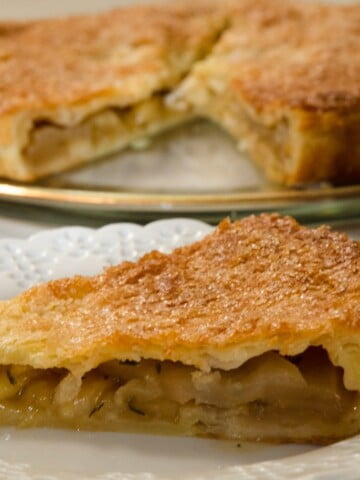
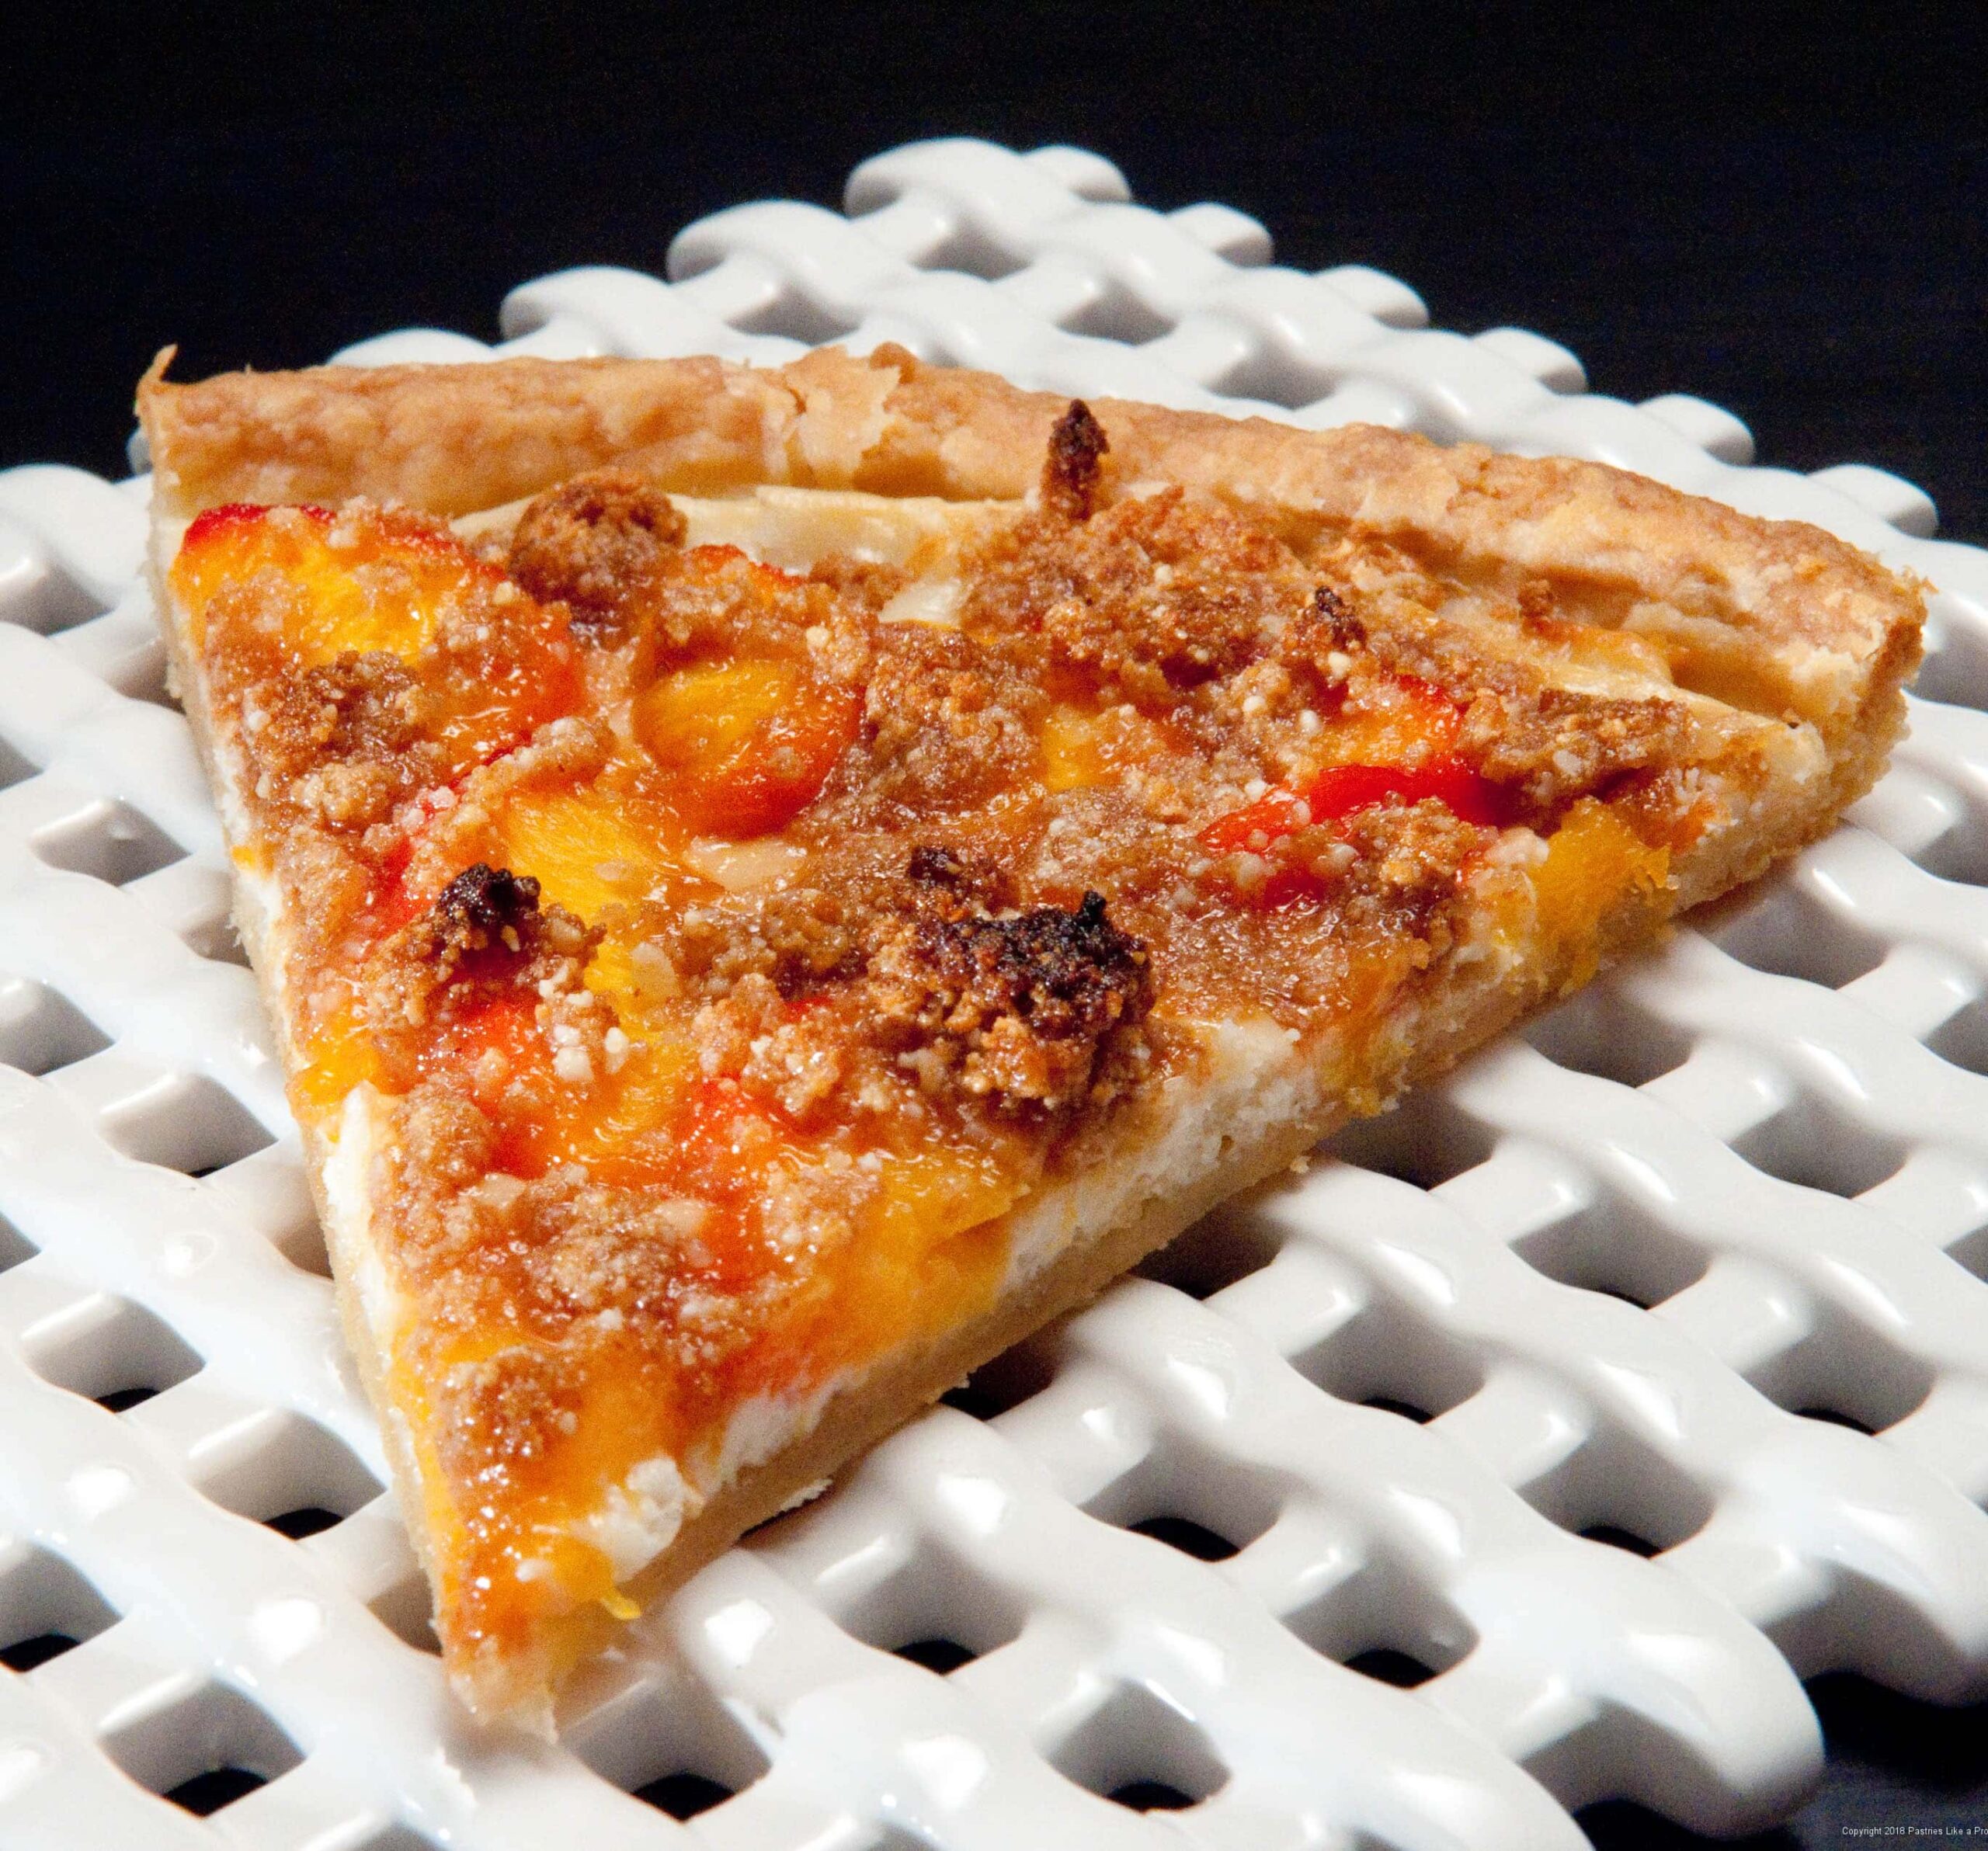
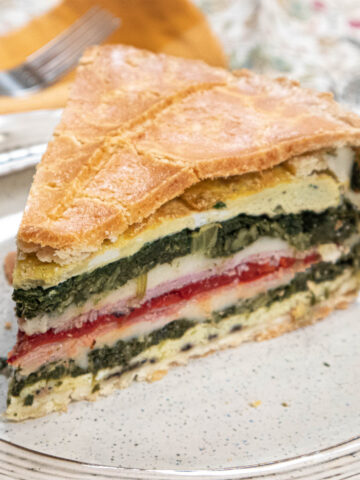
Summer Vegetable Tart
Mayfair Salad Dressing - Better than Caeser