
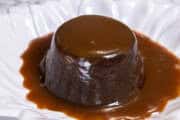
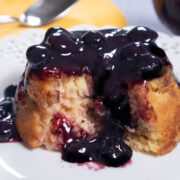
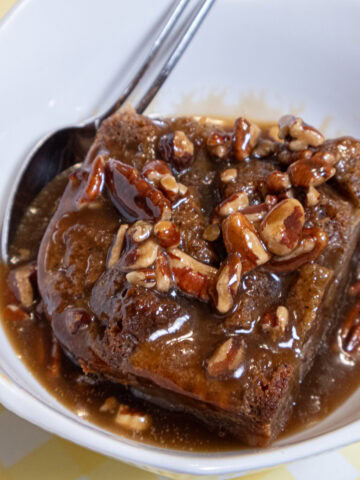
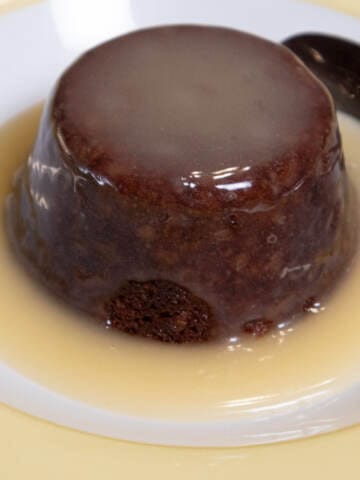
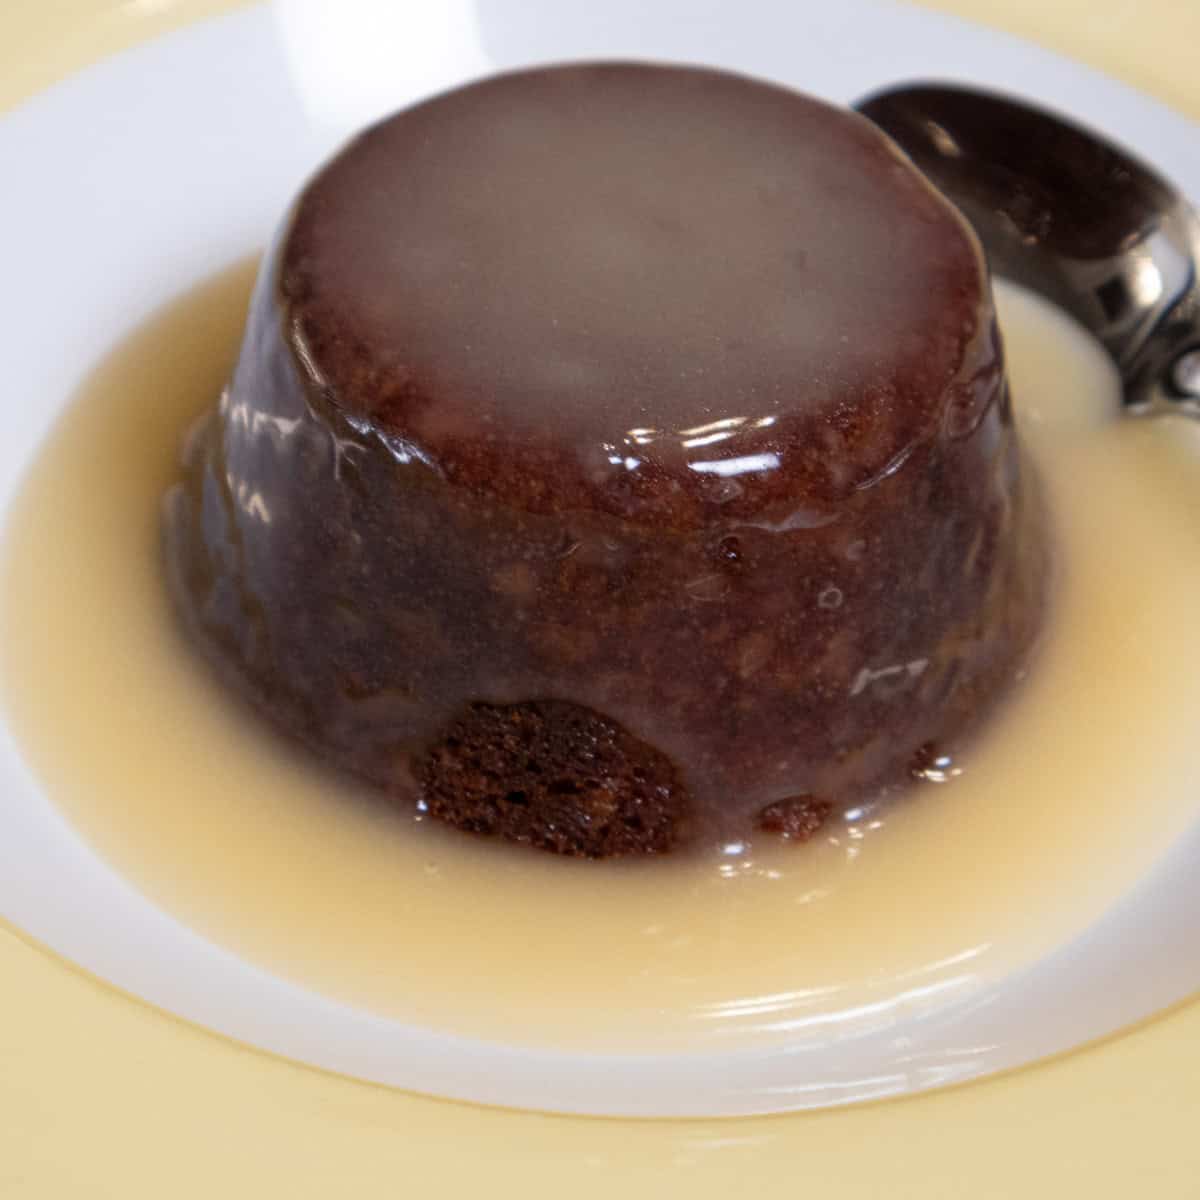
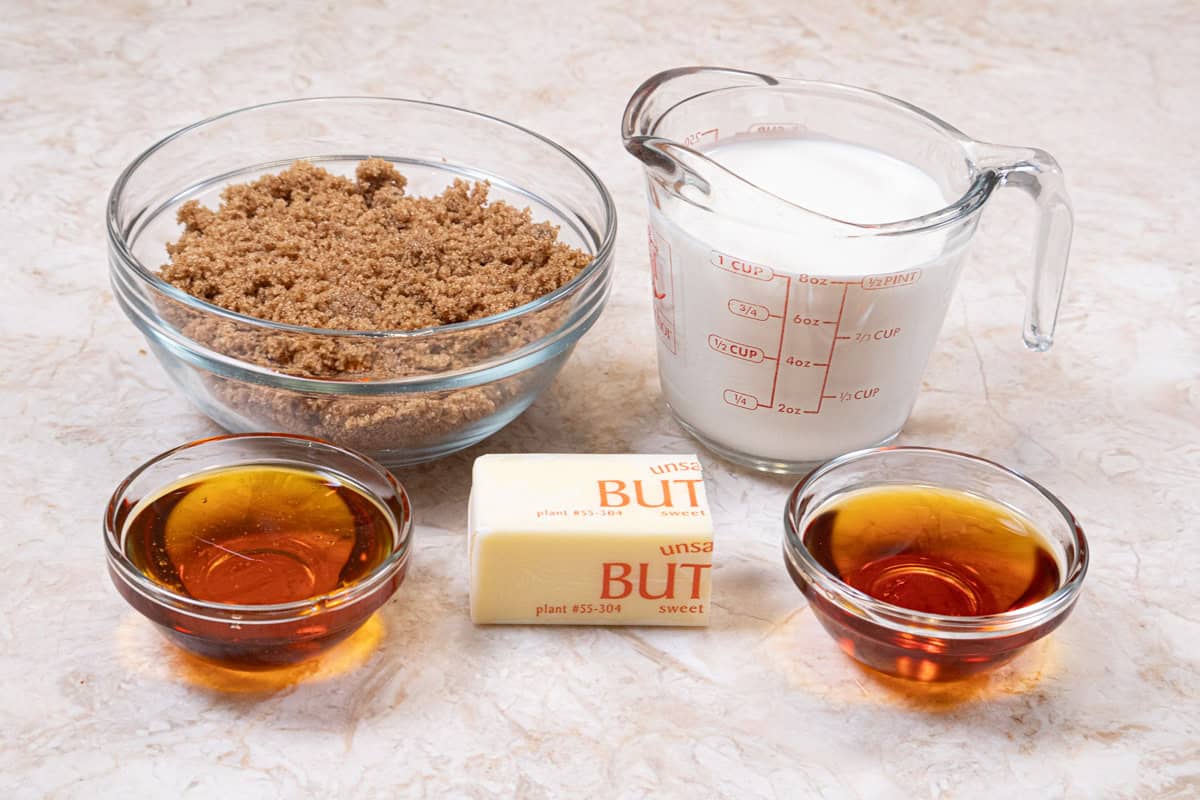
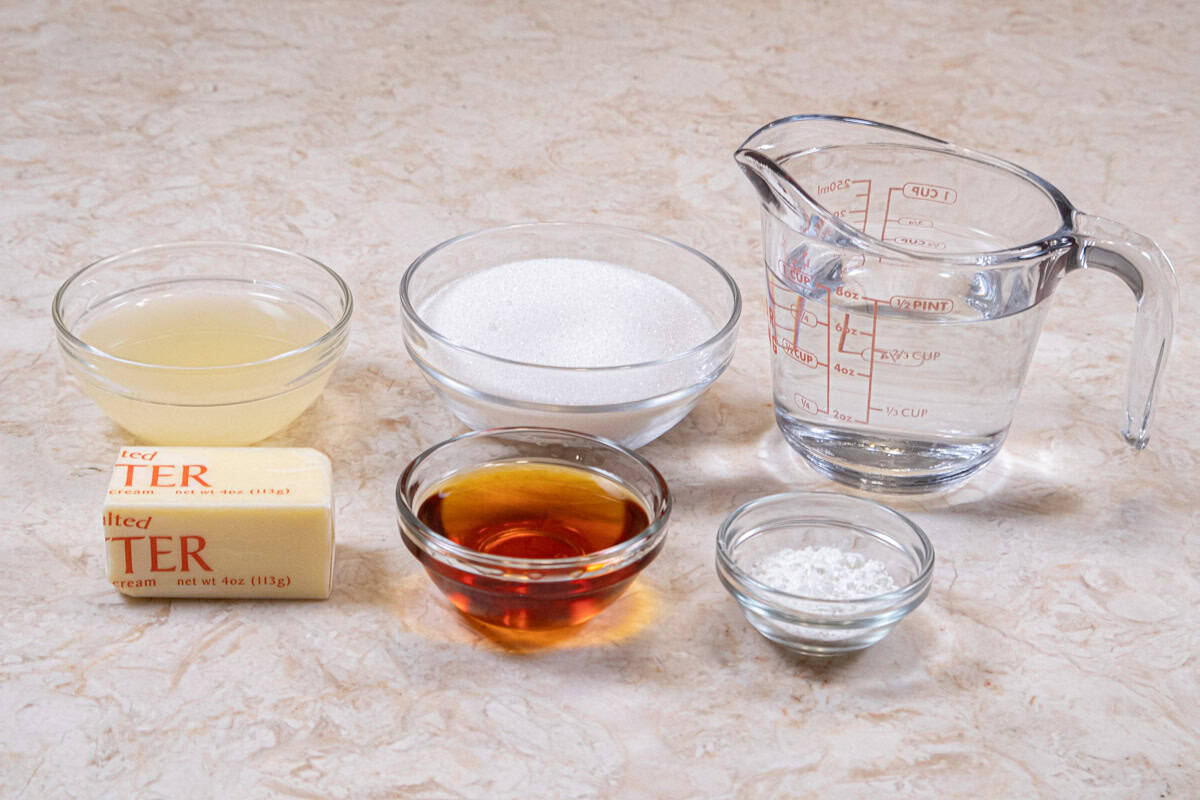
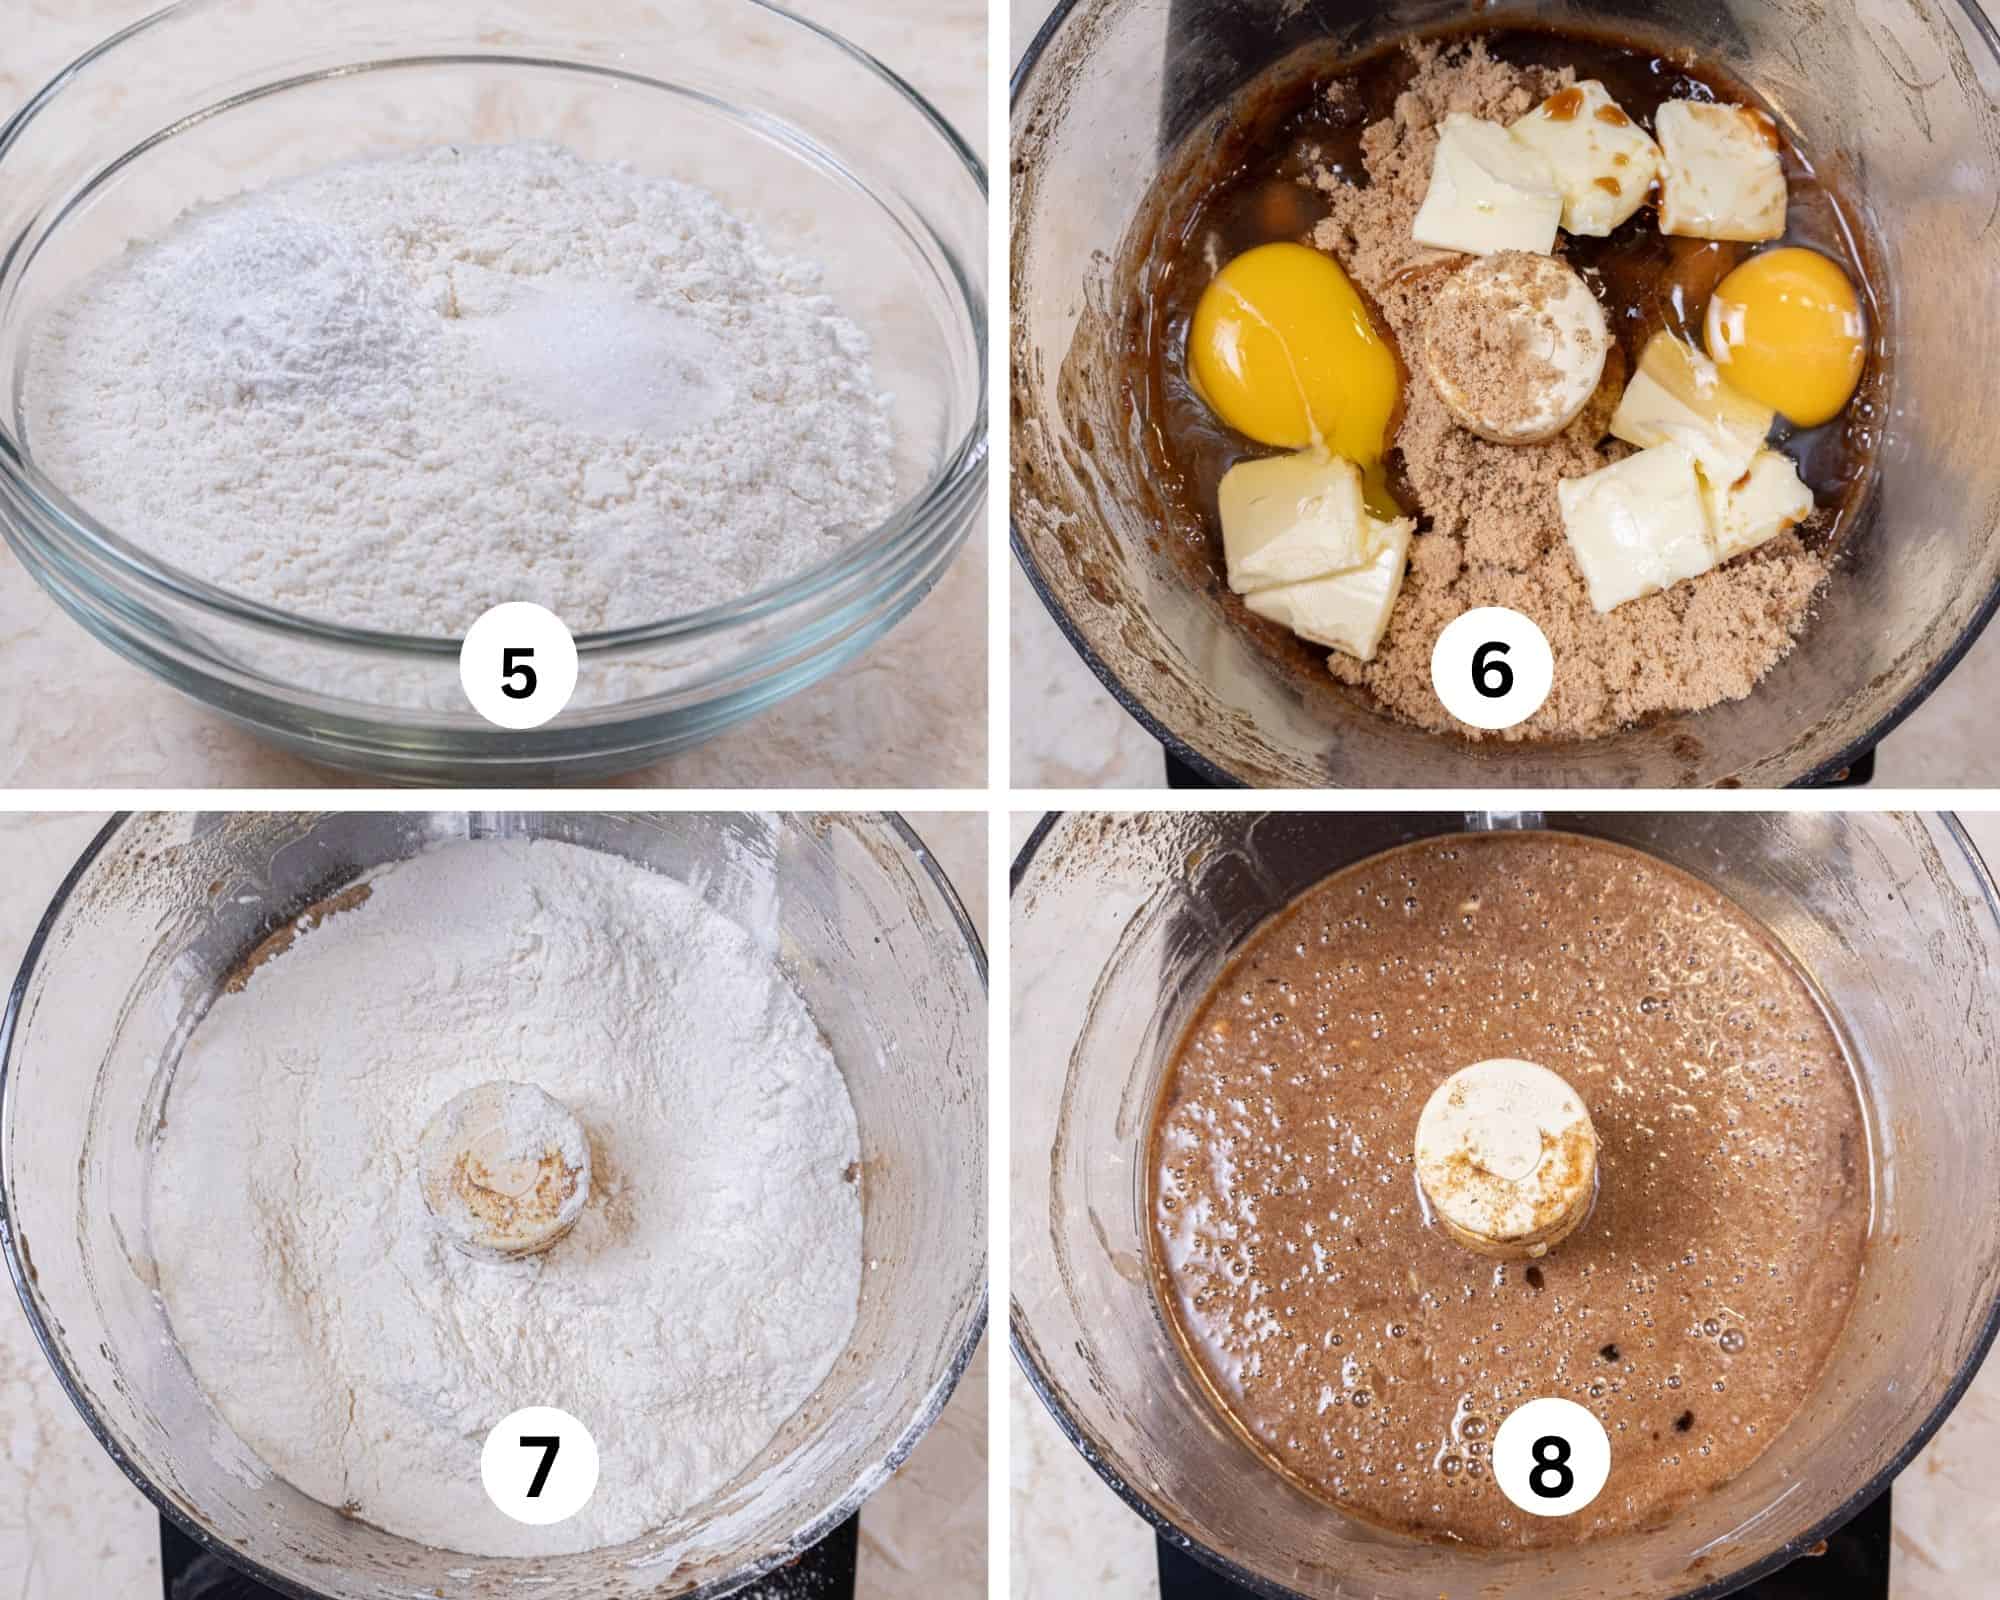
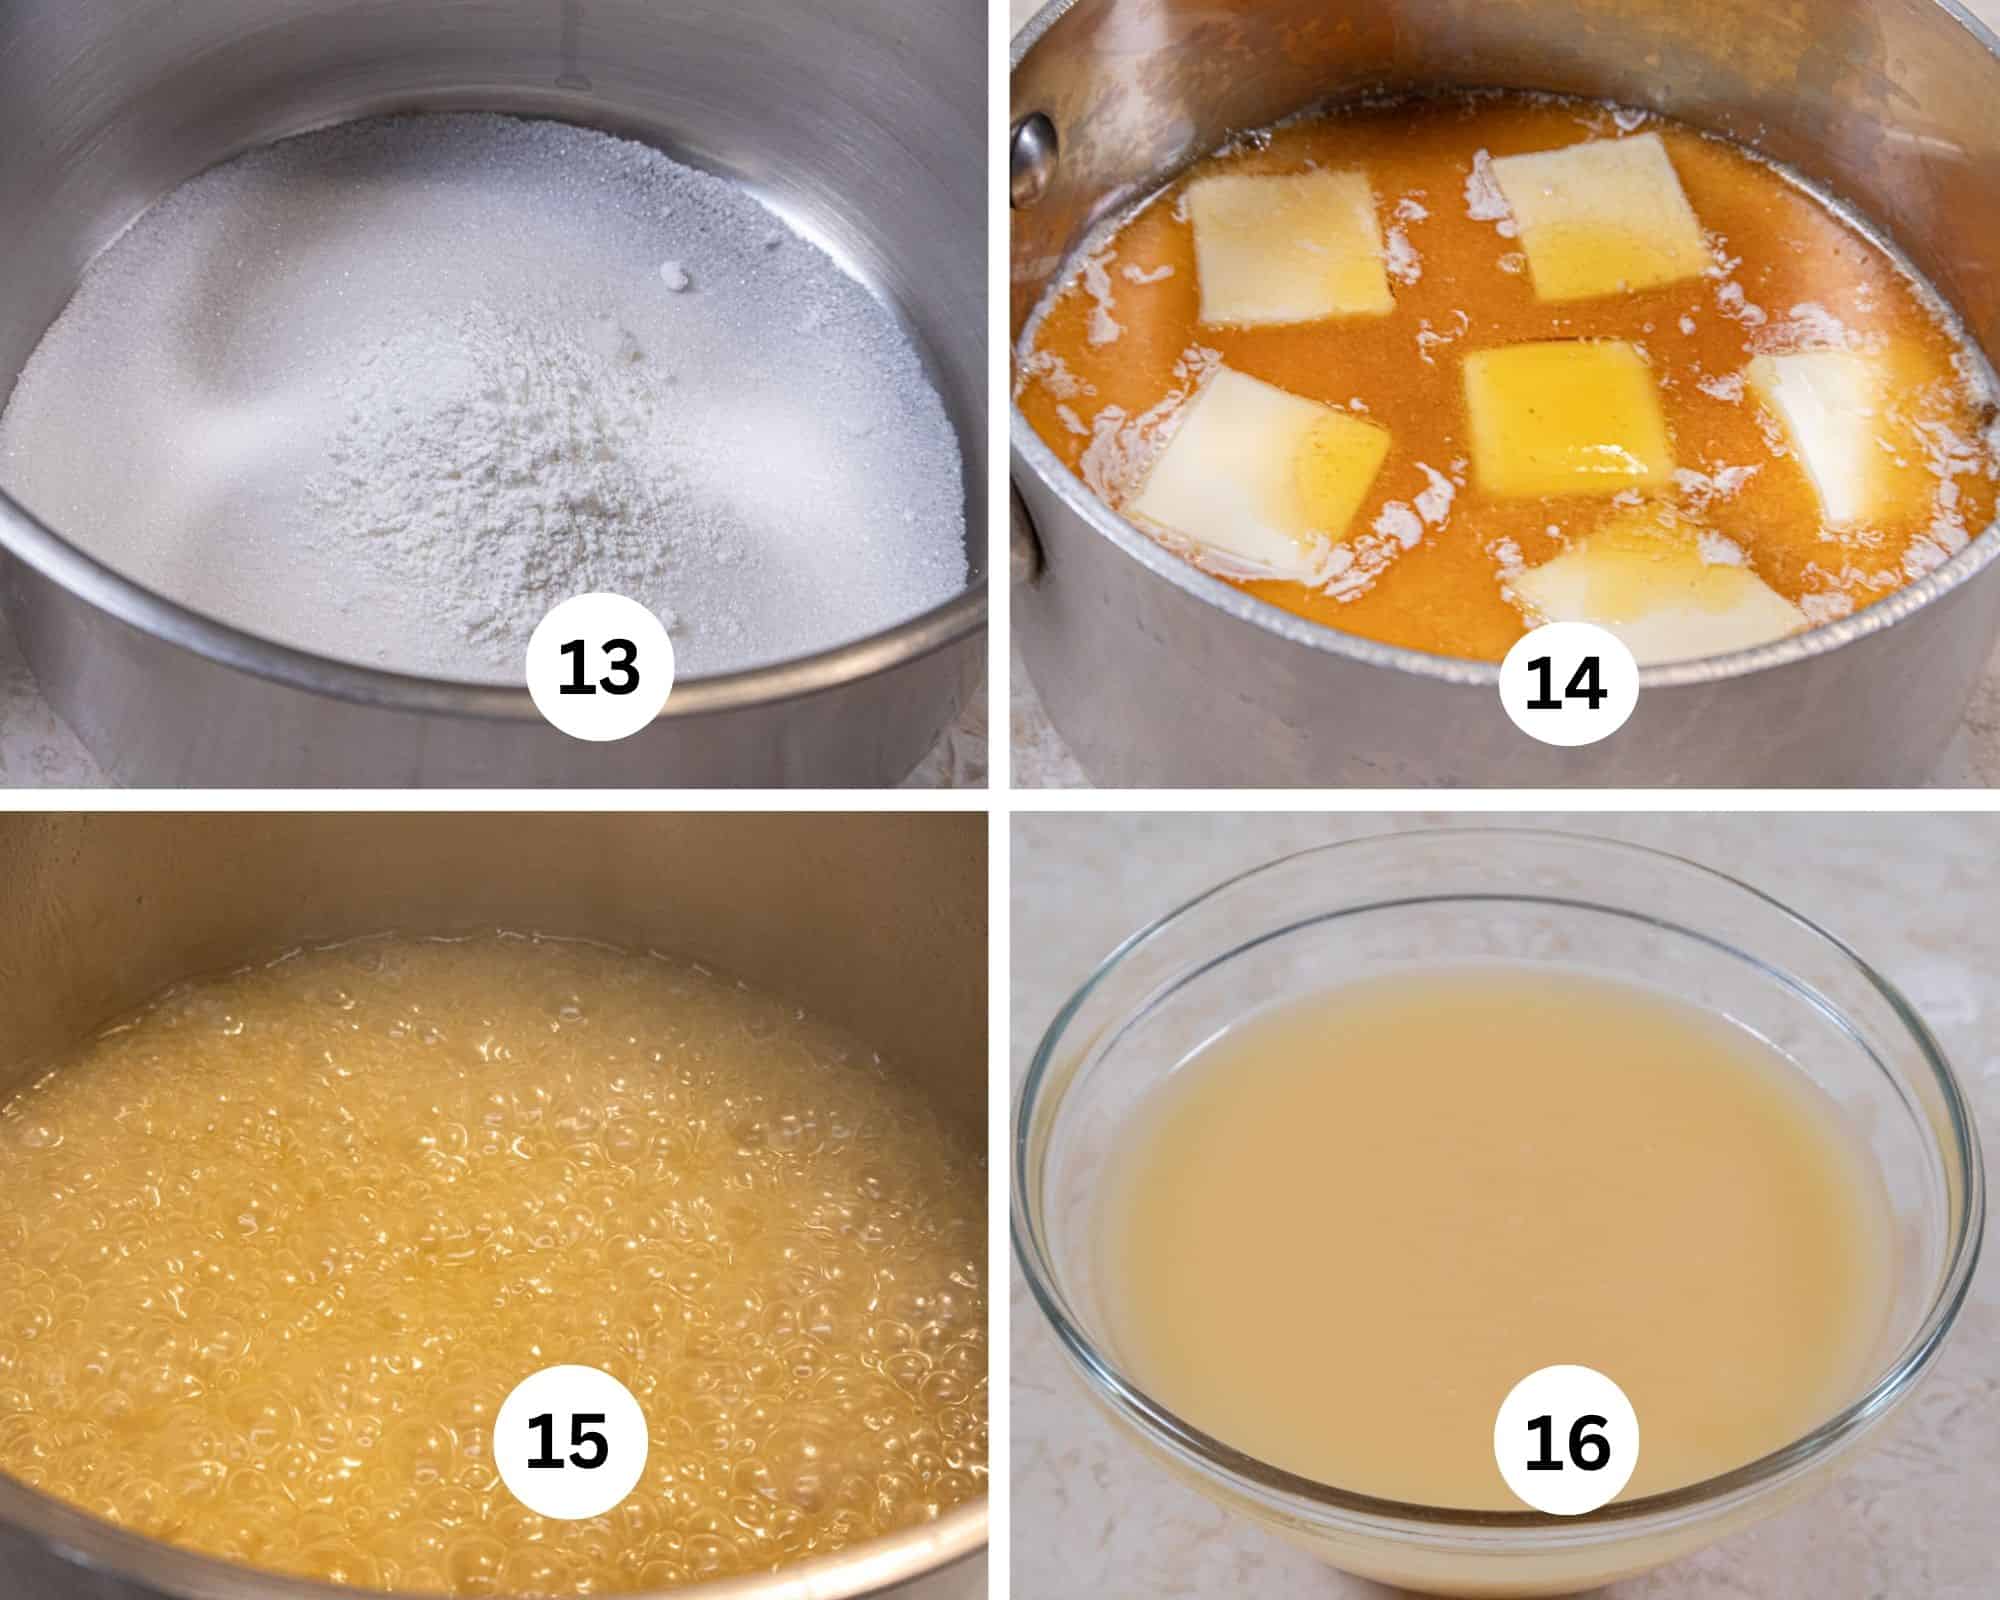
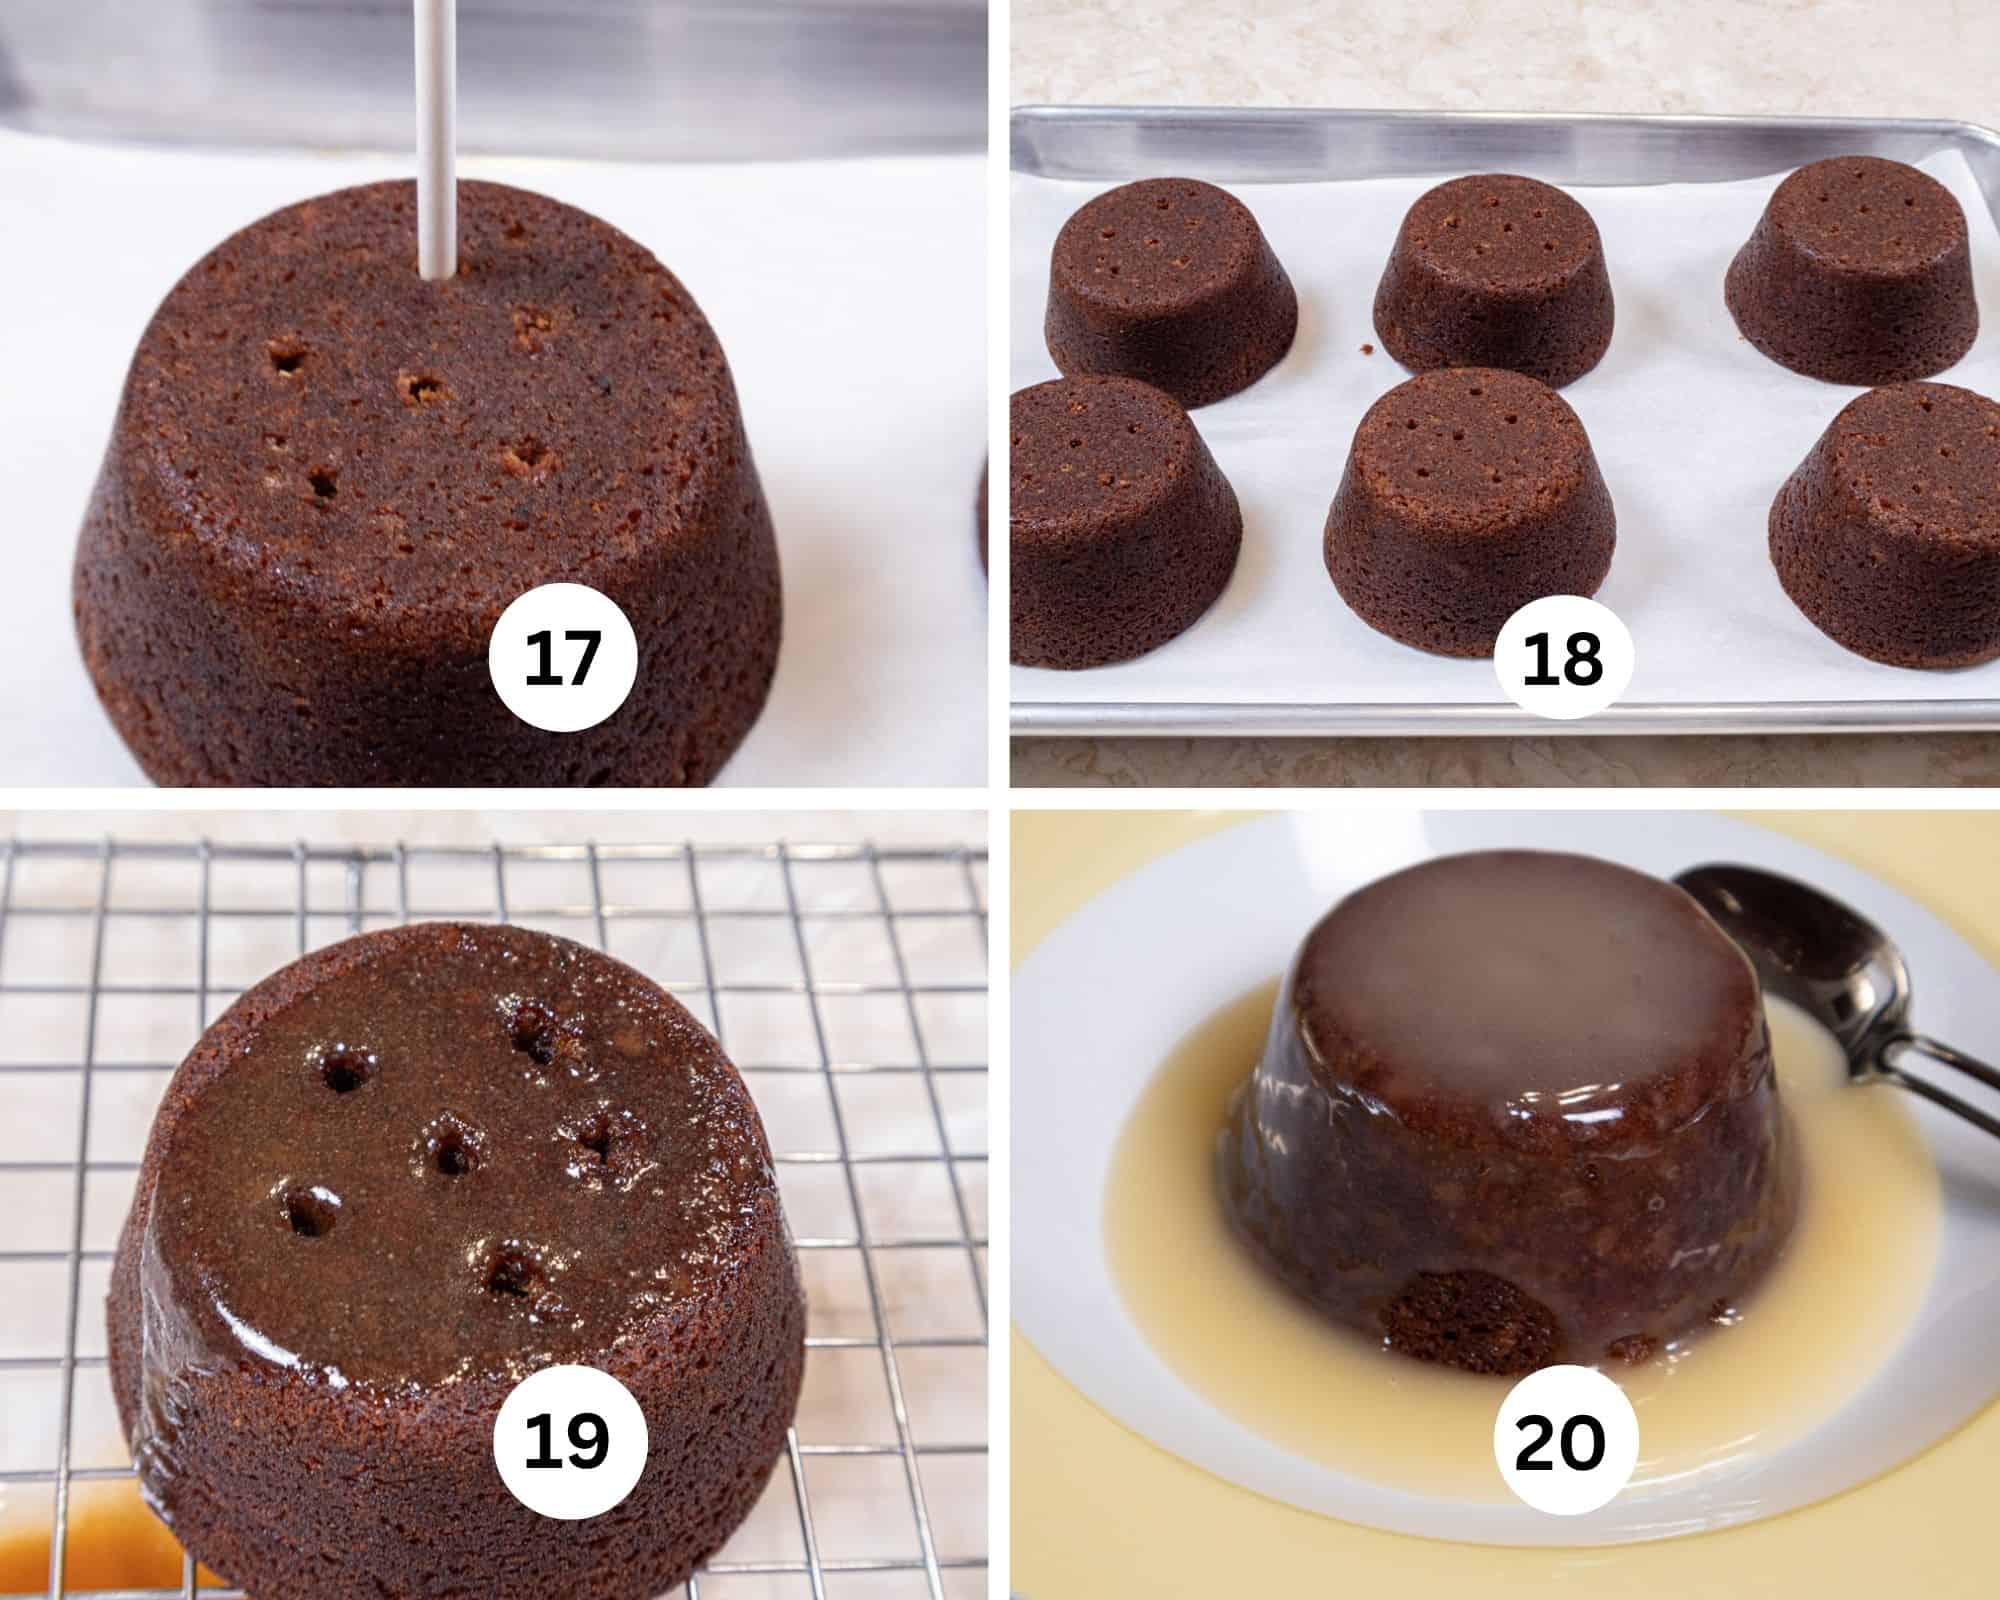
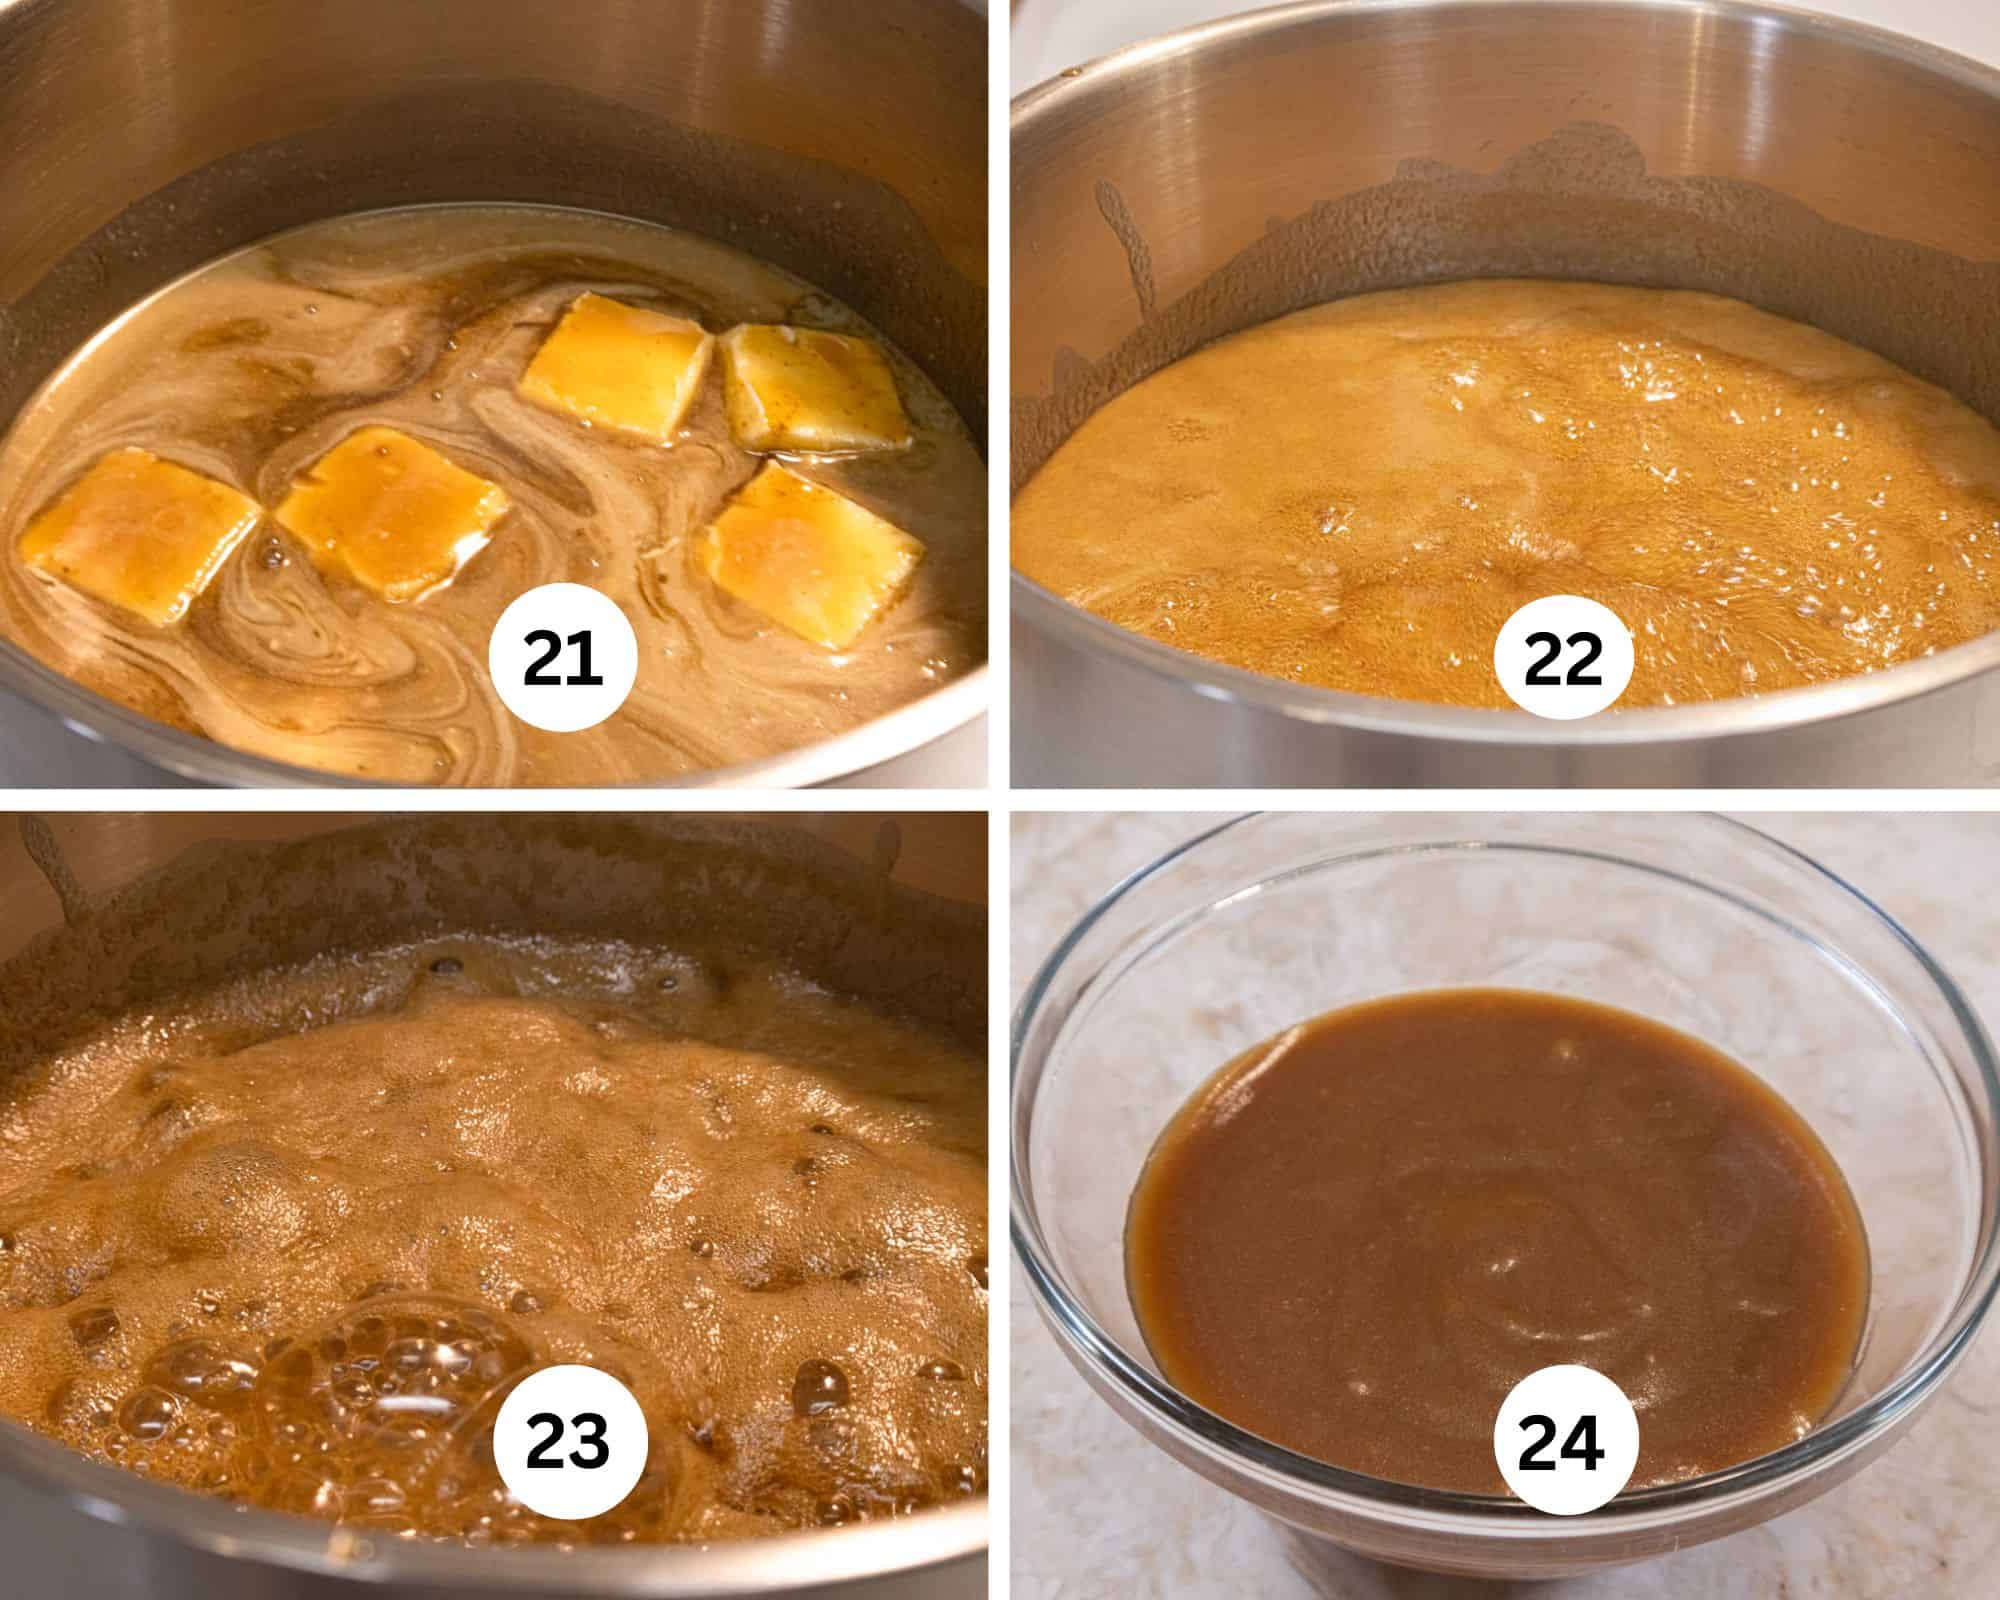
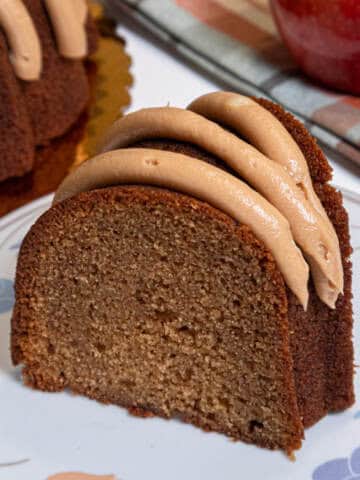
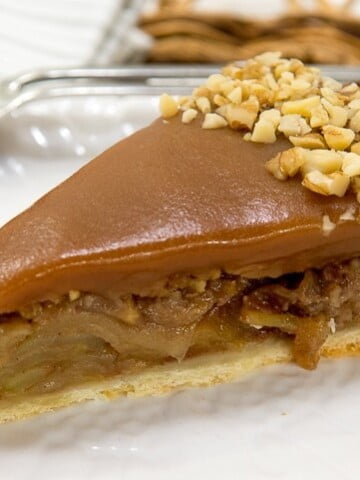
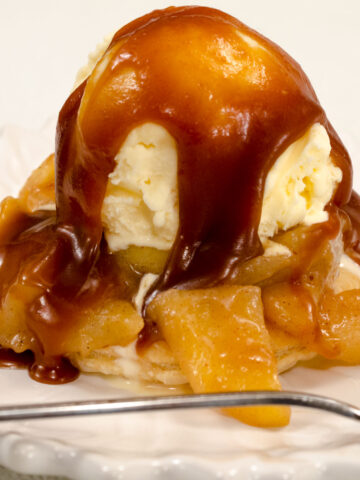
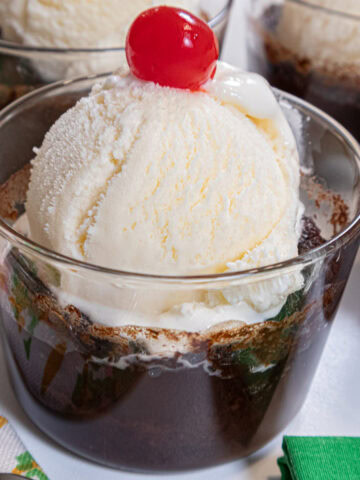
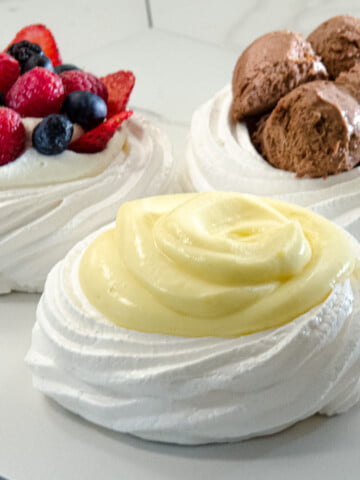
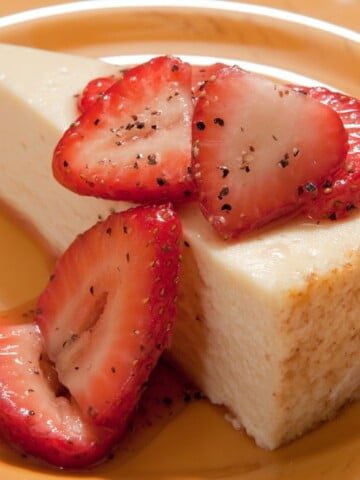
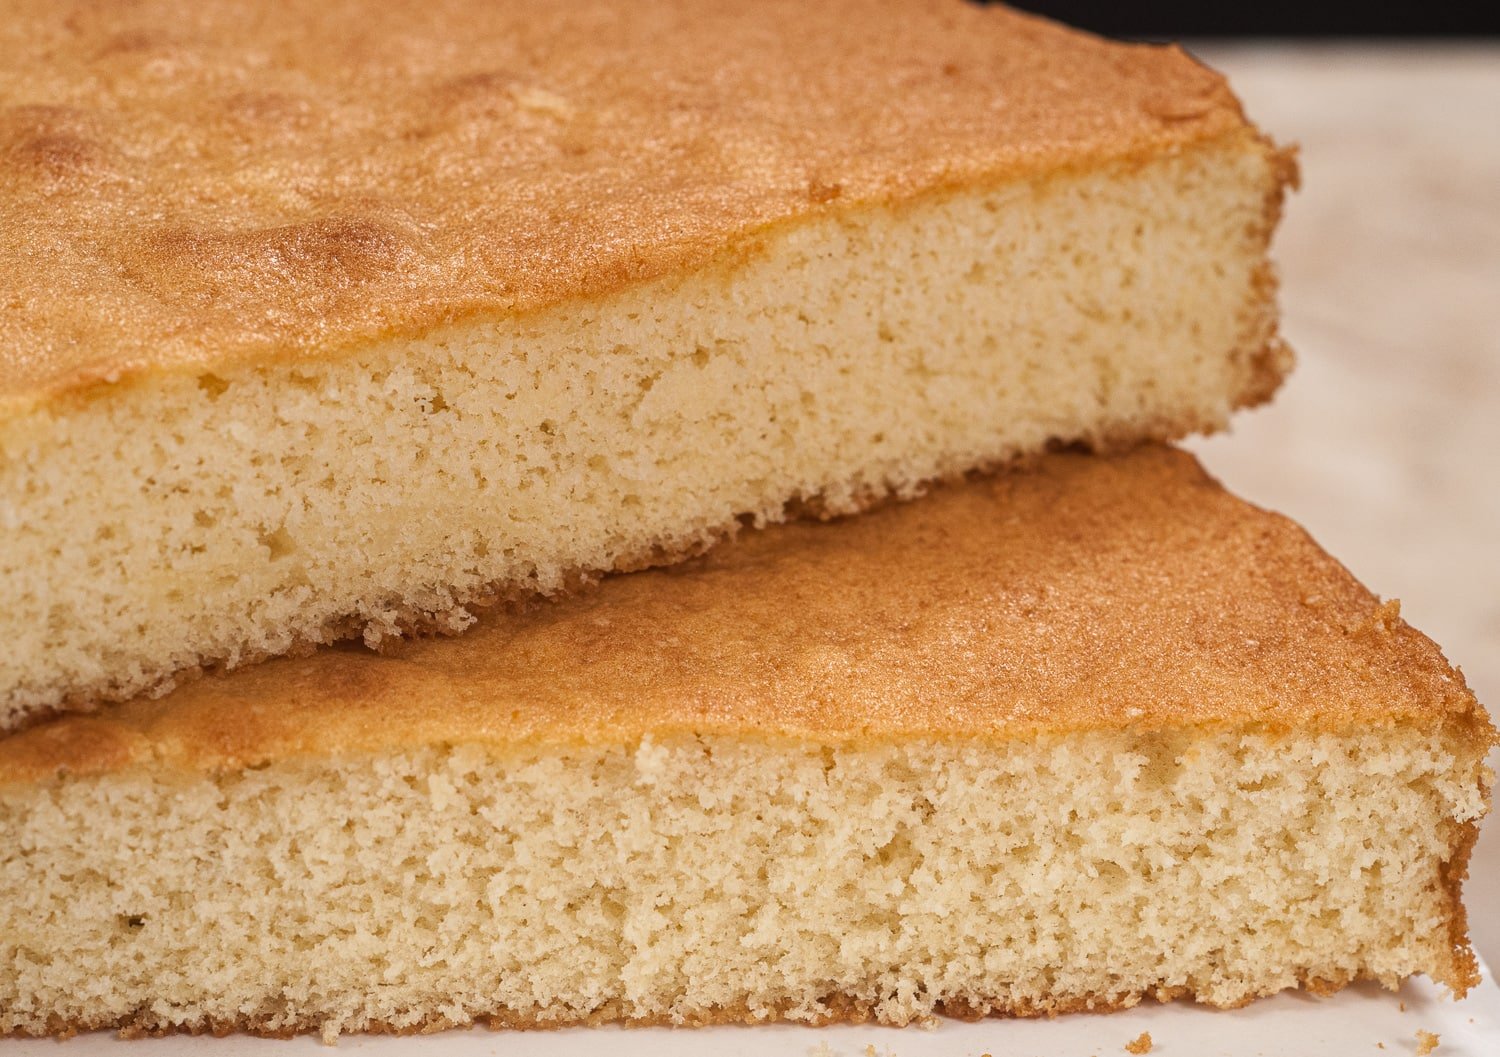
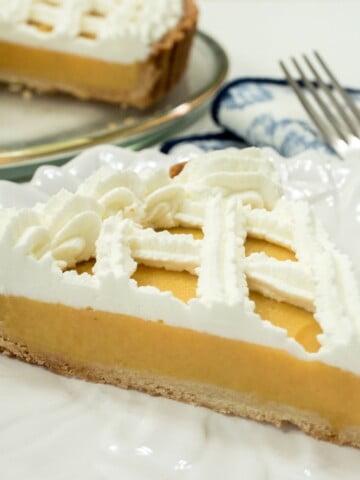
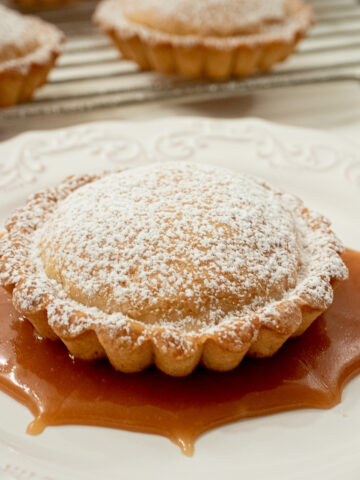
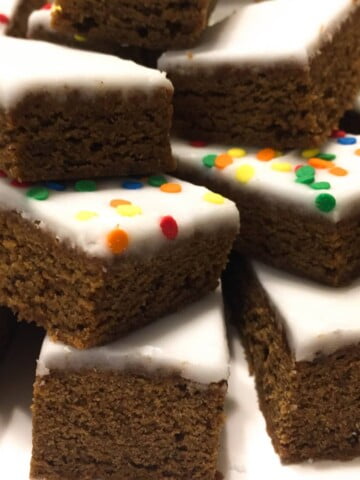
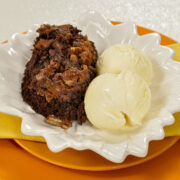
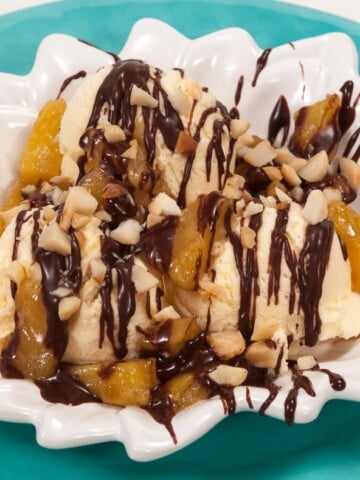
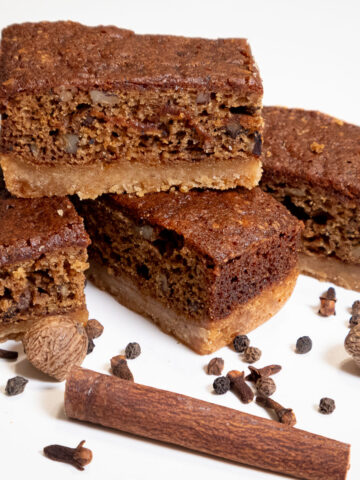
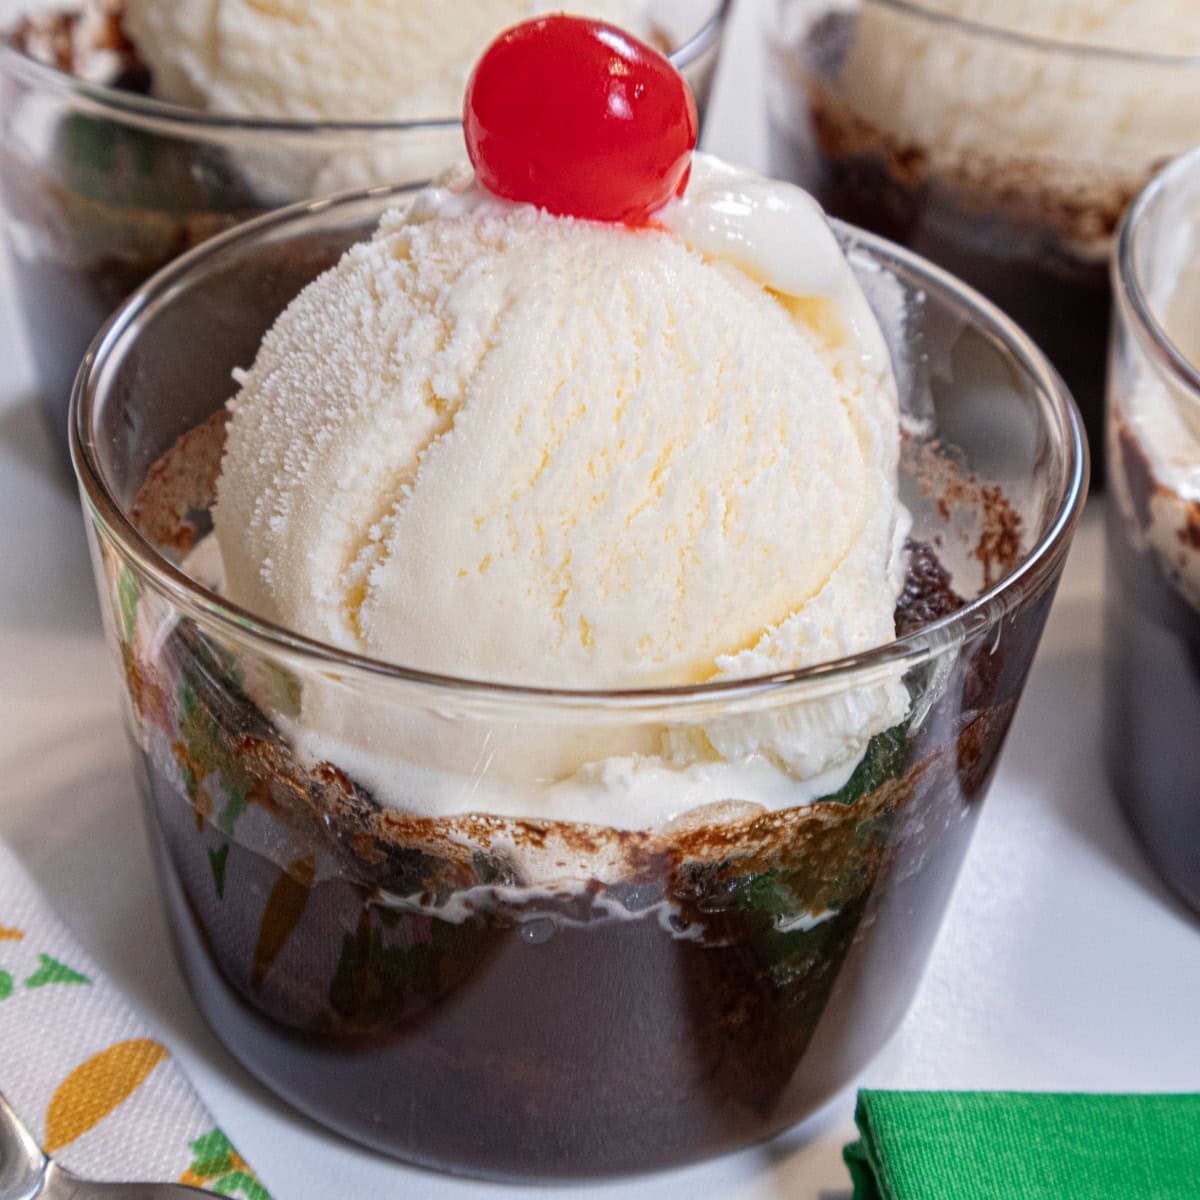
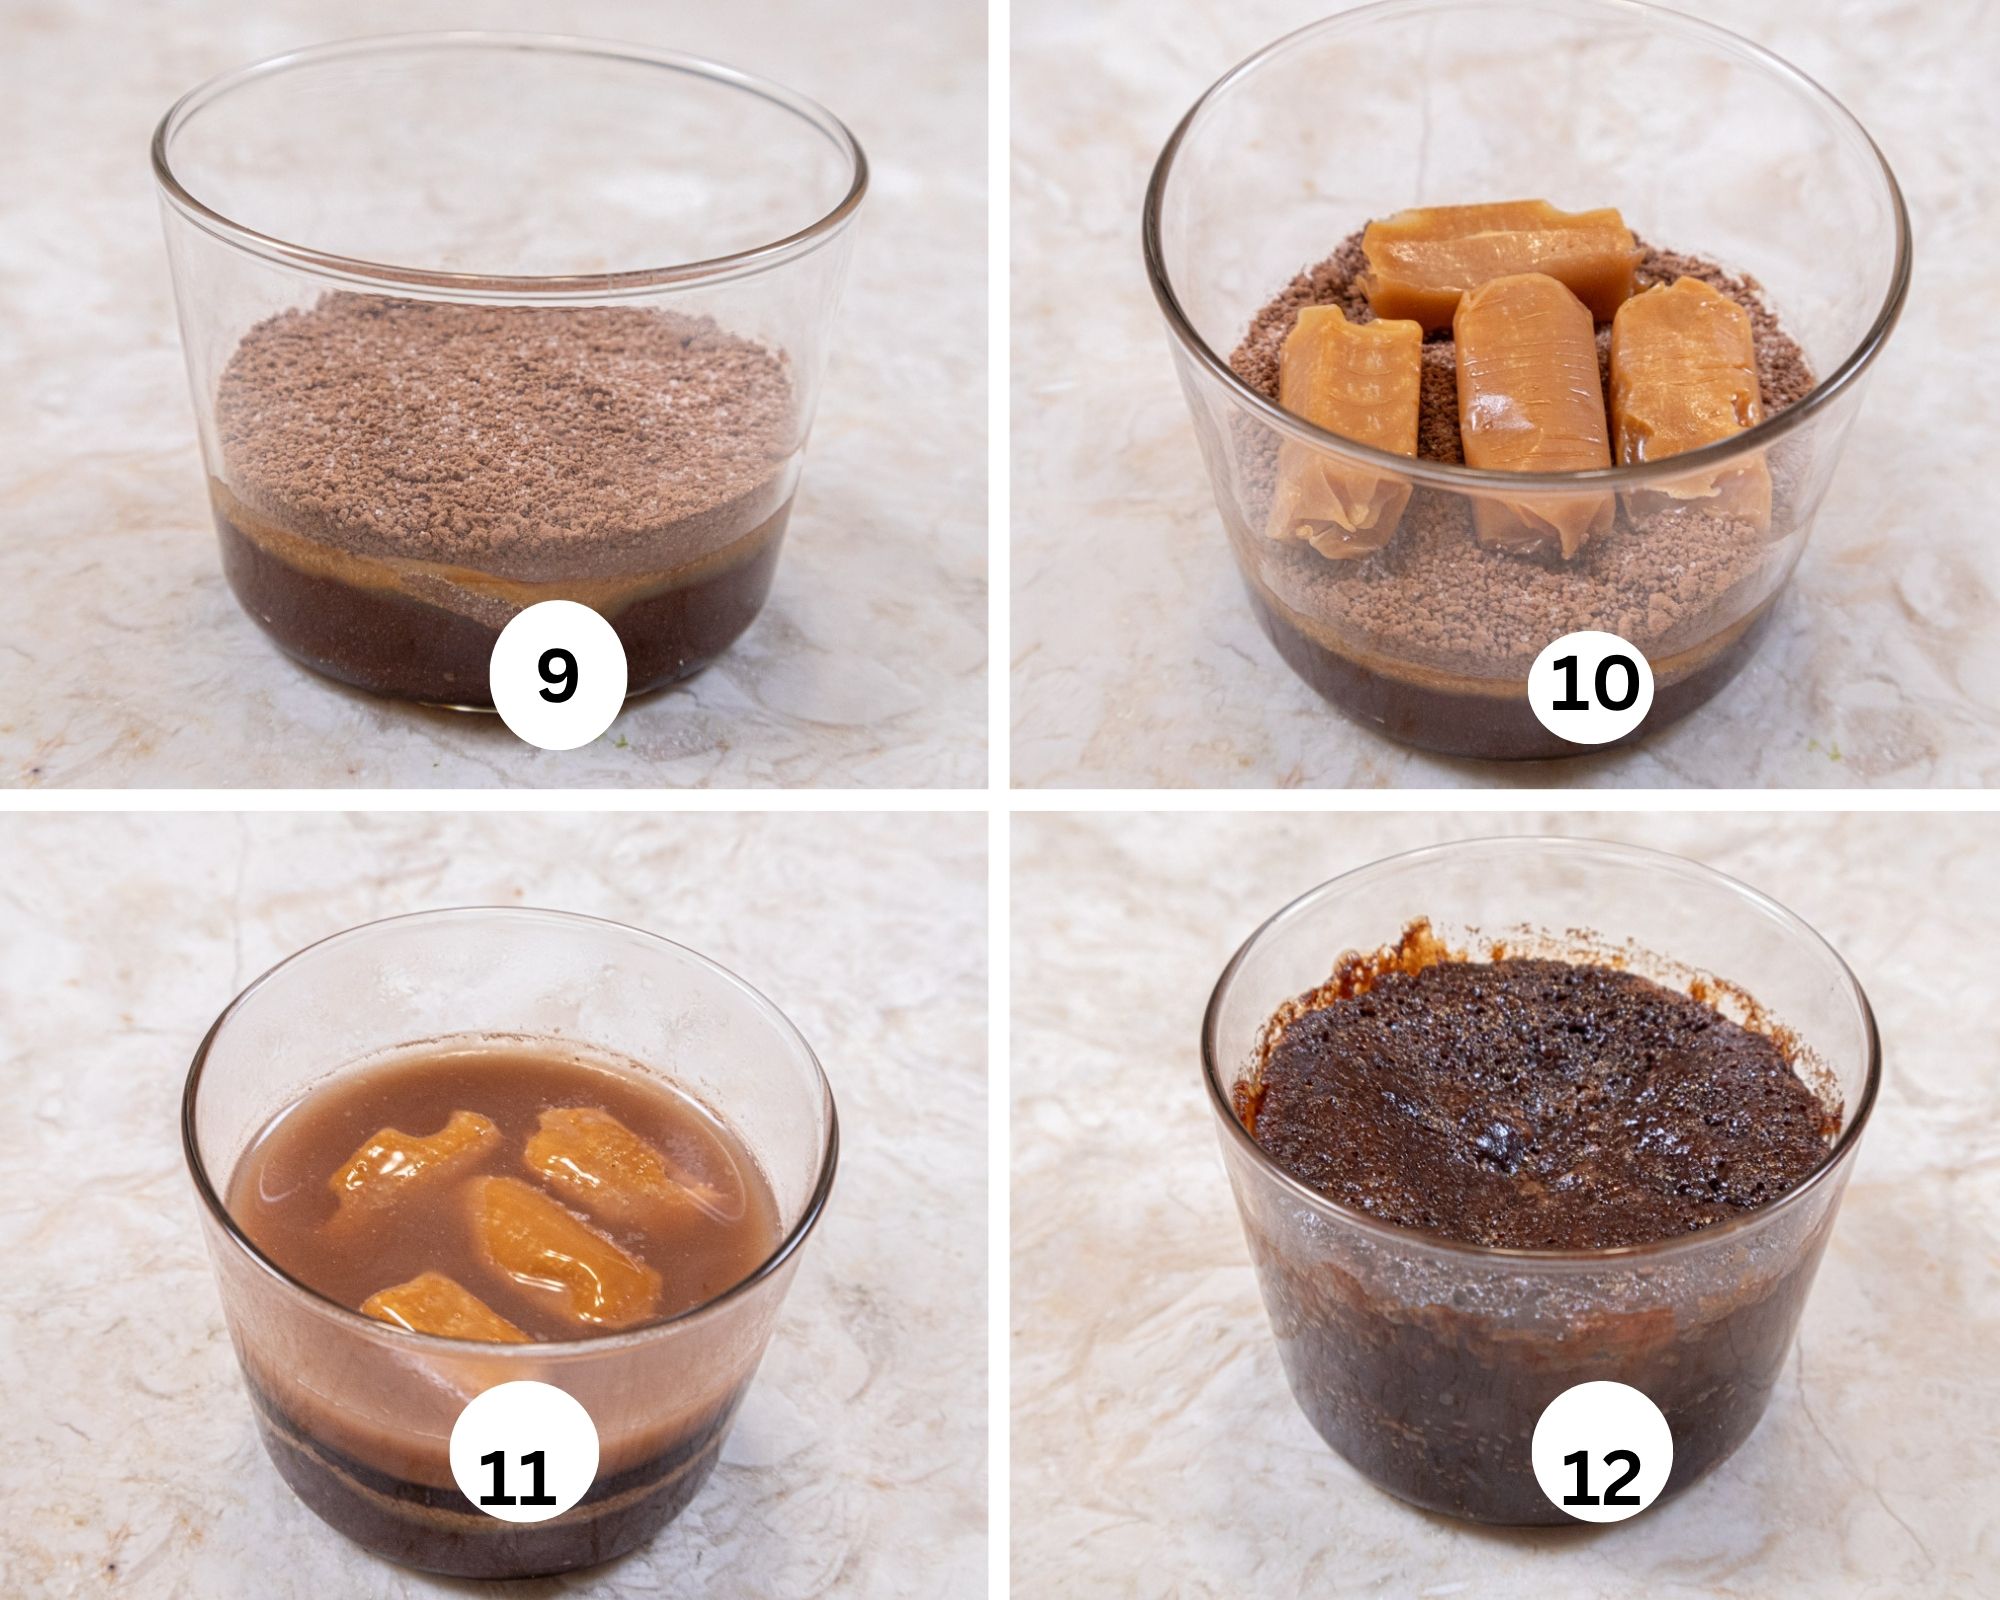
Non-Traditional Sticky Toffee Pudding
If you're looking for a low stress quickly made holiday dessert this Non Traditional Sticky Toffee Pudding is not to be missed. While often thought of as overwhelmingly sweet, this one is not. The easily made individual sponge cakes are rich, moist, served warm with one of two sauces - traditional Toffee Sauce or a Lemon Rum sauce for a change.
Check out this recipe
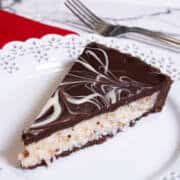
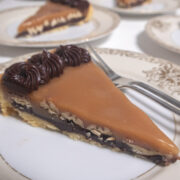
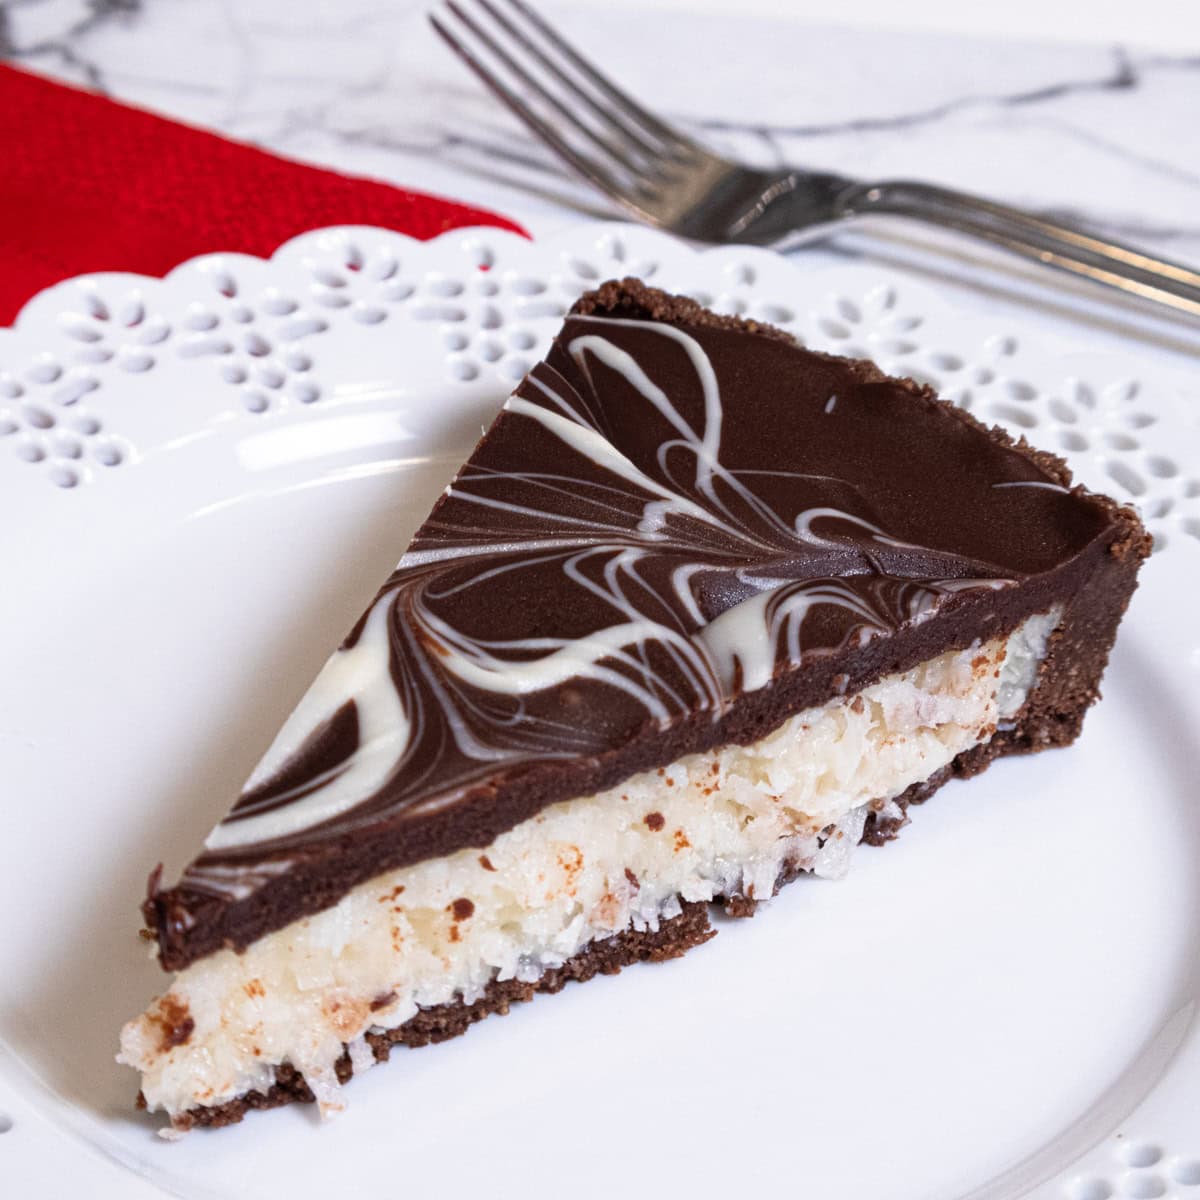
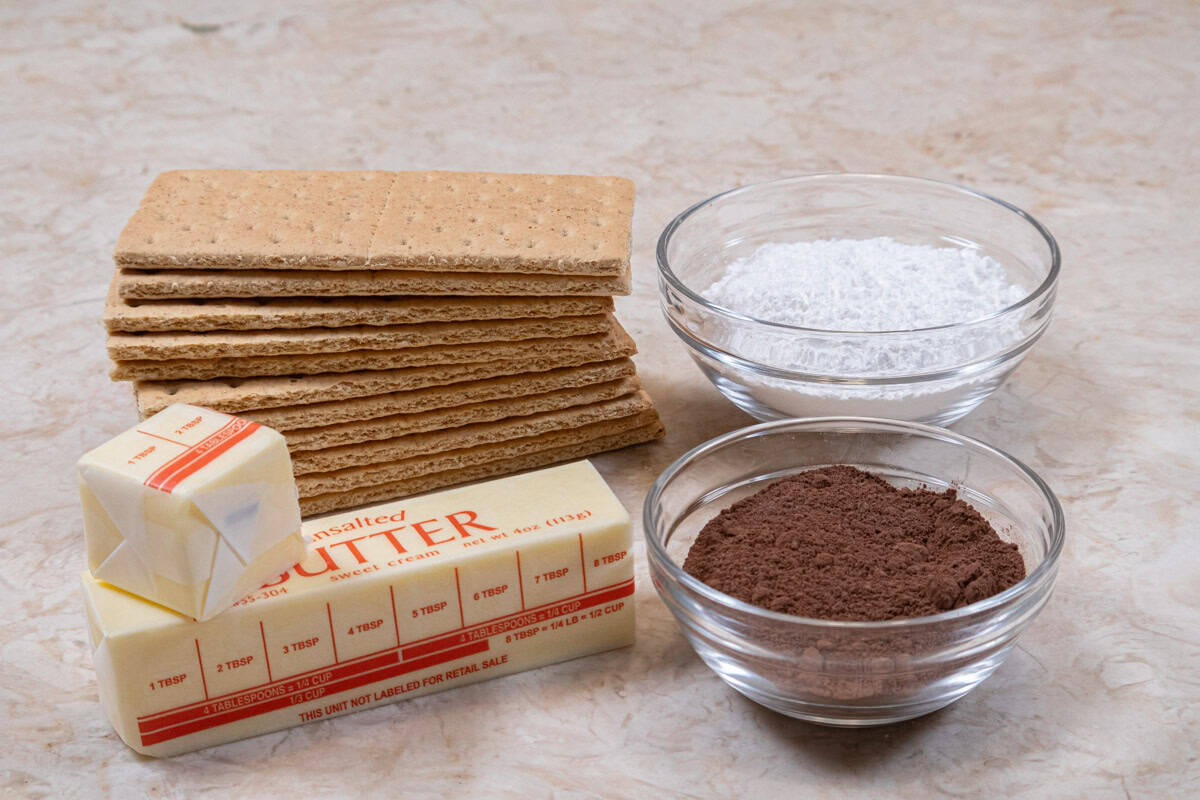
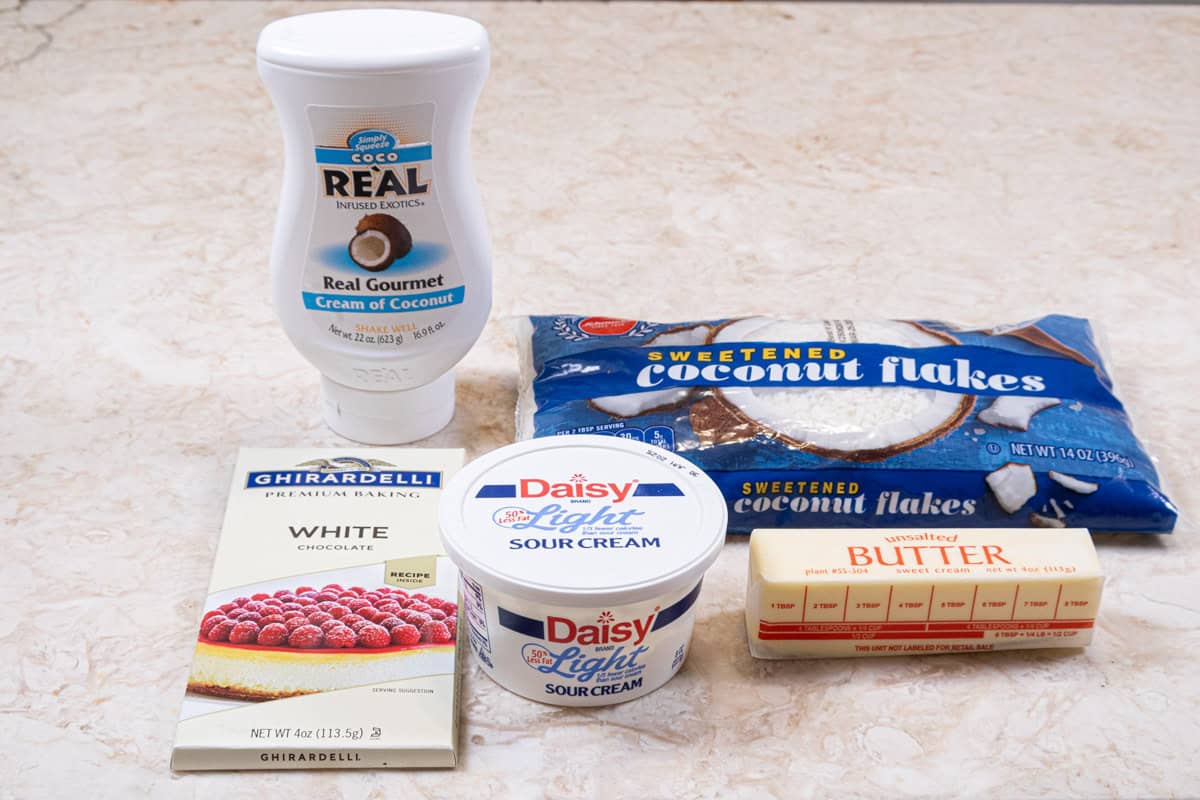
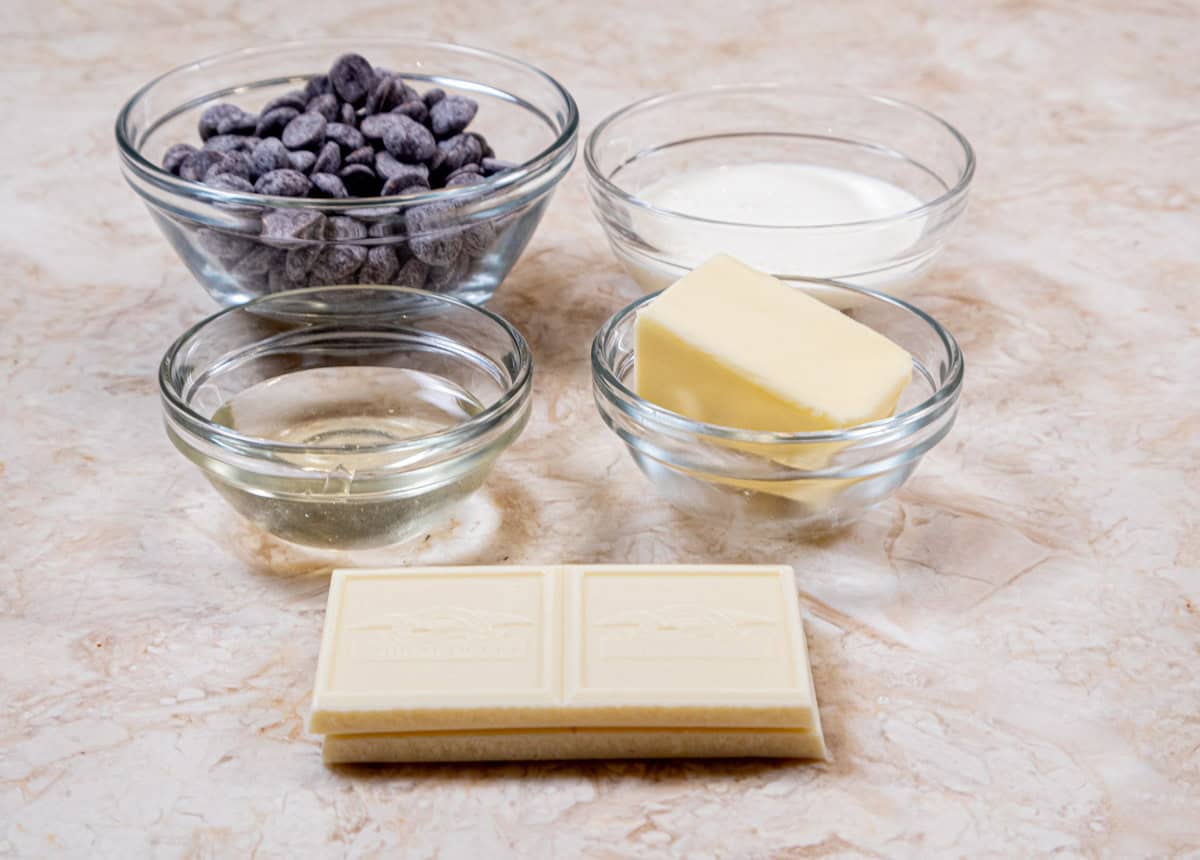
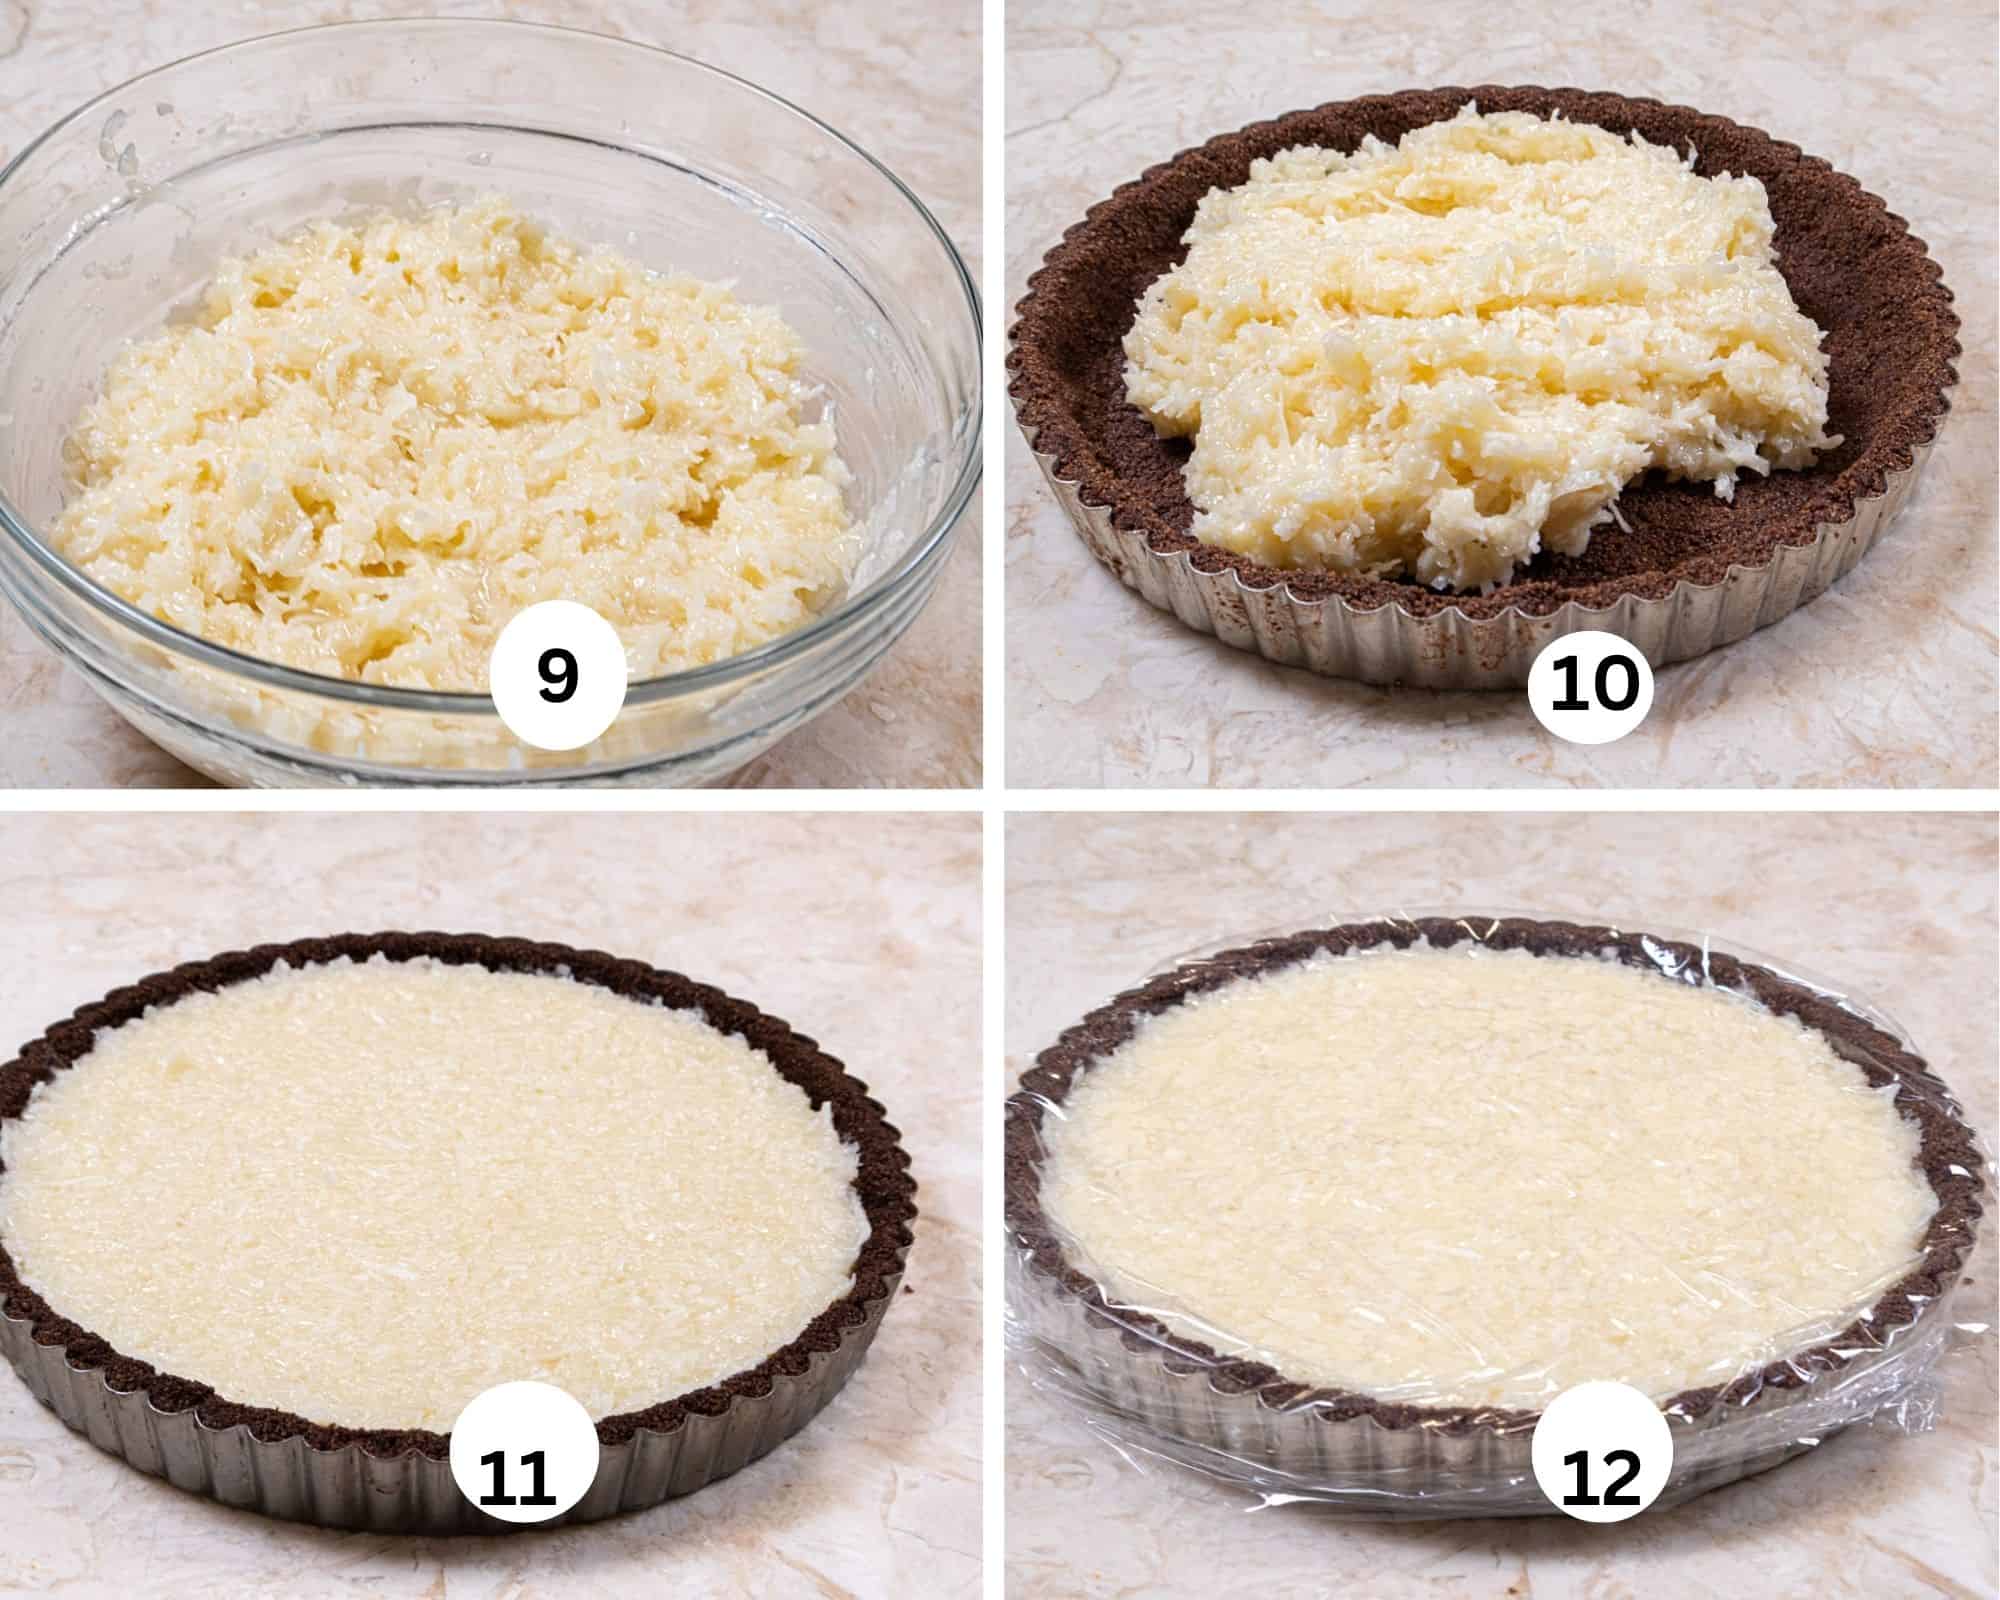
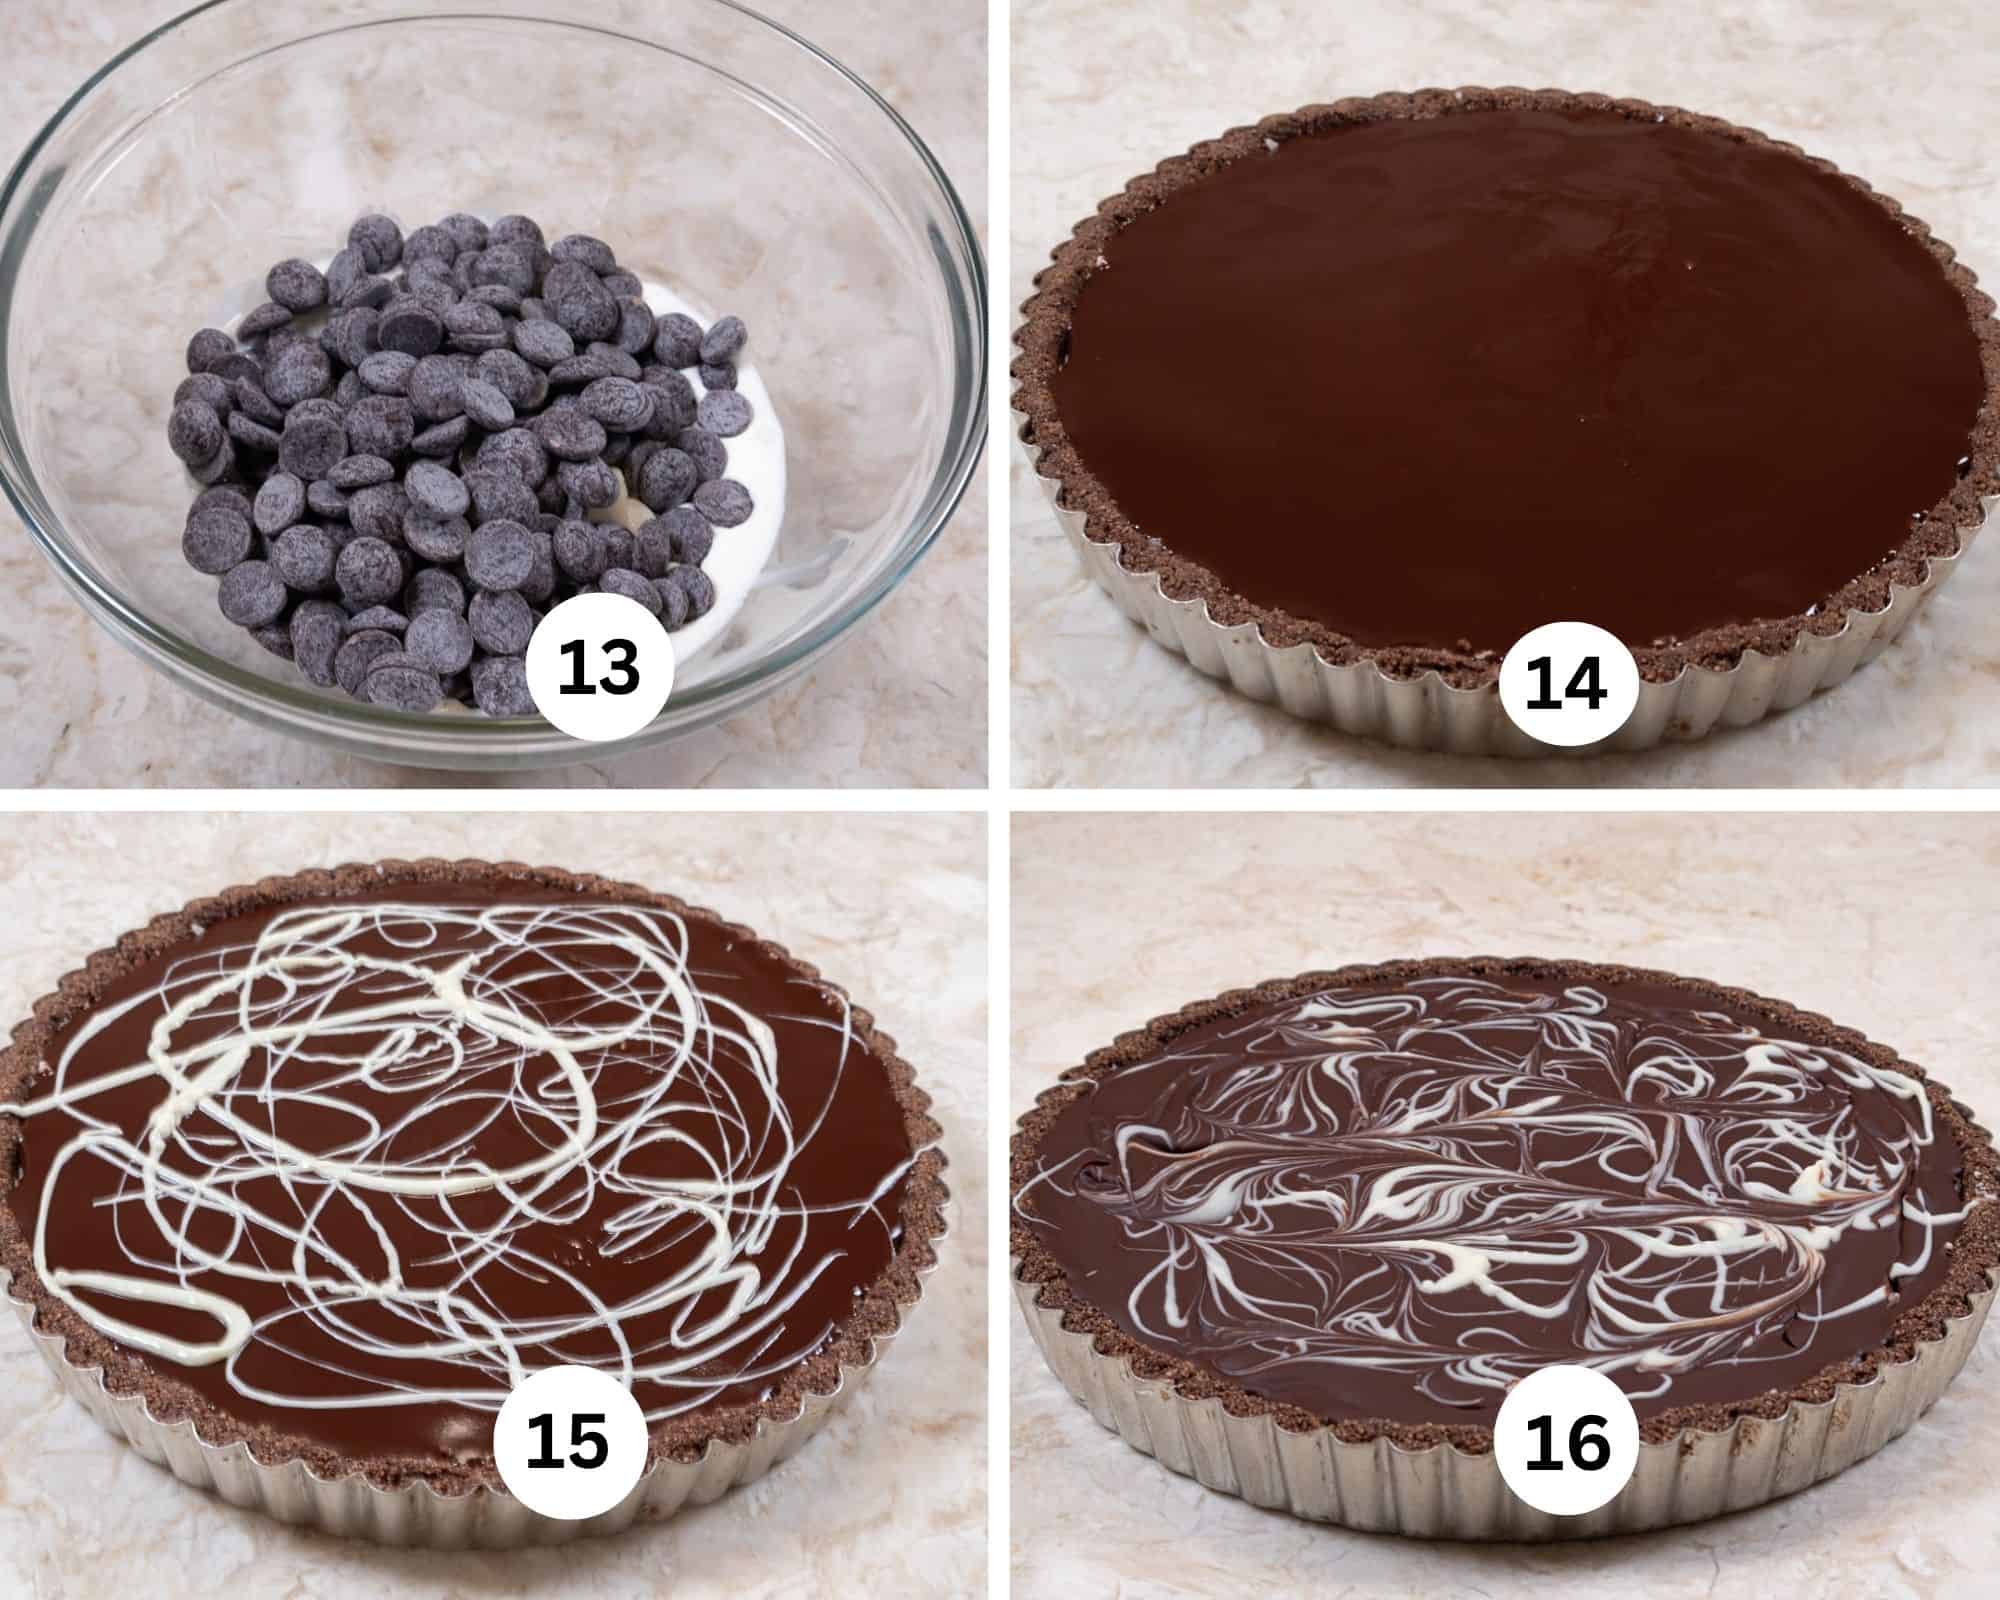
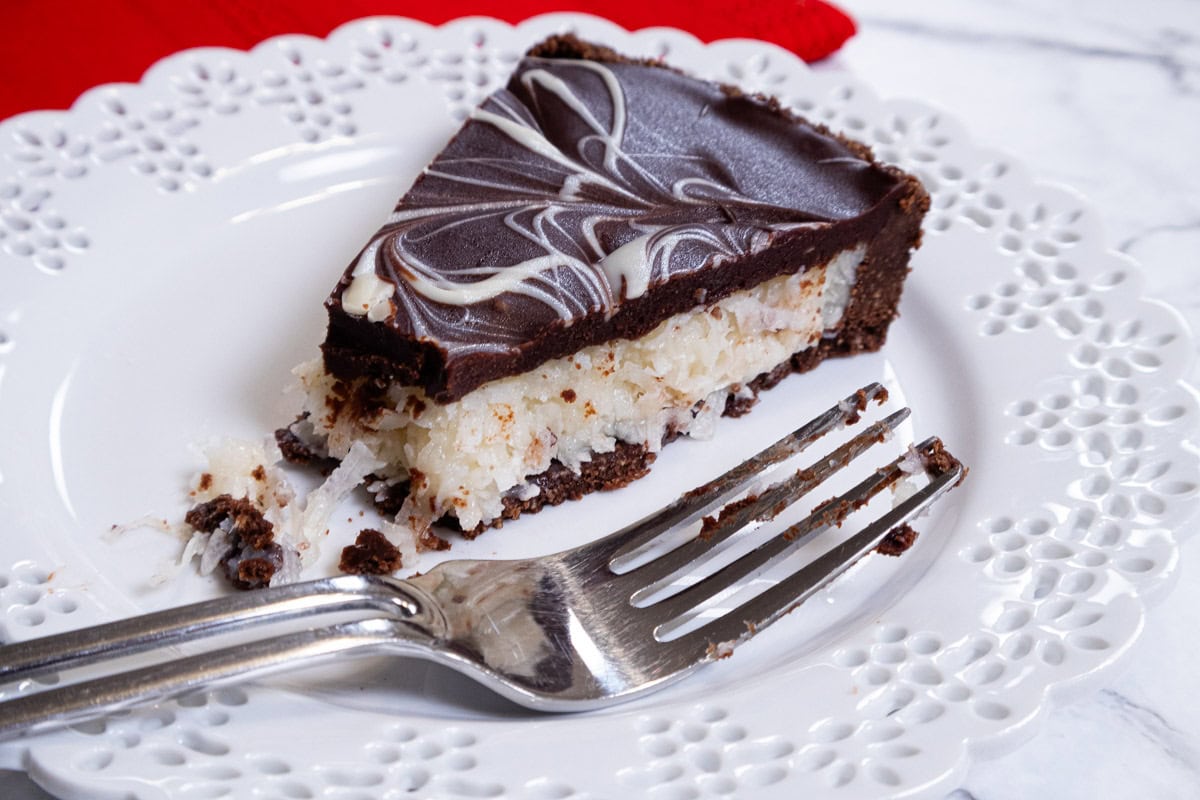
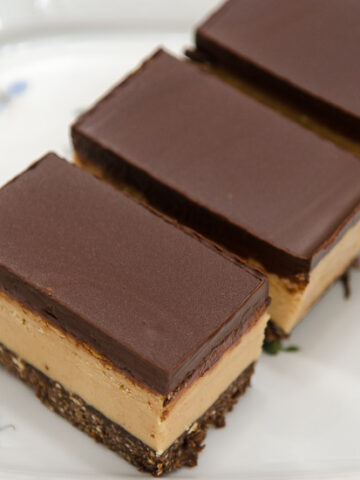
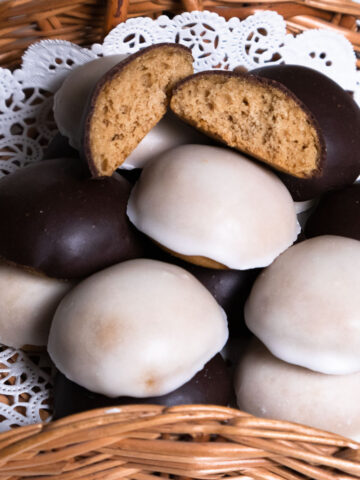
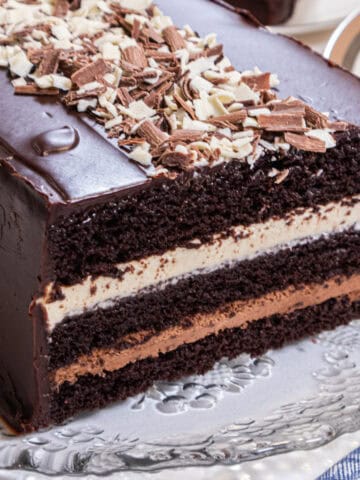
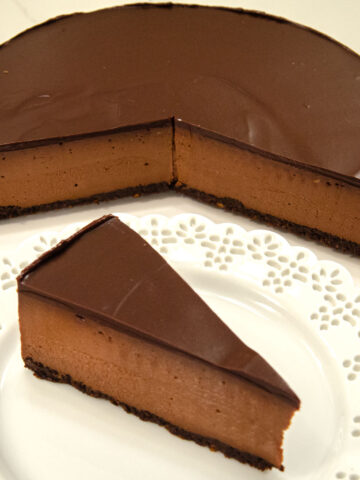
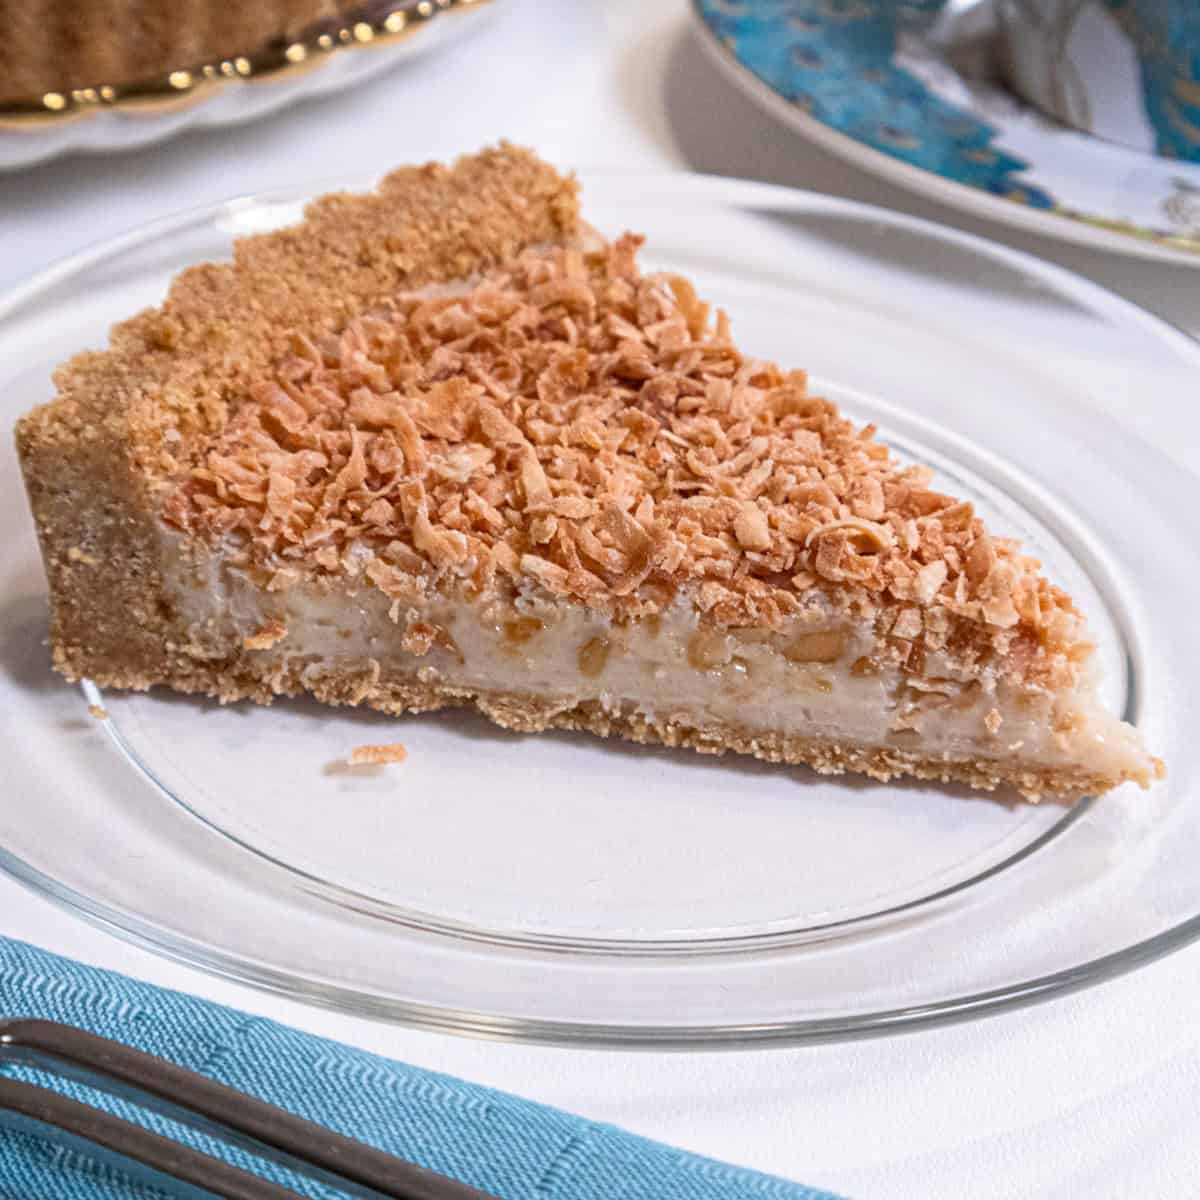
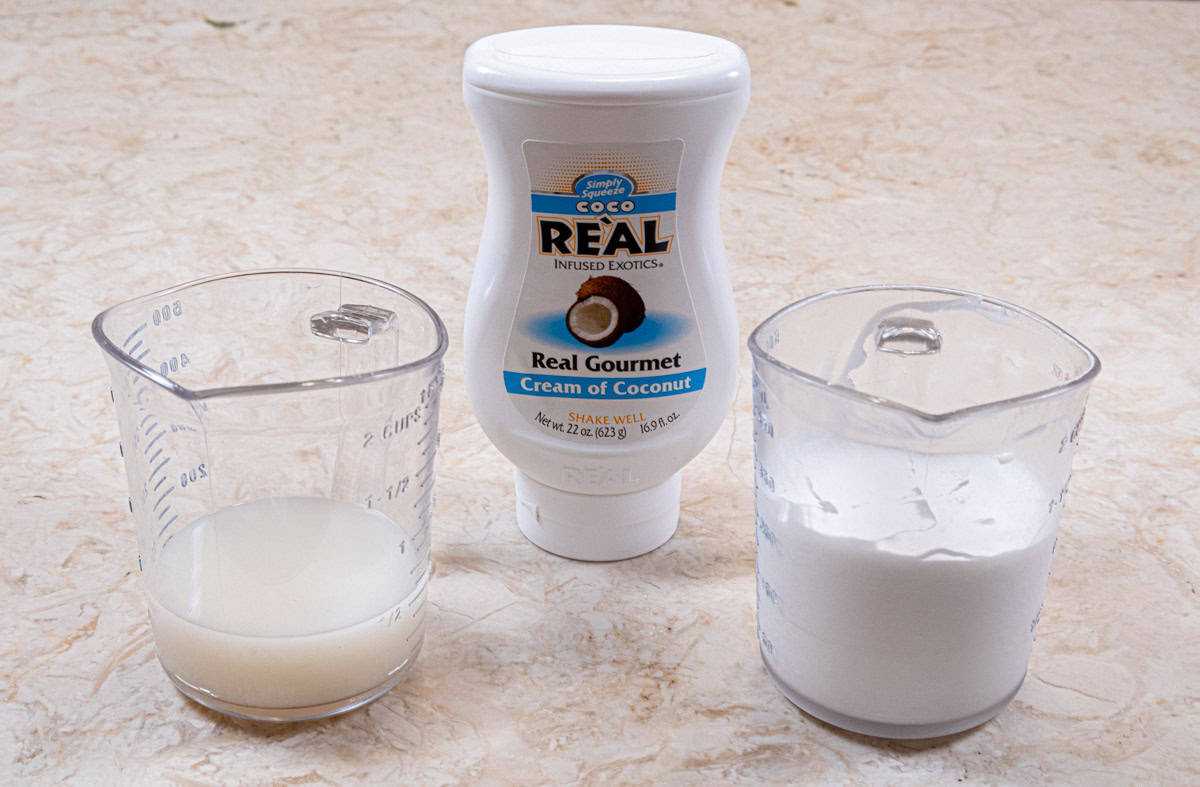
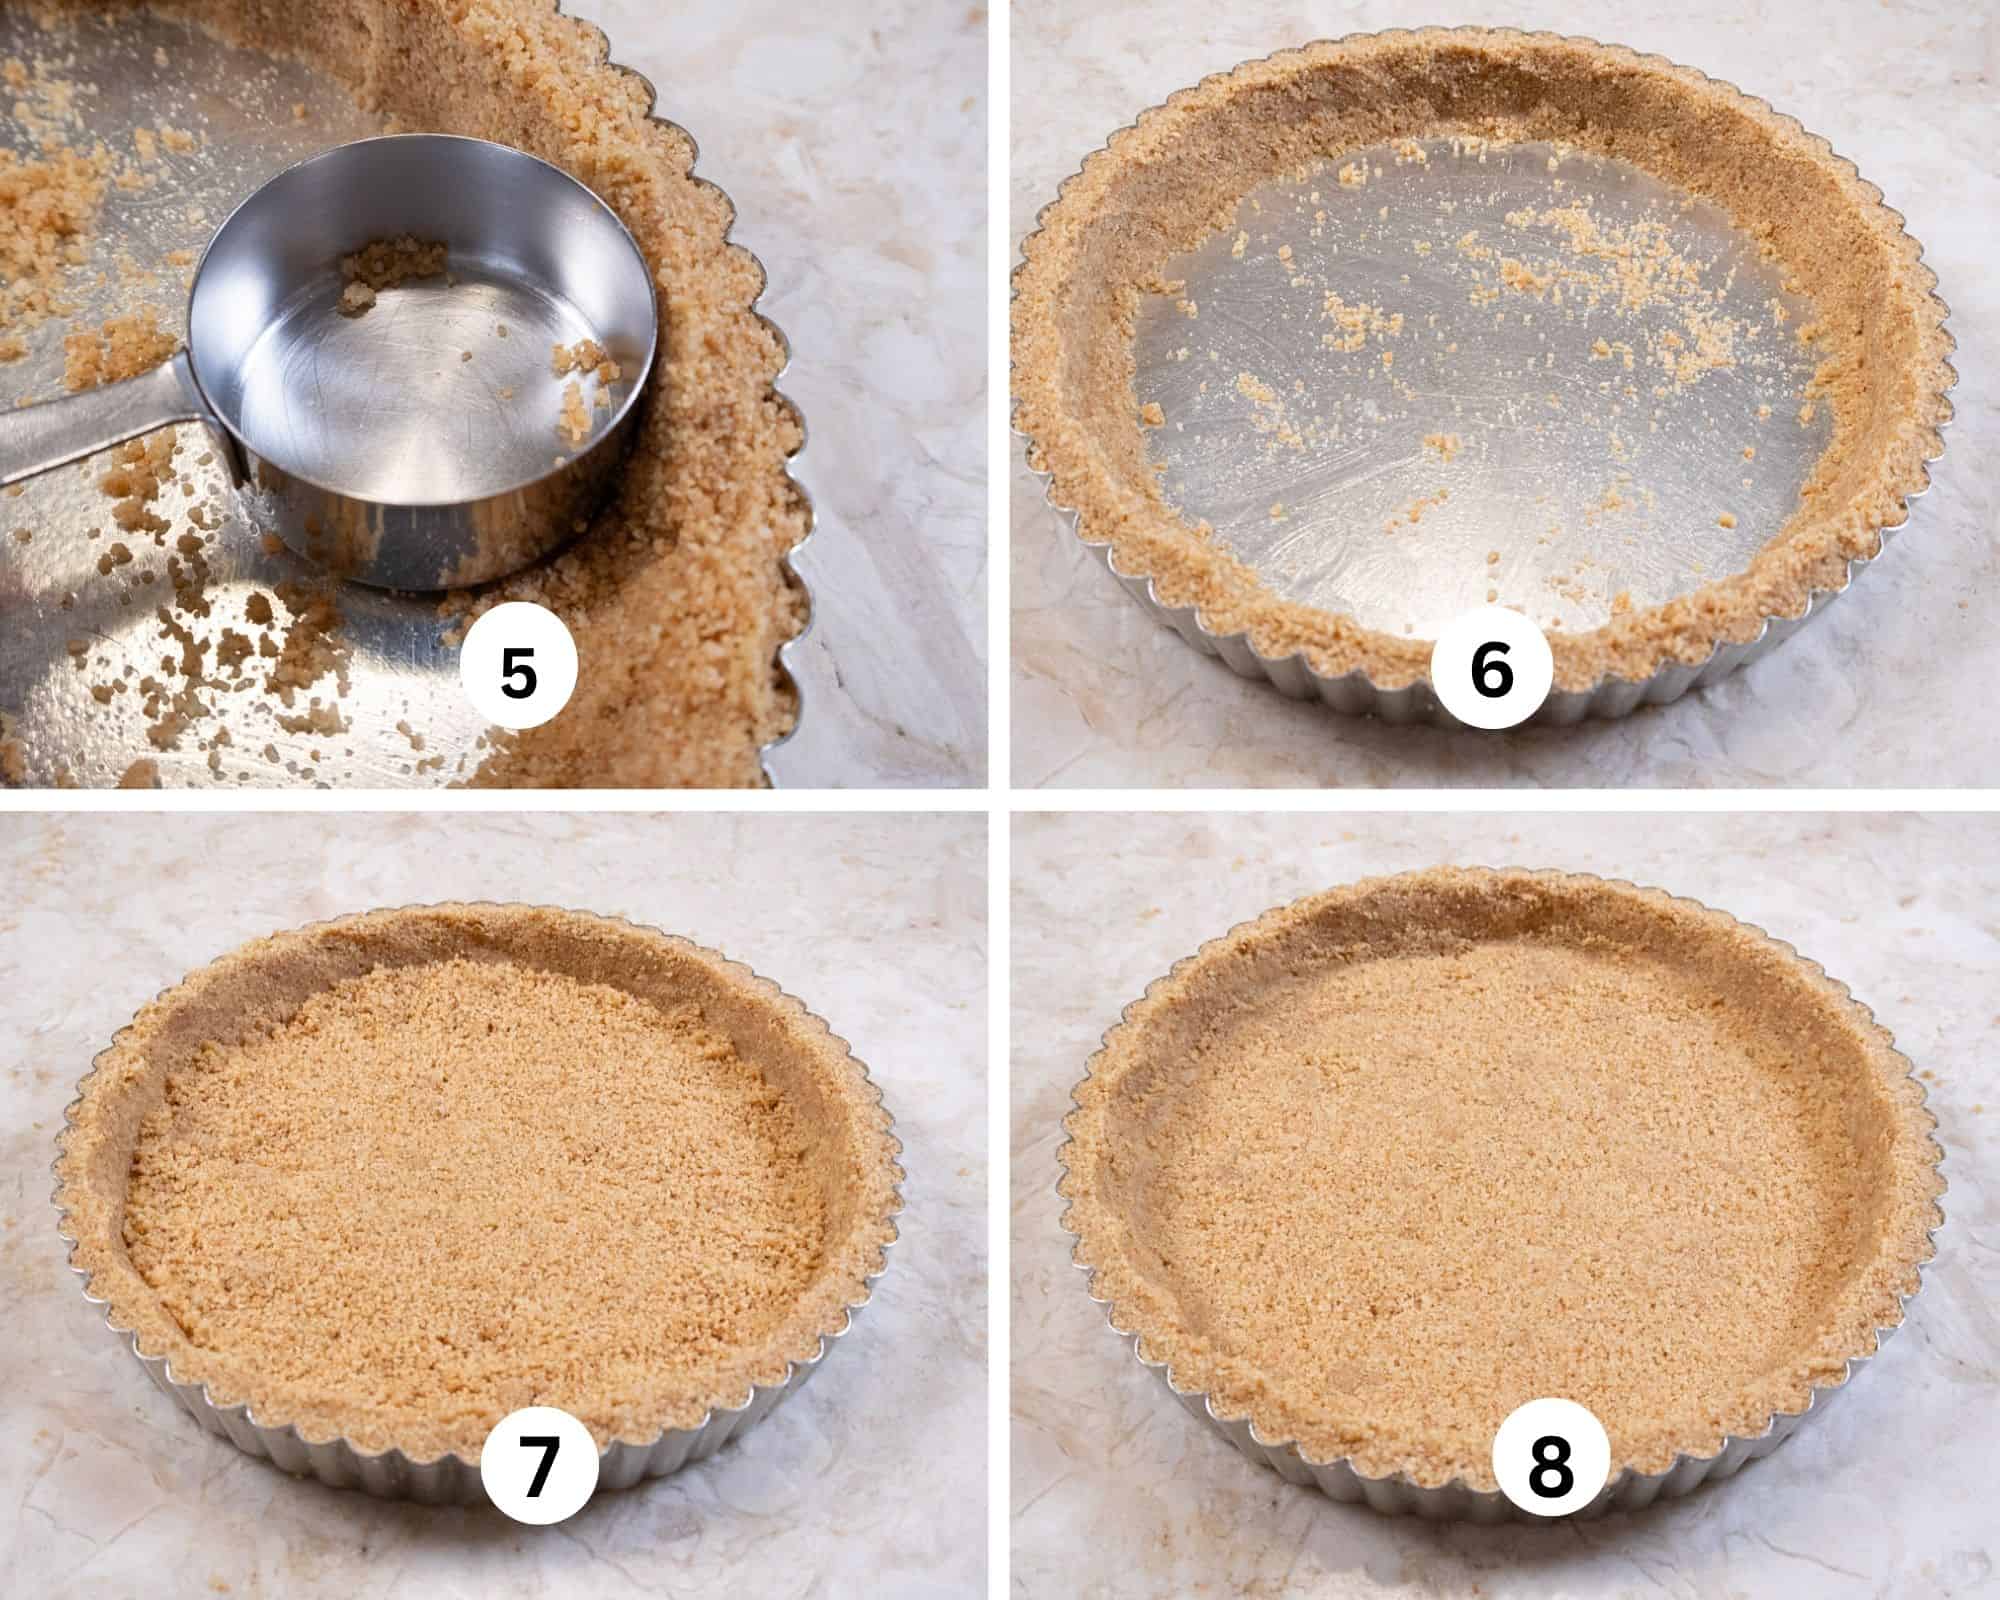
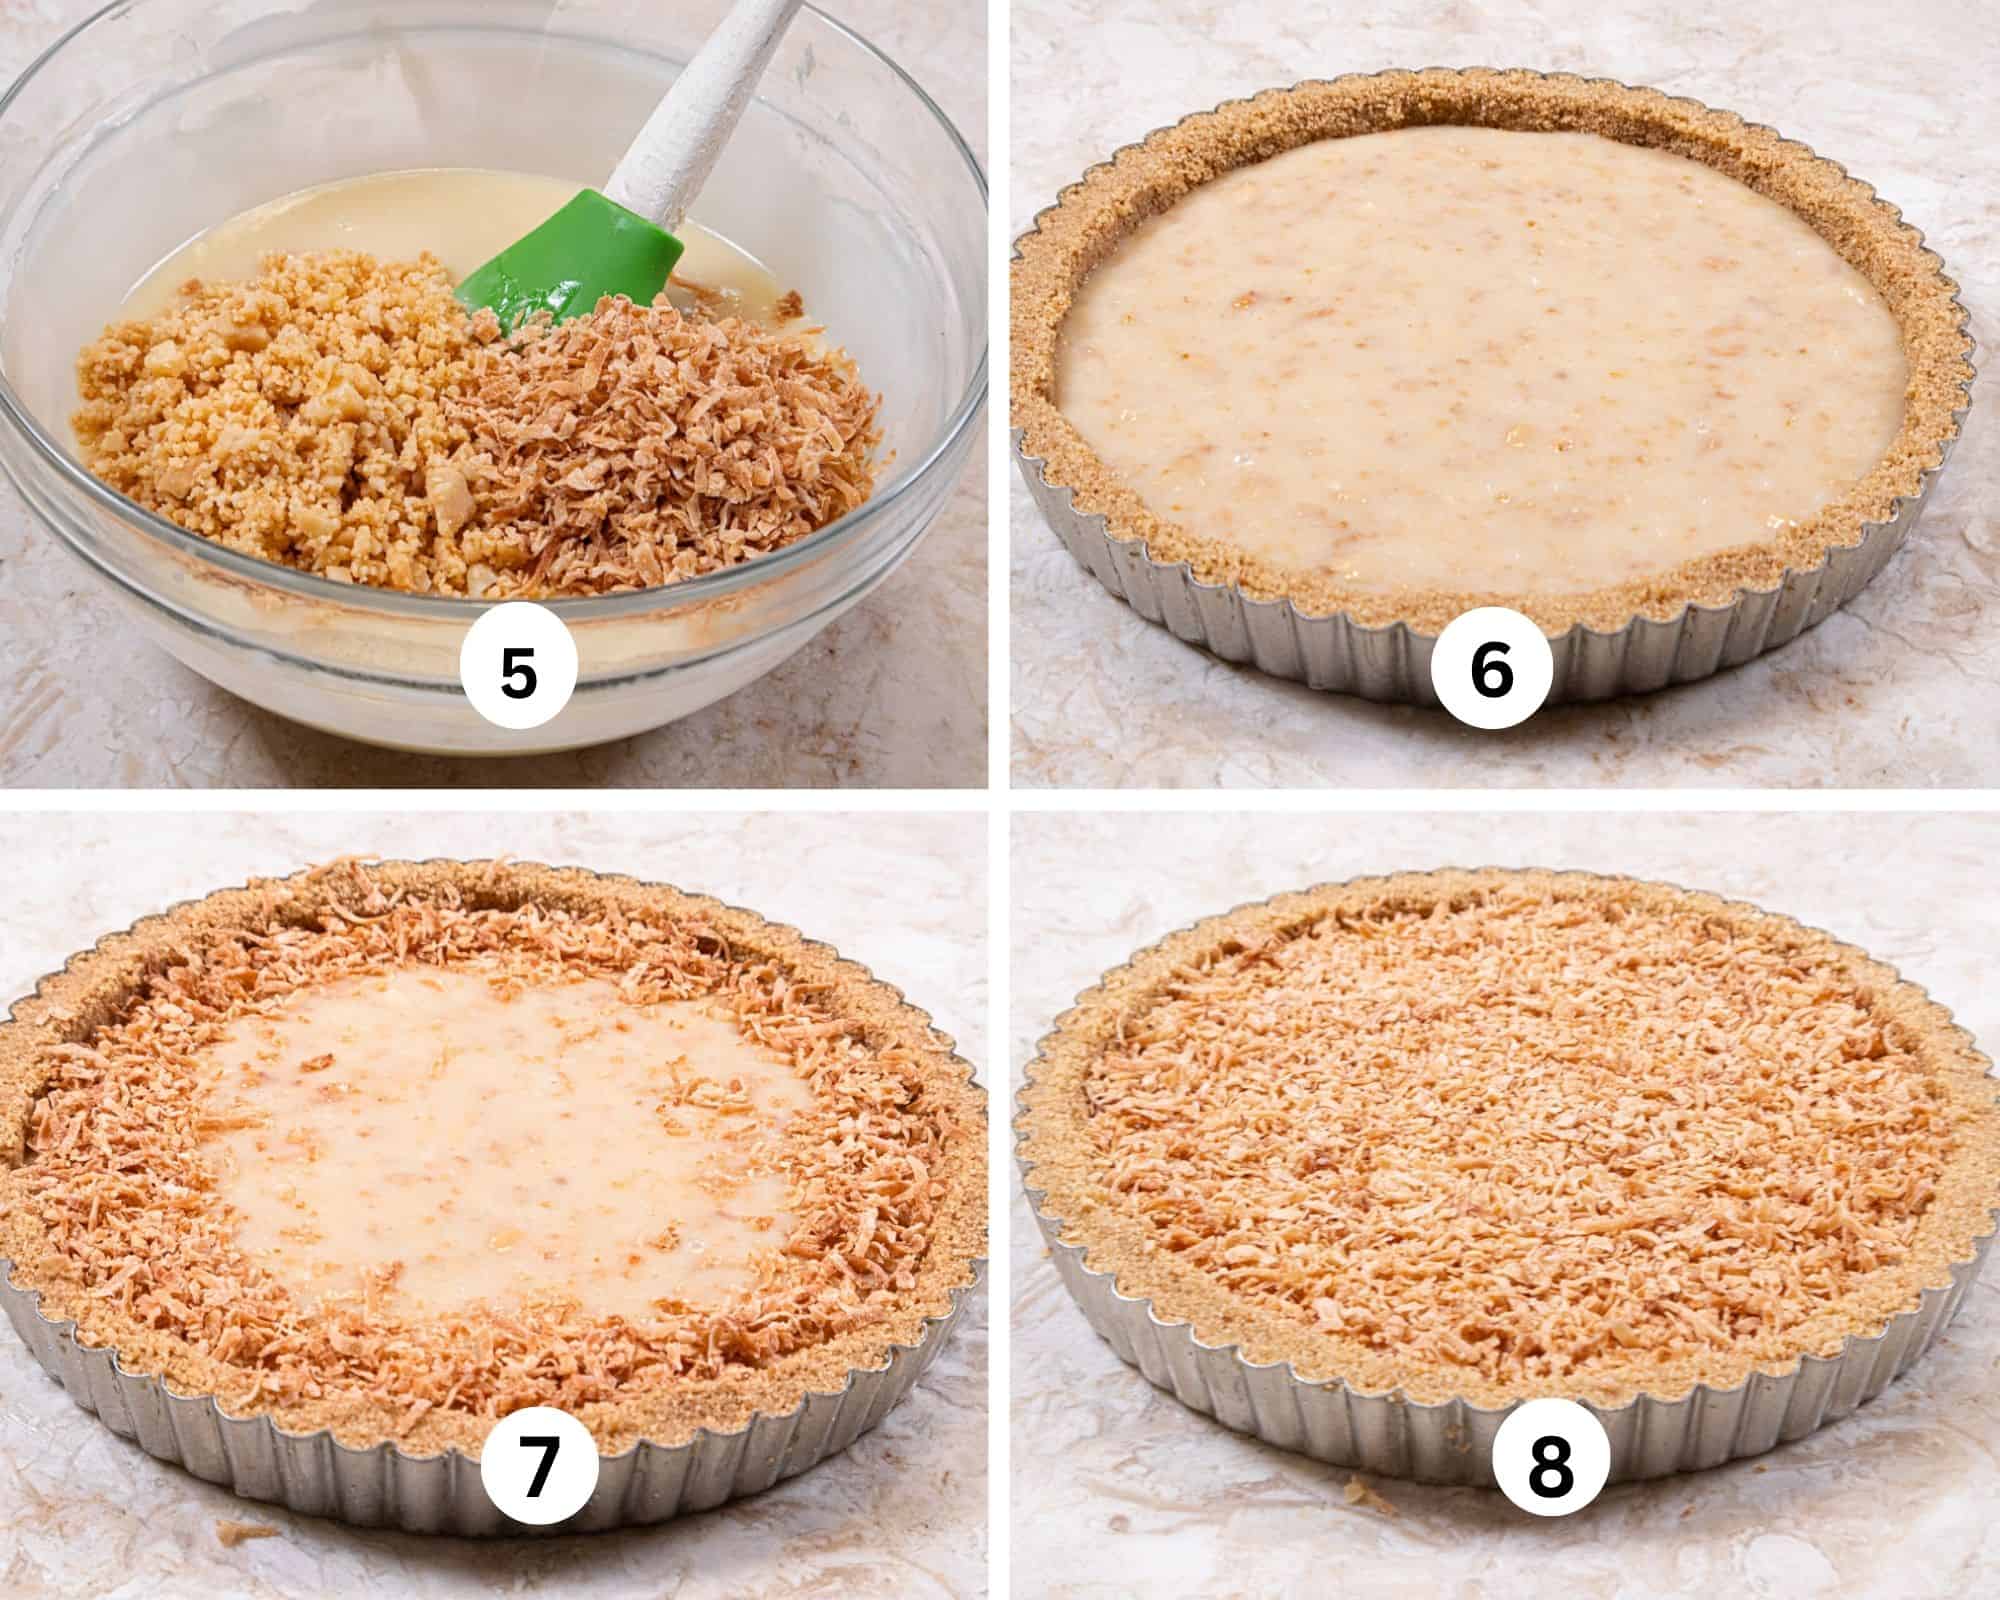
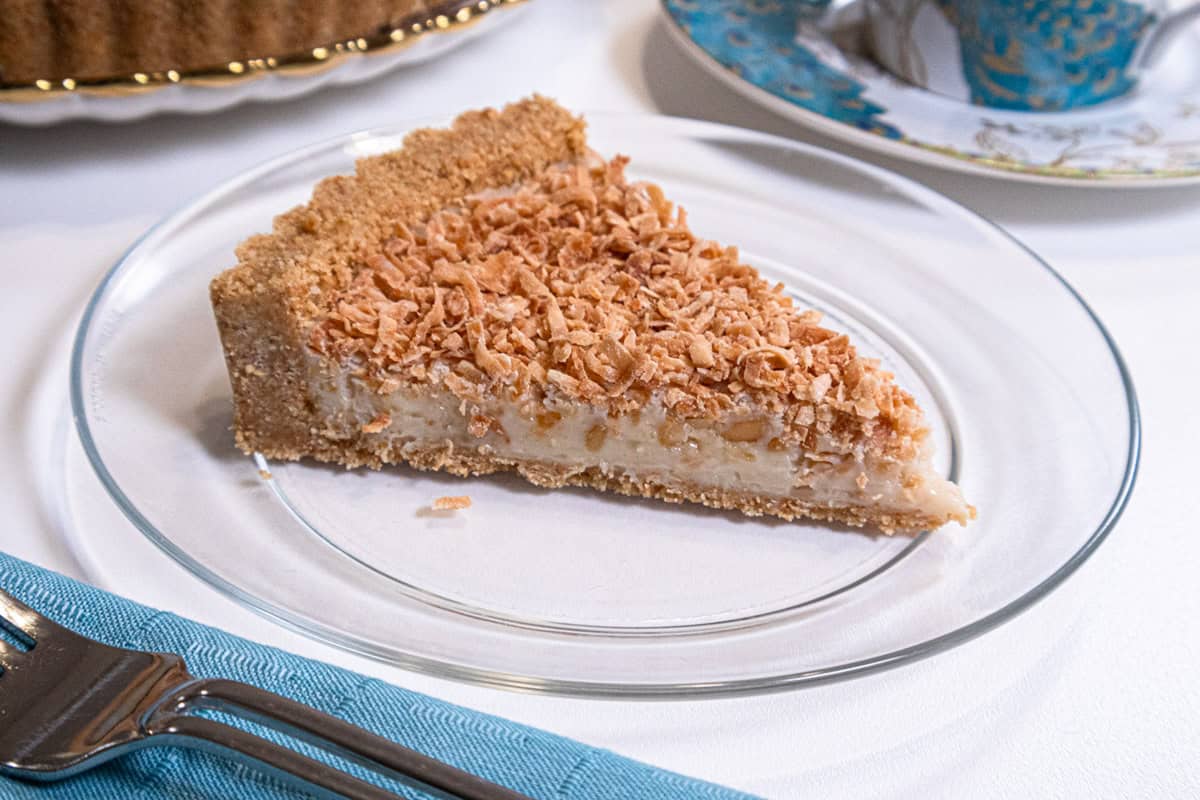
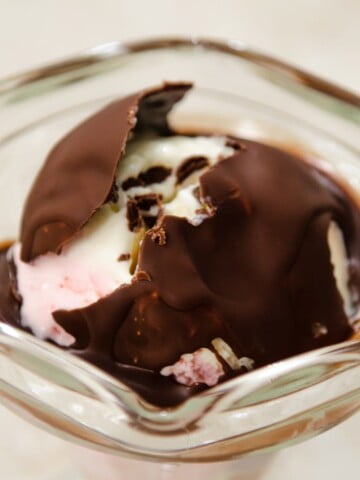
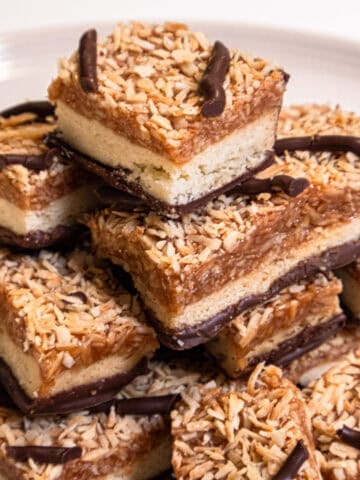
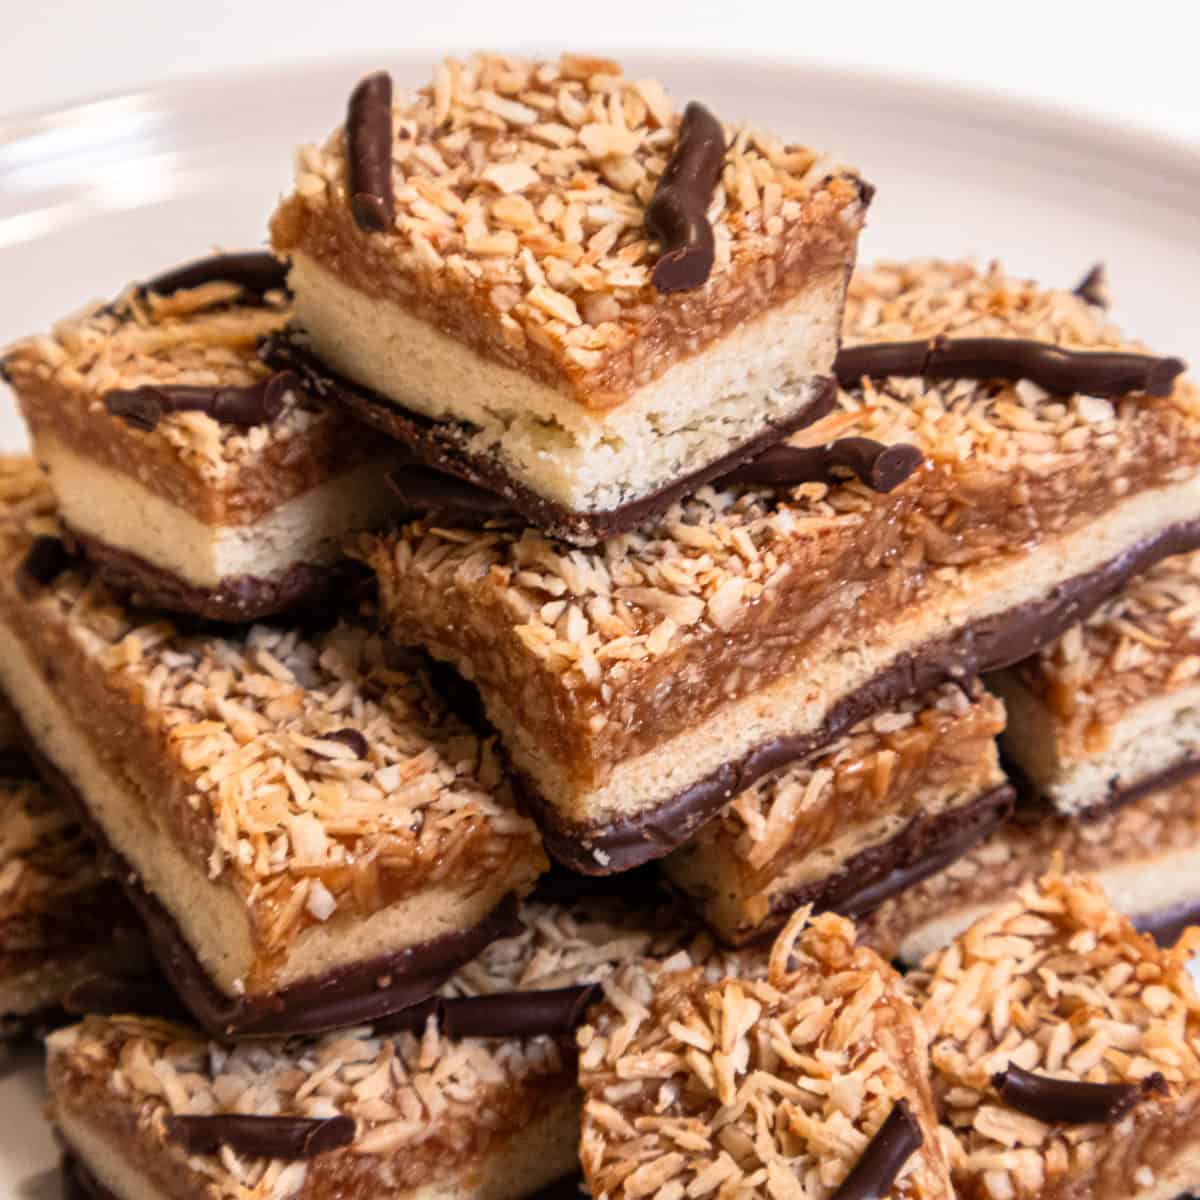
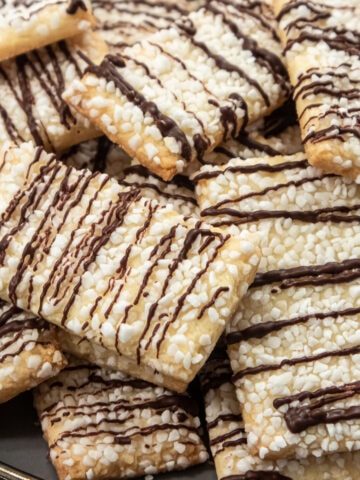
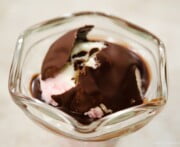
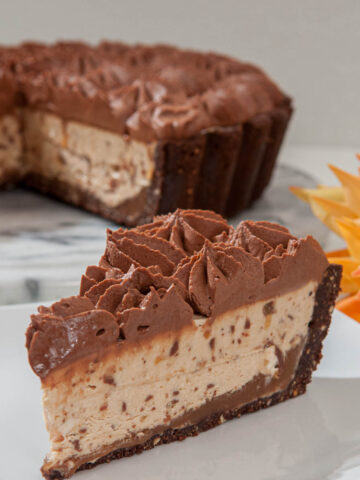
No Bake Chocolate Coconut Tart
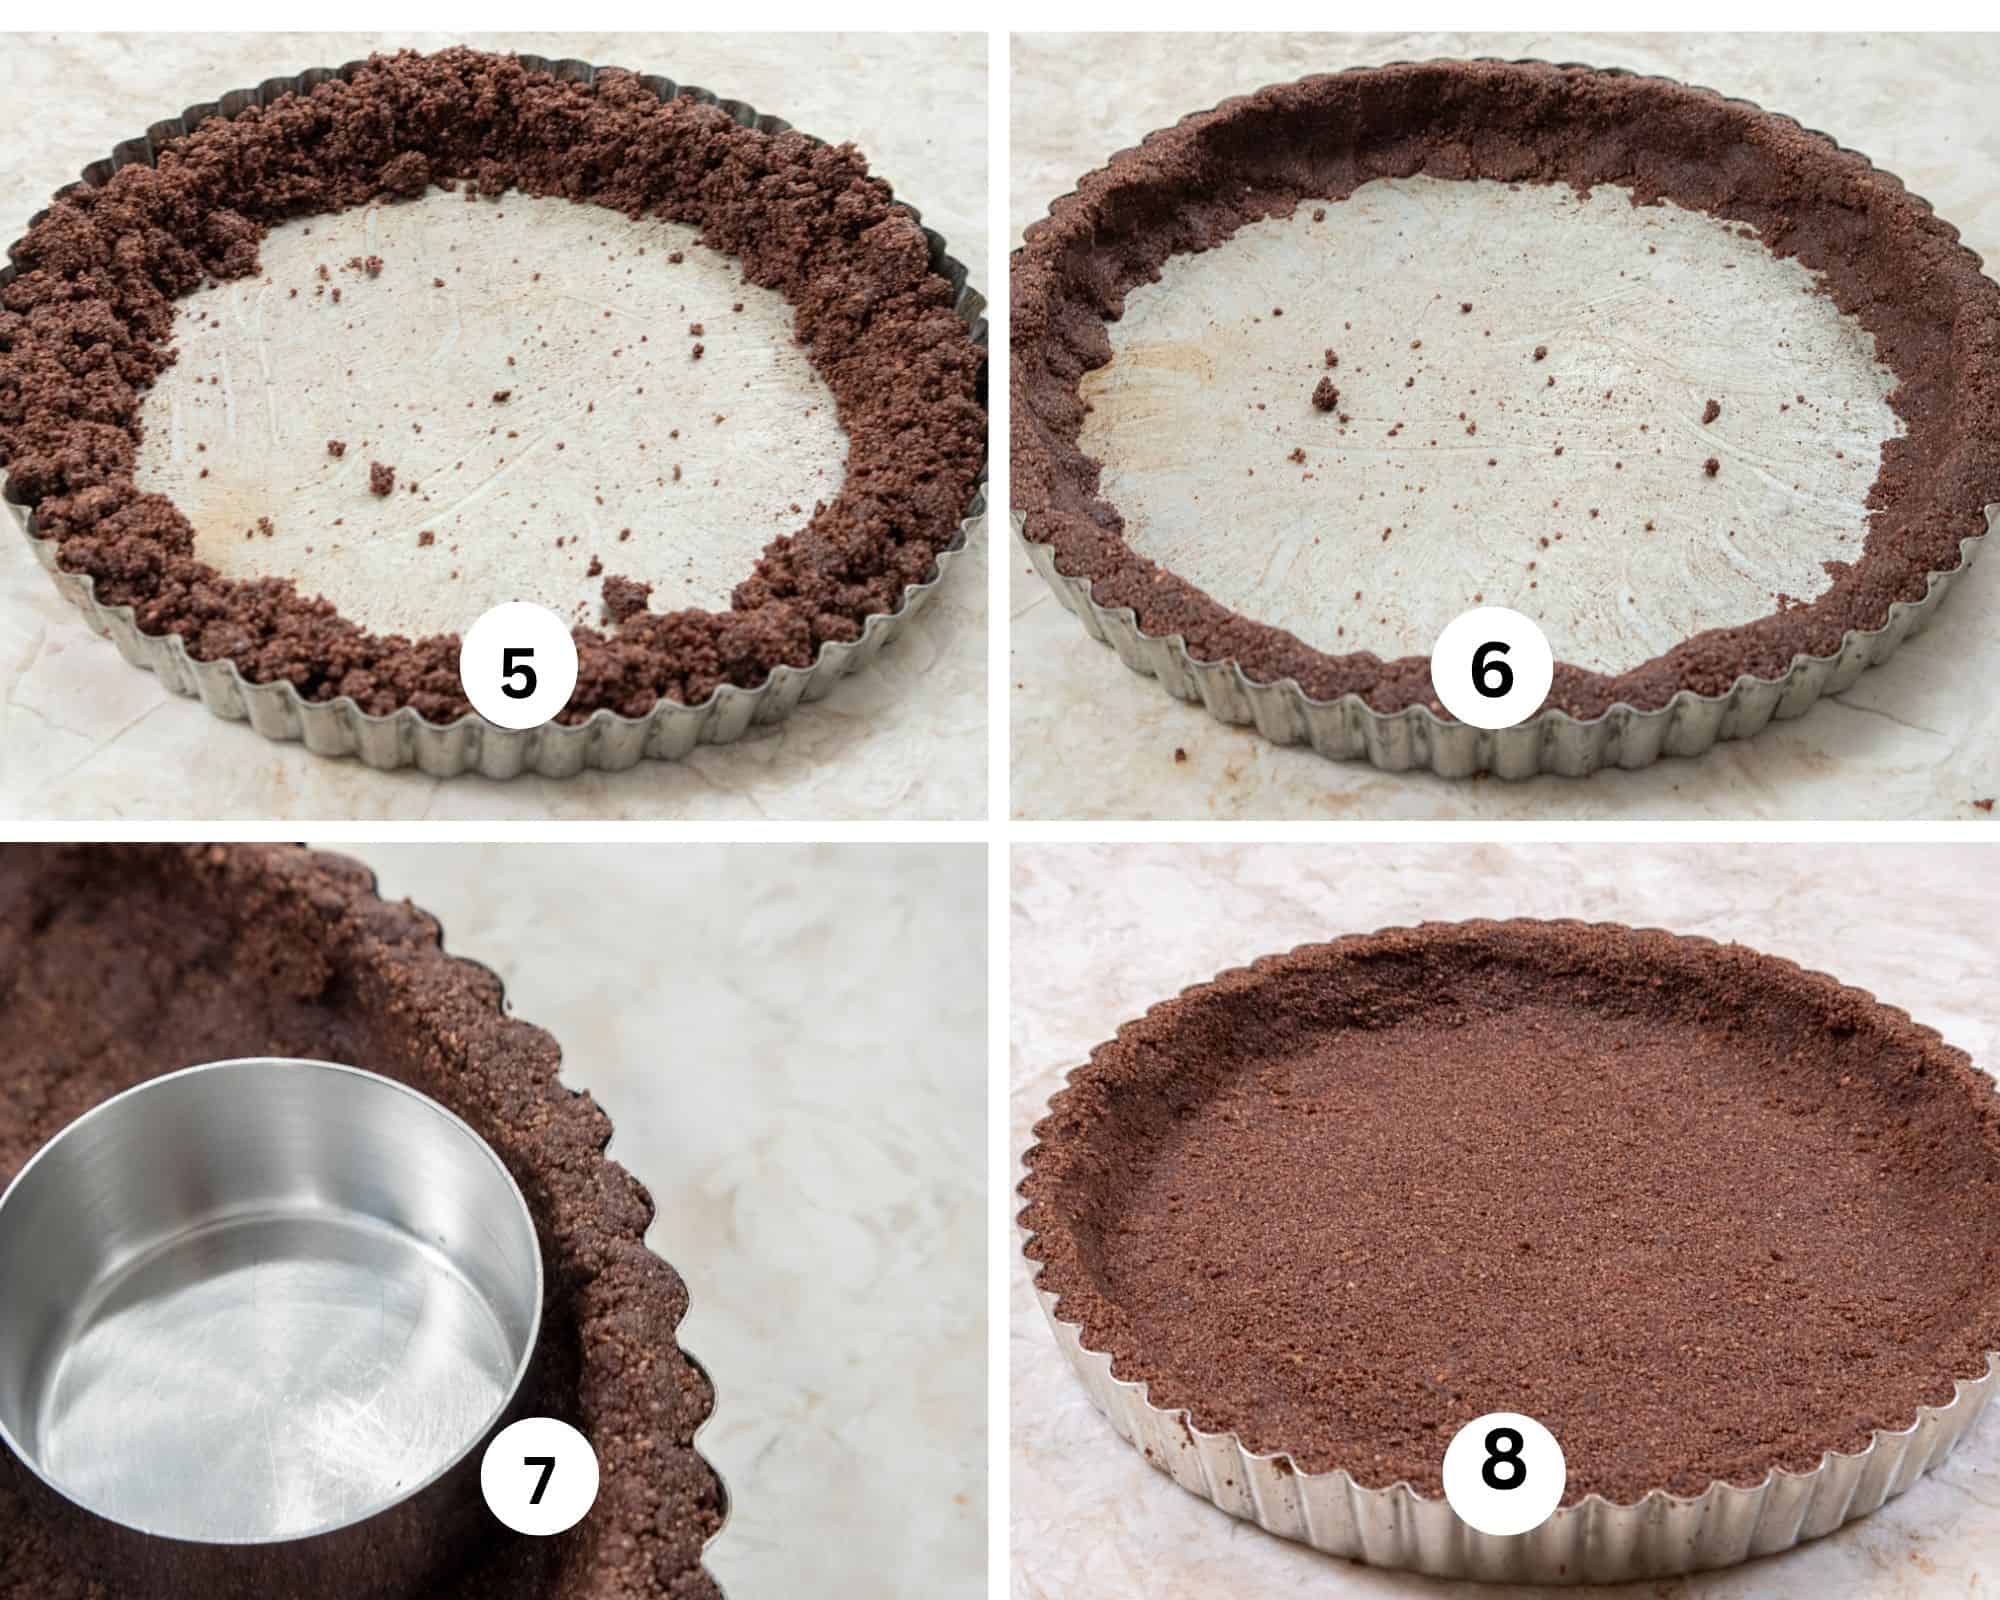
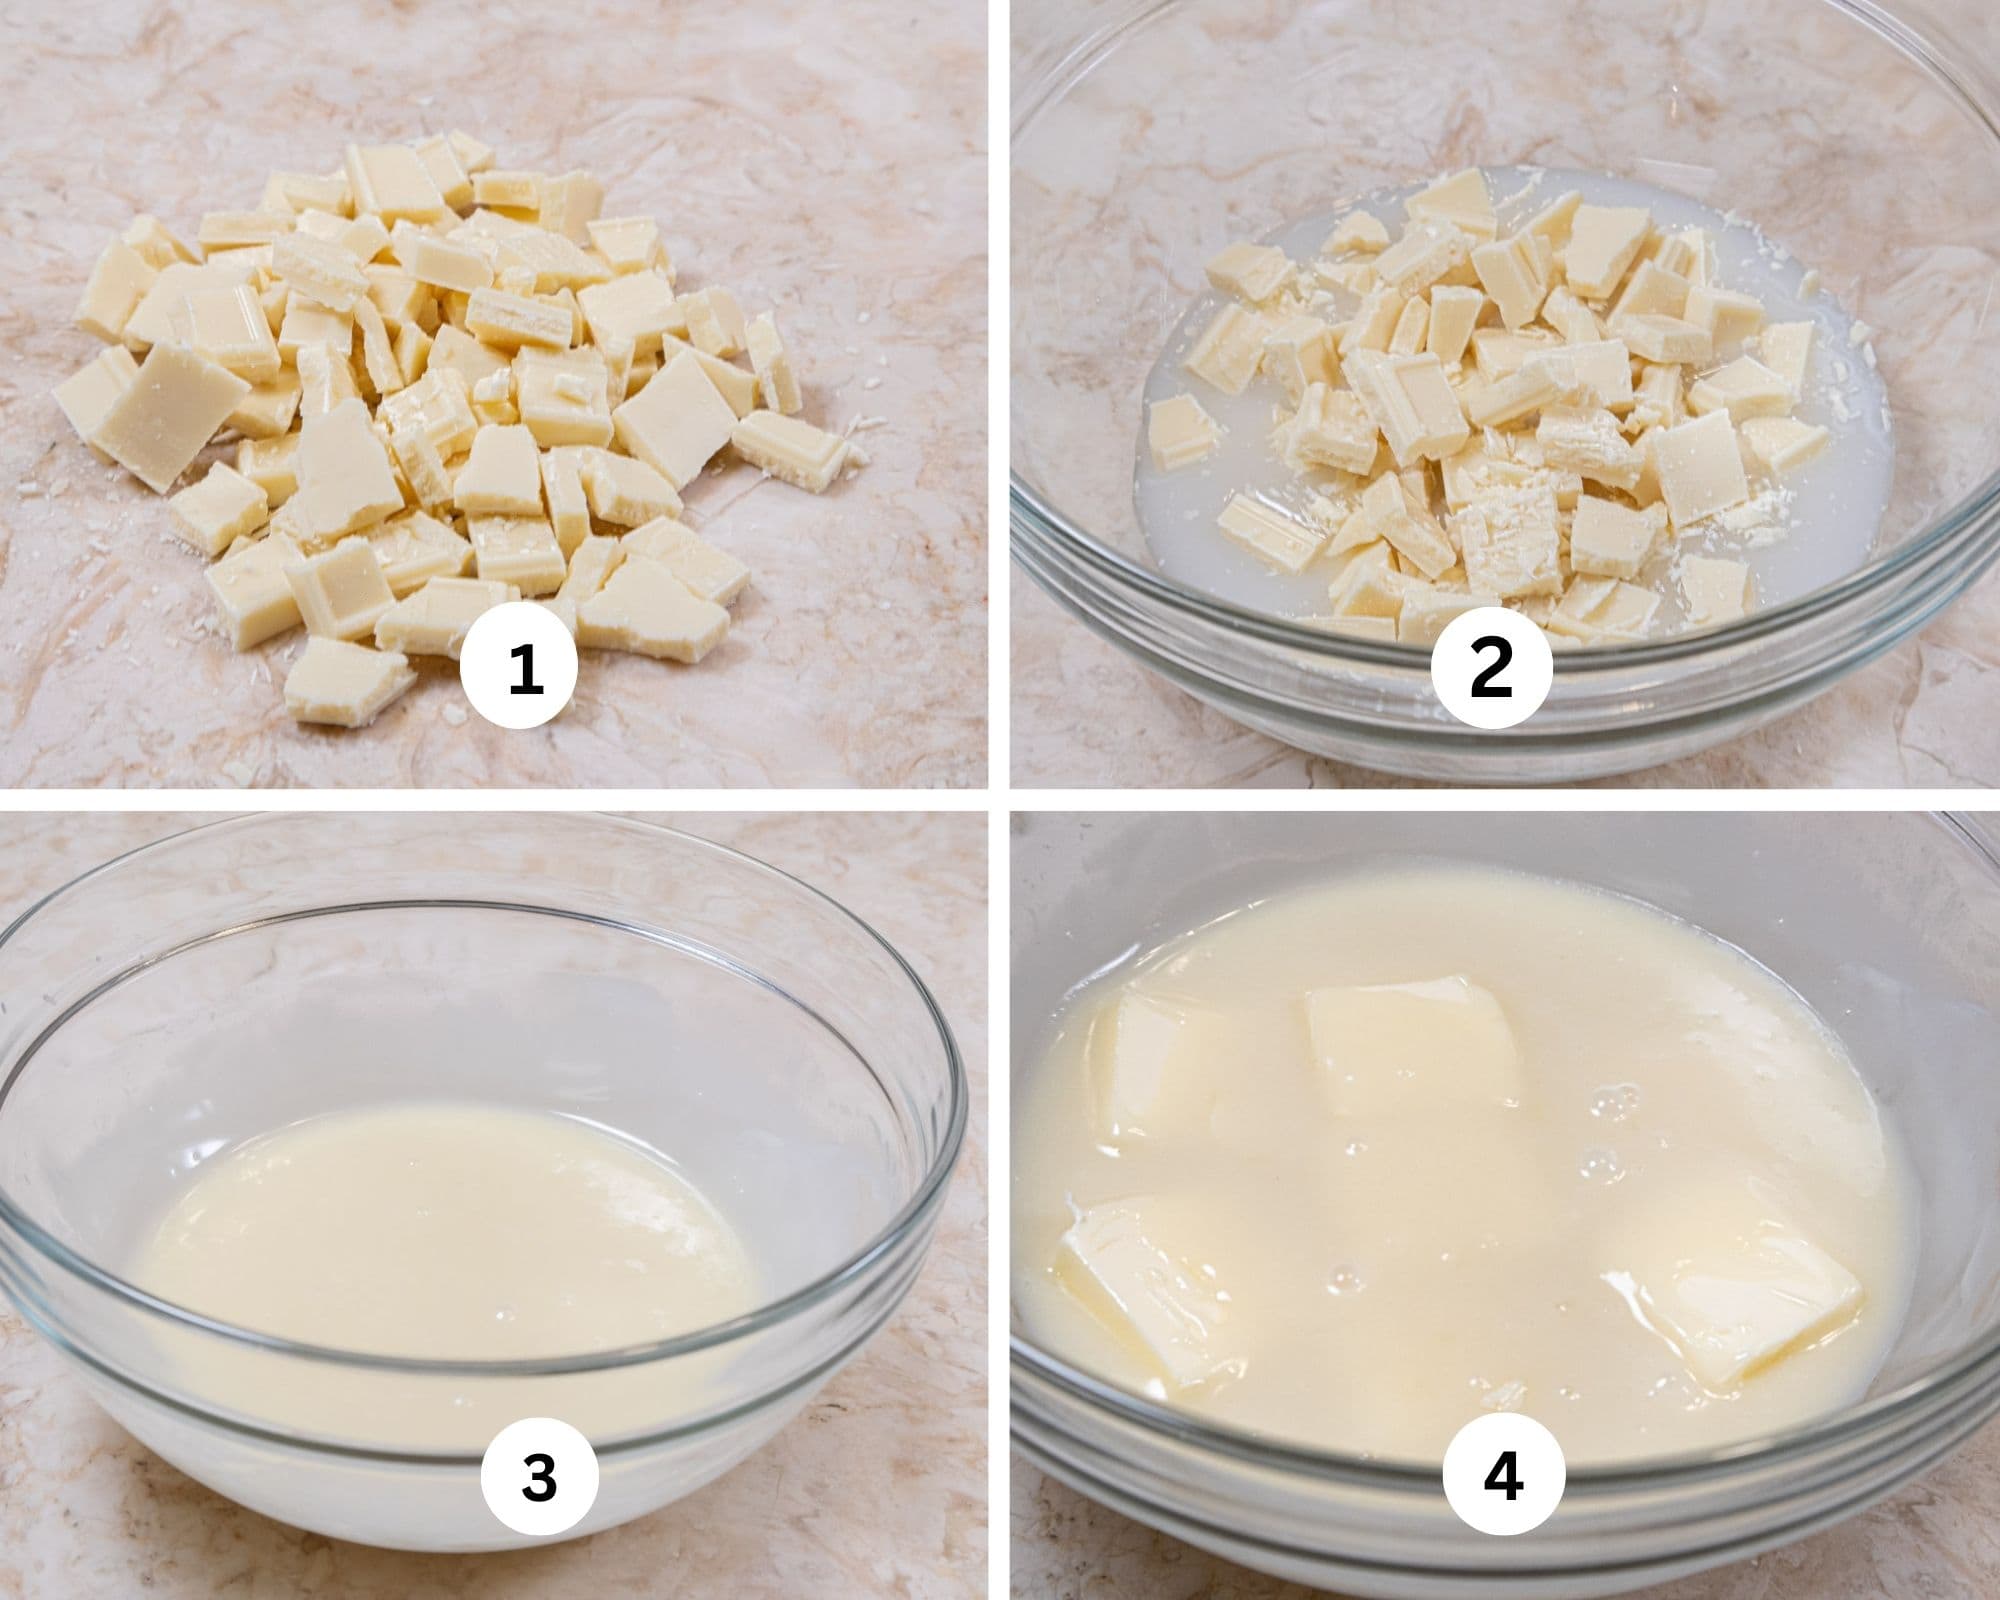
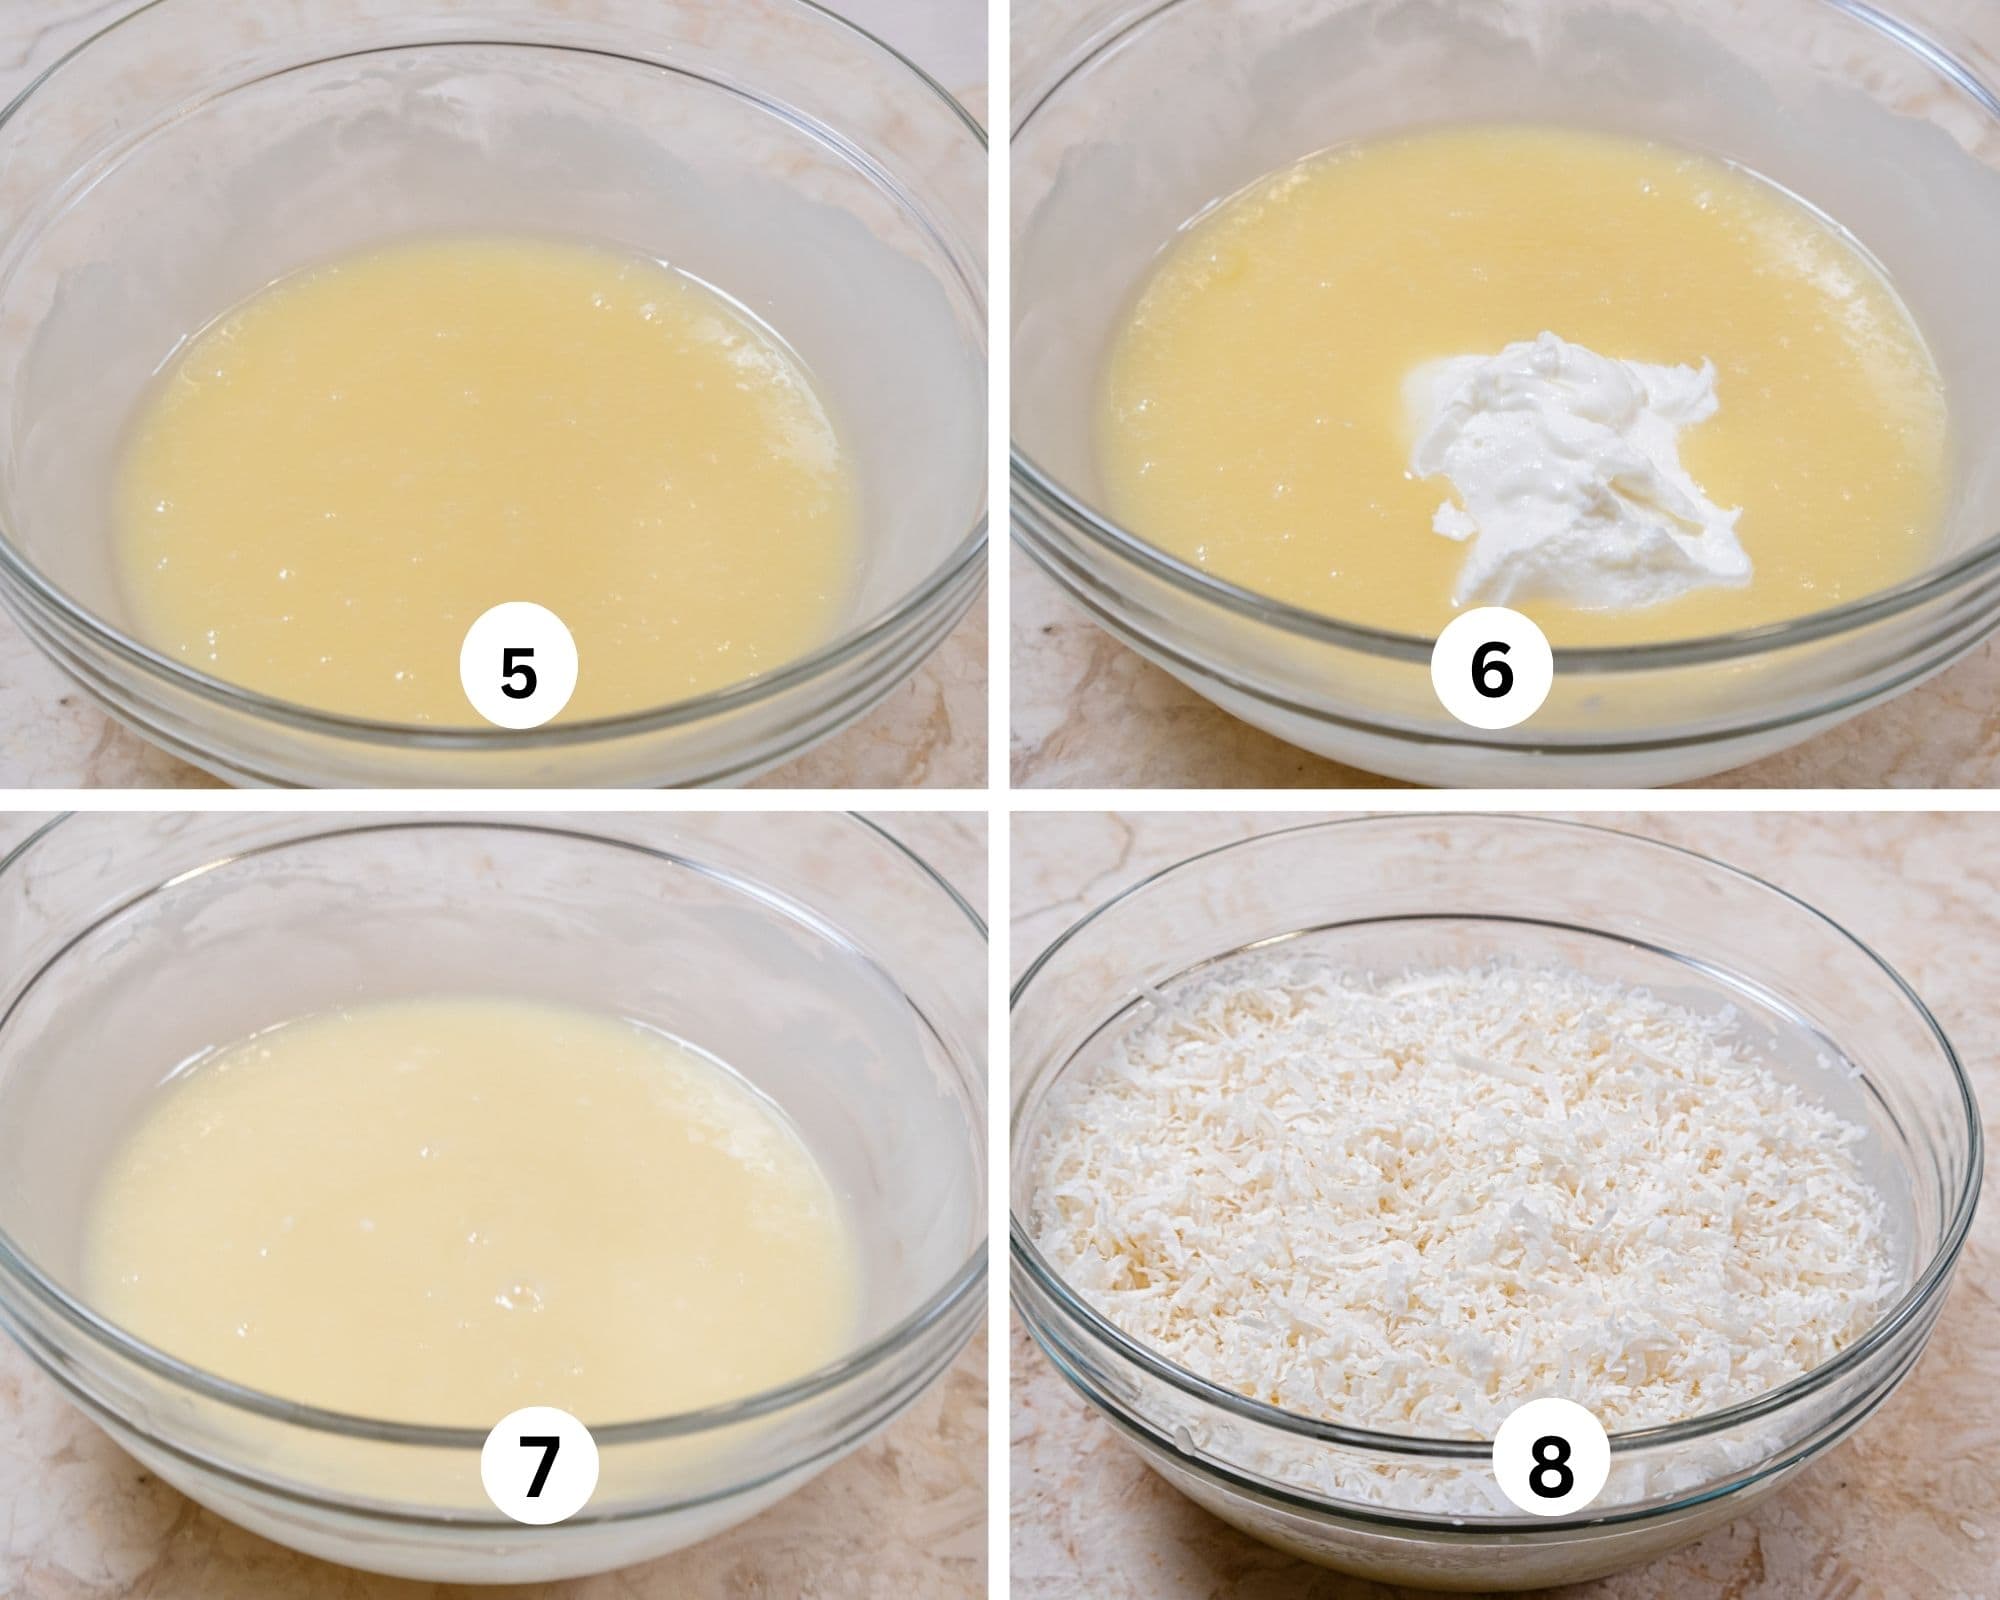
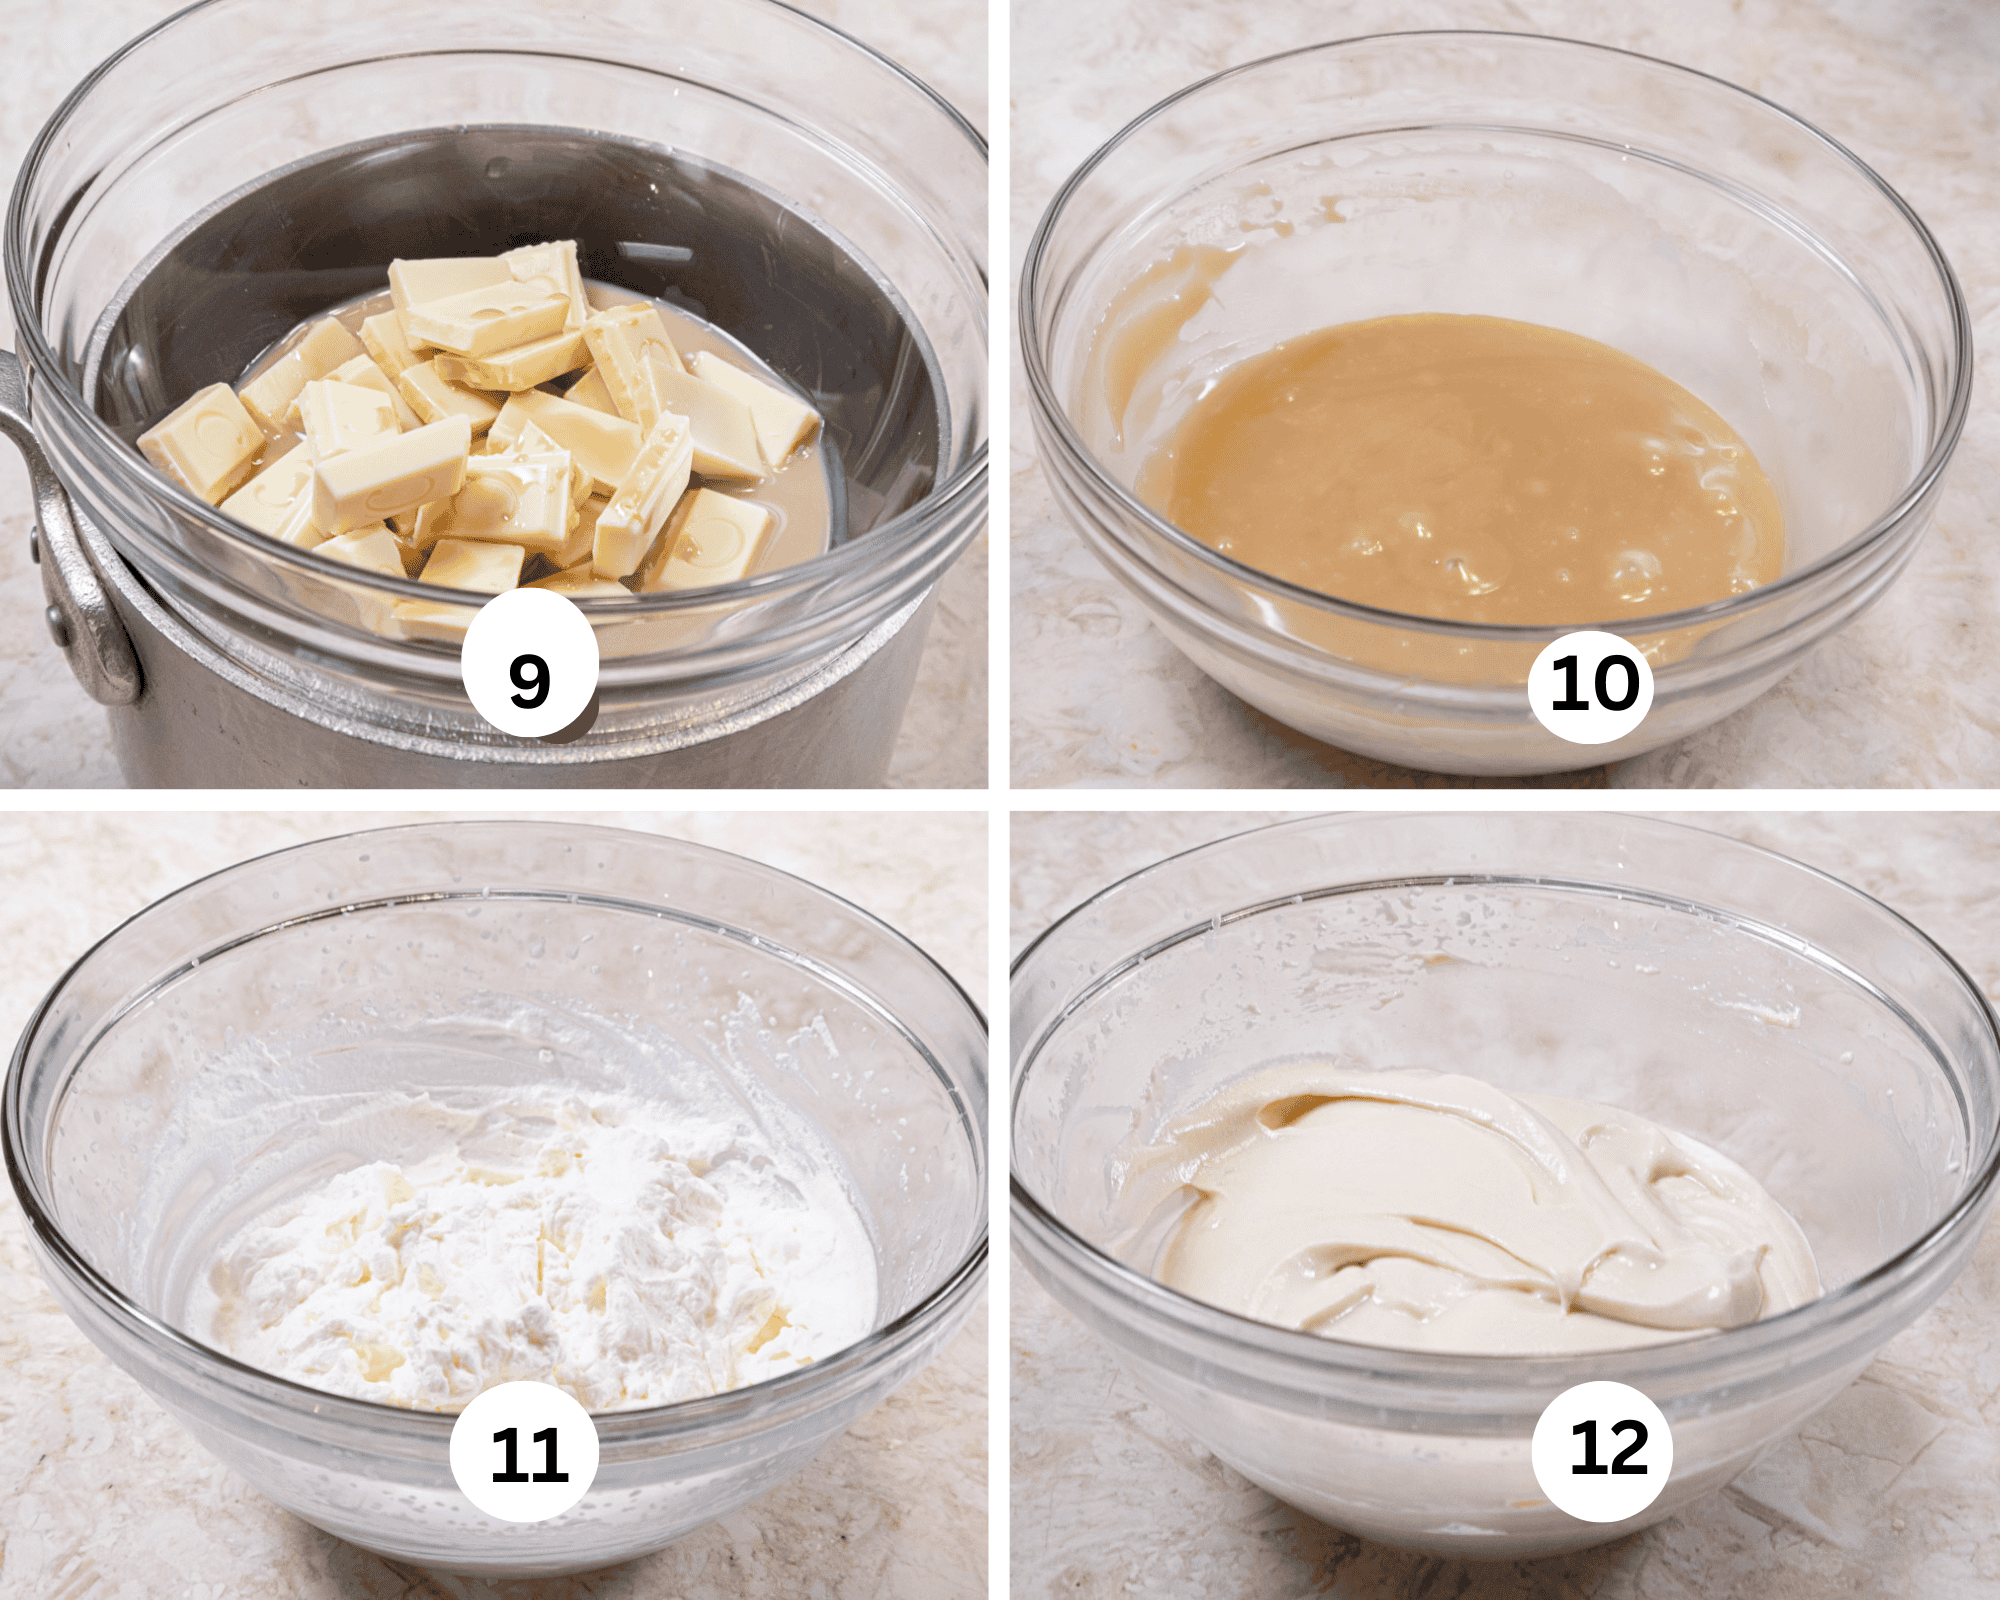
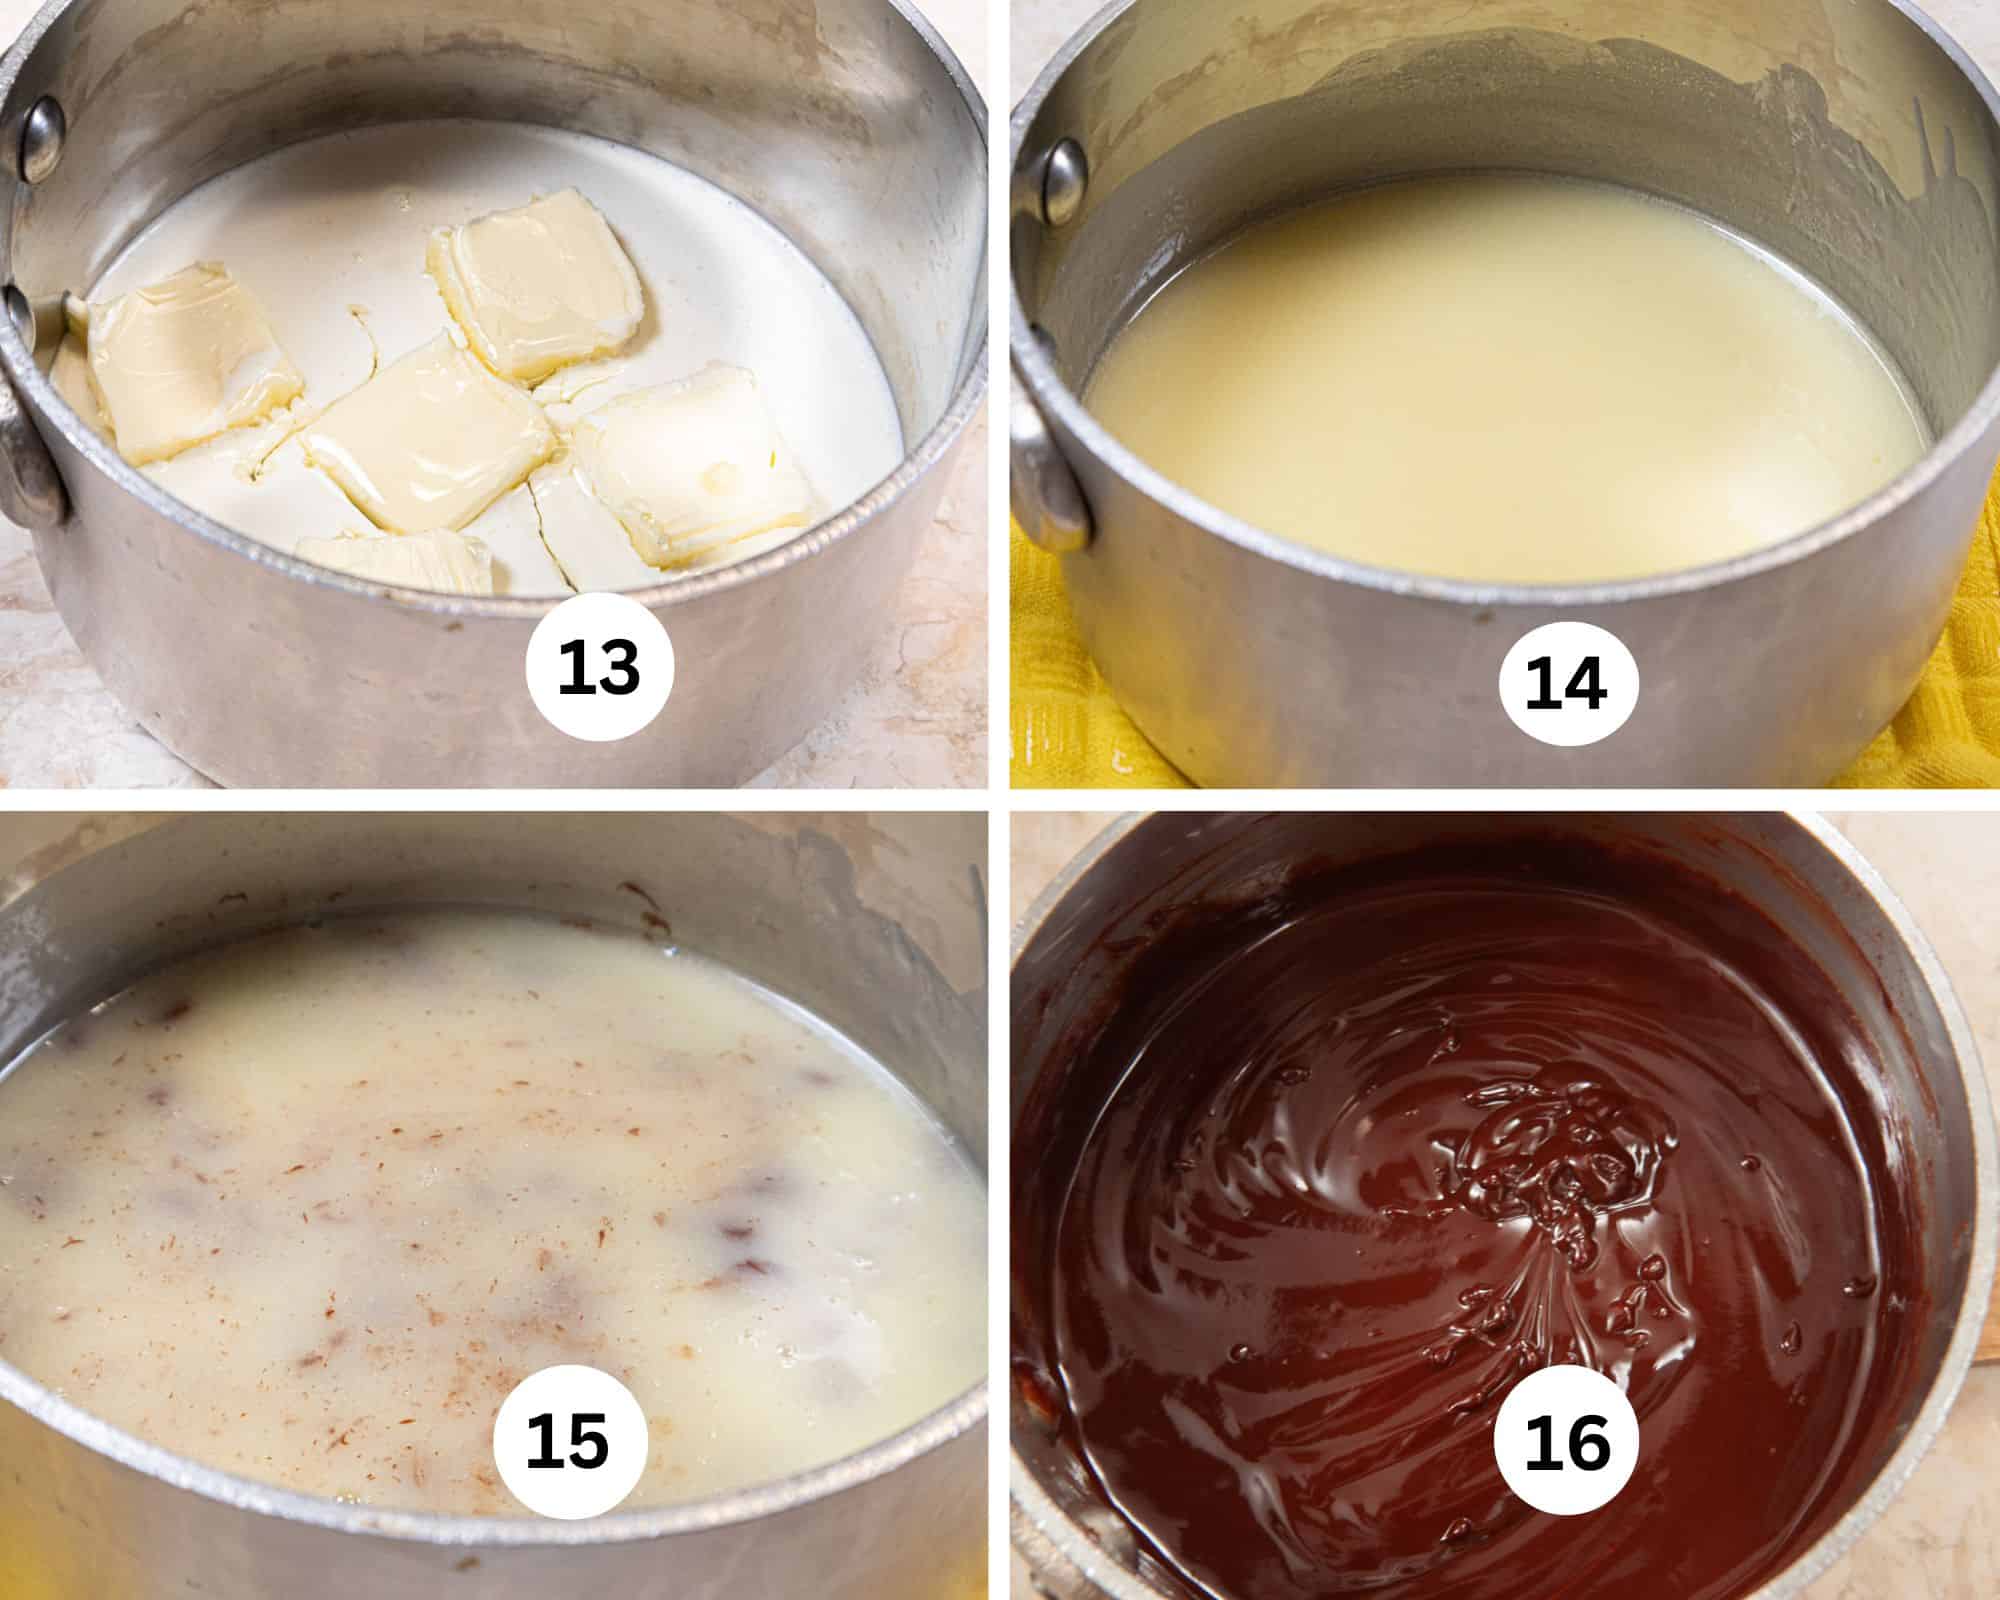
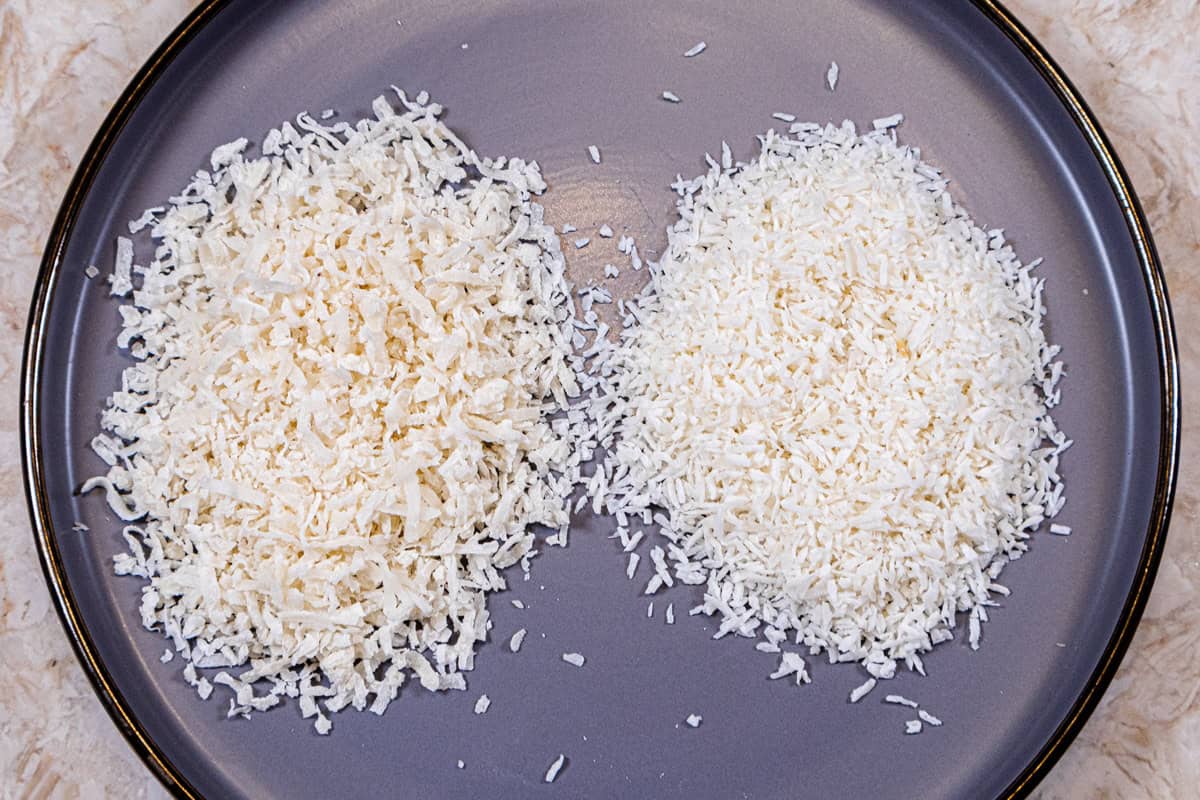
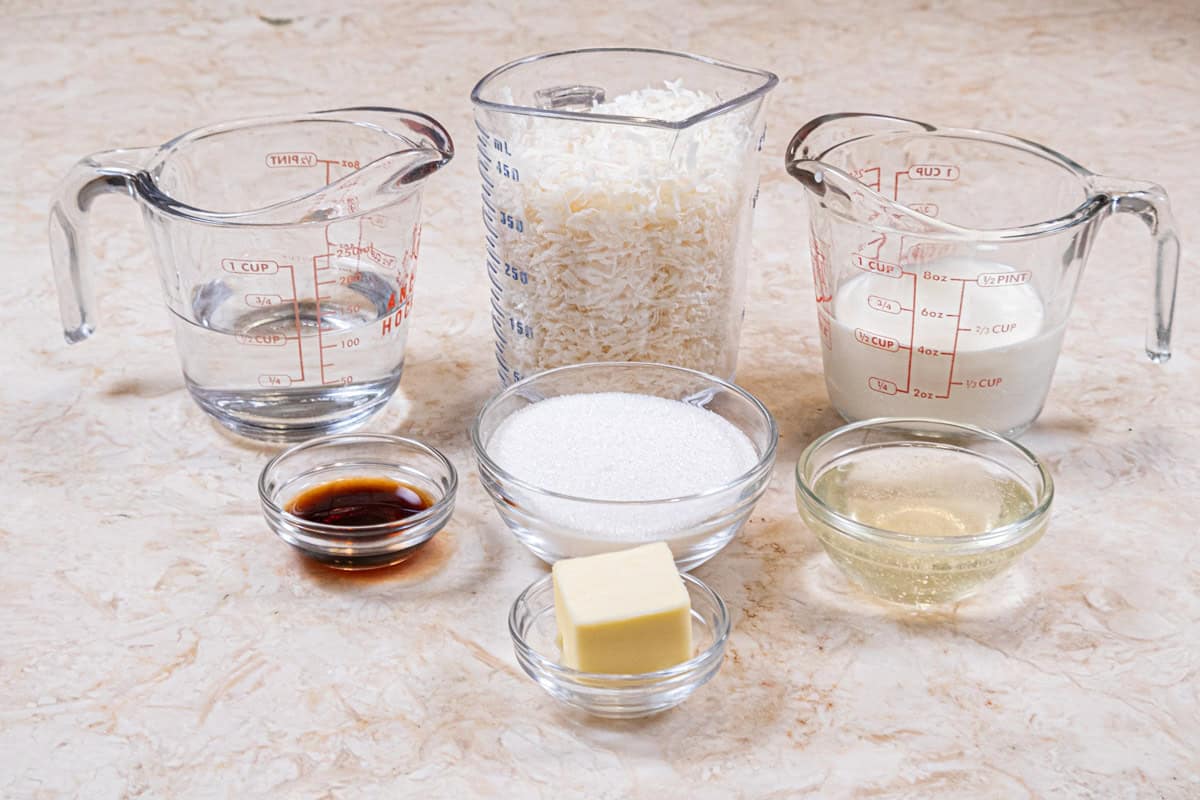
The only way to adequately describe this Chocolate Coconut Tart is to think Mounds Bars. This unusual tart comprises a sublime mixture of cream of coconut, white chocolate, a touch of sour cream and a lot of coconut in a chocolate crust. You'll especially like the no bake aspect of making this.
Check out this recipe
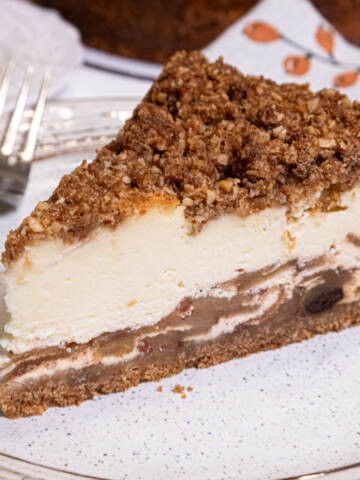
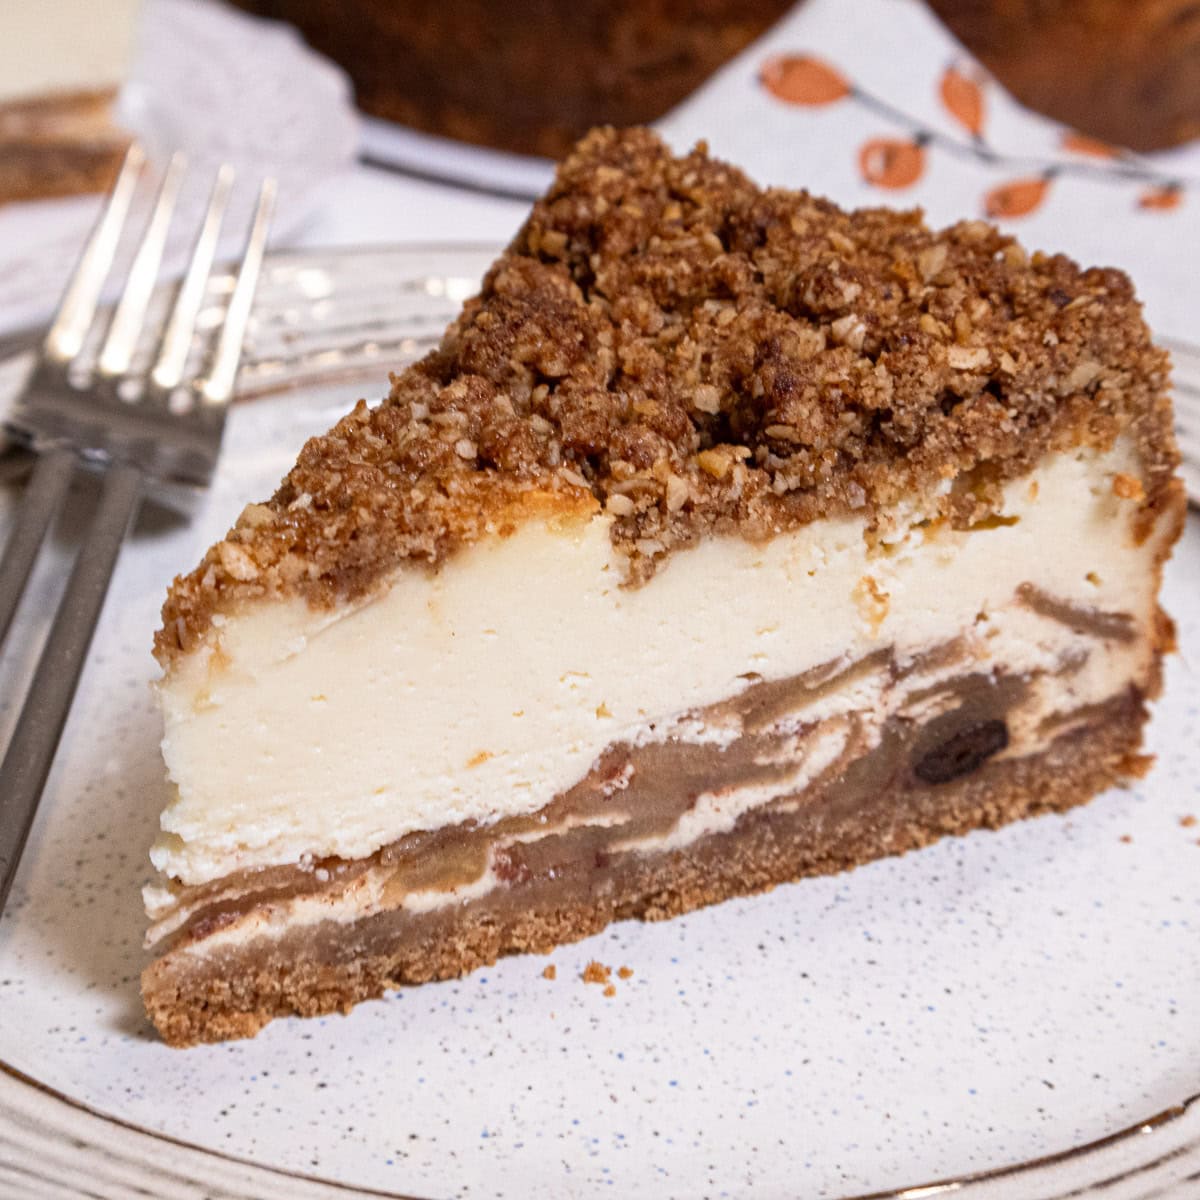
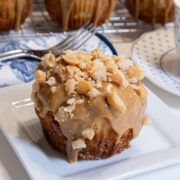
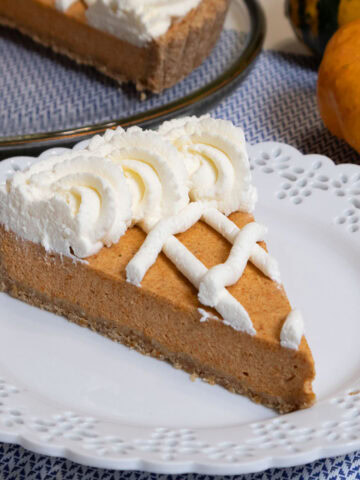
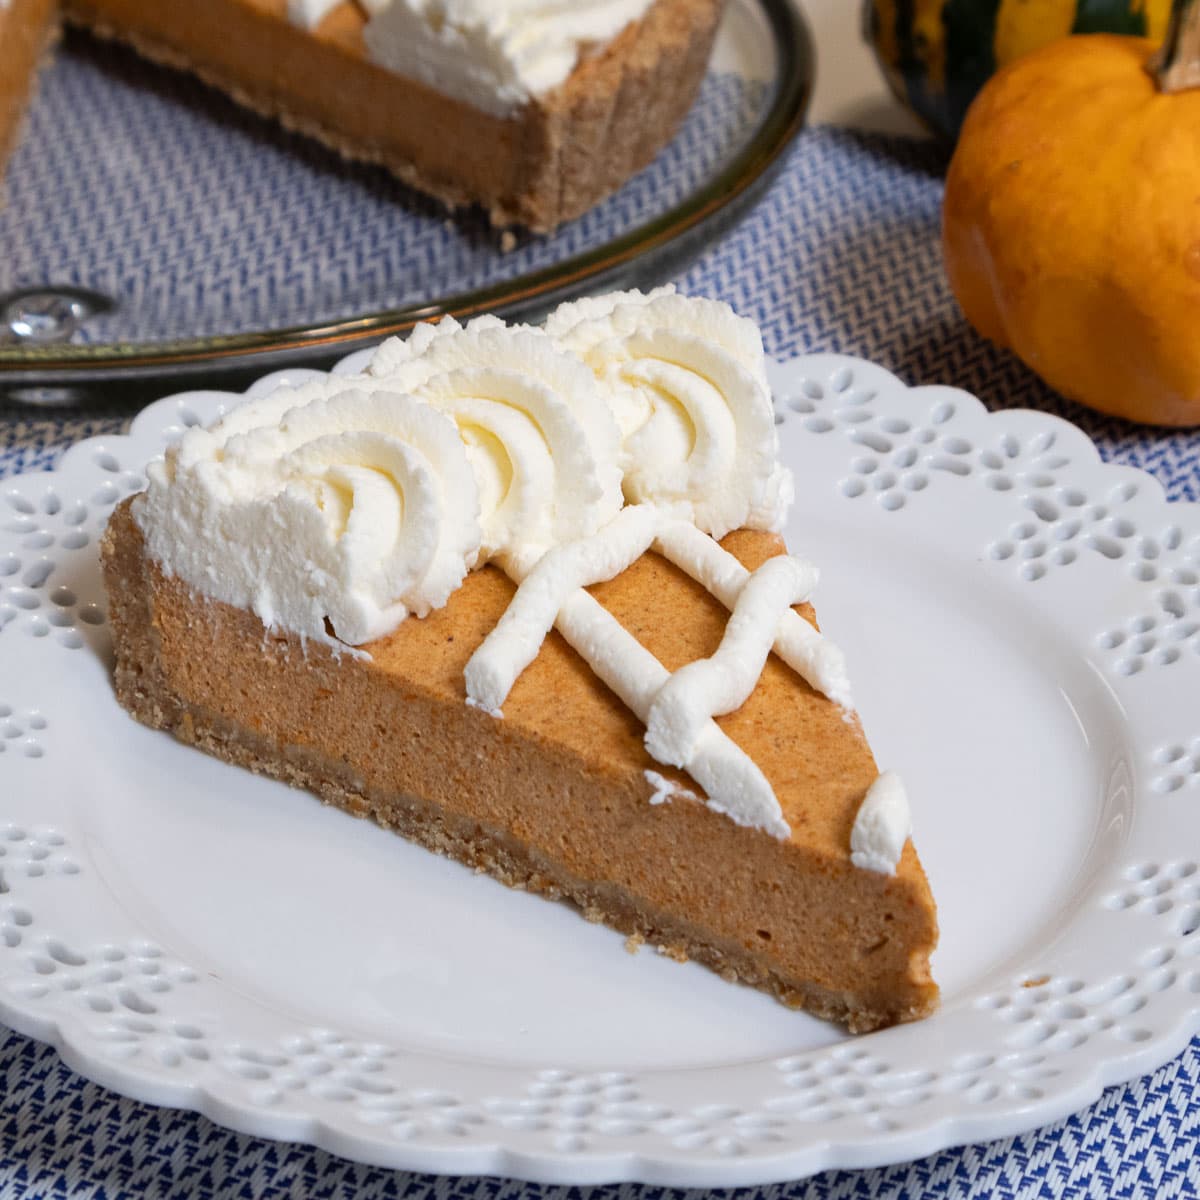
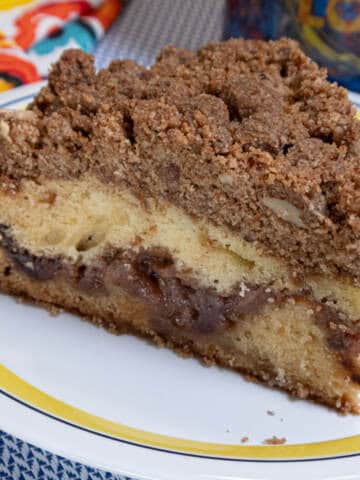
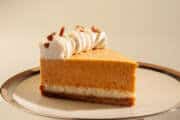
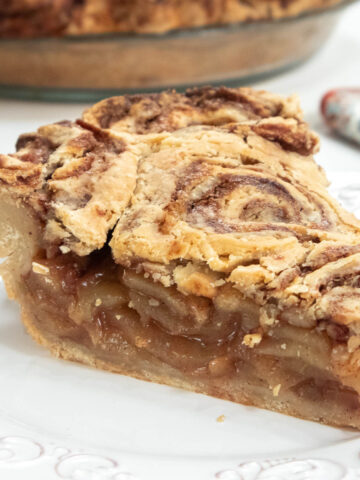
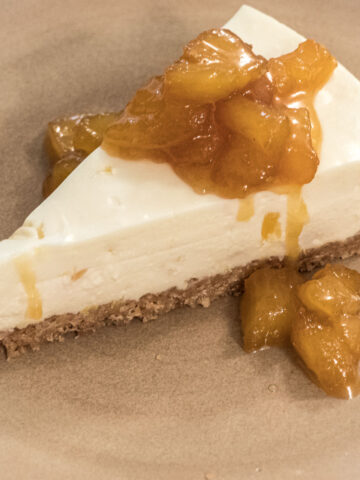
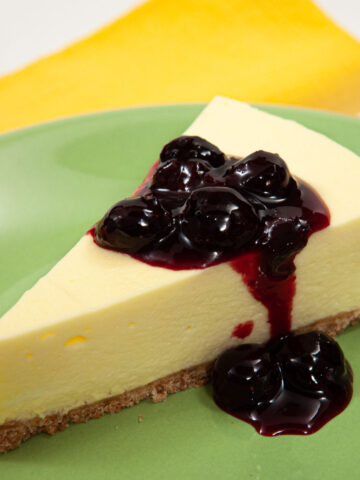
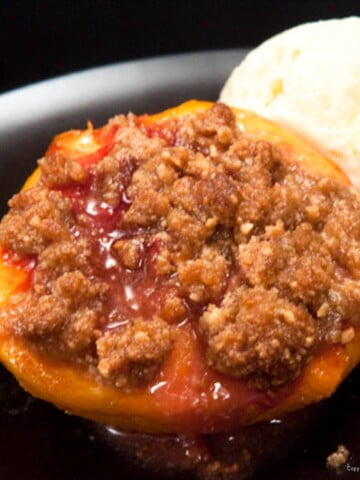
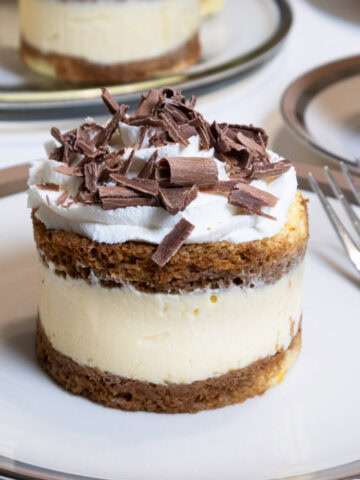
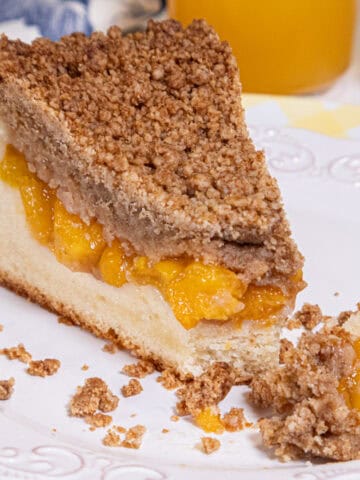
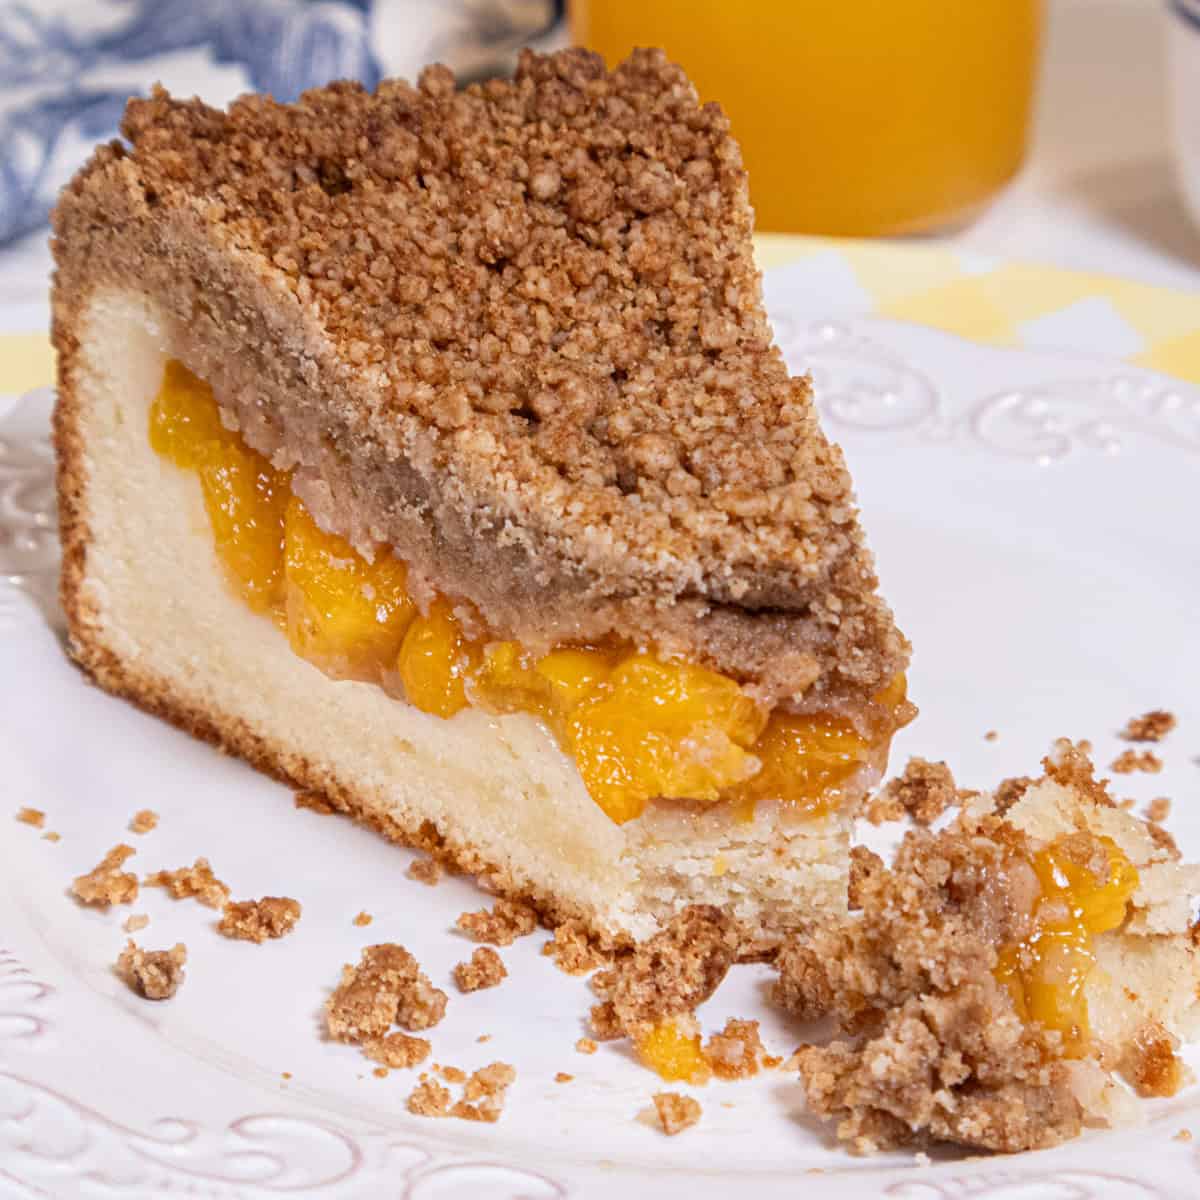
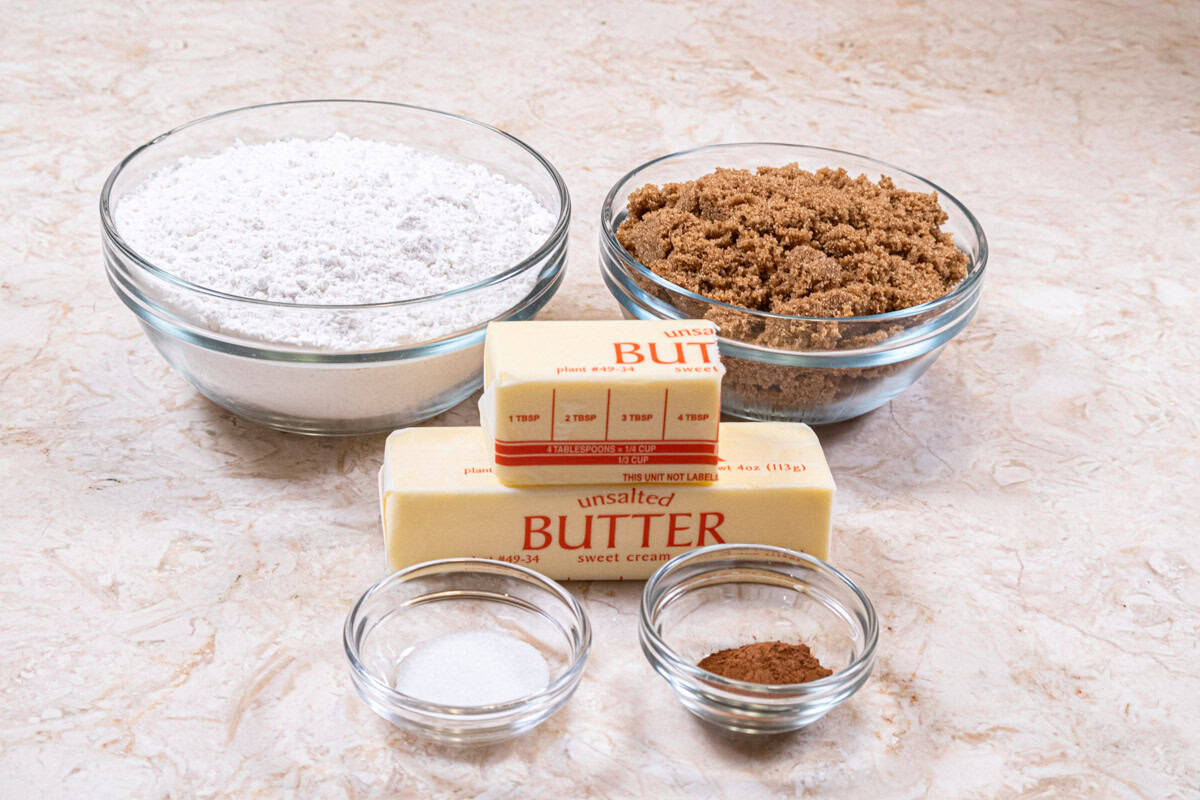
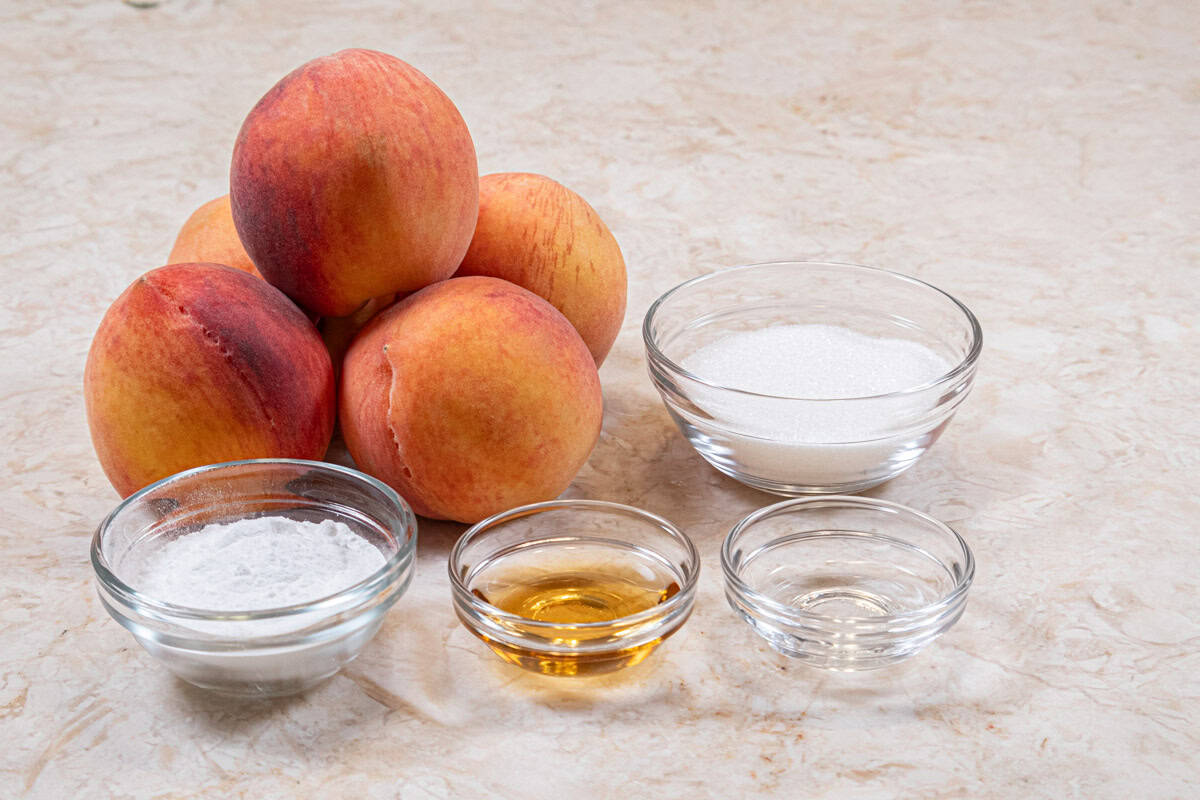
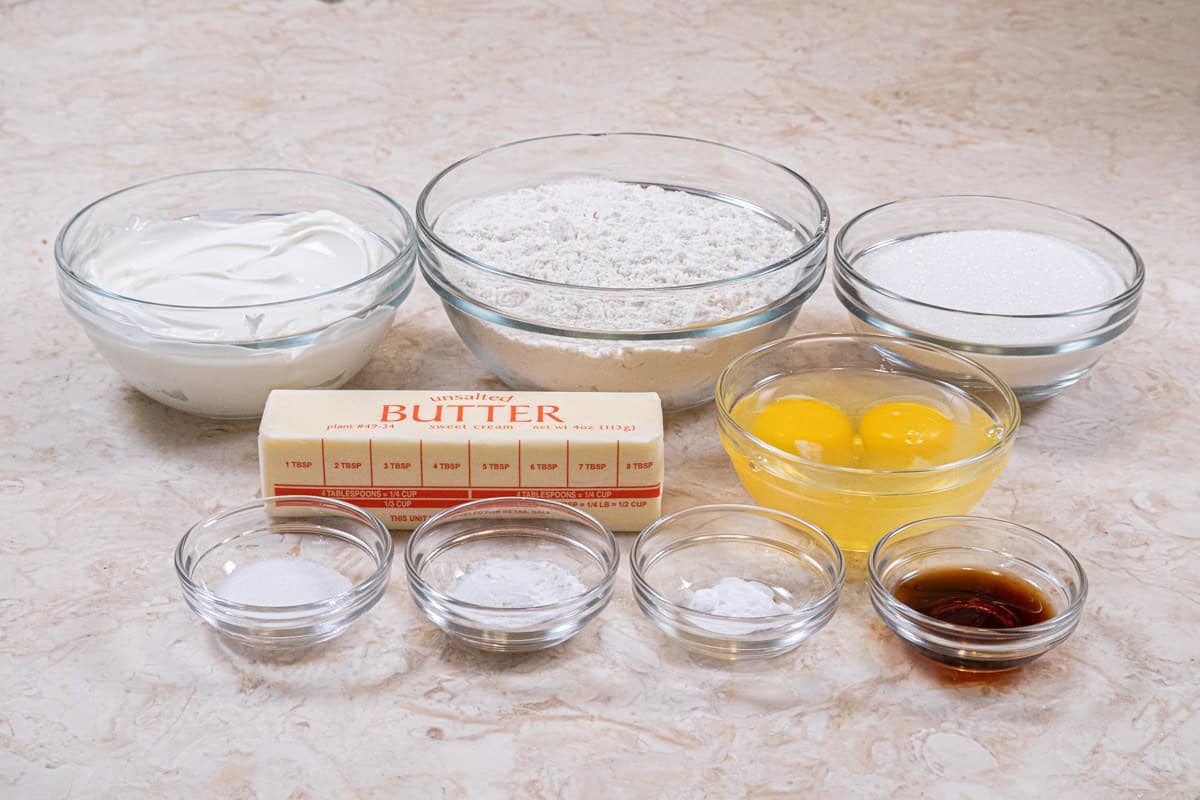
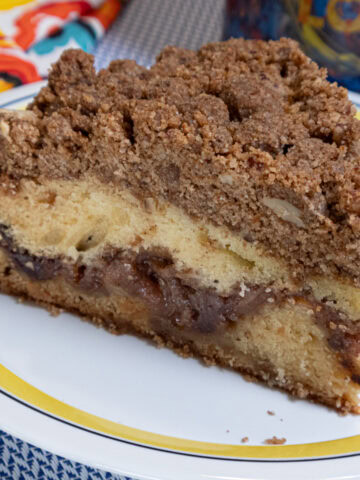
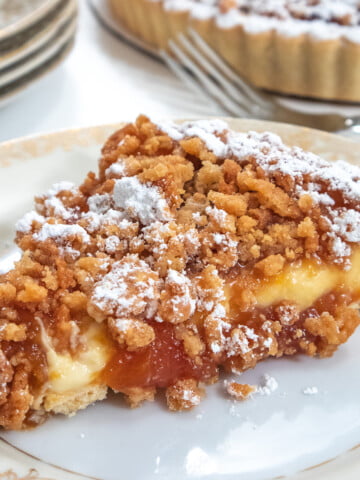
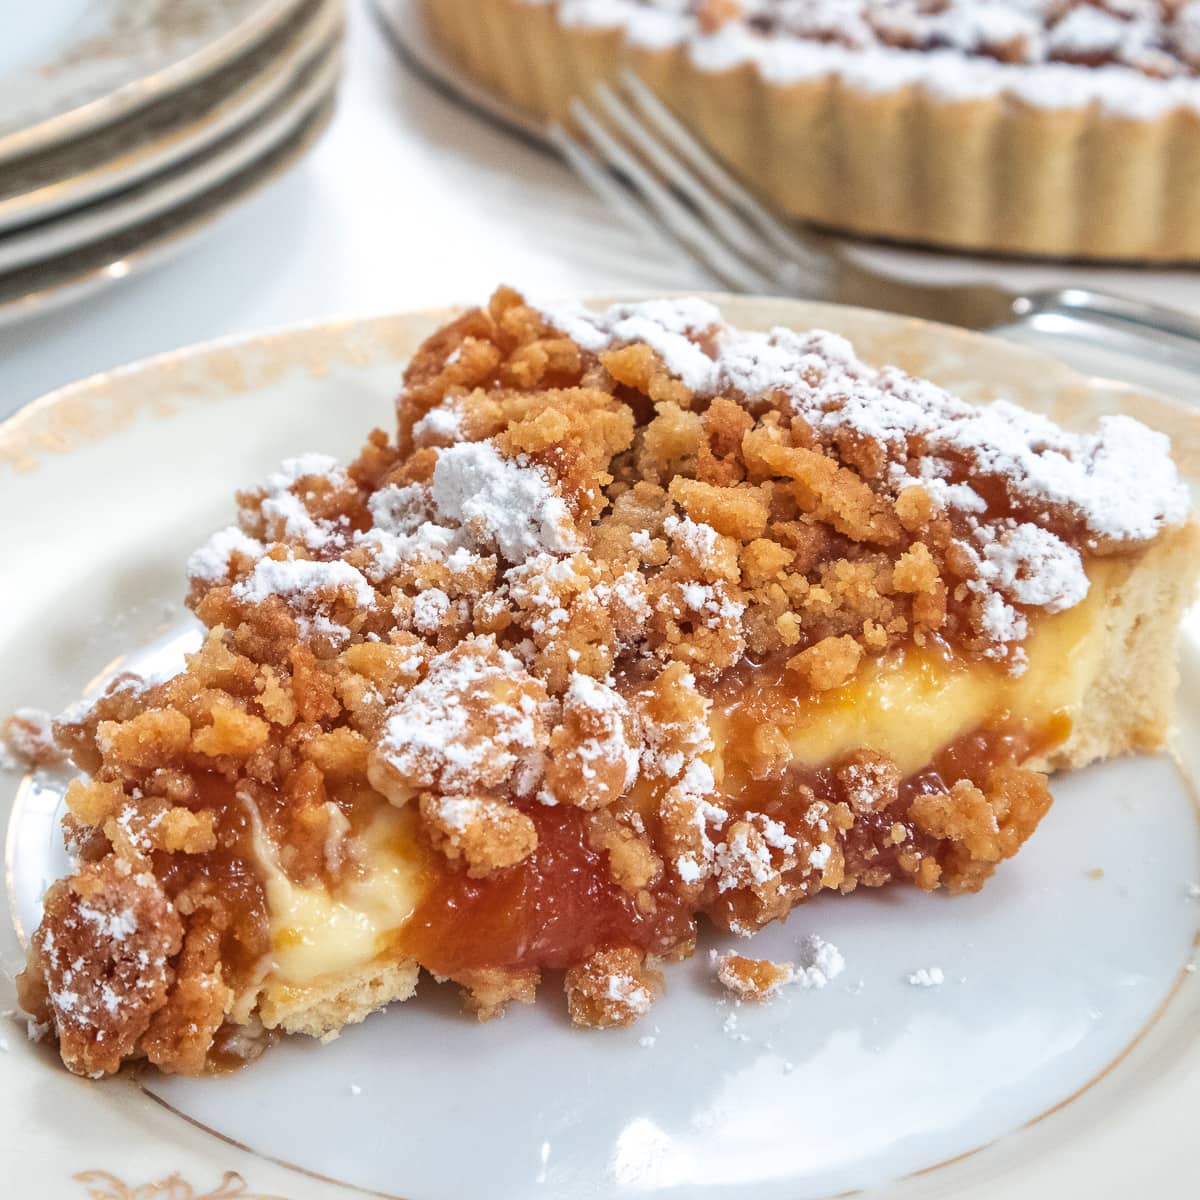
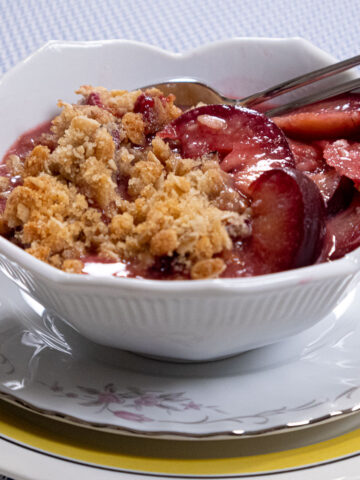
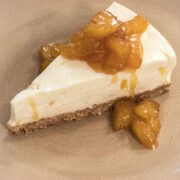
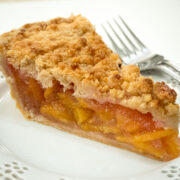
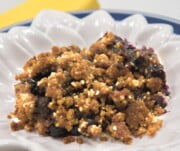
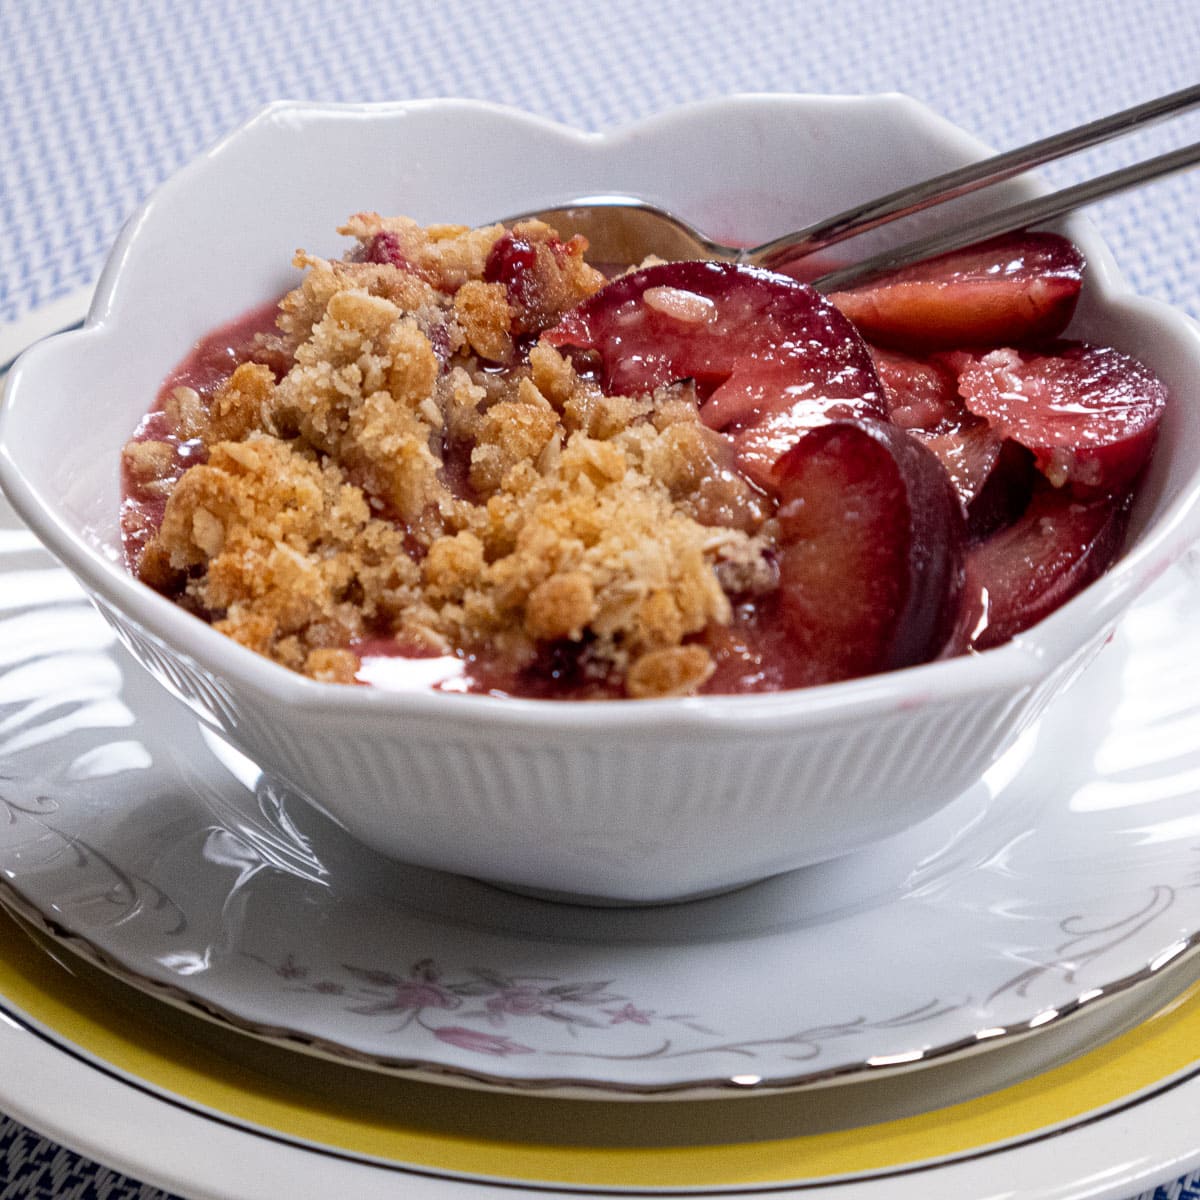
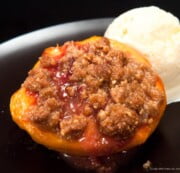
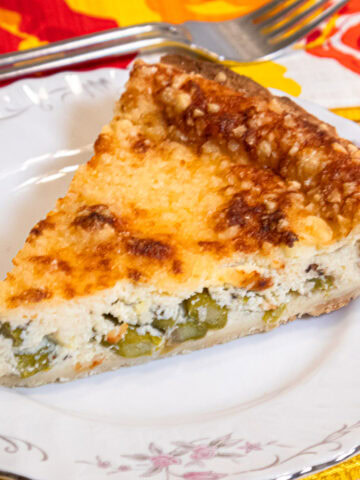
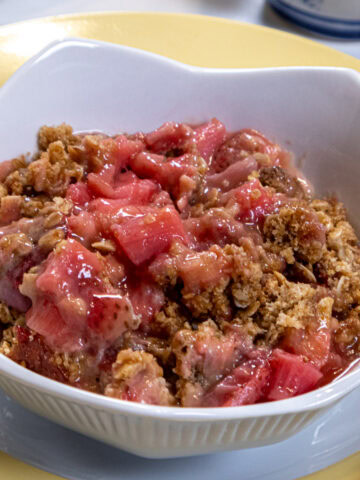
Apple Crisp Cheesecake
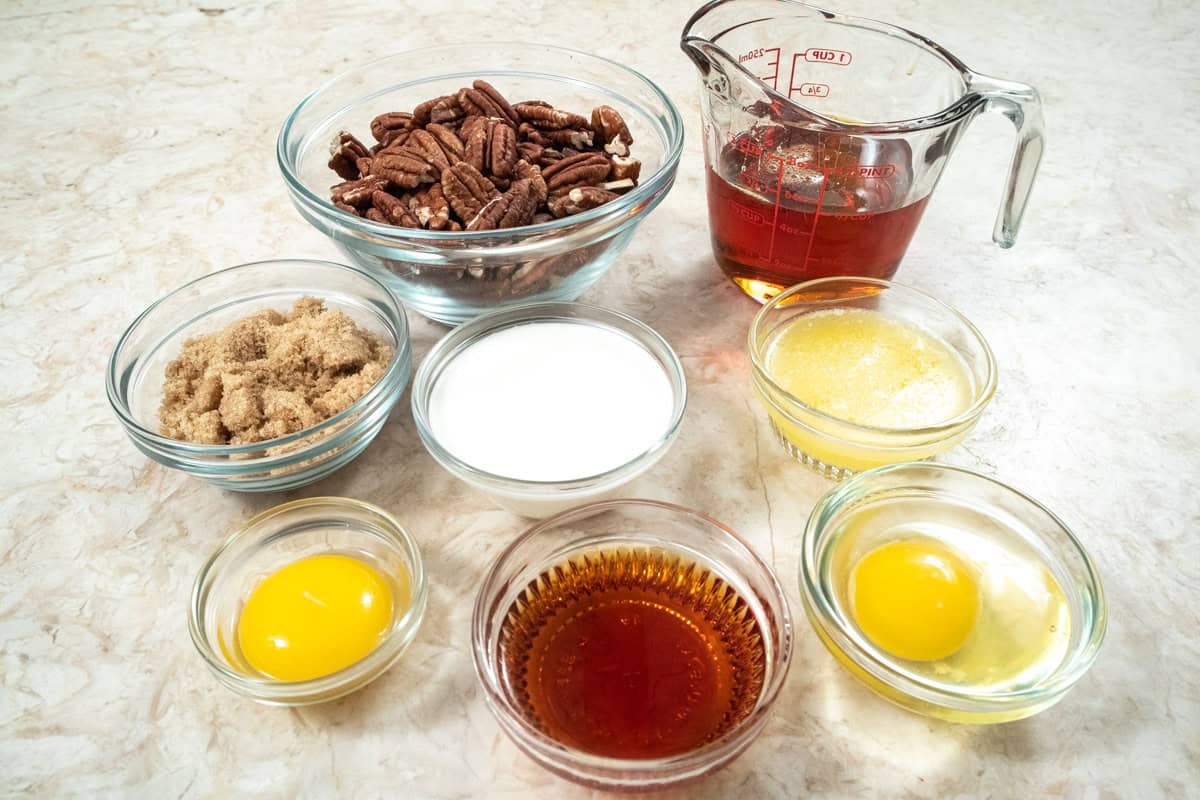
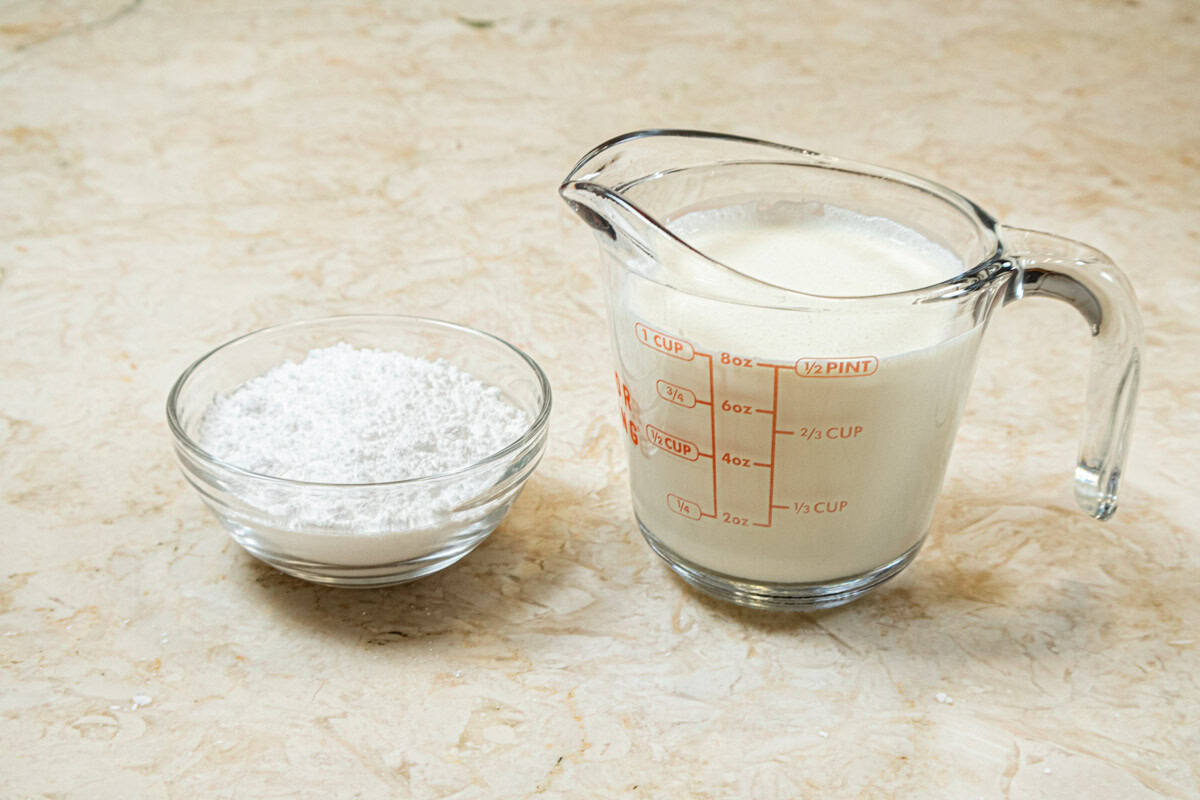
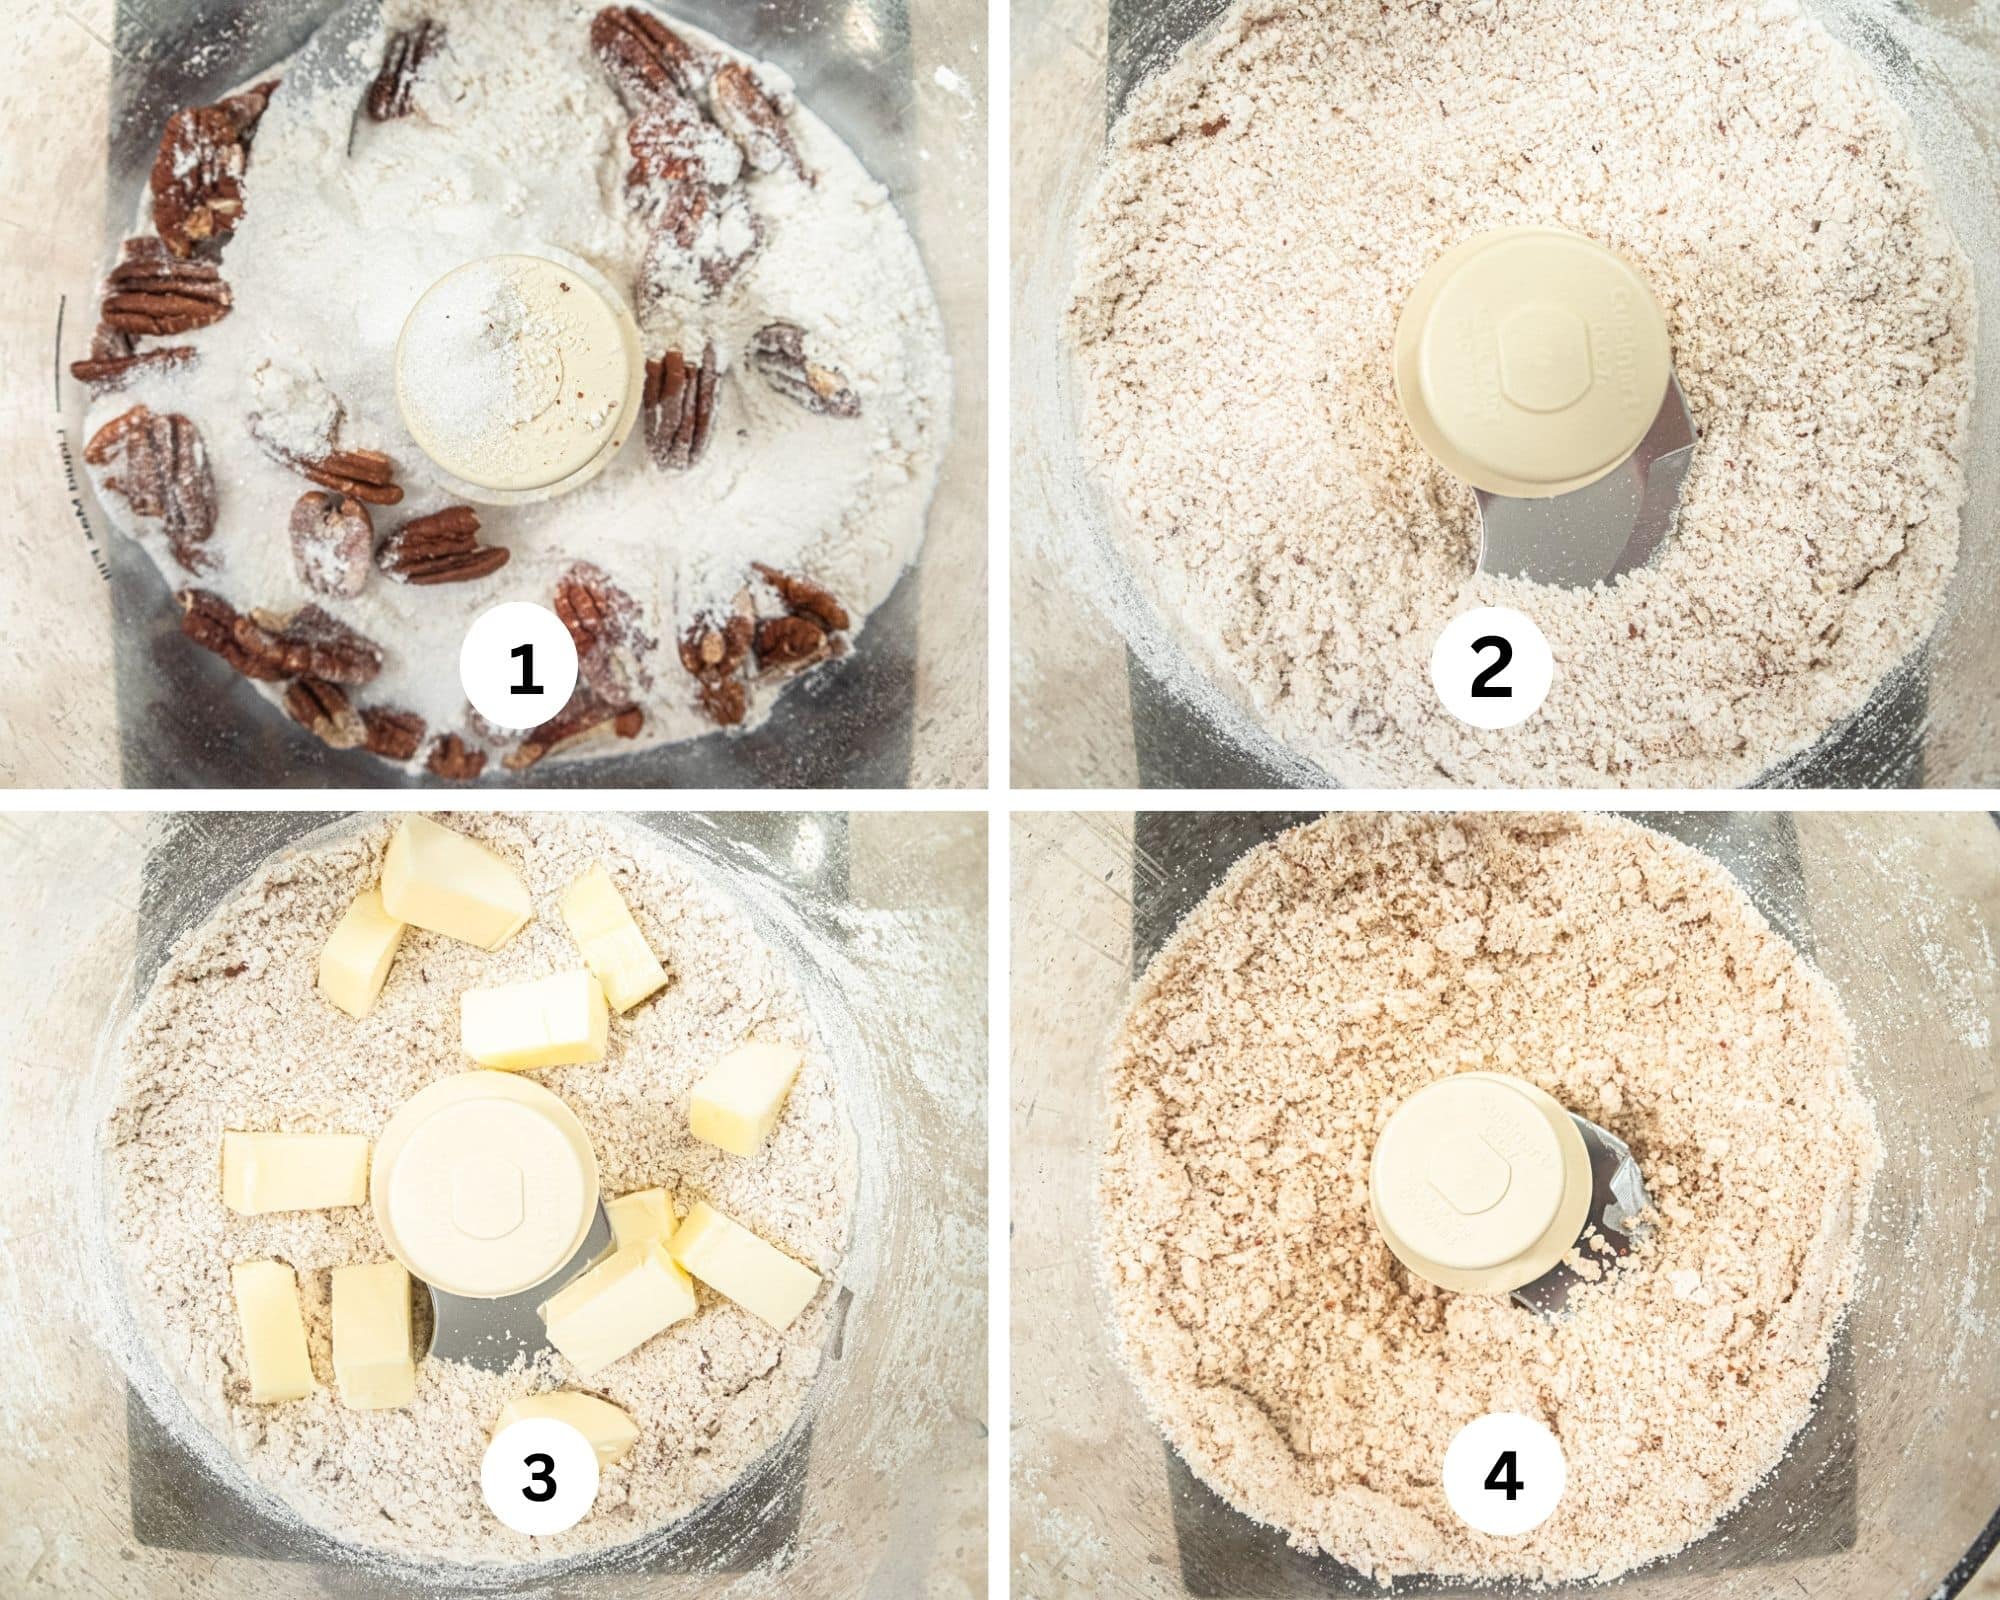
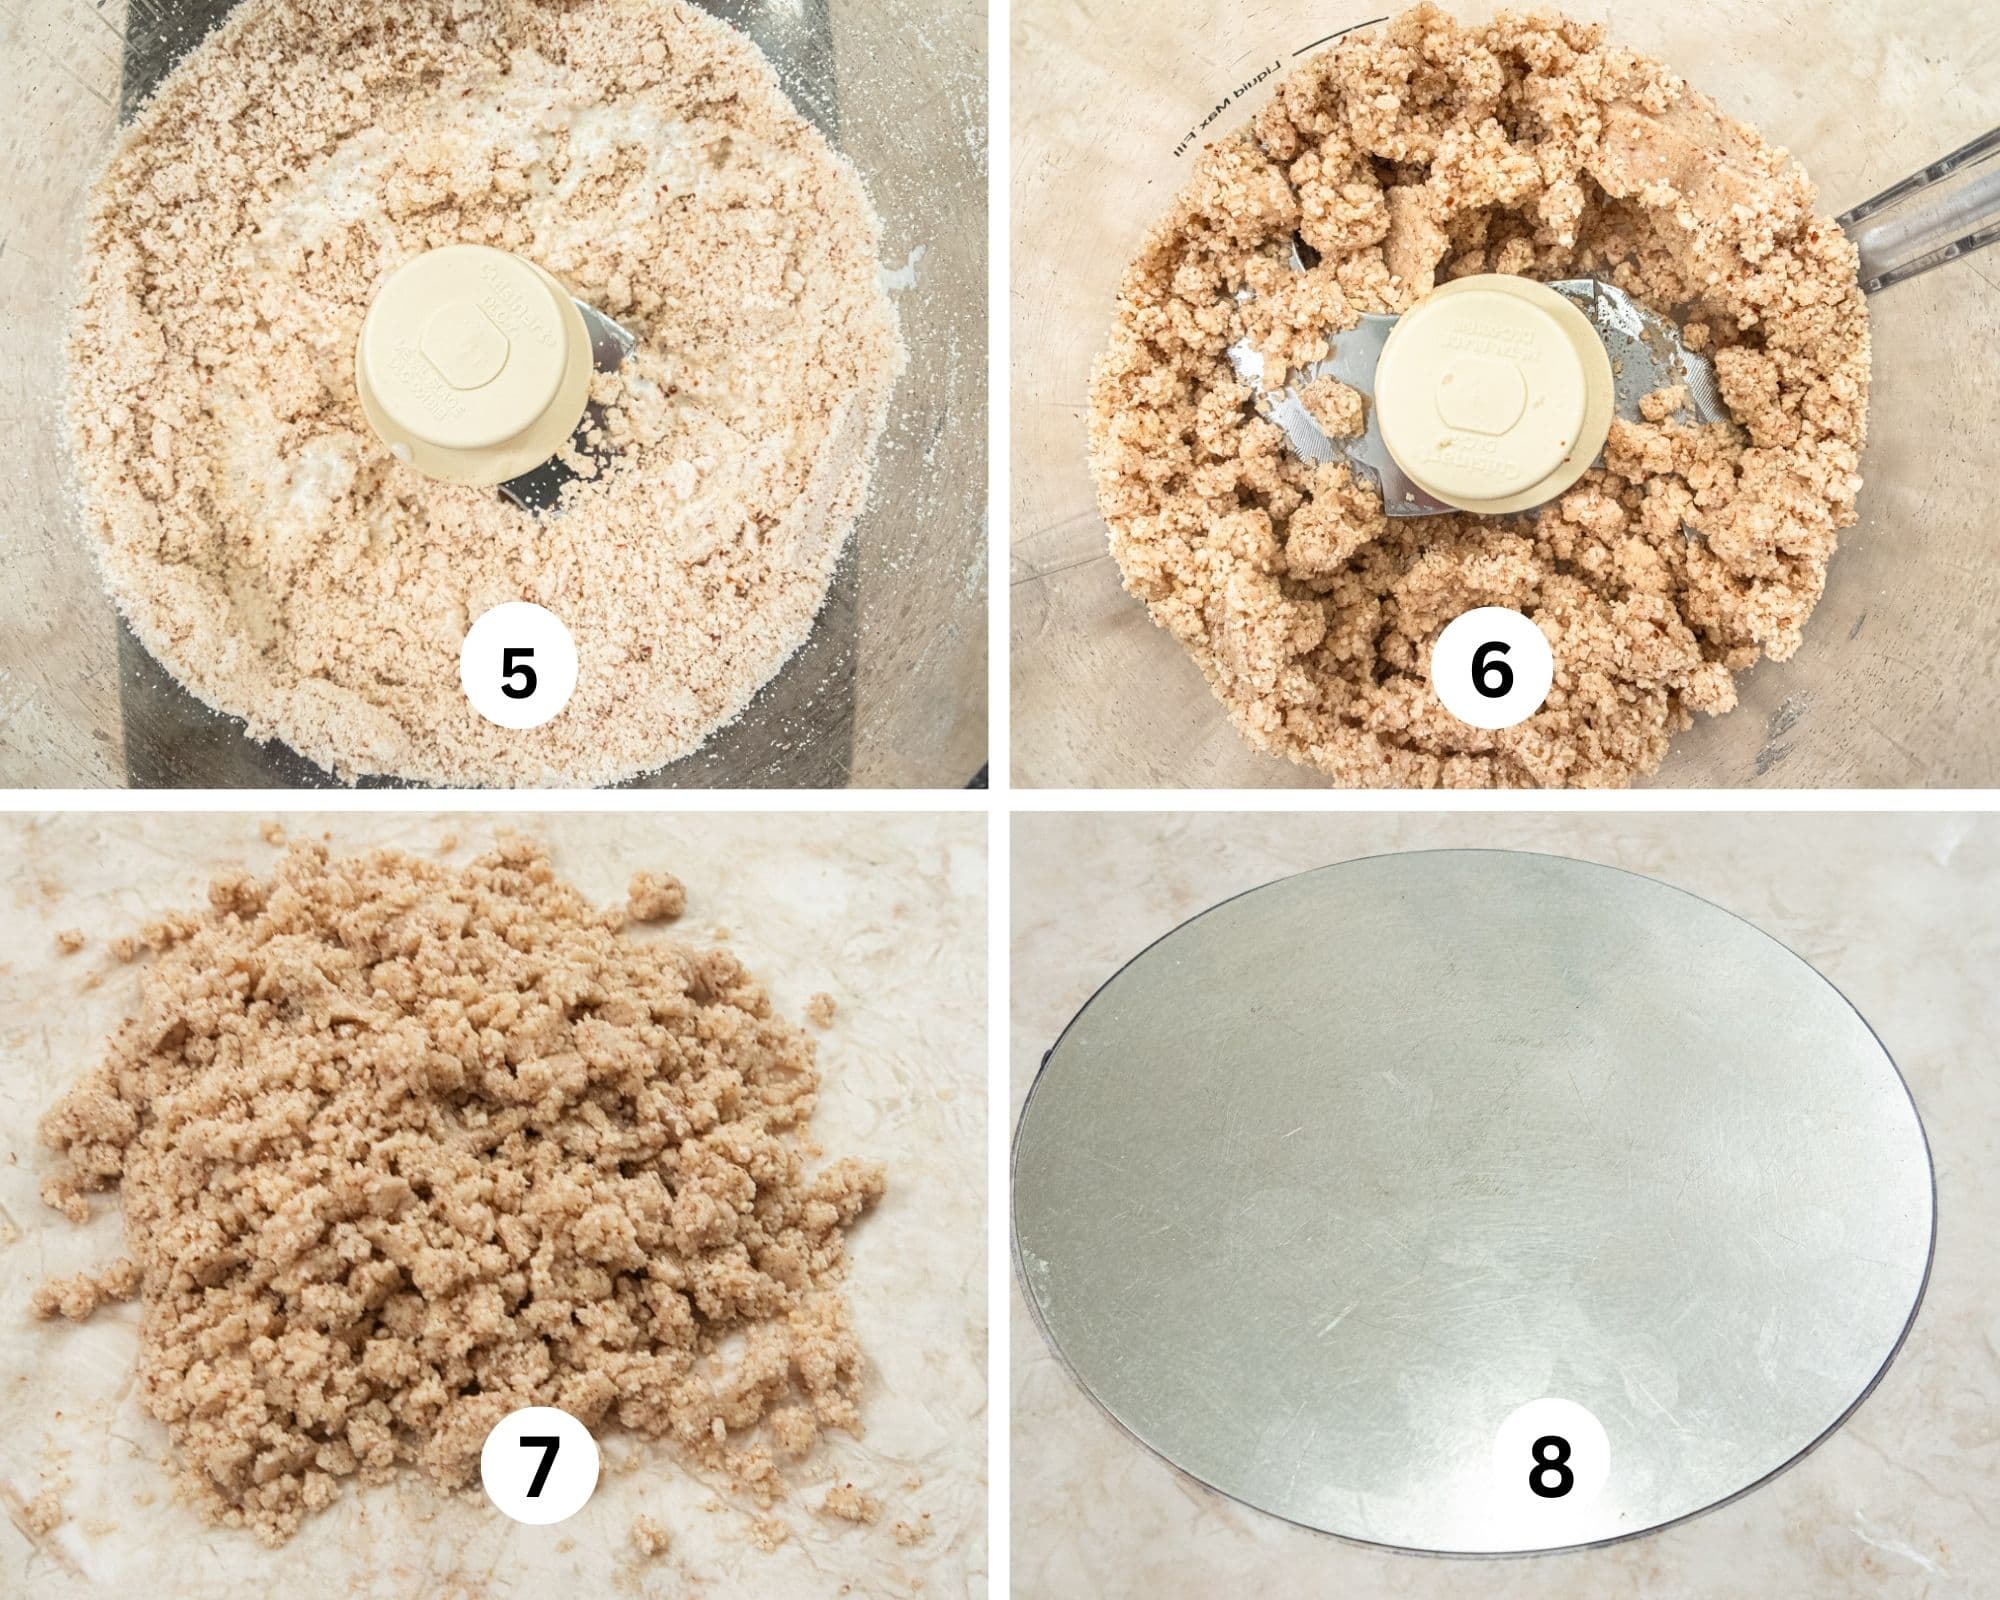
Apple Crisp Cheesecake says fall to me in a way few other desserts do. You will love the way the oat, walnut, brown sugar and cinnamon crisp goes with the creamy cheesecake under it with the apple filling on top of the graham cracker crust.
Check out this recipe
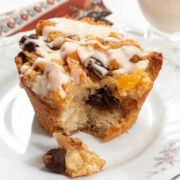
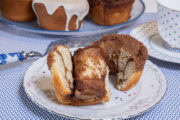
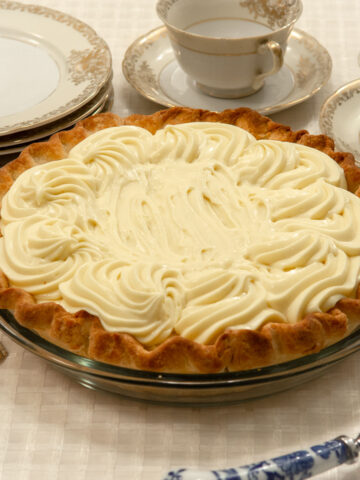
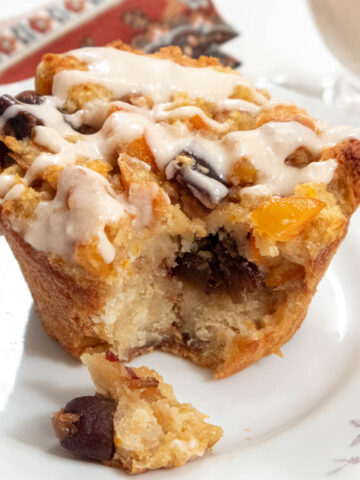
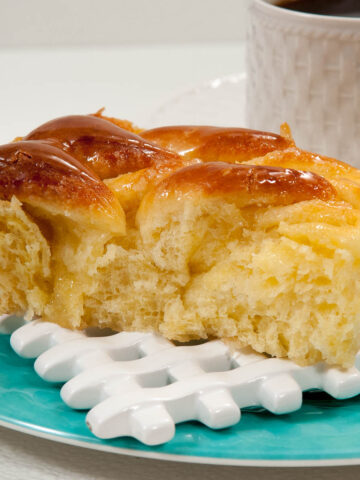
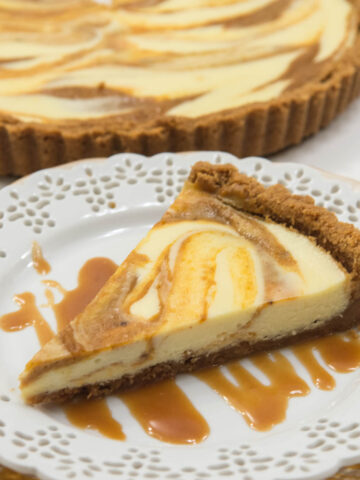
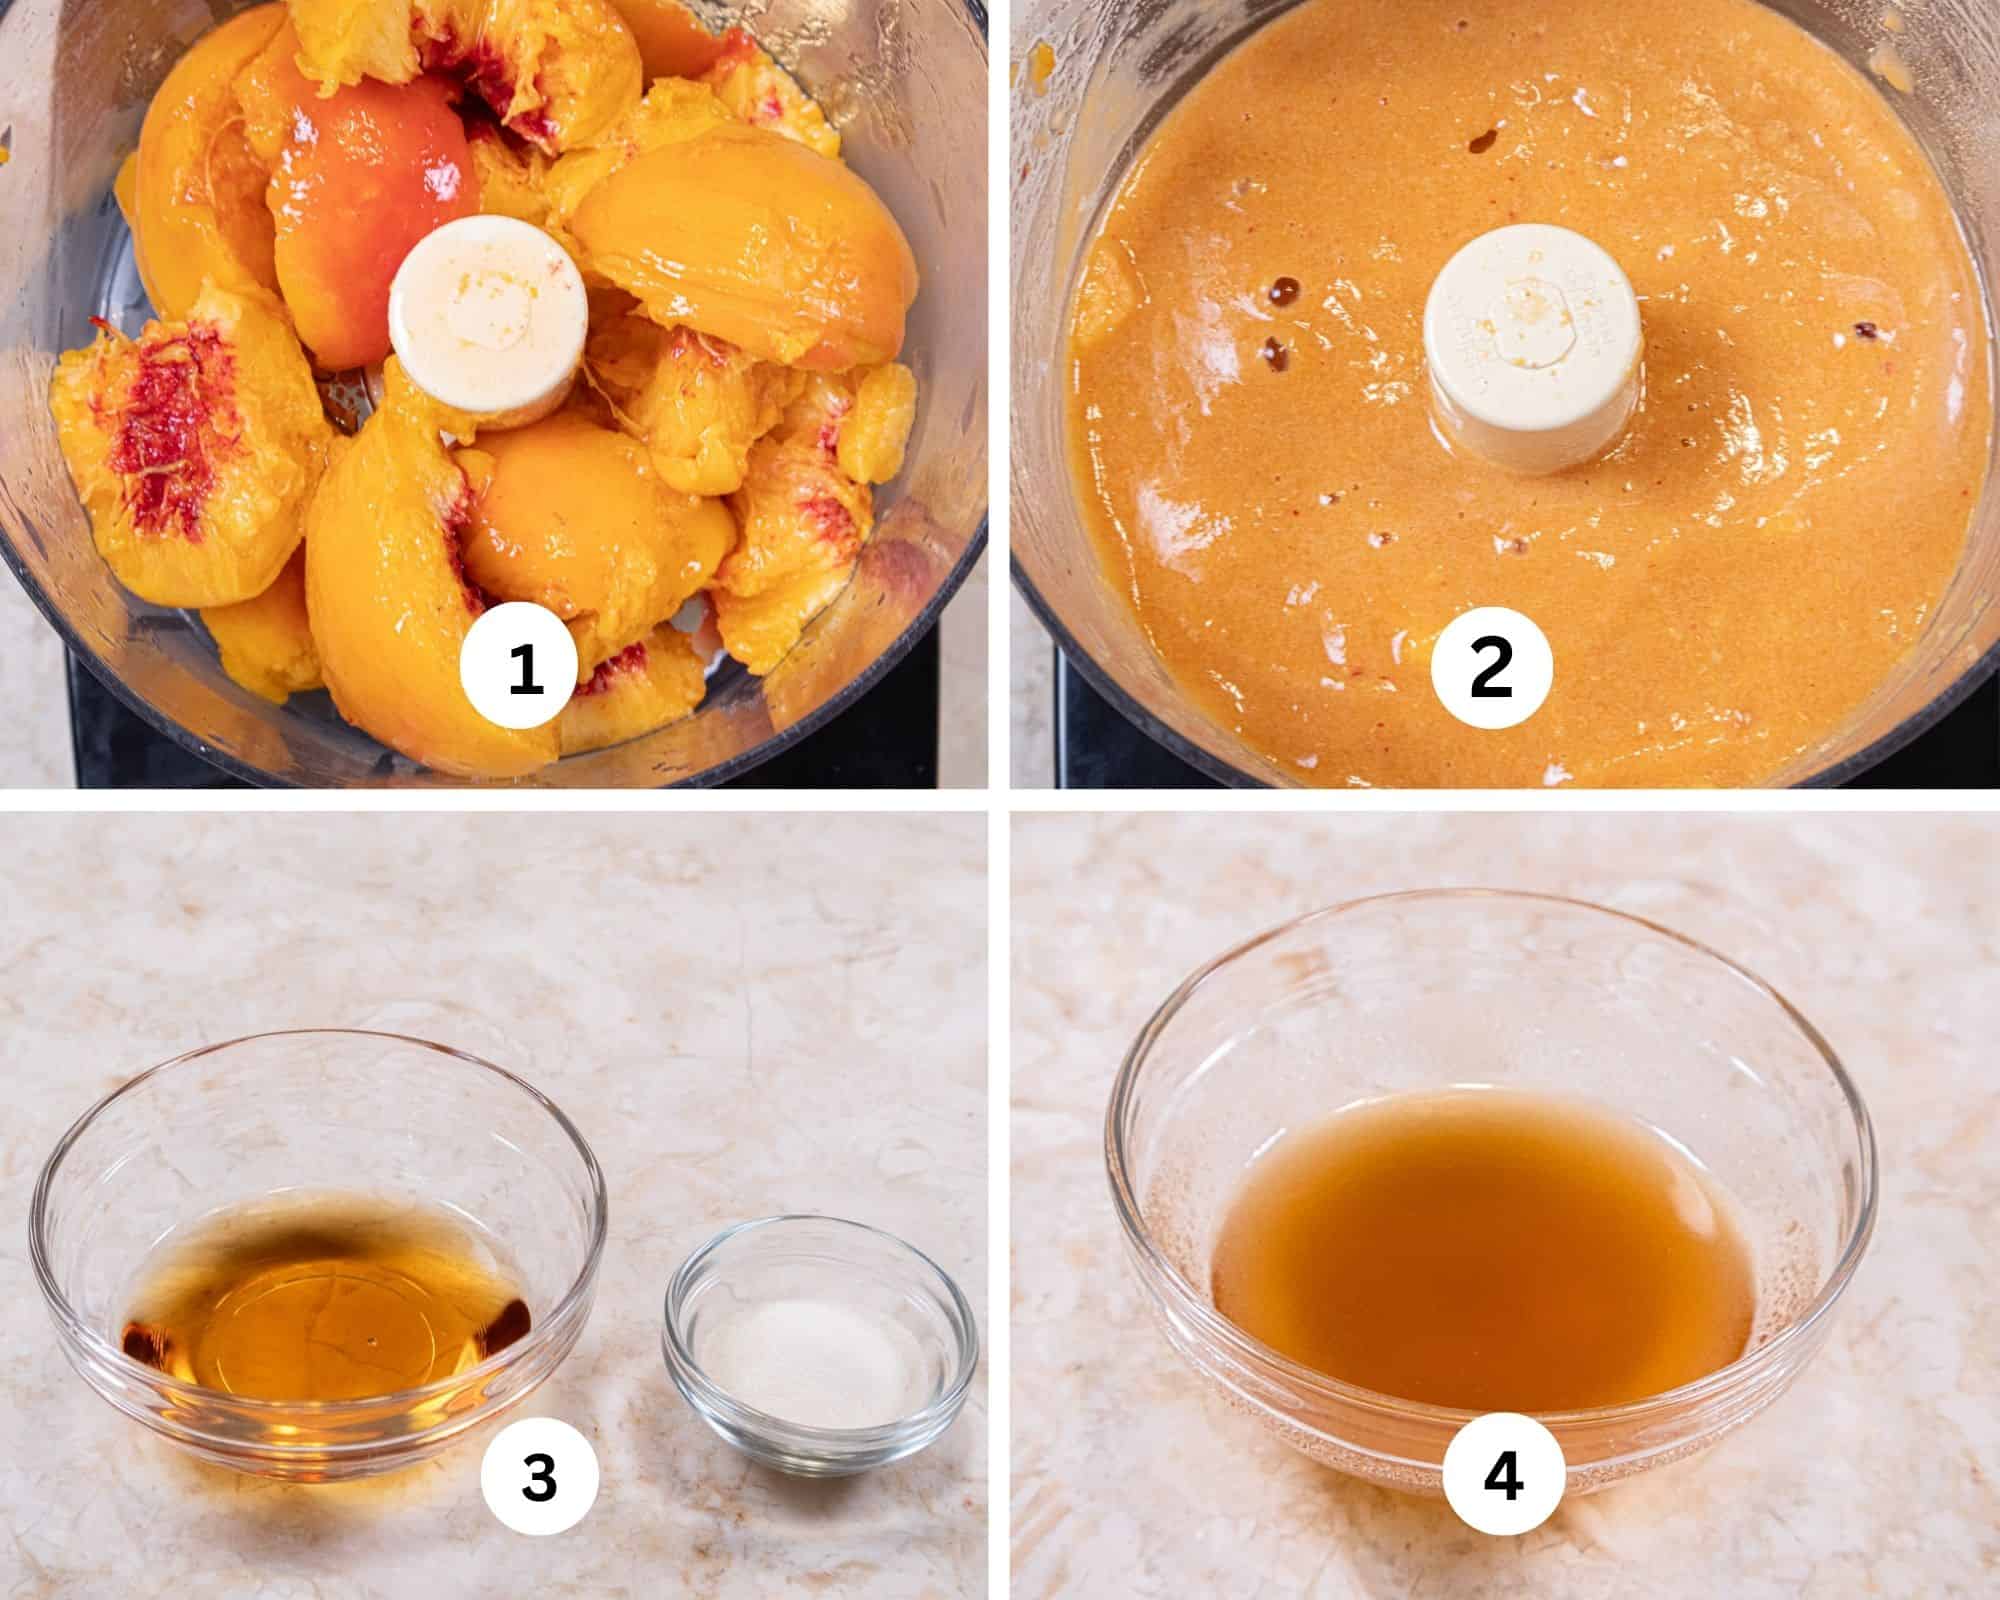
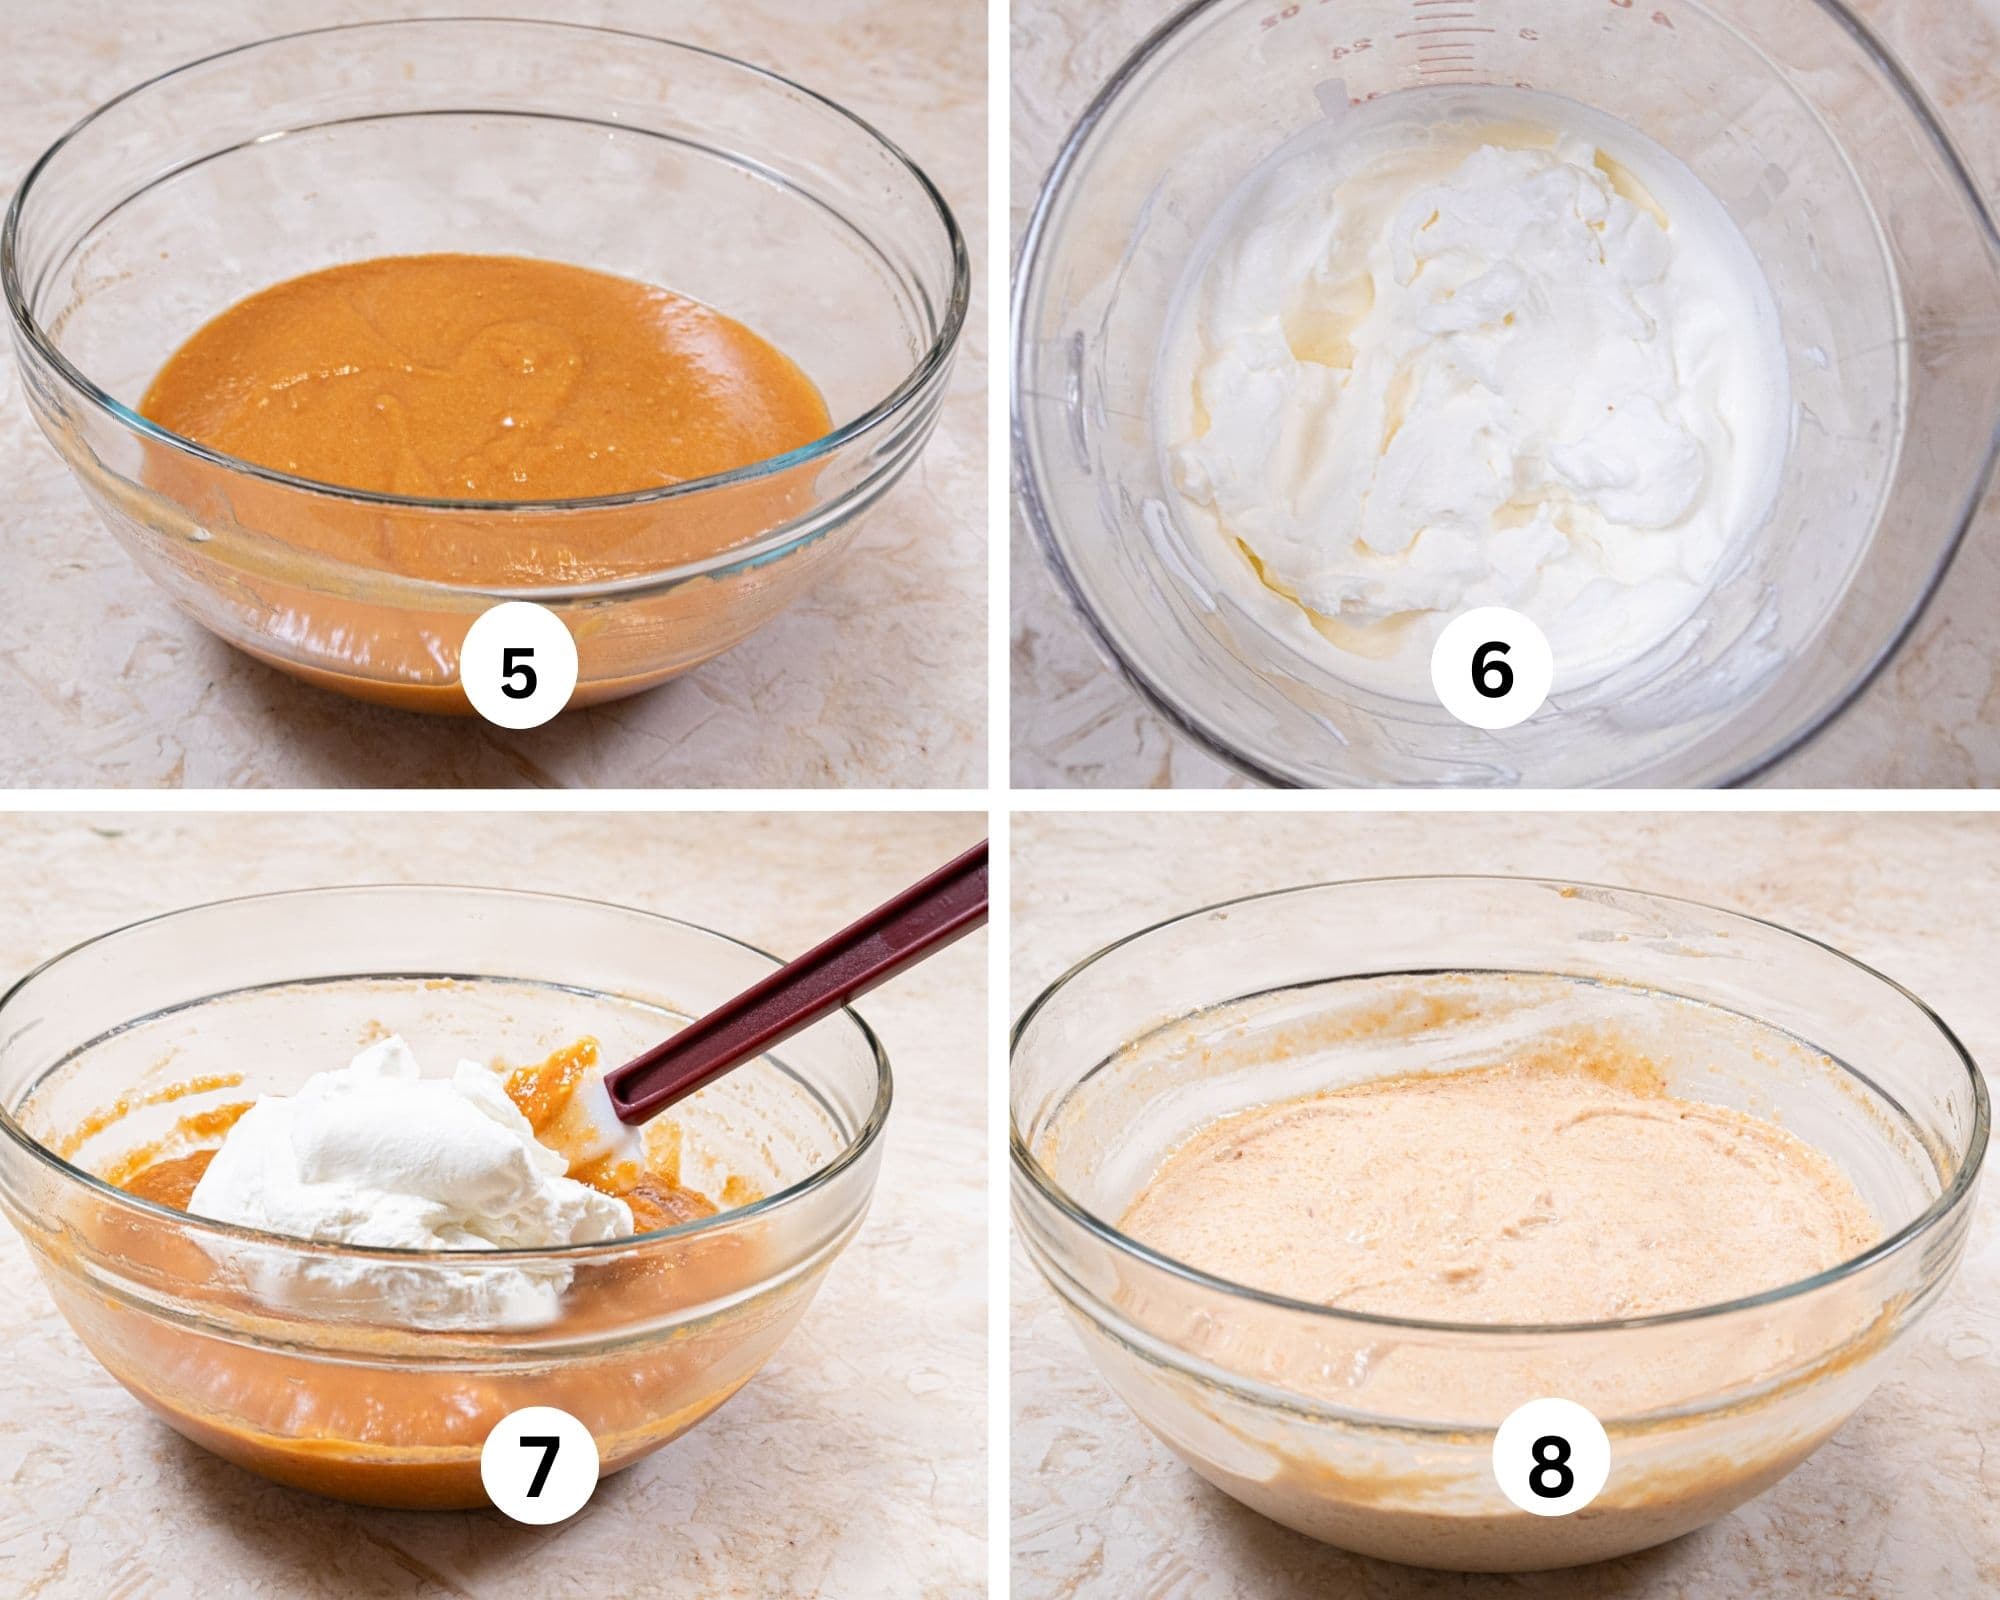
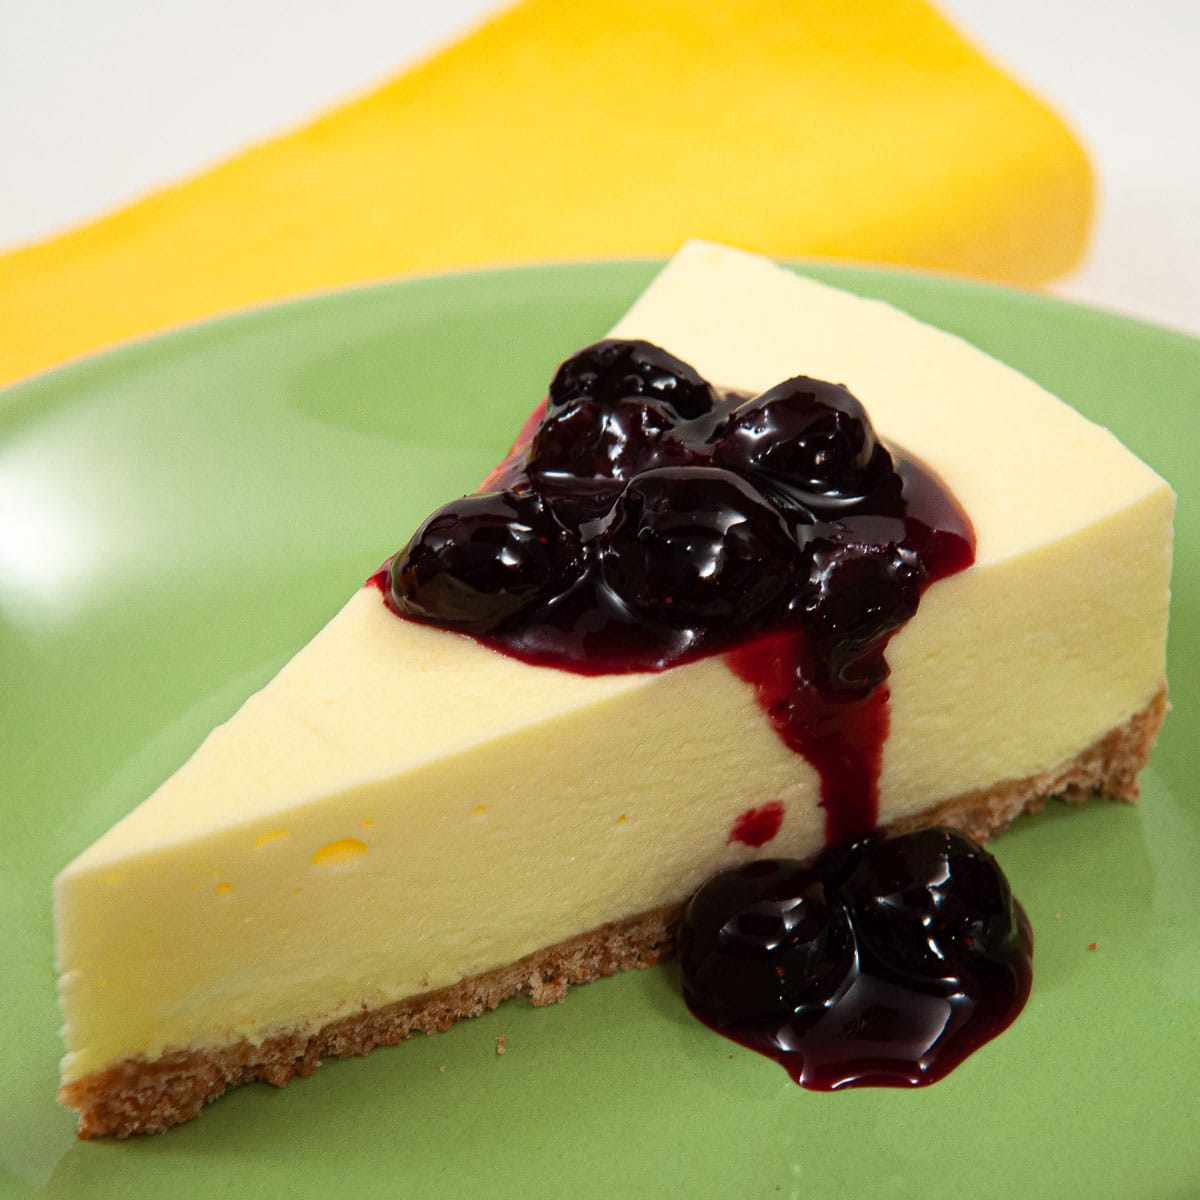
Lemon Cheesecake Bread Pudding
This spectacular Lemon Cheesecake Bread Pudding is based on the Lemon Cheesecake I make at the restaurant. It is extremely popular and very unusual. This version of a bread pudding is very quick and easy to make. The ingredients take a few turns in the processor, are poured over the bread cubes, and into the pans it goes. Not much work at all for this uncommon bread pudding.
Check out this recipe
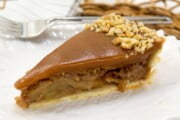
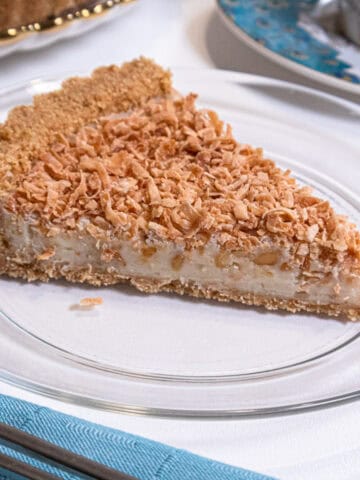
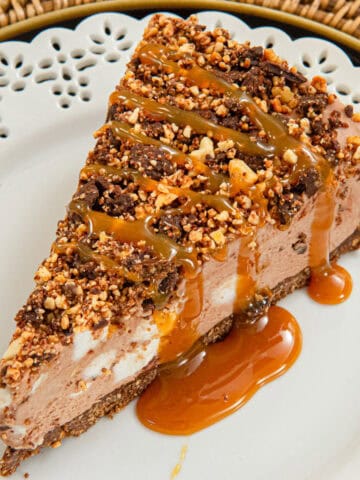
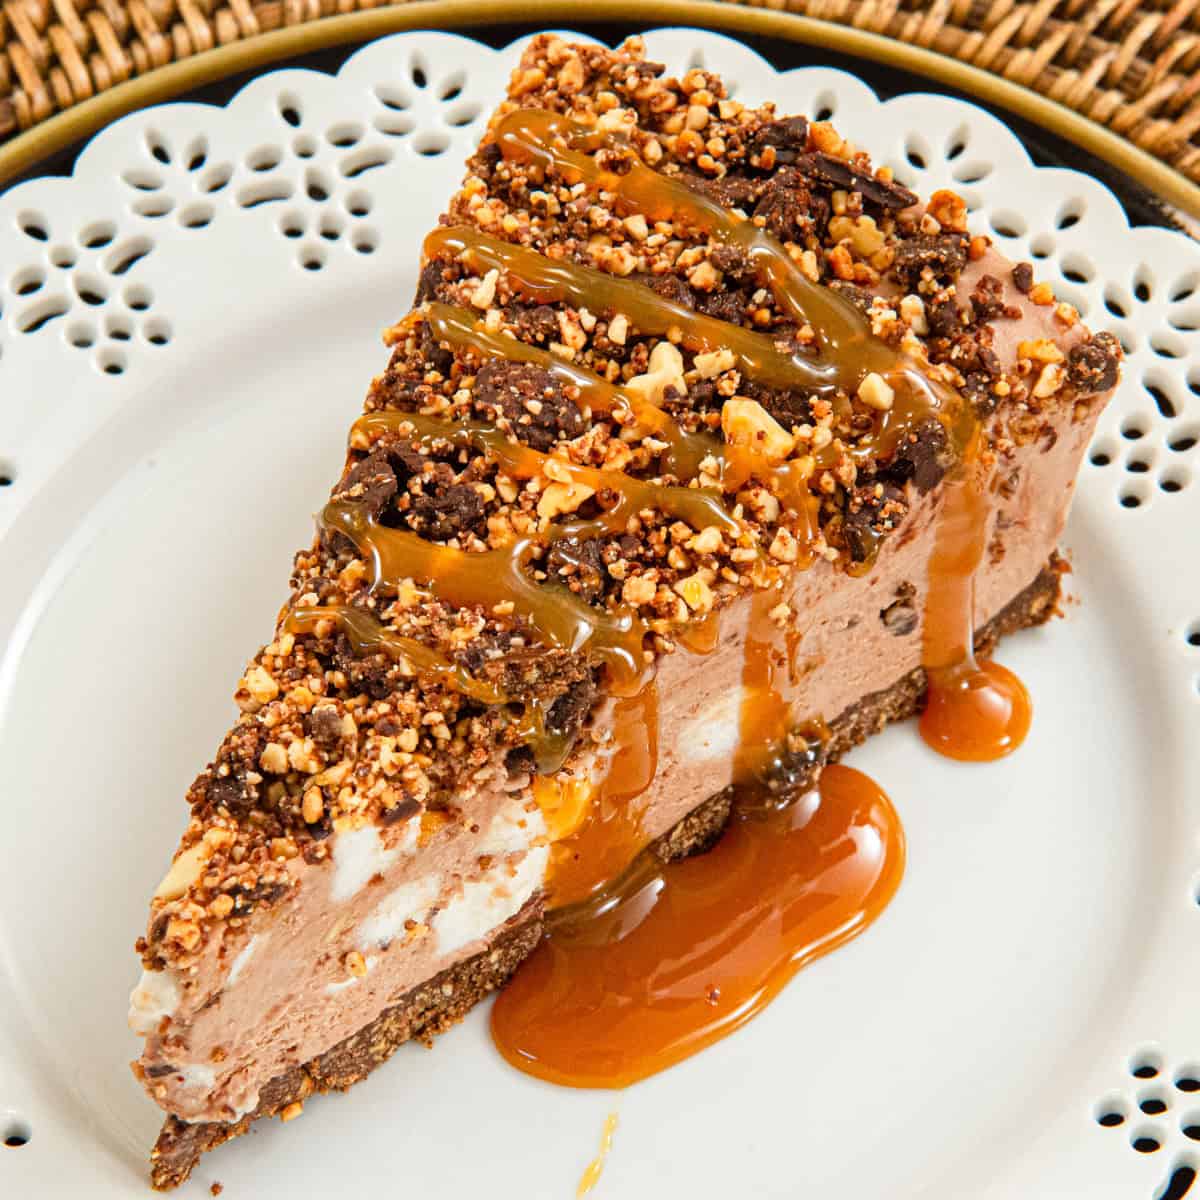
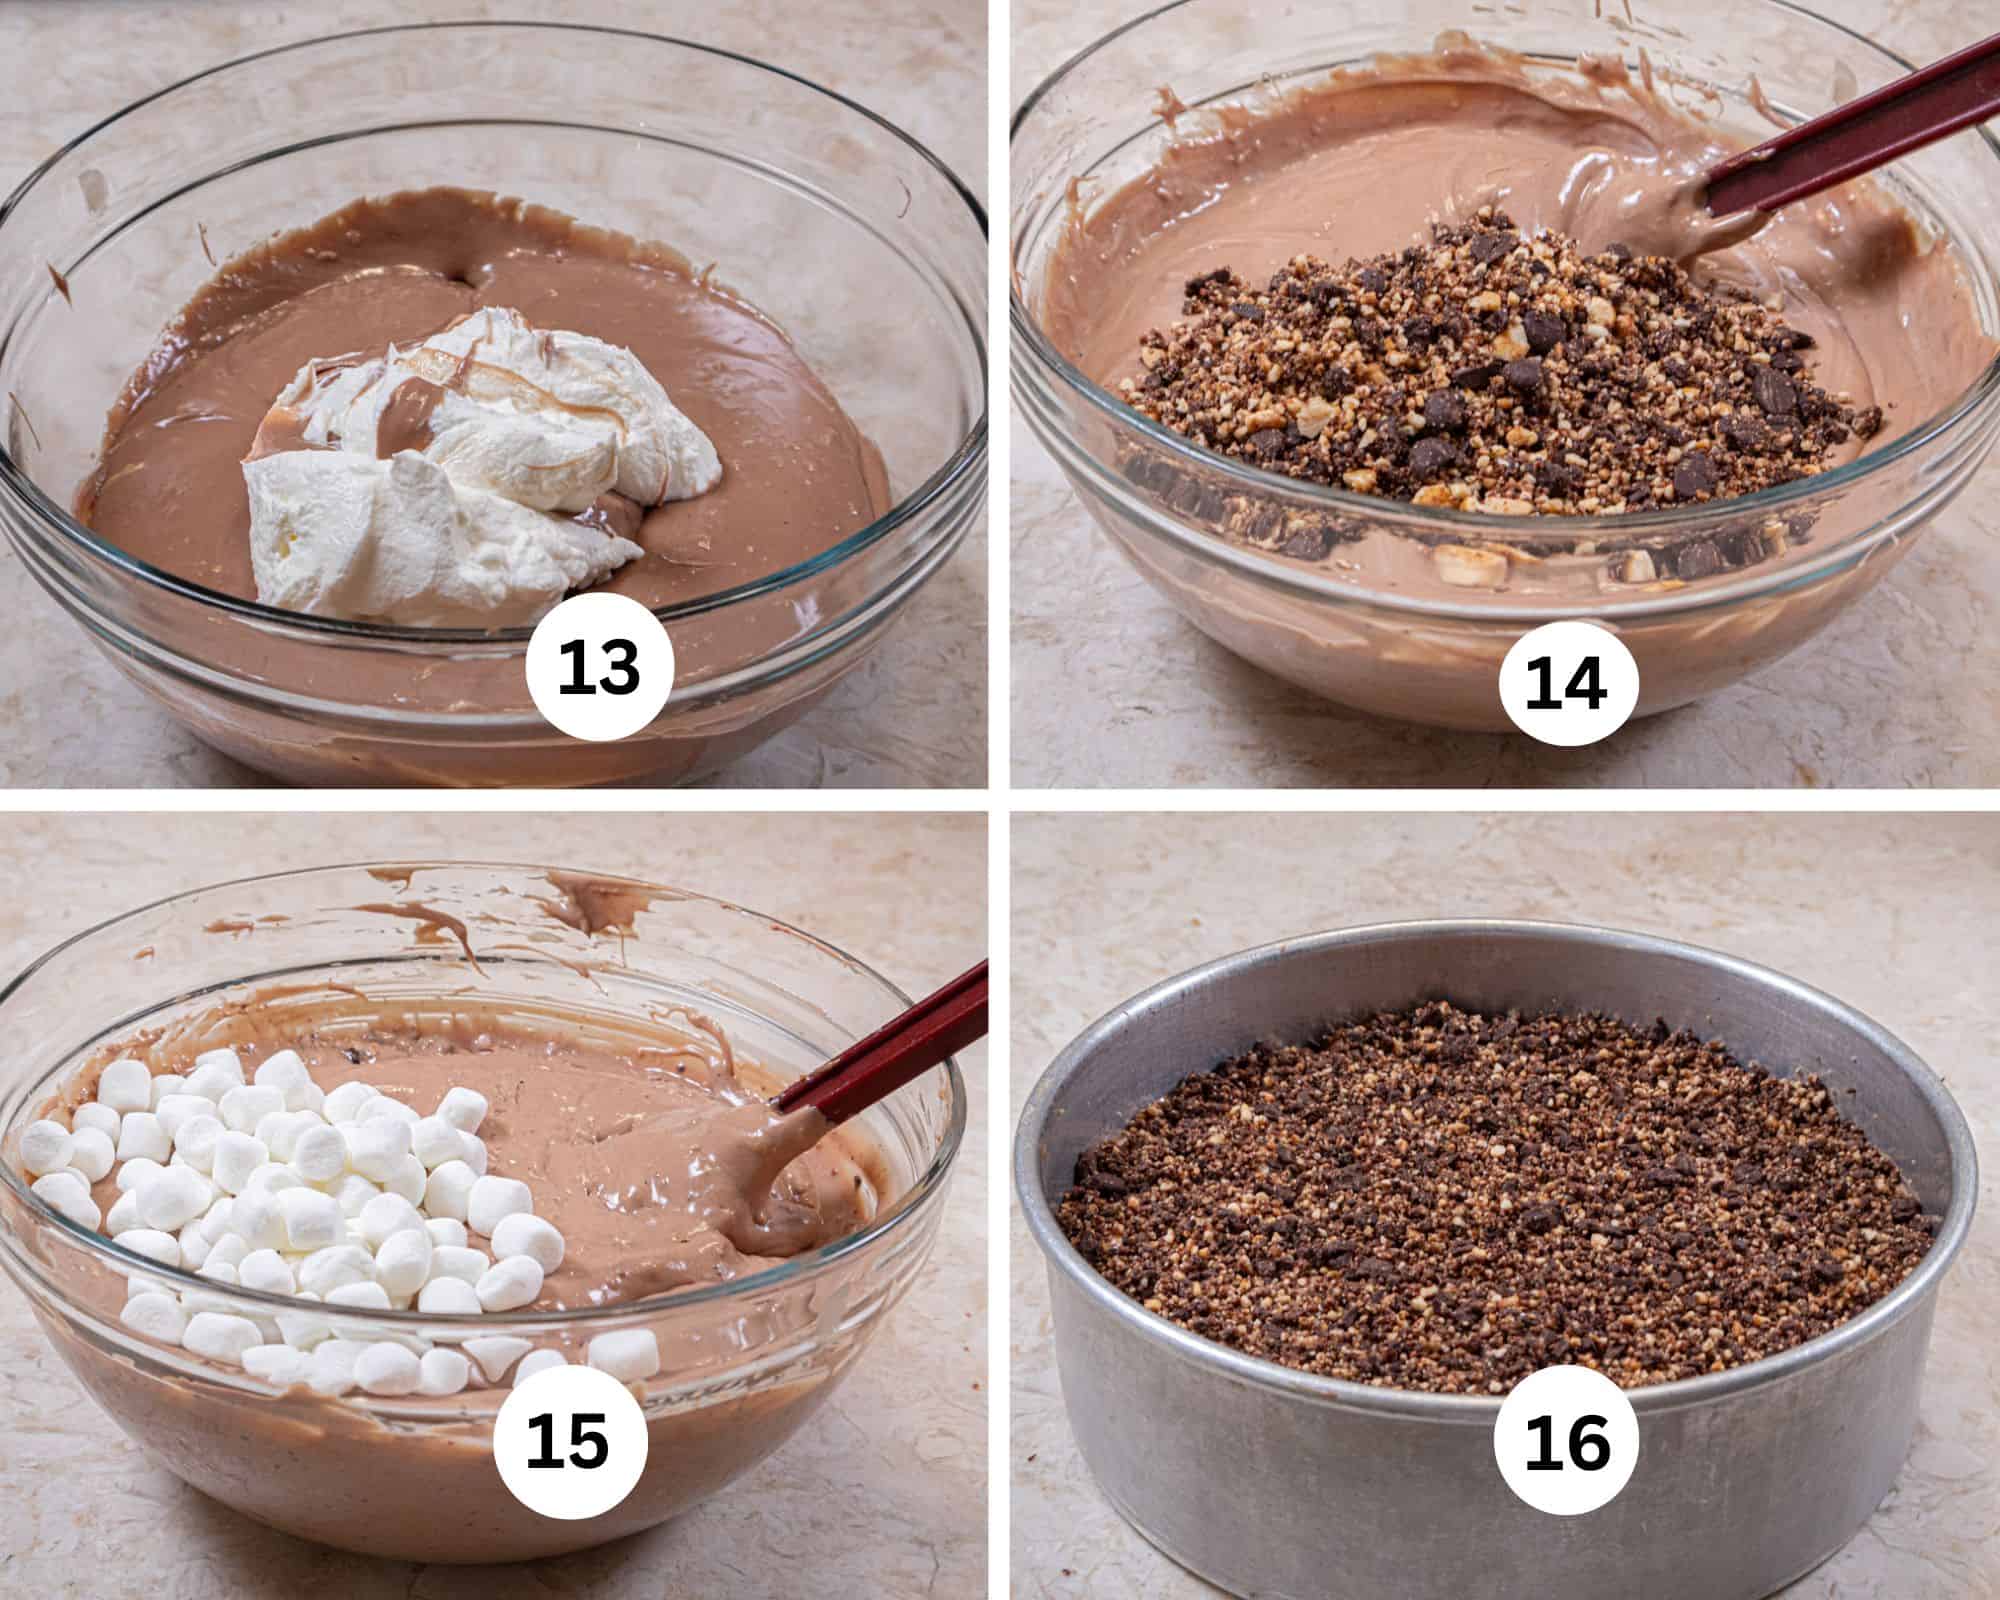
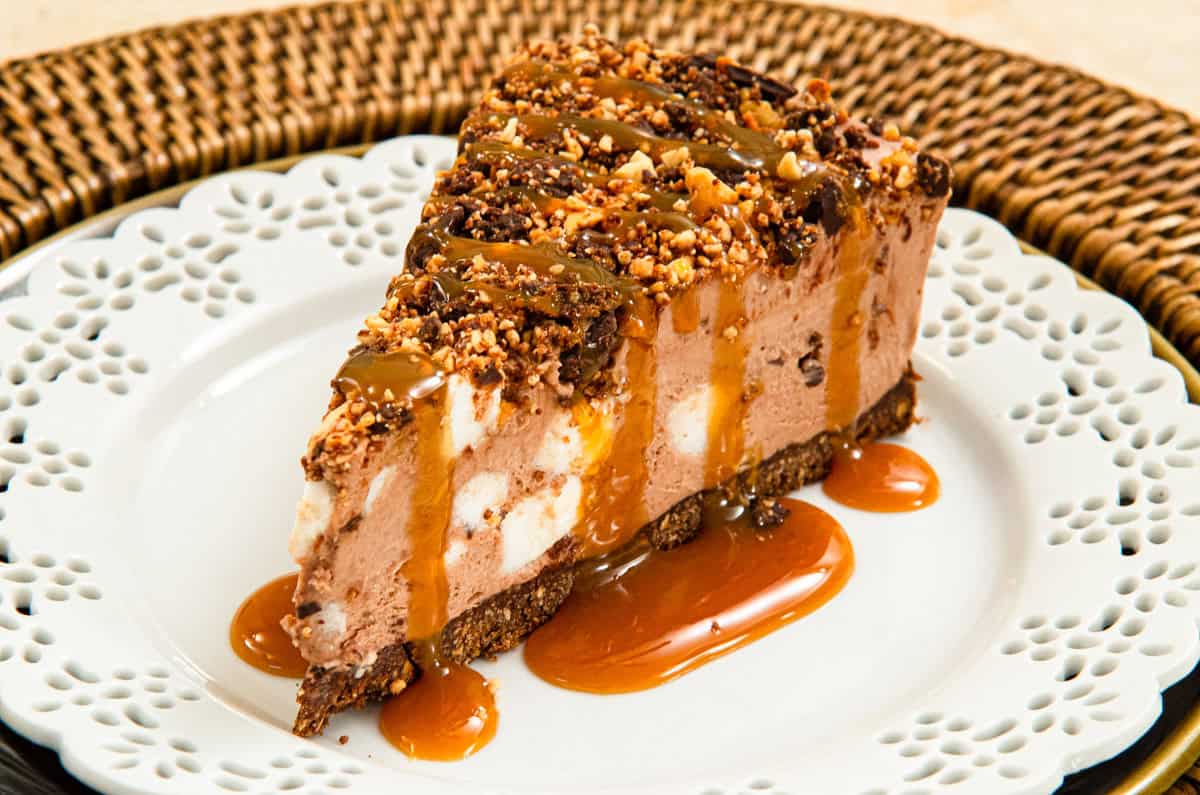
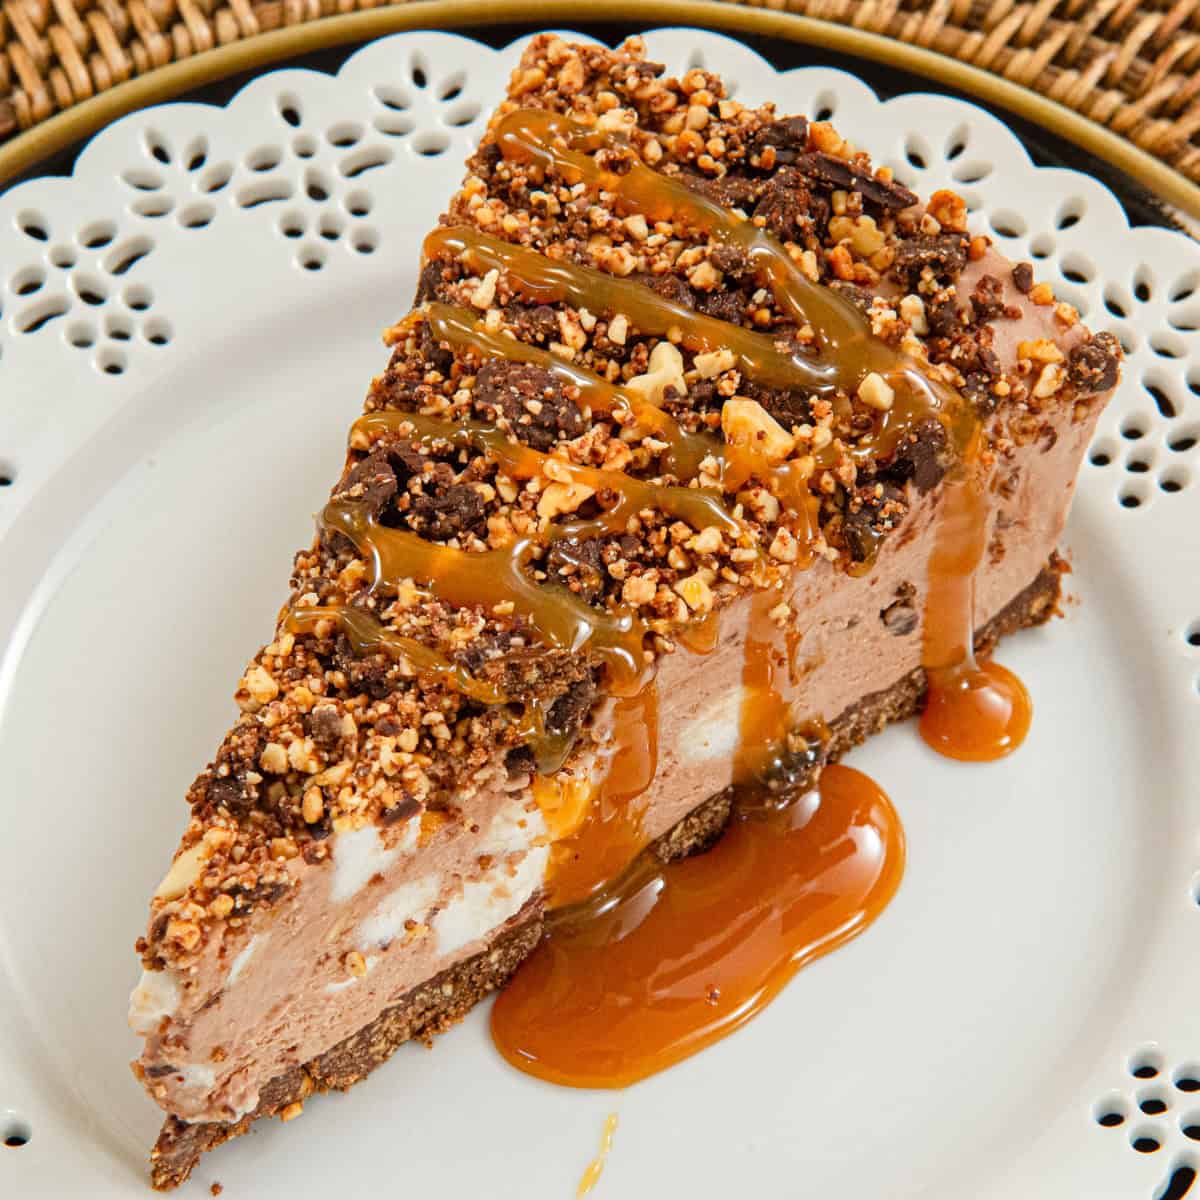
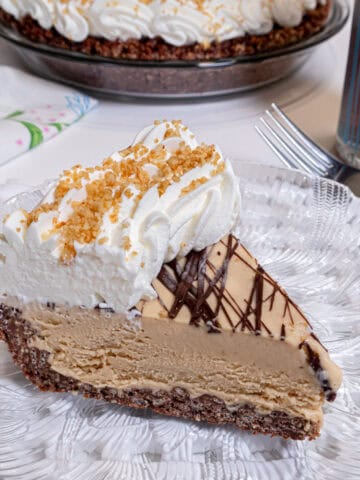
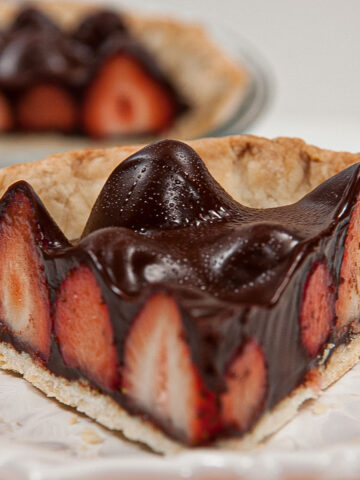
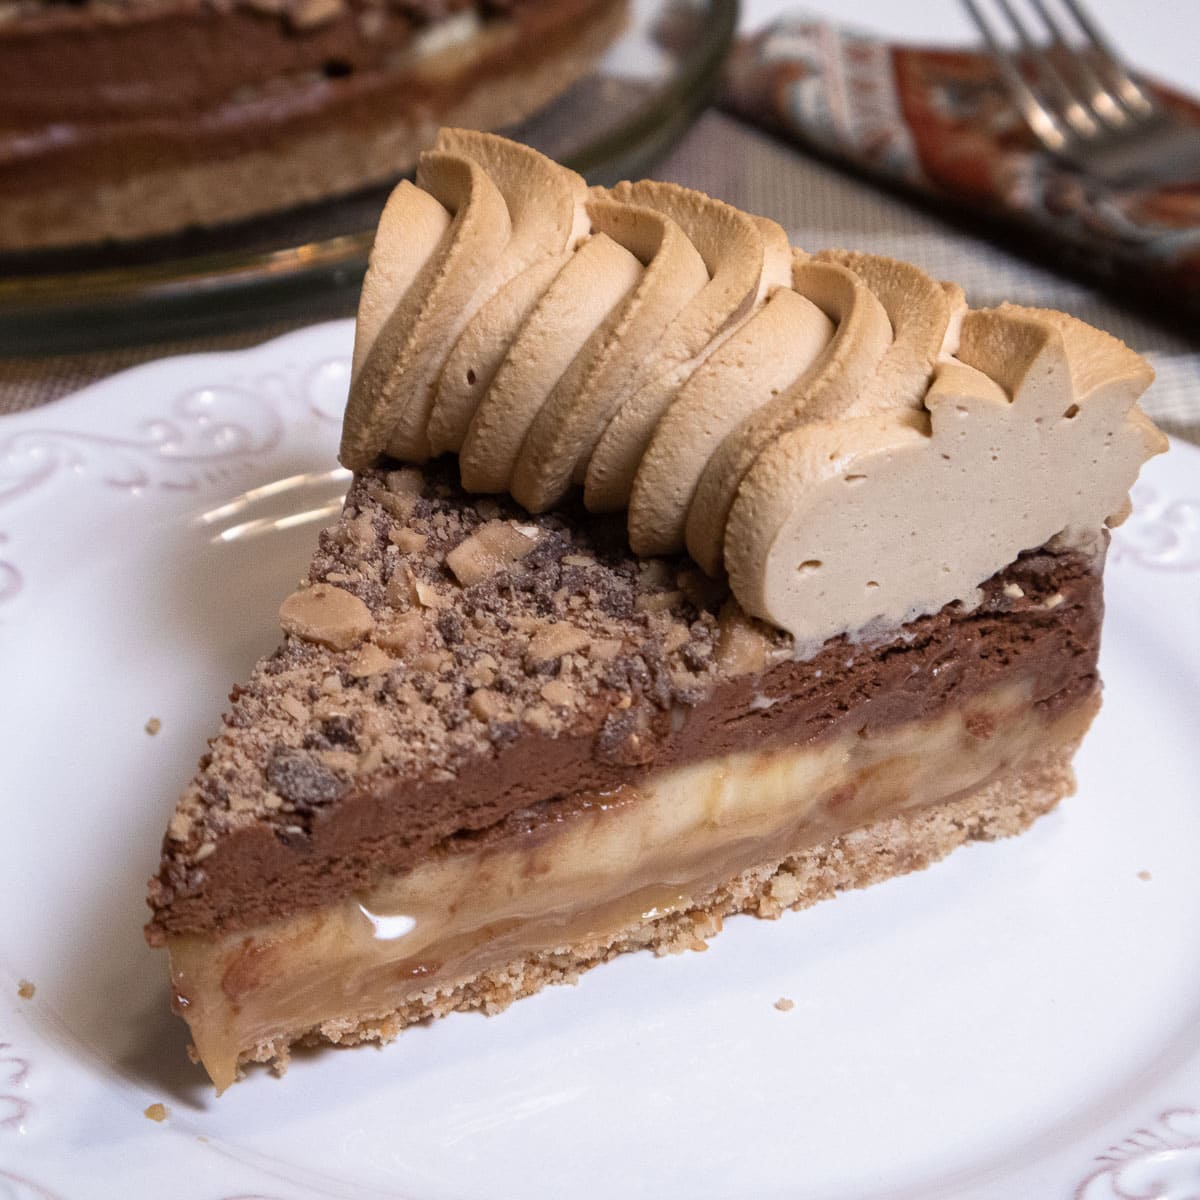
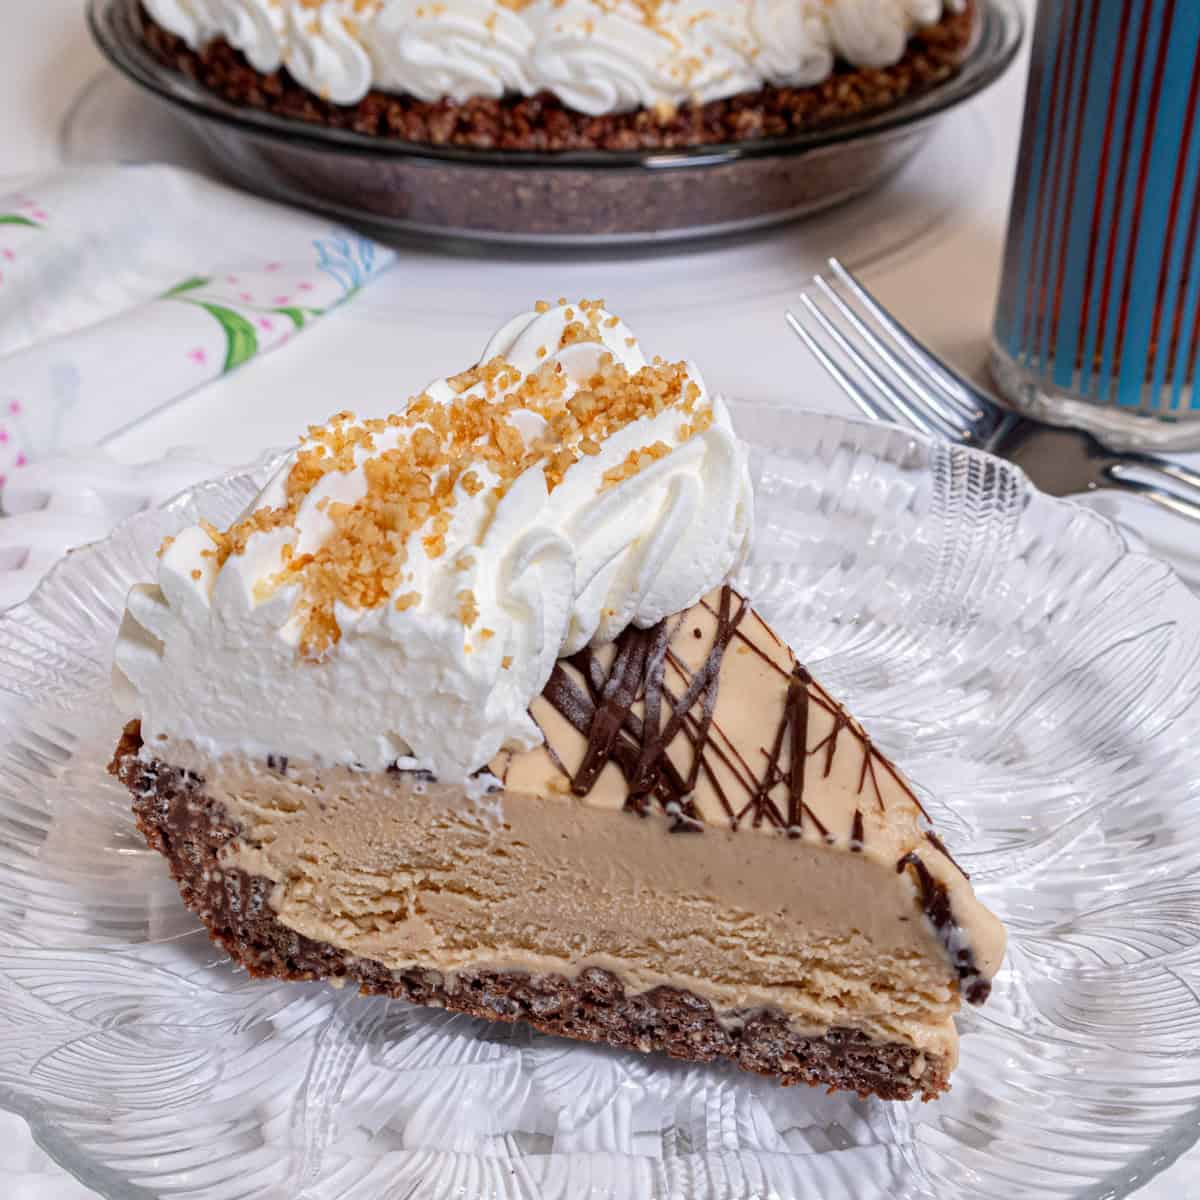
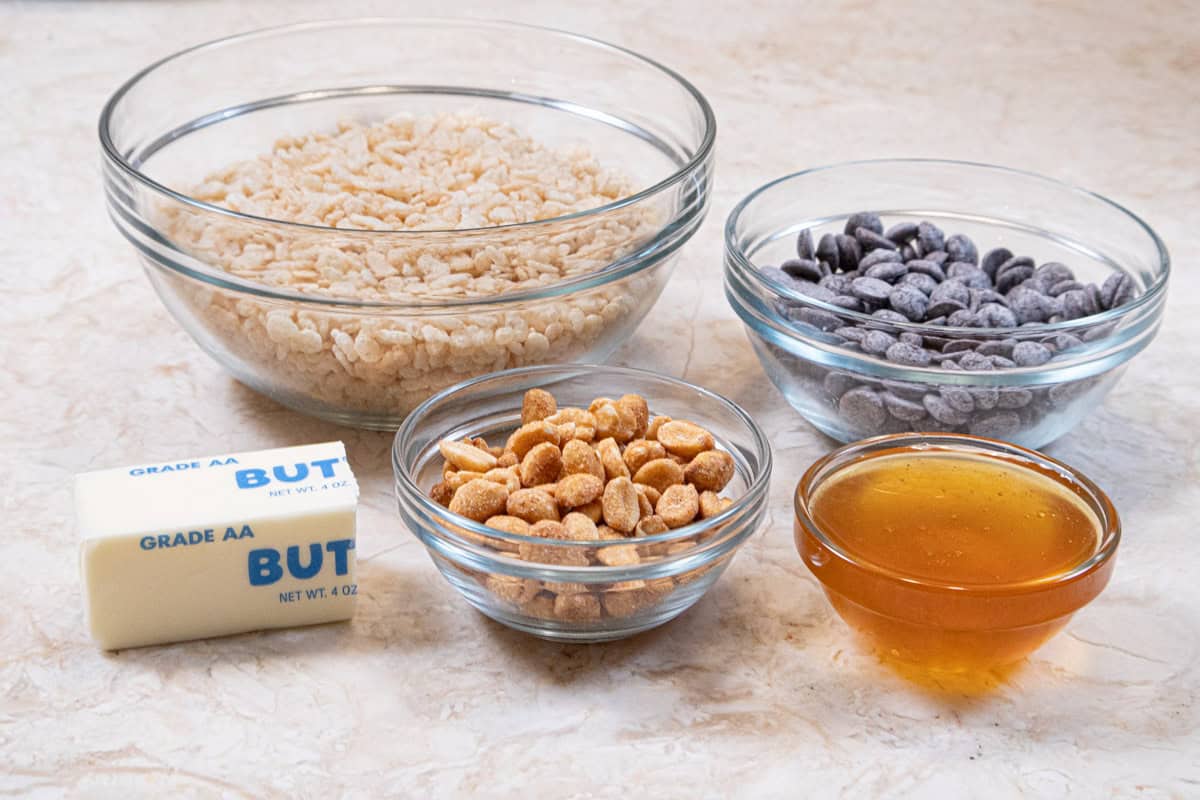
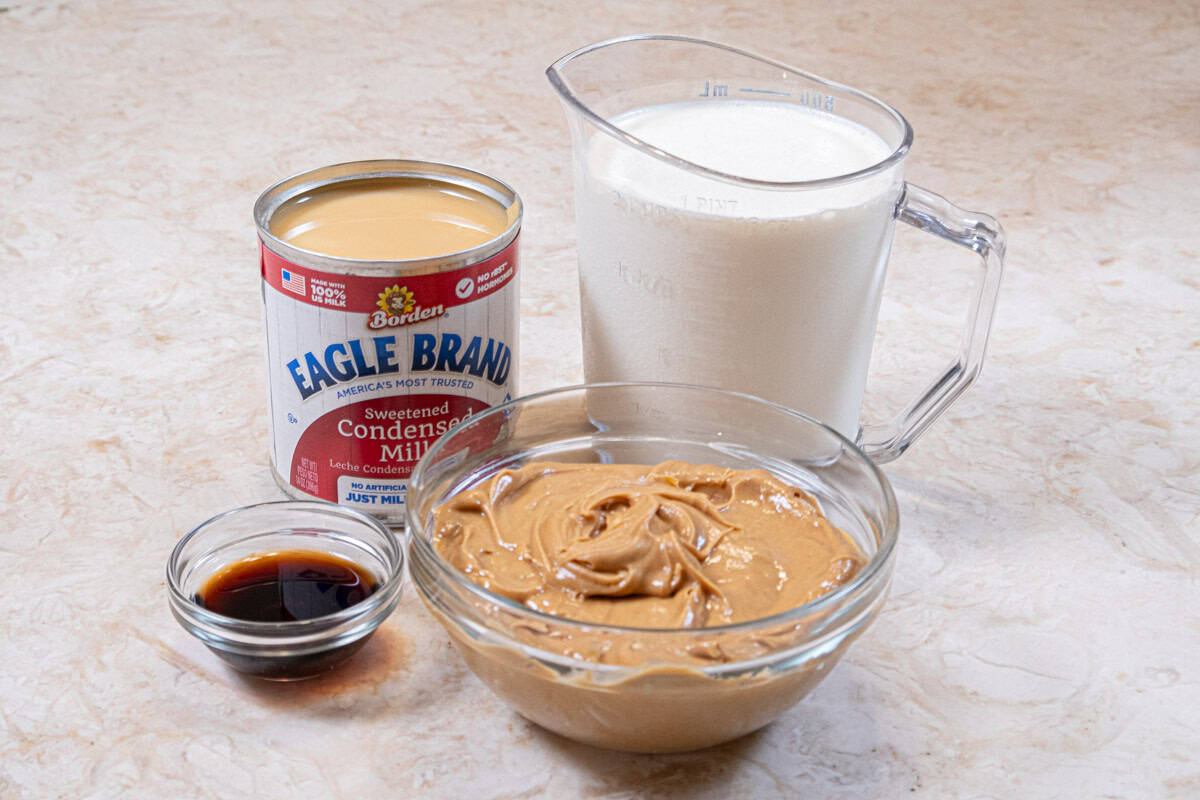
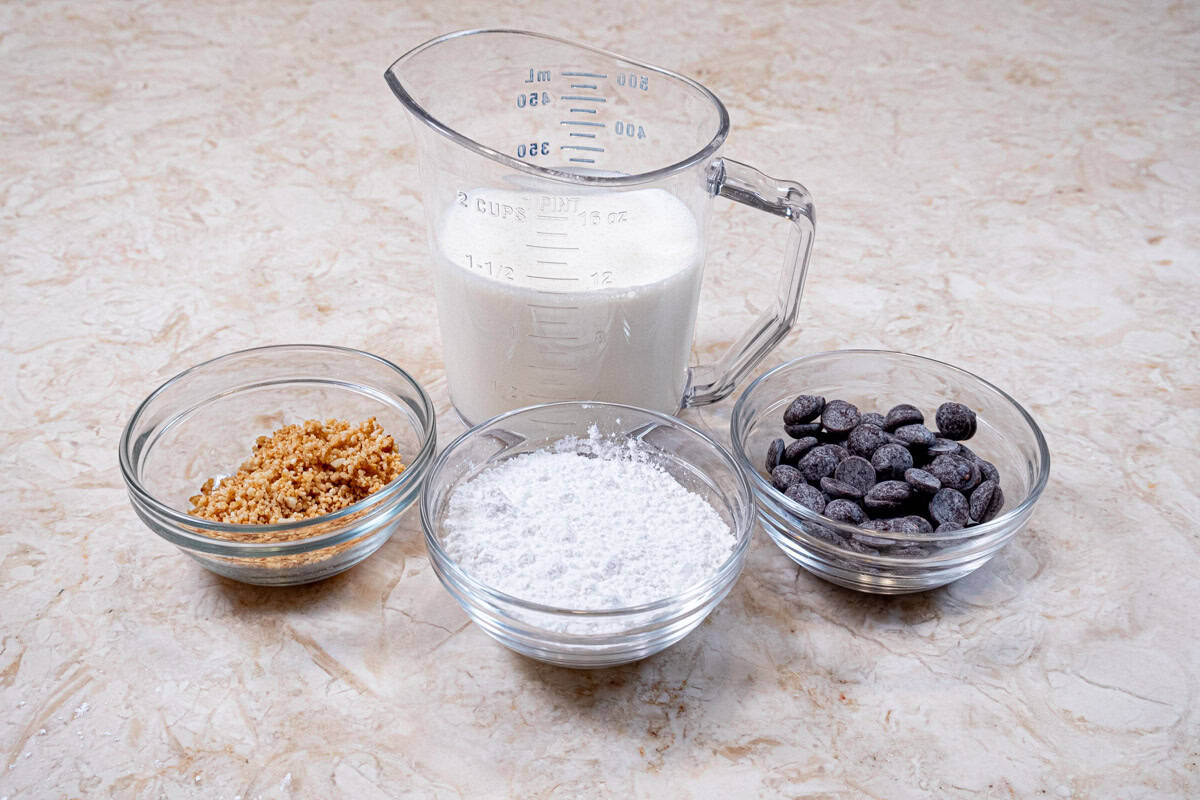
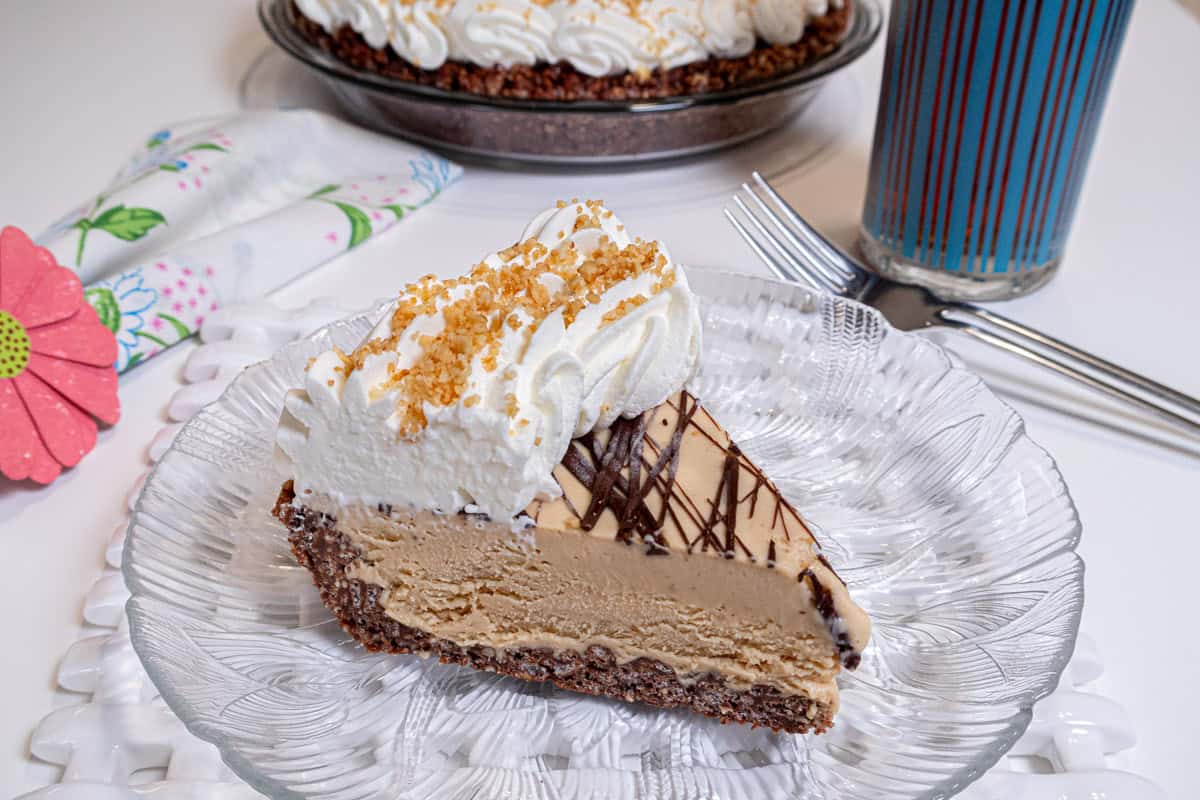
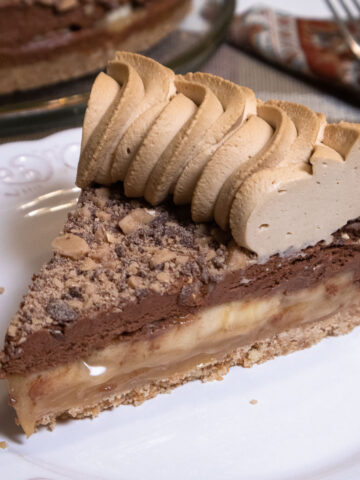
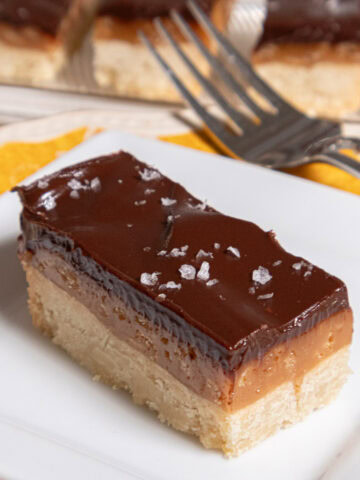
Amazing Banoffee Pie Recipe
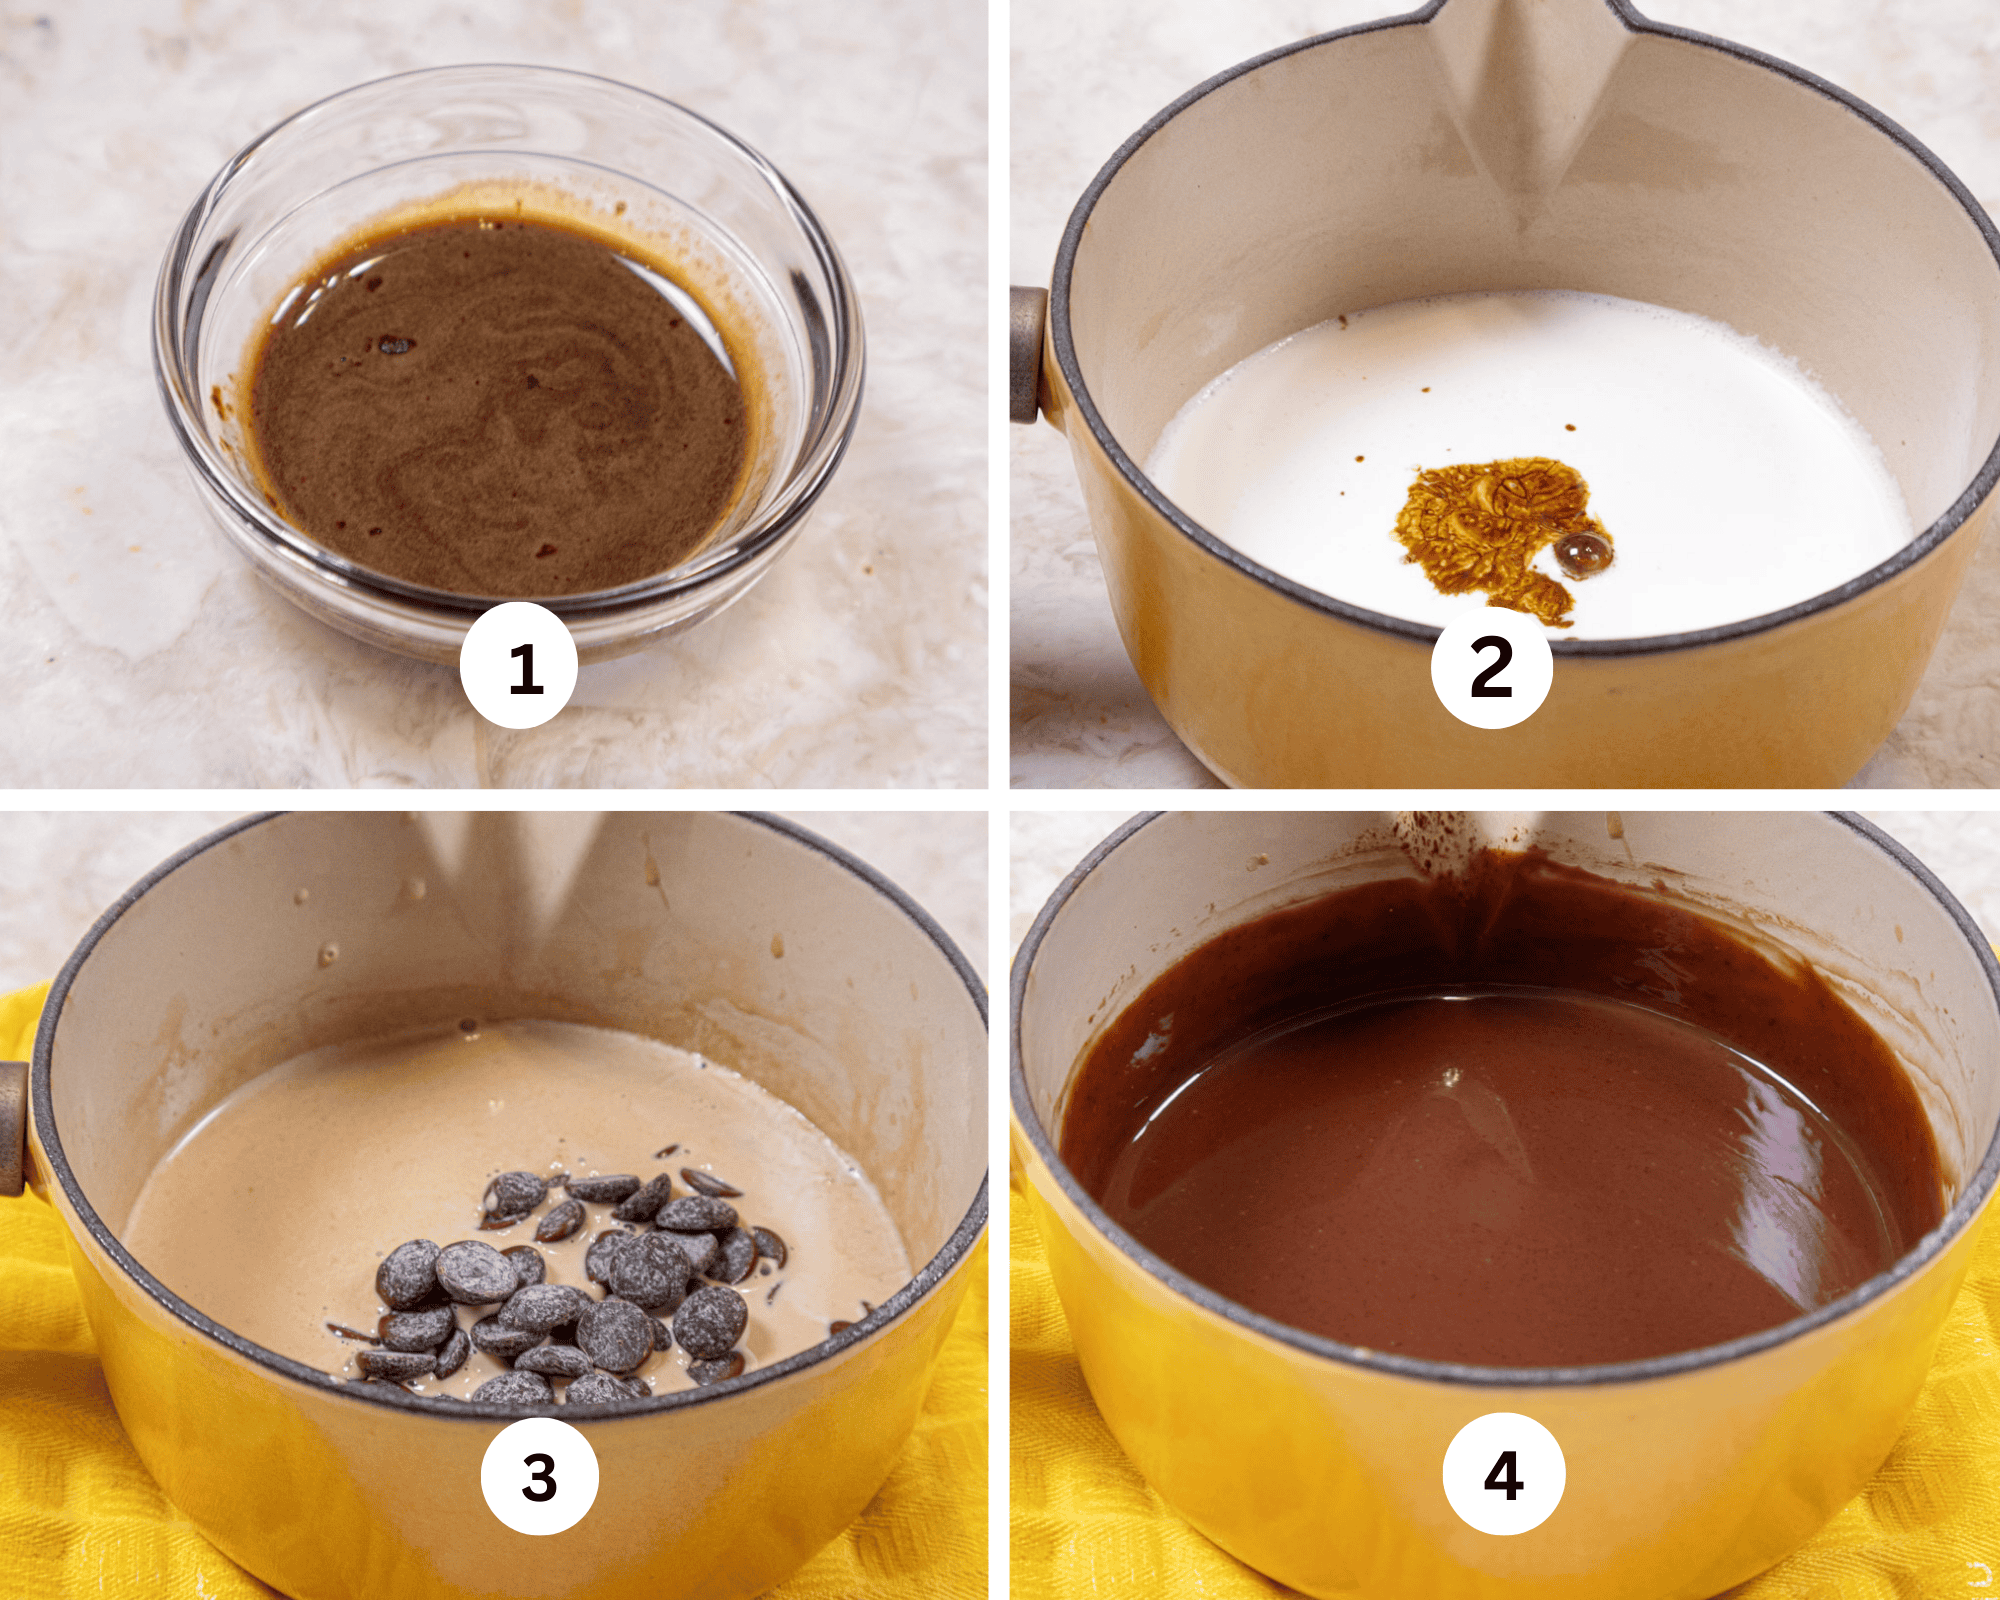
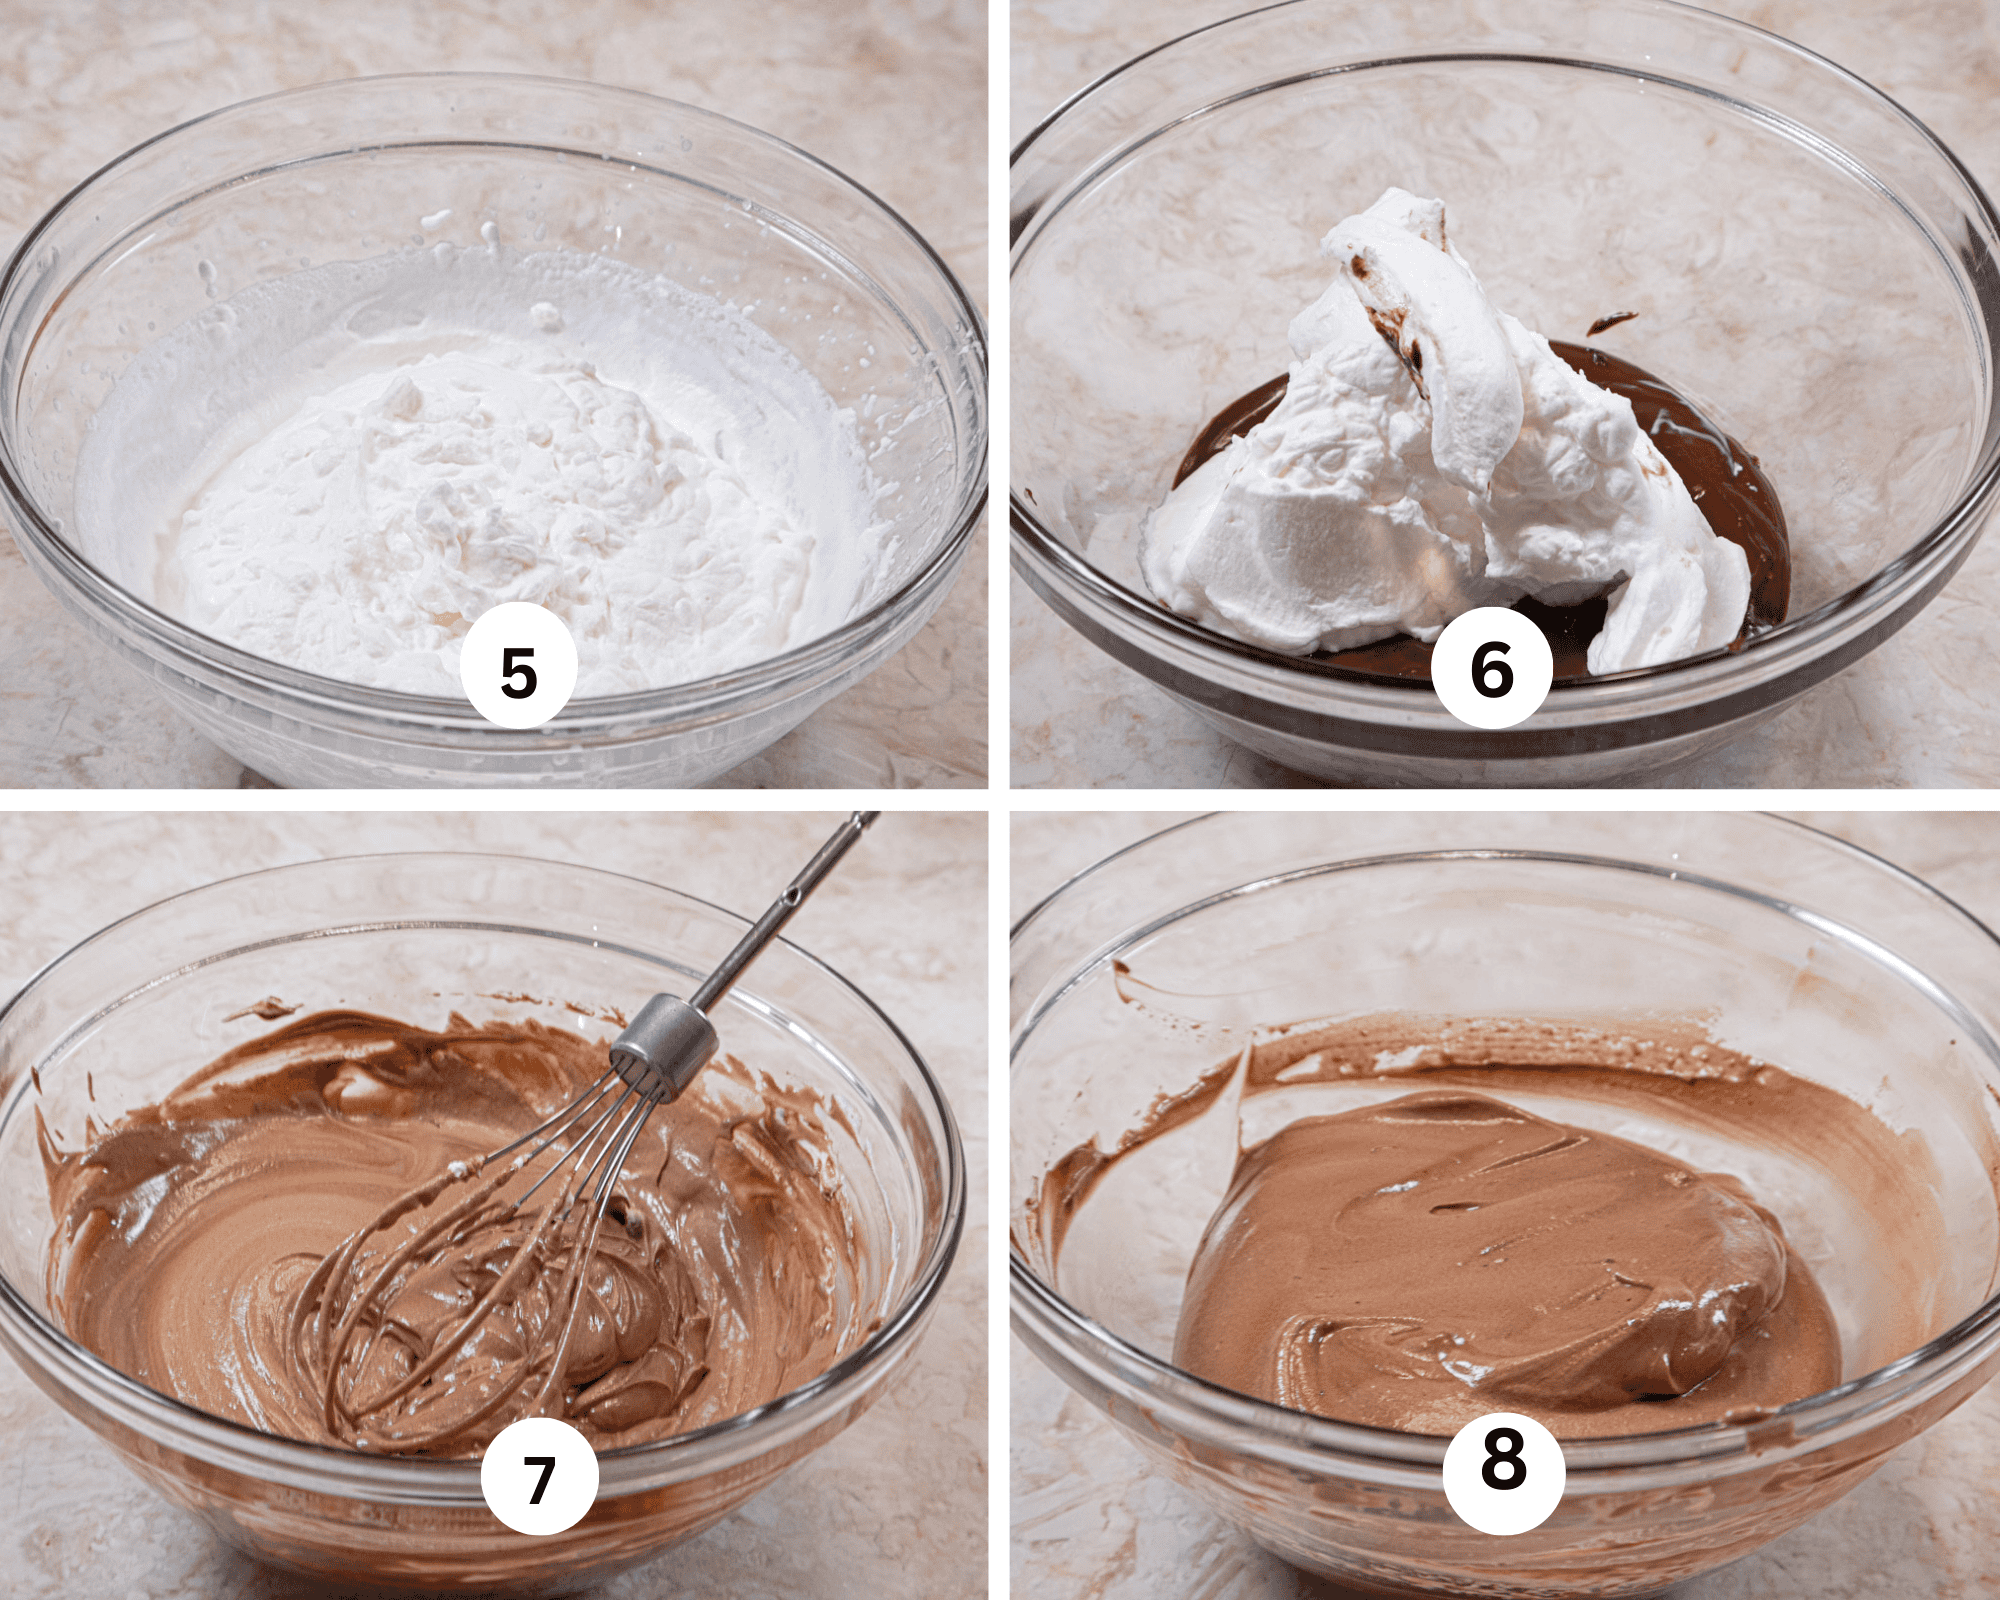
My amazing no bake Banoffee PIe is comprised of a vanilla layer crust, a toffee filling, bananas, and chocolate mousse sprinkled with Heath bar bits, and coffee whipped cream to top it all off. The name of this English dessert comes from either bananas and toffee or bananas and coffee whipped cream which is often used in place of the plain whipped cream.
Check out this recipe

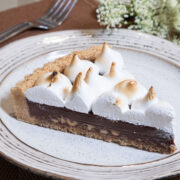
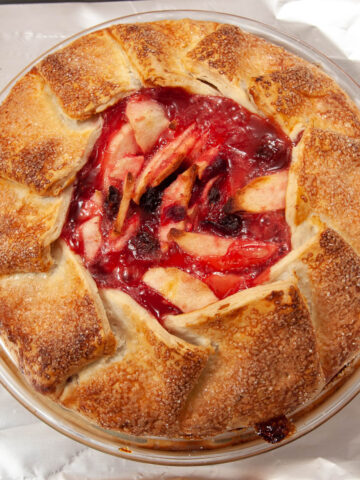
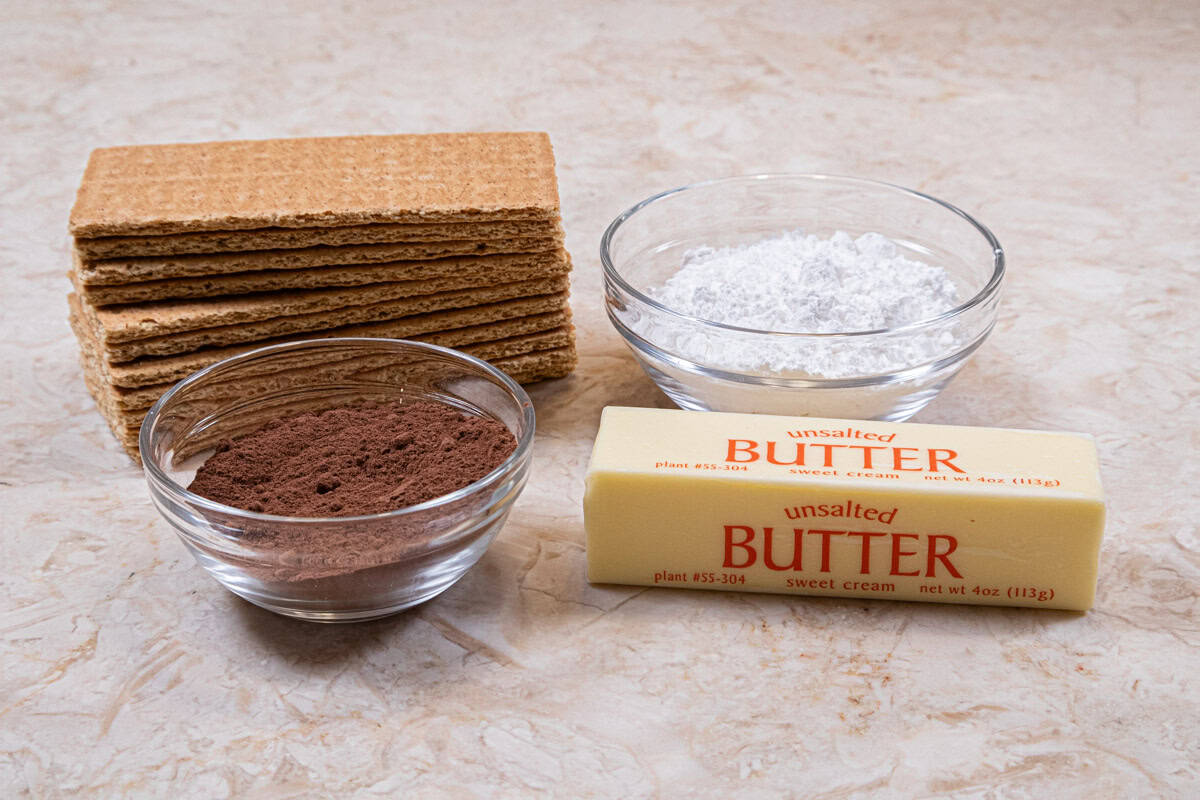
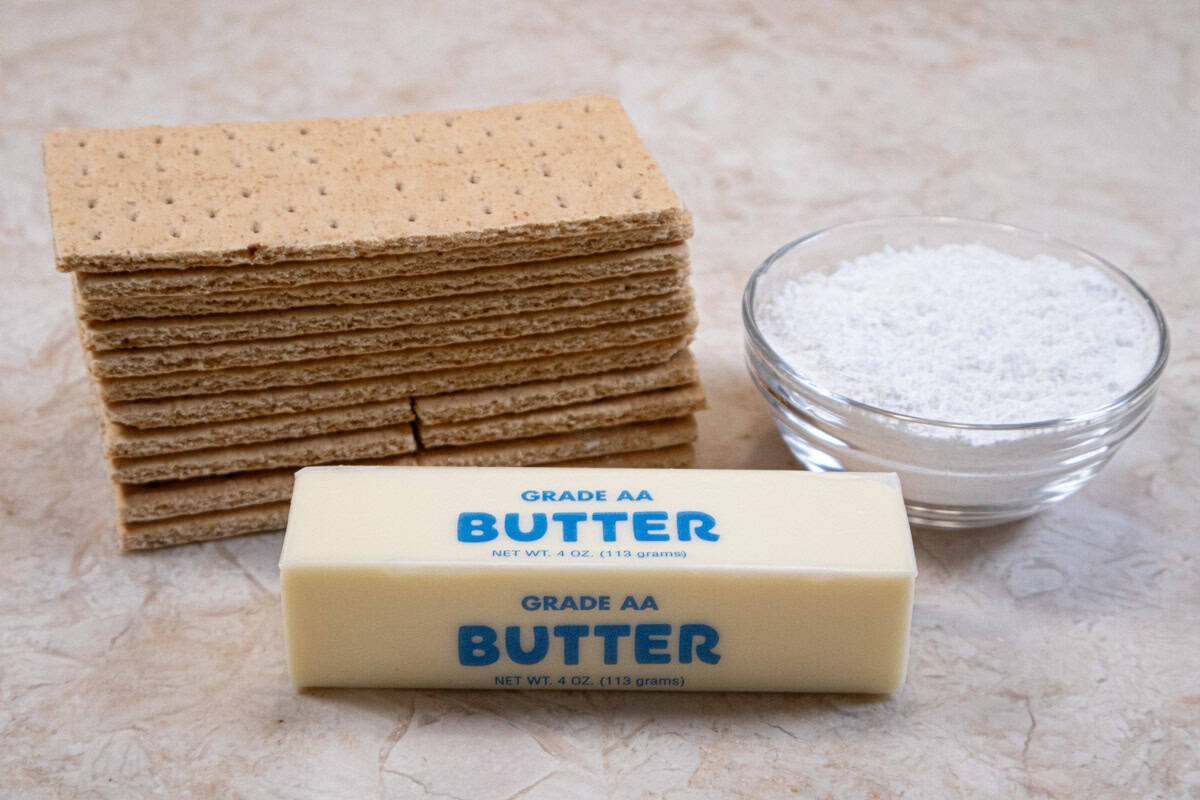
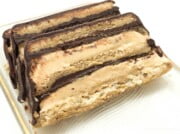
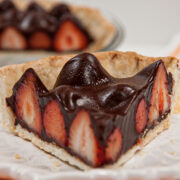
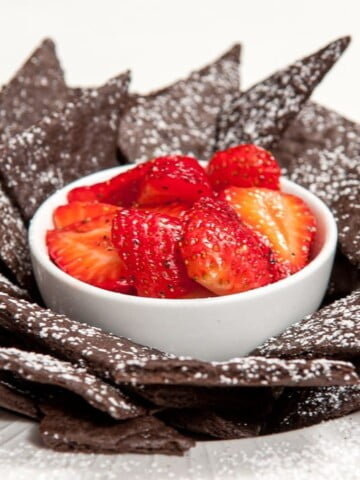
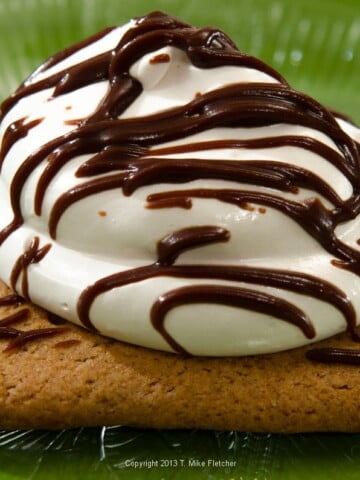
How to Make A S'mores Tart
How to Make S'mores Tart is more than just one more no bake recipe. It comprises some basic baking elements that you can use over and over. The graham cracker crust and the marshmallow cream (creme or fluff whatever you call it) is so simple to make from scratch you'll wonder why you haven't done it before.
Check out this recipe
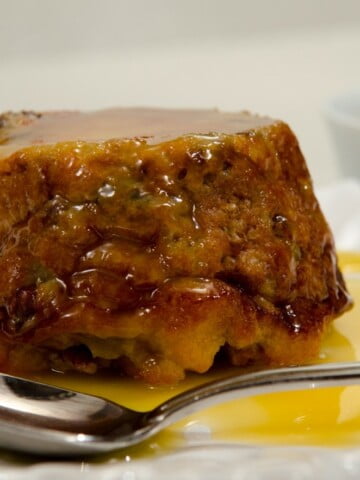
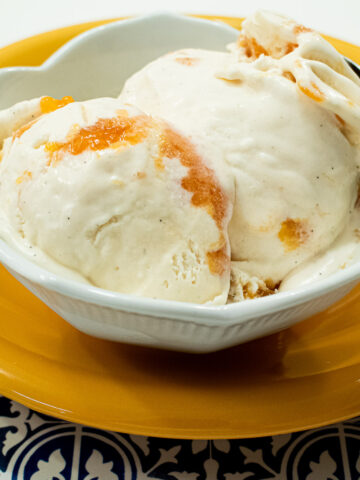
Orange Date Bread Pudding
Oranges and Dates are a fantastic combination and never more so than in the Orange Date Bread Pudding with the traditional hard sauce is hard to beat.
Check out this recipe
Happy Thanksgiving to all. I have much to be thankful for including the fact you are here. Have a wonderful day.


